


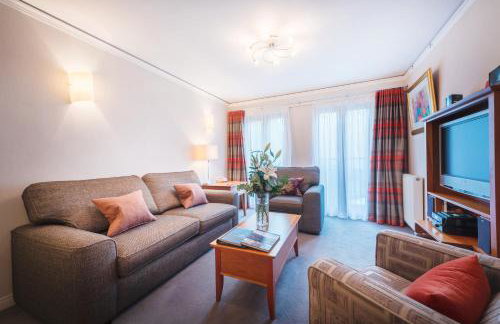
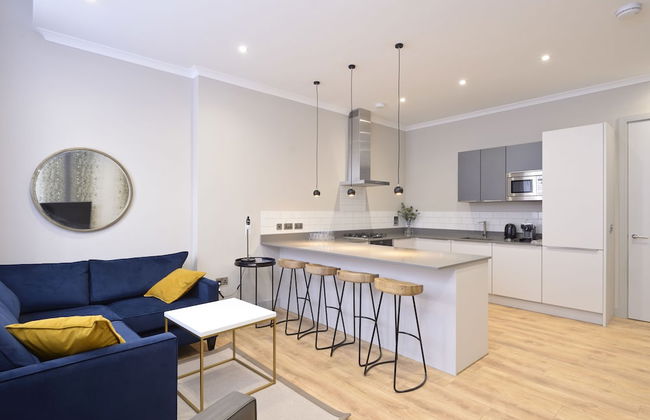
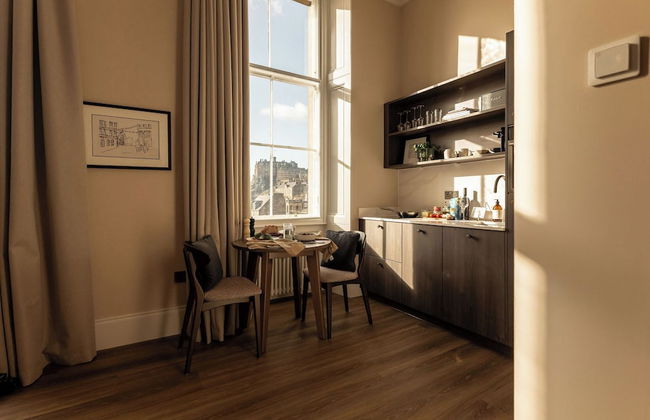
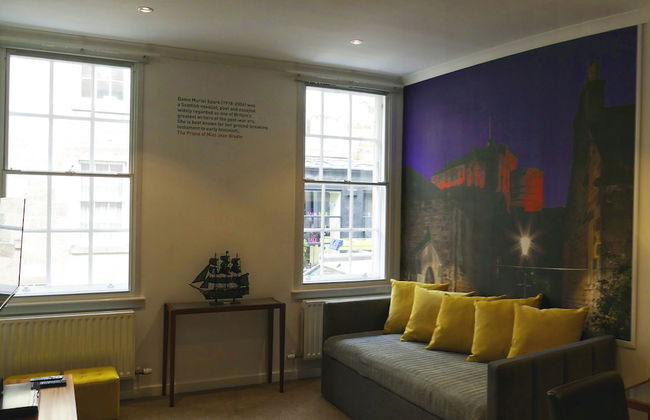
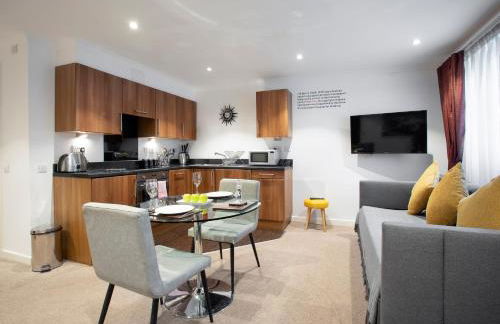
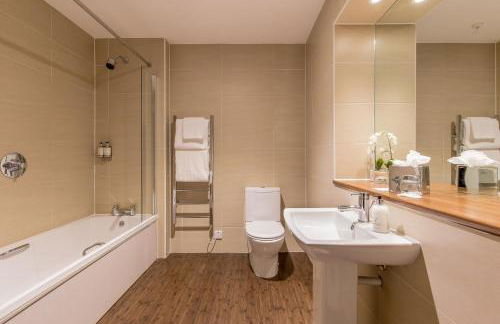
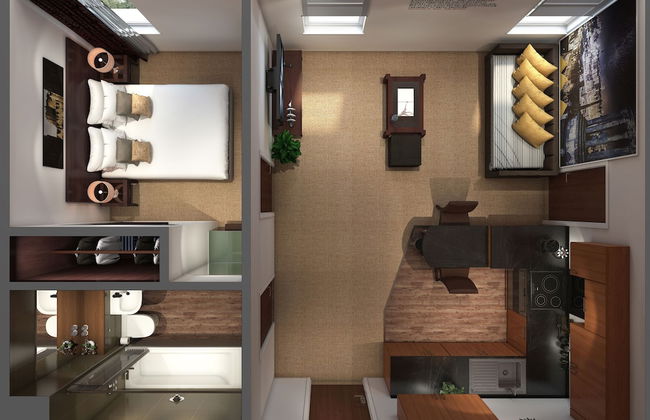
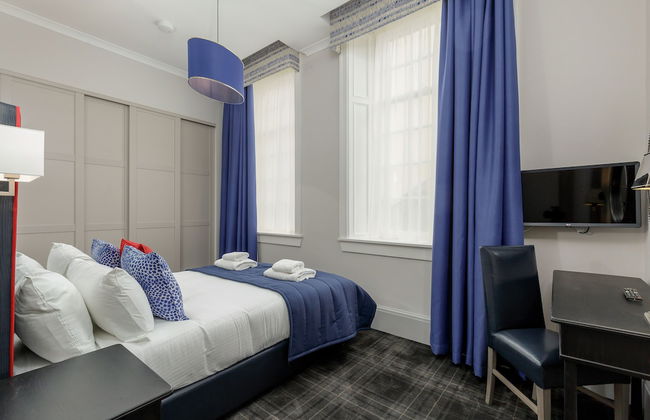
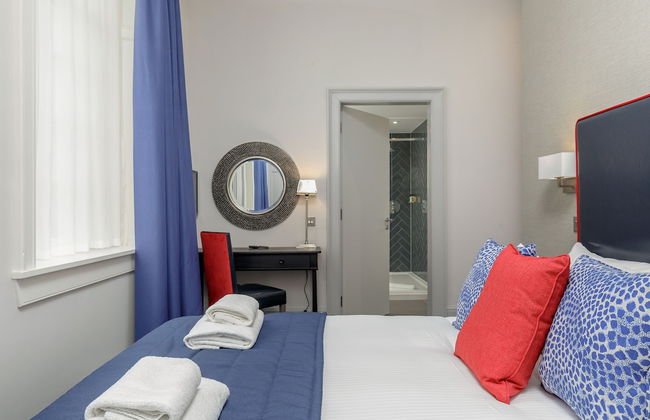
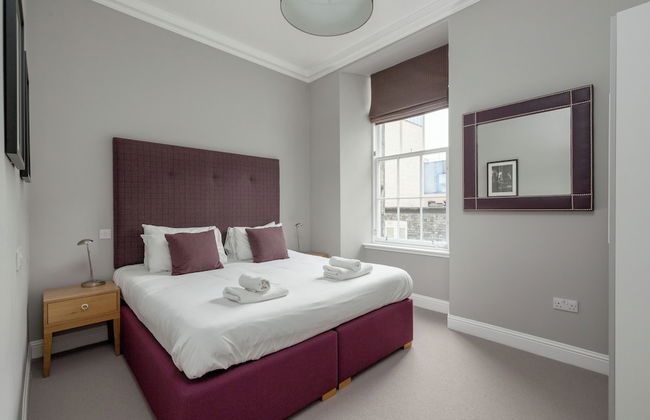
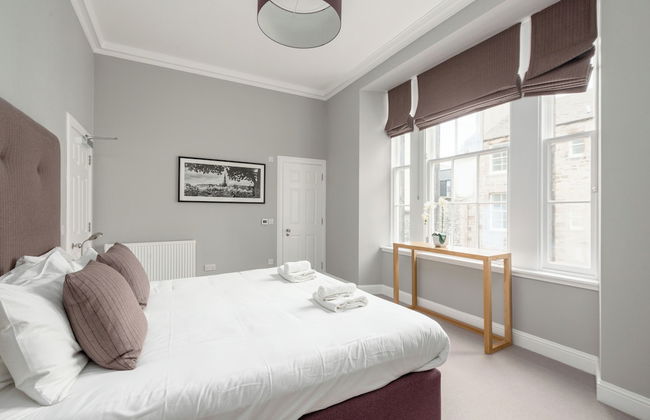
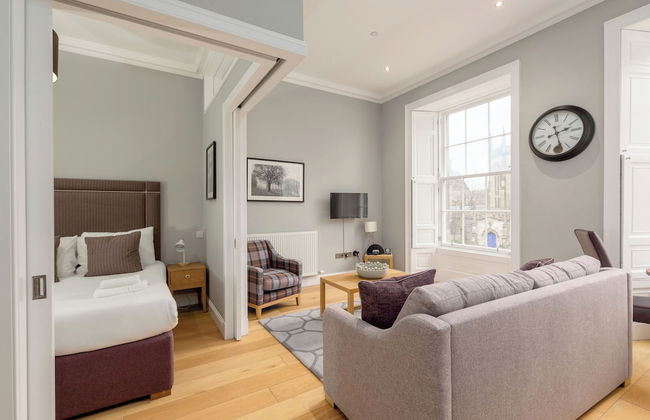
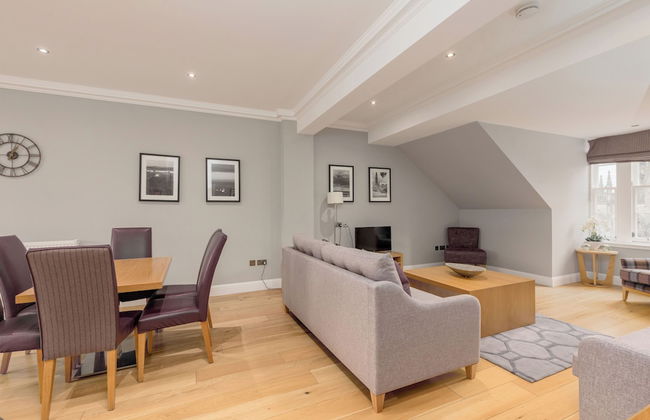
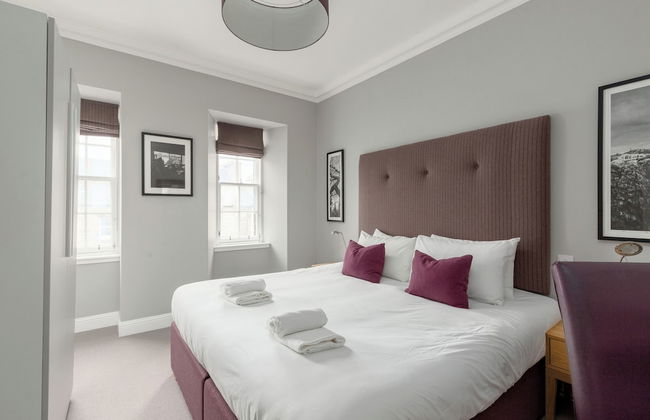
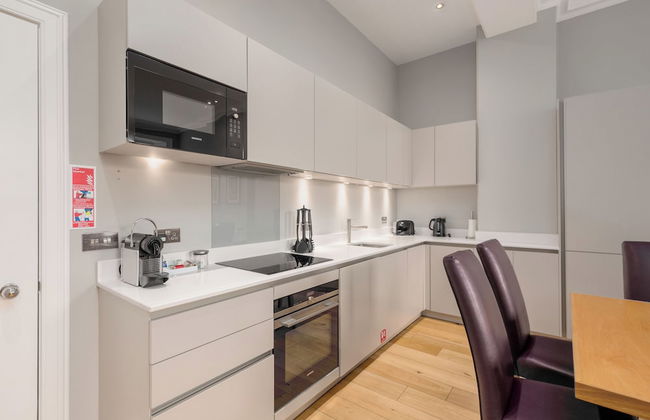
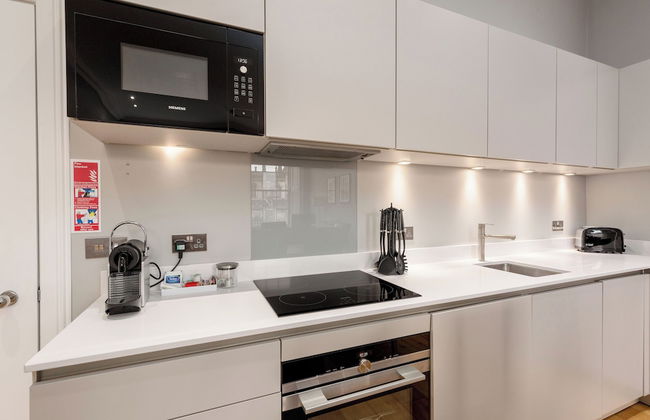
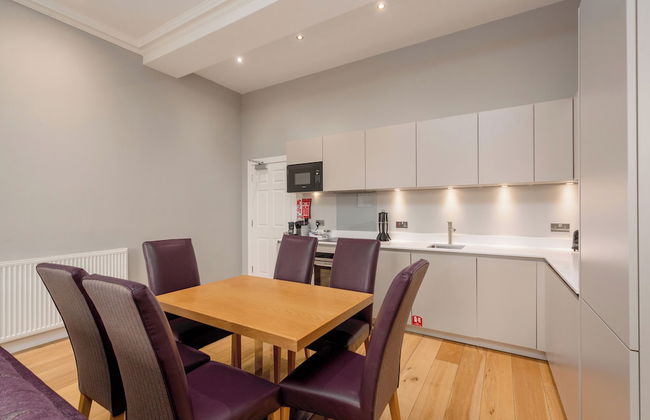
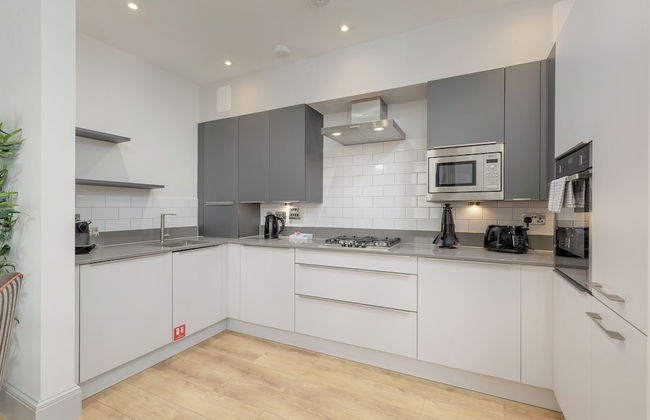
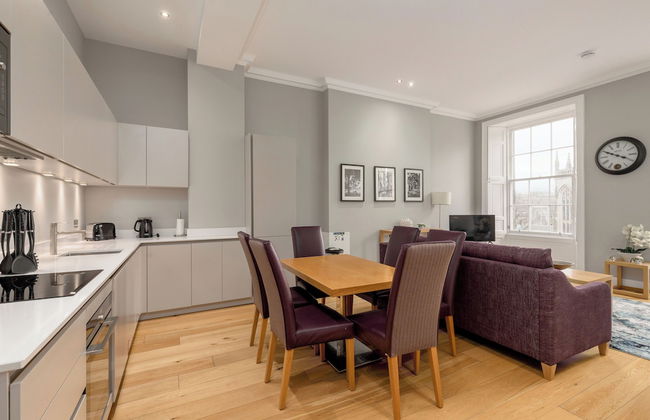
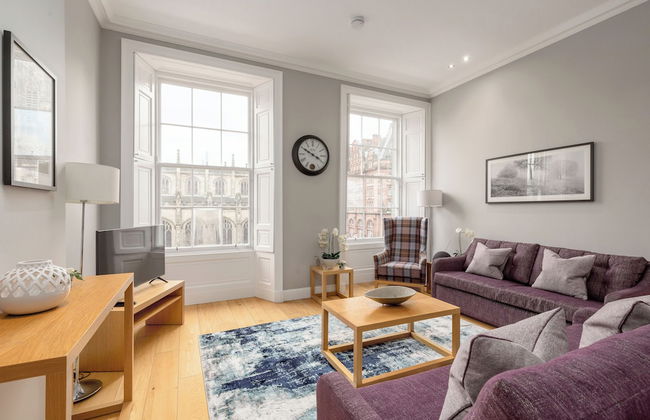
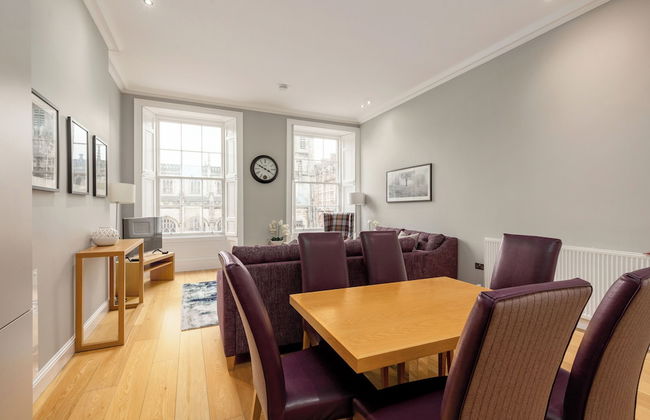
RÌGH Residences - George Street
Edinburgh - EH2 - Im Zentrum
- 72 M2
- 3 Schlafzimmer
- 5 Personen
- Kochnische
- Klimaanlage
- Heizung
- Fahrstuhl
- Tv
- Handtücher
- Bettlaken


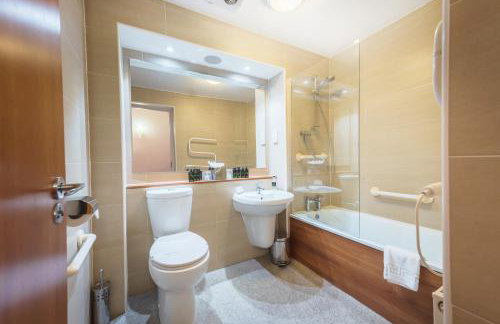
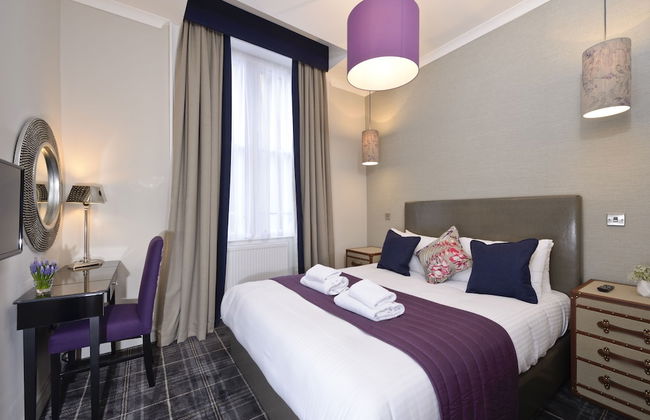
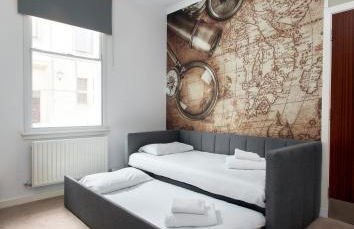
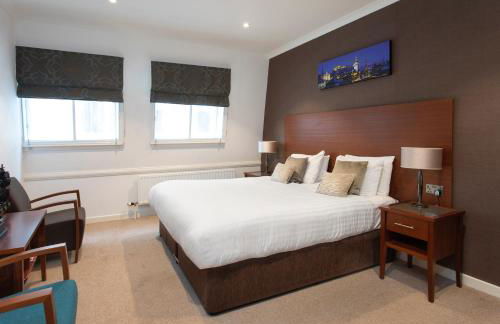
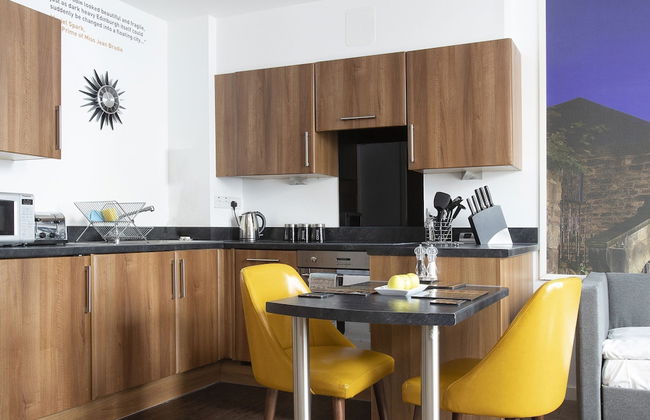
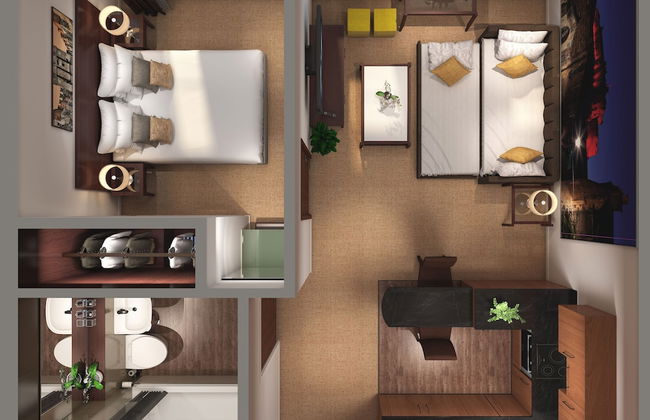
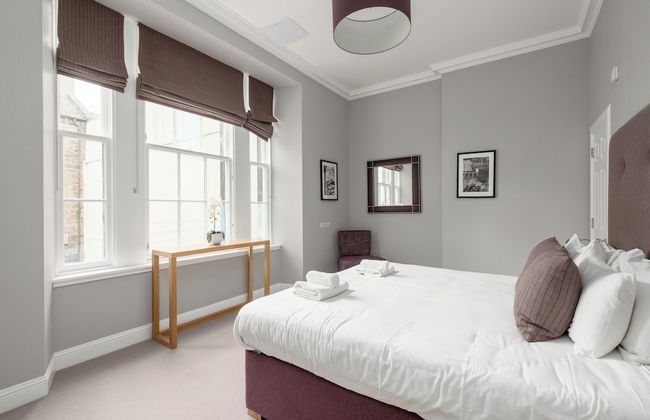
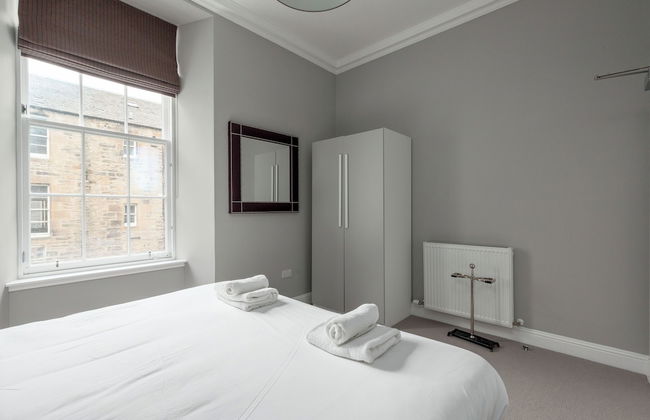
Forth House by Supercity Aparthotels
Edinburgh - Broughton - 460 m vom Zentrum
- 59 M2
- 2 Schlafzimmer
- 4 Personen
- Klimaanlage
- Heizung
- Parkplatz
- Fahrstuhl
- Balkon
- Tv
- Waschmaschine
- Handtücher
- Bettlaken


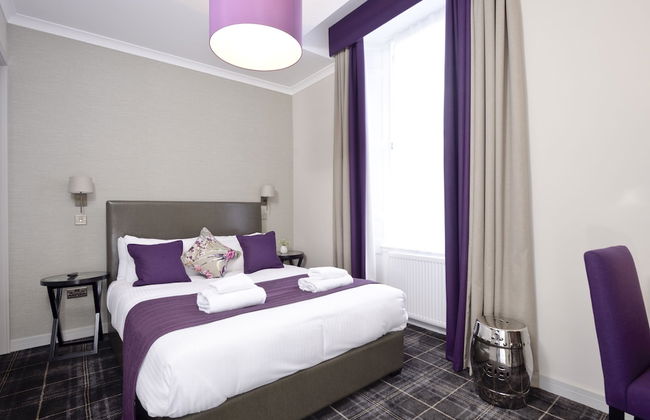
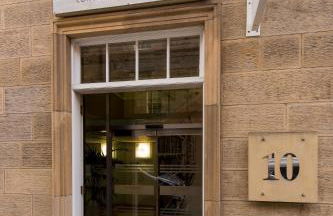
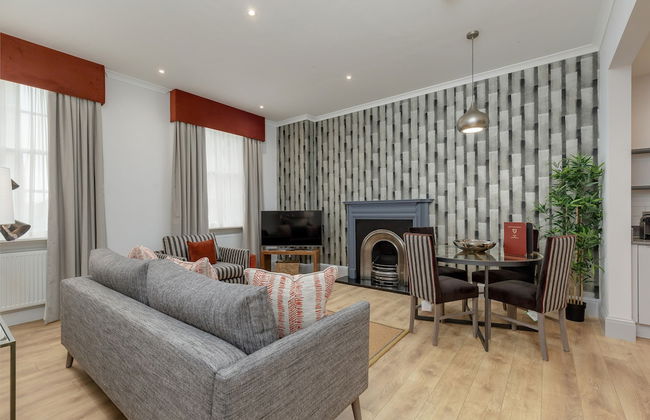
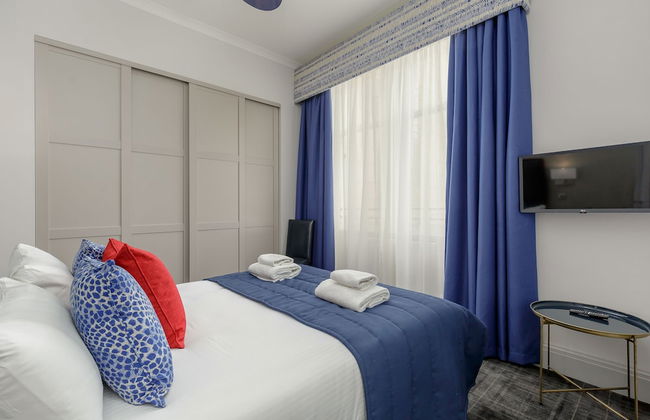
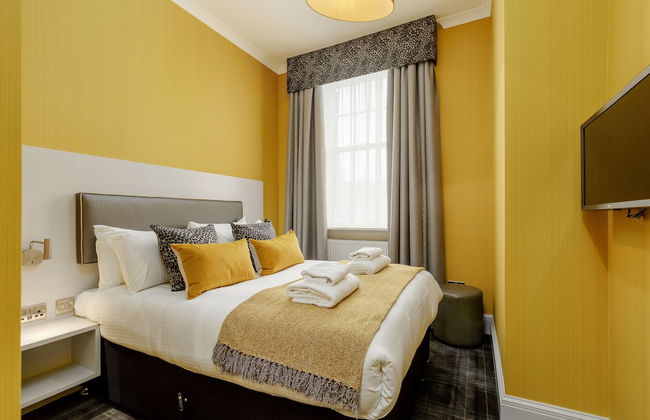
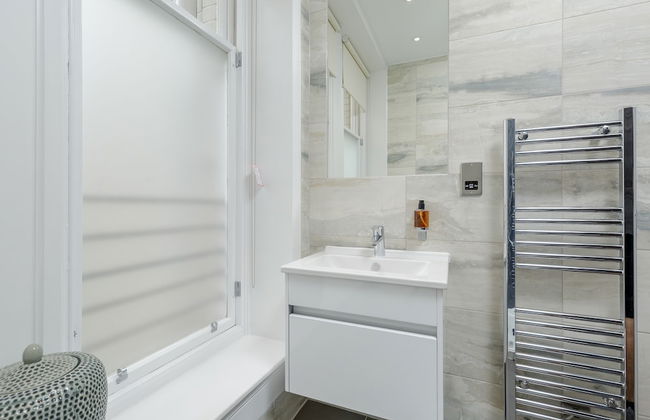
Grassmarket, Below Edinburgh Castle in Old Town
Edinburgh - EH1 - 350 m vom Zentrum
- 76 M2
- 4 Personen
- Heizung
- Tv
- Waschmaschine
- Schornstein
- Handtücher
- Bettlaken


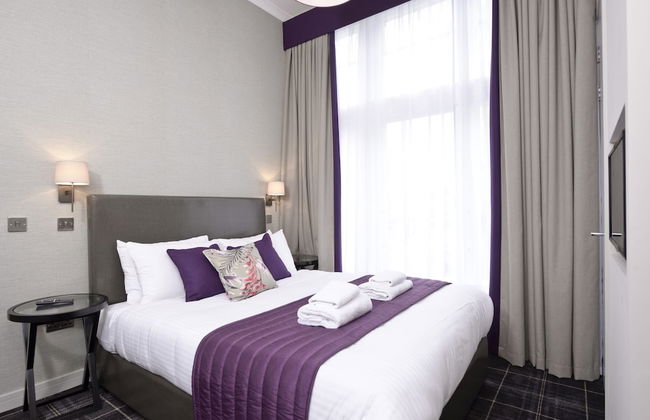
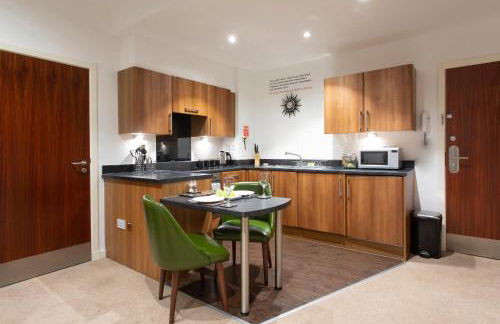
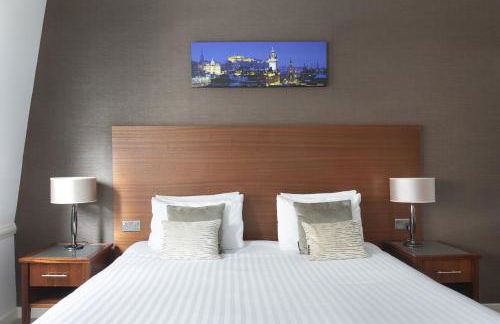
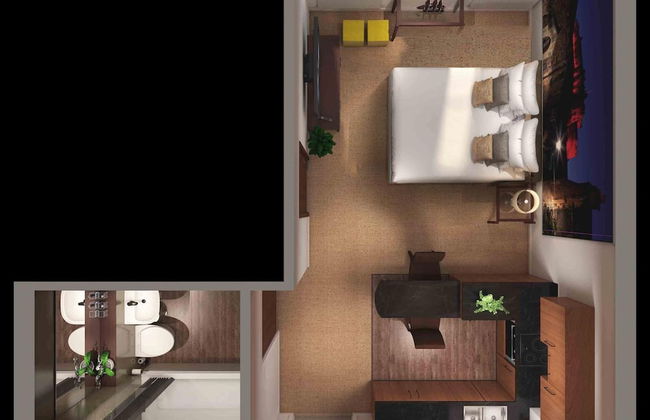
Linton Collection - 28 North Bridge
Edinburgh - EH1 - 420 m vom Zentrum
- 75 M2
- 2 Schlafzimmer
- 5 Personen
- Kochnische
- Heizung
- Fahrstuhl
- Tv
- Waschmaschine
- Handtücher
- Bettlaken


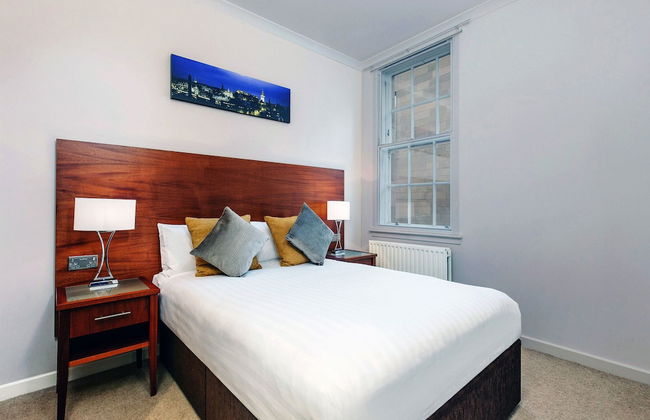
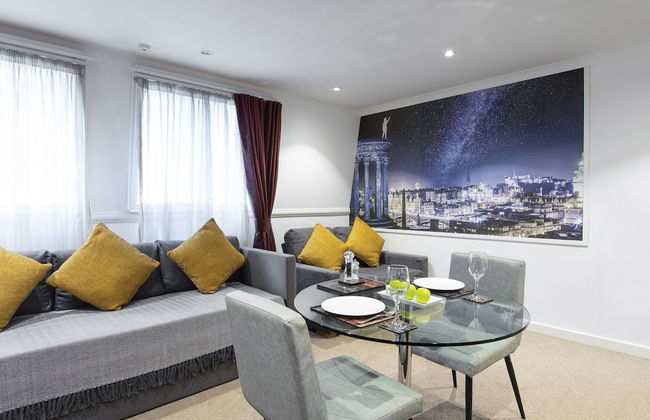
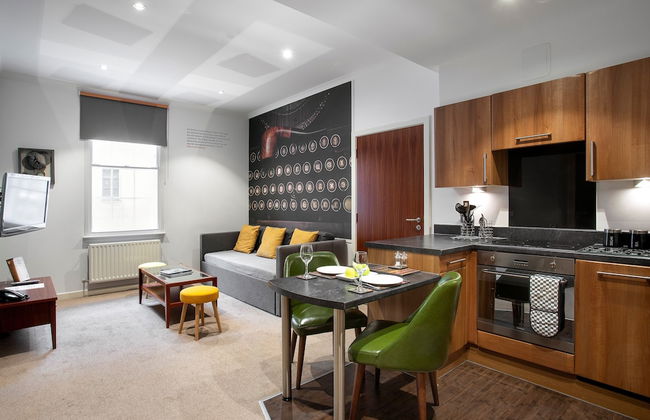
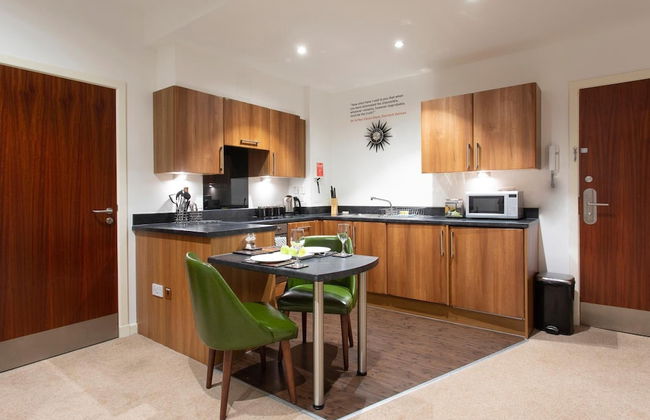
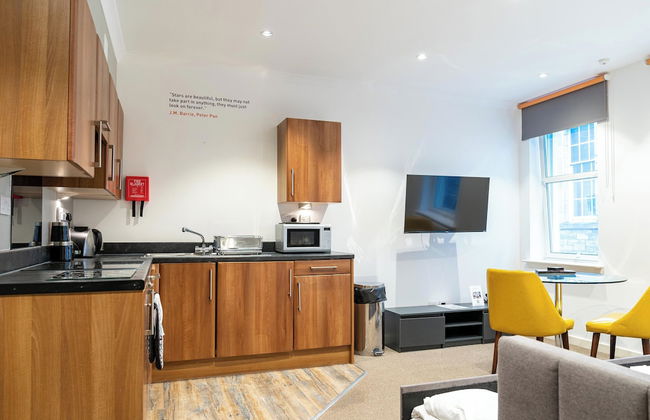
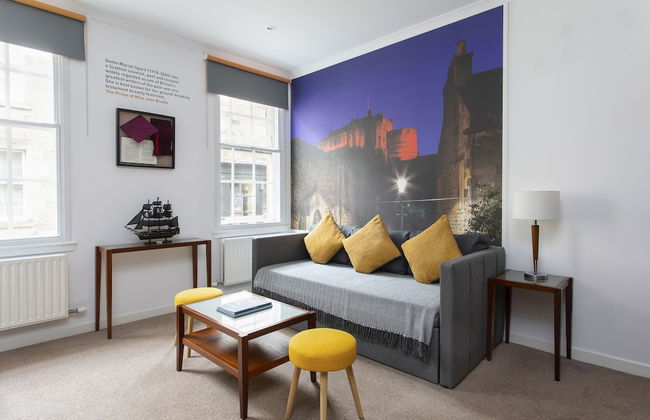
The Knight Residence Apartments by Mansley
Edinburgh - EH3 - 490 m vom Zentrum
- 59 M2
- 3 Schlafzimmer
- 5 Personen
- Heizung
- Parkplatz
- Fahrstuhl
- Tv
- Waschmaschine
- Handtücher
- Bettlaken


Princes Street Suites
Edinburgh - EH1 - 410 m vom Zentrum
- 120 M2
- 3 Schlafzimmer
- 6 Personen
- Heizung
- Terrasse
- Parkplatz
- Fahrstuhl
- Tv
- Waschmaschine
- Handtücher

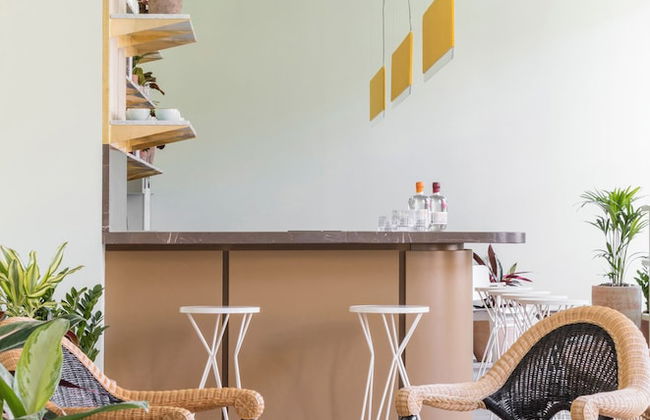


Eden Locke
Edinburgh - EH2 - Im Zentrum
- 33 M2
- 3 Personen
- Klimaanlage
- Heizung
- Tv
- Waschmaschine
- Handtücher
- Bettlaken


Sovo - Luxury Romantic WestEnd Apartment With Jacuzzi Spa Bath
Edinburgh - EH2 - 300 m vom Zentrum
- 93 M2
- 1 Schlafzimmer
- 2 Personen
- Klimaanlage
- Heizung
- Terrasse
- Parkplatz
- Garten


Clarendon Luxury Apartments
Edinburgh - EH4 - 340 m vom Zentrum
- 3 Personen
- Kochnische
- Tv
- Handtücher
- Bettlaken


No1. Apartments Edinburgh - New Town
Edinburgh - EH3 - Im Zentrum
- 50 M2
- 4 Personen
- Heizung
- Tv
- Waschmaschine
- Handtücher
- Bettlaken


Destiny Scotland Charlotte Square Apartments
Edinburgh - EH2 - Im Zentrum
- 78 M2
- 2 Schlafzimmer
- 4 Personen
- Heizung
- Parkplatz
- Tv
- Waschmaschine
- Handtücher
- Bettlaken


Moment George IV Bridge
Edinburgh - Old - 430 m vom Zentrum
- 4 Personen
- Kochnische
- Heizung
- Tv
- Handtücher
- Bettlaken


Destiny Scotland - Broughton St Lofts
Edinburgh - EH1 - 350 m vom Zentrum
- 55 M2
- 2 Schlafzimmer
- 4 Personen
- Heizung
- Parkplatz
- Tv
- Waschmaschine
- Handtücher
- Bettlaken


Edinburgh Nine
Edinburgh - EH1 - 340 m vom Zentrum
- 29 M2
- 2 Personen
- Kochnische
- Heizung
- Tv
- Handtücher
- Bettlaken


Silver Lining - Penthouse with parking
Edinburgh - EH3 - 940 m vom Zentrum
- 5 Personen
- Heizung
- Terrasse
- Parkplatz
- Tv
- Waschmaschine
- Handtücher
- Bettlaken


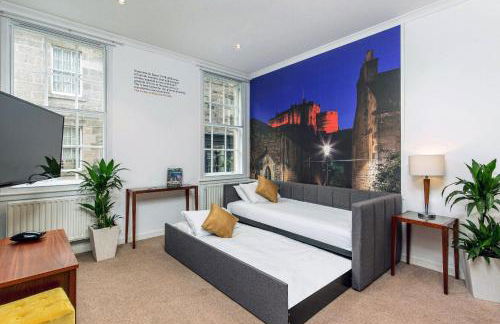

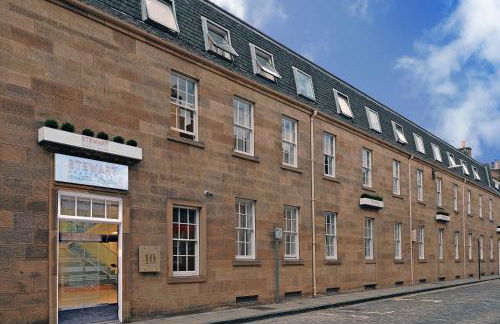

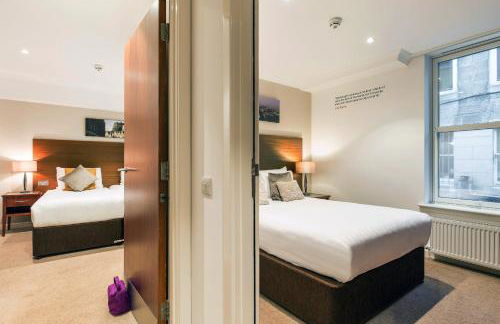

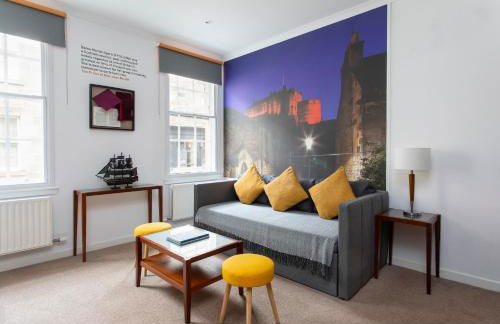


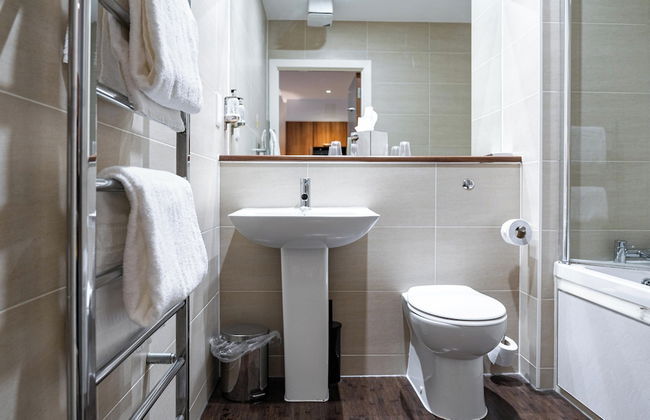

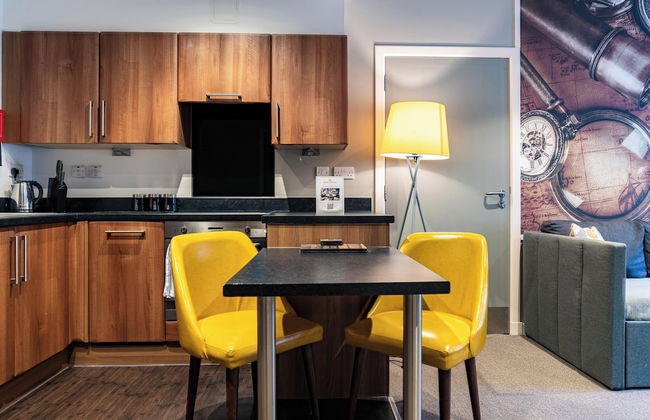

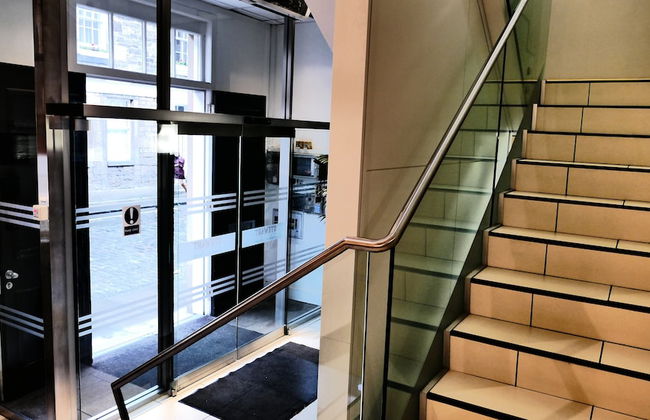


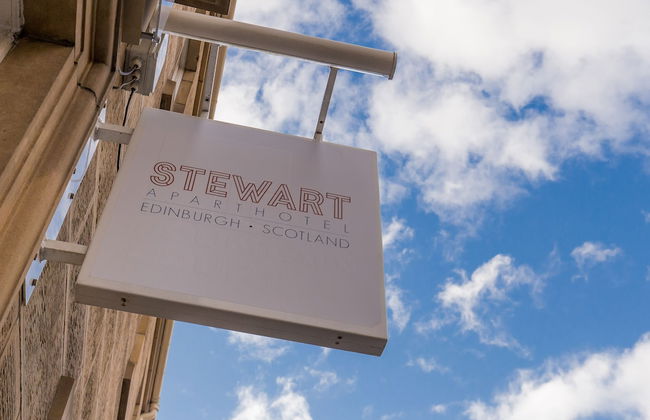


Stewart by Heeton Concept - Aparthotel Edinburgh
Edinburgh - EH2 - Im Zentrum
- 46 M2
- 1 Schlafzimmer
- 7 Personen
- Klimaanlage
- Heizung
- Parkplatz
- Fahrstuhl
- Tv
- Waschmaschine
- Handtücher
- Bettlaken


Destiny Scotland - Princes Street Residence
Edinburgh - EH2 - Im Zentrum
- 115 M2
- 3 Schlafzimmer
- 6 Personen
- Heizung
- Parkplatz
- Tv
- Waschmaschine
- Handtücher
- Bettlaken


Luxury Georgian City Retreat by Sovo Apartments
Edinburgh - EH6 - 2.7 km vom Zentrum
- 3 Schlafzimmer
- 6 Personen
- Heizung
- Parkplatz
- Garten


Cadell House Apt - Royal Mile
Edinburgh - EH8 - 970 m vom Zentrum
- 4 Personen
- Heizung
- Tv
- Waschmaschine
- Handtücher
- Bettlaken


Destiny Scotland - Distillers House
Edinburgh - EH3 - 670 m vom Zentrum
- 65 M2
- 2 Schlafzimmer
- 4 Personen
- Heizung
- Parkplatz
- Tv
- Waschmaschine
- Handtücher
- Bettlaken
Apartments in Edinburgh -- preiswerte Ferienwohnungen
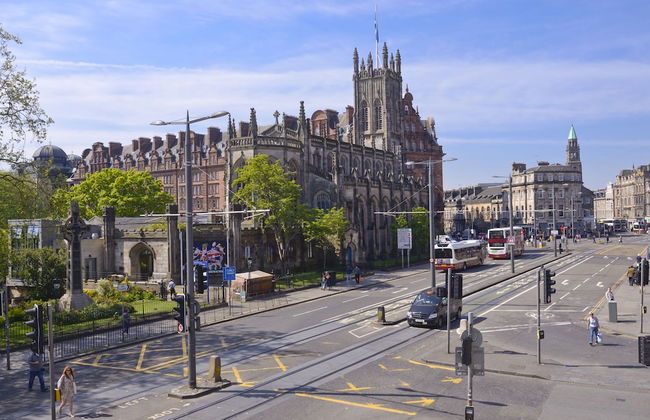
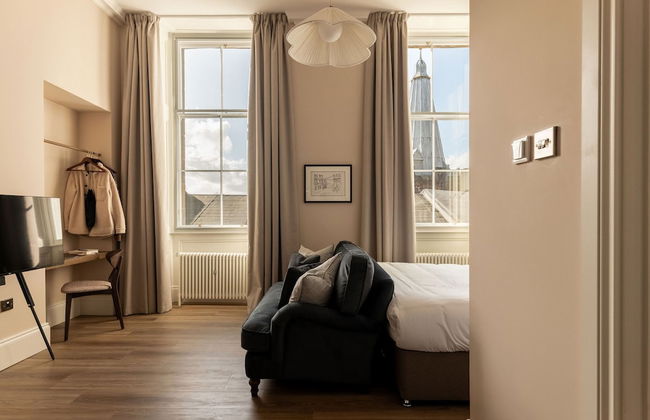
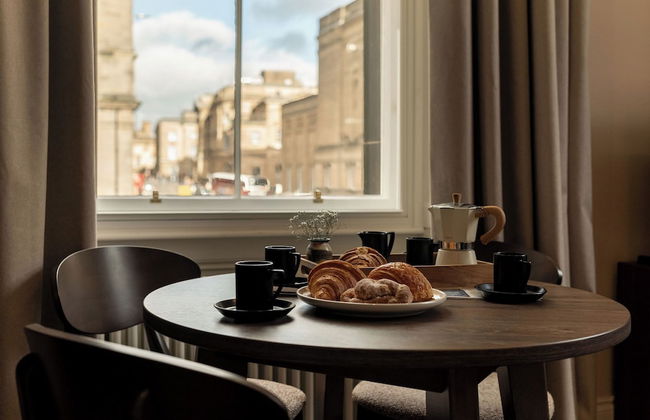
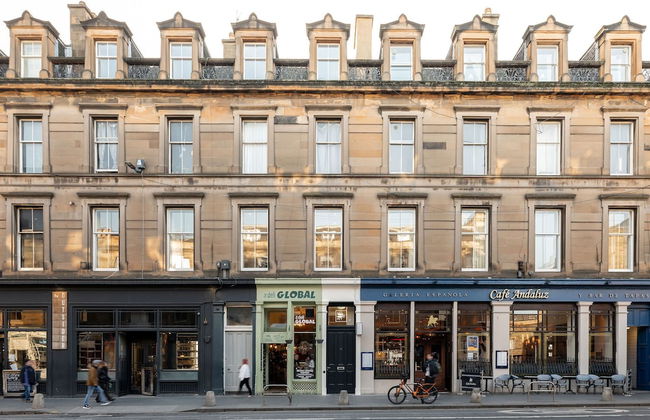
Edinburgh ist eine Bastion der Geschichte, verbrämt mit schönen Fassaden und unglaublicher Architektur. Wynds -- schmale Straßen -- laufen vom Zentrum der Altstadt zu städtischen Dörfern, die vor Kultur und rustikalem Charme förmlich bersten, und es gibt jede Menge Ecken und Winkel, die nur darauf warten, erkundet zu werden. Hinter jeder Kurve gibt es eine weitere Ansicht, die aufgenommen werden möchte, ob es nun ein altmodischer Buchladen, ein kunstvoller Kirchturm oder ein Schloss auf einem Hügel ist. Aber auch die natürliche Schönheit von Edinburgh ist atemberaubend, zusammen mit aufsteigenden flaschengrünen Hügeln, rostfarbenen Felsen und dem glänzenden Meer in der Ferne. Die uralten Bilder gehen Hand in Hand mit umwerfendem Fernblick und schaffen eine Stadt, die unglaublich gemütlich und kulturell ist. Für den zeitgenössischen Reisenden gibt es eine Ansammlung von trendigen Pubs, Stehgreifkonzerten, nächtelangen Partys und eine eklektische Mischung von hochklassigen Geschäften. Beziehen Sie eines unserer Apartments in Edinburgh und beginnen Sie Ihre Erkundungen dieser vielschichtigen Stadt.
Schlösser, Closes und Kathedralen -- Dinge, die man in Edinburgh tun sollte
Mit einer faszinierenden Geschichte und dem dazu passenden unglaublichen Hintergrund ist Edinburgh der perfekte Platz für Erkundungen. Unsere Apartments in Edinburgh befinden sich überall in der Stadt und geben Ihnen reichlich Gelegenheit, ihre vielen Geheimnisse und Besonderheiten zu entdecken.
- Edinburgh Castle -- Eine Festung aus dem 11. Jahrhundert, die stolz auf ihrer Hügelstellung steht und die Kronjuwelen und das Nationale Schottische Kriegsmuseum beherbergt.
- Holyrood Palace -- Die offizielle Residenz der britischen Könige in Schottland ist ein Stuart-Palast, der im 16. Jahrhundert erbaut wurde. Er ist gefüllt mit königlichen Empfangsräumen sowie zahreichen Sammlungen von Antiquitäten und Reliquien.
- Königlicher Botanischer Garten Edinburgh -- Dieses wissenschaftliche Zentrum konzentriert sich auf die Erforschung von Pflanzen und erstreckt sich über 70 Morgen üppiger Gärten.
- HMY Britannia -- Die frühere königliche Jacht Königin Elisabeth II., die von 1954 bis 1997 im Dienst war. Heute können Besucher auf ihr herumspazieren.
- Arthur's Seat -- Ein unglaublicher Hügel mit einem Blick über Edinburgh, der innerhalb der Grenzen des Holyrood Parks liegt.
- Outlook Tower -- Auch als Camera Obscura oder Welt der Illusionen bekannt, ist diese Unterhaltungseinrichtung Heim aller Arten von lebensgroßen optischen Illusionen und extravaganter Täuschungen.
- Mary Kings's Close -- Benannt nach der Tochter von Alexander King aus dem 17. Jahrhundert, bietet dieser Close (eine der alten, geschlossenen Nebenstraßen der Altstadt) Führungen in Kostümierung und kurze Erzählungen aus längst vergangenen Zeiten.
- Schottische Nationalgalerie -- Im Herzen Edinburghs im „The Mound" untergebracht, wurde diese neoklassische Galerie in der Mitte des 19. Jahrhunderts eröffnet. Heute führt sie eine riesige Sammlung europäischer Meisterwerke und lokaler schottischer Gemälde.
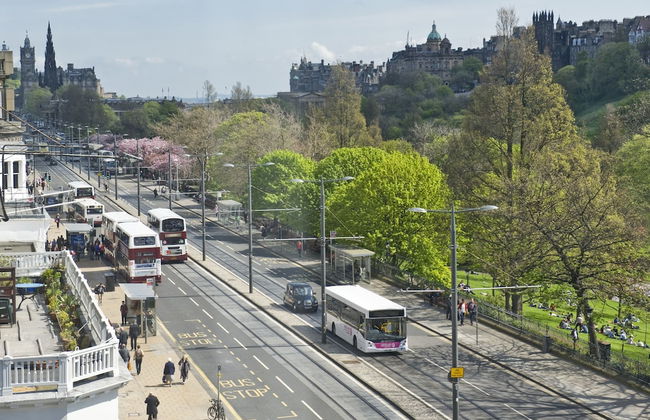
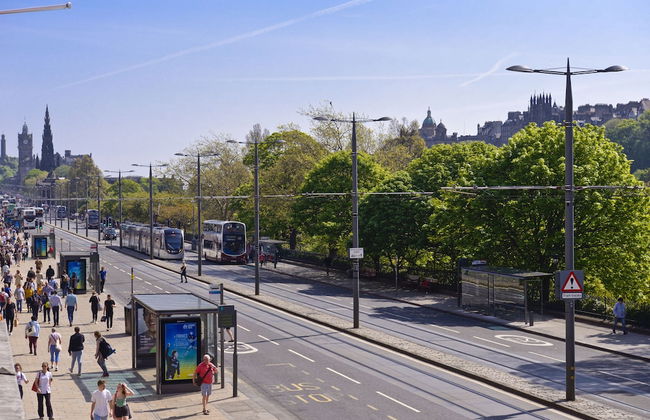
- Princess Street Gardens -- Ein öffentlicher Garten, der inmitten der Geschäftigkeit der Stadt ein kleines Stück Paradies bietet. Es gibt eine Reihe von Denkmälern und Gedenkstätten hier verteilt, die man sich ansehen kann.
- St. Giles Kathedrale -- Dieses mittelalterliche Gebäude im gotischen Stil ist das herausragendste Gotteshaus in Edinburgh.
- Holyrood Park -- Ein exquisiter königlicher Park, der im Osten von Edinburgh Castle mit seinen üppig grünen Hängen und rostfarbenen Felsen liegt.
- Unsere dynamische Erde -- Diese beliebte Attraktion für Besucher ist ein Verbgnügen für die gesamte Familie und führt auf einem Weg durch die Geschichte vom Großen Knall bis zum heutigen Tag.
- Murrayfield Stadium -- Als Heim der Nationalmannschaft der schottischen Rugby-Vereinigung bietet dieses Stadion das ganze Jahr über Platz für eine Reihe von Sportveranstaltungen.
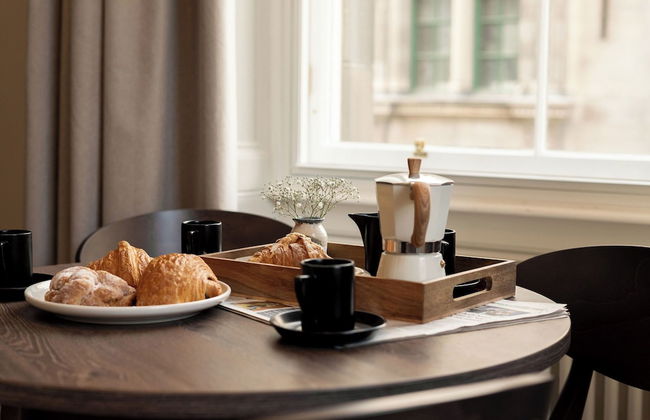
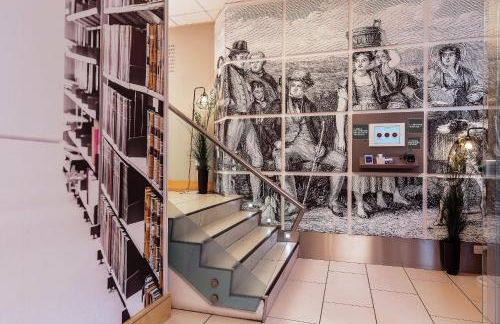
Erkunden Sie die literarische Seite Edinburghs
Ebenso wie für seine uralte Geschichte und überwältigende Landschaft ist Edinburgh für seine literarische Geschichte bekannt. Seine Landschaft hat jahrhundertelang zahllose Dichter und Schriftsteller inspiriert und es gibt sehr viele Denkmäler, die der Kunst des Wortes gewidmet sind.
Beginnen Sie mit einem Kaffee im Elephant House Café. Nicht nur, dass hier die Heißgetränke mit die besten der Stadt sind, es ist auch der Platz, wo J.K. Rowling ihre ersten Harry-Potter-Bücher schrieb. Also nehmen Sie sich einen Tisch, machen Sie es sich zwischen den kleinen Elefantenfiguren, die überall herumstehen, gemütlich und lassen Sie die Inspiration auf sich wirken.
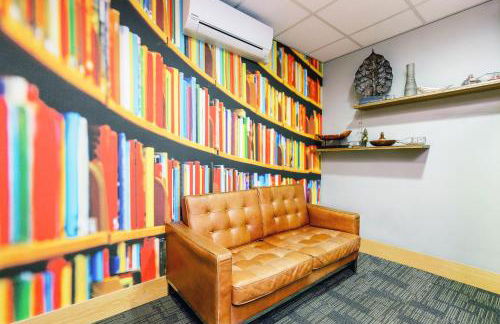
Es ist schwierig, in Edinburgh auch nur ein Stück zu gehen, ohne auf eine Buchhandlung zu treffen. Die Stadt ist buchstäblich voll von ihnen, was sie zum perfekten Tummelplatz für Literaturliebhaber macht. Sehen Sie sich den Old Town Bookshop an, eine der besten Buchhandlungen der Stadt, ebenso wie Analogue Books und Word Power Books. Nehmen Sie sich Zeit, die staubigen Bücherregale zu durchstöbern und vertiefen Sie sich in viele verschiedene Welten.
Wenn Sie sich in den Fußstapfen von literarischem Genius bewegen wollen, machen Sie die Dorothy-Wordsworth-Tour durch die Stadt. Wordsworth besuchte Edinburgh mit seiner Schwester im Jahr 1803 und sie schrieb umwerfende Prosa über die Schönheit der Stadt und ihre einzigartige Atmosphäre.
Am Ende sollten Sie den Weg in die Schottische Nationalbibliothek finden, das eine aufregende Ausstellung alter Bücher, Karten und Briefe bietet. Hier können Sie sich seltene Manuskripte wie die von Byron, Austen und Melville ansehen.
Tauchen Sie in das Herz literarischer Größe von einem unserer Apartments in Edinburgh aus, die sich überall um diese Paradiese des Geschriebenen finden.
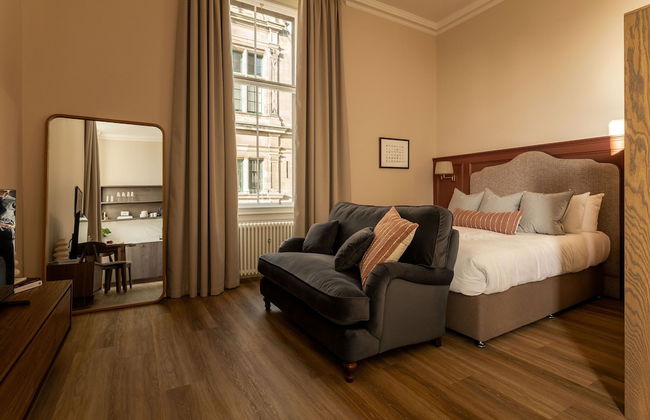
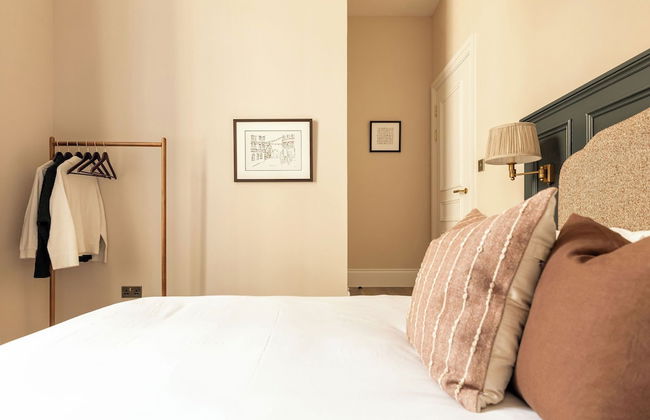
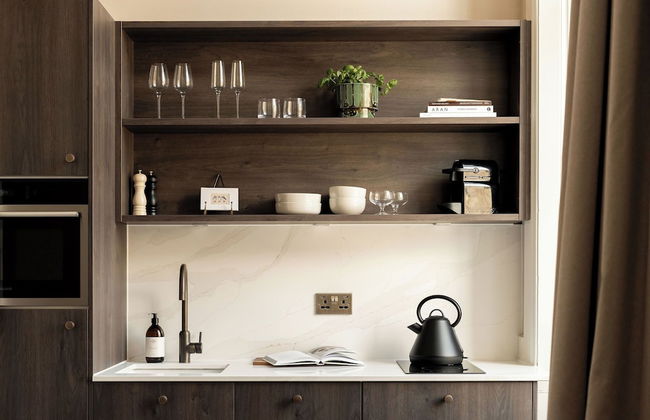
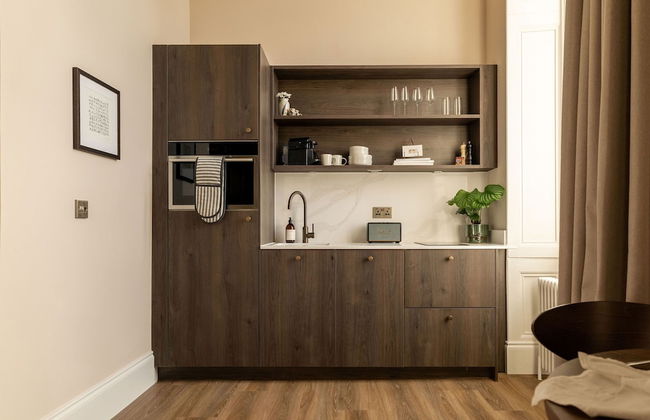
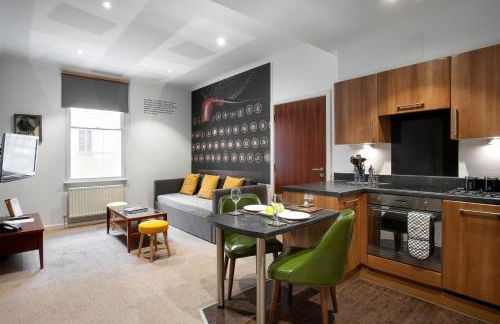
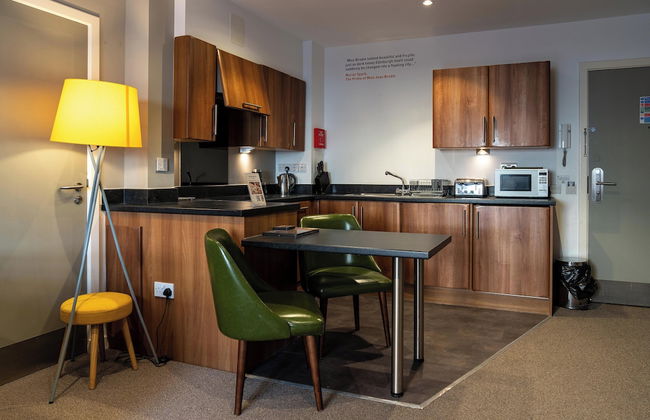
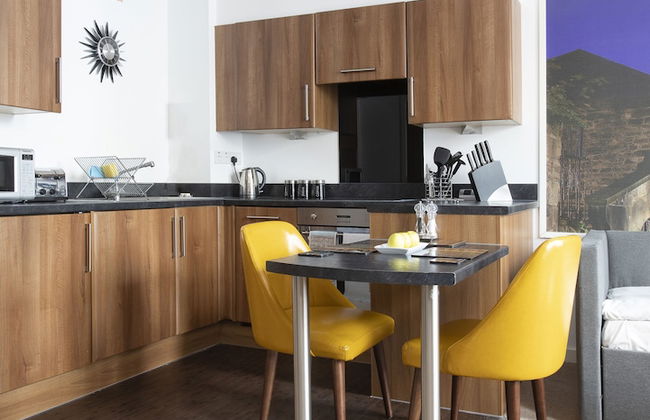
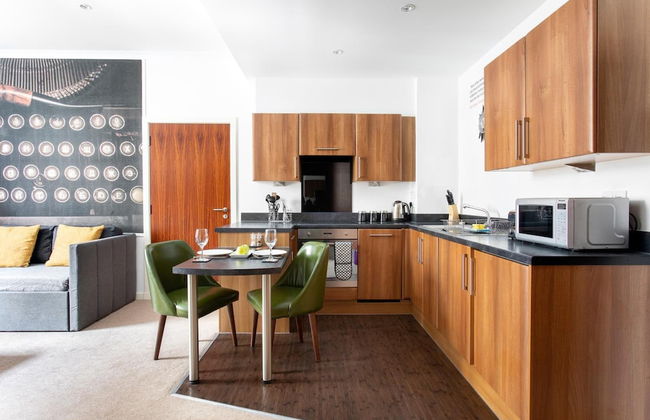
Ferienwohnungen in Edinburgh
Die reiche Geschichte und großartige Architektur von Edinburgh spiegelt sich auch in der Art der verfügbaren Unterbringungen wieder, die aus einer Reihe großartiger alter Hotels, gemütlicher Gästehäuser und einfacher Pensionen, die sich in den kurvigen Straßen verstecken, bestehen. Natürlich können Sie auch unter unseren Ferienwohnungen in Edinburgh wählen. Um sich der luxuriösen Gegenwart der Stadt anzupassen, gibt es auch eine Handvoll hochklassiger Hotels und Luxusapartments.
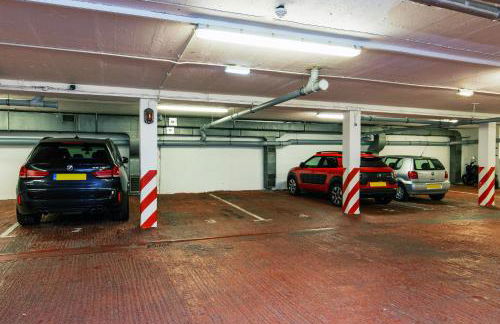
Den Weg nach Edingburgh vereinfachen -- wie man anreisen kann
Der Flughafen von Edinburgh ist nur fünf Meilen vom Zentrum der schottischen Hauptstadt entfernt und es gibt eine Reihe von Möglichkeiten, wie Sie einfach in die Stadt kommen können.
Zunächst gibt es die erstklassige Airlink-Buslinie, die alle 10 Minuten zwischen dem Flughafen und der Waverly-Brücke im Stadtzentrum verkehrt. Es gibt auch ein paar Haltestellen im Westen der Stadt, wenn Sie in diesem Teil untergekommen sind.
Wenn Sie eine preiswertere Möglichkeit bevorzugen, steigen Sie in den öffentlichen Bus. Er braucht etwas länger als der Airlink-Bus, fährt aber mehr Stadtteile an als dieser und bietet Ihnen die Gelegenheit, mehr von Edinburgh zu sehen, bevor Sie tatsächlich ankommen.
Schließlich können Sie sich auch ein Taxi von außerhalb des Flughafengebäudes nehmen. Es gibt viele Stände hier und die Preise sind angemessen erschwinglich. Natürlich ist dies nicht die billigsten Möglichkeit, aber wenn Sie nach Schnelligkeit und Bequemlichkeit suchen, ist es der beste Weg, den Sie nehmen können.