
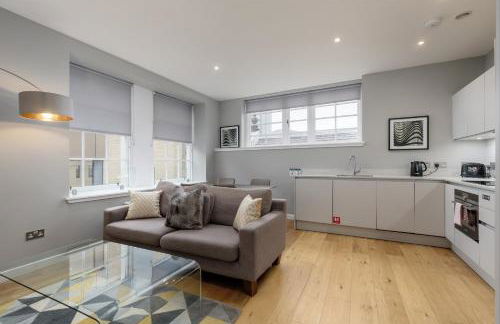
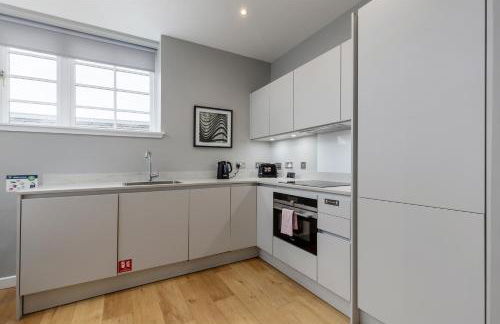
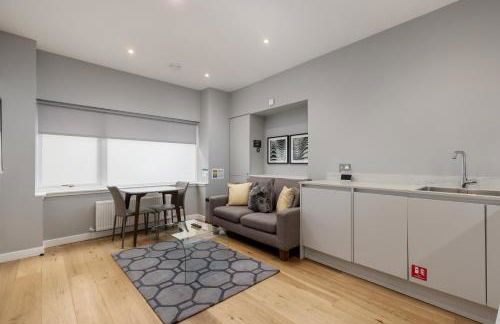
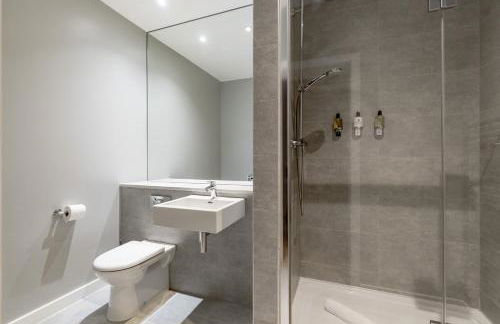
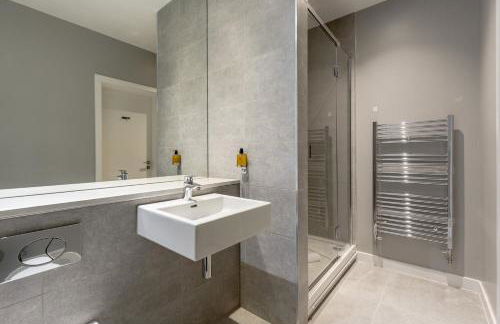
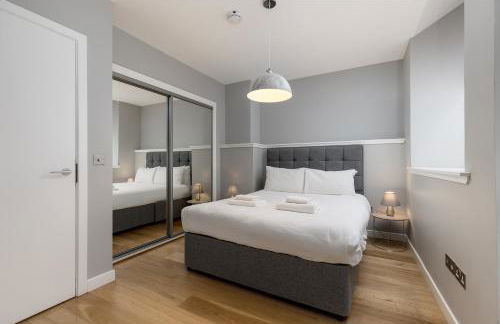
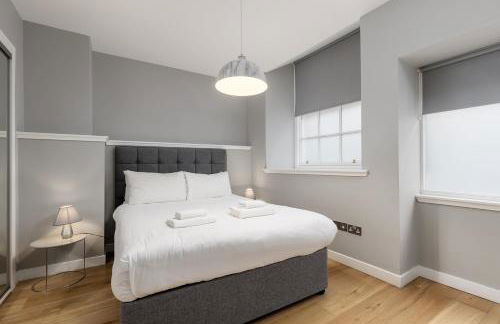
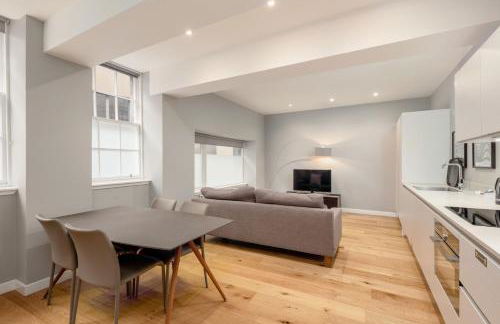
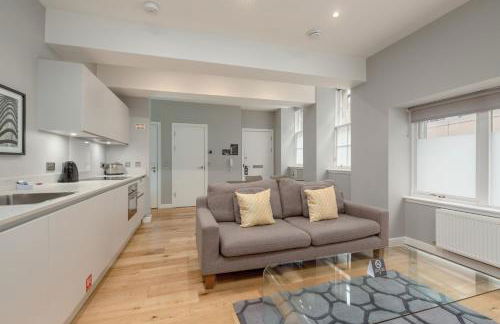
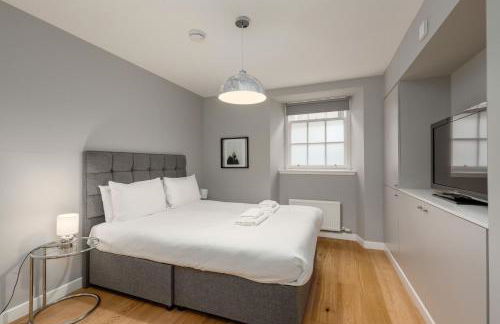
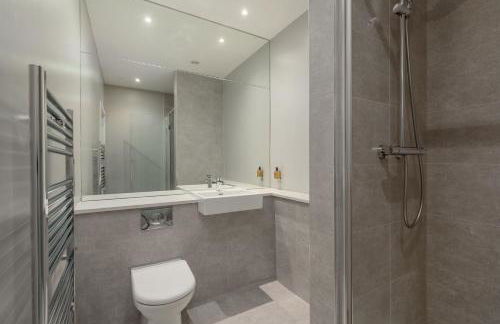
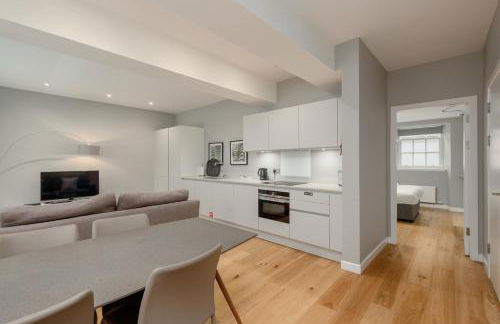
189 Wohnungen in EH3
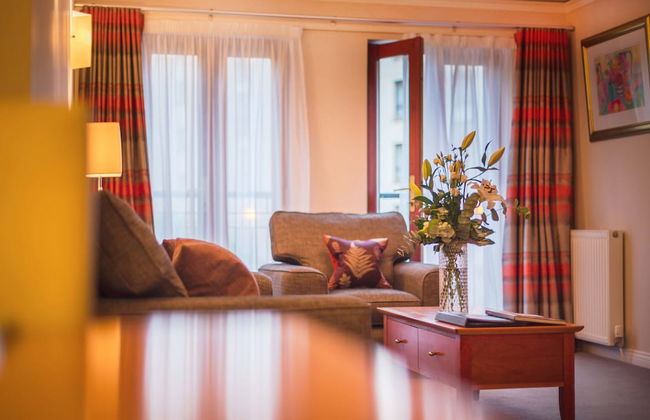


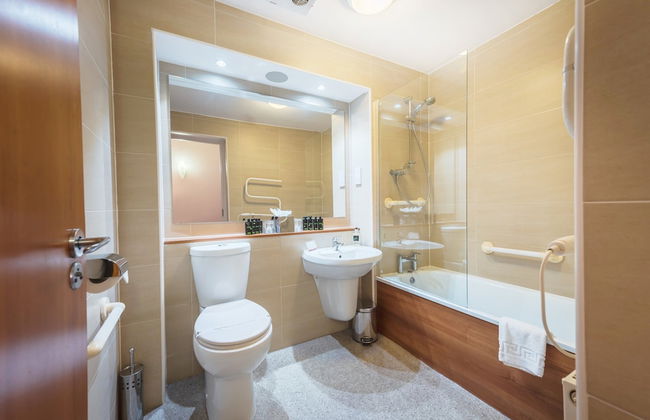


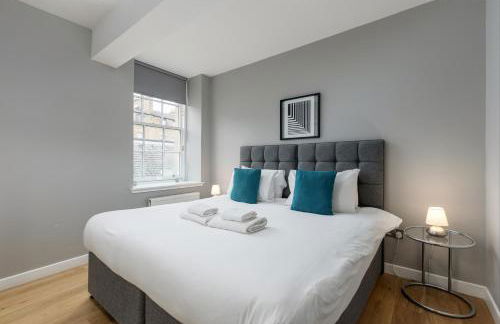
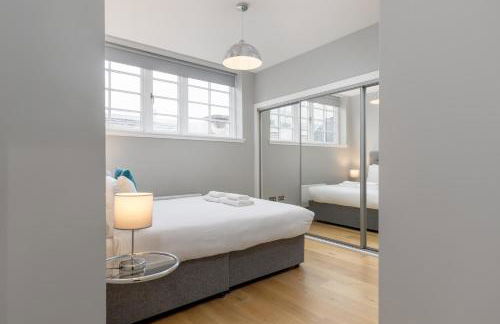
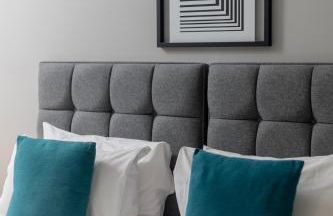
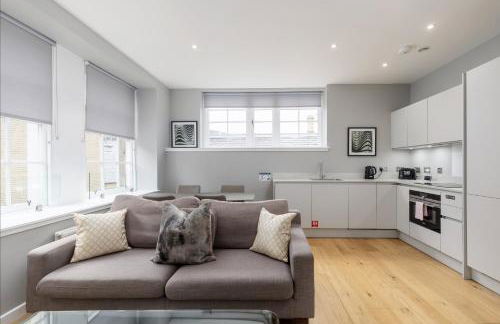
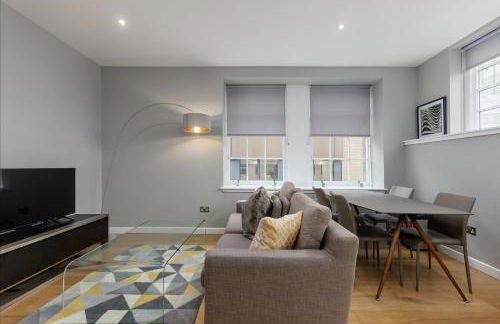
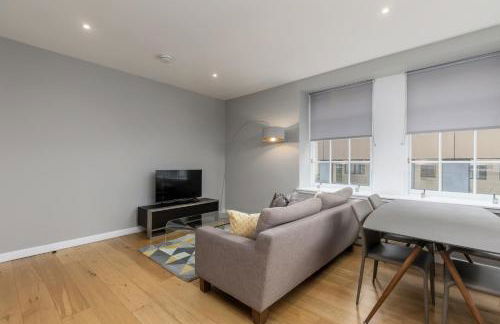
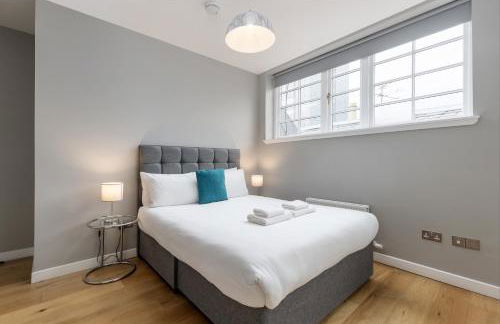
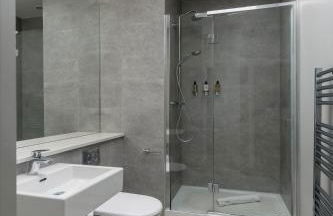
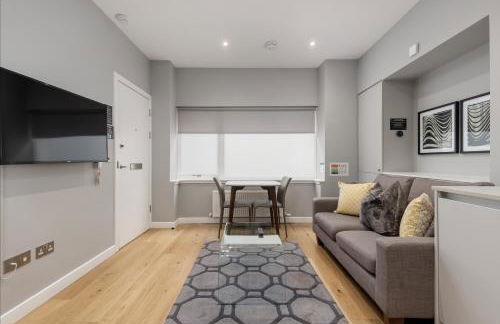
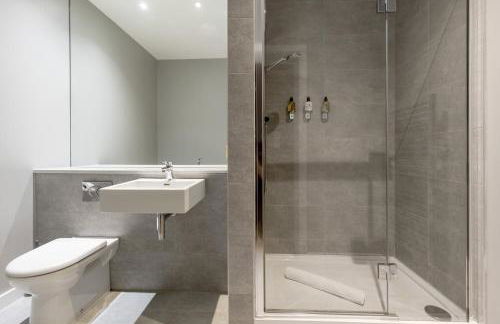
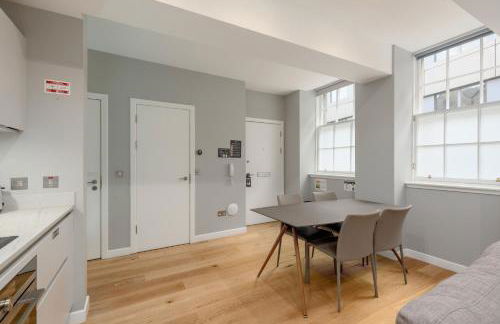
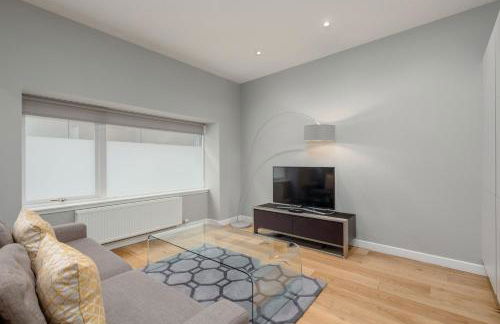
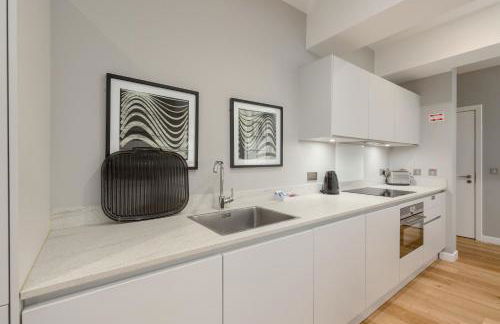
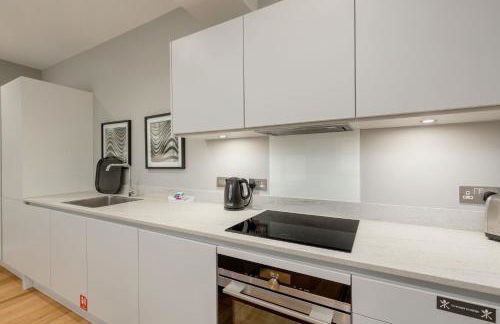
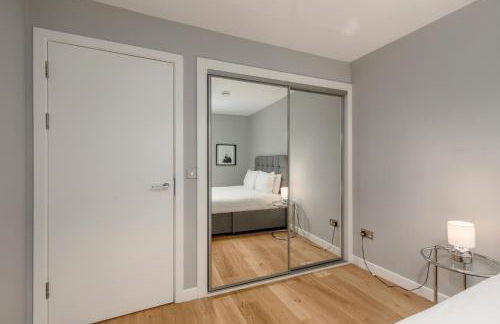
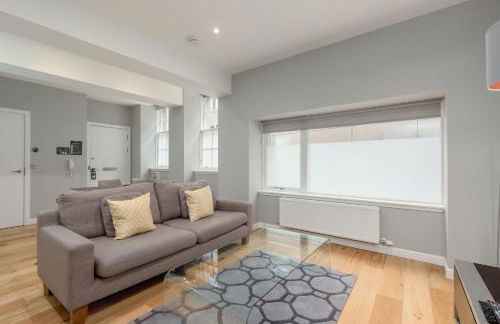
The Knight Residence Apartments by Mansley
Edinburgh - EH3 - 490 m vom Zentrum
- 59 M2
- 3 Schlafzimmer
- 5 Personen
- Heizung
- Parkplatz
- Fahrstuhl
- Tv
- Waschmaschine
- Handtücher
- Bettlaken
1358 Bewertungen


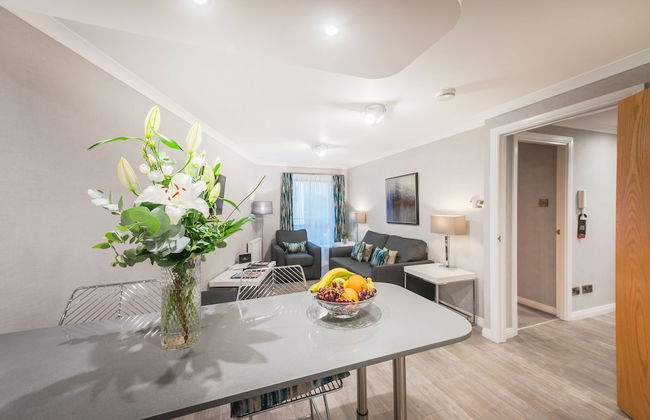
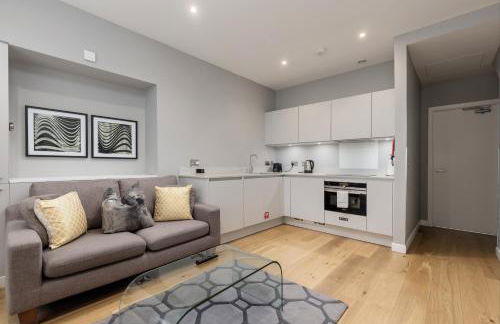
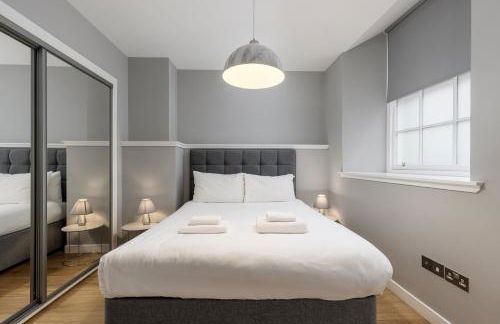
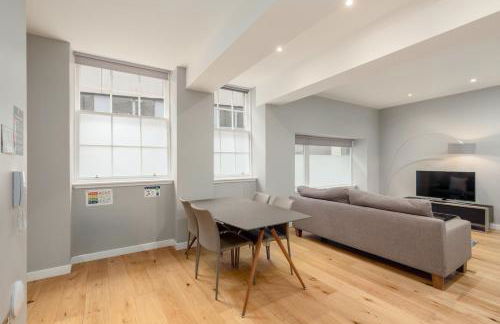
No1. Apartments Edinburgh - New Town
Edinburgh - EH3 - Im Zentrum
- 50 M2
- 4 Personen
- Heizung
- Tv
- Handtücher
- Bettlaken
70 Bewertungen


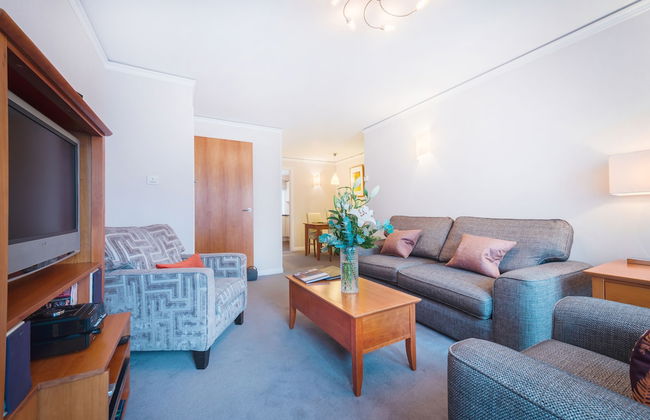
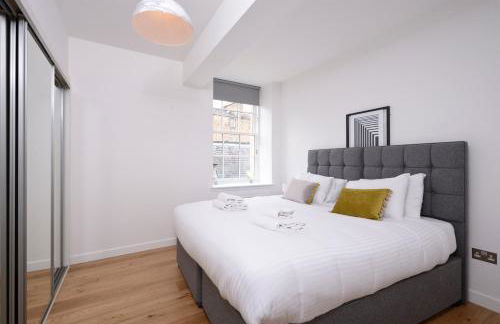
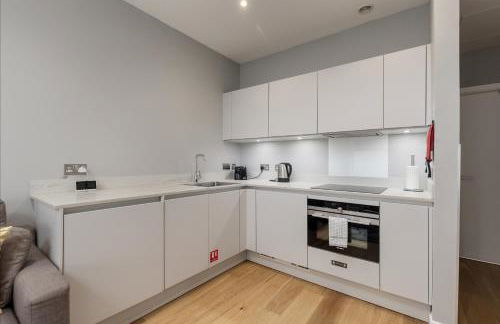
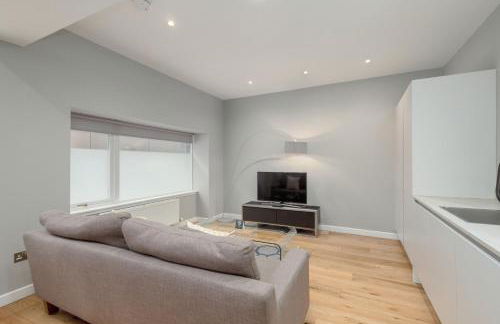
Silver Lining - Penthouse with parking
Edinburgh - EH3 - 940 m vom Zentrum
- 5 Personen
- Heizung
- Terrasse
- Parkplatz
- Tv
- Waschmaschine
- Handtücher
- Bettlaken
8 Bewertungen


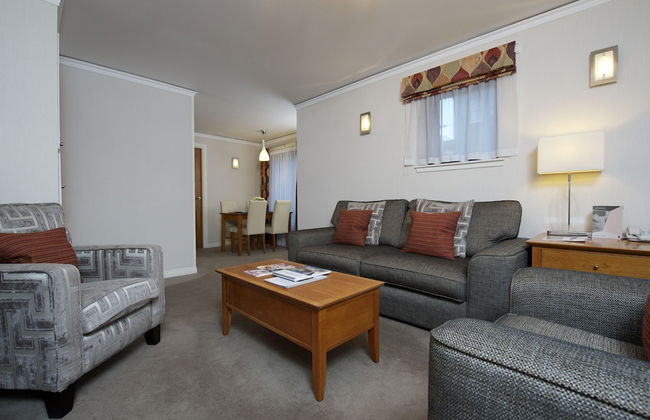
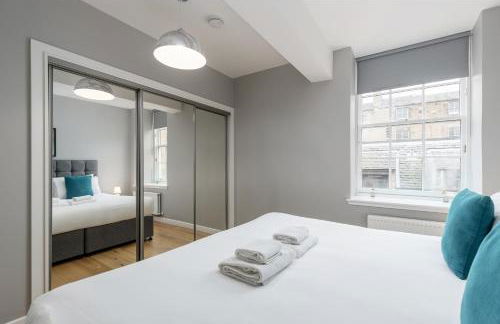
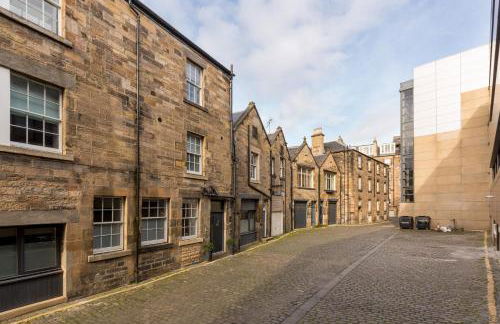
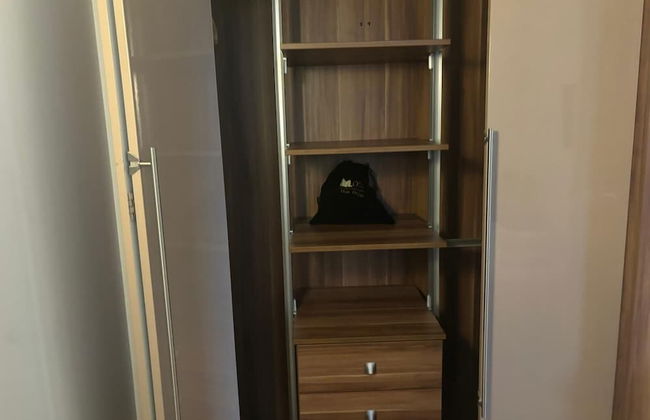
Destiny Scotland - Distillers House
Edinburgh - EH3 - 670 m vom Zentrum
- 65 M2
- 2 Schlafzimmer
- 4 Personen
- Heizung
- Tv
- Waschmaschine
- Handtücher
- Bettlaken
319 Bewertungen


Destiny Scotland Apartments at Canning Street Lane
Edinburgh - EH3 - 370 m vom Zentrum
- 80 M2
- 2 Schlafzimmer
- 4 Personen
- Heizung
- Parkplatz
- Tv
- Waschmaschine
- Handtücher
- Bettlaken
107 Bewertungen


My-Canning Street Apartments
Edinburgh - EH3 - 470 m vom Zentrum
- 4 Personen
- Heizung
- Tv
- Waschmaschine
- Handtücher
- Bettlaken
88 Bewertungen


Extremely Central Quartermile Apartment Near Castle and University
Edinburgh - EH3 - 860 m vom Zentrum
- 75 M2
- 1 Schlafzimmer
- 2 Personen
- Heizung
- Parkplatz
- Fahrstuhl
- Garten
48 Bewertungen


Bright, Spacious 2 Bedroom Apartment in Stockbridge
Edinburgh - EH3 - Im Zentrum
- 98 M2
- 4 Personen
- Heizung
- Parkplatz
- Fahrstuhl
- Tv
- Waschmaschine
- Handtücher
- Bettlaken
3 Bewertungen


Very Central, Charlotte Square, near the Castle
Edinburgh - EH3 - Im Zentrum
- 62 M2
- 2 Schlafzimmer
- 4 Personen
- Heizung
59 Bewertungen


Dreamhouse Apartments Edinburgh City Centre
Edinburgh - EH3 - 890 m vom Zentrum
- 55 M2
- 4 Personen
- Heizung
- Parkplatz
- Fahrstuhl
- Tv
- Waschmaschine
- Handtücher
- Bettlaken
12 Bewertungen


The Four Sisters Boatel
Edinburgh - EH3 - 870 m vom Zentrum
- 61 M2
- 8 Personen
- Heizung
- Terrasse
- Parkplatz
- Balkon
- Garten
- Tv
- Waschmaschine
- Barbecue
- Handtücher
- Bettlaken
18 Bewertungen


Simpsons Loan - 428
Edinburgh - EH3 - 810 m vom Zentrum
- 113 M2
- 2 Schlafzimmer
- 4 Personen
- Heizung
- Parkplatz
12 Bewertungen


Garden Rooms Edinburgh
Edinburgh - EH3 - 560 m vom Zentrum
- 29 M2
- 2 Personen
- Heizung
- Terrasse
- Parkplatz
- Garten
76 Bewertungen


Immaculate 3 Bed Apartment with Private Entrance in Inverleith
Edinburgh - EH3 - 1.1 km vom Zentrum
- 177 M2
- 3 Schlafzimmer
- 8 Personen
- Heizung
- Terrasse
- Parkplatz
- Garten
43 Bewertungen


Bread street, Central and spacious one bed flat
Edinburgh - EH3 - 490 m vom Zentrum
- 45 M2
- 2 Personen
- Heizung
73 Bewertungen


Dragon Suites - Edinburgh City Centre 2 Bed Apartment
Edinburgh - EH3 - 320 m vom Zentrum
- 71 M2
- 2 Schlafzimmer
- 5 Personen
- Heizung
131 Bewertungen


Edinburgh Aparthotel
Edinburgh - EH3 - 460 m vom Zentrum
- 75 M2
- 2 Schlafzimmer
- 4 Personen
- Heizung
- Parkplatz
- Fahrstuhl
- Handtücher
902 Bewertungen


The Gardners apartment in City centre with parking
Edinburgh - EH3 - 620 m vom Zentrum
- 80 M2
- 2 Schlafzimmer
- 5 Personen
- Heizung
- Terrasse
- Parkplatz
- Garten
51 Bewertungen


Simpsons Loan - 273
Edinburgh - EH3 - 830 m vom Zentrum
- 102 M2
- 1 Schlafzimmer
- 4 Personen
- Heizung
17 Bewertungen