


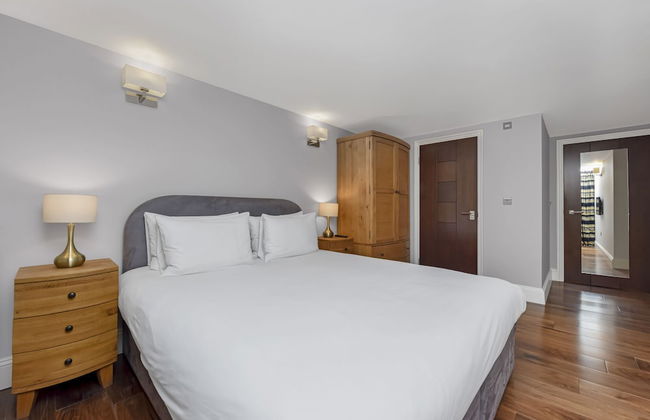


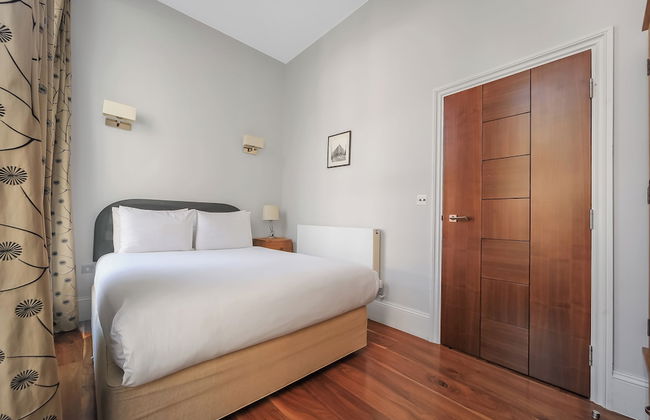


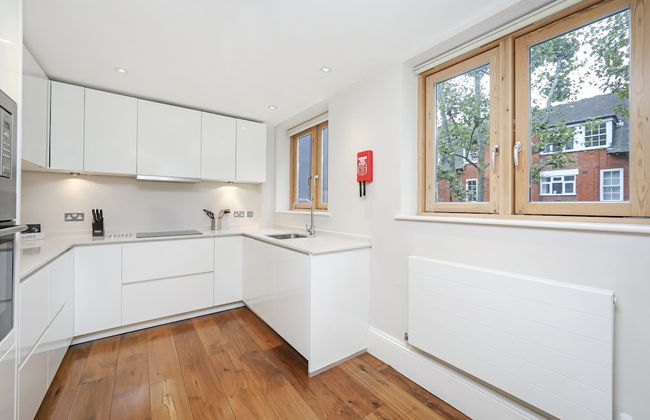


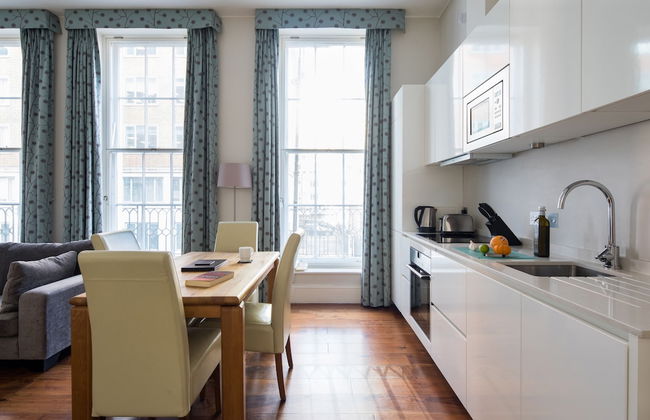
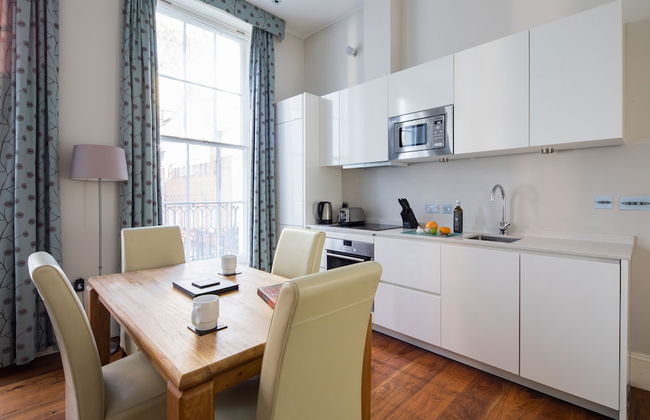
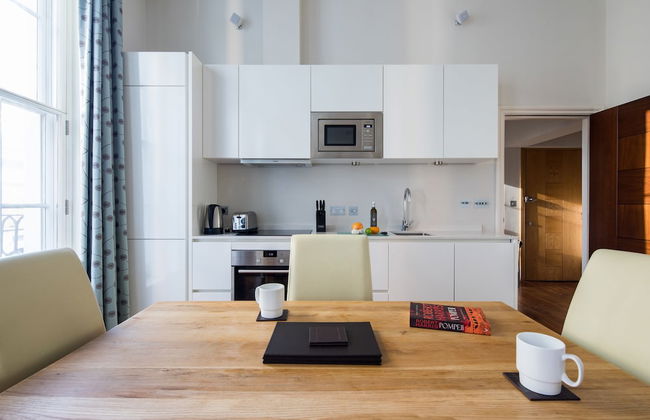
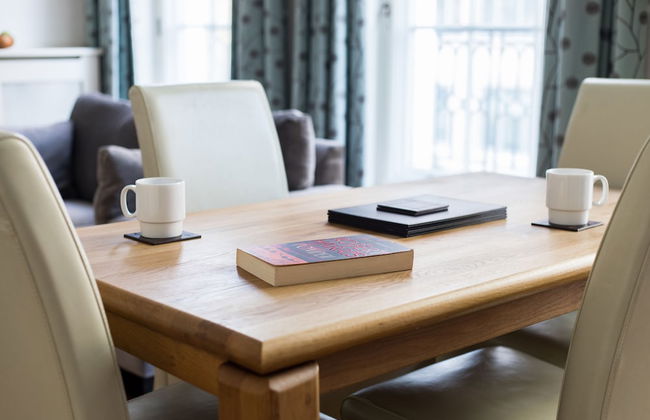


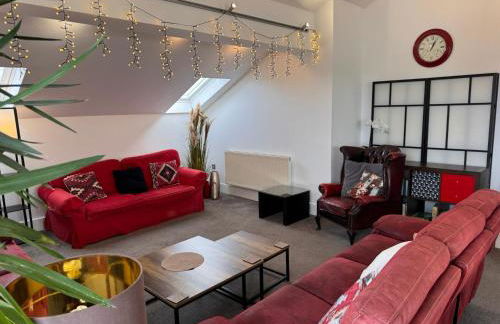
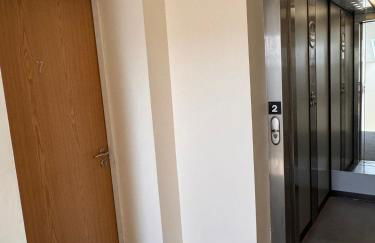
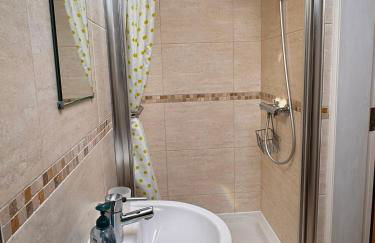
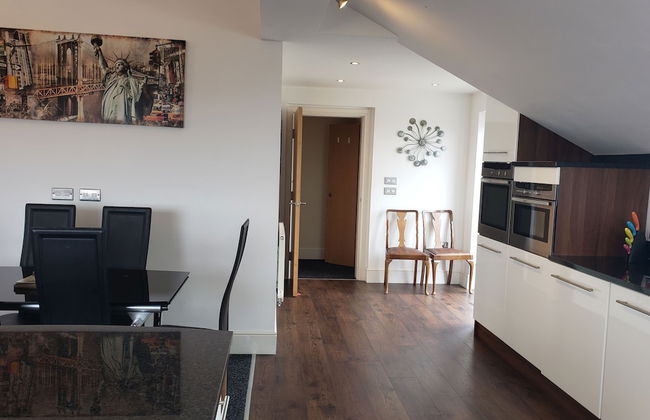
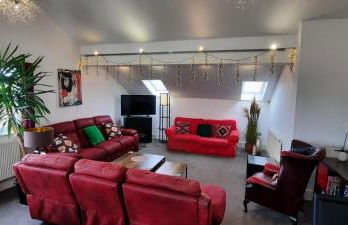
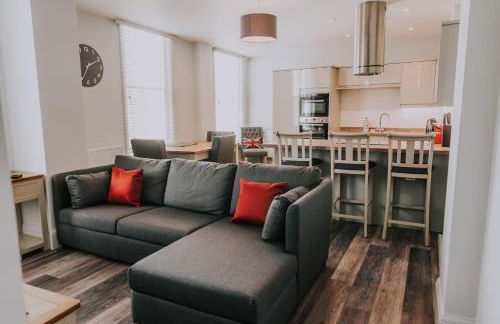
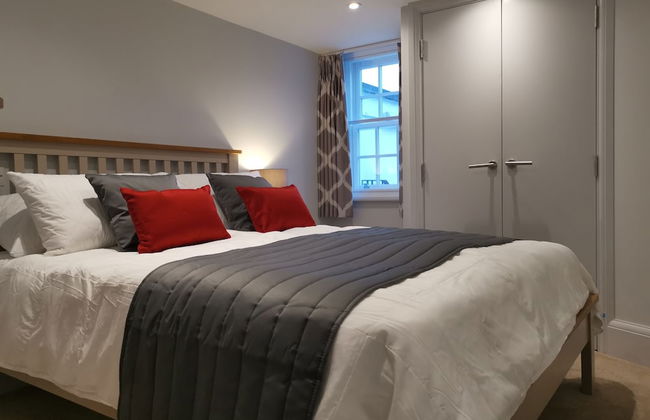
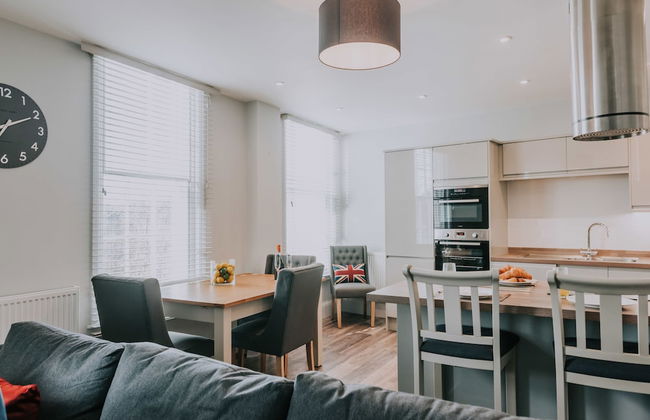
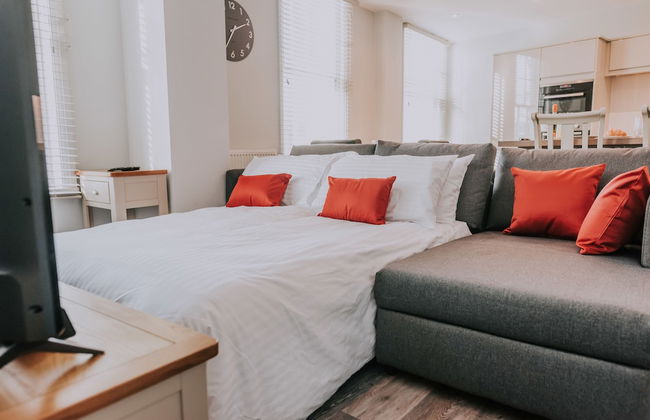
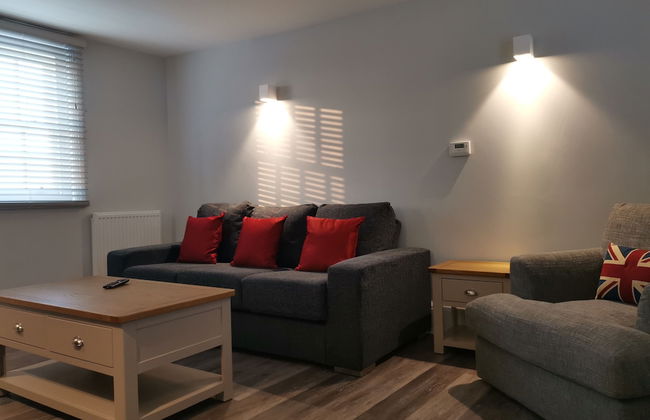
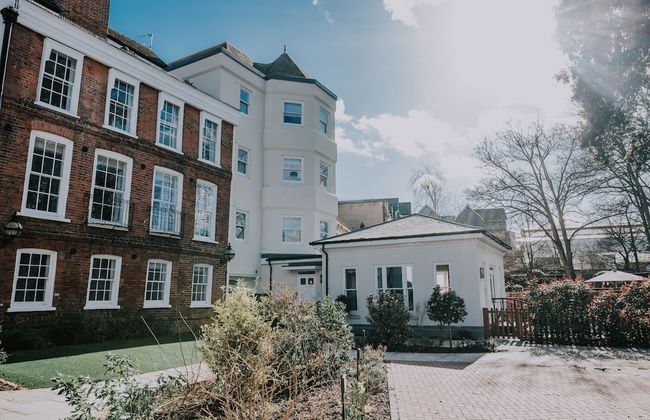
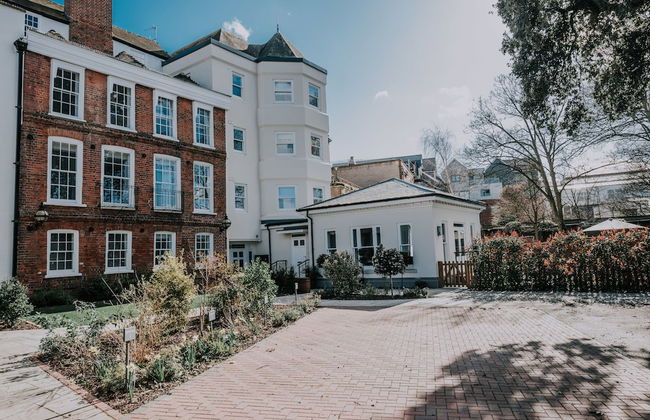
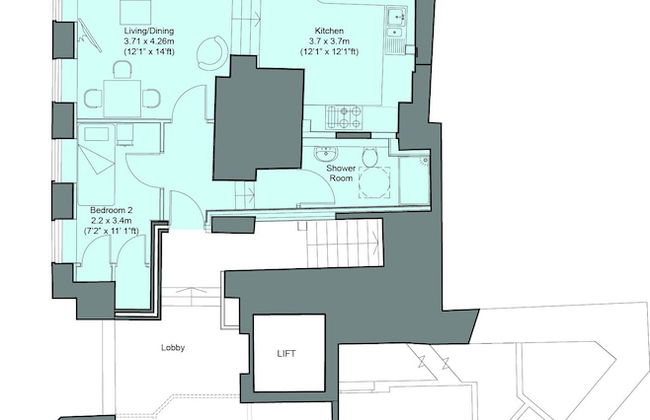
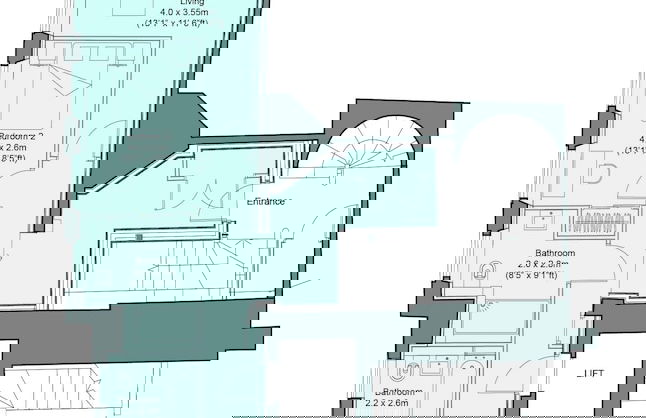
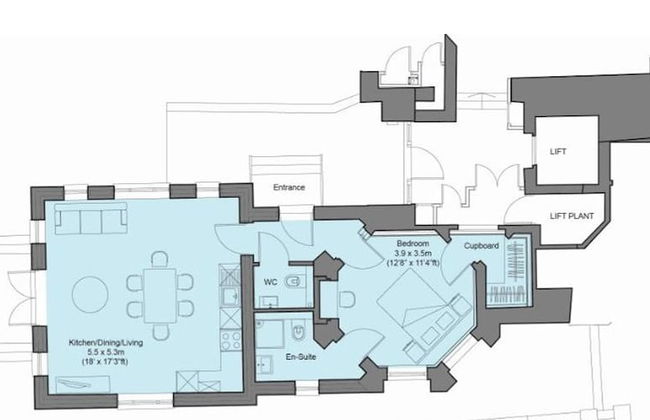
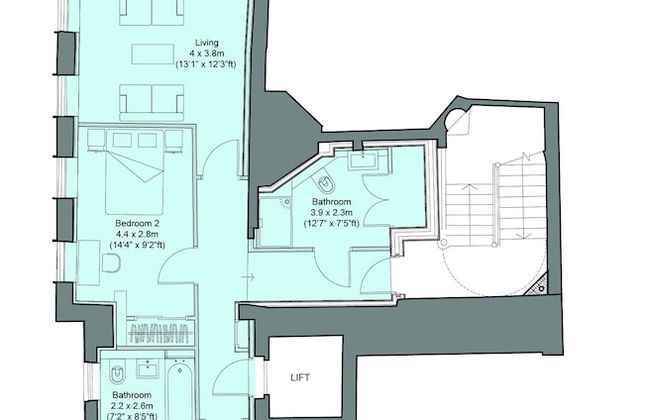
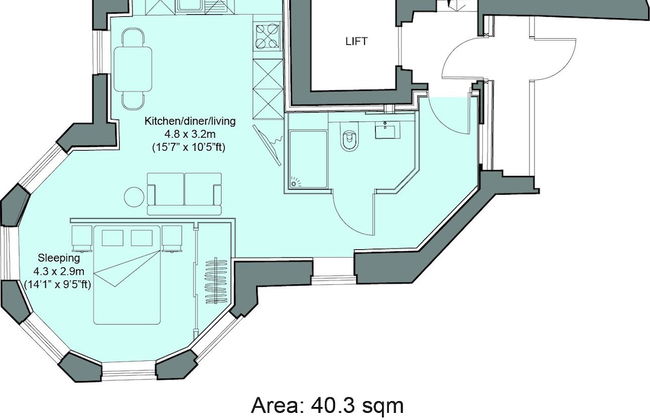
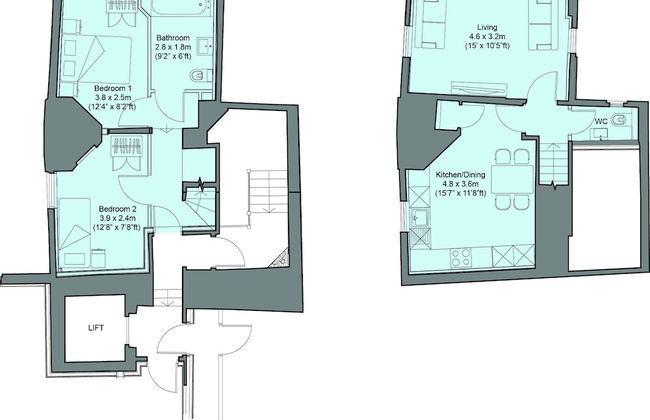
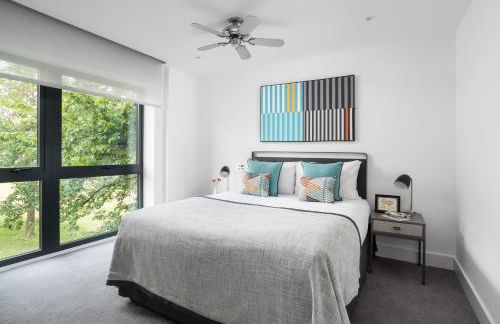
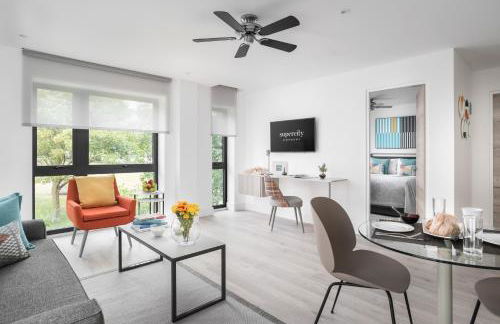
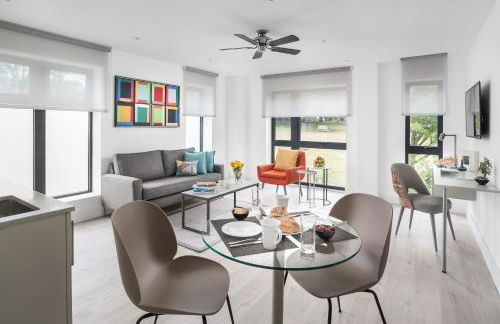
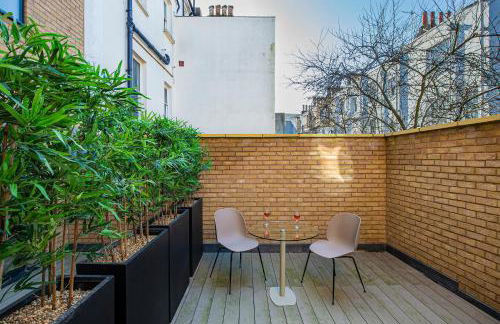
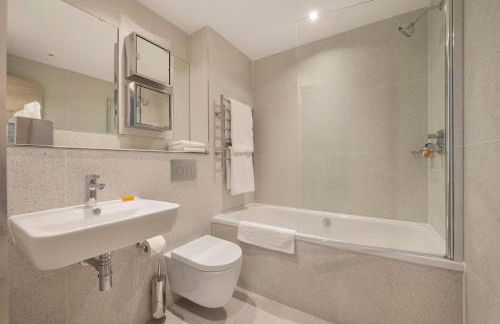
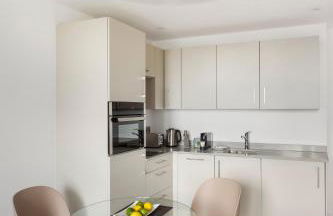
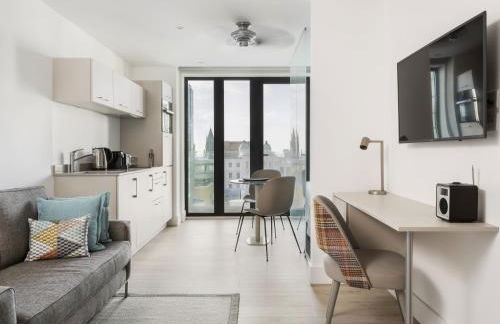
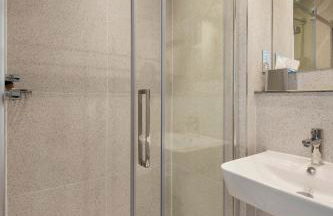
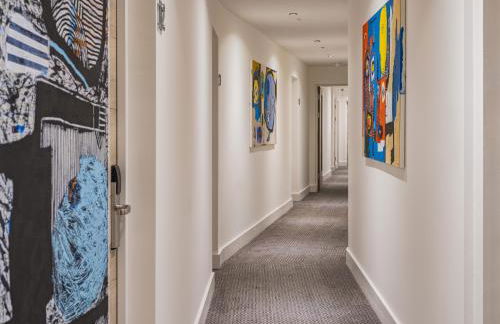
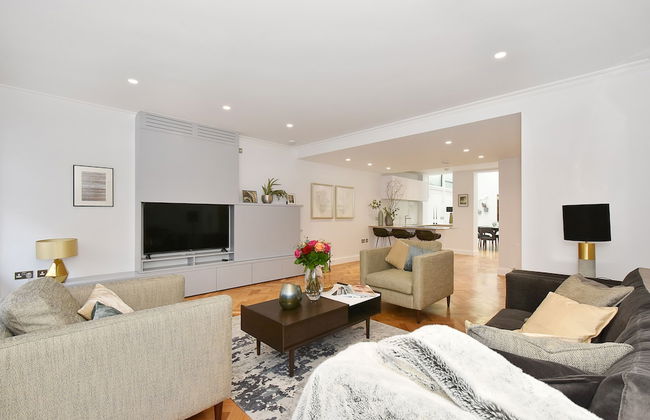
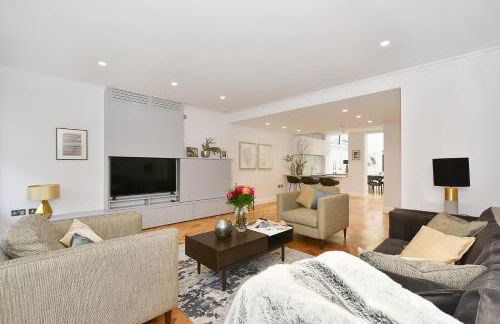
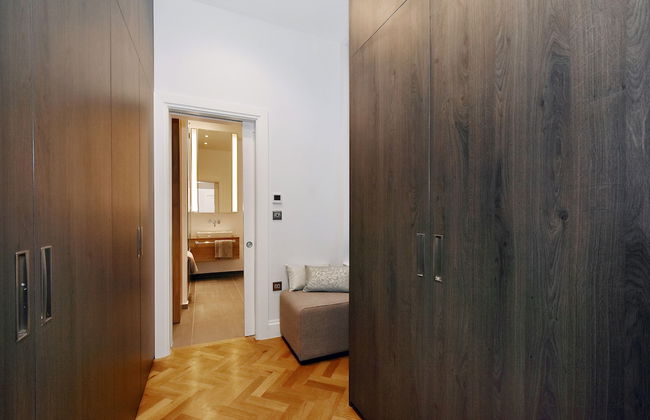
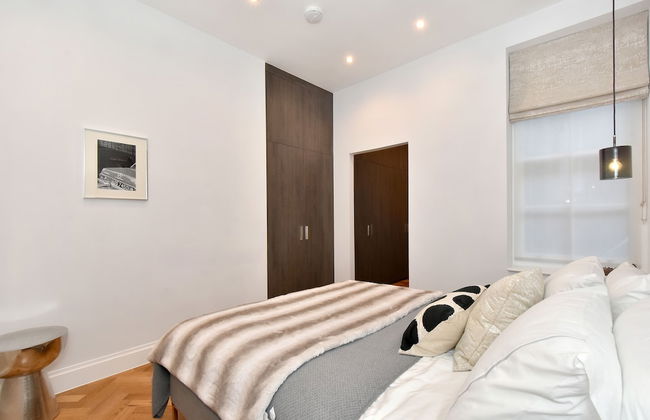
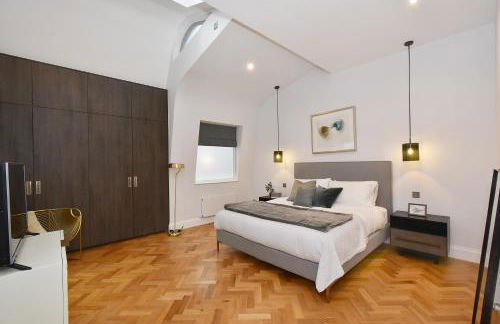
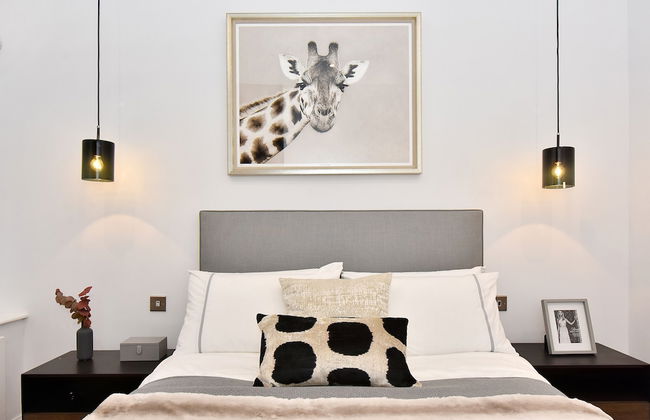
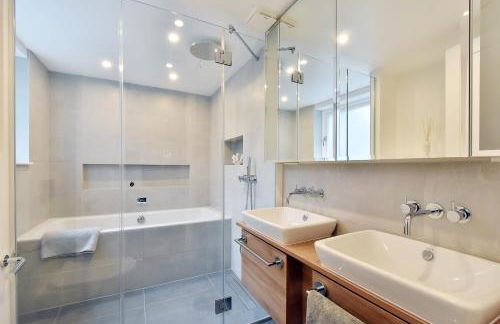
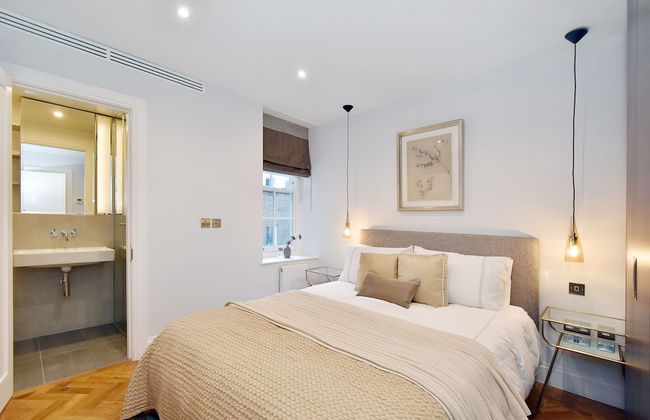
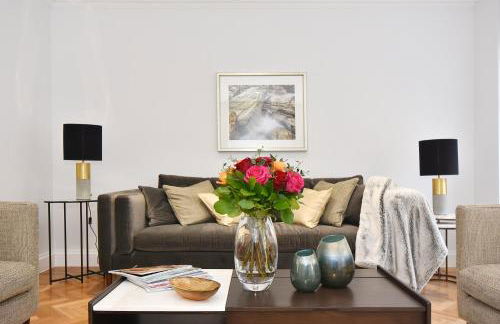
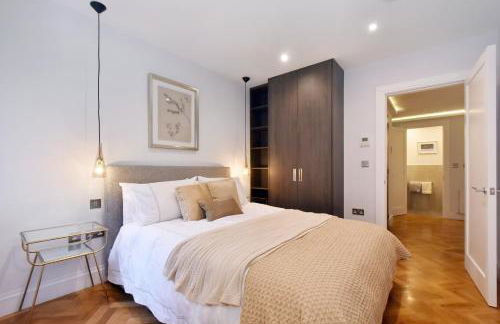
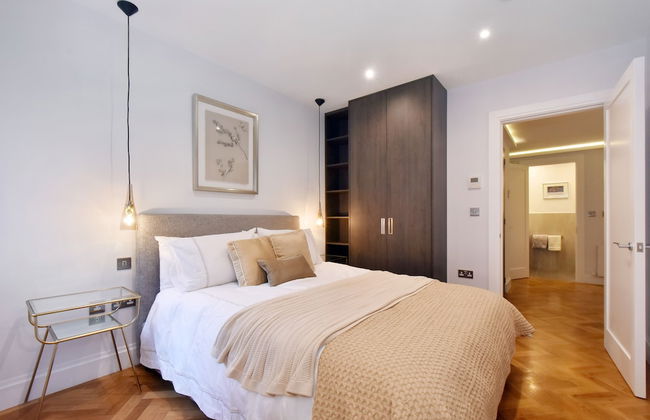
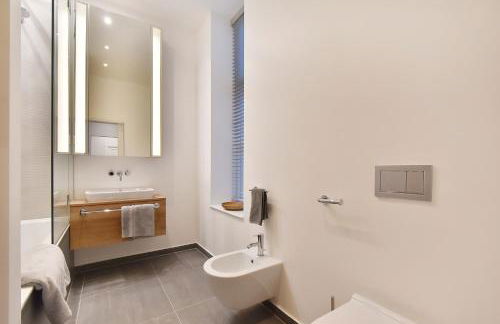
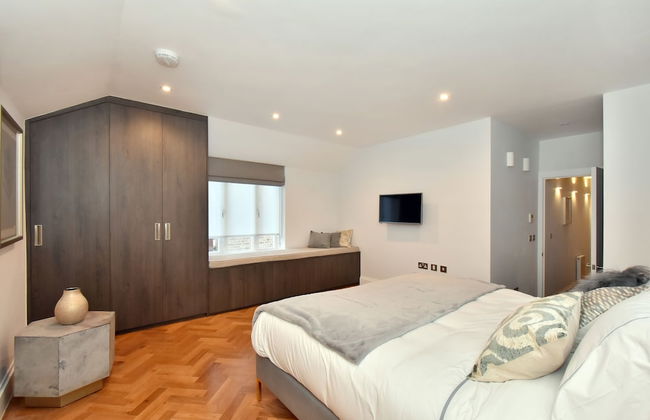
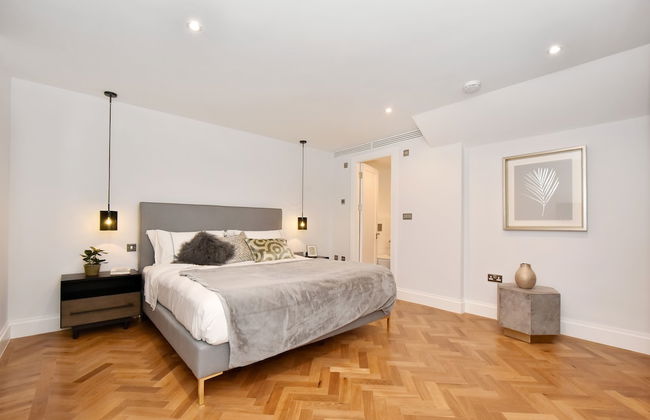
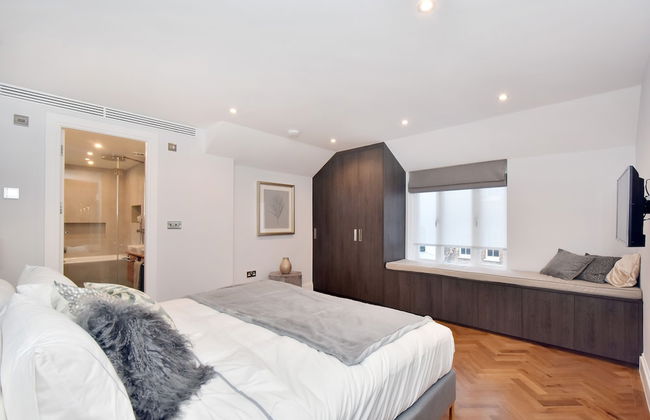
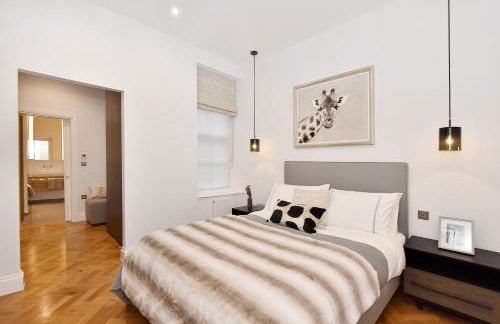
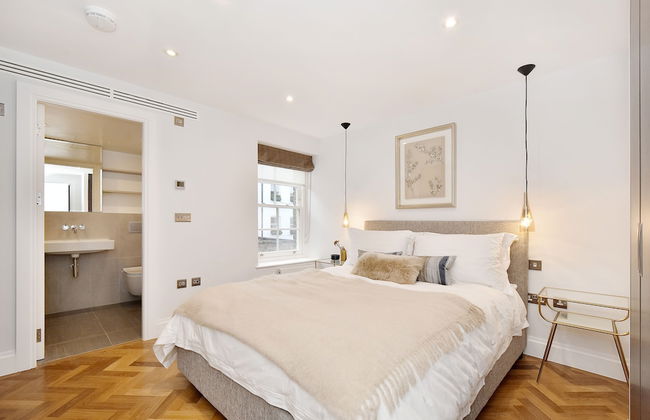
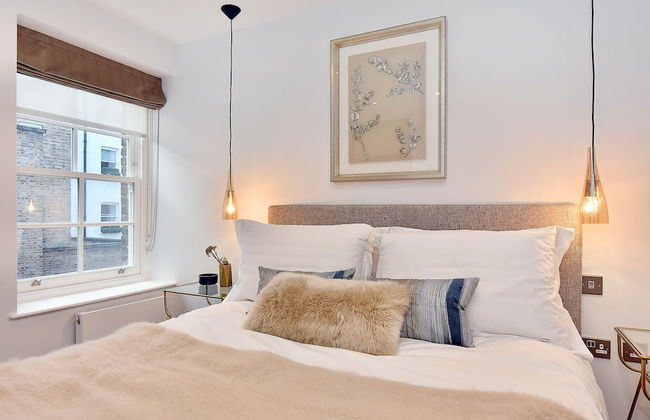
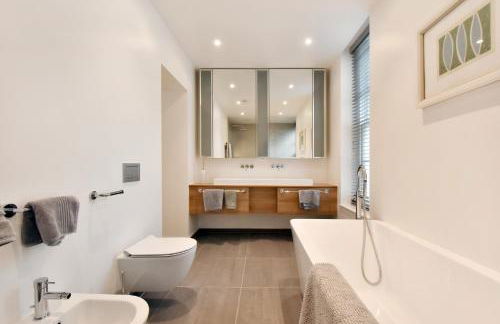
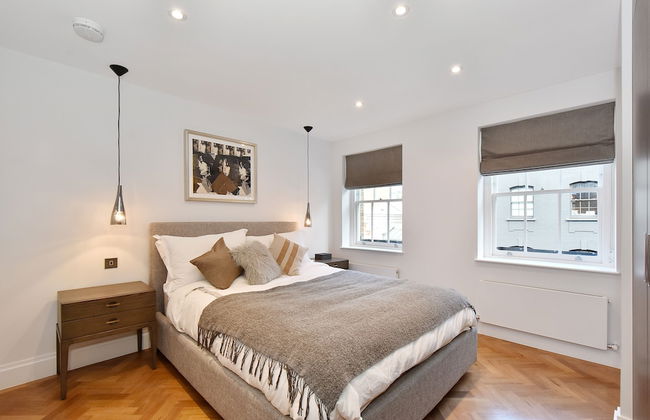
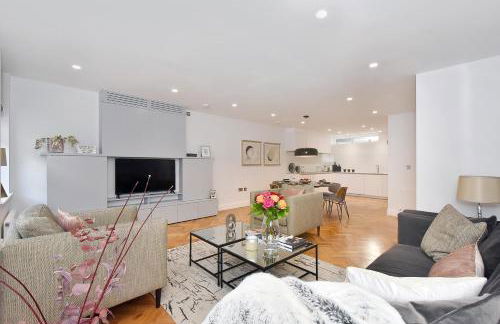
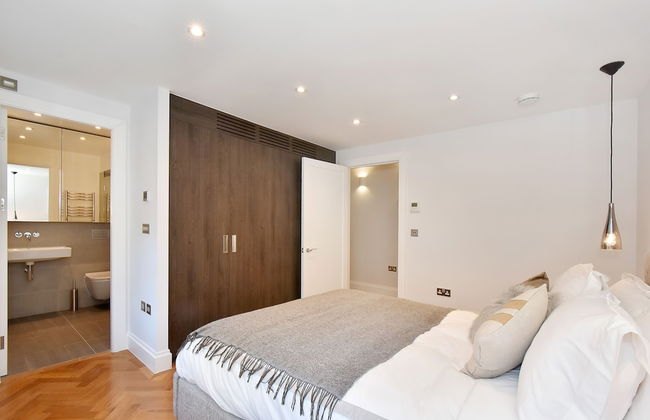
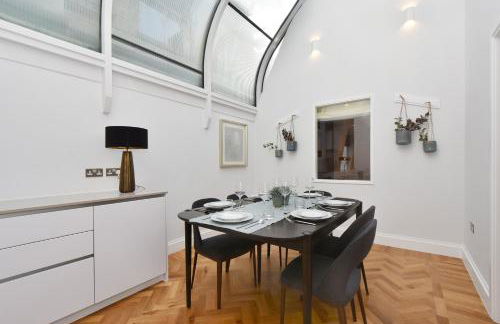
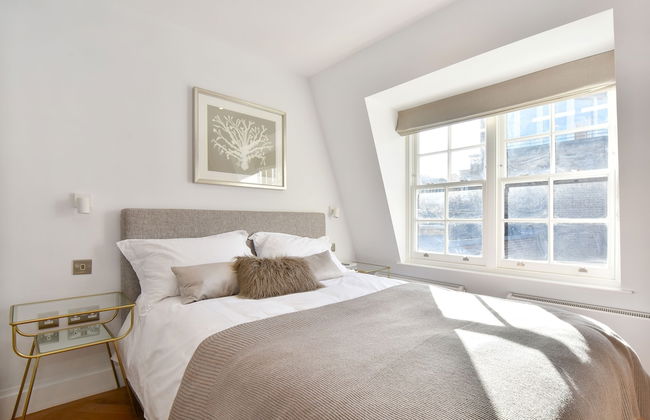
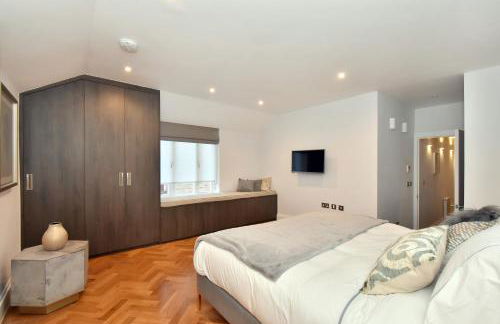
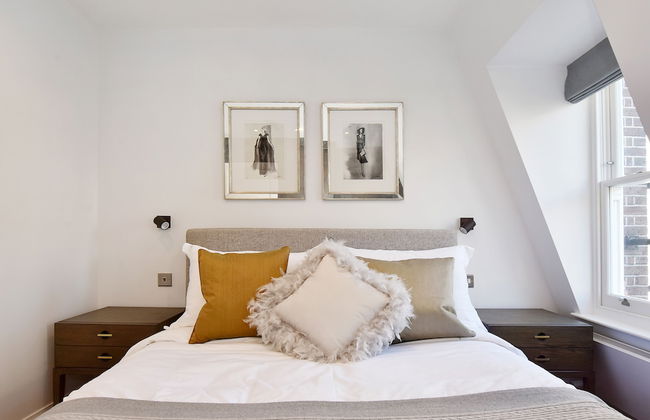
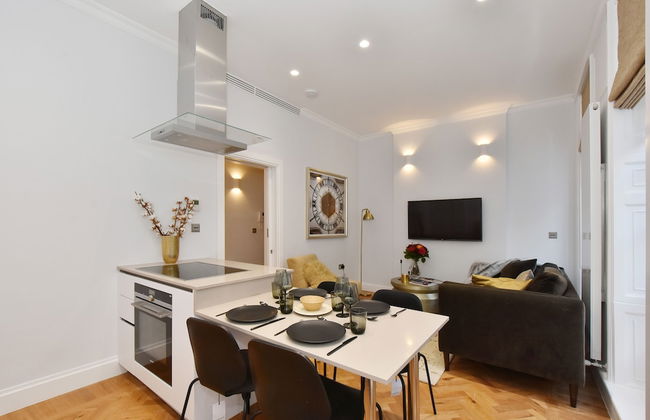
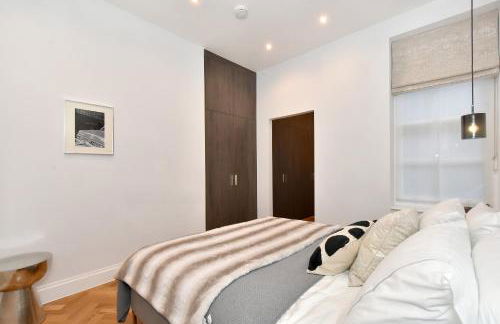
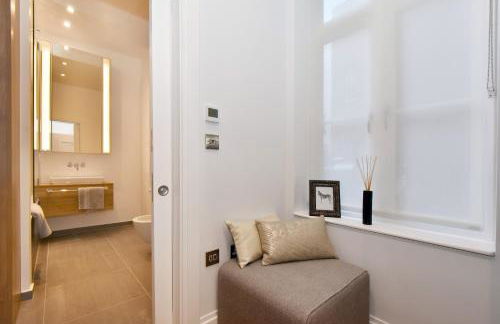
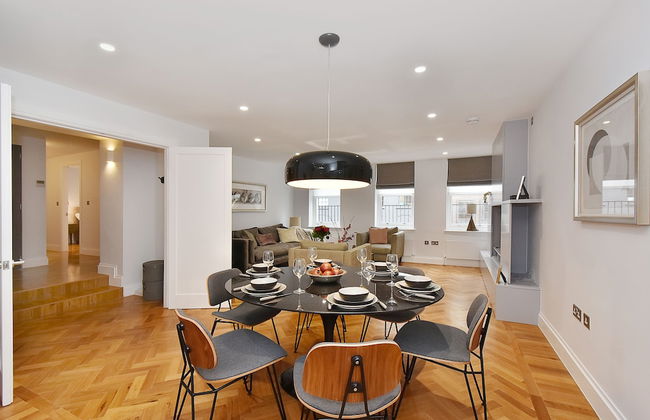
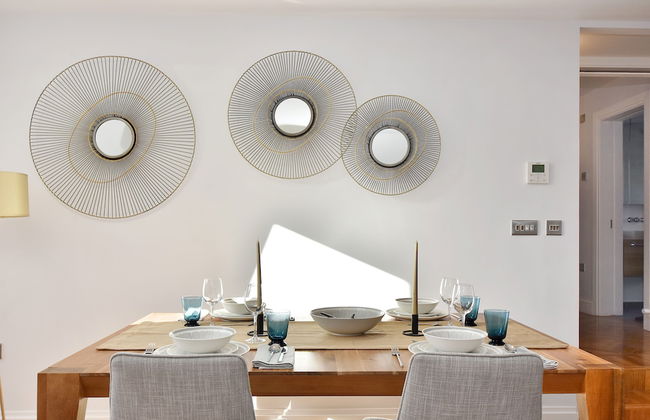
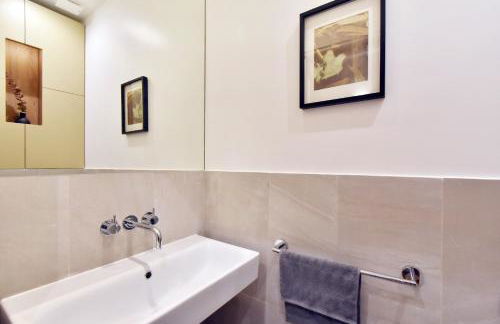
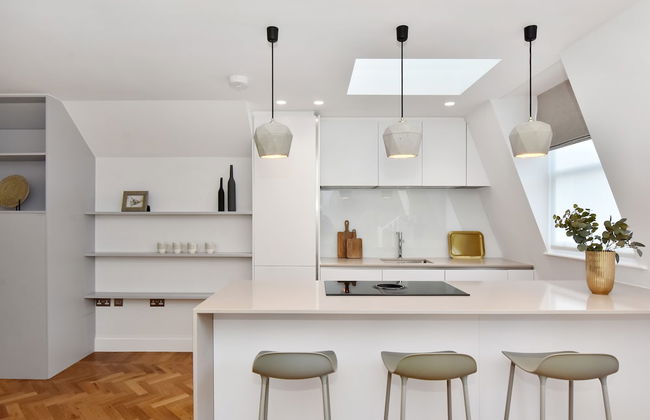
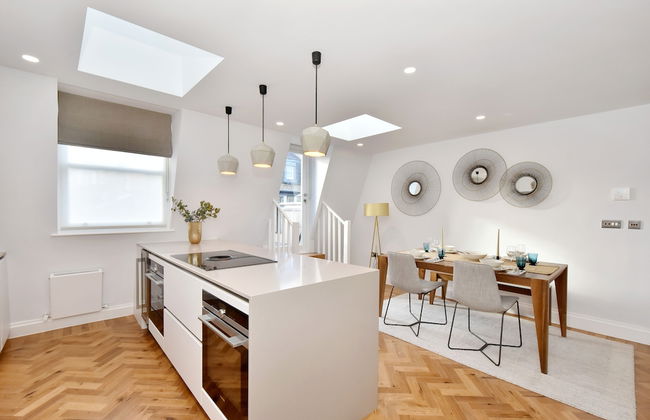
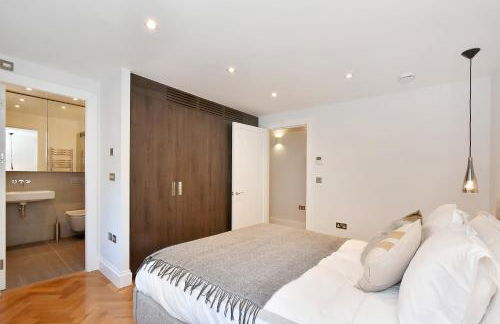
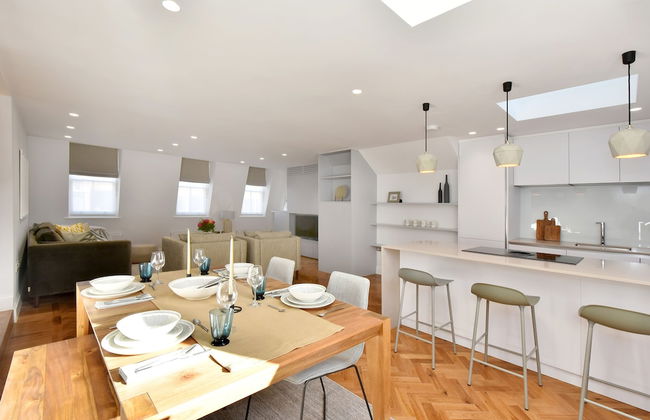
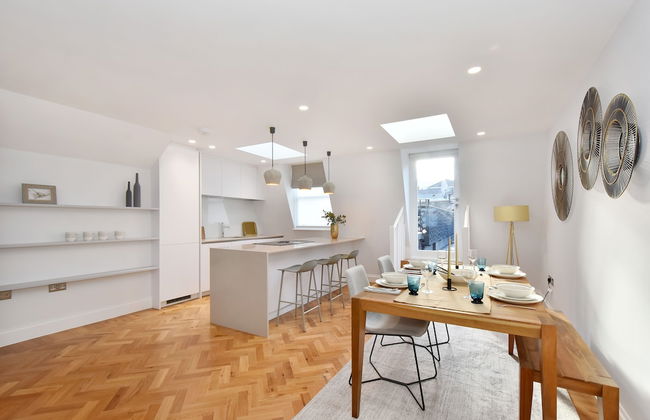
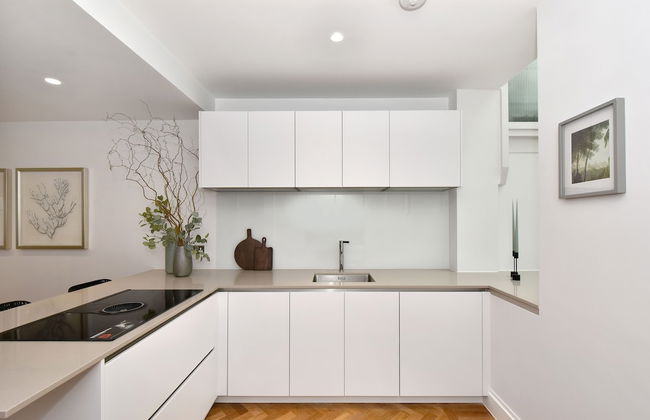
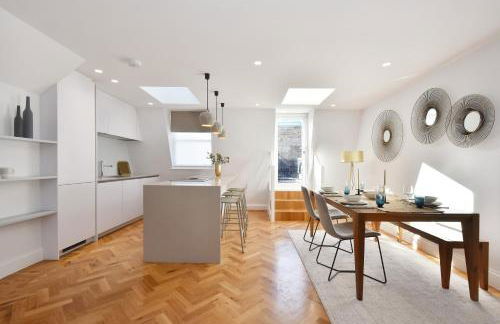
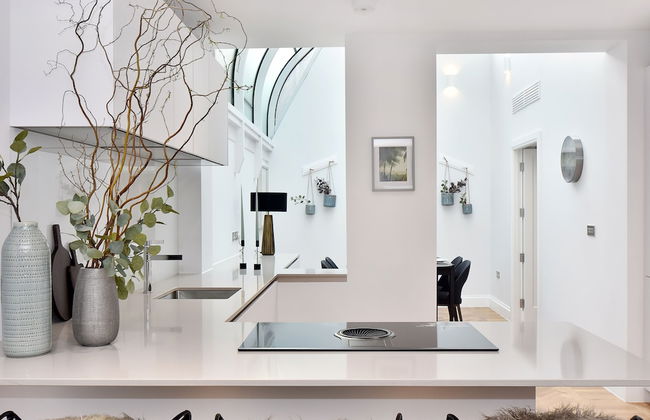
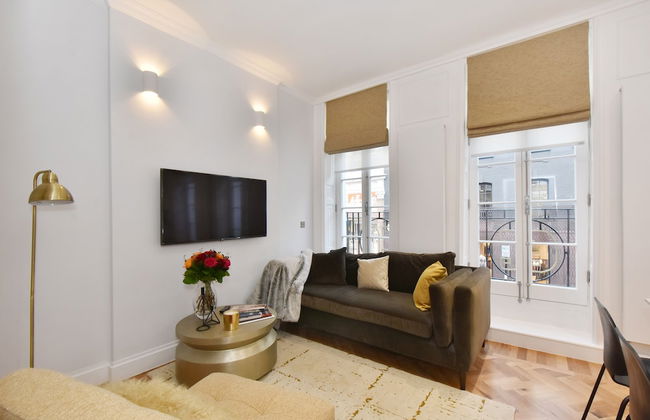
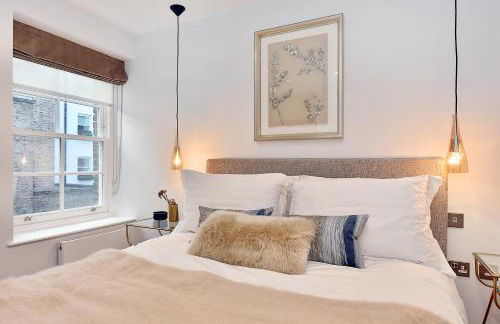
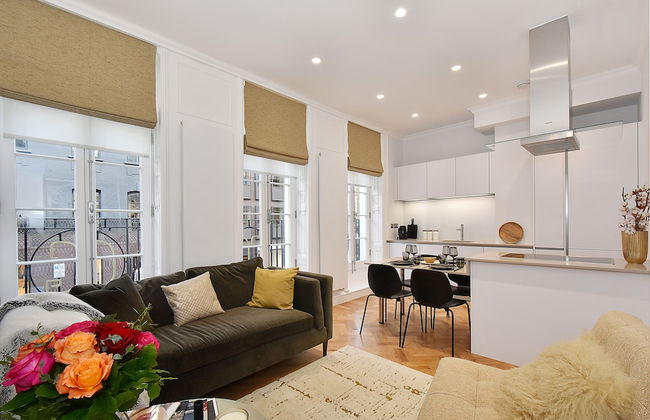
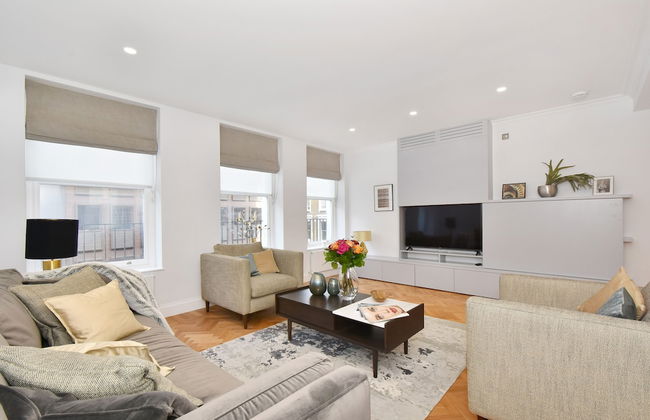
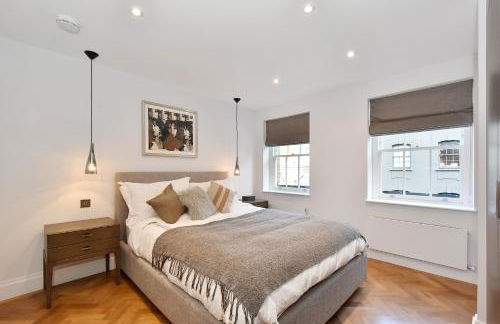
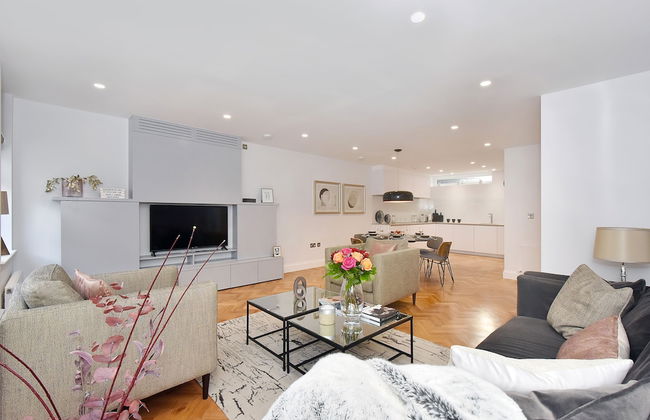
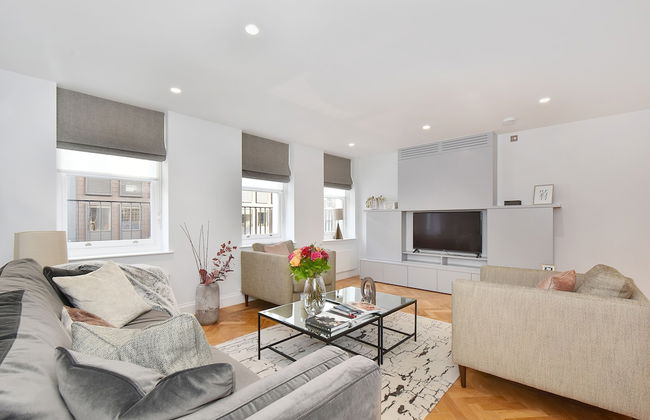
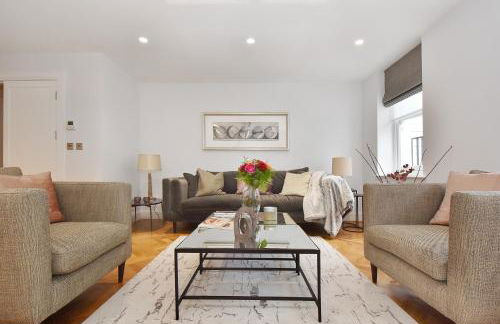
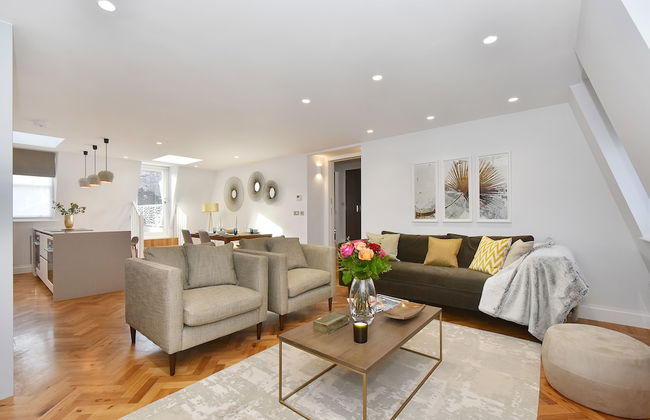
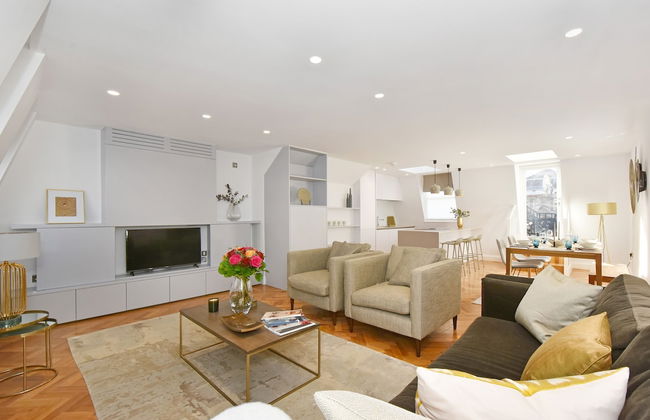
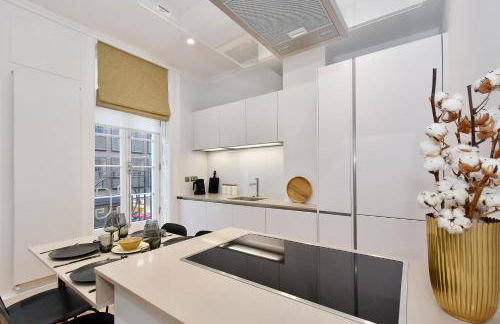
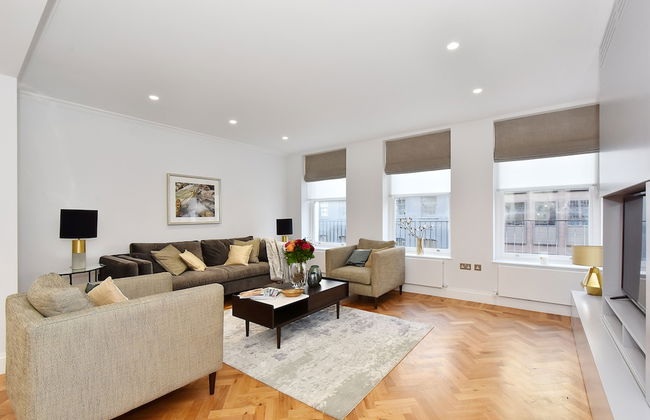
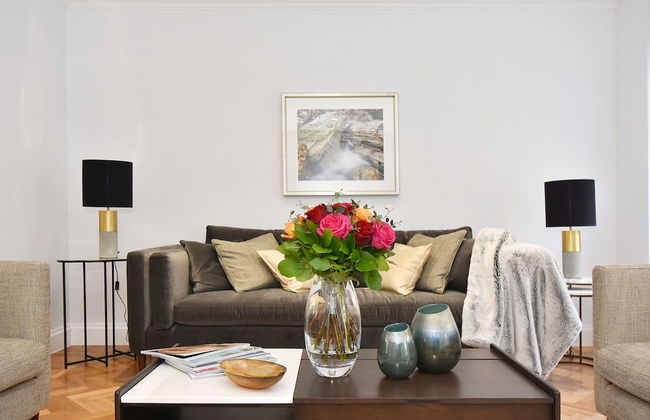
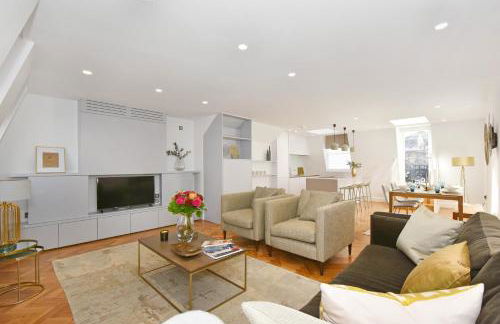
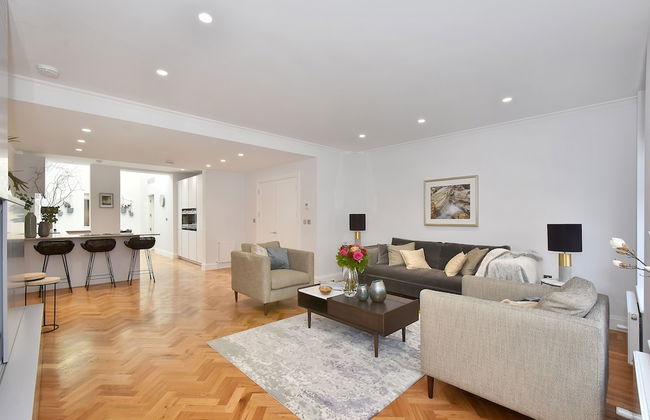
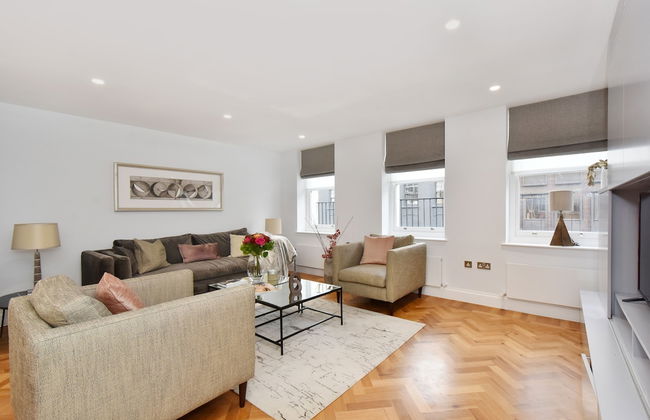
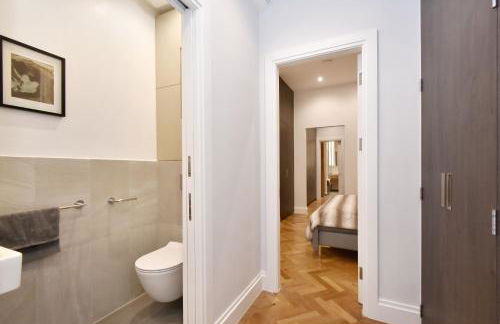
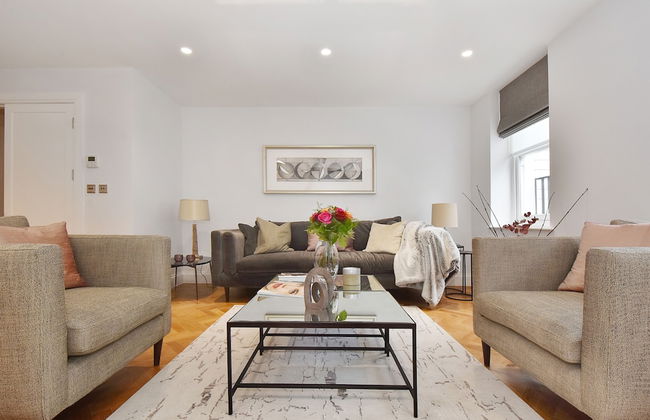
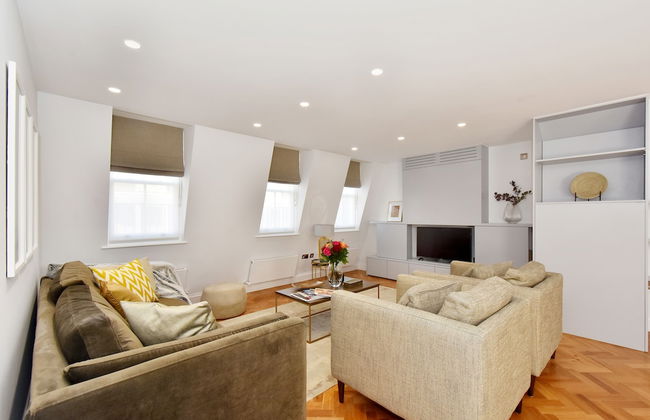
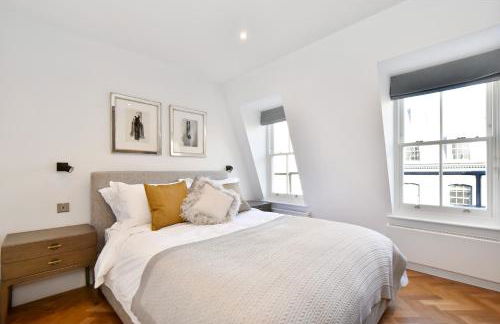
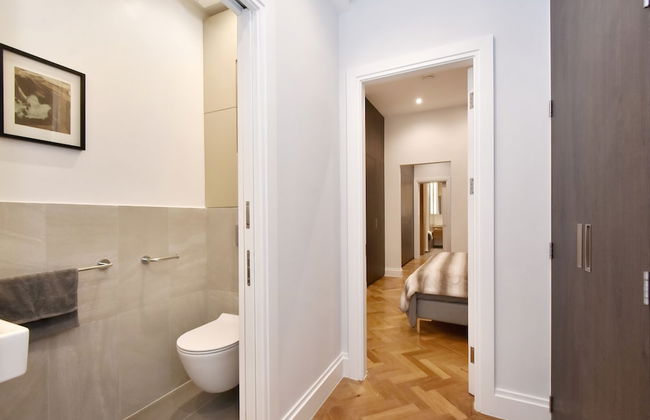
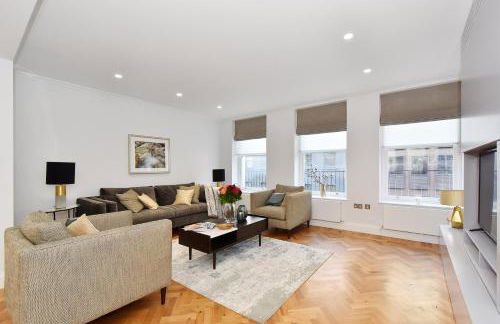
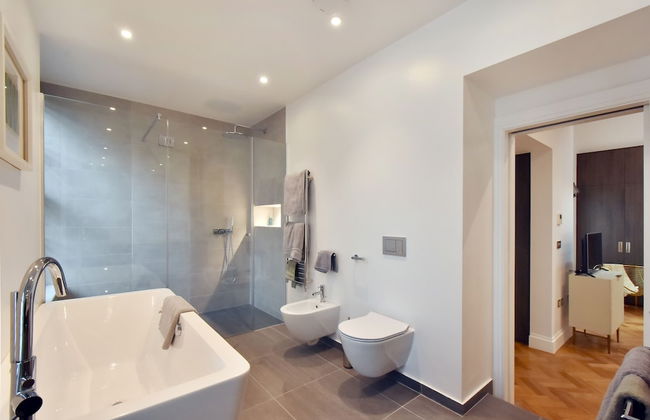
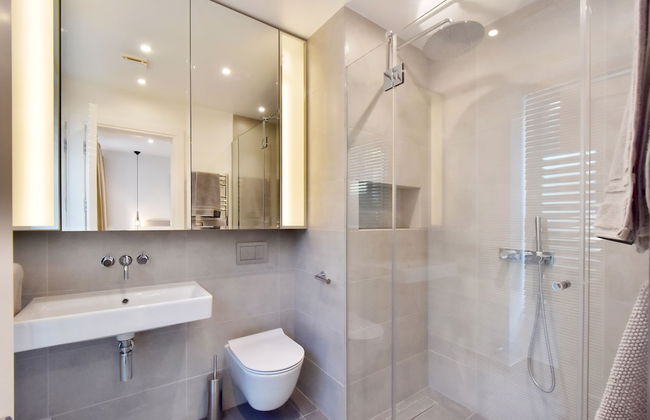
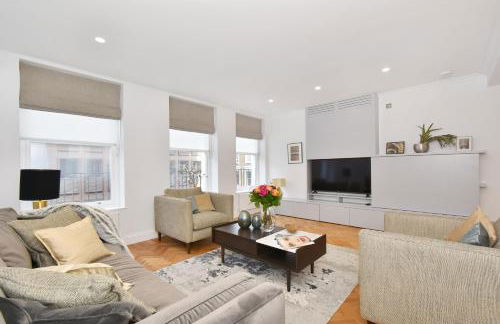
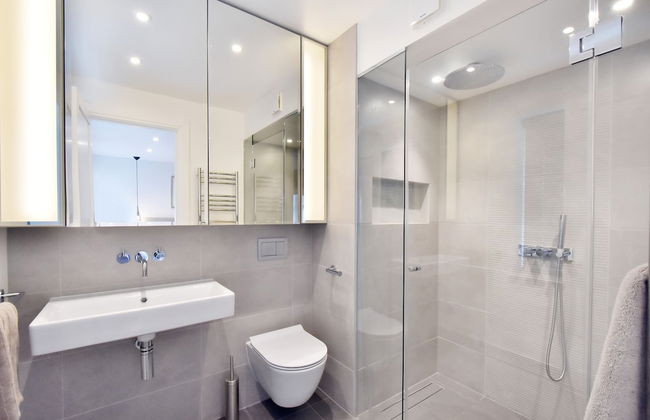
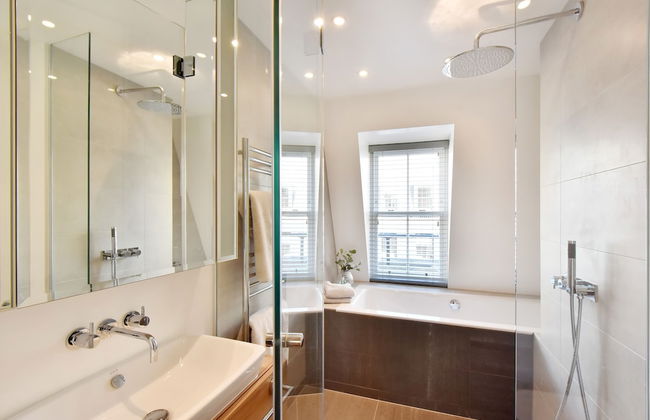
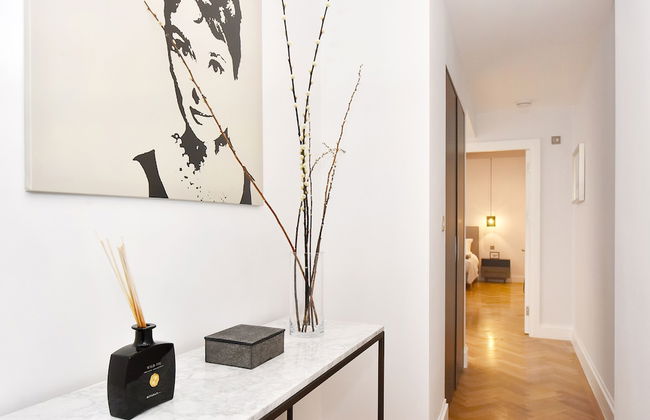
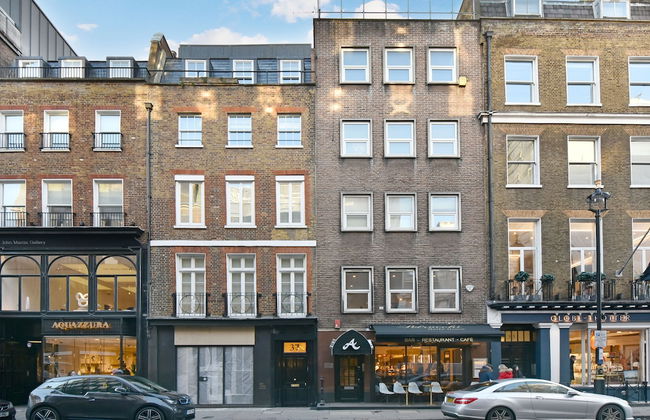
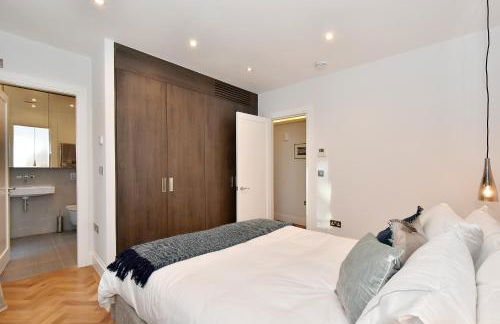
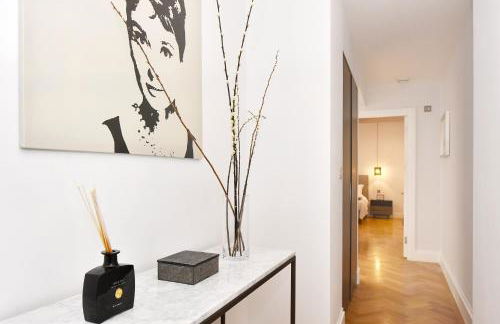
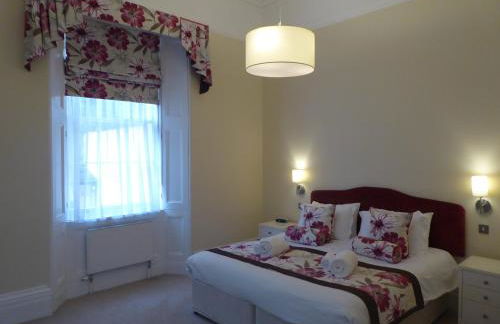
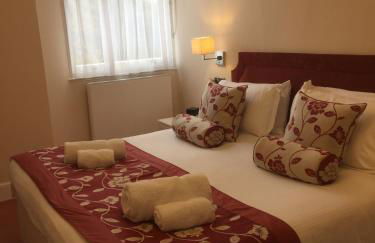
Tavistock Place Apartments
London - St Pancras - 1.5 km vom Zentrum
- 105 M2
- 7 Personen
- Heizung
- Terrasse
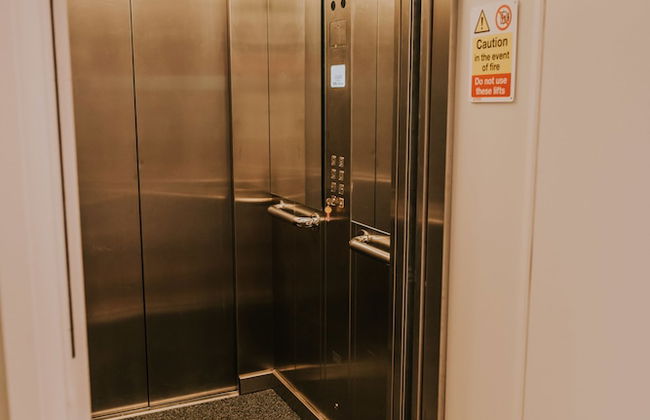
- Fahrstuhl
- Balkon
- Tv
- Waschmaschine
- Schornstein
- Handtücher
- Bettlaken


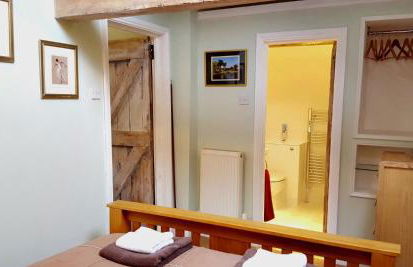


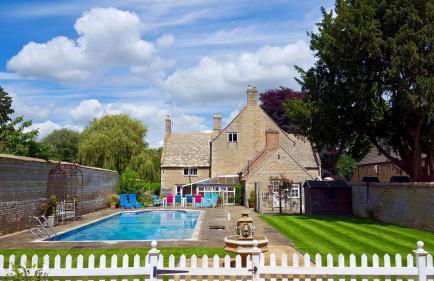

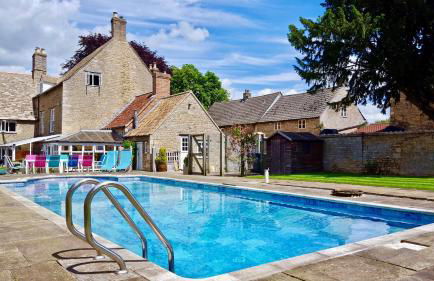
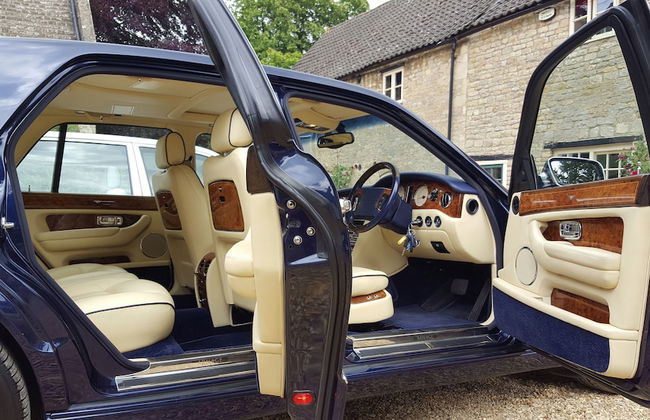
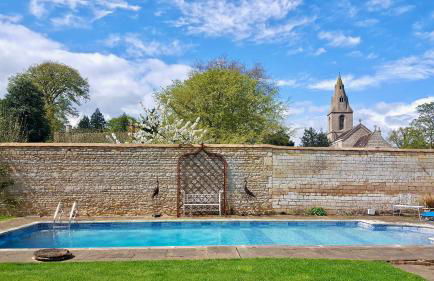

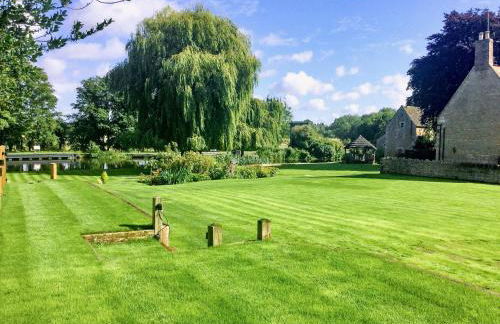

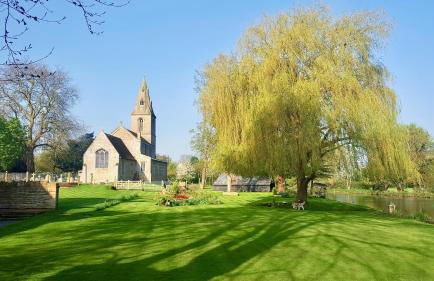


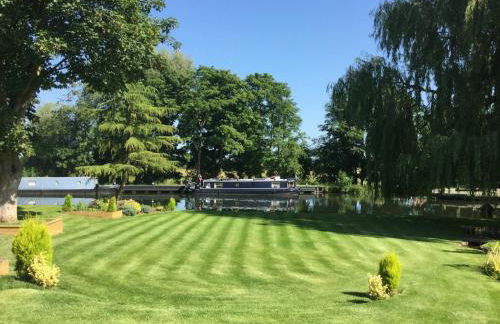

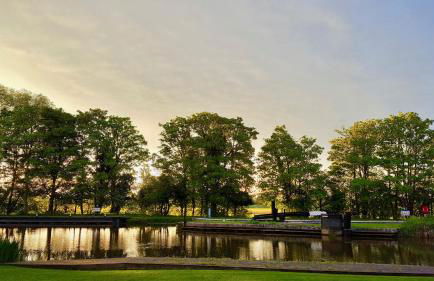
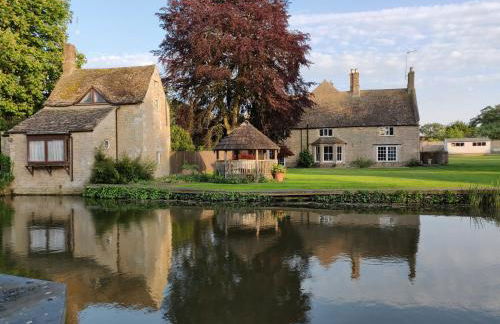
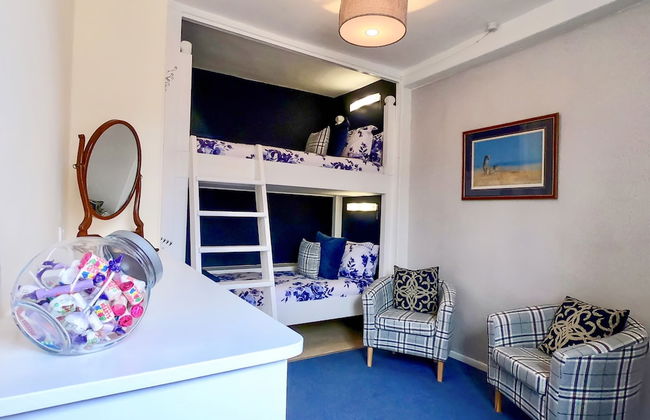
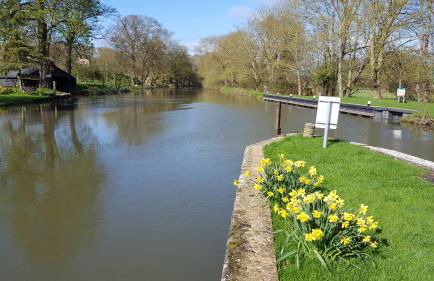


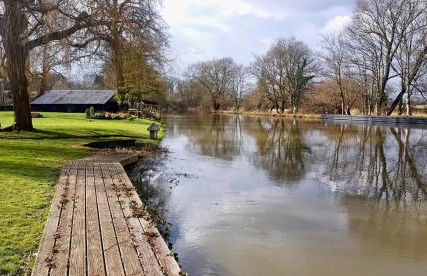


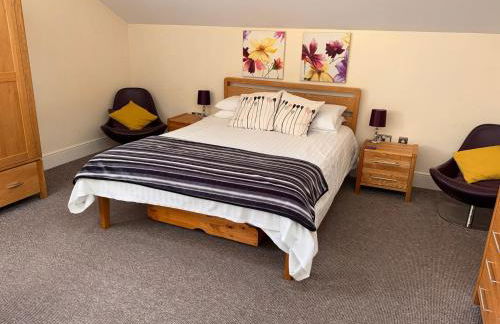
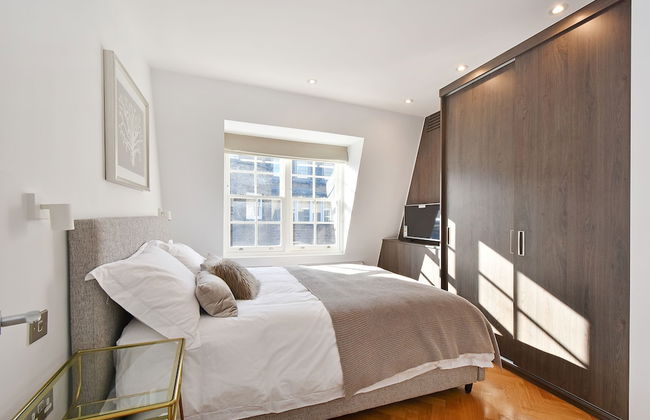
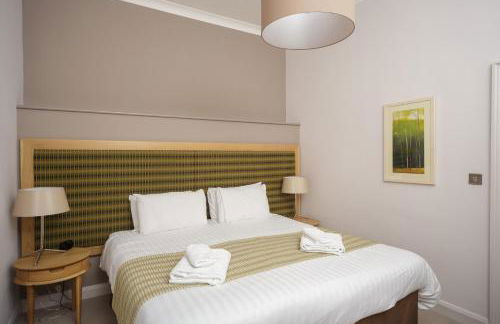
River Nene Cottages
Peterborough - Waternewton - 7.5 km vom Zentrum
- 60 M2
- 2 Schlafzimmer
- 4 Personen
- Heizung
- Terrasse
- Schwimmbad
- Parkplatz
- Garten
- Tv
- Waschmaschine
- Schornstein
- Barbecue
- Handtücher
- Bettlaken
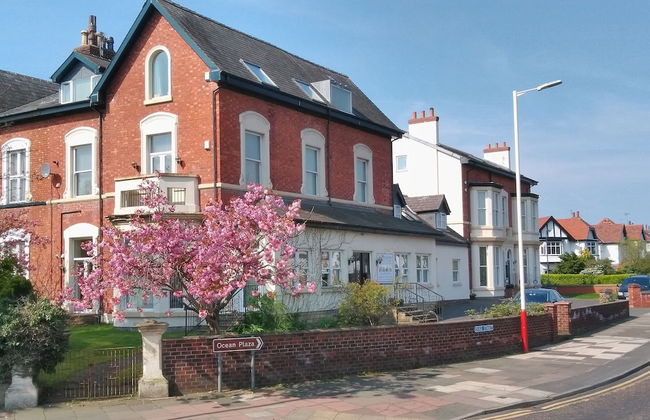


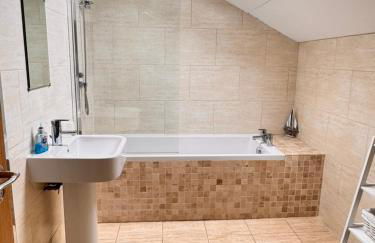
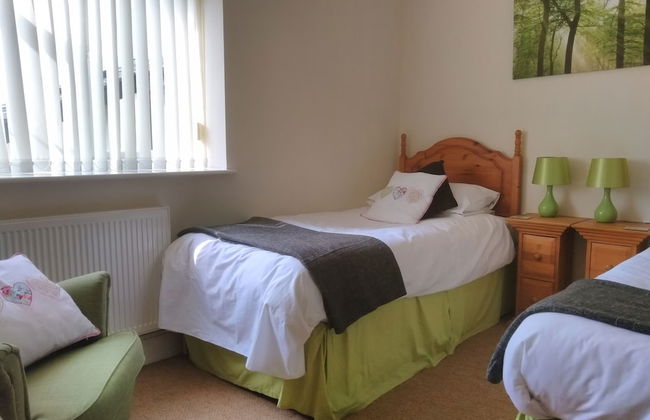
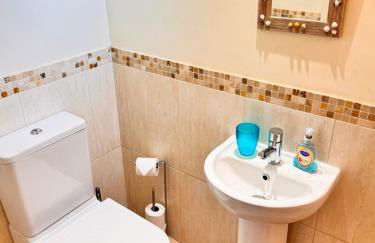


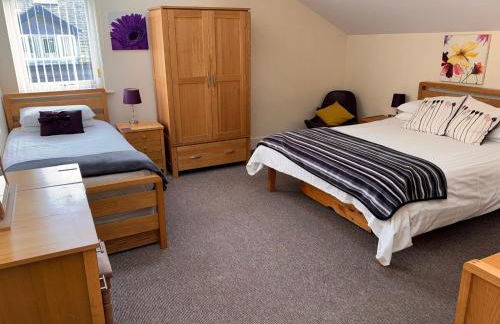


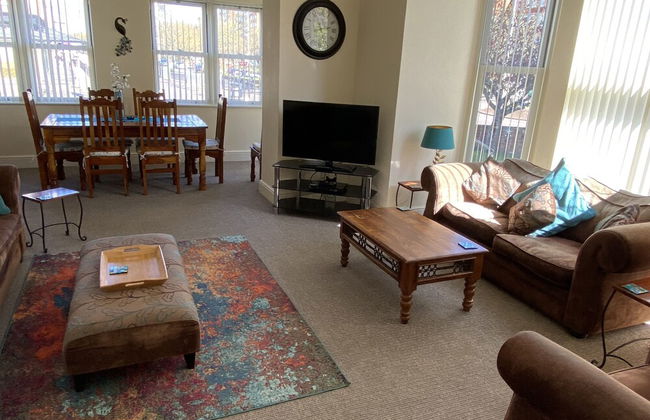
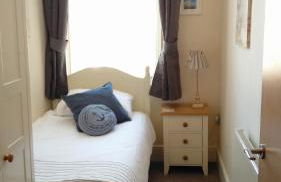

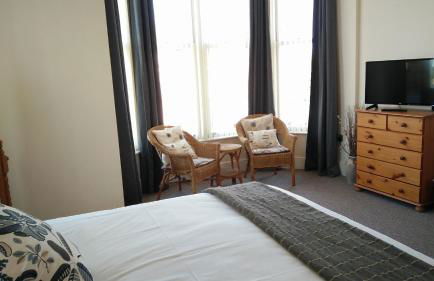


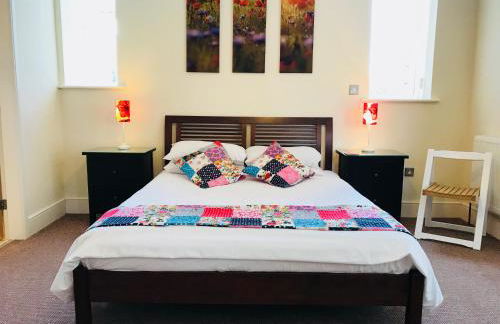

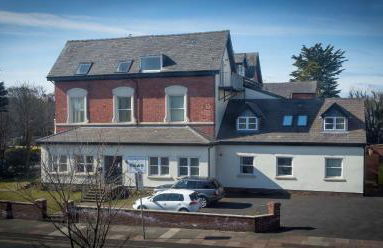
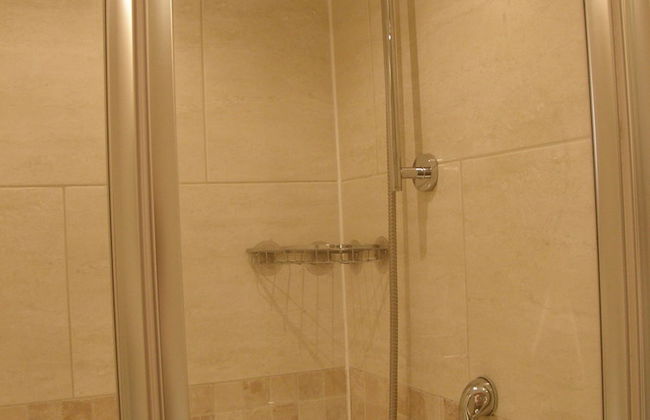


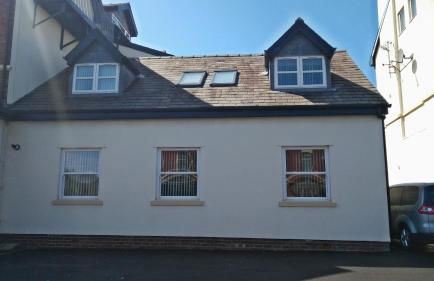


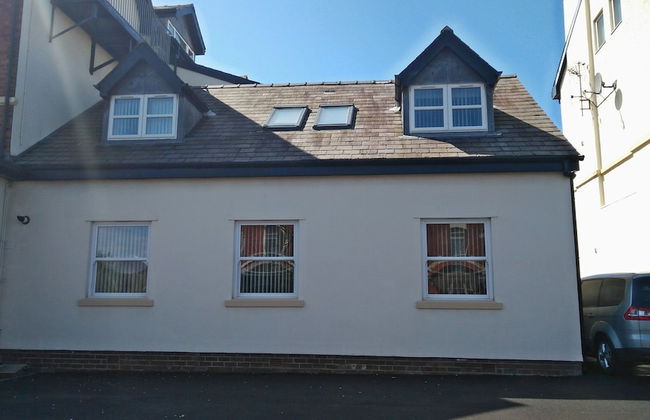


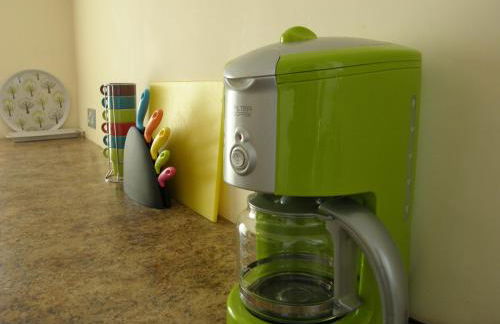


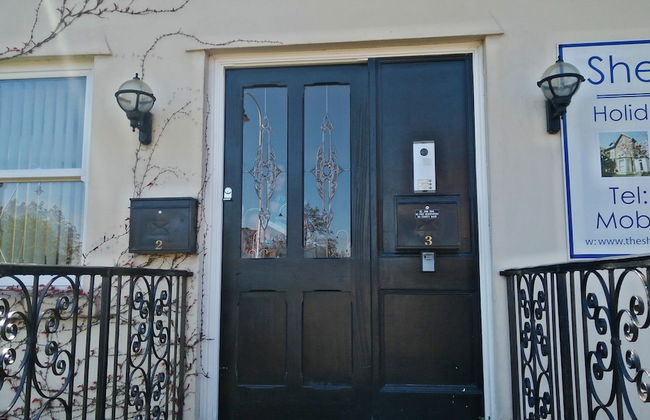


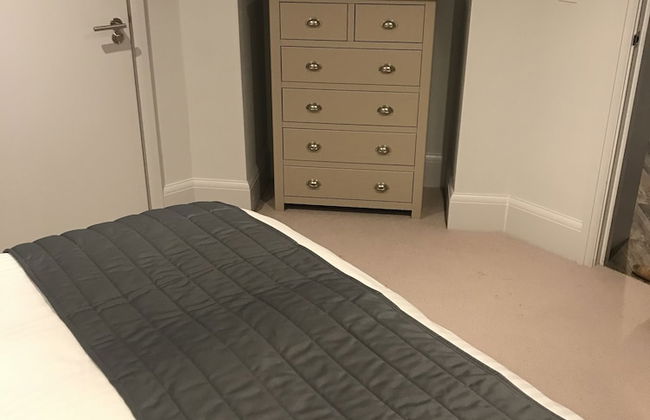
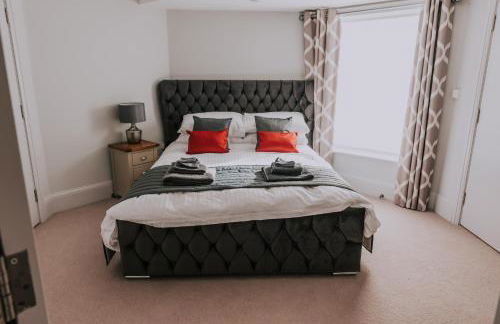
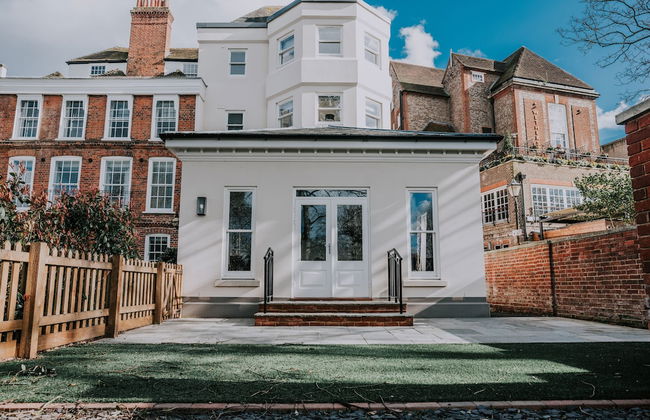
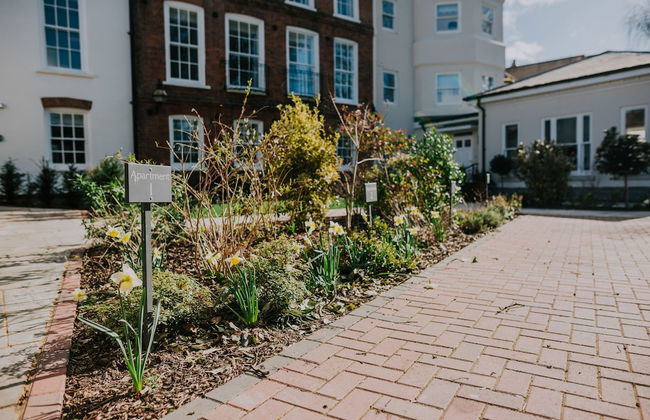
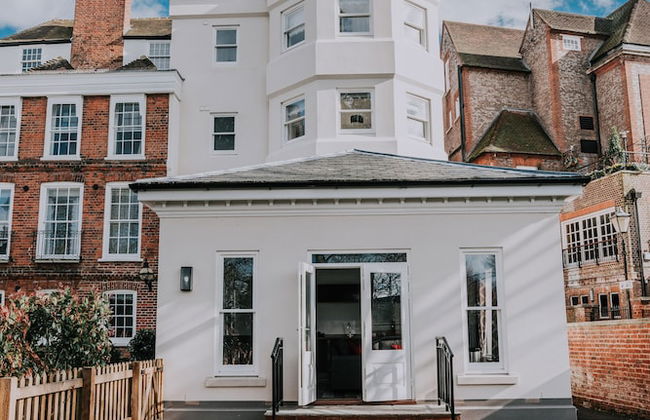
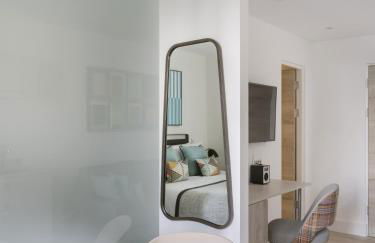
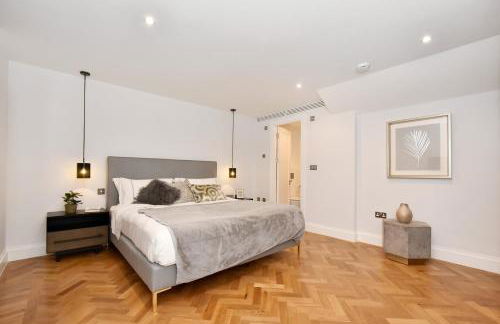
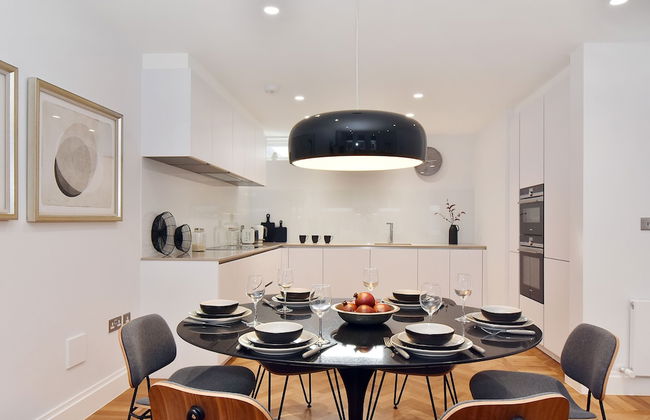
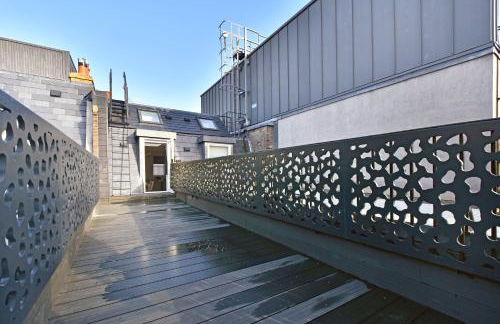
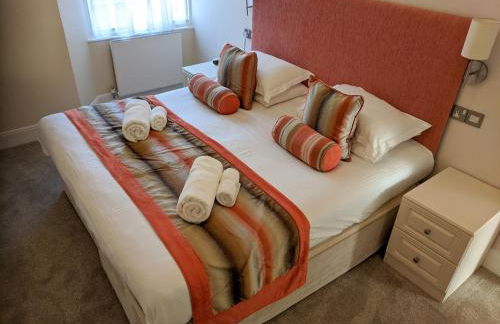
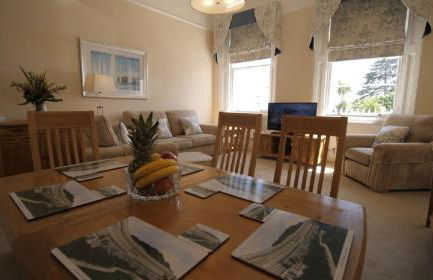
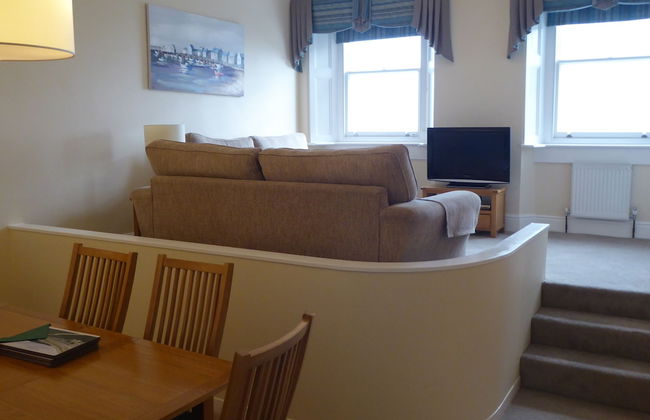
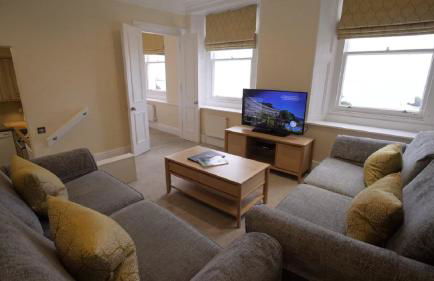
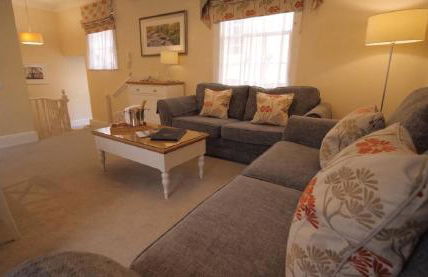
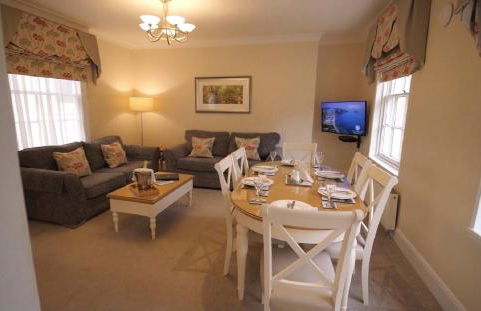
The Shelbourne Apartments
Southport - Southport
- 125 M2
- 2 Schlafzimmer
- 10 Personen
- Heizung
- Terrasse
- Parkplatz
- Fahrstuhl
- Balkon
- Garten
- Tv
- Waschmaschine
- Handtücher
- Bettlaken


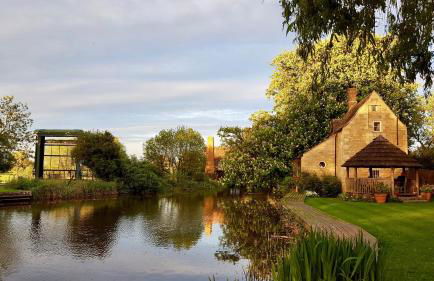
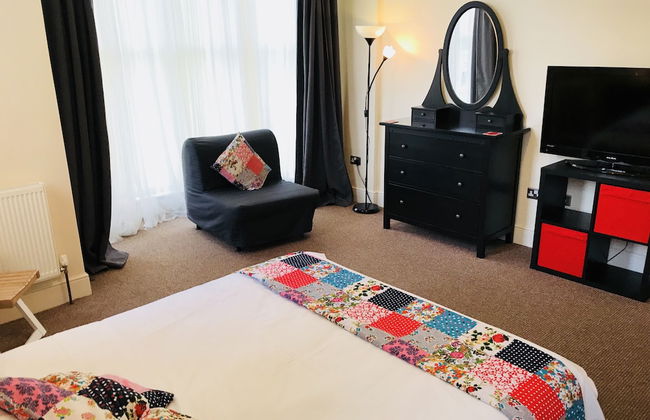
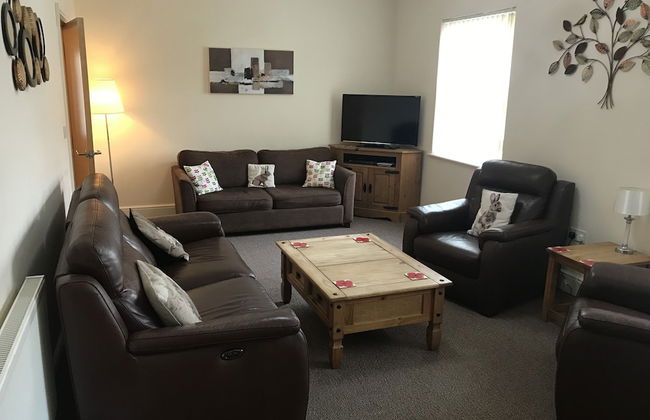
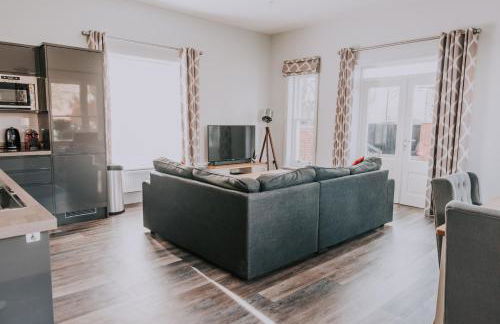
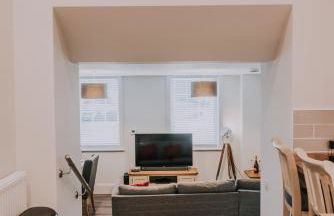
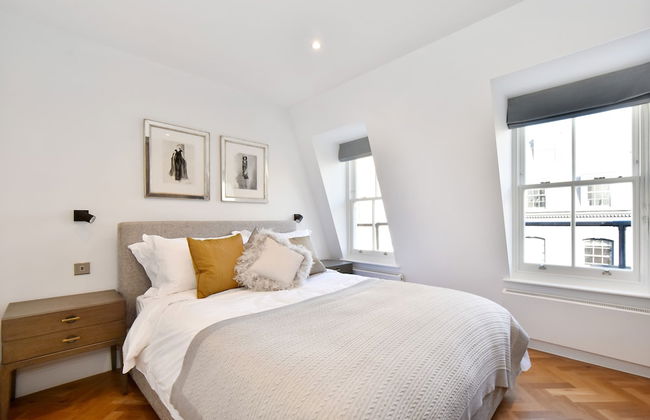
St. Tinney Farm
Camelford - Otterham
- 74 M2
- 6 Personen
- Heizung
- Terrasse
- Schwimmbad
- Parkplatz
- Balkon
- Garten
- Tv
- Waschmaschine
- Schornstein
- Handtücher
- Bettlaken


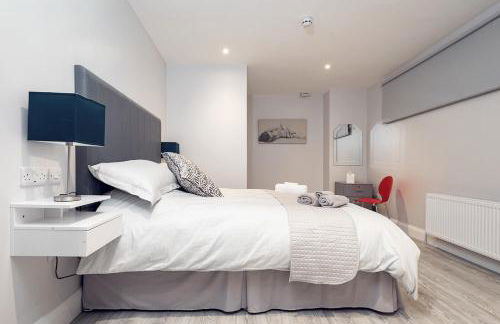

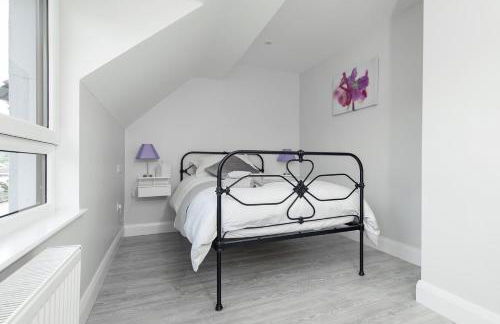


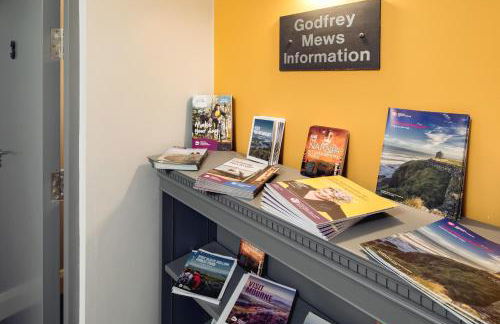


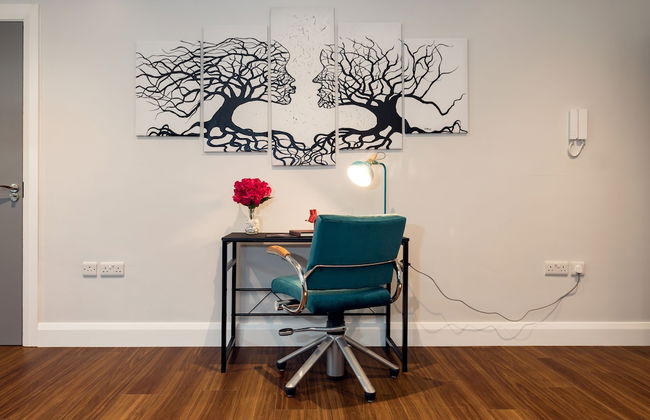


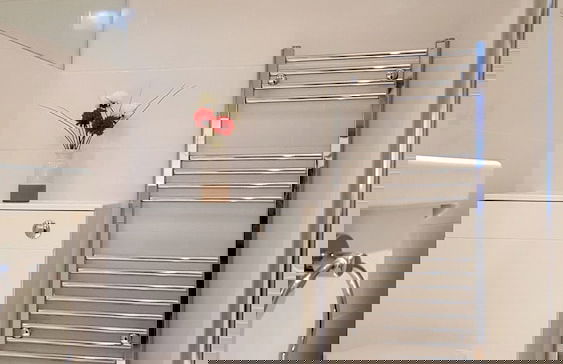
Godfrey Mews
Newry - Cloughoge
- 86 M2
- 2 Schlafzimmer
- 4 Personen
- Klimaanlage
- Heizung
- Parkplatz
- Fahrstuhl
- Tv
- Waschmaschine
- Handtücher
- Bettlaken


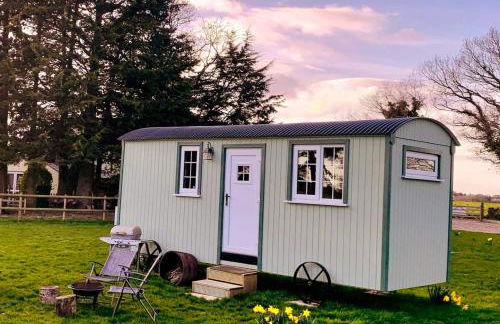
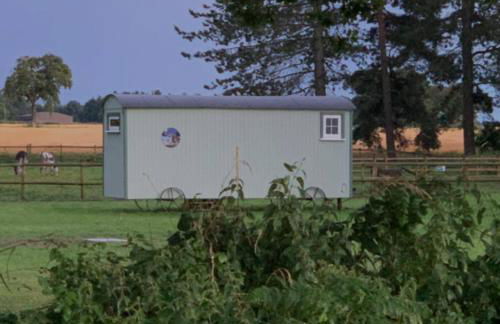
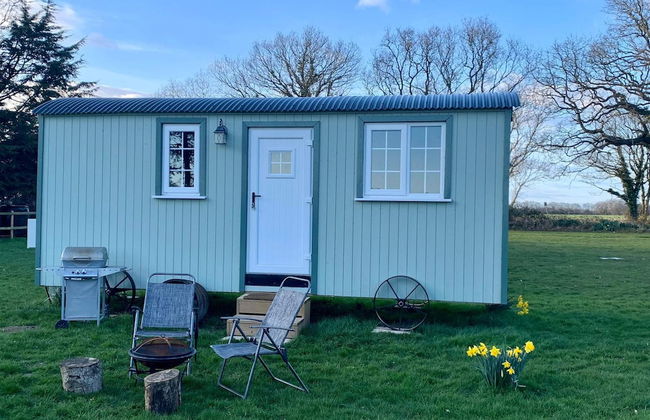
Middlehead Huts at Cropton Forest
Pickering - Stape
- 13 M2
- 2 Personen
- Kochnische
- Klimaanlage
- Heizung
- Terrasse
- Parkplatz
- Garten
- Tv
- Schornstein
- Handtücher
- Bettlaken


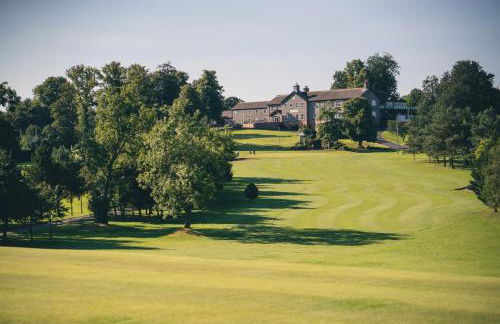


Edenmore Golf and Country Club
Craigavon - Donaghcloney
- 40 M2
- 4 Personen
- Klimaanlage
- Heizung
- Parkplatz
- Fahrstuhl
- Tv
- Handtücher
- Bettlaken


Curran Gate Luxury Apartments, Portrush
Portrush - Portrush
- 153 M2
- 6 Personen
- Heizung
- Terrasse
- Parkplatz
- Fahrstuhl
- Balkon
- Garten
- Tv
- Waschmaschine
- Handtücher
- Bettlaken


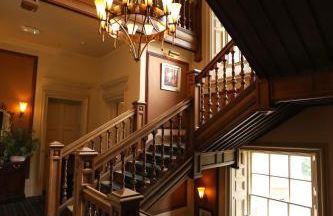

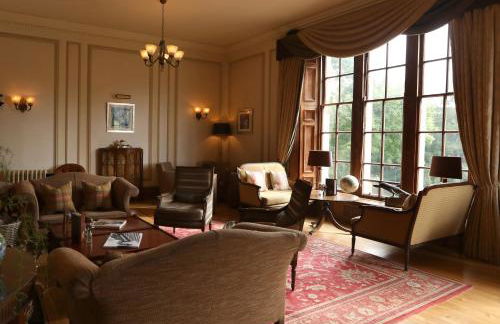

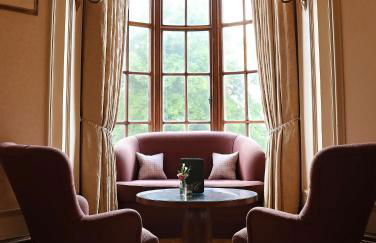

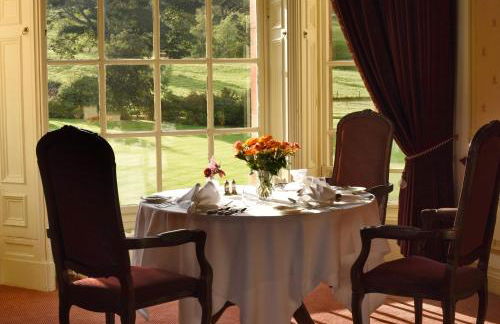


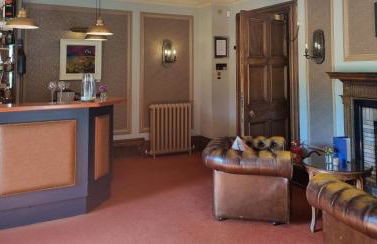

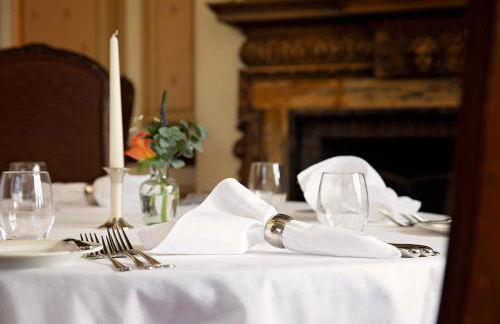


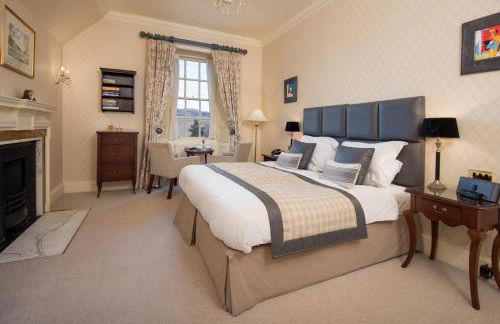


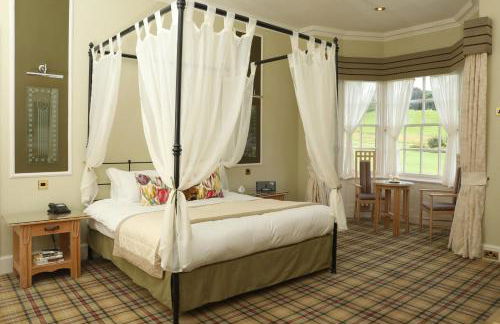

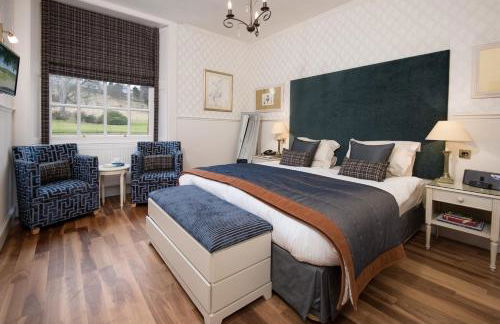

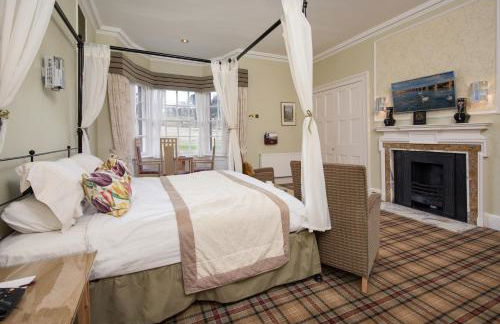

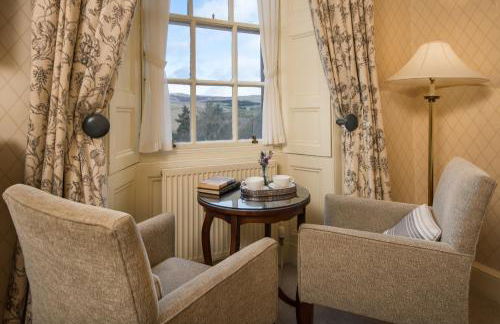

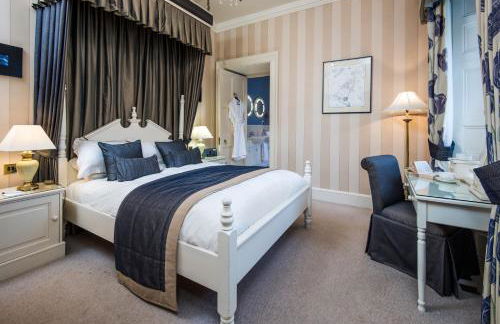


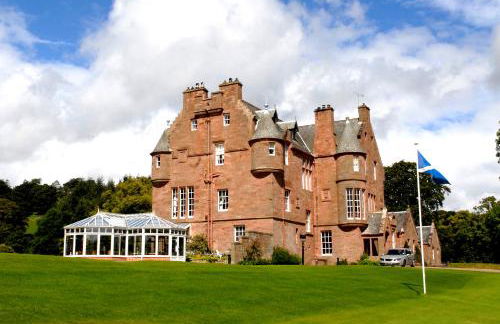


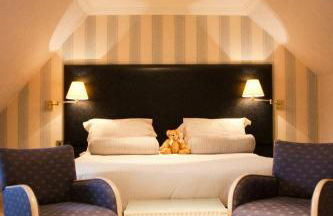

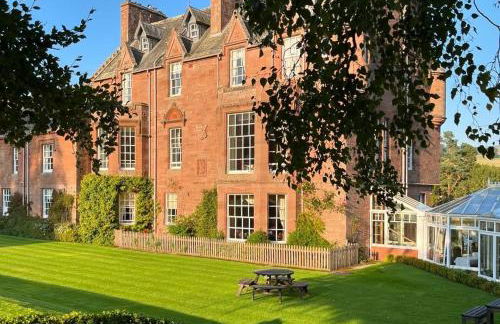


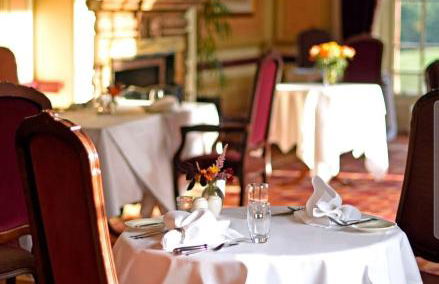


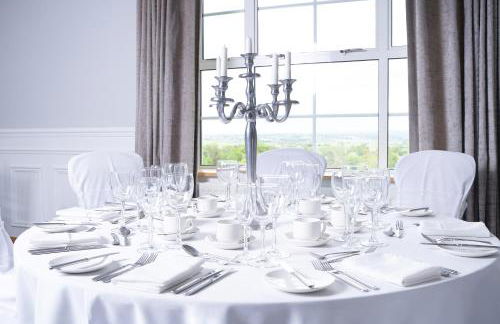
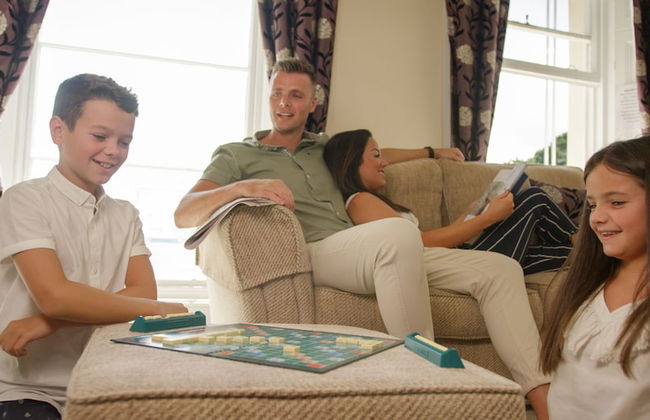
Cringletie House Hotel
Peebles - Peebles
- 90 M2
- 2 Schlafzimmer
- 5 Personen
- Heizung
- Terrasse
- Parkplatz
- Fahrstuhl
- Garten
- Tv
- Schornstein
- Handtücher
- Bettlaken
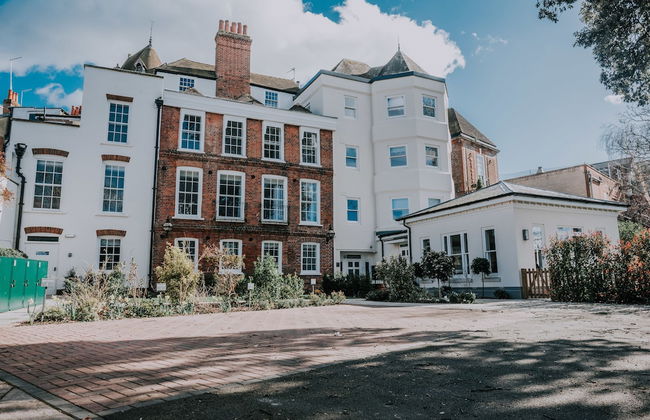


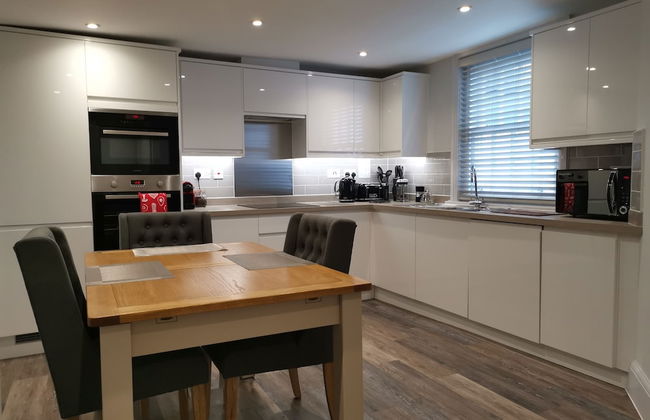

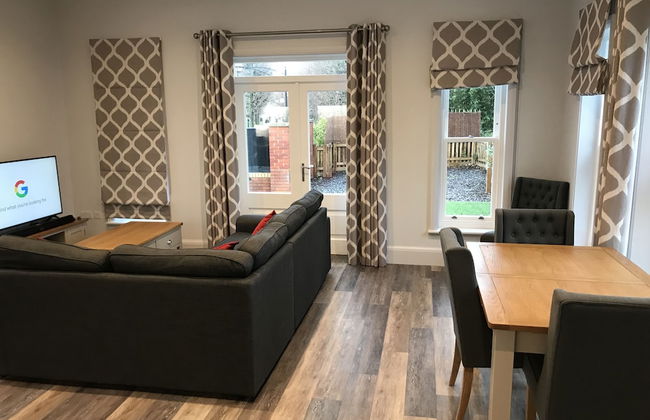

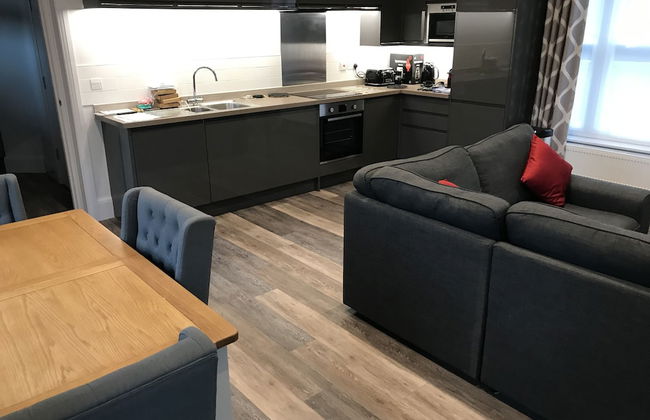
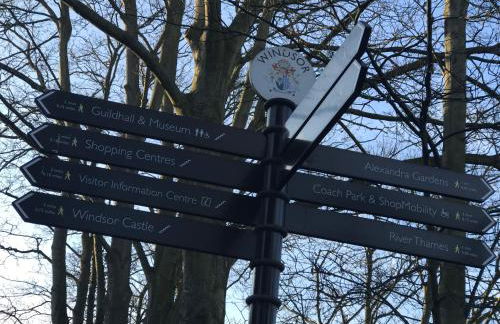

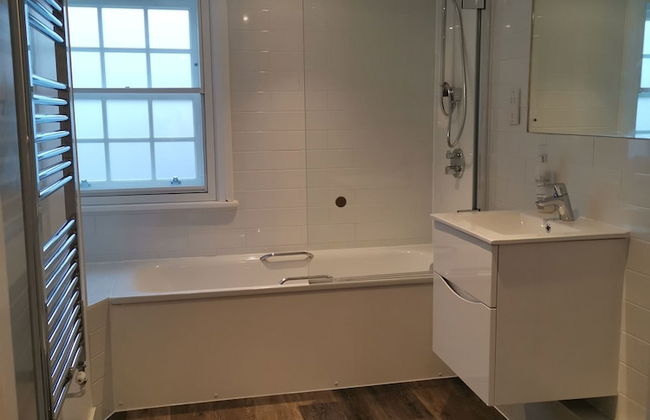
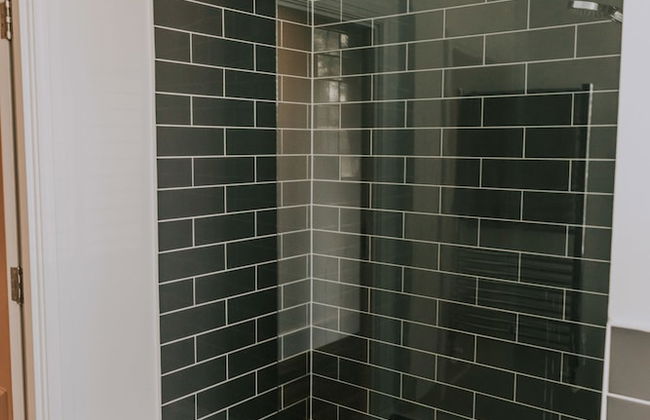
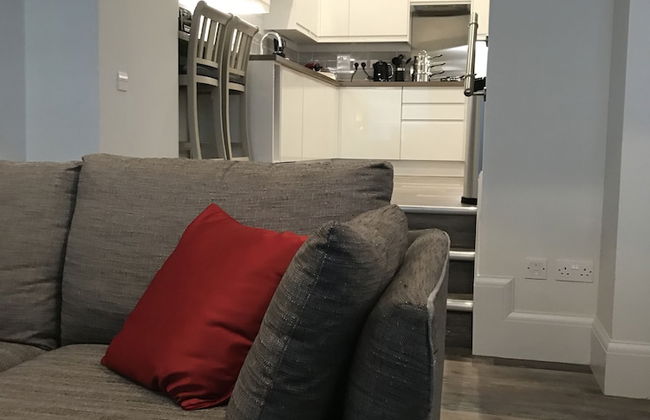
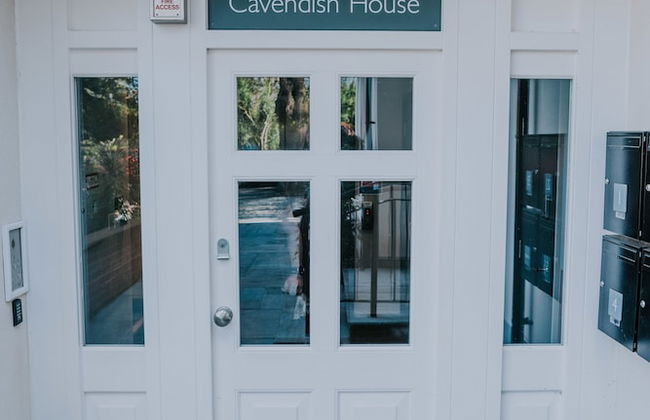
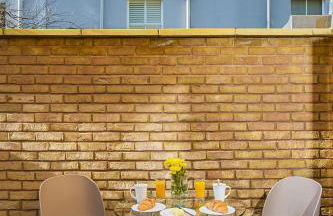
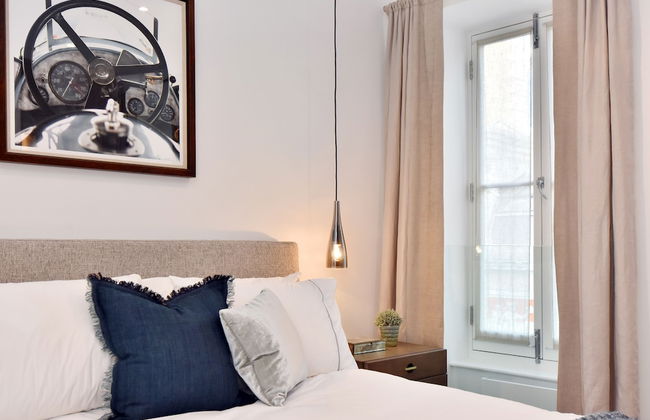
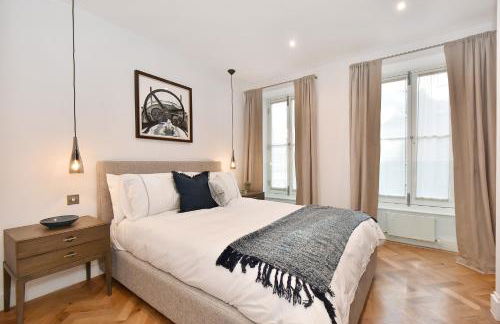
Cavendish House with Secure, Allocated Parking, 2 mins walk from Windsor Castle
Windsor - Windsor
- 92 M2
- 2 Schlafzimmer
- 6 Personen
- Heizung
- Terrasse
- Parkplatz
- Fahrstuhl
- Balkon
- Garten
- Tv
- Waschmaschine
- Handtücher
- Bettlaken

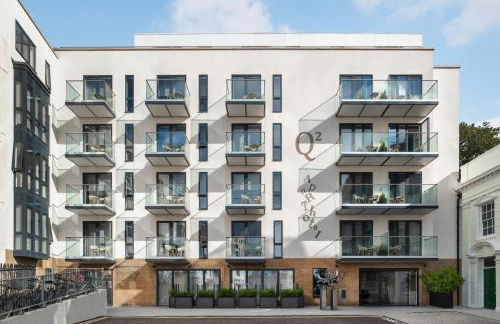


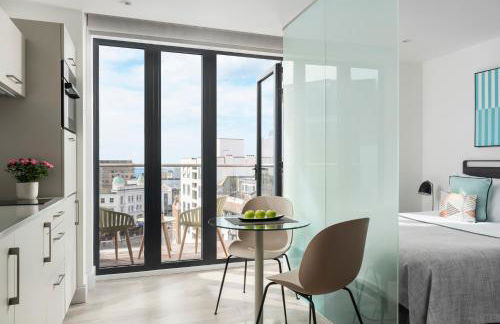

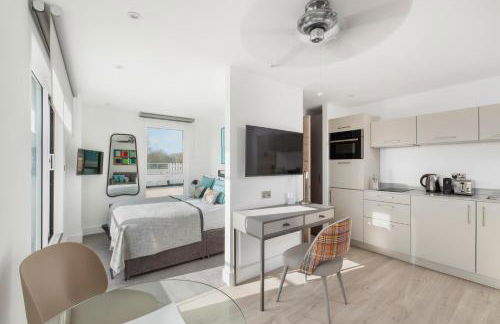

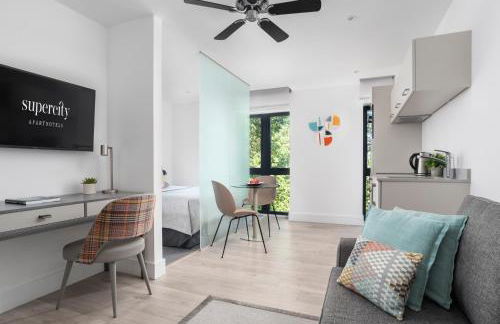

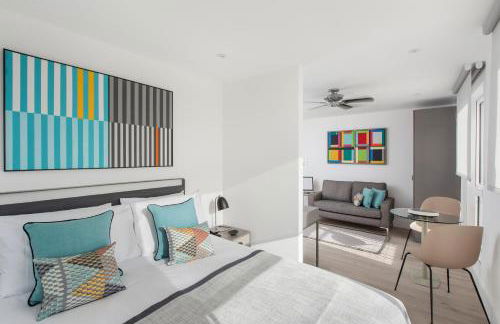


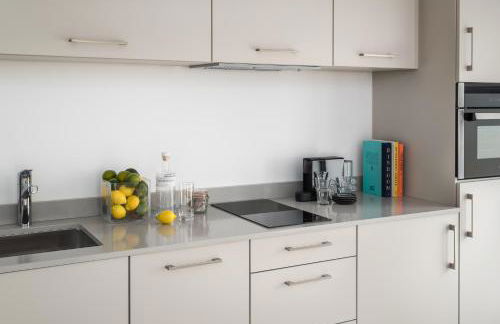

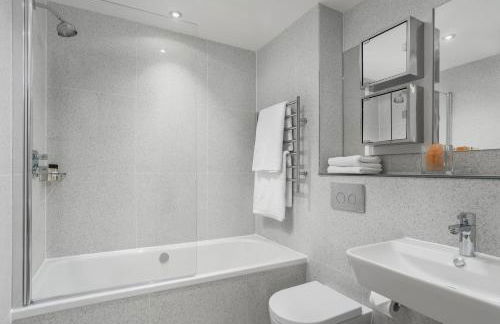

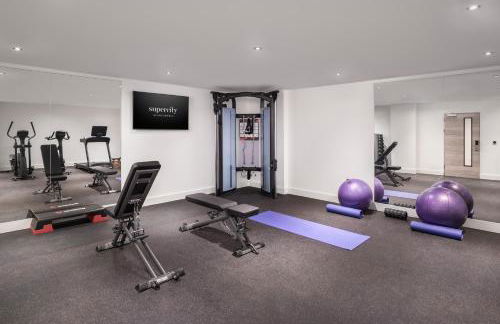


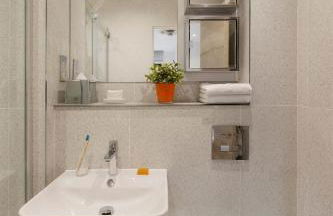


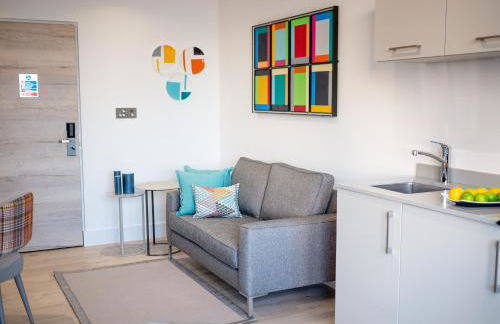


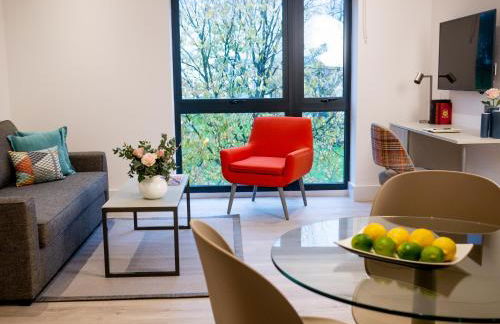

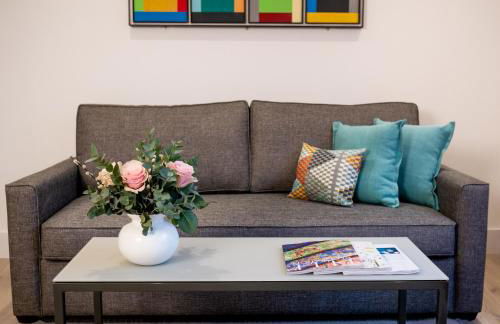


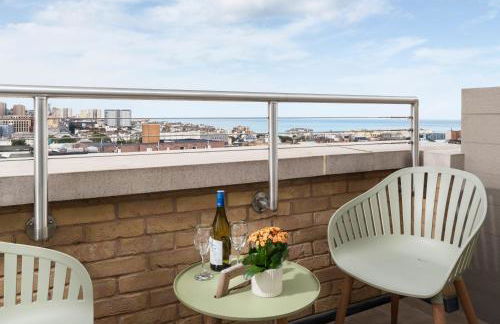


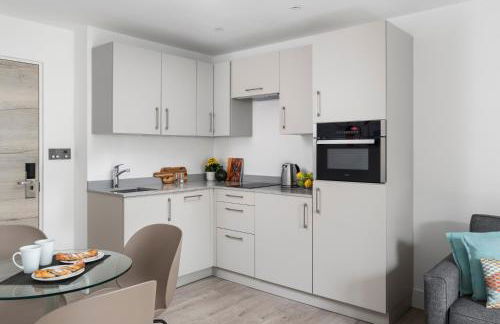

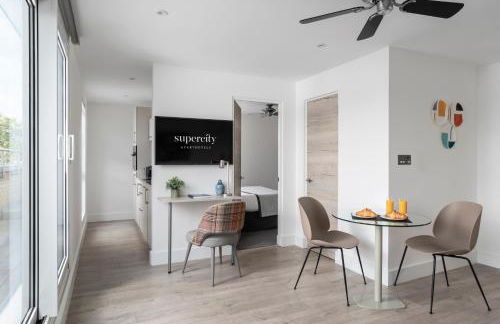


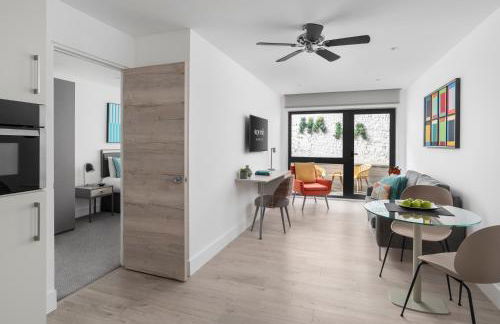


Q Square by Supercity Aparthotels
Brighton - Brighton
- 45 M2
- 1 Schlafzimmer
- 4 Personen
- Klimaanlage
- Heizung
- Terrasse
- Parkplatz
- Fahrstuhl
- Balkon
- Garten
- Tv
- Waschmaschine
- Handtücher
- Bettlaken


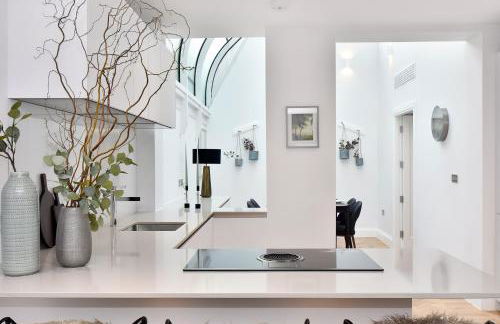


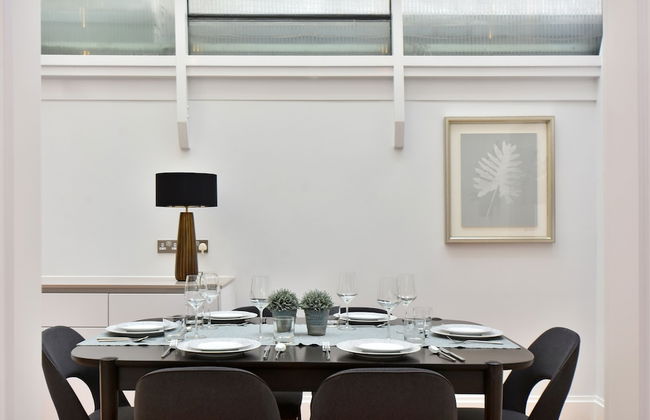


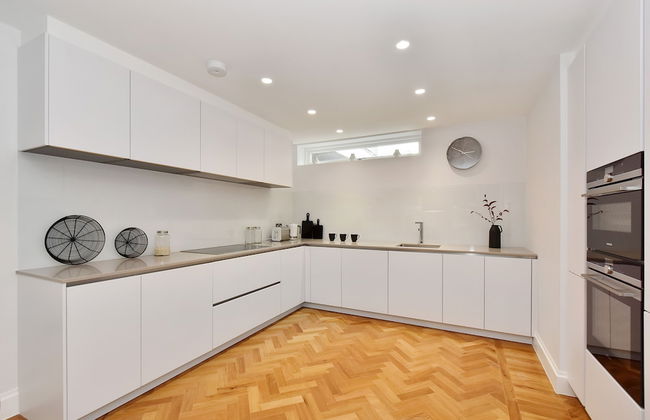
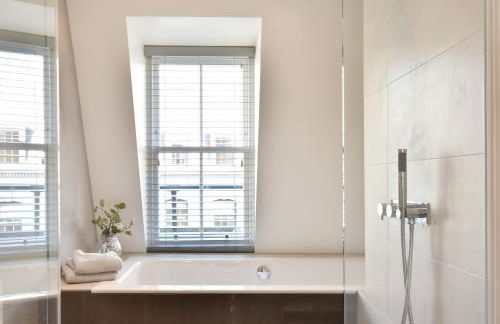
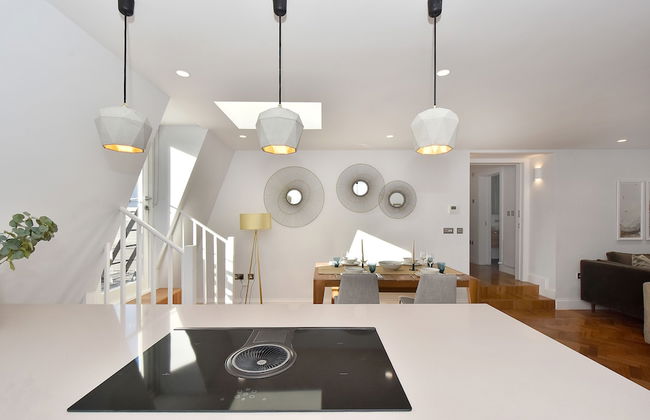


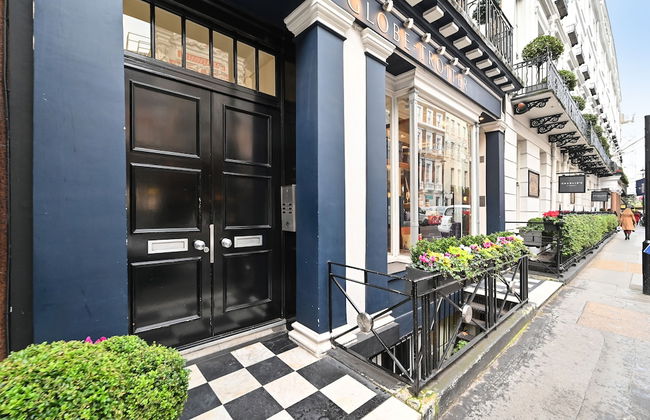
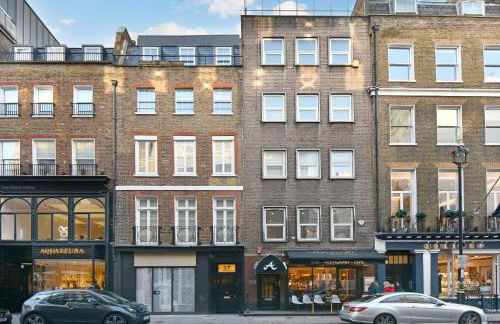


London Choice Apartments - Mayfair - Piccadilly
London - Mayfair - 540 m vom Zentrum
- 150 M2
- 3 Schlafzimmer
- 7 Personen
- Klimaanlage
- Heizung
- Terrasse
- Parkplatz
- Fahrstuhl
- Tv
- Waschmaschine
- Bettlaken

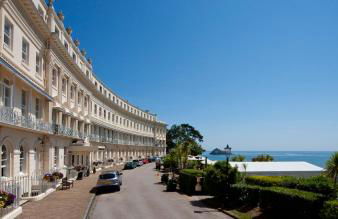


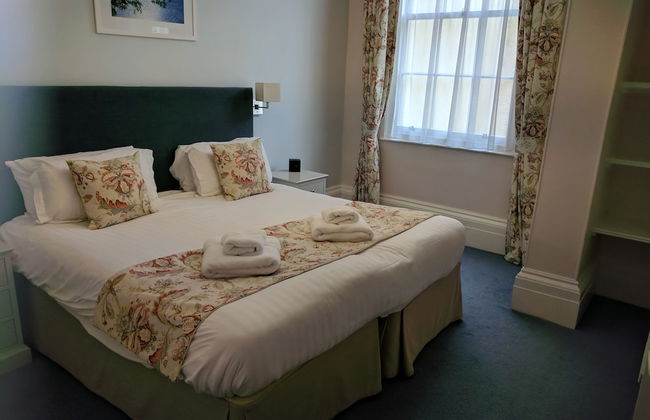
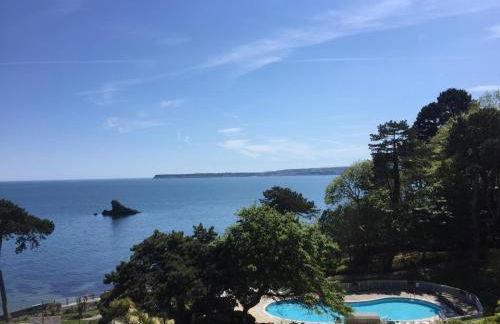


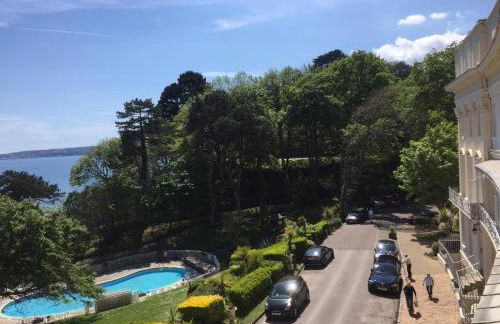


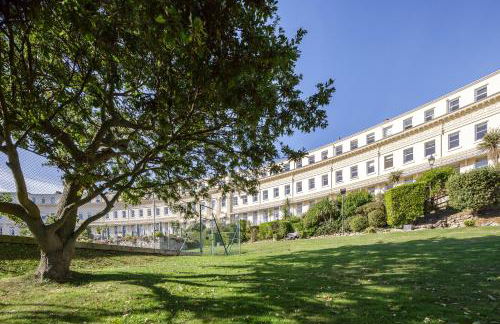

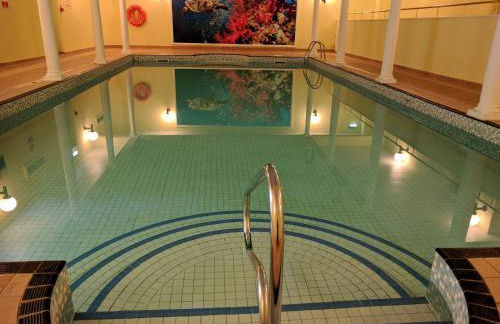


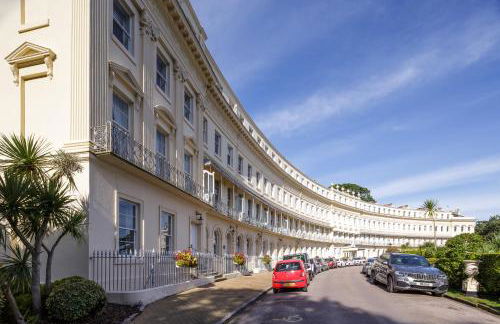


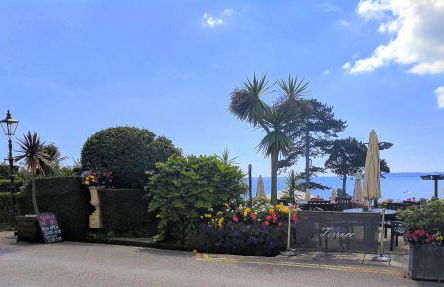


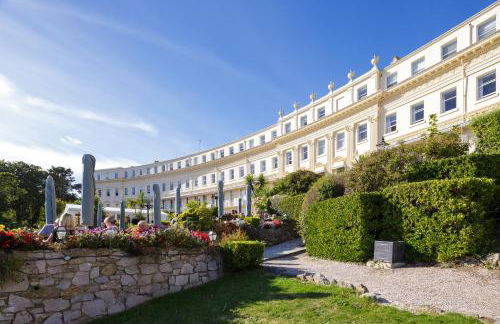


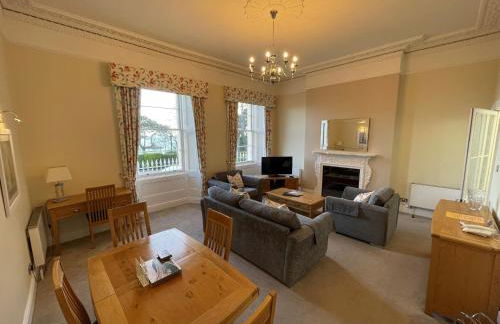

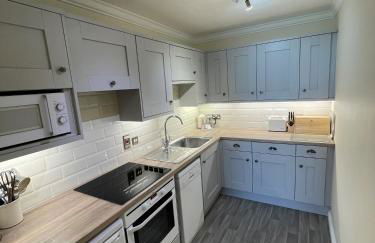


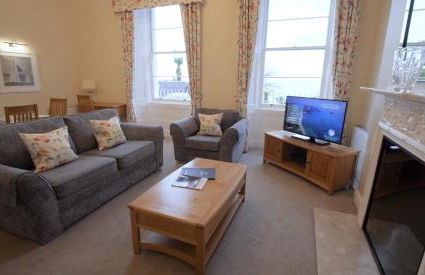

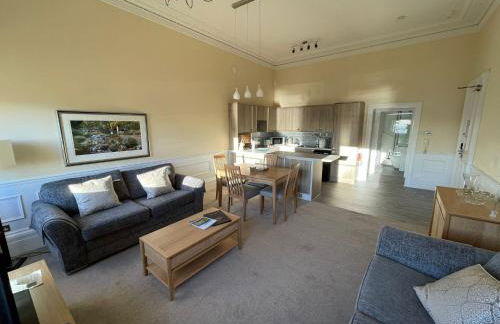

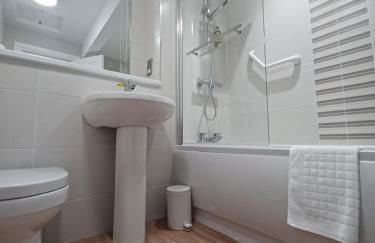


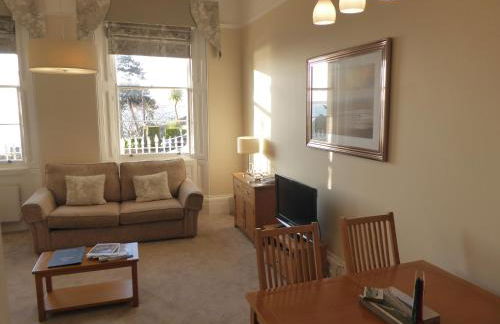


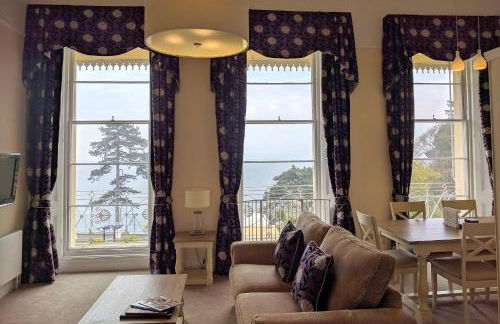


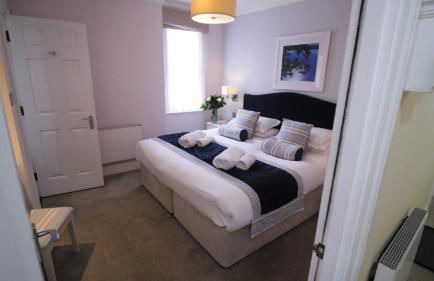

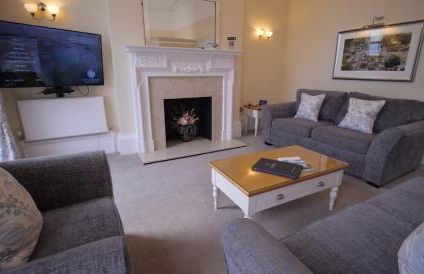
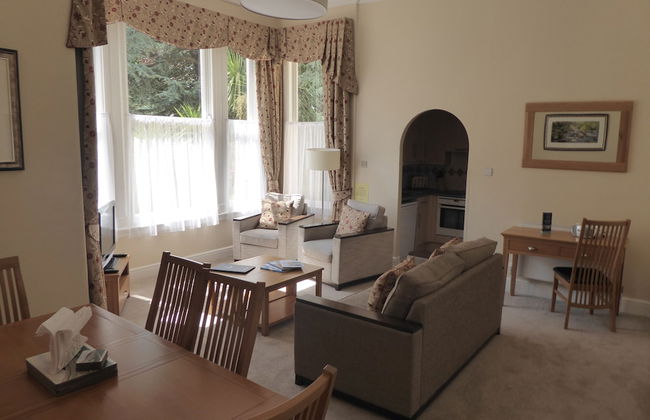
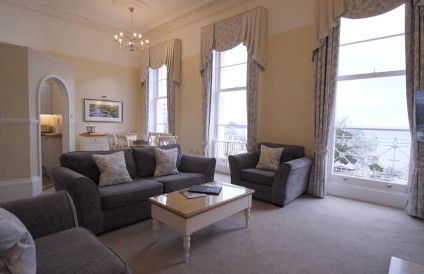


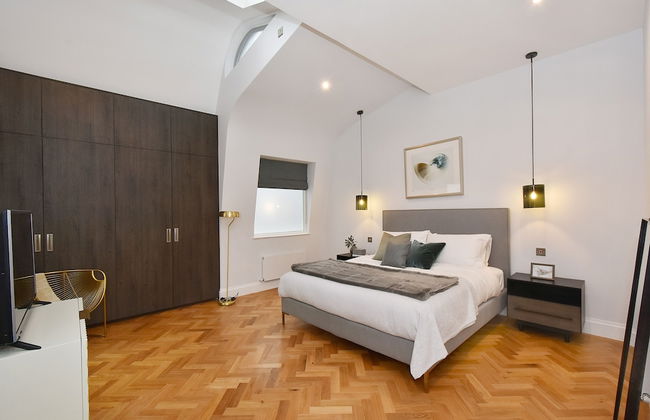
The Osborne Apartments
Torquay - Torquay
- 139 M2
- 3 Schlafzimmer
- 8 Personen
- Heizung
- Terrasse
- Schwimmbad
- Parkplatz
- Fahrstuhl
- Garten
- Tv
- Handtücher
- Bettlaken


Shorelands - 1 Bedroom Apartment - Manorbier
Tenby - Manorbier
- 28 M2
- 2 Personen
- Kochnische
- Heizung
- Terrasse
- Parkplatz
- Garten
- Tv
- Handtücher
- Bettlaken


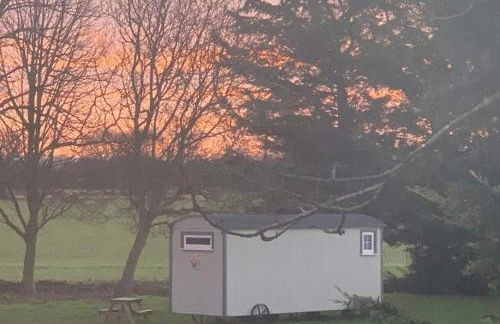

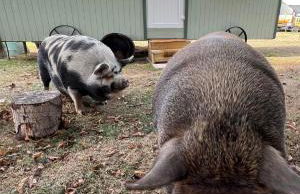


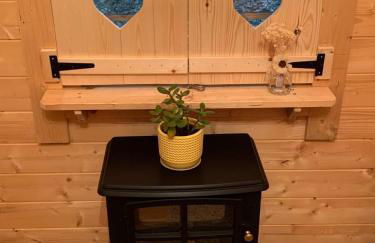


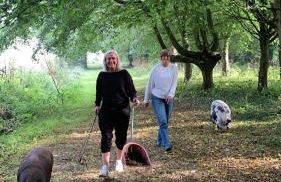

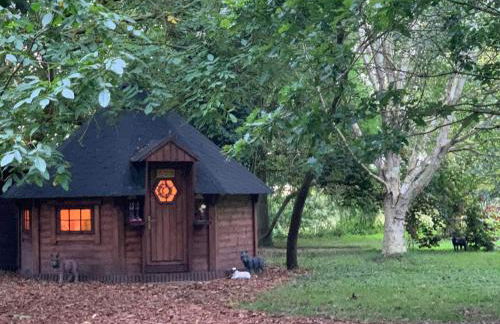


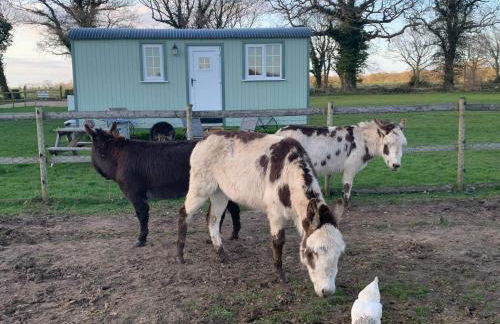


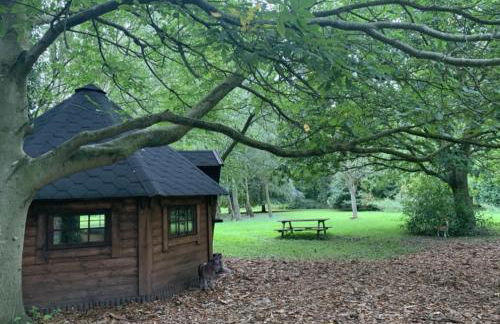


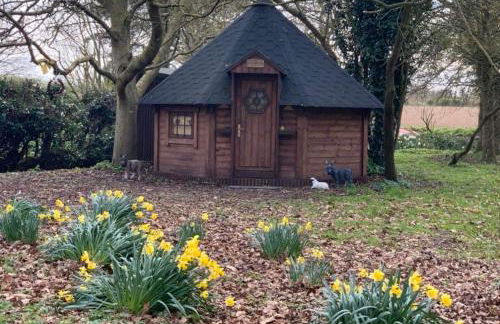

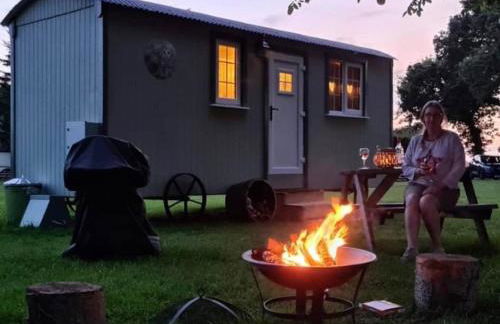


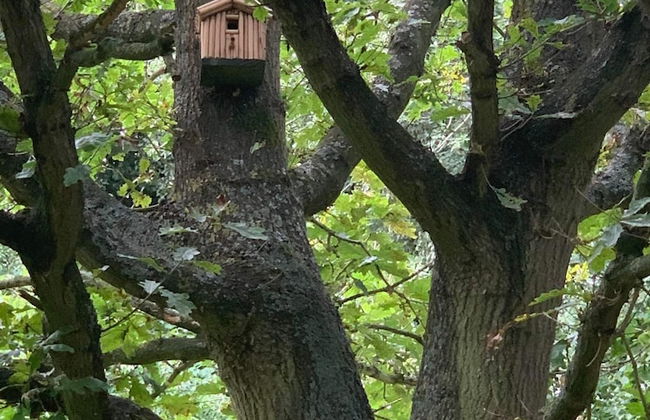


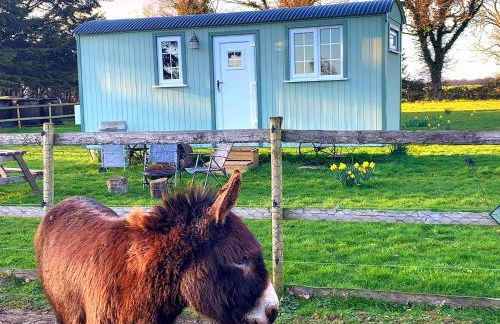

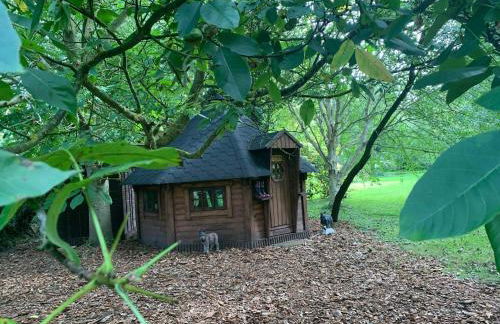
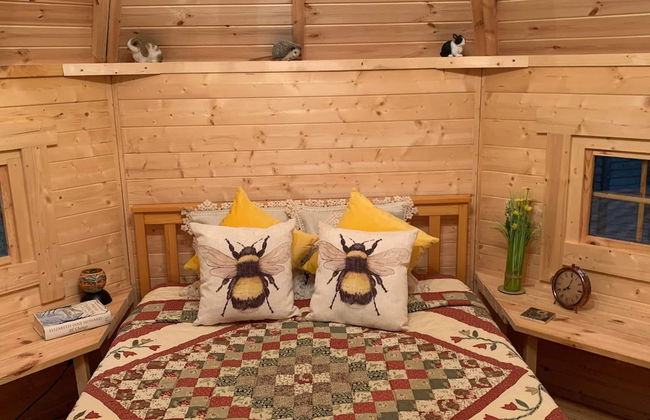


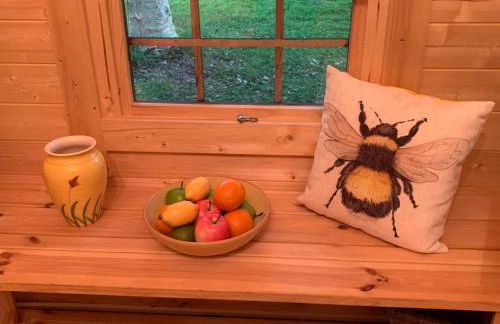


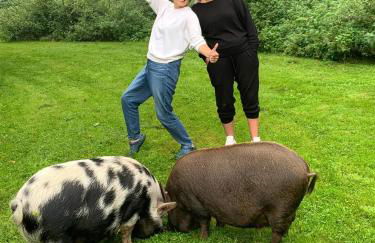
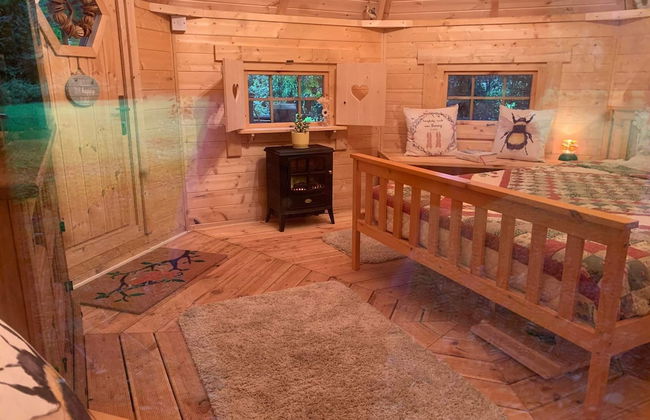


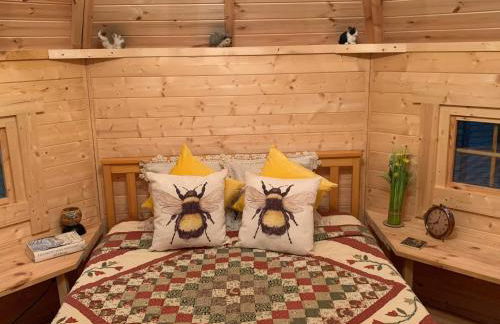

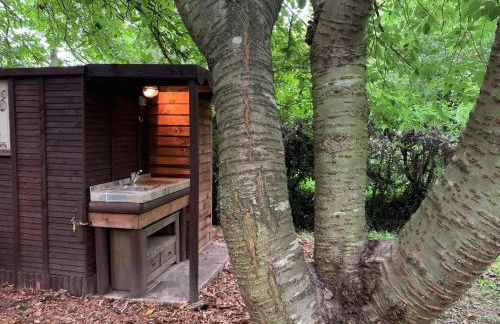

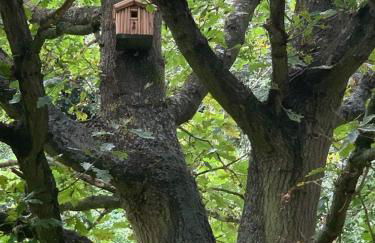


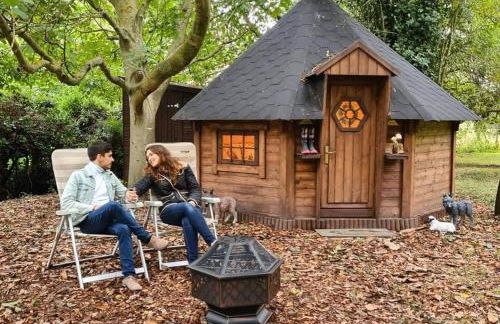


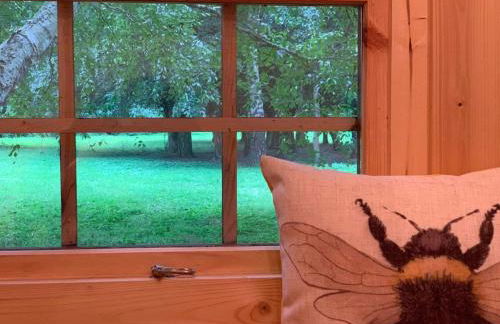

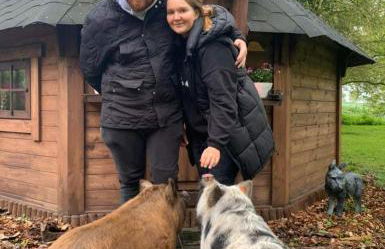


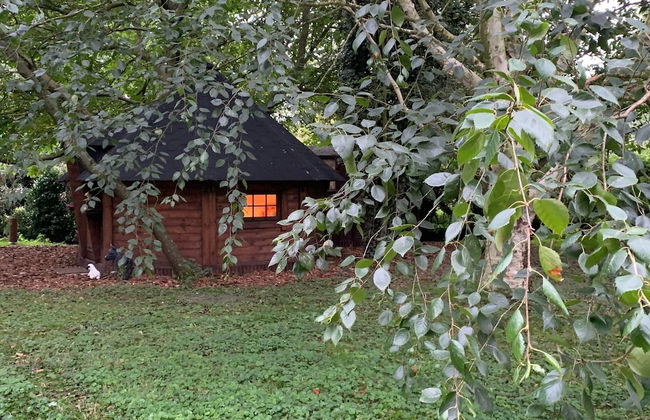


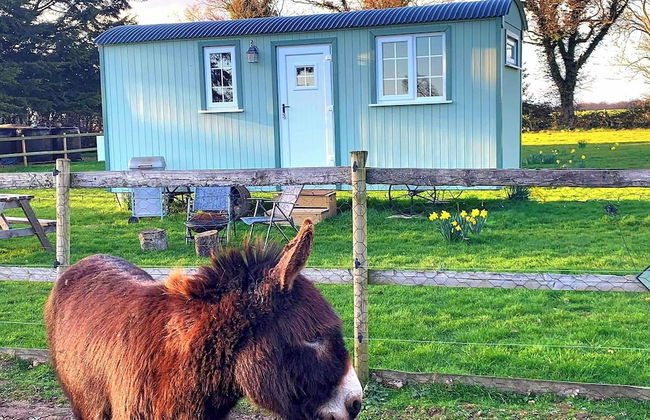


Starry Meadow & Rescued Animal Experiences
Great Yarmouth - Catfield - 19.5 km vom Zentrum
- 20 M2
- 2 Personen
- Heizung
- Terrasse
- Parkplatz
- Tv
- Handtücher
- Bettlaken

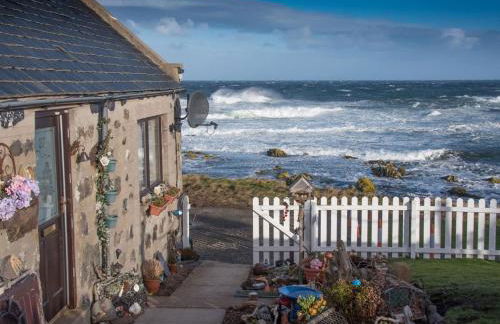


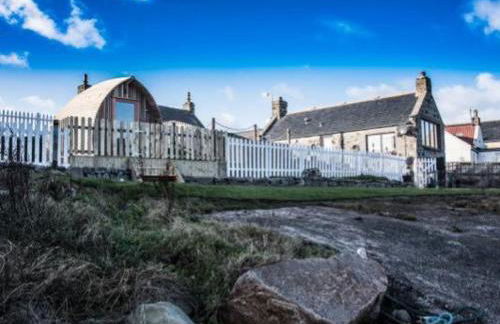


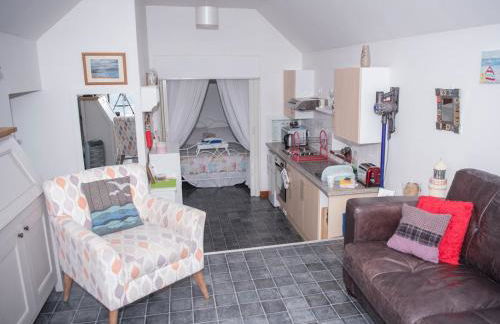

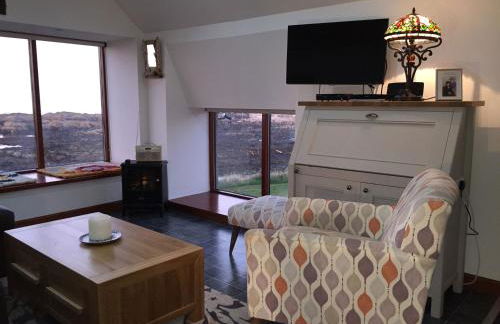

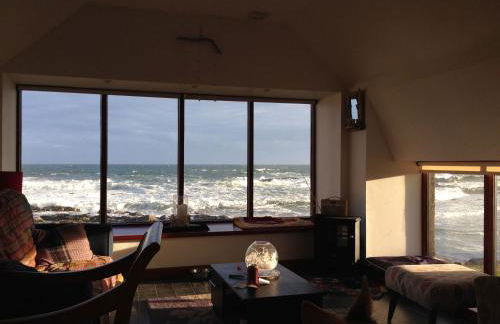


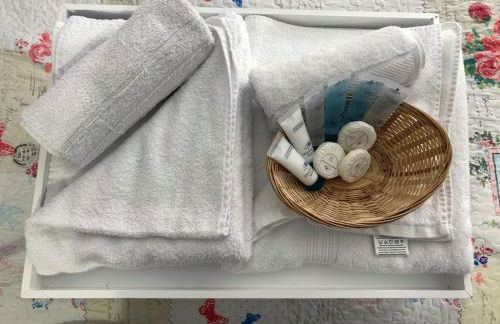


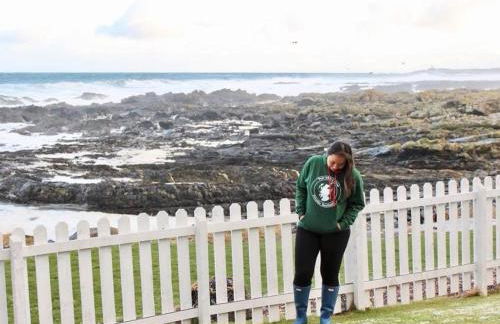

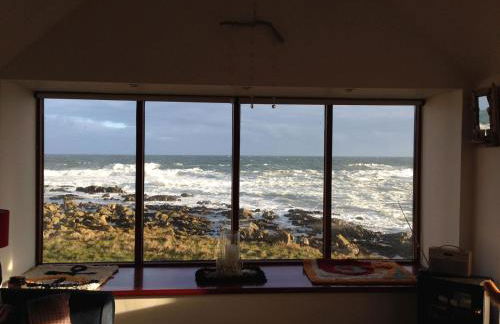

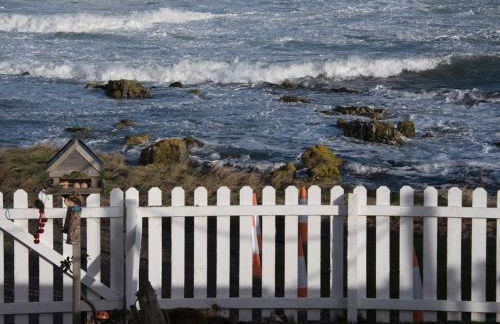


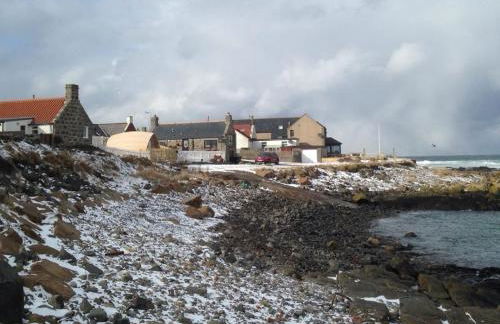

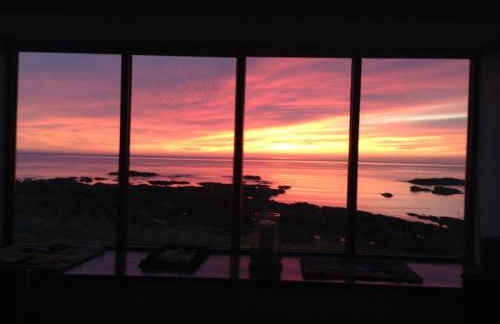

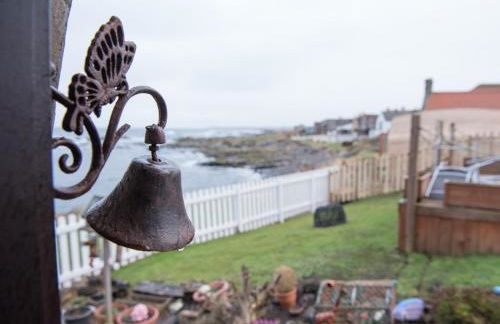


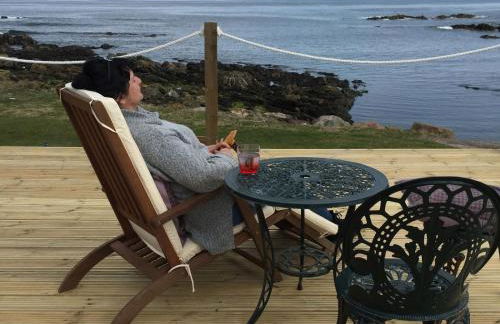


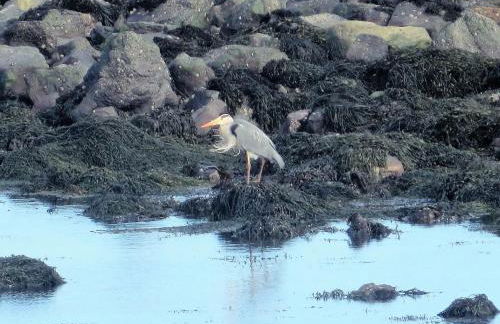


Pew With a View - Seafront Cottages
Fraserburgh - Sandhaven
- 48 M2
- 1 Schlafzimmer
- 4 Personen
- Heizung
- Terrasse
- Parkplatz
- Balkon
- Garten
- Tv
- Waschmaschine
- Barbecue
- Handtücher
- Bettlaken


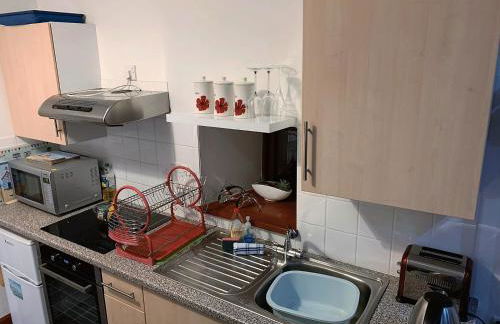
Malvern Holiday Garden Flat
Malvern - Malvern
- 2 Personen
- Heizung
- Terrasse
- Parkplatz
- Garten
- Tv
- Waschmaschine
- Handtücher
- Bettlaken


King's 23
York - York - 290 m vom Zentrum
- 45 M2
- 2 Personen
- Heizung
- Fahrstuhl
- Garten
- Tv
- Handtücher
- Bettlaken


New Luxury 1-bed House nr Bicester Village
Bicester - Piddington
- 75 M2
- 2 Personen
- Heizung
- Terrasse
- Parkplatz
- Garten


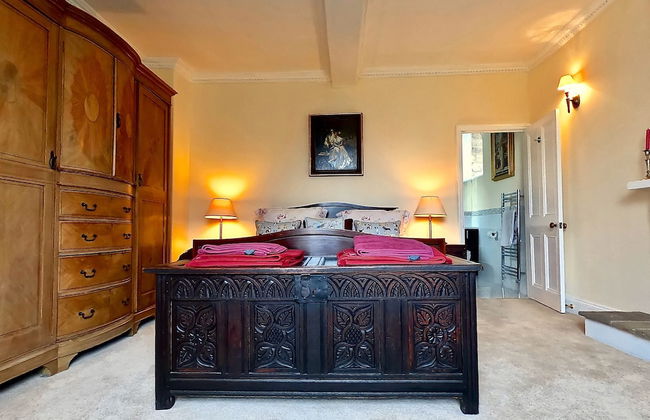
Picturesque Village House
Enniskillen - Kesh
- 100 M2
- 4 Personen
- Heizung
- Terrasse
- Parkplatz
- Balkon
- Garten
- Tv
- Waschmaschine
- Schornstein
- Handtücher
- Bettlaken
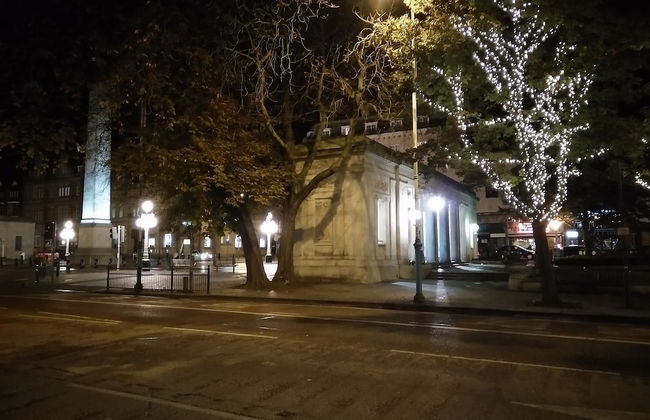
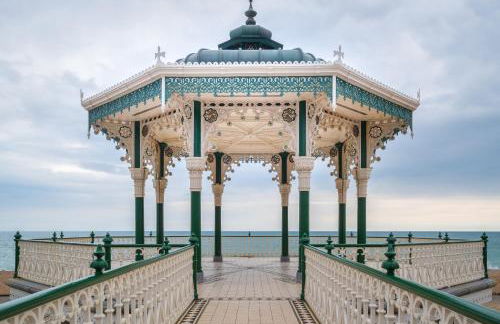
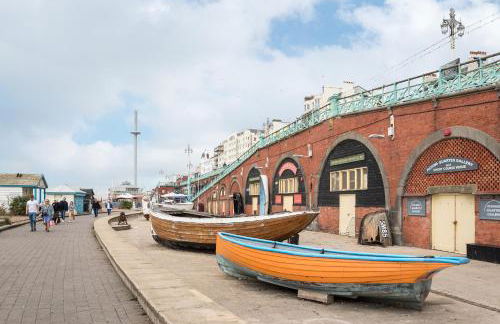
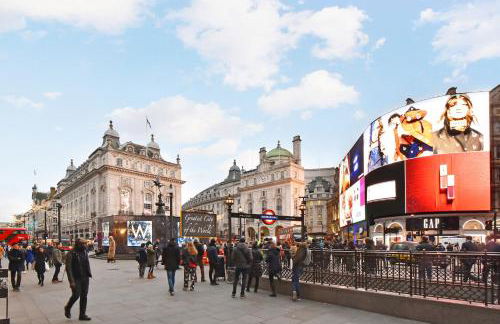
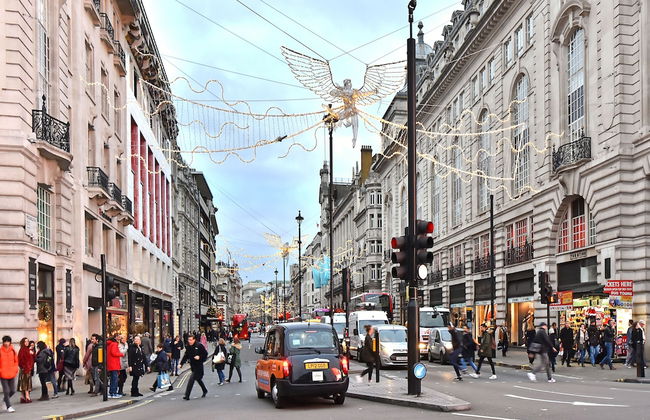
Obwohl der Tourismus sich hauptsächlich in London abspielt, hat Großbritannien noch sehr viel mehr als die Klassiker Big Ben, das Parlament, den Buckingham Palace oder das London Eye (all diese Sehenswürdigkeiten zählen zu England) zu bieten. Schottland, Wales und Nordirland bieten Ihnen einen abwechslungsreichen Urlaub. Seen, Berge, Hügel, weite Felder, Wälder und atemberaubende Orte vermischen sich mit dem aufbrausendem Leben in Städten wie Edinburgh, die Ihnen ein bezauberndes Ambienten bietet und somit eine einzigartige Stadt ist.