
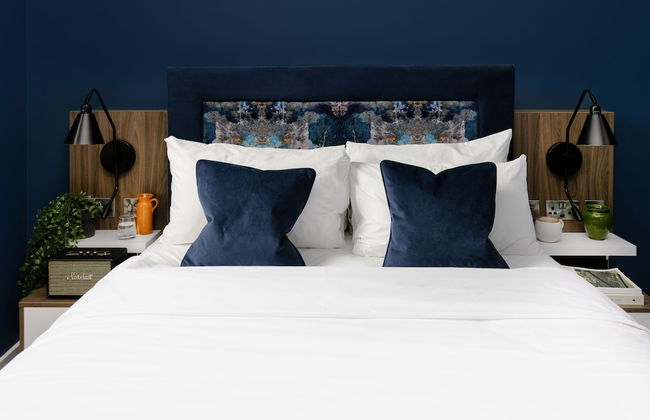
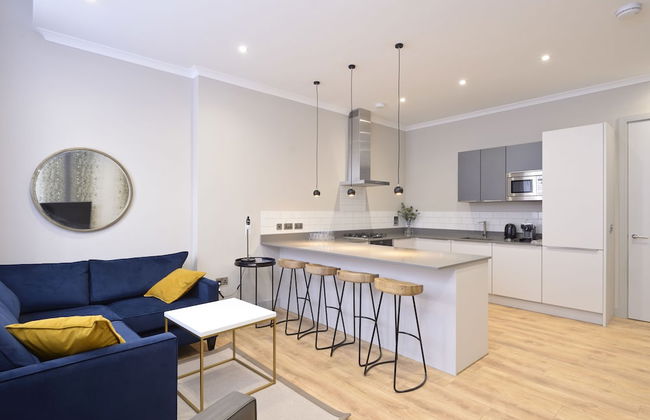
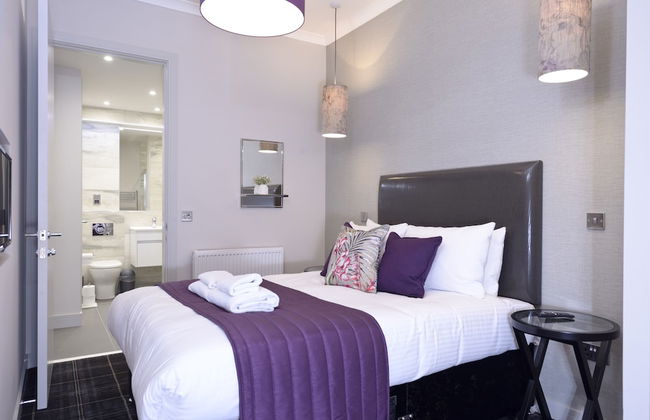
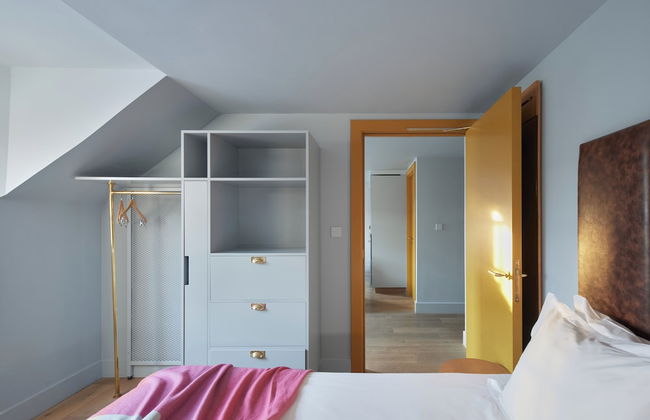
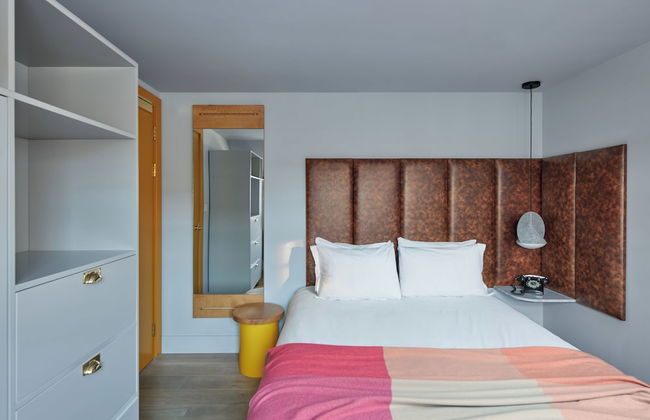
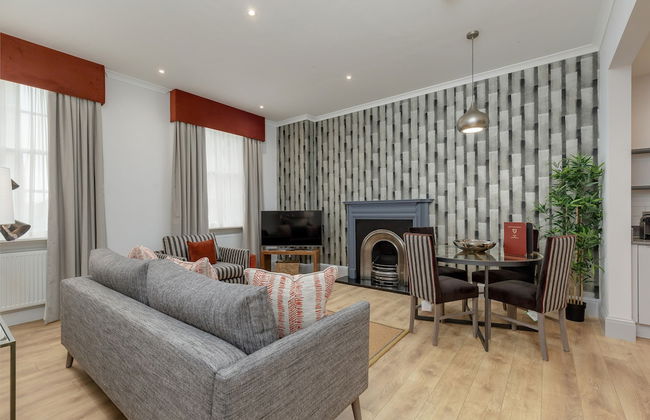
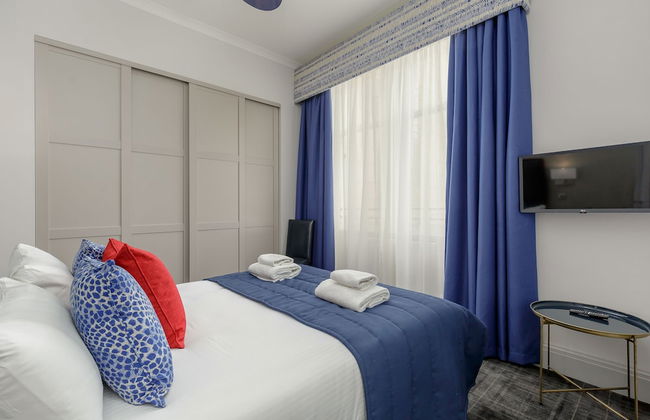
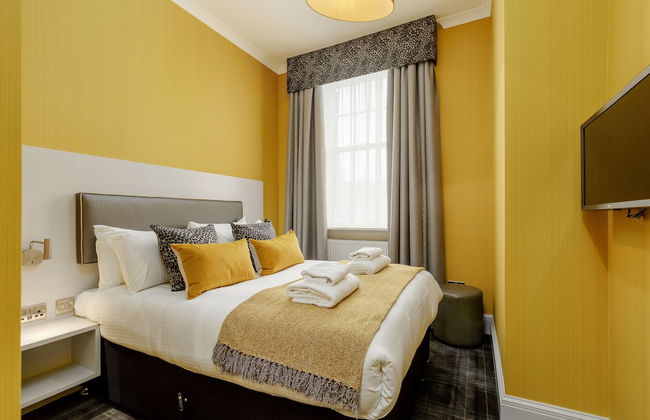
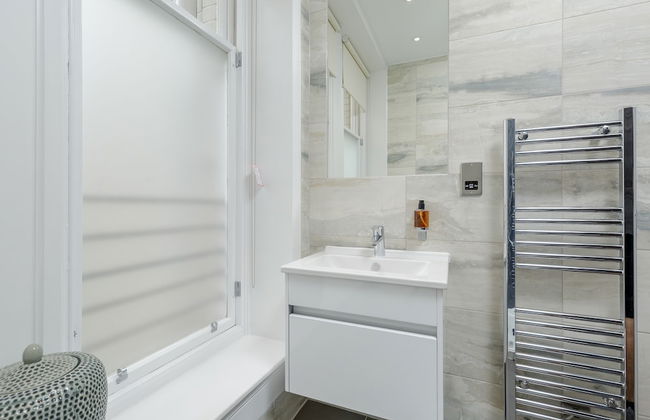
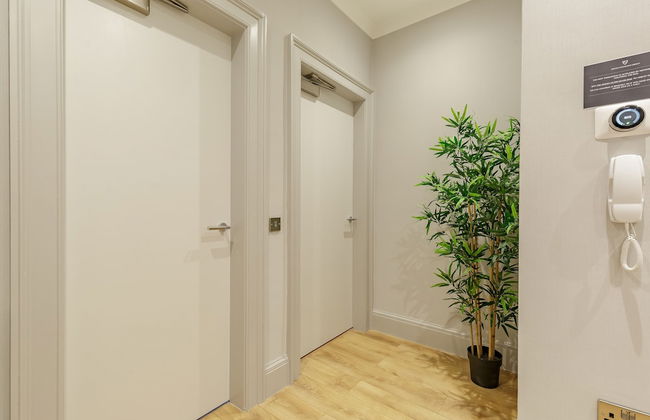
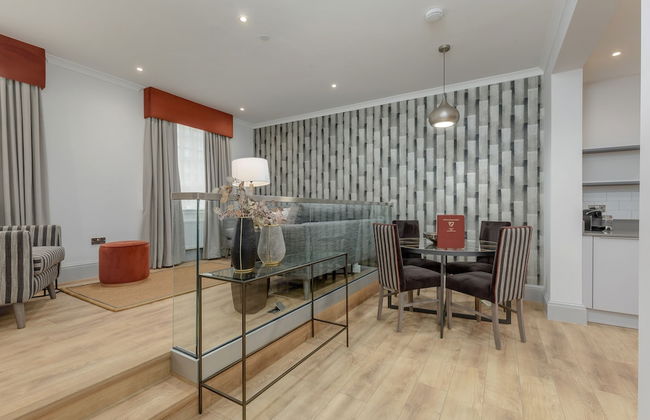
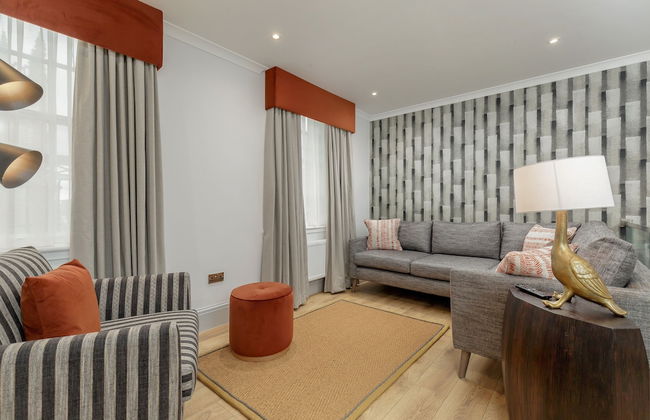
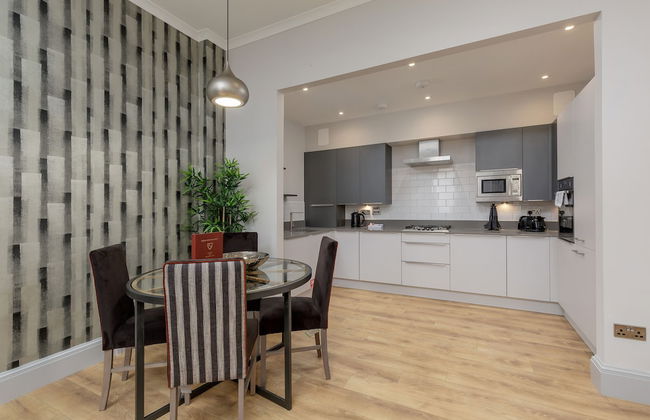
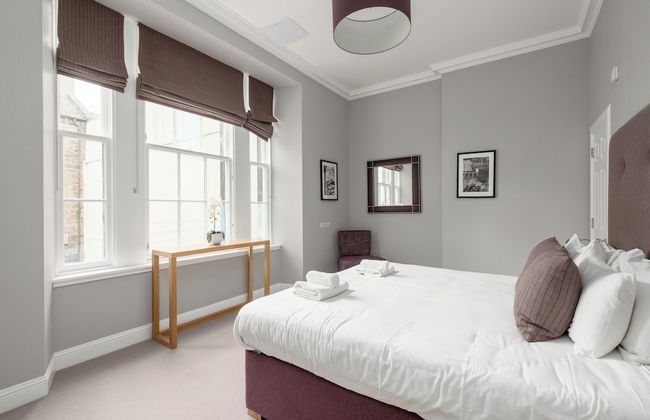
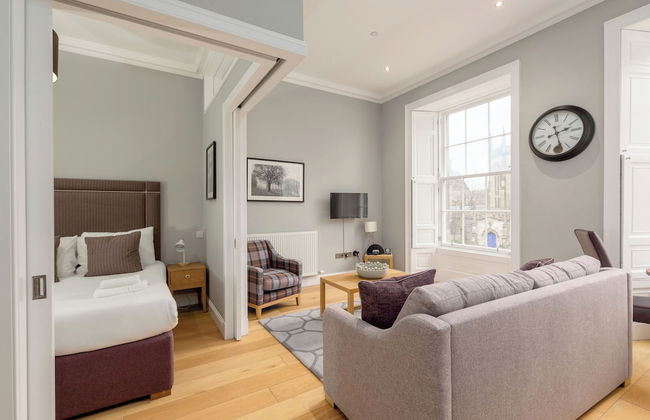
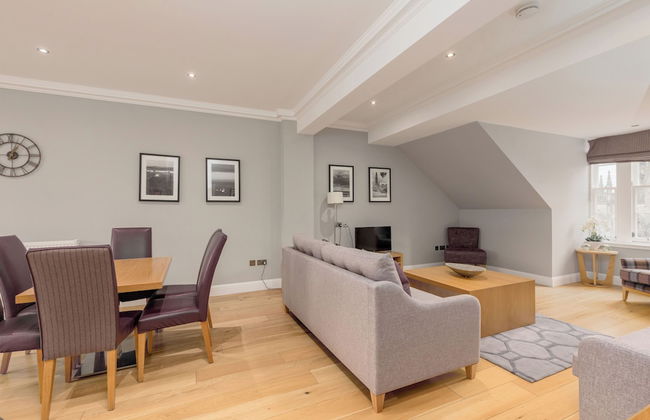
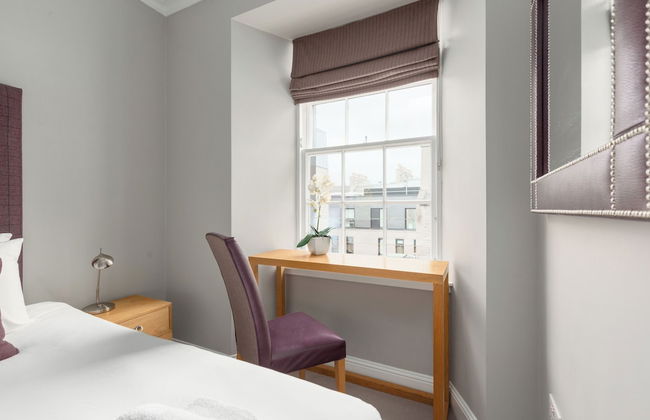
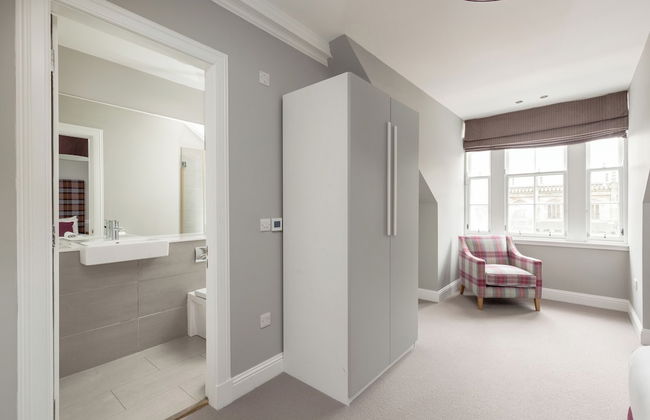
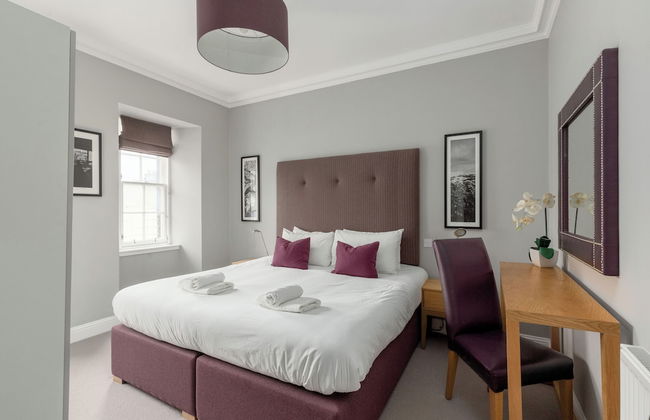
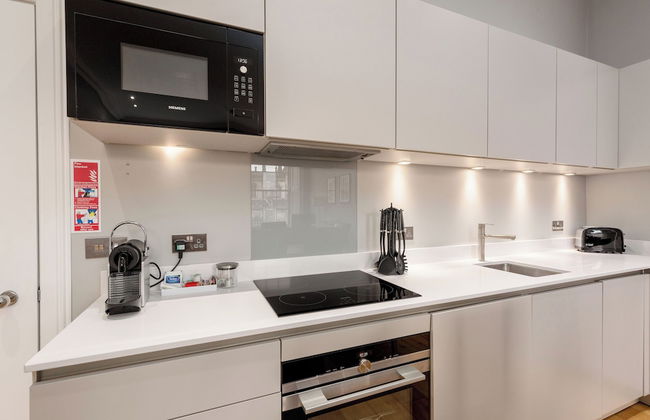
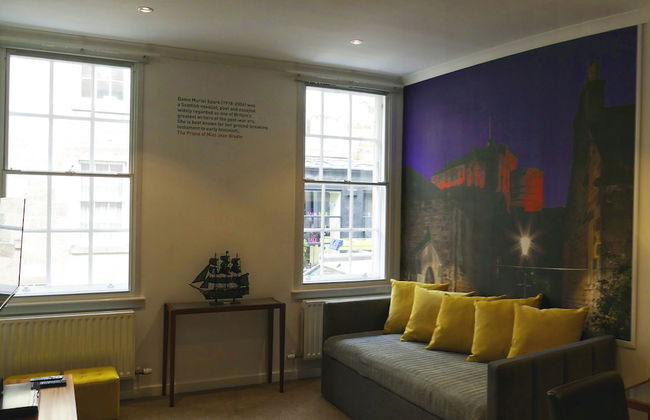
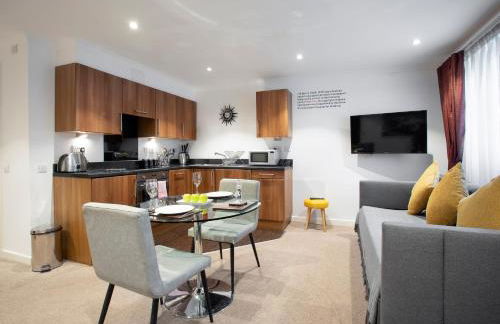
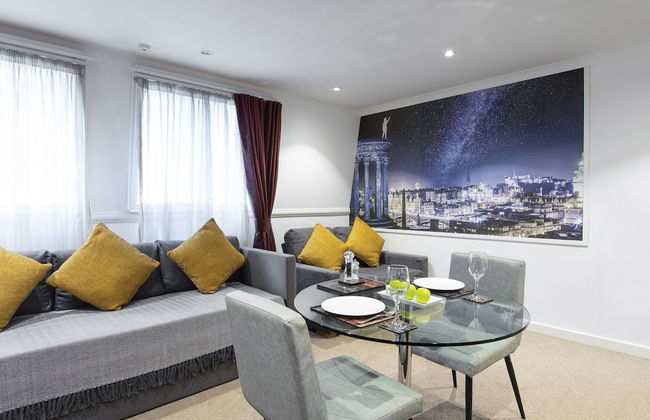
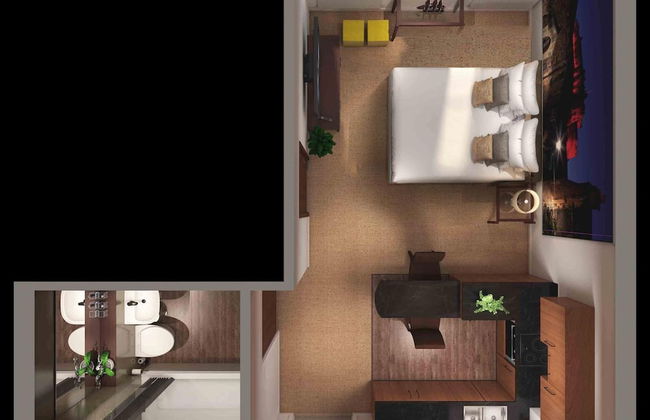
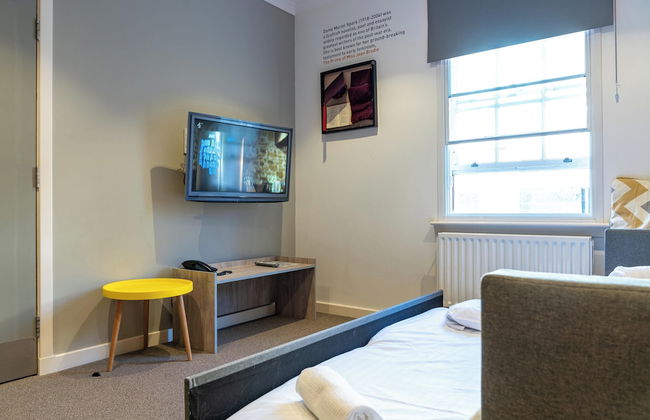
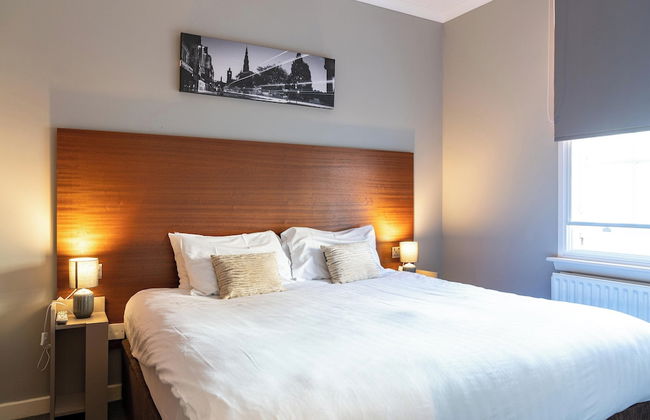
146 Wohnungen in EH2


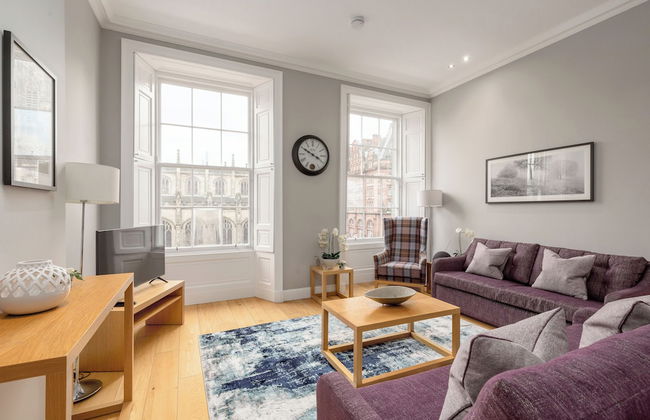
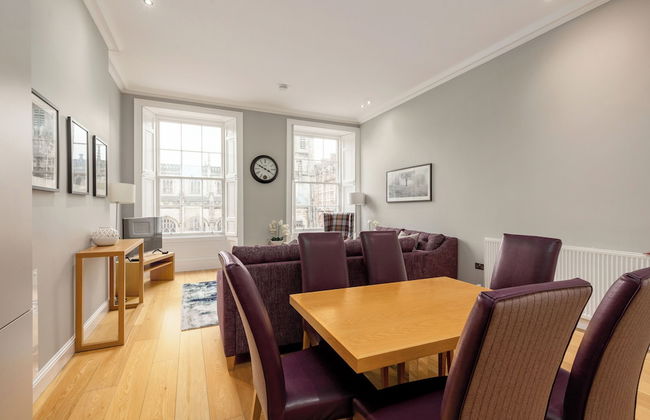
RÌGH Residences - George Street
Edinburgh - EH2 - Im Zentrum
- 72 M2
- 2 Schlafzimmer
- 5 Personen
- Kochnische
- Klimaanlage
- Heizung
- Fahrstuhl
- Tv
- Handtücher
- Bettlaken
187 Bewertungen


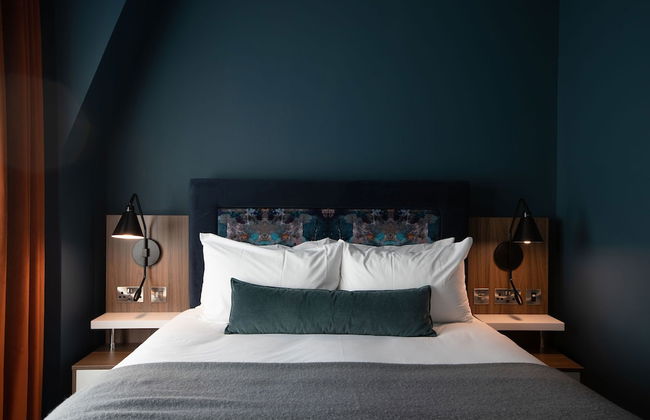


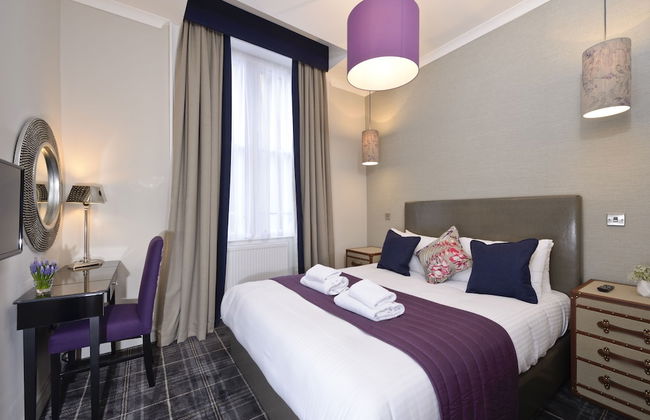
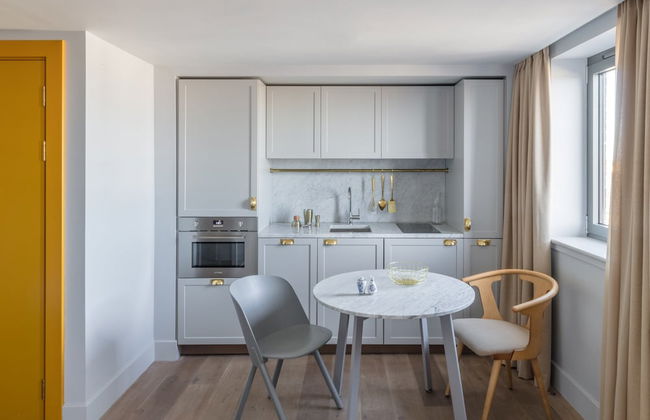
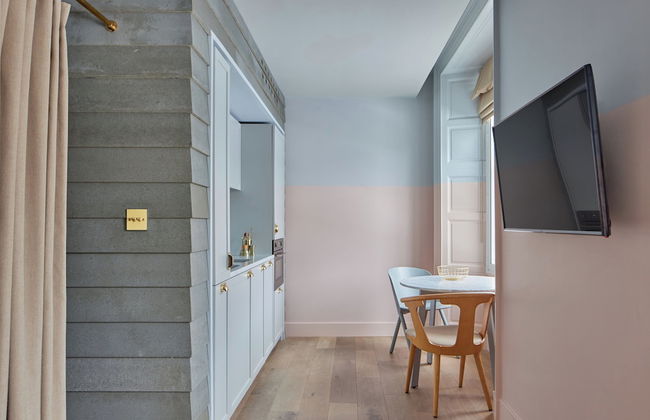
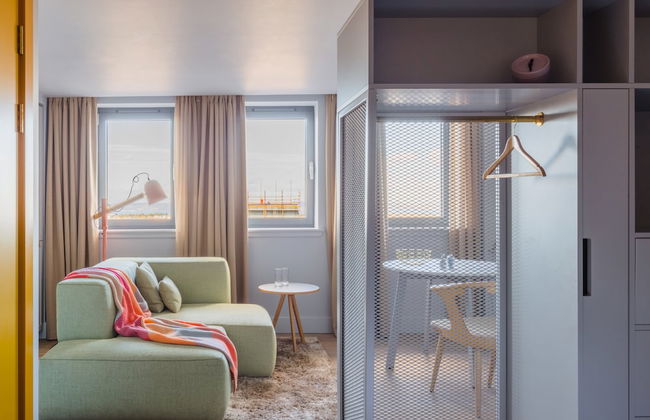
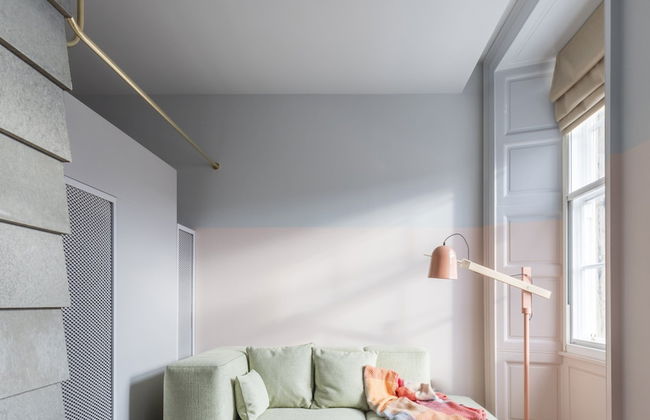
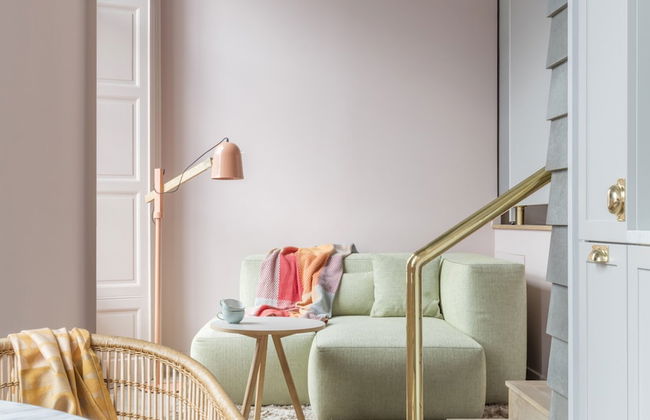
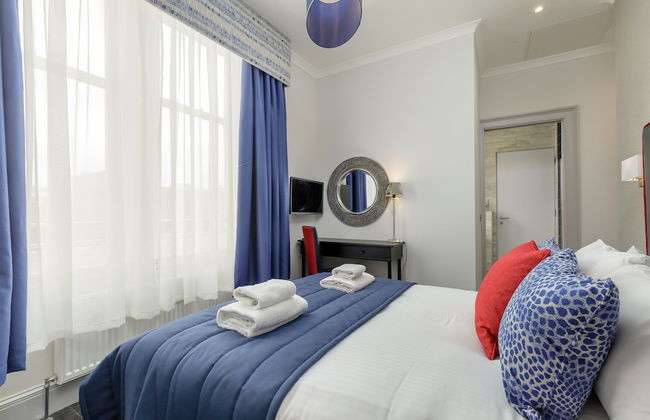
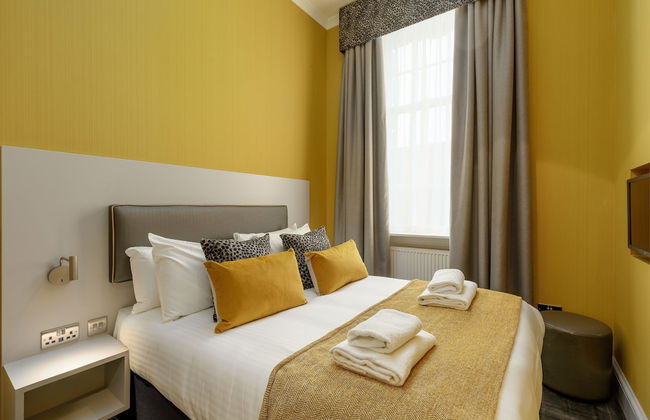
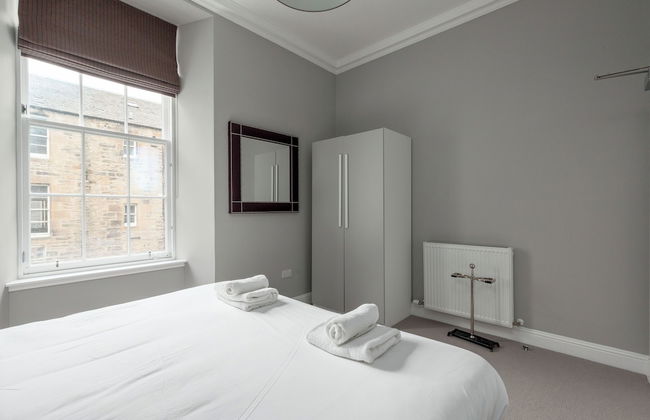
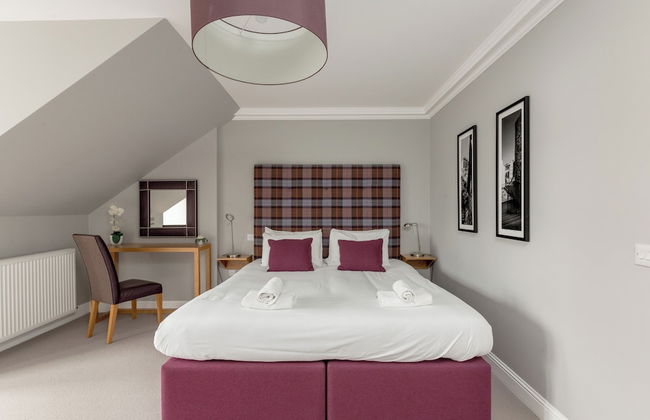
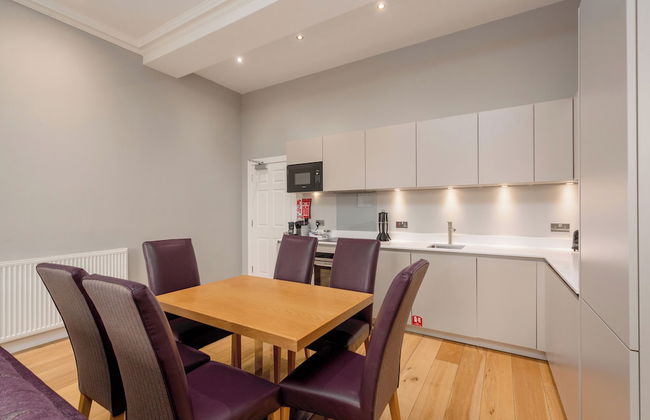
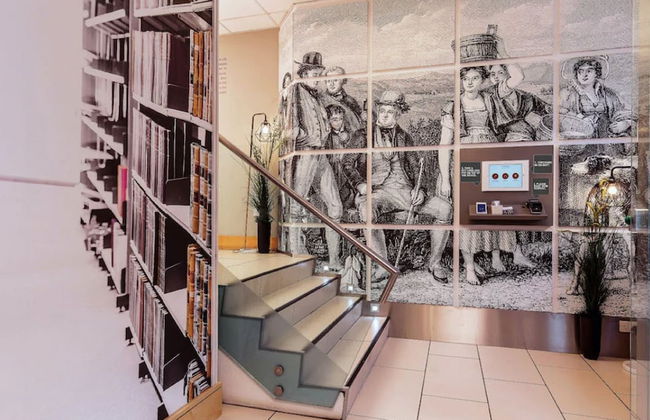
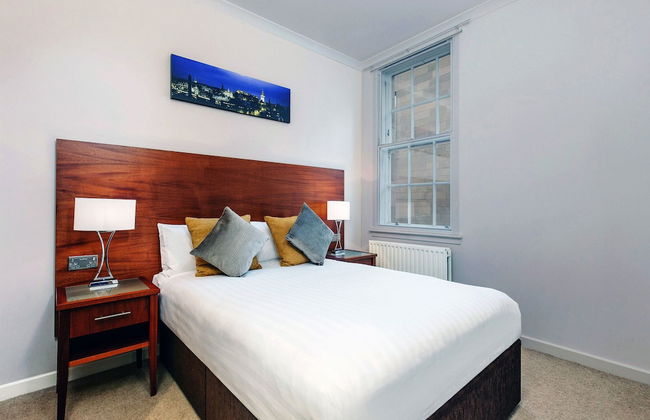
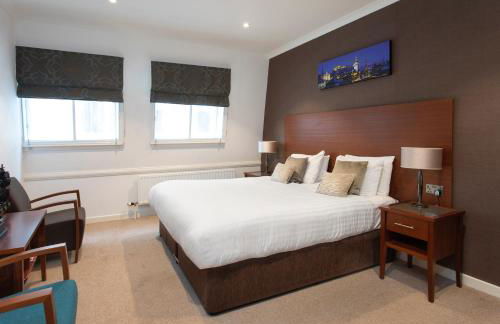
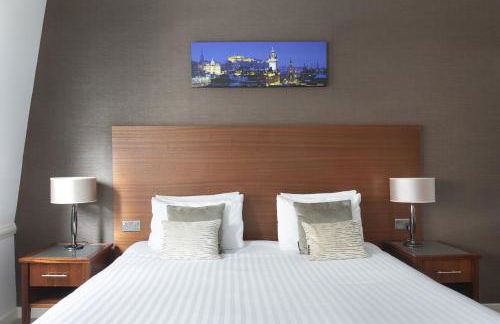
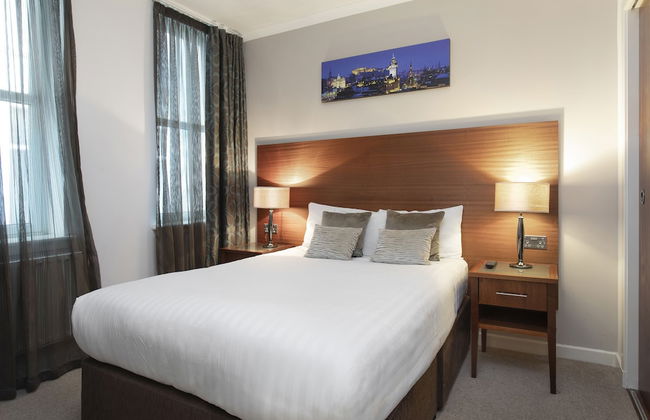
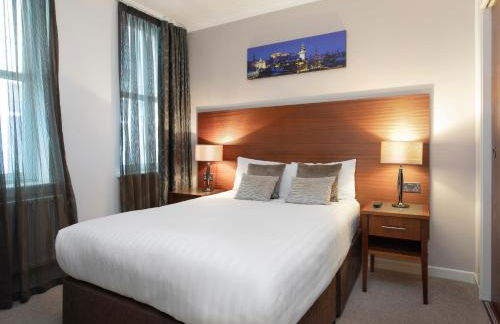
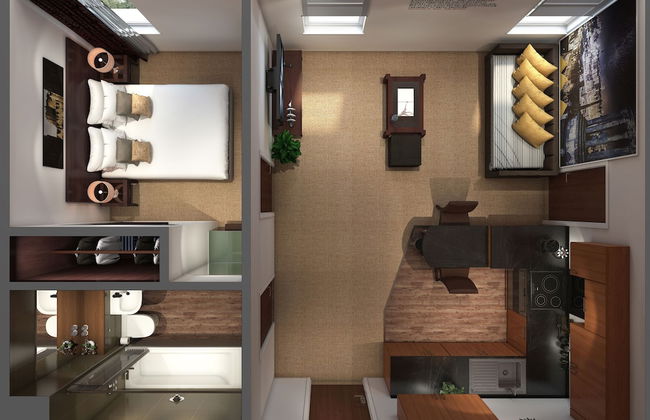
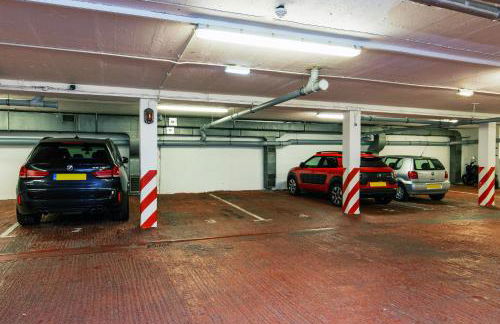
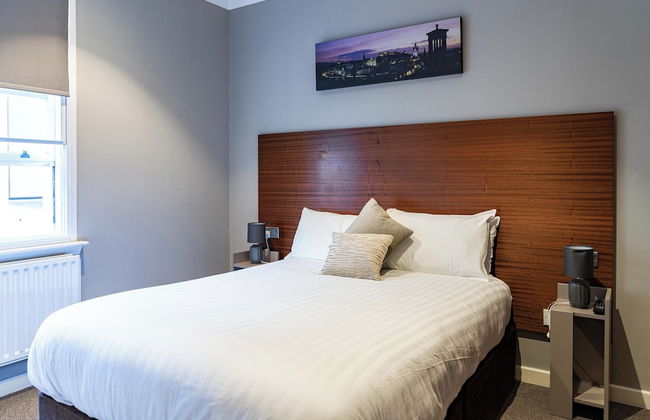
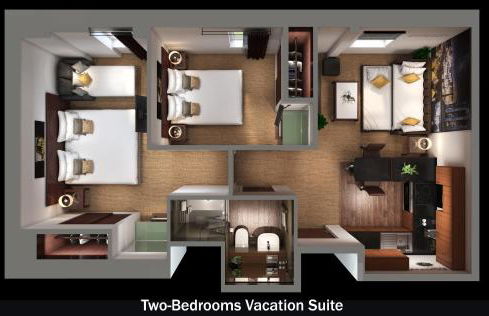
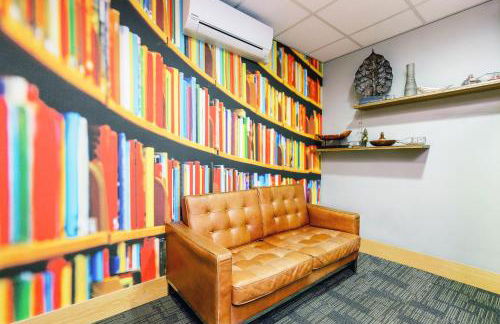
Heeton Concept Aparthotel Edinburgh Queen Street
Edinburgh - EH2 - Im Zentrum
- 34 M2
- 6 Personen
- Klimaanlage
- Heizung
- Parkplatz
- Fahrstuhl
- Tv
- Waschmaschine
- Schornstein
- Handtücher
- Bettlaken
1057 Bewertungen


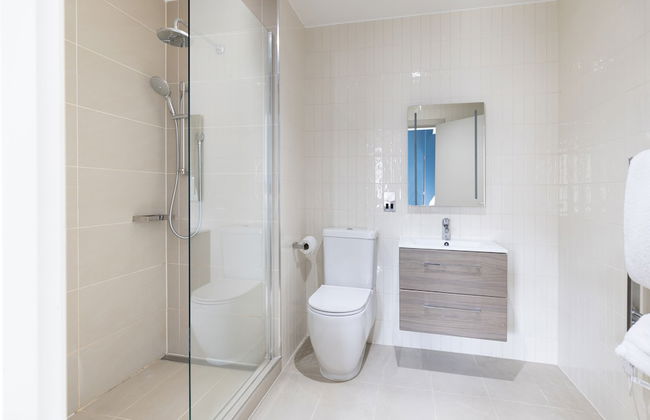
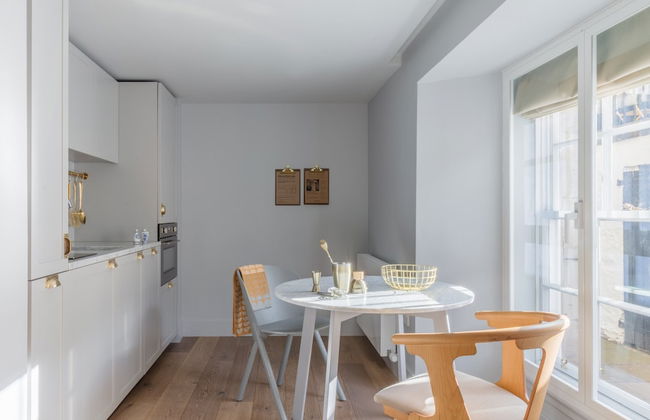
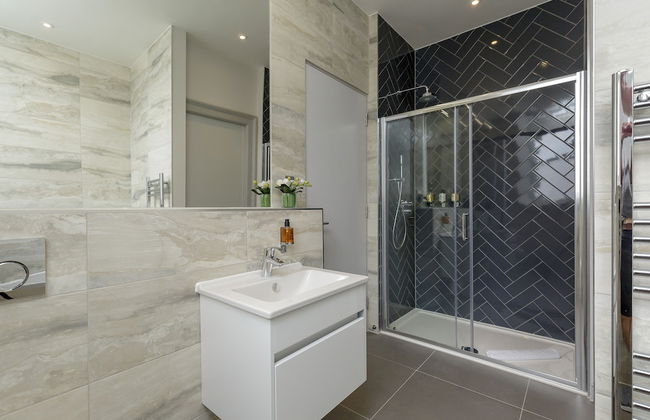
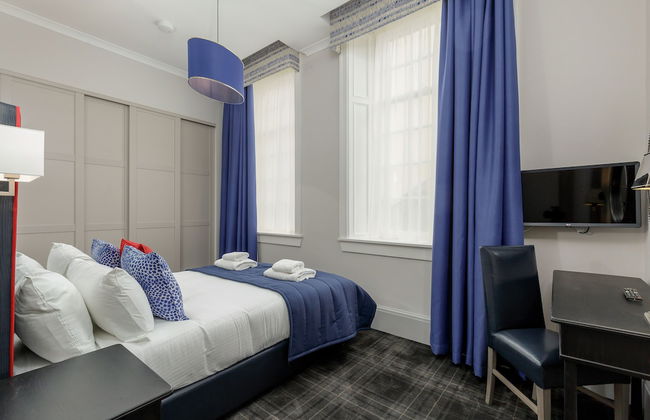
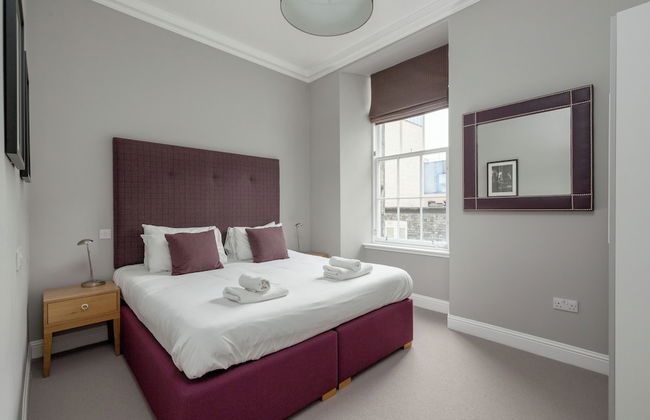
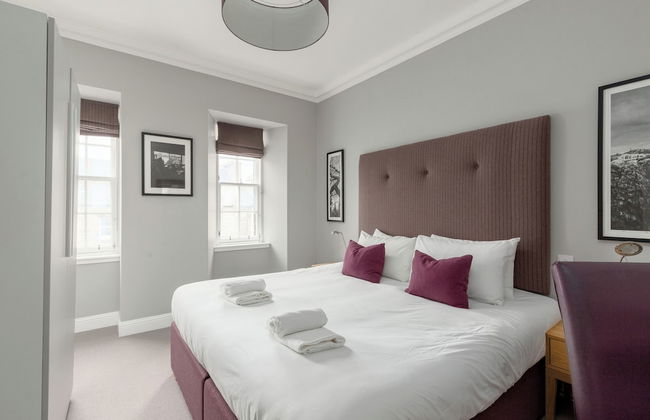
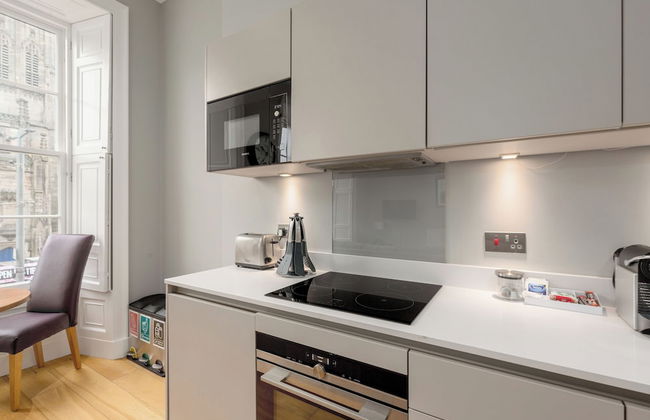
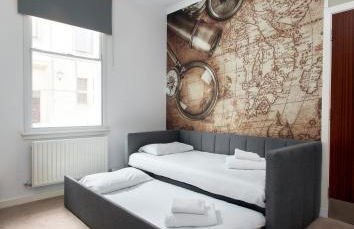
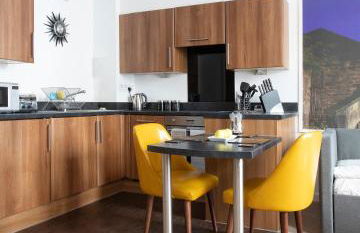
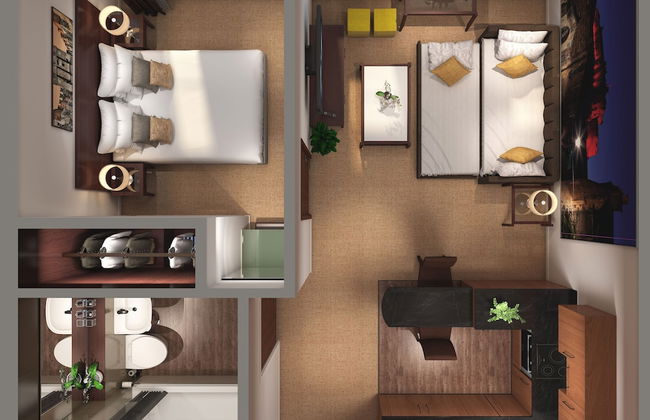
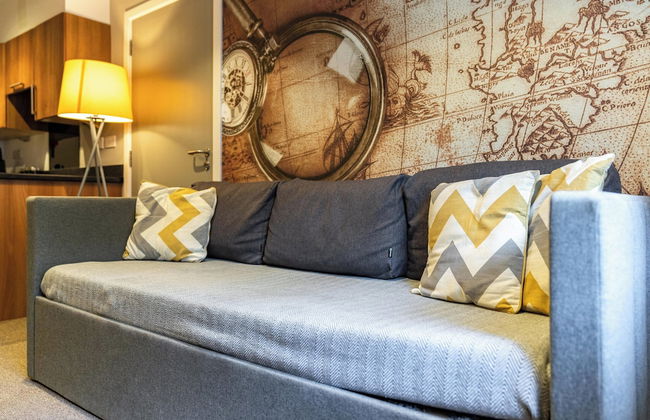
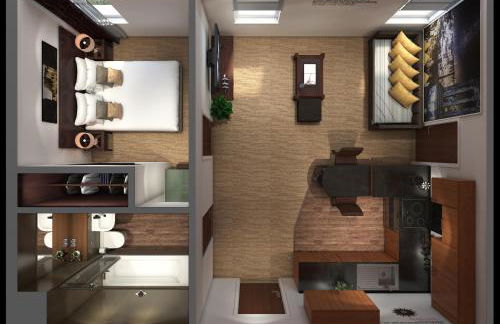
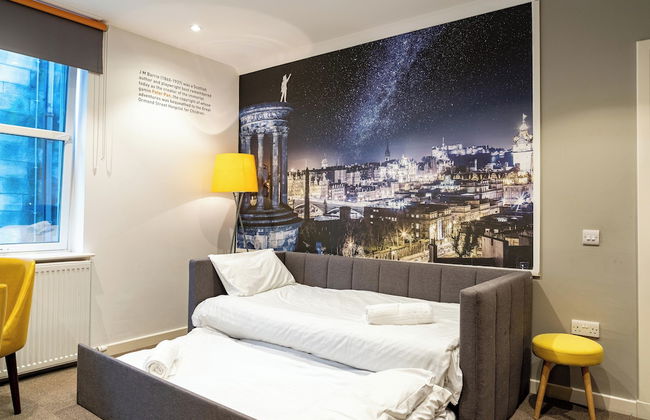
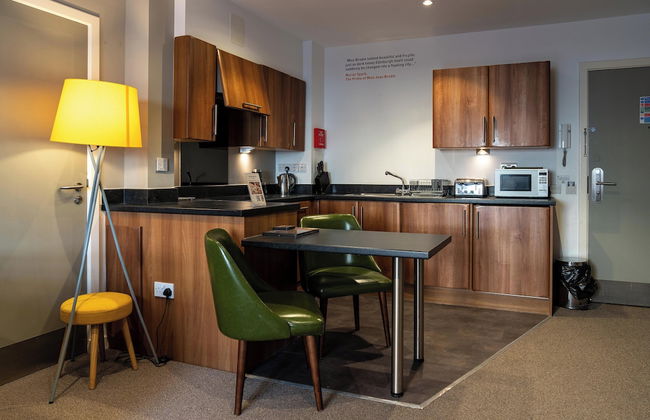
Luxury Romantic West-End Apartment With Jacuzzi Spa Bath
Edinburgh - EH2 - 300 m vom Zentrum
- 93 M2
- 1 Schlafzimmer
- 2 Personen
- Klimaanlage
- Heizung
- Terrasse
- Parkplatz
- Garten
23 Bewertungen
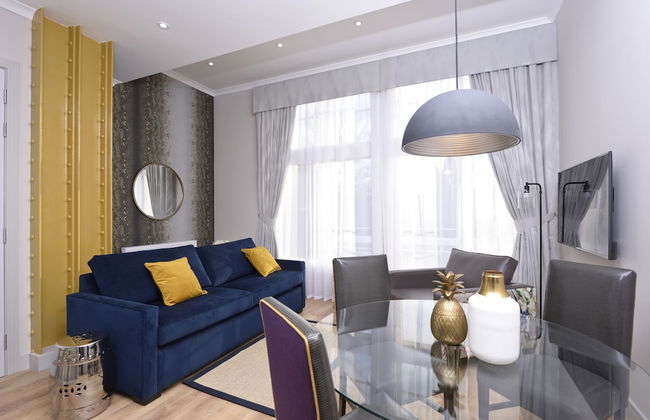


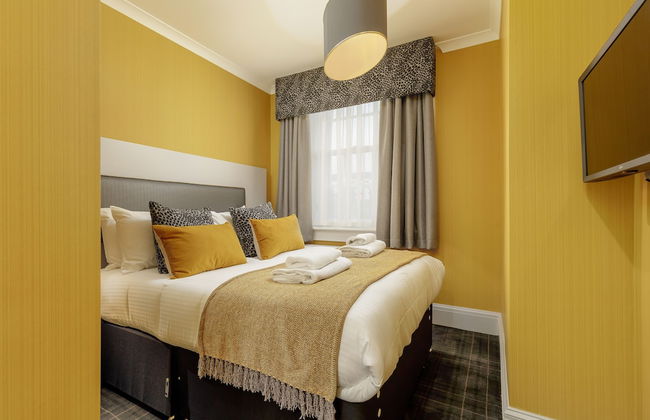
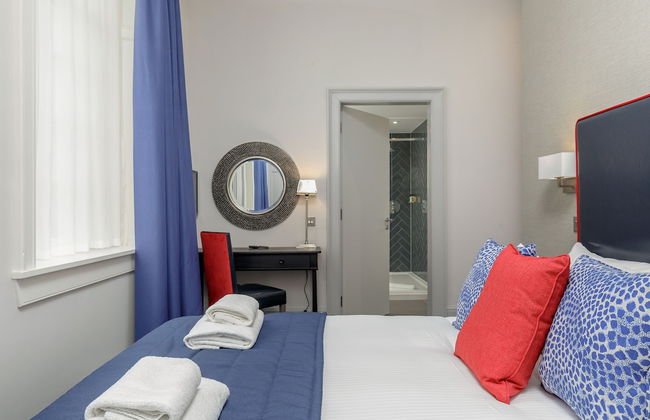
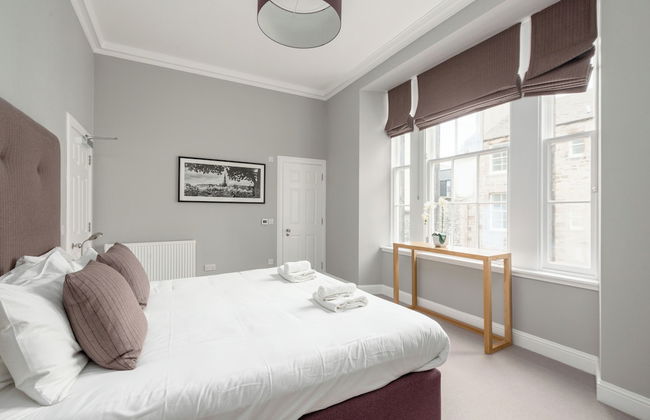
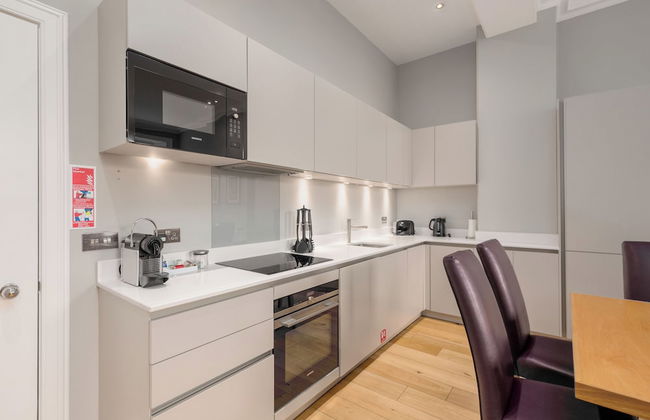
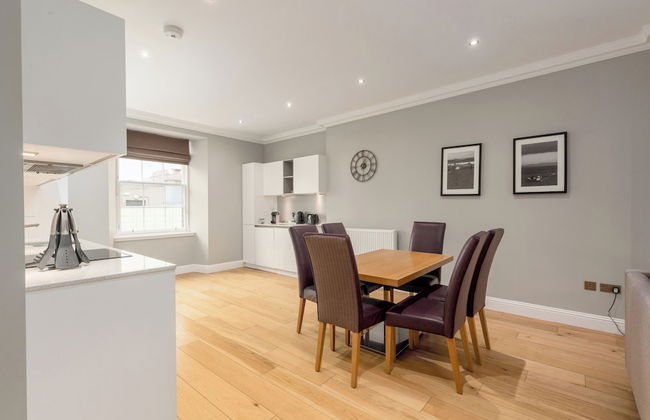
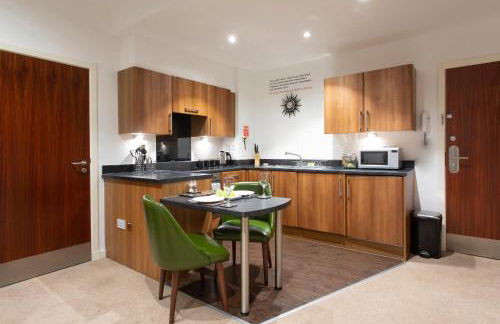
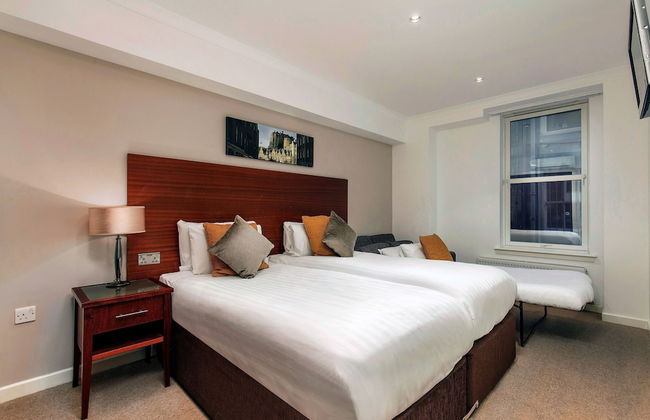
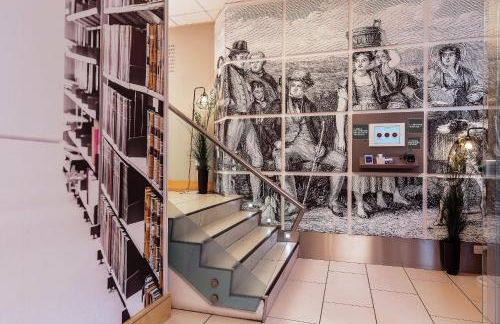
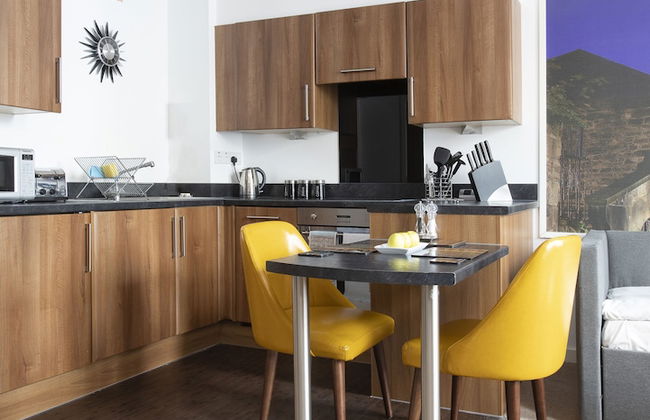
Destiny Scotland Charlotte Square Apartments
Edinburgh - EH2 - Im Zentrum
- 78 M2
- 2 Schlafzimmer
- 4 Personen
- Heizung
- Parkplatz
- Tv
- Waschmaschine
- Handtücher
- Bettlaken
121 Bewertungen


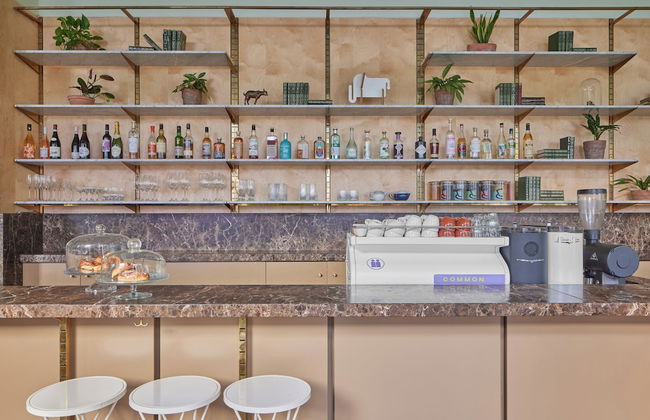
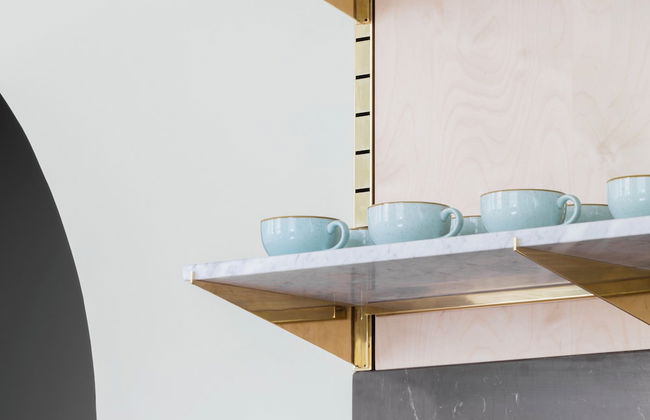
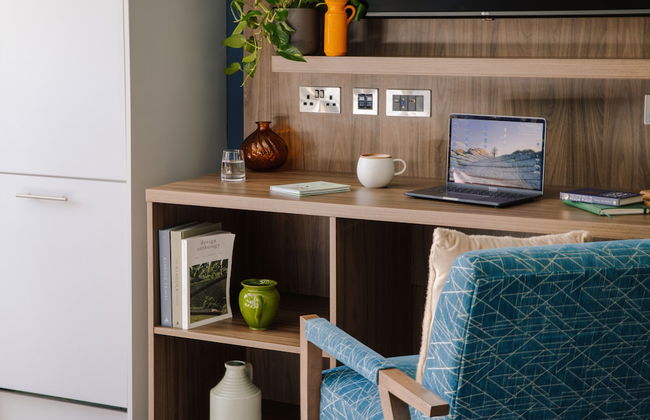
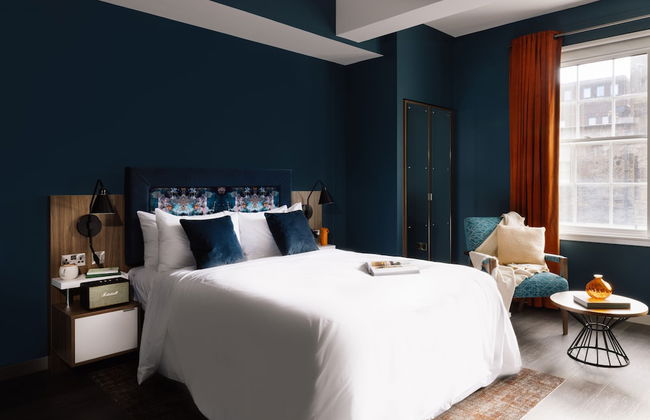
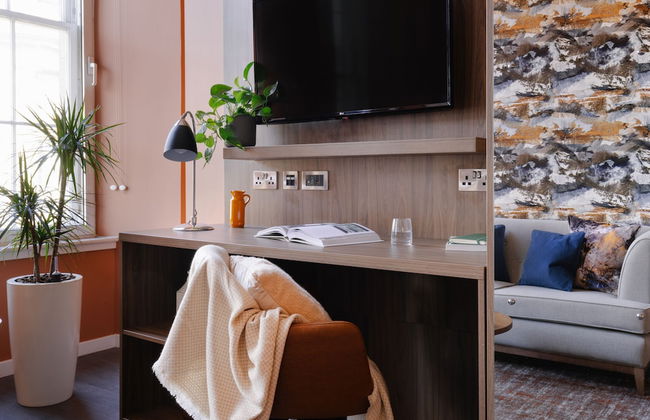
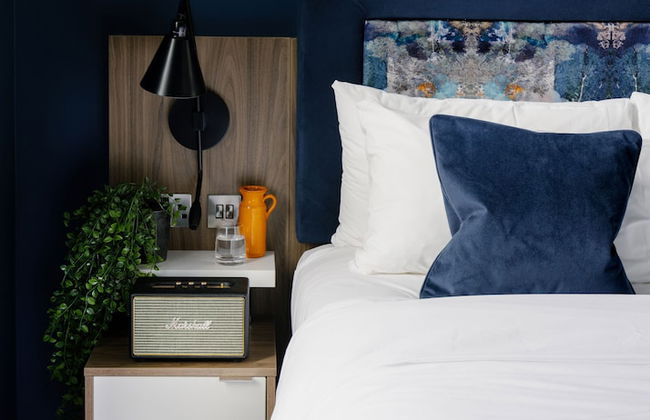
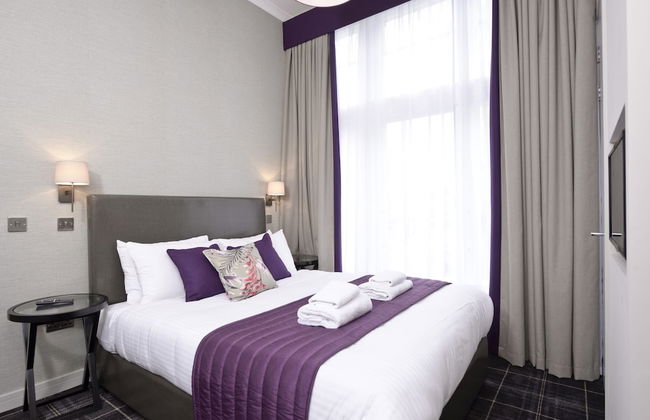
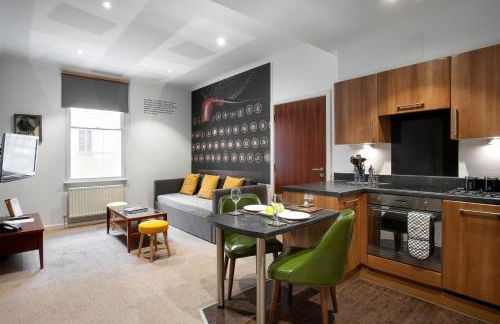
Eden Locke
Edinburgh - EH2 - Im Zentrum
- 33 M2
- 3 Personen
- Klimaanlage
- Heizung
- Tv
- Waschmaschine
- Handtücher
- Bettlaken
1216 Bewertungen


Destiny Scotland - Princes Street Residence
Edinburgh - EH2 - Im Zentrum
- 115 M2
- 3 Schlafzimmer
- 6 Personen
- Heizung
- Parkplatz
- Tv
- Waschmaschine
- Handtücher
- Bettlaken
247 Bewertungen


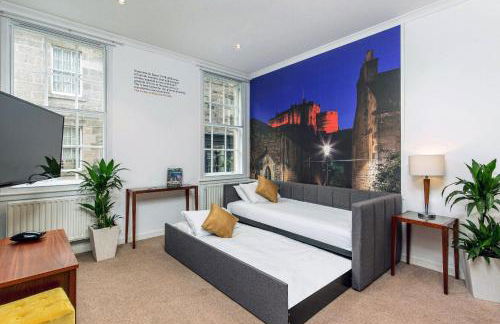

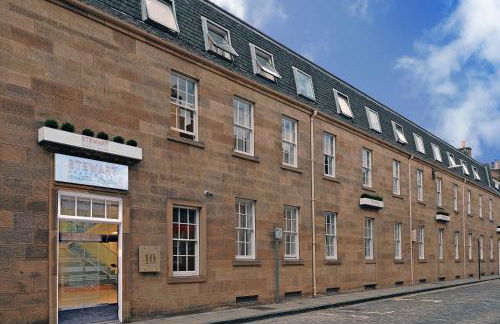

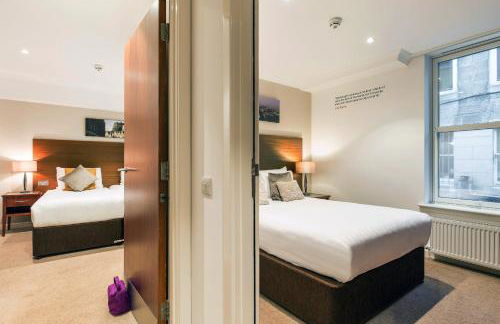

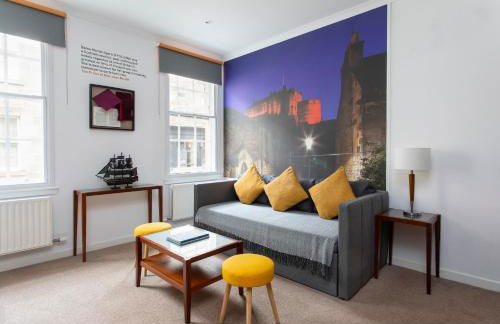


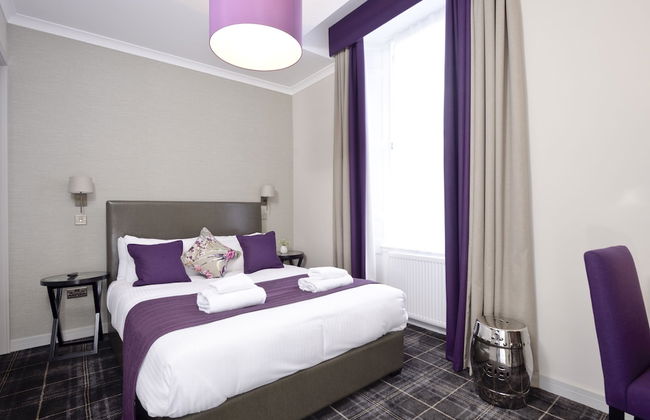
Stewart by Heeton Concept - Aparthotel Edinburgh
Edinburgh - EH2 - Im Zentrum
- 46 M2
- 1 Schlafzimmer
- 7 Personen
- Klimaanlage
- Heizung
- Parkplatz
- Fahrstuhl
- Tv
- Waschmaschine
- Handtücher
- Bettlaken
810 Bewertungen


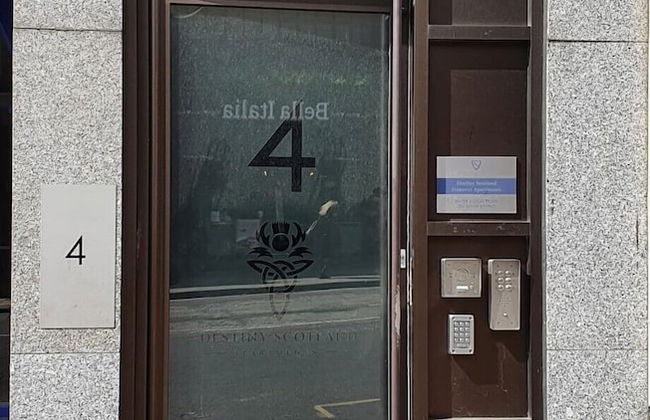


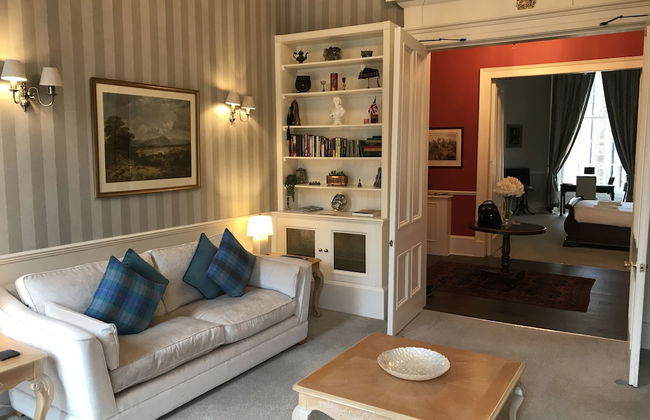
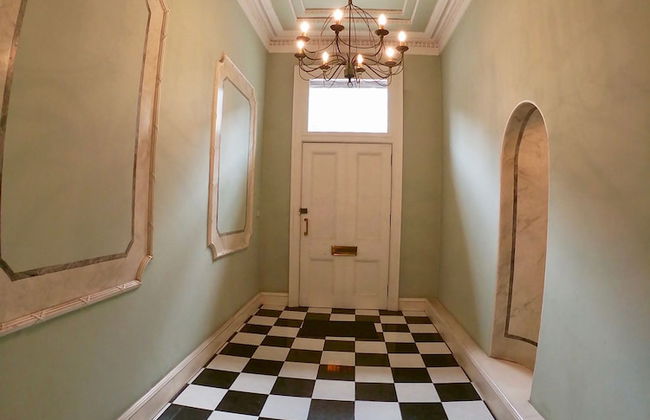
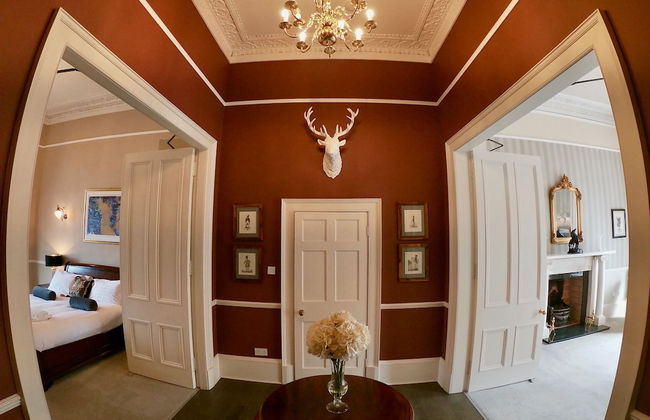
Destiny Scotland Hanover Apartments
Edinburgh - EH2 - Im Zentrum
- 60 M2
- 2 Schlafzimmer
- 4 Personen
- Heizung
- Parkplatz
- Tv
- Waschmaschine
- Handtücher
- Bettlaken
186 Bewertungen


JOIVY Luxurious 2 Br Apt On Notable George Street
Edinburgh - EH2 - Im Zentrum
- 60 M2
- 2 Schlafzimmer
- 4 Personen
- Heizung
- Tv
- Waschmaschine
- Handtücher
- Bettlaken
40 Bewertungen


Destiny Scotland - St. Andrew Square Apartments
Edinburgh - EH2 - Im Zentrum
- 42 M2
- 2 Schlafzimmer
- 4 Personen
- Kochnische
- Heizung
- Parkplatz
- Tv
- Waschmaschine
- Handtücher
- Bettlaken
346 Bewertungen


JOIVY Luxury Flat Near Edinburgh Castle
Edinburgh - EH2 - Im Zentrum
- 70 M2
- 2 Schlafzimmer
- 4 Personen
- Heizung
- Tv
- Waschmaschine
- Handtücher
- Bettlaken
49 Bewertungen


Alva - City Centre Apartment
Edinburgh - EH2 - Im Zentrum
- 8 Personen
- Heizung
- Tv
- Handtücher
- Bettlaken
5 Bewertungen


JOIVY Luxury George Street Apartments: Edinburgh Suite
Edinburgh - EH2 - Im Zentrum
- 6 Personen
- Heizung
- Waschmaschine
- Handtücher
3 Bewertungen


Central New Town Apartment
Edinburgh - EH2 - Im Zentrum
- 88 M2
- 2 Schlafzimmer
- 4 Personen
- Heizung
- Parkplatz
- Garten
- Tv
- Waschmaschine
- Handtücher
- Bettlaken
3 Bewertungen


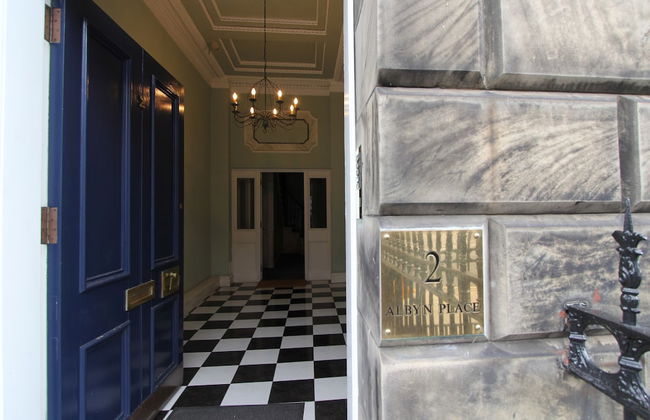


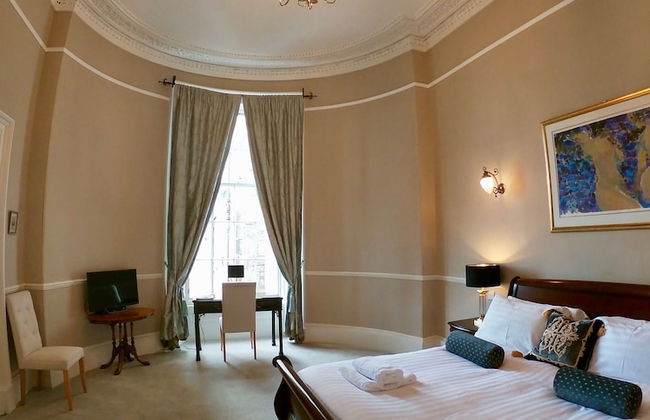

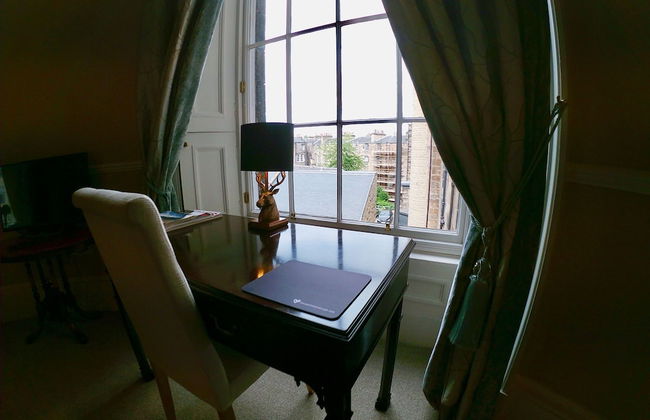


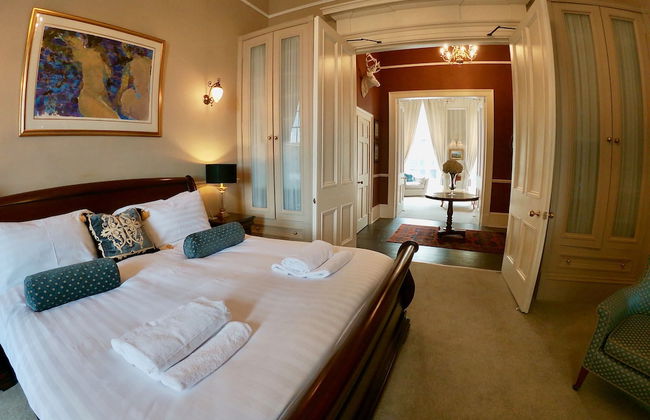


Escape To Edinburgh @ Albyn Place
Edinburgh - EH2 - Im Zentrum
- 100 M2
- 2 Personen
- Heizung
- Tv
- Waschmaschine
- Schornstein
- Handtücher
- Bettlaken
2 Bewertungen


JOIVY Luxury George Street Apartments: Castle Suite
Edinburgh - EH2 - Im Zentrum
- 4 Personen
- Heizung
- Waschmaschine
- Handtücher
2 Bewertungen


Braid Apartments by Mansley
Edinburgh - EH2 - Im Zentrum
- 64 M2
- 2 Schlafzimmer
- 4 Personen
- Klimaanlage
- Heizung
- Fahrstuhl
- Tv
- Waschmaschine
- Handtücher
- Bettlaken
608 Bewertungen


Wemyss Hideaway Retreat
Edinburgh - EH2 - Im Zentrum
- 89 M2
- 2 Schlafzimmer
- 5 Personen
- Heizung
- Terrasse
- Parkplatz
- Garten
35 Bewertungen


Destiny Scotland New Town Apartments
Edinburgh - EH2 - Im Zentrum
- 70 M2
- 2 Schlafzimmer
- 4 Personen
- Heizung
- Parkplatz
- Fahrstuhl
- Tv
- Waschmaschine
- Handtücher
- Bettlaken
177 Bewertungen


Thistle Suite city centre
Edinburgh - EH2 - Im Zentrum
- 64 M2
- 2 Schlafzimmer
- 4 Personen
- Heizung
81 Bewertungen