


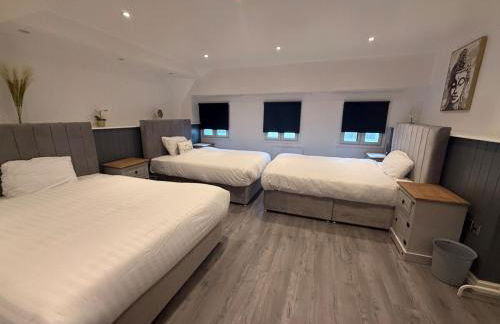
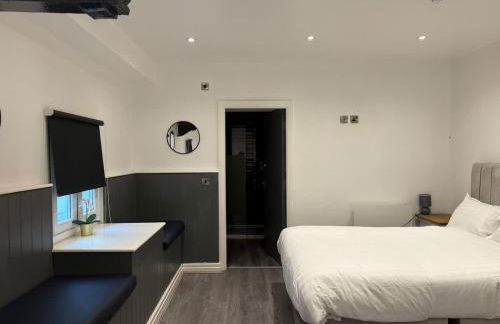
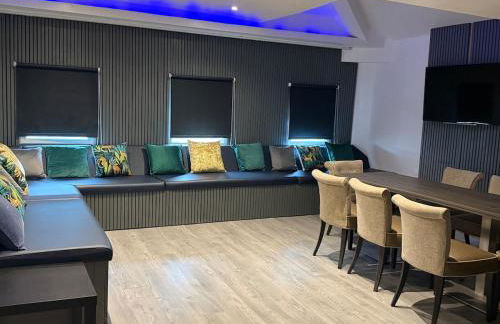
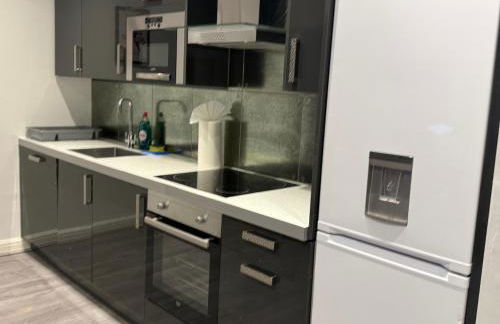
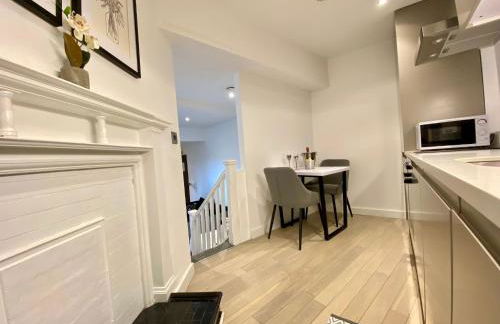
Cavern Quarter Apts - 31 North John St
Liverpool - Cavern Quarter - 280 m vom Zentrum
- 74 M2
- 4 Personen
- Heizung
- Parkplatz
- Fahrstuhl
- Tv
- Waschmaschine
- Handtücher
- Bettlaken


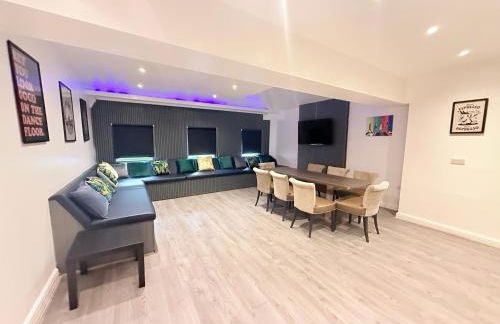


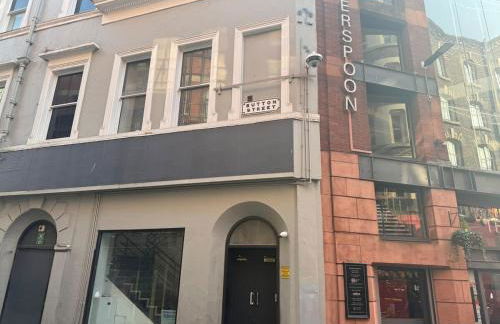


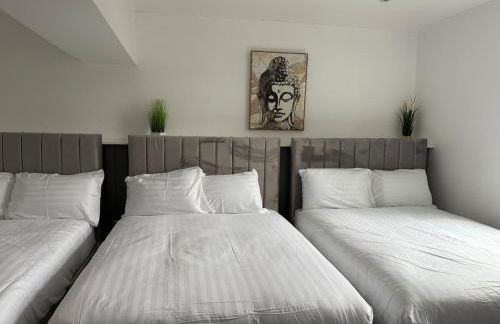


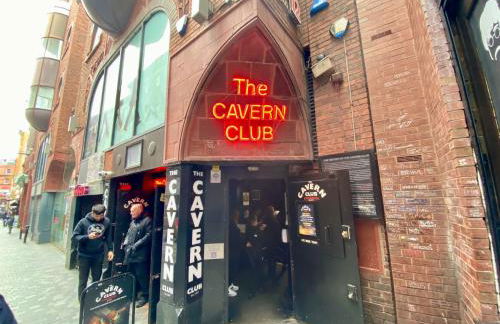
Amazing 10 bed apartments on Mathew Street
Liverpool - Cavern Quarter - Im Zentrum
- 3 Schlafzimmer
- 19 Personen
- Heizung
- Parkplatz


Lennon Place
Liverpool - Cavern Quarter - 250 m vom Zentrum
- 1 M2
- 1 Schlafzimmer
- 2 Personen
- Parkplatz
- Fahrstuhl


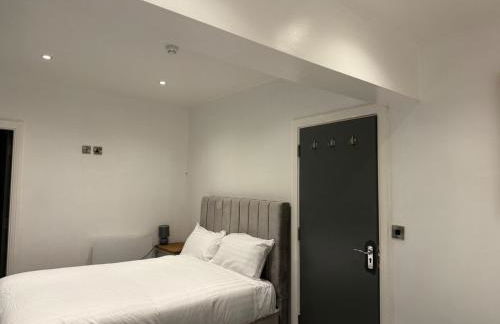
The Hideaway by Boutique 56
Liverpool - Cavern Quarter - Im Zentrum
- 84 M2
- 1 Schlafzimmer
- Heizung
- Fahrstuhl


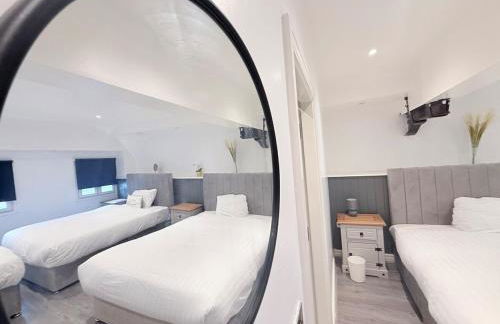
Temple Court Cavern Quarter Apartments by Happy Days
Liverpool - Cavern Quarter - Im Zentrum
- 84 M2
- 2 Schlafzimmer
- 17 Personen
- Heizung
- Parkplatz
- Tv
- Waschmaschine
- Handtücher
- Bettlaken


Beautiful City Centre Apartment
Liverpool - Cavern Quarter - 260 m vom Zentrum
- 38 M2
- 1 Schlafzimmer
- 4 Personen
- Parkplatz
- Fahrstuhl


2 Bed Duplex Penthouse Apartment by Mathew Street Sleeps 6
Liverpool - Cavern Quarter - Im Zentrum
- 90 M2
- 2 Schlafzimmer
- 6 Personen
- Heizung


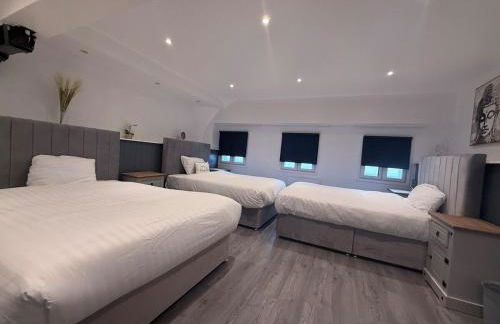
SGT Peppers Mathew Street Apartments By Happy Days
Liverpool - Cavern Quarter - 260 m vom Zentrum
- 70 M2
- 1 Schlafzimmer
- 10 Personen
- Heizung
- Parkplatz
- Fahrstuhl
- Balkon
- Tv
- Waschmaschine
- Handtücher


Button Street by UStay Aparthotels
Liverpool - Cavern Quarter - Im Zentrum
- 5 M2
- 2 Schlafzimmer
- 9 Personen
- Heizung


Mathew Street 1 bed apt sleeps 6
Liverpool - Cavern Quarter - Im Zentrum
- 60 M2
- 1 Schlafzimmer
- 6 Personen
- Heizung


Temple Court by UStay Aparthotels
Liverpool - Cavern Quarter - Im Zentrum
- 720 M2
- 2 Schlafzimmer
- 10 Personen
- Heizung


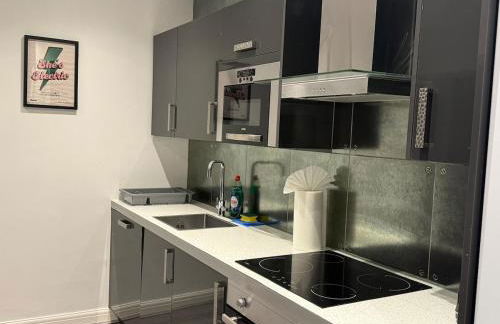
Terlon Apartments
Liverpool - Cavern Quarter - 230 m vom Zentrum
- 50 M2
- 4 Personen
- Kochnische
- Heizung
- Parkplatz
- Fahrstuhl
- Tv
- Handtücher
- Bettlaken


The Cavern Quarter Aparthotel by UStay
Liverpool - Cavern Quarter - Im Zentrum
- 70 M2
- 2 Schlafzimmer
- 12 Personen
- Heizung


Eleanor Rigby apts Stanley Street
Liverpool - Cavern Quarter - Im Zentrum
- 85 M2
- 1 Schlafzimmer
- 15 Personen
- Heizung
- Parkplatz


Rainford Gardens by UStay Aparthotels
Liverpool - Cavern Quarter - Im Zentrum
- 400 M2
- 1 Schlafzimmer
- 9 Personen
- Heizung


Central Liverpool 1 Bed Apartment w Balcony
Liverpool - Cavern Quarter - Im Zentrum
- 46 M2
- 2 Personen
- Heizung
- Fahrstuhl


McCartney Place at the Cavern Quarter
Liverpool - Cavern Quarter - 250 m vom Zentrum
- 1 M2
- 1 Schlafzimmer
- 3 Personen
- Parkplatz
- Garten


GuestReady - Cozy retreat in vibrant Liverpool
Liverpool - Cavern Quarter - Im Zentrum
- 43 M2
- 1 Schlafzimmer
- 3 Personen


VICHY - Temple Court Superb apartment in City Center
Liverpool - Cavern Quarter - Im Zentrum
- 60 M2
- 1 Schlafzimmer


Host Apartments Mathew St Studio
Liverpool - Cavern Quarter - Im Zentrum
- 4 Personen
- Heizung
- Tv
- Waschmaschine
- Handtücher
- Bettlaken