


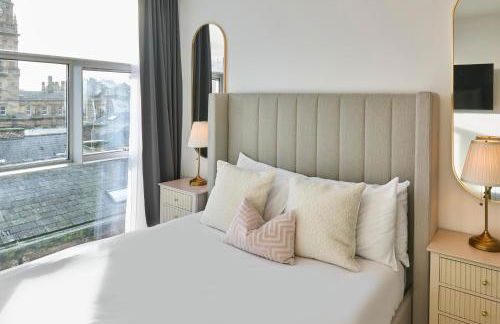


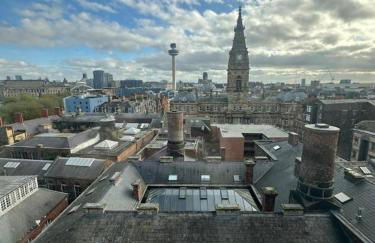
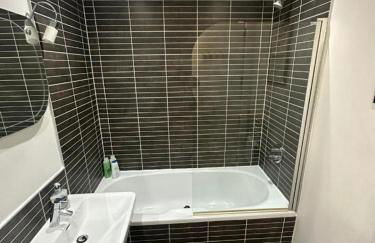
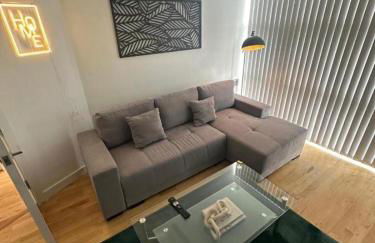
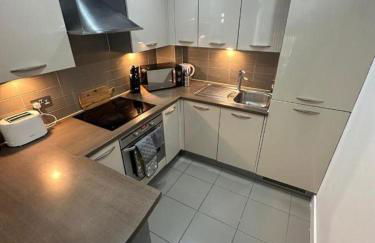
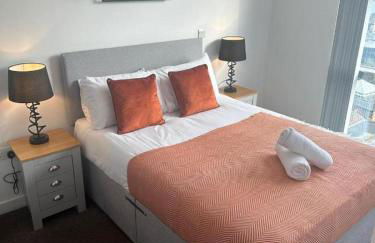
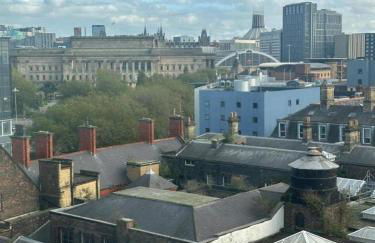
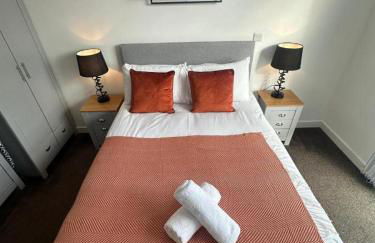
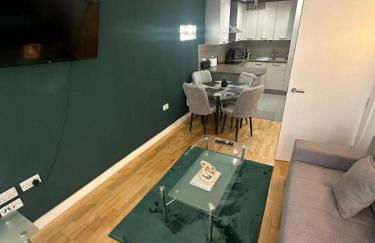
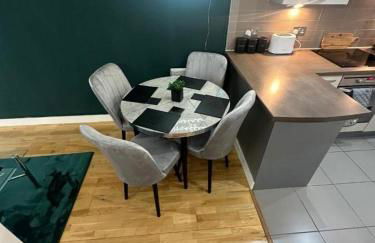
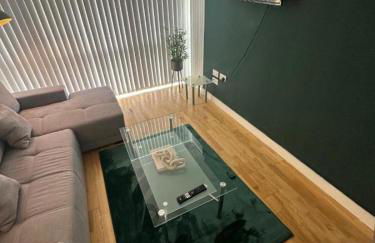
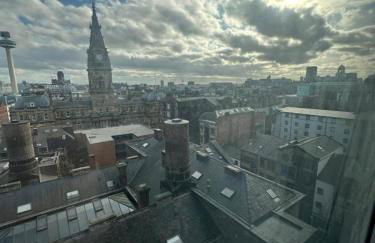
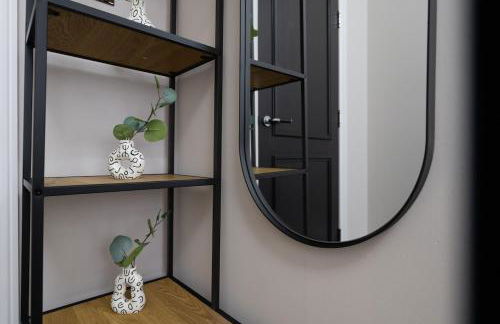
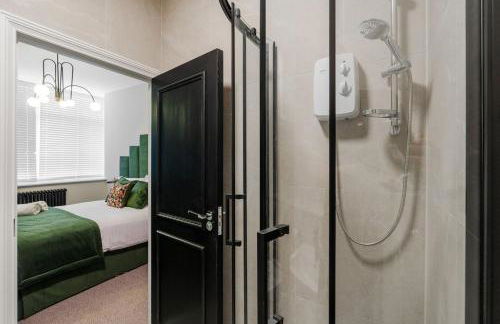
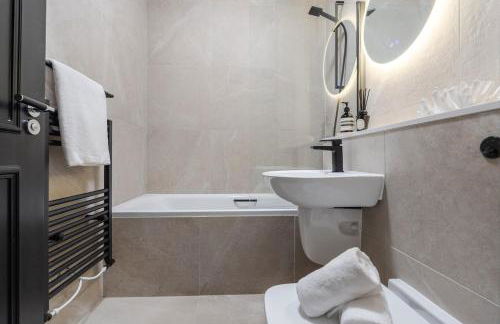
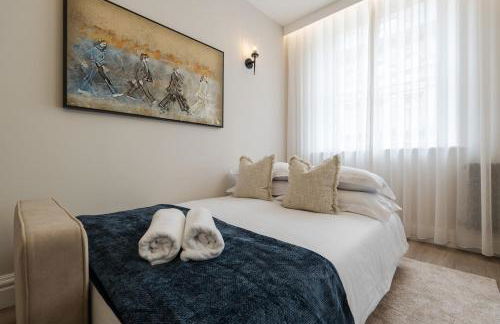
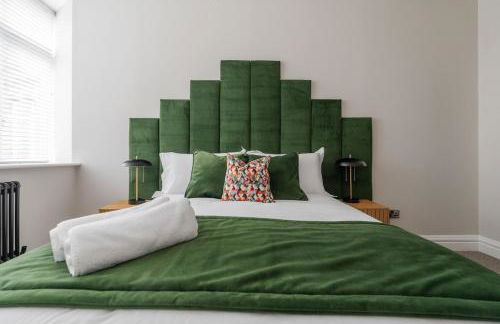
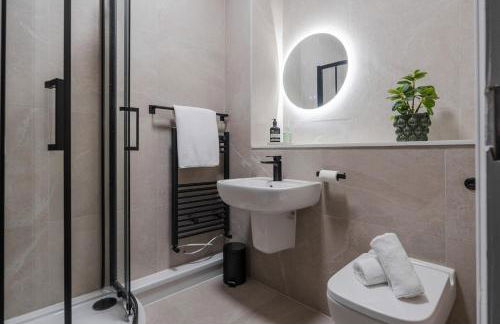
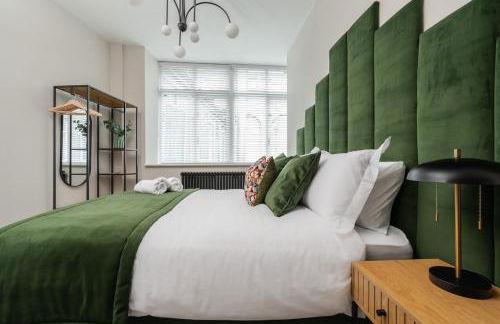
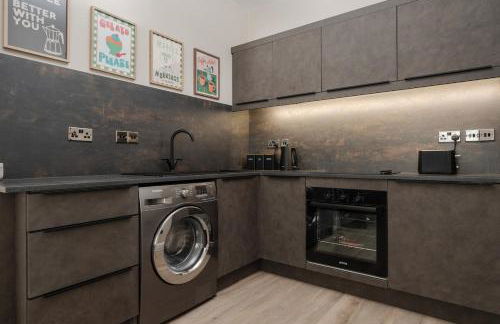
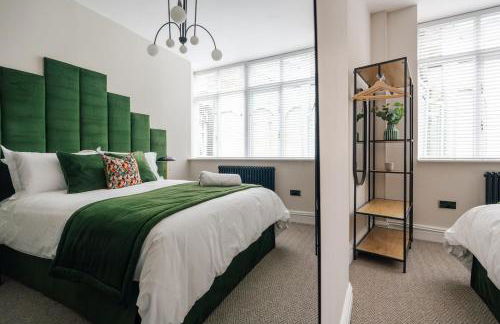
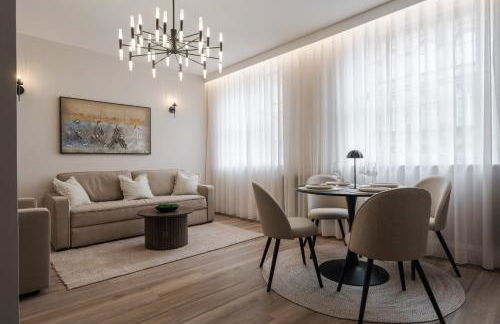
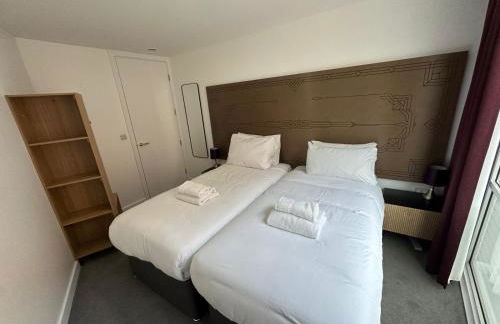
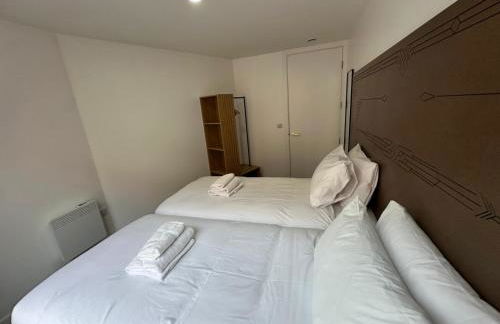
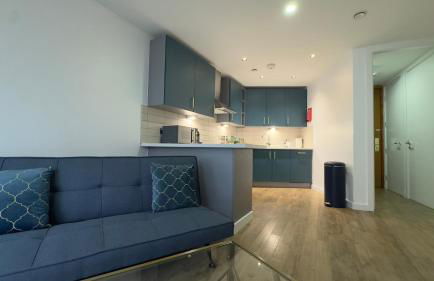
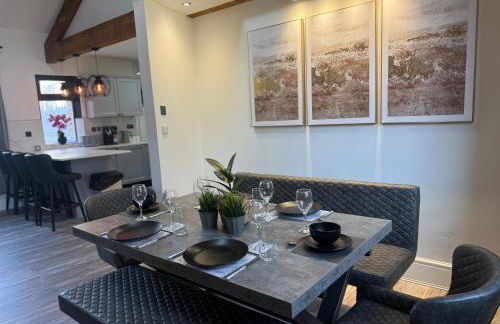
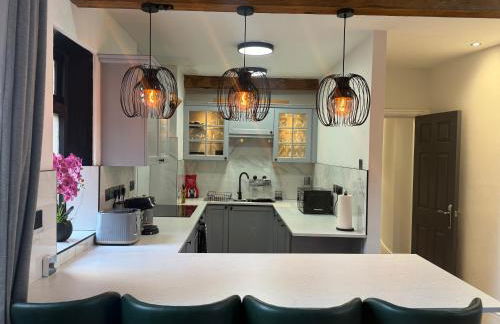
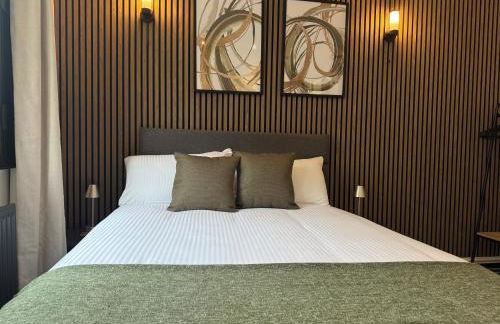
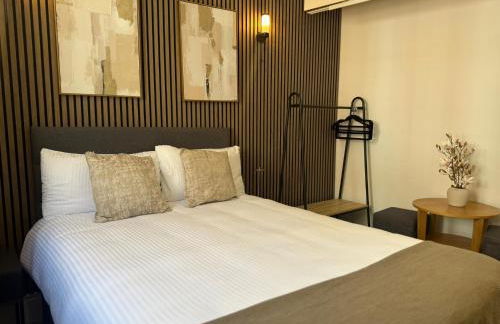
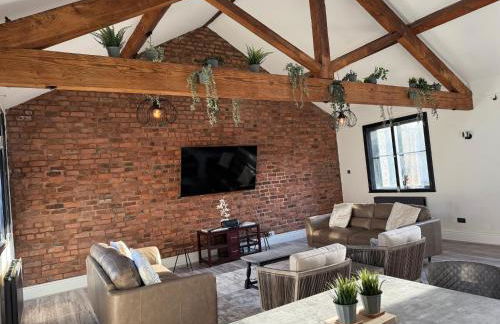
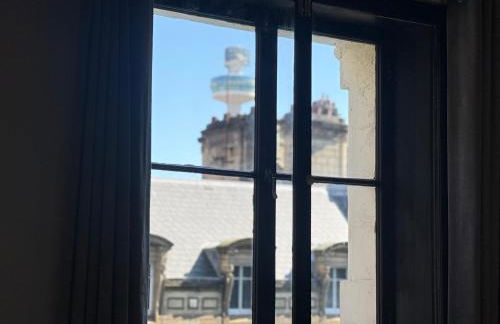
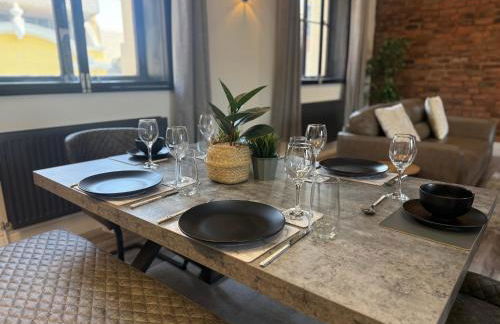
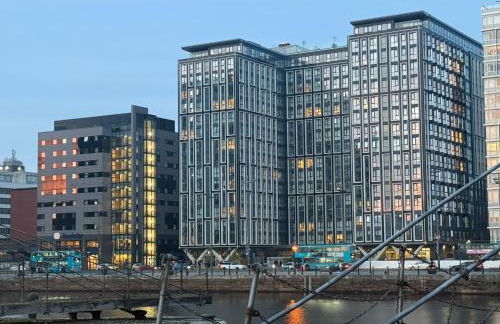
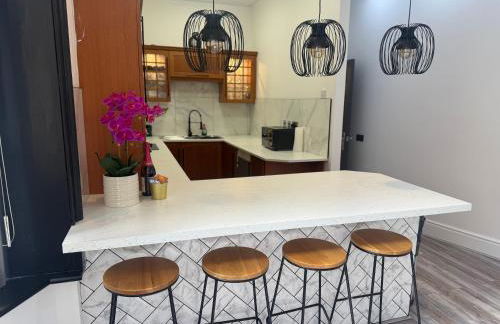
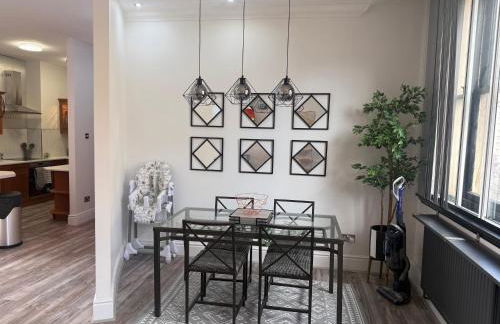
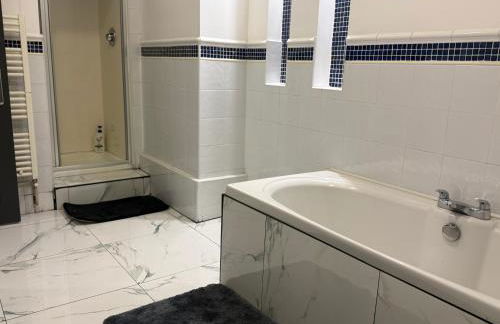
Host & Stay - The Municipal View Abode
Liverpool - Commercial District - Im Zentrum
- 62 M2
- 2 Schlafzimmer
- 4 Personen
- Heizung
- Parkplatz
- Balkon
- Tv
- Waschmaschine
- Handtücher
- Bettlaken


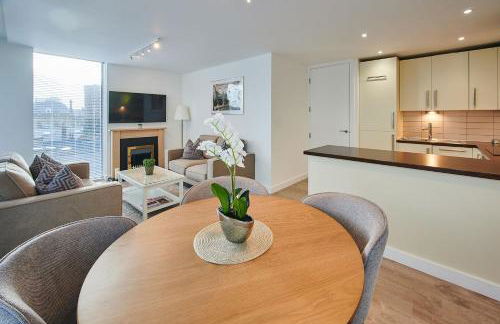
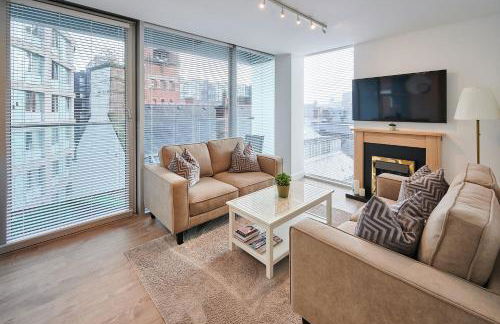
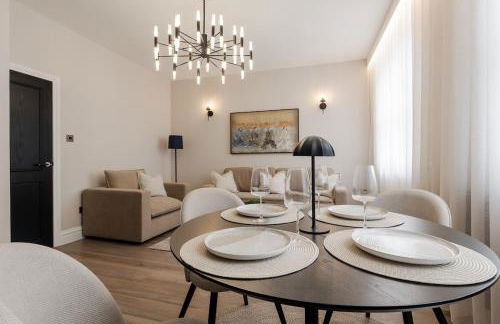
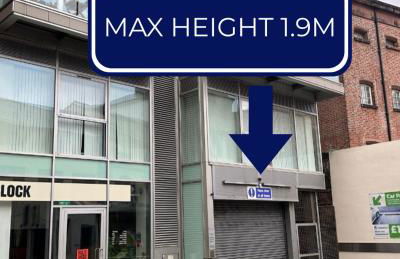
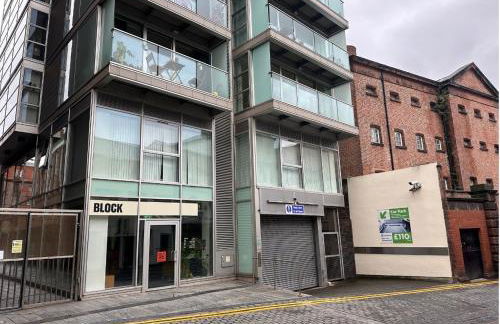
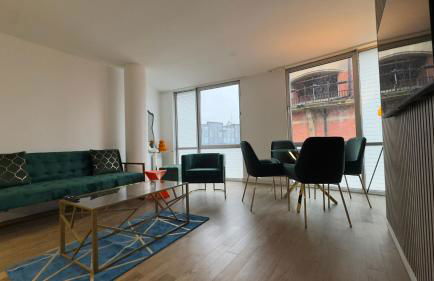
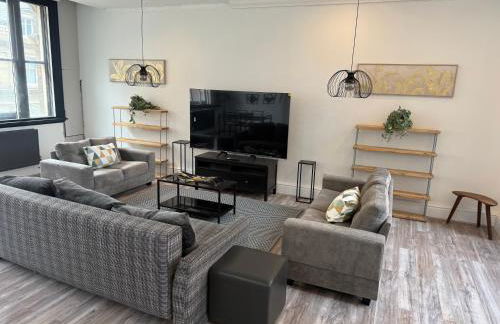
City View One Bedroom Apartment by StaySavvy Accommodation
Liverpool - Commercial District - Im Zentrum
- 80 M2
- 1 Schlafzimmer
- 3 Personen
- Heizung
- Parkplatz
- Fahrstuhl


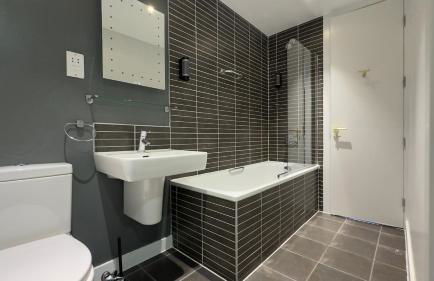
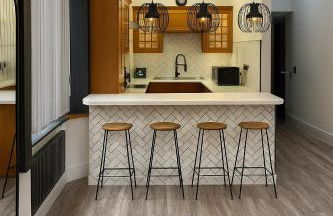
Sunnie stays apartment harrington chambers
Liverpool - Commercial District - 320 m vom Zentrum
- 100 M2
- 2 Schlafzimmer
- 6 Personen


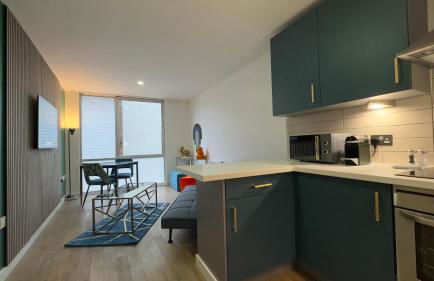
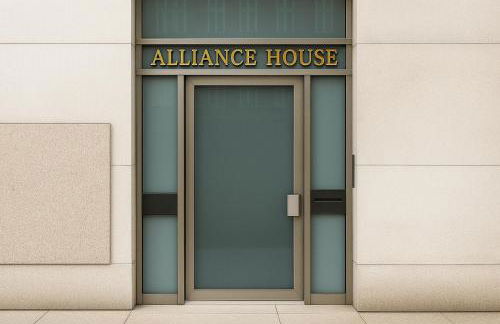
2 bed apartment Liverpool city centre
Liverpool - Commercial District - Im Zentrum
- 7 Personen
- Parkplatz
- Fahrstuhl
- Garten


Liverpool Hatton Garden 1 & 2 Bedroom Apartments - WiFi & Secure Parking
Liverpool - Commercial District - Im Zentrum
- 65 M2
- 2 Schlafzimmer
- 5 Personen
- Heizung
- Parkplatz
- Fahrstuhl


Stylish city centre Penthouse
Liverpool - Commercial District - 300 m vom Zentrum
- 90 M2
- 2 Schlafzimmer
- 4 Personen


St George's Quarter Stay - Modern City Centre Duplex - Perfect for Business & Leisure - FREE PARKING - WiFi Included - Close to transport links
Liverpool - Commercial District - Im Zentrum
- 60 M2
- 2 Schlafzimmer
- Heizung
- Parkplatz
- Fahrstuhl


Bands Warehouse I
Liverpool - Commercial District - Im Zentrum
- 9 M2
- 3 Schlafzimmer
- Heizung


City Centre Morden 1-Bedroom Apt Near Dock
Liverpool - Commercial District - Im Zentrum
- 40 M2
- 1 Schlafzimmer
- 3 Personen
- Heizung
- Fahrstuhl


Trendy Penthouse, Liverpool City Centre
Liverpool - Commercial District - 310 m vom Zentrum
- 95 M2
- 2 Schlafzimmer


Cumberland Street Apartments by Happy Days
Liverpool - Commercial District - Im Zentrum
- 65 M2
- 3 Schlafzimmer
- 5 Personen
- Klimaanlage
- Heizung
- Parkplatz
- Fahrstuhl
- Tv
- Waschmaschine
- Handtücher
- Bettlaken


Stunning Skyline Liverpool Apartment with Parking
Liverpool - Commercial District - Im Zentrum
- 56 M2
- 2 Personen
- Heizung
- Parkplatz
- Fahrstuhl


Industrial 2BR Apt, Liverpool City Centre Sleeps 8
Liverpool - Commercial District - Im Zentrum
- 8 M2
- 2 Schlafzimmer
- 8 Personen
- Heizung


Central Liverpool 1-Bed Apartment City Centre
Liverpool - Commercial District - Im Zentrum
- 55 M2
- 2 Personen
- Heizung
- Parkplatz


Liverpool City Centre Apartment
Liverpool - City Central - Im Zentrum
- 1 Schlafzimmer
- 6 Personen


Harrington Suite
Liverpool - Commercial District - 360 m vom Zentrum
- 2 Schlafzimmer
- 7 Personen
- Heizung


Lennon Place
Liverpool - Cavern Quarter - 250 m vom Zentrum
- 1 M2
- 1 Schlafzimmer
- 2 Personen
- Parkplatz
- Fahrstuhl


Spacious 2 bed Apt Liverpool City Centre
Liverpool - Commercial District - 410 m vom Zentrum
- 106 M2
- 2 Schlafzimmer
- 4 Personen
- Parkplatz


Top Floor City Stay Beatles Bars & Nightlife
Liverpool - Commercial District - Im Zentrum
- 1 M2
- 2 Schlafzimmer
- 8 Personen
- Heizung
- Parkplatz


Free Parking, Liverpool City Escape, Sleeps 6
Liverpool - Commercial District - Im Zentrum
- 65 M2
- 2 Schlafzimmer
- Heizung
- Parkplatz