
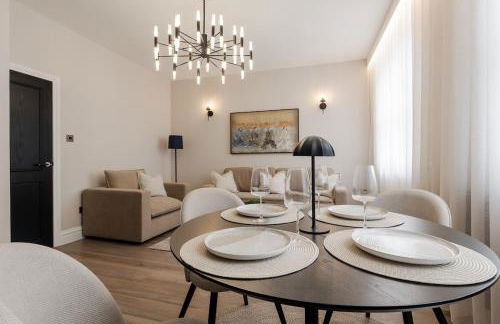


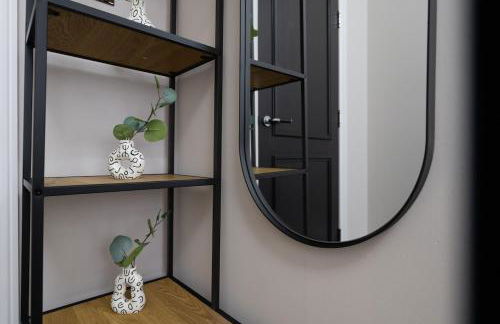


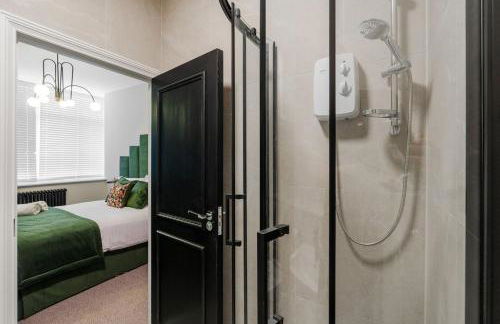
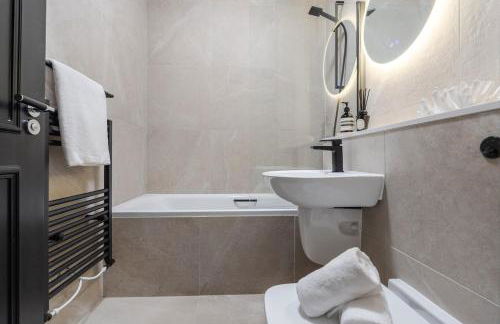
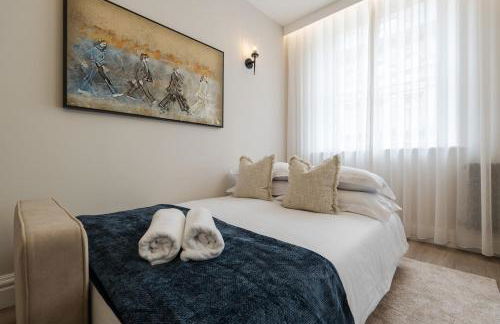


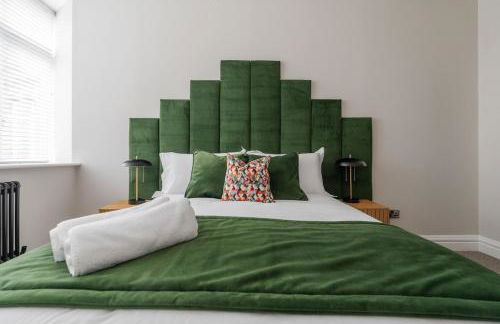

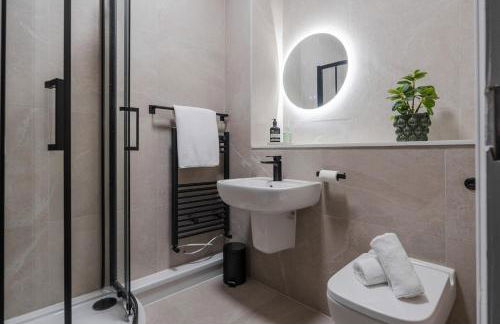
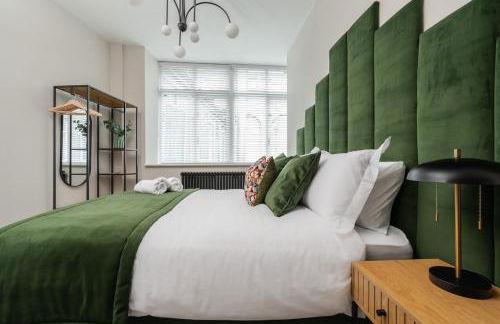


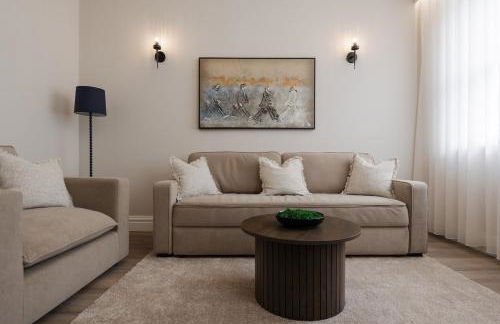

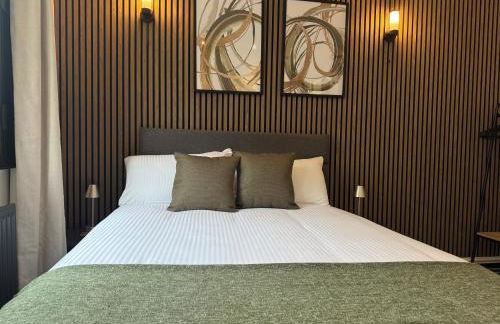
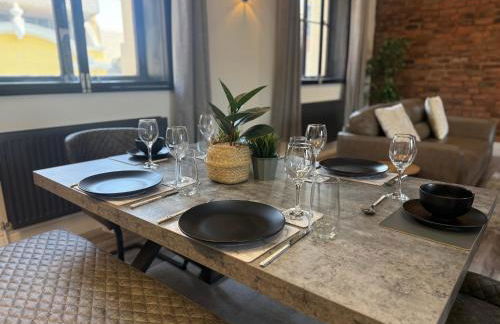
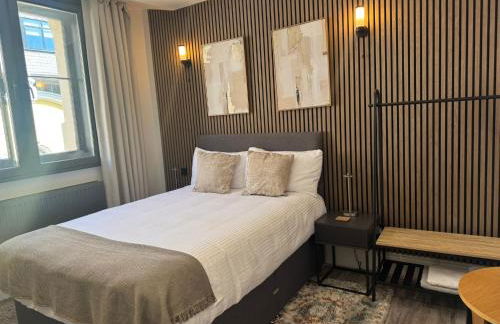
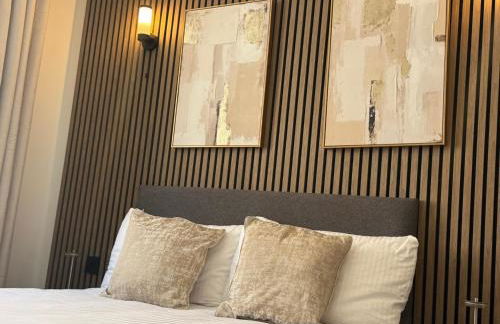
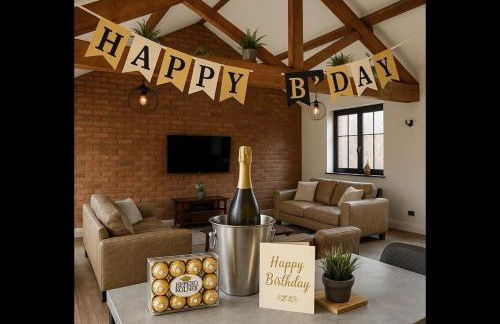
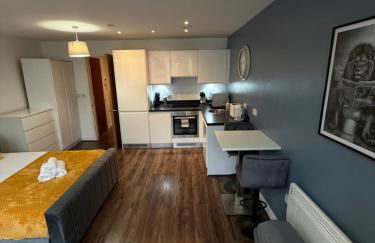
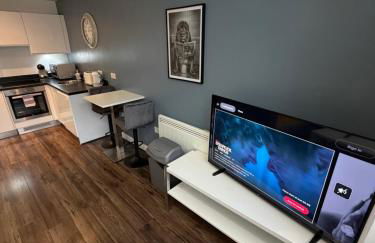
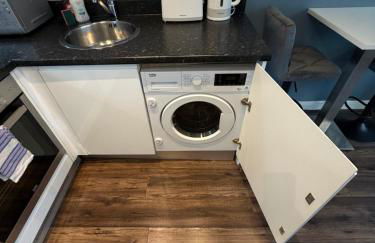
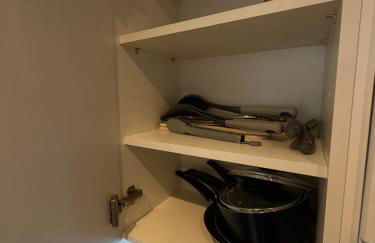
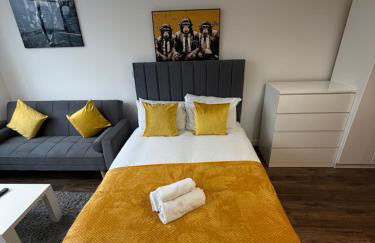
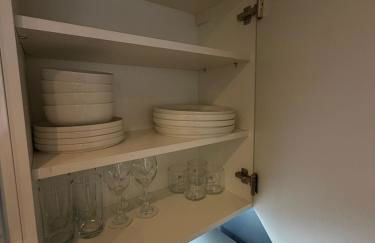
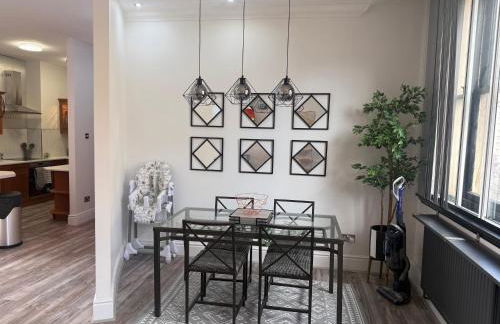
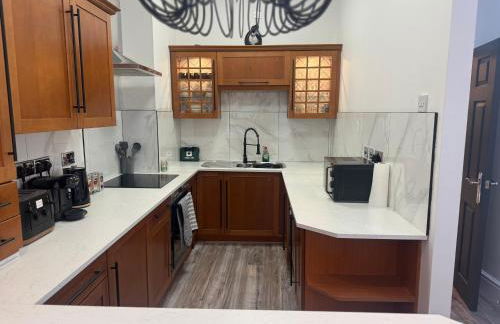
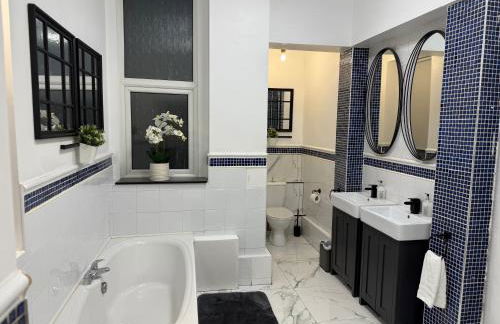
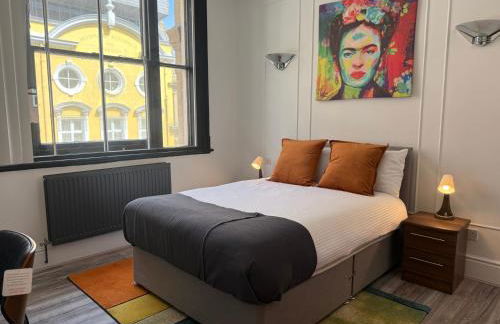
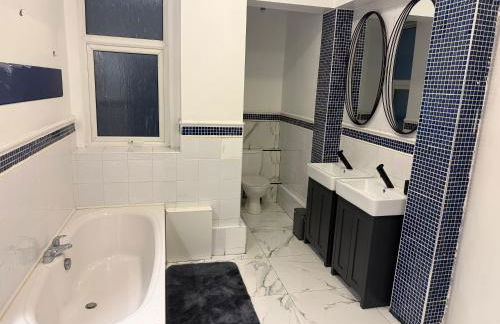
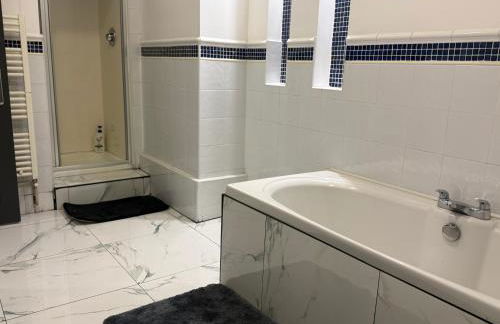
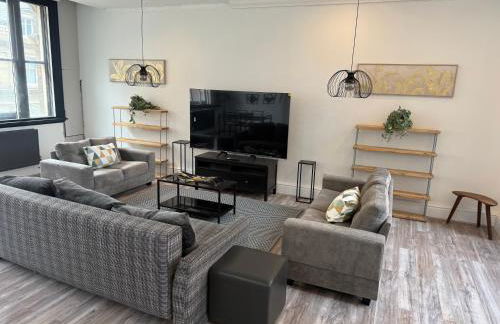
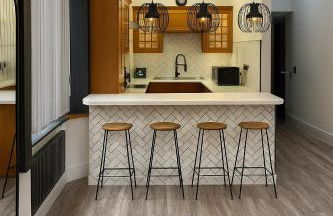
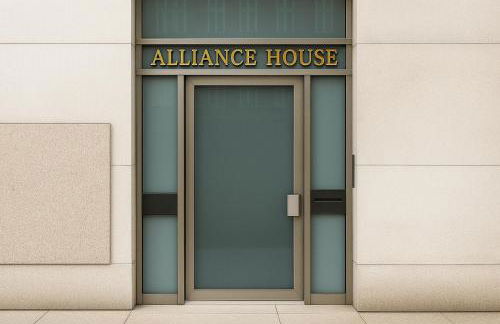
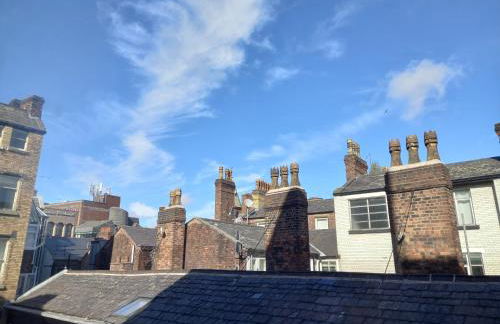
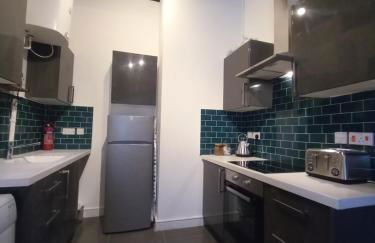
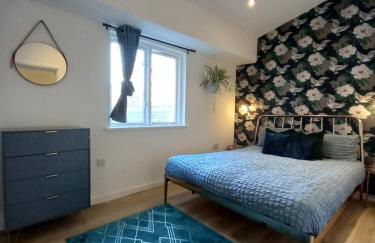
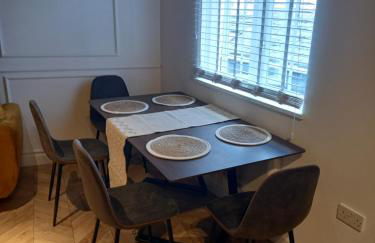
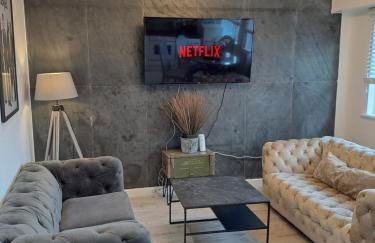
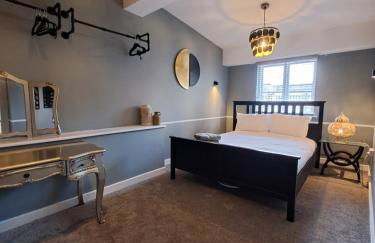
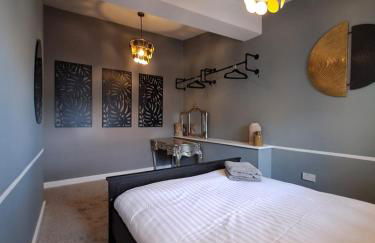
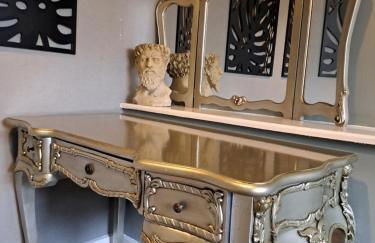
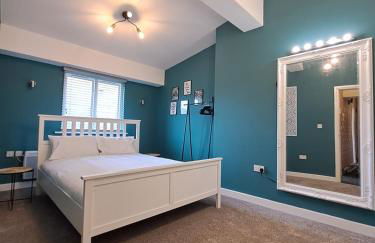
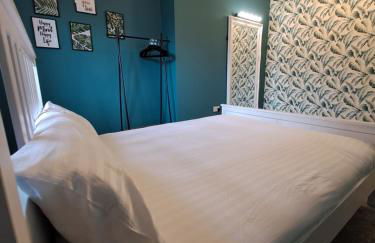
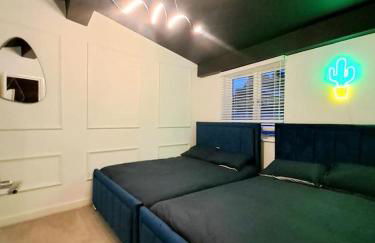
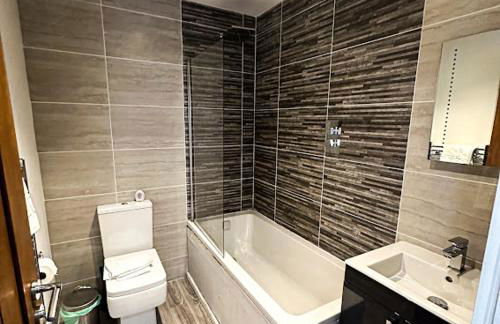
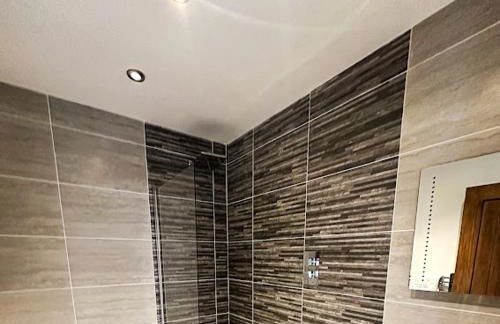
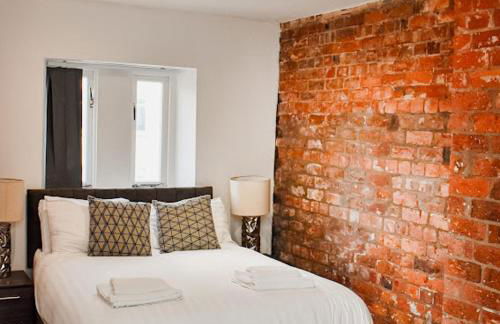
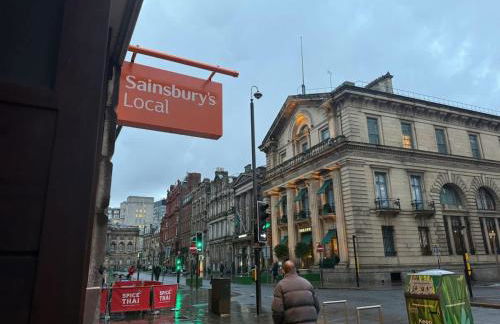
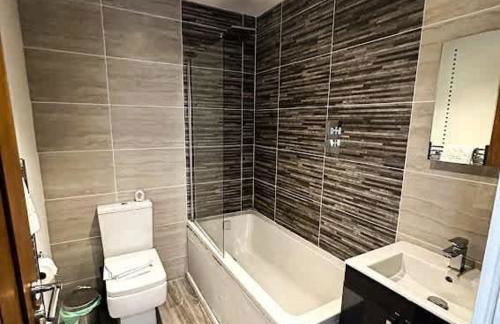
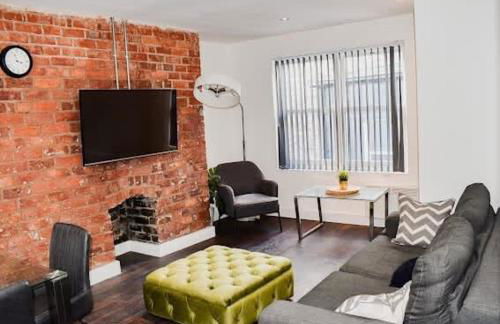
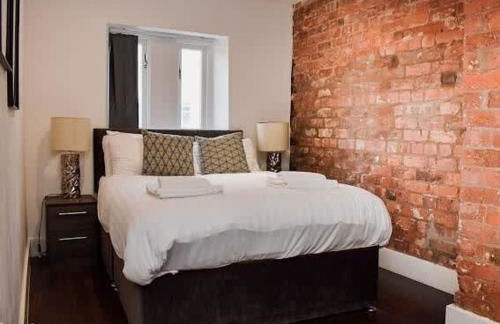
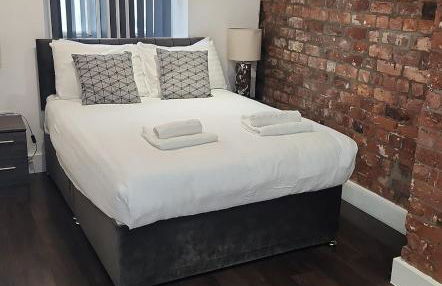
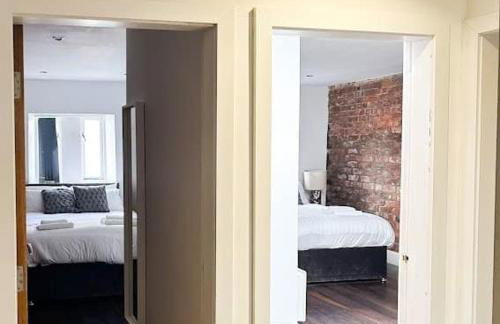
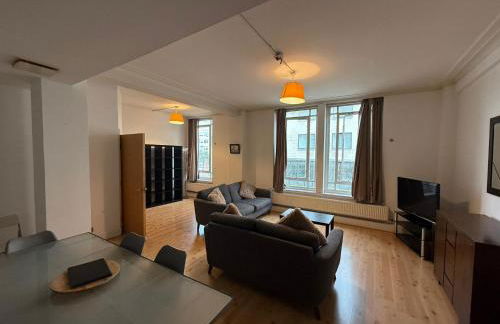
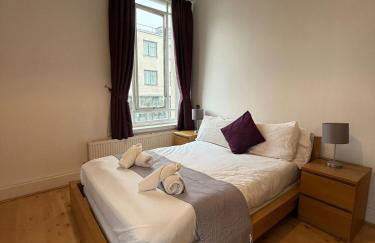
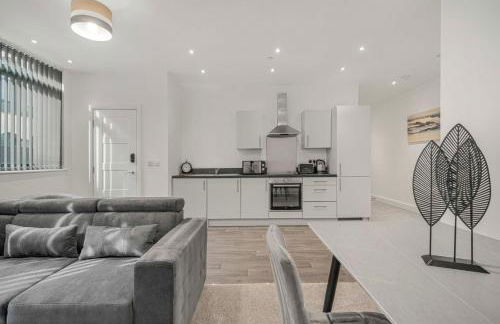
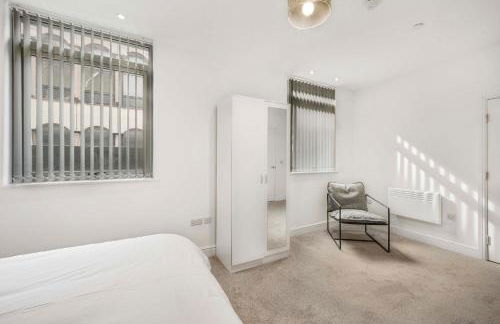
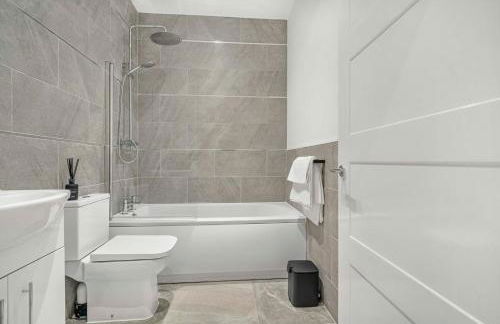
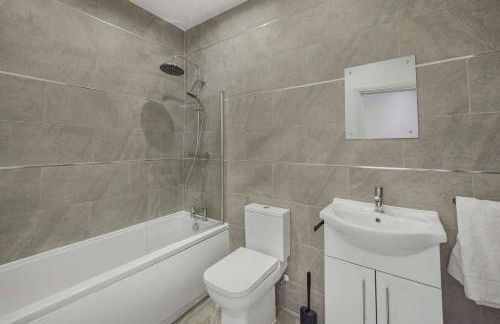
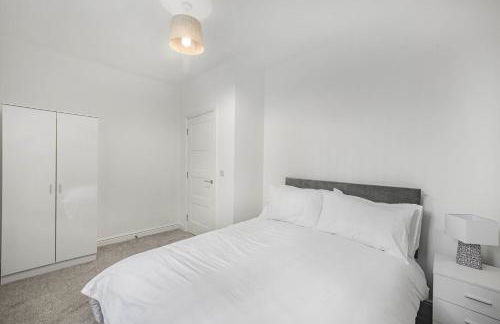
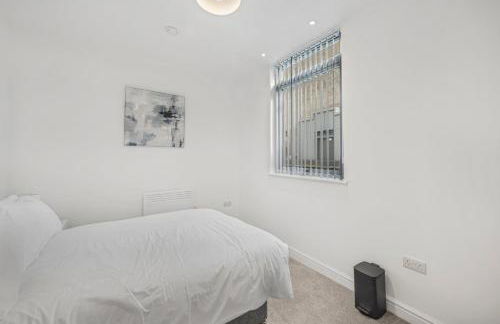
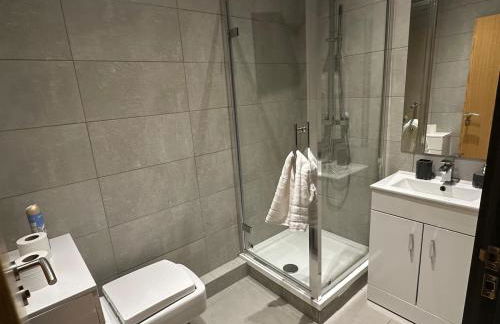
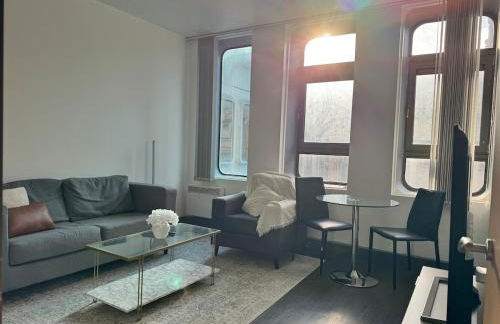
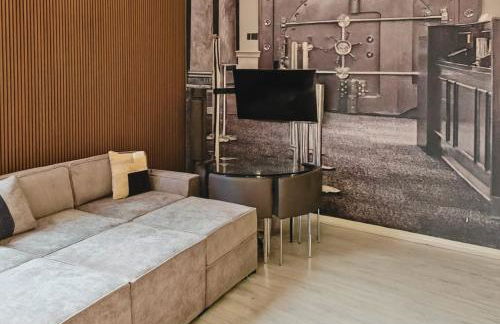
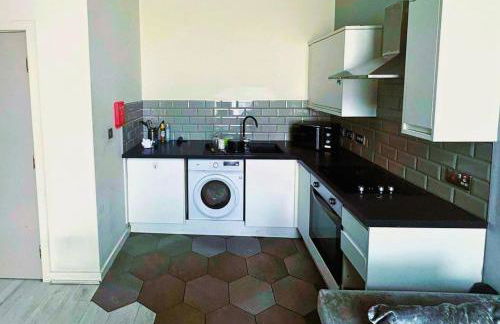
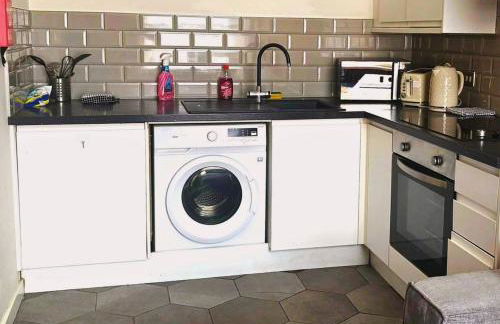
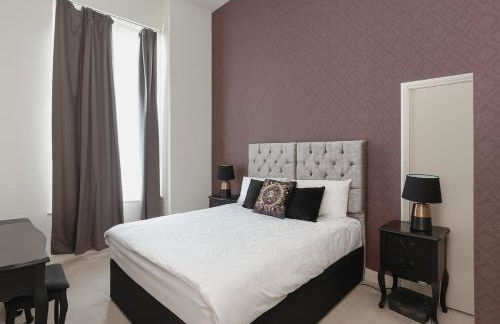
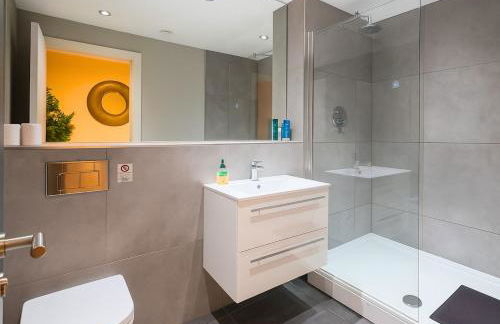
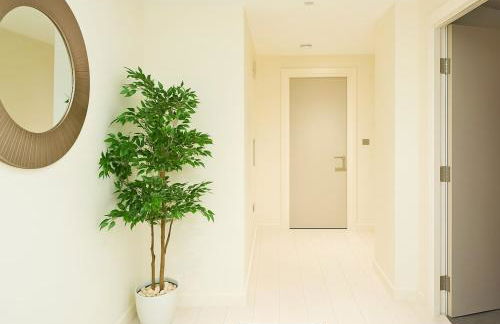
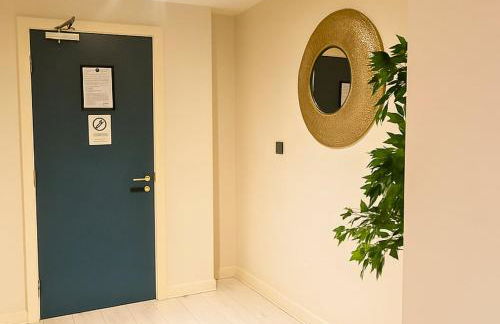
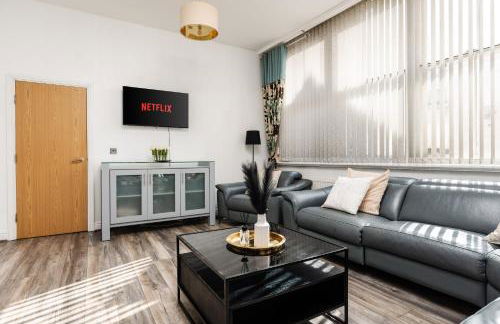
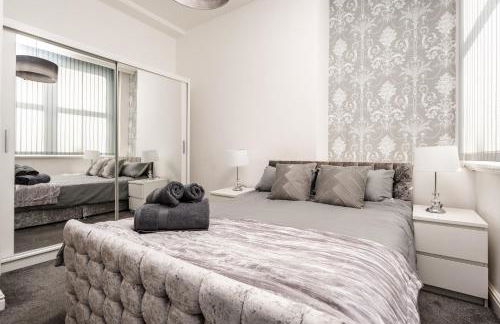
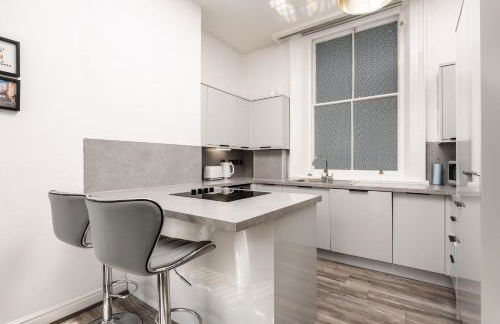
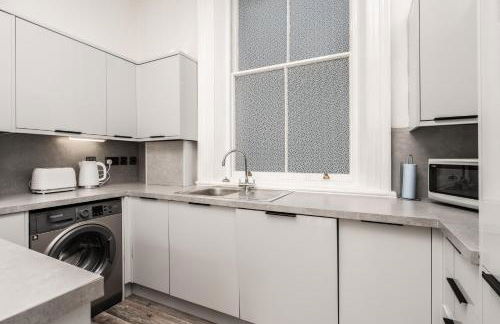
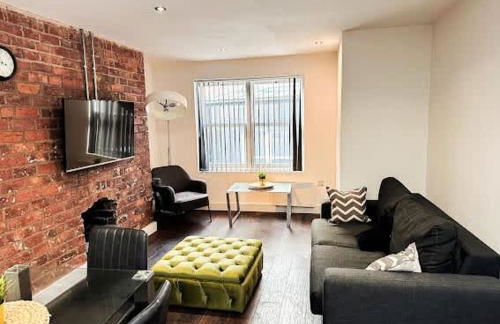
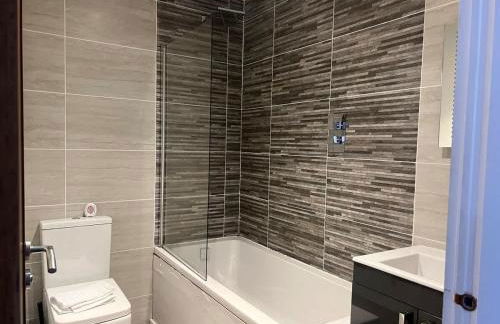
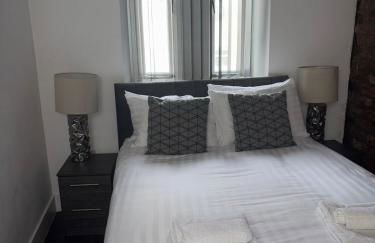
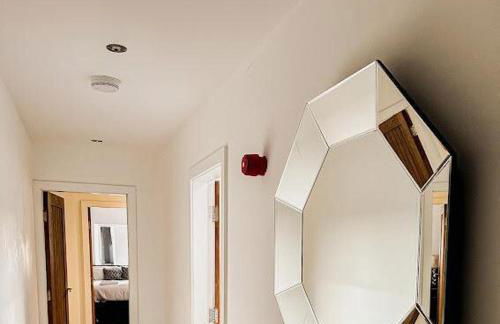
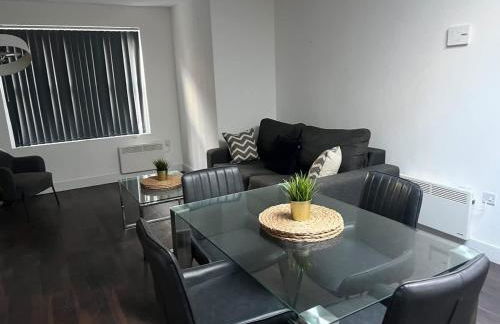
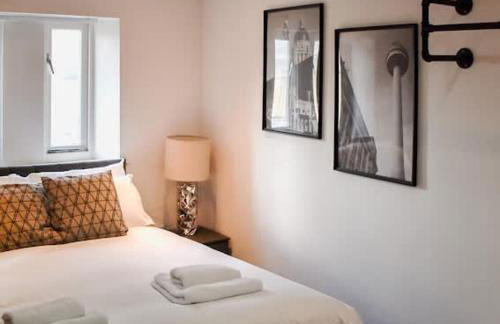
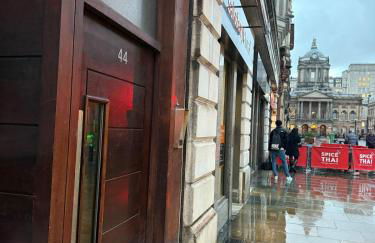
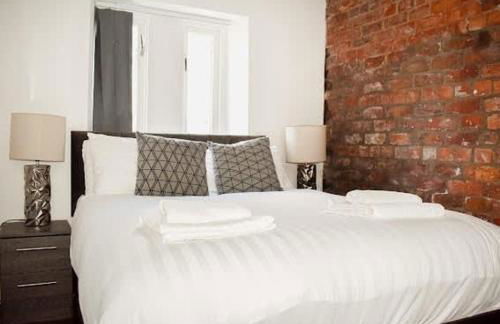
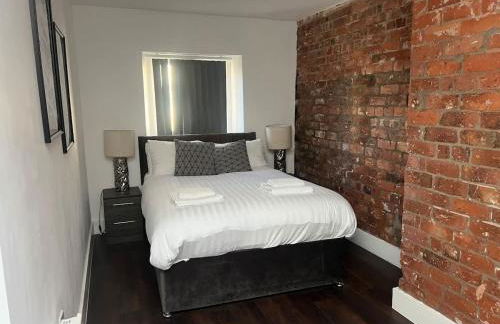
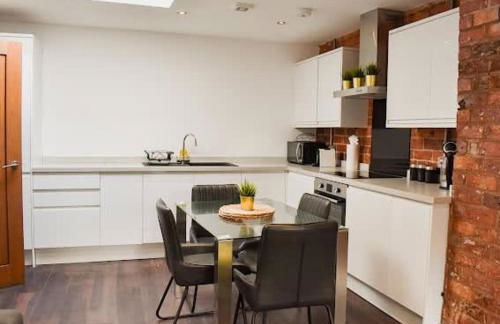
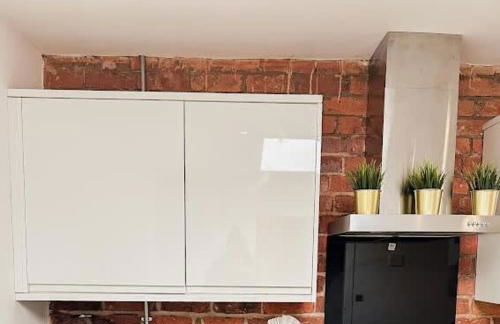
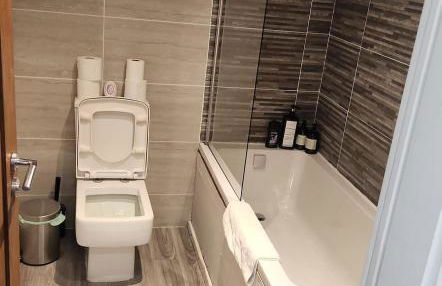
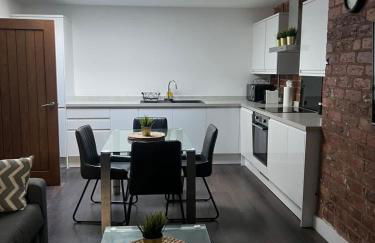
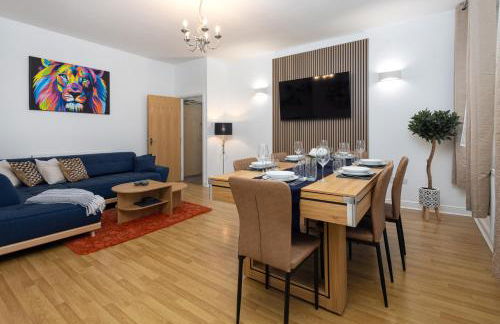
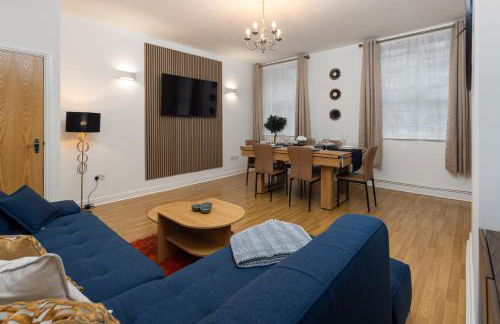
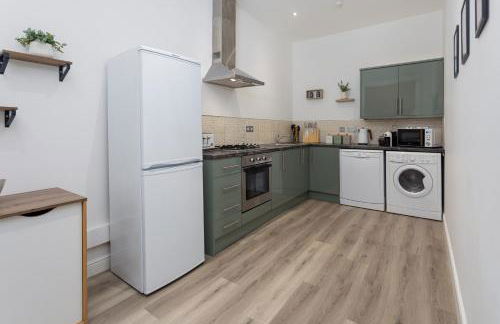
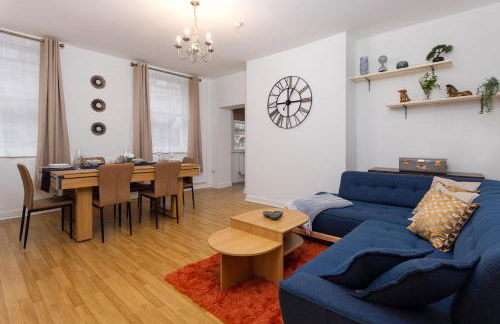
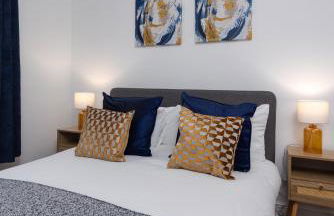
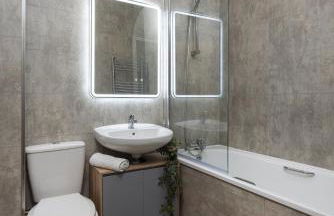
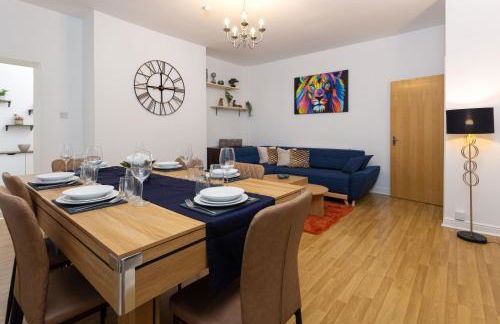
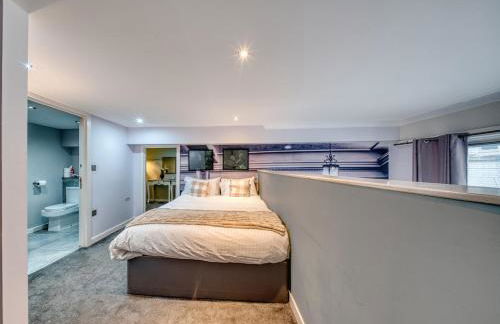
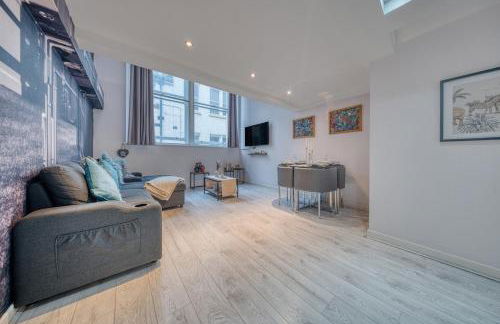
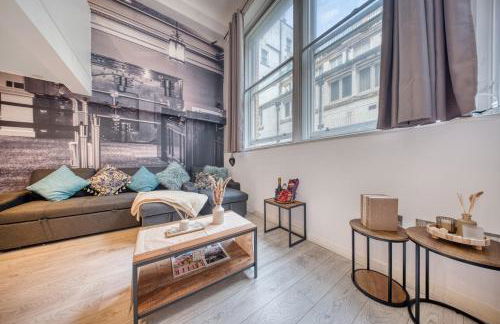
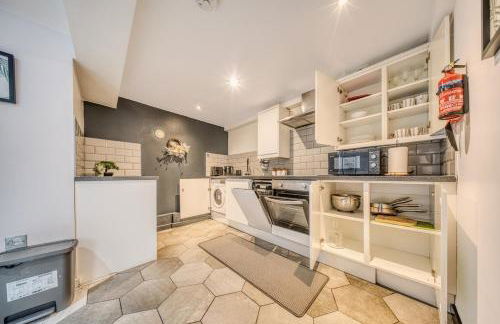
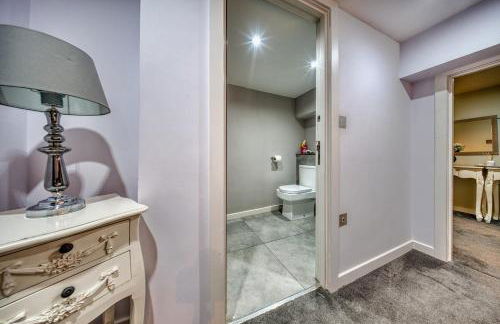
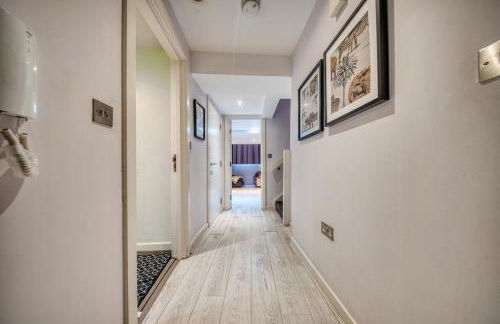
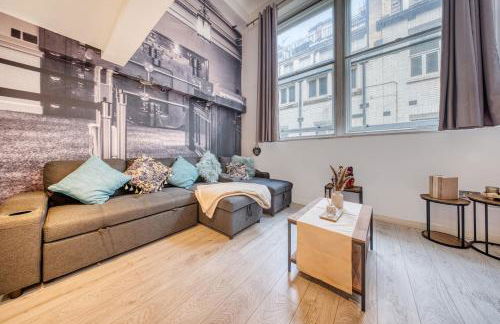
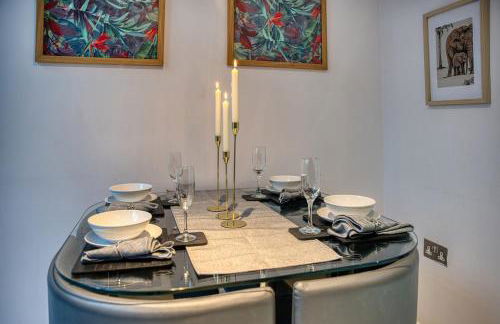
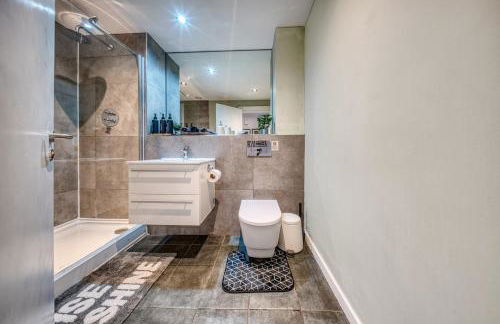
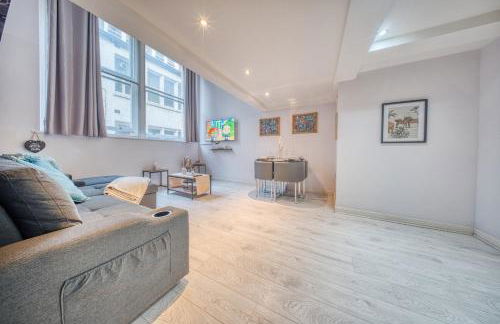
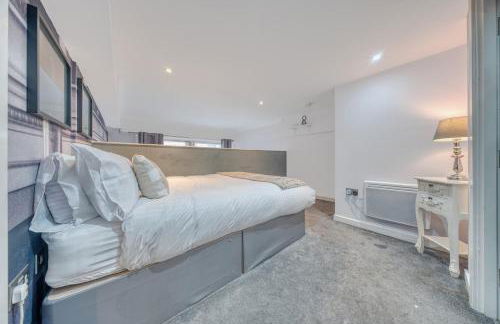
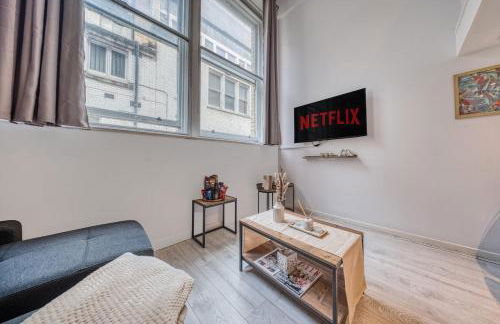
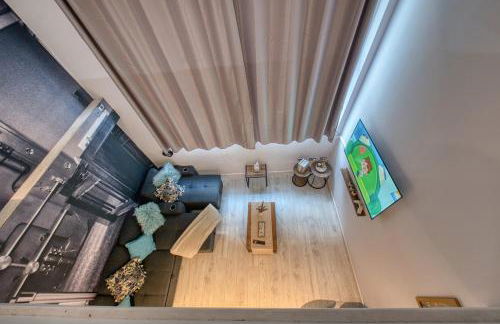
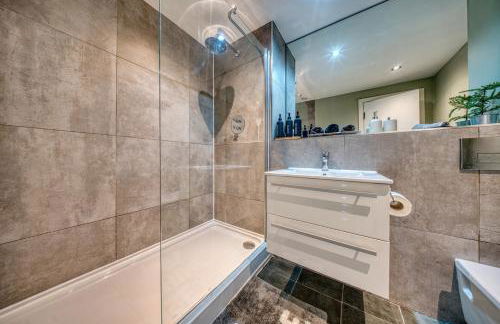
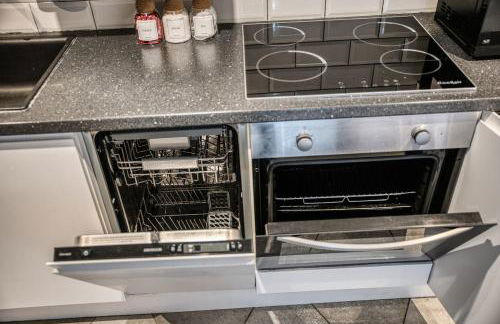
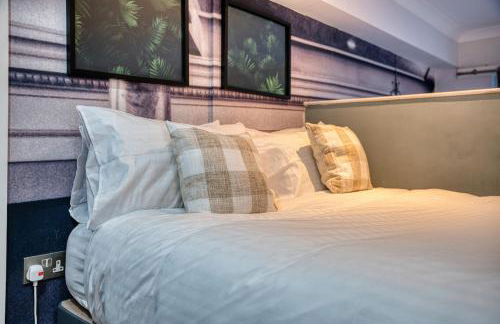
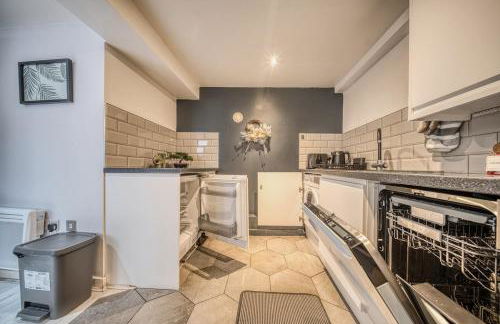
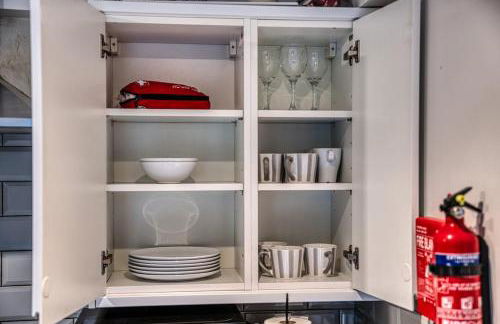
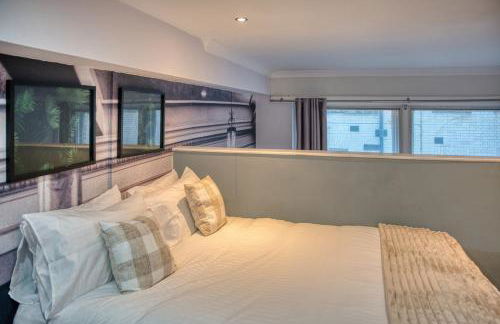
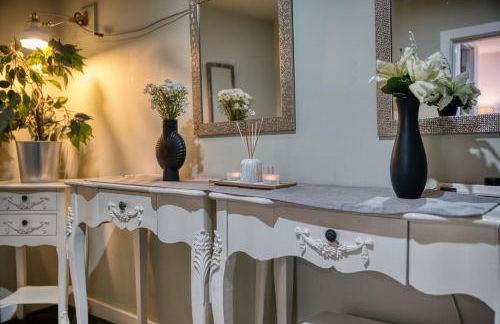
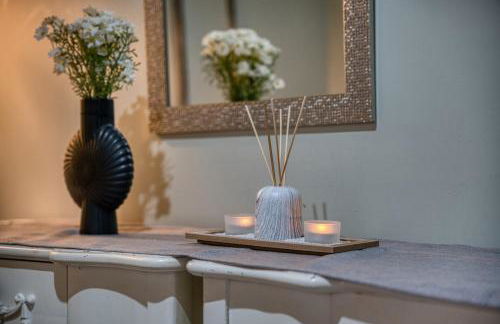
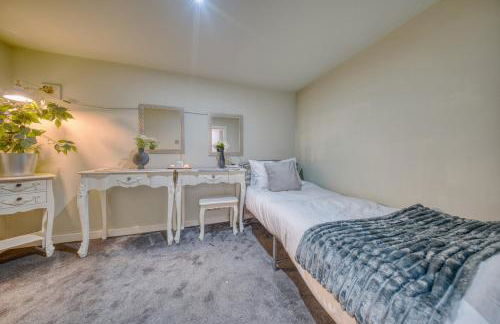
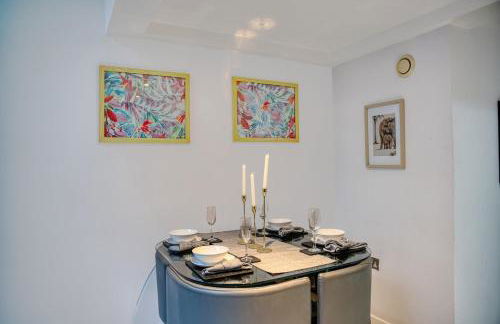
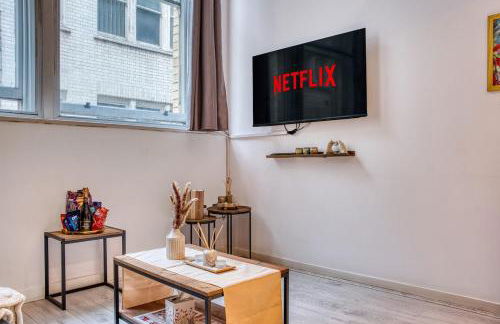
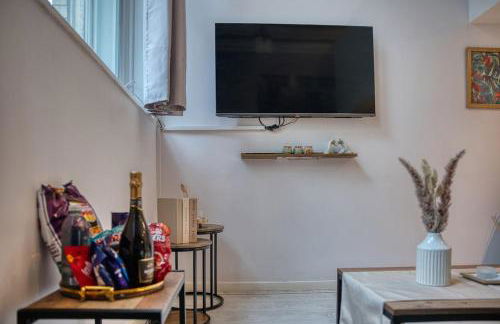
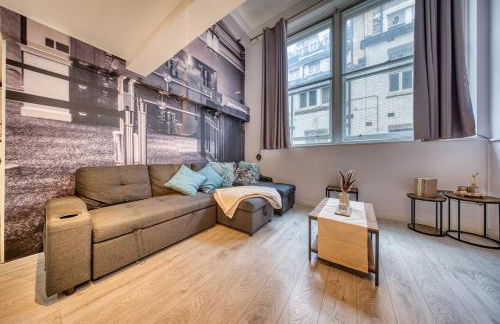
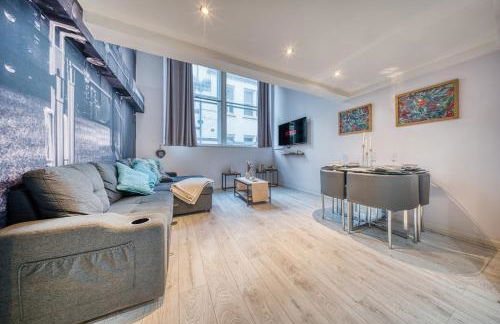
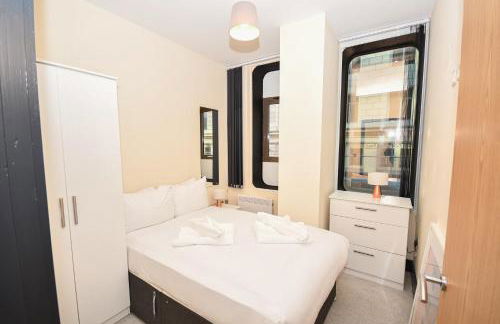
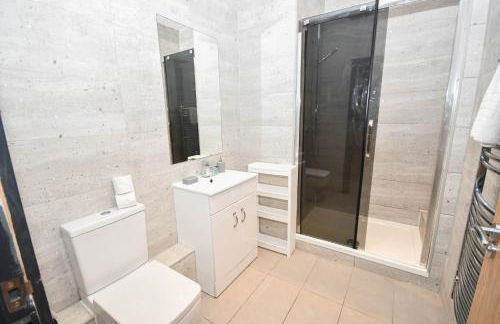
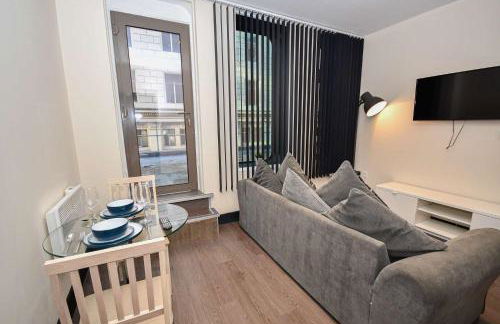
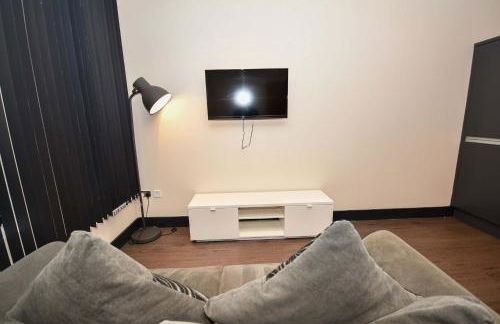
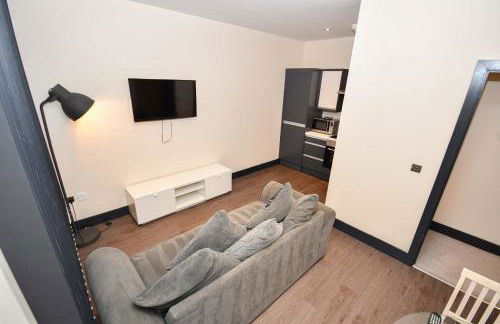
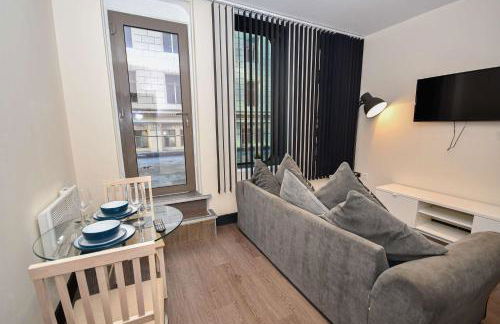
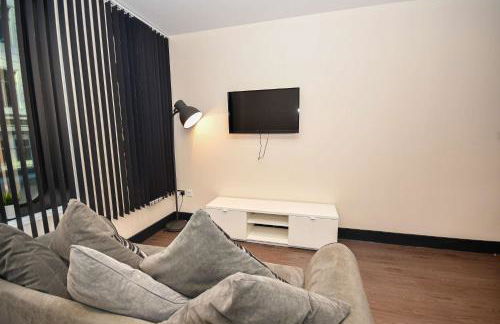
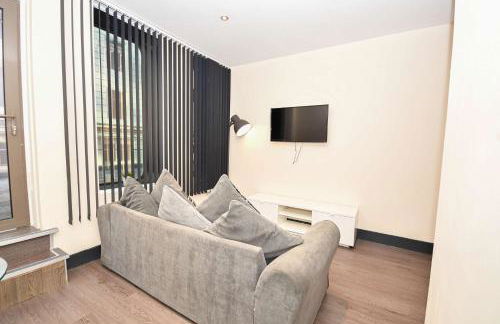
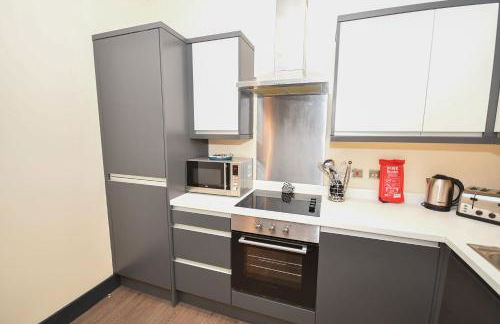
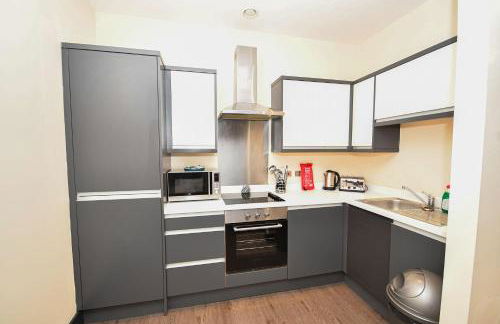
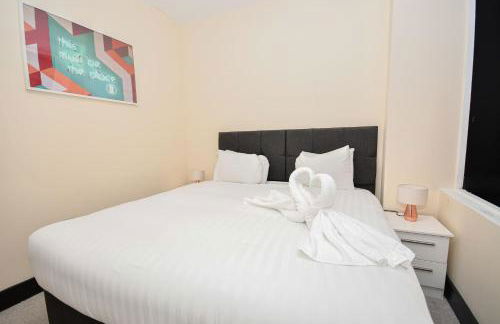
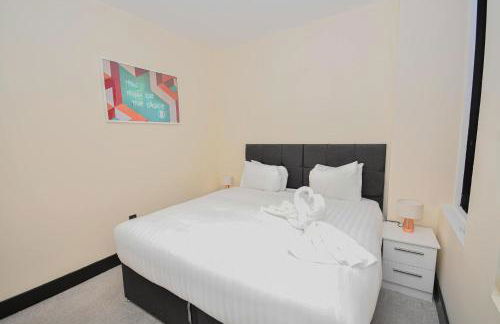
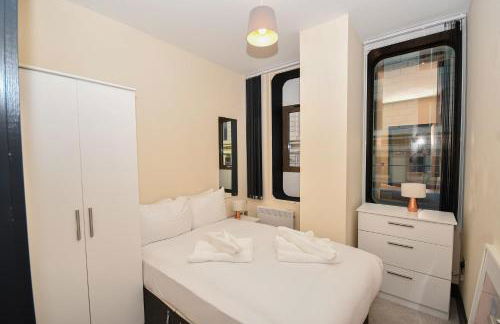
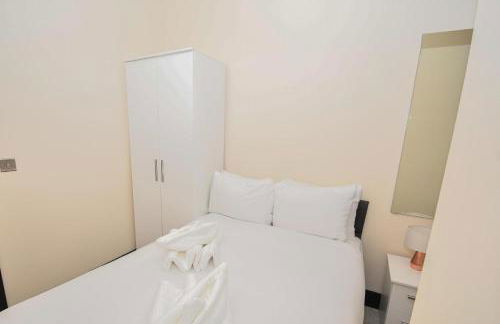
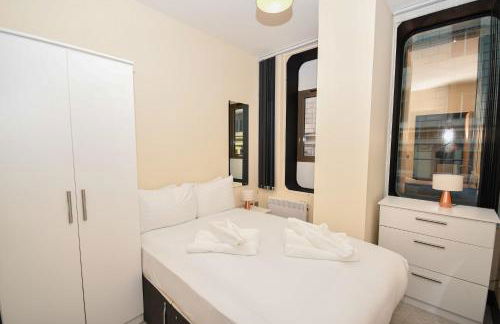
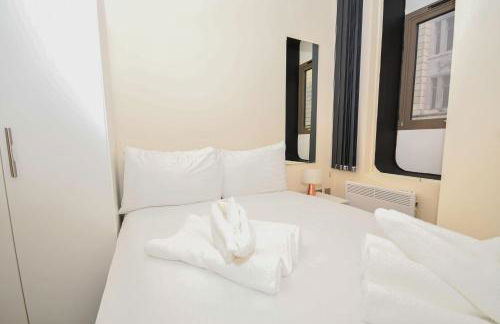
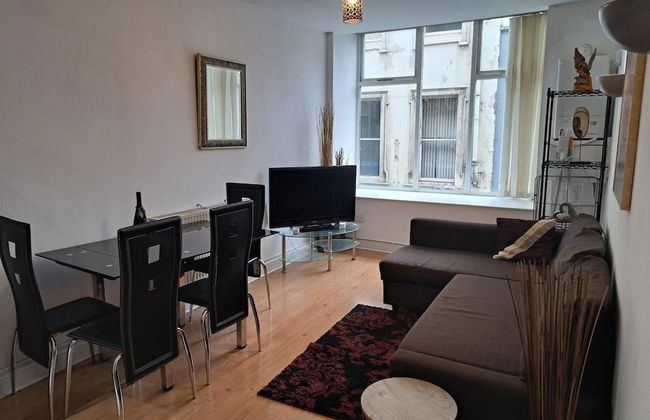
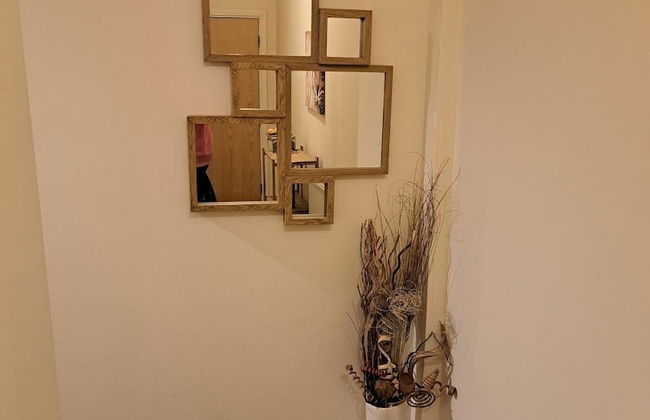
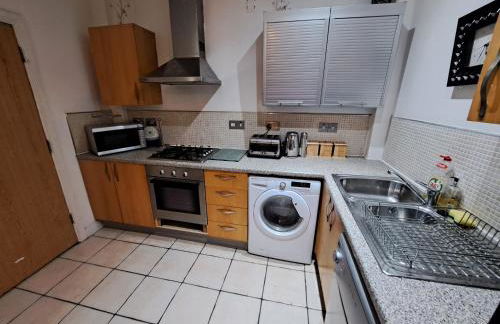
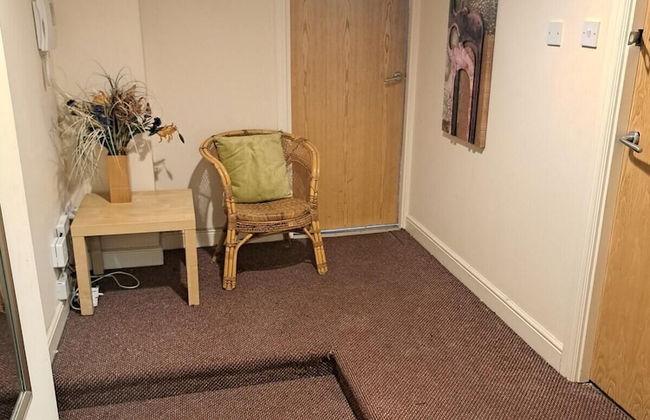
Sunnie stays apartment harrington chambers
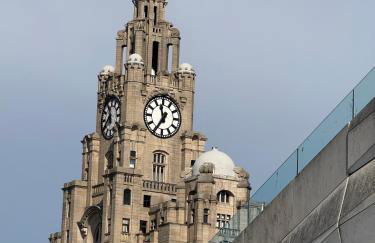
Liverpool - Commercial District - 320 m vom Zentrum
- 100 M2
- 2 Schlafzimmer
- 6 Personen


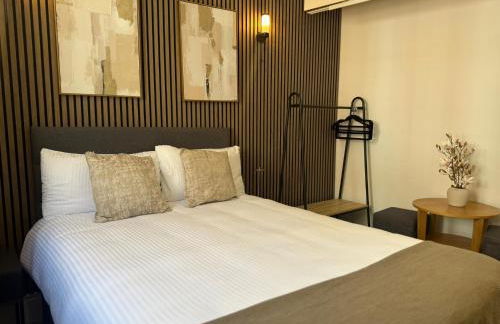


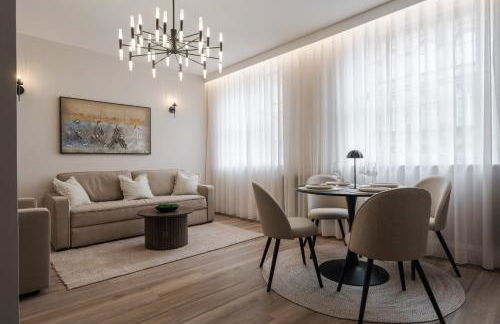
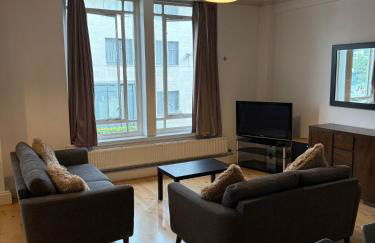
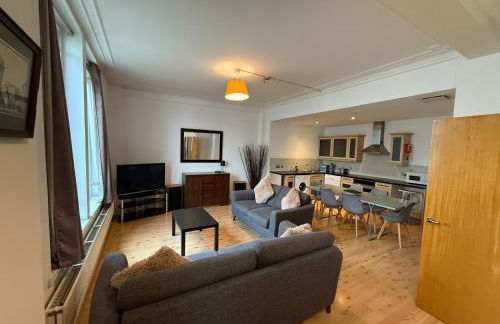
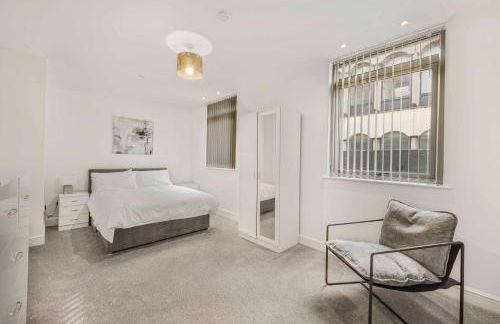
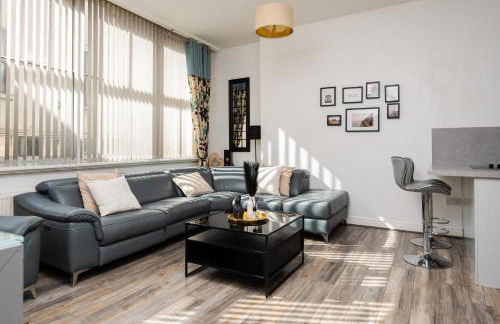
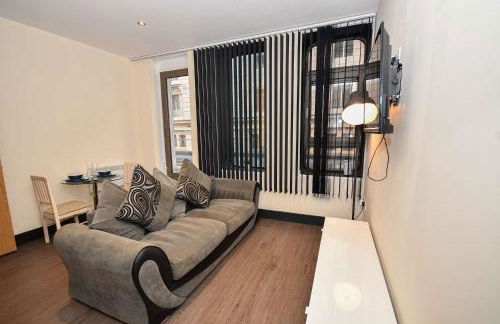
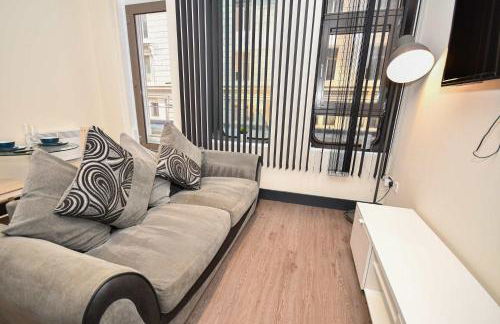
Stylish city centre Penthouse
Liverpool - Commercial District - 300 m vom Zentrum
- 90 M2
- 2 Schlafzimmer
- 4 Personen


Stunning City View Studio Apartment by StaySavvy Accommodation
Liverpool - Commercial District - 640 m vom Zentrum
- 85 M2
- 1 Schlafzimmer
- 3 Personen
- Heizung
- Fahrstuhl


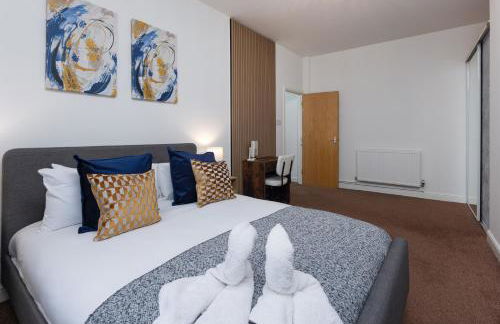
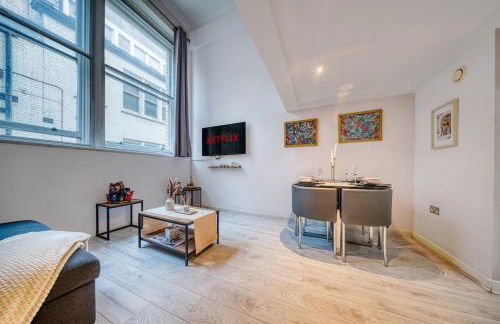
Trendy Penthouse, Liverpool City Centre
Liverpool - Commercial District - 310 m vom Zentrum
- 95 M2
- 2 Schlafzimmer


L2 Apartments- City Center- 2 bed
Liverpool - Commercial District - 350 m vom Zentrum
- 13 M2
- 2 Schlafzimmer
- 5 Personen


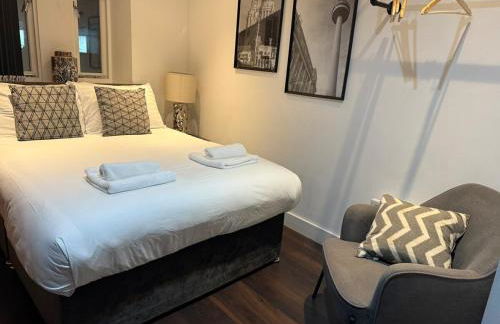
Harrington Suite
Liverpool - Commercial District - 360 m vom Zentrum
- 2 Schlafzimmer
- 7 Personen
- Heizung


L2 APARTMENT- near CAVERN QUARTER
Liverpool - Commercial District - 350 m vom Zentrum
- 2 Schlafzimmer
- 6 Personen


CASTLE STREET - City Centre 2 bedroomed Apt sleeps 8
Liverpool - Commercial District - 450 m vom Zentrum
- 2 Schlafzimmer
- 8 Personen
- Heizung


Large city centre apartment
Liverpool - Commercial District - 520 m vom Zentrum
- 4 Personen

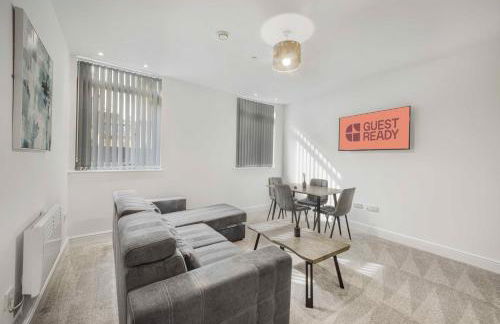


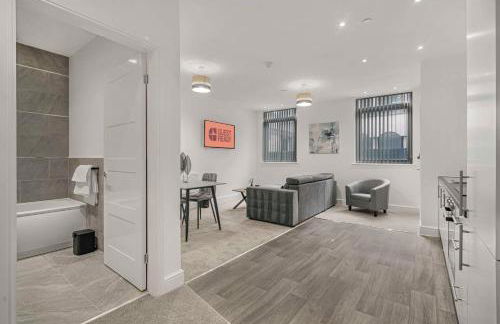


GuestReady - Gladstone
Liverpool - Commercial District - 340 m vom Zentrum
- 67 M2
- 2 Schlafzimmer
- 5 Personen


65 Inch TV City Center 1BR Long Stay Ready
Liverpool - Commercial District - 530 m vom Zentrum
- 484 M2
- 2 Personen
- Heizung
- Parkplatz


The Vault Liverpool City Centre sleeps 4
Liverpool - Commercial District - 490 m vom Zentrum
- 6 M2
- 1 Schlafzimmer
- Heizung
- Parkplatz
- Fahrstuhl


Castle St Steps to Ivy Washer Pet-Friendly
Liverpool - Commercial District - 430 m vom Zentrum
- 49 M2
- 1 Schlafzimmer
- 2 Personen
- Heizung
- Parkplatz


Castle Street 2 Bedroomed Next to The IVY
Liverpool - Commercial District - 450 m vom Zentrum
- 1 Schlafzimmer
- 6 Personen
- Heizung
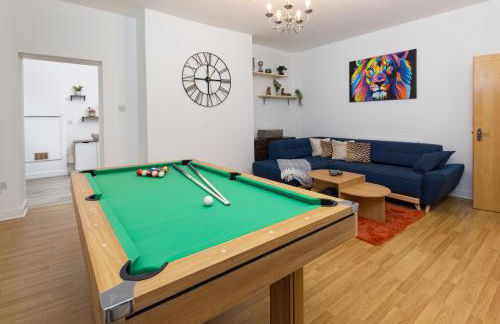


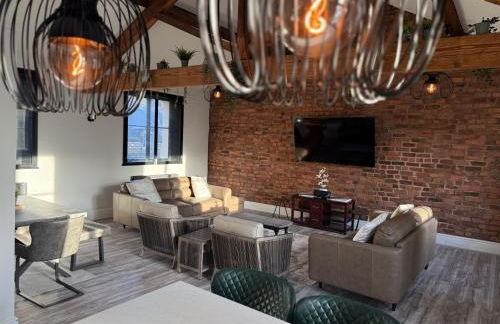
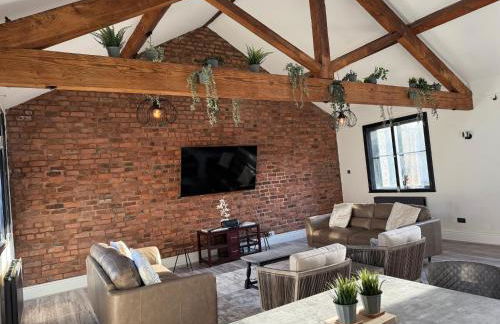
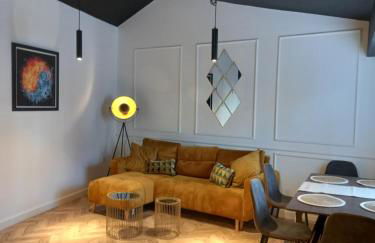
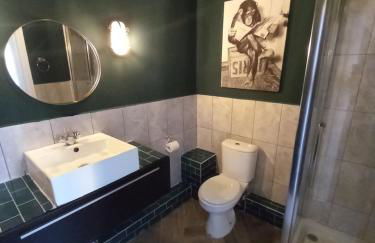
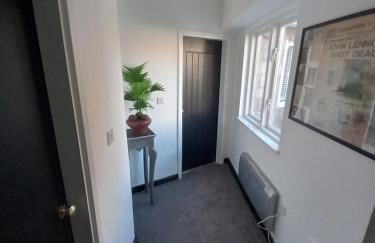
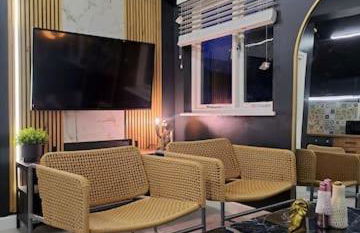
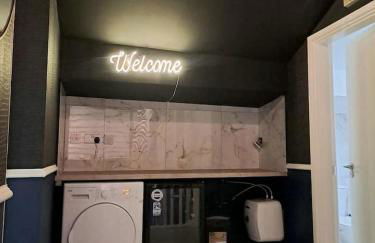
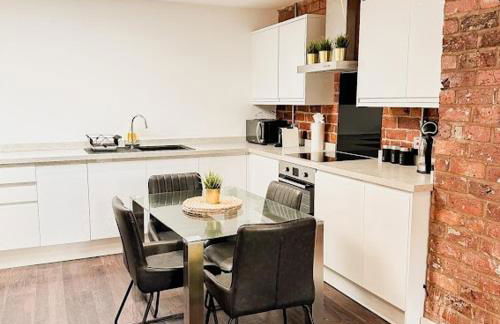
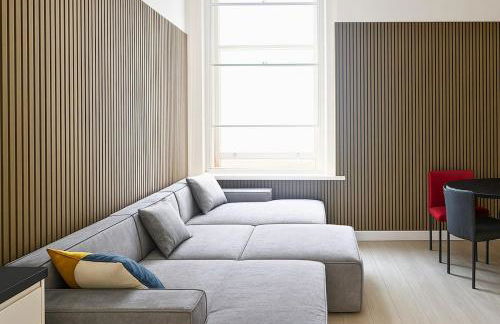
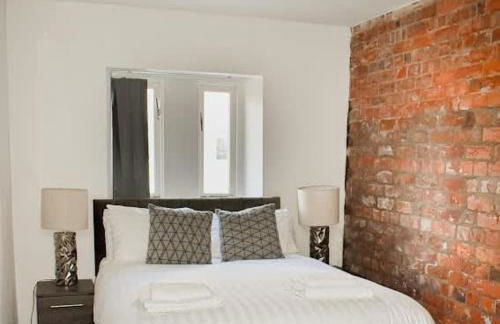
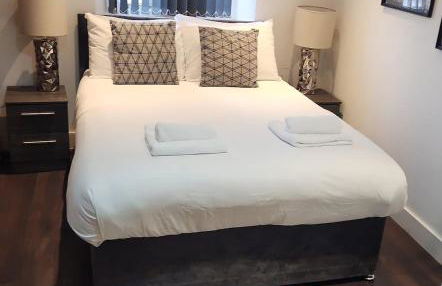
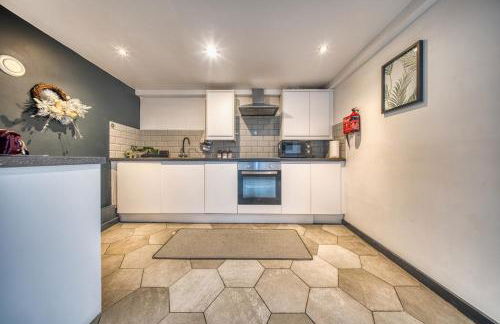
Harrington Chambers by Charming Apartments - Pool Table & Ping Pong
Liverpool - Commercial District - 320 m vom Zentrum
- 70 M2
- 2 Schlafzimmer
- 6 Personen


Premium Central Liverpool Apartment
Liverpool - Commercial District - 490 m vom Zentrum
- 3 M2
- 1 Schlafzimmer
- 5 Personen
- Klimaanlage
- Parkplatz


The strand
Liverpool - Commercial District - 630 m vom Zentrum
- 56 M2
- 1 Schlafzimmer
- 4 Personen
- Heizung
- Parkplatz
- Fahrstuhl


Spacious City Centre 2-Bedroom Apartment by StaySavvy Accommodation
Liverpool - Commercial District - 320 m vom Zentrum
- 100 M2
- 2 Schlafzimmer
- 4 Personen
- Heizung


Modern & Cosy 2BED Apartment in Central Liverpool
Liverpool - Commercial District - 540 m vom Zentrum
- 65 M2
- 2 Schlafzimmer
- 3 Personen
- Heizung
- Fahrstuhl


City Center Gem
Liverpool - Cavern Quarter - 320 m vom Zentrum
- 70 M2
- 2 Schlafzimmer
- 6 Personen
- Heizung
- Tv
- Waschmaschine
- Handtücher
- Bettlaken