
1117 Wohnungen in Orange


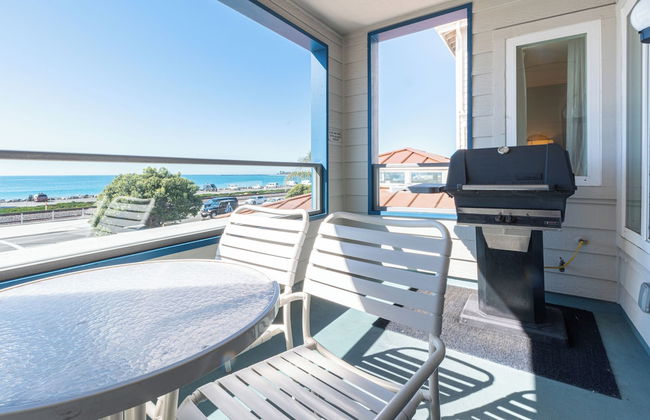
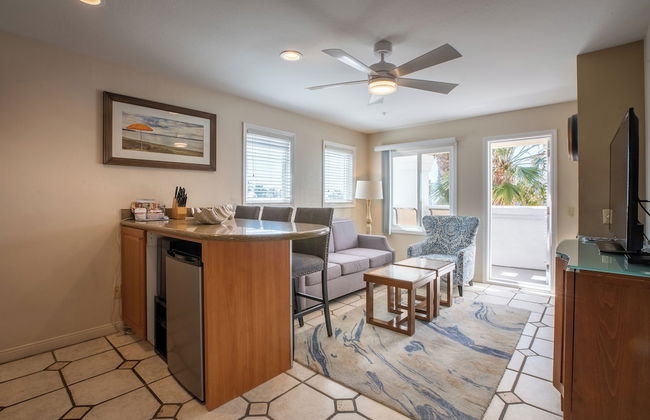
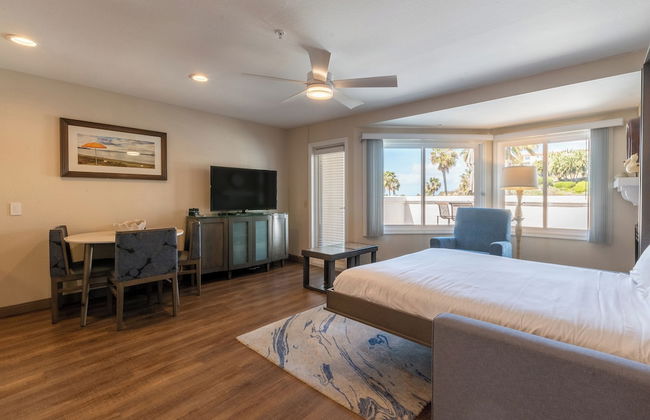
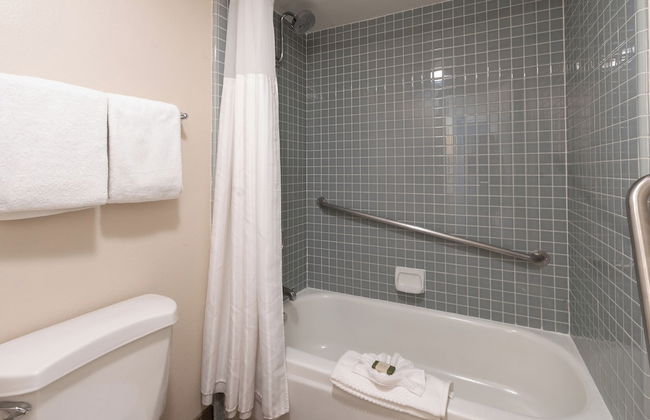
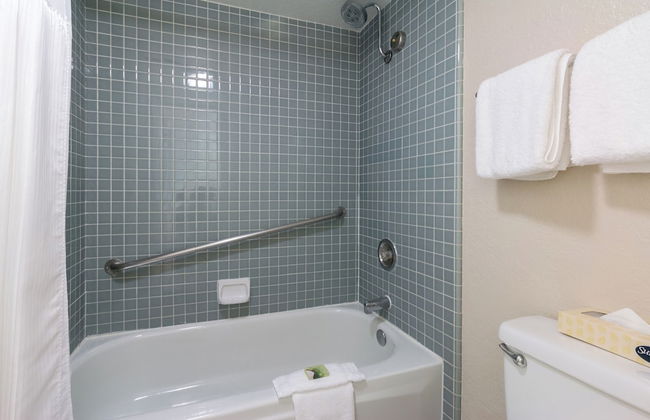
Beachcomber Inn
San Clemente - 1.2 km vom Zentrum
- 7 Personen
- Klimaanlage
- Heizung
- Terrasse
- Parkplatz
- Garten
- Tv
- Schornstein
- Barbecue
- Handtücher
- Bettlaken
204 Bewertungen
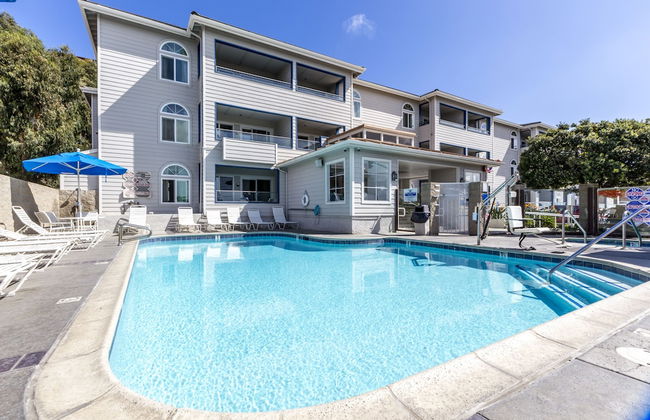


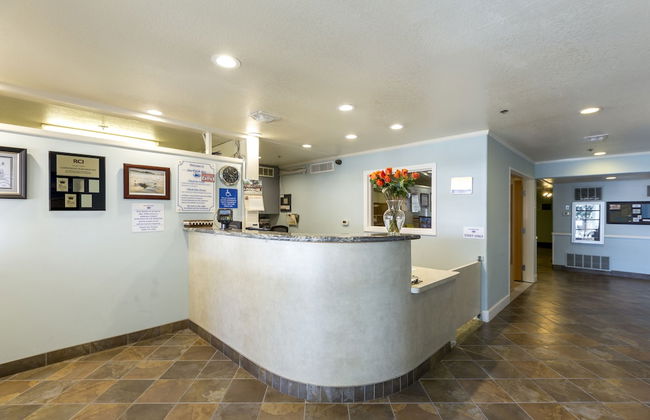
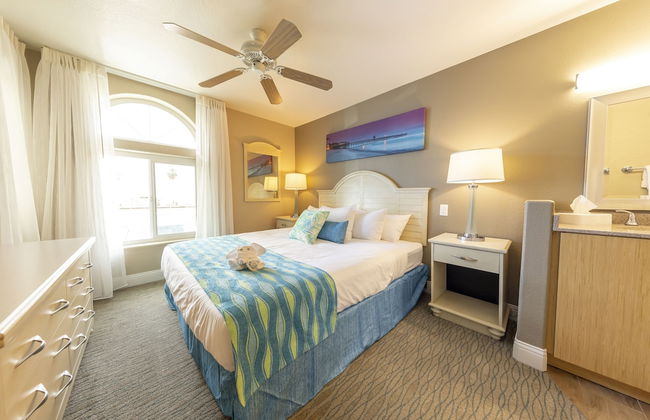

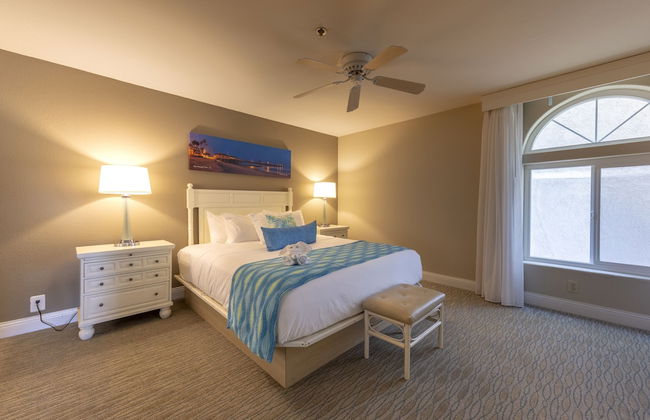


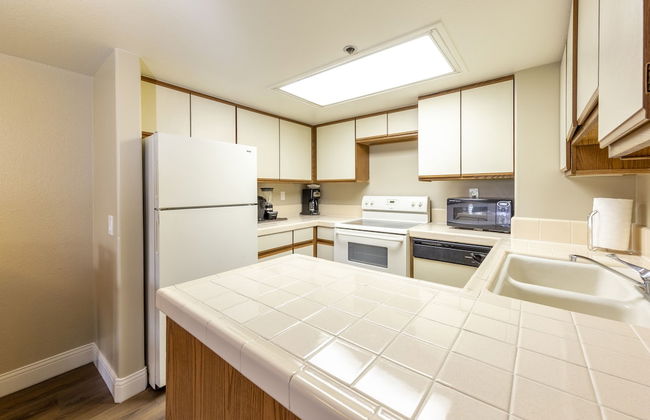
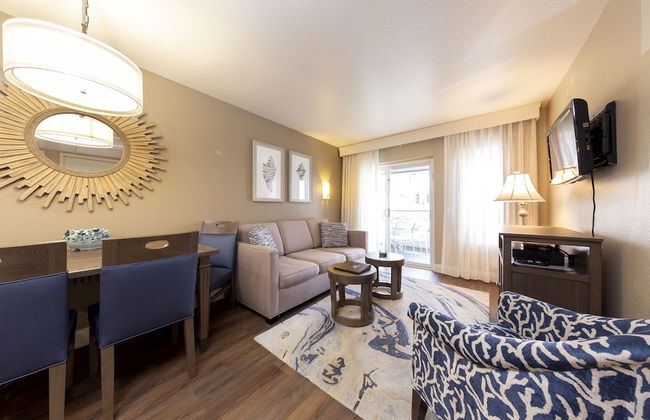
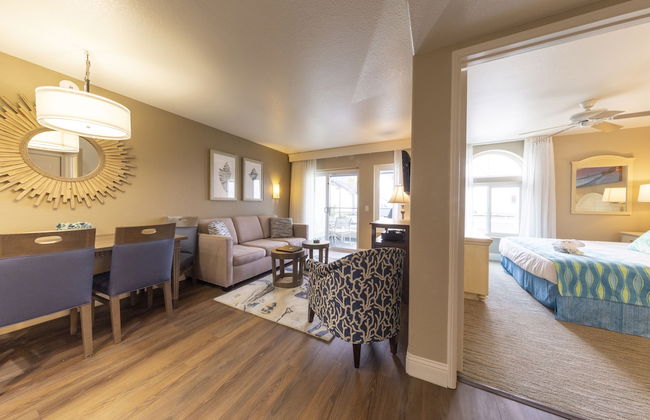
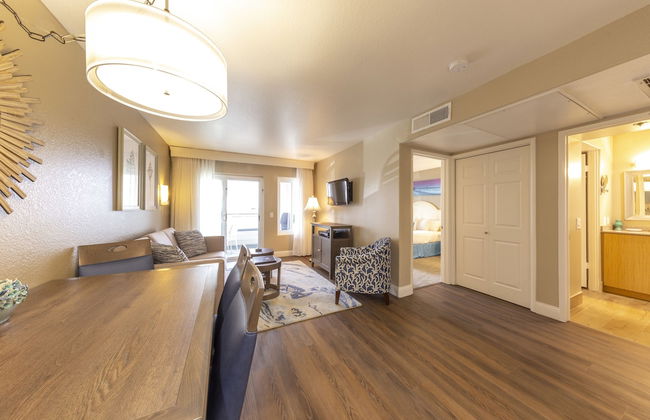

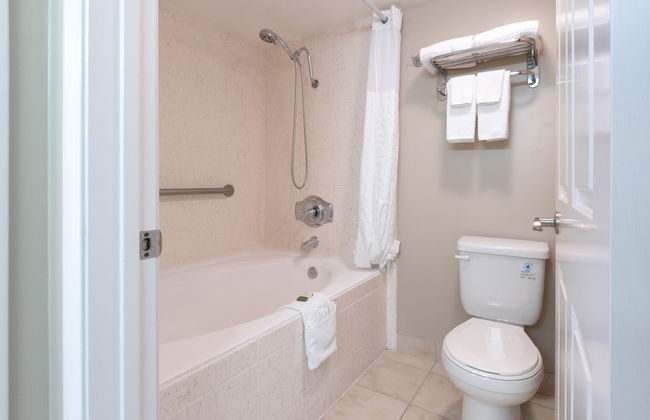
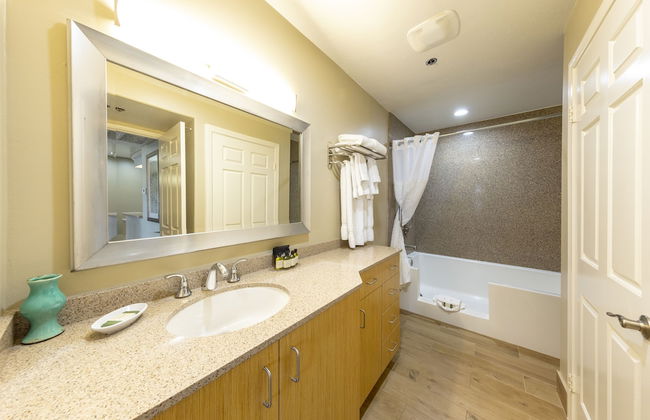


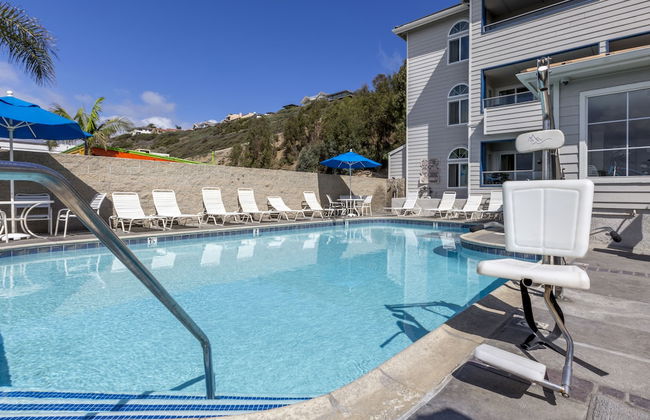
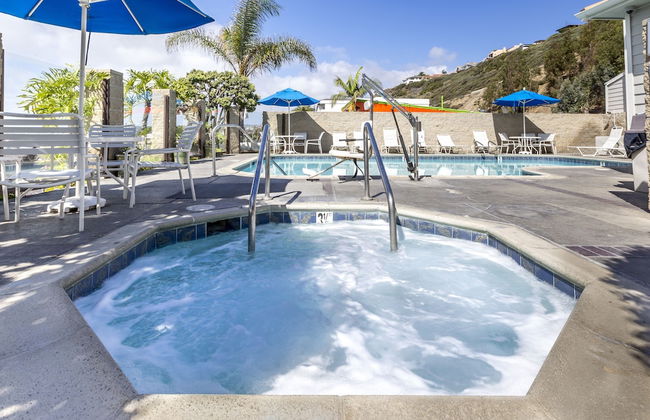

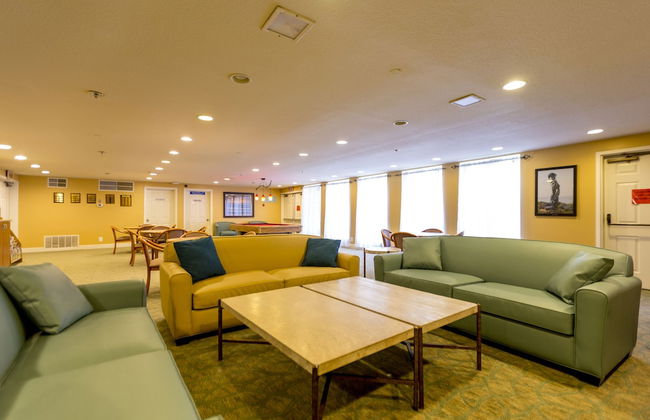
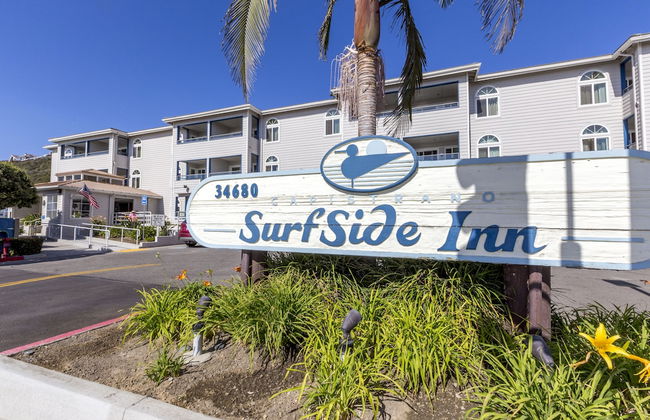
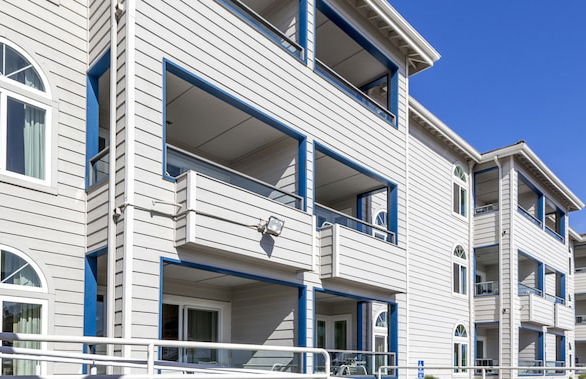


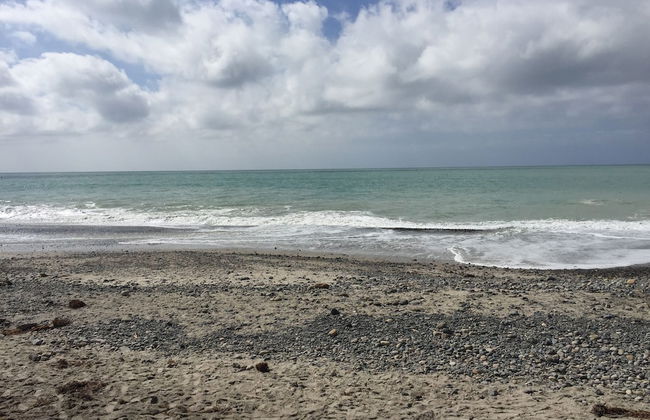
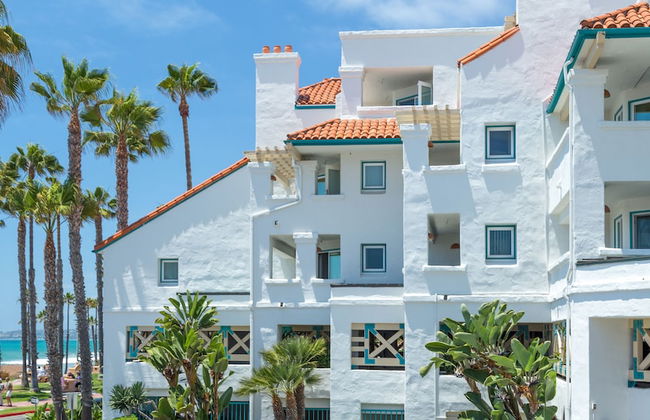
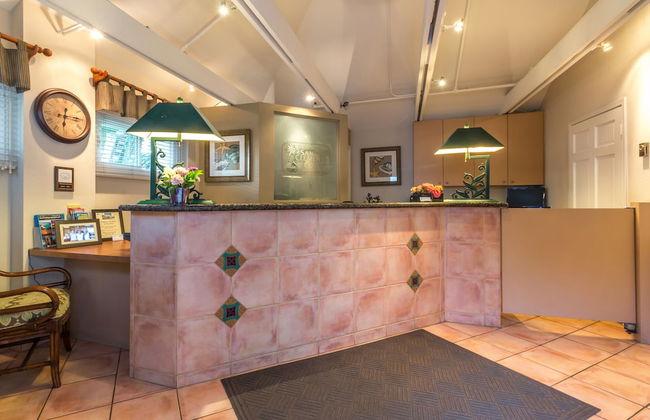
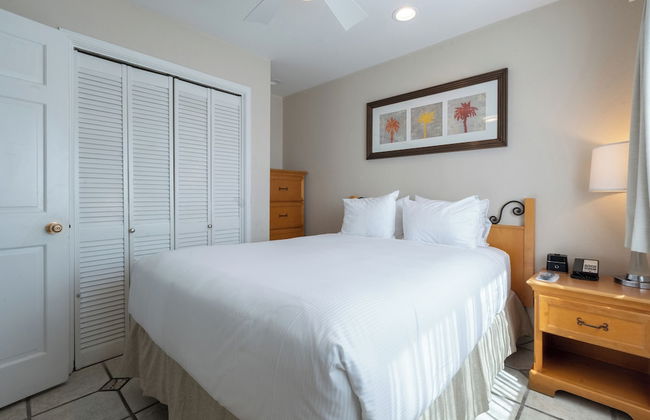
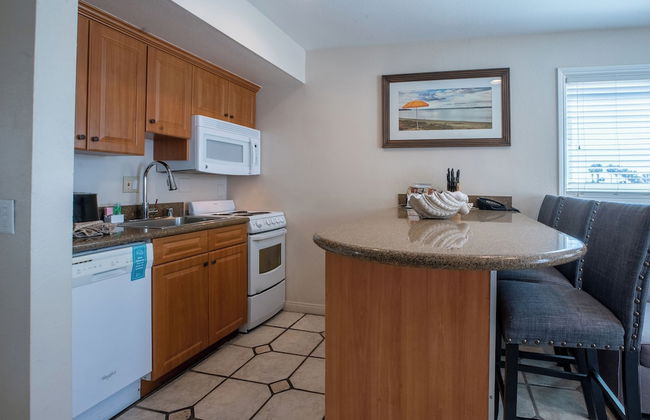
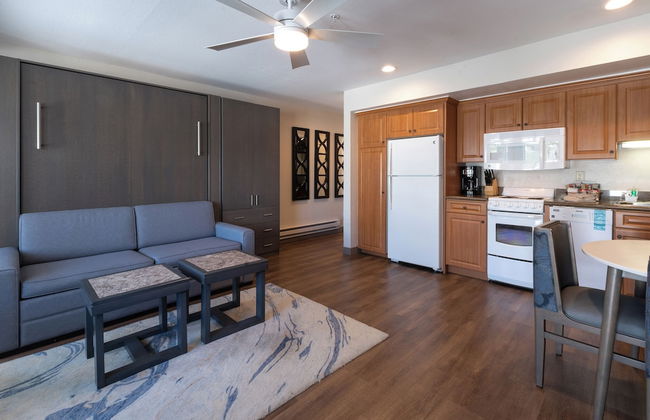
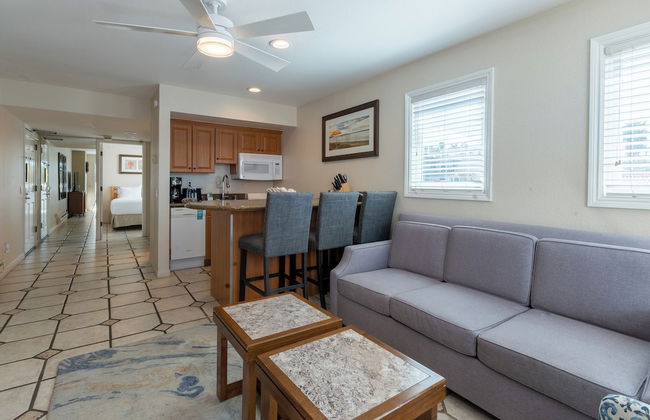
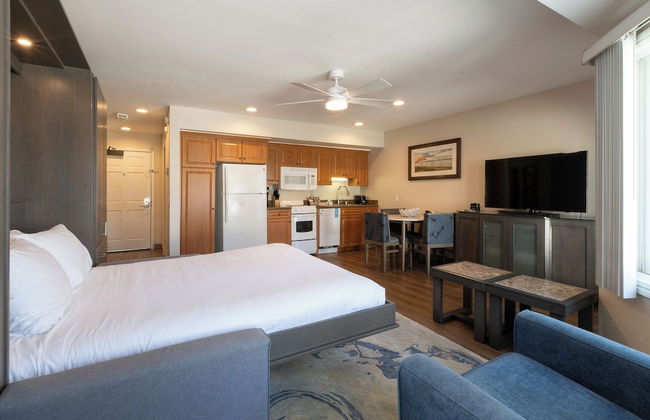
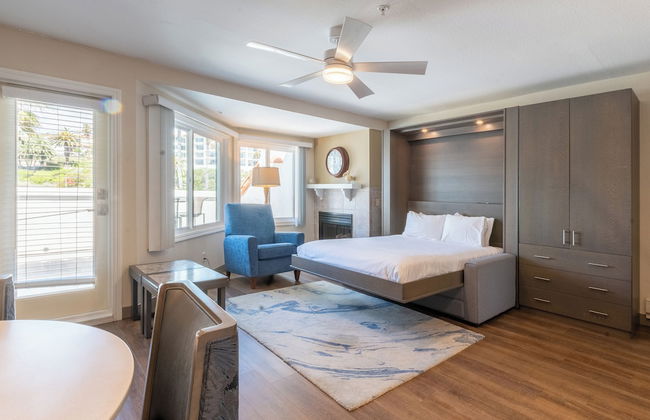
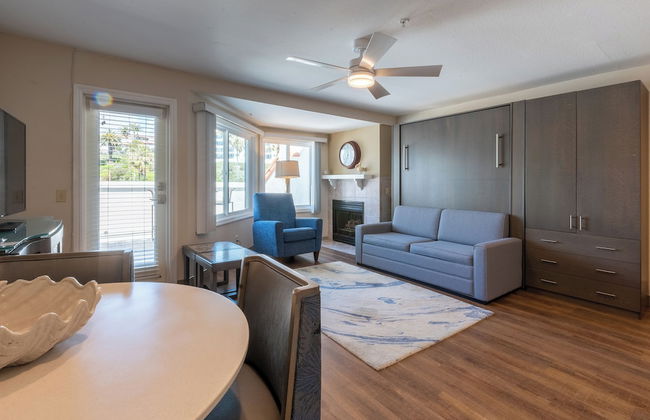
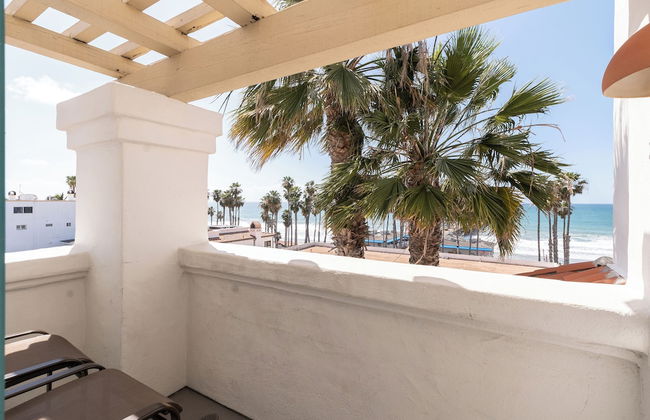
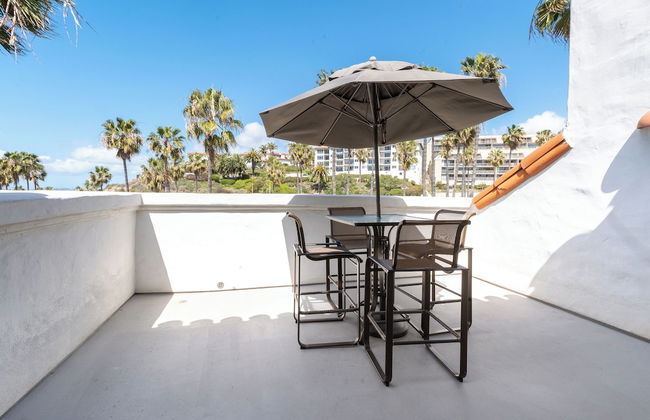
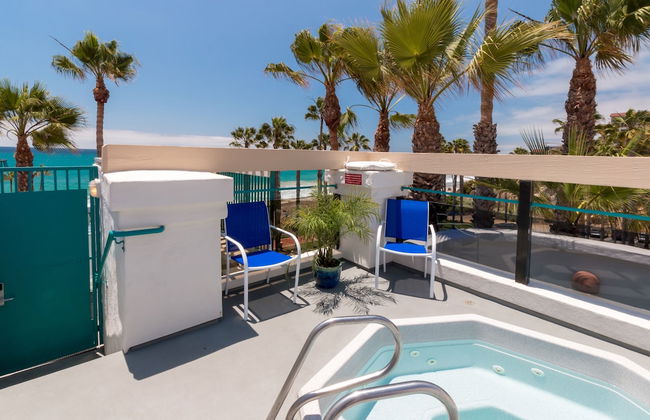
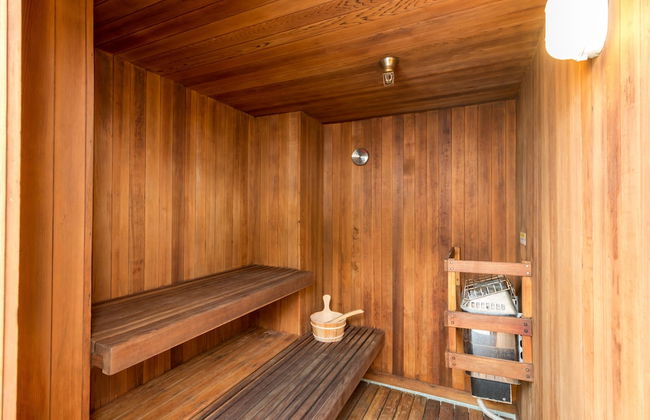
Capistrano Surfside Inn
Capistrano Beach
- 75 M2
- 6 Personen
- Klimaanlage
- Heizung
- Schwimmbad
- Parkplatz
- Fahrstuhl
- Balkon
- Garten
- Tv
- Barbecue
- Handtücher
- Bettlaken
190 Bewertungen


Disneyland Cozy Luxury Retreat I Sleeps 10, King Bed & EV Access
Westminster - 700 m vom Zentrum
- 149 M2
- 3 Schlafzimmer
- 10 Personen
- Klimaanlage
- Heizung
- Parkplatz
- Garten
13 Bewertungen


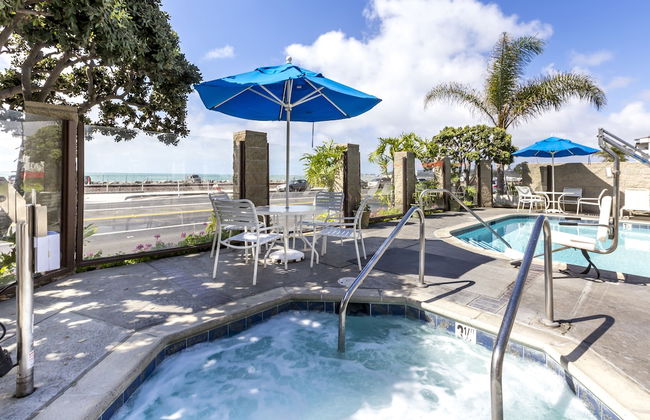
San Clemente Inn
San Clemente - 2 km vom Zentrum
- 57 M2
- 6 Personen
- Kochnische
- Klimaanlage
- Heizung
- Schwimmbad
- Parkplatz
- Garten
- Tv
- Schornstein
- Barbecue
- Handtücher
- Bettlaken
1576 Bewertungen


the Newport Family Peninsula Beach House
Newport Beach - Im Zentrum
- 167 M2
- 3 Schlafzimmer
- 10 Personen
- Heizung
- Terrasse
- Parkplatz
- Garten
- Barbecue
17 Bewertungen


Luxury Ocean-View Rooftop | Steps to Beach | A/C
Newport Beach - 450 m vom Zentrum
- 111 M2
- 3 Schlafzimmer
- 6 Personen
- Klimaanlage
- Heizung
- Terrasse
- Parkplatz
- Garten
- Barbecue
15 Bewertungen


Glamorous Regal Design Home with Private Patio and Garage
Laguna Hills
- 102 M2
- 2 Schlafzimmer
- 5 Personen
- Klimaanlage
- Heizung
- Garten
12 Bewertungen
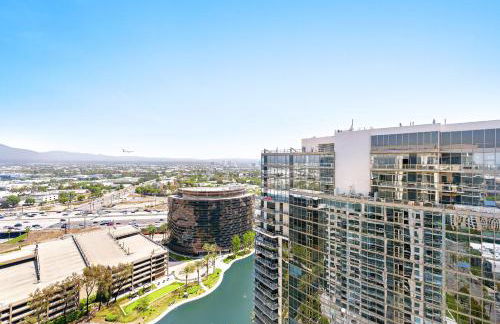
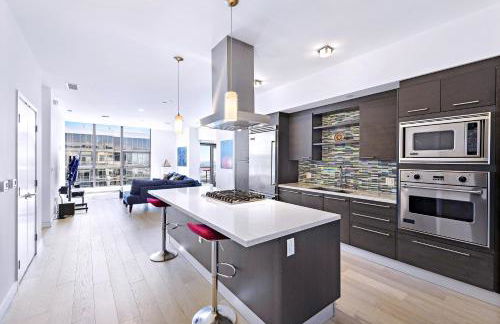
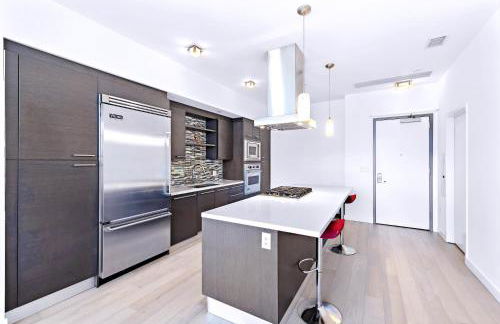
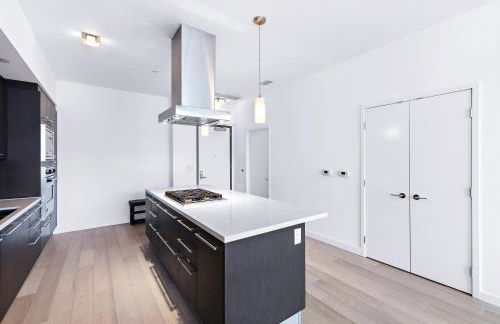

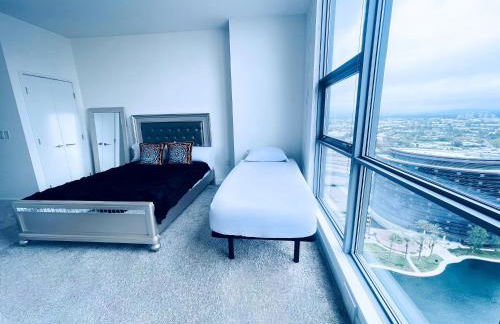
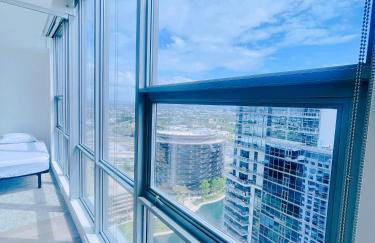


25th floor Luxury Penthouse
Santa Ana - 5.2 km vom Zentrum
- 183 M2
- 2 Schlafzimmer
- 5 Personen
- Klimaanlage
- Terrasse
- Schwimmbad
- Parkplatz
- Fahrstuhl
13 Bewertungen


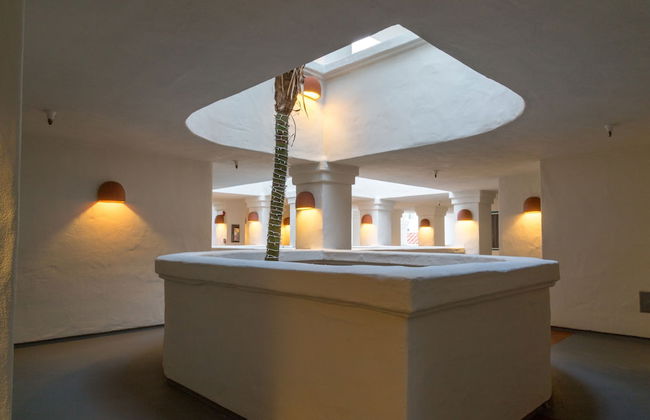
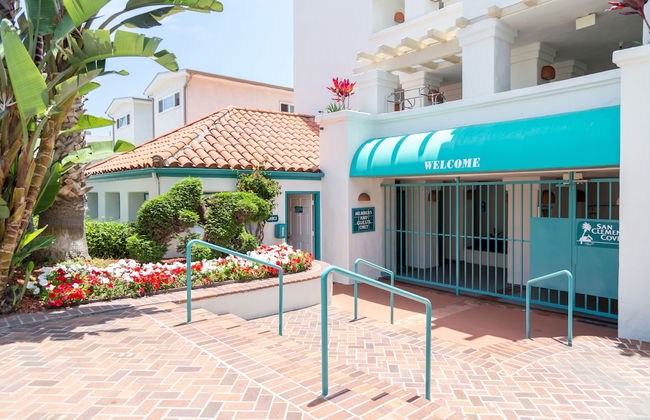
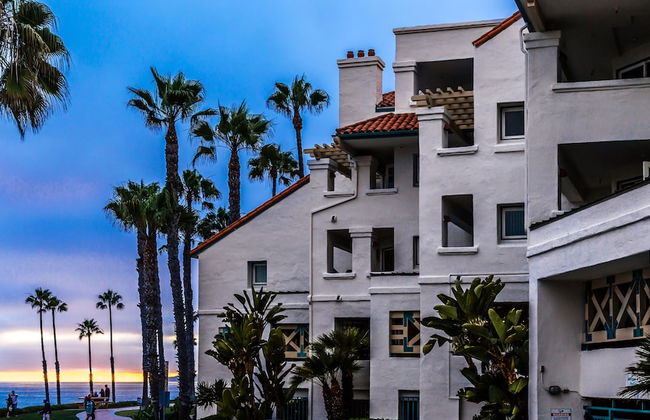
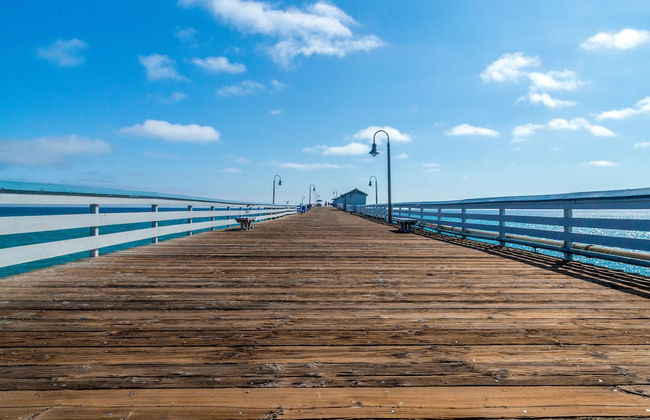
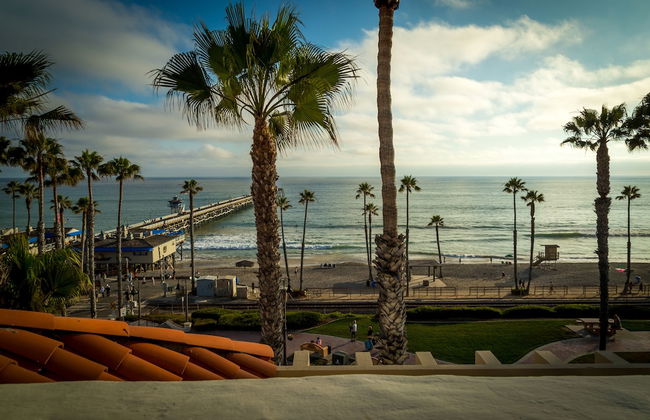
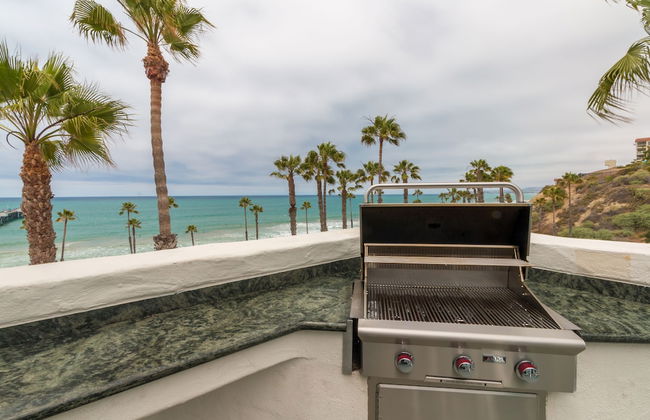
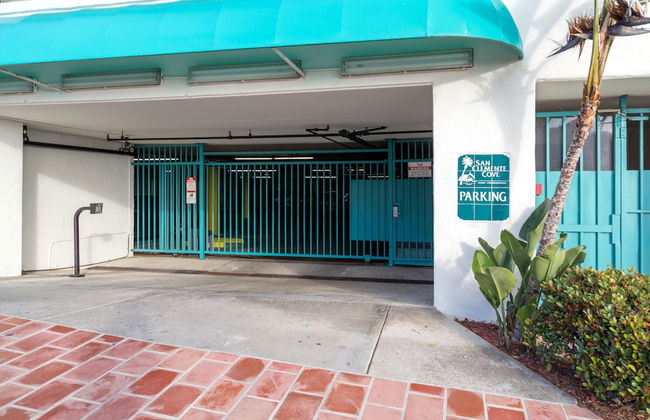
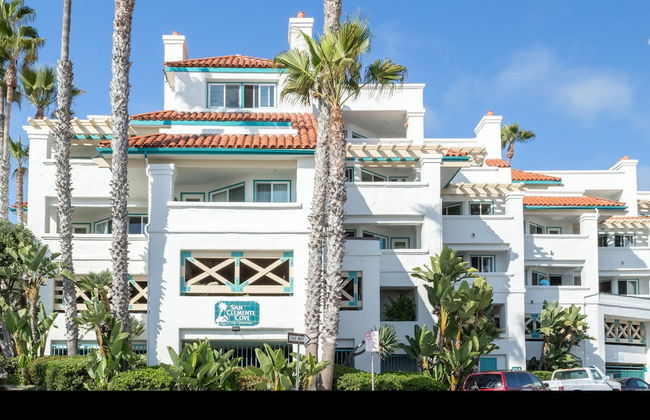
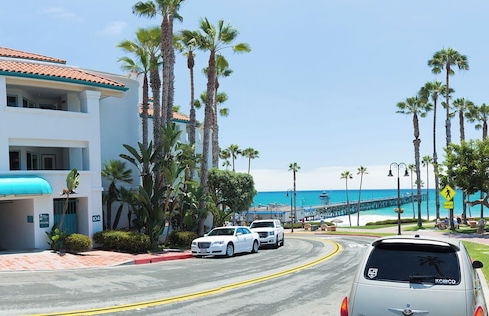
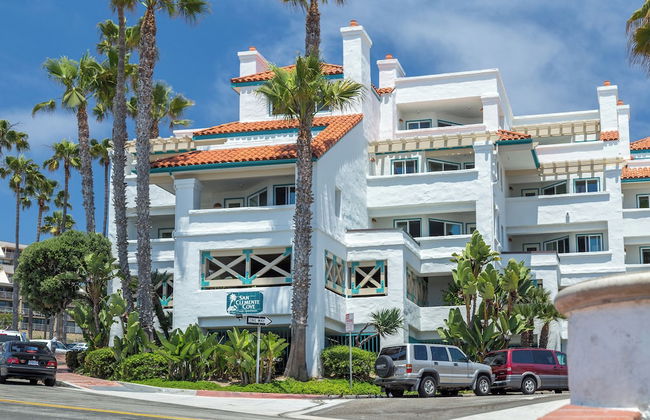
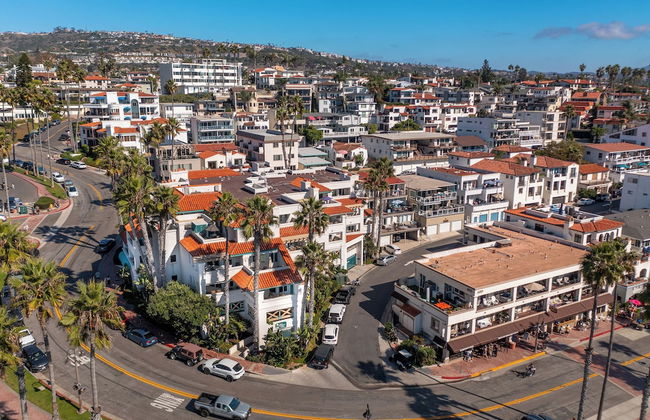
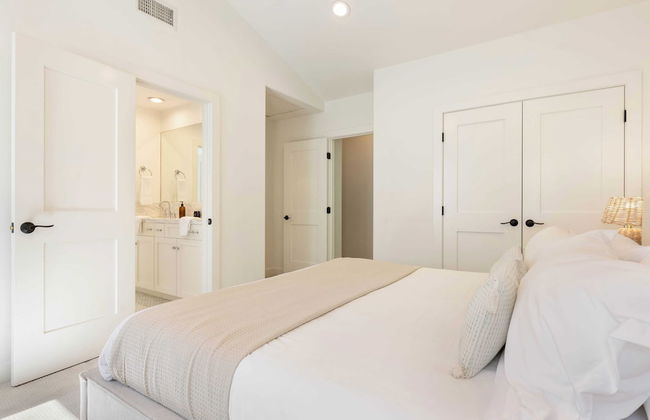
San Clemente Cove
San Clemente - 1.1 km vom Zentrum
- 36 M2
- 4 Personen
- Heizung
- Terrasse
- Parkplatz
- Fahrstuhl
- Balkon
- Tv
- Schornstein
- Barbecue
- Handtücher
- Bettlaken
378 Bewertungen


Crystal Cove by Avantstay Gorgeous & Charming Newport Home!
Newport Beach - 970 m vom Zentrum
- 302 M2
- 12 Personen
- Klimaanlage
- Heizung
- Parkplatz
- Tv
- Waschmaschine
- Handtücher
- Bettlaken
2 Bewertungen


Peaceful Home Near Beach & Disneyland
Huntington - 3.5 km vom Zentrum
- 169 M2
- 4 Schlafzimmer
- 10 Personen
- Klimaanlage
- Heizung
- Parkplatz
- Garten
6 Bewertungen


H&H Modern Lux 4BD 1 King Suite 3 Queen SoCal Disney
Westminster - Im Zentrum
- 149 M2
- 4 Schlafzimmer
- 8 Personen
- Klimaanlage
- Parkplatz
30 Bewertungen


Newly built Guest House near beaches
Costa Mesa - 4 km vom Zentrum
- 63 M2
- 2 Schlafzimmer
- 4 Personen
- Klimaanlage
- Parkplatz
- Garten
8 Bewertungen


Private Pool Oasis/Disney 15mins /Disney+ HBO/Gym
Placentia
- 241 M2
- 5 Schlafzimmer
- 9 Personen
- Klimaanlage
- Heizung
- Terrasse
- Schwimmbad
- Parkplatz
- Garten
- Barbecue
6 Bewertungen


Global Luxury Suites at The Village
Irvine - Irvine Spectrum Center - 7.5 km vom Zentrum
- 96 M2
- 5 Personen
- Klimaanlage
- Heizung
- Terrasse
- Schwimmbad
- Parkplatz
- Fahrstuhl
- Garten
- Tv
- Waschmaschine
- Barbecue
- Handtücher
- Bettlaken
21 Bewertungen


The White Beach House of Huntington
Huntington - Yorktown - 980 m vom Zentrum
- 232 M2
- 3 Schlafzimmer
- 8 Personen
- Klimaanlage
- Heizung
- Terrasse
- Parkplatz
- Garten
- Barbecue
22 Bewertungen


Luxury Irvine Spectrum 2 bedrooms 2 Bathrooms Kitchen pool Apartment
Irvine - Irvine Spectrum Center - 7.6 km vom Zentrum
- 111 M2
- 2 Schlafzimmer
- 4 Personen
- Klimaanlage
- Heizung
- Terrasse
- Schwimmbad
- Parkplatz
- Fahrstuhl
- Garten
- Barbecue
28 Bewertungen


2026 Award Winner, Luxe 2BR, steps to sand & pier, with fire pit, AC and parking
Newport Beach - 450 m vom Zentrum
- 93 M2
- 2 Schlafzimmer
- 5 Personen
- Klimaanlage
- Heizung
- Parkplatz
- Barbecue
29 Bewertungen


Cozy Coastal Retreat Newport Beach
Newport Beach - 1.8 km vom Zentrum
- 88 M2
- 2 Schlafzimmer
- 5 Personen
- Klimaanlage
- Heizung
- Schwimmbad
- Parkplatz
- Fahrstuhl
- Garten
- Barbecue
49 Bewertungen


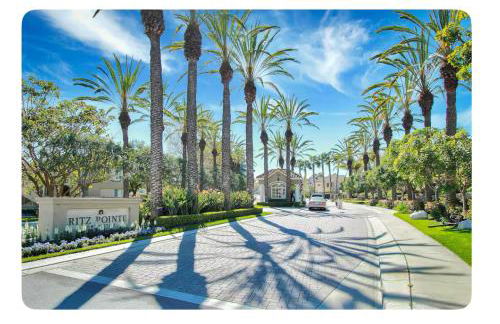
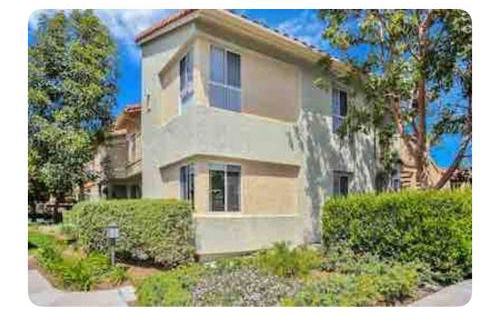
Ritz Pointe dr
Dana Point
- 111 M2
- 2 Schlafzimmer
- 6 Personen
- Klimaanlage
- Heizung
- Terrasse
- Schwimmbad
- Parkplatz
- Garten
8 Bewertungen