
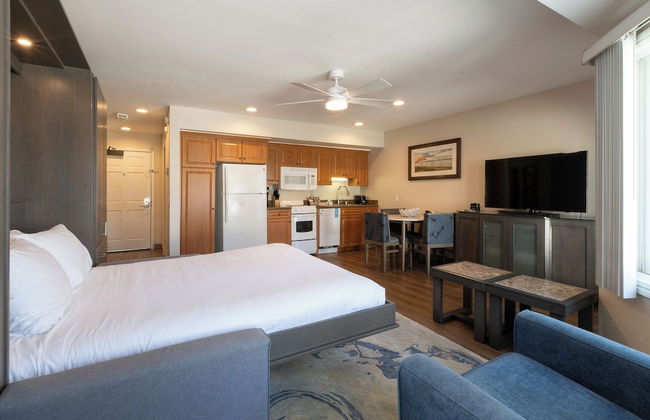
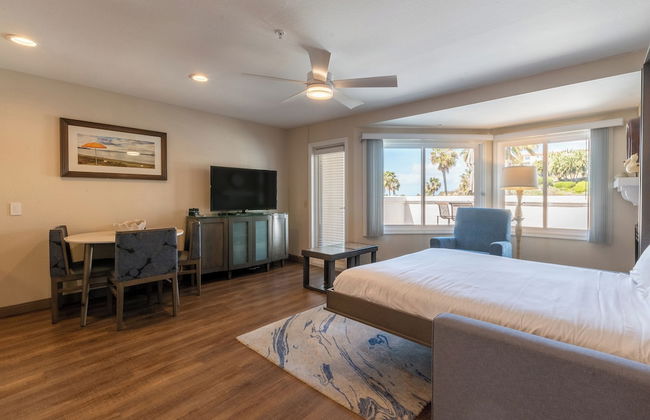
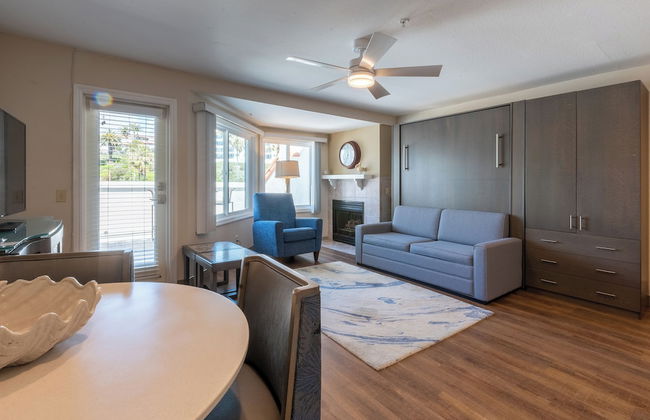
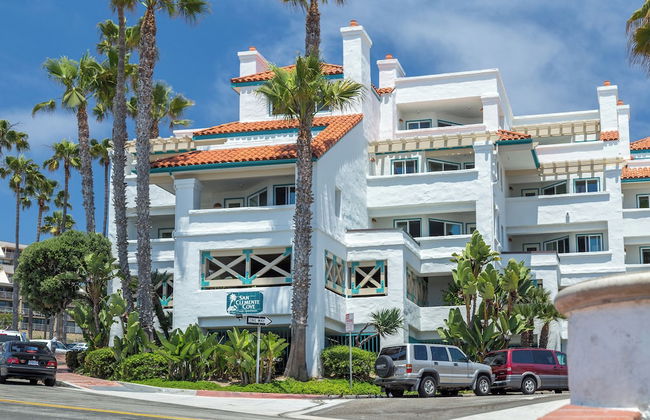
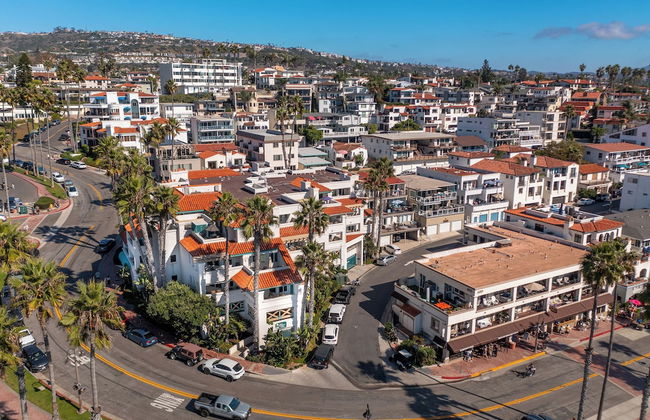
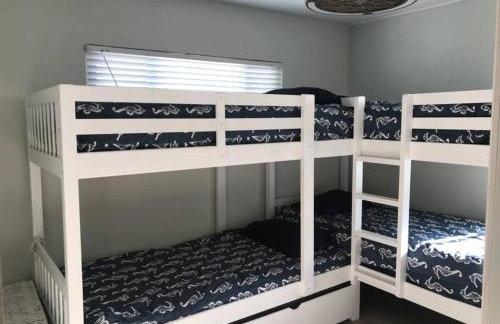
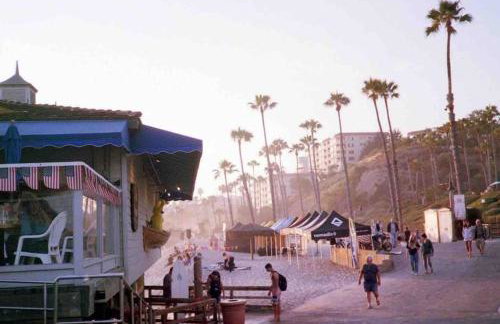
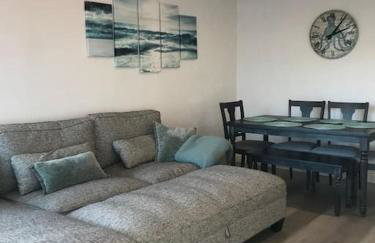
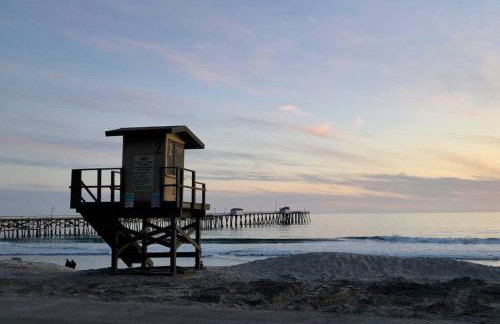
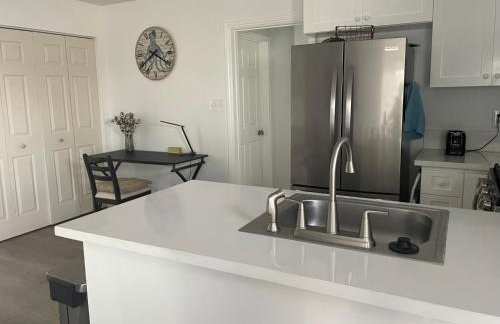
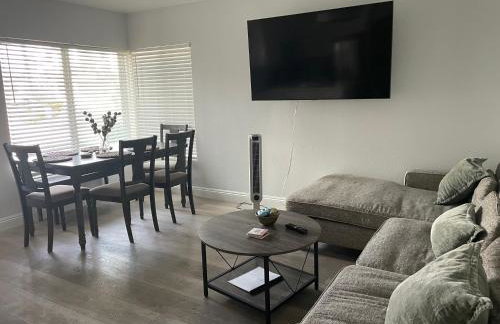
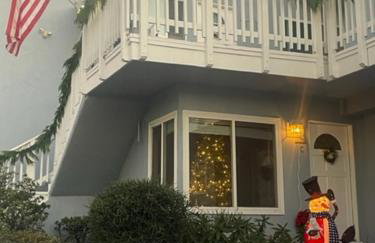
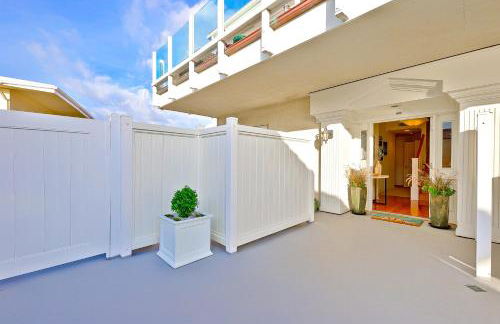
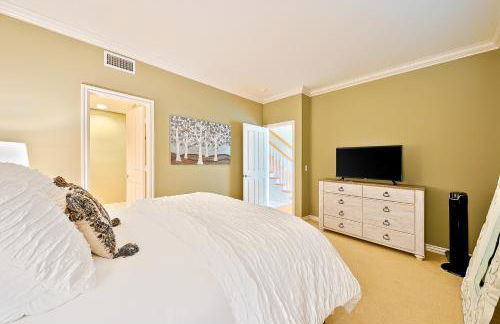
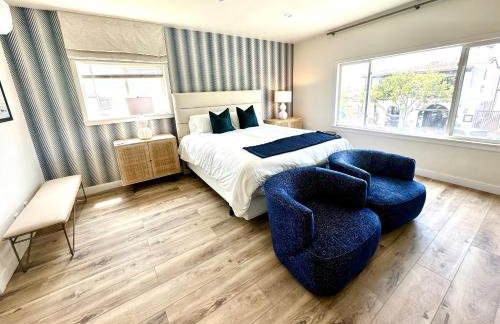
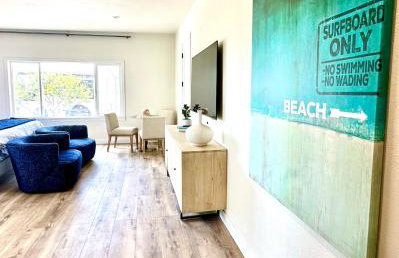
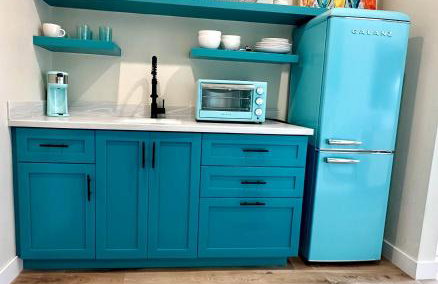
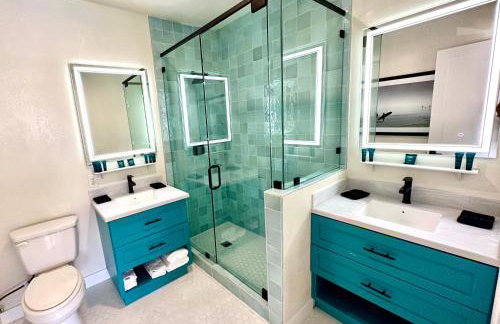
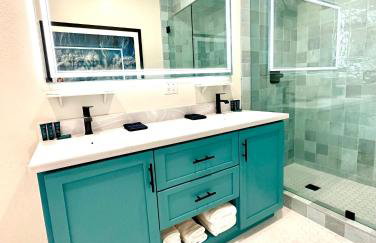
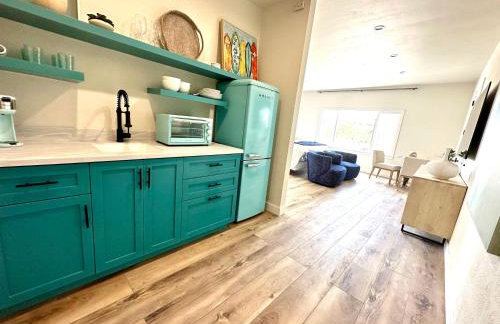
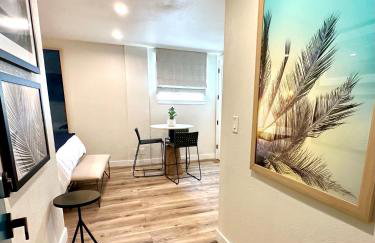
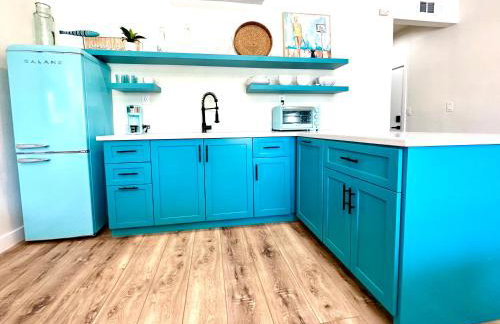
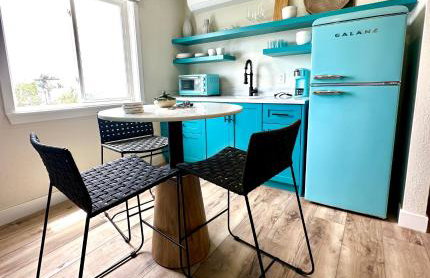
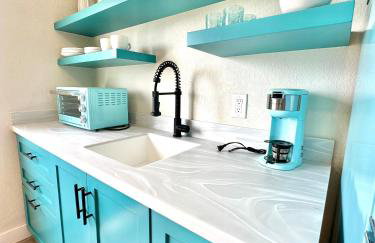
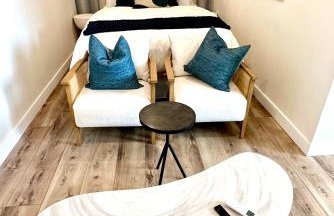
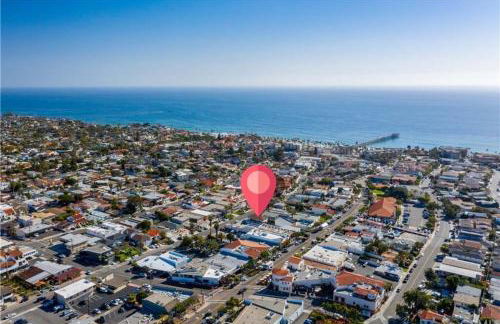
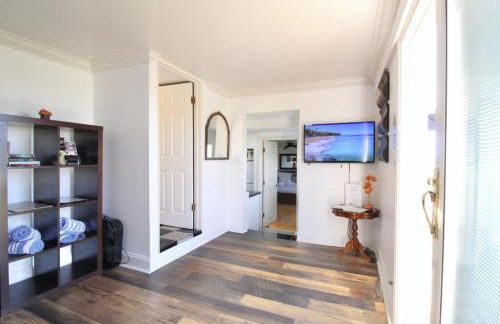
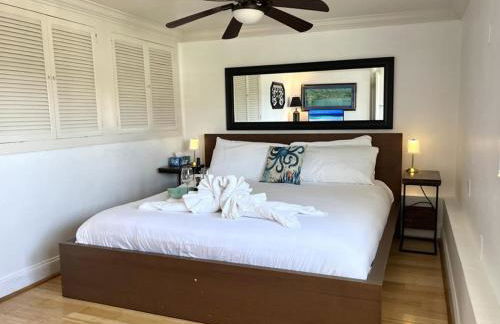
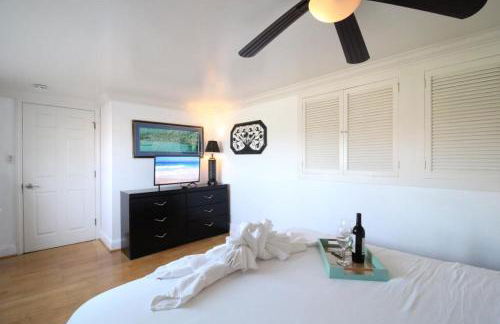
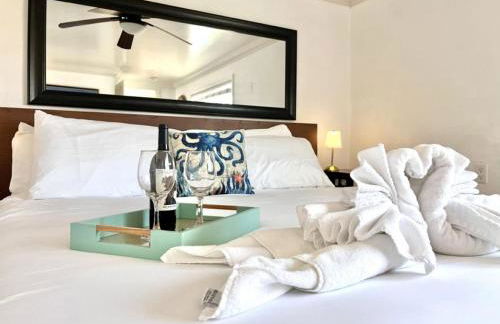
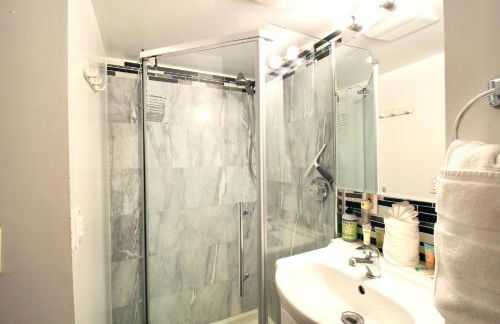
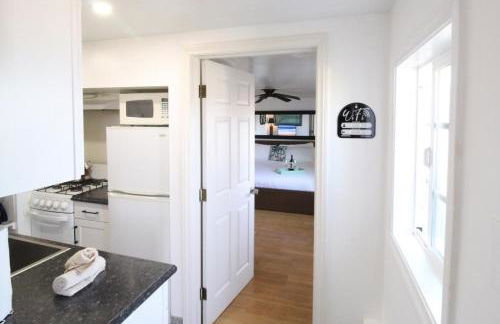
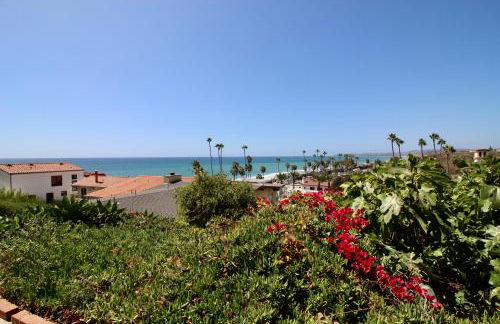
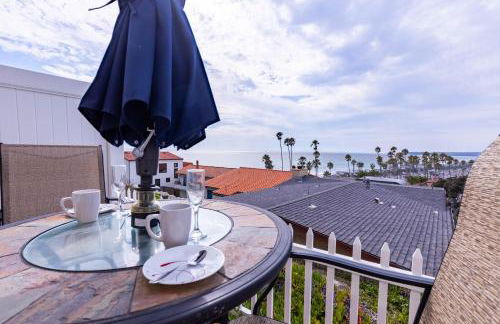
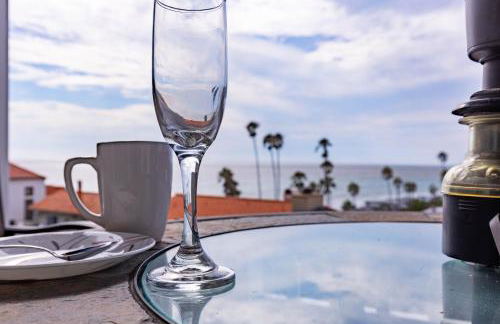
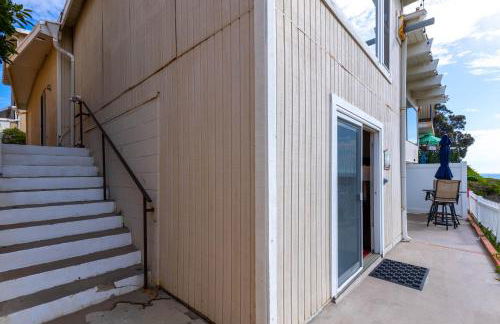
75 Wohnungen in San Clemente


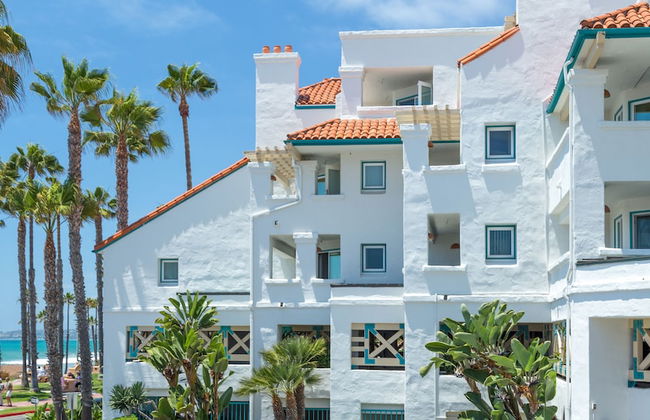
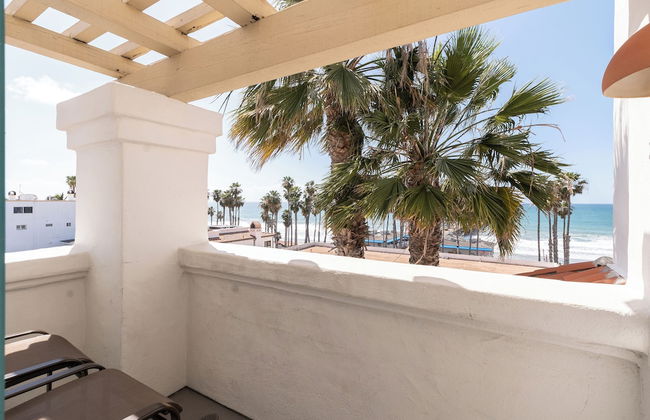
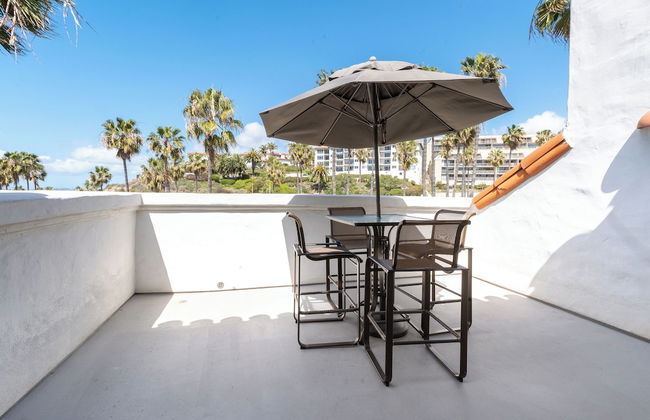
Beachcomber Inn
San Clemente - 1.2 km vom Zentrum
- 7 Personen
- Klimaanlage
- Heizung
- Terrasse
- Parkplatz
- Garten
- Tv
- Schornstein
- Barbecue
- Handtücher
- Bettlaken
146 Bewertungen


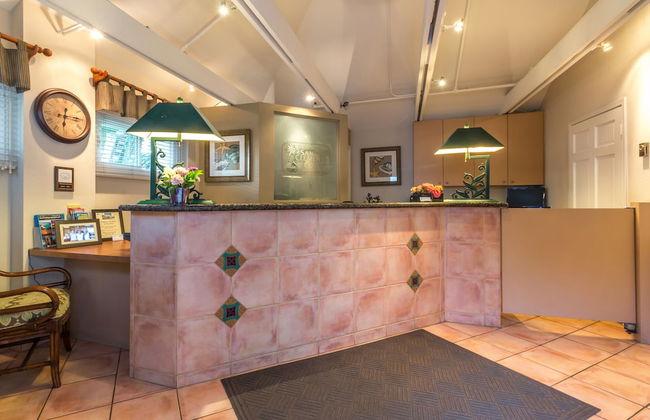
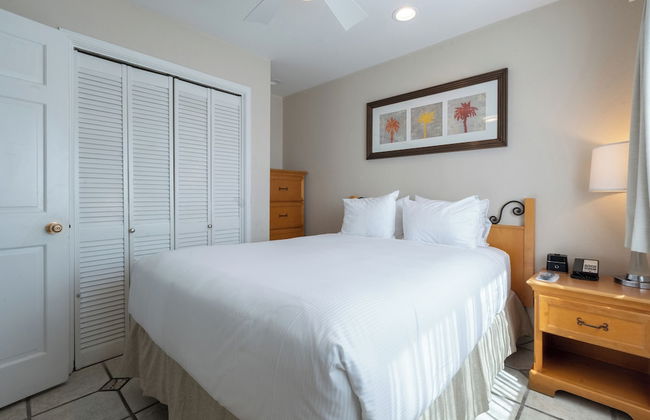
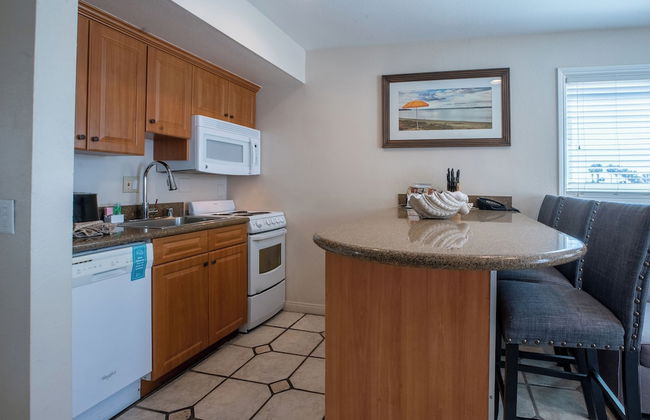
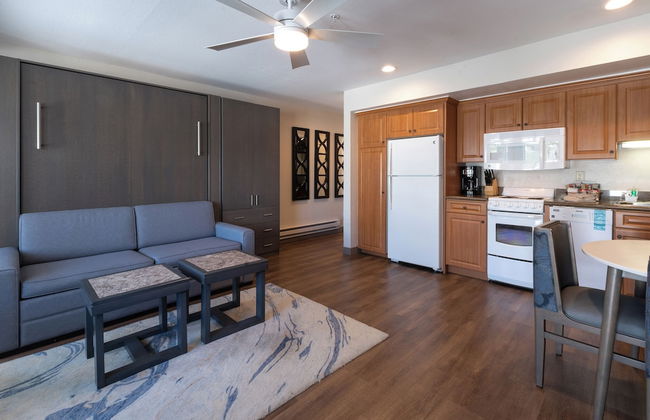
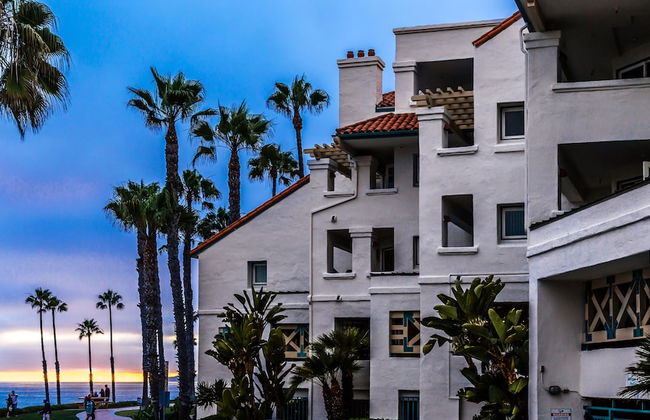
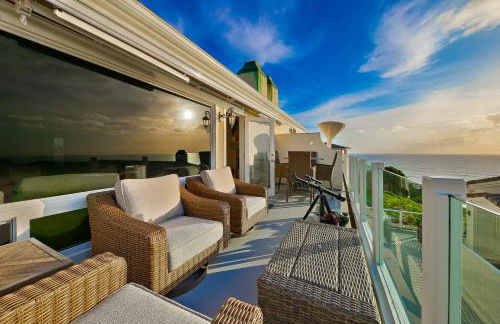
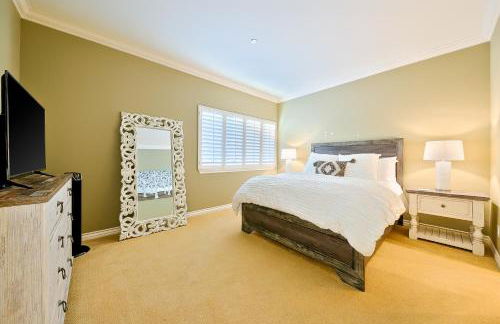
San Clemente Inn
San Clemente - 2 km vom Zentrum
- 57 M2
- 6 Personen
- Kochnische
- Klimaanlage
- Heizung
- Schwimmbad
- Parkplatz
- Garten
- Tv
- Schornstein
- Barbecue
- Handtücher
- Bettlaken
1211 Bewertungen


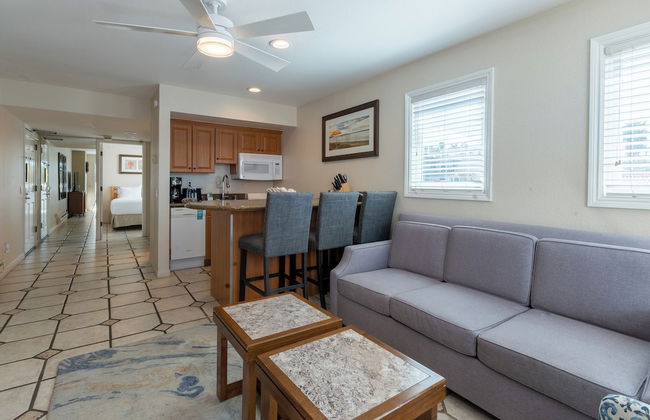


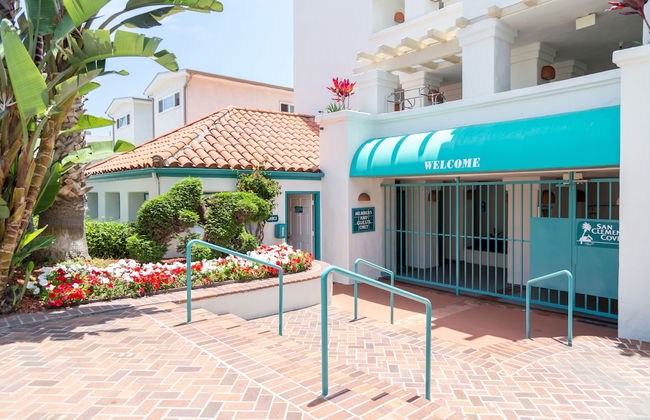
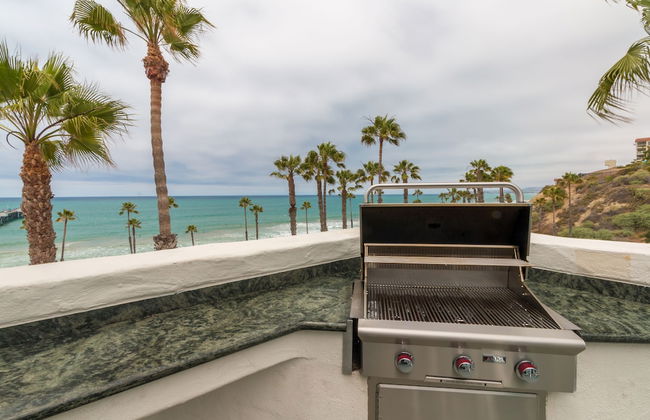
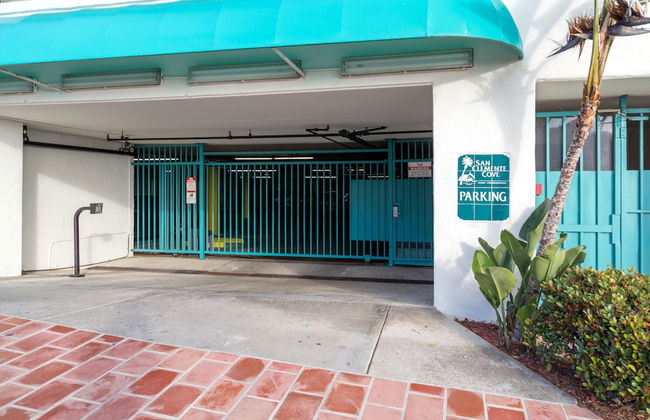
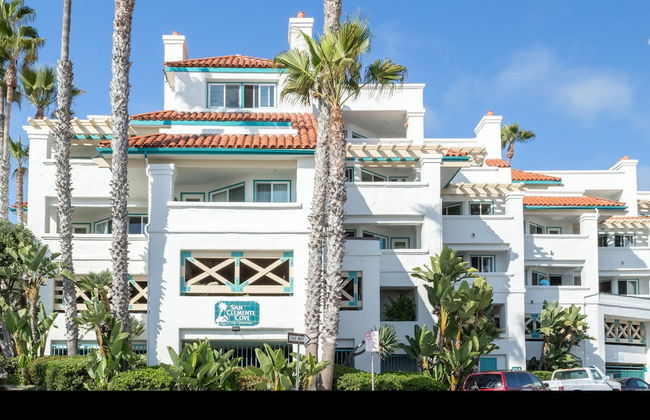
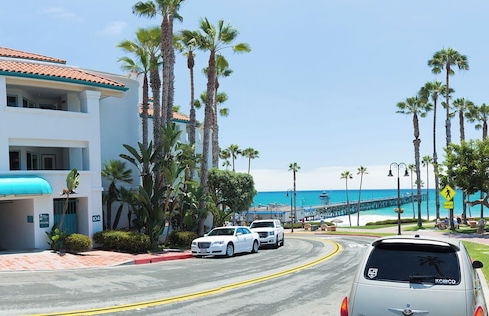
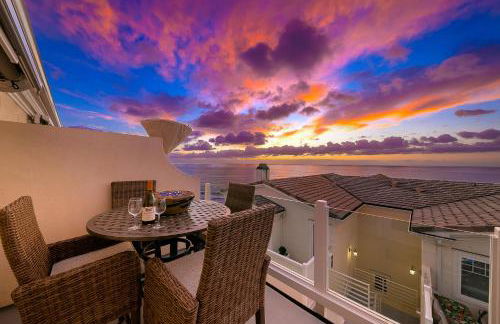
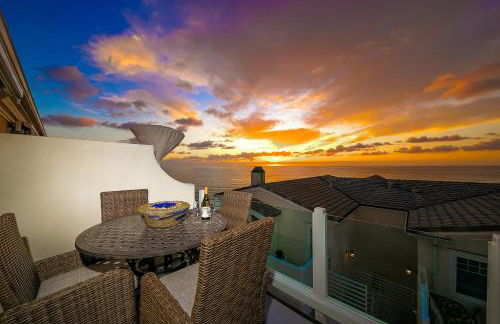
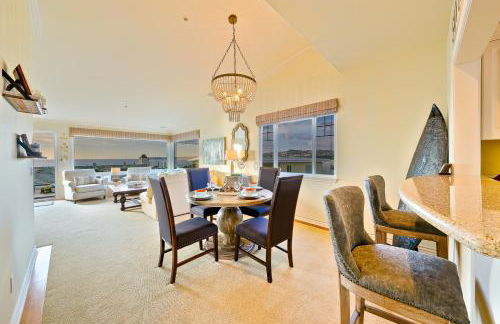
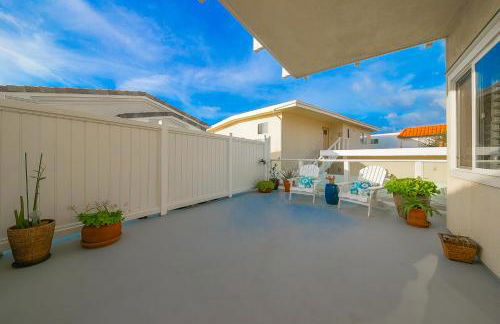
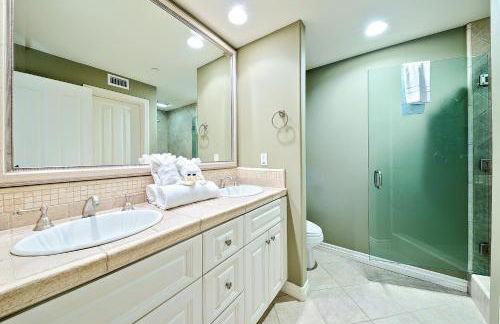
San Clemente Cove
San Clemente - 1.1 km vom Zentrum
- 36 M2
- 4 Personen
- Heizung
- Terrasse
- Parkplatz
- Fahrstuhl
- Balkon
- Tv
- Schornstein
- Barbecue
- Handtücher
- Bettlaken
337 Bewertungen


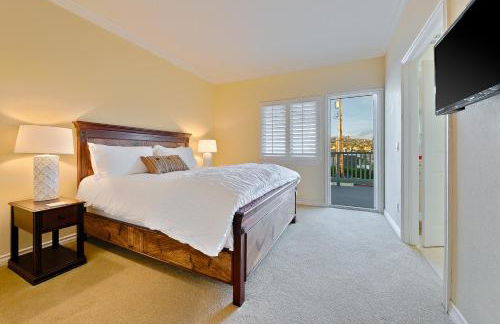
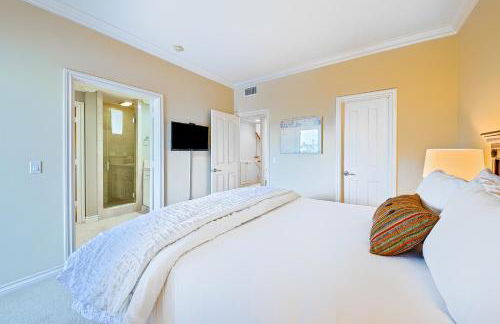
Blue Whale Inn San Clemente Charmer Unit A
San Clemente - 1 km vom Zentrum
- 600 M2
- 1 Schlafzimmer
- 4 Personen
- Parkplatz
17 Bewertungen


Blue Whale Inn San Clemente Jewel Unit D
San Clemente - 1 km vom Zentrum
- 65 M2
- 2 Schlafzimmer
- 5 Personen
- Heizung
- Terrasse
- Parkplatz
- Garten
- Barbecue
6 Bewertungen


Blue Whale Inn Pet and Kid Friendly Unit C
San Clemente - 1 km vom Zentrum
- 74 M2
- 2 Schlafzimmer
- 6 Personen
- Heizung
- Terrasse
- Parkplatz
- Garten
- Barbecue
4 Bewertungen


San Clemente Ocean Luxury Bluff Top
San Clemente - 1.7 km vom Zentrum
- 156 M2
- 2 Schlafzimmer
- 4 Personen
- Heizung
- Garten
- Barbecue
2 Bewertungen


Villa Del Mar
San Clemente - 700 m vom Zentrum
- 158 M2
- 3 Schlafzimmer
- 8 Personen
- Heizung
- Terrasse
- Garten
- Barbecue
2 Bewertungen


AZUL on Avenida Del Mar (1/2 Mile to the PIER!)
San Clemente - 540 m vom Zentrum
- 46 M2
- 1 Schlafzimmer
- 4 Personen
- Klimaanlage
- Heizung
- Parkplatz
11 Bewertungen


Walk to Beach - KING Apt In #1 Area - AB
San Clemente - 510 m vom Zentrum
- 84 M2
- 1 Schlafzimmer
- 3 Personen
- Klimaanlage
- Heizung
- Parkplatz
- Garten
5 Bewertungen


Ocean Bluff Hideaway Unit B
San Clemente - 1.6 km vom Zentrum
- 1 Schlafzimmer
- 3 Personen
- Parkplatz
2 Bewertungen


Walk To Beach 2BR Top Location - AA
San Clemente - 510 m vom Zentrum
- 111 M2
- 2 Schlafzimmer
- 5 Personen
- Klimaanlage
- Heizung
- Parkplatz
- Garten
4 Bewertungen


Monterey B
San Clemente - 1 km vom Zentrum
- 56 M2
- 1 Schlafzimmer
- 4 Personen
- Heizung
- Garten
- Barbecue
3 Bewertungen


Aloha Amigos Surf Getaway
San Clemente - 2.5 km vom Zentrum
- 181 M2
- 2 Schlafzimmer
- 4 Personen
- Heizung
5 Bewertungen


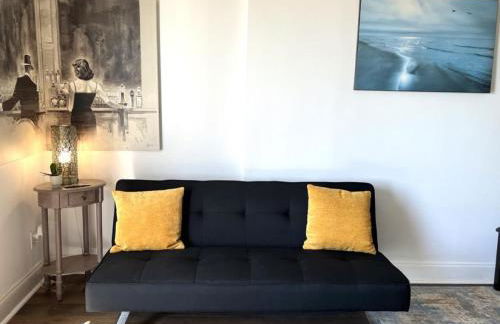
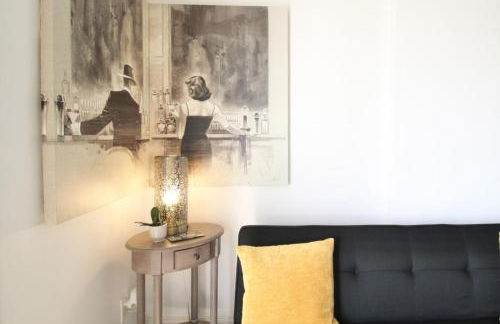
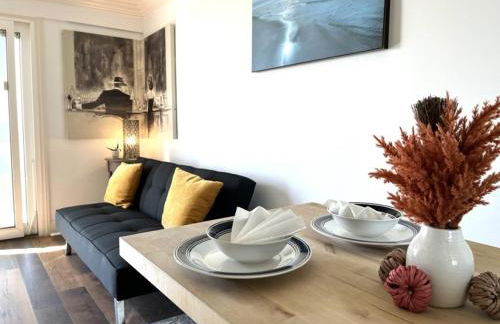
Stylish Casita min from the beach !
San Clemente - 5.6 km vom Zentrum
- 46 M2
- 1 Schlafzimmer
- 5 Personen
- Parkplatz
4 Bewertungen


San Clemente Condo with Gorgeous Views Near Beach!
San Clemente - 1.6 km vom Zentrum
- 90 M2
- 2 Schlafzimmer
- 4 Personen
- Parkplatz
3 Bewertungen


Blue Whale Inn San Clemente Retreat Unit E
San Clemente - 1 km vom Zentrum
- 800 M2
- 2 Schlafzimmer
- 5 Personen
- Heizung
- Terrasse
- Parkplatz
- Barbecue
1 Bewertung