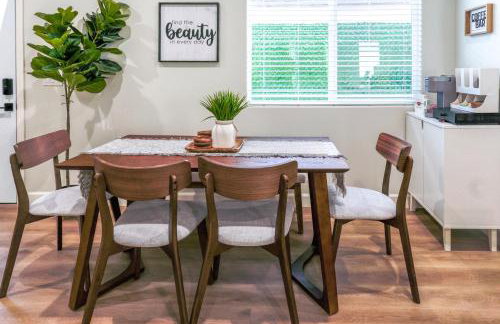
9 Wohnungen in Westminster
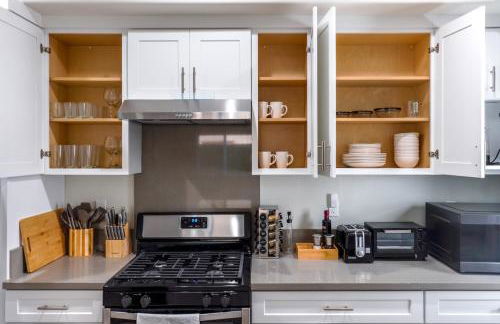
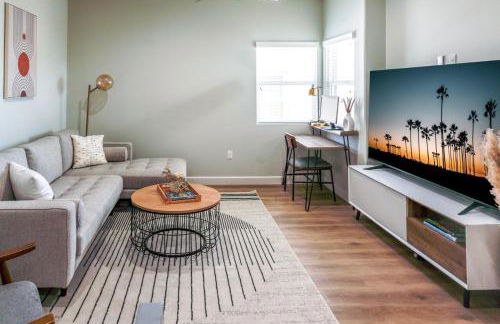
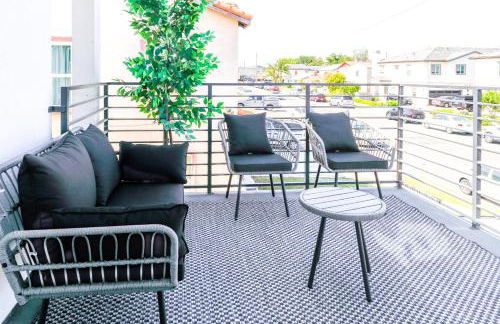
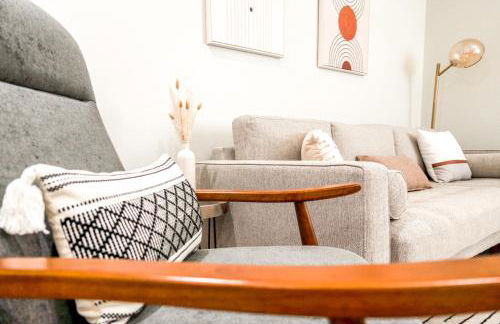
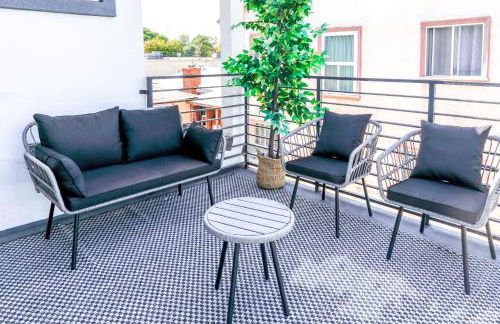
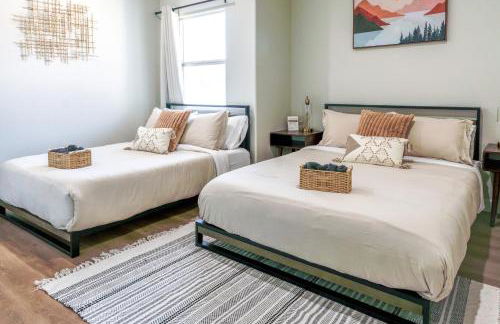
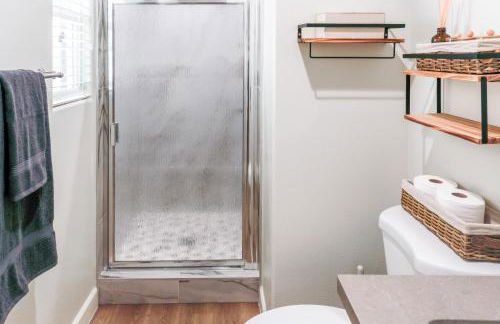
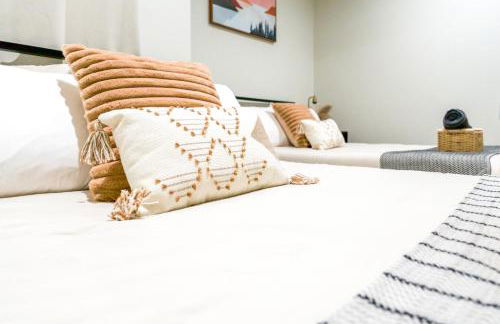
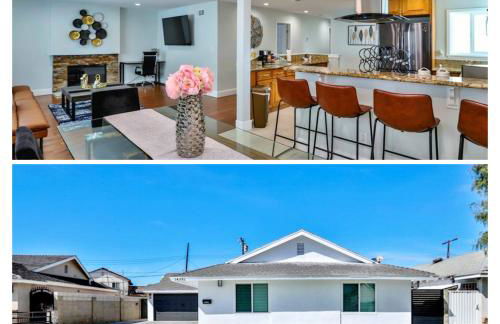
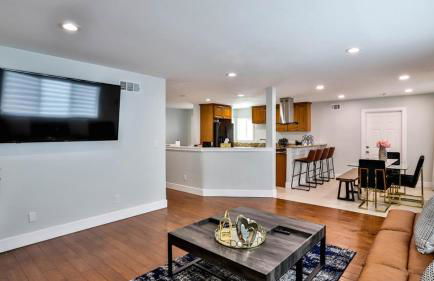
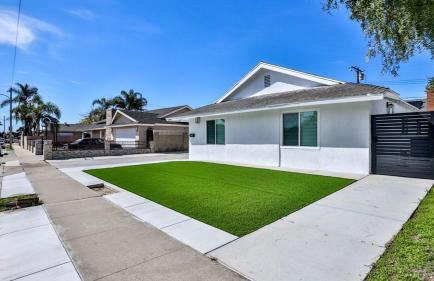
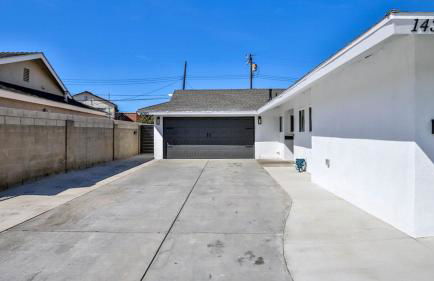
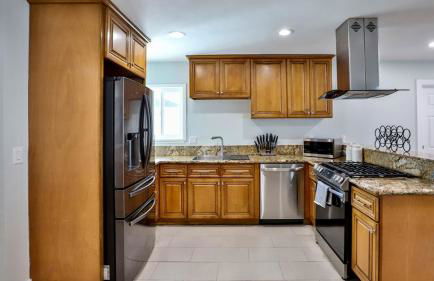
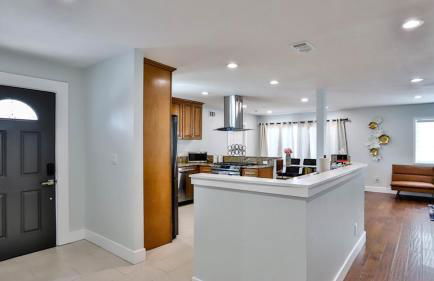
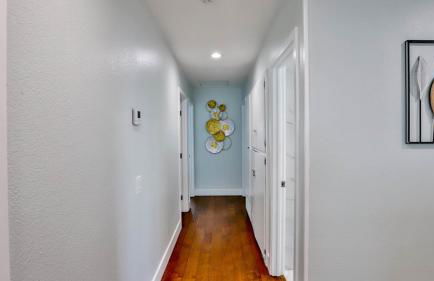
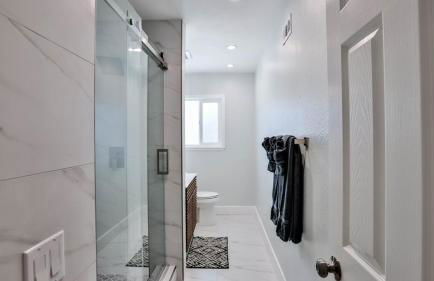
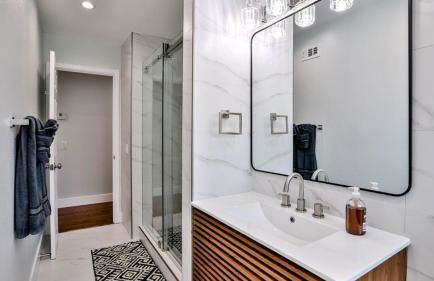
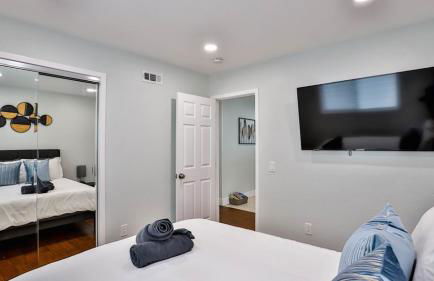
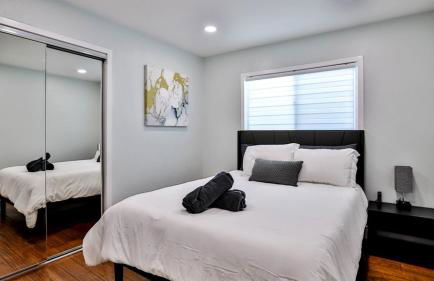
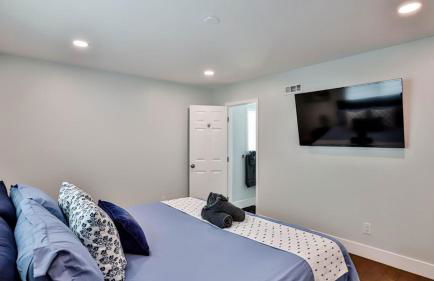
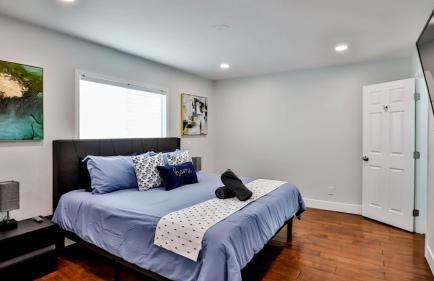
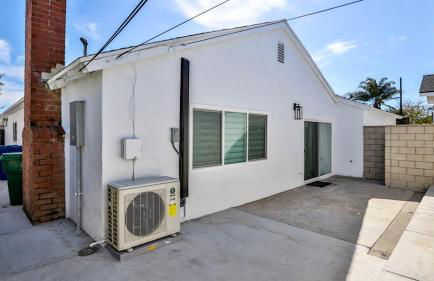
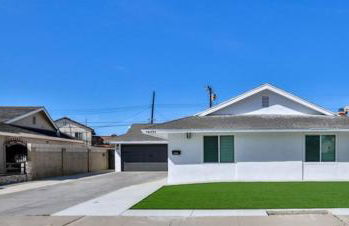
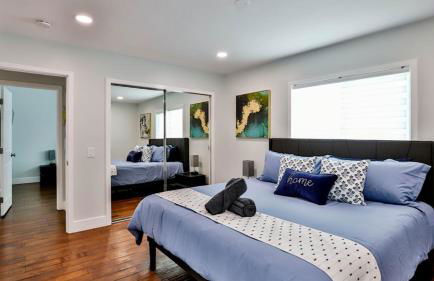
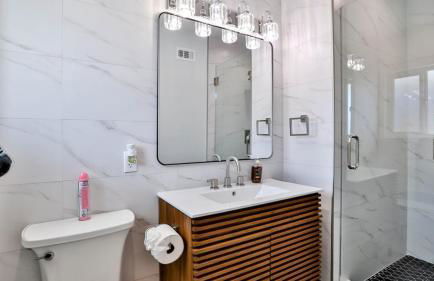
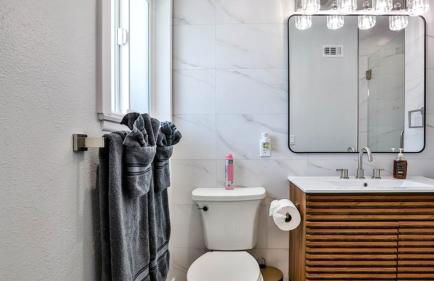
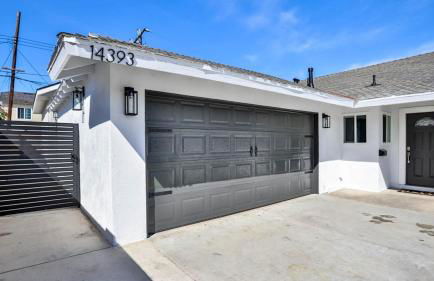
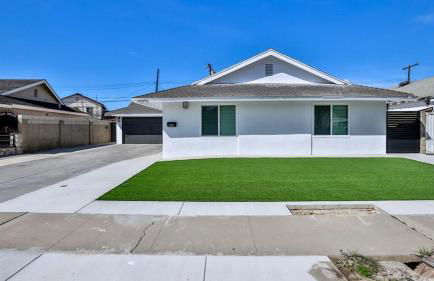
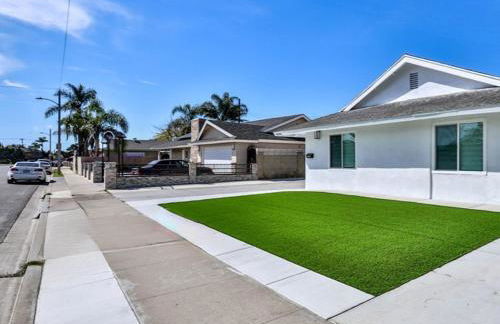
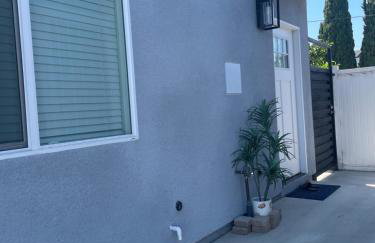
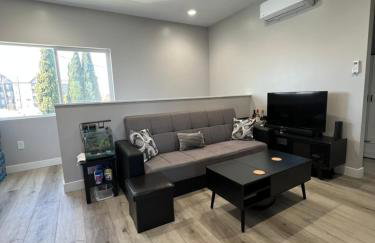
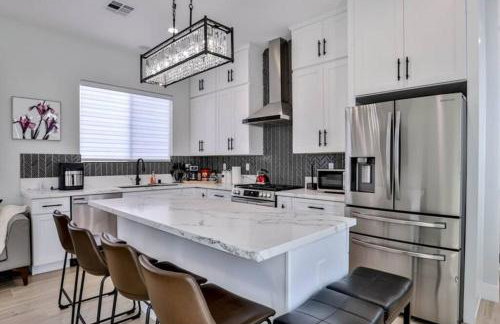
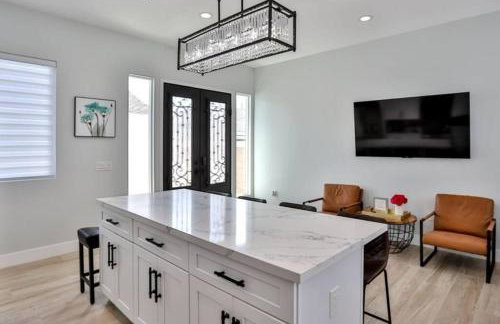
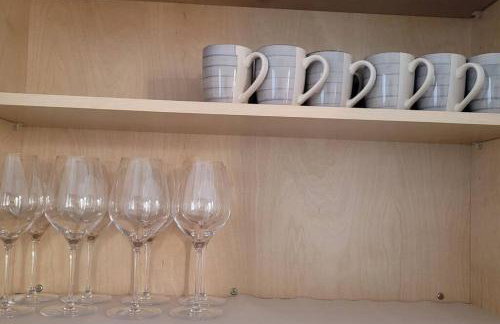
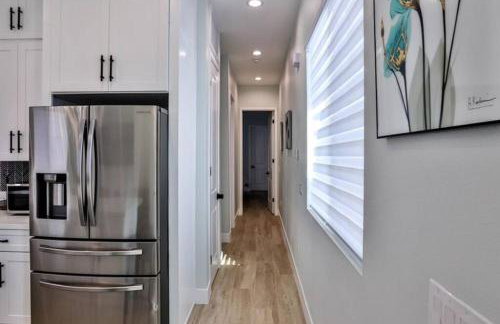
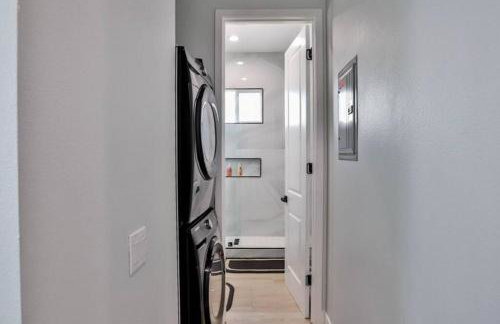
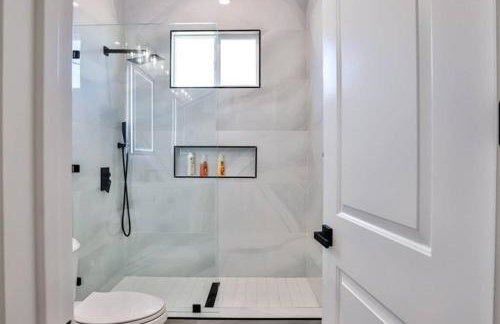
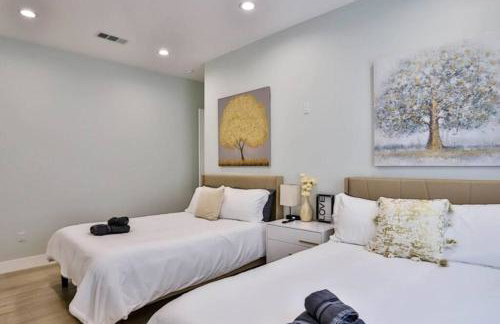
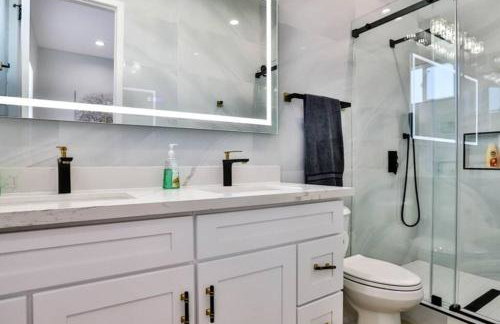
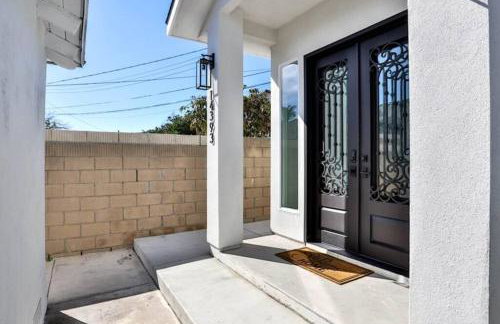
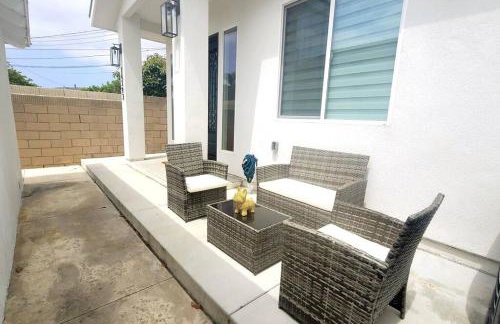
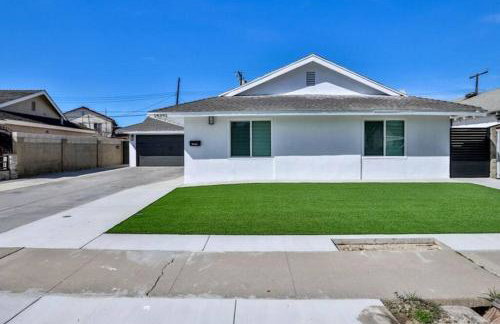
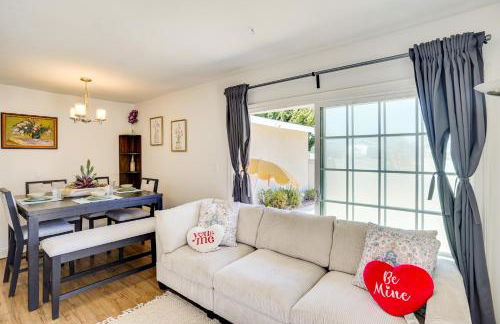
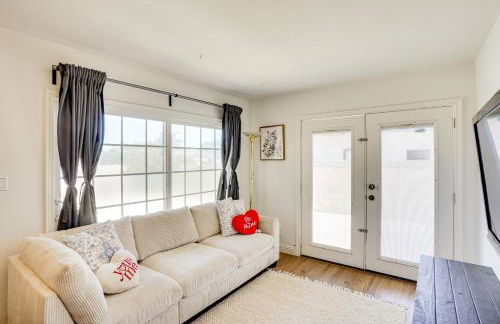
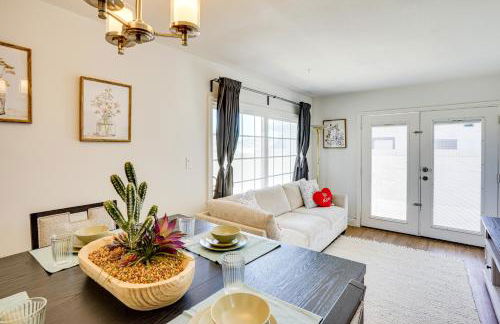
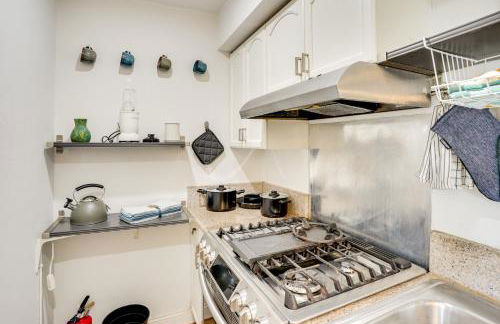
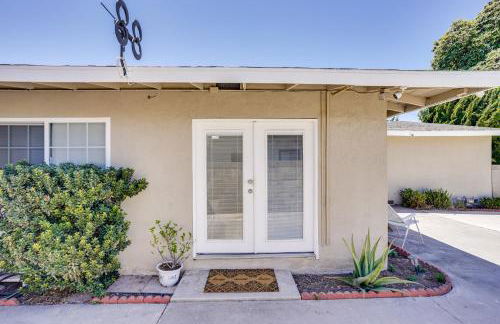
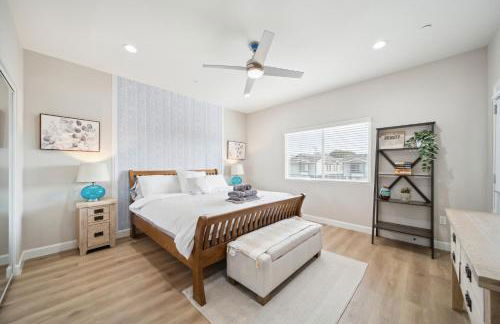
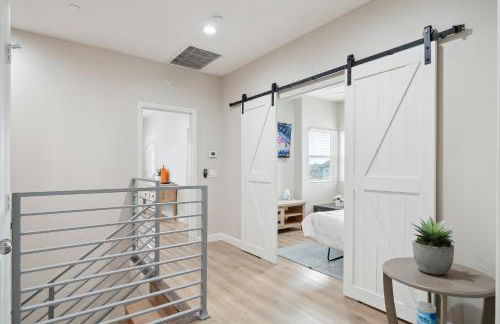
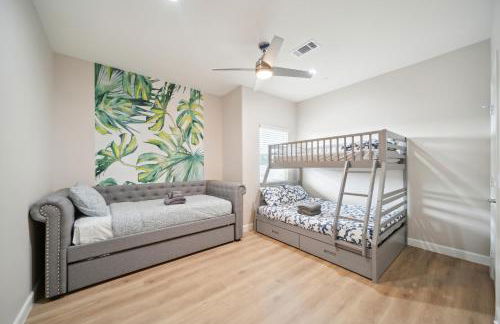
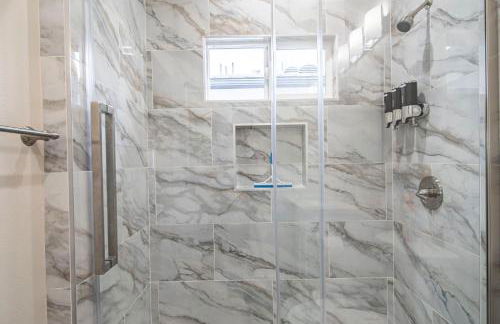
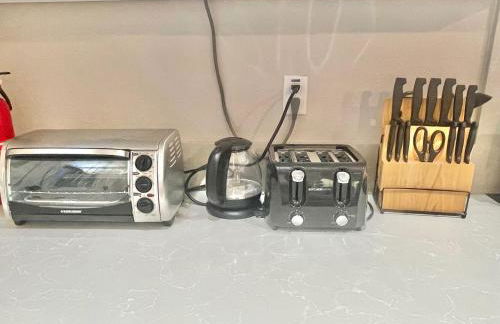
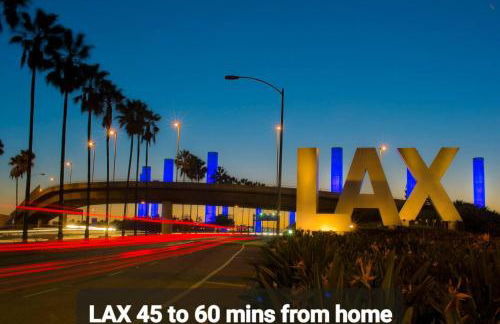
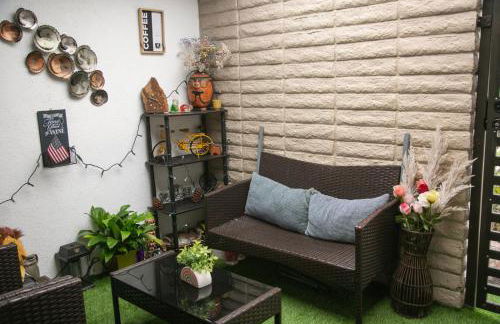
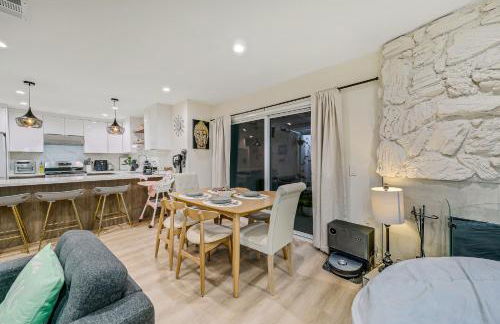
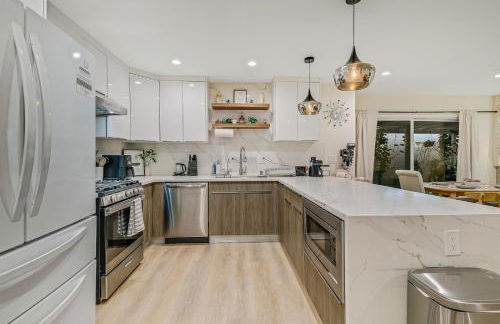
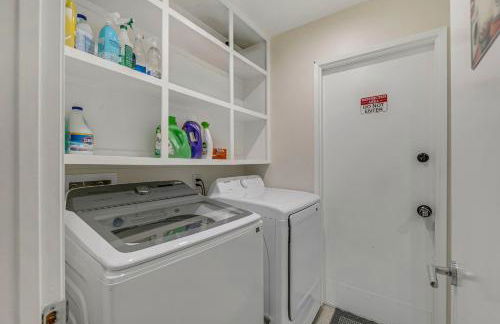
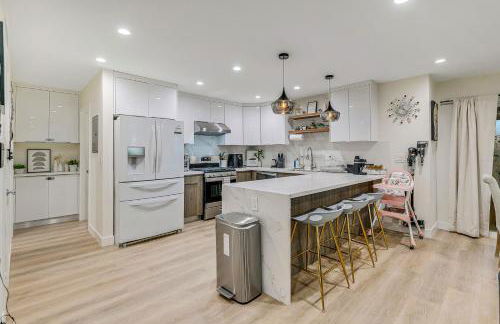
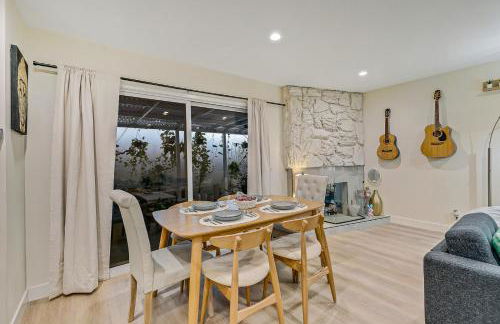
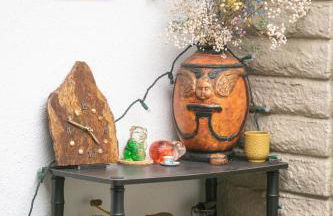
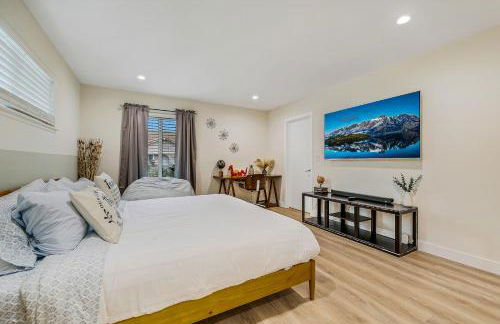
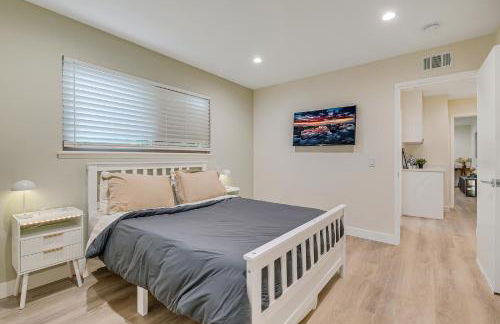
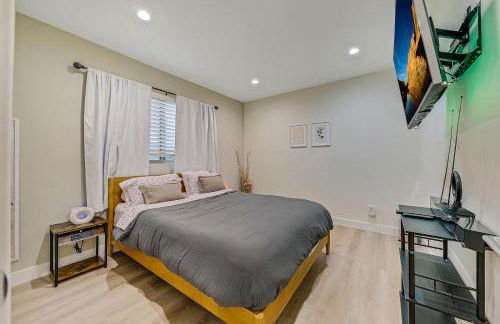
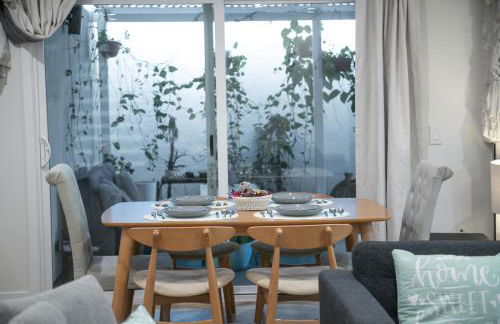
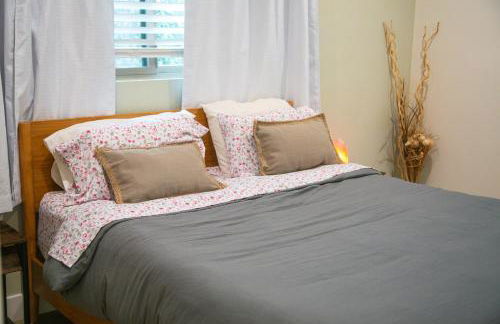
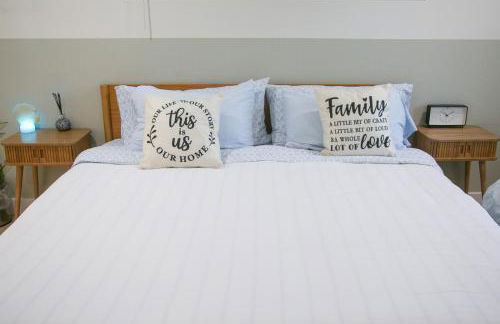
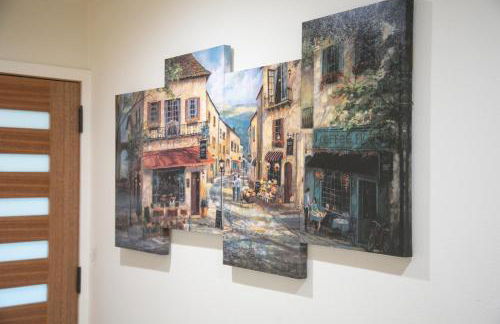
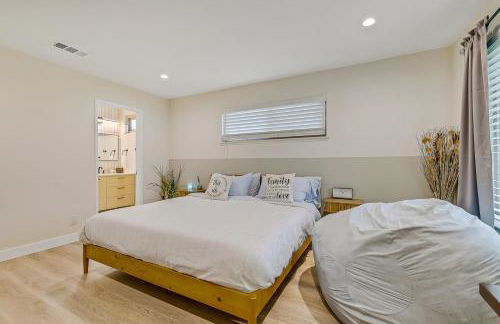
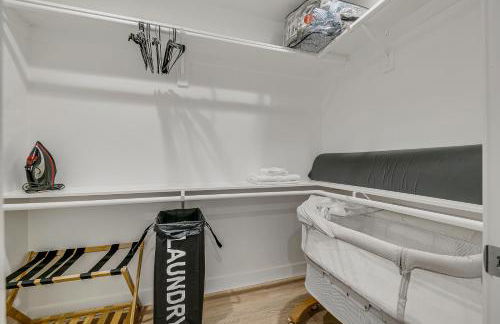
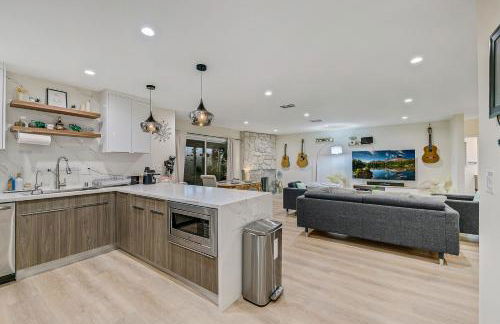
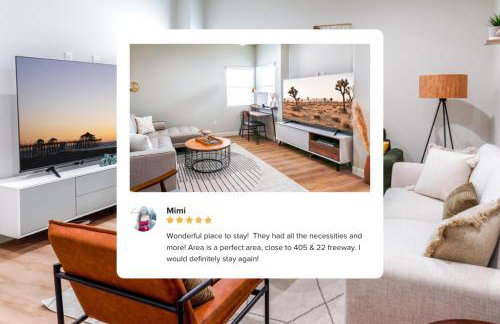
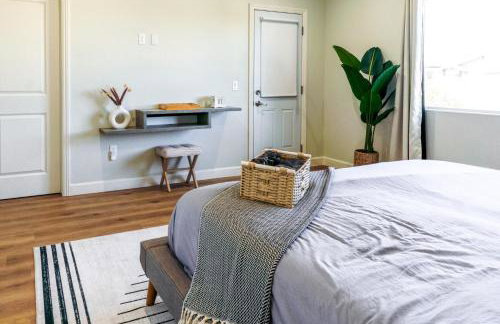
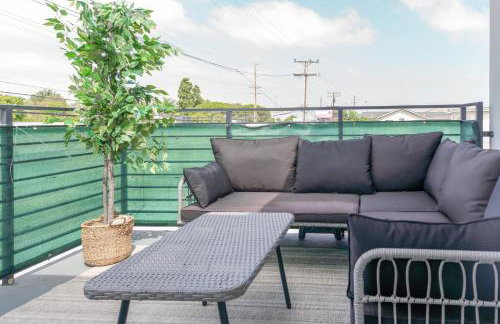
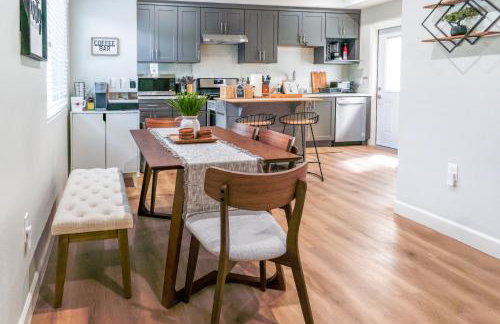
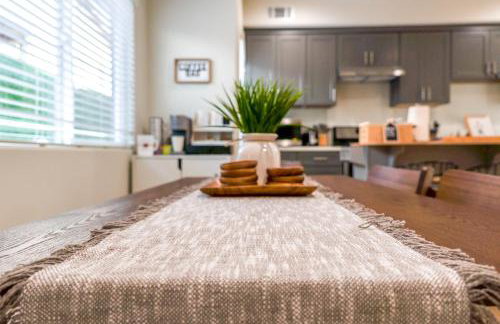
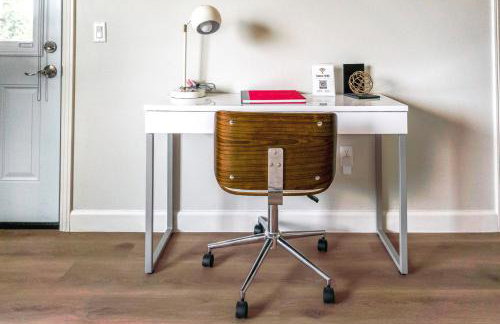
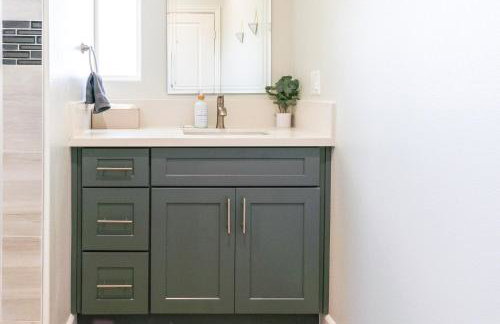
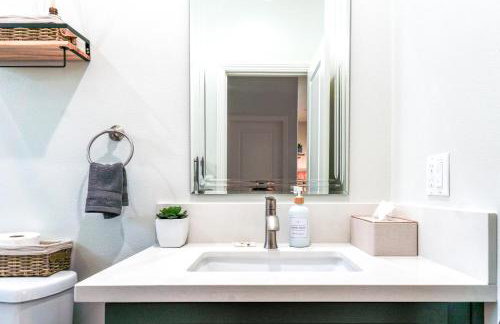
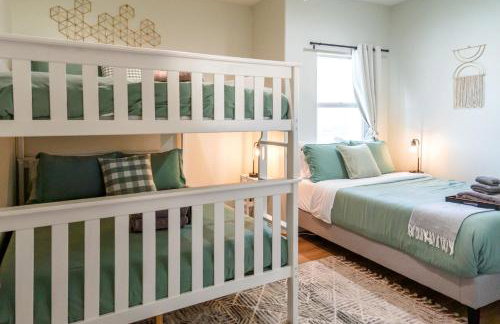
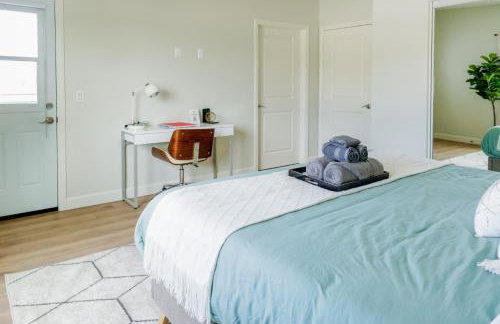
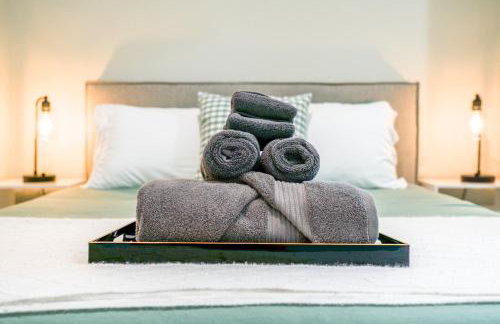
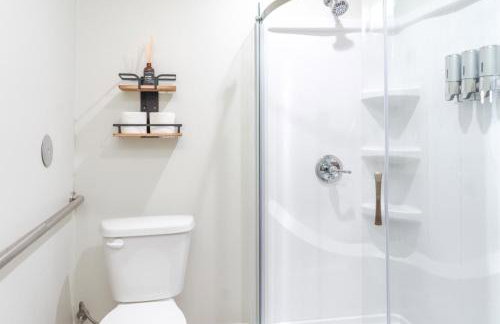
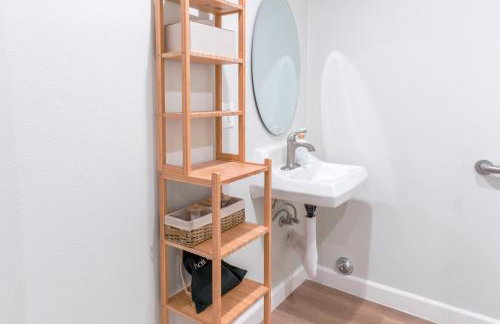
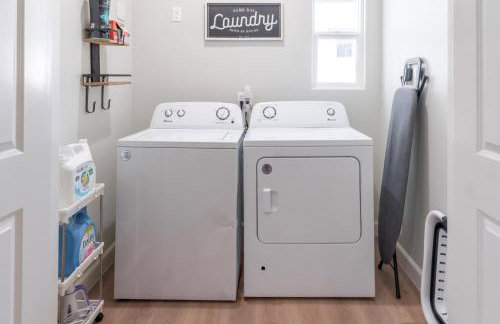
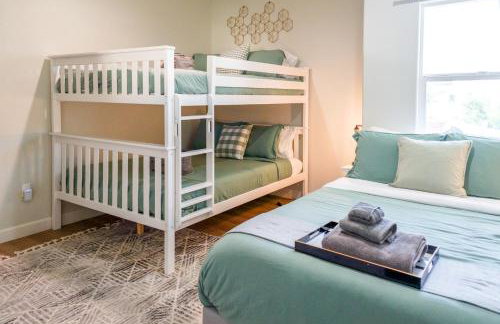
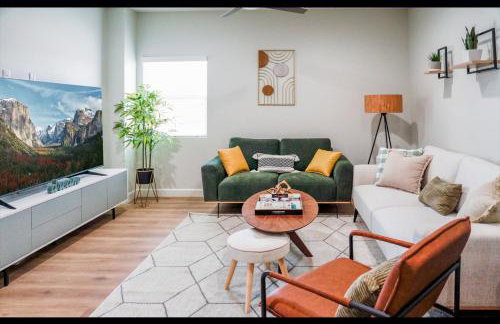
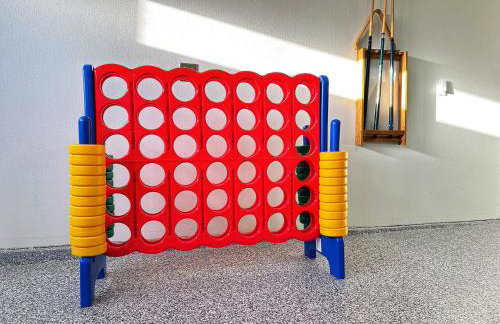
Disneyland Cozy Luxury Retreat I Sleeps 10, King Bed & EV Access - Foto 1
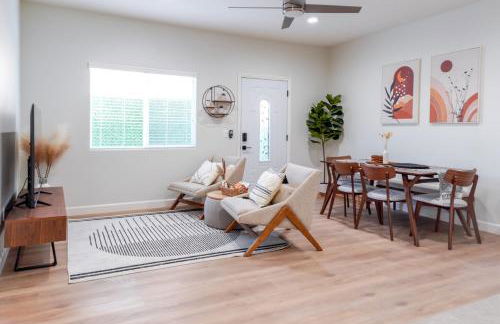
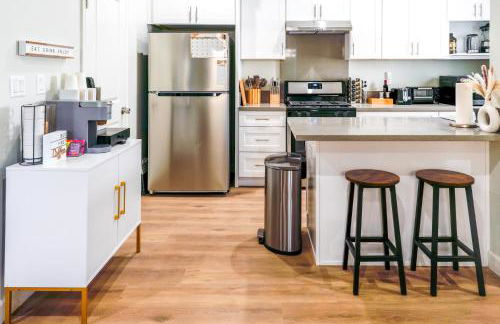
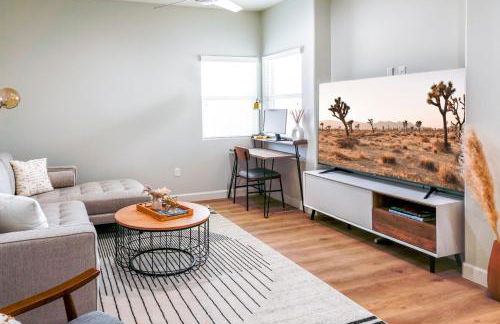
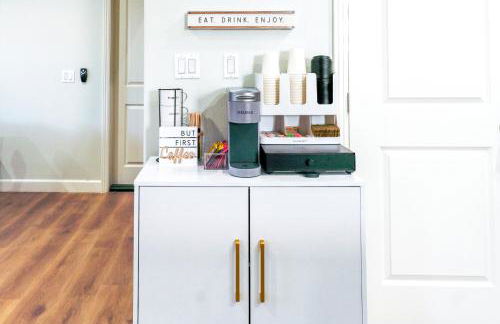
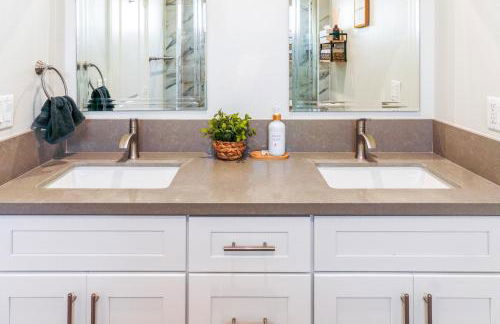
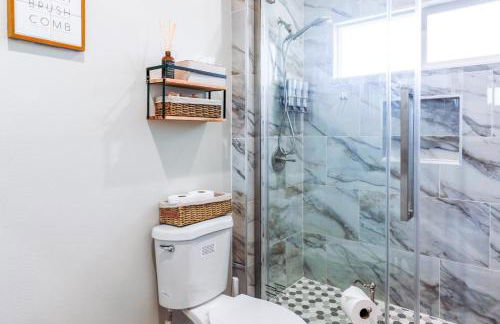
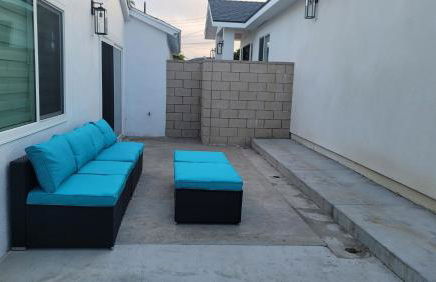
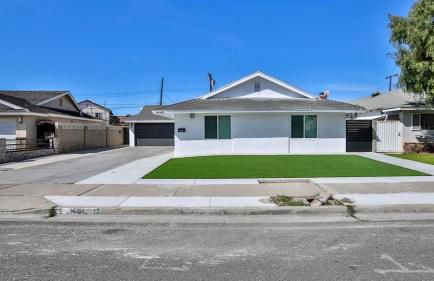
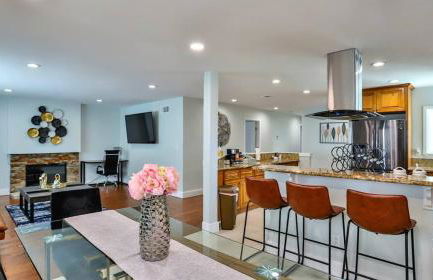
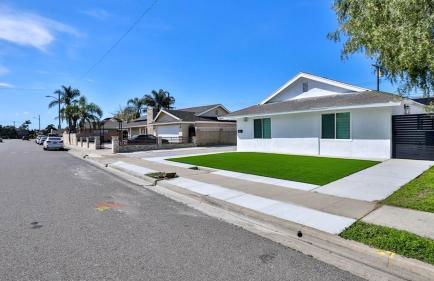
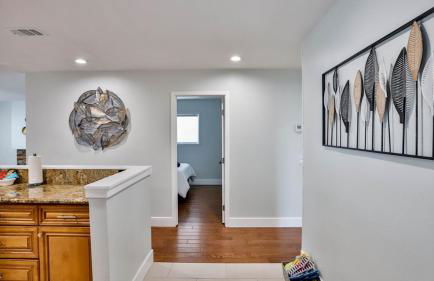
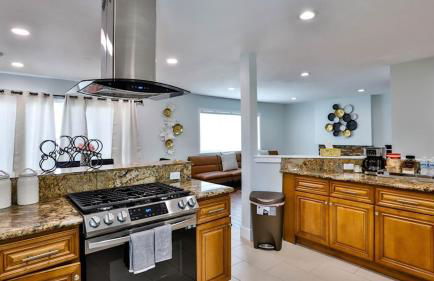
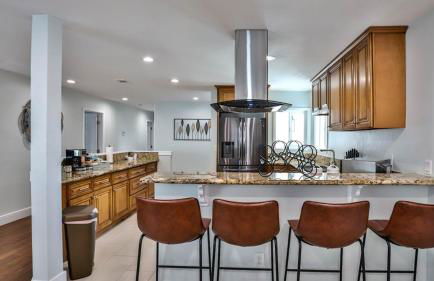
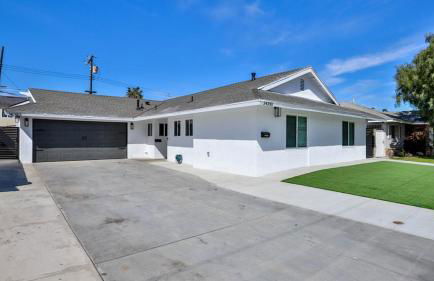
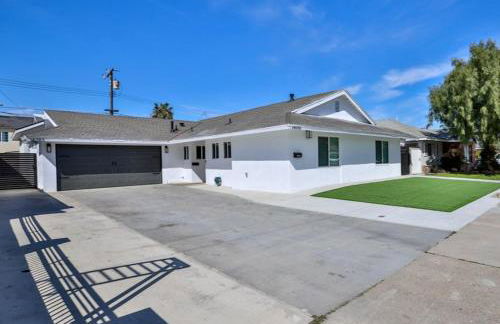
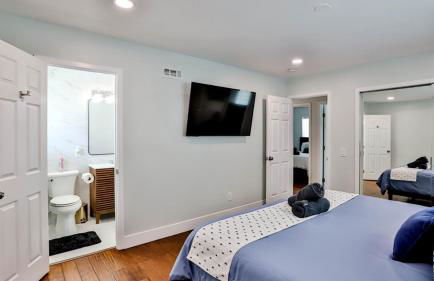
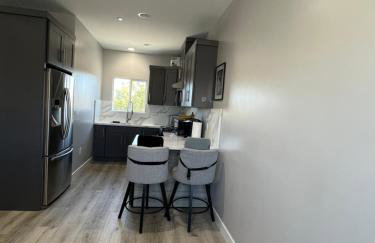
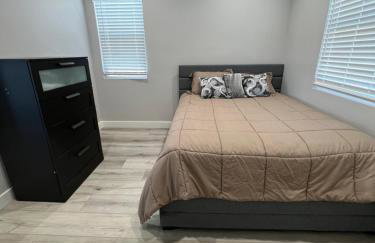
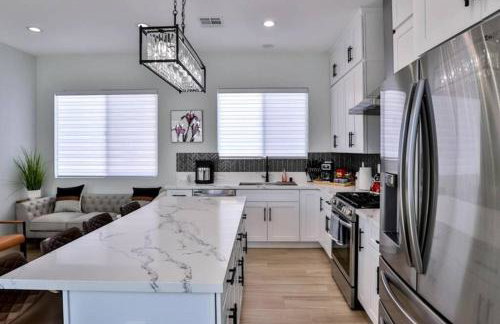
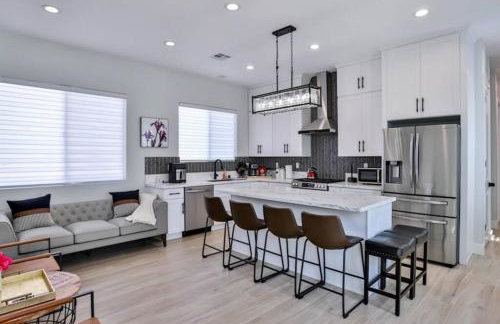
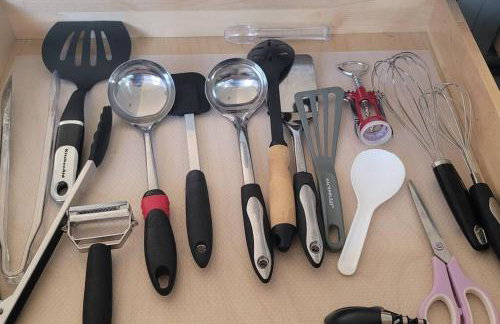
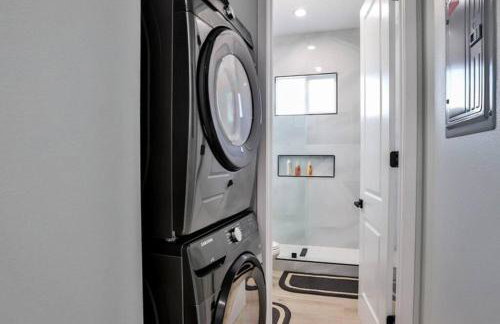
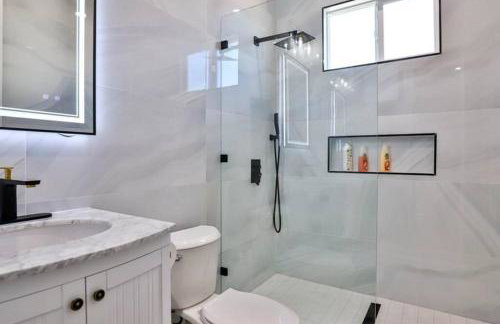
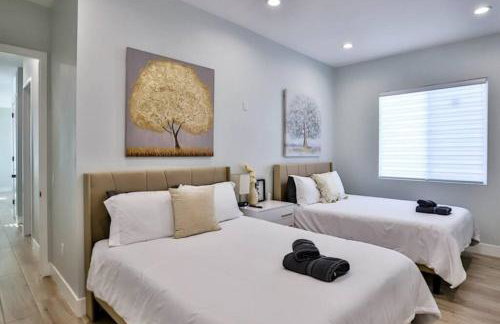
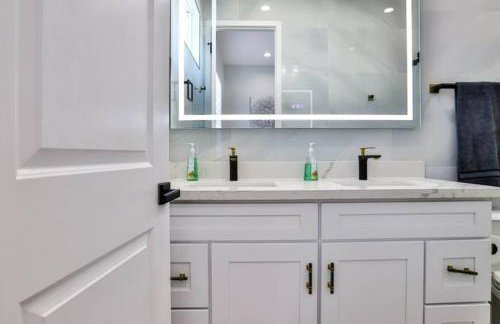
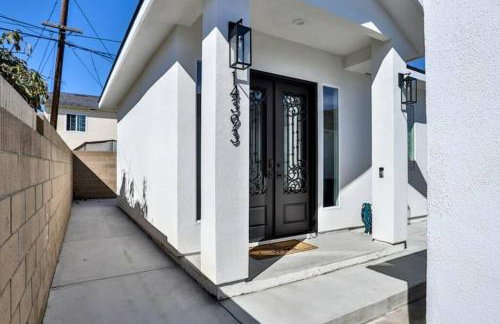
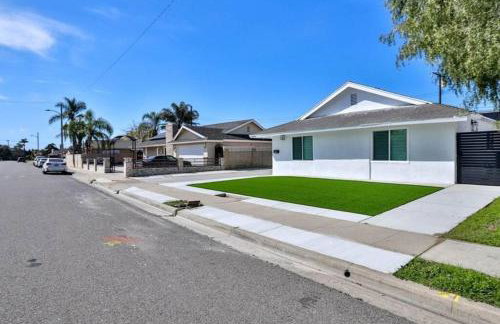
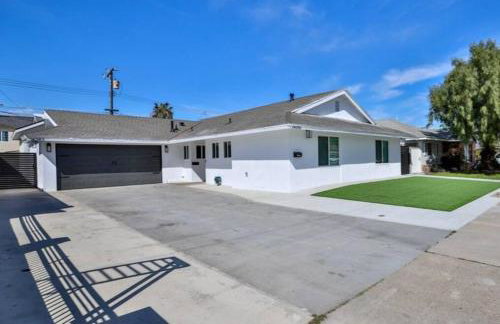
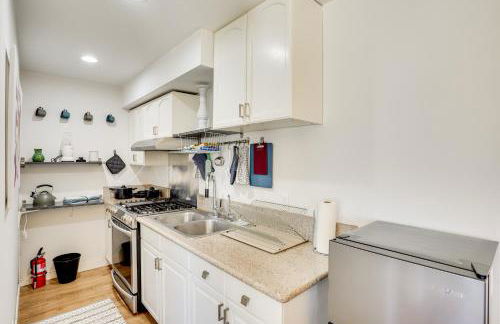
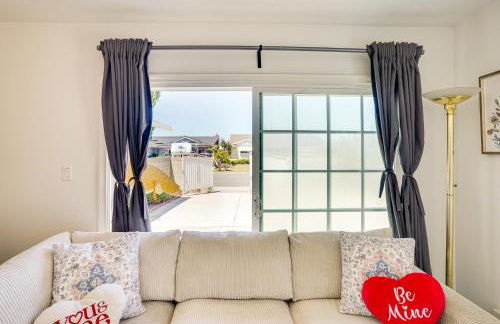
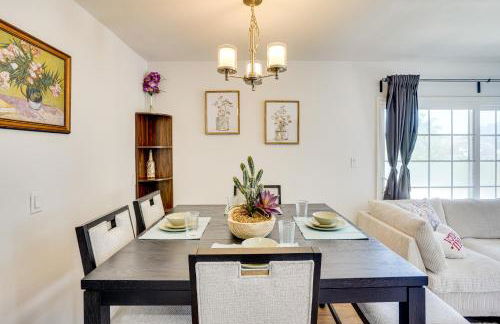
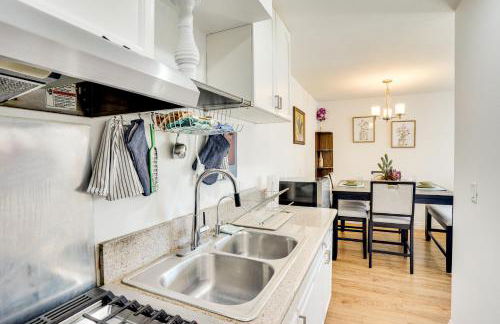
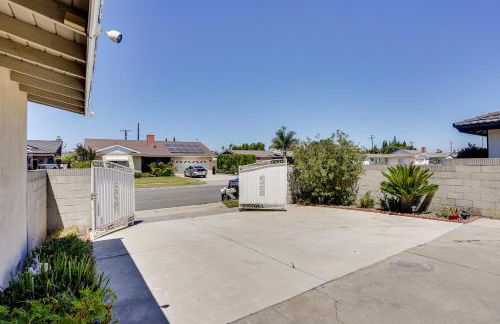
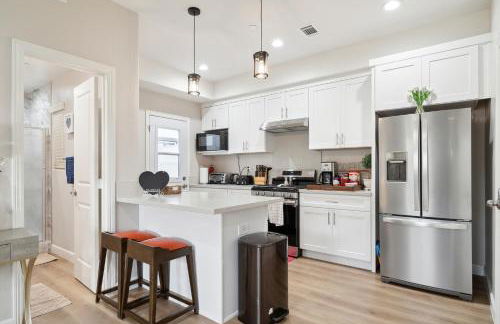
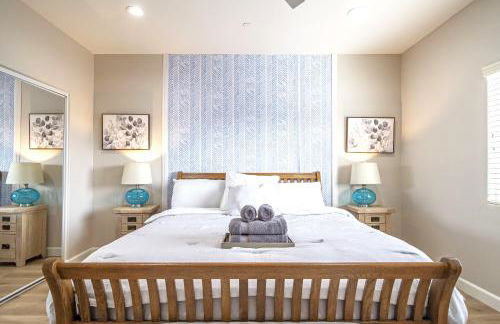
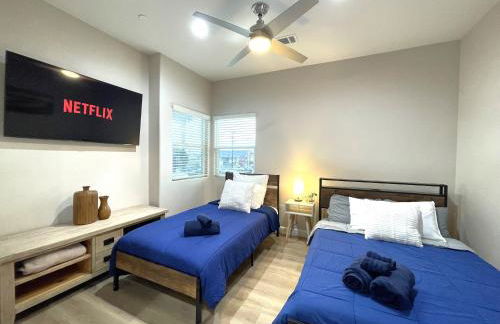
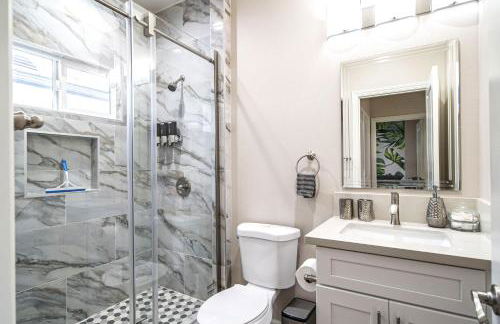
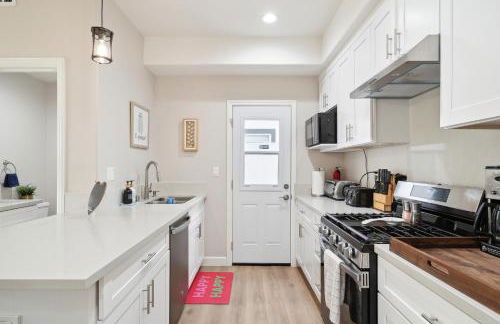
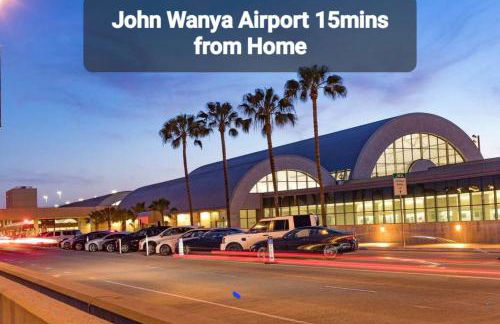
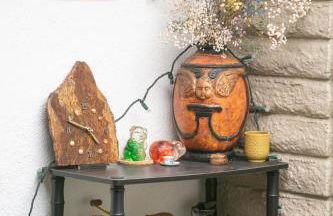
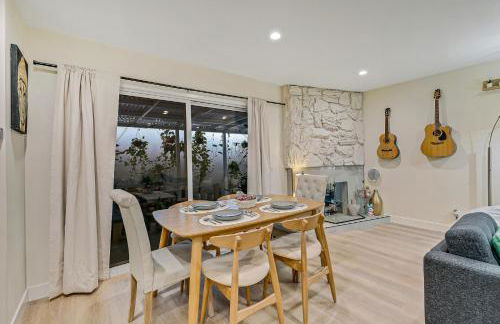
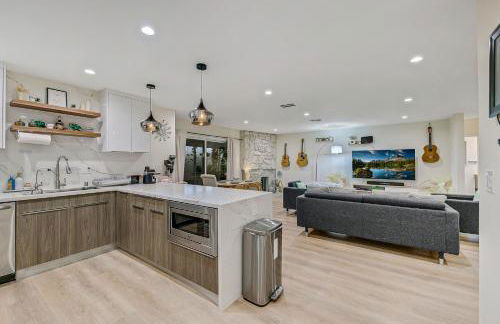
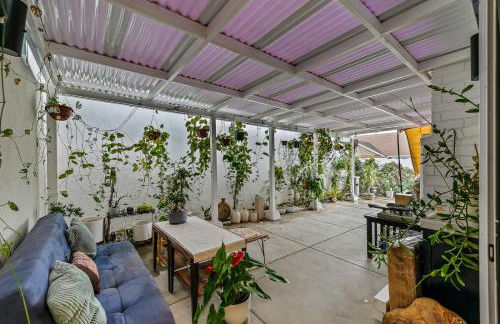
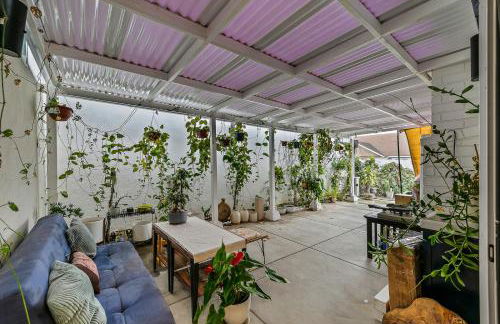
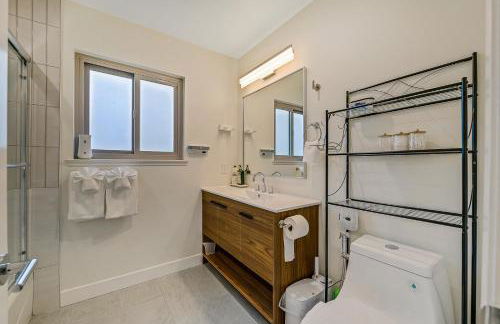
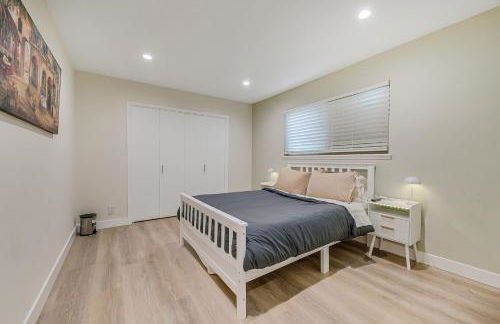
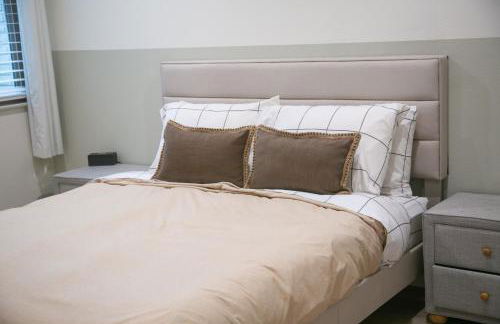
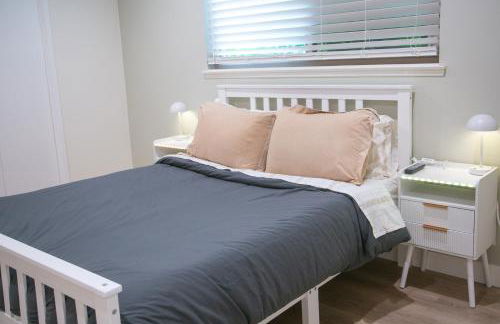
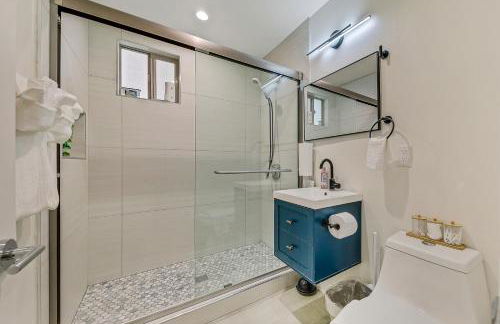
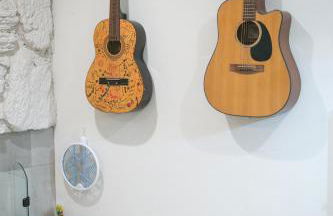
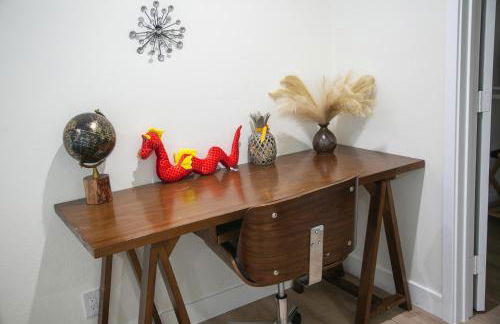
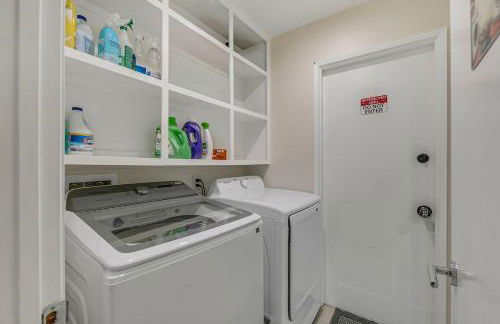
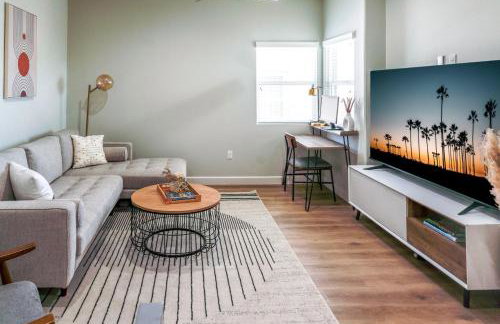
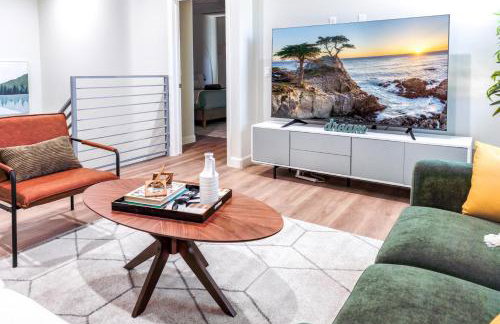
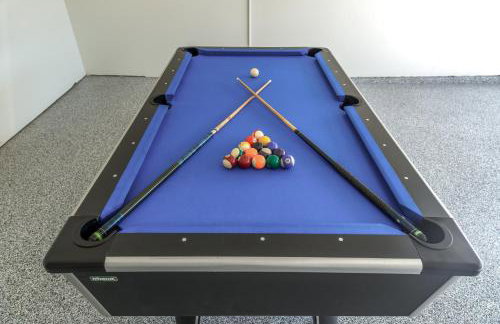
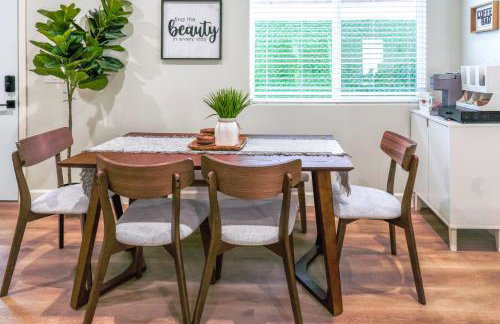
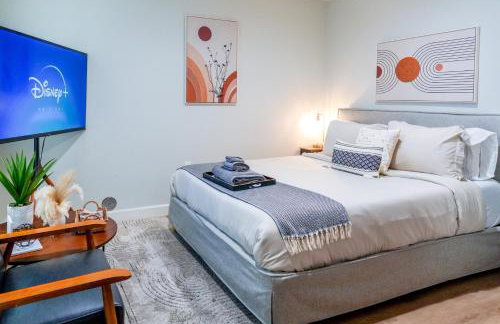
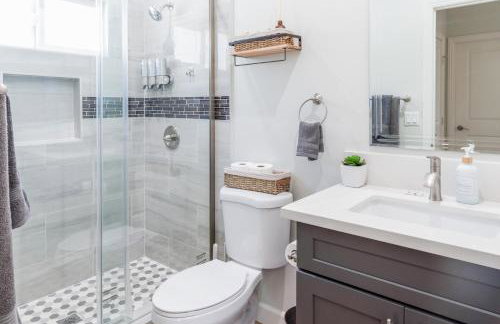
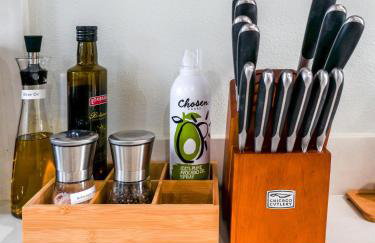
Disneyland Cozy Luxury Retreat I Sleeps 10, King Bed & EV Access - Foto 2
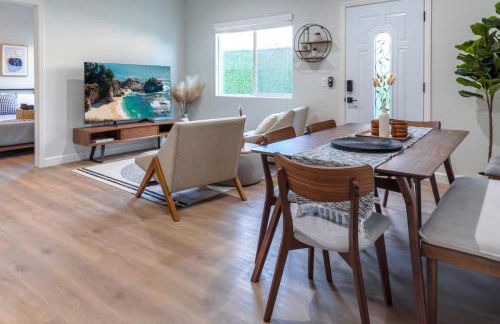
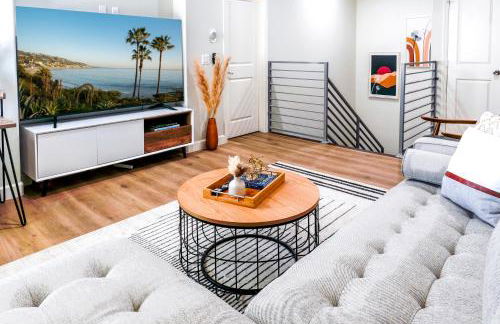
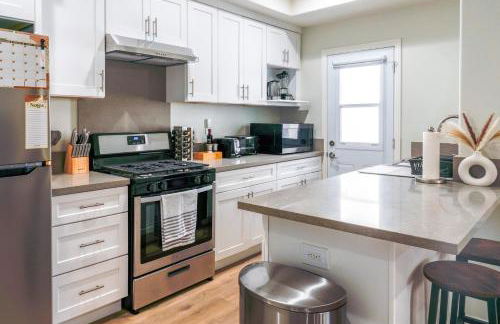
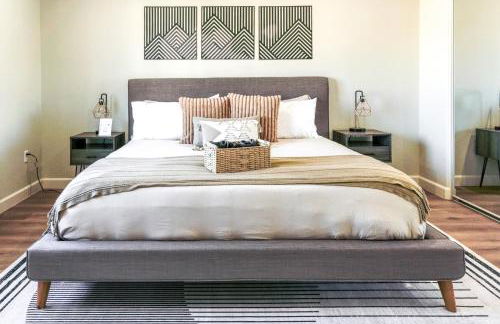
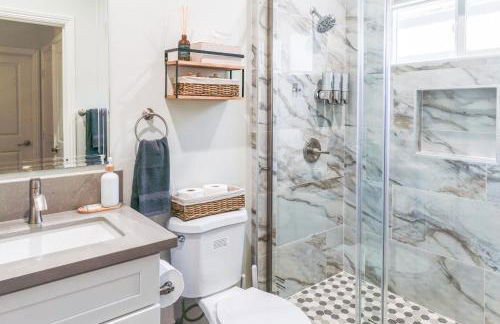
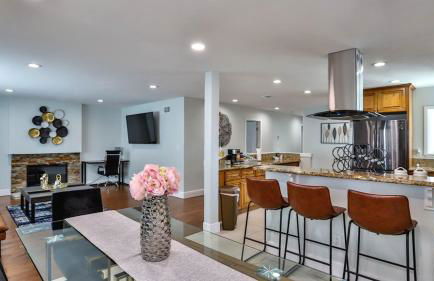
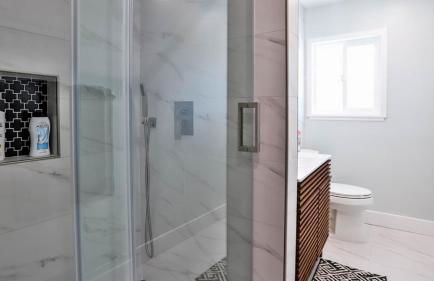
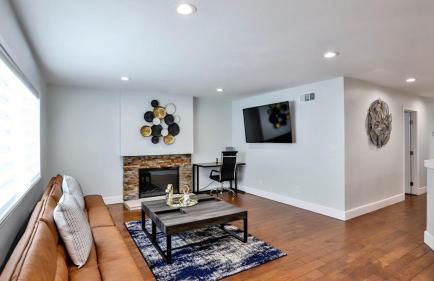
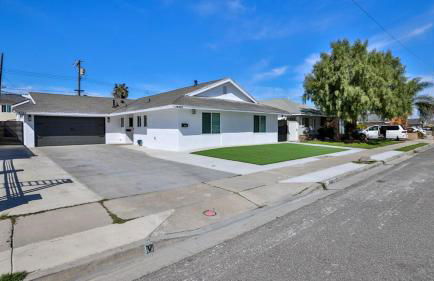
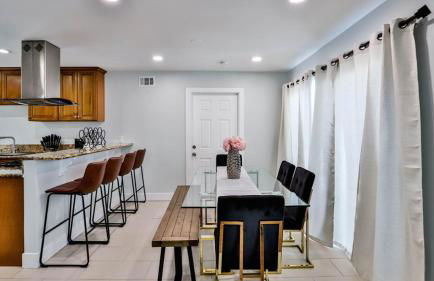
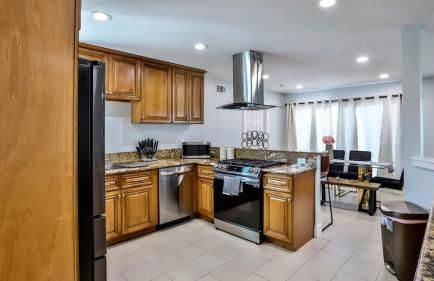
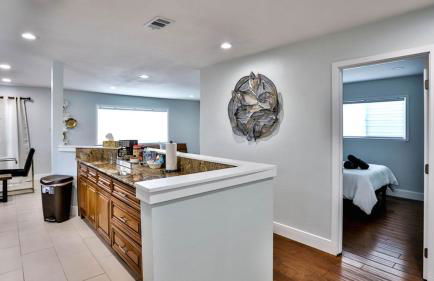
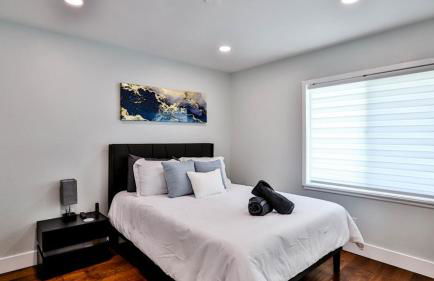
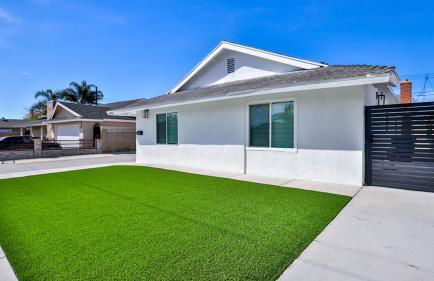
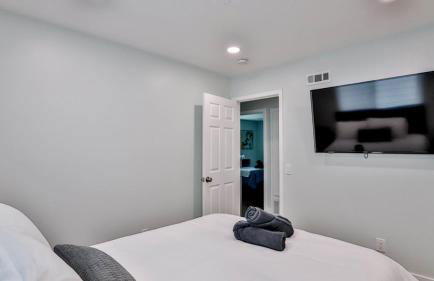
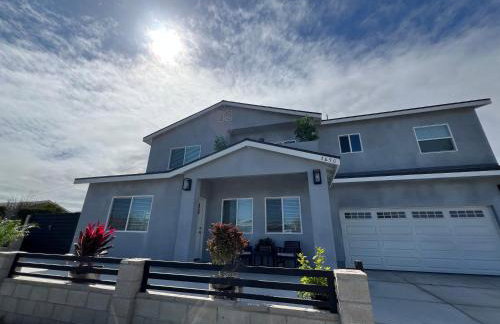
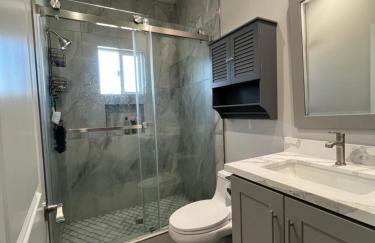
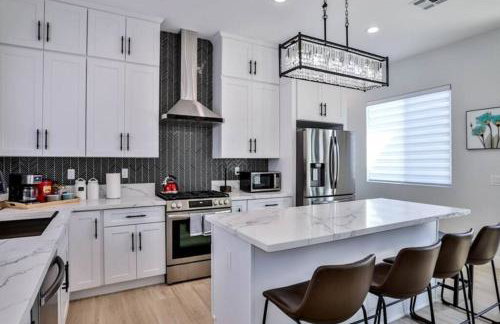
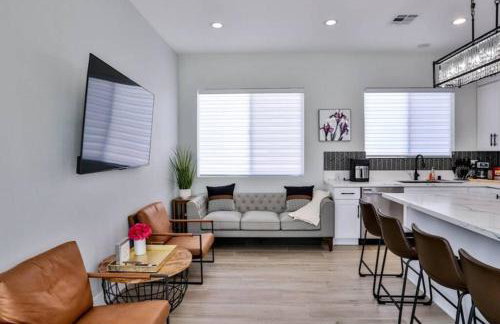
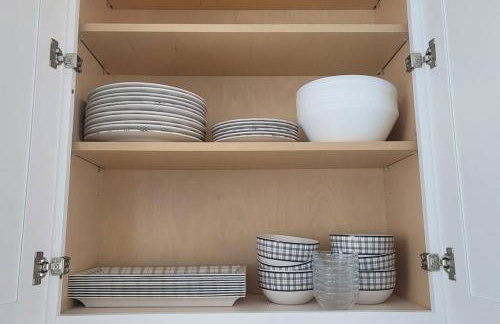
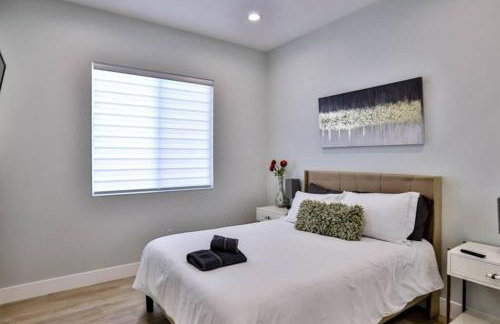
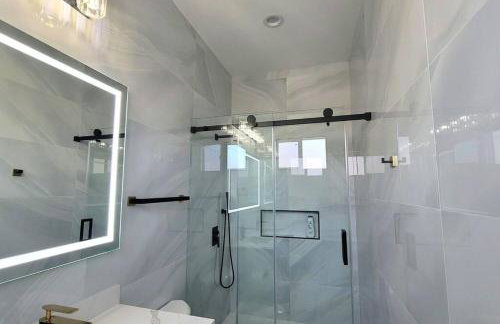
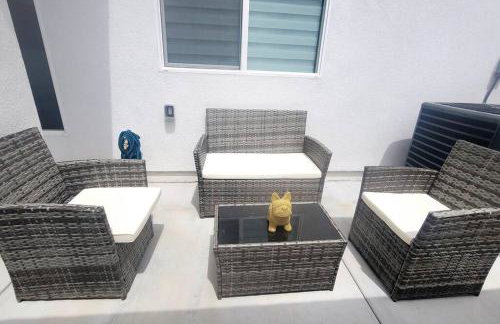
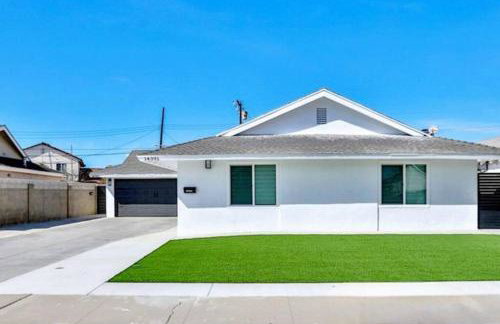
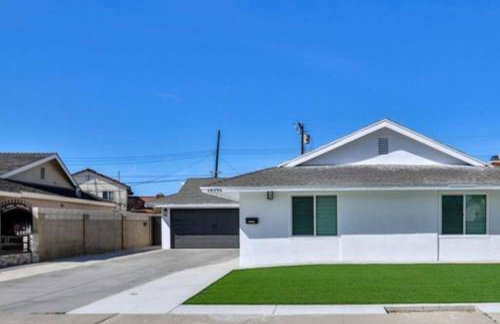
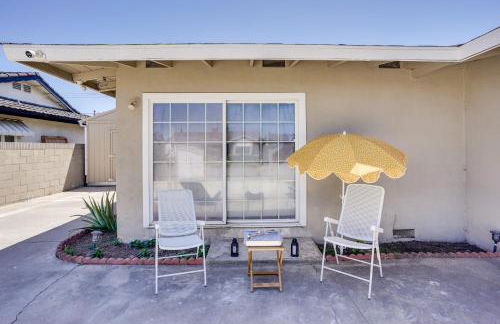
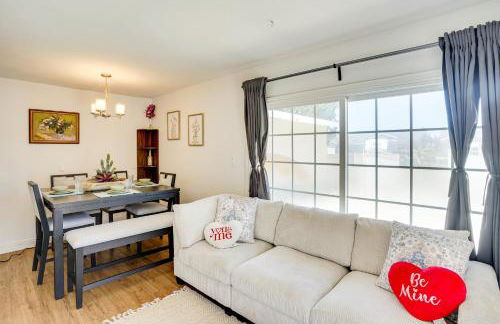
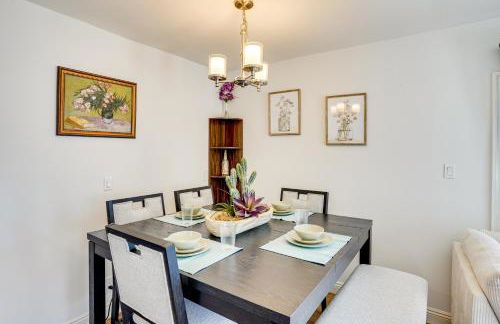
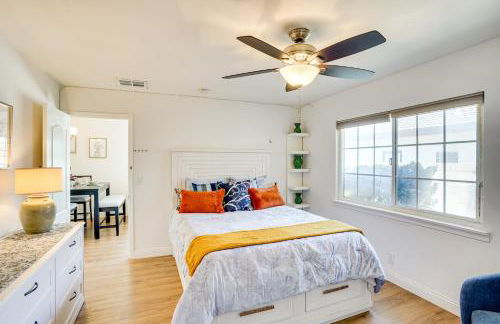
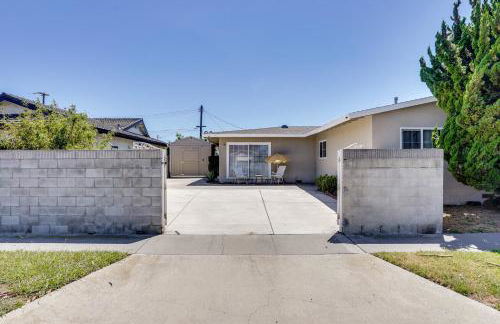
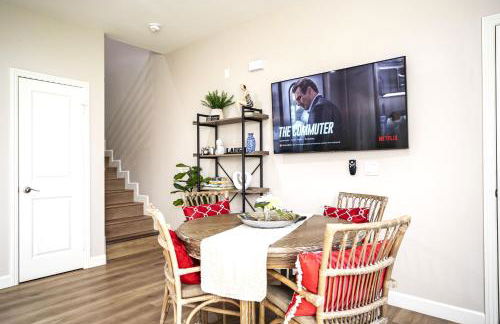
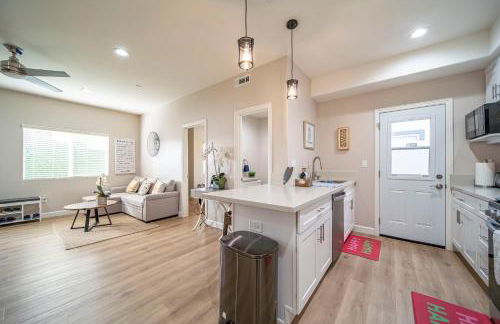
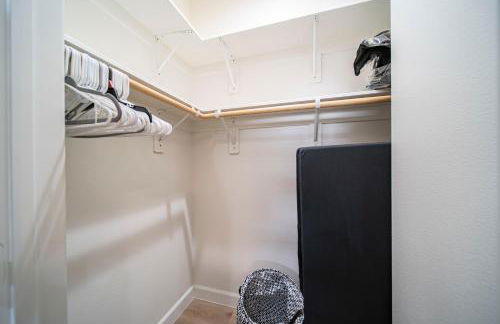
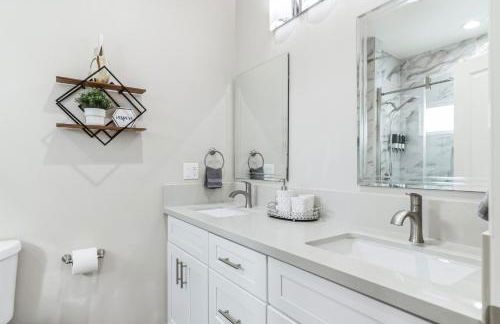
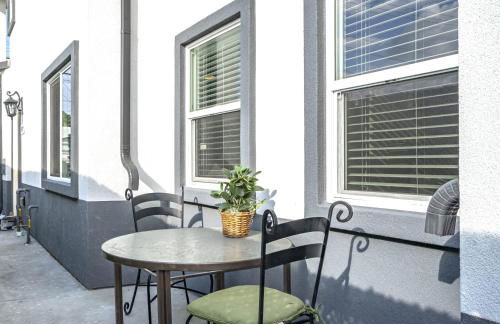
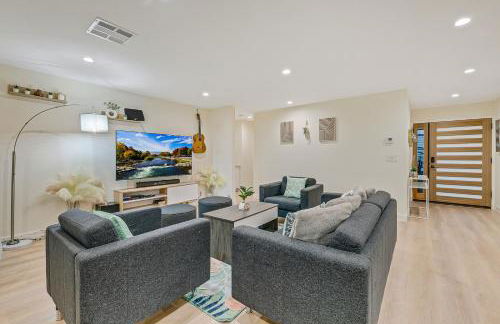
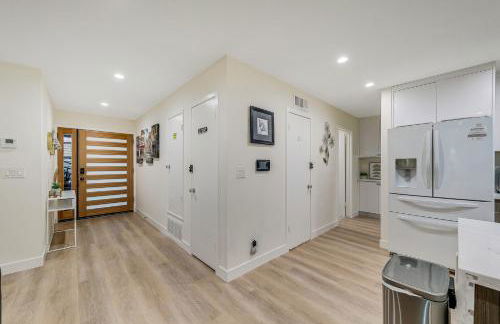
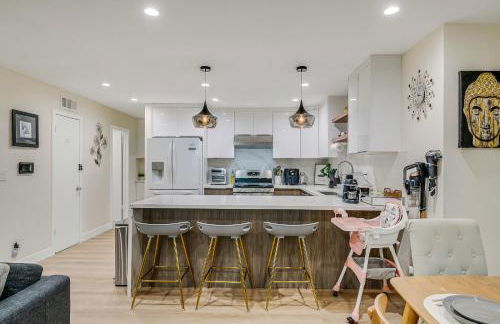
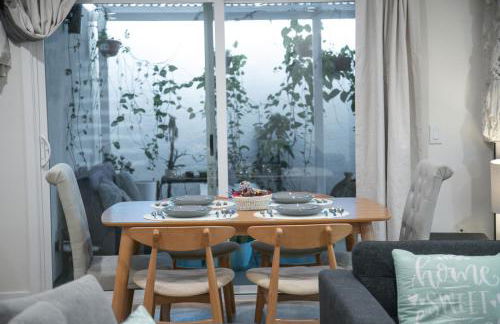
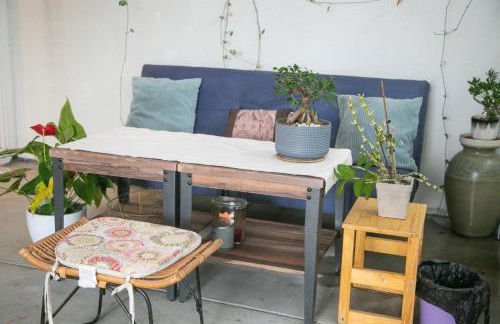
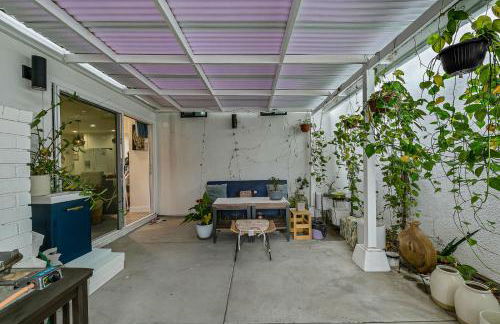
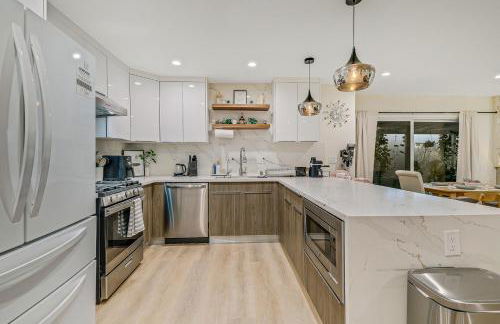
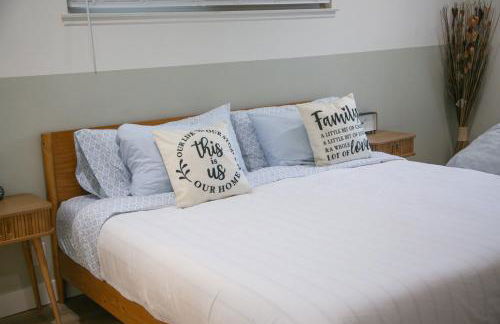
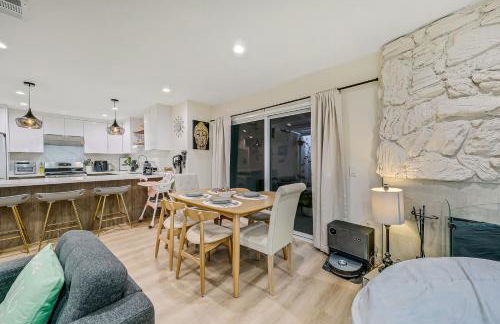
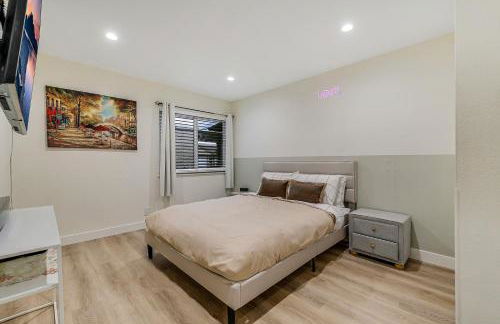
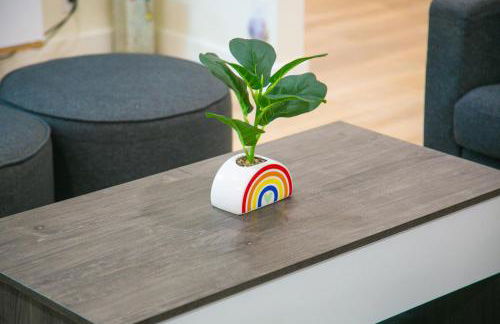
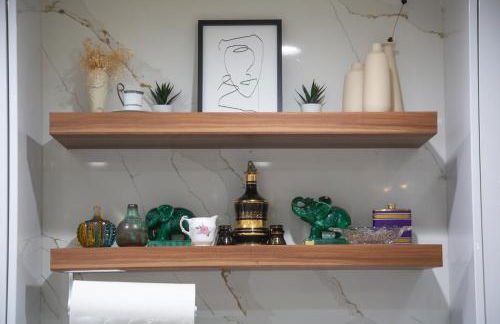
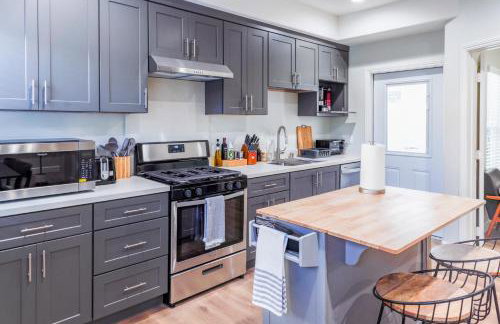
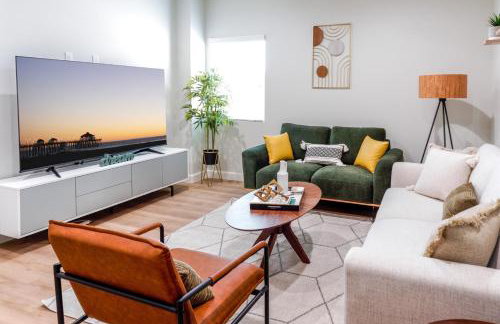
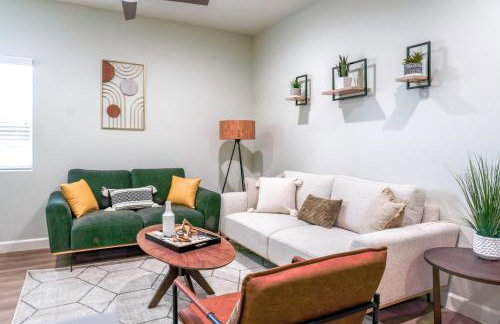
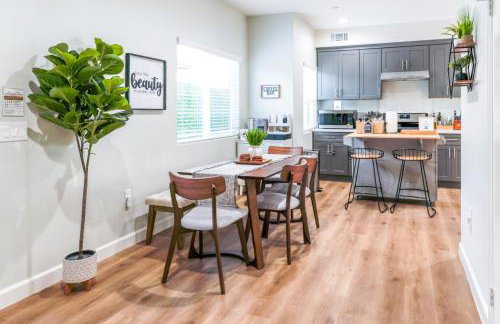
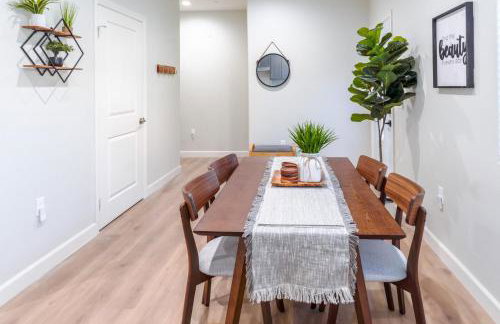
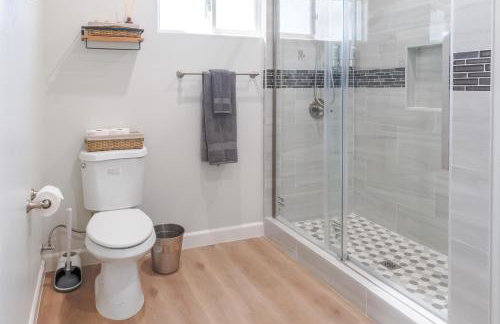
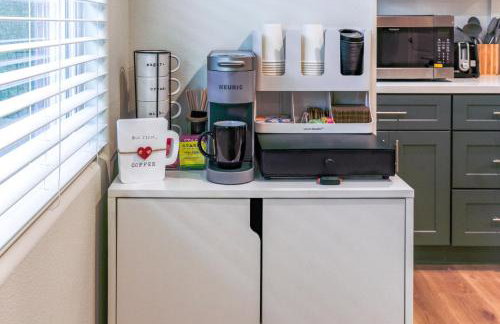
Disneyland Cozy Luxury Retreat I Sleeps 10, King Bed & EV Access - Foto 3
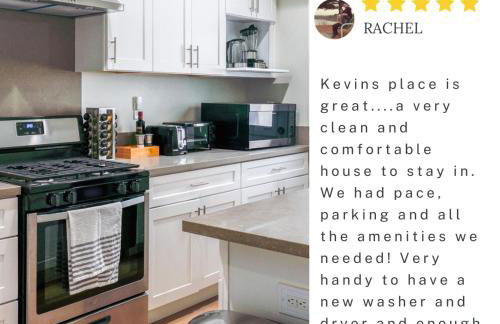
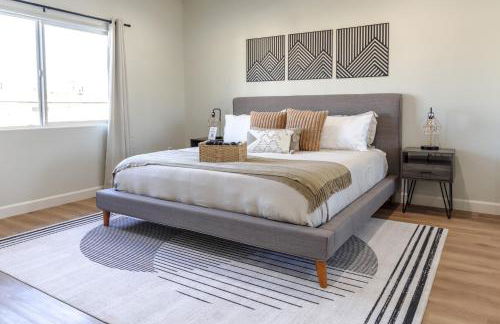
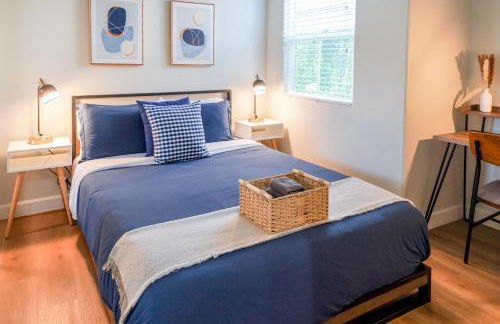
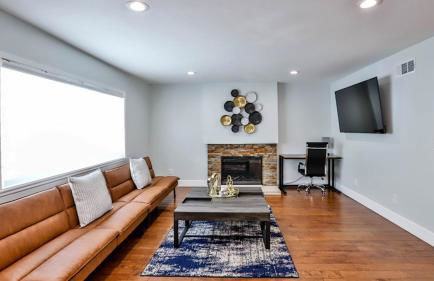
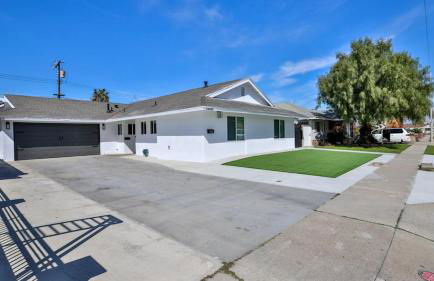
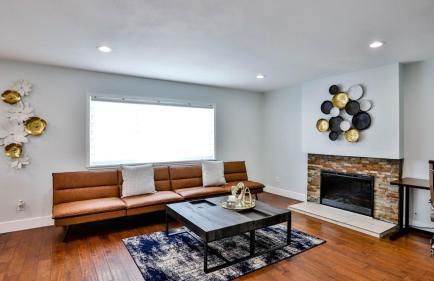
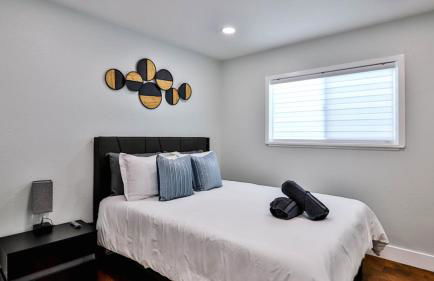
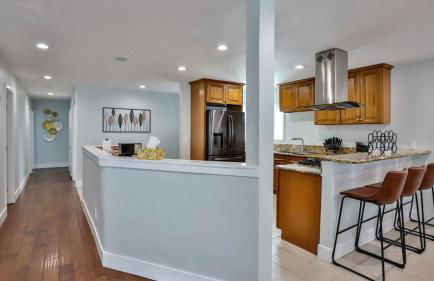
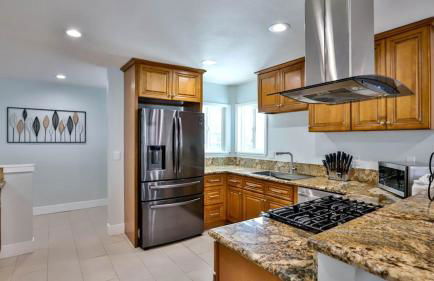
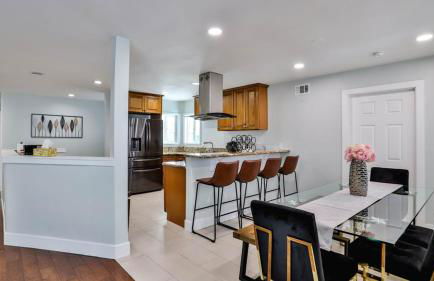
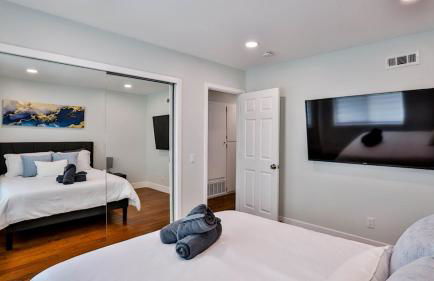
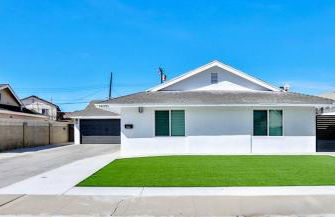
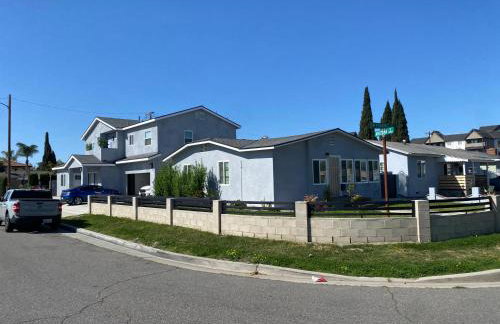
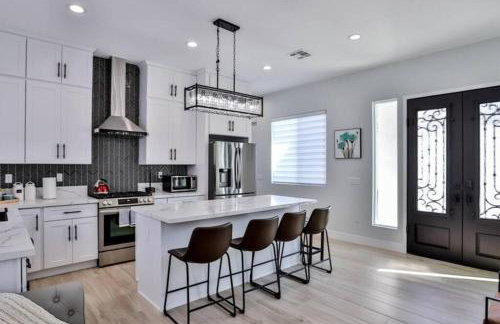
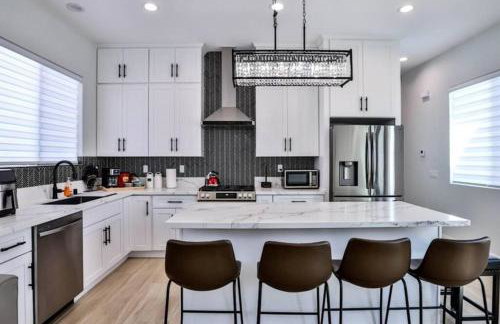
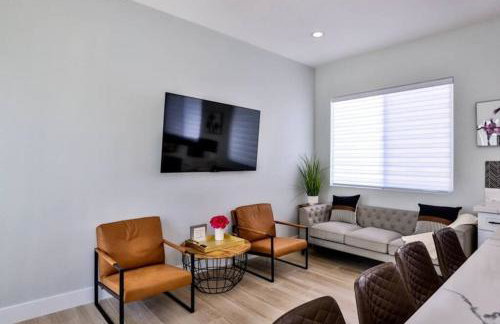
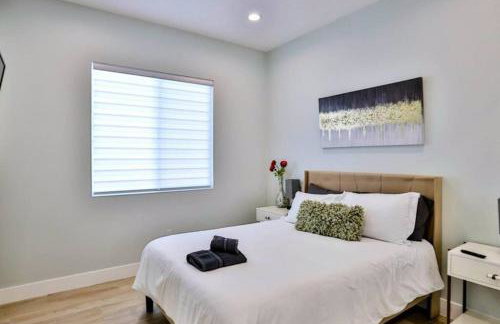
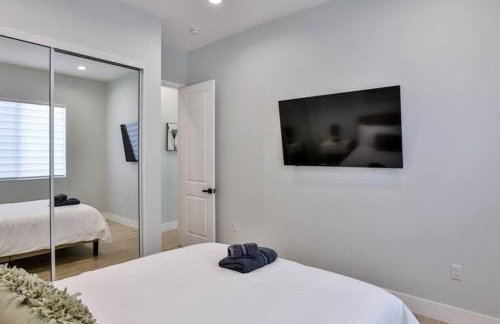
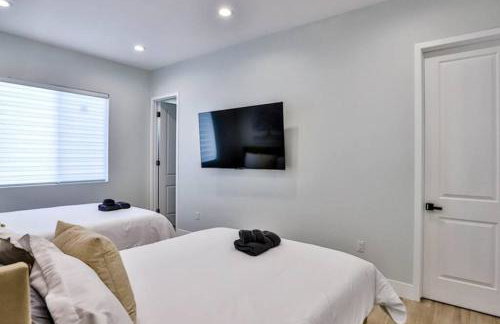
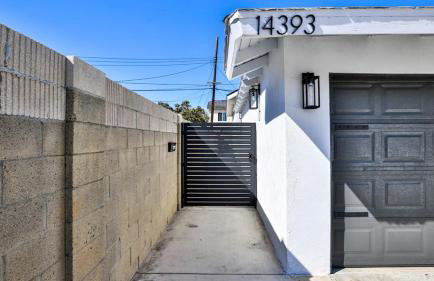
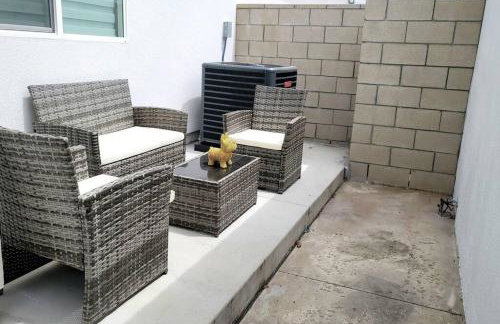
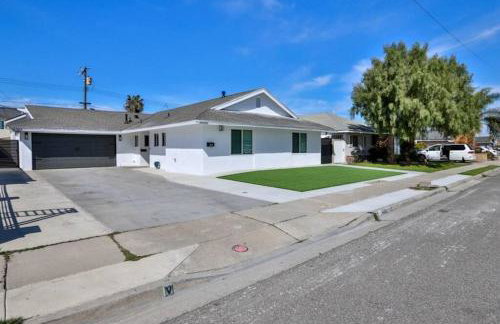
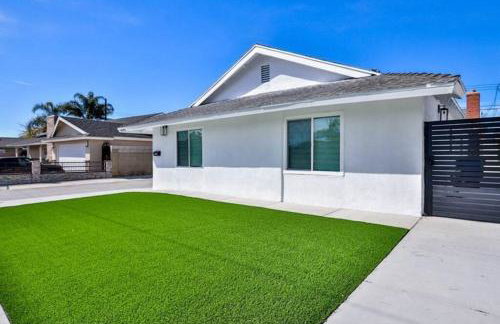
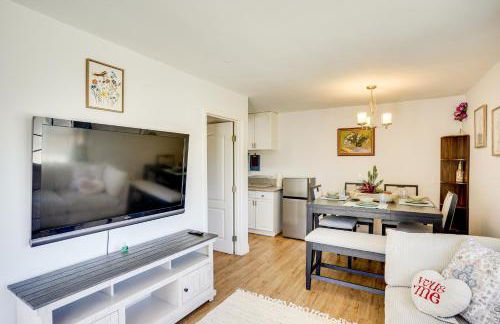
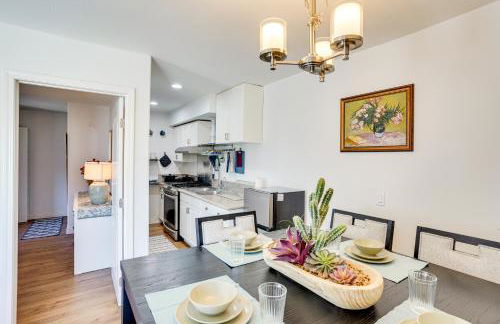
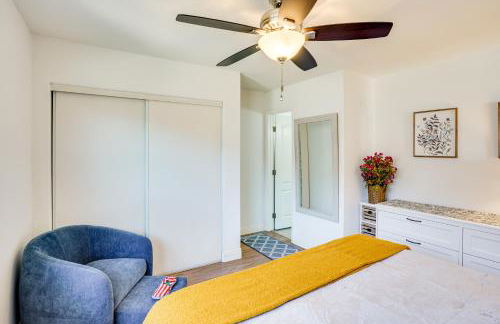
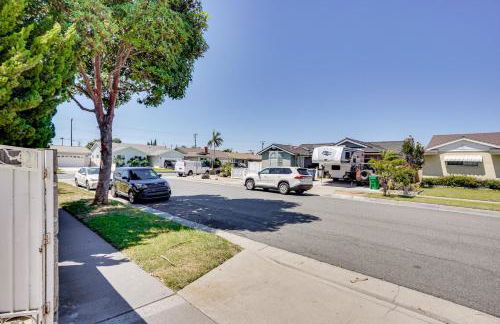
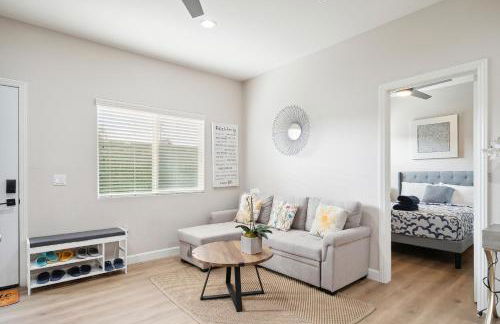
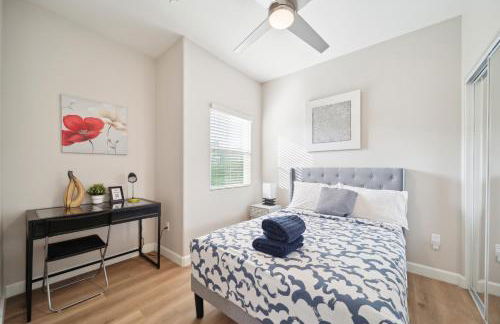
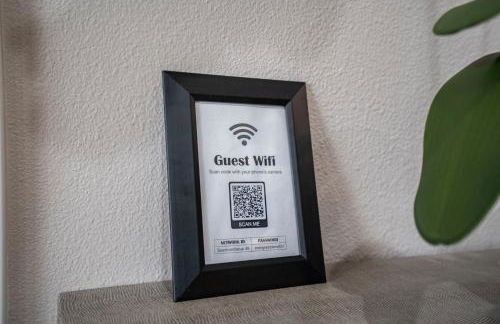
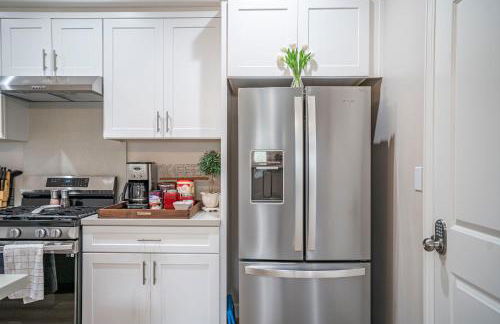
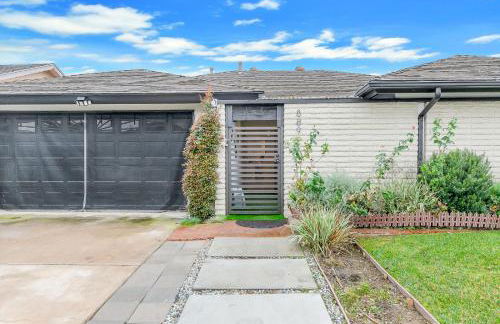
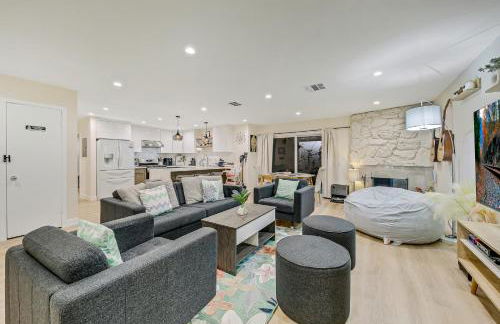
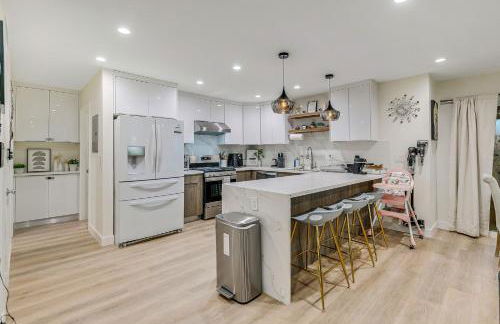
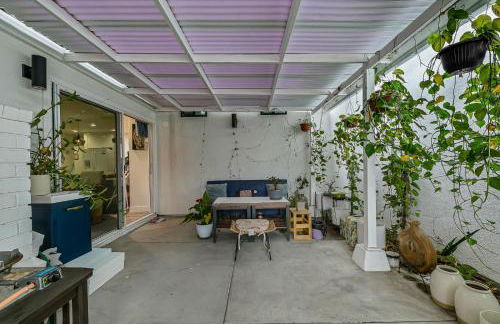
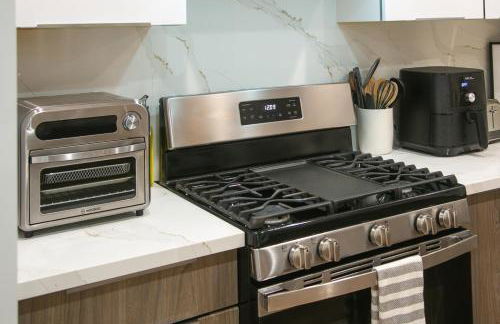
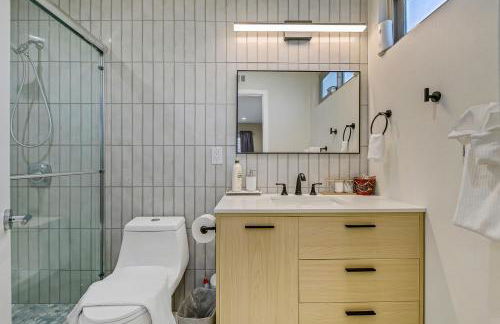
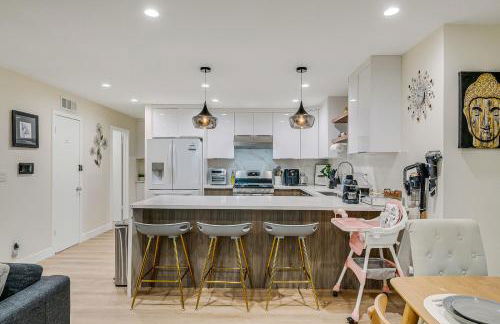
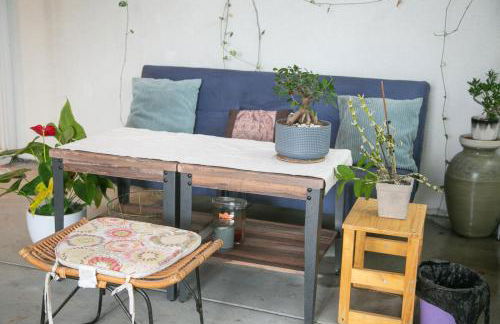
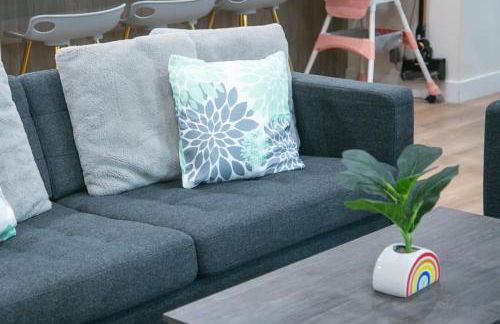
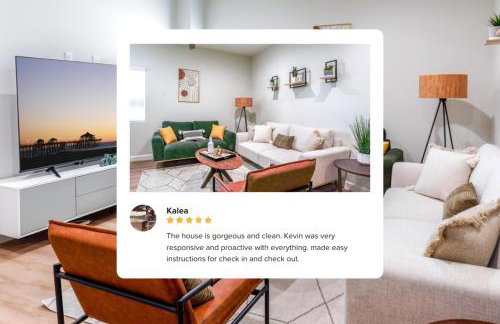
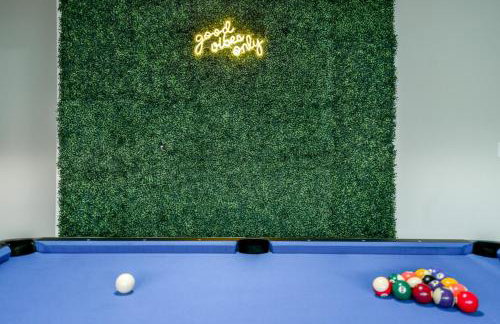
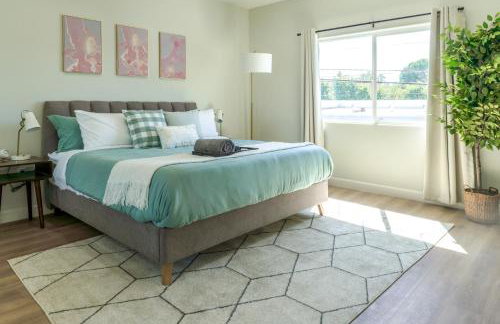
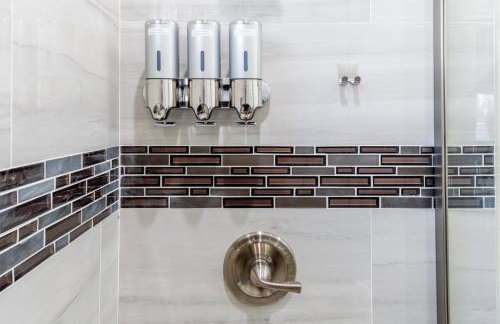
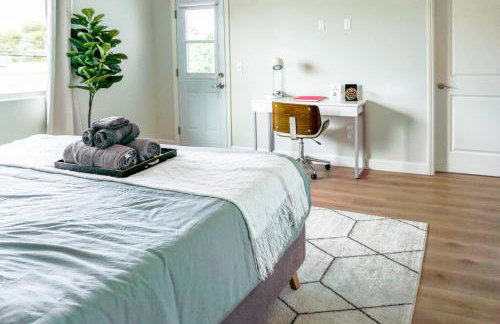
Disneyland Cozy Luxury Retreat I Sleeps 10, King Bed & EV Access - Foto 4
Disneyland Cozy Luxury Retreat I Sleeps 10, King Bed & EV Access - Foto 5
Disneyland Cozy Luxury Retreat I Sleeps 10, King Bed & EV Access - Foto 6
Disneyland Cozy Luxury Retreat I Sleeps 10, King Bed & EV Access - Foto 7
Disneyland Cozy Luxury Retreat I Sleeps 10, King Bed & EV Access - Foto 8
Disneyland Cozy Luxury Retreat I Sleeps 10, King Bed & EV Access - Foto 9
Disneyland Cozy Luxury Retreat I Sleeps 10, King Bed & EV Access - Foto 10
Disneyland Cozy Luxury Retreat I Sleeps 10, King Bed & EV Access - Foto 11
Disneyland Cozy Luxury Retreat I Sleeps 10, King Bed & EV Access - Foto 12
Disneyland Cozy Luxury Retreat I Sleeps 10, King Bed & EV Access - Foto 13
Disneyland Cozy Luxury Retreat I Sleeps 10, King Bed & EV Access - Foto 14
Disneyland Cozy Luxury Retreat I Sleeps 10, King Bed & EV Access - Foto 15
Disneyland Cozy Luxury Retreat I Sleeps 10, King Bed & EV Access - Foto 16
Disneyland Cozy Luxury Retreat I Sleeps 10, King Bed & EV Access - Foto 17
Disneyland Cozy Luxury Retreat I Sleeps 10, King Bed & EV Access - Foto 18
Disneyland Cozy Luxury Retreat I Sleeps 10, King Bed & EV Access - Foto 19
Disneyland Cozy Luxury Retreat I Sleeps 10, King Bed & EV Access - Foto 20
Disneyland Cozy Luxury Retreat I Sleeps 10, King Bed & EV Access - Foto 21
Disneyland Cozy Luxury Retreat I Sleeps 10, King Bed & EV Access - Foto 22
Disneyland Cozy Luxury Retreat I Sleeps 10, King Bed & EV Access - Foto 23
Disneyland Cozy Luxury Retreat I Sleeps 10, King Bed & EV Access - Foto 24
Disneyland Cozy Luxury Retreat I Sleeps 10, King Bed & EV Access - Foto 25
Disneyland Cozy Luxury Retreat I Sleeps 10, King Bed & EV Access - Foto 26
Disneyland Cozy Luxury Retreat I Sleeps 10, King Bed & EV Access - Foto 27
Disneyland Cozy Luxury Retreat I Sleeps 10, King Bed & EV Access - Foto 28
Disneyland Cozy Luxury Retreat I Sleeps 10, King Bed & EV Access - Foto 29
Disneyland Cozy Luxury Retreat I Sleeps 10, King Bed & EV Access - Foto 30
Disneyland Cozy Luxury Retreat I Sleeps 10, King Bed & EV Access - Foto 31
Disneyland Cozy Luxury Retreat I Sleeps 10, King Bed & EV Access - Foto 32
Disneyland Cozy Luxury Retreat I Sleeps 10, King Bed & EV Access - Foto 33
Disneyland Cozy Luxury Retreat I Sleeps 10, King Bed & EV Access - Foto 34
Disneyland Cozy Luxury Retreat I Sleeps 10, King Bed & EV Access - Foto 35
Disneyland Cozy Luxury Retreat I Sleeps 10, King Bed & EV Access - Foto 36
Disneyland Cozy Luxury Retreat I Sleeps 10, King Bed & EV Access - Foto 37
Disneyland Cozy Luxury Retreat I Sleeps 10, King Bed & EV Access - Foto 38
Disneyland Cozy Luxury Retreat I Sleeps 10, King Bed & EV Access - Foto 39
Disneyland Cozy Luxury Retreat I Sleeps 10, King Bed & EV Access - Foto 40
Disneyland Cozy Luxury Retreat I Sleeps 10, King Bed & EV Access - Foto 41
Disneyland Cozy Luxury Retreat I Sleeps 10, King Bed & EV Access - Foto 42
Disneyland Cozy Luxury Retreat I Sleeps 10, King Bed & EV Access - Foto 43
Disneyland Cozy Luxury Retreat I Sleeps 10, King Bed & EV Access - Foto 44
Disneyland Cozy Luxury Retreat I Sleeps 10, King Bed & EV Access - Foto 45
Disneyland Cozy Luxury Retreat I Sleeps 10, King Bed & EV Access - Foto 46
Disneyland Cozy Luxury Retreat I Sleeps 10, King Bed & EV Access - Foto 47
Disneyland Cozy Luxury Retreat I Sleeps 10, King Bed & EV Access - Foto 48
Disneyland Cozy Luxury Retreat I Sleeps 10, King Bed & EV Access - Foto 49

Disneyland Cozy Luxury Retreat I Sleeps 10, King Bed & EV Access

Westminster - 700 m vom Zentrum

  • 149 M2
  • 3 Schlafzimmer
  • 10 Personen
  • Klimaanlage
  • Heizung
  • Parkplatz
  • Garten
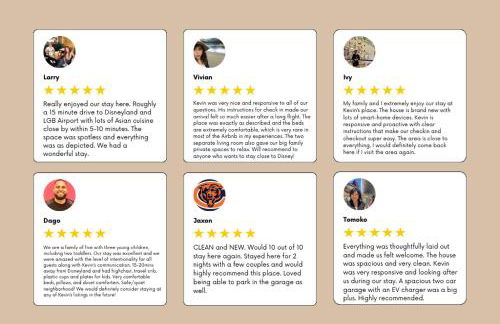
10Hervorragend | 13 Bewertungen
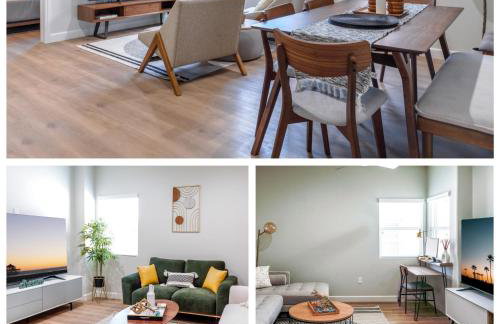
H&H Modern Lux 4BD 1 King Suite 3 Queen SoCal Disney - Foto 1
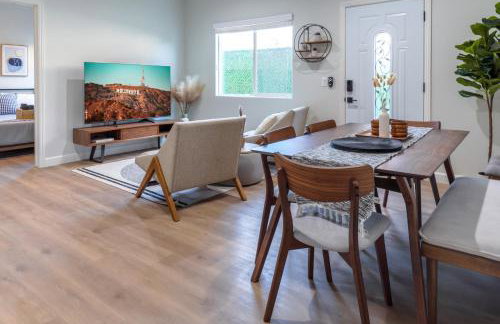
H&H Modern Lux 4BD 1 King Suite 3 Queen SoCal Disney - Foto 2
H&H Modern Lux 4BD 1 King Suite 3 Queen SoCal Disney - Foto 3
H&H Modern Lux 4BD 1 King Suite 3 Queen SoCal Disney - Foto 4
H&H Modern Lux 4BD 1 King Suite 3 Queen SoCal Disney - Foto 5
H&H Modern Lux 4BD 1 King Suite 3 Queen SoCal Disney - Foto 6
H&H Modern Lux 4BD 1 King Suite 3 Queen SoCal Disney - Foto 7
H&H Modern Lux 4BD 1 King Suite 3 Queen SoCal Disney - Foto 8
H&H Modern Lux 4BD 1 King Suite 3 Queen SoCal Disney - Foto 9
H&H Modern Lux 4BD 1 King Suite 3 Queen SoCal Disney - Foto 10
H&H Modern Lux 4BD 1 King Suite 3 Queen SoCal Disney - Foto 11
H&H Modern Lux 4BD 1 King Suite 3 Queen SoCal Disney - Foto 12
H&H Modern Lux 4BD 1 King Suite 3 Queen SoCal Disney - Foto 13
H&H Modern Lux 4BD 1 King Suite 3 Queen SoCal Disney - Foto 14
H&H Modern Lux 4BD 1 King Suite 3 Queen SoCal Disney - Foto 15
H&H Modern Lux 4BD 1 King Suite 3 Queen SoCal Disney - Foto 16
H&H Modern Lux 4BD 1 King Suite 3 Queen SoCal Disney - Foto 17
H&H Modern Lux 4BD 1 King Suite 3 Queen SoCal Disney - Foto 18
H&H Modern Lux 4BD 1 King Suite 3 Queen SoCal Disney - Foto 19
H&H Modern Lux 4BD 1 King Suite 3 Queen SoCal Disney - Foto 20
H&H Modern Lux 4BD 1 King Suite 3 Queen SoCal Disney - Foto 21
H&H Modern Lux 4BD 1 King Suite 3 Queen SoCal Disney - Foto 22
H&H Modern Lux 4BD 1 King Suite 3 Queen SoCal Disney - Foto 23
H&H Modern Lux 4BD 1 King Suite 3 Queen SoCal Disney - Foto 24
H&H Modern Lux 4BD 1 King Suite 3 Queen SoCal Disney - Foto 25
H&H Modern Lux 4BD 1 King Suite 3 Queen SoCal Disney - Foto 26
H&H Modern Lux 4BD 1 King Suite 3 Queen SoCal Disney - Foto 27
H&H Modern Lux 4BD 1 King Suite 3 Queen SoCal Disney - Foto 28
H&H Modern Lux 4BD 1 King Suite 3 Queen SoCal Disney - Foto 29
H&H Modern Lux 4BD 1 King Suite 3 Queen SoCal Disney - Foto 30
H&H Modern Lux 4BD 1 King Suite 3 Queen SoCal Disney - Foto 31
H&H Modern Lux 4BD 1 King Suite 3 Queen SoCal Disney - Foto 32
H&H Modern Lux 4BD 1 King Suite 3 Queen SoCal Disney - Foto 33
H&H Modern Lux 4BD 1 King Suite 3 Queen SoCal Disney - Foto 34
H&H Modern Lux 4BD 1 King Suite 3 Queen SoCal Disney - Foto 35
H&H Modern Lux 4BD 1 King Suite 3 Queen SoCal Disney - Foto 36
H&H Modern Lux 4BD 1 King Suite 3 Queen SoCal Disney - Foto 37
H&H Modern Lux 4BD 1 King Suite 3 Queen SoCal Disney - Foto 38
H&H Modern Lux 4BD 1 King Suite 3 Queen SoCal Disney - Foto 39
H&H Modern Lux 4BD 1 King Suite 3 Queen SoCal Disney - Foto 40
H&H Modern Lux 4BD 1 King Suite 3 Queen SoCal Disney - Foto 41
H&H Modern Lux 4BD 1 King Suite 3 Queen SoCal Disney - Foto 42
H&H Modern Lux 4BD 1 King Suite 3 Queen SoCal Disney - Foto 43
H&H Modern Lux 4BD 1 King Suite 3 Queen SoCal Disney - Foto 44
H&H Modern Lux 4BD 1 King Suite 3 Queen SoCal Disney - Foto 45
H&H Modern Lux 4BD 1 King Suite 3 Queen SoCal Disney - Foto 46
H&H Modern Lux 4BD 1 King Suite 3 Queen SoCal Disney - Foto 47
H&H Modern Lux 4BD 1 King Suite 3 Queen SoCal Disney - Foto 48
H&H Modern Lux 4BD 1 King Suite 3 Queen SoCal Disney - Foto 49
H&H Modern Lux 4BD 1 King Suite 3 Queen SoCal Disney - Foto 50
H&H Modern Lux 4BD 1 King Suite 3 Queen SoCal Disney - Foto 51
H&H Modern Lux 4BD 1 King Suite 3 Queen SoCal Disney - Foto 52
H&H Modern Lux 4BD 1 King Suite 3 Queen SoCal Disney - Foto 53
H&H Modern Lux 4BD 1 King Suite 3 Queen SoCal Disney - Foto 54
H&H Modern Lux 4BD 1 King Suite 3 Queen SoCal Disney - Foto 55
H&H Modern Lux 4BD 1 King Suite 3 Queen SoCal Disney - Foto 56
H&H Modern Lux 4BD 1 King Suite 3 Queen SoCal Disney - Foto 57
H&H Modern Lux 4BD 1 King Suite 3 Queen SoCal Disney - Foto 58
H&H Modern Lux 4BD 1 King Suite 3 Queen SoCal Disney - Foto 59
H&H Modern Lux 4BD 1 King Suite 3 Queen SoCal Disney - Foto 60
H&H Modern Lux 4BD 1 King Suite 3 Queen SoCal Disney - Foto 61
H&H Modern Lux 4BD 1 King Suite 3 Queen SoCal Disney - Foto 62
H&H Modern Lux 4BD 1 King Suite 3 Queen SoCal Disney - Foto 63
H&H Modern Lux 4BD 1 King Suite 3 Queen SoCal Disney - Foto 64
H&H Modern Lux 4BD 1 King Suite 3 Queen SoCal Disney - Foto 65
H&H Modern Lux 4BD 1 King Suite 3 Queen SoCal Disney - Foto 66
H&H Modern Lux 4BD 1 King Suite 3 Queen SoCal Disney - Foto 67
H&H Modern Lux 4BD 1 King Suite 3 Queen SoCal Disney - Foto 68
H&H Modern Lux 4BD 1 King Suite 3 Queen SoCal Disney - Foto 69

H&H Modern Lux 4BD 1 King Suite 3 Queen SoCal Disney

Westminster - Im Zentrum

  • 149 M2
  • 4 Schlafzimmer
  • 8 Personen
  • Klimaanlage
  • Parkplatz
9.3Außergewöhnlich | 30 Bewertungen
Vacation home - Foto 1
Vacation home - Foto 2
Vacation home - Foto 3
Vacation home - Foto 4
Vacation home - Foto 5
Vacation home - Foto 6
Vacation home - Foto 7
Vacation home - Foto 8
Vacation home - Foto 9

Vacation home

Westminster - 430 m vom Zentrum

  • 46 M2
  • 1 Schlafzimmer
  • 3 Personen
  • Klimaanlage
  • Parkplatz
  • Garten
8.8Sehr gut | 9 Bewertungen
H&H New Built 2023 Hidden Gem Heart of OC 3 Queen Beds - Foto 1
H&H New Built 2023 Hidden Gem Heart of OC 3 Queen Beds - Foto 2
H&H New Built 2023 Hidden Gem Heart of OC 3 Queen Beds - Foto 3
H&H New Built 2023 Hidden Gem Heart of OC 3 Queen Beds - Foto 4
H&H New Built 2023 Hidden Gem Heart of OC 3 Queen Beds - Foto 5
H&H New Built 2023 Hidden Gem Heart of OC 3 Queen Beds - Foto 6
H&H New Built 2023 Hidden Gem Heart of OC 3 Queen Beds - Foto 7
H&H New Built 2023 Hidden Gem Heart of OC 3 Queen Beds - Foto 8
H&H New Built 2023 Hidden Gem Heart of OC 3 Queen Beds - Foto 9
H&H New Built 2023 Hidden Gem Heart of OC 3 Queen Beds - Foto 10
H&H New Built 2023 Hidden Gem Heart of OC 3 Queen Beds - Foto 11
H&H New Built 2023 Hidden Gem Heart of OC 3 Queen Beds - Foto 12
H&H New Built 2023 Hidden Gem Heart of OC 3 Queen Beds - Foto 13
H&H New Built 2023 Hidden Gem Heart of OC 3 Queen Beds - Foto 14
H&H New Built 2023 Hidden Gem Heart of OC 3 Queen Beds - Foto 15
H&H New Built 2023 Hidden Gem Heart of OC 3 Queen Beds - Foto 16
H&H New Built 2023 Hidden Gem Heart of OC 3 Queen Beds - Foto 17
H&H New Built 2023 Hidden Gem Heart of OC 3 Queen Beds - Foto 18
H&H New Built 2023 Hidden Gem Heart of OC 3 Queen Beds - Foto 19
H&H New Built 2023 Hidden Gem Heart of OC 3 Queen Beds - Foto 20
H&H New Built 2023 Hidden Gem Heart of OC 3 Queen Beds - Foto 21
H&H New Built 2023 Hidden Gem Heart of OC 3 Queen Beds - Foto 22
H&H New Built 2023 Hidden Gem Heart of OC 3 Queen Beds - Foto 23
H&H New Built 2023 Hidden Gem Heart of OC 3 Queen Beds - Foto 24
H&H New Built 2023 Hidden Gem Heart of OC 3 Queen Beds - Foto 25
H&H New Built 2023 Hidden Gem Heart of OC 3 Queen Beds - Foto 26
H&H New Built 2023 Hidden Gem Heart of OC 3 Queen Beds - Foto 27
H&H New Built 2023 Hidden Gem Heart of OC 3 Queen Beds - Foto 28
H&H New Built 2023 Hidden Gem Heart of OC 3 Queen Beds - Foto 29
H&H New Built 2023 Hidden Gem Heart of OC 3 Queen Beds - Foto 30
H&H New Built 2023 Hidden Gem Heart of OC 3 Queen Beds - Foto 31
H&H New Built 2023 Hidden Gem Heart of OC 3 Queen Beds - Foto 32
H&H New Built 2023 Hidden Gem Heart of OC 3 Queen Beds - Foto 33
H&H New Built 2023 Hidden Gem Heart of OC 3 Queen Beds - Foto 34
H&H New Built 2023 Hidden Gem Heart of OC 3 Queen Beds - Foto 35
H&H New Built 2023 Hidden Gem Heart of OC 3 Queen Beds - Foto 36
H&H New Built 2023 Hidden Gem Heart of OC 3 Queen Beds - Foto 37
H&H New Built 2023 Hidden Gem Heart of OC 3 Queen Beds - Foto 38
H&H New Built 2023 Hidden Gem Heart of OC 3 Queen Beds - Foto 39
H&H New Built 2023 Hidden Gem Heart of OC 3 Queen Beds - Foto 40
H&H New Built 2023 Hidden Gem Heart of OC 3 Queen Beds - Foto 41
H&H New Built 2023 Hidden Gem Heart of OC 3 Queen Beds - Foto 42
H&H New Built 2023 Hidden Gem Heart of OC 3 Queen Beds - Foto 43
H&H New Built 2023 Hidden Gem Heart of OC 3 Queen Beds - Foto 44
H&H New Built 2023 Hidden Gem Heart of OC 3 Queen Beds - Foto 45
H&H New Built 2023 Hidden Gem Heart of OC 3 Queen Beds - Foto 46
H&H New Built 2023 Hidden Gem Heart of OC 3 Queen Beds - Foto 47
H&H New Built 2023 Hidden Gem Heart of OC 3 Queen Beds - Foto 48
H&H New Built 2023 Hidden Gem Heart of OC 3 Queen Beds - Foto 49
H&H New Built 2023 Hidden Gem Heart of OC 3 Queen Beds - Foto 50
H&H New Built 2023 Hidden Gem Heart of OC 3 Queen Beds - Foto 51
H&H New Built 2023 Hidden Gem Heart of OC 3 Queen Beds - Foto 52
H&H New Built 2023 Hidden Gem Heart of OC 3 Queen Beds - Foto 53
H&H New Built 2023 Hidden Gem Heart of OC 3 Queen Beds - Foto 54
H&H New Built 2023 Hidden Gem Heart of OC 3 Queen Beds - Foto 55
H&H New Built 2023 Hidden Gem Heart of OC 3 Queen Beds - Foto 56
H&H New Built 2023 Hidden Gem Heart of OC 3 Queen Beds - Foto 57
H&H New Built 2023 Hidden Gem Heart of OC 3 Queen Beds - Foto 58
H&H New Built 2023 Hidden Gem Heart of OC 3 Queen Beds - Foto 59
H&H New Built 2023 Hidden Gem Heart of OC 3 Queen Beds - Foto 60

H&H New Built 2023 Hidden Gem Heart of OC 3 Queen Beds

Westminster - Im Zentrum

  • 92 M2
  • 2 Schlafzimmer
  • 5 Personen
  • Klimaanlage
  • Heizung
  • Parkplatz
9.2Außergewöhnlich | 7 Bewertungen
Explore SoCal! Cozy Retreat Near Disney & Beaches - Foto 1
Explore SoCal! Cozy Retreat Near Disney & Beaches - Foto 2
Explore SoCal! Cozy Retreat Near Disney & Beaches - Foto 3
Explore SoCal! Cozy Retreat Near Disney & Beaches - Foto 4
Explore SoCal! Cozy Retreat Near Disney & Beaches - Foto 5
Explore SoCal! Cozy Retreat Near Disney & Beaches - Foto 6
Explore SoCal! Cozy Retreat Near Disney & Beaches - Foto 7
Explore SoCal! Cozy Retreat Near Disney & Beaches - Foto 8
Explore SoCal! Cozy Retreat Near Disney & Beaches - Foto 9
Explore SoCal! Cozy Retreat Near Disney & Beaches - Foto 10
Explore SoCal! Cozy Retreat Near Disney & Beaches - Foto 11
Explore SoCal! Cozy Retreat Near Disney & Beaches - Foto 12
Explore SoCal! Cozy Retreat Near Disney & Beaches - Foto 13
Explore SoCal! Cozy Retreat Near Disney & Beaches - Foto 14
Explore SoCal! Cozy Retreat Near Disney & Beaches - Foto 15
Explore SoCal! Cozy Retreat Near Disney & Beaches - Foto 16
Explore SoCal! Cozy Retreat Near Disney & Beaches - Foto 17
Explore SoCal! Cozy Retreat Near Disney & Beaches - Foto 18
Explore SoCal! Cozy Retreat Near Disney & Beaches - Foto 19
Explore SoCal! Cozy Retreat Near Disney & Beaches - Foto 20
Explore SoCal! Cozy Retreat Near Disney & Beaches - Foto 21
Explore SoCal! Cozy Retreat Near Disney & Beaches - Foto 22
Explore SoCal! Cozy Retreat Near Disney & Beaches - Foto 23
Explore SoCal! Cozy Retreat Near Disney & Beaches - Foto 24
Explore SoCal! Cozy Retreat Near Disney & Beaches - Foto 25
Explore SoCal! Cozy Retreat Near Disney & Beaches - Foto 26
Explore SoCal! Cozy Retreat Near Disney & Beaches - Foto 27

Explore SoCal! Cozy Retreat Near Disney & Beaches

Westminster - 2.7 km vom Zentrum

  • 65 M2
  • 2 Personen
  • Heizung
  • Terrasse
  • Parkplatz
8.5Sehr gut | 4 Bewertungen
Amazing Value with High Comfort, 14 Guests for 4BR by Disneyland, Beaches, Rodeo 39 & More - Foto 1
Amazing Value with High Comfort, 14 Guests for 4BR by Disneyland, Beaches, Rodeo 39 & More - Foto 2
Amazing Value with High Comfort, 14 Guests for 4BR by Disneyland, Beaches, Rodeo 39 & More - Foto 3
Amazing Value with High Comfort, 14 Guests for 4BR by Disneyland, Beaches, Rodeo 39 & More - Foto 4
Amazing Value with High Comfort, 14 Guests for 4BR by Disneyland, Beaches, Rodeo 39 & More - Foto 5
Amazing Value with High Comfort, 14 Guests for 4BR by Disneyland, Beaches, Rodeo 39 & More - Foto 6
Amazing Value with High Comfort, 14 Guests for 4BR by Disneyland, Beaches, Rodeo 39 & More - Foto 7
Amazing Value with High Comfort, 14 Guests for 4BR by Disneyland, Beaches, Rodeo 39 & More - Foto 8
Amazing Value with High Comfort, 14 Guests for 4BR by Disneyland, Beaches, Rodeo 39 & More - Foto 9
Amazing Value with High Comfort, 14 Guests for 4BR by Disneyland, Beaches, Rodeo 39 & More - Foto 10
Amazing Value with High Comfort, 14 Guests for 4BR by Disneyland, Beaches, Rodeo 39 & More - Foto 11
Amazing Value with High Comfort, 14 Guests for 4BR by Disneyland, Beaches, Rodeo 39 & More - Foto 12
Amazing Value with High Comfort, 14 Guests for 4BR by Disneyland, Beaches, Rodeo 39 & More - Foto 13
Amazing Value with High Comfort, 14 Guests for 4BR by Disneyland, Beaches, Rodeo 39 & More - Foto 14
Amazing Value with High Comfort, 14 Guests for 4BR by Disneyland, Beaches, Rodeo 39 & More - Foto 15
Amazing Value with High Comfort, 14 Guests for 4BR by Disneyland, Beaches, Rodeo 39 & More - Foto 16
Amazing Value with High Comfort, 14 Guests for 4BR by Disneyland, Beaches, Rodeo 39 & More - Foto 17
Amazing Value with High Comfort, 14 Guests for 4BR by Disneyland, Beaches, Rodeo 39 & More - Foto 18
Amazing Value with High Comfort, 14 Guests for 4BR by Disneyland, Beaches, Rodeo 39 & More - Foto 19
Amazing Value with High Comfort, 14 Guests for 4BR by Disneyland, Beaches, Rodeo 39 & More - Foto 20
Amazing Value with High Comfort, 14 Guests for 4BR by Disneyland, Beaches, Rodeo 39 & More - Foto 21
Amazing Value with High Comfort, 14 Guests for 4BR by Disneyland, Beaches, Rodeo 39 & More - Foto 22
Amazing Value with High Comfort, 14 Guests for 4BR by Disneyland, Beaches, Rodeo 39 & More - Foto 23
Amazing Value with High Comfort, 14 Guests for 4BR by Disneyland, Beaches, Rodeo 39 & More - Foto 24
Amazing Value with High Comfort, 14 Guests for 4BR by Disneyland, Beaches, Rodeo 39 & More - Foto 25
Amazing Value with High Comfort, 14 Guests for 4BR by Disneyland, Beaches, Rodeo 39 & More - Foto 26
Amazing Value with High Comfort, 14 Guests for 4BR by Disneyland, Beaches, Rodeo 39 & More - Foto 27
Amazing Value with High Comfort, 14 Guests for 4BR by Disneyland, Beaches, Rodeo 39 & More - Foto 28
Amazing Value with High Comfort, 14 Guests for 4BR by Disneyland, Beaches, Rodeo 39 & More - Foto 29
Amazing Value with High Comfort, 14 Guests for 4BR by Disneyland, Beaches, Rodeo 39 & More - Foto 30
Amazing Value with High Comfort, 14 Guests for 4BR by Disneyland, Beaches, Rodeo 39 & More - Foto 31
Amazing Value with High Comfort, 14 Guests for 4BR by Disneyland, Beaches, Rodeo 39 & More - Foto 32
Amazing Value with High Comfort, 14 Guests for 4BR by Disneyland, Beaches, Rodeo 39 & More - Foto 33
Amazing Value with High Comfort, 14 Guests for 4BR by Disneyland, Beaches, Rodeo 39 & More - Foto 34

Amazing Value with High Comfort, 14 Guests for 4BR by Disneyland, Beaches, Rodeo 39 & More

Westminster - 710 m vom Zentrum

  • 149 M2
  • 4 Schlafzimmer
  • 14 Personen
  • Klimaanlage
  • Heizung
  • Terrasse
  • Parkplatz
  • Garten
7.8Gut | 5 Bewertungen
20 min to Disneyland - Spacious Family Home Near All the Fun - Foto 1
20 min to Disneyland - Spacious Family Home Near All the Fun - Foto 2
20 min to Disneyland - Spacious Family Home Near All the Fun - Foto 3
20 min to Disneyland - Spacious Family Home Near All the Fun - Foto 4
20 min to Disneyland - Spacious Family Home Near All the Fun - Foto 5
20 min to Disneyland - Spacious Family Home Near All the Fun - Foto 6
20 min to Disneyland - Spacious Family Home Near All the Fun - Foto 7
20 min to Disneyland - Spacious Family Home Near All the Fun - Foto 8
20 min to Disneyland - Spacious Family Home Near All the Fun - Foto 9
20 min to Disneyland - Spacious Family Home Near All the Fun - Foto 10
20 min to Disneyland - Spacious Family Home Near All the Fun - Foto 11
20 min to Disneyland - Spacious Family Home Near All the Fun - Foto 12
20 min to Disneyland - Spacious Family Home Near All the Fun - Foto 13
20 min to Disneyland - Spacious Family Home Near All the Fun - Foto 14
20 min to Disneyland - Spacious Family Home Near All the Fun - Foto 15
20 min to Disneyland - Spacious Family Home Near All the Fun - Foto 16
20 min to Disneyland - Spacious Family Home Near All the Fun - Foto 17
20 min to Disneyland - Spacious Family Home Near All the Fun - Foto 18
20 min to Disneyland - Spacious Family Home Near All the Fun - Foto 19
20 min to Disneyland - Spacious Family Home Near All the Fun - Foto 20
20 min to Disneyland - Spacious Family Home Near All the Fun - Foto 21
20 min to Disneyland - Spacious Family Home Near All the Fun - Foto 22
20 min to Disneyland - Spacious Family Home Near All the Fun - Foto 23
20 min to Disneyland - Spacious Family Home Near All the Fun - Foto 24
20 min to Disneyland - Spacious Family Home Near All the Fun - Foto 25
20 min to Disneyland - Spacious Family Home Near All the Fun - Foto 26
20 min to Disneyland - Spacious Family Home Near All the Fun - Foto 27
20 min to Disneyland - Spacious Family Home Near All the Fun - Foto 28
20 min to Disneyland - Spacious Family Home Near All the Fun - Foto 29
20 min to Disneyland - Spacious Family Home Near All the Fun - Foto 30
20 min to Disneyland - Spacious Family Home Near All the Fun - Foto 31
20 min to Disneyland - Spacious Family Home Near All the Fun - Foto 32
20 min to Disneyland - Spacious Family Home Near All the Fun - Foto 33
20 min to Disneyland - Spacious Family Home Near All the Fun - Foto 34
20 min to Disneyland - Spacious Family Home Near All the Fun - Foto 35
20 min to Disneyland - Spacious Family Home Near All the Fun - Foto 36
20 min to Disneyland - Spacious Family Home Near All the Fun - Foto 37
20 min to Disneyland - Spacious Family Home Near All the Fun - Foto 38
20 min to Disneyland - Spacious Family Home Near All the Fun - Foto 39
20 min to Disneyland - Spacious Family Home Near All the Fun - Foto 40
20 min to Disneyland - Spacious Family Home Near All the Fun - Foto 41
20 min to Disneyland - Spacious Family Home Near All the Fun - Foto 42
20 min to Disneyland - Spacious Family Home Near All the Fun - Foto 43
20 min to Disneyland - Spacious Family Home Near All the Fun - Foto 44
20 min to Disneyland - Spacious Family Home Near All the Fun - Foto 45
20 min to Disneyland - Spacious Family Home Near All the Fun - Foto 46
20 min to Disneyland - Spacious Family Home Near All the Fun - Foto 47
20 min to Disneyland - Spacious Family Home Near All the Fun - Foto 48
20 min to Disneyland - Spacious Family Home Near All the Fun - Foto 49
20 min to Disneyland - Spacious Family Home Near All the Fun - Foto 50
20 min to Disneyland - Spacious Family Home Near All the Fun - Foto 51
20 min to Disneyland - Spacious Family Home Near All the Fun - Foto 52
20 min to Disneyland - Spacious Family Home Near All the Fun - Foto 53
20 min to Disneyland - Spacious Family Home Near All the Fun - Foto 54
20 min to Disneyland - Spacious Family Home Near All the Fun - Foto 55
20 min to Disneyland - Spacious Family Home Near All the Fun - Foto 56
20 min to Disneyland - Spacious Family Home Near All the Fun - Foto 57
20 min to Disneyland - Spacious Family Home Near All the Fun - Foto 58
20 min to Disneyland - Spacious Family Home Near All the Fun - Foto 59
20 min to Disneyland - Spacious Family Home Near All the Fun - Foto 60
20 min to Disneyland - Spacious Family Home Near All the Fun - Foto 61
20 min to Disneyland - Spacious Family Home Near All the Fun - Foto 62
20 min to Disneyland - Spacious Family Home Near All the Fun - Foto 63
20 min to Disneyland - Spacious Family Home Near All the Fun - Foto 64
20 min to Disneyland - Spacious Family Home Near All the Fun - Foto 65
20 min to Disneyland - Spacious Family Home Near All the Fun - Foto 66
20 min to Disneyland - Spacious Family Home Near All the Fun - Foto 67

20 min to Disneyland - Spacious Family Home Near All the Fun

Westminster - 2.3 km vom Zentrum
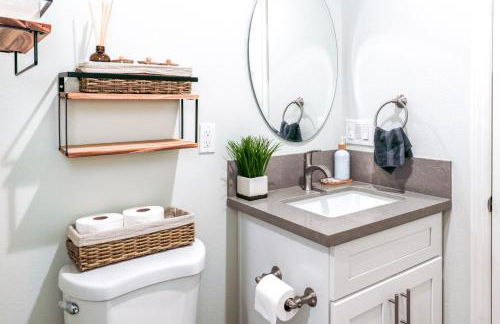
  • 160 M2
  • 4 Schlafzimmer
  • 8 Personen
  • Klimaanlage
  • Heizung
  • Parkplatz
  • Garten
  • Barbecue
10Hervorragend | 1 Bewertung
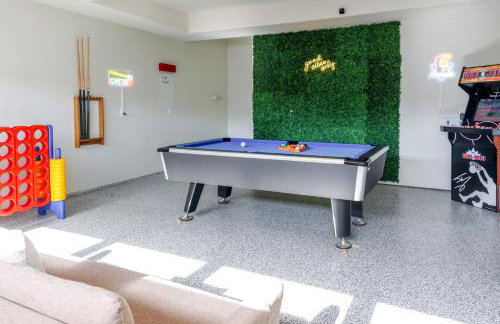
Luxury Disneyland Group Villa I Sleeps 22, Game Room, Pool Table & EV Access - Foto 1
Luxury Disneyland Group Villa I Sleeps 22, Game Room, Pool Table & EV Access - Foto 2
Luxury Disneyland Group Villa I Sleeps 22, Game Room, Pool Table & EV Access - Foto 3
Luxury Disneyland Group Villa I Sleeps 22, Game Room, Pool Table & EV Access - Foto 4
Luxury Disneyland Group Villa I Sleeps 22, Game Room, Pool Table & EV Access - Foto 5
Luxury Disneyland Group Villa I Sleeps 22, Game Room, Pool Table & EV Access - Foto 6
Luxury Disneyland Group Villa I Sleeps 22, Game Room, Pool Table & EV Access - Foto 7
Luxury Disneyland Group Villa I Sleeps 22, Game Room, Pool Table & EV Access - Foto 8
Luxury Disneyland Group Villa I Sleeps 22, Game Room, Pool Table & EV Access - Foto 9
Luxury Disneyland Group Villa I Sleeps 22, Game Room, Pool Table & EV Access - Foto 10
Luxury Disneyland Group Villa I Sleeps 22, Game Room, Pool Table & EV Access - Foto 11
Luxury Disneyland Group Villa I Sleeps 22, Game Room, Pool Table & EV Access - Foto 12
Luxury Disneyland Group Villa I Sleeps 22, Game Room, Pool Table & EV Access - Foto 13
Luxury Disneyland Group Villa I Sleeps 22, Game Room, Pool Table & EV Access - Foto 14
Luxury Disneyland Group Villa I Sleeps 22, Game Room, Pool Table & EV Access - Foto 15
Luxury Disneyland Group Villa I Sleeps 22, Game Room, Pool Table & EV Access - Foto 16
Luxury Disneyland Group Villa I Sleeps 22, Game Room, Pool Table & EV Access - Foto 17
Luxury Disneyland Group Villa I Sleeps 22, Game Room, Pool Table & EV Access - Foto 18
Luxury Disneyland Group Villa I Sleeps 22, Game Room, Pool Table & EV Access - Foto 19
Luxury Disneyland Group Villa I Sleeps 22, Game Room, Pool Table & EV Access - Foto 20
Luxury Disneyland Group Villa I Sleeps 22, Game Room, Pool Table & EV Access - Foto 21
Luxury Disneyland Group Villa I Sleeps 22, Game Room, Pool Table & EV Access - Foto 22
Luxury Disneyland Group Villa I Sleeps 22, Game Room, Pool Table & EV Access - Foto 23
Luxury Disneyland Group Villa I Sleeps 22, Game Room, Pool Table & EV Access - Foto 24
Luxury Disneyland Group Villa I Sleeps 22, Game Room, Pool Table & EV Access - Foto 25
Luxury Disneyland Group Villa I Sleeps 22, Game Room, Pool Table & EV Access - Foto 26
Luxury Disneyland Group Villa I Sleeps 22, Game Room, Pool Table & EV Access - Foto 27
Luxury Disneyland Group Villa I Sleeps 22, Game Room, Pool Table & EV Access - Foto 28
Luxury Disneyland Group Villa I Sleeps 22, Game Room, Pool Table & EV Access - Foto 29
Luxury Disneyland Group Villa I Sleeps 22, Game Room, Pool Table & EV Access - Foto 30
Luxury Disneyland Group Villa I Sleeps 22, Game Room, Pool Table & EV Access - Foto 31
Luxury Disneyland Group Villa I Sleeps 22, Game Room, Pool Table & EV Access - Foto 32
Luxury Disneyland Group Villa I Sleeps 22, Game Room, Pool Table & EV Access - Foto 33
Luxury Disneyland Group Villa I Sleeps 22, Game Room, Pool Table & EV Access - Foto 34
Luxury Disneyland Group Villa I Sleeps 22, Game Room, Pool Table & EV Access - Foto 35
Luxury Disneyland Group Villa I Sleeps 22, Game Room, Pool Table & EV Access - Foto 36
Luxury Disneyland Group Villa I Sleeps 22, Game Room, Pool Table & EV Access - Foto 37
Luxury Disneyland Group Villa I Sleeps 22, Game Room, Pool Table & EV Access - Foto 38
Luxury Disneyland Group Villa I Sleeps 22, Game Room, Pool Table & EV Access - Foto 39
Luxury Disneyland Group Villa I Sleeps 22, Game Room, Pool Table & EV Access - Foto 40
Luxury Disneyland Group Villa I Sleeps 22, Game Room, Pool Table & EV Access - Foto 41
Luxury Disneyland Group Villa I Sleeps 22, Game Room, Pool Table & EV Access - Foto 42
Luxury Disneyland Group Villa I Sleeps 22, Game Room, Pool Table & EV Access - Foto 43
Luxury Disneyland Group Villa I Sleeps 22, Game Room, Pool Table & EV Access - Foto 44
Luxury Disneyland Group Villa I Sleeps 22, Game Room, Pool Table & EV Access - Foto 45
Luxury Disneyland Group Villa I Sleeps 22, Game Room, Pool Table & EV Access - Foto 46
Luxury Disneyland Group Villa I Sleeps 22, Game Room, Pool Table & EV Access - Foto 47
Luxury Disneyland Group Villa I Sleeps 22, Game Room, Pool Table & EV Access - Foto 48
Luxury Disneyland Group Villa I Sleeps 22, Game Room, Pool Table & EV Access - Foto 49
Luxury Disneyland Group Villa I Sleeps 22, Game Room, Pool Table & EV Access - Foto 50
Luxury Disneyland Group Villa I Sleeps 22, Game Room, Pool Table & EV Access - Foto 51
Luxury Disneyland Group Villa I Sleeps 22, Game Room, Pool Table & EV Access - Foto 52
Luxury Disneyland Group Villa I Sleeps 22, Game Room, Pool Table & EV Access - Foto 53
Luxury Disneyland Group Villa I Sleeps 22, Game Room, Pool Table & EV Access - Foto 54
Luxury Disneyland Group Villa I Sleeps 22, Game Room, Pool Table & EV Access - Foto 55
Luxury Disneyland Group Villa I Sleeps 22, Game Room, Pool Table & EV Access - Foto 56
Luxury Disneyland Group Villa I Sleeps 22, Game Room, Pool Table & EV Access - Foto 57
Luxury Disneyland Group Villa I Sleeps 22, Game Room, Pool Table & EV Access - Foto 58
Luxury Disneyland Group Villa I Sleeps 22, Game Room, Pool Table & EV Access - Foto 59
Luxury Disneyland Group Villa I Sleeps 22, Game Room, Pool Table & EV Access - Foto 60
Luxury Disneyland Group Villa I Sleeps 22, Game Room, Pool Table & EV Access - Foto 61
Luxury Disneyland Group Villa I Sleeps 22, Game Room, Pool Table & EV Access - Foto 62
Luxury Disneyland Group Villa I Sleeps 22, Game Room, Pool Table & EV Access - Foto 63
Luxury Disneyland Group Villa I Sleeps 22, Game Room, Pool Table & EV Access - Foto 64

Luxury Disneyland Group Villa I Sleeps 22, Game Room, Pool Table & EV Access

Westminster - 700 m vom Zentrum
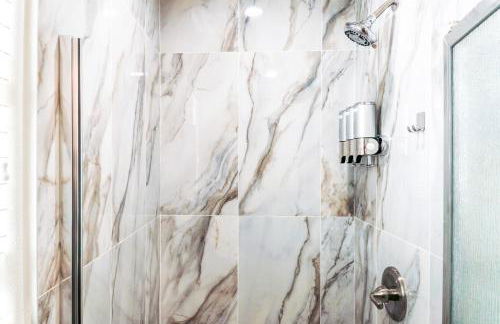
  • 288 M2
  • 6 Schlafzimmer
  • 22 Personen
  • Klimaanlage
  • Heizung
  • Terrasse
  • Parkplatz
Disneyland Family Retreat I Sleeps 12, Game Room, Pool Table, King Bed & EV Access - Foto 1
Disneyland Family Retreat I Sleeps 12, Game Room, Pool Table, King Bed & EV Access - Foto 2
Disneyland Family Retreat I Sleeps 12, Game Room, Pool Table, King Bed & EV Access - Foto 3
Disneyland Family Retreat I Sleeps 12, Game Room, Pool Table, King Bed & EV Access - Foto 4
Disneyland Family Retreat I Sleeps 12, Game Room, Pool Table, King Bed & EV Access - Foto 5
Disneyland Family Retreat I Sleeps 12, Game Room, Pool Table, King Bed & EV Access - Foto 6
Disneyland Family Retreat I Sleeps 12, Game Room, Pool Table, King Bed & EV Access - Foto 7
Disneyland Family Retreat I Sleeps 12, Game Room, Pool Table, King Bed & EV Access - Foto 8
Disneyland Family Retreat I Sleeps 12, Game Room, Pool Table, King Bed & EV Access - Foto 9
Disneyland Family Retreat I Sleeps 12, Game Room, Pool Table, King Bed & EV Access - Foto 10
Disneyland Family Retreat I Sleeps 12, Game Room, Pool Table, King Bed & EV Access - Foto 11
Disneyland Family Retreat I Sleeps 12, Game Room, Pool Table, King Bed & EV Access - Foto 12
Disneyland Family Retreat I Sleeps 12, Game Room, Pool Table, King Bed & EV Access - Foto 13
Disneyland Family Retreat I Sleeps 12, Game Room, Pool Table, King Bed & EV Access - Foto 14
Disneyland Family Retreat I Sleeps 12, Game Room, Pool Table, King Bed & EV Access - Foto 15
Disneyland Family Retreat I Sleeps 12, Game Room, Pool Table, King Bed & EV Access - Foto 16
Disneyland Family Retreat I Sleeps 12, Game Room, Pool Table, King Bed & EV Access - Foto 17
Disneyland Family Retreat I Sleeps 12, Game Room, Pool Table, King Bed & EV Access - Foto 18
Disneyland Family Retreat I Sleeps 12, Game Room, Pool Table, King Bed & EV Access - Foto 19
Disneyland Family Retreat I Sleeps 12, Game Room, Pool Table, King Bed & EV Access - Foto 20
Disneyland Family Retreat I Sleeps 12, Game Room, Pool Table, King Bed & EV Access - Foto 21
Disneyland Family Retreat I Sleeps 12, Game Room, Pool Table, King Bed & EV Access - Foto 22
Disneyland Family Retreat I Sleeps 12, Game Room, Pool Table, King Bed & EV Access - Foto 23
Disneyland Family Retreat I Sleeps 12, Game Room, Pool Table, King Bed & EV Access - Foto 24
Disneyland Family Retreat I Sleeps 12, Game Room, Pool Table, King Bed & EV Access - Foto 25
Disneyland Family Retreat I Sleeps 12, Game Room, Pool Table, King Bed & EV Access - Foto 26
Disneyland Family Retreat I Sleeps 12, Game Room, Pool Table, King Bed & EV Access - Foto 27
Disneyland Family Retreat I Sleeps 12, Game Room, Pool Table, King Bed & EV Access - Foto 28
Disneyland Family Retreat I Sleeps 12, Game Room, Pool Table, King Bed & EV Access - Foto 29
Disneyland Family Retreat I Sleeps 12, Game Room, Pool Table, King Bed & EV Access - Foto 30
Disneyland Family Retreat I Sleeps 12, Game Room, Pool Table, King Bed & EV Access - Foto 31
Disneyland Family Retreat I Sleeps 12, Game Room, Pool Table, King Bed & EV Access - Foto 32
Disneyland Family Retreat I Sleeps 12, Game Room, Pool Table, King Bed & EV Access - Foto 33
Disneyland Family Retreat I Sleeps 12, Game Room, Pool Table, King Bed & EV Access - Foto 34
Disneyland Family Retreat I Sleeps 12, Game Room, Pool Table, King Bed & EV Access - Foto 35
Disneyland Family Retreat I Sleeps 12, Game Room, Pool Table, King Bed & EV Access - Foto 36
Disneyland Family Retreat I Sleeps 12, Game Room, Pool Table, King Bed & EV Access - Foto 37
Disneyland Family Retreat I Sleeps 12, Game Room, Pool Table, King Bed & EV Access - Foto 38
Disneyland Family Retreat I Sleeps 12, Game Room, Pool Table, King Bed & EV Access - Foto 39
Disneyland Family Retreat I Sleeps 12, Game Room, Pool Table, King Bed & EV Access - Foto 40
Disneyland Family Retreat I Sleeps 12, Game Room, Pool Table, King Bed & EV Access - Foto 41
Disneyland Family Retreat I Sleeps 12, Game Room, Pool Table, King Bed & EV Access - Foto 42
Disneyland Family Retreat I Sleeps 12, Game Room, Pool Table, King Bed & EV Access - Foto 43
Disneyland Family Retreat I Sleeps 12, Game Room, Pool Table, King Bed & EV Access - Foto 44
Disneyland Family Retreat I Sleeps 12, Game Room, Pool Table, King Bed & EV Access - Foto 45
Disneyland Family Retreat I Sleeps 12, Game Room, Pool Table, King Bed & EV Access - Foto 46
Disneyland Family Retreat I Sleeps 12, Game Room, Pool Table, King Bed & EV Access - Foto 47
Disneyland Family Retreat I Sleeps 12, Game Room, Pool Table, King Bed & EV Access - Foto 48
Disneyland Family Retreat I Sleeps 12, Game Room, Pool Table, King Bed & EV Access - Foto 49
Disneyland Family Retreat I Sleeps 12, Game Room, Pool Table, King Bed & EV Access - Foto 50
Disneyland Family Retreat I Sleeps 12, Game Room, Pool Table, King Bed & EV Access - Foto 51
Disneyland Family Retreat I Sleeps 12, Game Room, Pool Table, King Bed & EV Access - Foto 52
Disneyland Family Retreat I Sleeps 12, Game Room, Pool Table, King Bed & EV Access - Foto 53
Disneyland Family Retreat I Sleeps 12, Game Room, Pool Table, King Bed & EV Access - Foto 54
Disneyland Family Retreat I Sleeps 12, Game Room, Pool Table, King Bed & EV Access - Foto 55
Disneyland Family Retreat I Sleeps 12, Game Room, Pool Table, King Bed & EV Access - Foto 56
Disneyland Family Retreat I Sleeps 12, Game Room, Pool Table, King Bed & EV Access - Foto 57
Disneyland Family Retreat I Sleeps 12, Game Room, Pool Table, King Bed & EV Access - Foto 58
Disneyland Family Retreat I Sleeps 12, Game Room, Pool Table, King Bed & EV Access - Foto 59
Disneyland Family Retreat I Sleeps 12, Game Room, Pool Table, King Bed & EV Access - Foto 60
Disneyland Family Retreat I Sleeps 12, Game Room, Pool Table, King Bed & EV Access - Foto 61
Disneyland Family Retreat I Sleeps 12, Game Room, Pool Table, King Bed & EV Access - Foto 62
Disneyland Family Retreat I Sleeps 12, Game Room, Pool Table, King Bed & EV Access - Foto 63
Disneyland Family Retreat I Sleeps 12, Game Room, Pool Table, King Bed & EV Access - Foto 64
Disneyland Family Retreat I Sleeps 12, Game Room, Pool Table, King Bed & EV Access - Foto 65
Disneyland Family Retreat I Sleeps 12, Game Room, Pool Table, King Bed & EV Access - Foto 66

Disneyland Family Retreat I Sleeps 12, Game Room, Pool Table, King Bed & EV Access

Westminster - 710 m vom Zentrum

  • 145 M2
  • 3 Schlafzimmer
  • 12 Personen
  • Klimaanlage
  • Heizung
  • Parkplatz
  • Garten