
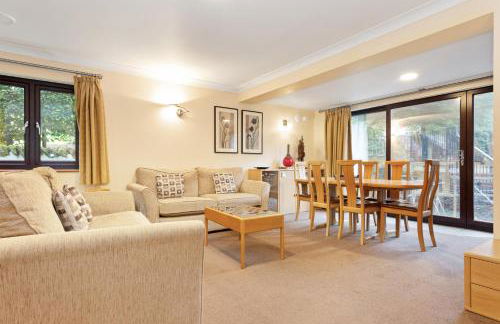
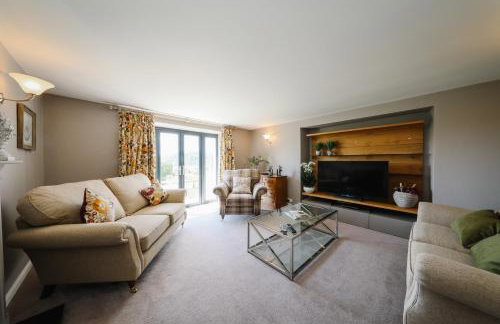
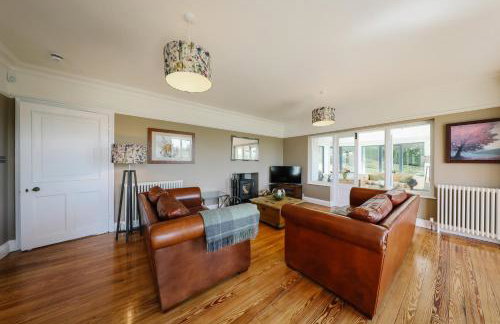
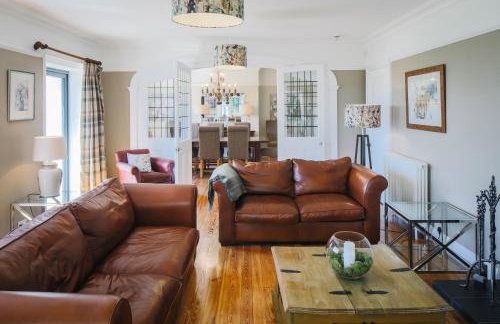
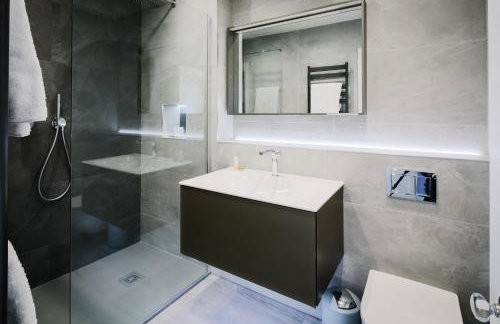
202 Wohnungen in Bowness on Windermere


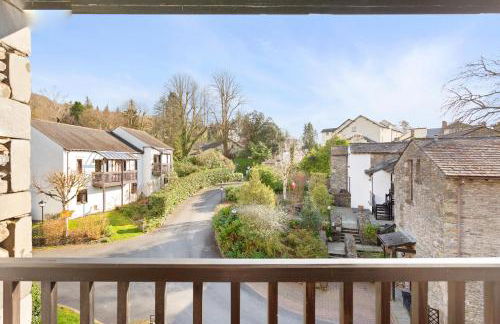
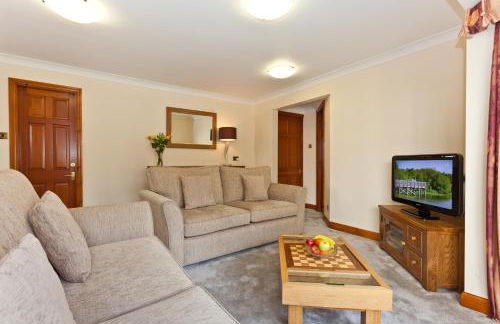
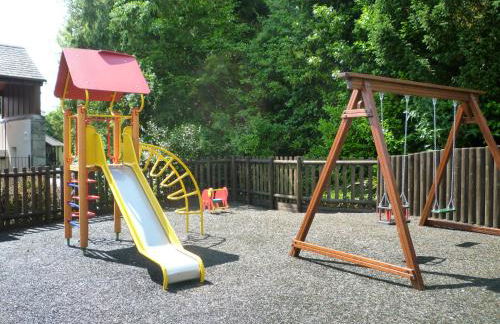
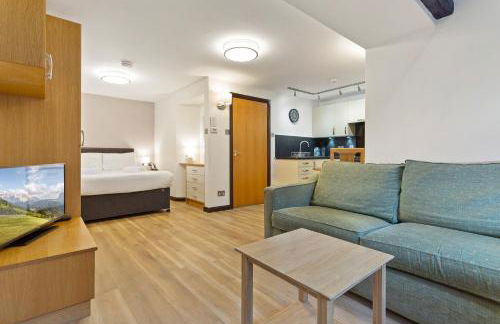
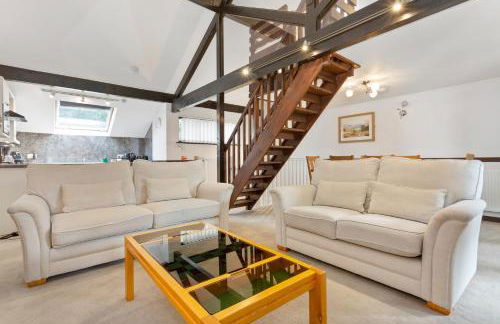
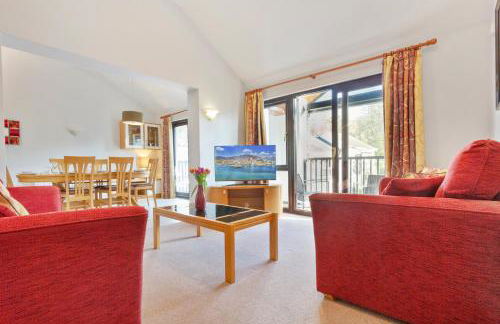
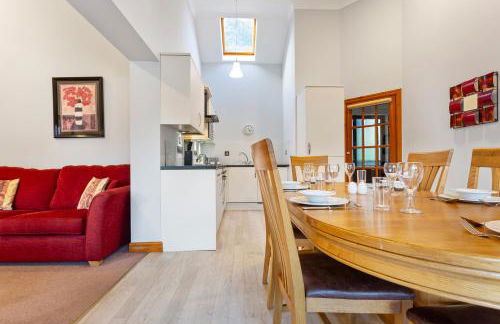
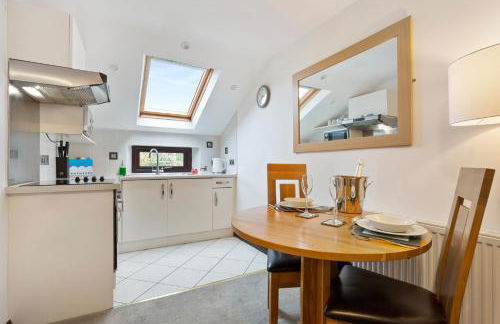
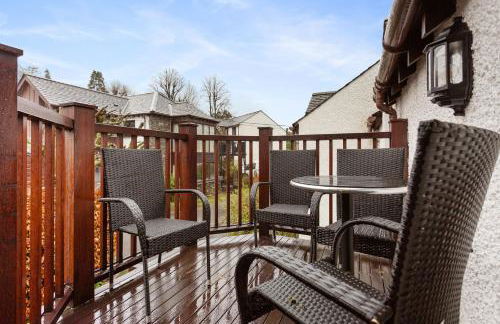
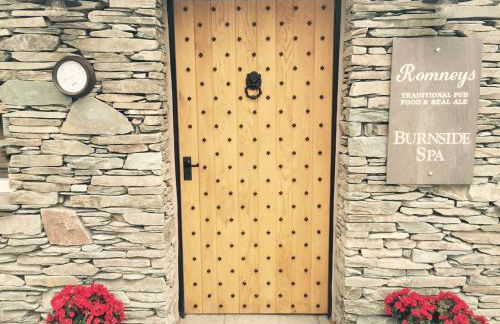
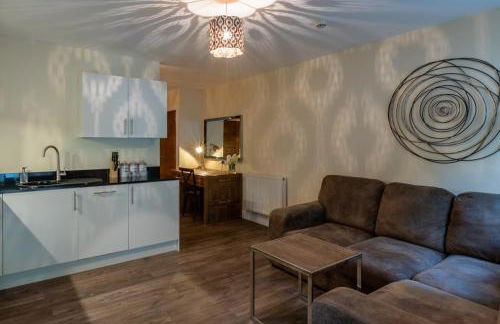
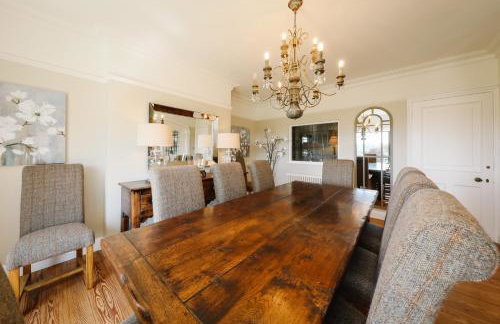
Hapimag Burnside Park Apartments
Windermere - Bowness on Windermere
- 6 Personen
- Heizung
- Terrasse
- Parkplatz
- Garten
- Tv
- Barbecue
- Handtücher
- Bettlaken
85 Bewertungen


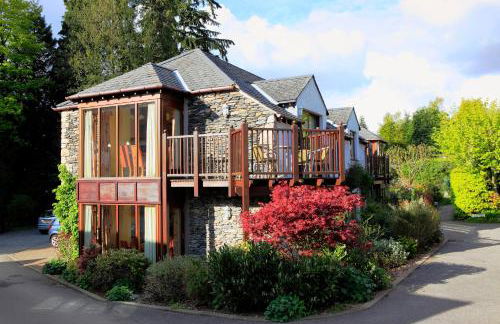

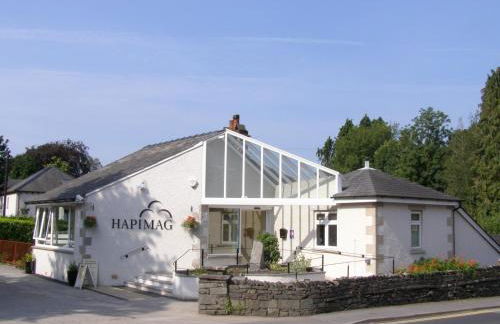


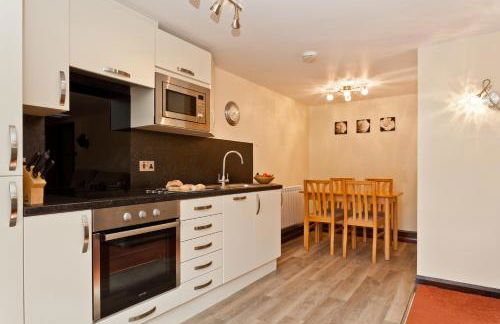


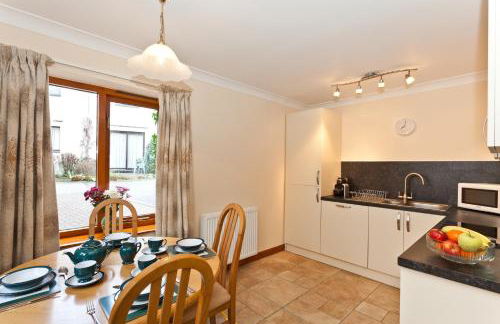


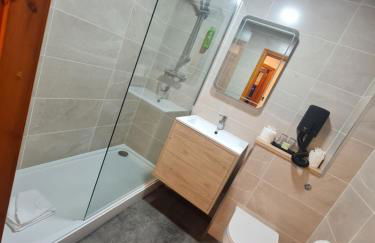


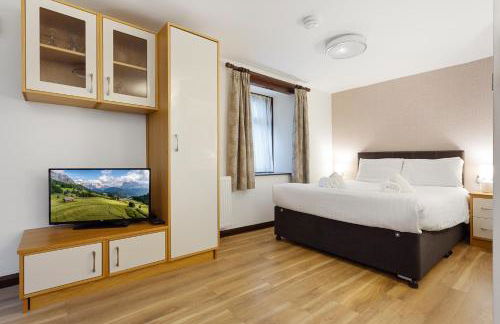

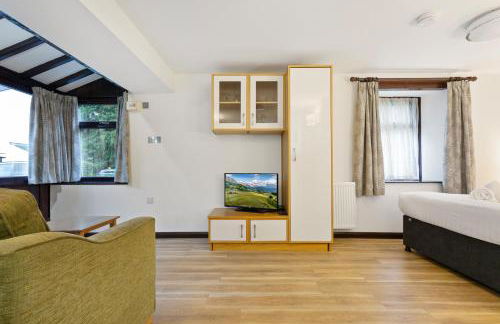


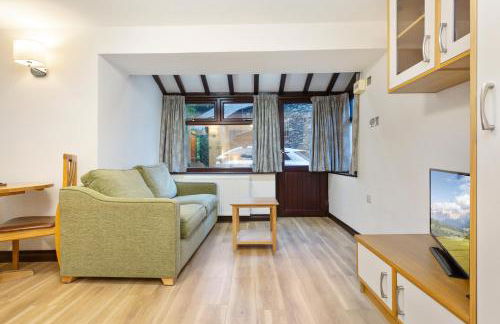

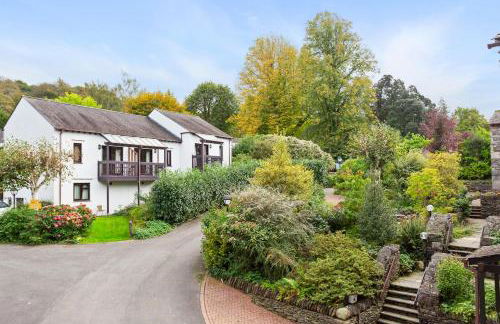


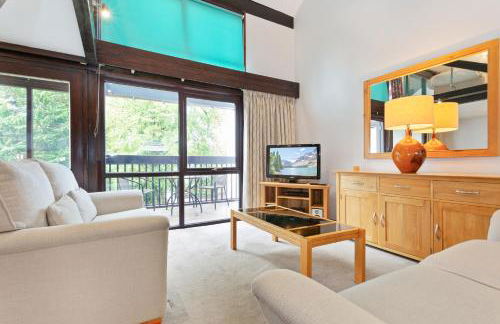


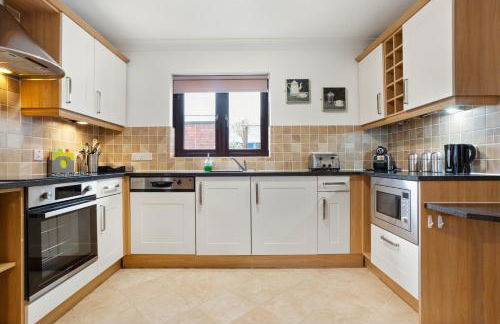


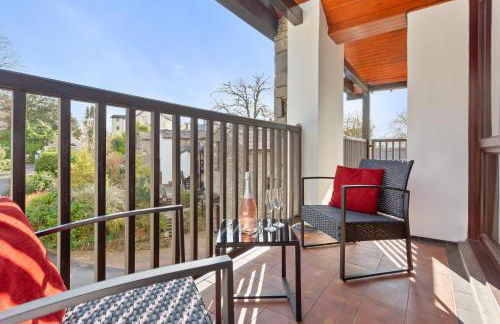

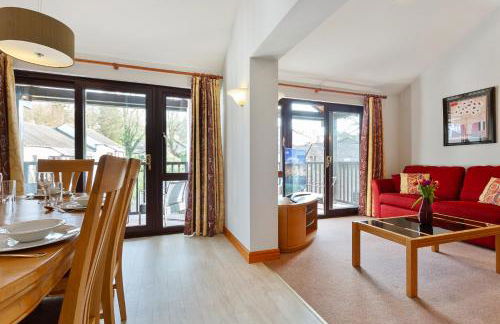

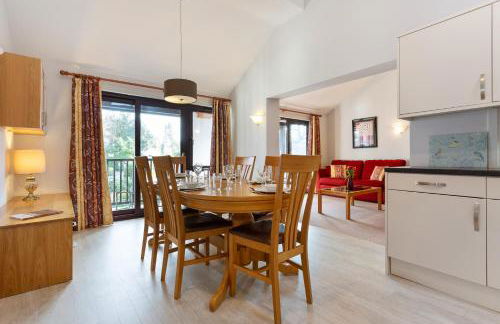


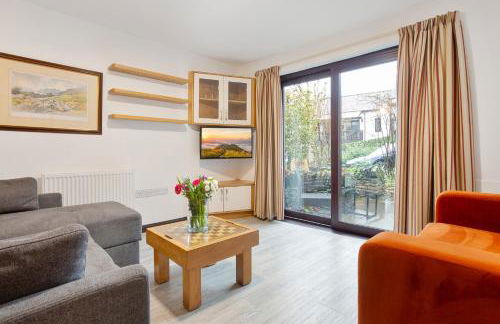

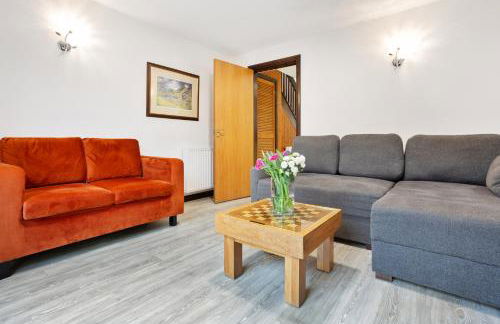


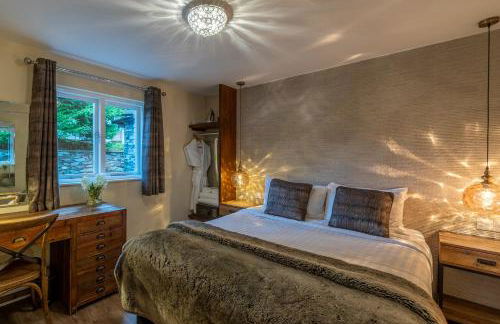
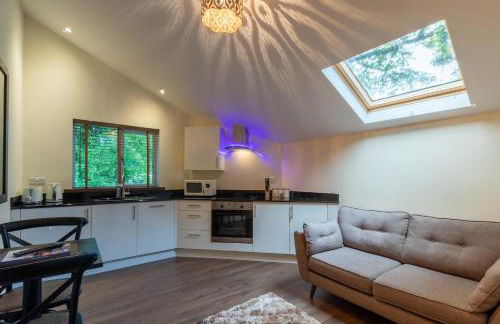
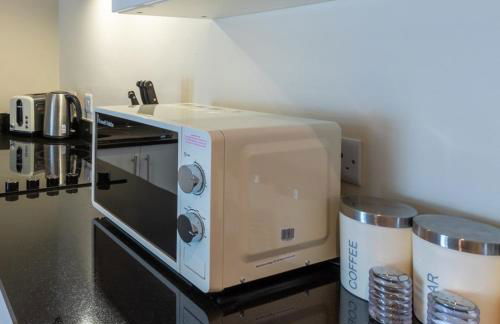
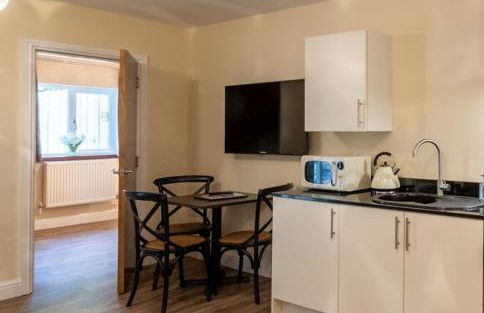
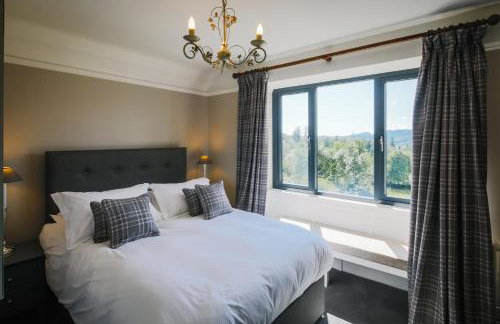
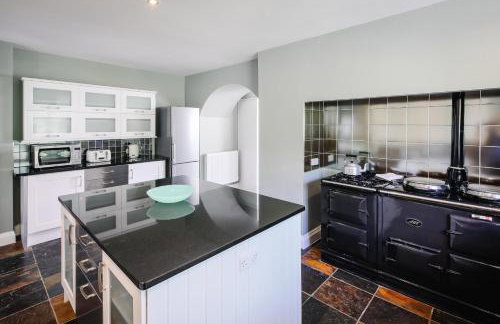
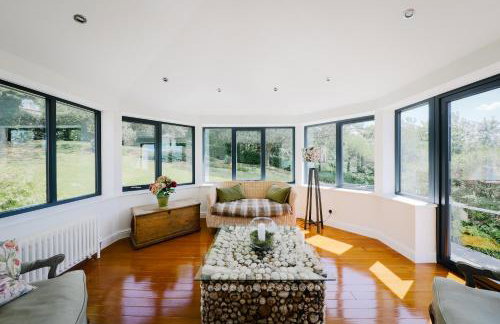
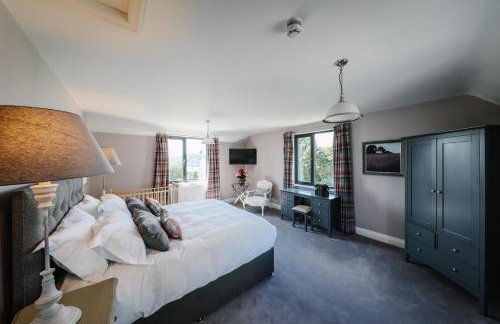
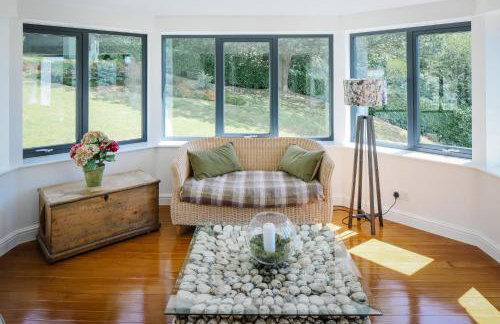
Hapimag Burnside Park Apartments
Windermere - Bowness on Windermere
- 102 M2
- 2 Schlafzimmer
- 10 Personen
- Heizung
- Schwimmbad
- Parkplatz
- Garten
- Barbecue
780 Bewertungen


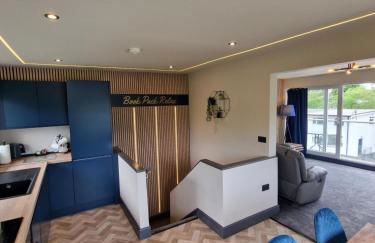


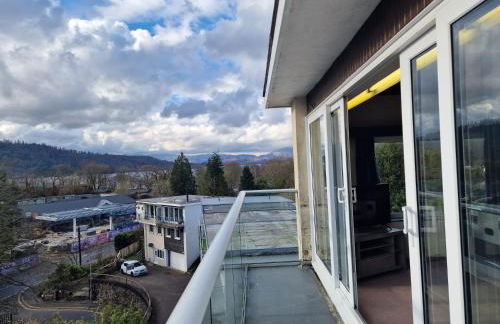


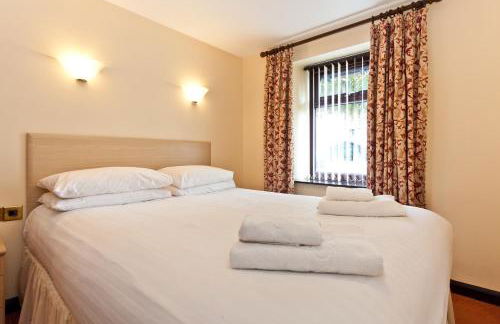
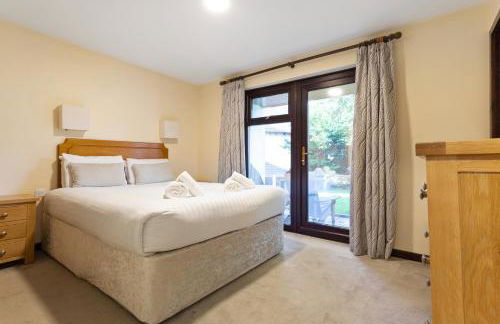
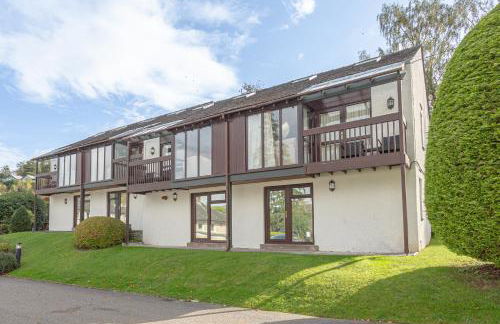
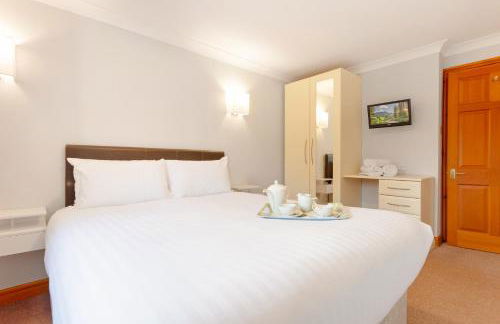
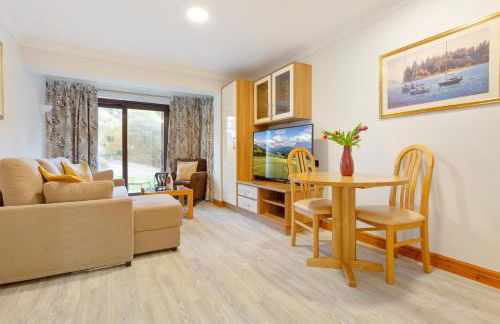
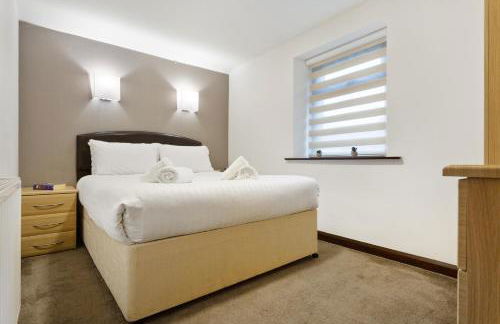
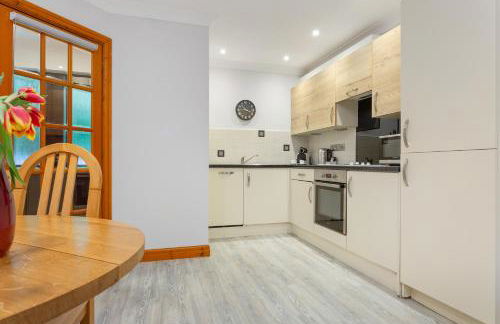
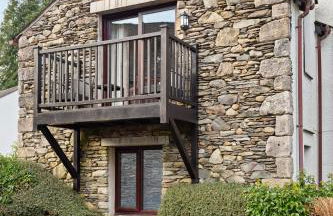
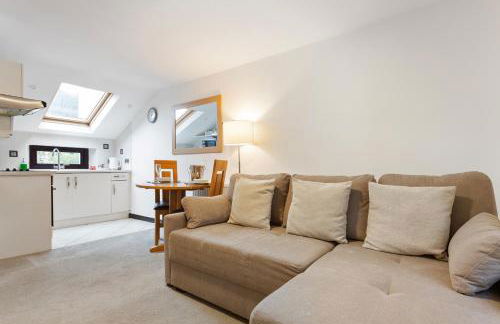
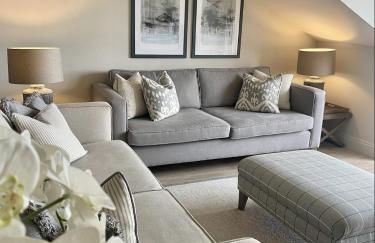
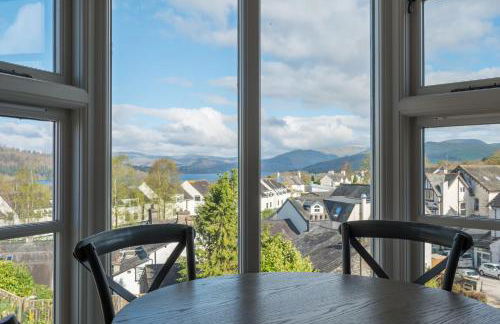
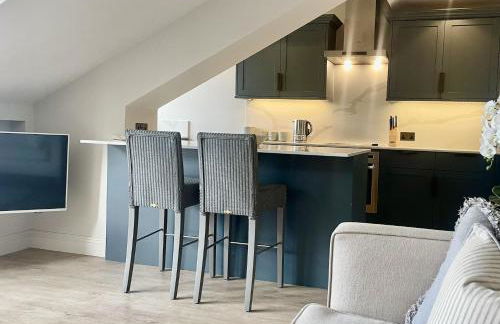
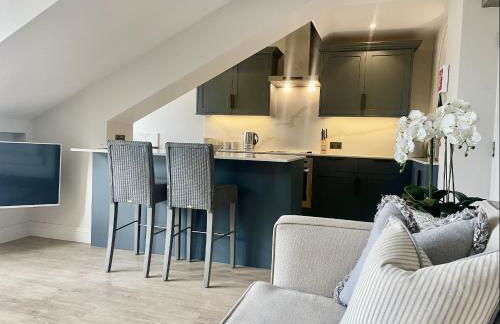
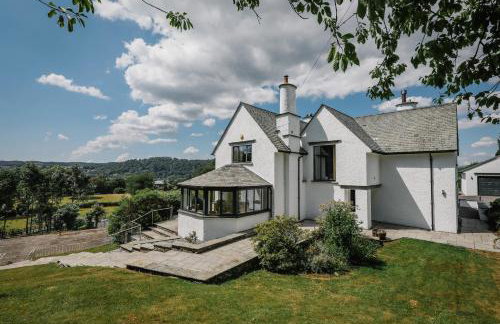
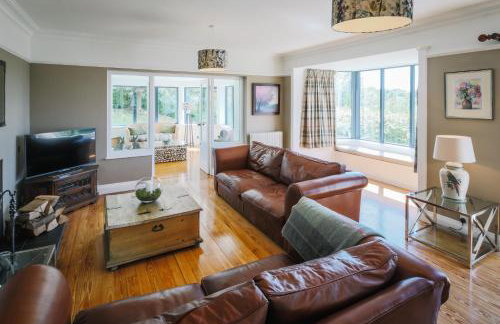
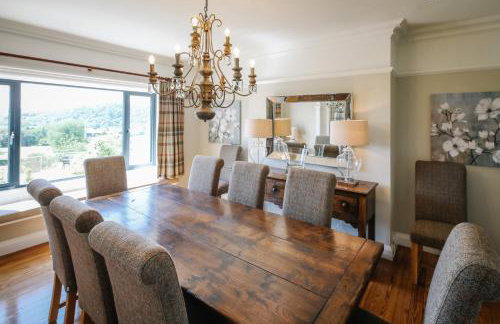
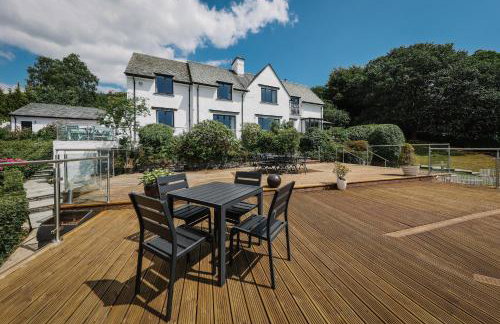
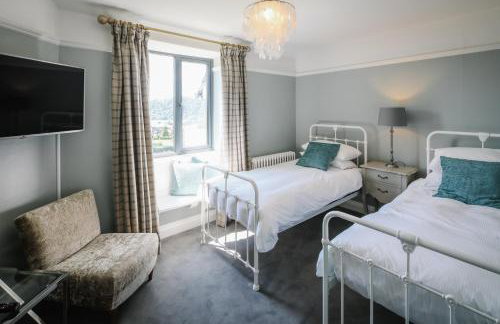
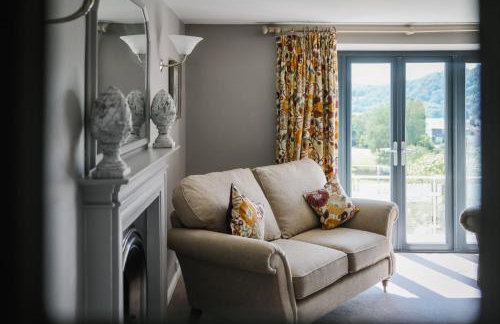
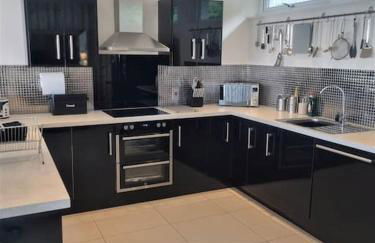
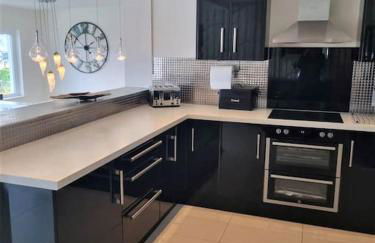
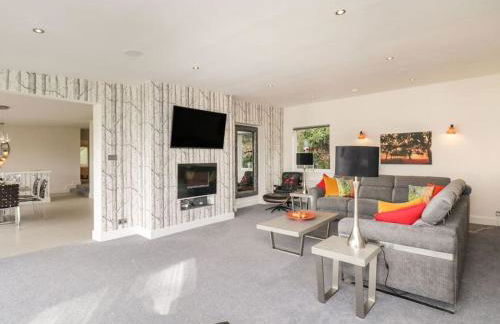
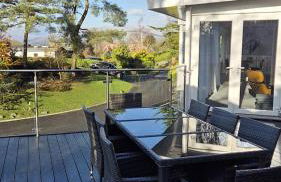
Penthouse - Duplex Flat - Central Location
Windermere - Bowness on Windermere
- 70 M2
- 2 Schlafzimmer
- 4 Personen
- Terrasse
- Parkplatz
- Garten
48 Bewertungen
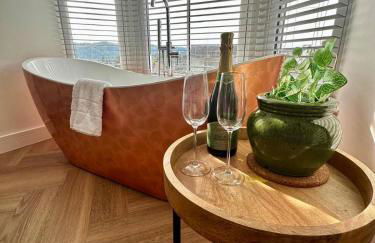


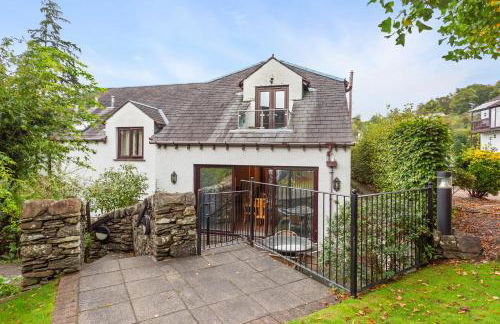
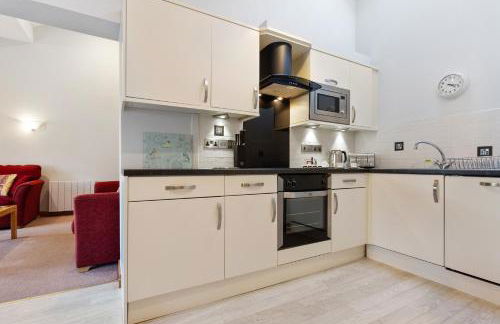
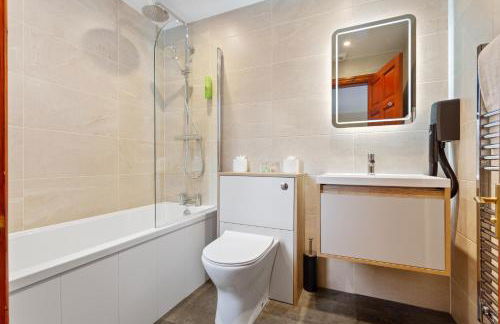
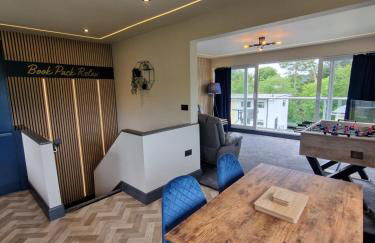
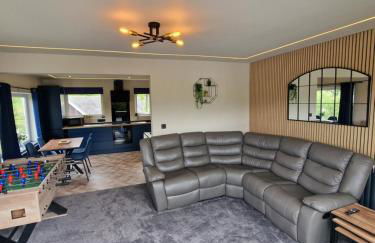
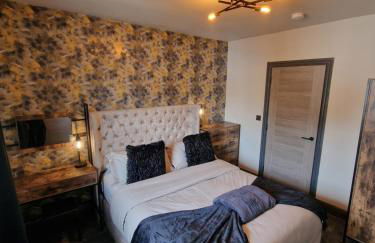
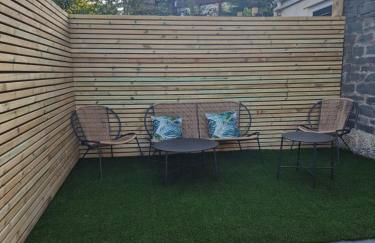
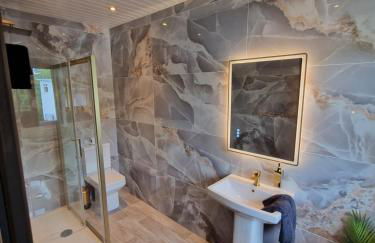
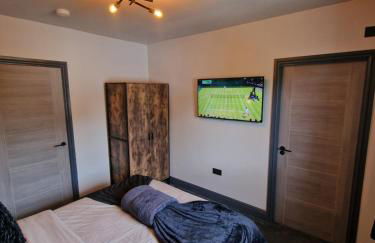
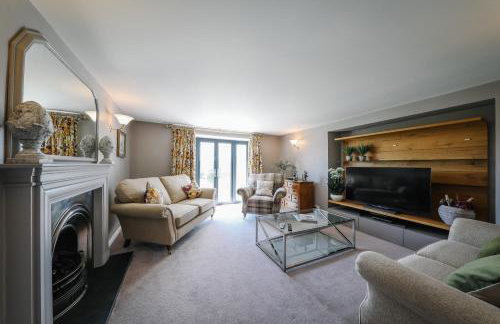
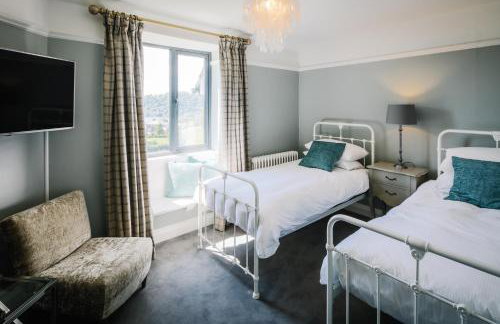
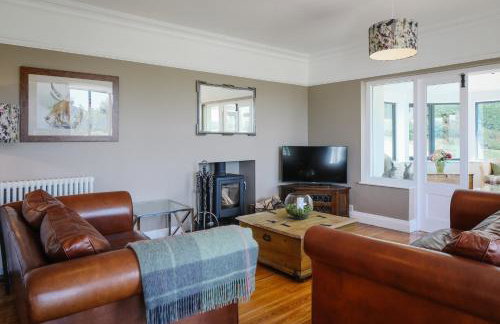
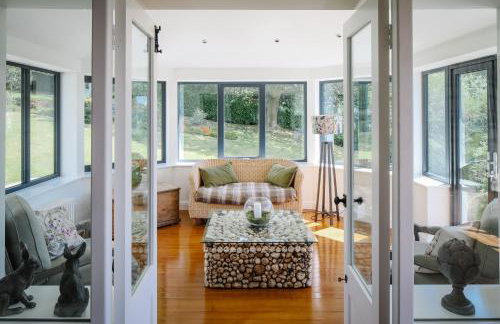
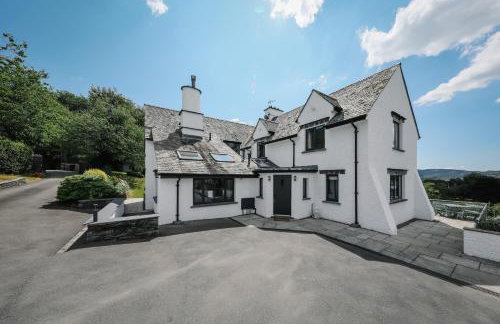
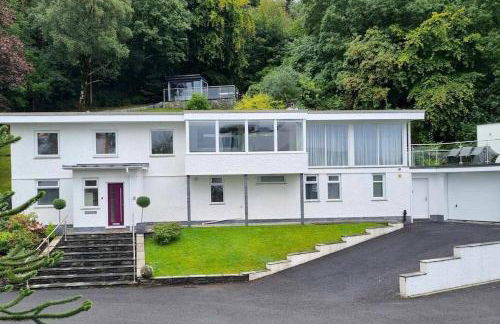
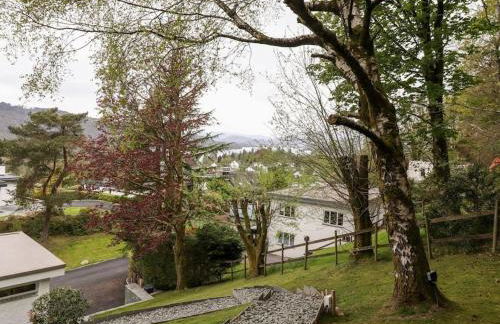
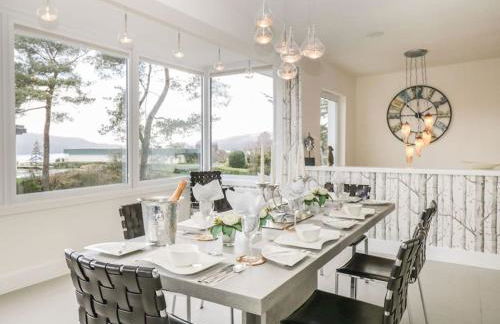
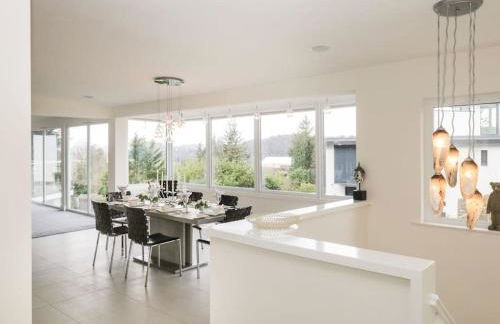
Luxury Pet-Friendly 2 Bed Retreat in Central Bowness with Copper Roll-Top Bath & Sun Terrace
Windermere - Bowness on Windermere
- 110 M2
- 2 Schlafzimmer
- 4 Personen
- Klimaanlage
- Heizung
- Terrasse
- Parkplatz
- Garten
18 Bewertungen


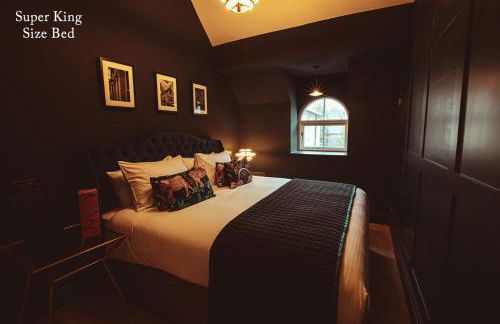


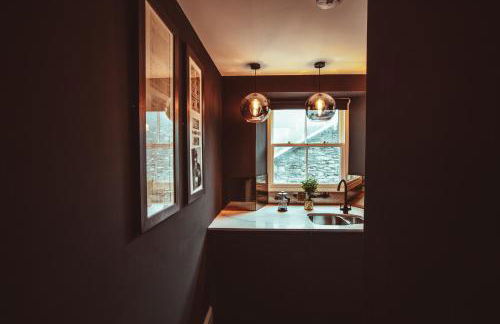

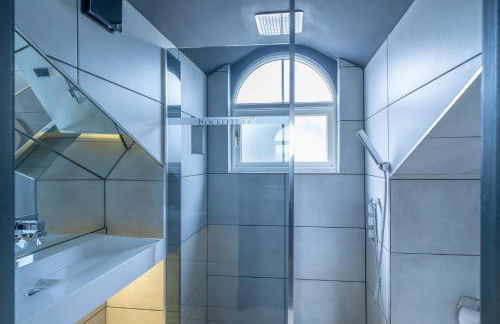


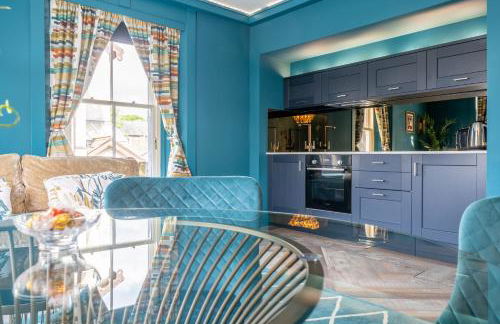

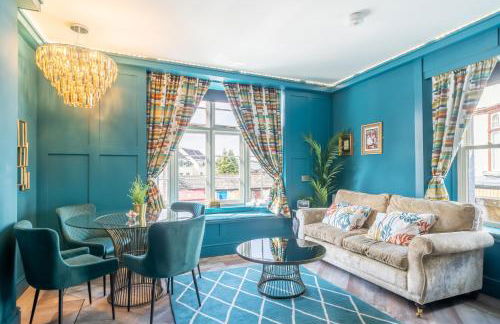


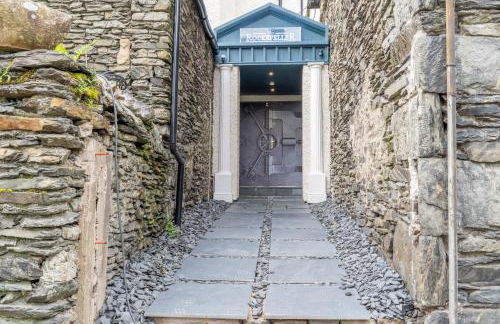


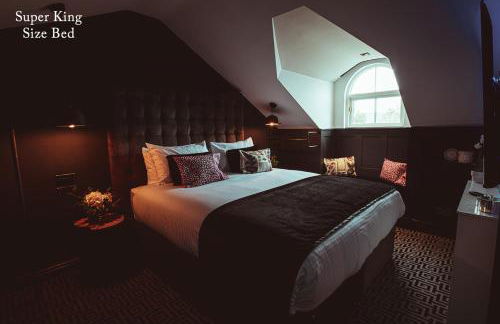


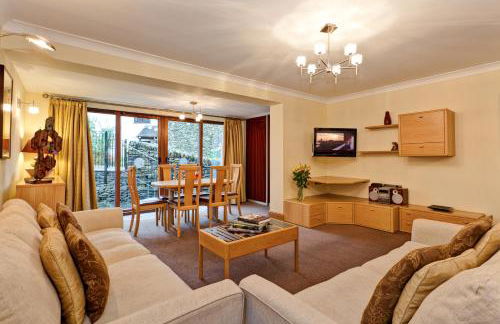
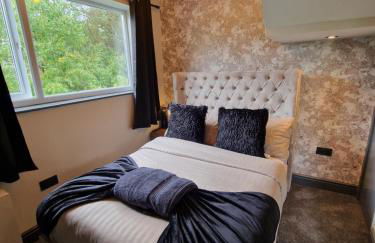
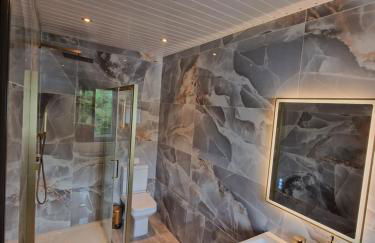
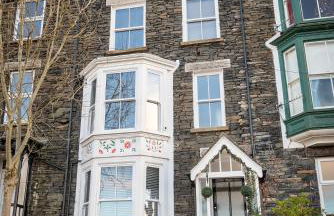
The Rockefeller Apartments
Windermere - Bowness on Windermere
- 105 M2
- 2 Schlafzimmer
- 4 Personen
- Heizung
- Parkplatz
- Tv
- Handtücher
- Bettlaken
444 Bewertungen

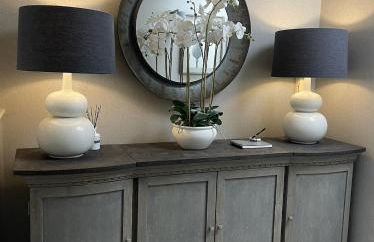


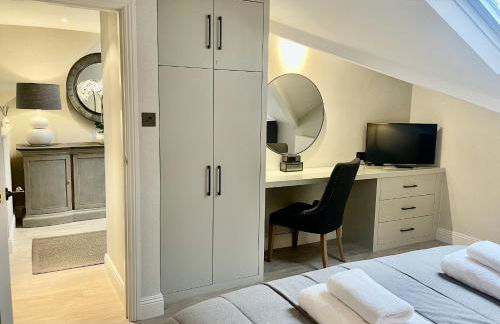
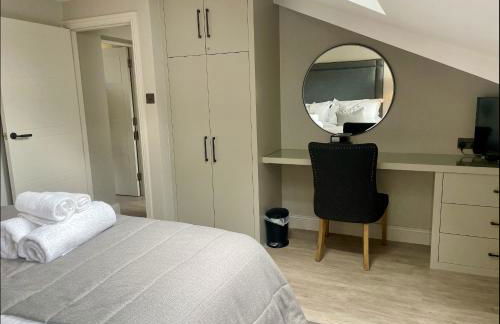


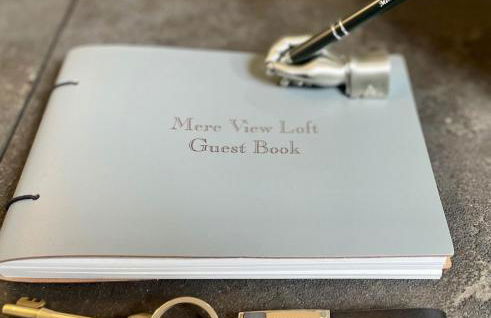
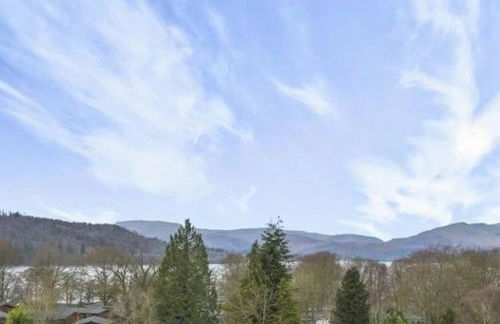
Mere View Loft, Bowness-on-Windermere
Windermere - Bowness on Windermere
- 81 M2
- 2 Schlafzimmer
- 4 Personen
- Heizung
- Parkplatz
- Garten
64 Bewertungen


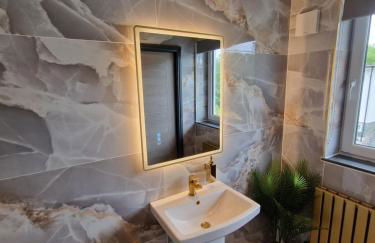
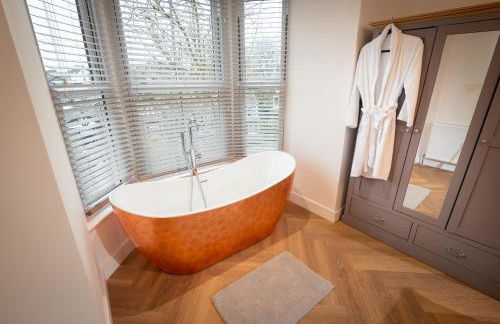
Luxury Pet Friendly 3 Bedroom Home with Copper Bath
Windermere - Bowness on Windermere
- 100 M2
- 3 Schlafzimmer
- 6 Personen
- Klimaanlage
- Heizung
- Terrasse
- Parkplatz
- Garten
26 Bewertungen


Lakes Hotel & Spa Apartments
Windermere - Bowness on Windermere
- 2 Schlafzimmer
- 4 Personen
- Heizung
- Terrasse
- Schwimmbad
- Parkplatz
- Fahrstuhl
- Garten
40 Bewertungen


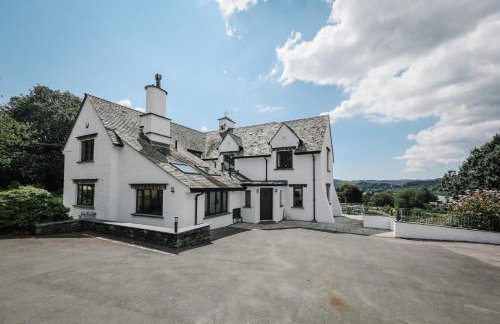

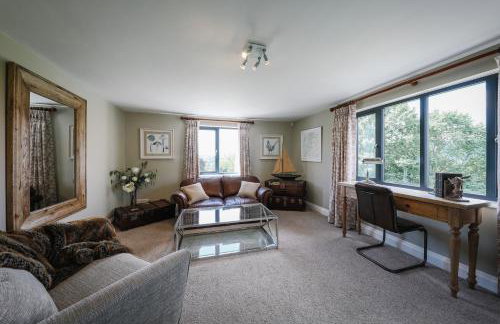

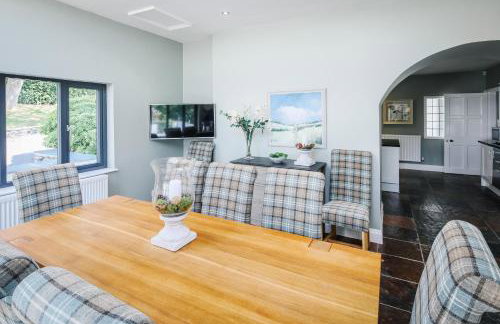


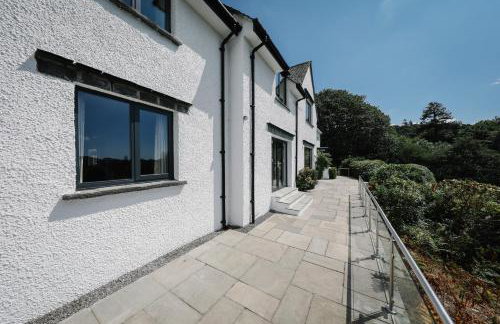


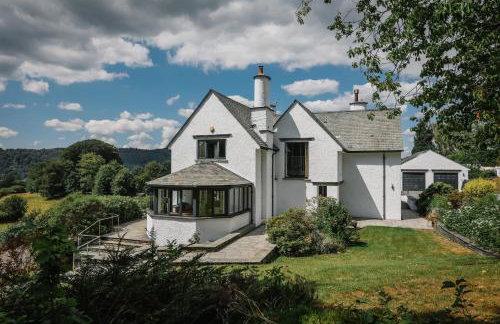

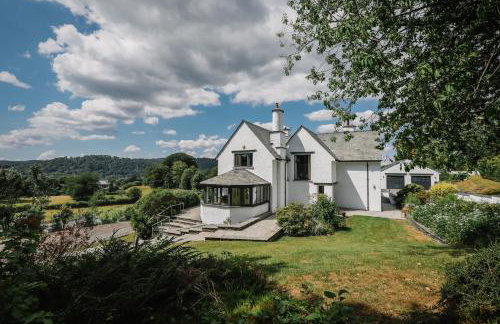

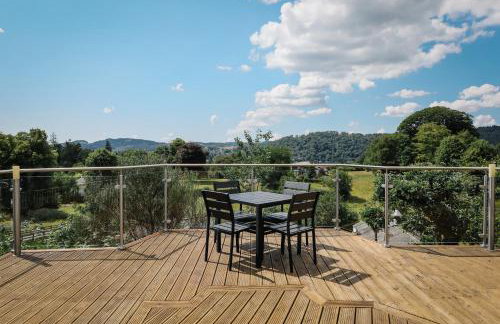

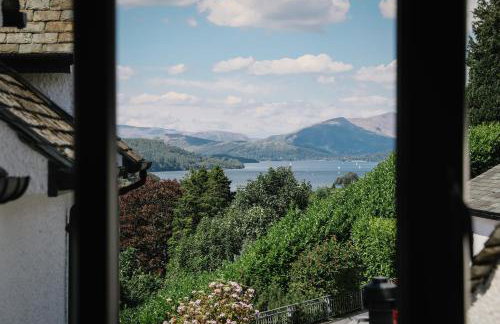


Cherry Trees
Windermere - Bowness on Windermere
- 5 Schlafzimmer
- 10 Personen
- Heizung
- Terrasse
- Parkplatz
- Garten
- Waschmaschine
- Schornstein
- Handtücher
- Bettlaken
2 Bewertungen


BRANTLEA Detached 4 Bed Home, Hot Tub, Lake View, Parking, Pet Friendly
Windermere - Bowness on Windermere
- 242 M2
- 4 Schlafzimmer
- 8 Personen
- Heizung
- Terrasse
- Parkplatz
- Garten
- Barbecue
25 Bewertungen


Townhouse - 6 Bed Hot Tub House
Windermere - Bowness on Windermere
- 180 M2
- 6 Schlafzimmer
- 12 Personen
- Heizung
- Garten
41 Bewertungen


Luxury 2 Bed Room Lake View Apt Bowness Parking
Windermere - Bowness on Windermere
- 105 M2
- 2 Schlafzimmer
- 4 Personen
- Heizung
- Parkplatz
47 Bewertungen


3 West End Boutique Apartment
Windermere - Bowness on Windermere
- 40 M2
- 1 Schlafzimmer
- 2 Personen
- Heizung
190 Bewertungen


The Lake House - Quiet, Dog Friendly, By the Lake, Free Parking
Windermere - Bowness on Windermere
- 10 M2
- 2 Schlafzimmer
- 6 Personen
- Heizung
- Terrasse
- Parkplatz
22 Bewertungen


Windermere Luxury Lake View Hideaway, Pet Friendly, Free Parking
Windermere - Bowness on Windermere
- 84 M2
- 2 Schlafzimmer
- 6 Personen
- Heizung
- Terrasse
- Parkplatz
- Garten
22 Bewertungen


Bank Chambers in Bowness Centre with Hot Tub and Parking
Windermere - Bowness on Windermere
- 161 M2
- 3 Schlafzimmer
- 6 Personen
- Heizung
- Terrasse
- Parkplatz
- Garten
- Barbecue
25 Bewertungen


Lakeland Cottage - Bowness-on-Windermere sleeps 6
Windermere - Bowness on Windermere
- 3 Schlafzimmer
- 6 Personen
- Heizung
- Terrasse
- Parkplatz
13 Bewertungen