
168 Wohnungen in York


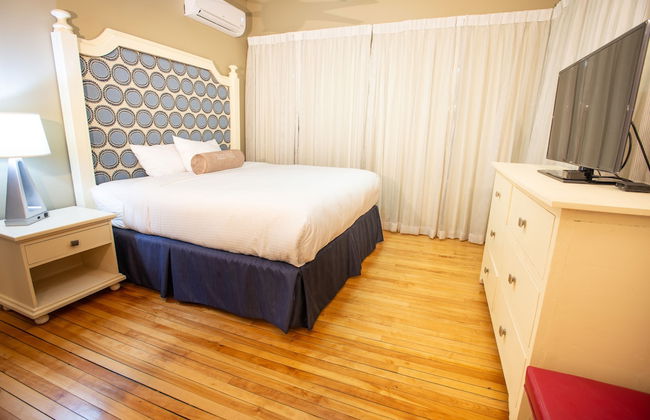

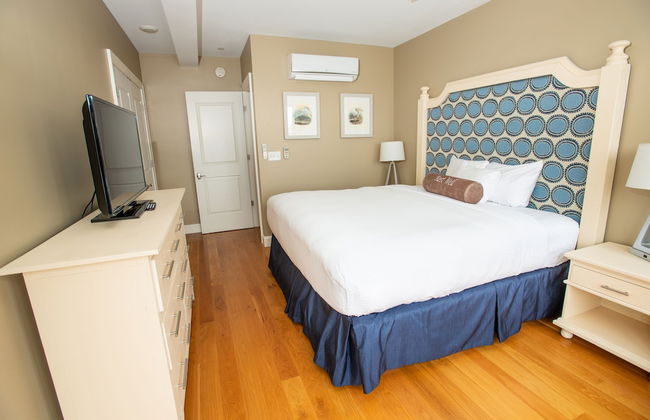
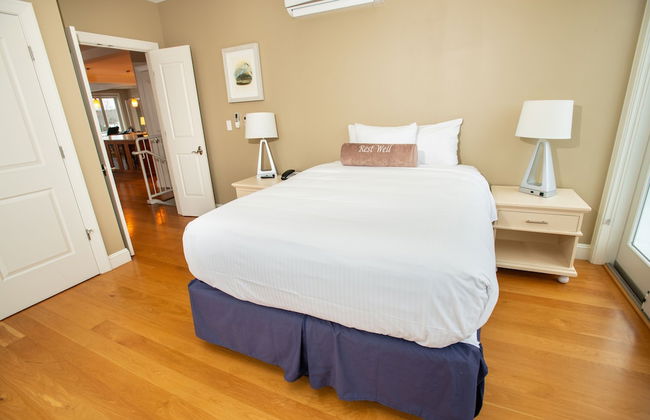

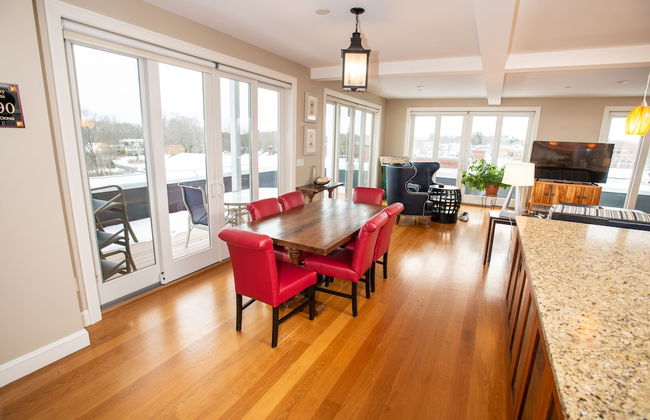


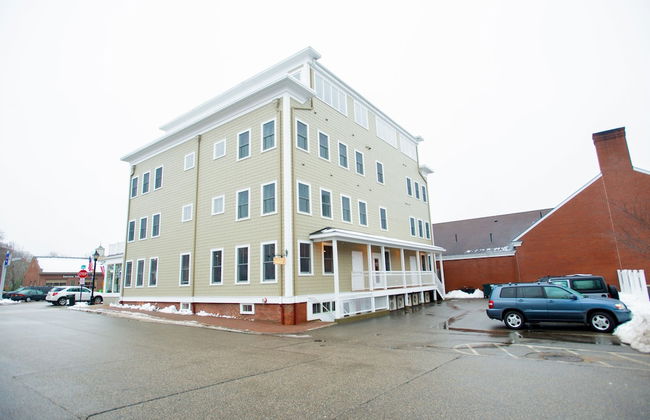

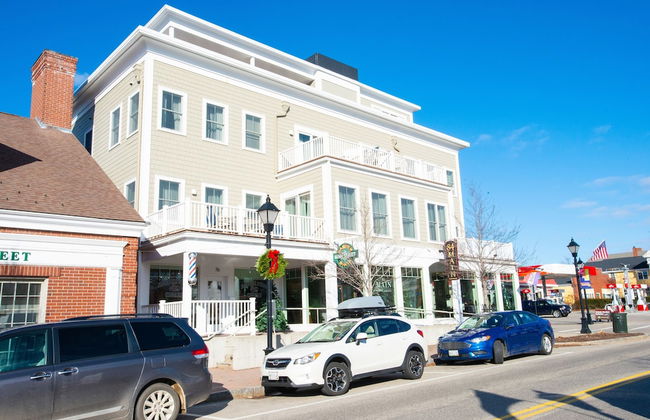
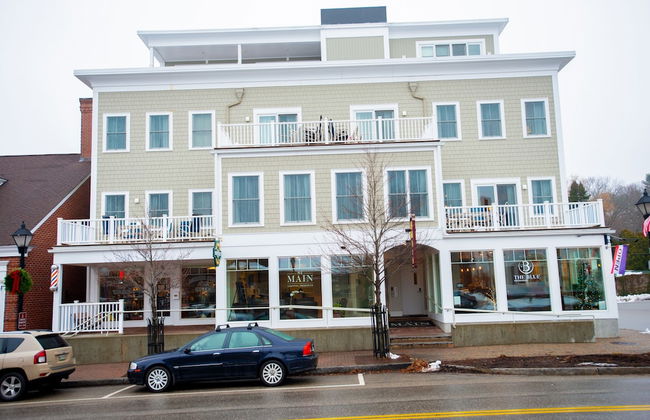

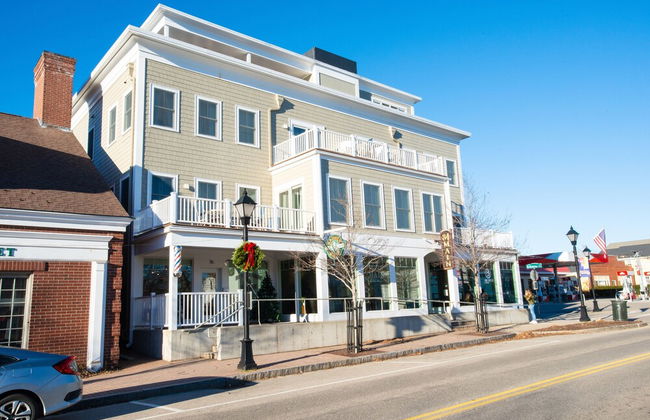
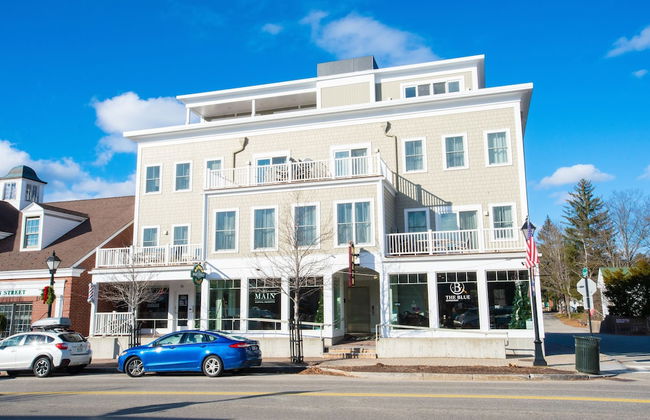
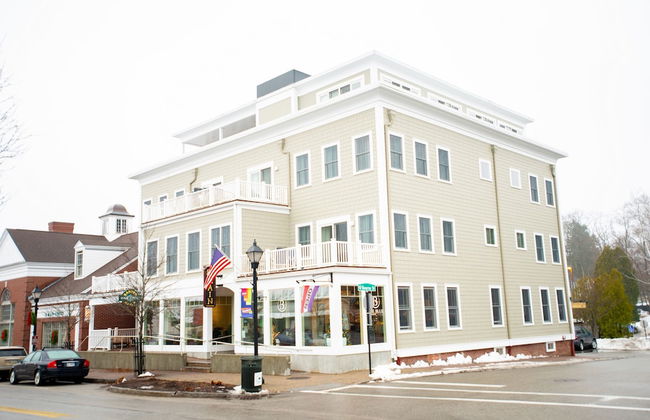

84 Main
Kennebunk
- 8 Personen
- Klimaanlage
- Heizung
- Parkplatz
- Fahrstuhl
- Tv
- Waschmaschine
- Handtücher
51 Bewertungen


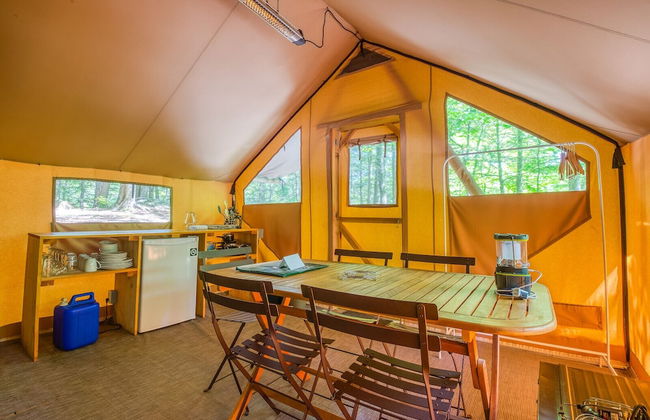


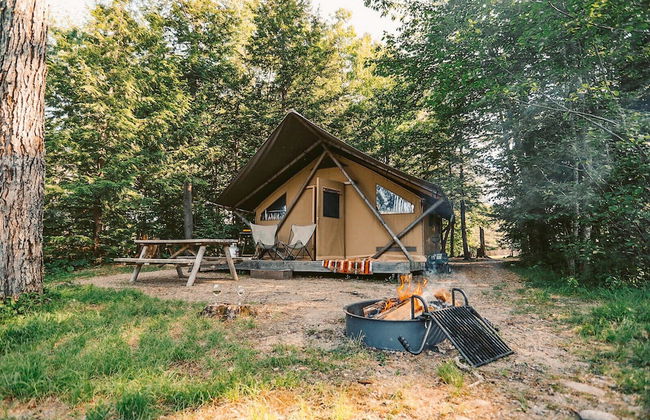
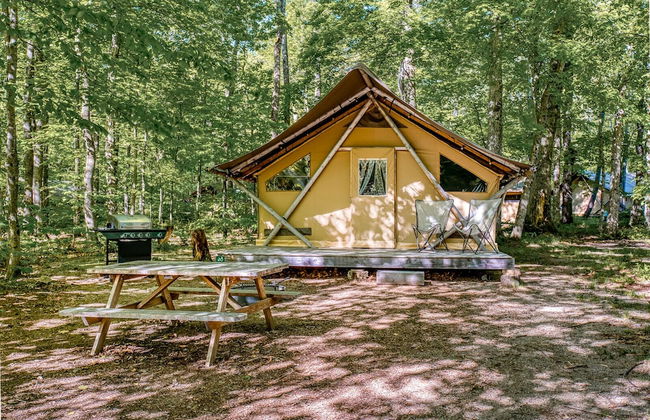


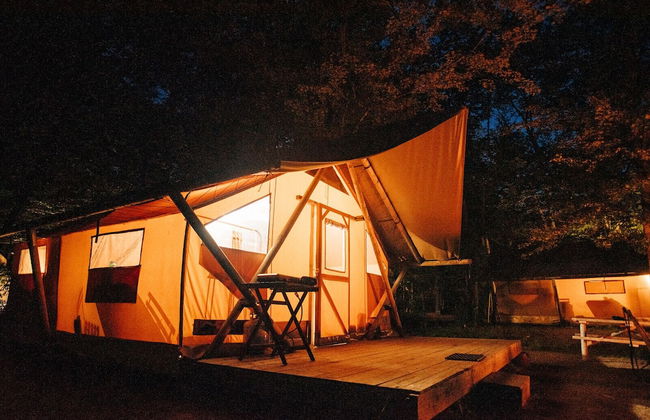


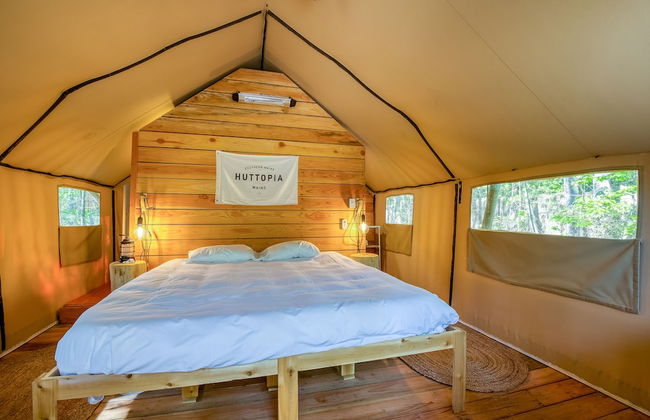


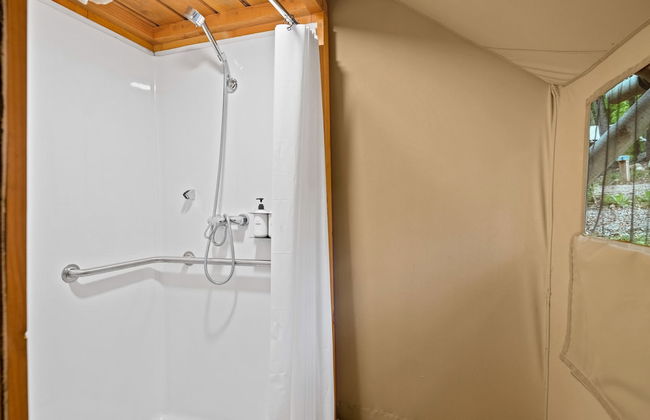


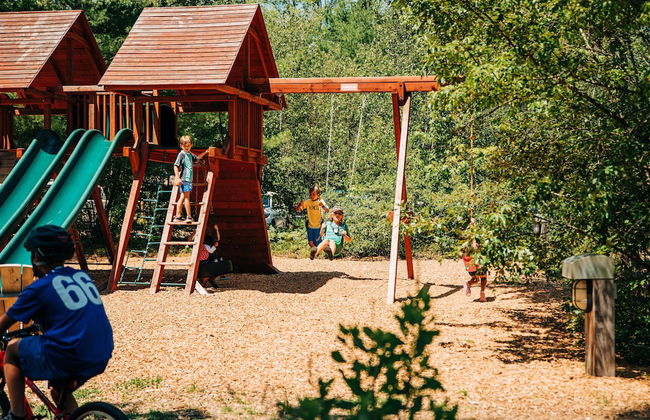


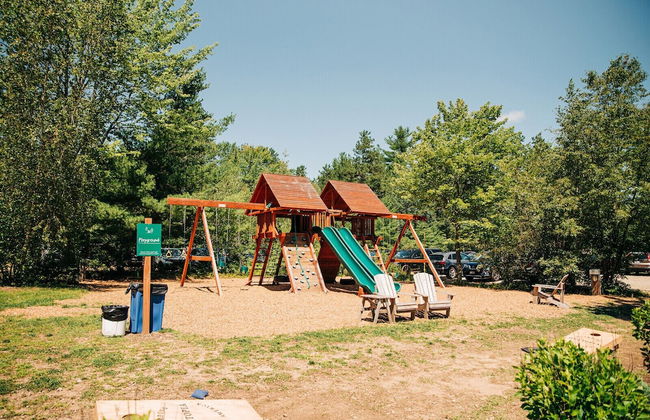


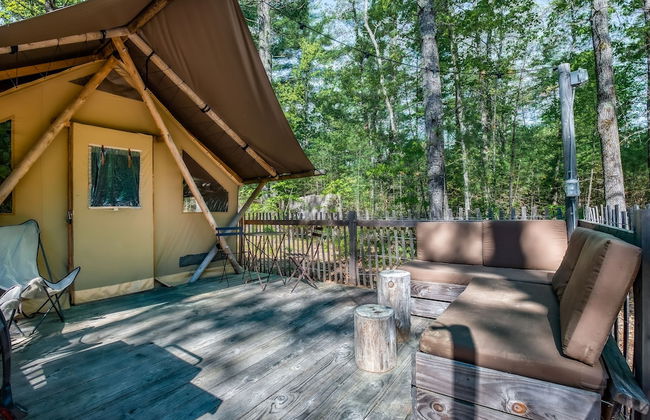

Huttopia Southern Maine
Sanford - 4.6 km vom Zentrum
- 5 Personen
- Kochnische
- Heizung
- Terrasse
- Schwimmbad
- Parkplatz
- Schornstein
- Handtücher
- Bettlaken
29 Bewertungen


Nautical Mile
Wells
- 6 Personen
- Klimaanlage
- Heizung
- Schwimmbad
- Parkplatz
- Tv
- Handtücher
- Bettlaken
12 Bewertungen


White Cap Village Unit 6
Old Orchard Beach
- 70 M2
- 4 Personen
- Klimaanlage
- Heizung
- Parkplatz
- Garten
36 Bewertungen


Atlantic Ocean Suites
Old Orchard Beach
- 70 M2
- 2 Schlafzimmer
- 7 Personen
- Klimaanlage
- Heizung
- Terrasse
- Schwimmbad
- Parkplatz
- Garten
- Barbecue
50 Bewertungen


Thistle Pond Cottage
Biddeford - 7.2 km vom Zentrum
- 102 M2
- 2 Schlafzimmer
- 4 Personen
- Klimaanlage
- Heizung
- Parkplatz
- Garten
- Barbecue
6 Bewertungen


Make Lasting Memories at the Bougie Beach Bungalow
Old Orchard Beach
- 63 M2
- 2 Schlafzimmer
- 7 Personen
- Klimaanlage
- Heizung
- Parkplatz
- Garten
- Barbecue
6 Bewertungen


68 East Grand Ave
Old Orchard Beach
- 6 Personen
- Klimaanlage
- Heizung
- Parkplatz
- Tv
- Handtücher
- Bettlaken
3 Bewertungen


Shorelands Guest Resort and Cottages
Kennebunk
- 60 M2
- 6 Personen
- Klimaanlage
- Heizung
- Schwimmbad
- Parkplatz
- Garten
- Tv
- Schornstein
- Barbecue
- Handtücher
- Bettlaken
109 Bewertungen


Spacious Family Suite Steps to the Beach (444)
Old Orchard Beach
- 139 M2
- 4 Schlafzimmer
- 10 Personen
- Klimaanlage
2 Bewertungen


Cozy 3BR Beach House by the Sea
Old Orchard Beach
- 97 M2
- 3 Schlafzimmer
- 6 Personen
- Klimaanlage
- Heizung
- Parkplatz
- Garten
- Barbecue
8 Bewertungen


2 Mi to Drakes Island Beach Condo with Porch!
Wells
- 42 M2
- 1 Schlafzimmer
- 4 Personen
- Heizung
- Schwimmbad
- Parkplatz
9 Bewertungen


Belle of Maine Cottage 33 - Piper's Landing
Wells
- 61 M2
- 2 Schlafzimmer
- 6 Personen
- Schwimmbad
- Barbecue
3 Bewertungen


