
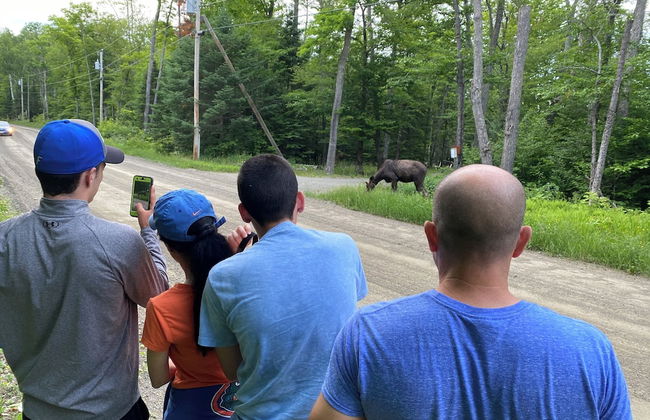
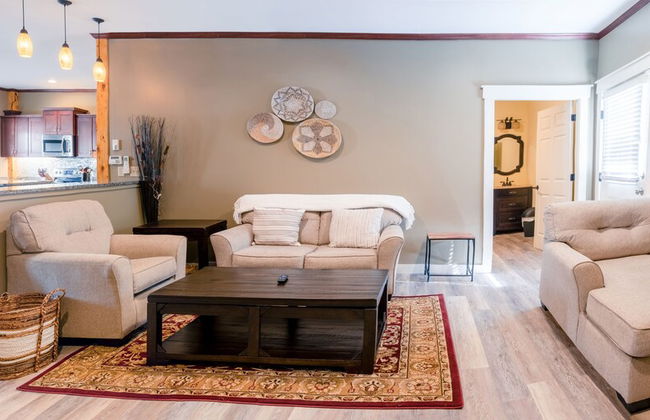
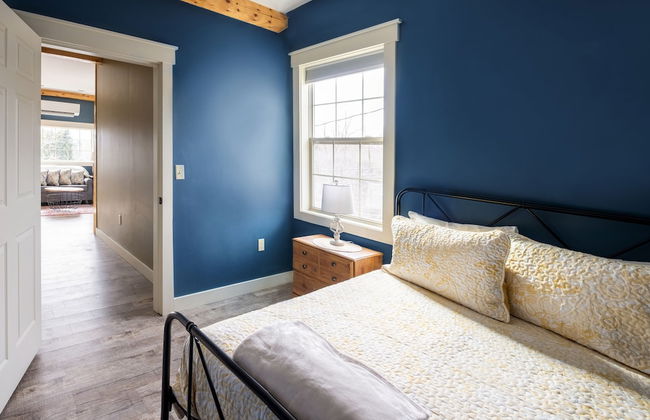
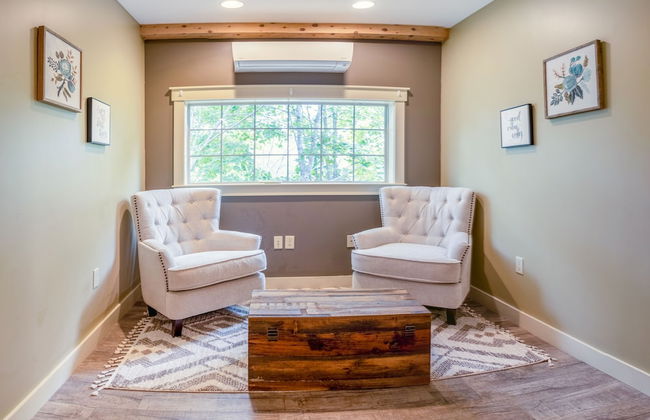
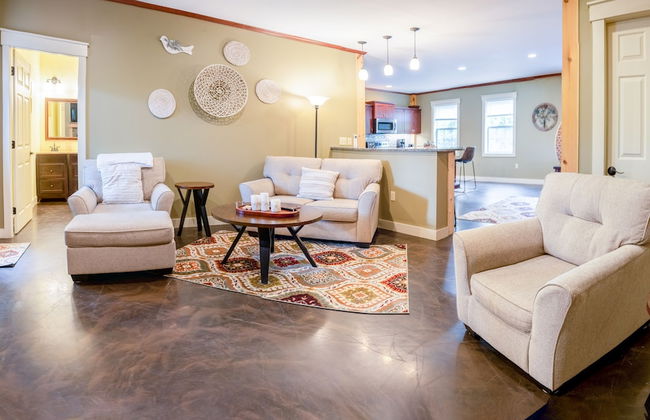
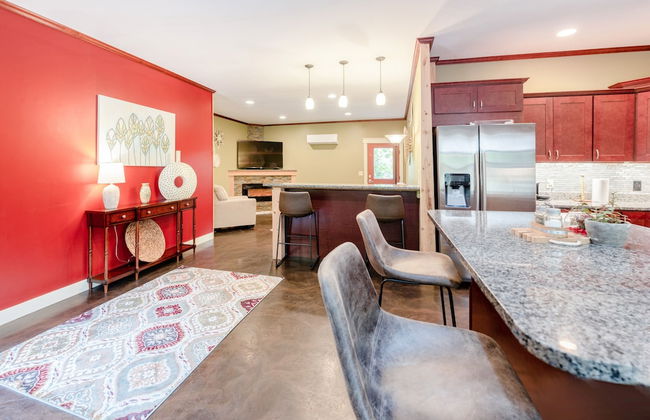
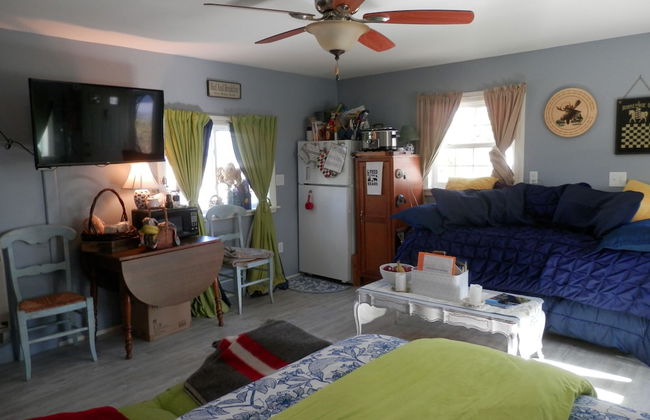
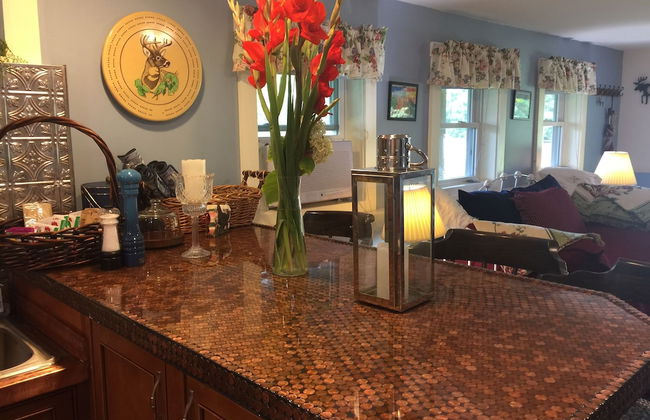
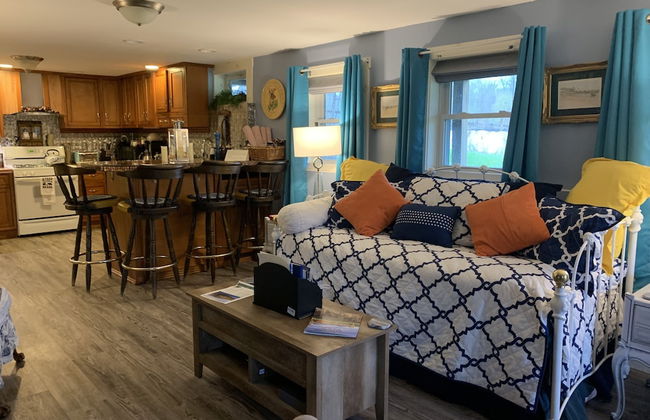
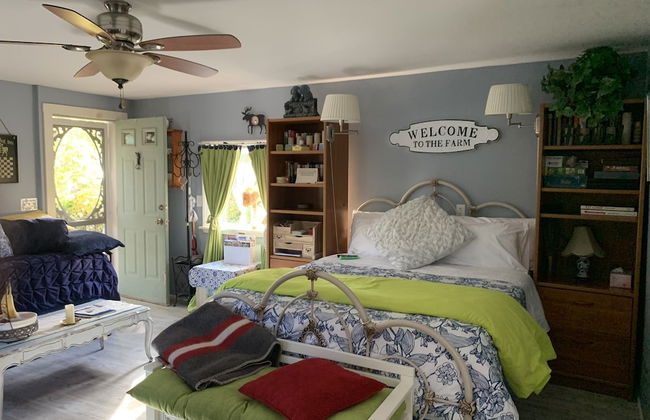
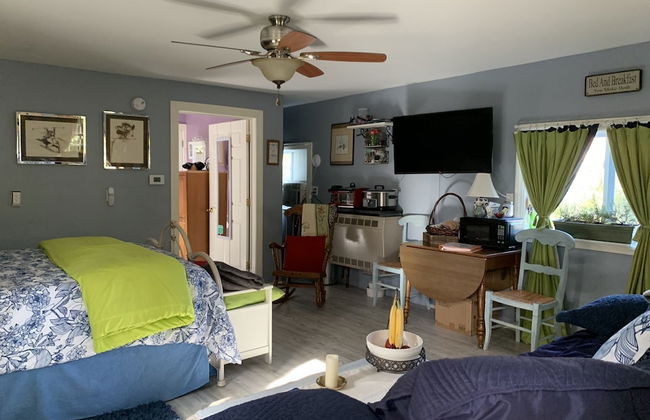
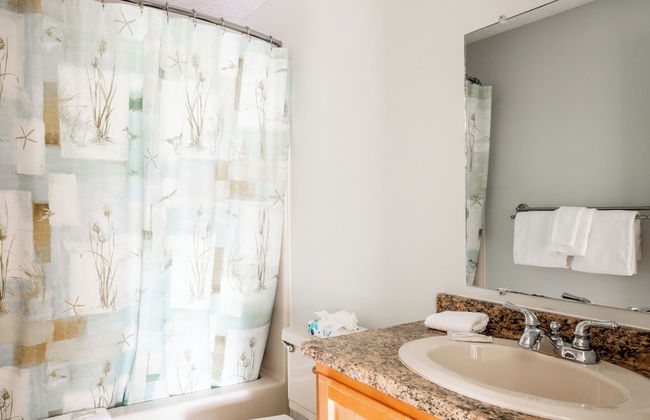
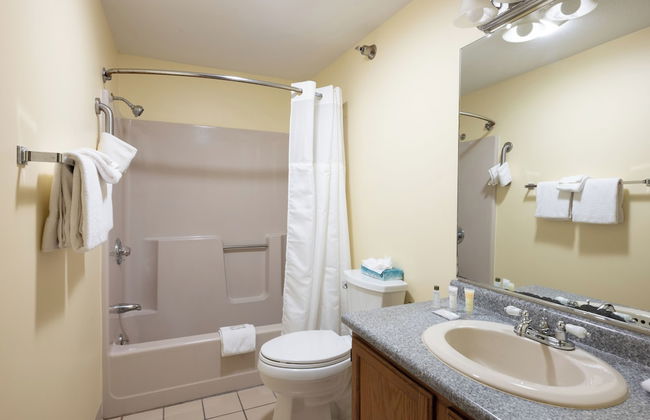
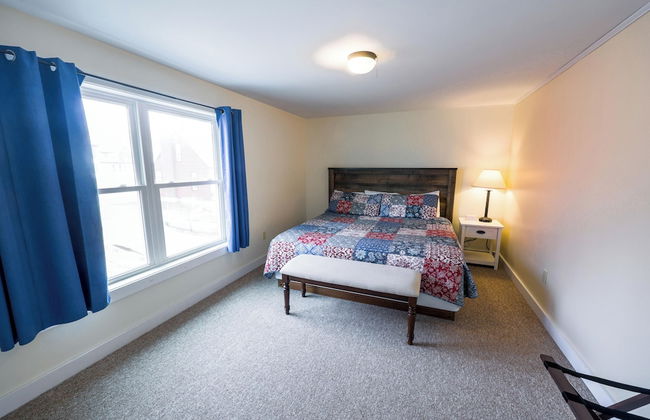
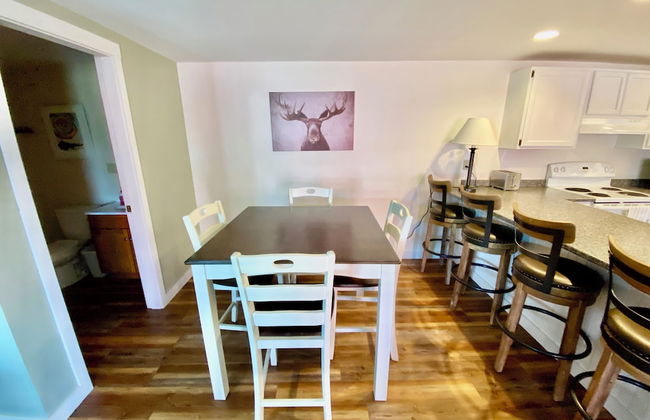
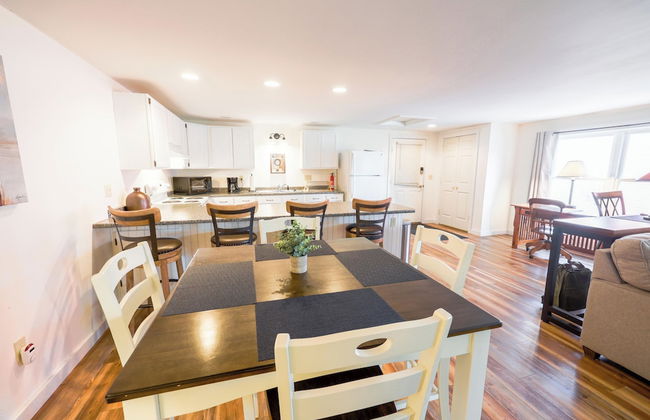
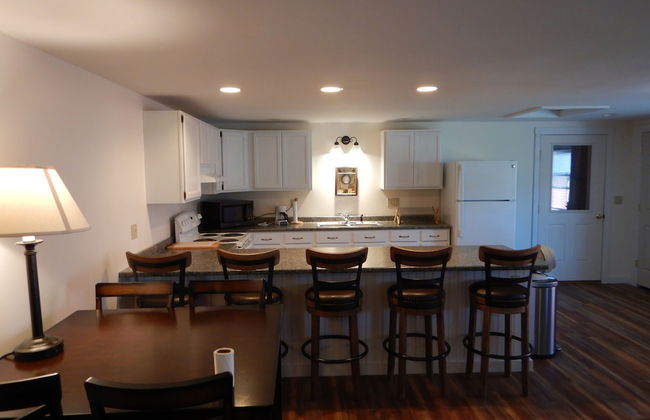
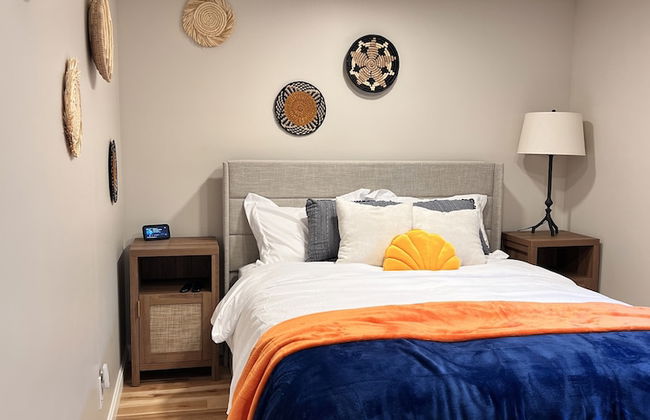
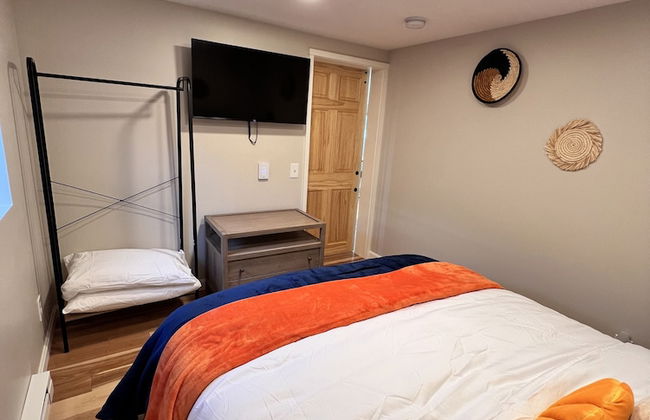
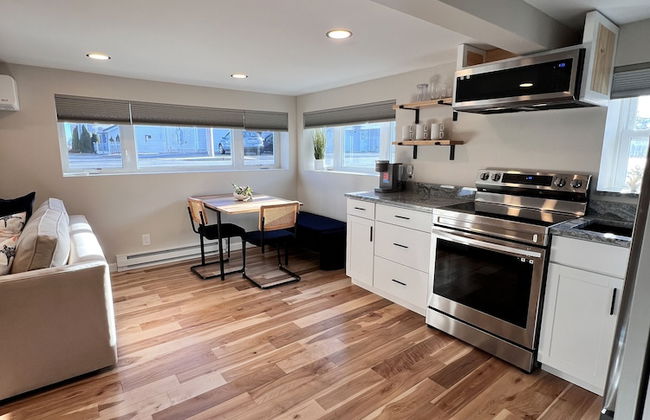
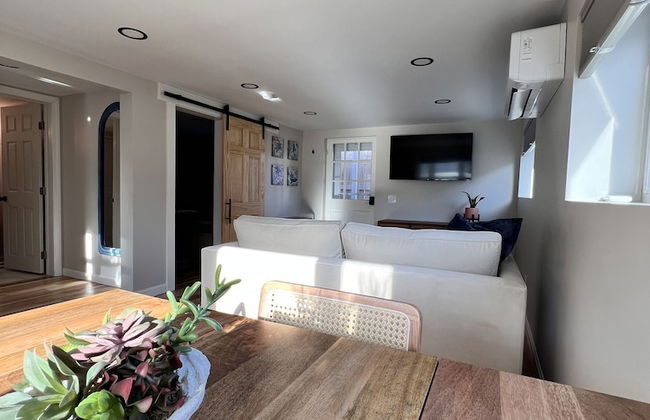
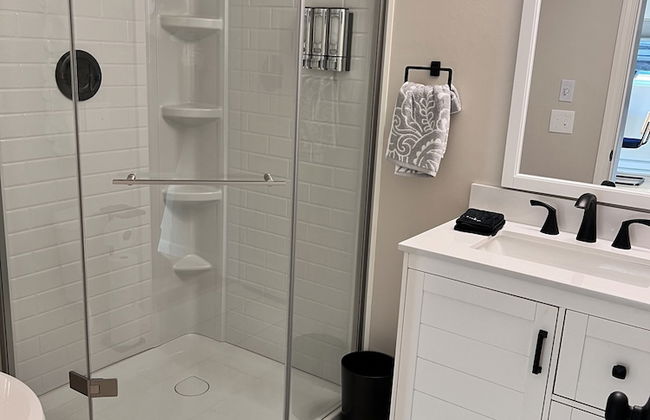
1858 Wohnungen in Maine


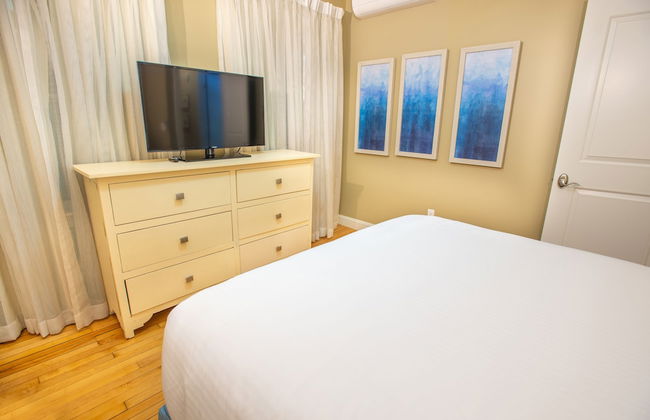
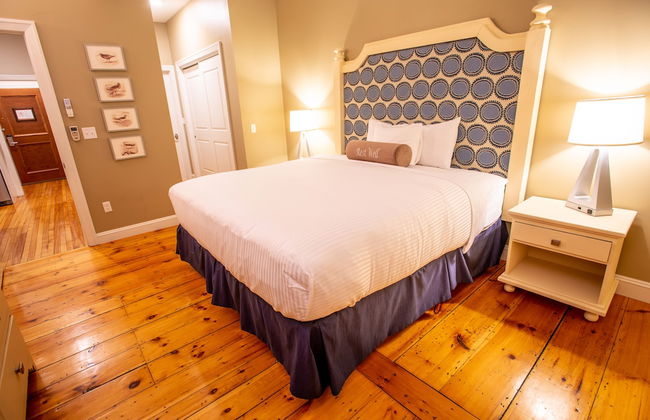
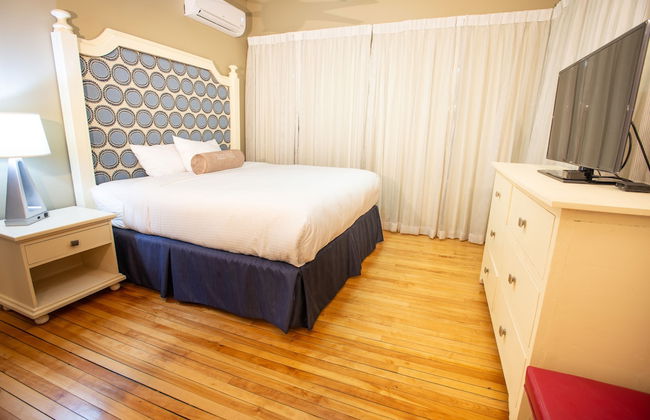

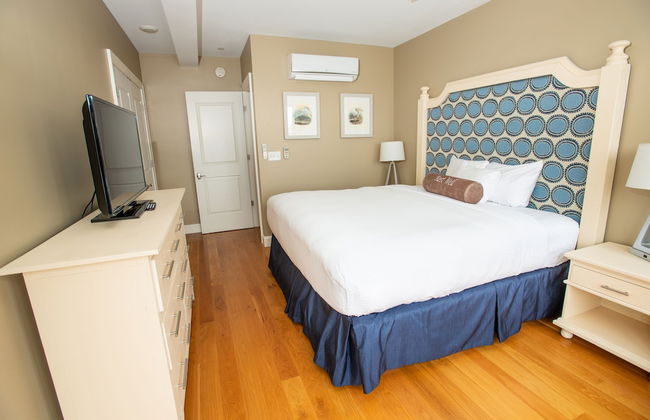
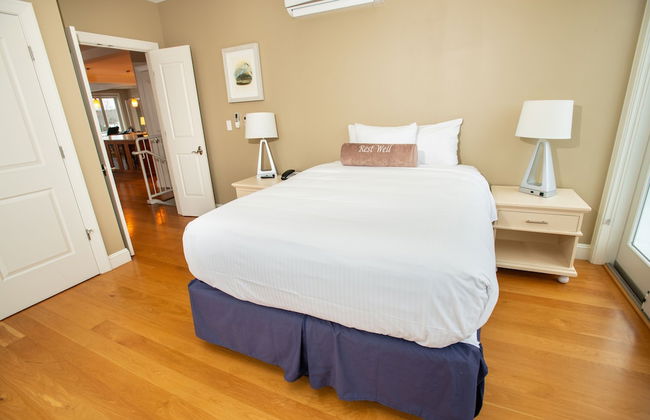

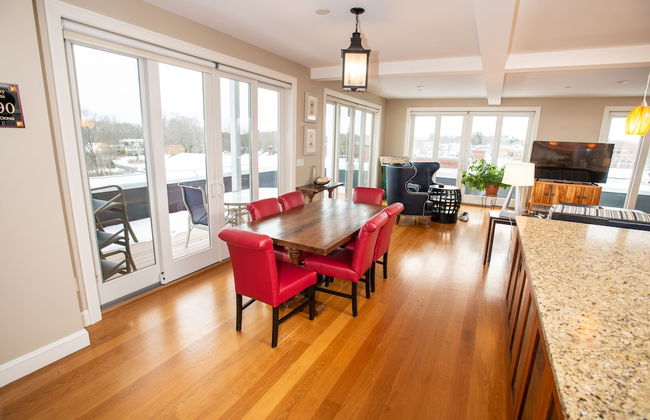


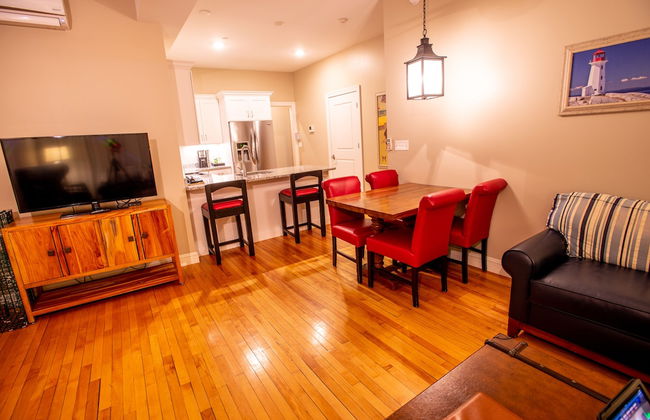
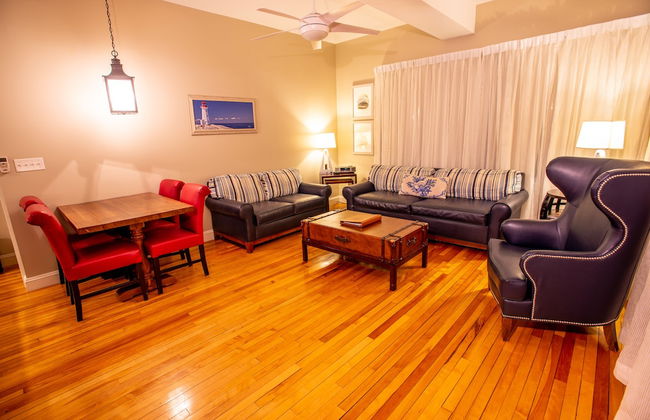
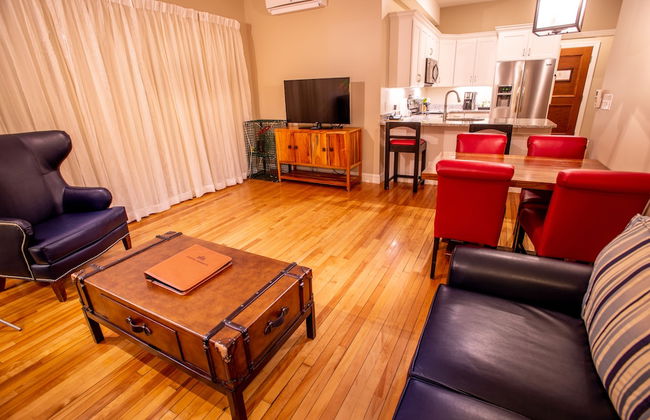


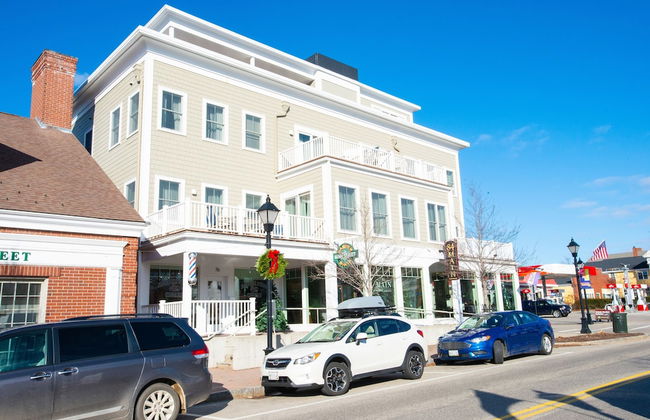
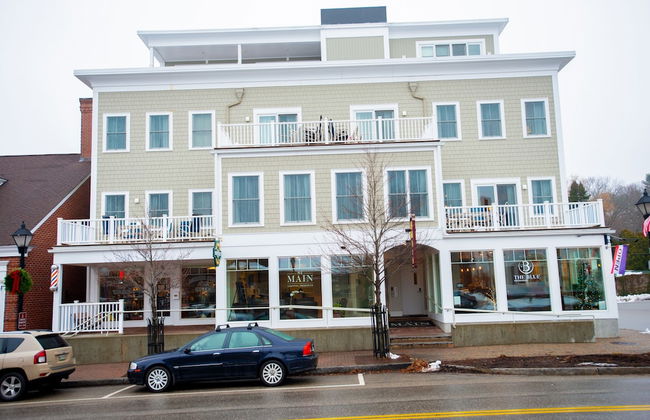

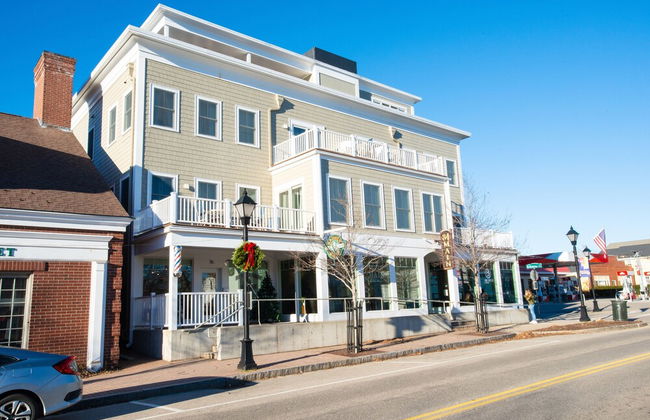
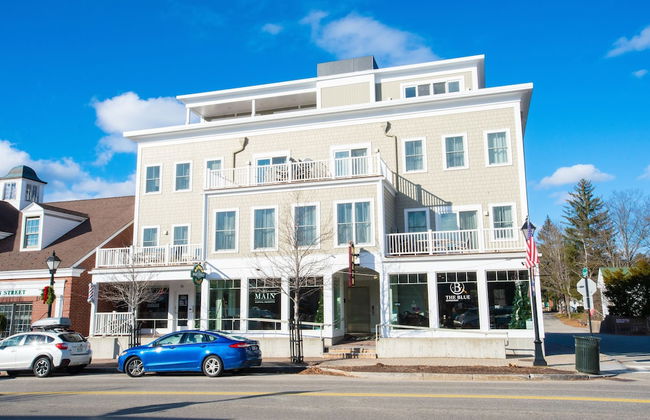
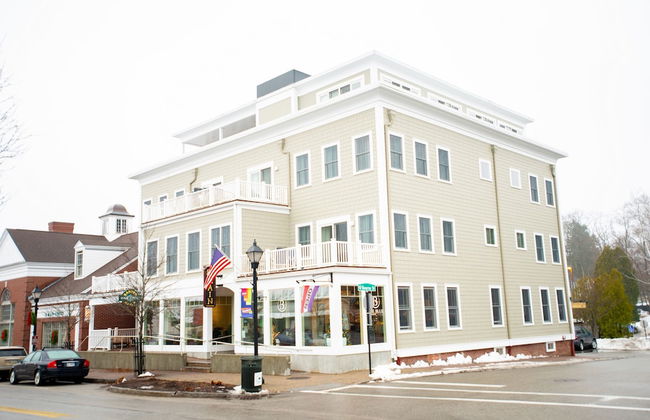

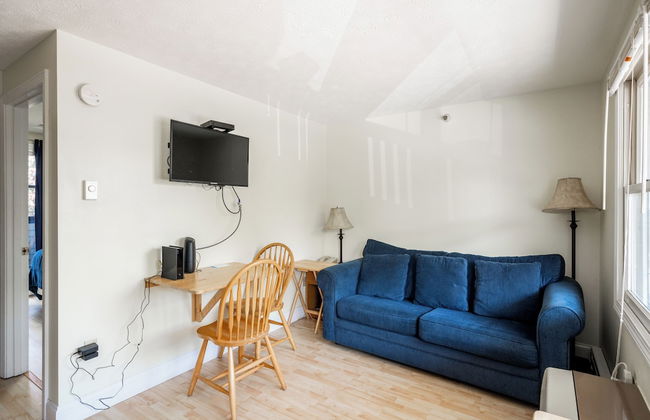
84 Main
Kennebunk
- 8 Personen
- Klimaanlage
- Heizung
- Parkplatz
- Fahrstuhl
- Tv
- Waschmaschine
- Handtücher
51 Bewertungen


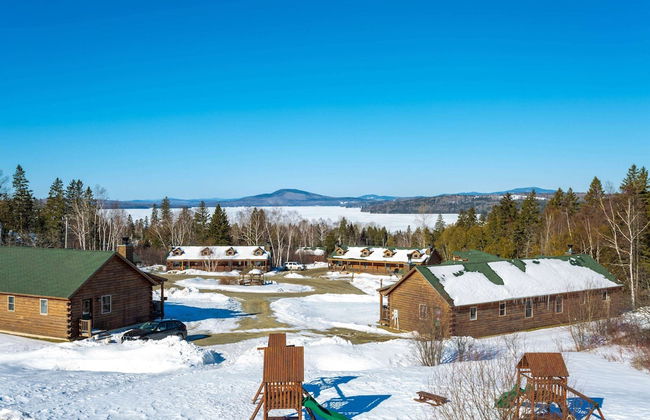


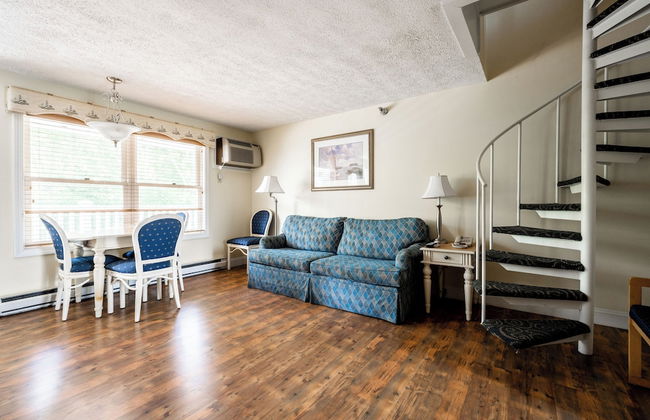
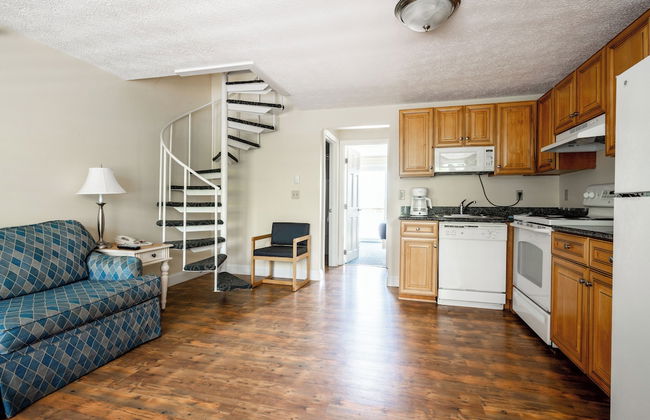
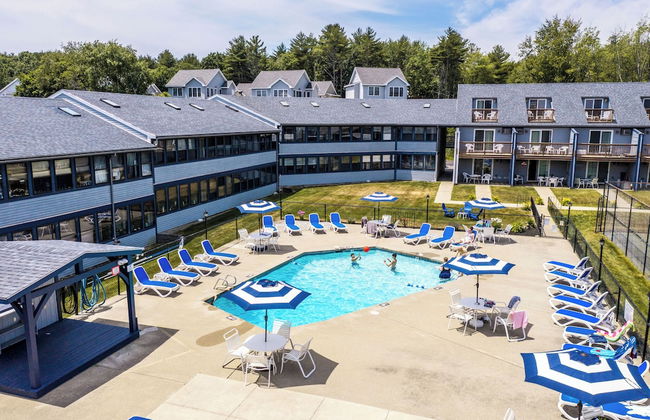
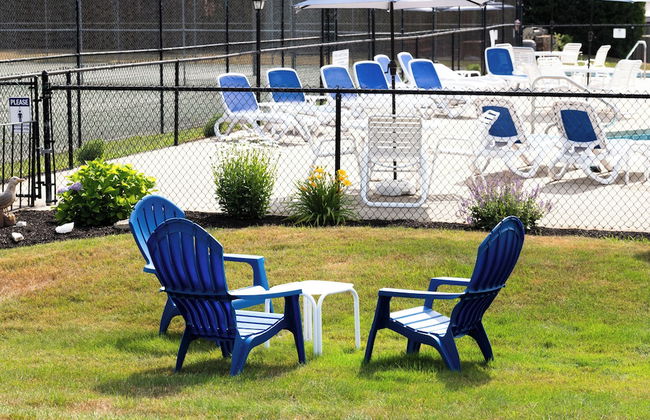
Rangeley Lake Resort a Ramada by Wyndham
Rangeley - 8.9 km von Saddleback
- 8 Personen
- Heizung
- Terrasse
- Schwimmbad
- Parkplatz
- Garten
- Tv
- Waschmaschine
- Schornstein
- Barbecue
- Handtücher
- Bettlaken
59 Bewertungen
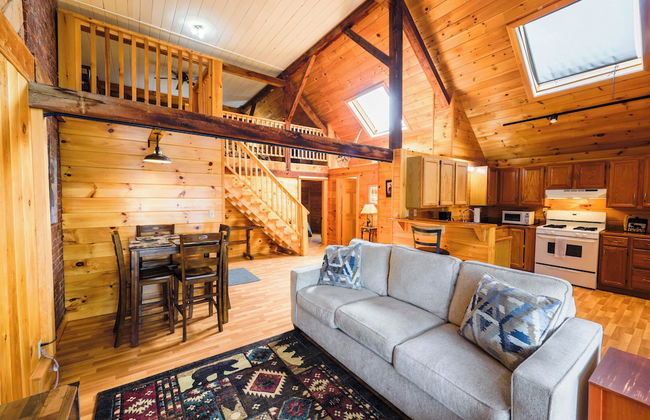


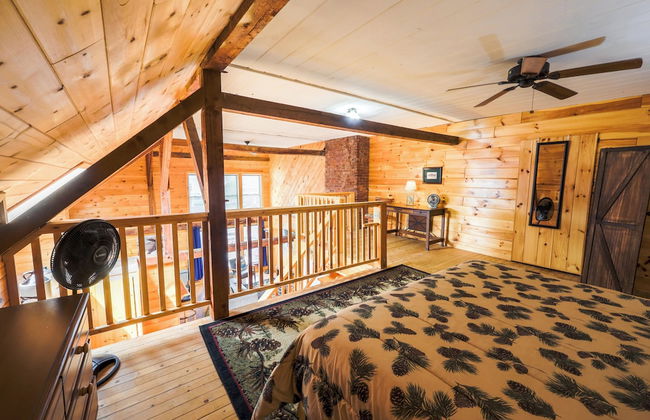


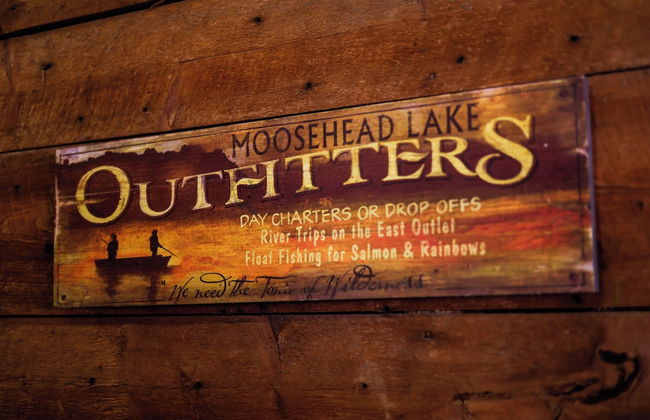


Historic barn at Moosehead Lake
Greenville
- 5 Personen
- Klimaanlage
- Heizung
- Parkplatz
- Tv
- Handtücher
13 Bewertungen


House near Acadia National Park
Ellsworth - Im Zentrum
- 8 Personen
- Klimaanlage
- Heizung
- Parkplatz
- Tv
- Waschmaschine
- Schornstein
- Handtücher
- Bettlaken
14 Bewertungen


Historic Barn Suites
Greenville
- 56 M2
- 5 Personen
- Klimaanlage
- Heizung
- Parkplatz
- Tv
- Handtücher
- Bettlaken
7 Bewertungen


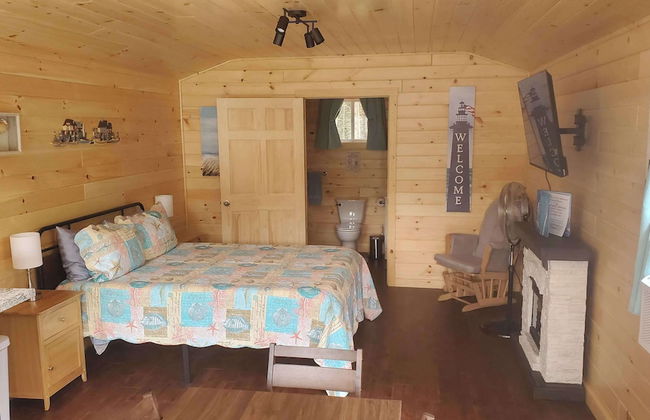
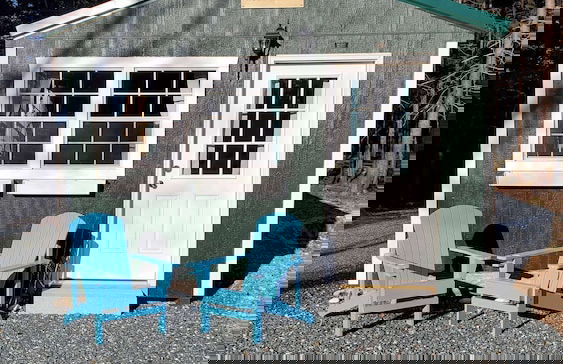


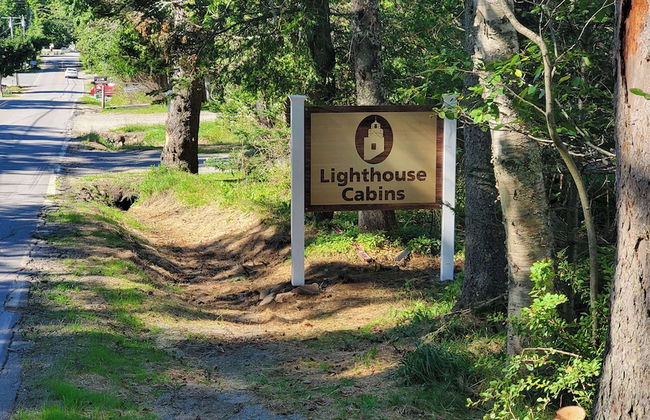
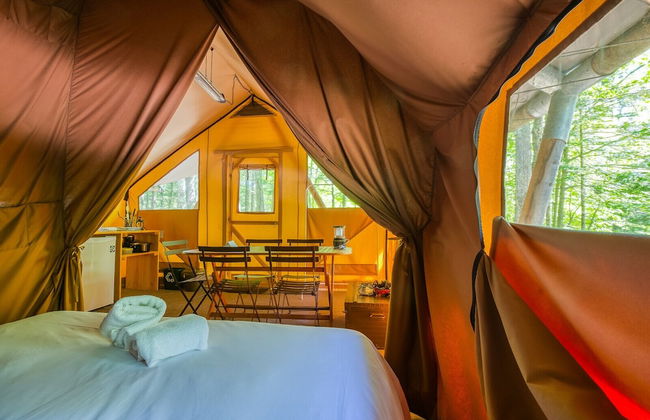
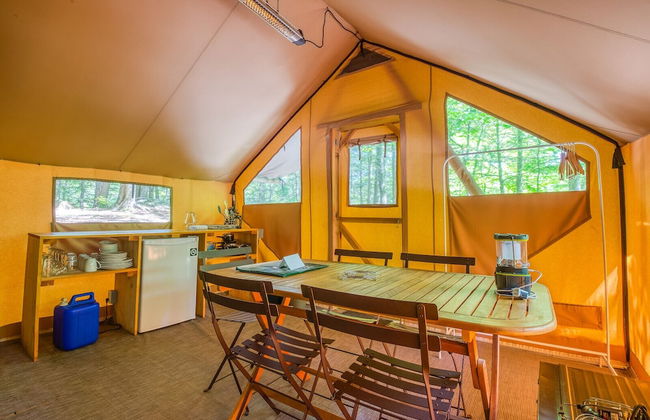
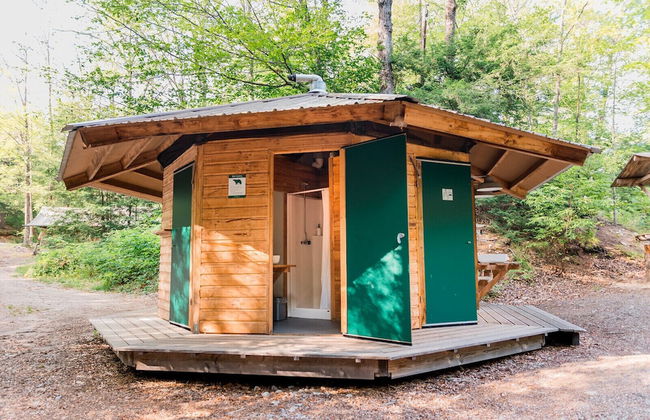
Lighthouse Cabins Maine
Bass Harbor
- 36 M2
- 3 Personen
- Kochnische
- Klimaanlage
- Heizung
- Parkplatz
- Tv
- Handtücher
- Bettlaken
92 Bewertungen


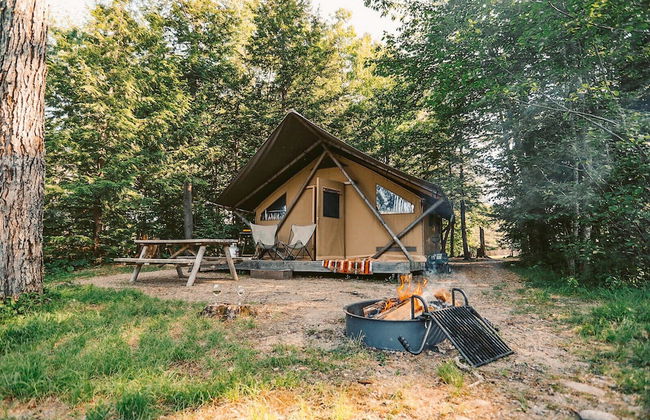
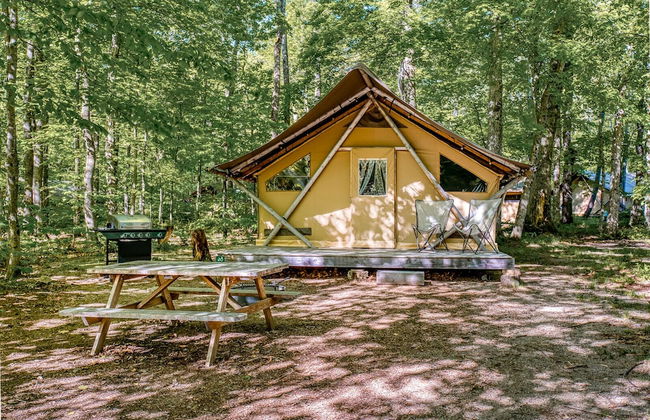
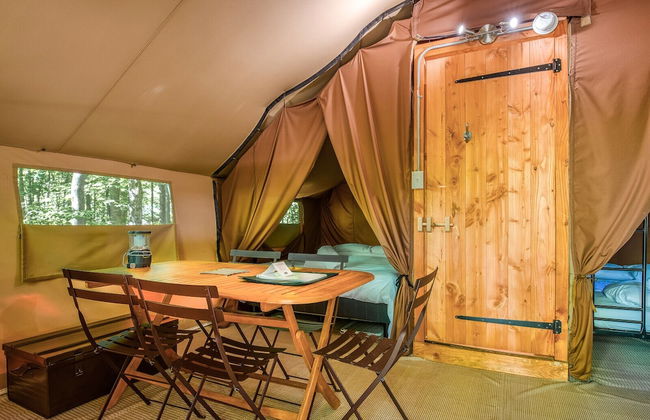


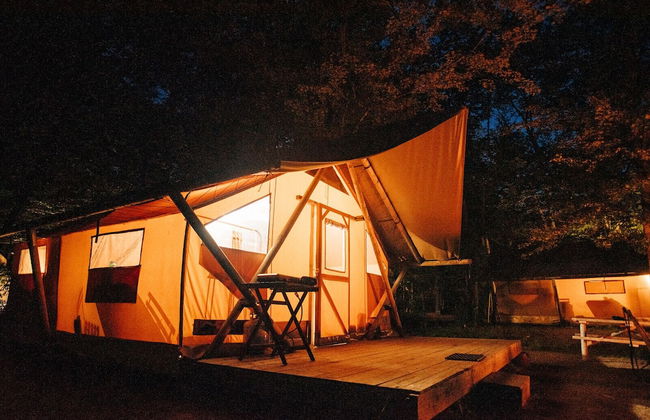
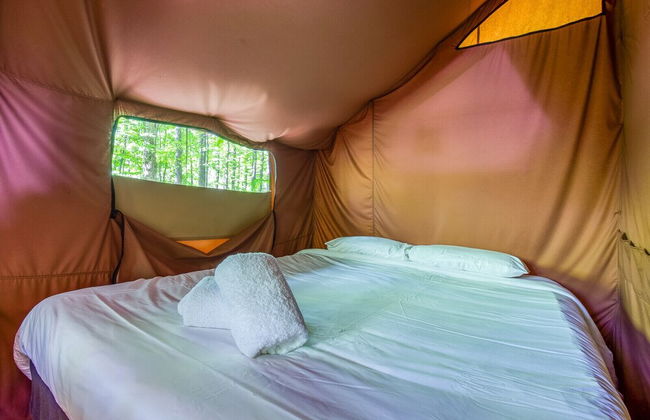


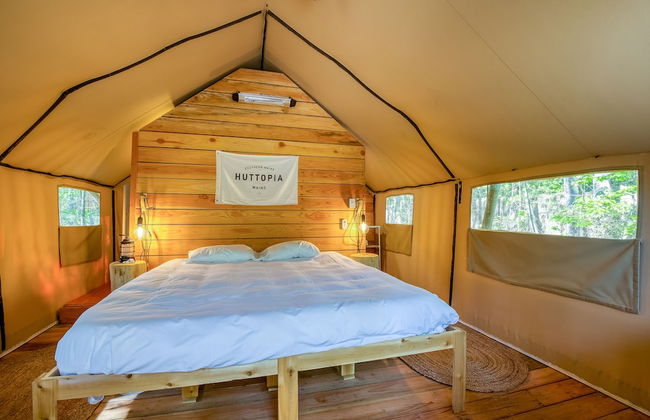


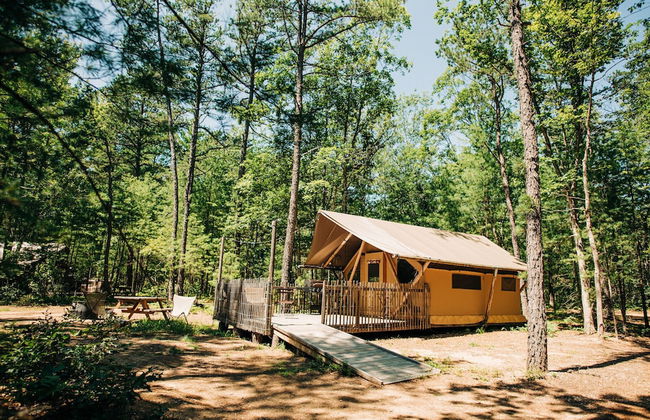


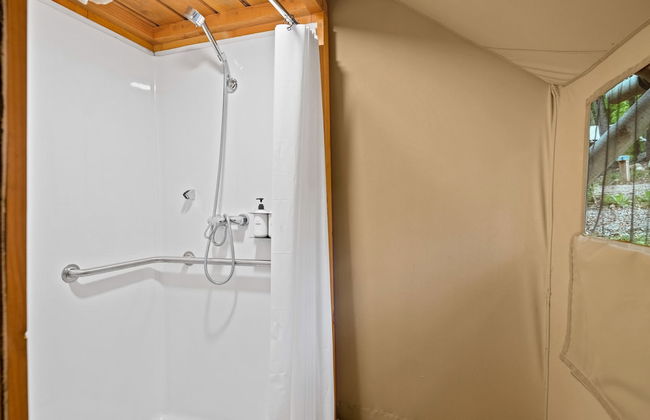


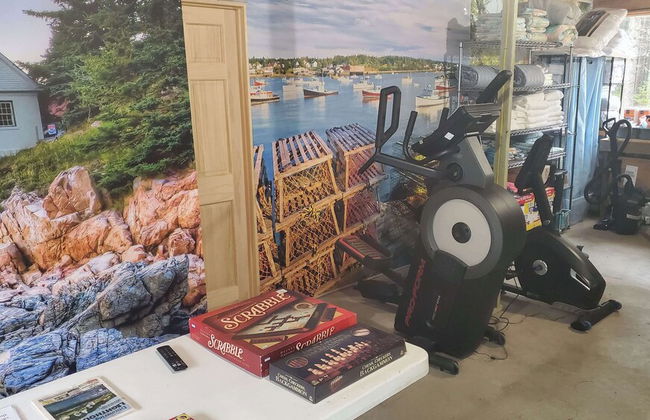
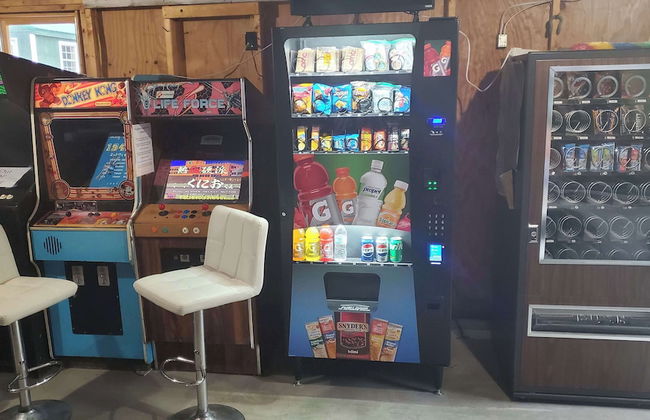
Huttopia Southern Maine
Sanford - 4.6 km vom Zentrum
- 5 Personen
- Kochnische
- Heizung
- Terrasse
- Schwimmbad
- Parkplatz
- Schornstein
- Handtücher
- Bettlaken
29 Bewertungen


Harbor House Hotel by Umaniii in Jonesport Maine
Jonesport
- 29 M2
- 5 Personen
- Klimaanlage
- Heizung
- Terrasse
- Parkplatz
- Garten
- Barbecue
94 Bewertungen


Beach Cottage
Saco - 6.1 km vom Zentrum
- 65 M2
- 2 Schlafzimmer
- 6 Personen
- Klimaanlage
- Parkplatz
- Garten
12 Bewertungen


Trade Winds on the Bay
Rockland - 1.2 km vom Zentrum
- 1 Schlafzimmer
- 5 Personen
- Kochnische
- Klimaanlage
- Heizung
- Schwimmbad
- Parkplatz
- Fahrstuhl
- Balkon
- Tv
- Handtücher
- Bettlaken
241 Bewertungen


Denmark Stage Stop House
Denmark
- 69 M2
- 6 Personen
- Klimaanlage
- Heizung
- Terrasse
- Parkplatz
- Garten
- Tv
- Barbecue
- Handtücher
- Bettlaken
4 Bewertungen


Nautical Mile
Wells
- 6 Personen
- Klimaanlage
- Heizung
- Schwimmbad
- Parkplatz
- Tv
- Handtücher
- Bettlaken
12 Bewertungen


Upscale Moosehead lake Suite downtown Greenville
Greenville
- 56 M2
- 2 Schlafzimmer
- 5 Personen
- Klimaanlage
- Heizung
- Parkplatz
- Tv
- Handtücher
- Bettlaken
7 Bewertungen


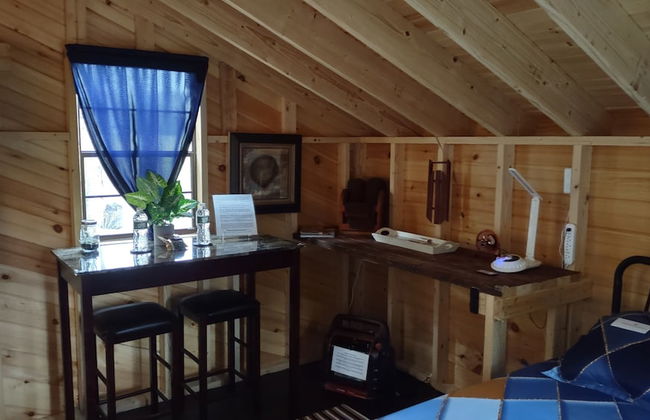
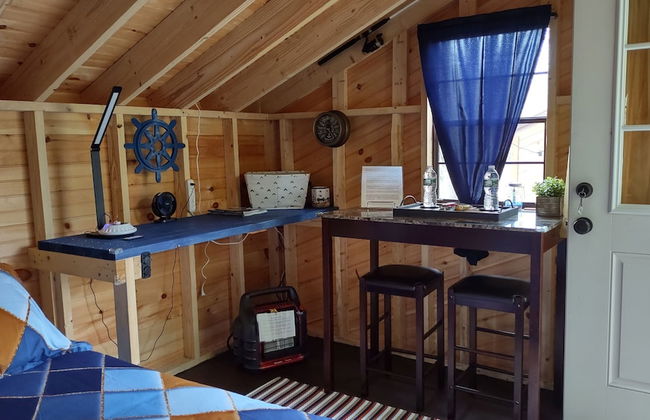


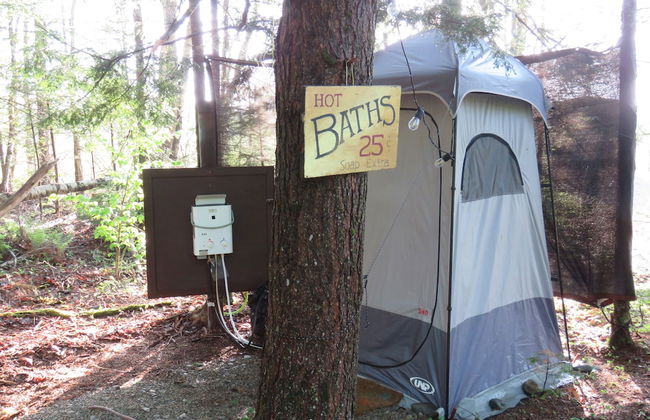


Schlafmans Hollow Solar Cabins
Lincoln
- 11 M2
- 2 Personen
- Parkplatz
- Schornstein
- Barbecue
- Handtücher
- Bettlaken
11 Bewertungen


Cozy Home in Pittsfield
Pittsfield
- 60 M2
- 1 Schlafzimmer
- 4 Personen
- Klimaanlage
- Heizung
- Terrasse
- Parkplatz
- Garten
10 Bewertungen


Rangeley Lake House, lake access, Saddleback 15min
Rangeley - 13 km von Saddleback
- 9 M2
- 4 Schlafzimmer
- 8 Personen
- Klimaanlage
- Heizung
- Terrasse
- Parkplatz
- Garten
- Barbecue
8 Bewertungen


White Cap Village Unit 6
Old Orchard Beach
- 70 M2
- 4 Personen
- Klimaanlage
- Heizung
- Parkplatz
- Garten
36 Bewertungen


Maine Mountain Retreat
Bethel - 12.6 km von Mount Abram
- 30 M2
- 2 Personen
- Klimaanlage
- Terrasse
- Parkplatz
- Garten
7 Bewertungen