
428 Wohnungen in Windermere


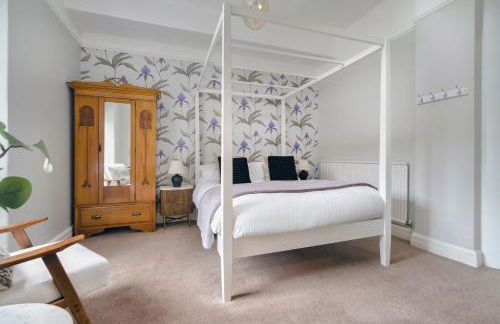
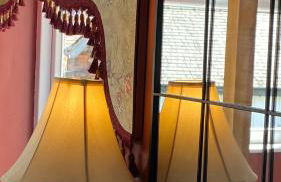
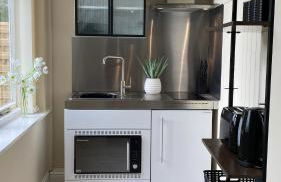
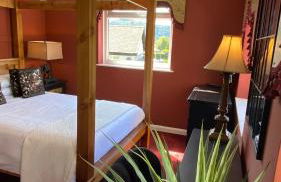
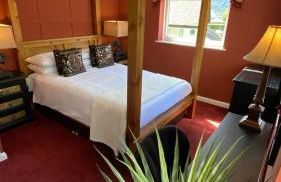
Windermere Hillthwaite Hotel
Windermere - Windermere
- 12 M2
- 2 Personen
- Heizung
- Terrasse
- Schwimmbad
- Parkplatz
- Garten
- Tv
- Handtücher
- Bettlaken
306 Bewertungen


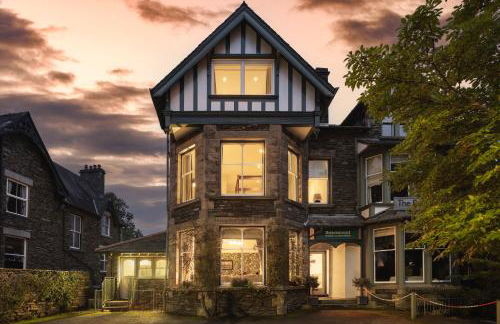


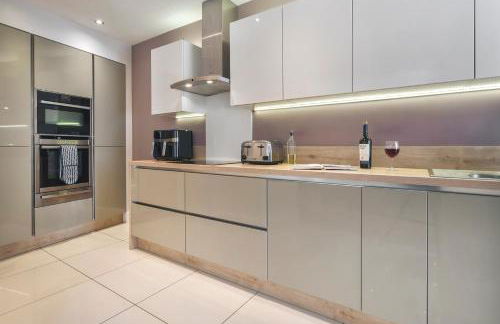


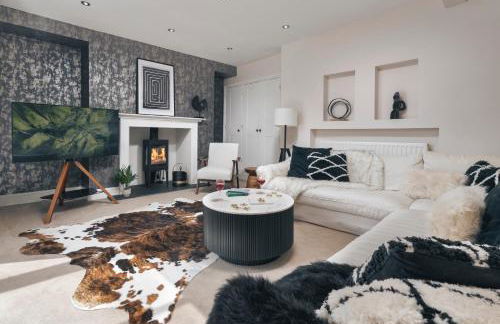


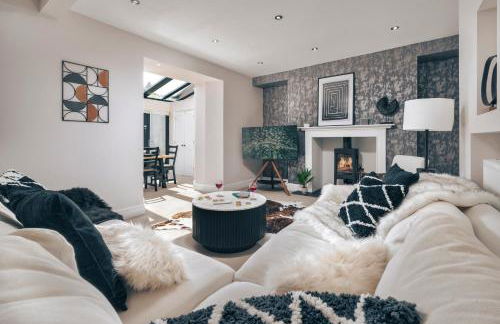


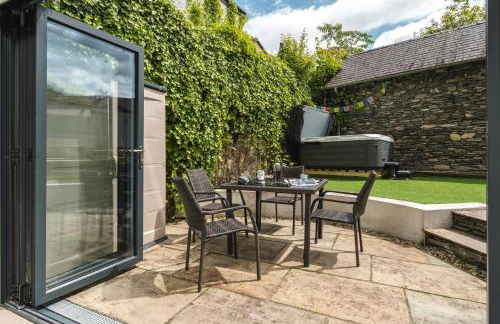

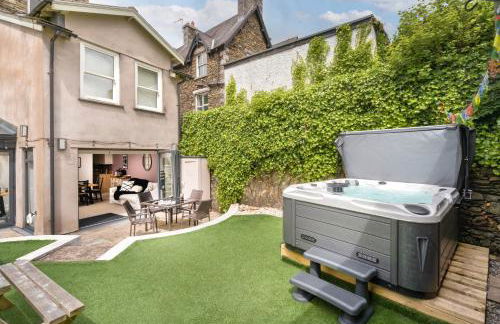

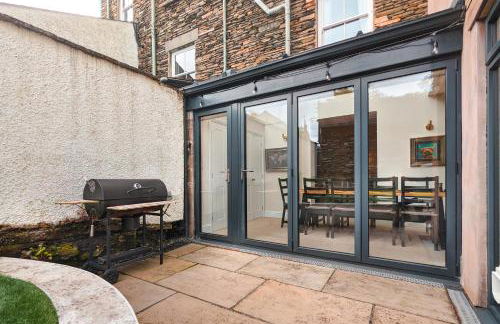


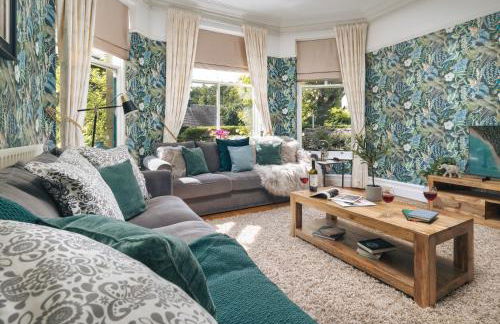


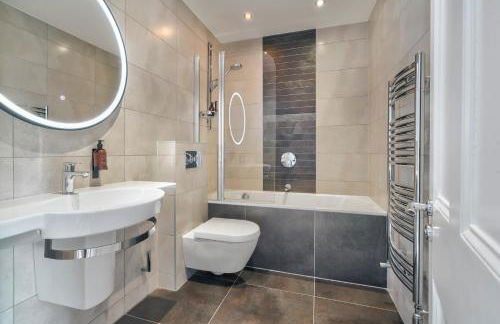


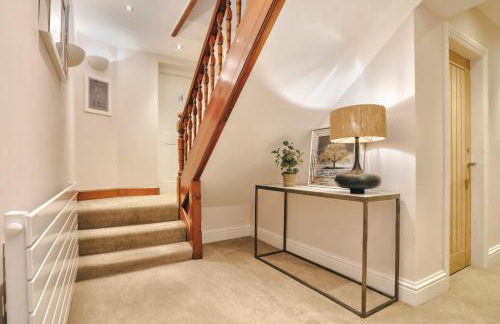

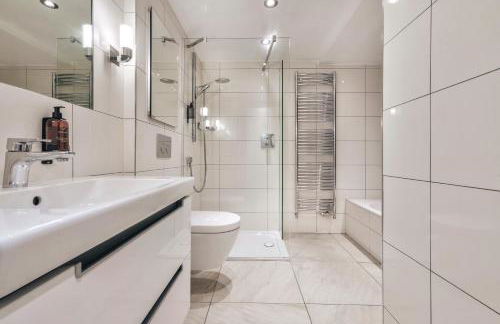

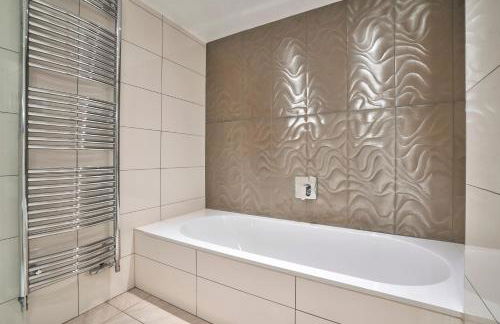


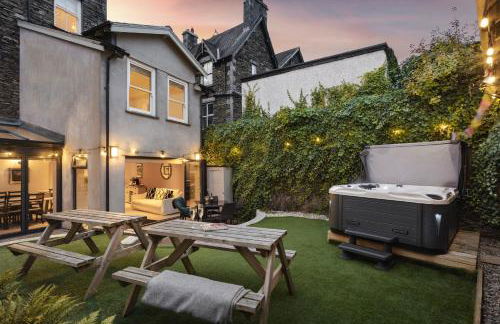

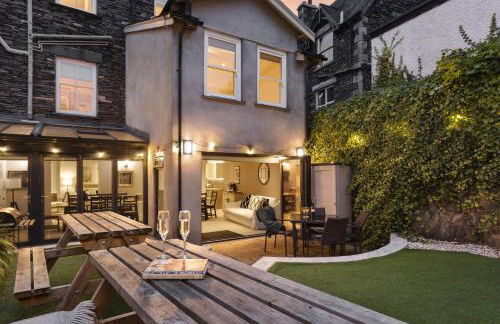

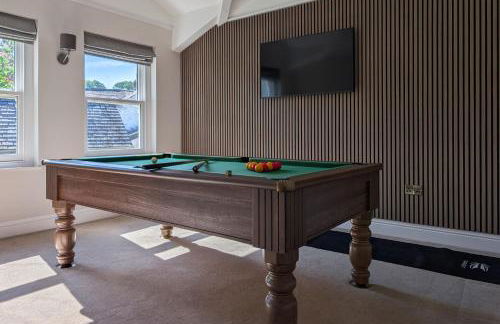
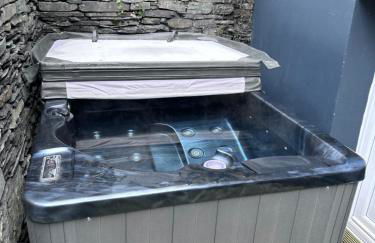
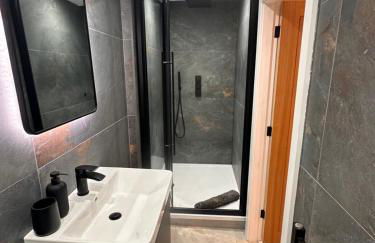
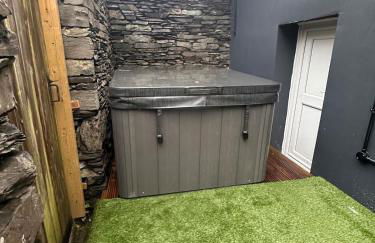
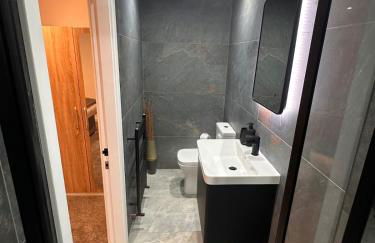
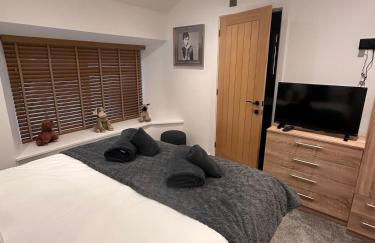
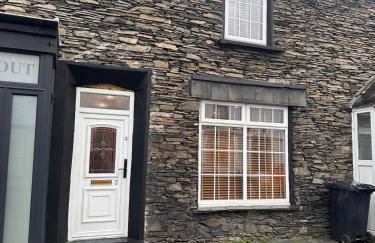
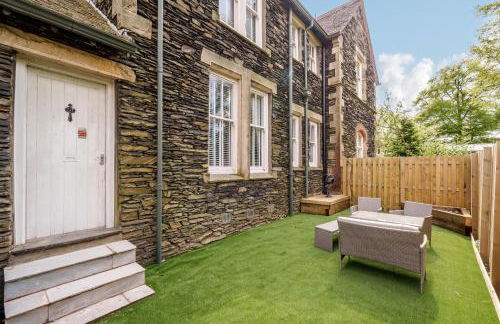
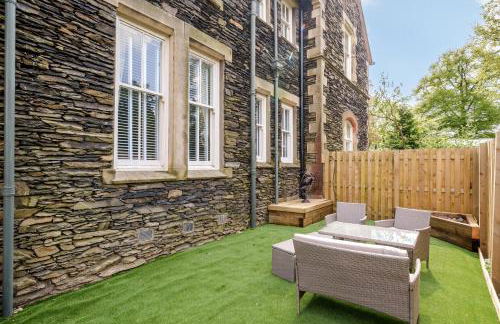
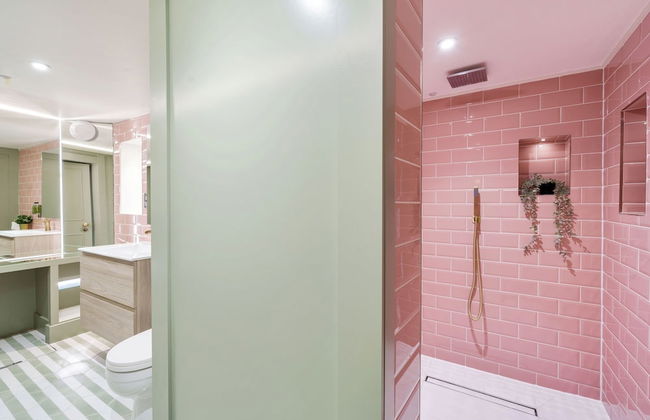
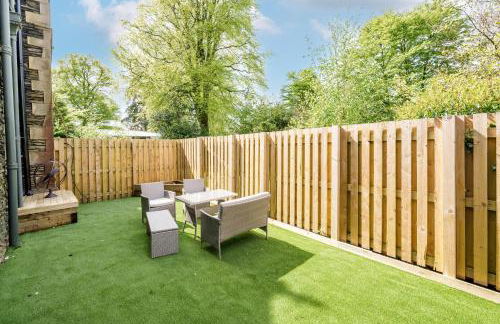
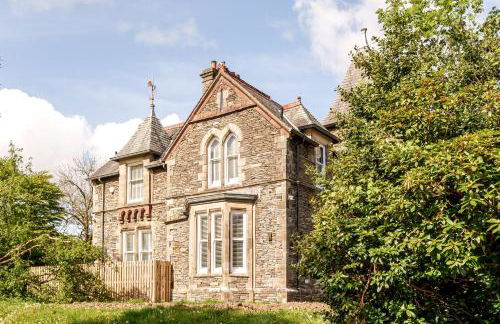
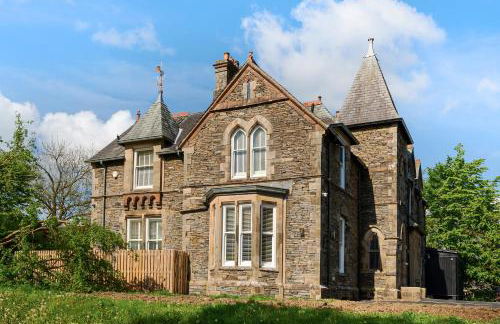
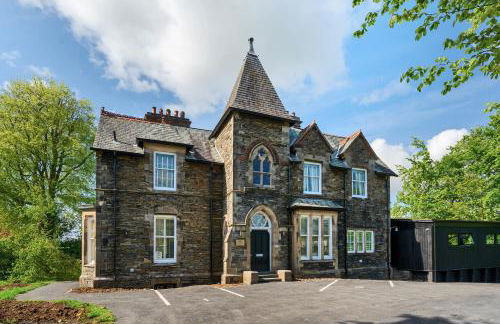
Rosemount Lake District Townhouse with Hot Tub - Ridgestone
Windermere - Windermere
- 355 M2
- 8 Schlafzimmer
- 16 Personen
- Heizung
- Parkplatz
- Garten
- Tv
- Waschmaschine
- Handtücher
- Bettlaken
24 Bewertungen


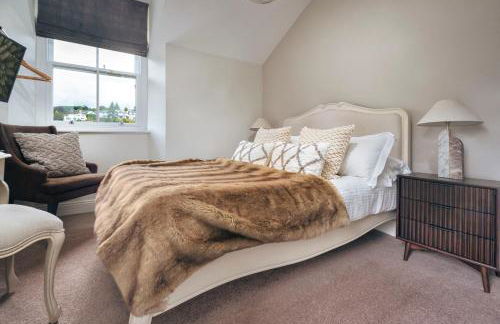
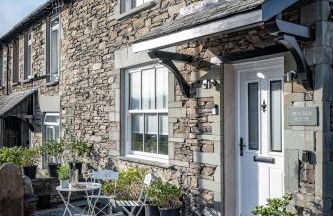
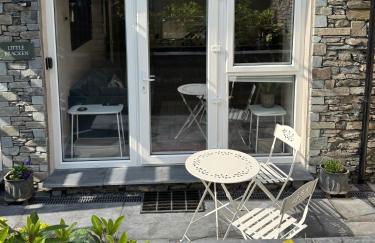
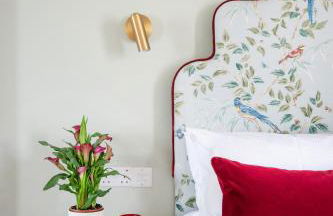
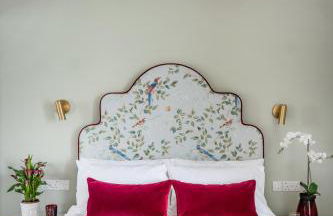
Abbys Cottage
Windermere - Windermere - 140 m von Windermere Railway Station (geolocation.placetype.train_station)
- 121 M2
- 3 Schlafzimmer
- Klimaanlage
- Heizung
- Parkplatz
- Garten
93 Bewertungen
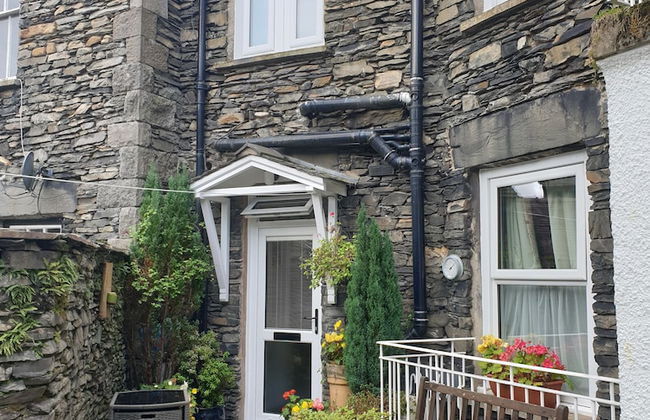
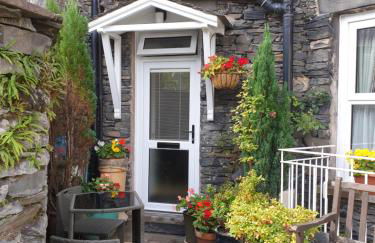

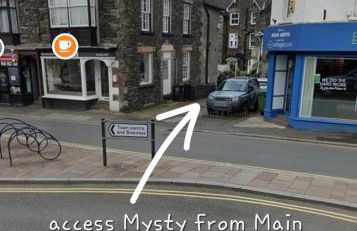


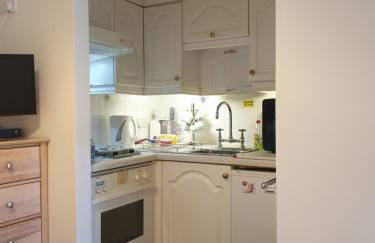


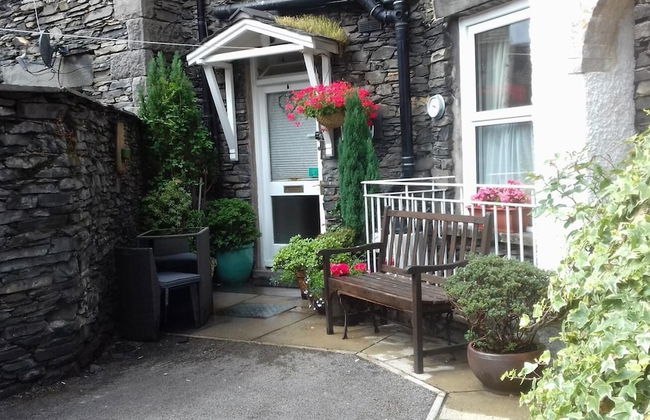


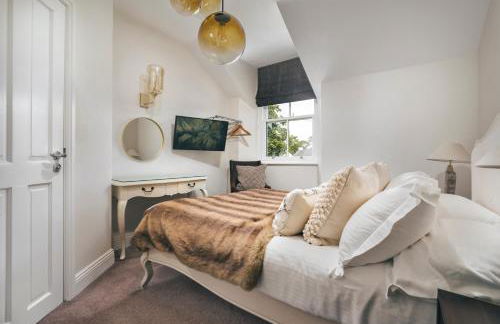
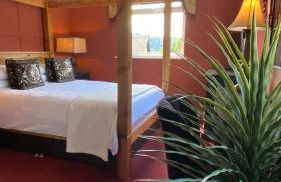
'Mysty' Studio style Winter deal on 3 nights or more Nov to Mar
Windermere - Windermere
- 12 M2
- 2 Personen
- Heizung
- Parkplatz
77 Bewertungen


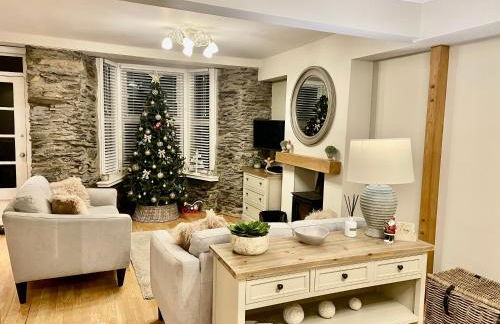


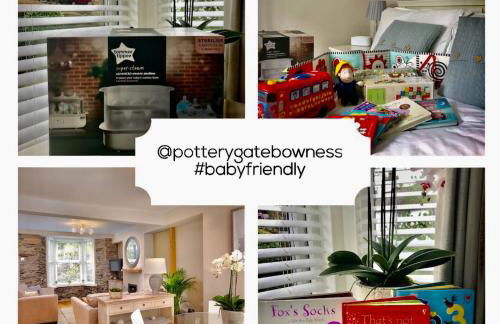

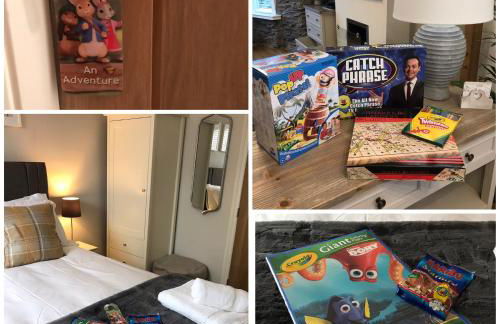

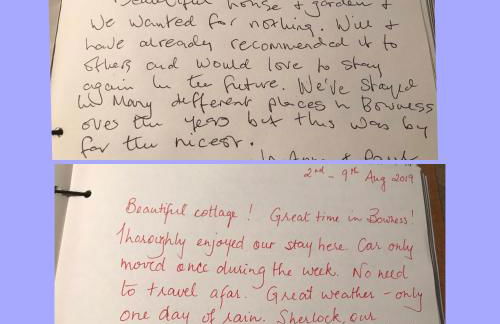
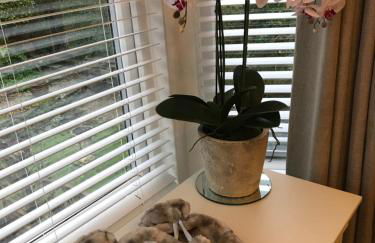
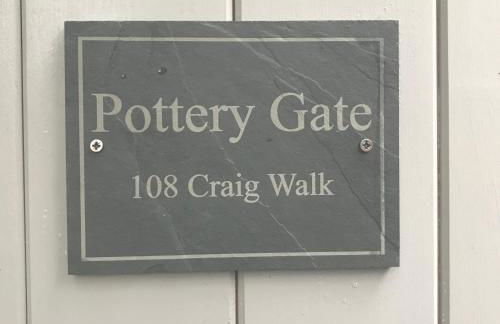

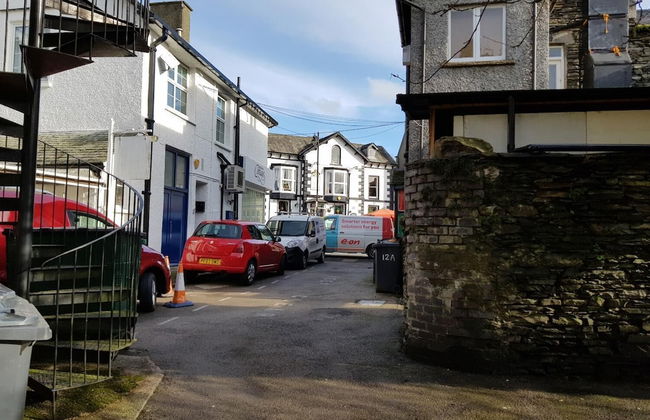
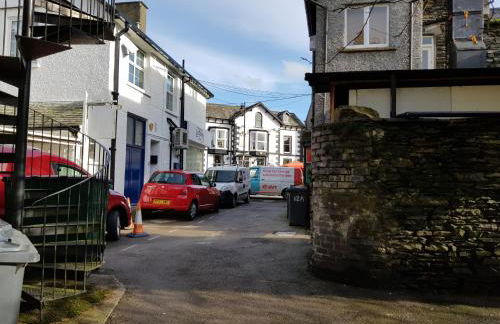
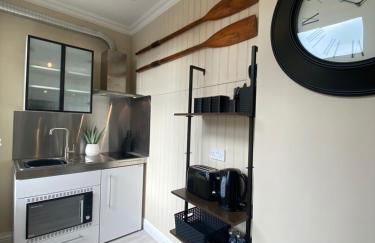
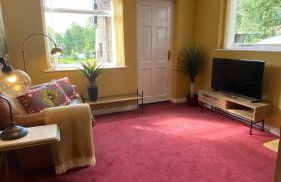
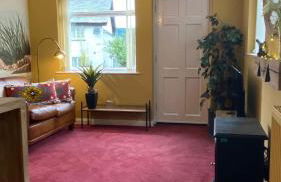
Pottery Gate, Bowness-on-Windermere
Windermere - Windermere
- 12 M2
- 2 Schlafzimmer
- 4 Personen
- Heizung
- Parkplatz
- Garten
149 Bewertungen


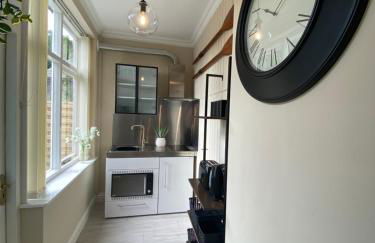


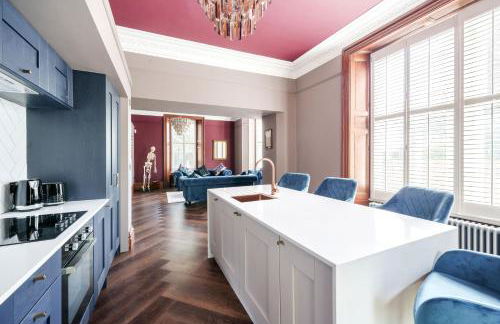


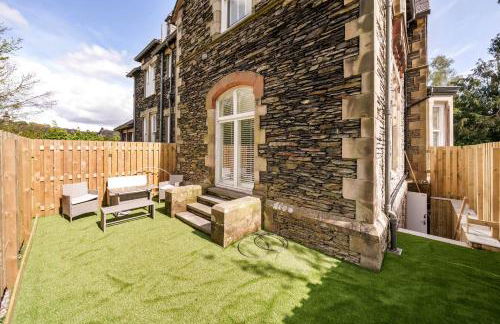


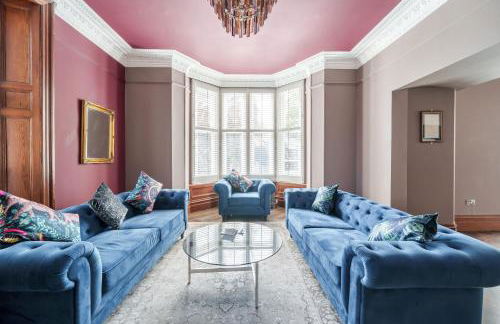
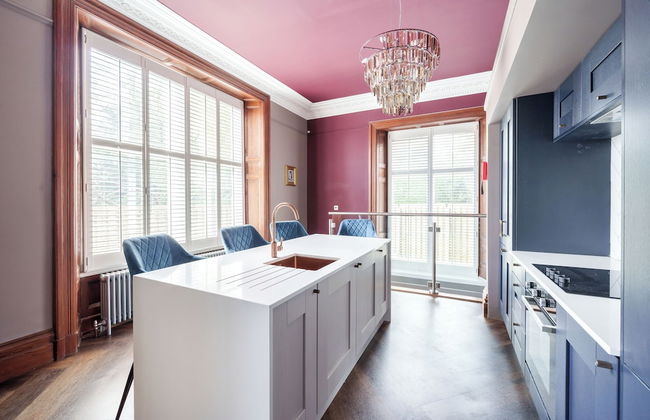


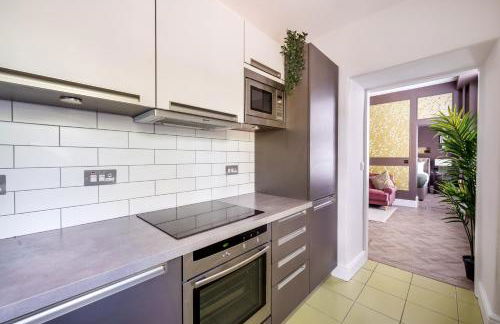


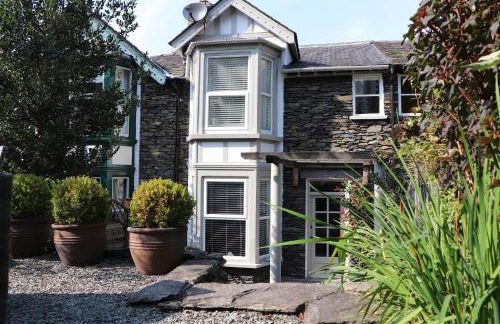
The Governance Apartments
Windermere - Windermere
- 68 M2
- 3 Schlafzimmer
- 6 Personen
- Heizung
- Parkplatz
- Garten
- Tv
- Handtücher
- Bettlaken
337 Bewertungen


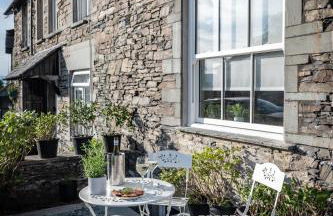
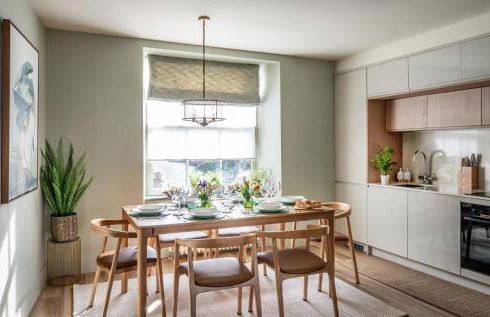


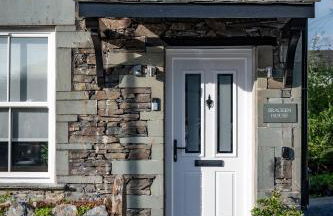


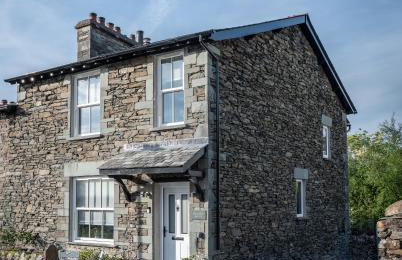


Bracken House
Windermere - Windermere
- 116 M2
- 3 Schlafzimmer
- 6 Personen
- Terrasse
- Parkplatz
- Garten
6 Bewertungen


Windermere Central Hotel - Room 1
Windermere - Windermere
- 2 Personen
- Heizung
- Tv
- Handtücher
- Bettlaken
2 Bewertungen


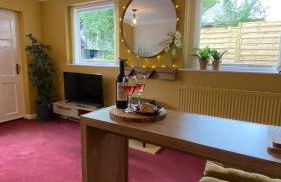
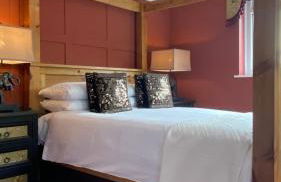
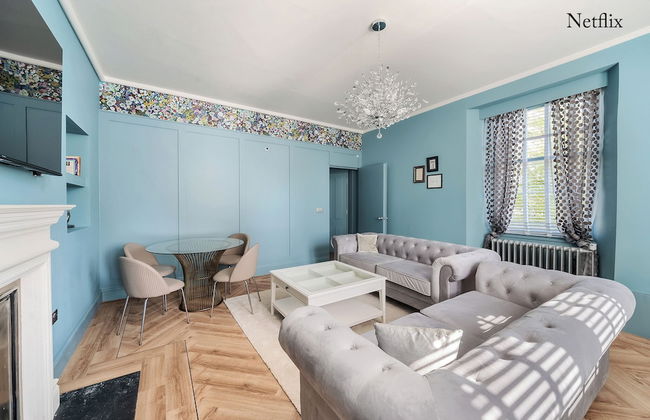
The Shades - Bliss In The Heart of Windermere
Windermere - Windermere
- 12 M2
- 2 Schlafzimmer
- 4 Personen
- Heizung
- Terrasse
- Parkplatz
- Garten
22 Bewertungen


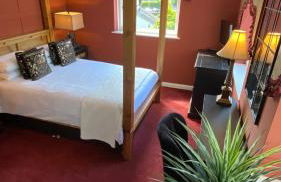
Ramblers Retreat Windermere
Windermere - Windermere
- 97 M2
- 2 Schlafzimmer
- Heizung
- Parkplatz
- Garten
21 Bewertungen


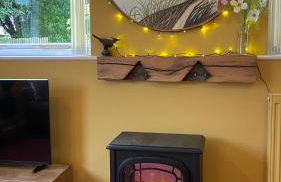
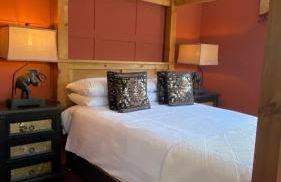
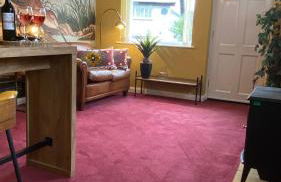
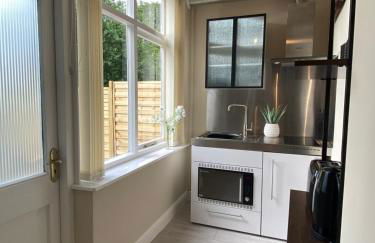
Kotel Windermere
Windermere - Windermere
- 26 M2
- 4 Personen
- Kochnische
- Heizung
- Parkplatz
- Garten
- Tv
- Schornstein
- Handtücher
- Bettlaken
212 Bewertungen


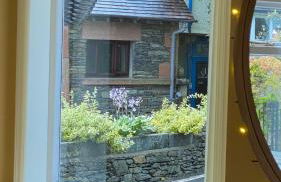
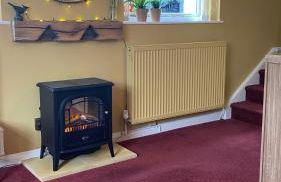
The Cosy Loft, pet friendly in Windermere
Windermere - Windermere - 210 m von Windermere Railway Station (geolocation.placetype.train_station)
- 480 M2
- 2 Personen
- Heizung
15 Bewertungen


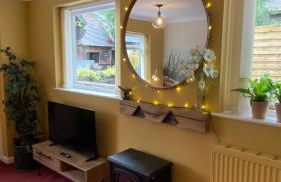
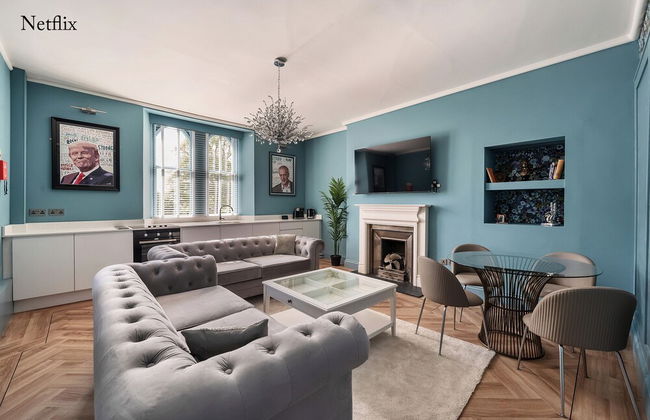
Luxury central Windermere Apartment
Windermere - Windermere
- 7 M2
- 4 Schlafzimmer
- 8 Personen
- Parkplatz
18 Bewertungen


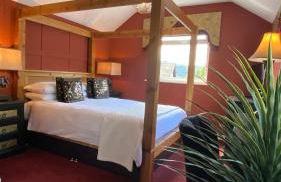
Howgill
Windermere - Windermere
- 37 M2
- 3 Schlafzimmer
- 7 Personen
- Heizung
- Schwimmbad
- Parkplatz
117 Bewertungen


The Bird House at Invergarry Pet friendly
Windermere - Windermere
- 34 M2
- 1 Schlafzimmer
- 2 Personen
- Heizung
- Parkplatz
- Garten
89 Bewertungen


Park Road Cottage
Windermere - Windermere
- 2 Schlafzimmer
- 4 Personen
- Heizung
- Parkplatz
- Garten
20 Bewertungen