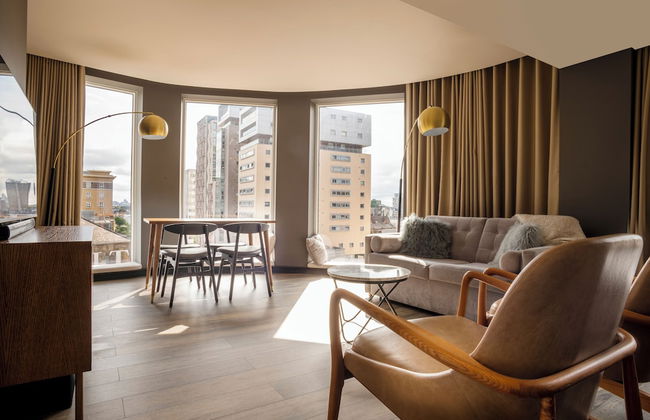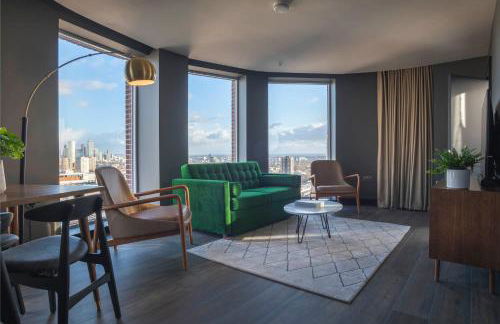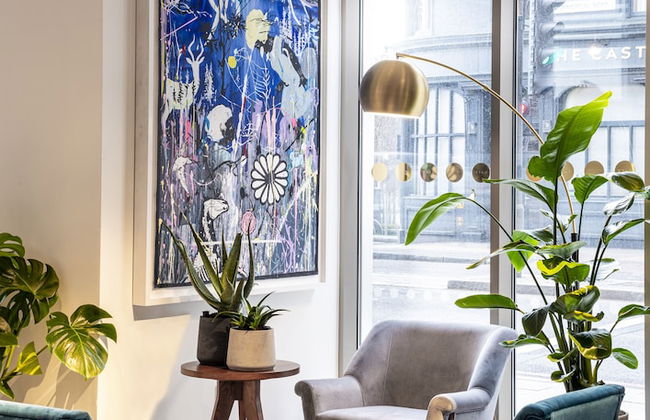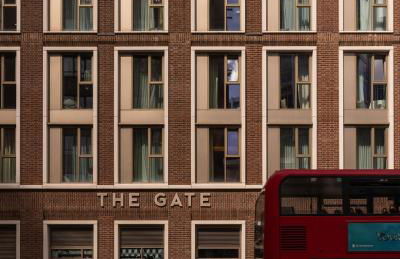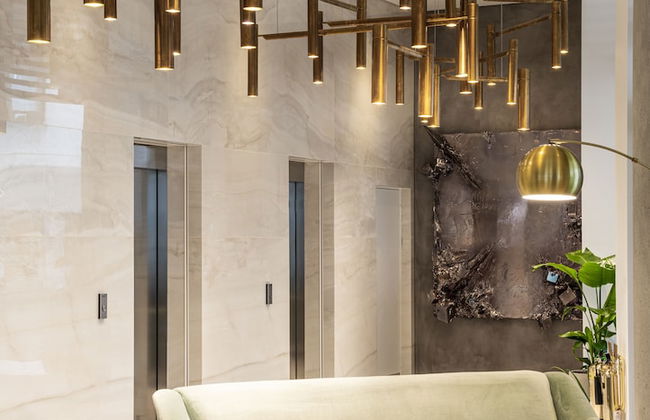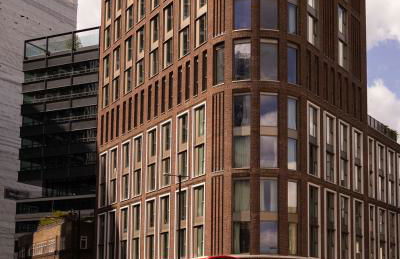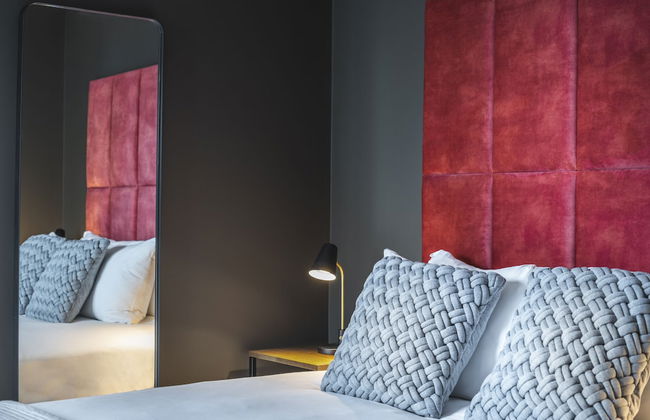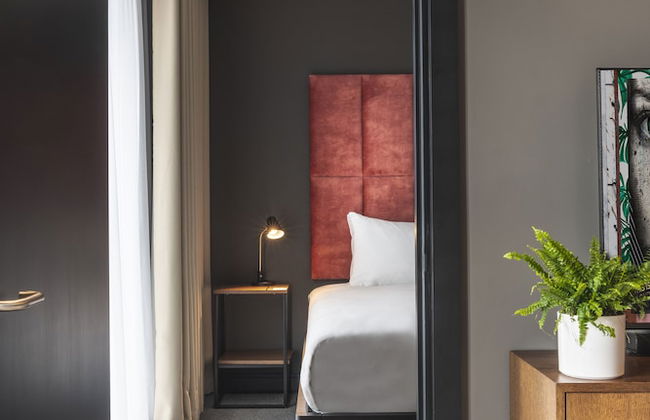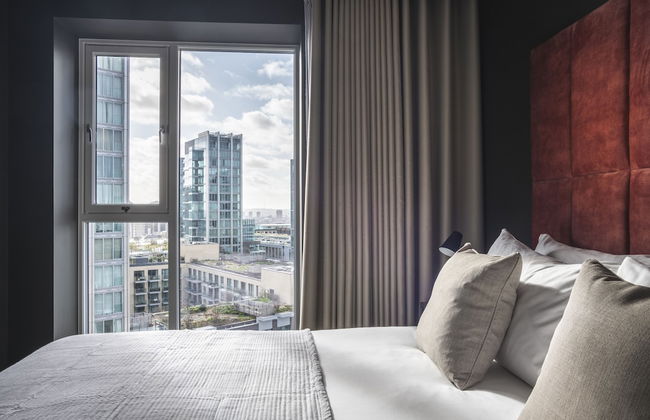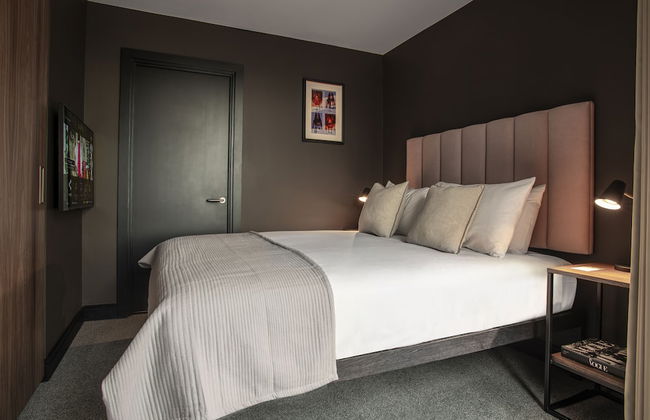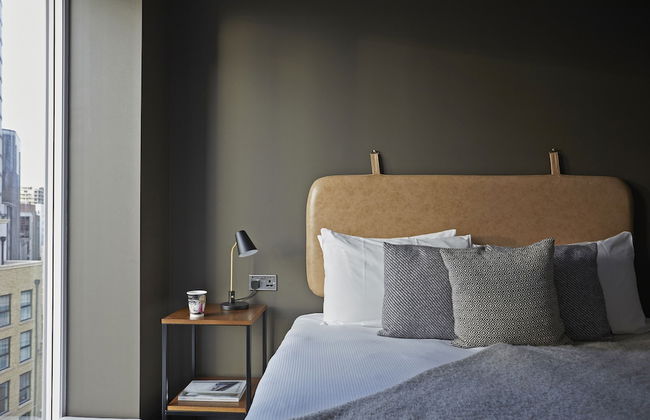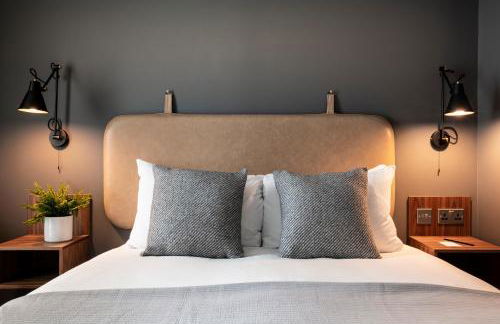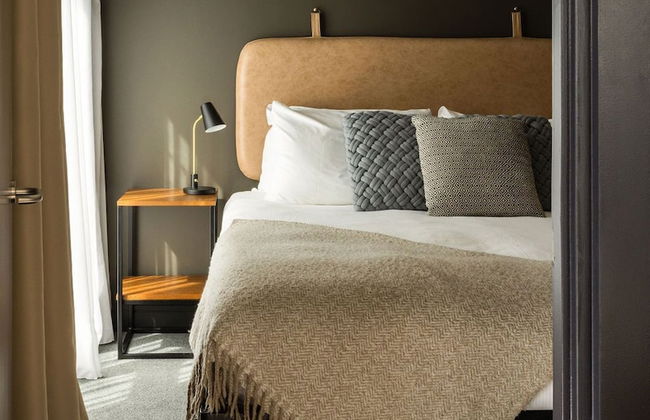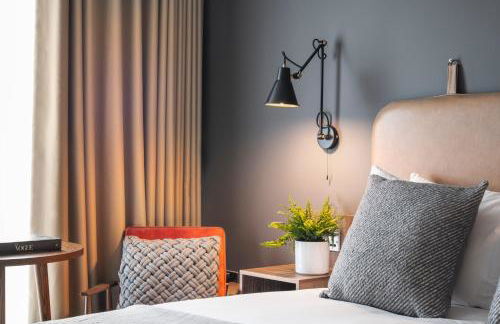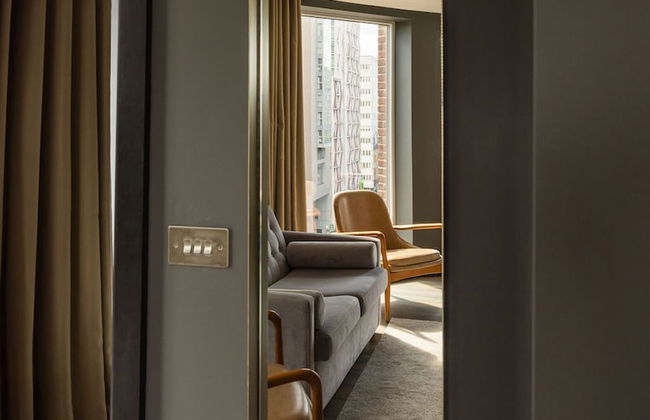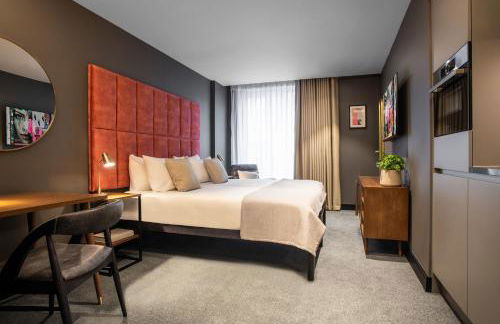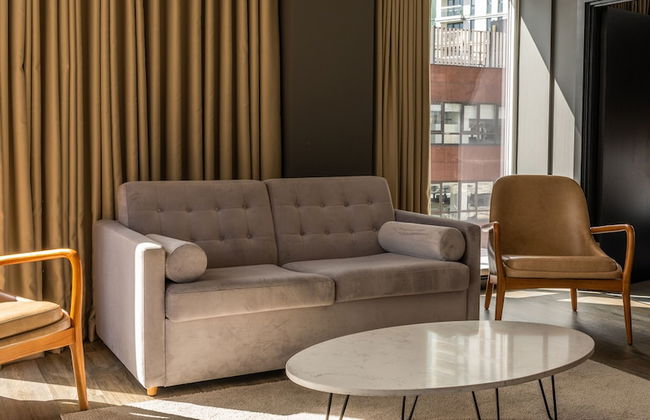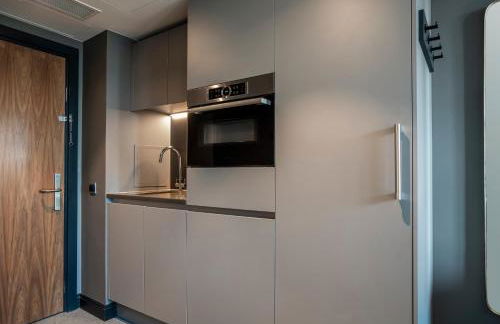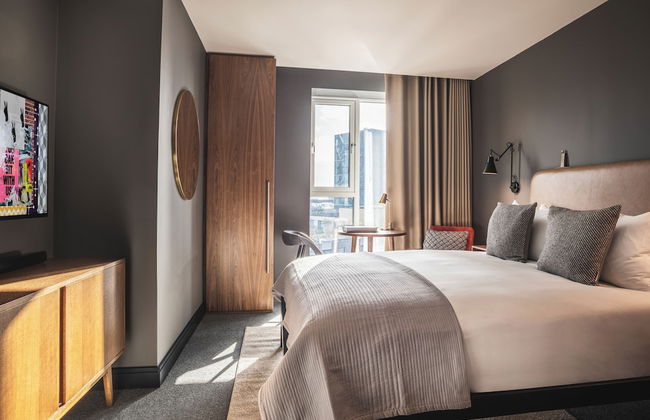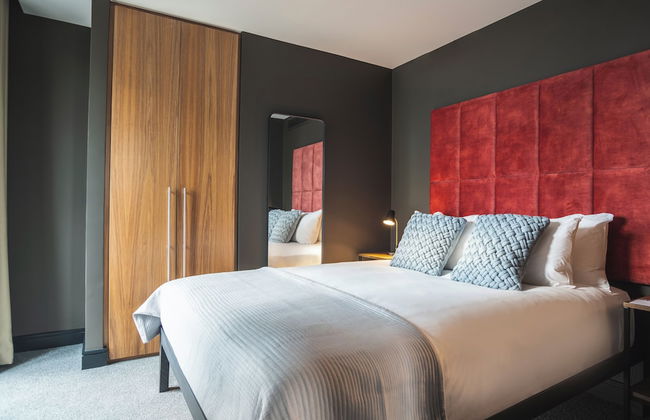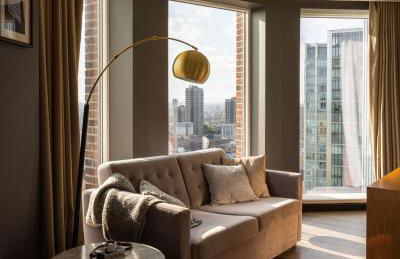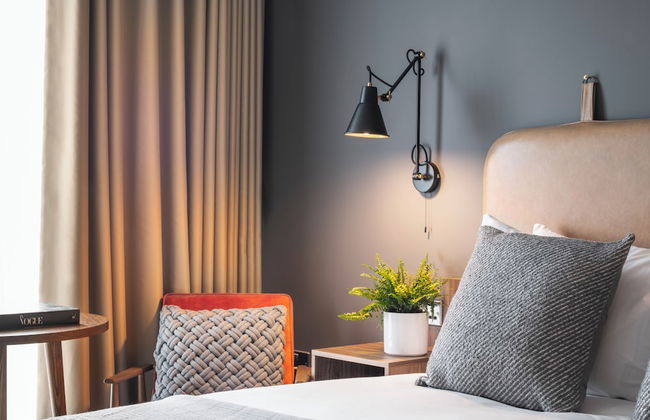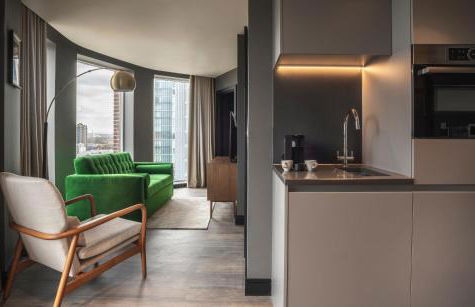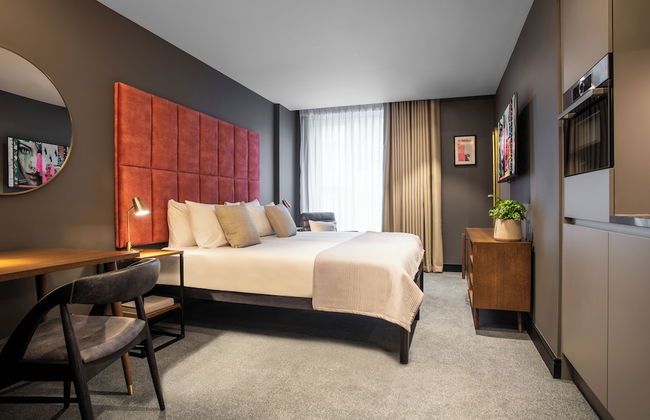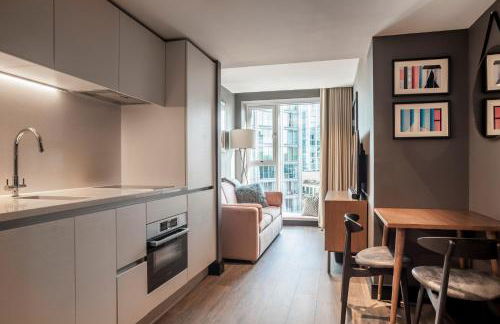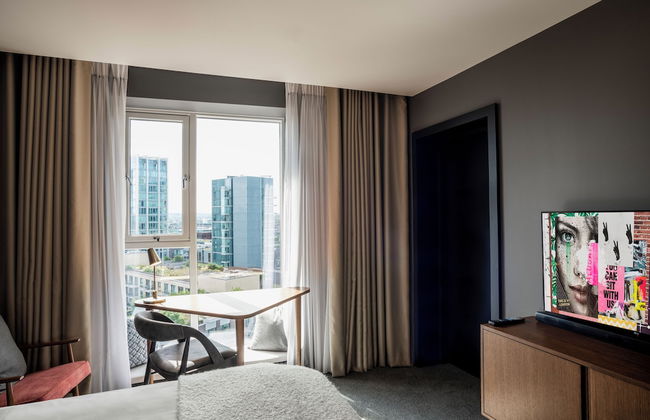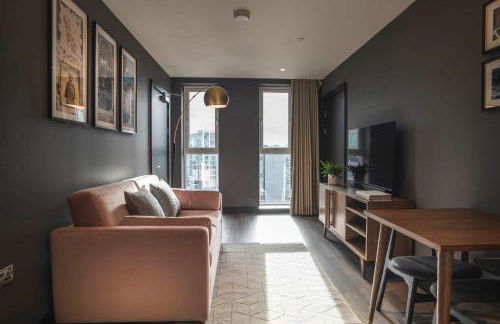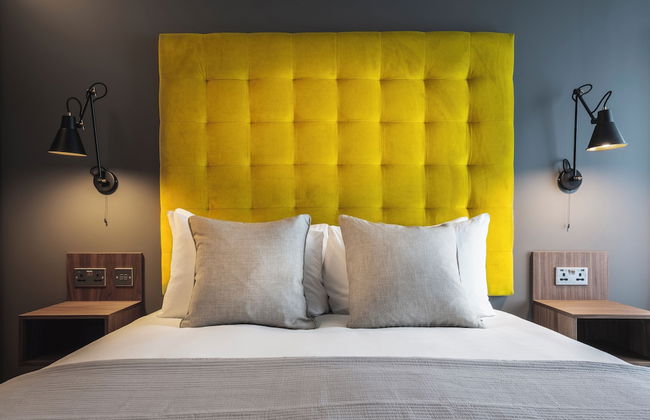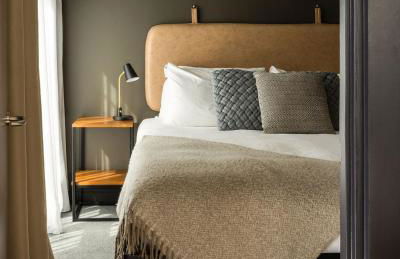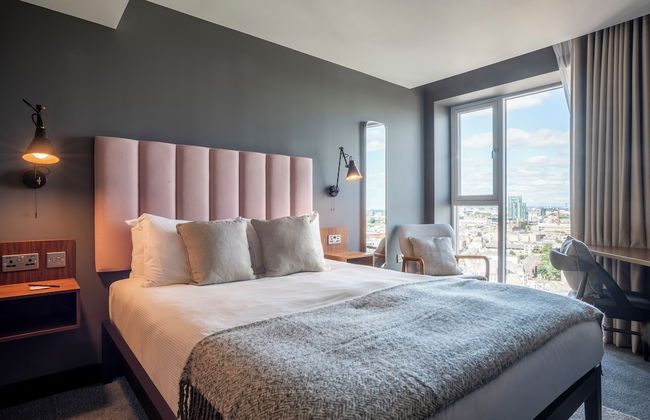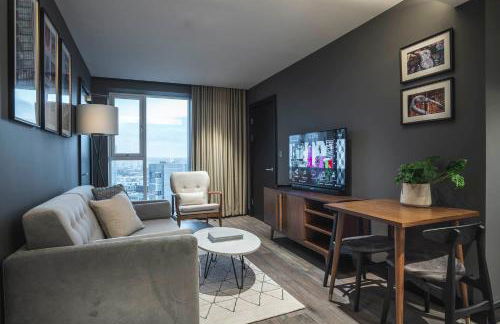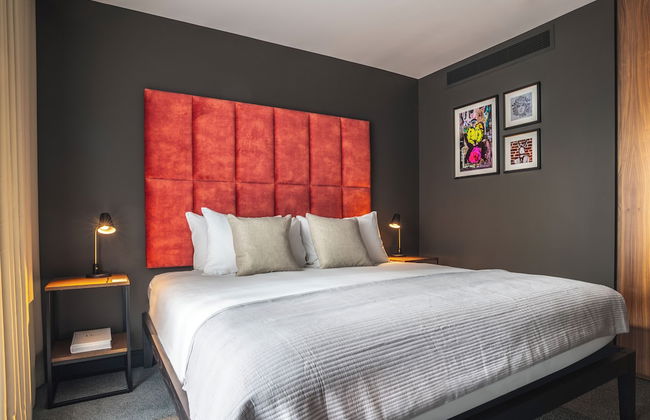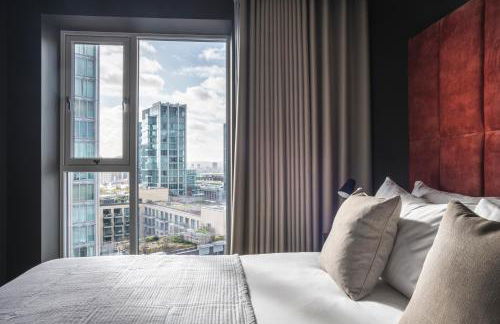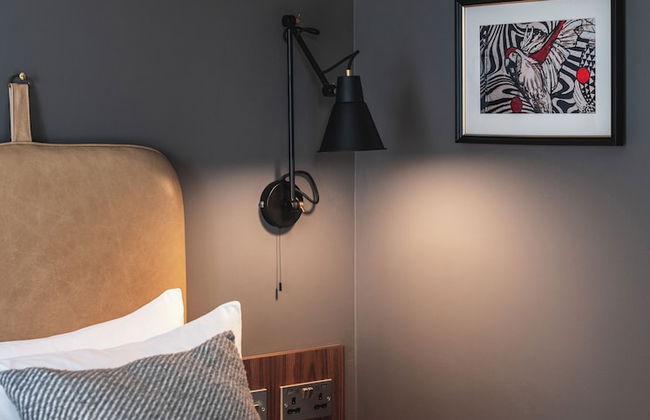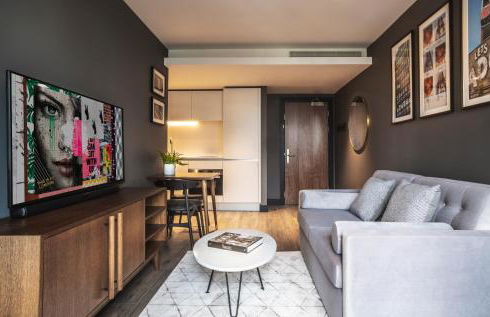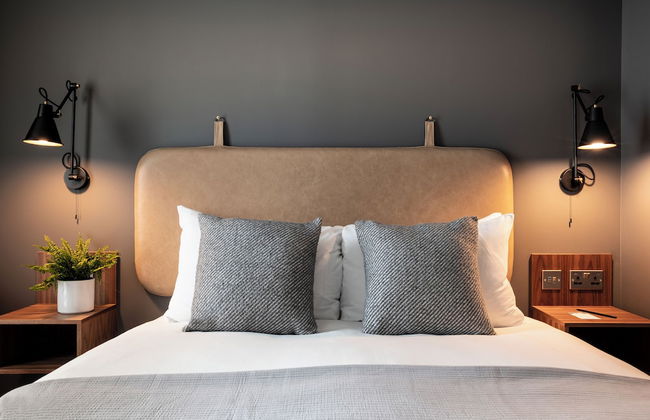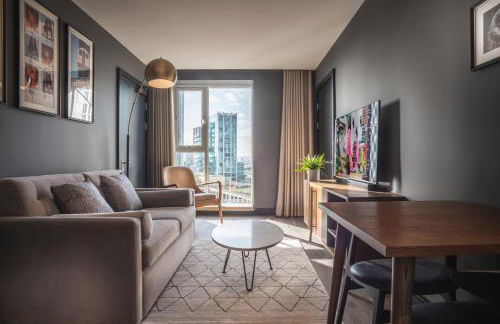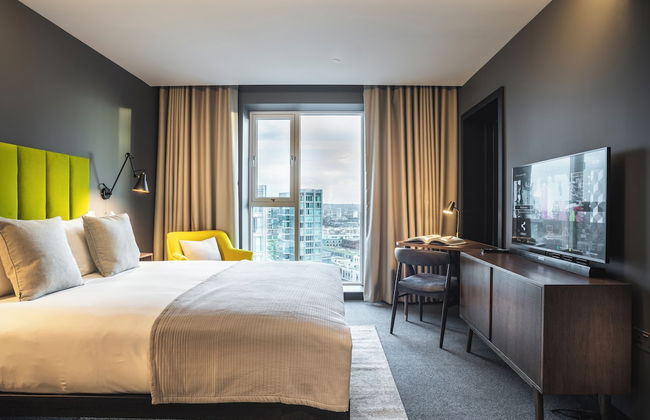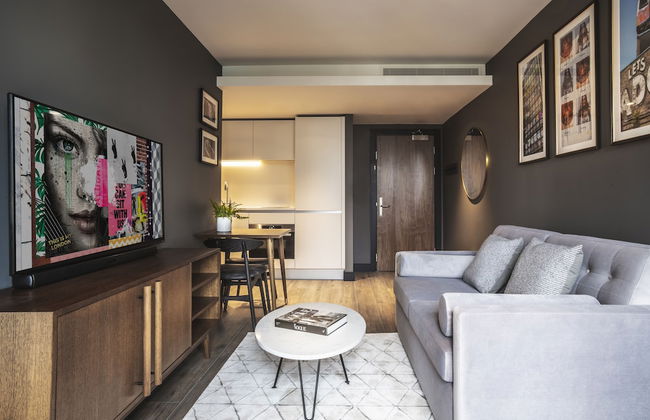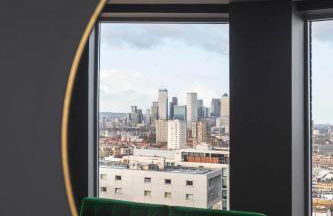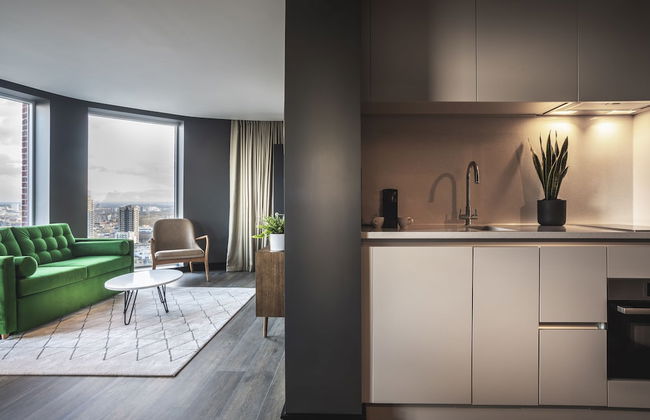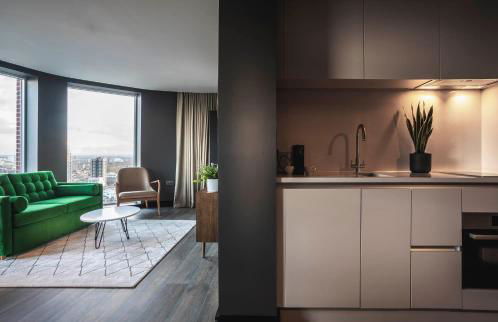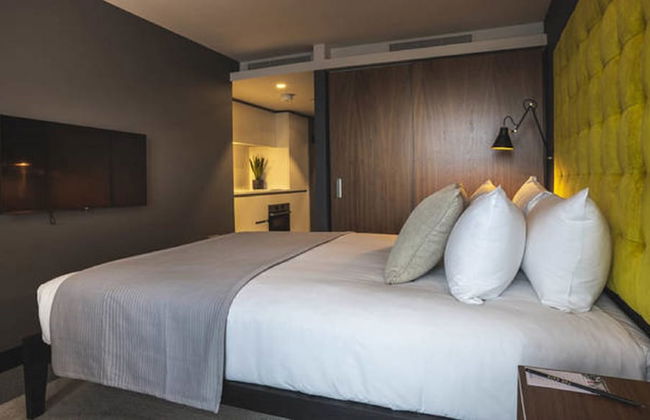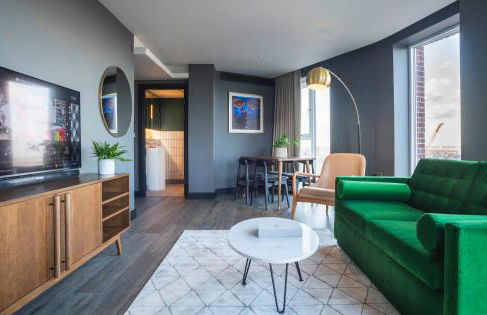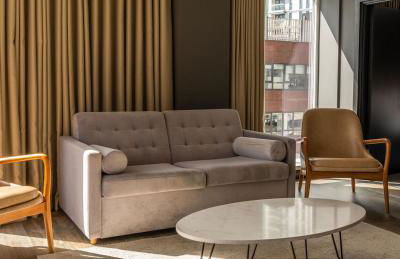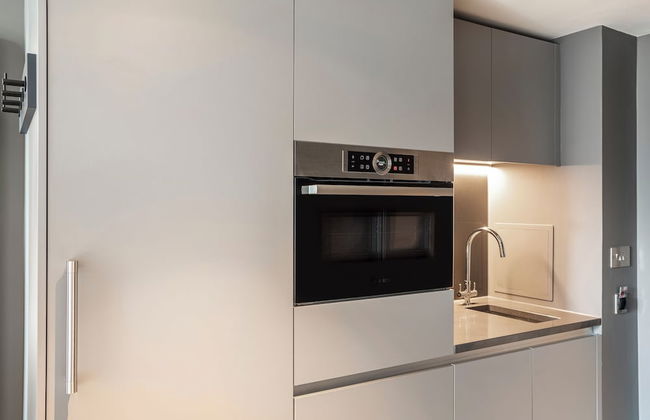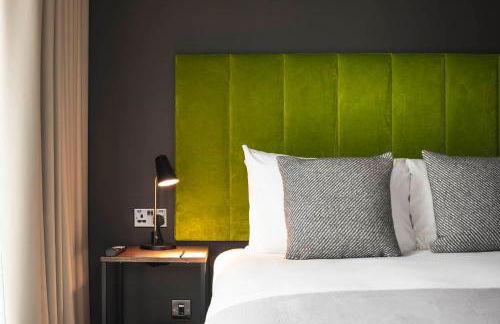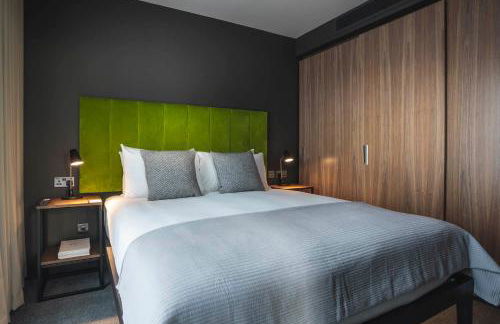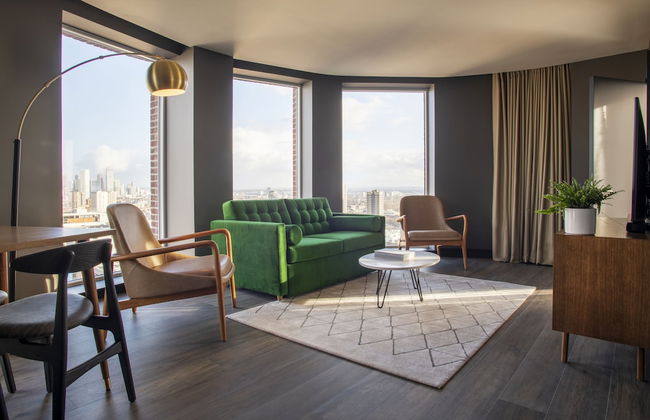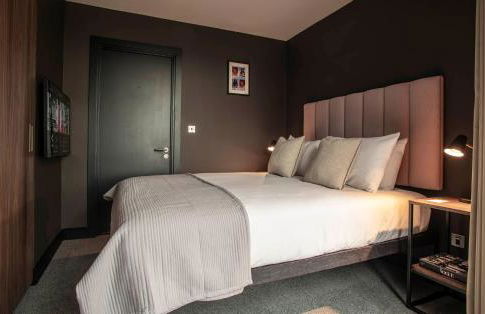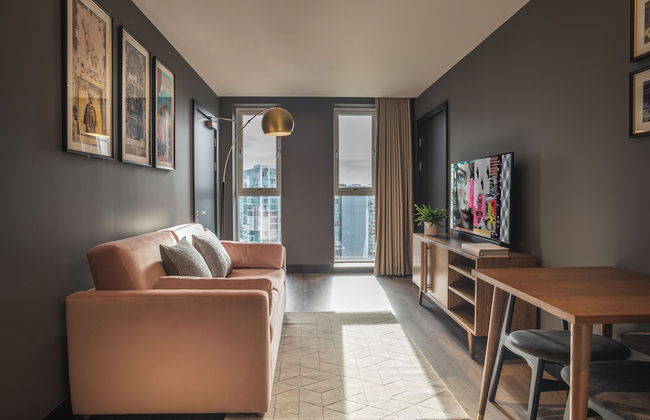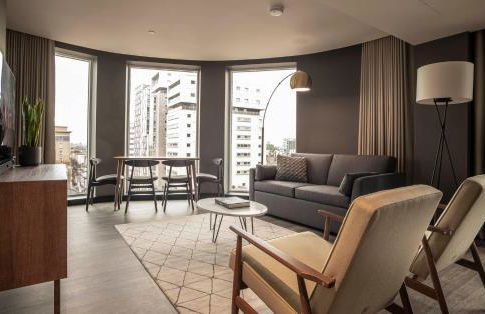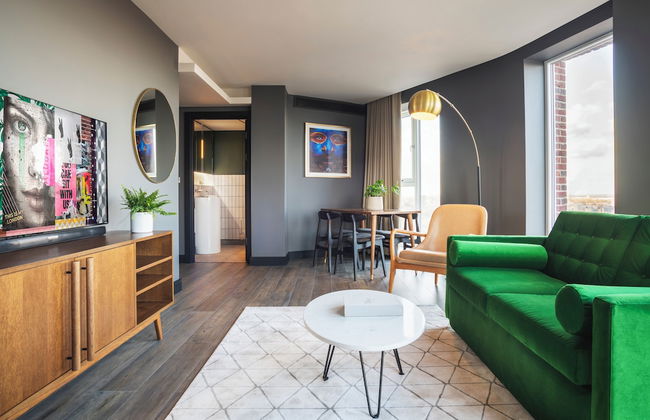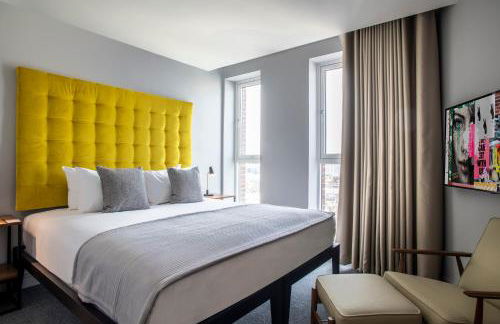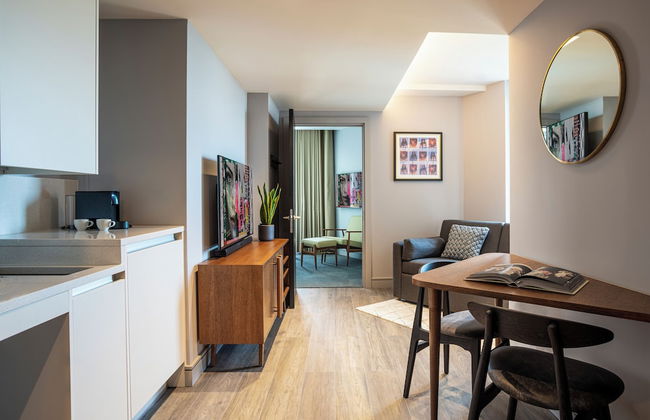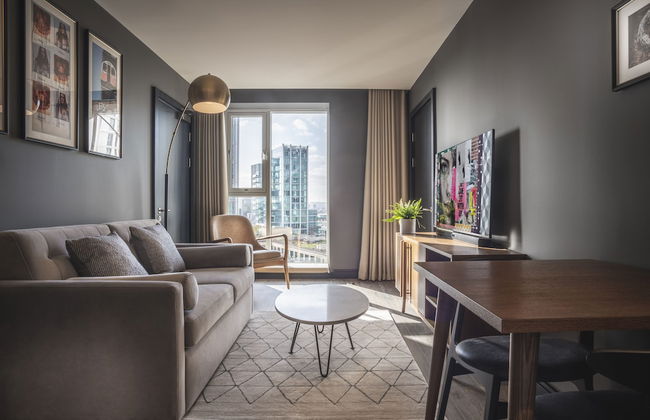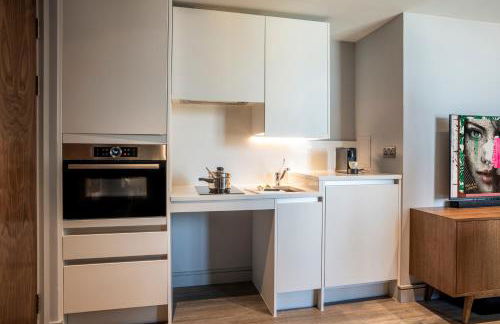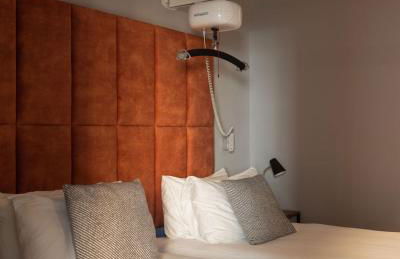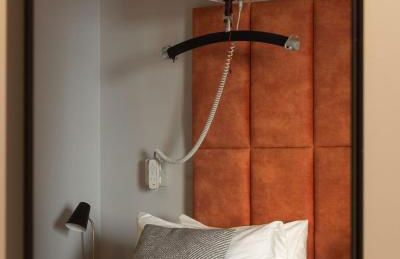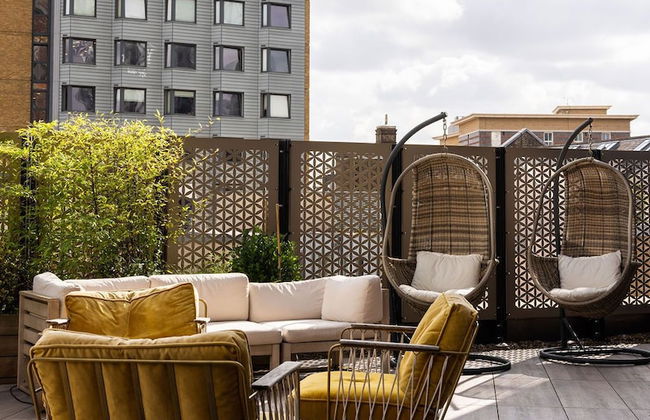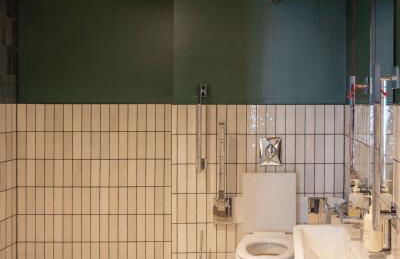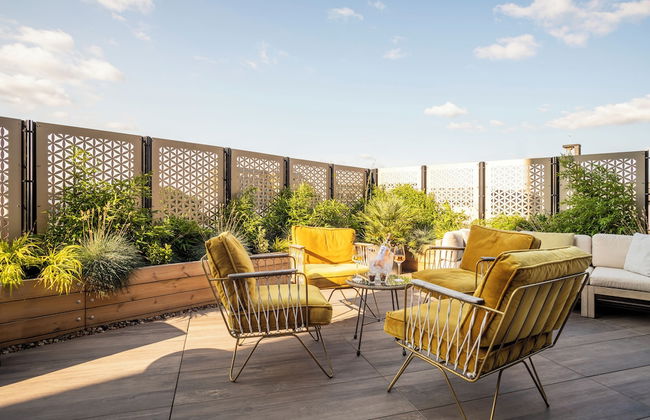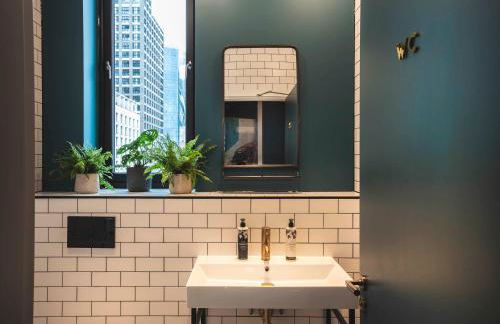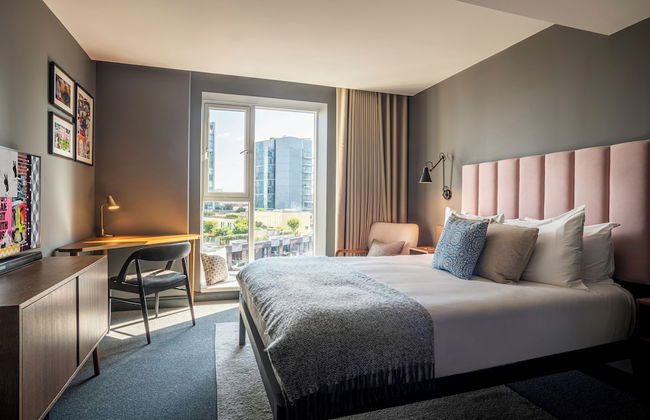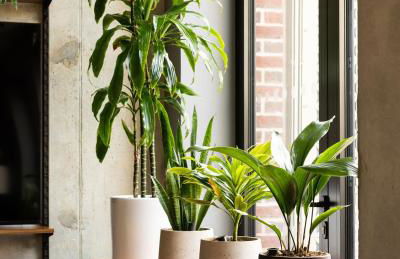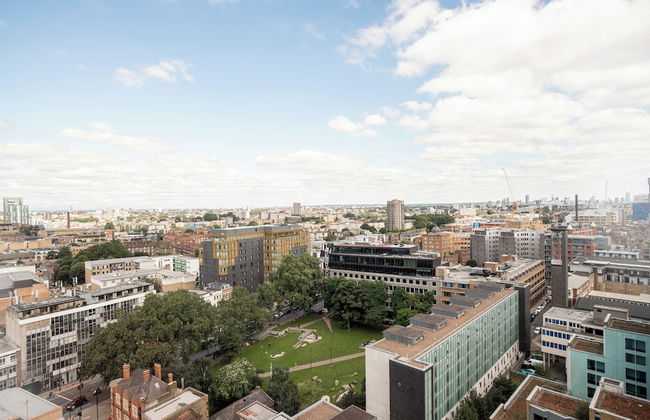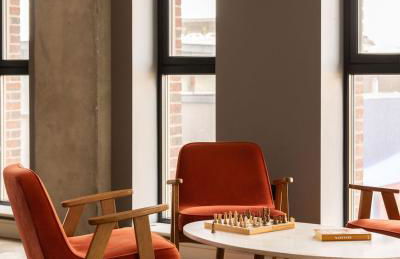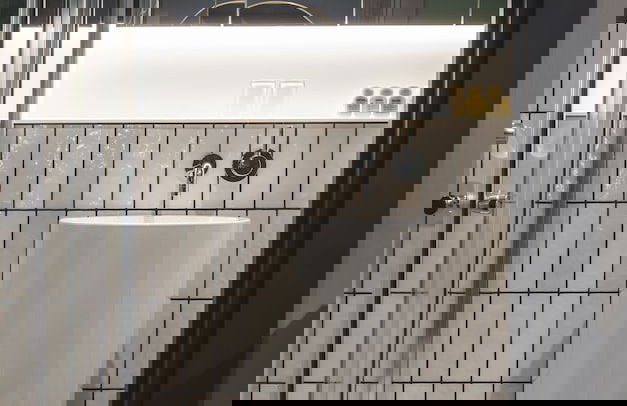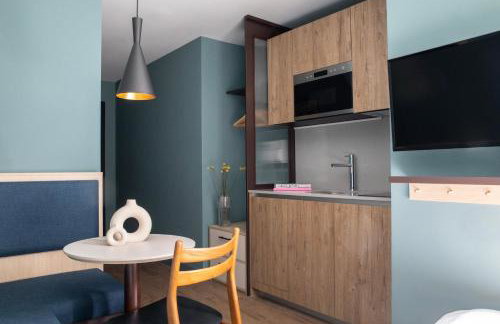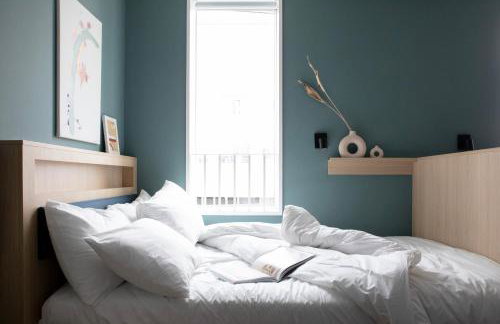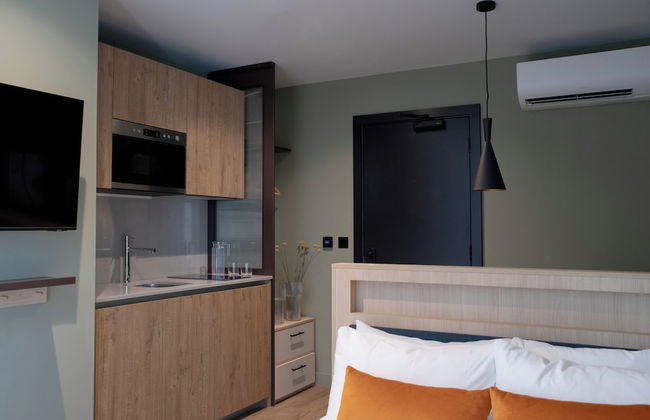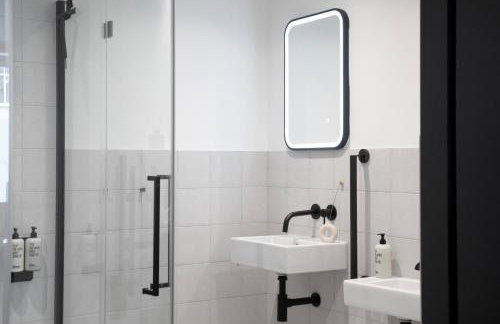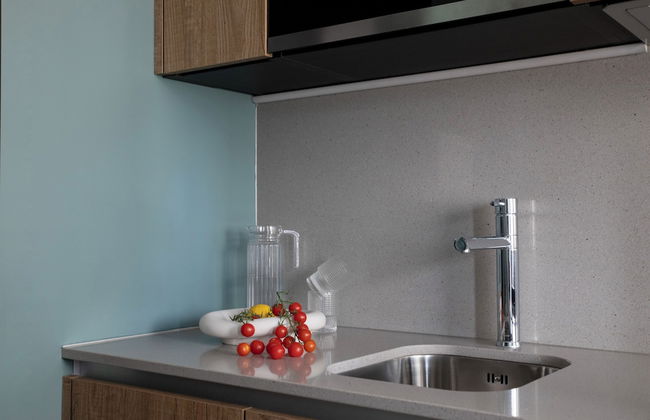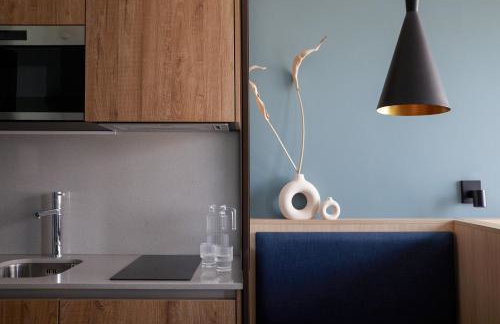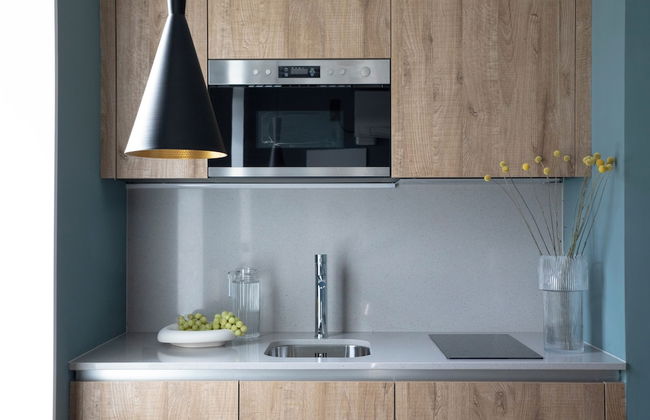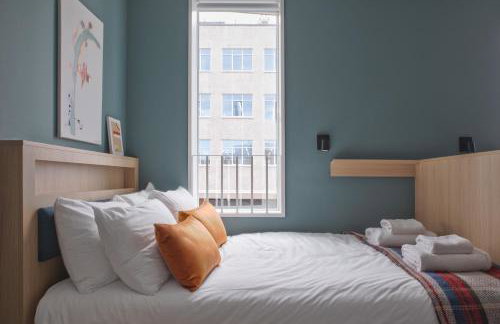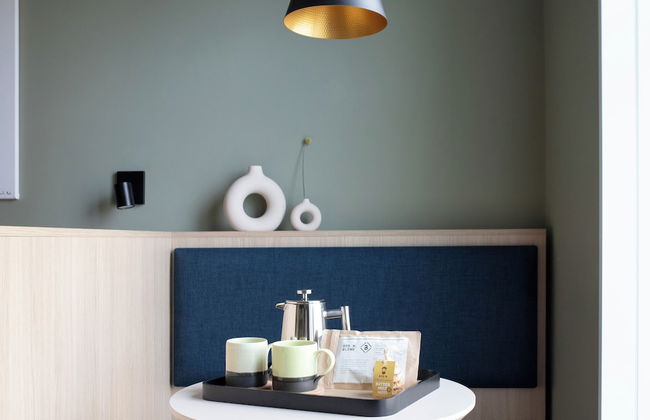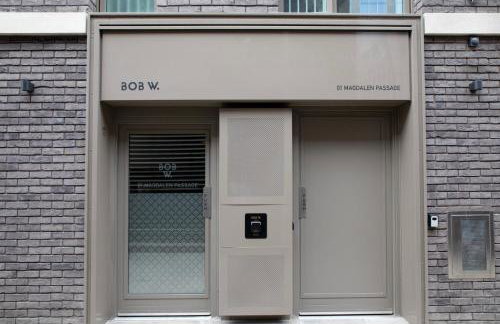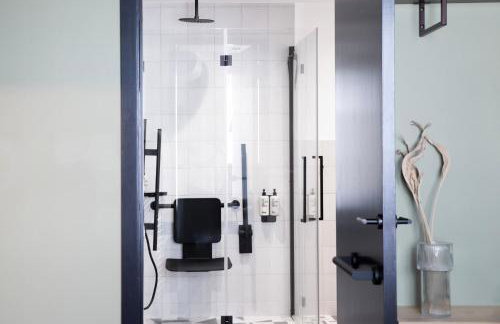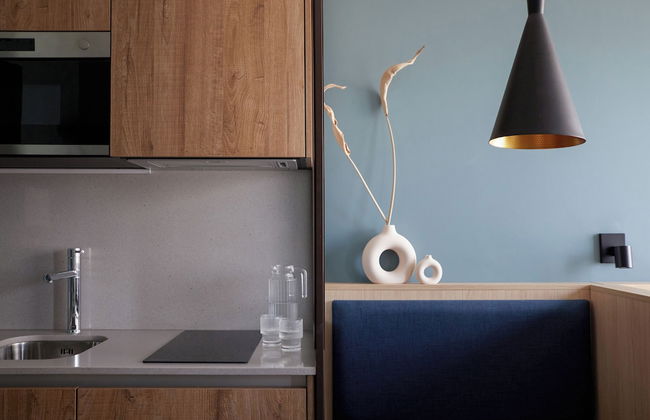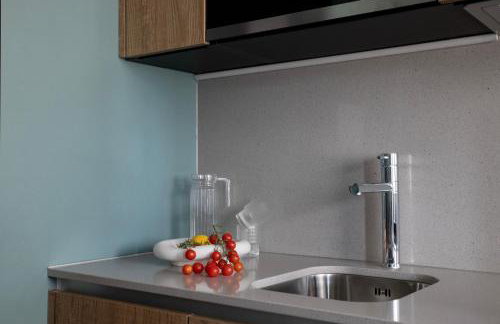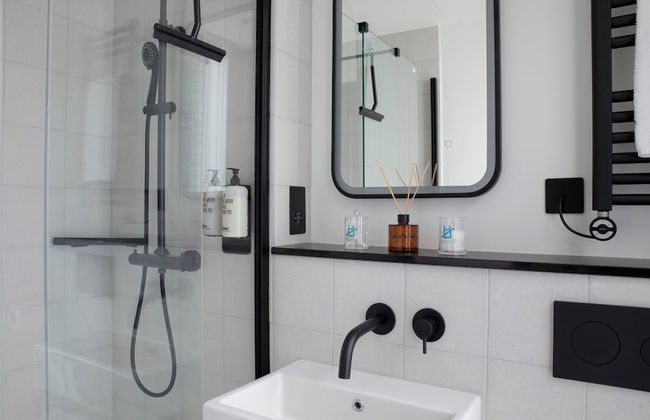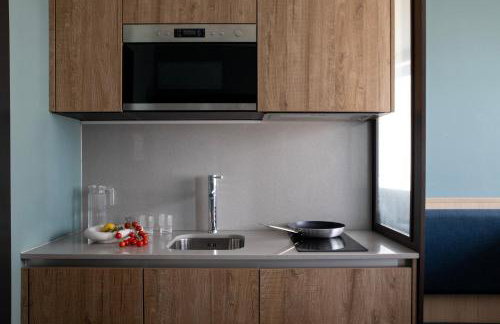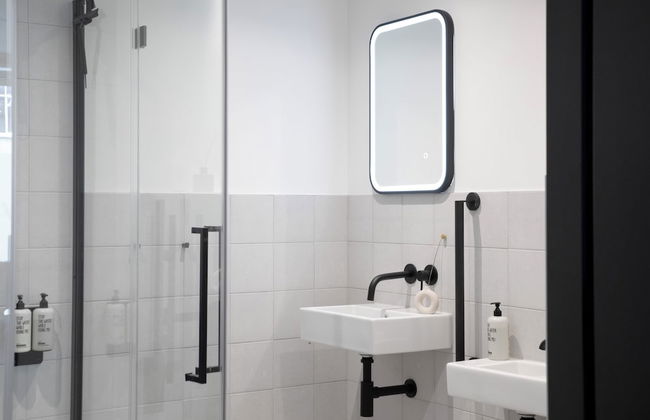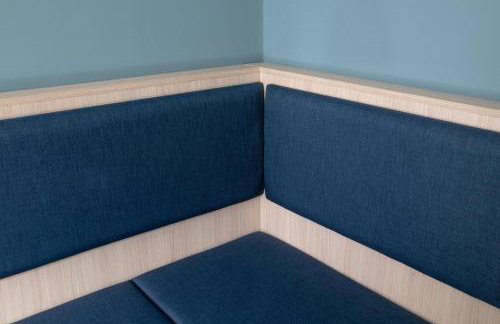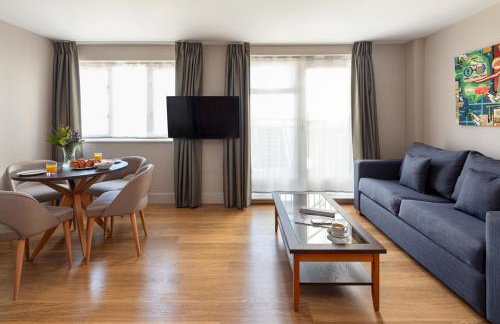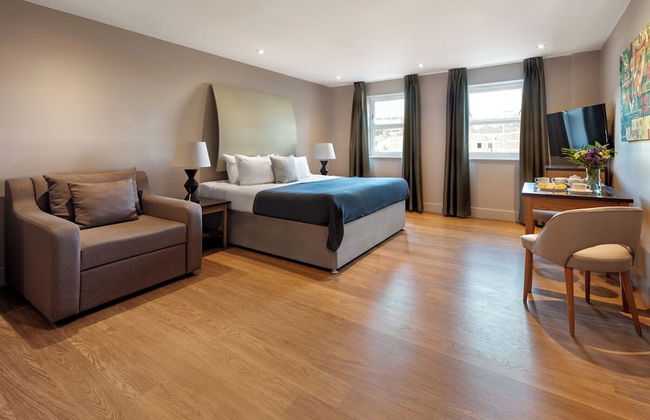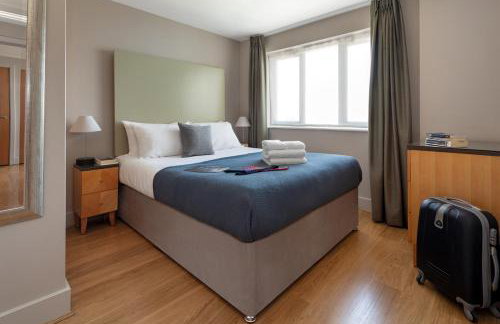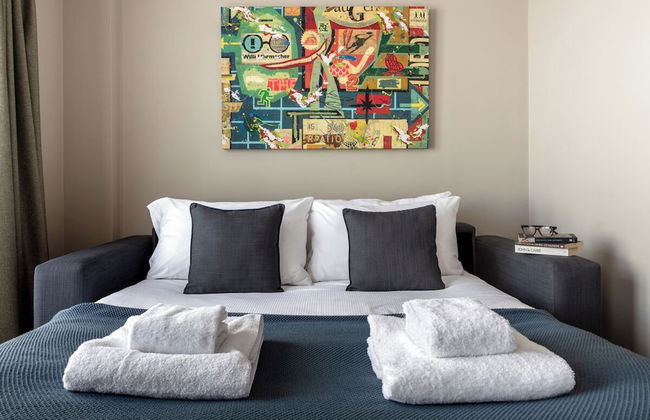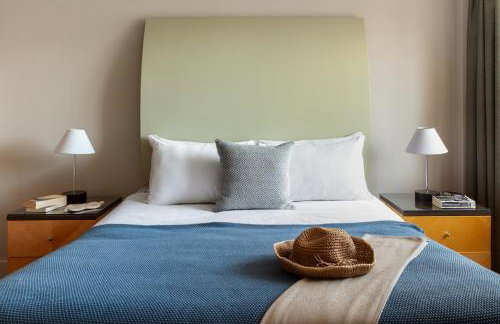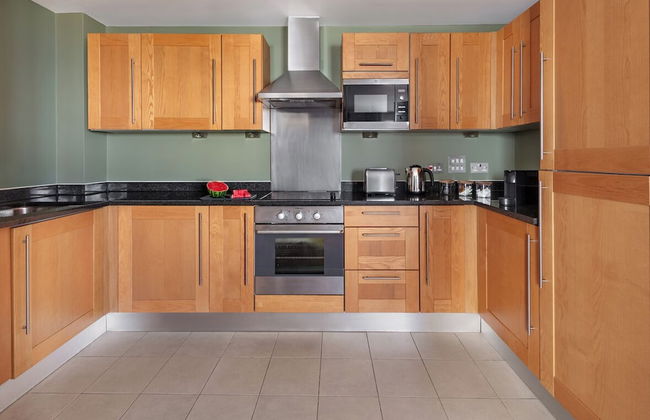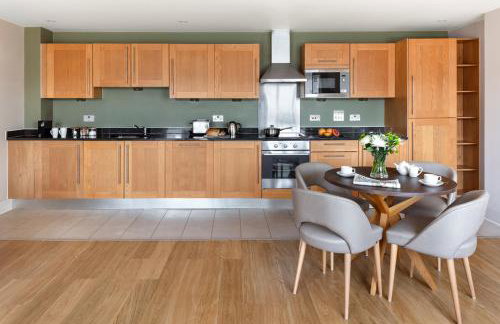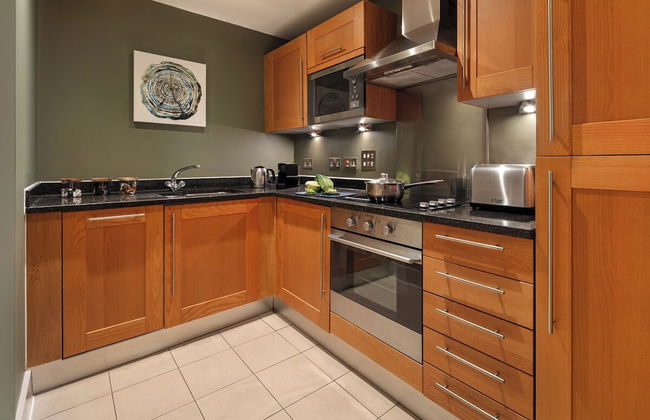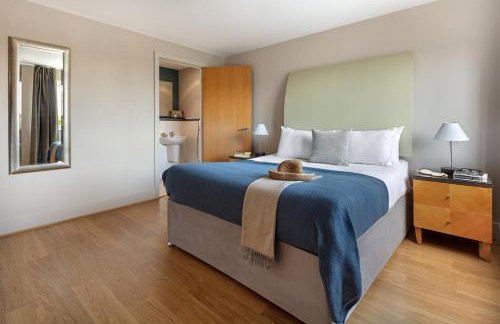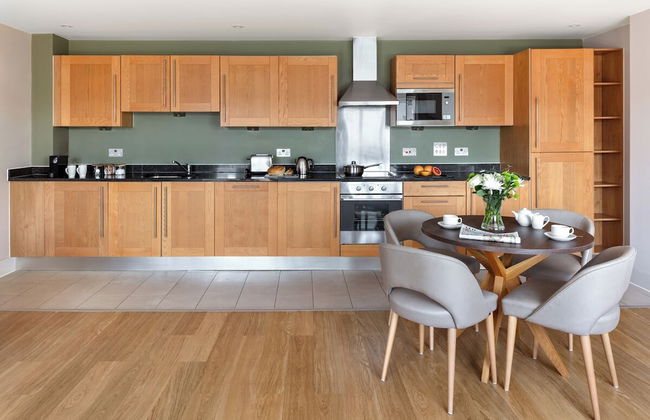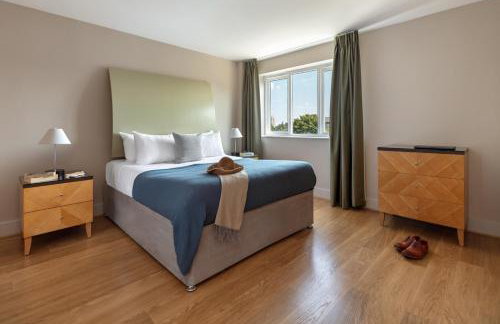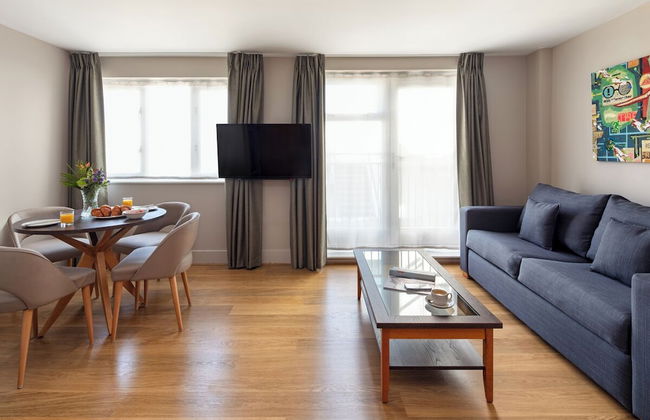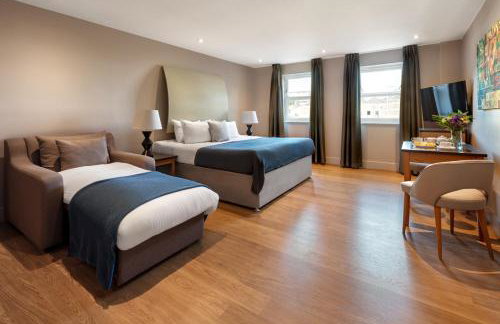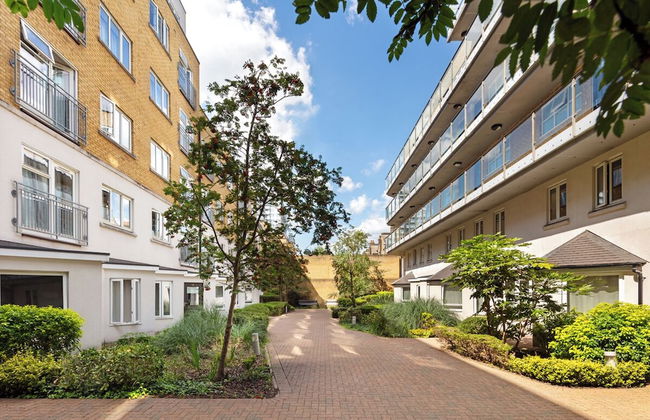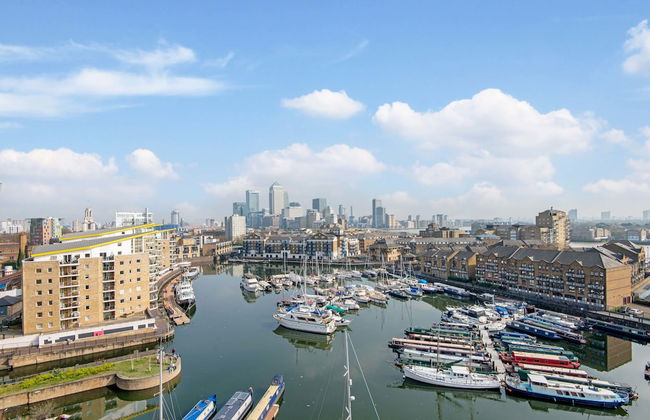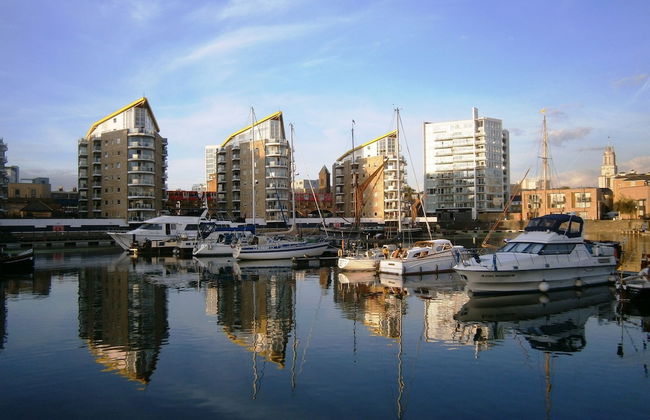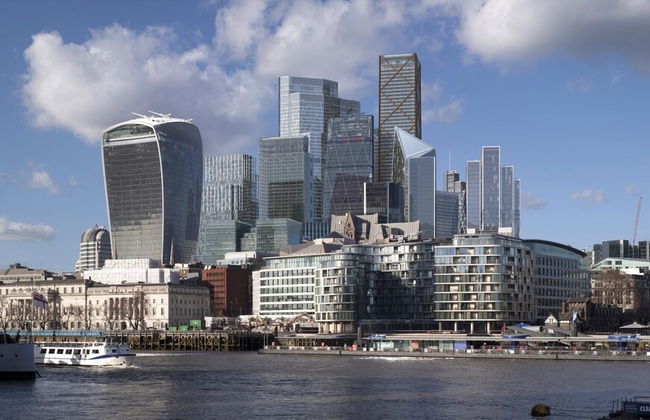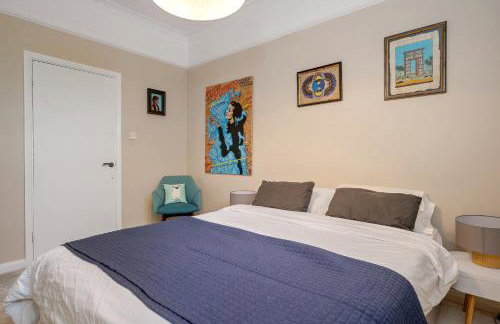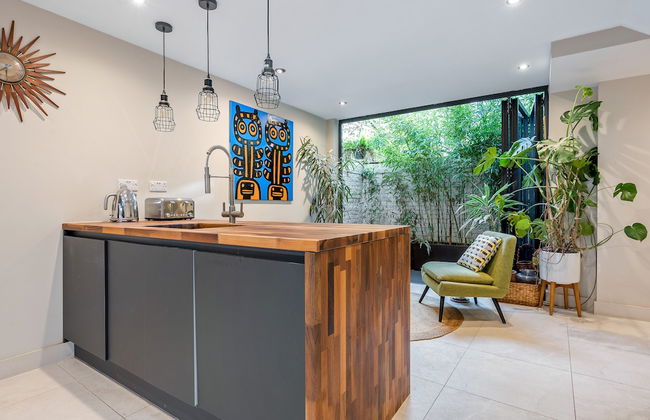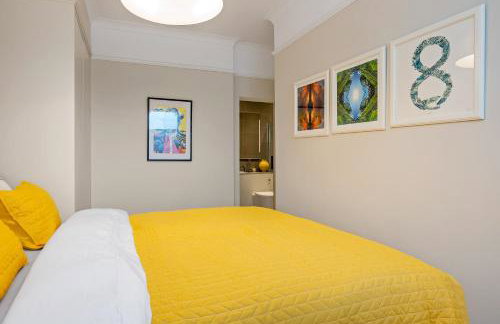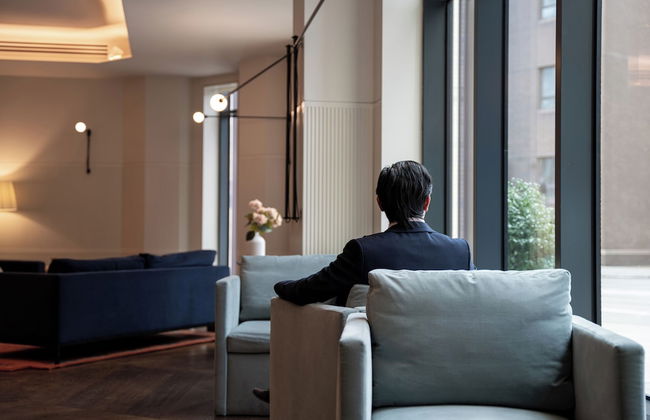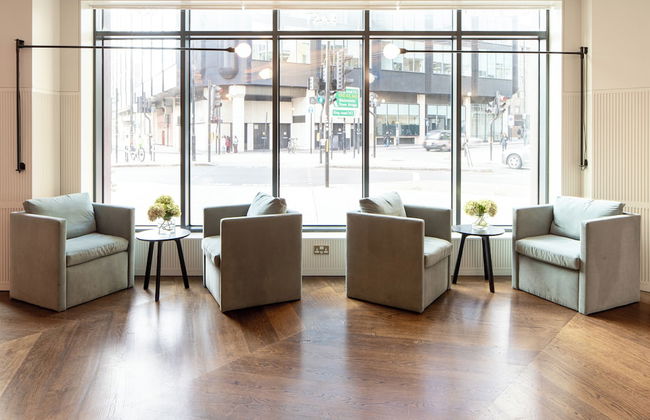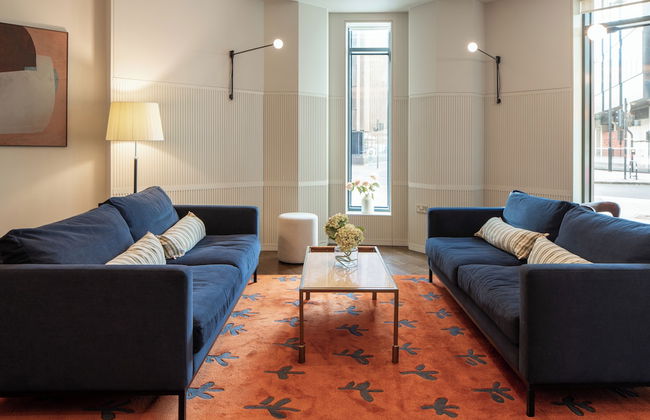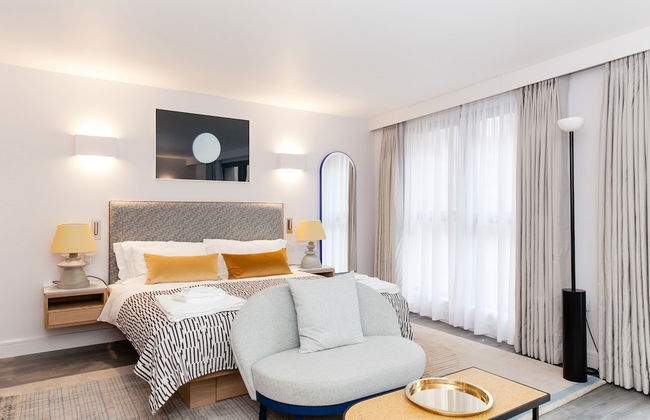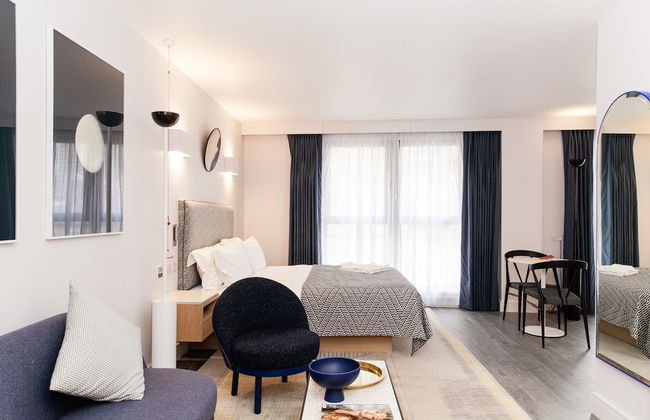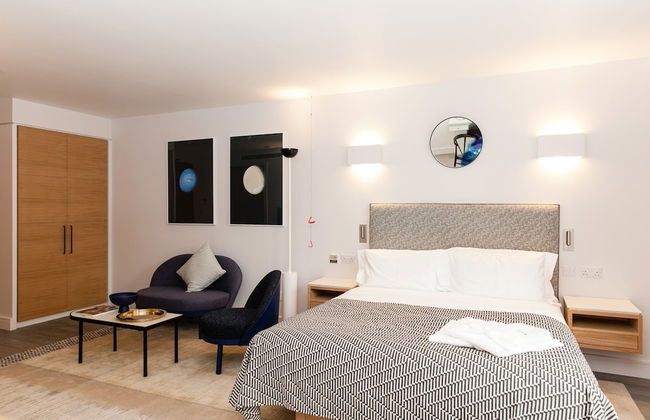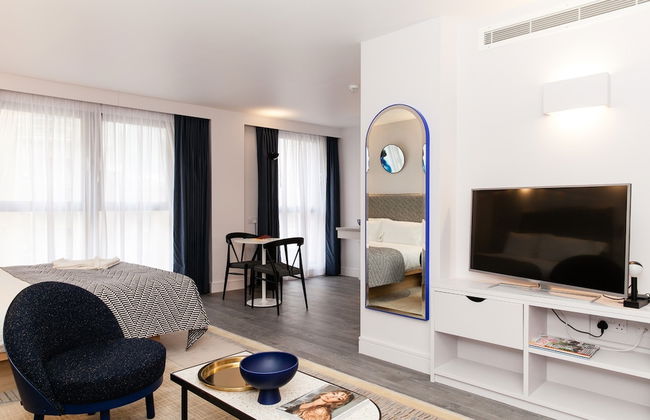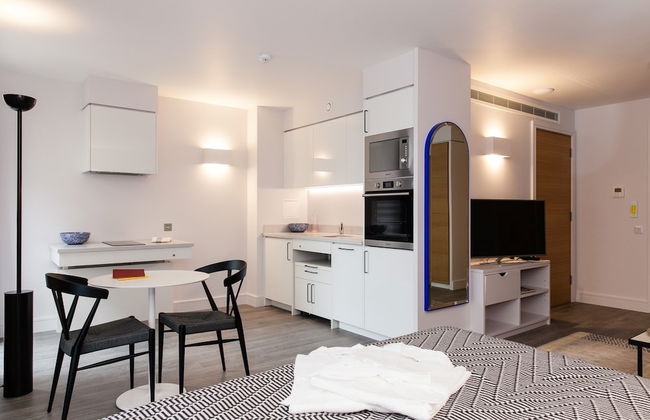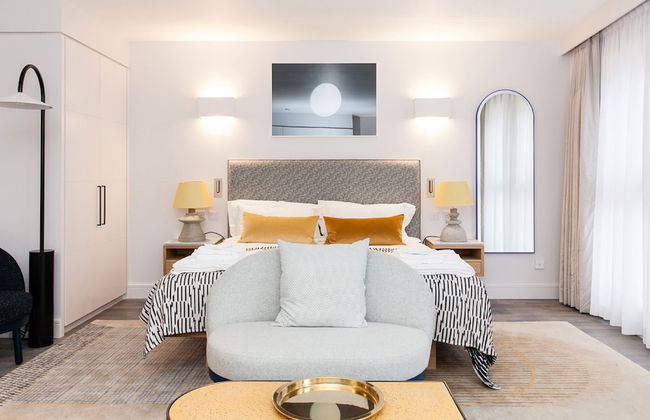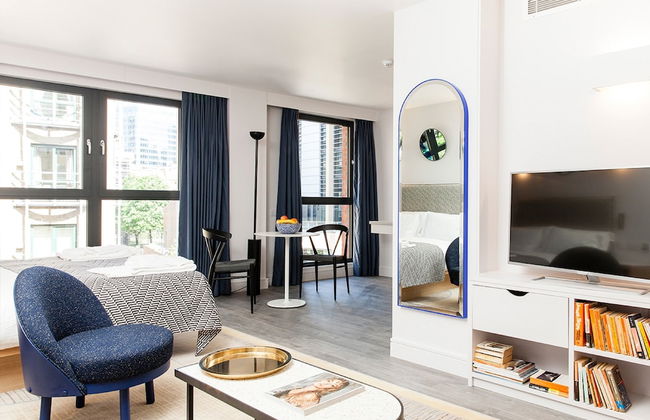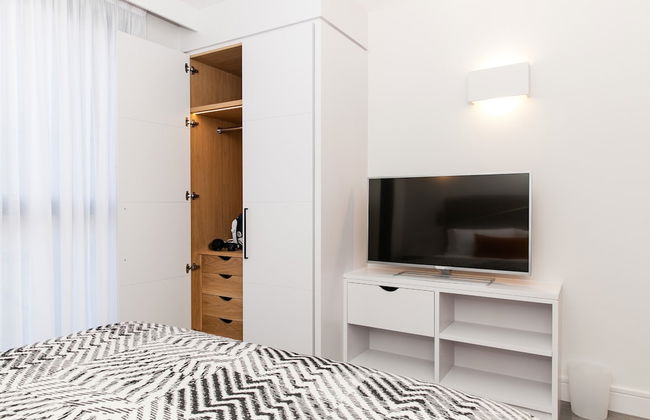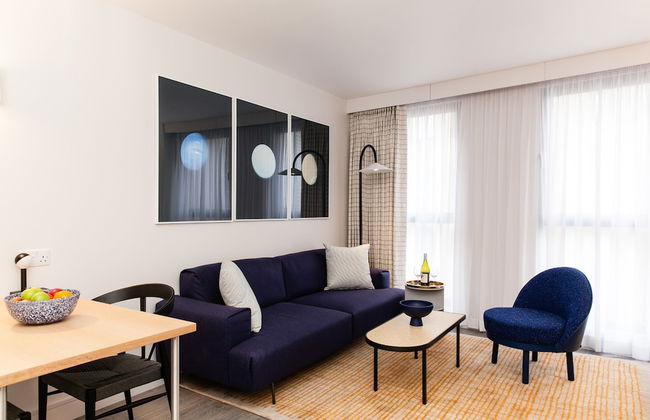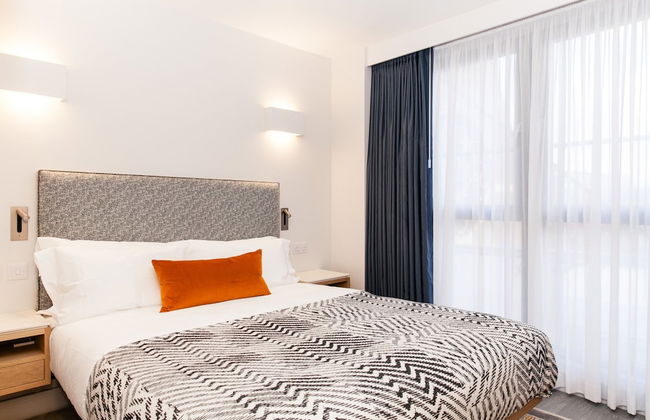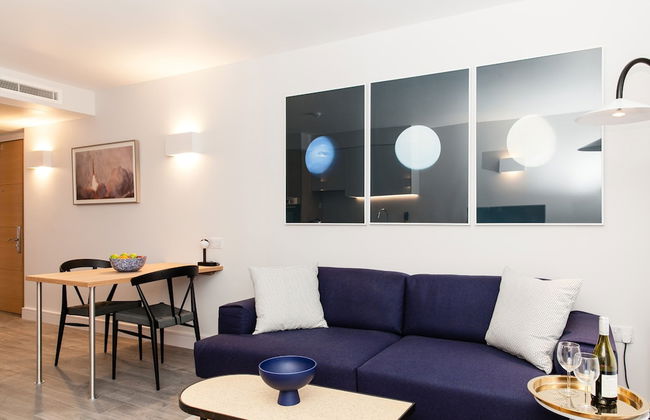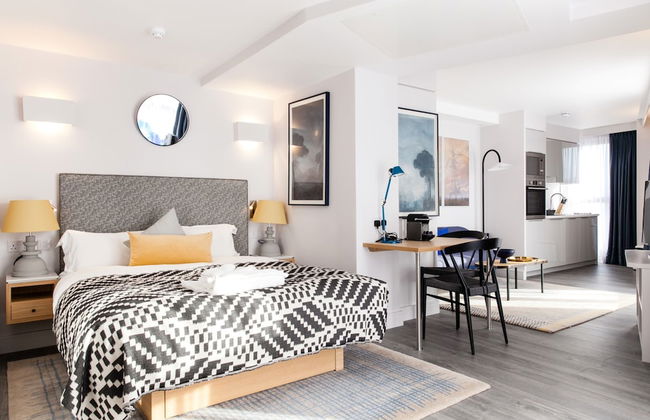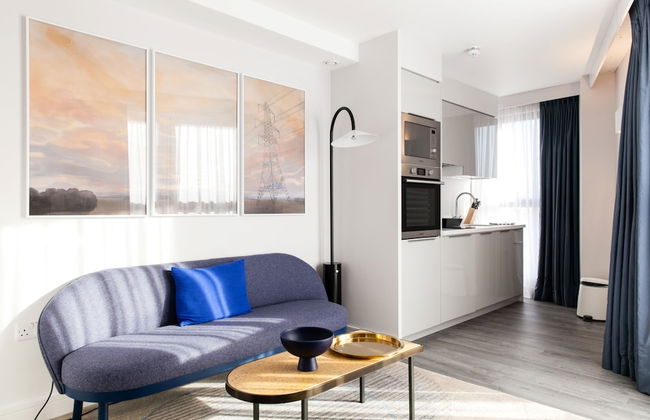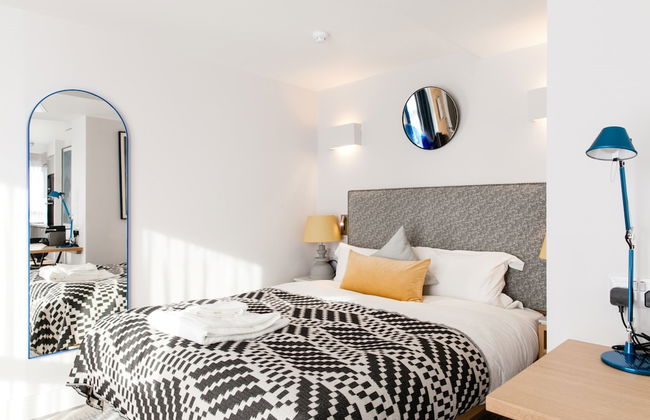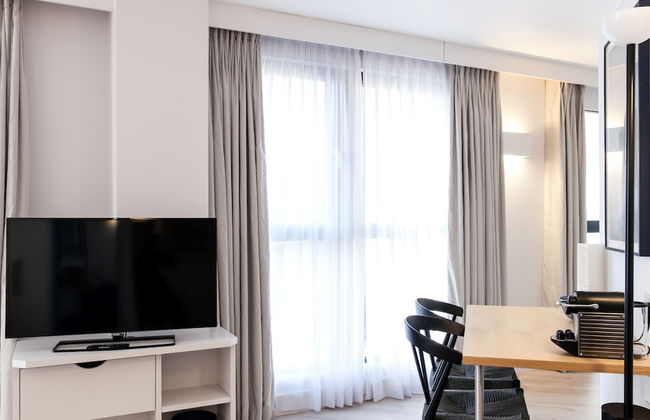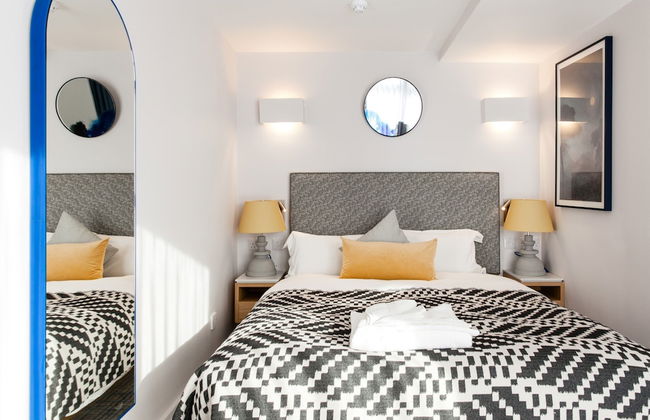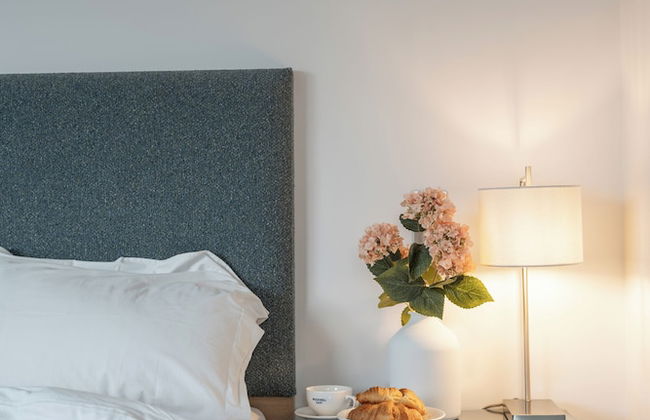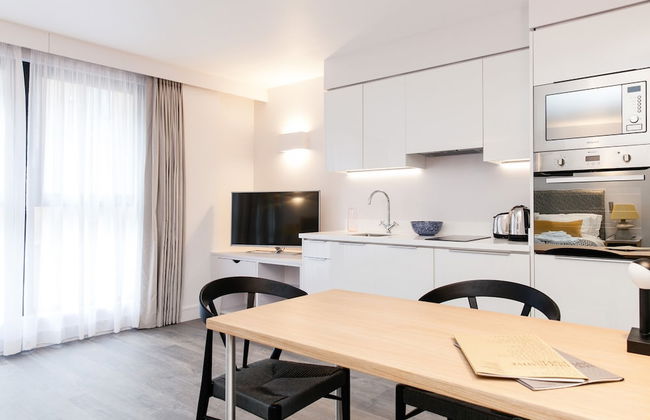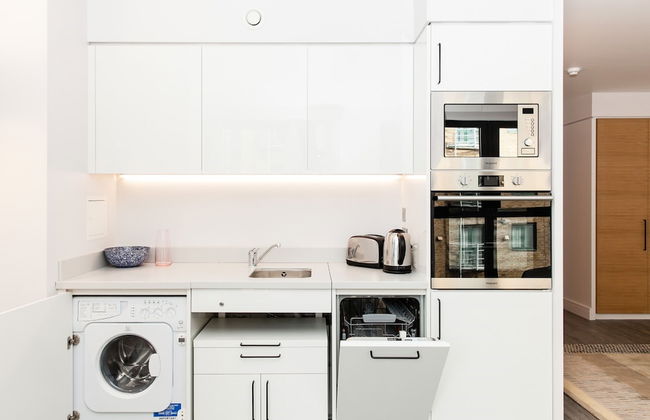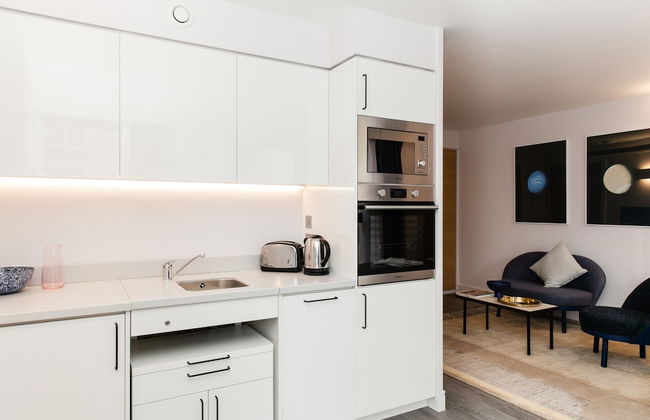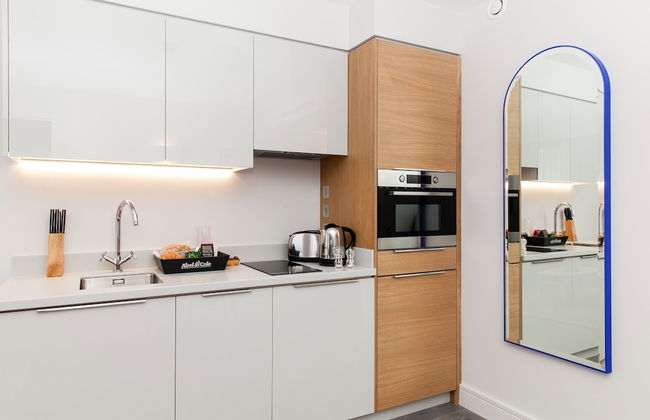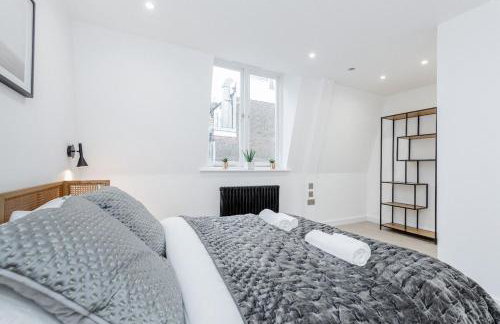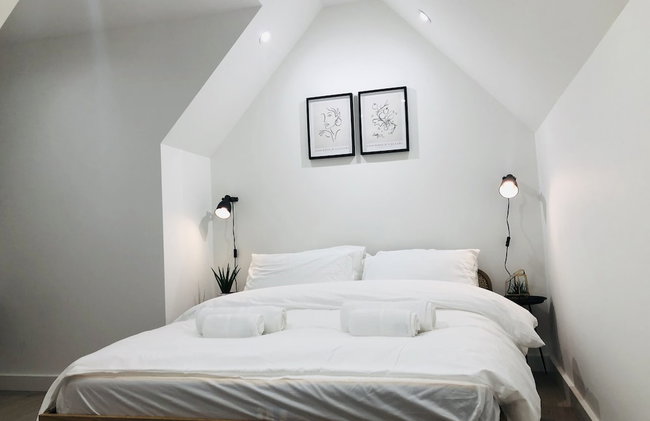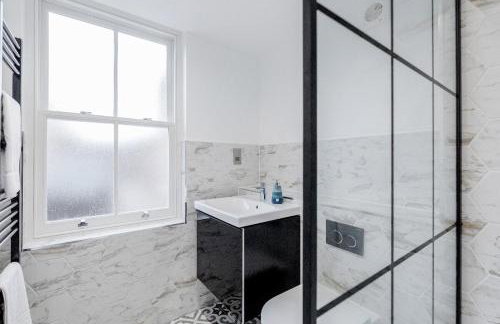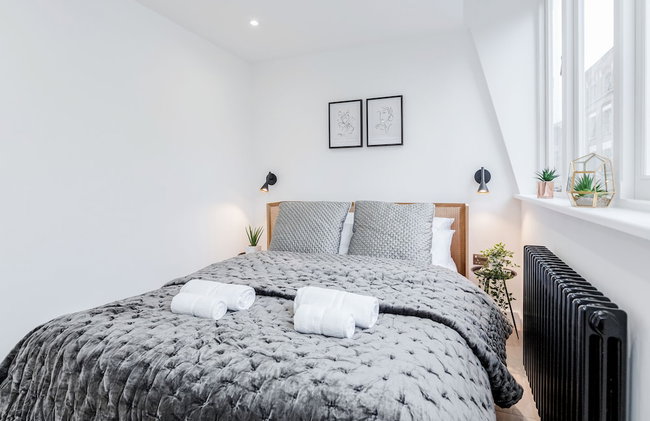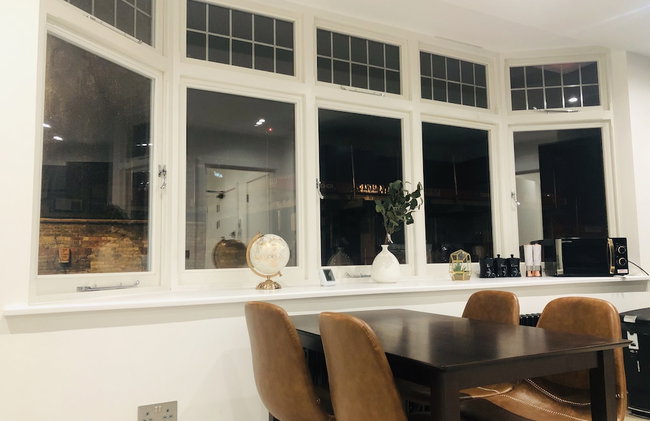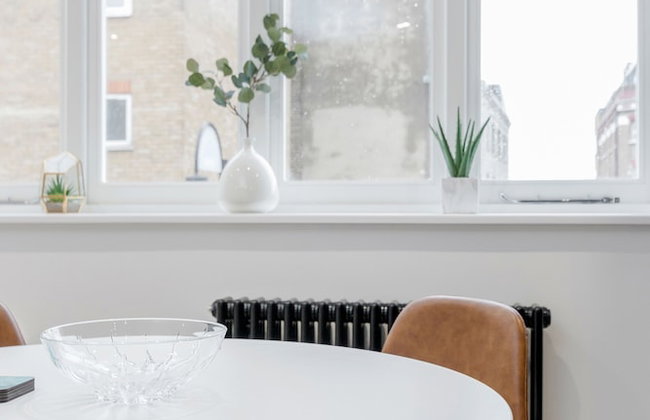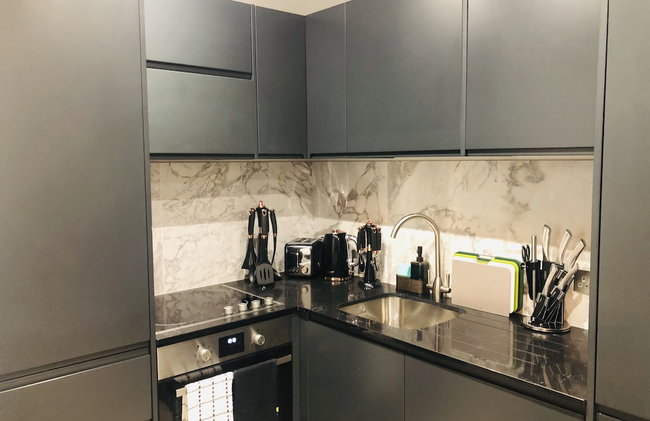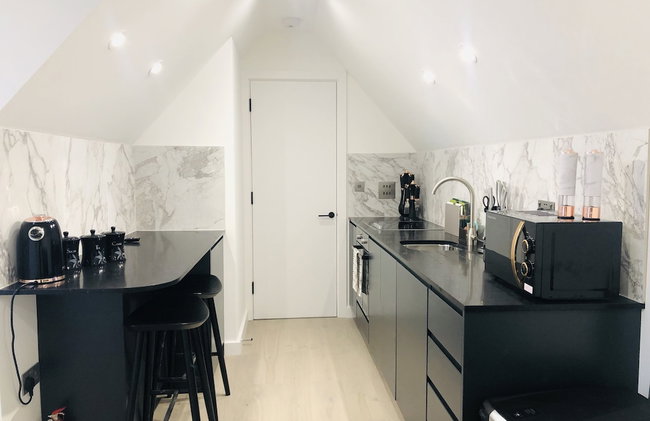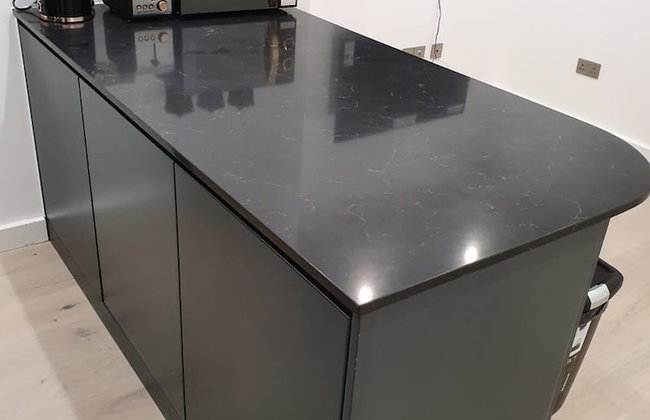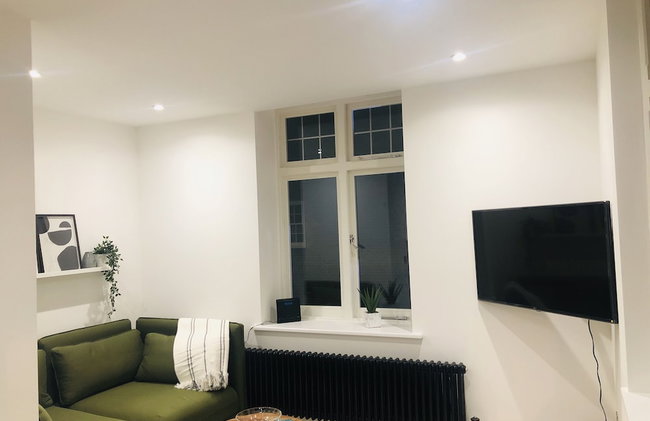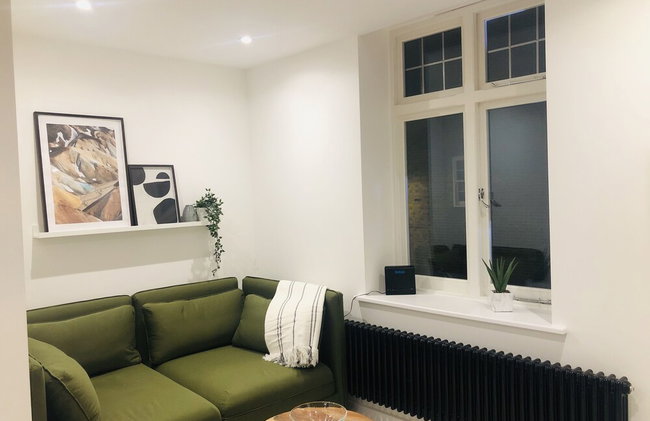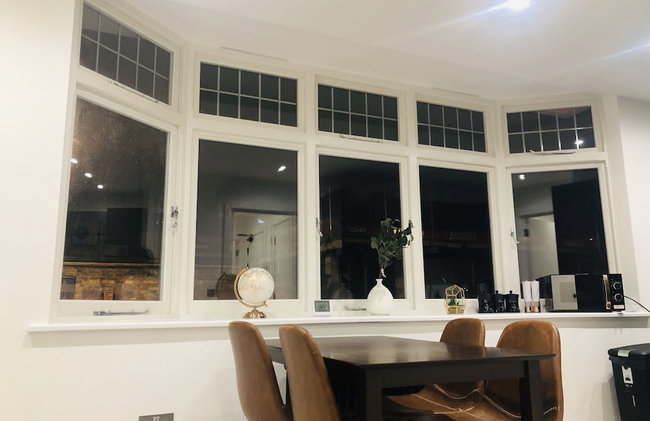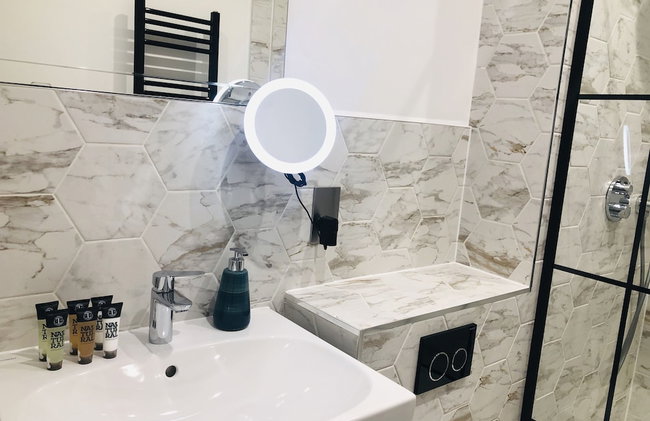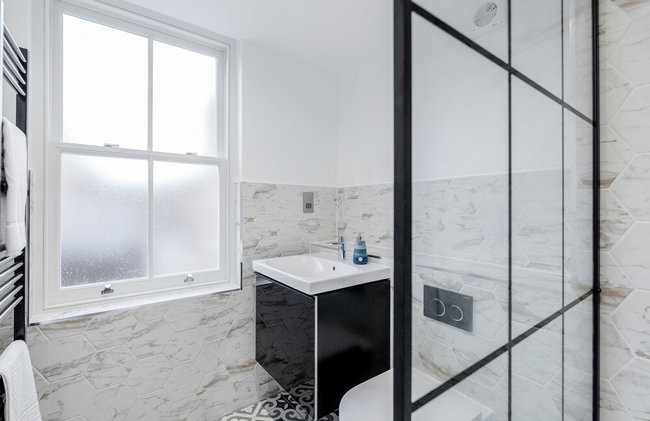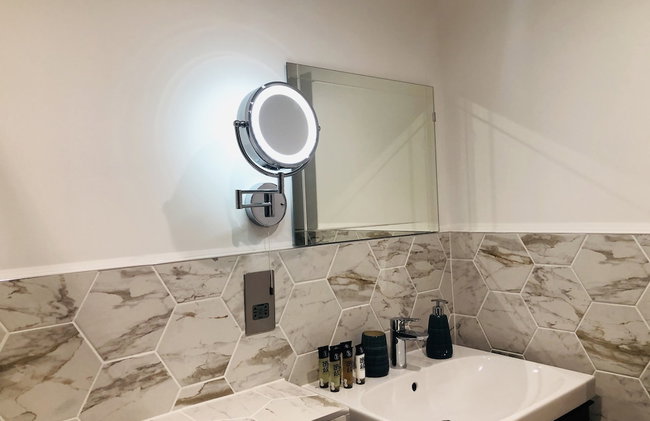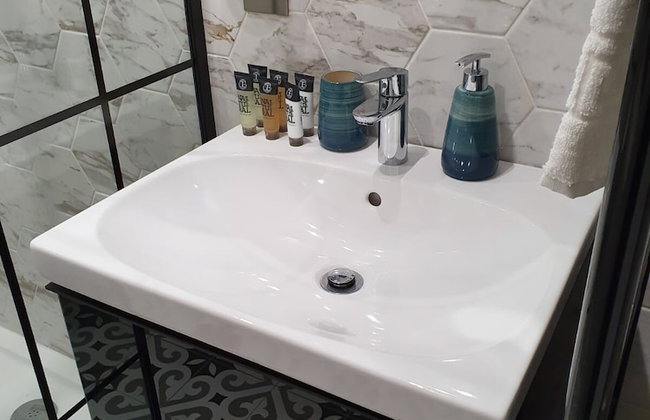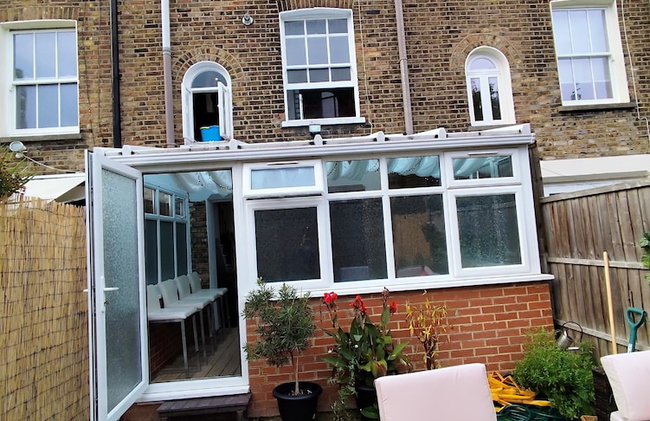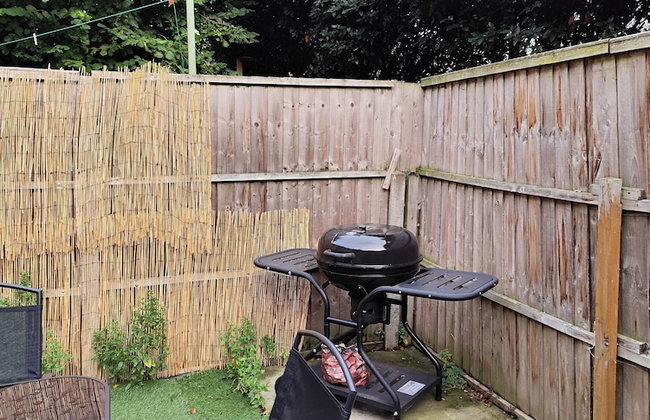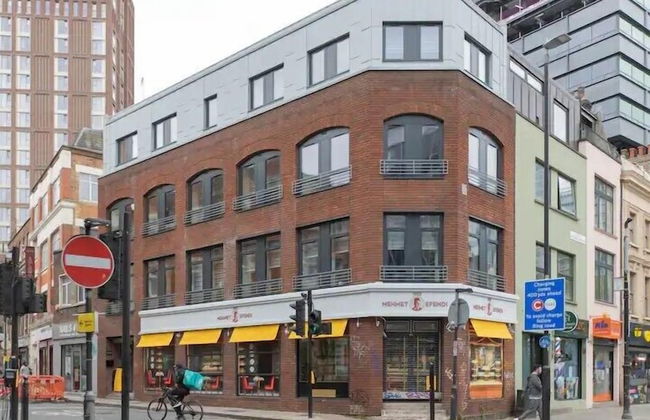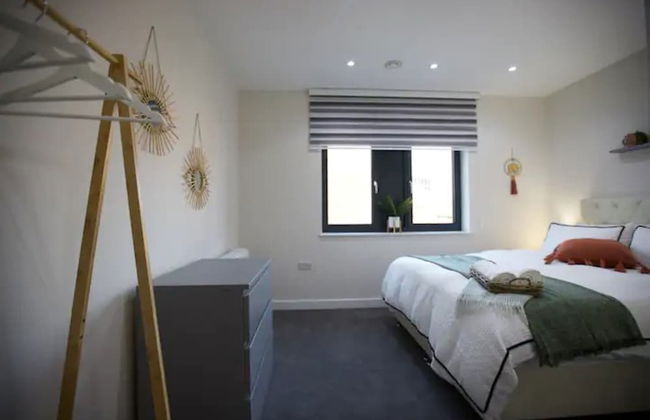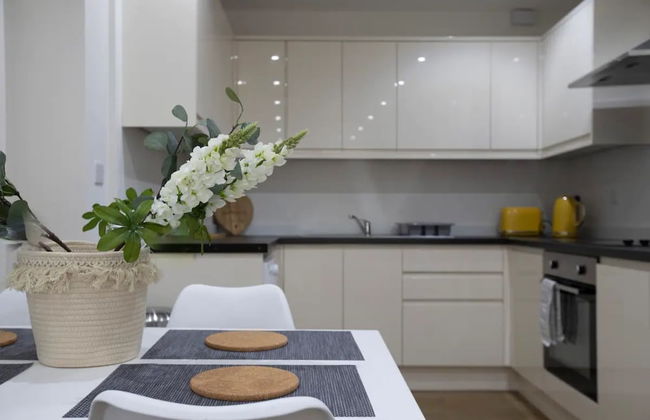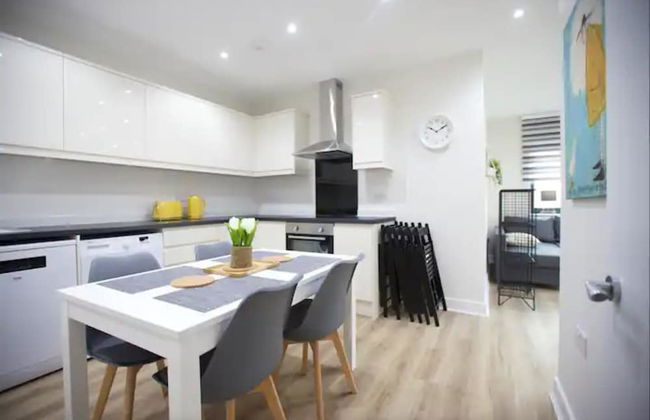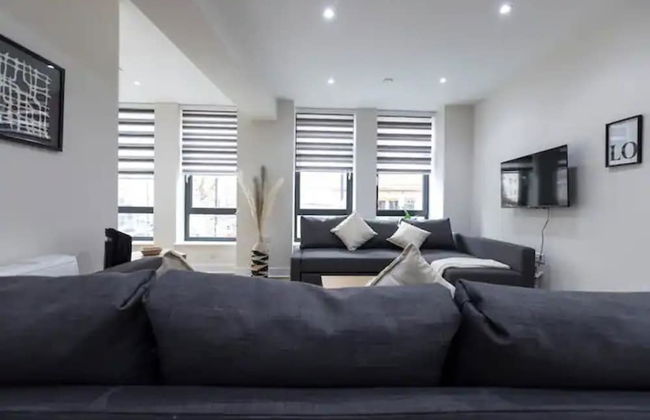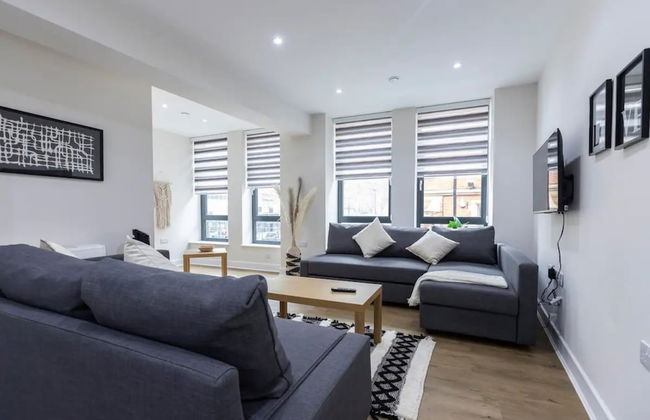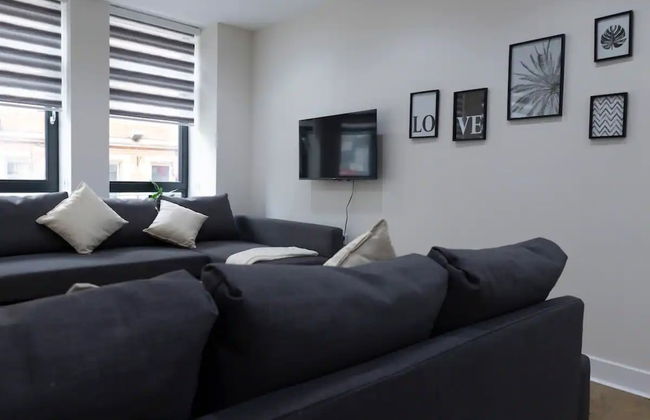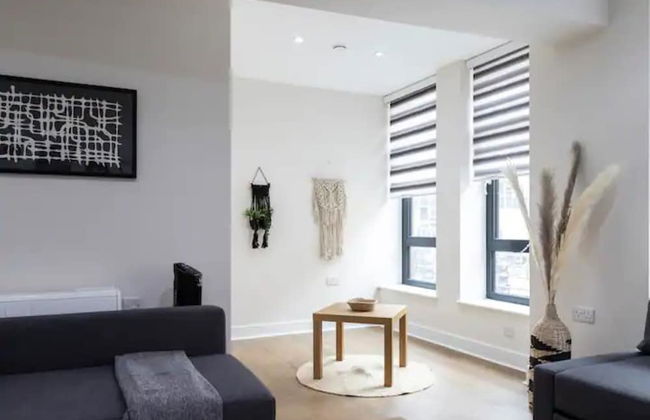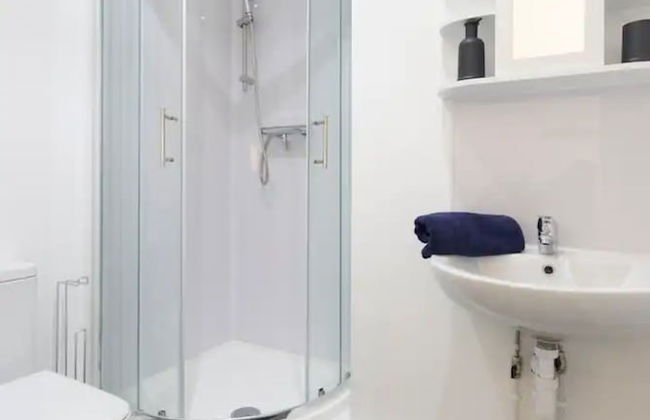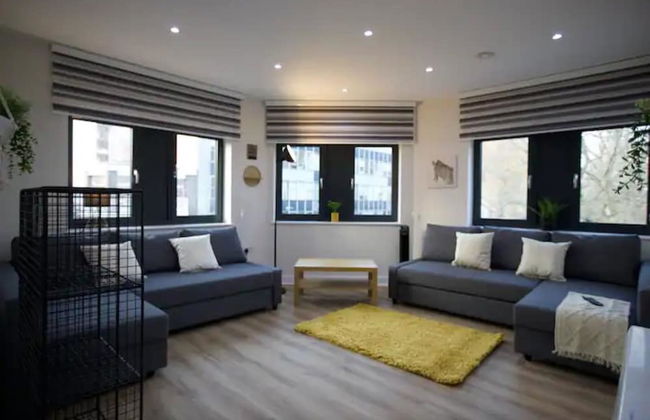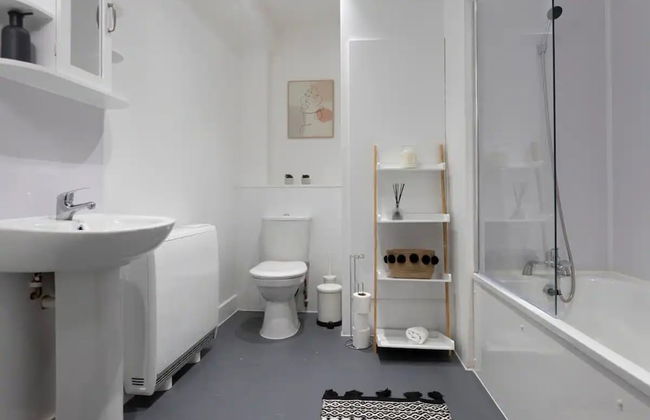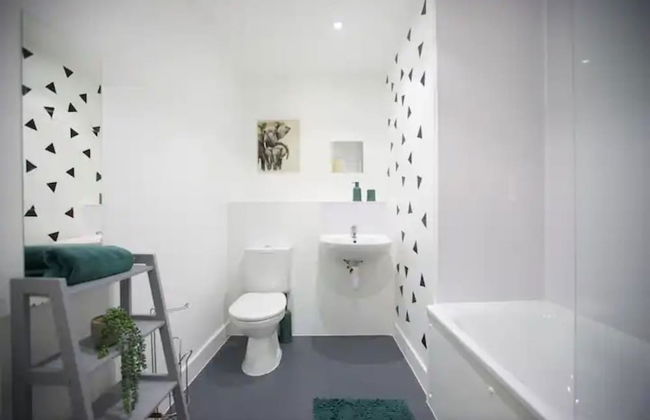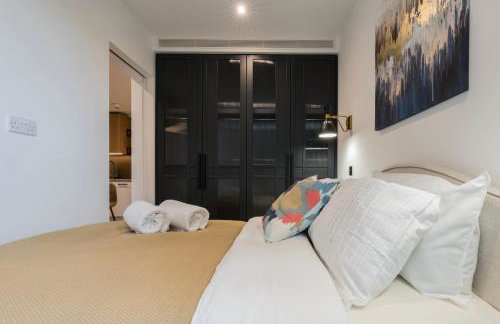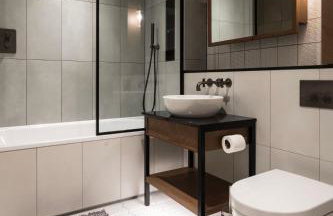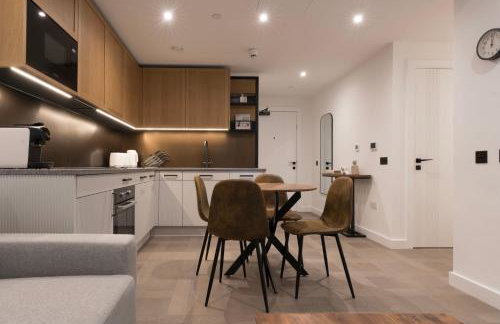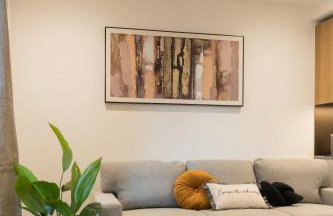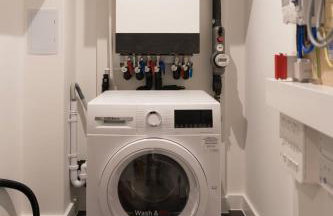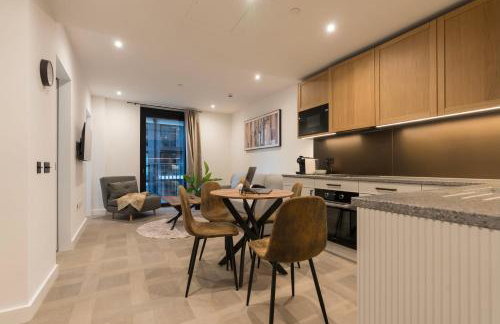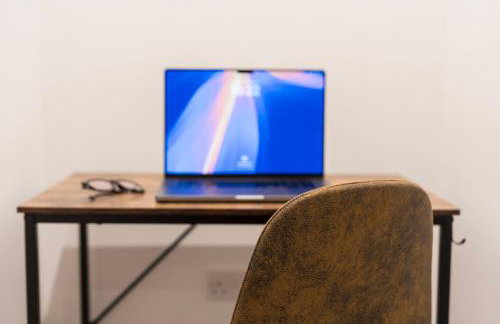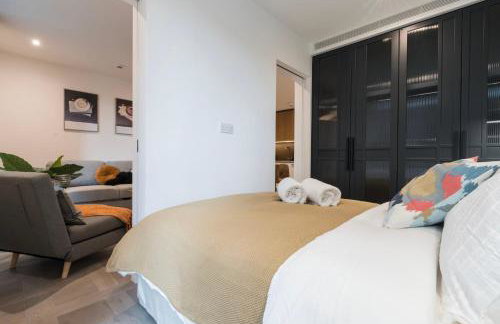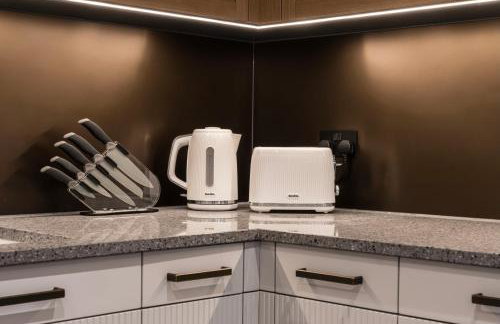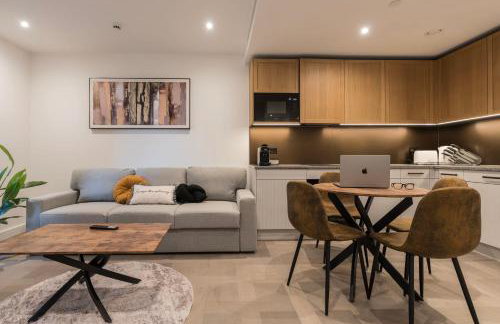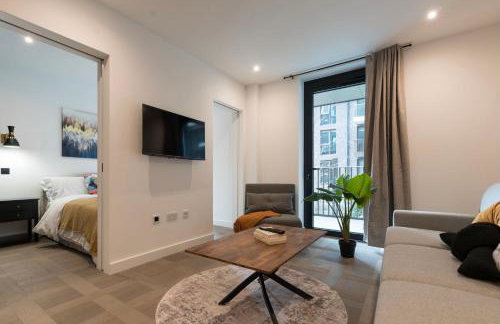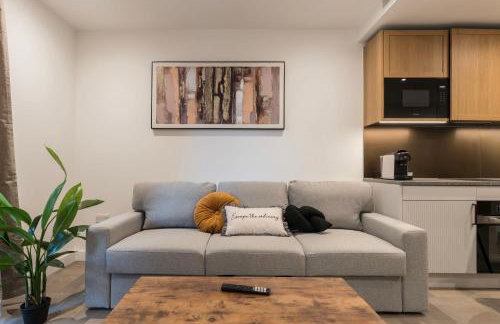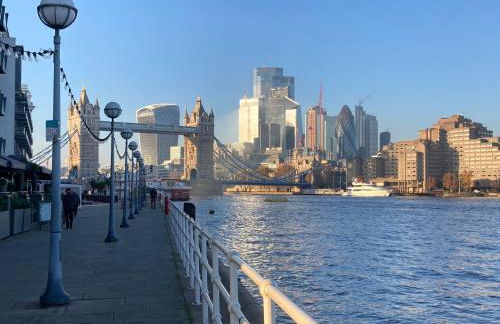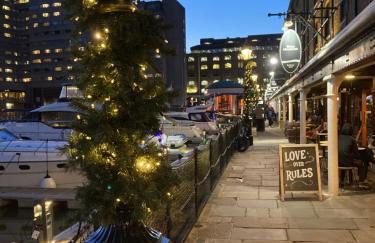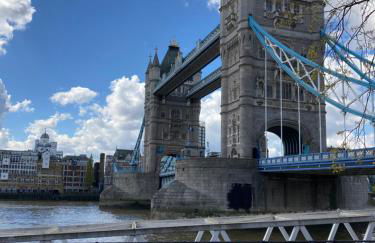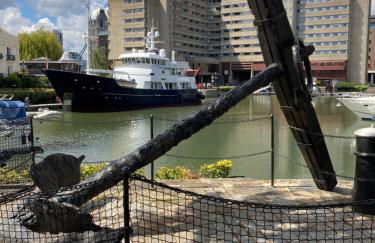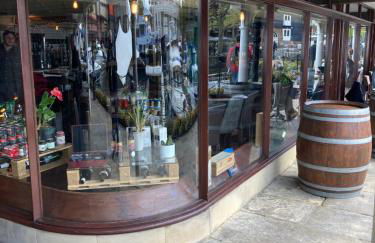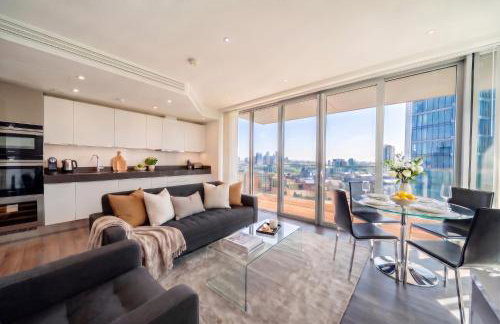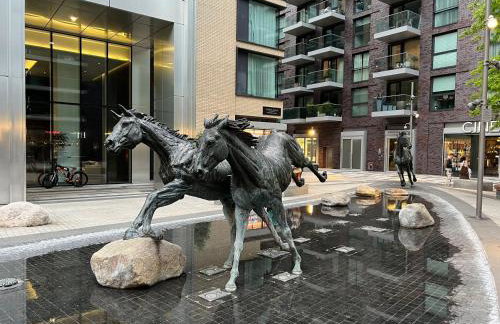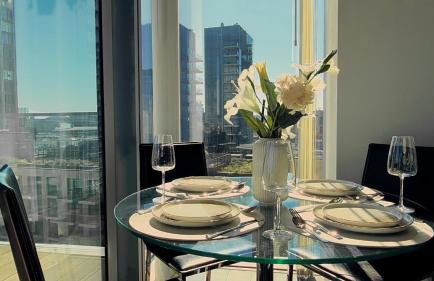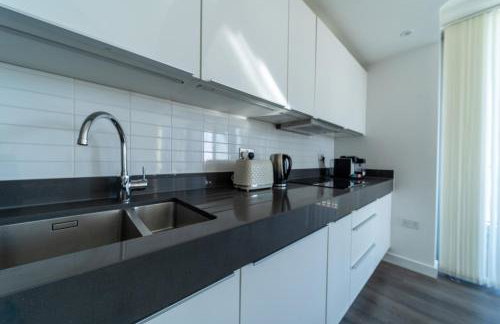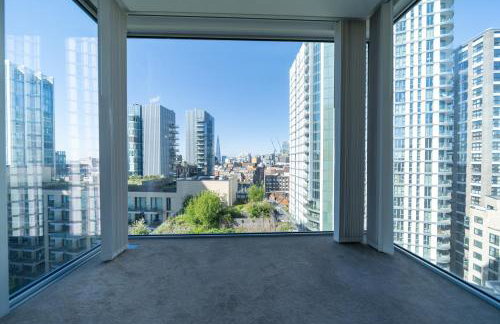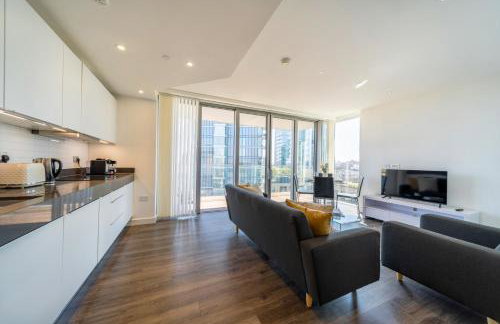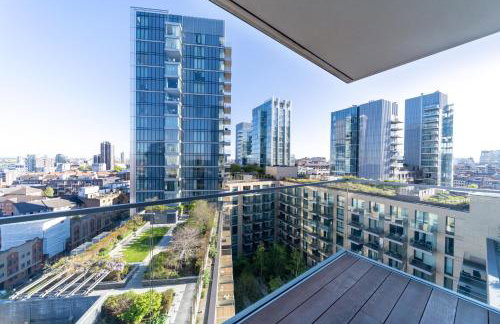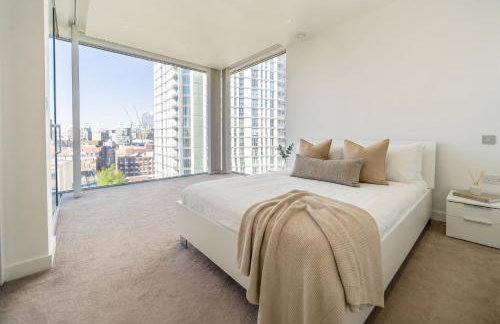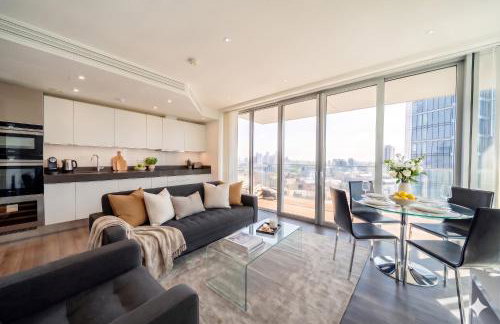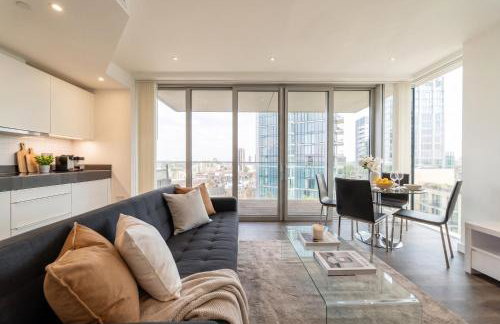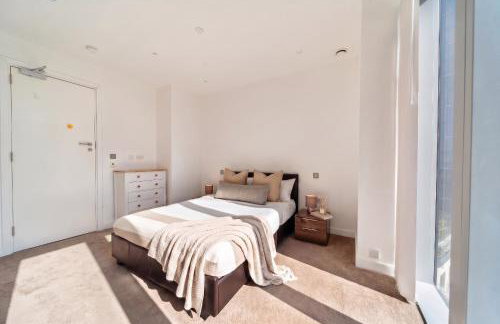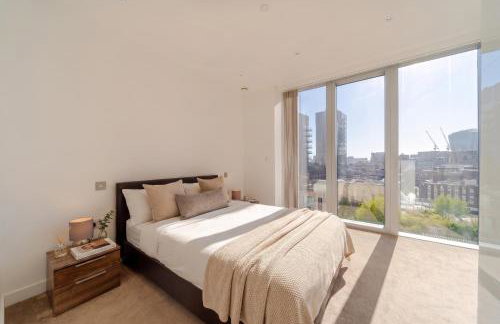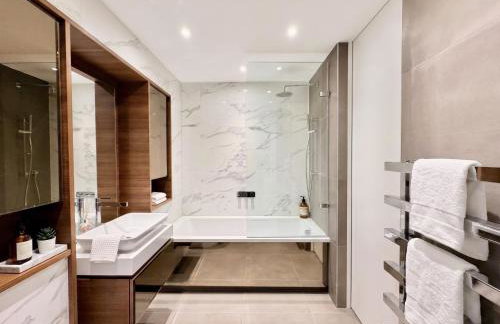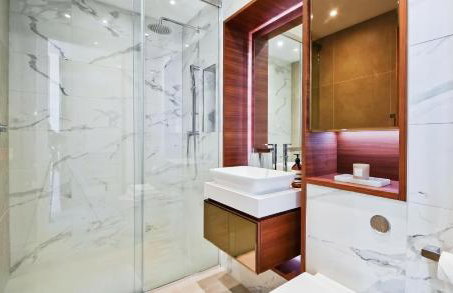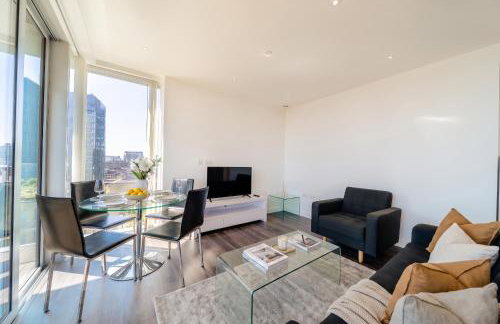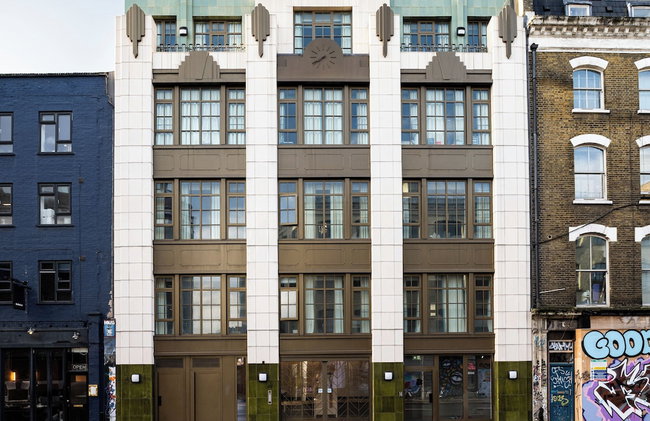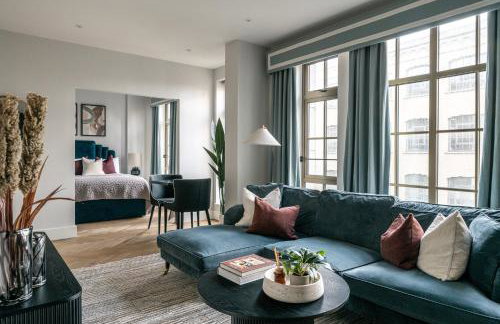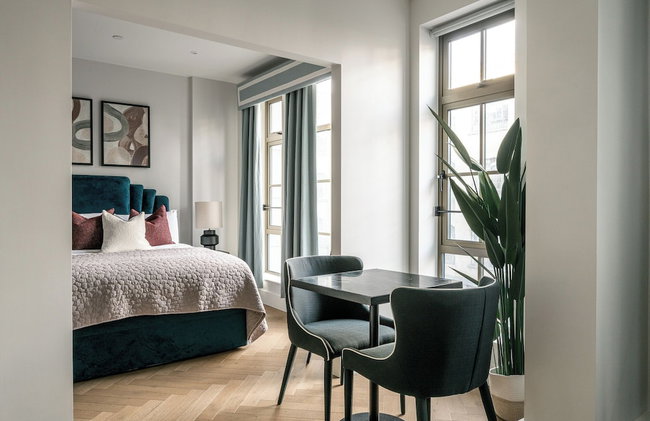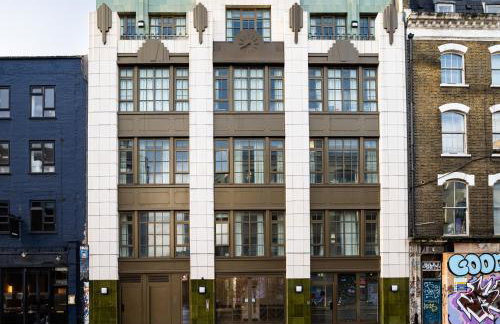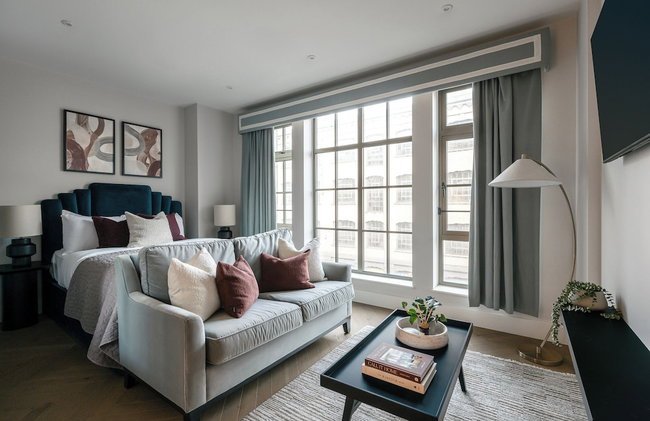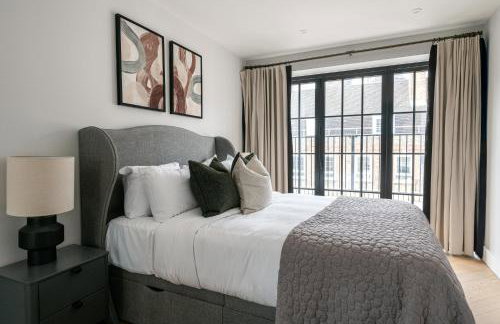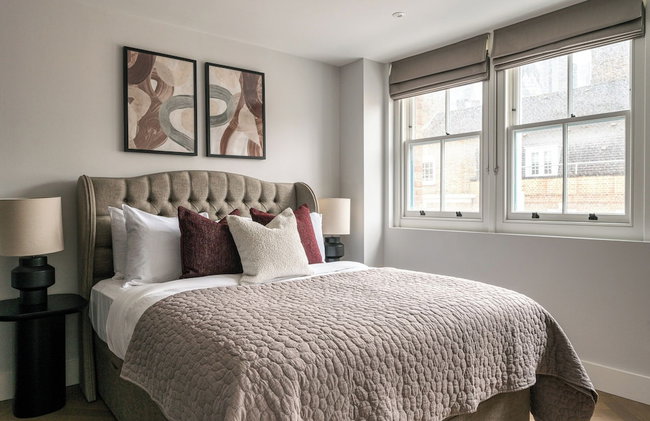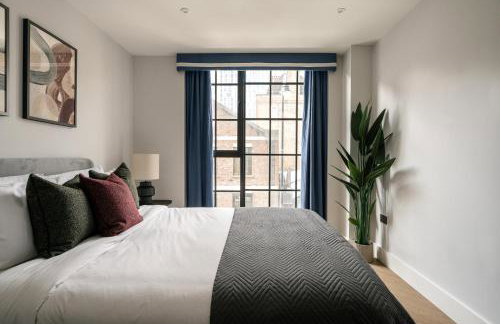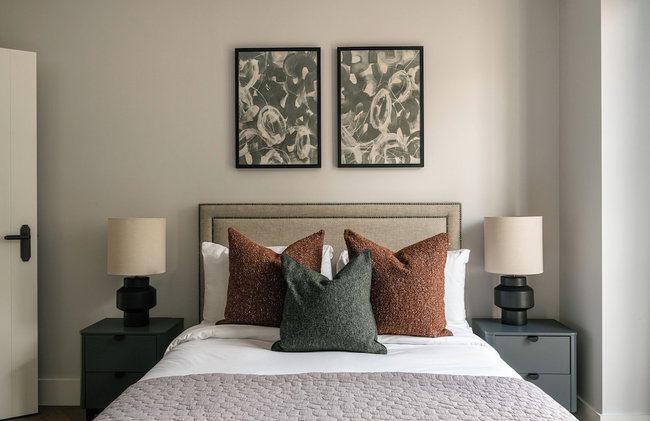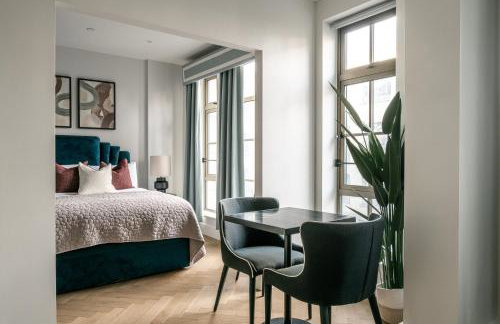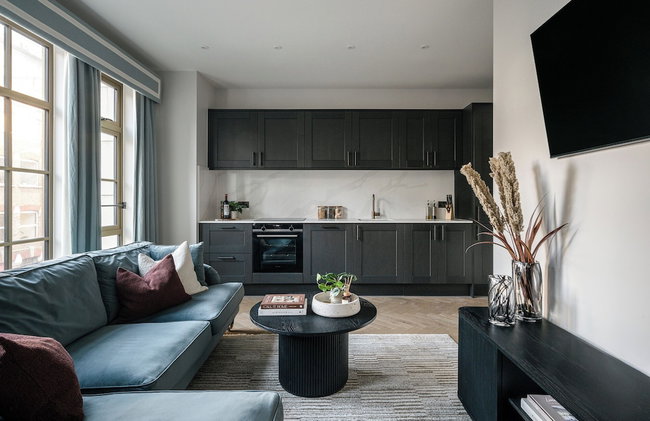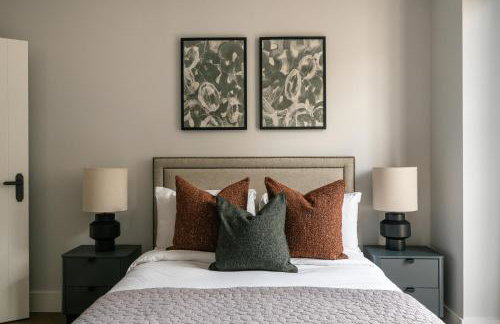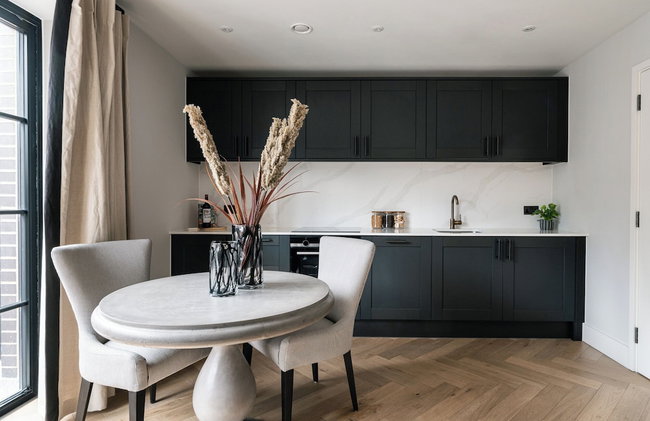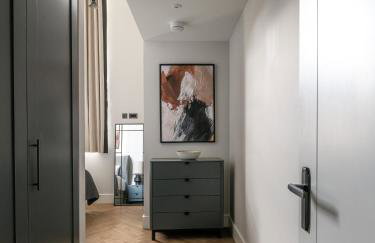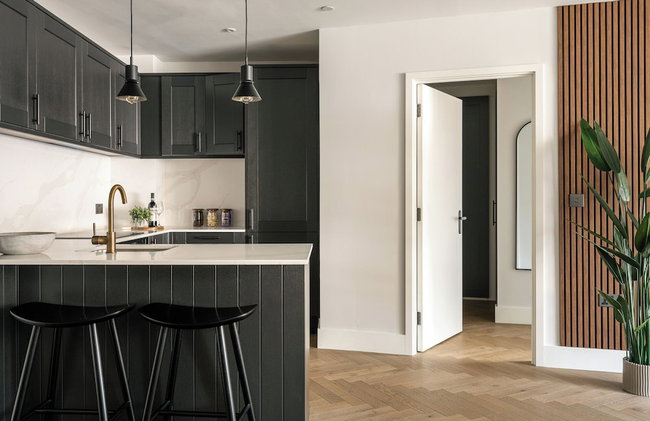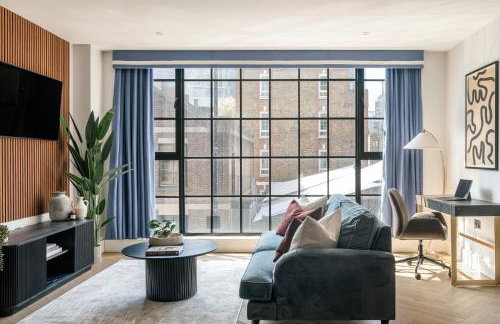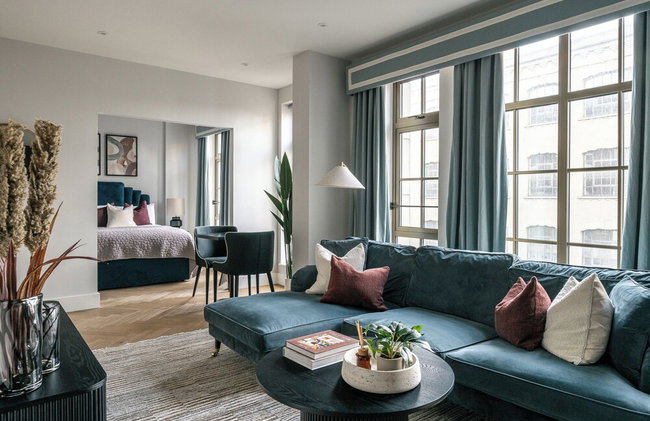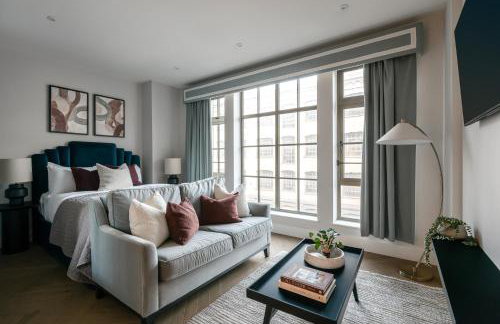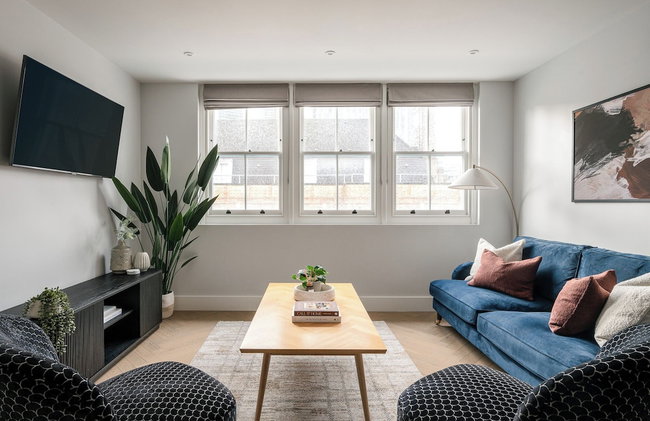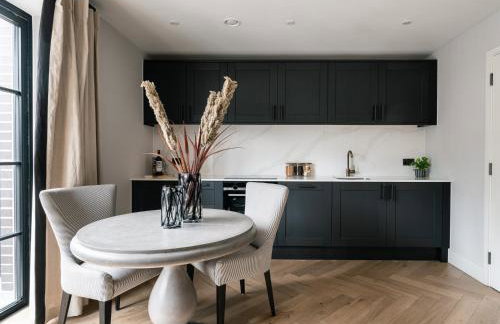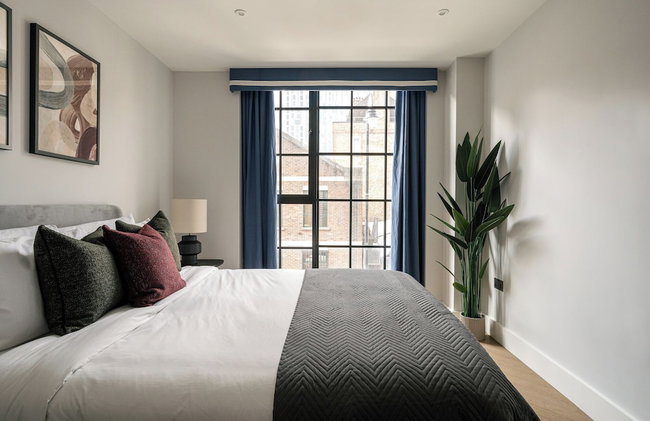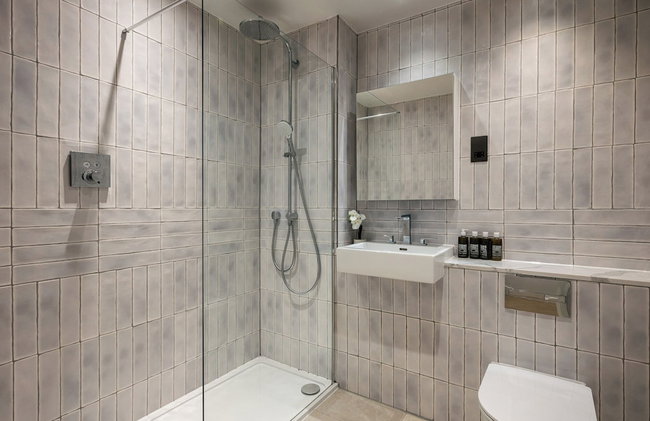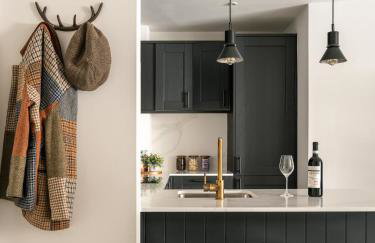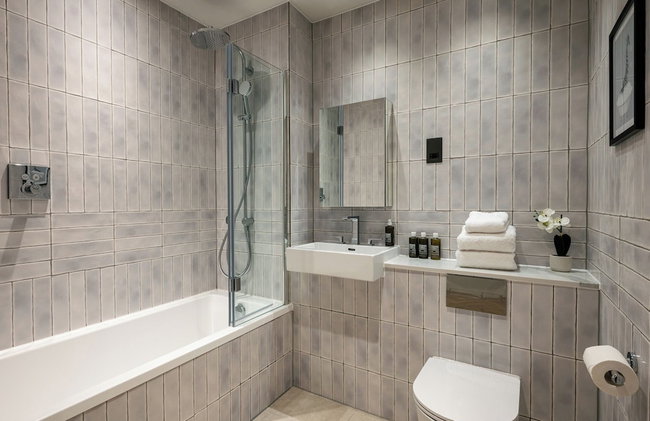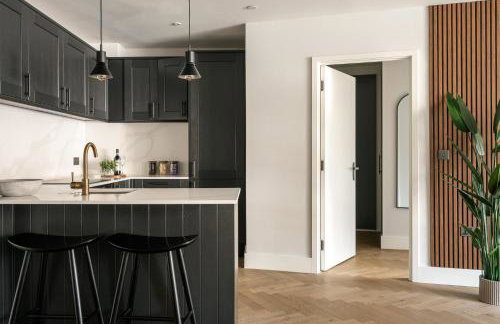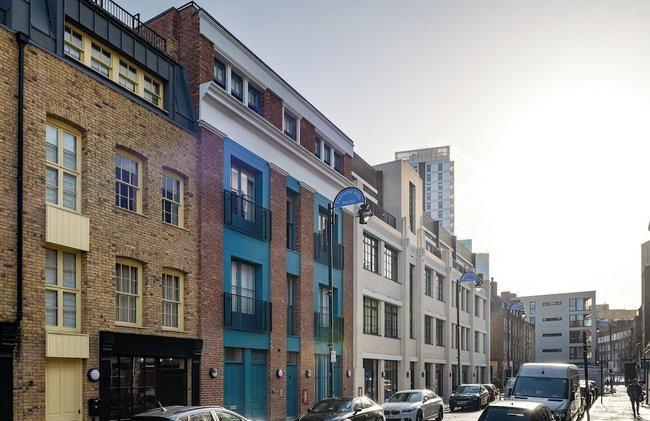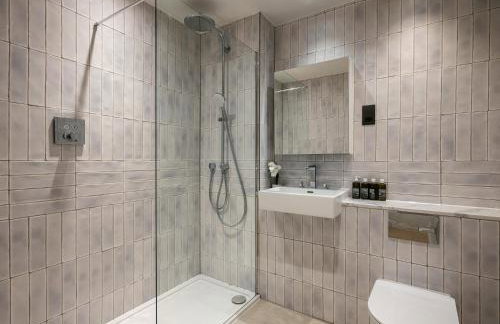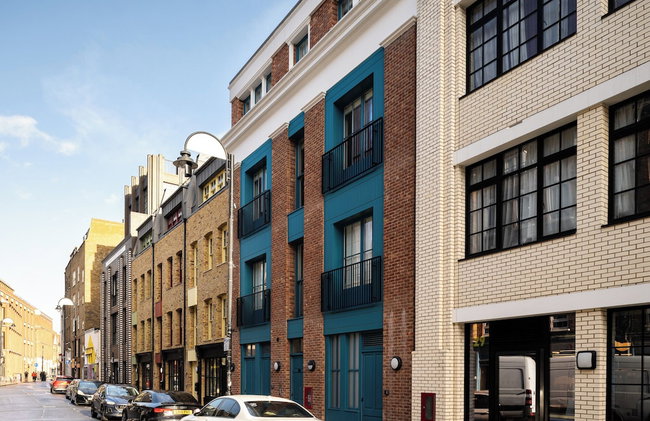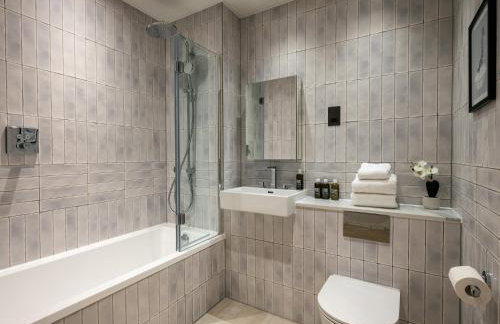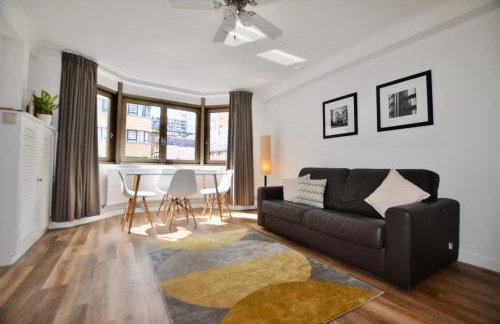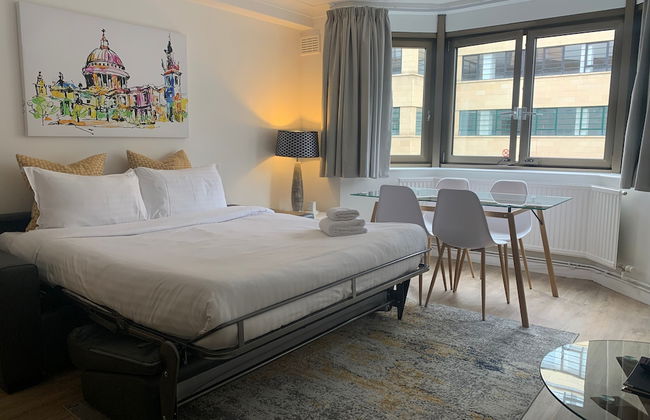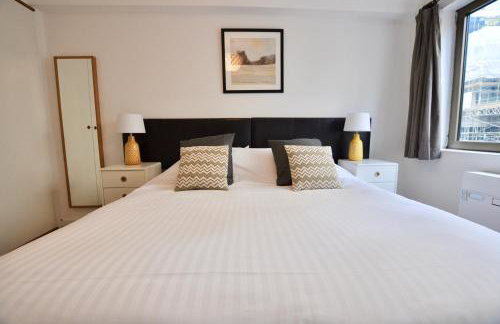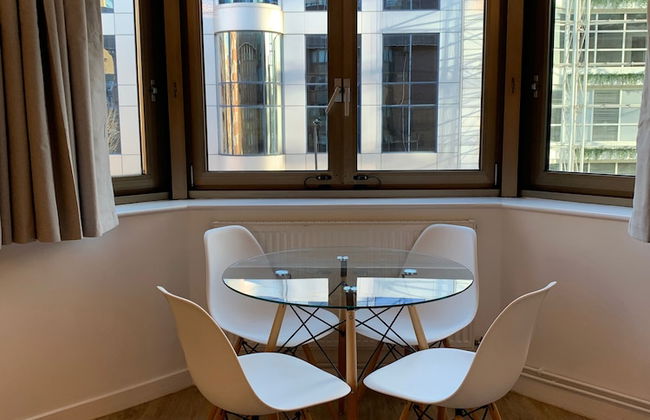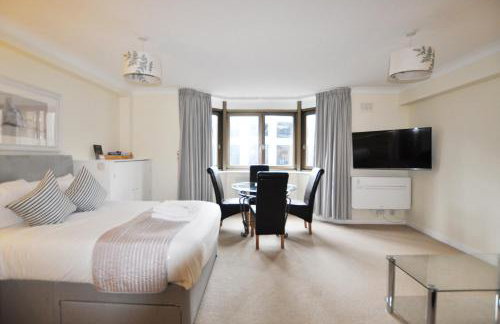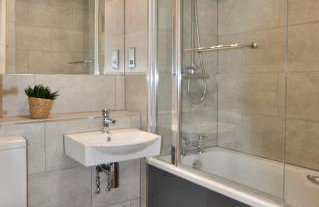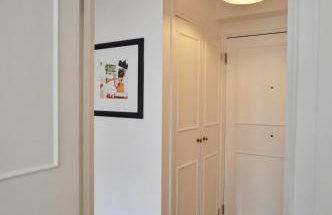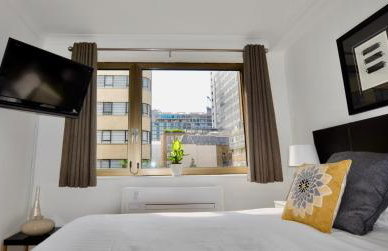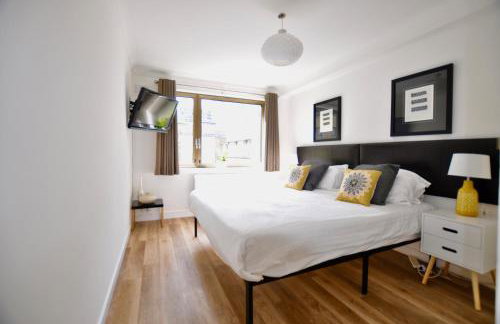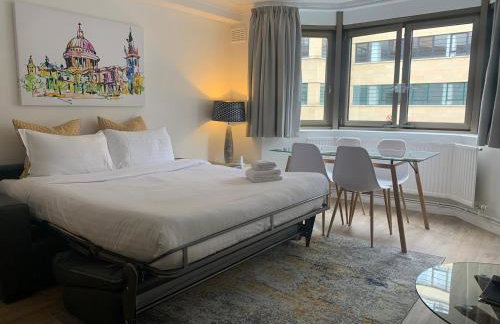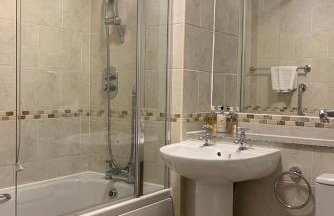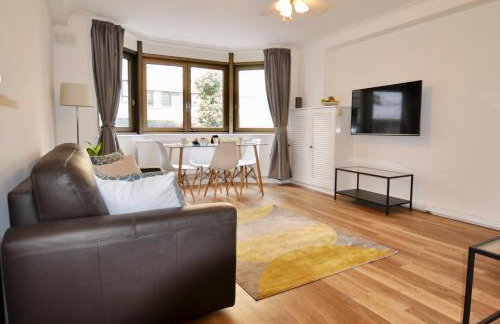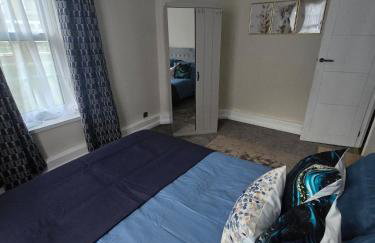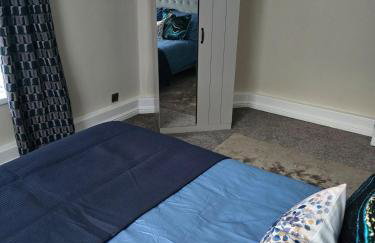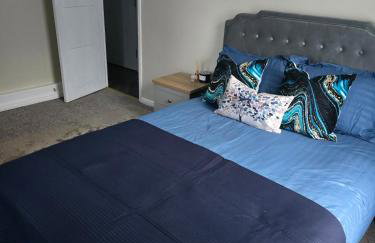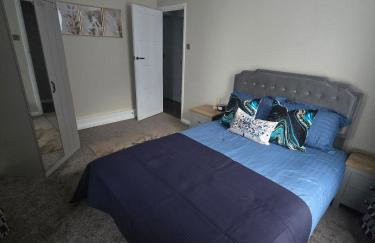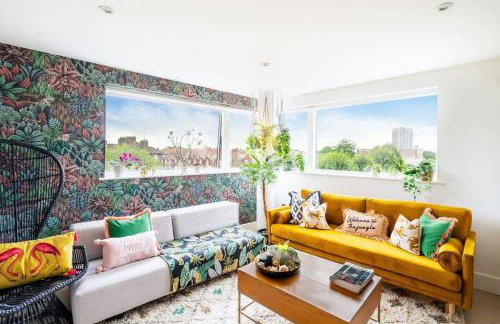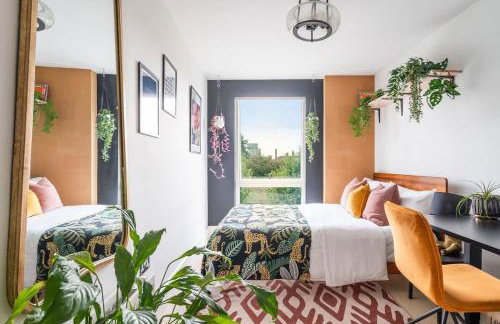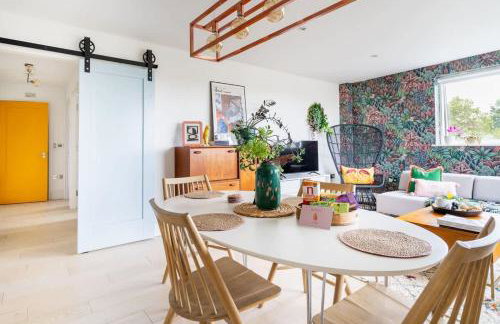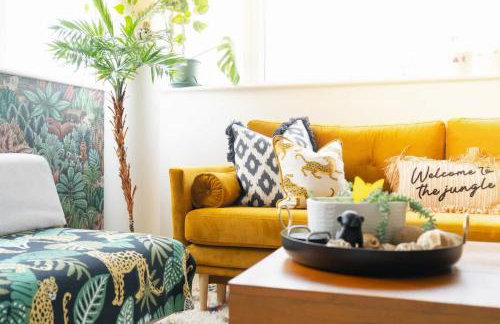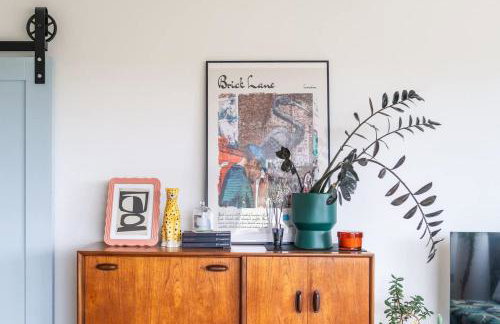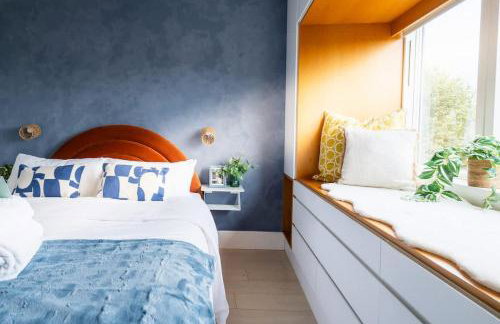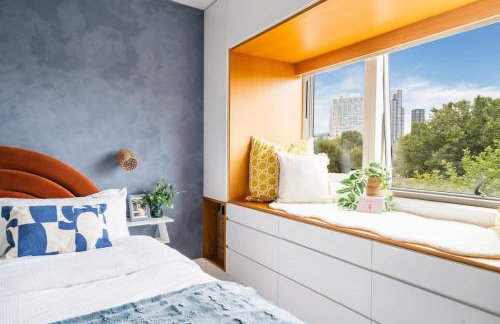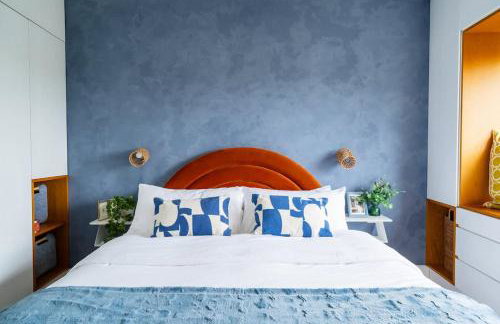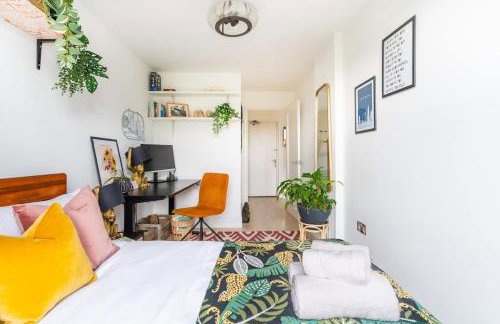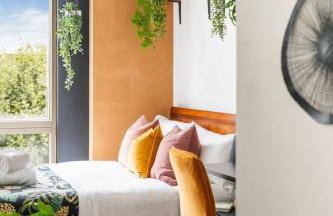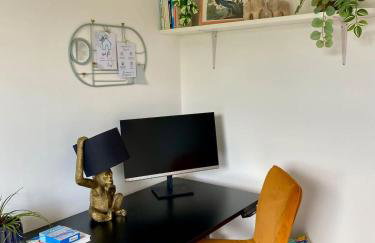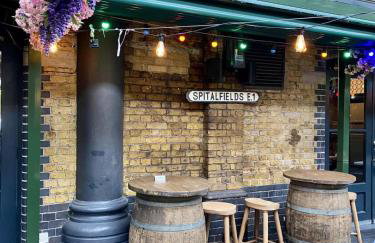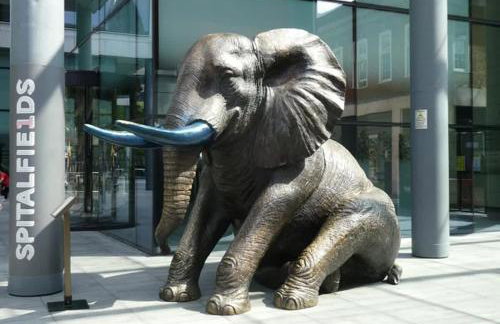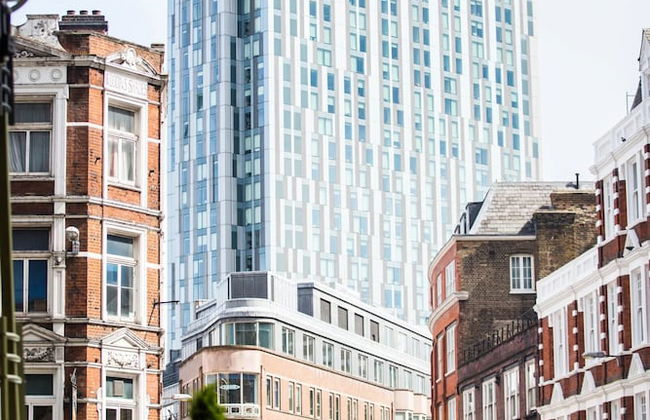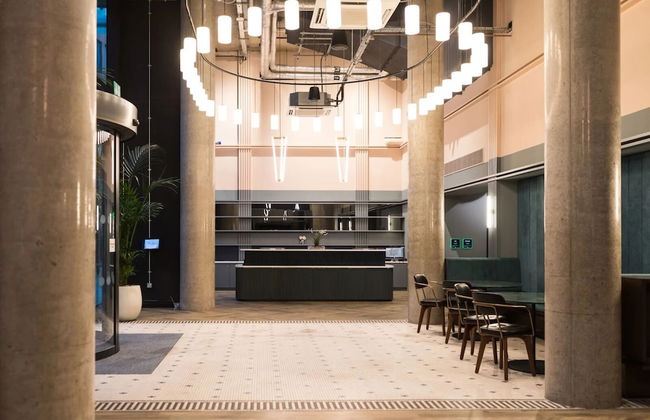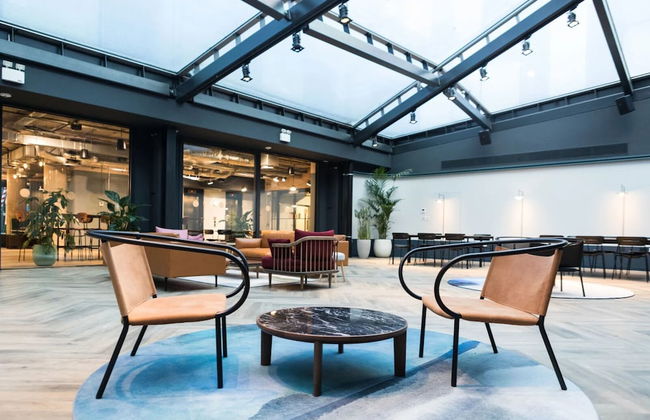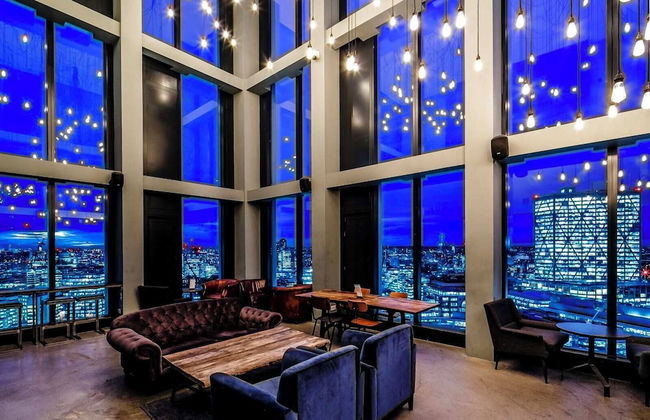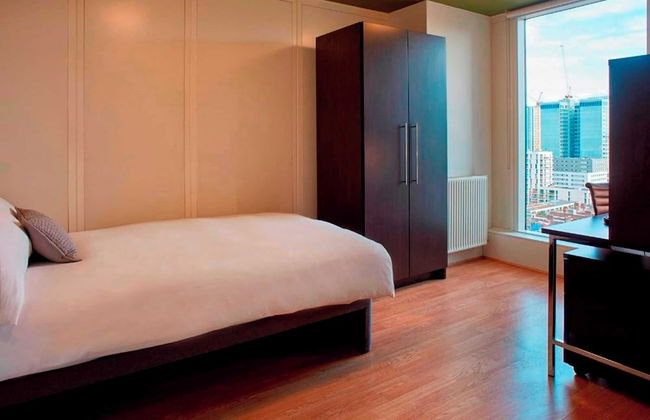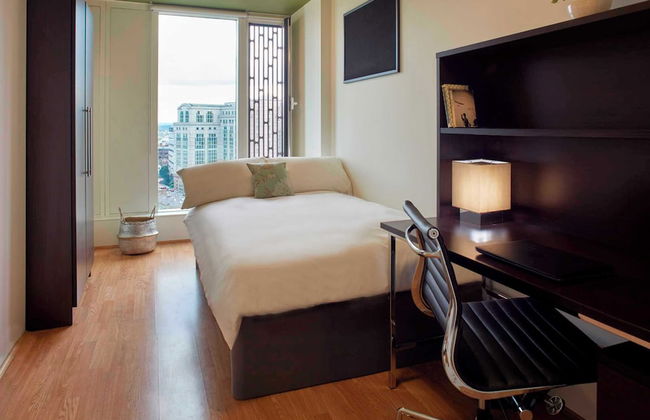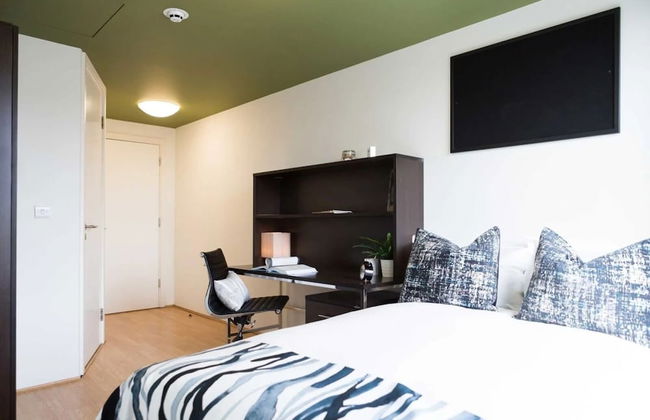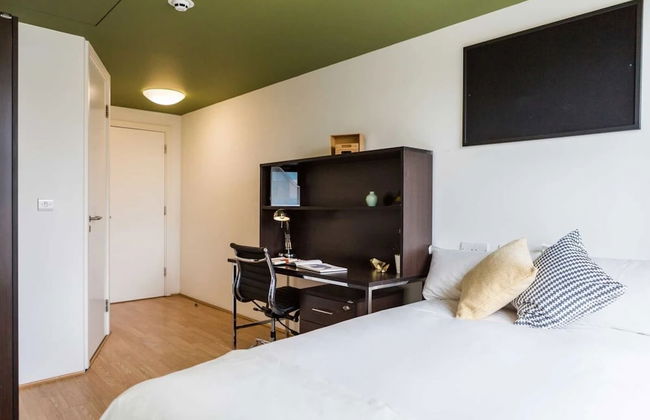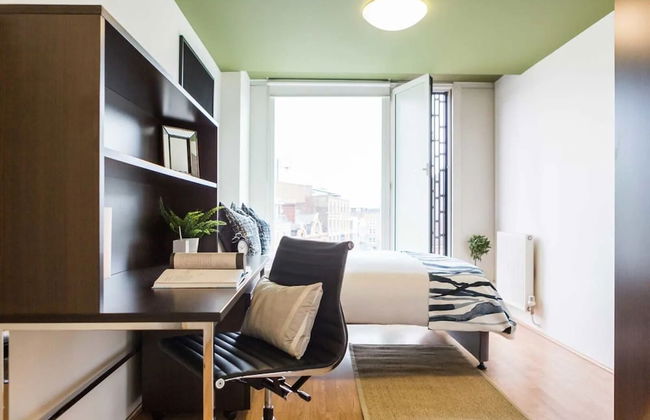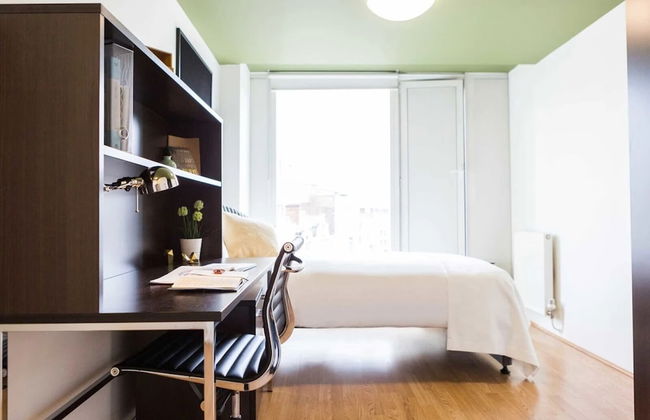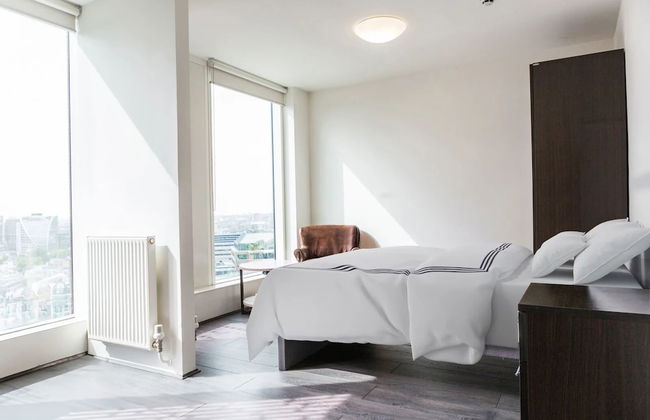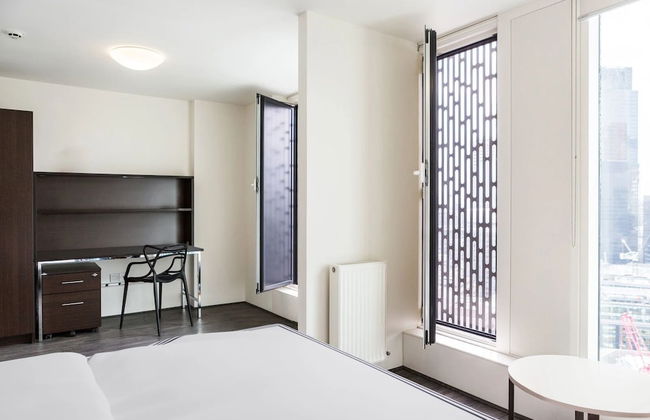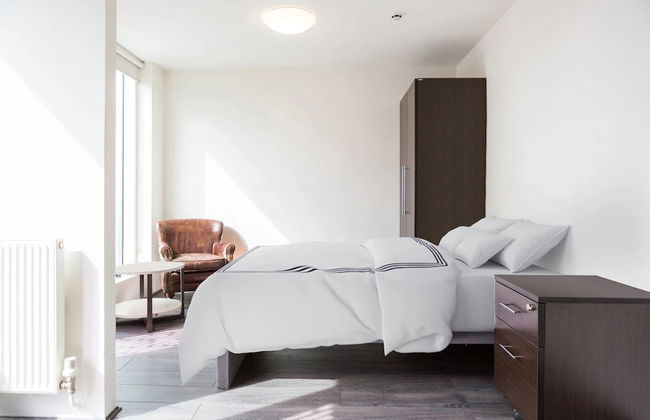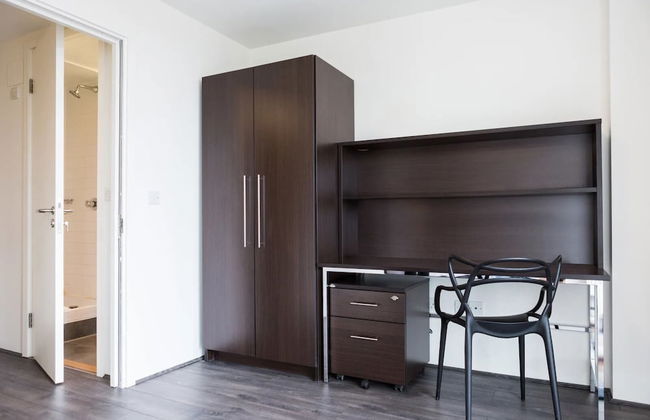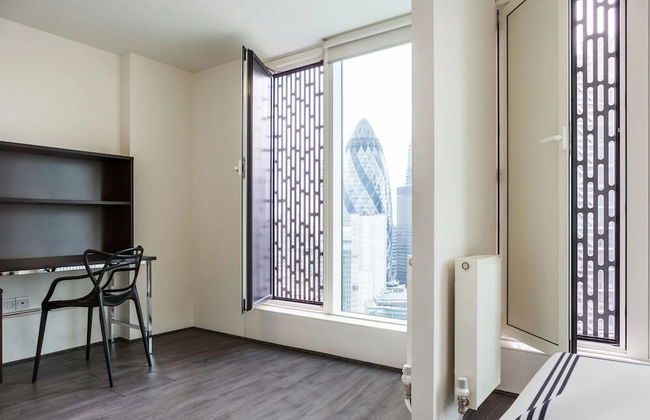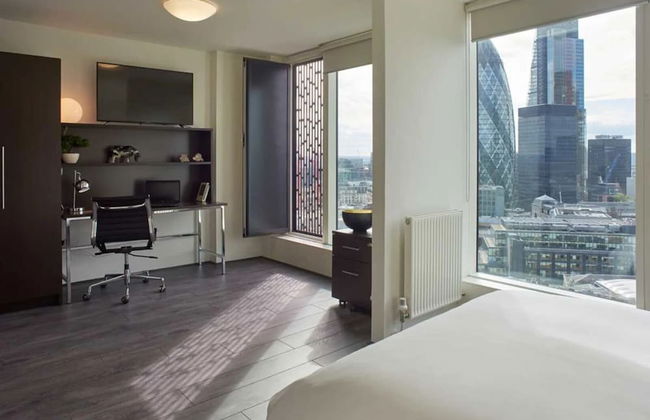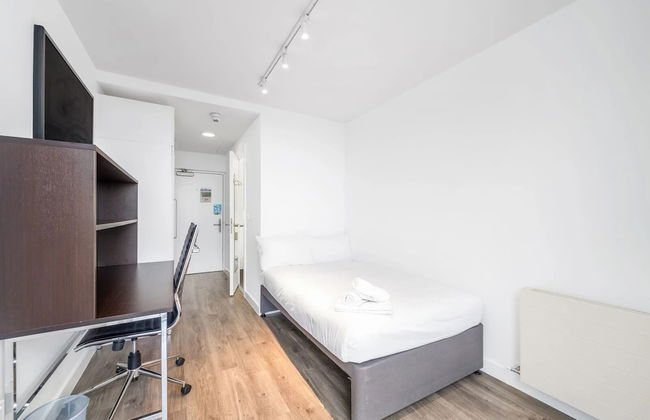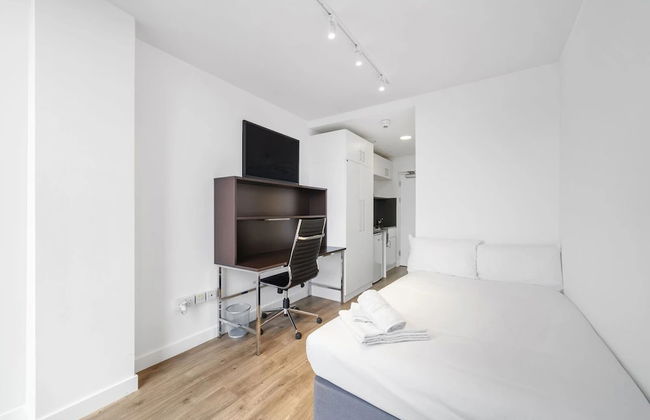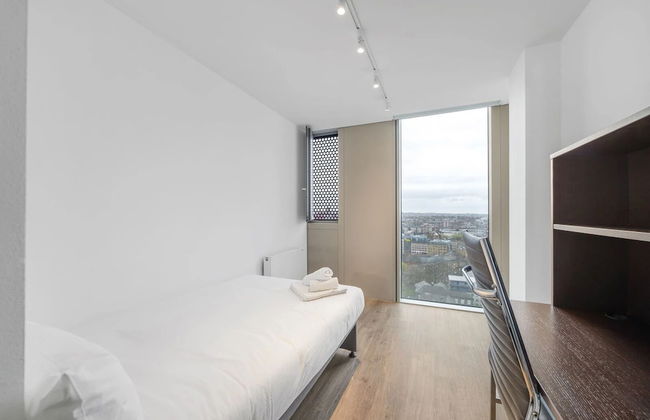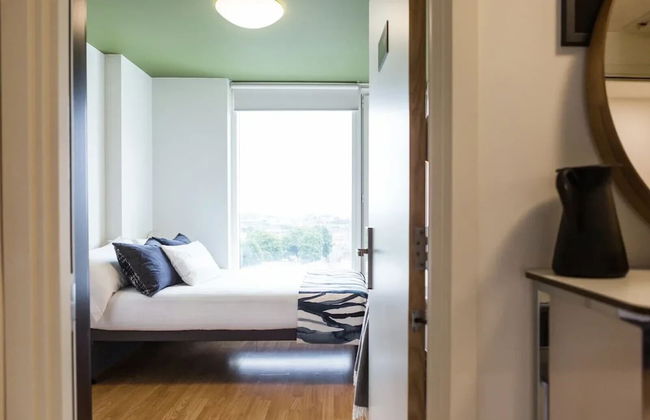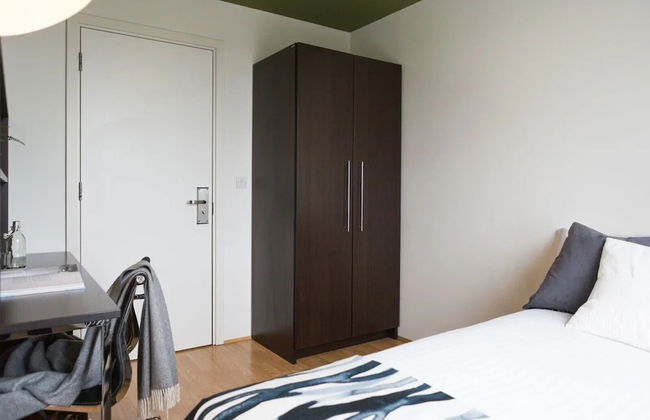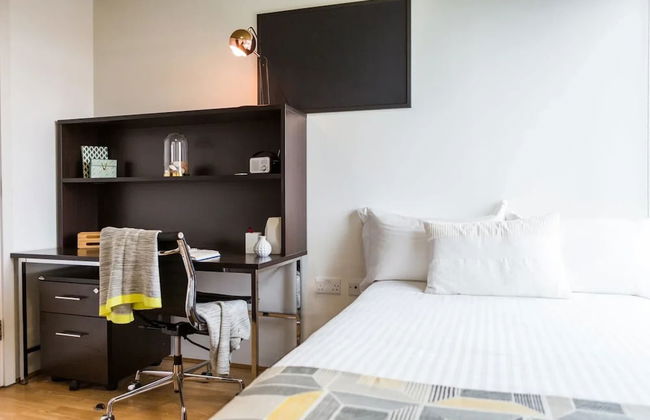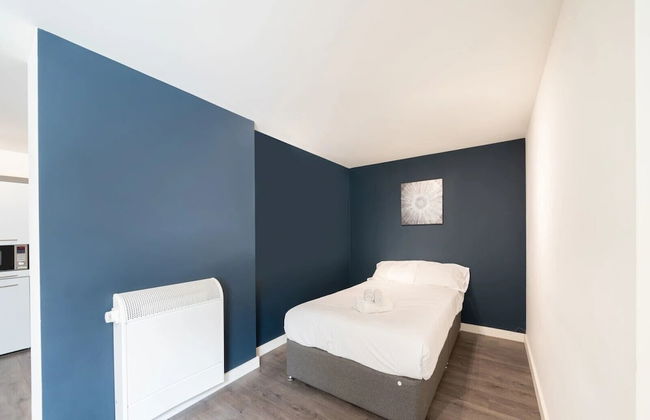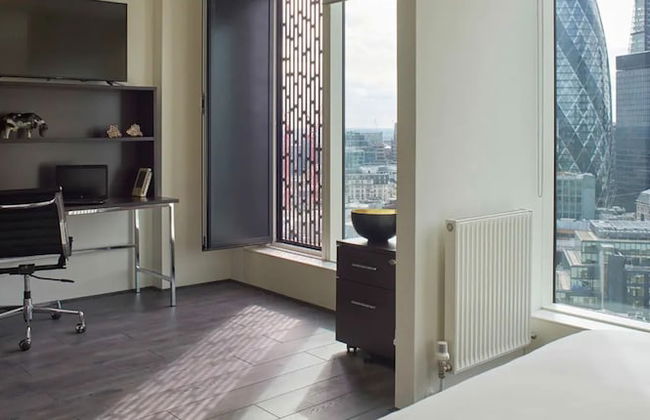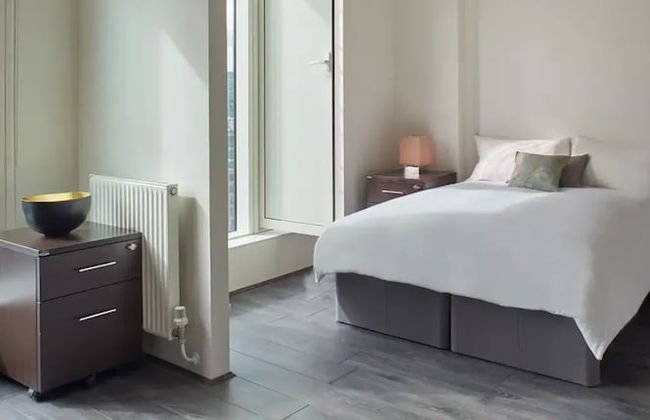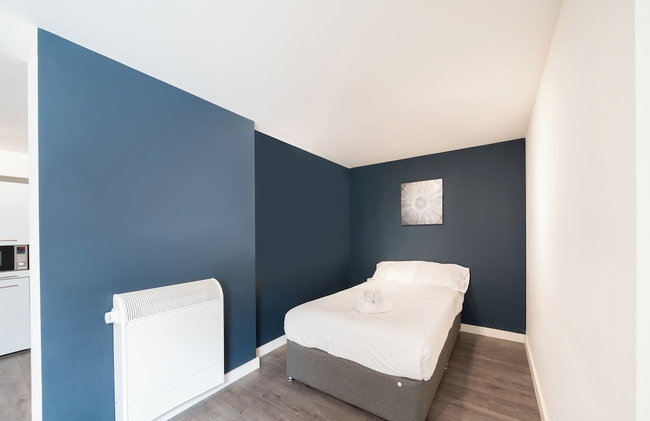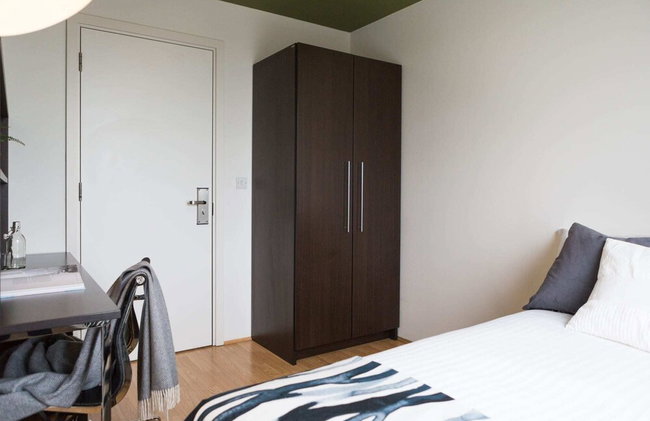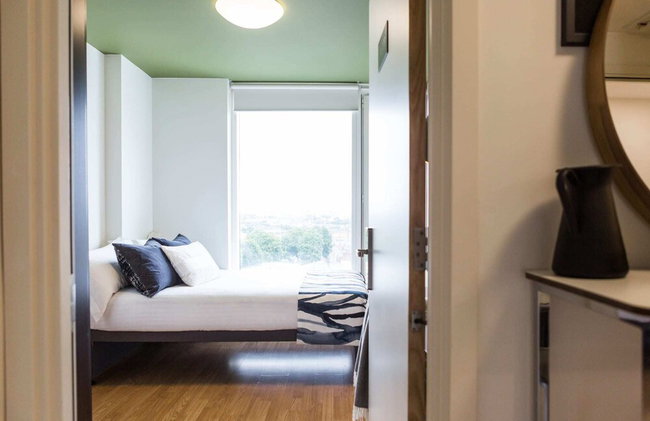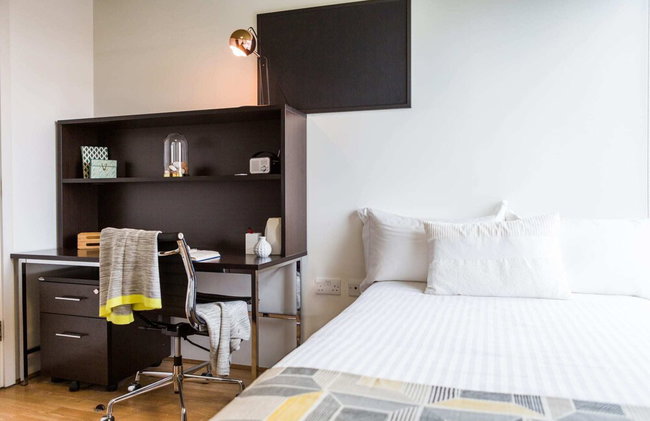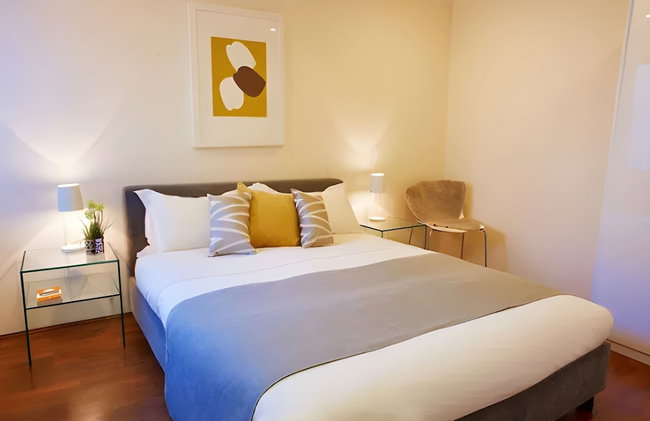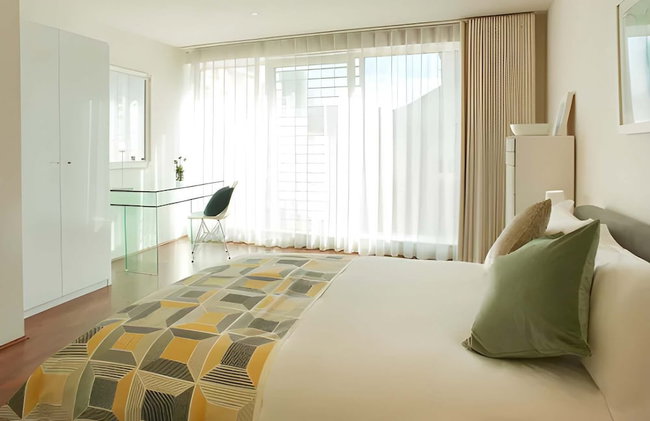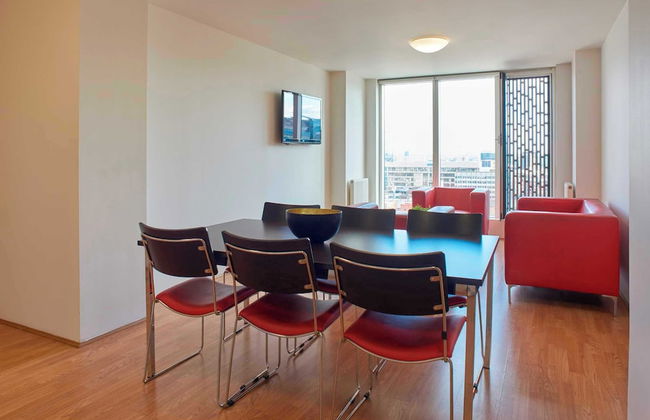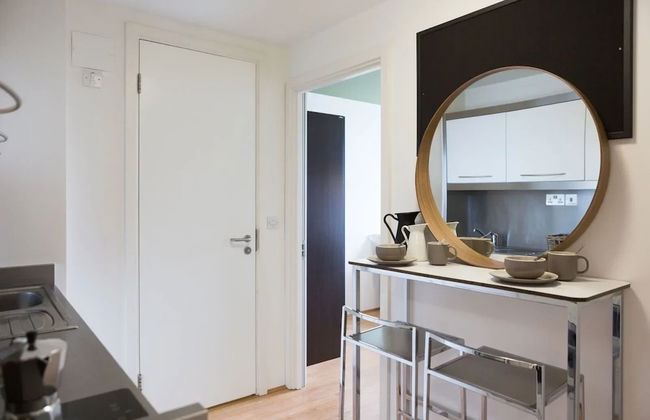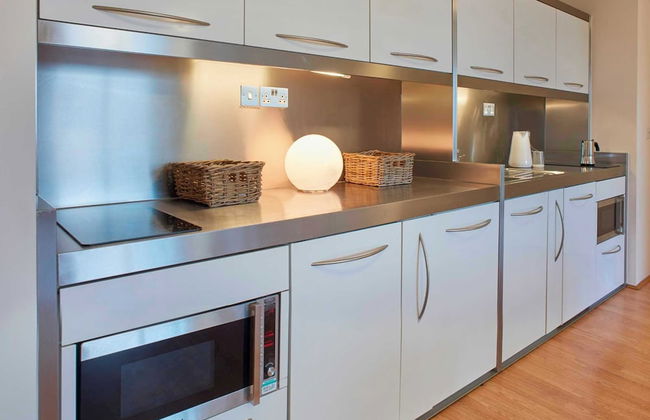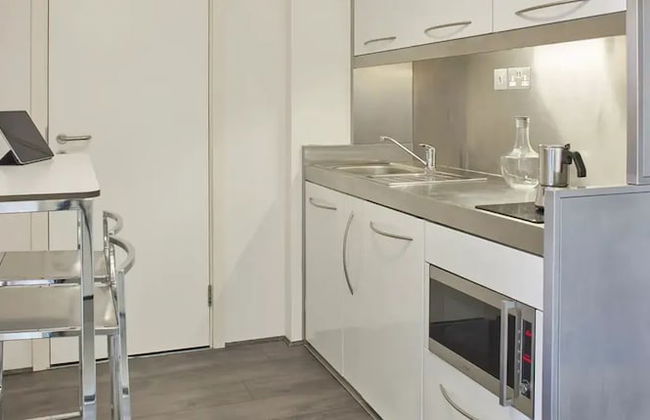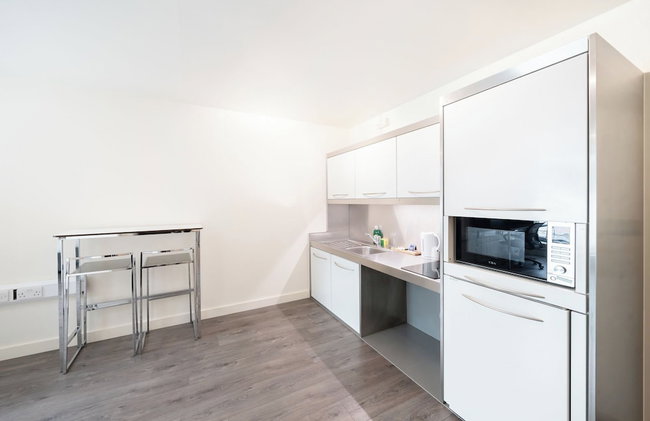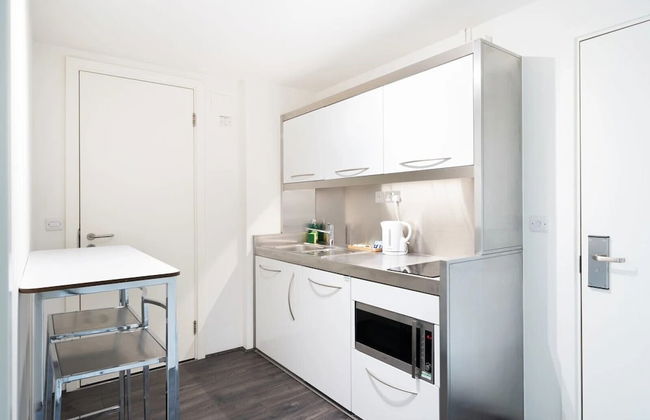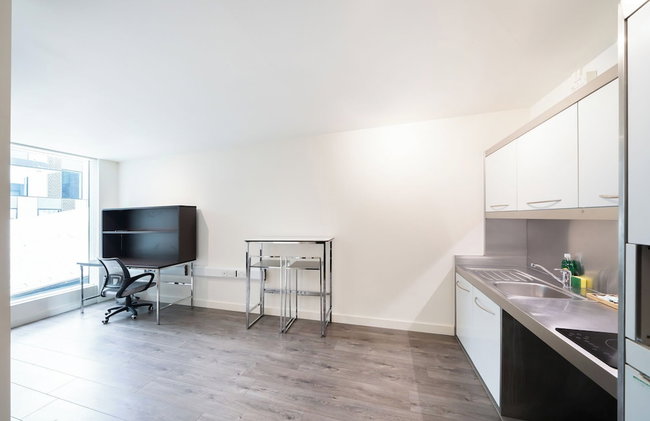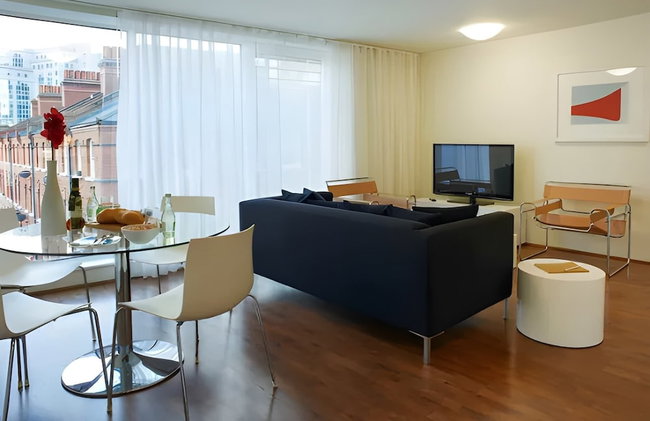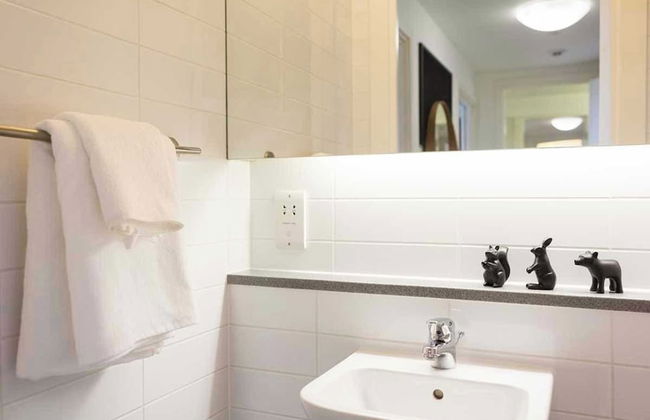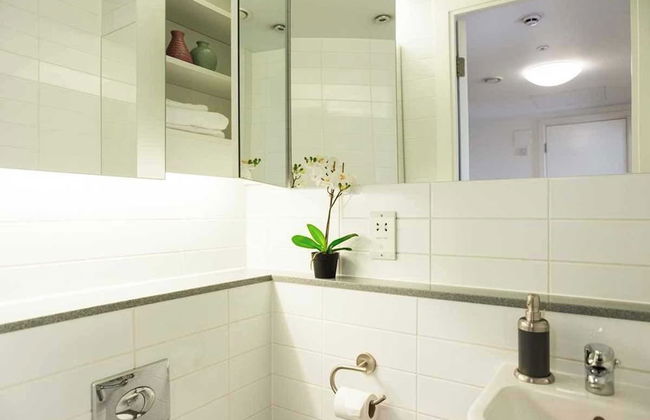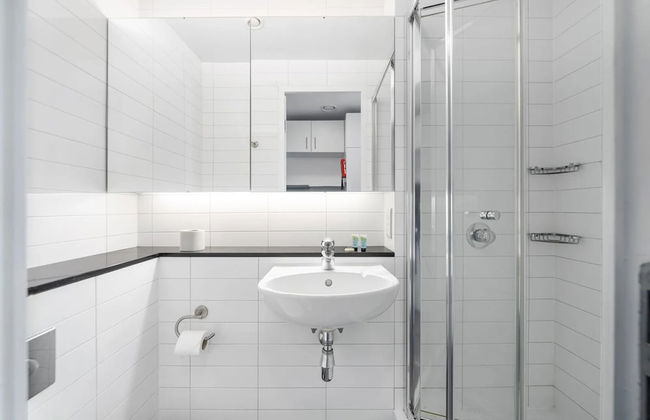
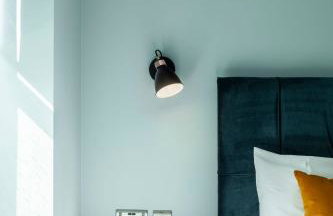
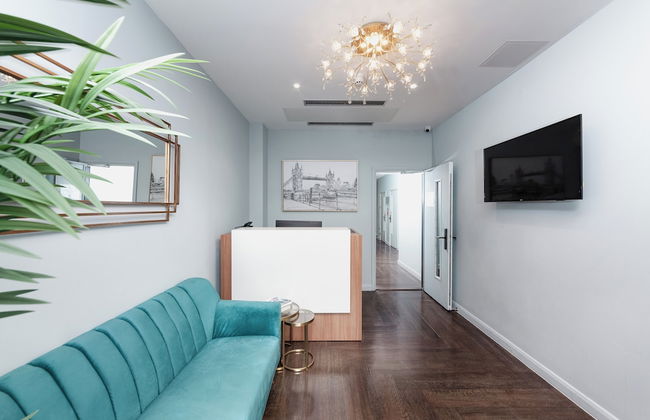
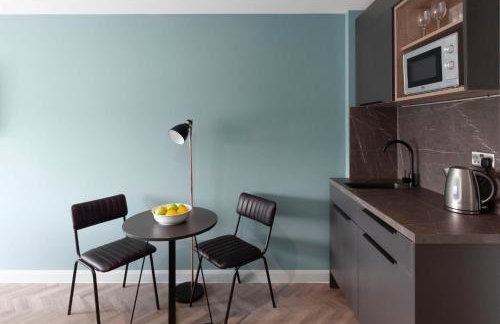
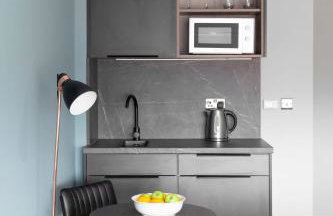
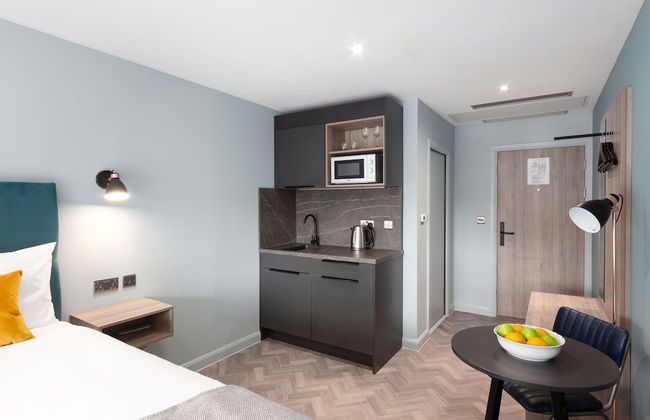
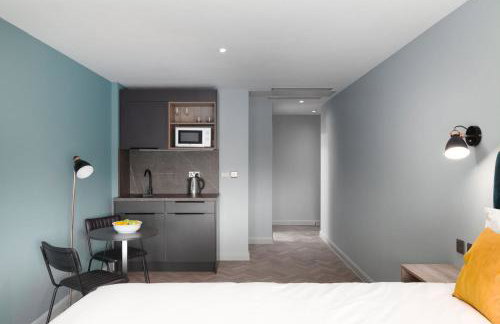
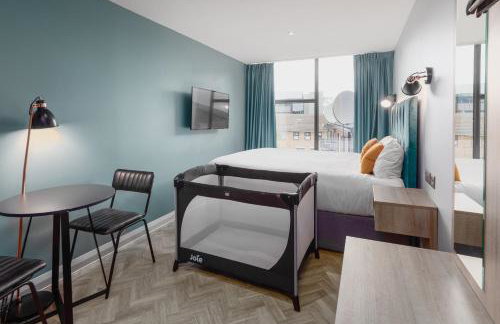
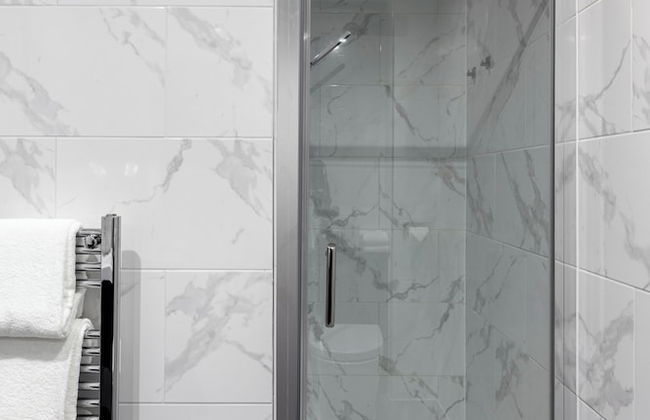
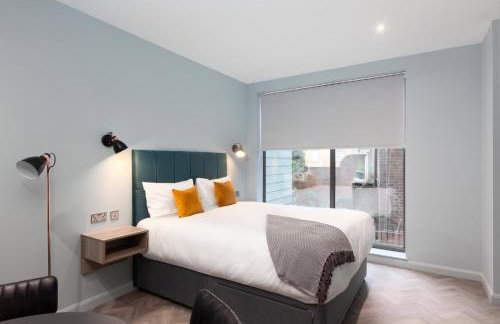

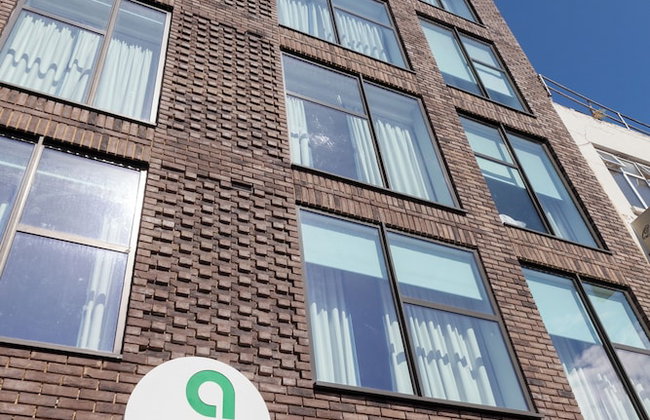
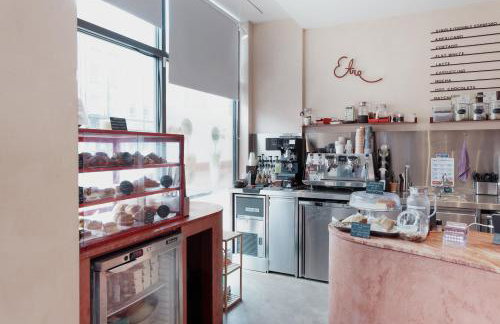
440 Wohnungen in Tower Hamlets
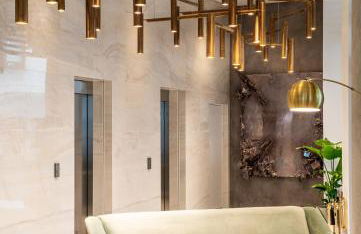
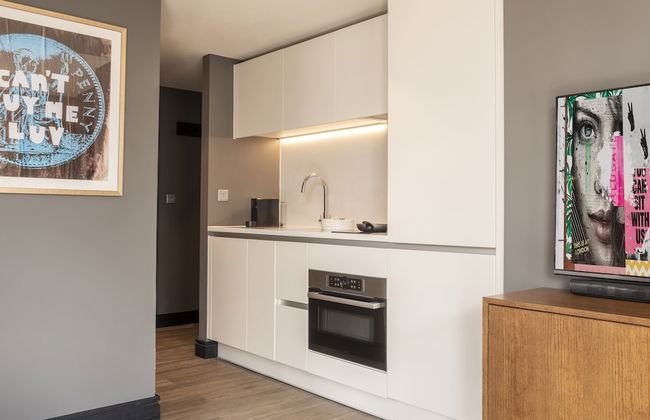
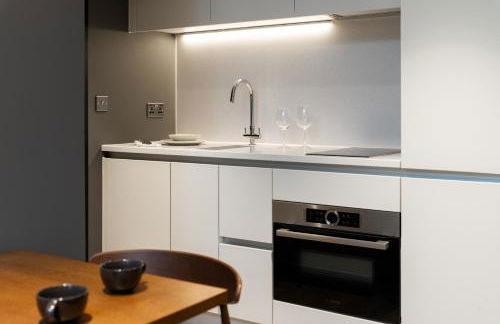
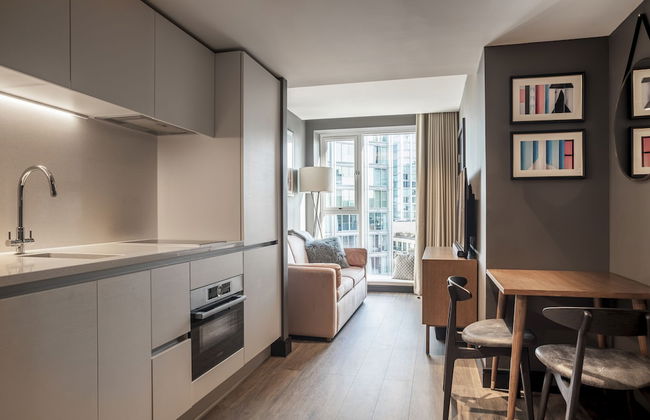
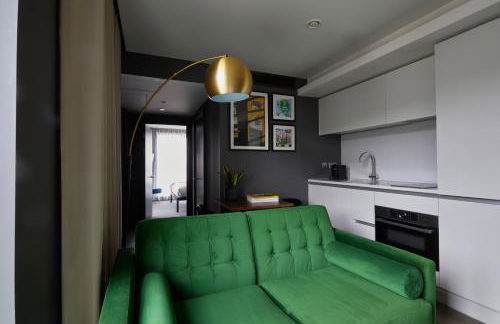
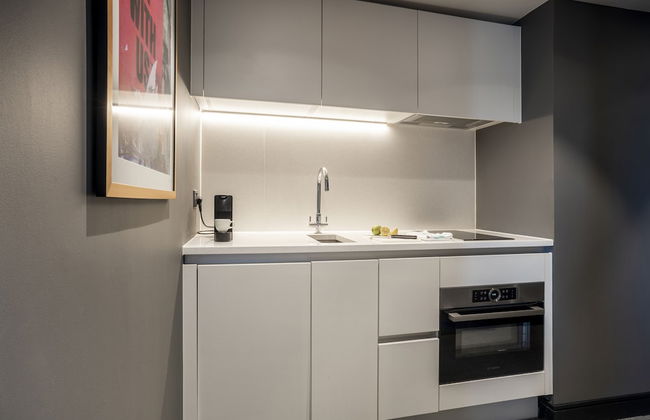
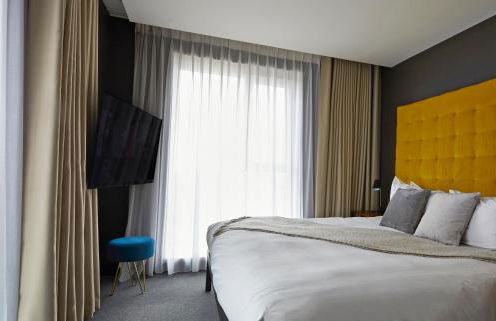
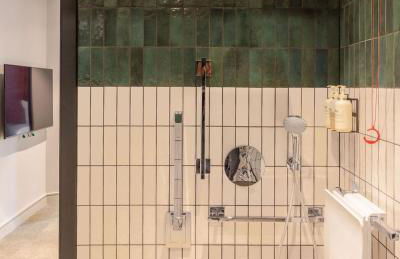
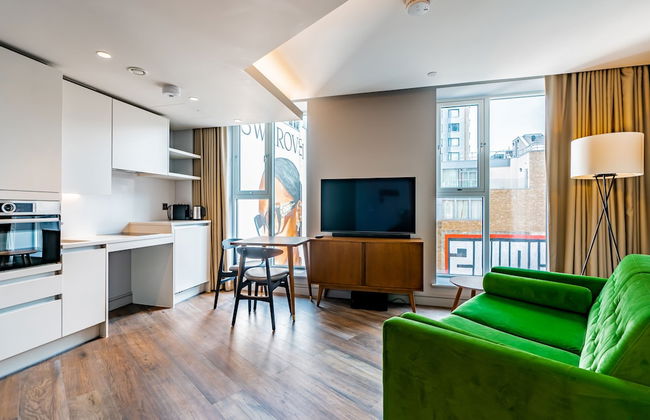
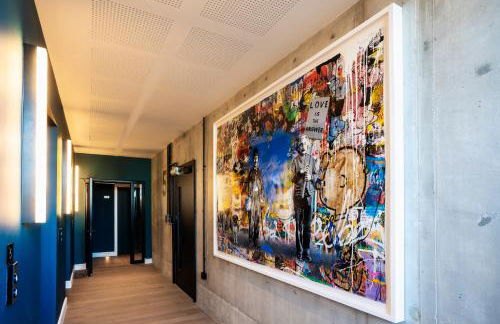
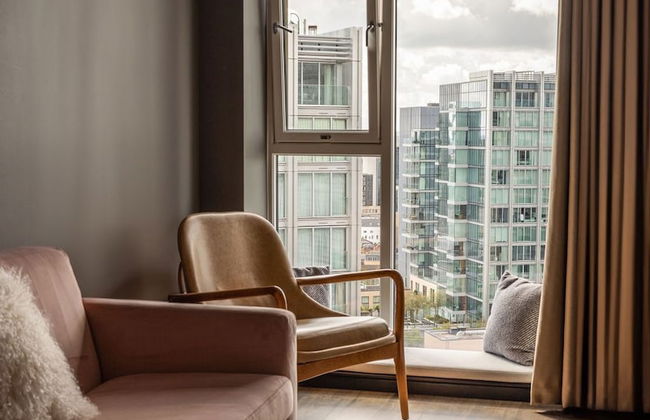
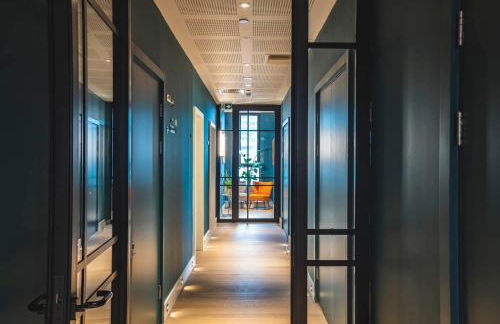
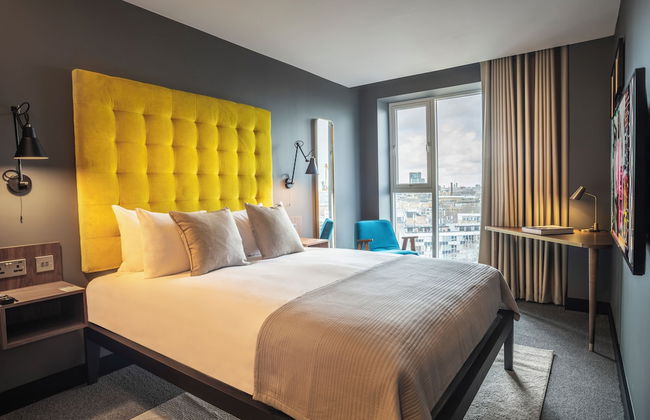
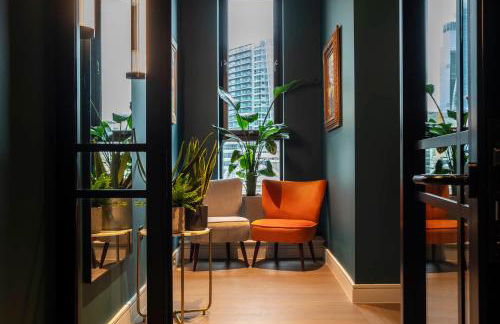
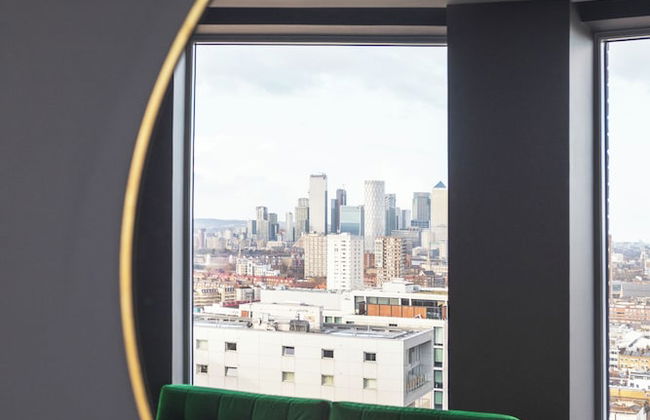
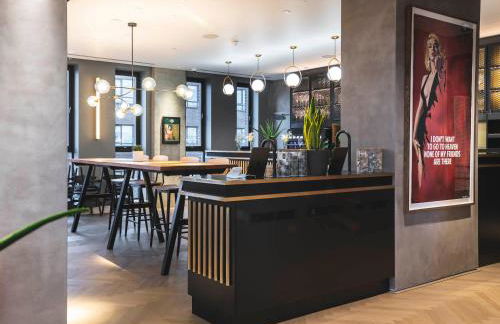
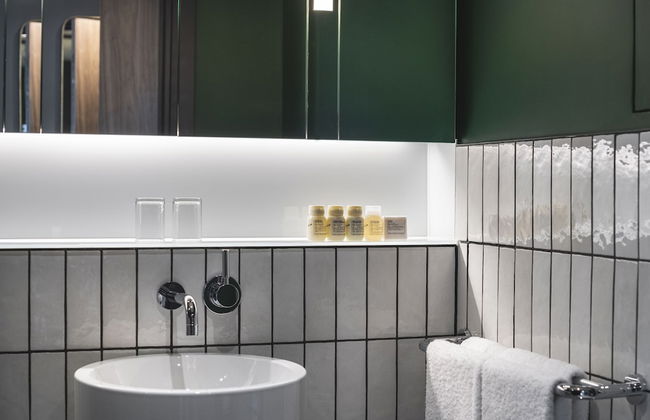
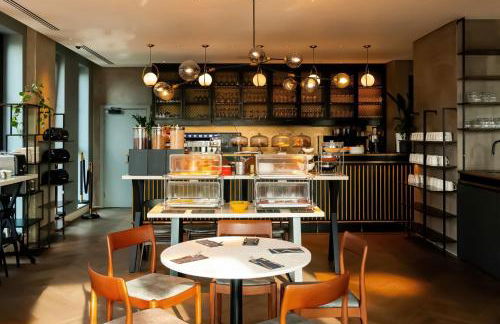
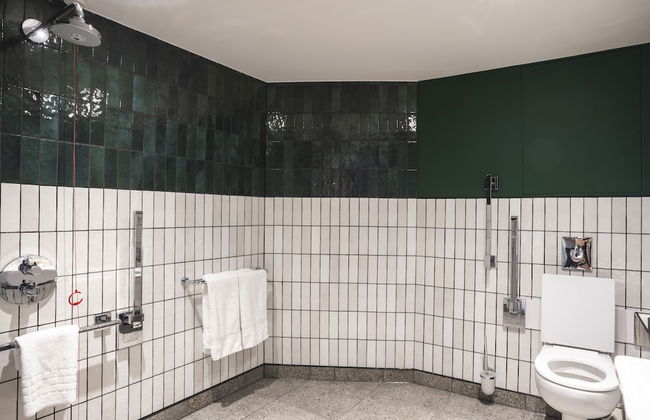
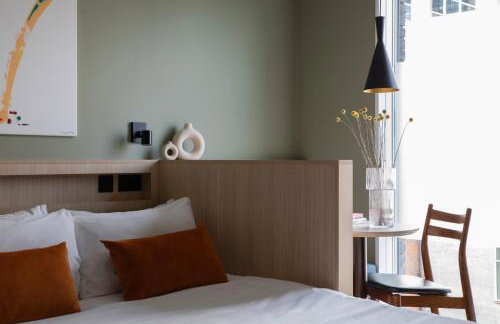
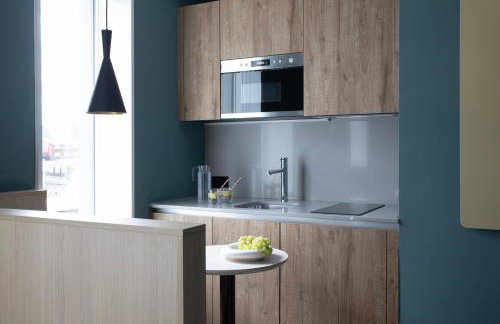
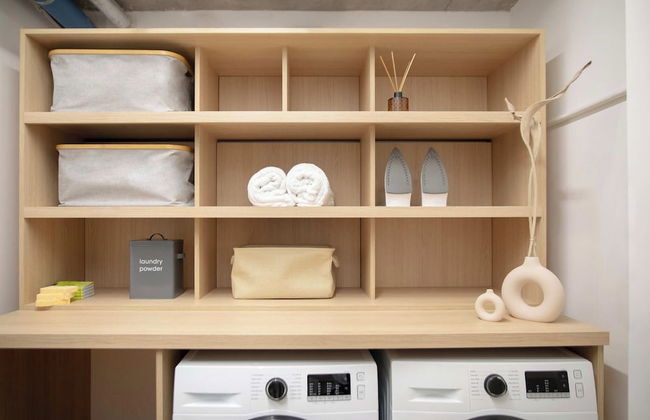
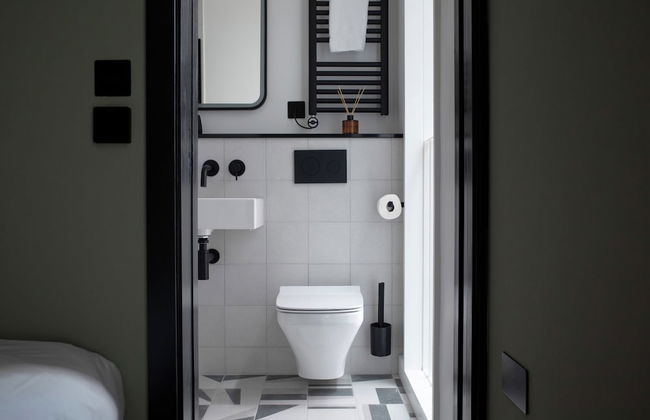
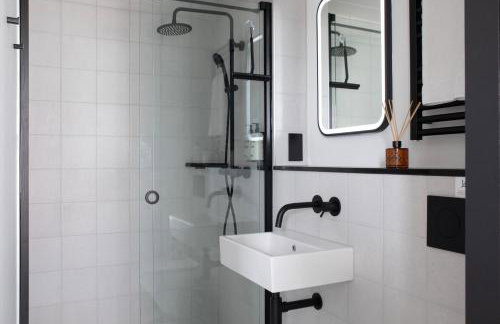
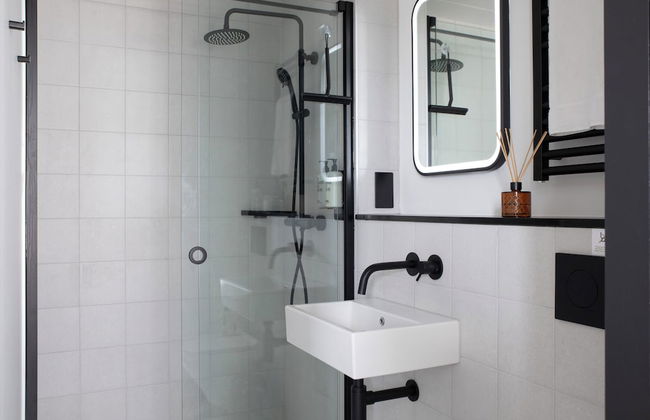
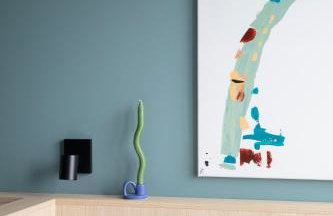
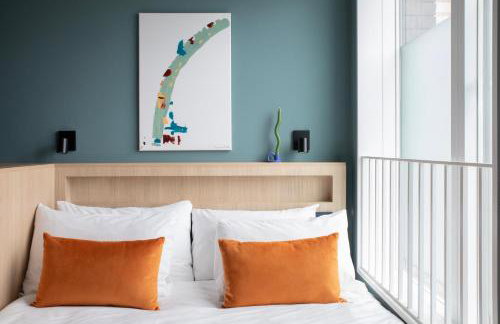
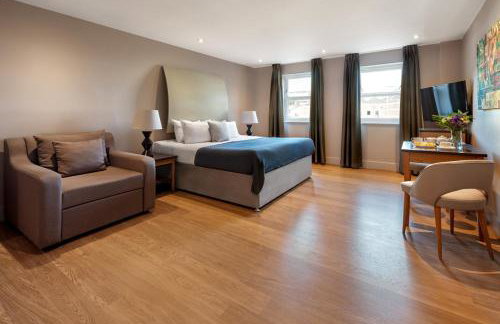
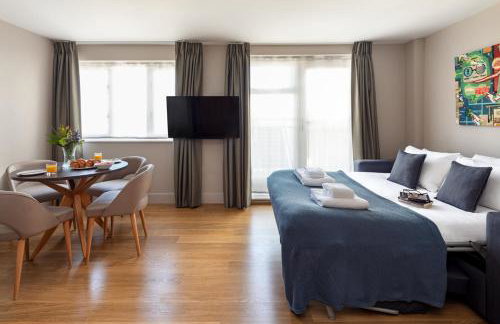
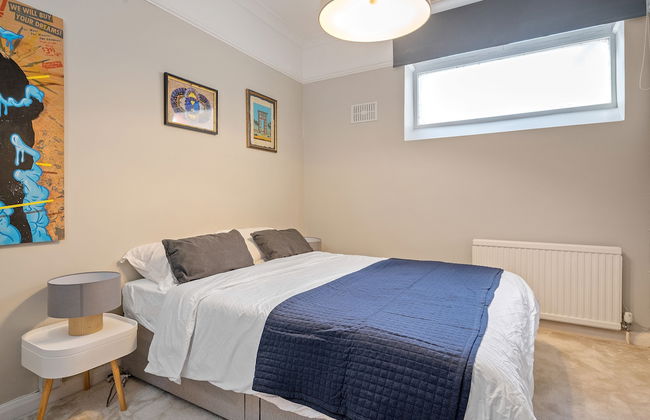
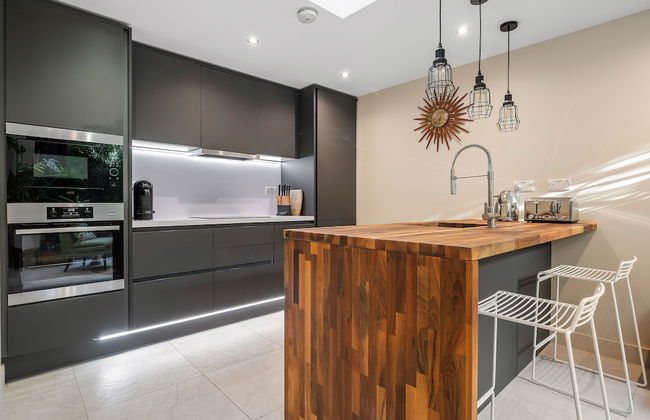
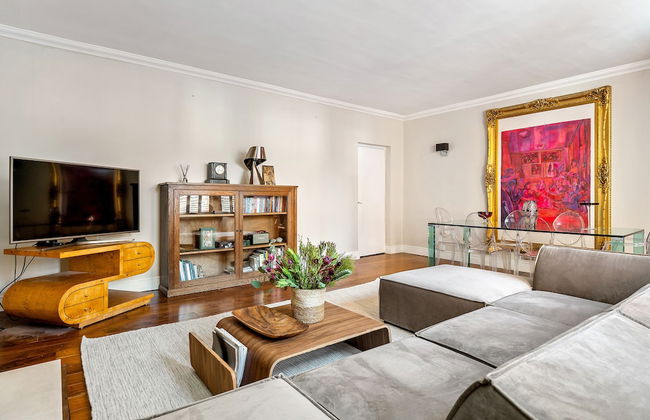
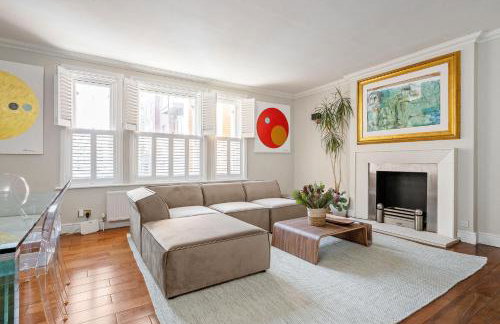
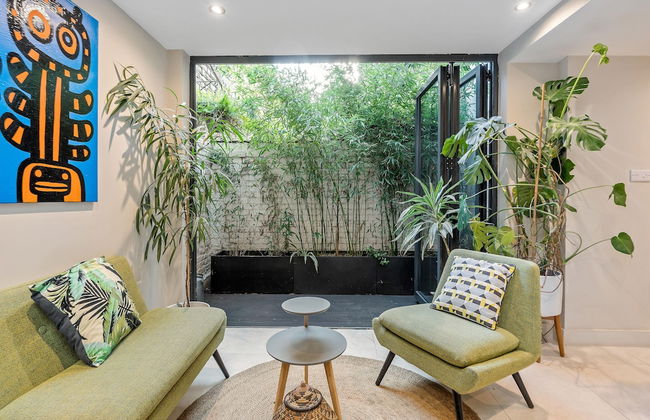
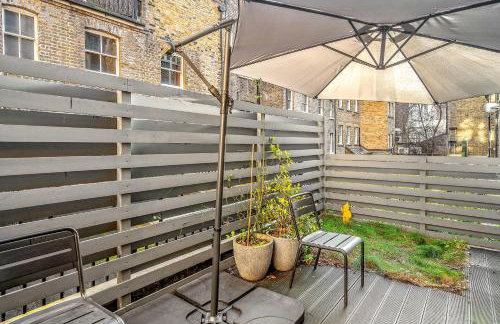
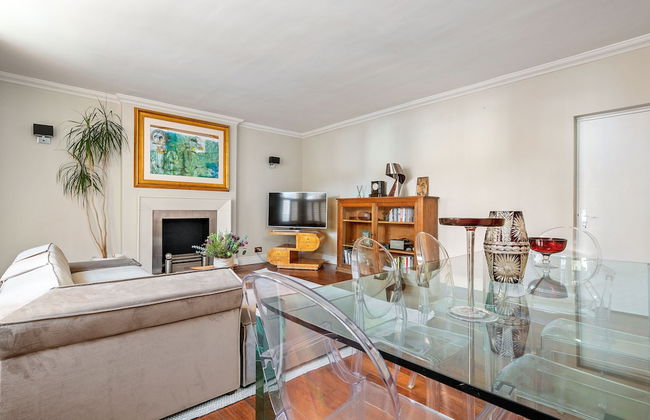
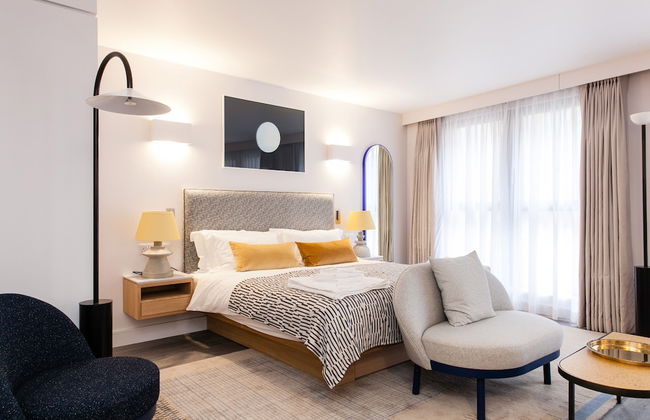
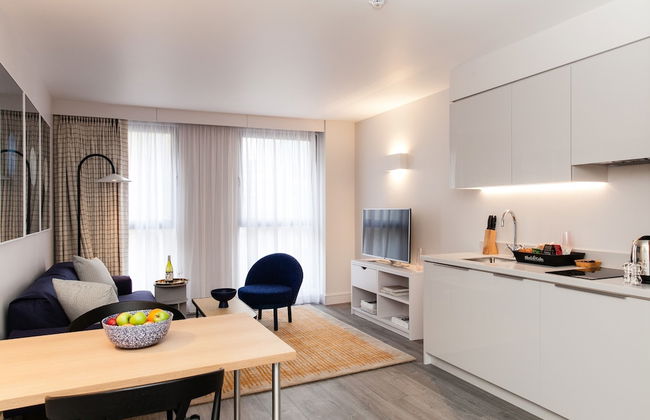
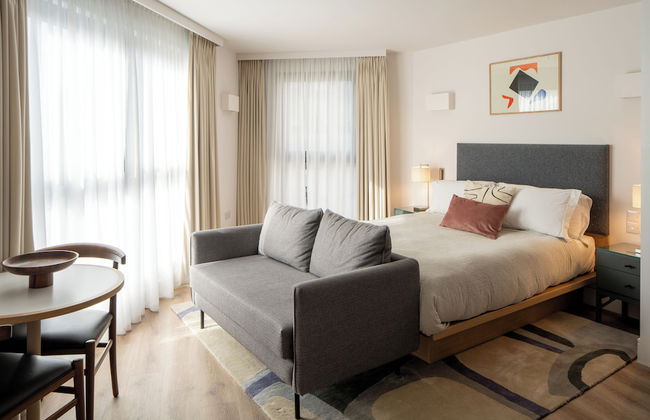
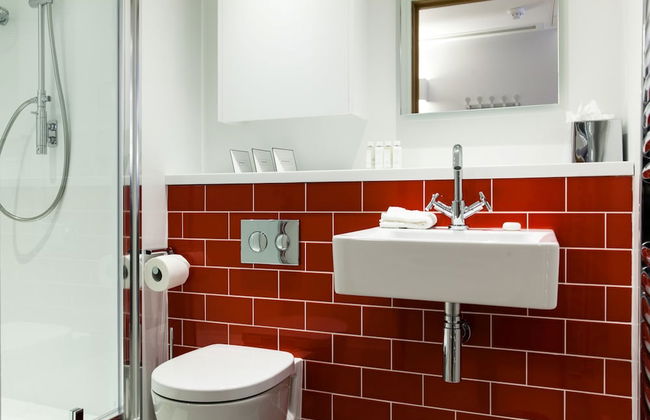
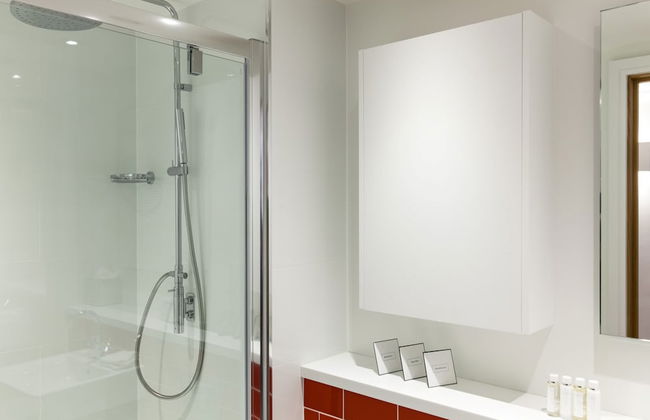
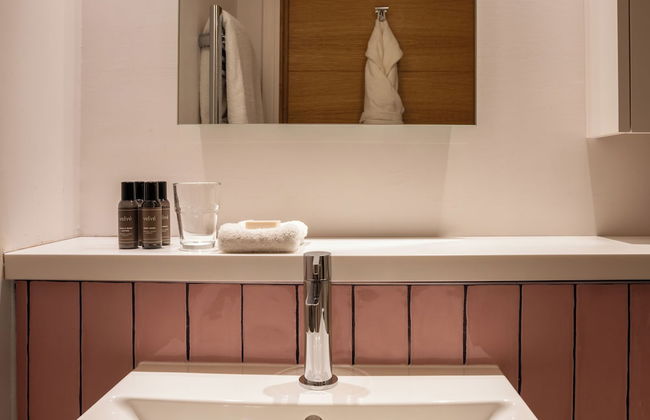
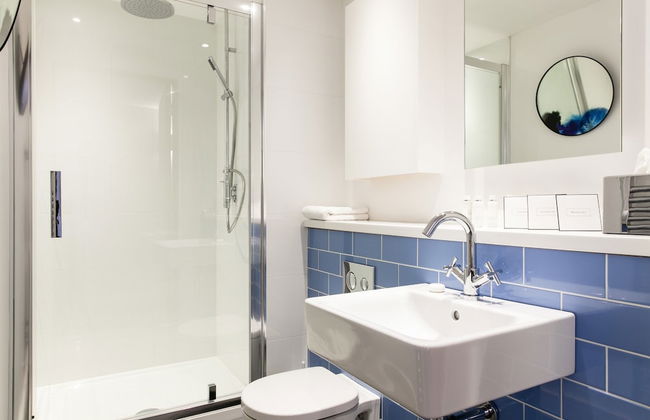
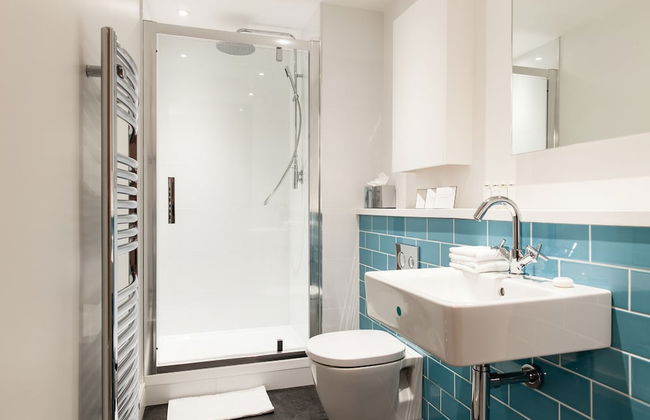
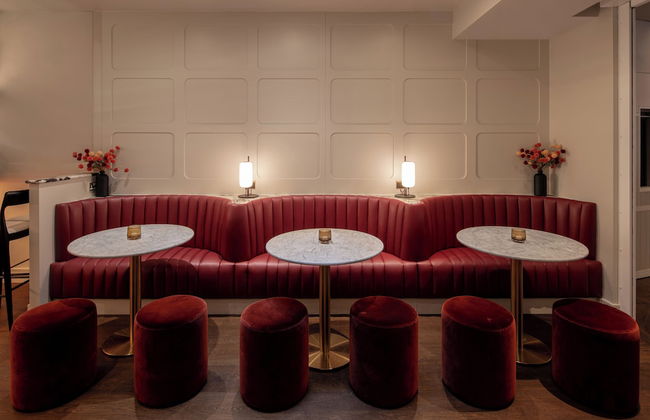
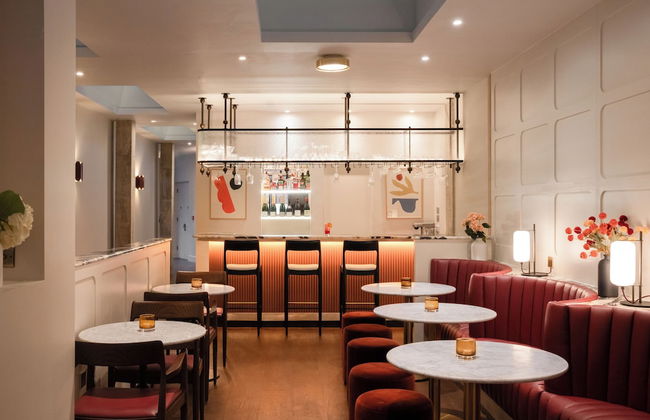
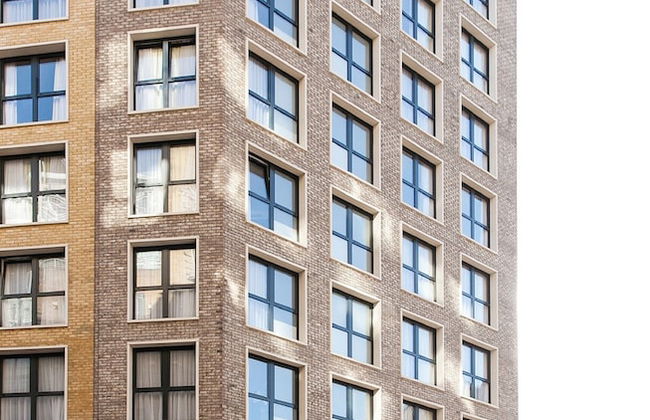
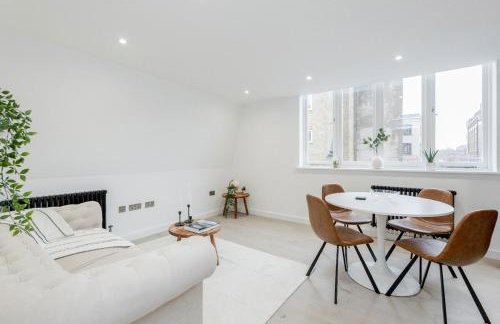
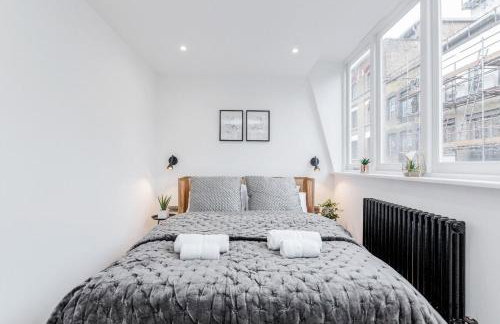
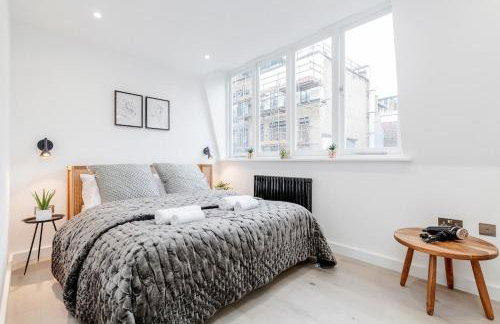
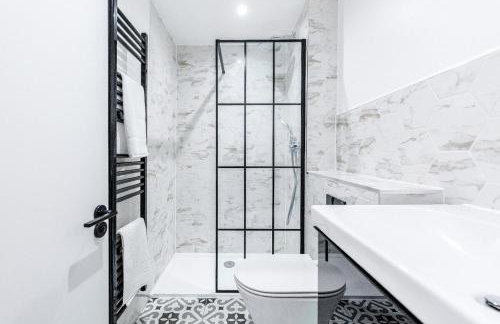
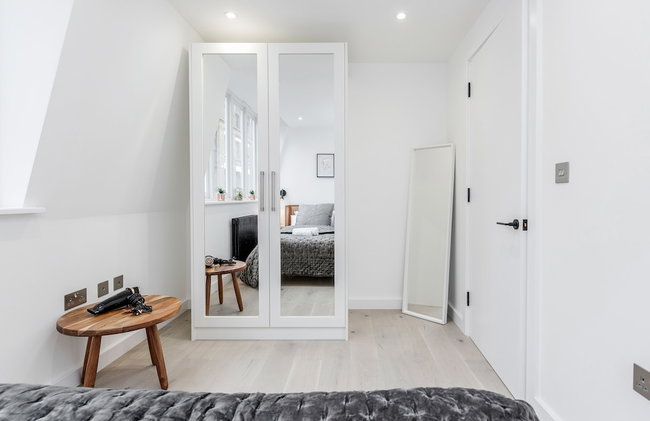
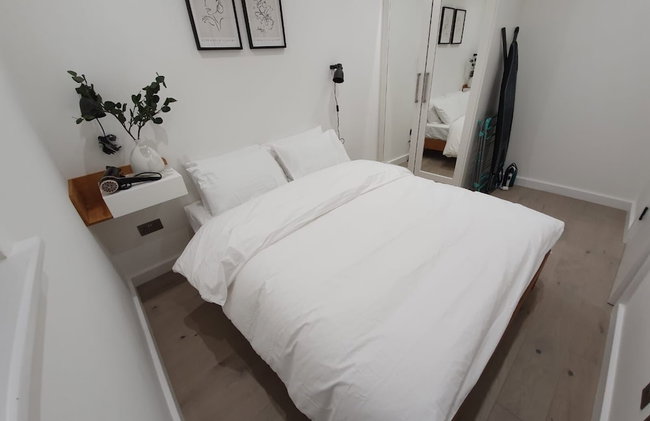
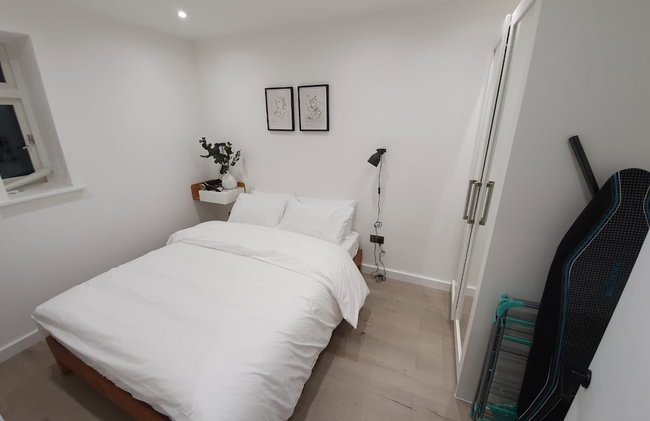
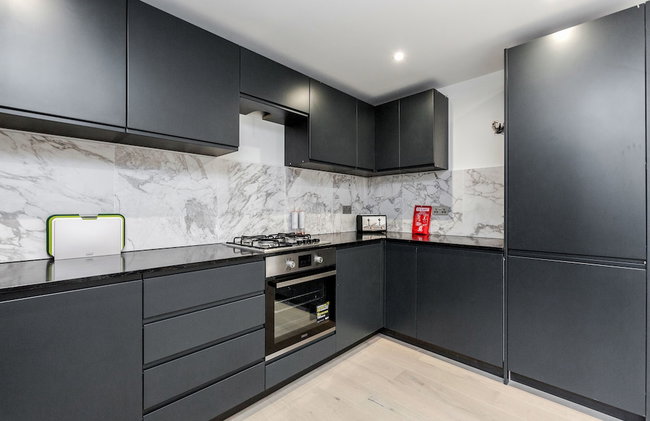
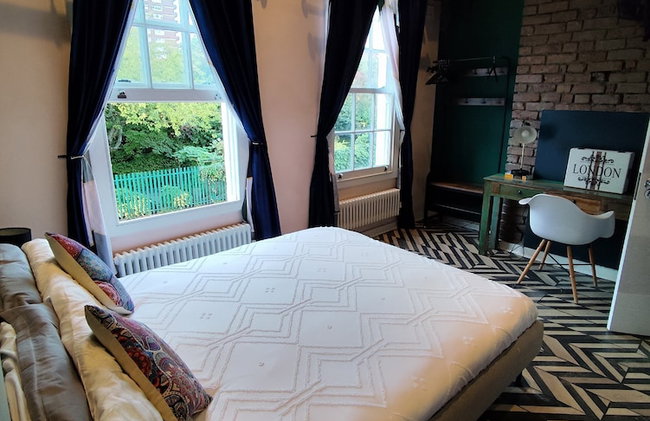
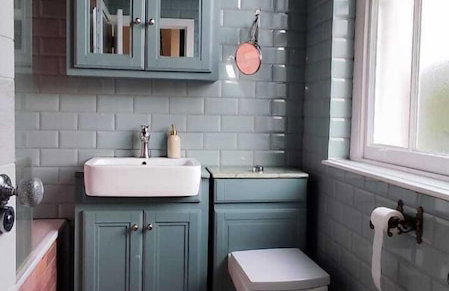
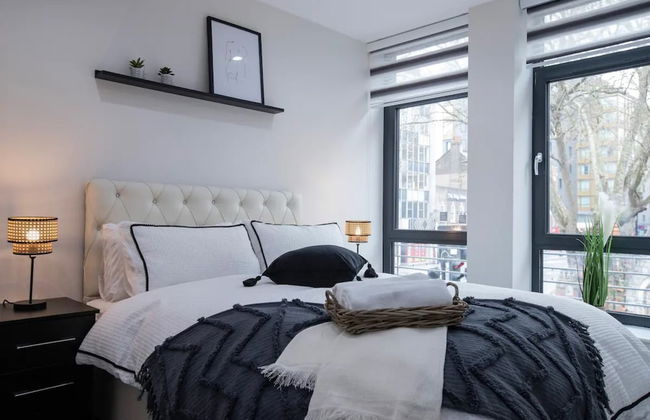
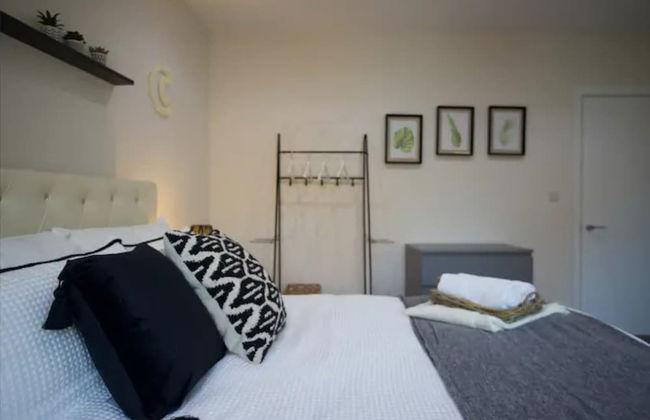
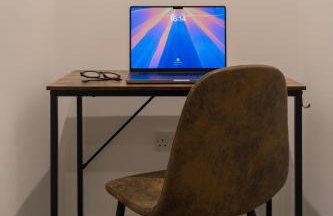
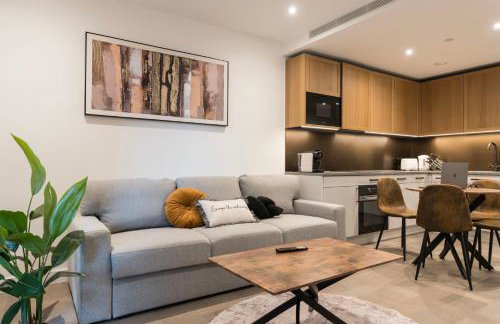
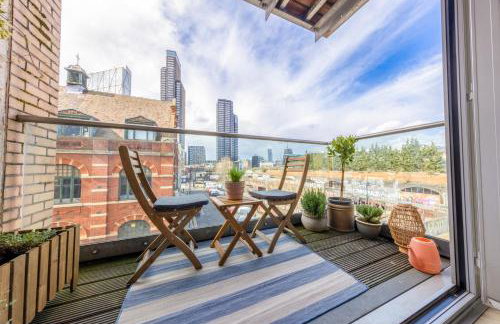
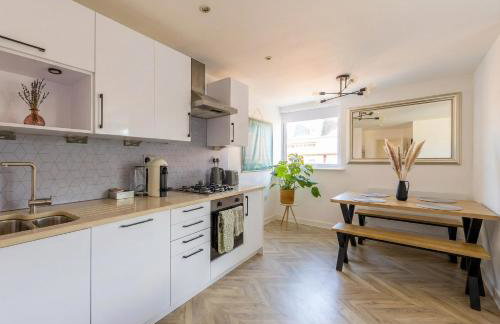
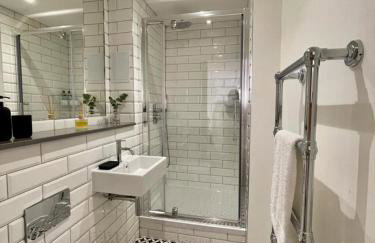
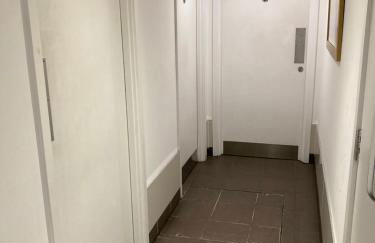
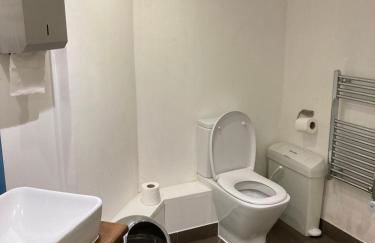
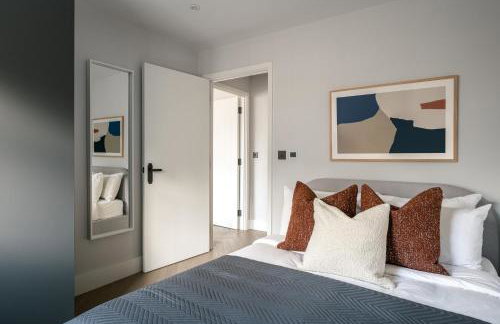
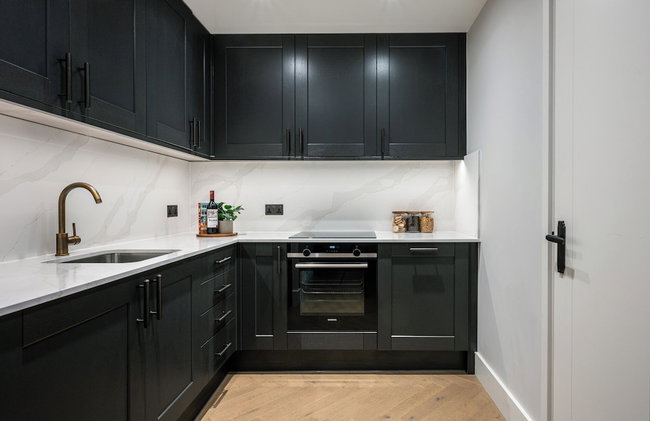
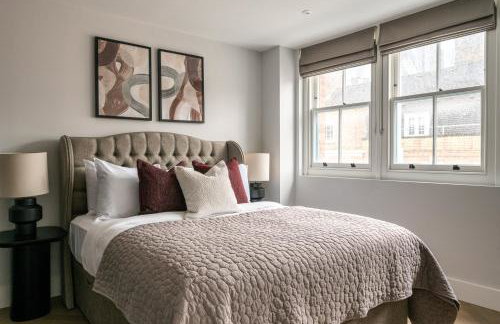
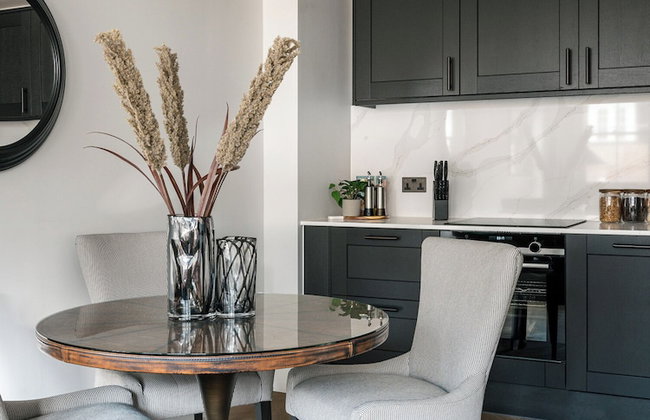
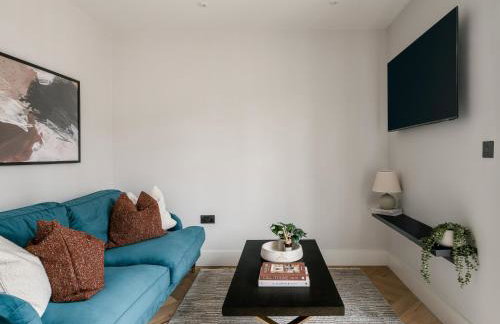
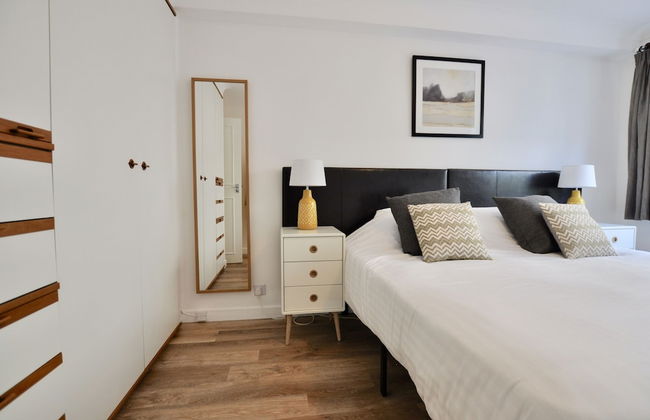
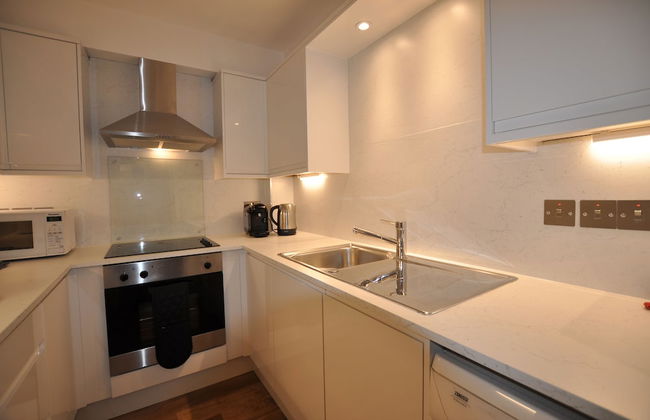
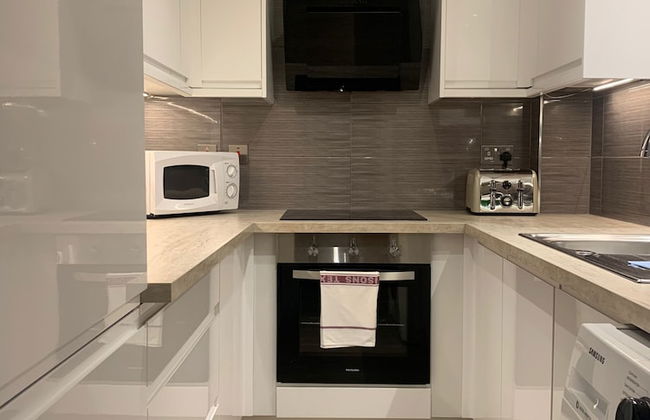
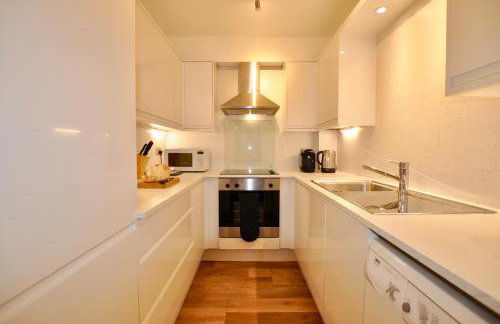
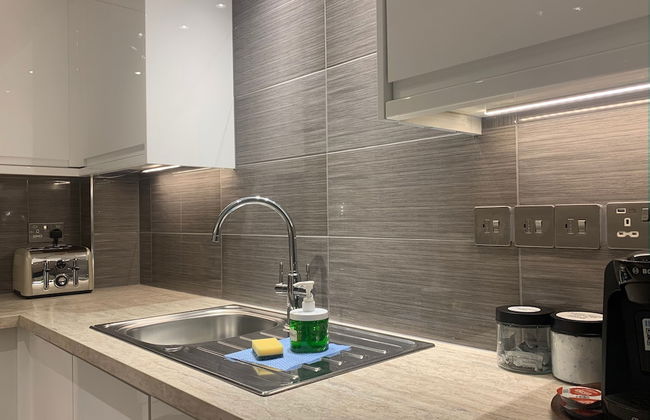
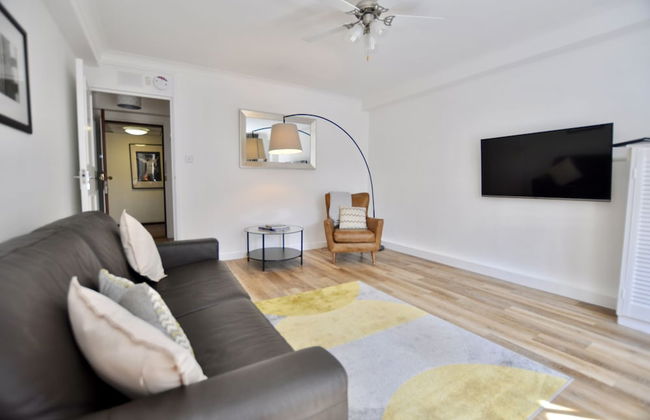
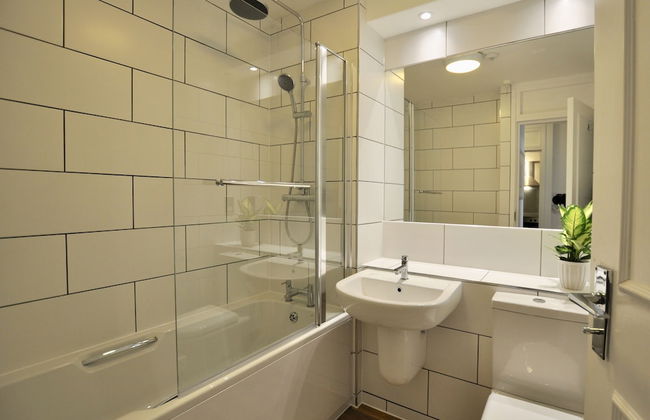
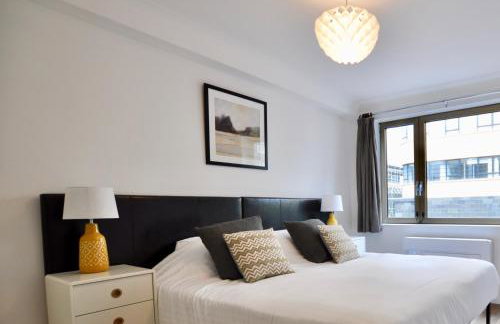
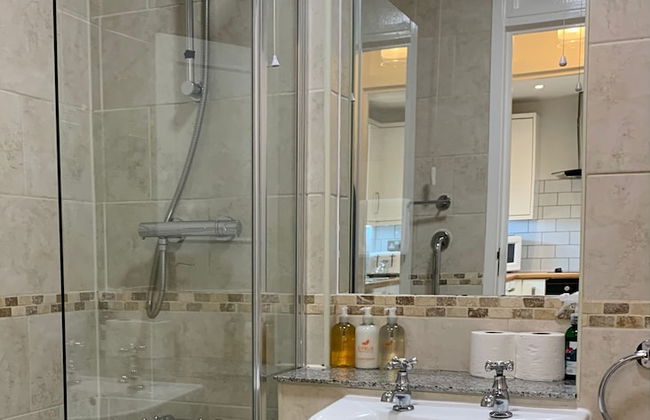
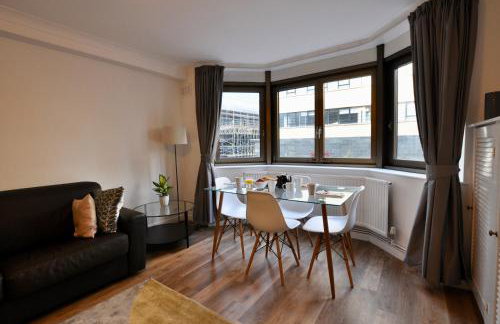
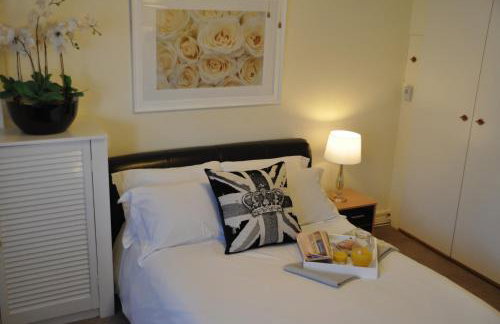
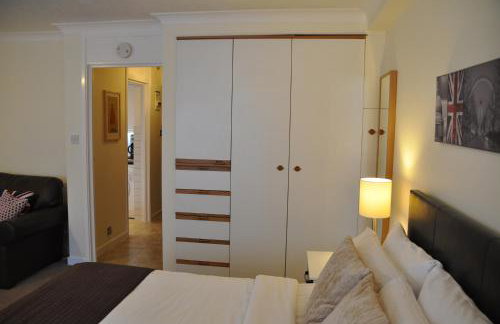
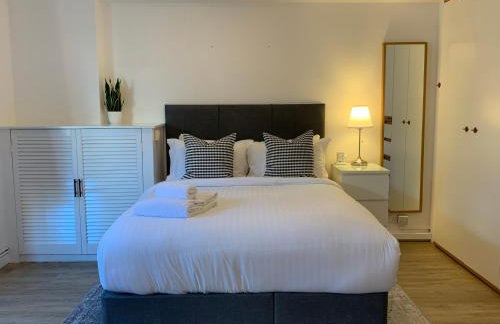
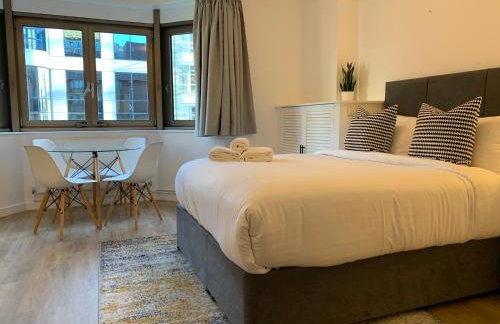
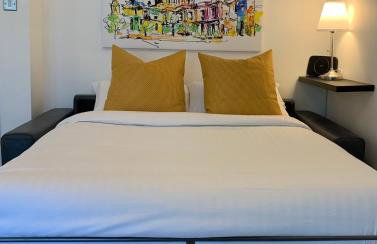
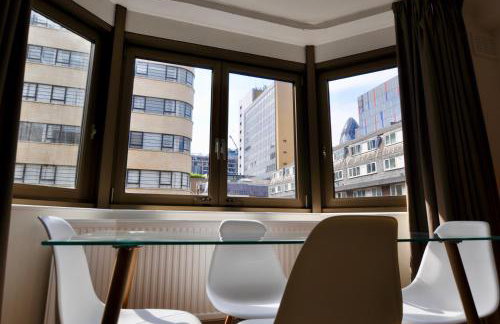
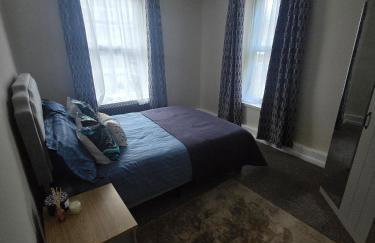
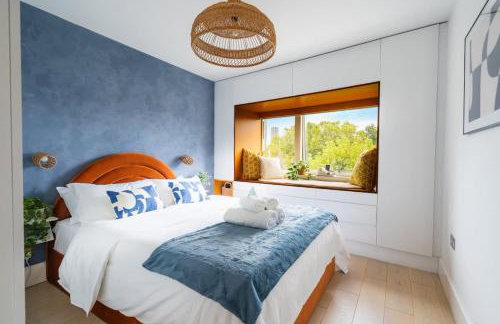
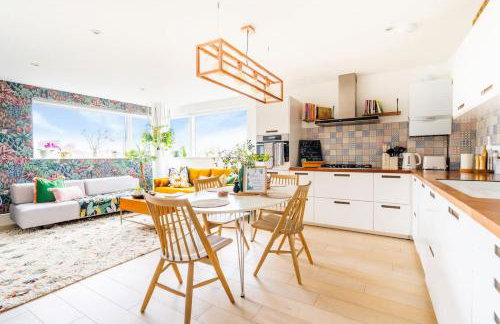
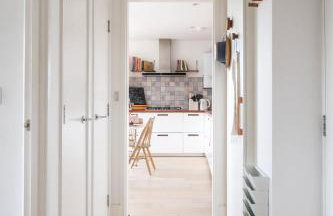
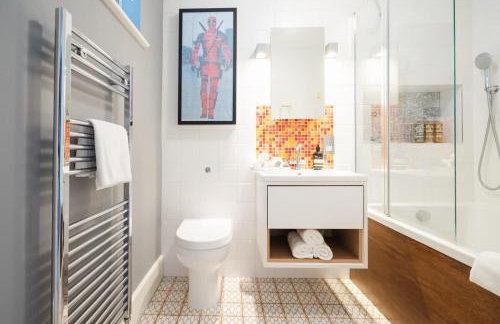
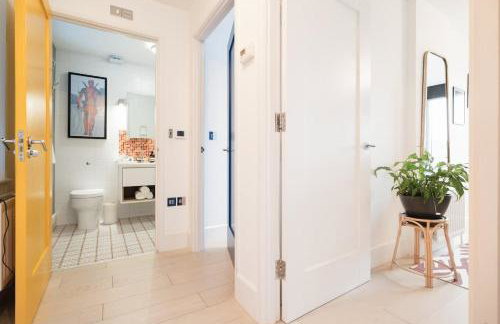
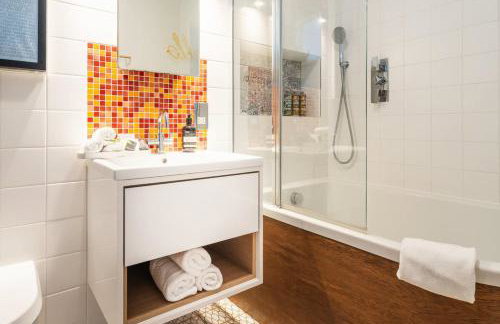
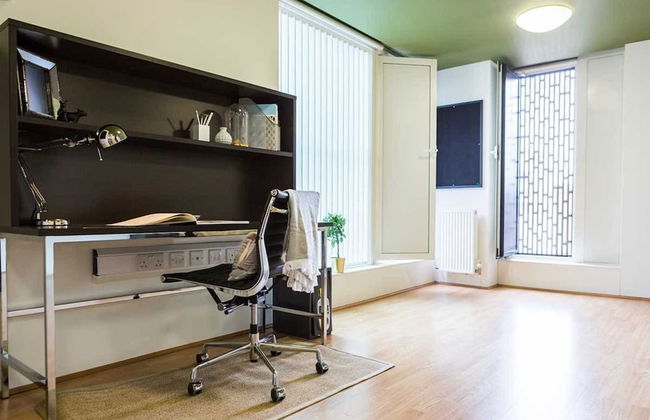
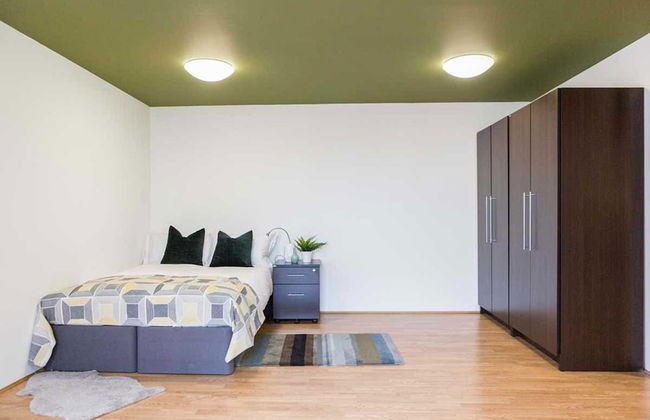
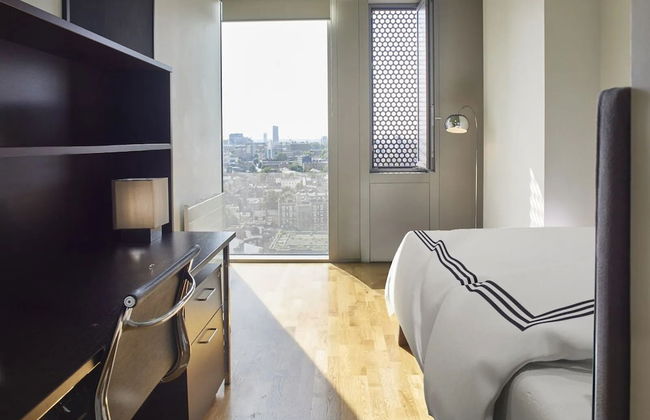
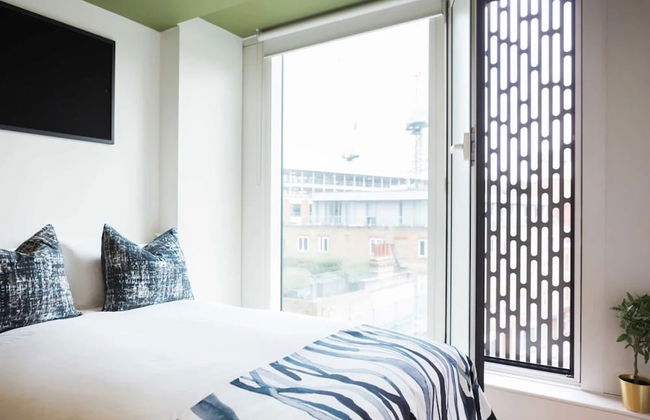
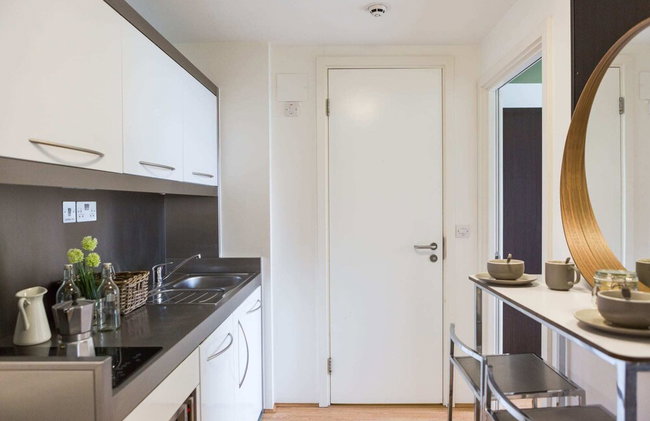
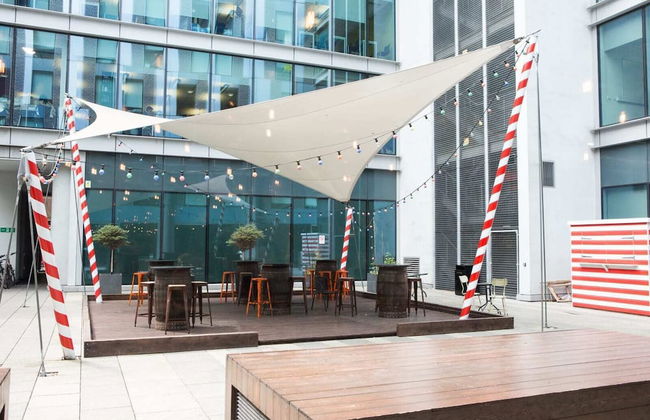
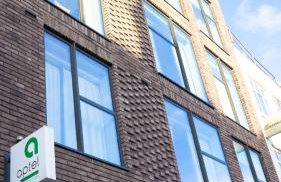
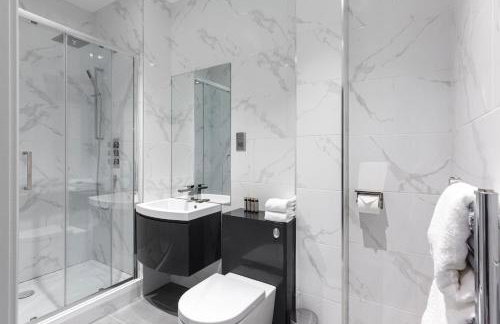
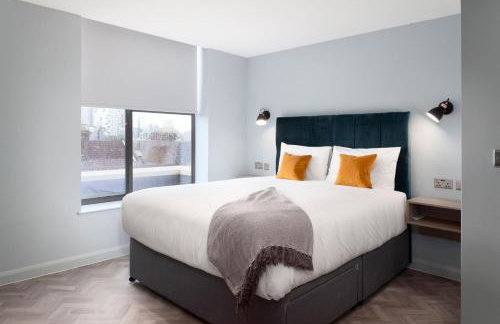
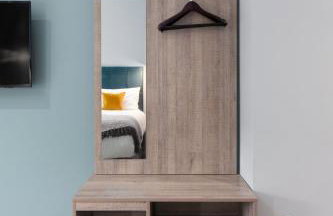
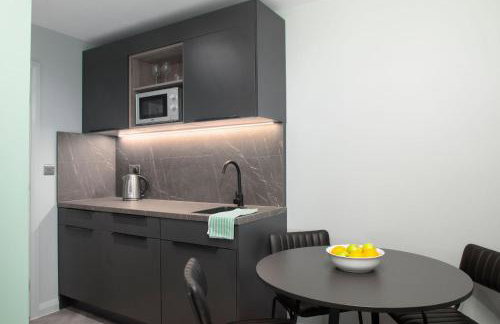
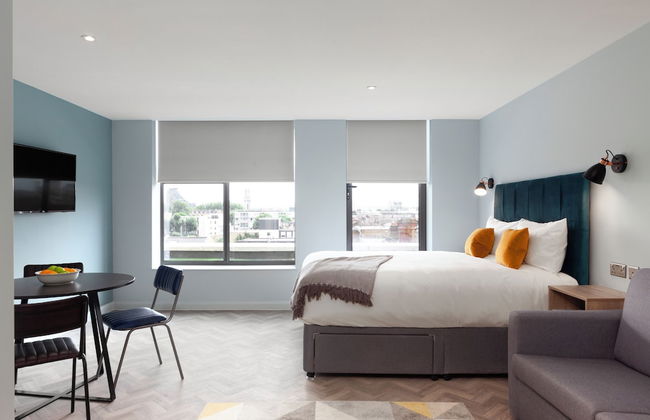
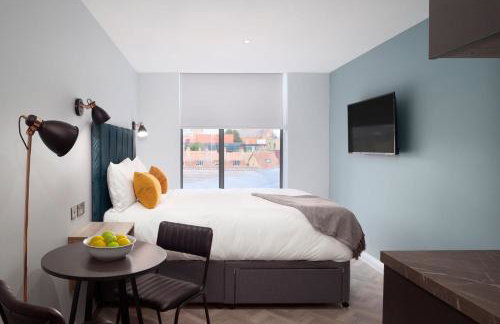
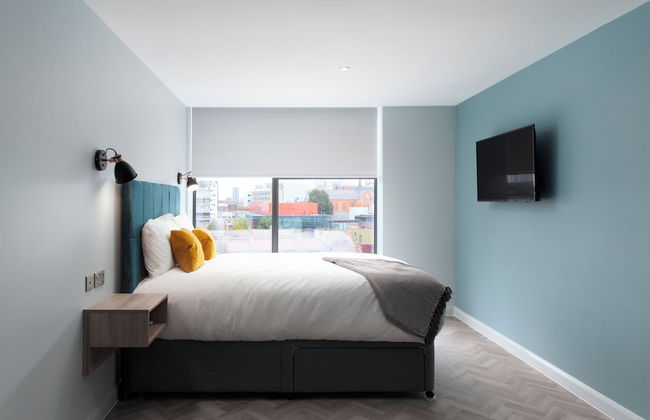
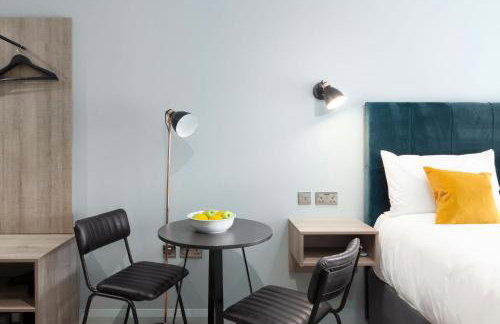
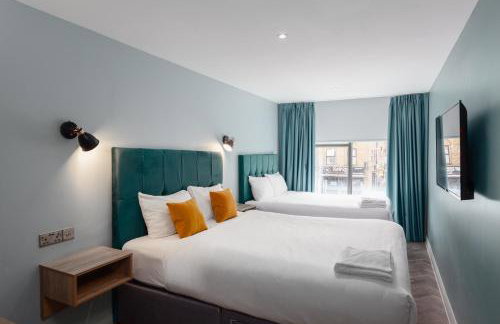
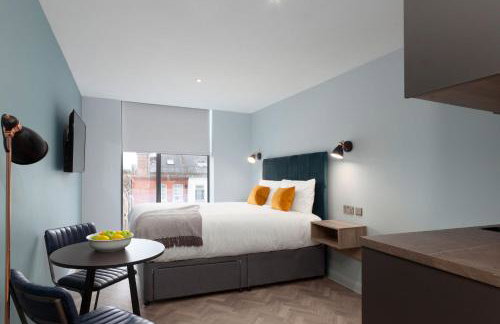
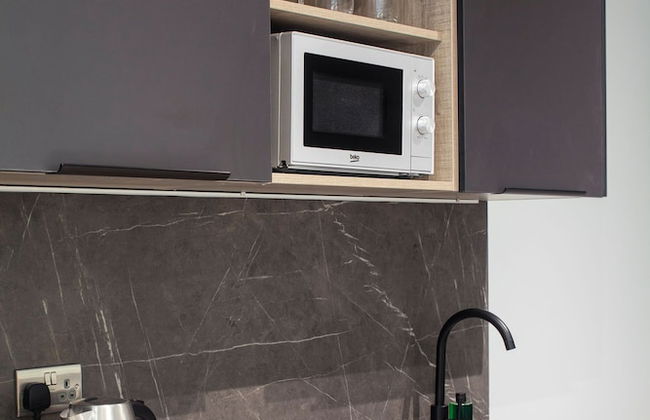
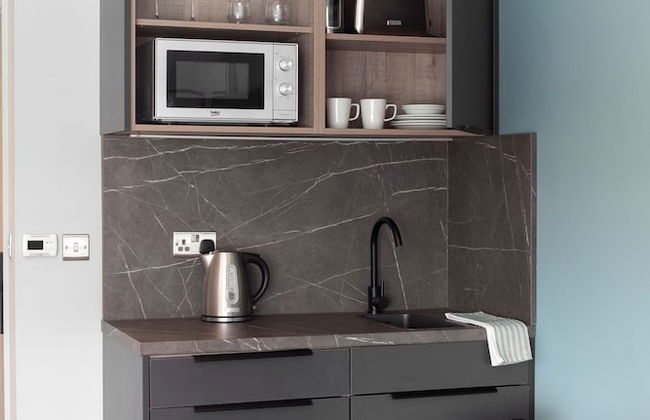
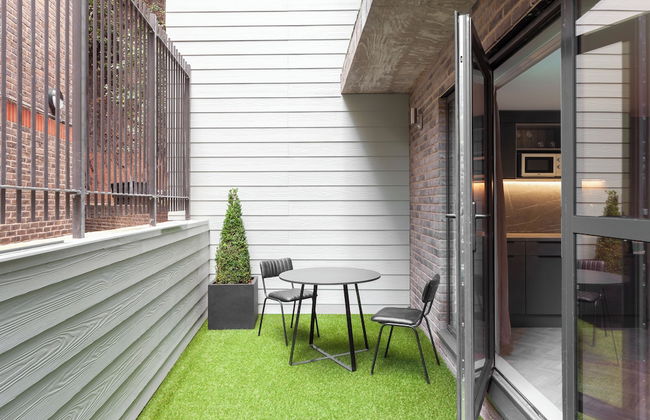
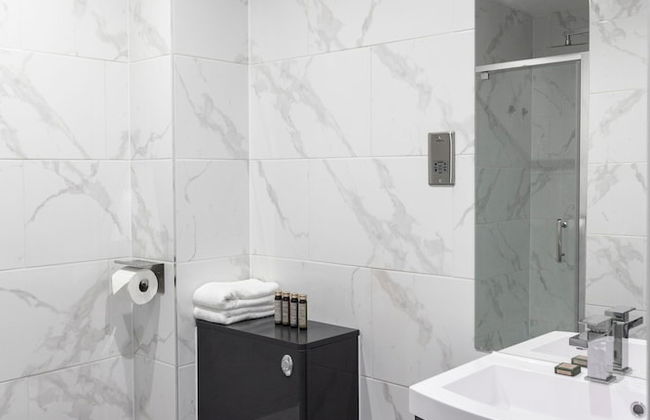
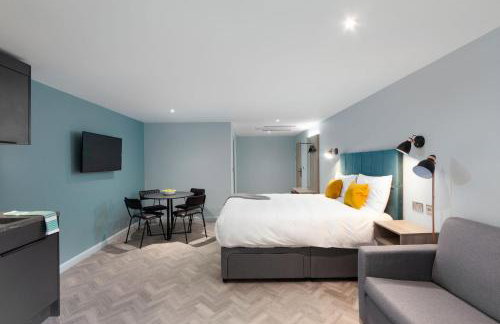
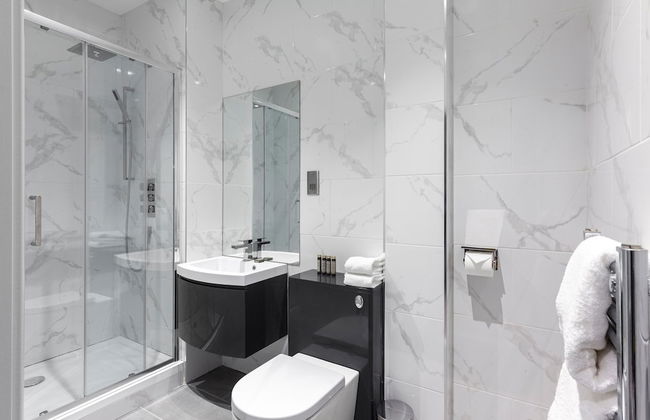
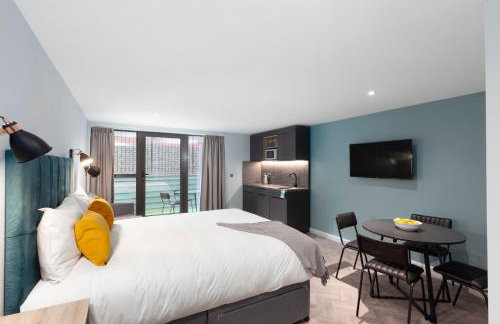
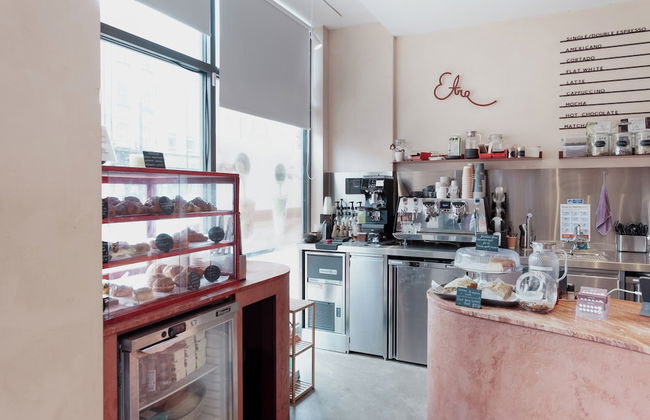
Aptel East - Foto 1
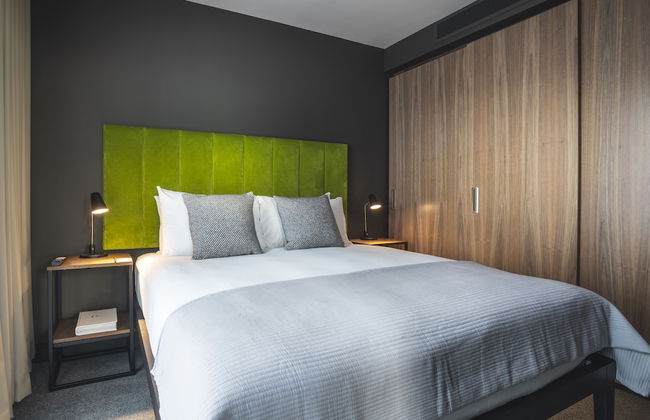
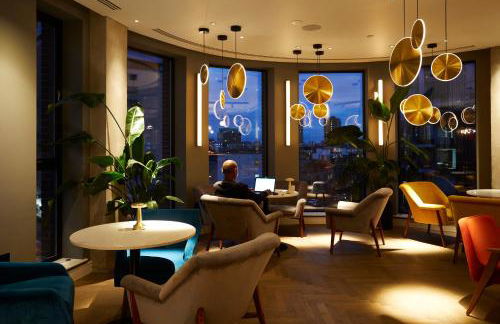
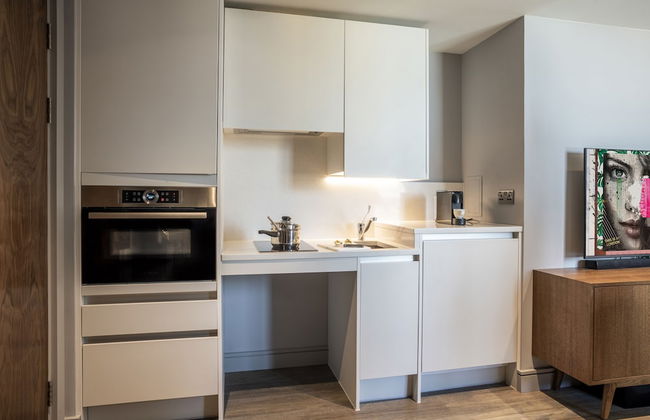
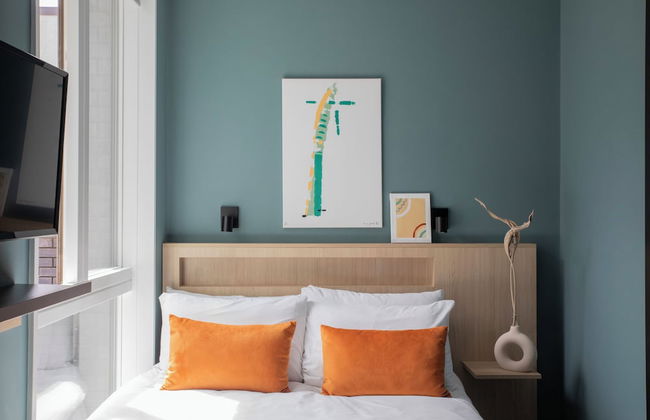
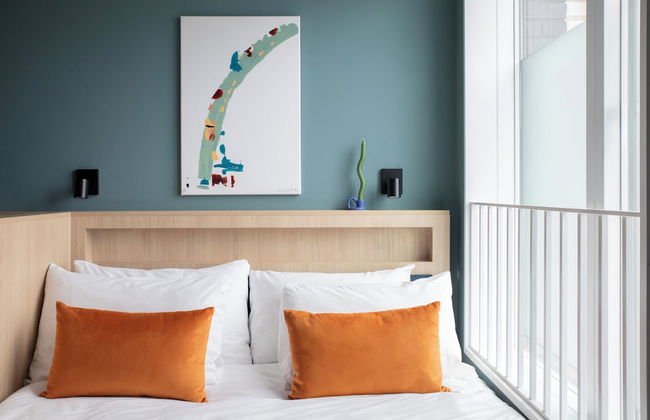
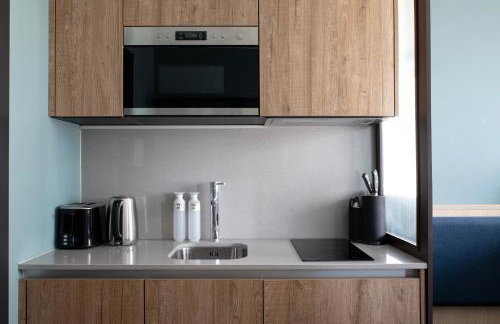
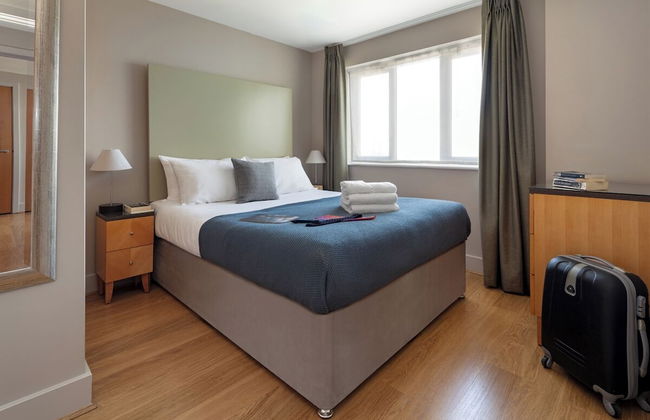
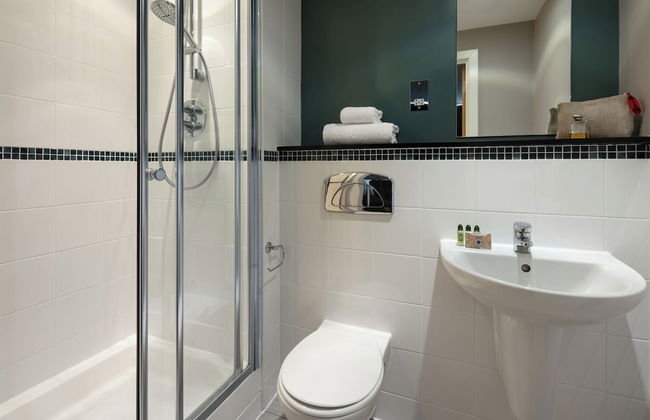
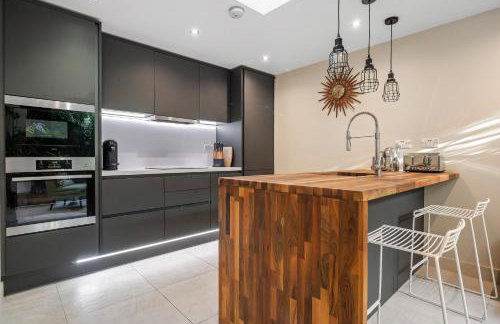
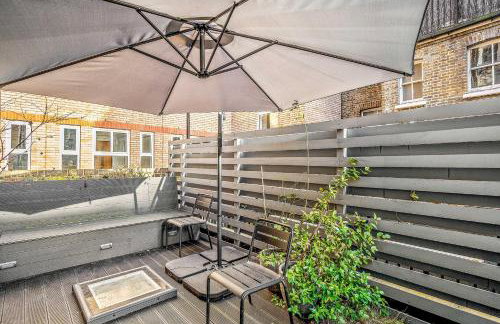
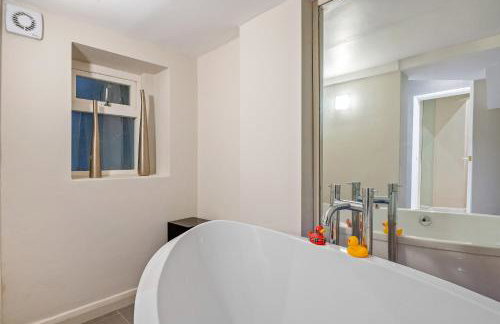
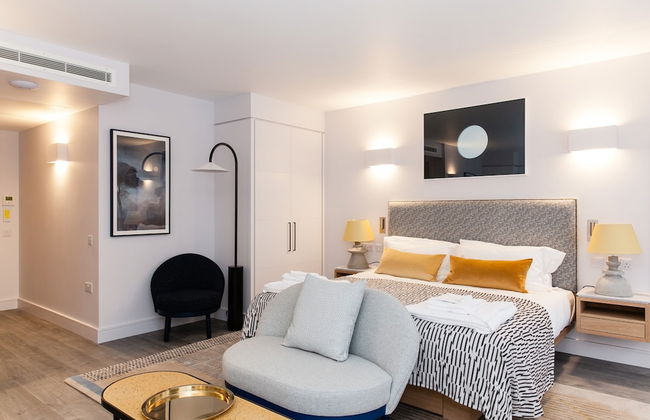
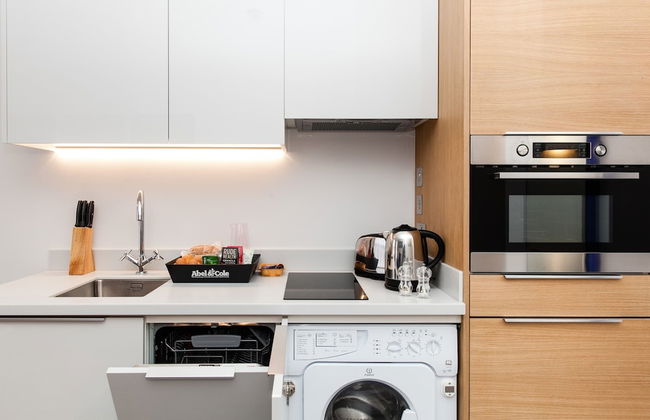
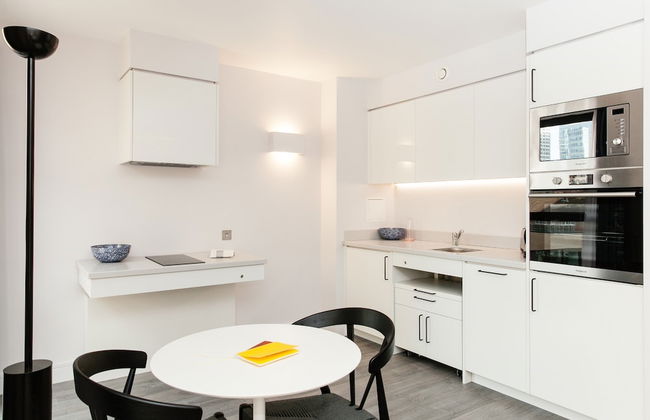
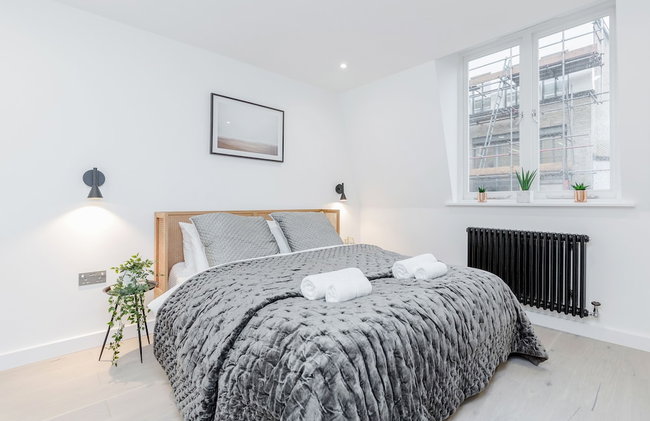
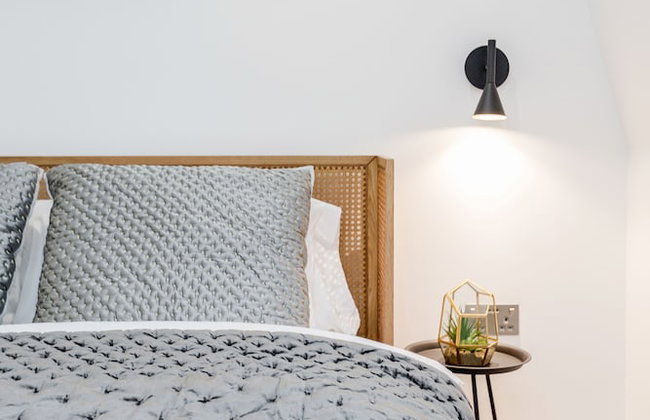
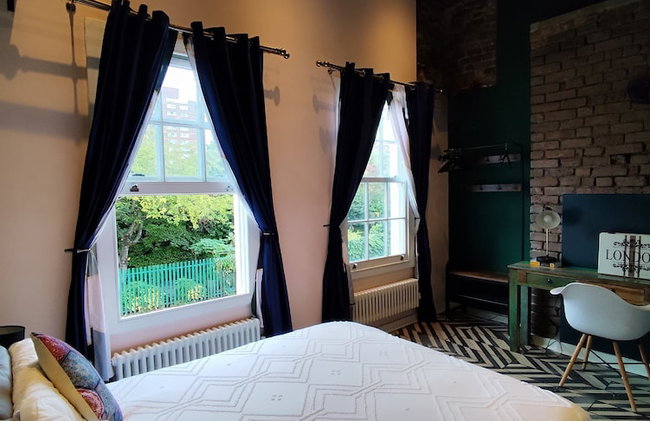
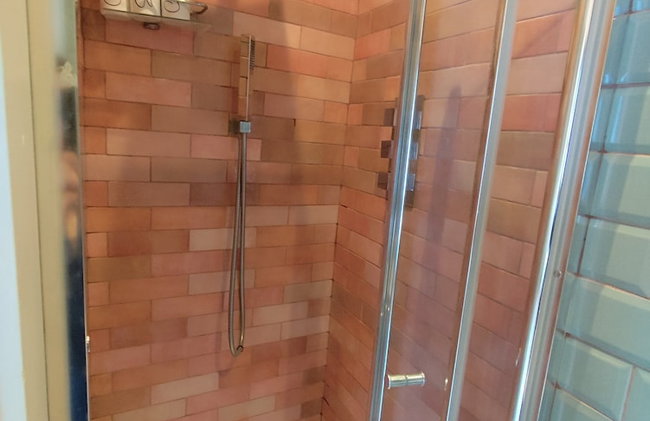
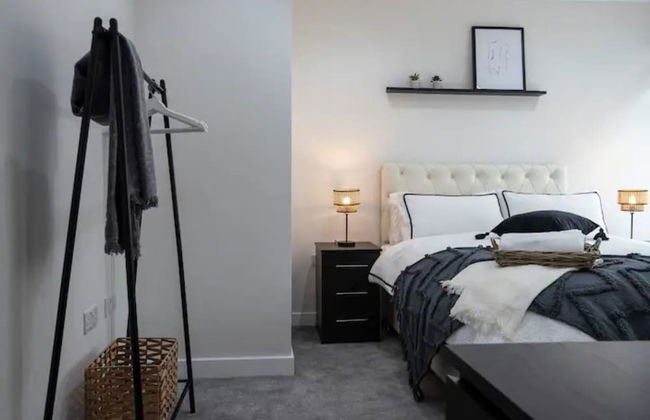
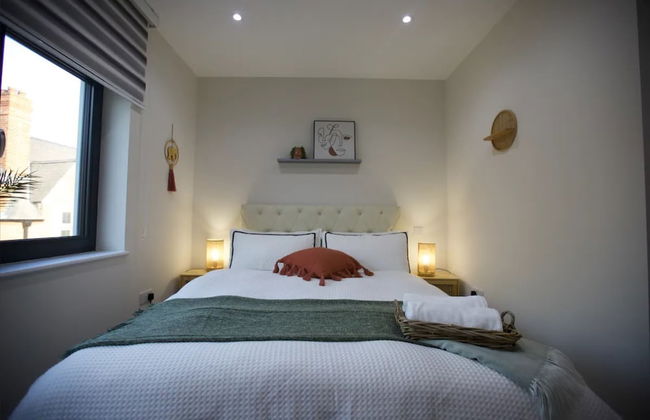
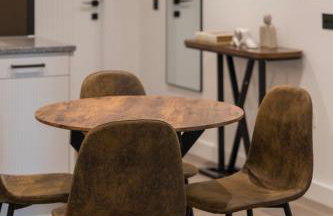
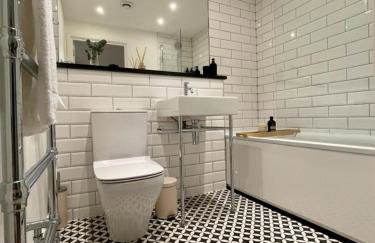
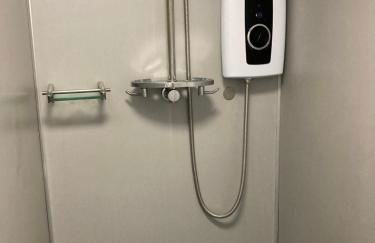
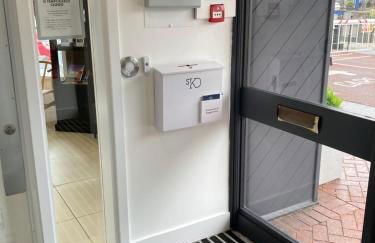
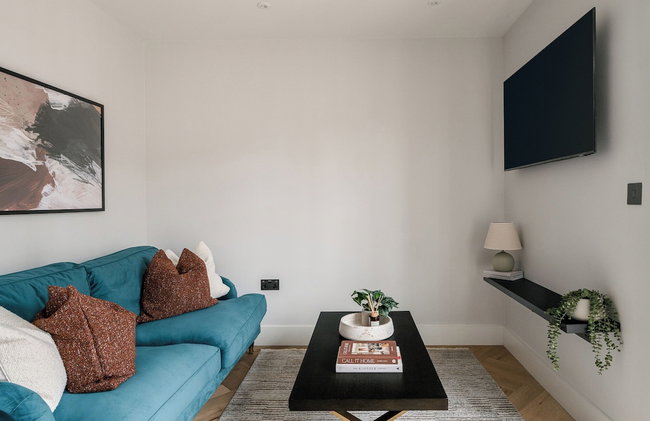
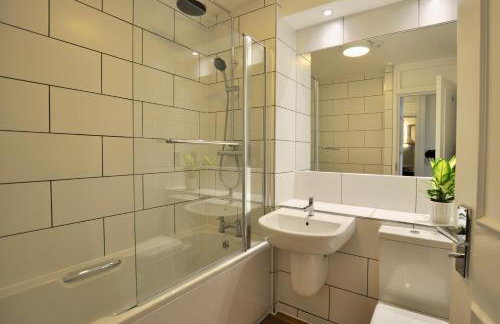
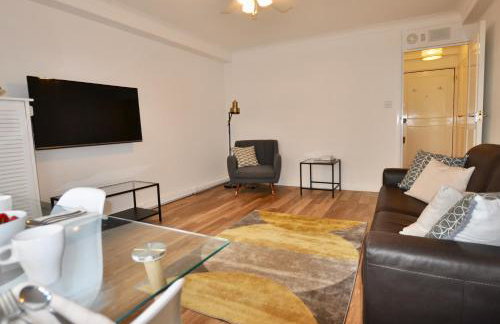
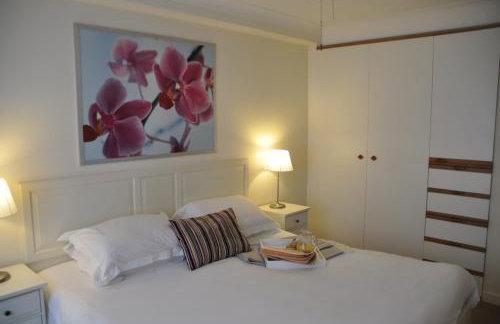
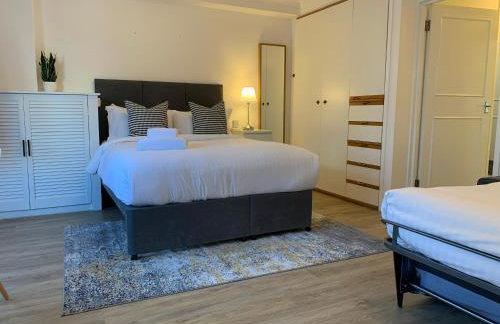
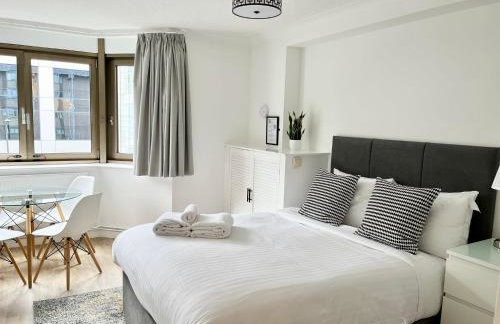
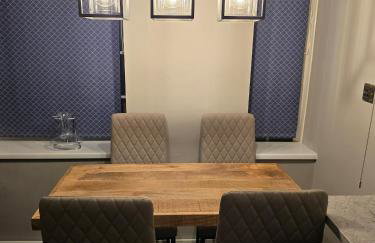
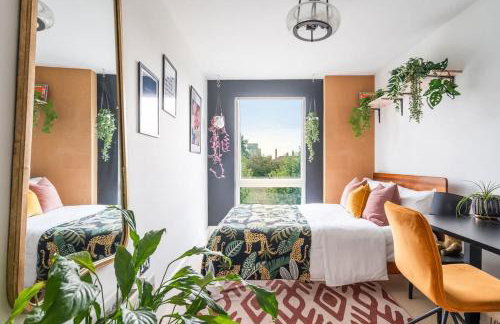
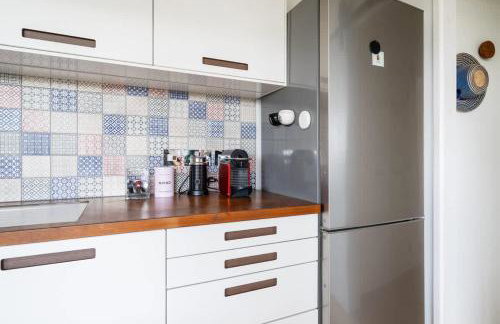
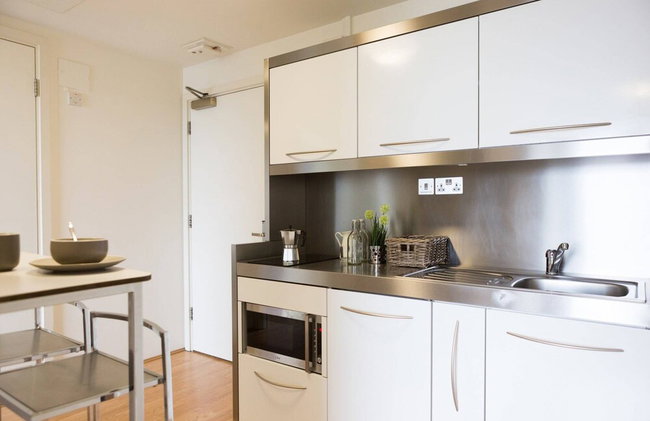
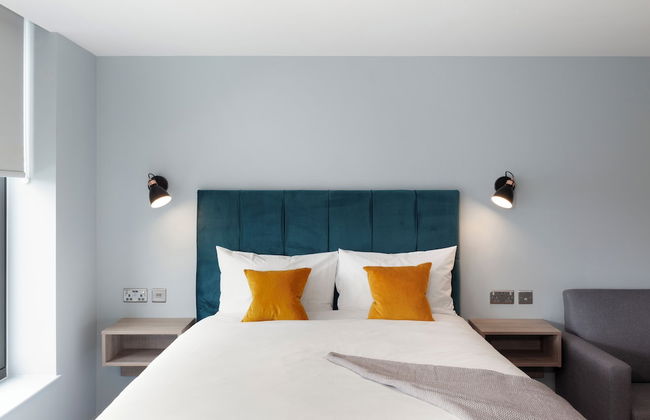
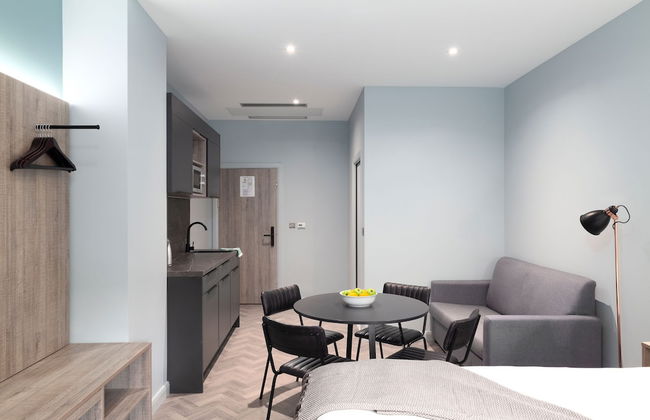
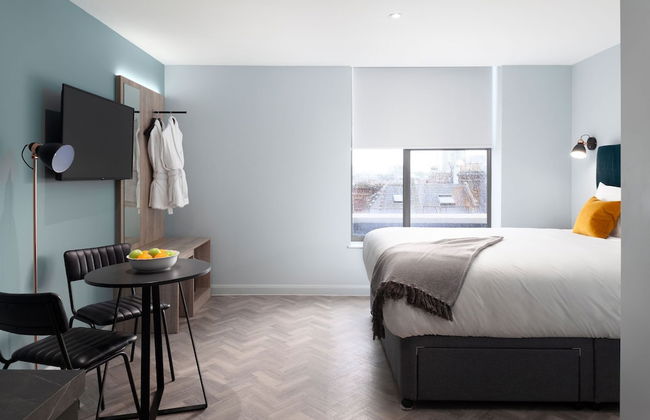
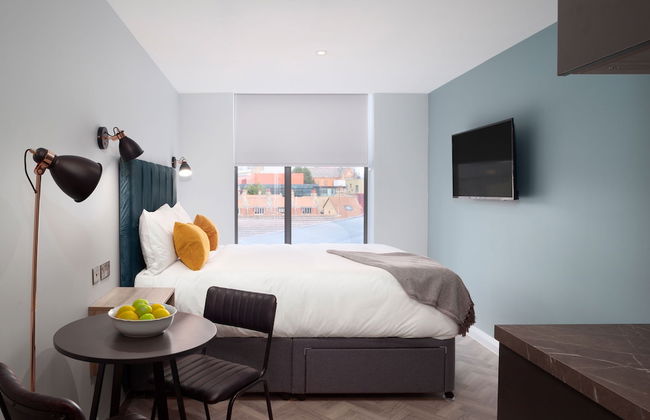
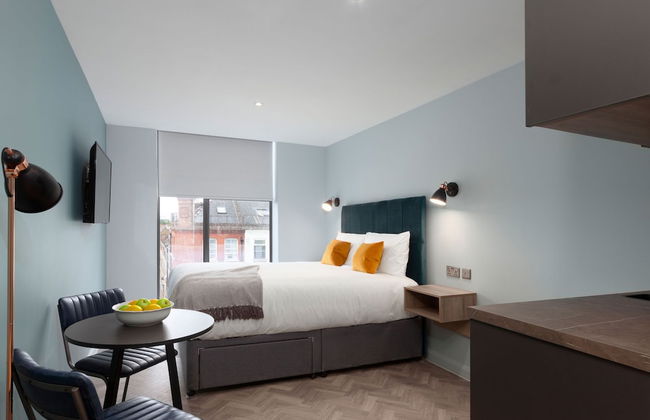
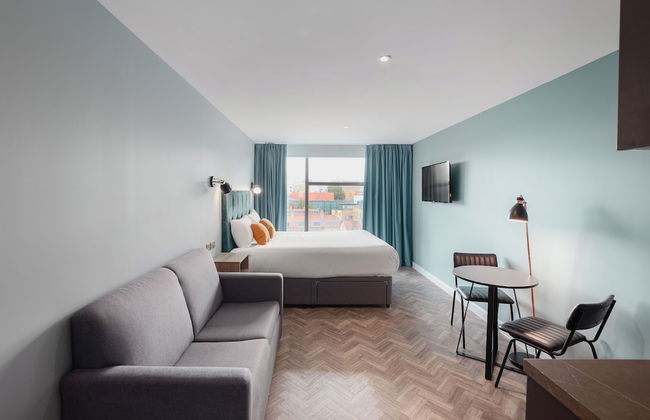
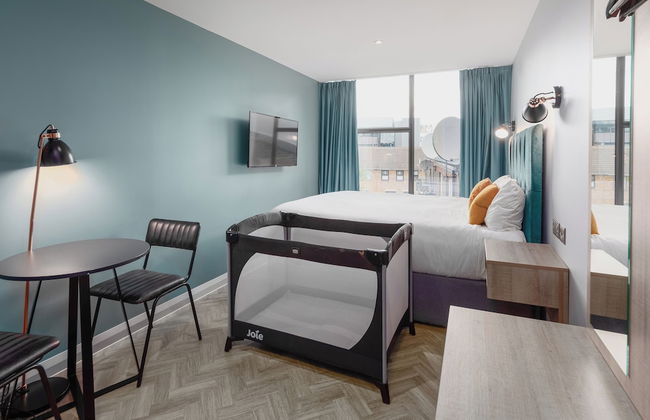
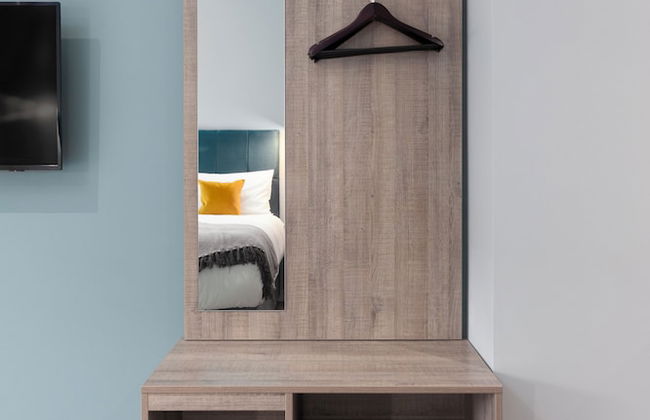
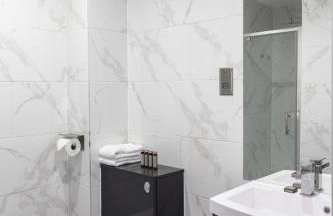
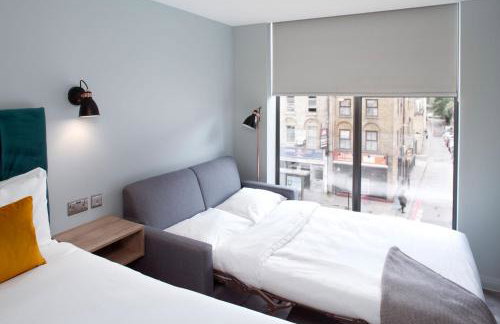
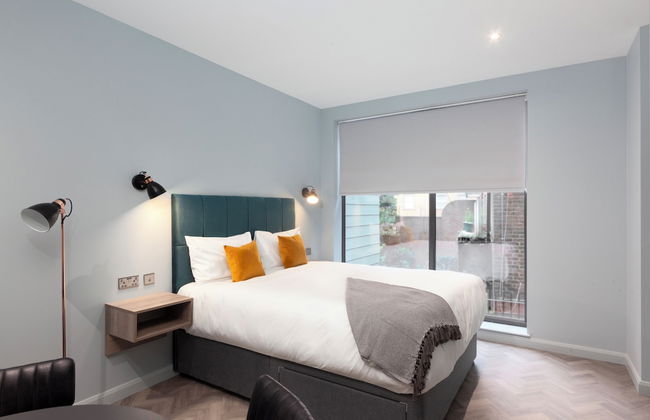
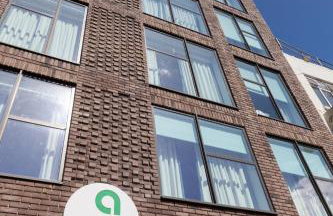
Aptel East - Foto 2
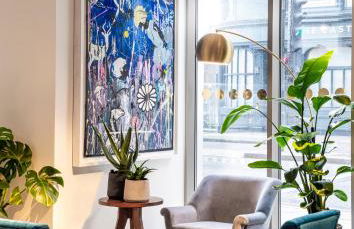
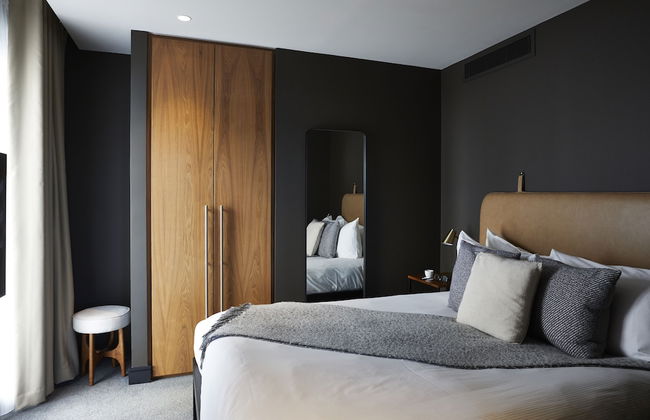
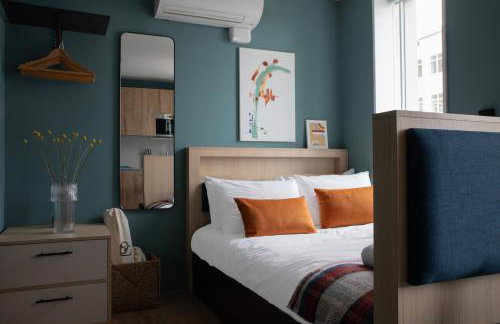
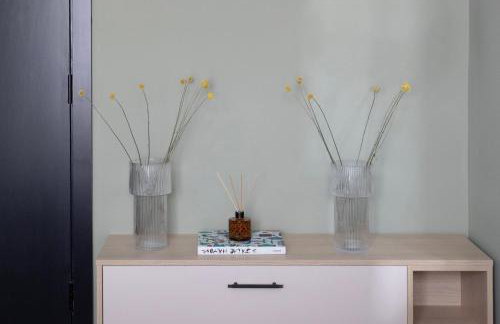
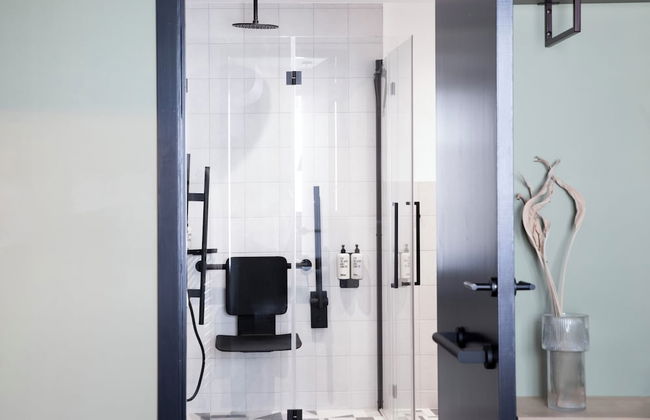
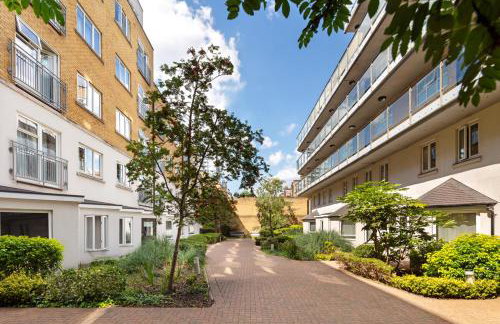
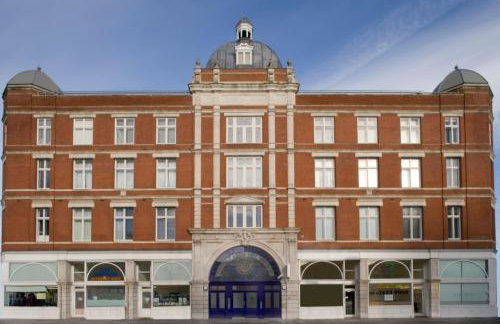
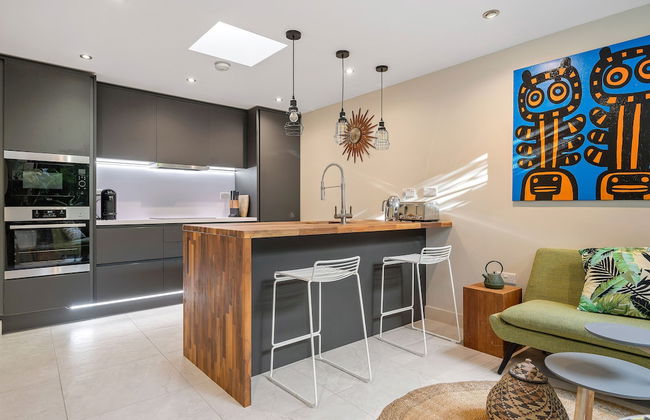
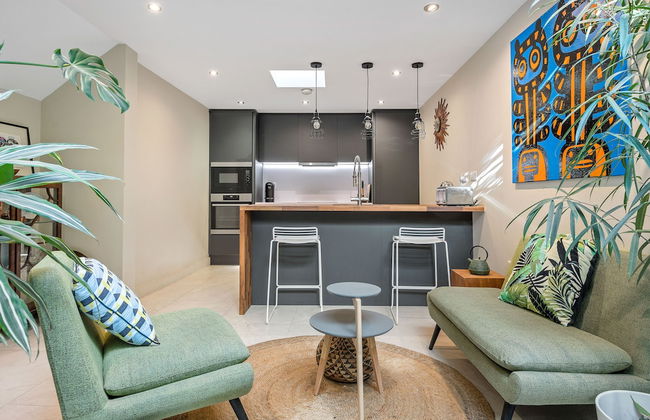
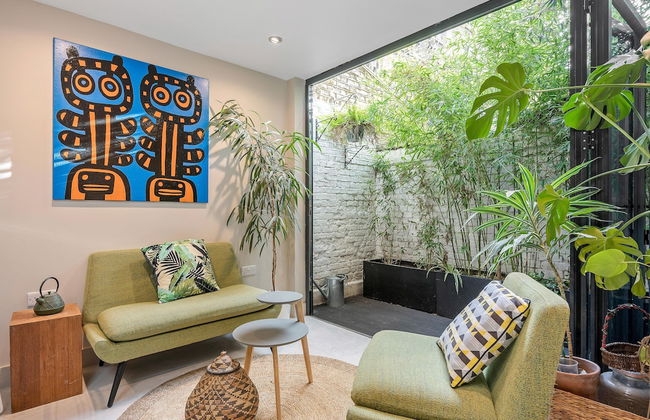
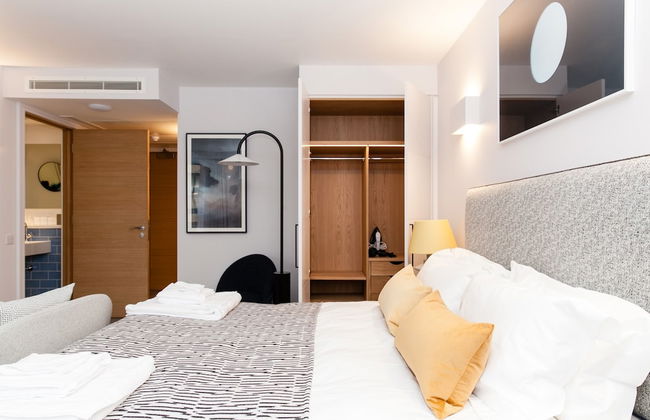
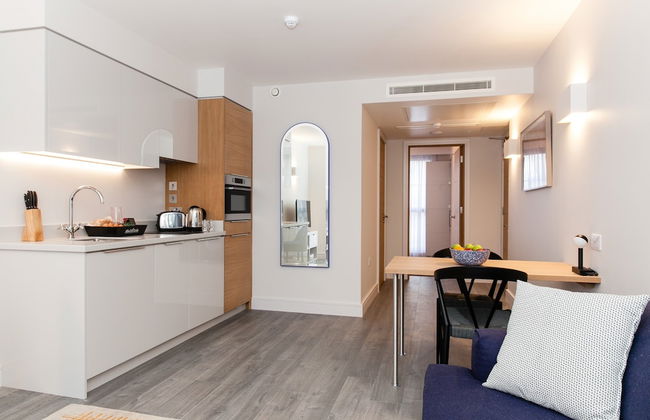
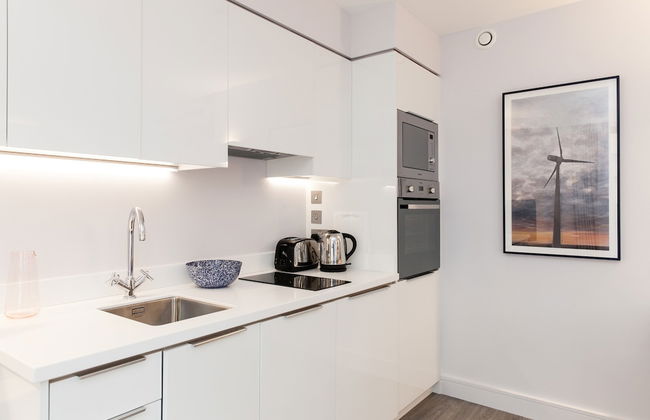
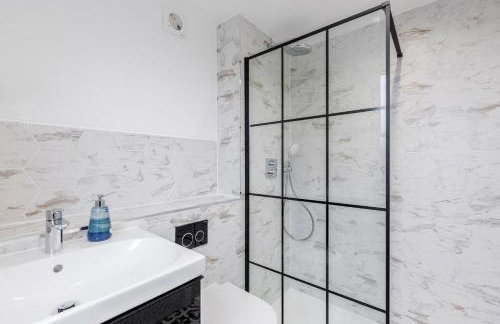
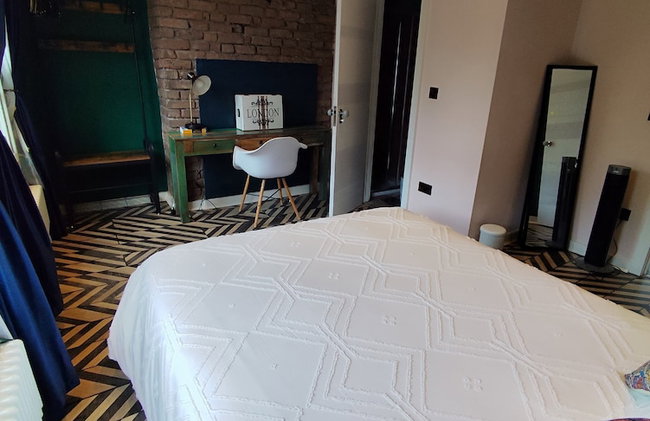
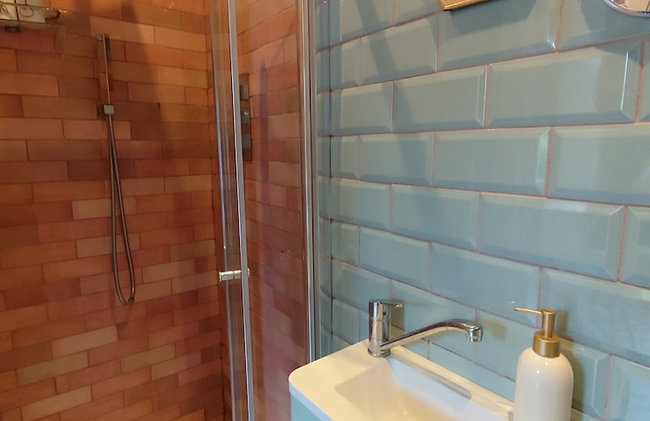
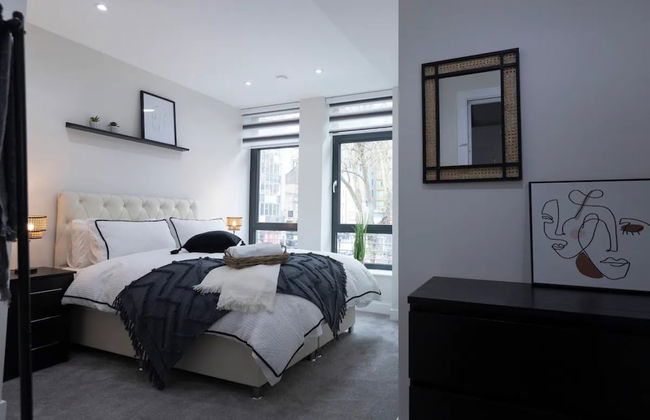
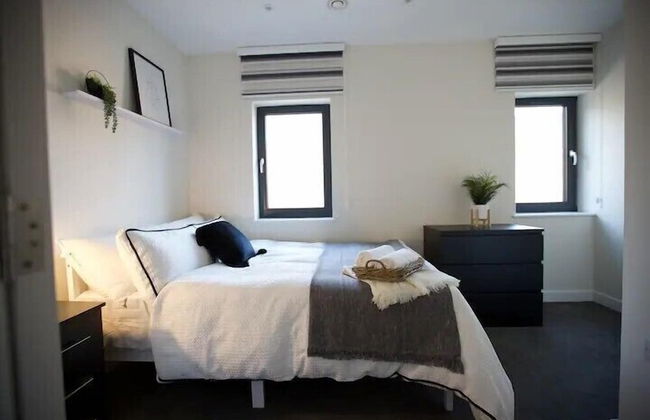
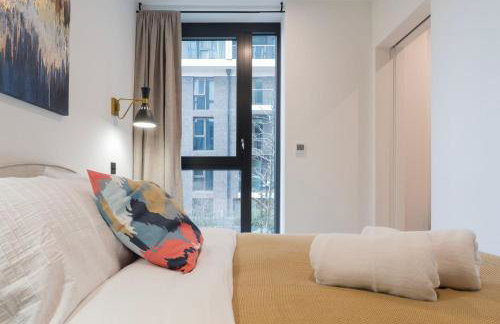
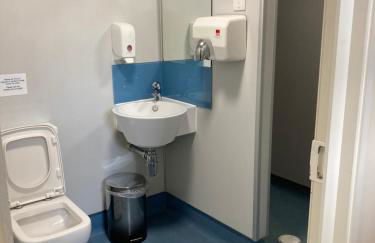
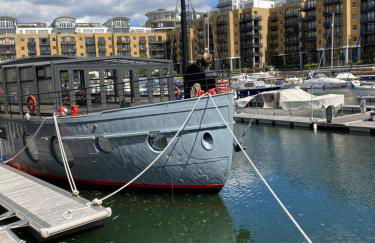
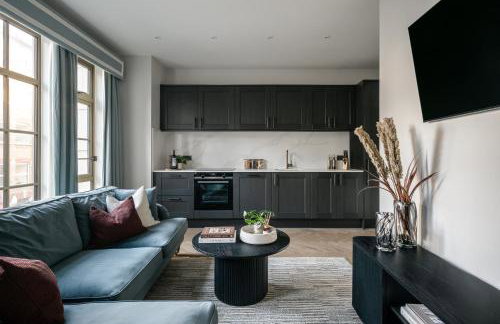
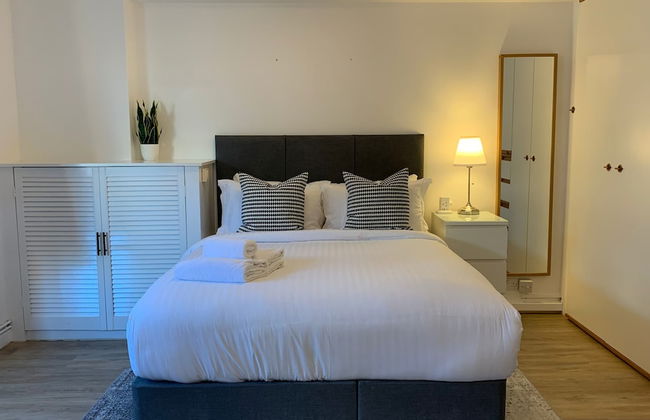
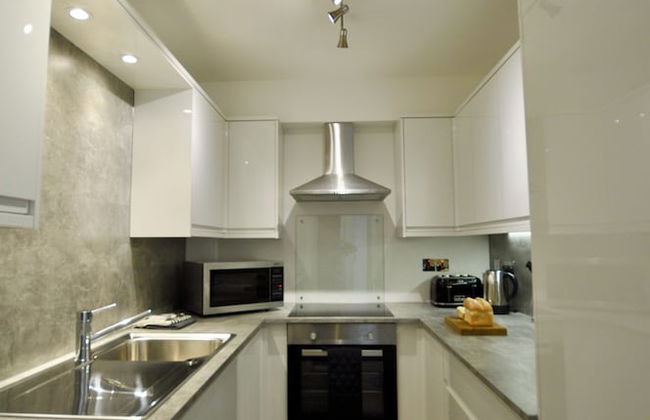
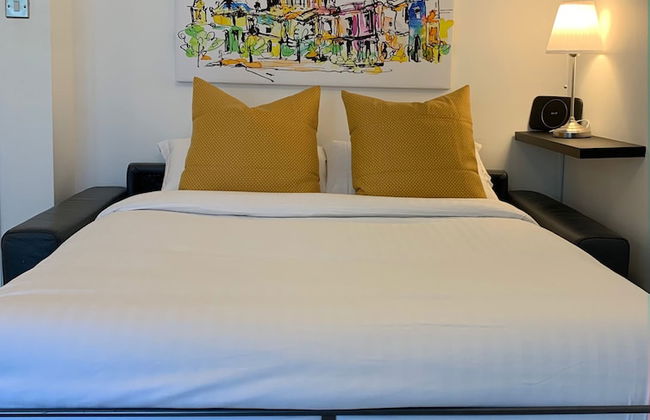
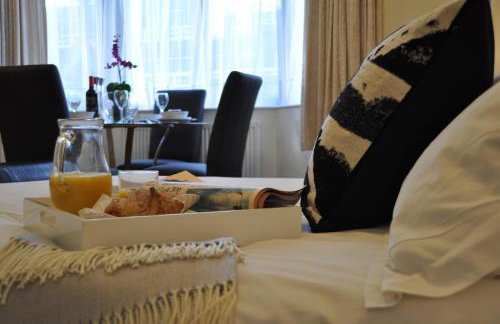
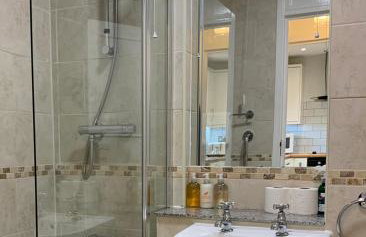
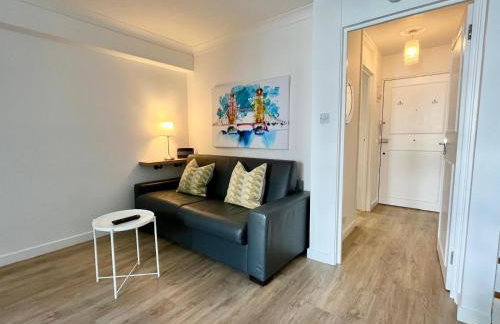
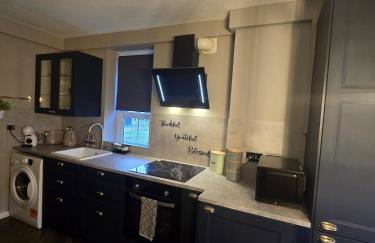
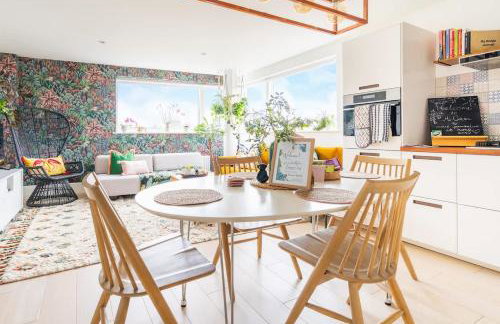
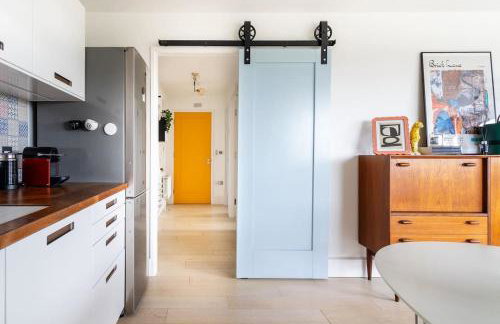
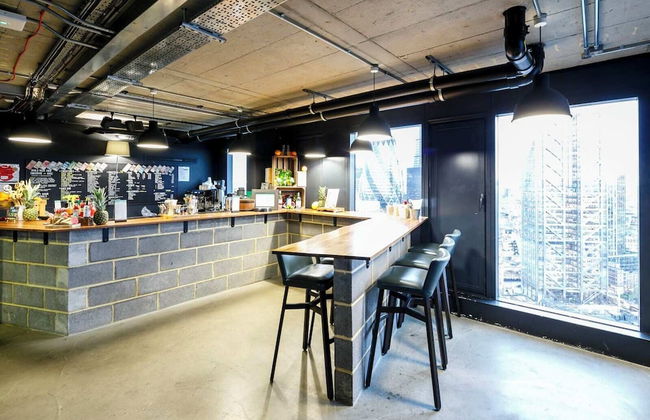
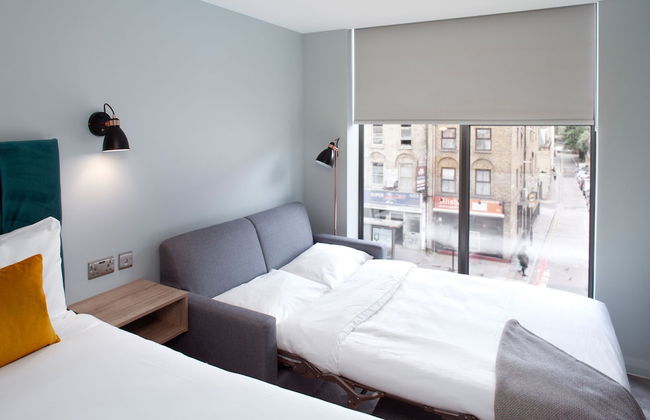
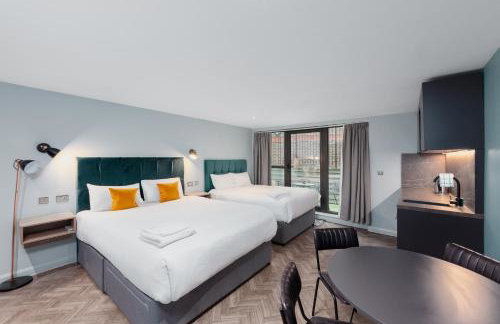
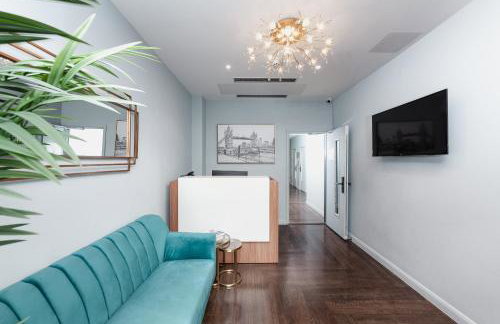
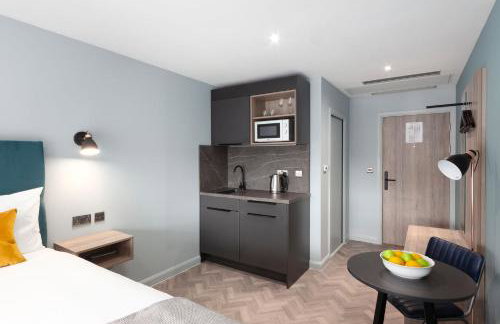
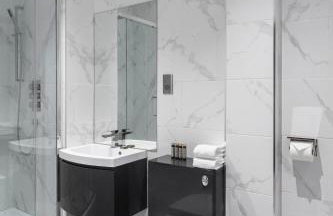
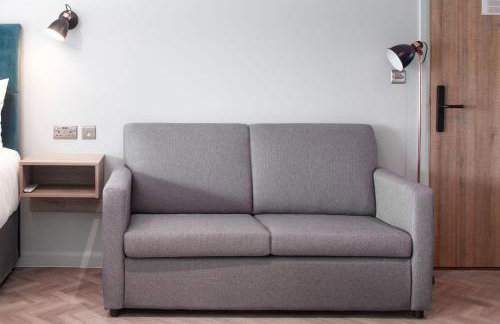
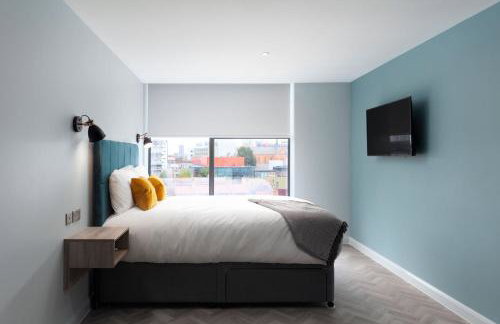
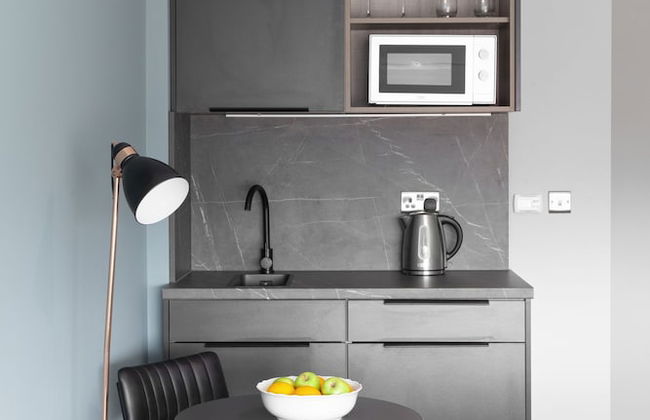
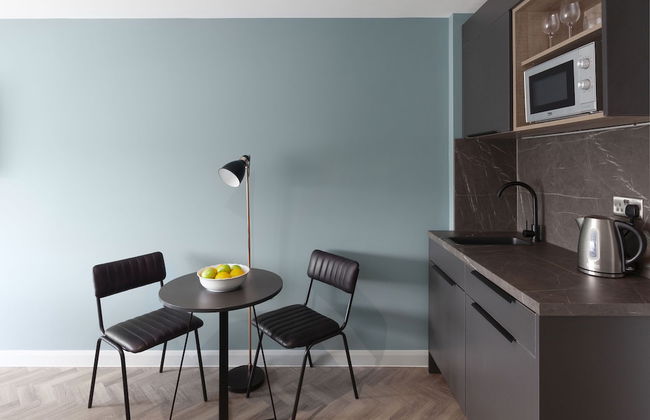
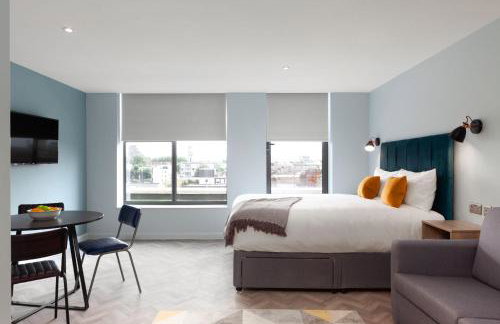
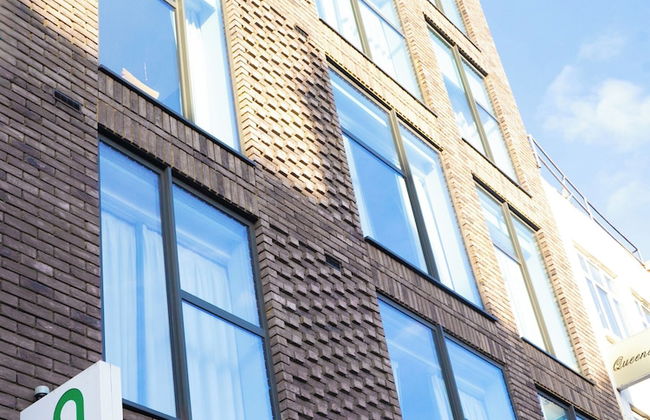
Aptel East - Foto 3
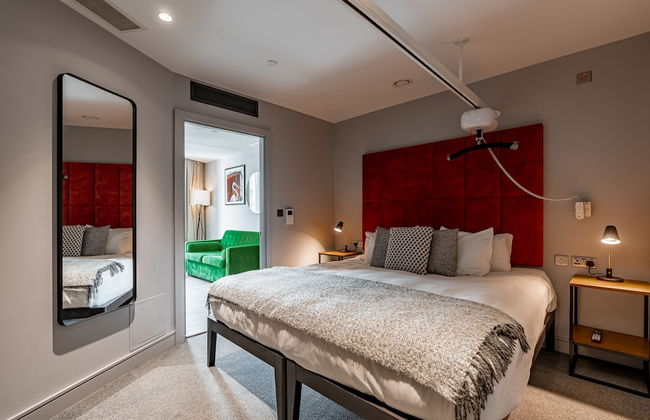
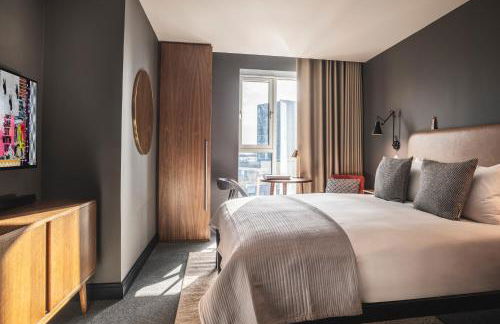
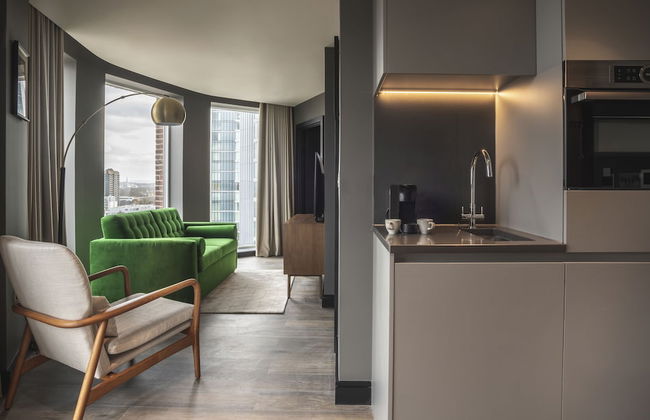
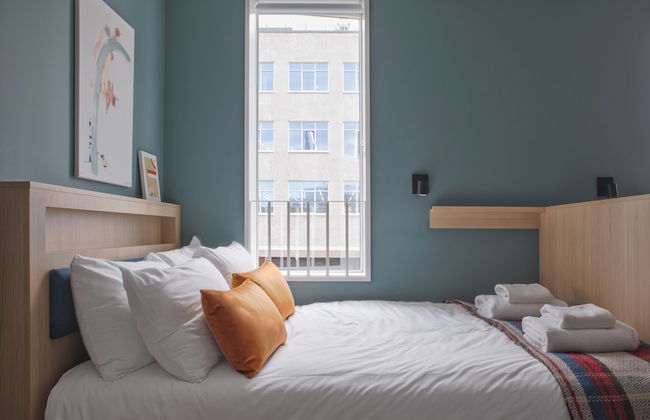
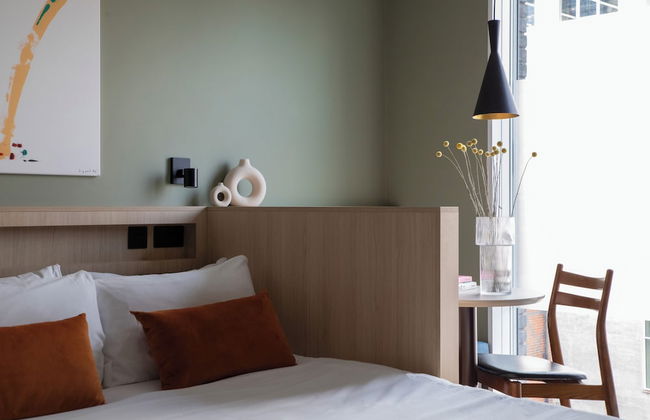
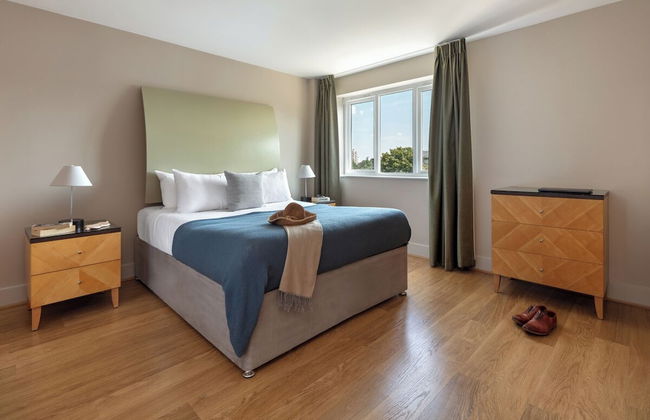
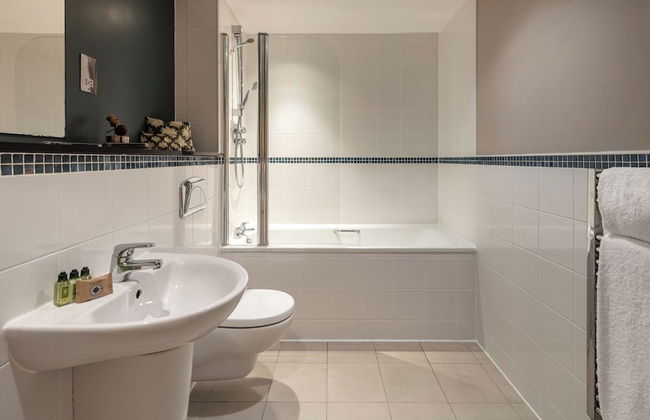
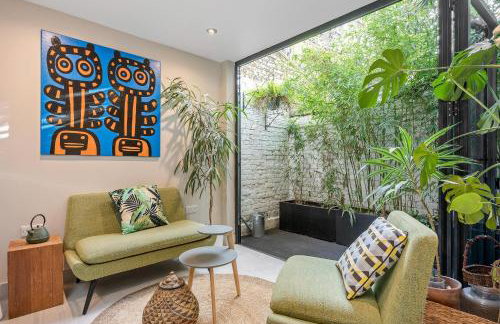
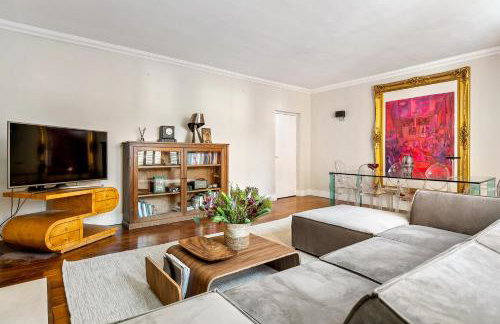
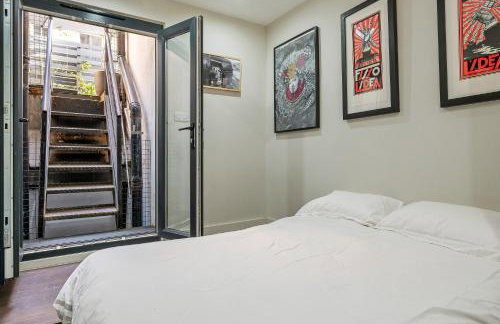
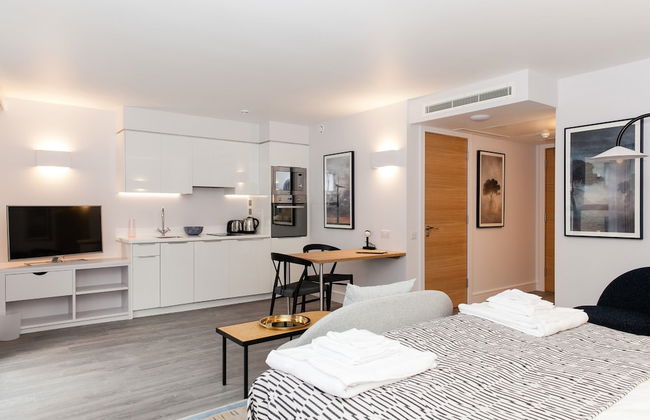
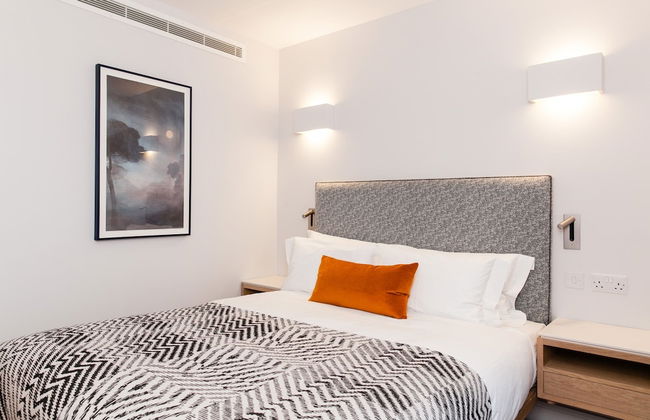
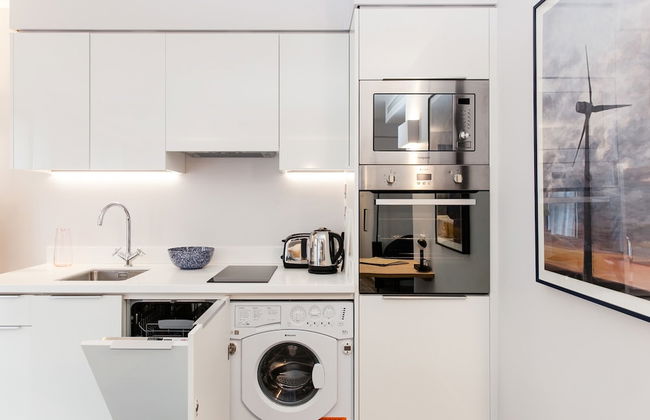
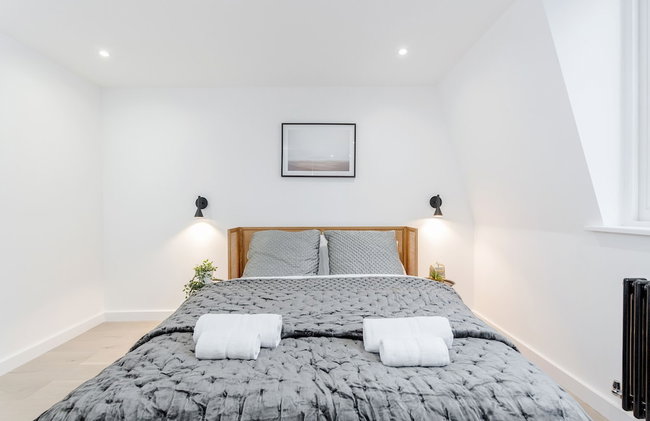
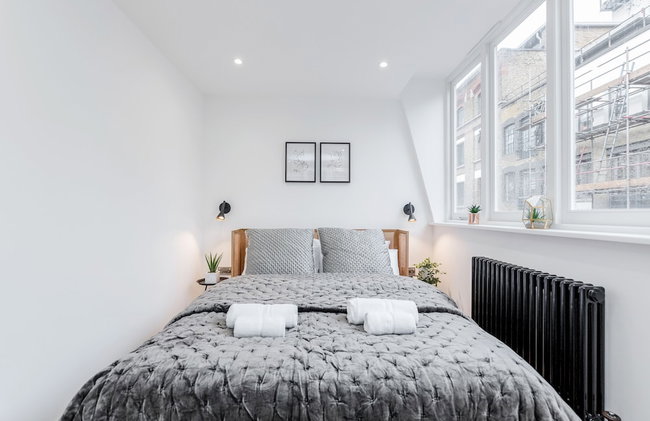
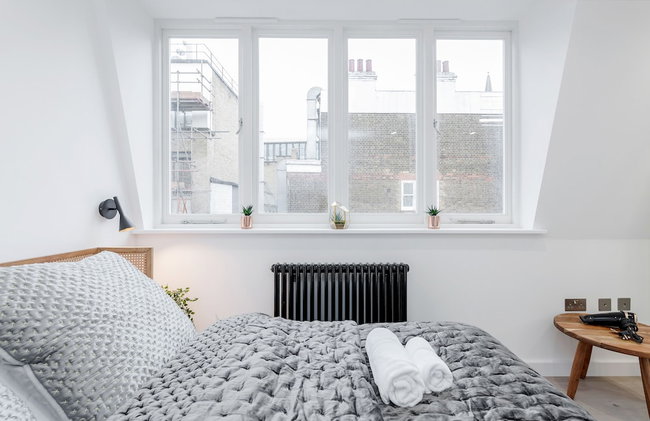
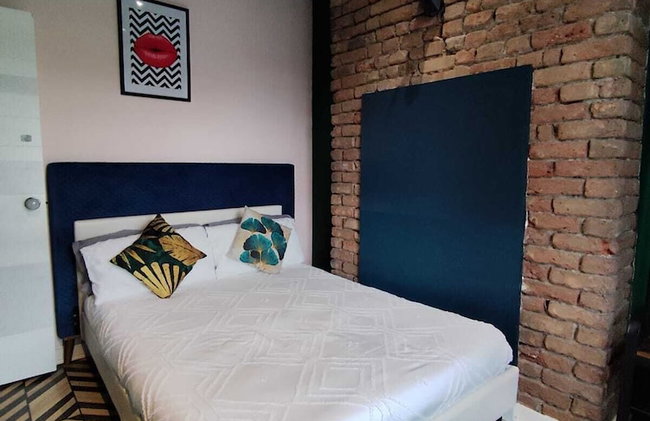
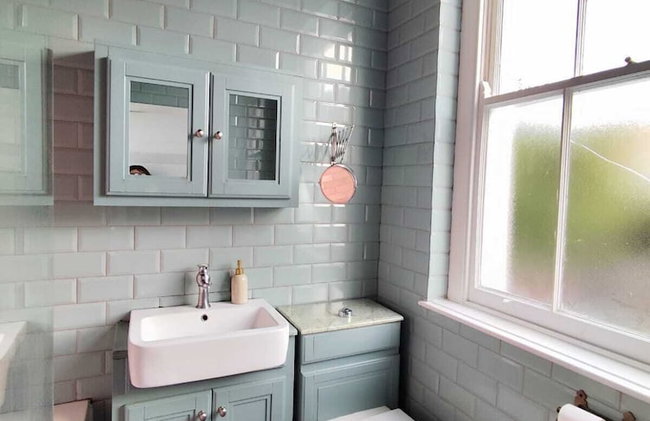
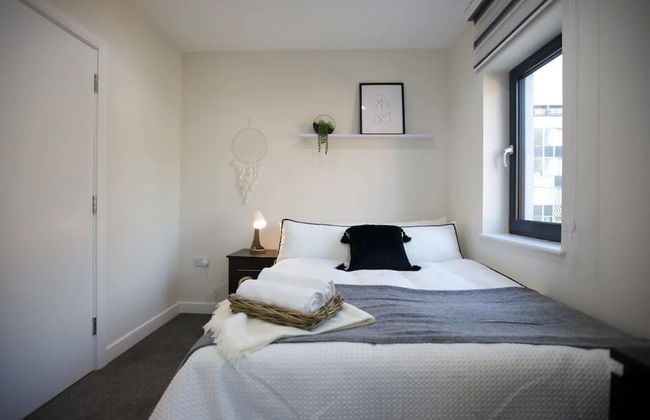
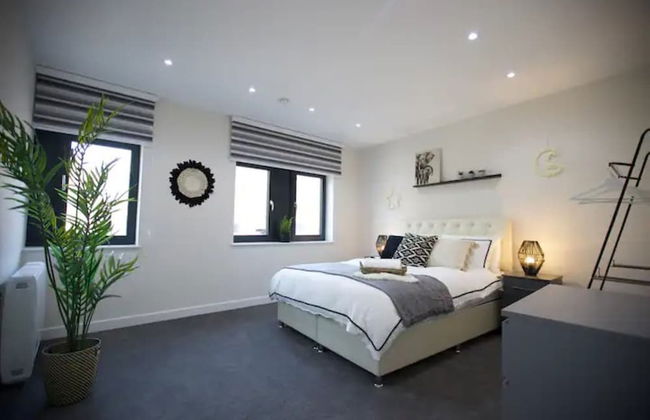
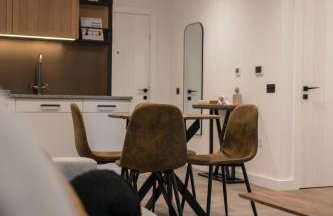
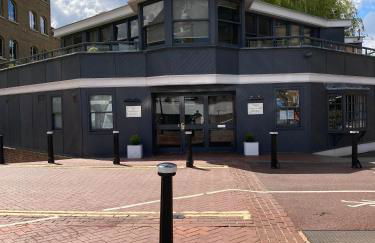
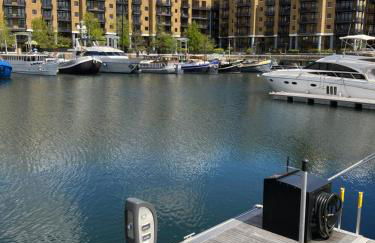
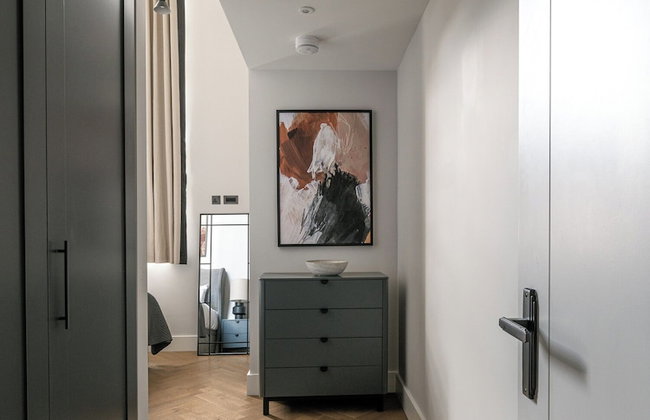
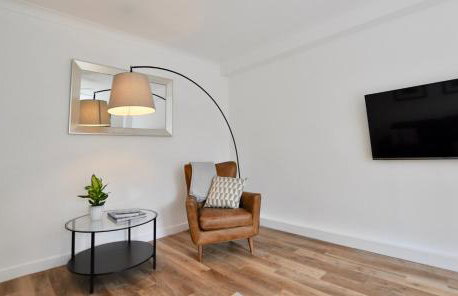
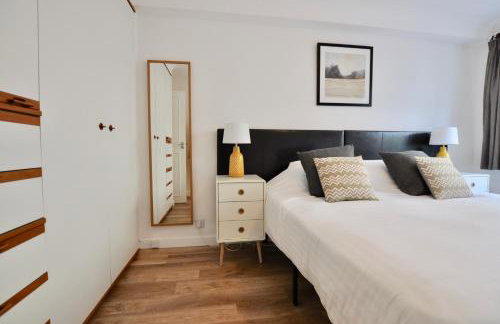
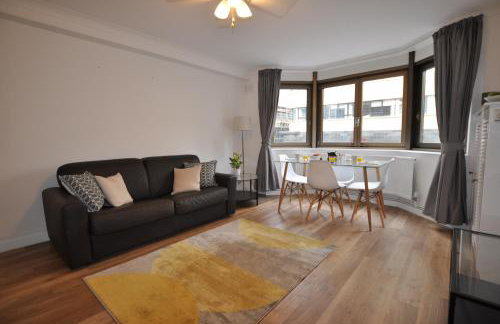
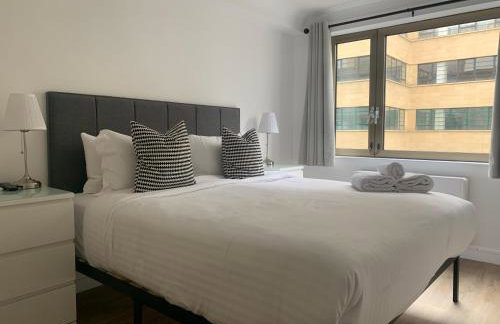
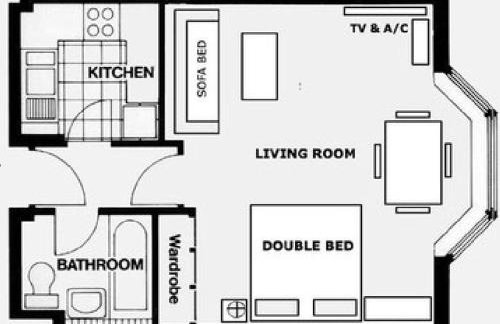
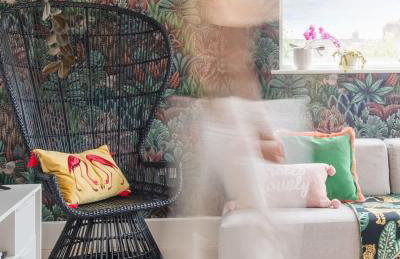
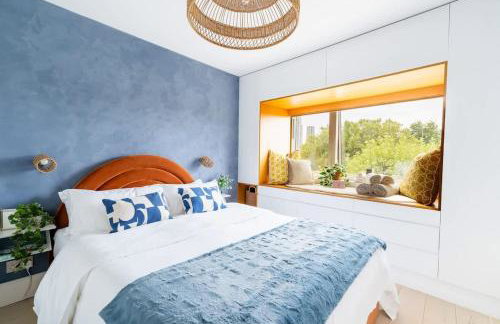
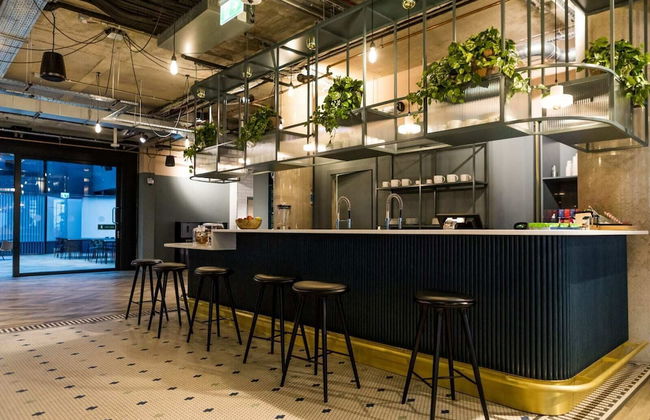
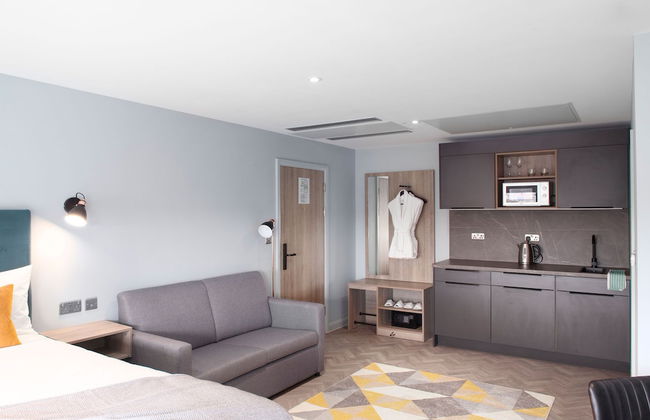
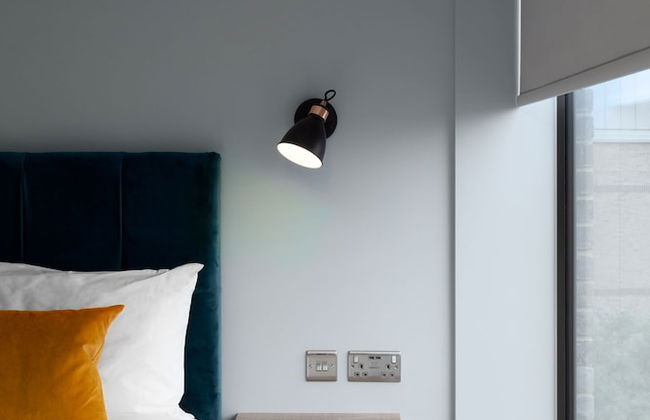
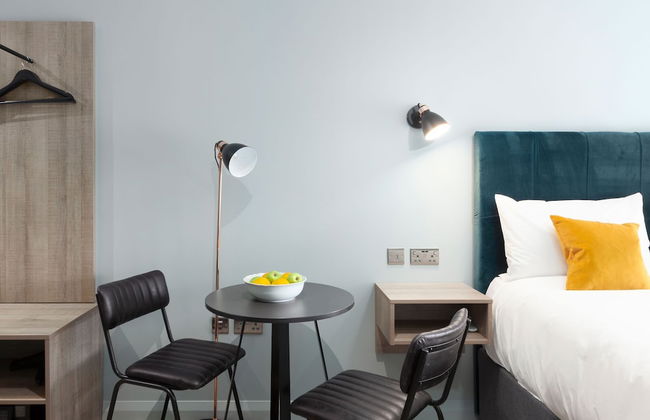
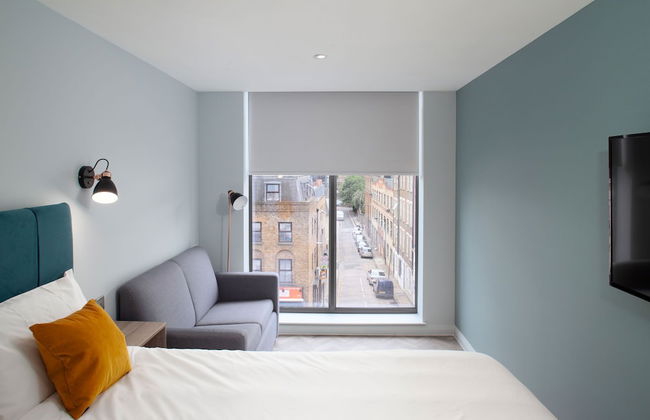
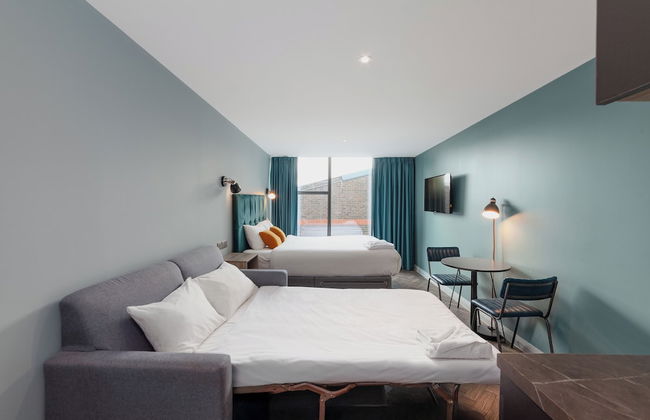
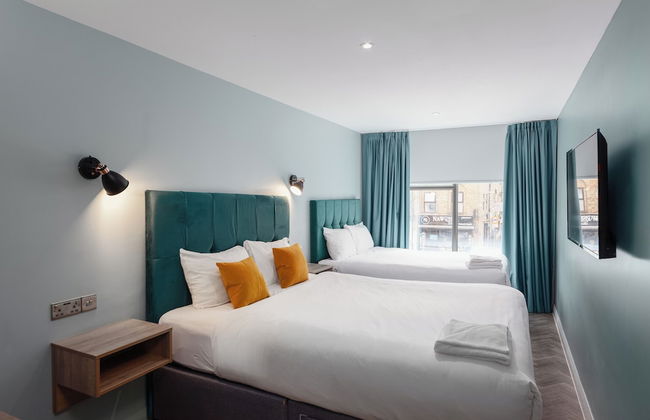
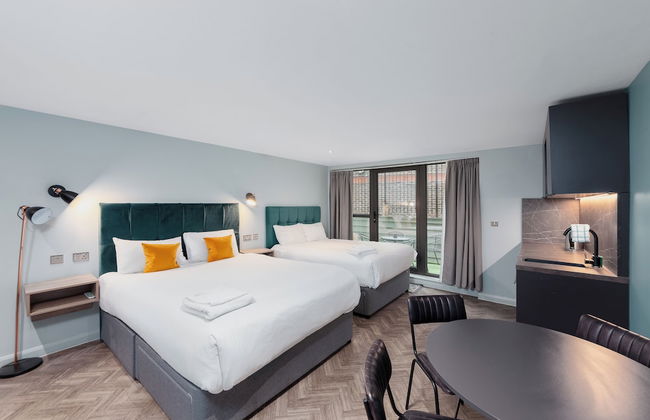
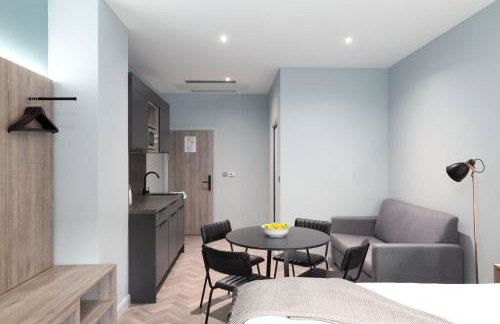
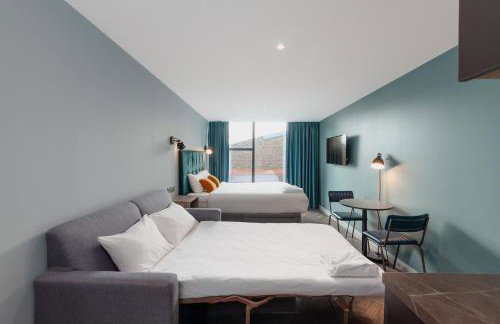
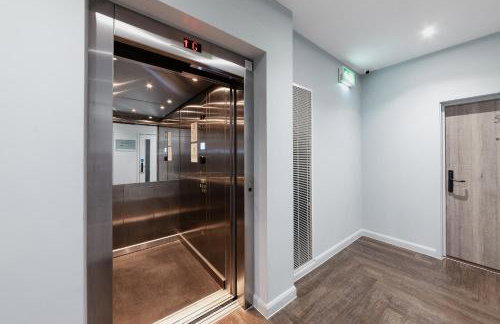
Aptel East - Foto 4
Aptel East - Foto 5
Aptel East - Foto 6
Aptel East - Foto 7
Aptel East - Foto 8
Aptel East - Foto 9
Aptel East - Foto 10
Aptel East - Foto 11
Aptel East - Foto 12
Aptel East - Foto 13
Aptel East - Foto 14
Aptel East - Foto 15
Aptel East - Foto 16
Aptel East - Foto 17
Aptel East - Foto 18
Aptel East - Foto 19
Aptel East - Foto 20
Aptel East - Foto 21
Aptel East - Foto 22
Aptel East - Foto 23
Aptel East - Foto 24
Aptel East - Foto 25
Aptel East - Foto 26
Aptel East - Foto 27
Aptel East - Foto 28
Aptel East - Foto 29
Aptel East - Foto 30
Aptel East - Foto 31
Aptel East - Foto 32
Aptel East - Foto 33
Aptel East - Foto 34
Aptel East - Foto 35
Aptel East - Foto 36
Aptel East - Foto 37
Aptel East - Foto 38
Aptel East - Foto 39
Aptel East - Foto 40
Aptel East - Foto 41
Aptel East - Foto 42
Aptel East - Foto 43
Aptel East - Foto 44
Aptel East - Foto 45
Aptel East - Foto 46
Aptel East - Foto 47
Aptel East - Foto 48
Aptel East - Foto 49
Aptel East - Foto 50
Aptel East - Foto 51
Aptel East - Foto 52
Aptel East - Foto 53
Aptel East - Foto 54
Aptel East - Foto 55
Aptel East - Foto 56
Aptel East - Foto 57
Aptel East - Foto 58
Aptel East - Foto 59
Aptel East - Foto 60
Aptel East - Foto 61
Aptel East - Foto 62
Aptel East - Foto 63
Aptel East - Foto 64
Aptel East - Foto 65
Aptel East - Foto 66
Aptel East - Foto 67
Aptel East - Foto 68
Aptel East - Foto 69
Aptel East - Foto 70
Aptel East - Foto 71
Aptel East - Foto 72
Aptel East - Foto 73
Aptel East - Foto 74
Aptel East - Foto 75
Aptel East - Foto 76
Aptel East - Foto 77
Aptel East - Foto 78
Aptel East - Foto 79
Aptel East - Foto 80
Aptel East - Foto 81
Aptel East - Foto 82
Aptel East - Foto 83
Aptel East - Foto 84
Aptel East - Foto 85
Aptel East - Foto 86
Aptel East - Foto 87
Aptel East - Foto 88
Aptel East - Foto 89

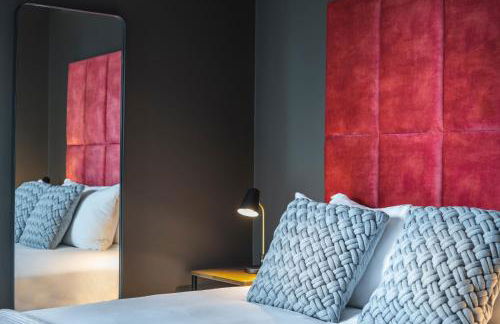
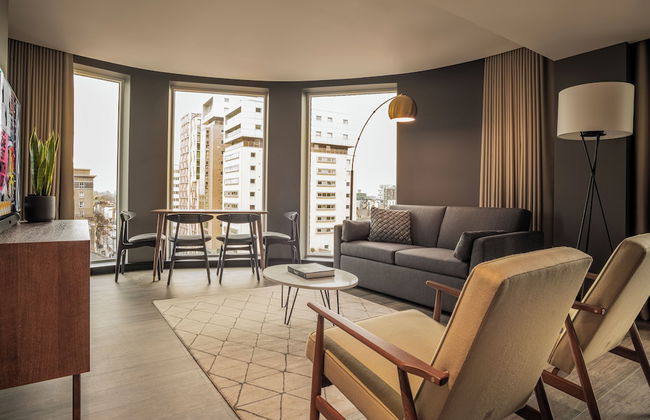
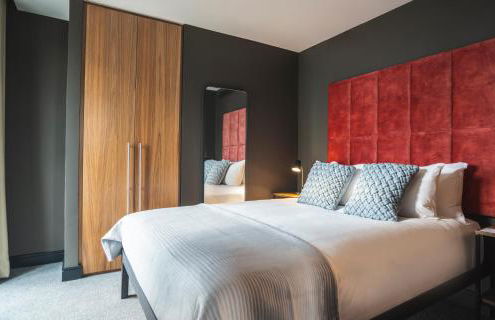
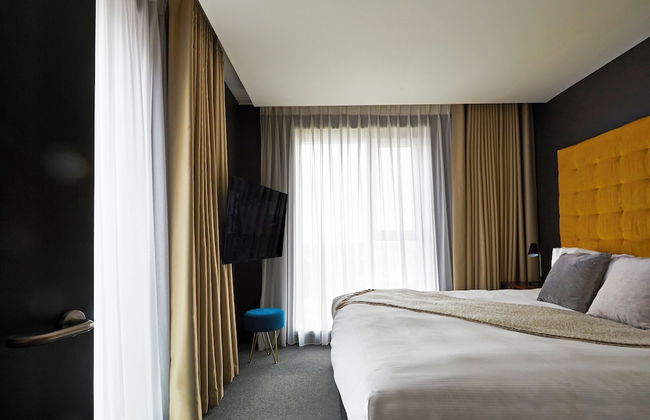
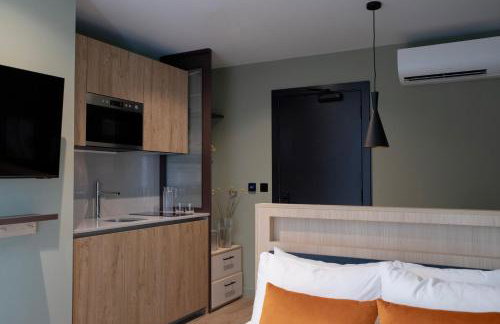
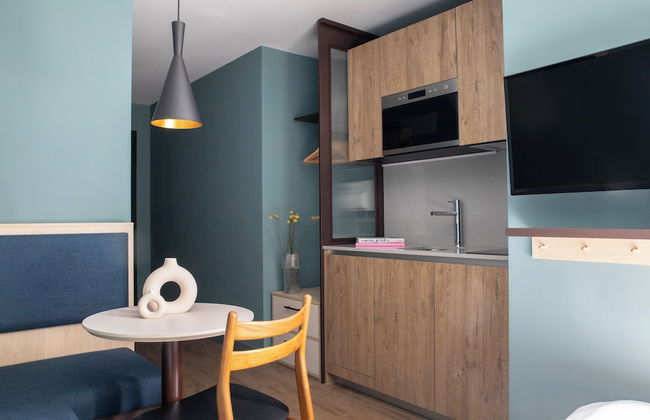
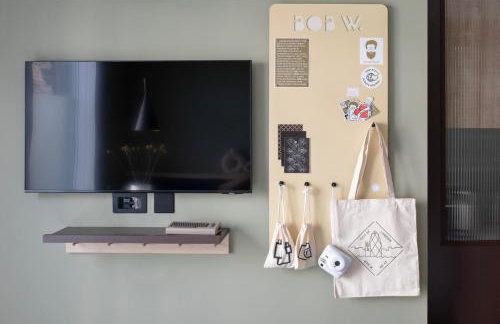
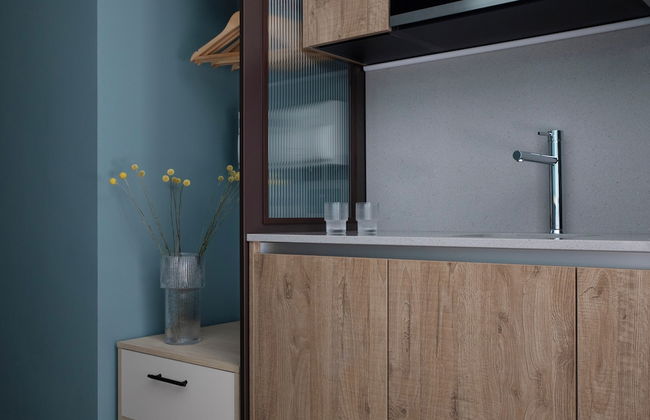
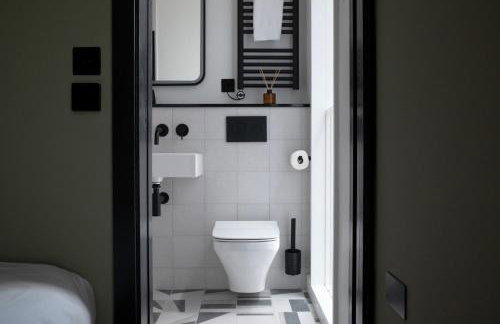
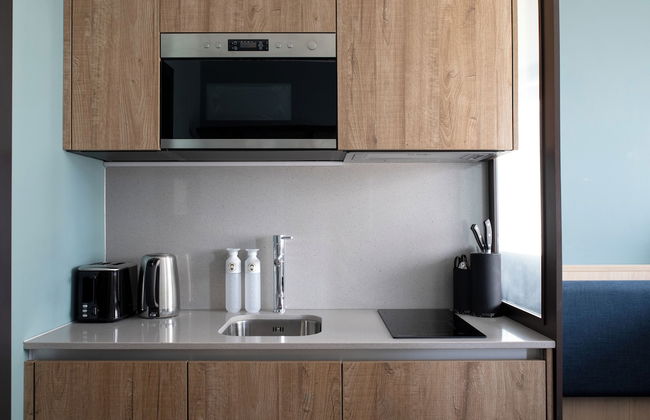
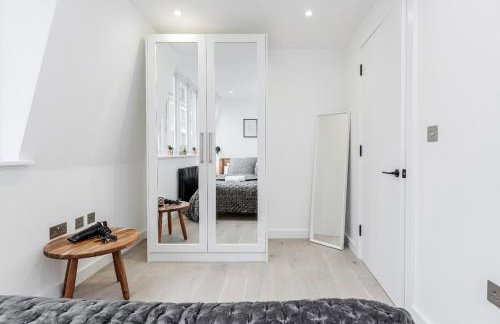
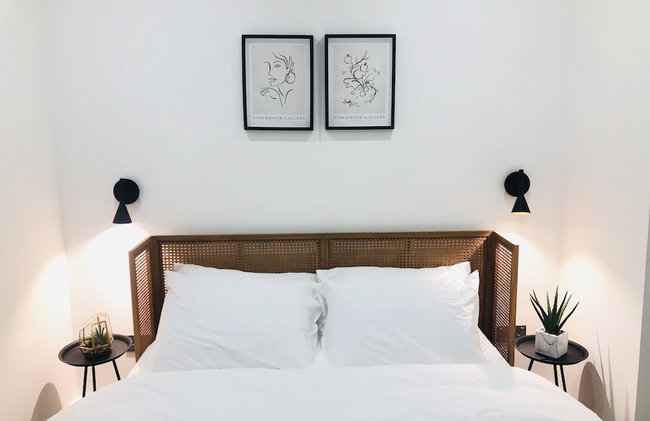
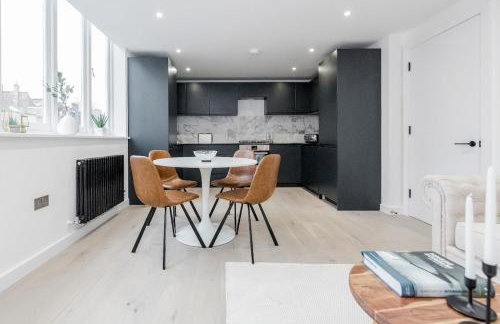
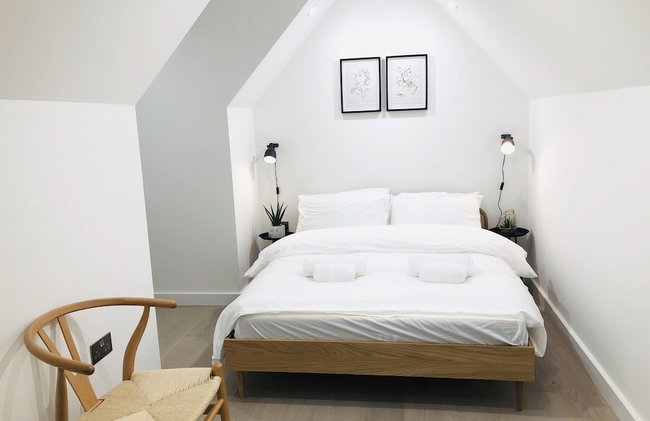
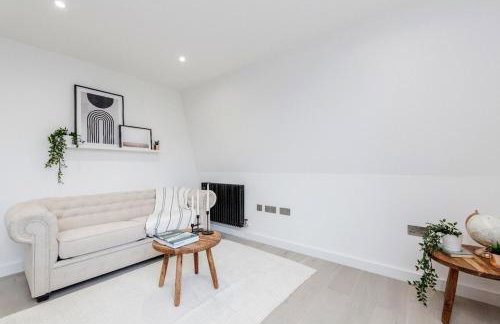
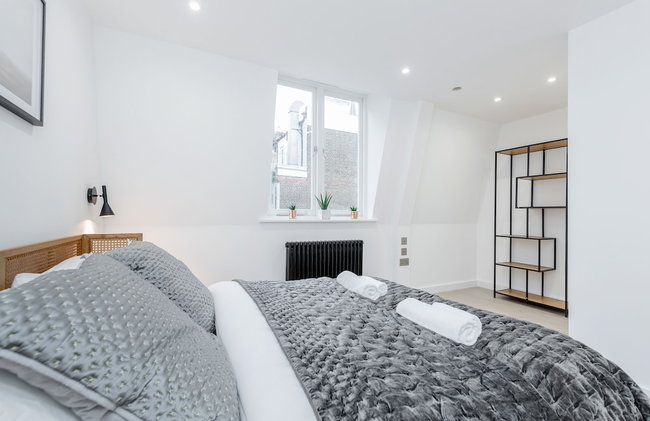
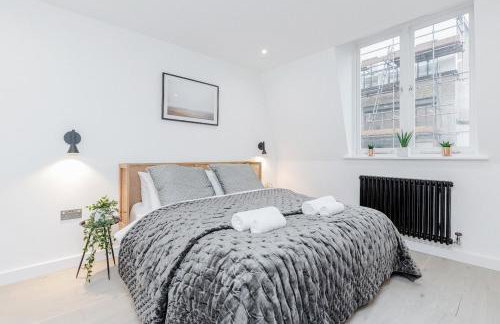
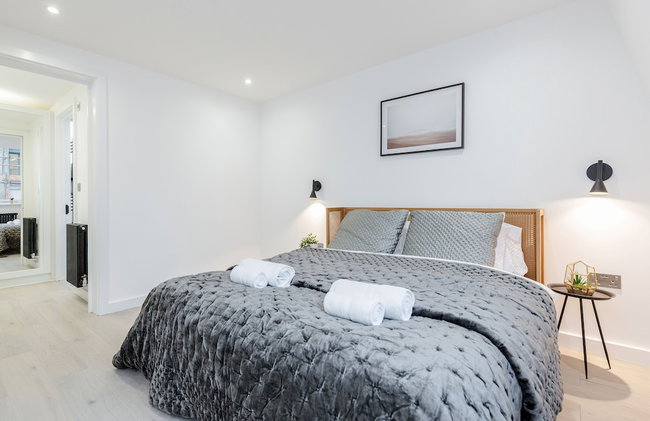
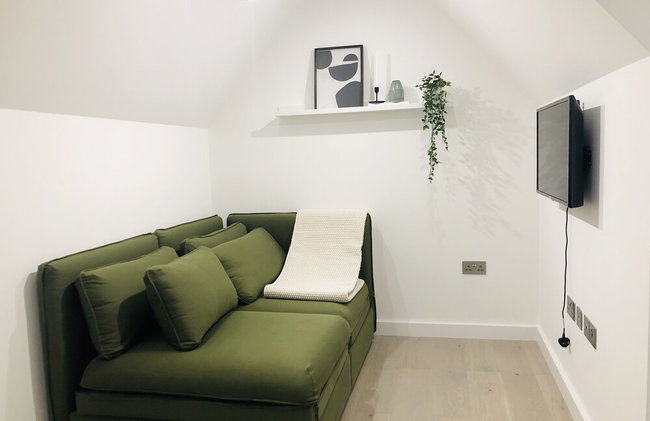
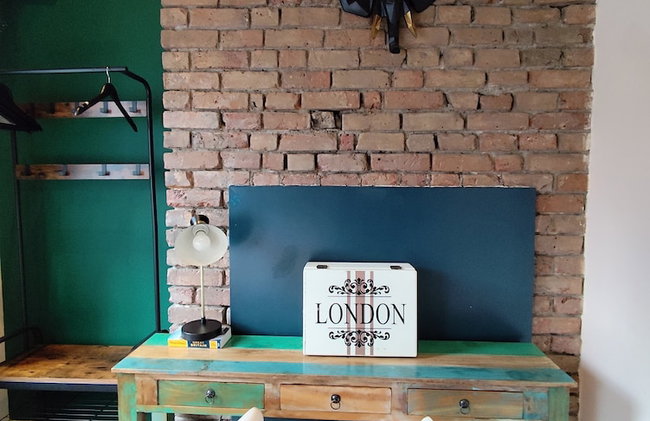
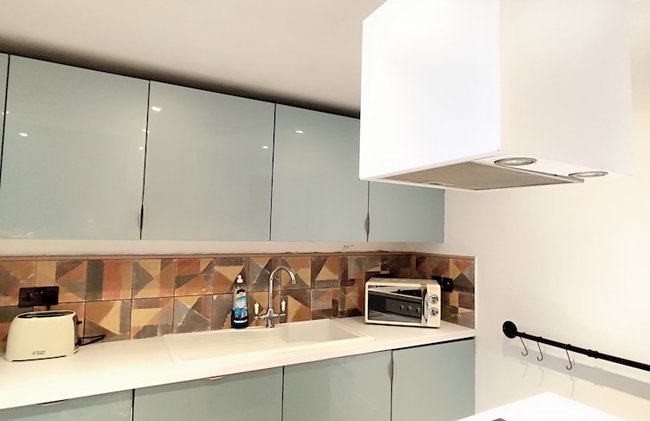
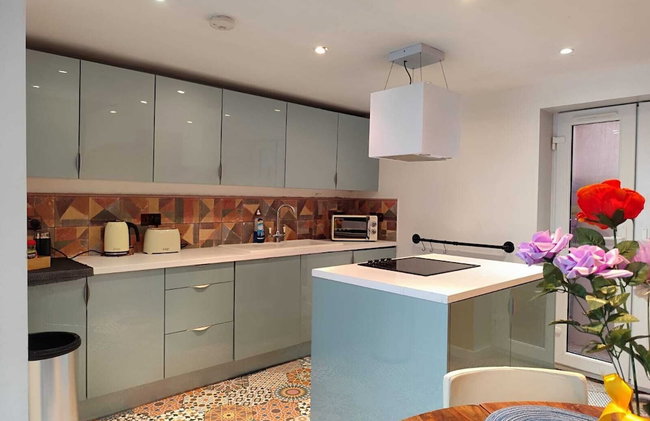
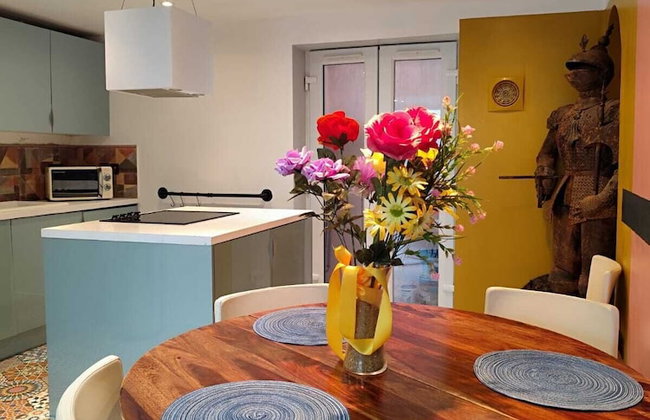
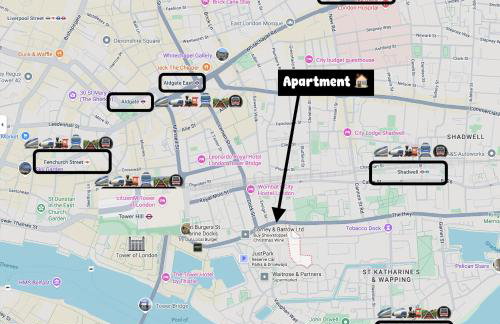
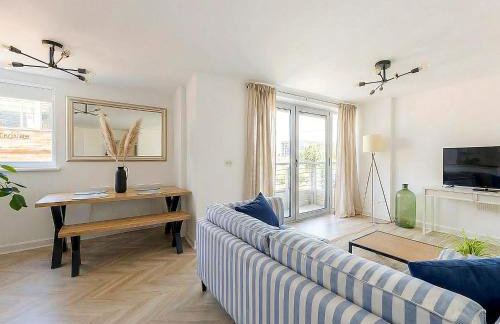
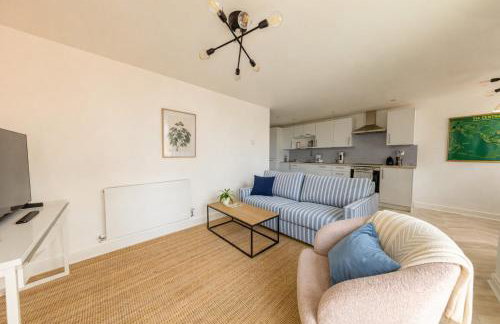
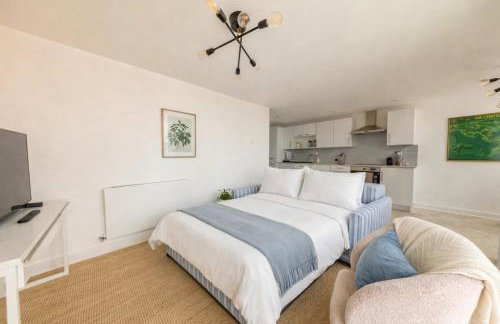
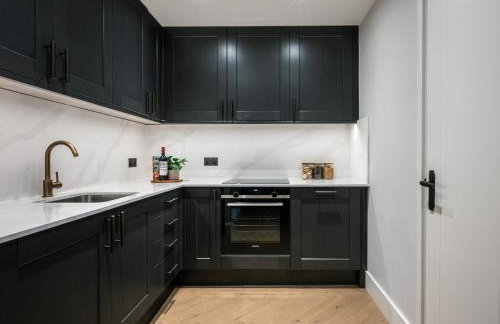
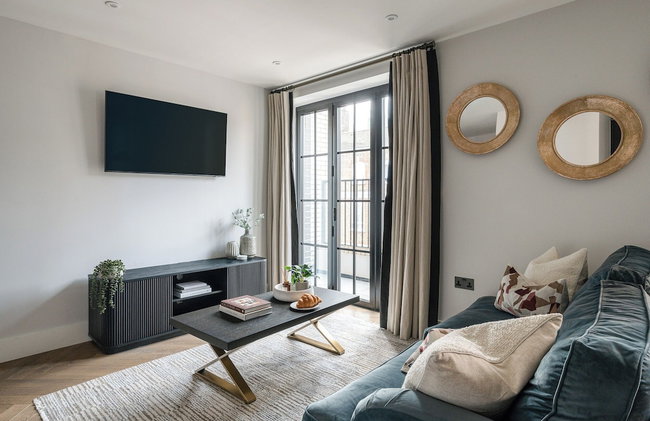
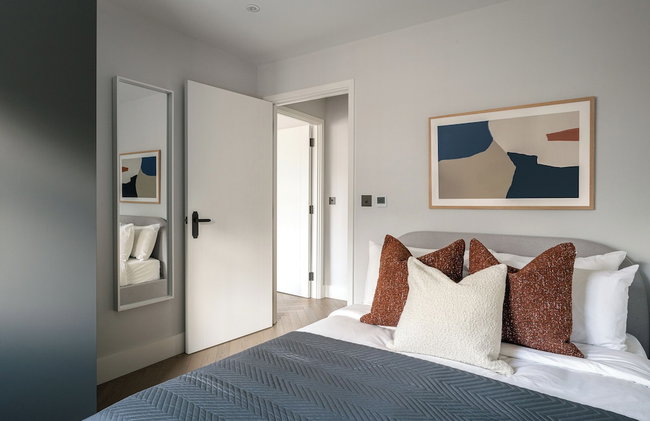
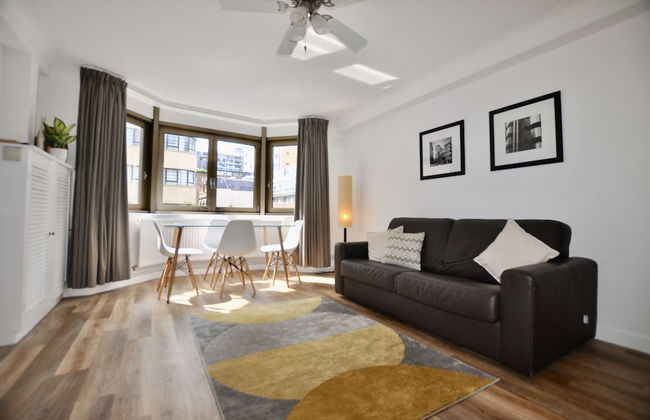
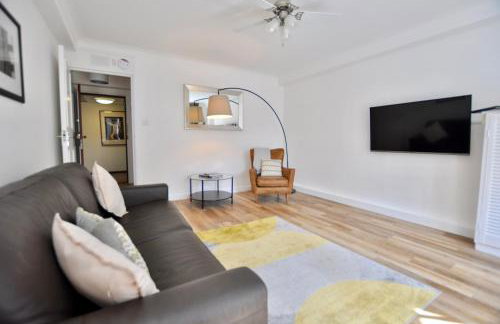
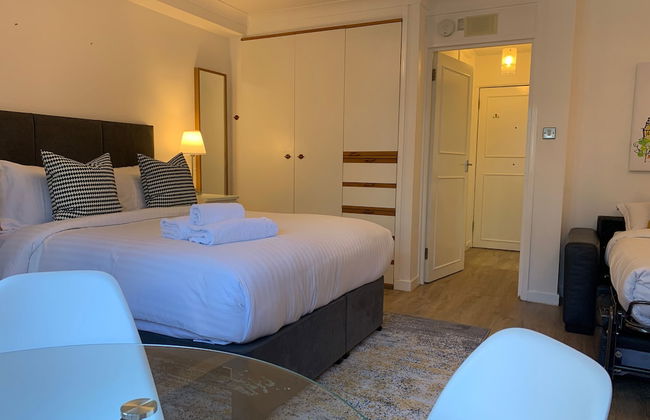
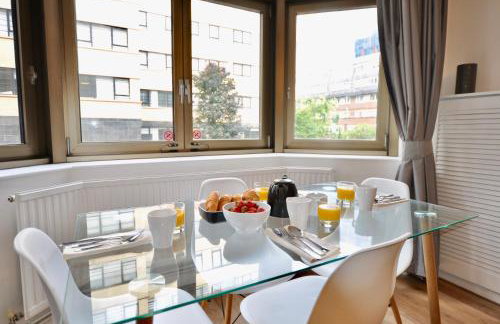
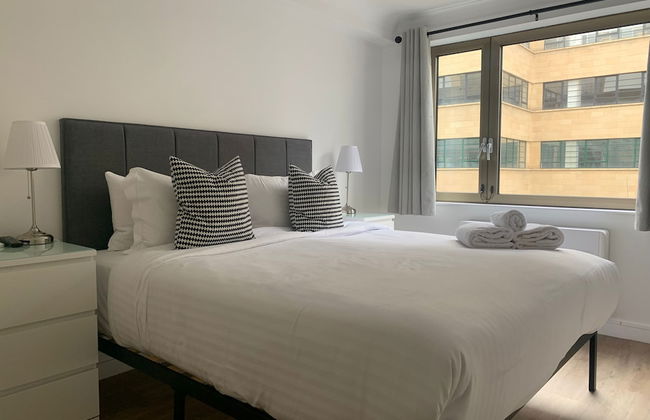
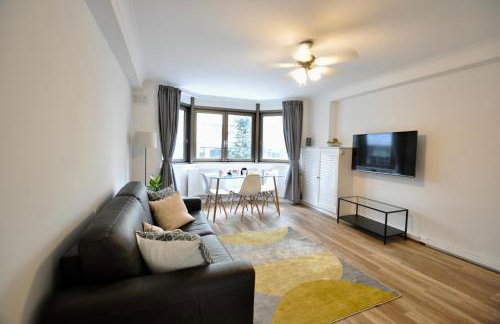
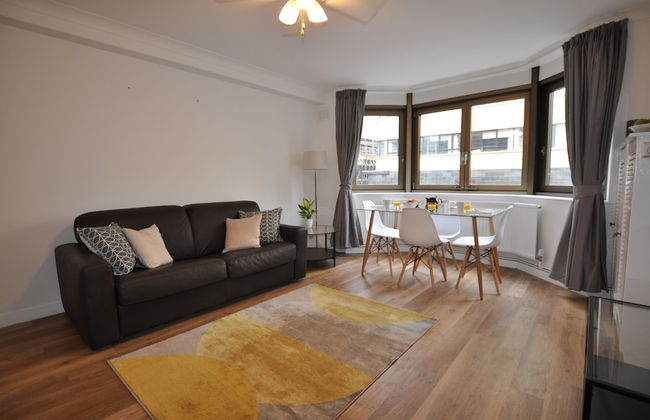
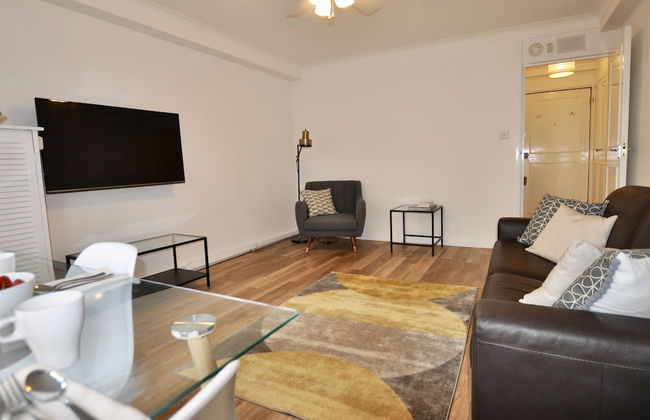
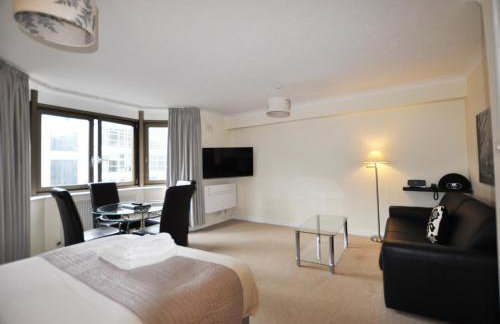
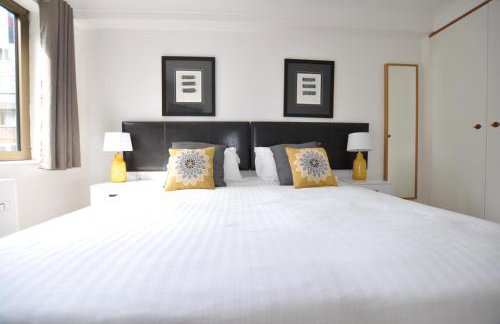
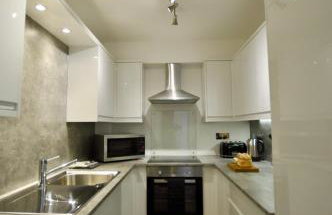
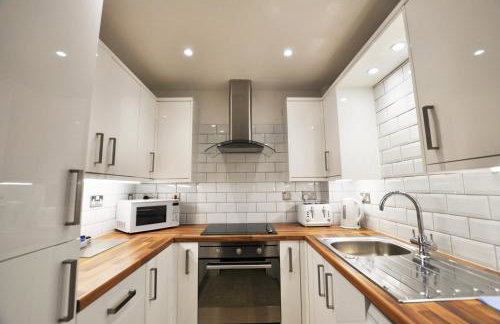
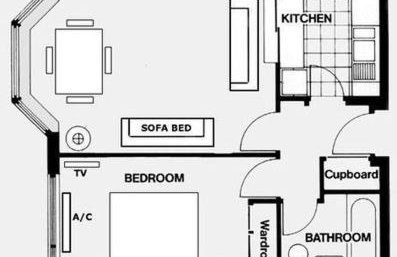
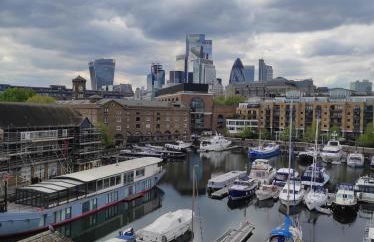
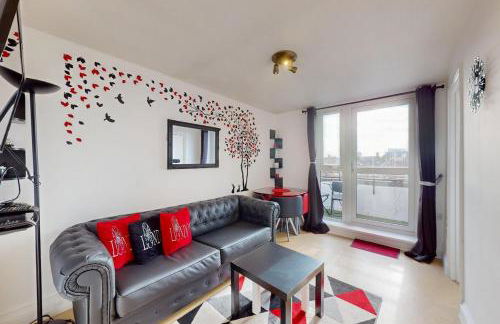
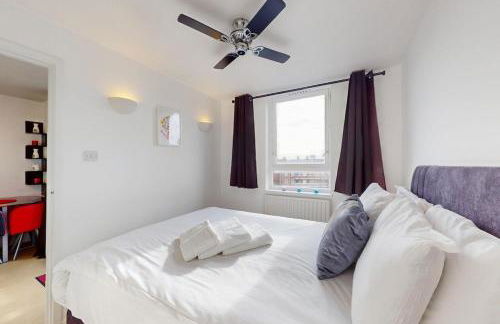
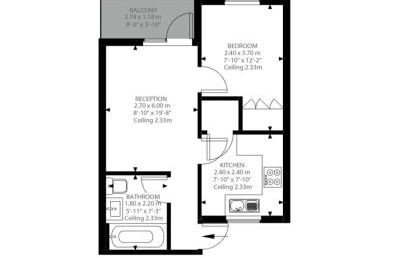
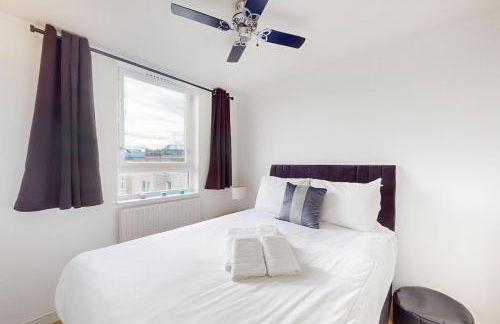
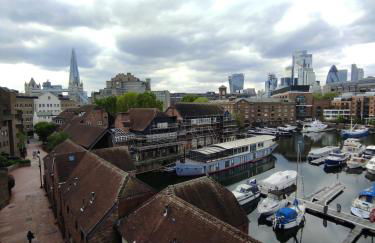
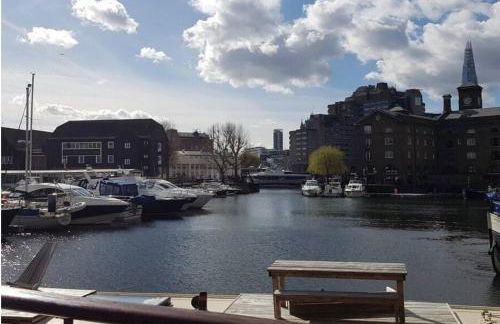
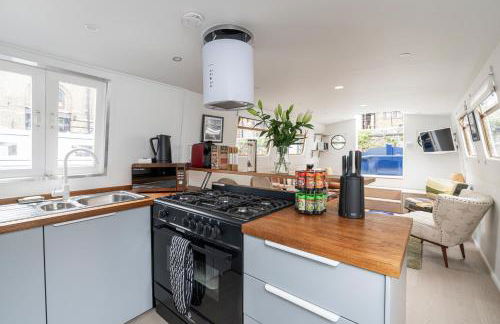
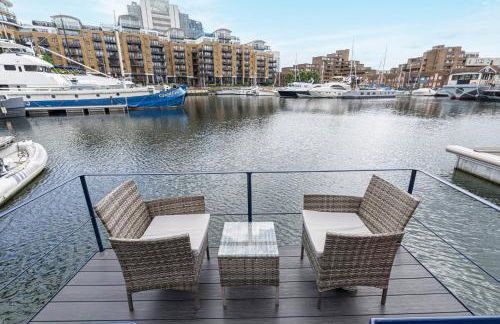
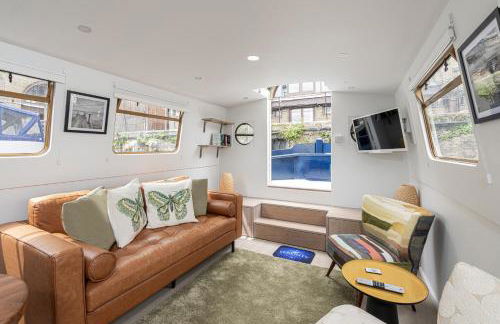
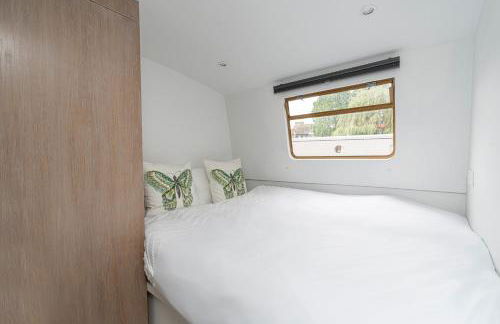
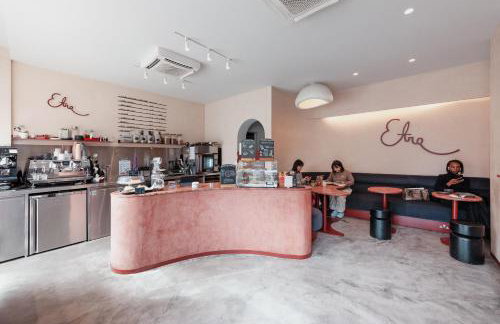
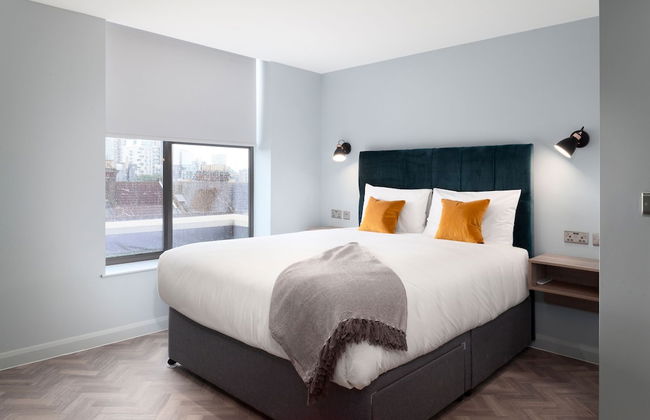
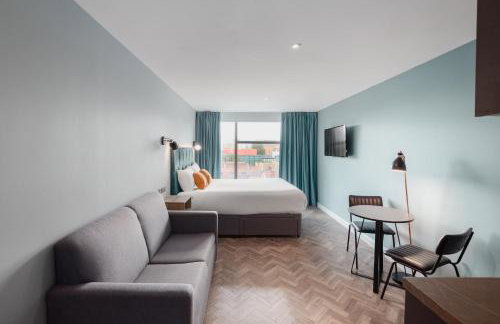
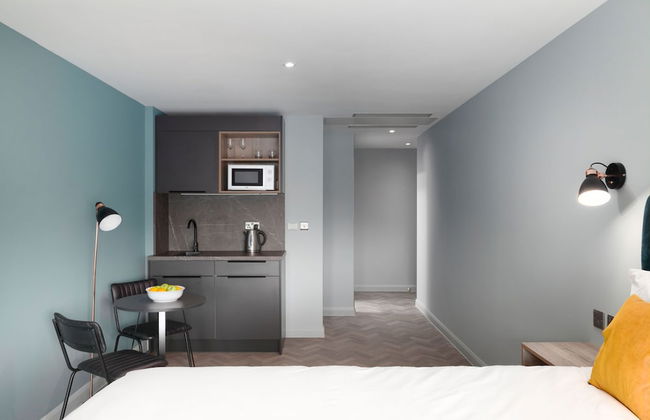
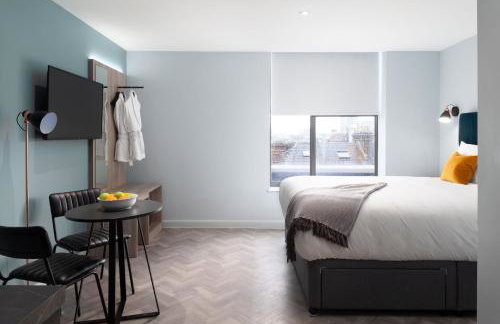
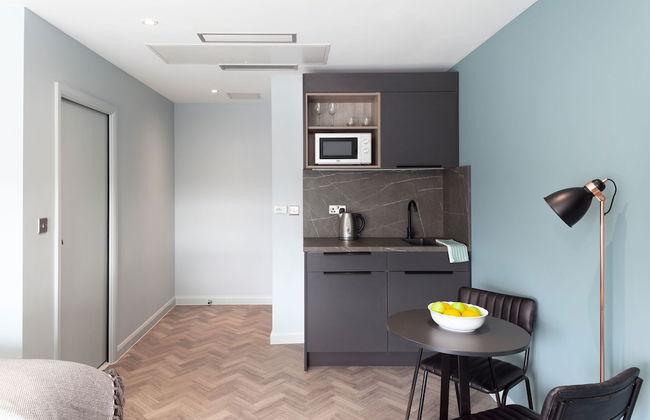
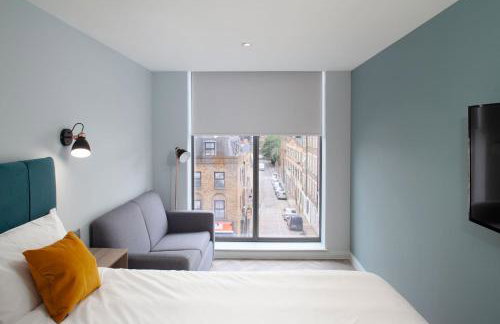
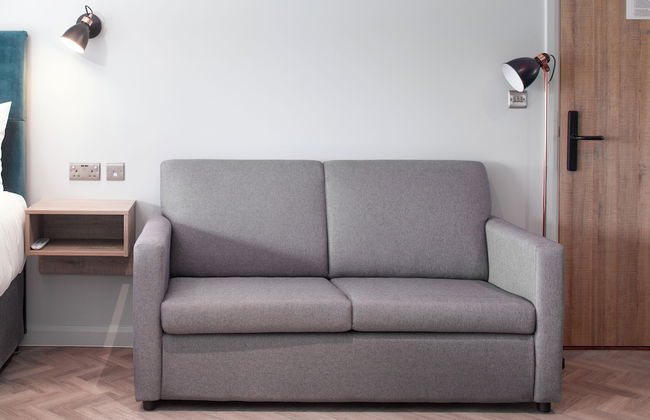
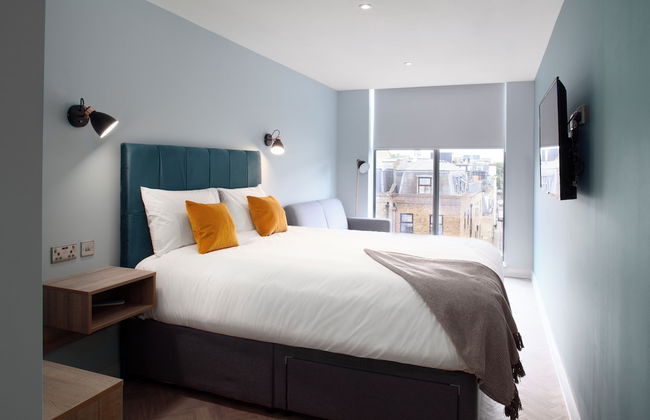
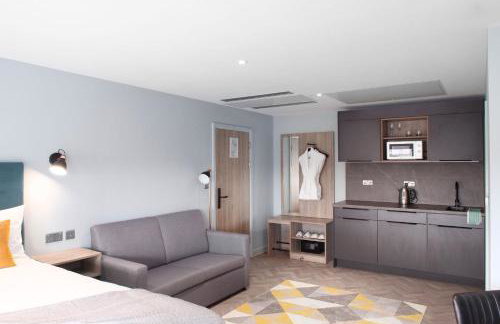
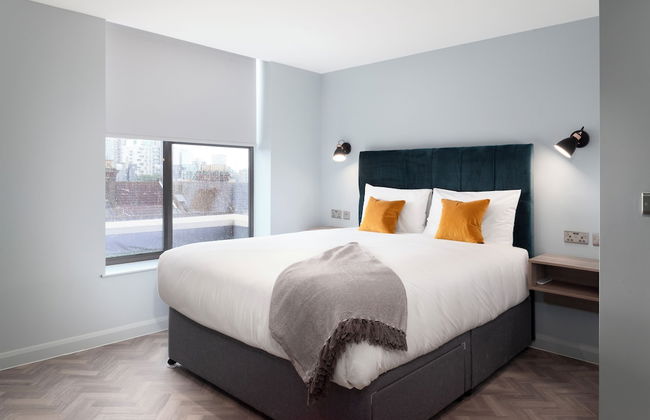
Aptel East

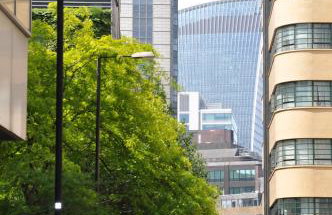
London - Tower Hamlets - 4.2 km vom Zentrum

  • 25 M2
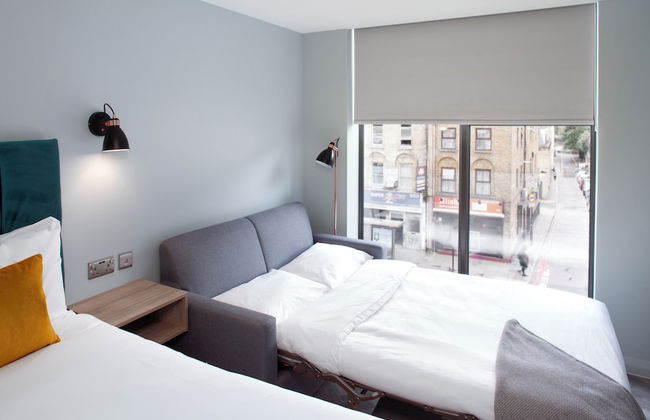
  • 1 Schlafzimmer
  • 4 Personen
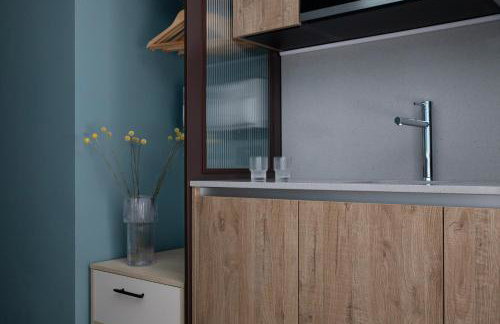
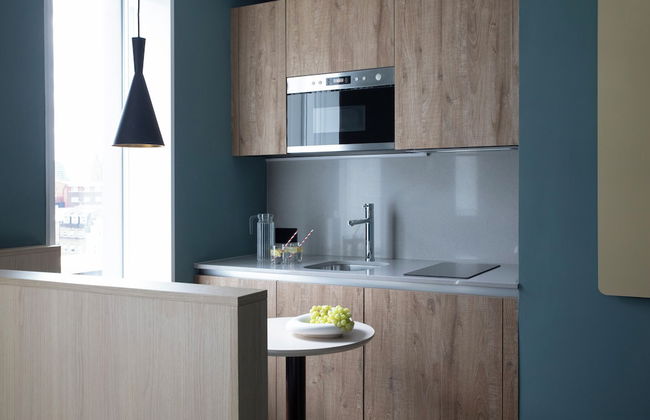
  • Kochnische
  • Klimaanlage
  • Heizung
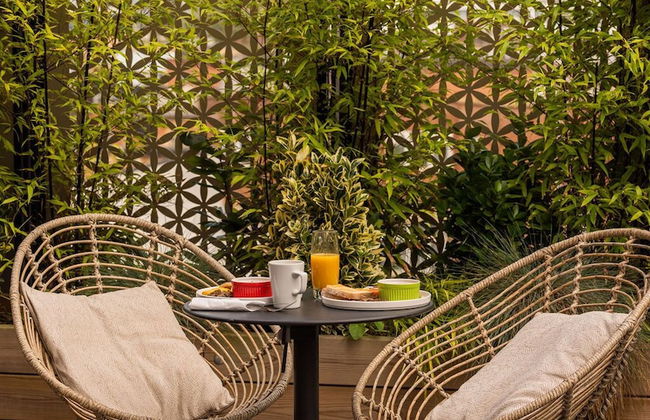
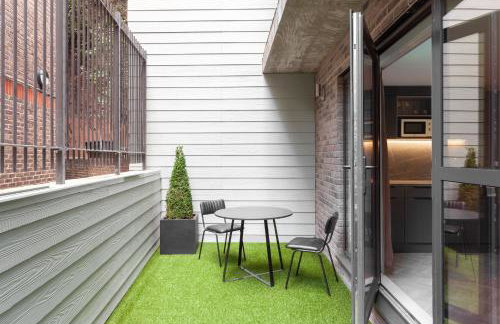
  • Terrasse
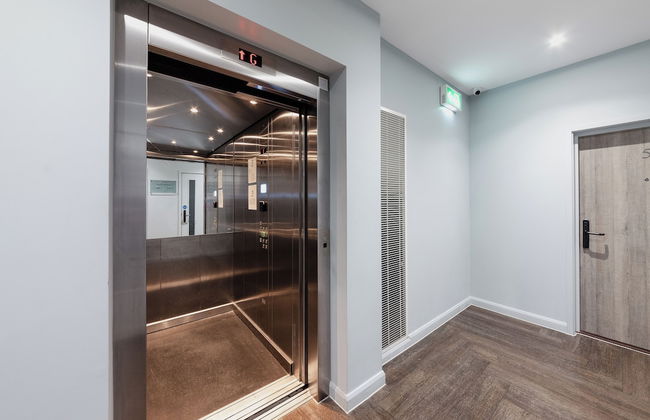
  • Fahrstuhl
  • Tv
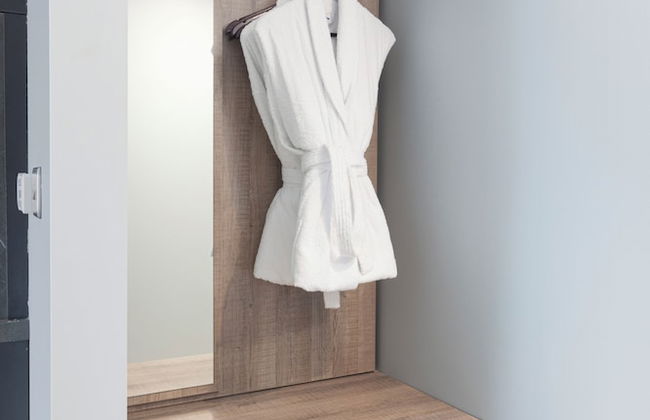
  • Handtücher
  • Bettlaken
9Außergewöhnlich | 204 Bewertungen
The Gate London City - Foto 1
The Gate London City - Foto 2
The Gate London City - Foto 3
The Gate London City - Foto 4
The Gate London City - Foto 5
The Gate London City - Foto 6
The Gate London City - Foto 7
The Gate London City - Foto 8
The Gate London City - Foto 9
The Gate London City - Foto 10
The Gate London City - Foto 11
The Gate London City - Foto 12
The Gate London City - Foto 13
The Gate London City - Foto 14
The Gate London City - Foto 15
The Gate London City - Foto 16
The Gate London City - Foto 17
The Gate London City - Foto 18
The Gate London City - Foto 19
The Gate London City - Foto 20
The Gate London City - Foto 21
The Gate London City - Foto 22
The Gate London City - Foto 23
The Gate London City - Foto 24
The Gate London City - Foto 25
The Gate London City - Foto 26
The Gate London City - Foto 27
The Gate London City - Foto 28
The Gate London City - Foto 29
The Gate London City - Foto 30
The Gate London City - Foto 31
The Gate London City - Foto 32
The Gate London City - Foto 33
The Gate London City - Foto 34
The Gate London City - Foto 35
The Gate London City - Foto 36
The Gate London City - Foto 37
The Gate London City - Foto 38
The Gate London City - Foto 39
The Gate London City - Foto 40
The Gate London City - Foto 41
The Gate London City - Foto 42
The Gate London City - Foto 43
The Gate London City - Foto 44
The Gate London City - Foto 45
The Gate London City - Foto 46
The Gate London City - Foto 47
The Gate London City - Foto 48
The Gate London City - Foto 49
The Gate London City - Foto 50
The Gate London City - Foto 51
The Gate London City - Foto 52
The Gate London City - Foto 53
The Gate London City - Foto 54
The Gate London City - Foto 55
The Gate London City - Foto 56
The Gate London City - Foto 57
The Gate London City - Foto 58
The Gate London City - Foto 59
The Gate London City - Foto 60
The Gate London City - Foto 61
The Gate London City - Foto 62
The Gate London City - Foto 63
The Gate London City - Foto 64
The Gate London City - Foto 65
The Gate London City - Foto 66
The Gate London City - Foto 67
The Gate London City - Foto 68
The Gate London City - Foto 69
The Gate London City - Foto 70
The Gate London City - Foto 71
The Gate London City - Foto 72
The Gate London City - Foto 73
The Gate London City - Foto 74
The Gate London City - Foto 75
The Gate London City - Foto 76
The Gate London City - Foto 77
The Gate London City - Foto 78
The Gate London City - Foto 79
The Gate London City - Foto 80
The Gate London City - Foto 81
The Gate London City - Foto 82
The Gate London City - Foto 83
The Gate London City - Foto 84
The Gate London City - Foto 85
The Gate London City - Foto 86
The Gate London City - Foto 87
The Gate London City - Foto 88
The Gate London City - Foto 89
The Gate London City - Foto 90
The Gate London City - Foto 91
The Gate London City - Foto 92
The Gate London City - Foto 93
The Gate London City - Foto 94
The Gate London City - Foto 95
The Gate London City - Foto 96
The Gate London City - Foto 97
The Gate London City - Foto 98
The Gate London City - Foto 99
The Gate London City - Foto 100
The Gate London City - Foto 101
The Gate London City - Foto 102
The Gate London City - Foto 103
The Gate London City - Foto 104
The Gate London City - Foto 105
The Gate London City - Foto 106
The Gate London City - Foto 107
The Gate London City - Foto 108
The Gate London City - Foto 109
The Gate London City - Foto 110
The Gate London City - Foto 111
The Gate London City - Foto 112
The Gate London City - Foto 113
The Gate London City - Foto 114
The Gate London City - Foto 115
The Gate London City - Foto 116
The Gate London City - Foto 117
The Gate London City - Foto 118
The Gate London City - Foto 119
The Gate London City - Foto 120
The Gate London City - Foto 121
The Gate London City - Foto 122
The Gate London City - Foto 123
The Gate London City - Foto 124
The Gate London City - Foto 125
The Gate London City - Foto 126
The Gate London City - Foto 127
The Gate London City - Foto 128
The Gate London City - Foto 129
The Gate London City - Foto 130
The Gate London City - Foto 131
The Gate London City - Foto 132
The Gate London City - Foto 133
The Gate London City - Foto 134
The Gate London City - Foto 135
The Gate London City - Foto 136
The Gate London City - Foto 137
The Gate London City - Foto 138
The Gate London City - Foto 139
The Gate London City - Foto 140
The Gate London City - Foto 141
The Gate London City - Foto 142
The Gate London City - Foto 143
The Gate London City - Foto 144
The Gate London City - Foto 145
The Gate London City - Foto 146
The Gate London City - Foto 147
The Gate London City - Foto 148
The Gate London City - Foto 149
The Gate London City - Foto 150
The Gate London City - Foto 151
The Gate London City - Foto 152
The Gate London City - Foto 153
The Gate London City - Foto 154
The Gate London City - Foto 155
The Gate London City - Foto 156
The Gate London City - Foto 157
The Gate London City - Foto 158
The Gate London City - Foto 159
The Gate London City - Foto 160

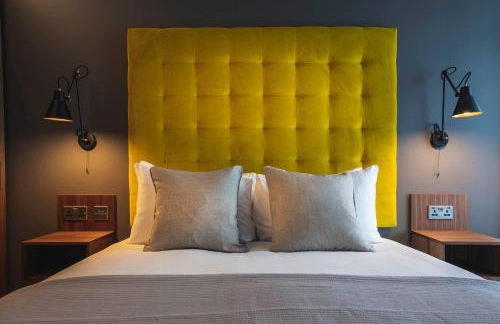
The Gate London City

London - Tower Hamlets - 3.7 km vom Zentrum

  • 32 M2
  • 4 Personen
  • Kochnische
  • Klimaanlage
  • Heizung
  • Terrasse
  • Fahrstuhl
  • Garten
  • Tv
  • Handtücher
  • Bettlaken
9Außergewöhnlich | 862 Bewertungen
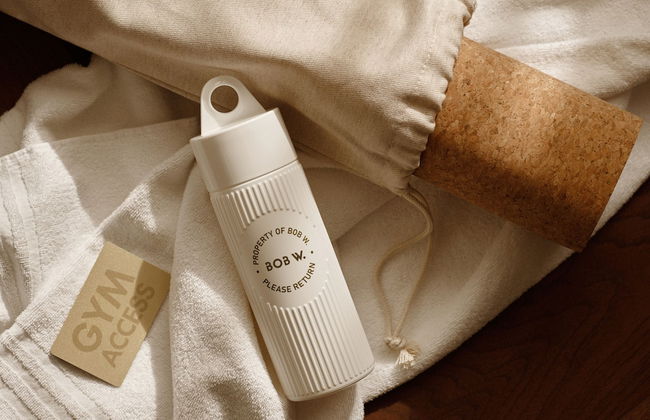
Bob W London Tower Hill - Studios - Foto 1
Bob W London Tower Hill - Studios - Foto 2
Bob W London Tower Hill - Studios - Foto 3
Bob W London Tower Hill - Studios - Foto 4
Bob W London Tower Hill - Studios - Foto 5
Bob W London Tower Hill - Studios - Foto 6
Bob W London Tower Hill - Studios - Foto 7
Bob W London Tower Hill - Studios - Foto 8
Bob W London Tower Hill - Studios - Foto 9
Bob W London Tower Hill - Studios - Foto 10
Bob W London Tower Hill - Studios - Foto 11
Bob W London Tower Hill - Studios - Foto 12
Bob W London Tower Hill - Studios - Foto 13
Bob W London Tower Hill - Studios - Foto 14
Bob W London Tower Hill - Studios - Foto 15
Bob W London Tower Hill - Studios - Foto 16
Bob W London Tower Hill - Studios - Foto 17
Bob W London Tower Hill - Studios - Foto 18
Bob W London Tower Hill - Studios - Foto 19
Bob W London Tower Hill - Studios - Foto 20
Bob W London Tower Hill - Studios - Foto 21
Bob W London Tower Hill - Studios - Foto 22
Bob W London Tower Hill - Studios - Foto 23
Bob W London Tower Hill - Studios - Foto 24
Bob W London Tower Hill - Studios - Foto 25
Bob W London Tower Hill - Studios - Foto 26
Bob W London Tower Hill - Studios - Foto 27
Bob W London Tower Hill - Studios - Foto 28
Bob W London Tower Hill - Studios - Foto 29
Bob W London Tower Hill - Studios - Foto 30
Bob W London Tower Hill - Studios - Foto 31
Bob W London Tower Hill - Studios - Foto 32
Bob W London Tower Hill - Studios - Foto 33
Bob W London Tower Hill - Studios - Foto 34
Bob W London Tower Hill - Studios - Foto 35
Bob W London Tower Hill - Studios - Foto 36
Bob W London Tower Hill - Studios - Foto 37
Bob W London Tower Hill - Studios - Foto 38
Bob W London Tower Hill - Studios - Foto 39
Bob W London Tower Hill - Studios - Foto 40
Bob W London Tower Hill - Studios - Foto 41
Bob W London Tower Hill - Studios - Foto 42
Bob W London Tower Hill - Studios - Foto 43
Bob W London Tower Hill - Studios - Foto 44
Bob W London Tower Hill - Studios - Foto 45
Bob W London Tower Hill - Studios - Foto 46
Bob W London Tower Hill - Studios - Foto 47
Bob W London Tower Hill - Studios - Foto 48
Bob W London Tower Hill - Studios - Foto 49
Bob W London Tower Hill - Studios - Foto 50
Bob W London Tower Hill - Studios - Foto 51
Bob W London Tower Hill - Studios - Foto 52
Bob W London Tower Hill - Studios - Foto 53
Bob W London Tower Hill - Studios - Foto 54
Bob W London Tower Hill - Studios - Foto 55
Bob W London Tower Hill - Studios - Foto 56
Bob W London Tower Hill - Studios - Foto 57
Bob W London Tower Hill - Studios - Foto 58
Bob W London Tower Hill - Studios - Foto 59
Bob W London Tower Hill - Studios - Foto 60
Bob W London Tower Hill - Studios - Foto 61
Bob W London Tower Hill - Studios - Foto 62
Bob W London Tower Hill - Studios - Foto 63
Bob W London Tower Hill - Studios - Foto 64
Bob W London Tower Hill - Studios - Foto 65
Bob W London Tower Hill - Studios - Foto 66
Bob W London Tower Hill - Studios - Foto 67
Bob W London Tower Hill - Studios - Foto 68
Bob W London Tower Hill - Studios - Foto 69
Bob W London Tower Hill - Studios - Foto 70
Bob W London Tower Hill - Studios - Foto 71
Bob W London Tower Hill - Studios - Foto 72
Bob W London Tower Hill - Studios - Foto 73
Bob W London Tower Hill - Studios - Foto 74
Bob W London Tower Hill - Studios - Foto 75
Bob W London Tower Hill - Studios - Foto 76
Bob W London Tower Hill - Studios - Foto 77
Bob W London Tower Hill - Studios - Foto 78
Bob W London Tower Hill - Studios - Foto 79
Bob W London Tower Hill - Studios - Foto 80
Bob W London Tower Hill - Studios - Foto 81
Bob W London Tower Hill - Studios - Foto 82
Bob W London Tower Hill - Studios - Foto 83
Bob W London Tower Hill - Studios - Foto 84
Bob W London Tower Hill - Studios - Foto 85
Bob W London Tower Hill - Studios - Foto 86
Bob W London Tower Hill - Studios - Foto 87

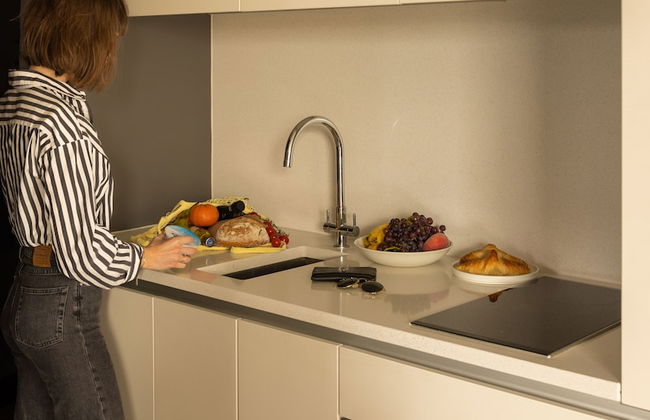
Bob W London Tower Hill - Studios

London - Tower Hamlets - 3.5 km vom Zentrum

  • 21 M2
  • 2 Personen
  • Kochnische
  • Klimaanlage
  • Heizung
  • Fahrstuhl
  • Tv
  • Handtücher
  • Bettlaken
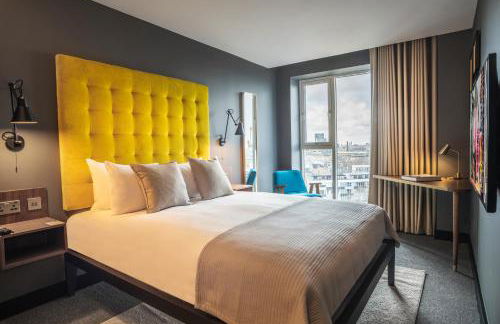
9Außergewöhnlich | 328 Bewertungen
Marlin Apartments Commercial Road - Limehouse - Foto 1
Marlin Apartments Commercial Road - Limehouse - Foto 2
Marlin Apartments Commercial Road - Limehouse - Foto 3
Marlin Apartments Commercial Road - Limehouse - Foto 4
Marlin Apartments Commercial Road - Limehouse - Foto 5
Marlin Apartments Commercial Road - Limehouse - Foto 6
Marlin Apartments Commercial Road - Limehouse - Foto 7
Marlin Apartments Commercial Road - Limehouse - Foto 8
Marlin Apartments Commercial Road - Limehouse - Foto 9
Marlin Apartments Commercial Road - Limehouse - Foto 10
Marlin Apartments Commercial Road - Limehouse - Foto 11
Marlin Apartments Commercial Road - Limehouse - Foto 12
Marlin Apartments Commercial Road - Limehouse - Foto 13
Marlin Apartments Commercial Road - Limehouse - Foto 14
Marlin Apartments Commercial Road - Limehouse - Foto 15
Marlin Apartments Commercial Road - Limehouse - Foto 16
Marlin Apartments Commercial Road - Limehouse - Foto 17
Marlin Apartments Commercial Road - Limehouse - Foto 18
Marlin Apartments Commercial Road - Limehouse - Foto 19
Marlin Apartments Commercial Road - Limehouse - Foto 20
Marlin Apartments Commercial Road - Limehouse - Foto 21
Marlin Apartments Commercial Road - Limehouse - Foto 22
Marlin Apartments Commercial Road - Limehouse - Foto 23
Marlin Apartments Commercial Road - Limehouse - Foto 24
Marlin Apartments Commercial Road - Limehouse - Foto 25
Marlin Apartments Commercial Road - Limehouse - Foto 26
Marlin Apartments Commercial Road - Limehouse - Foto 27
Marlin Apartments Commercial Road - Limehouse - Foto 28
Marlin Apartments Commercial Road - Limehouse - Foto 29
Marlin Apartments Commercial Road - Limehouse - Foto 30
Marlin Apartments Commercial Road - Limehouse - Foto 31
Marlin Apartments Commercial Road - Limehouse - Foto 32

Marlin Apartments Commercial Road - Limehouse

London - Tower Hamlets - 5.4 km vom Zentrum

  • 65 M2
  • 2 Schlafzimmer
  • 8 Personen
  • Heizung
  • Fahrstuhl
  • Garten
  • Tv
  • Waschmaschine
  • Handtücher
  • Bettlaken
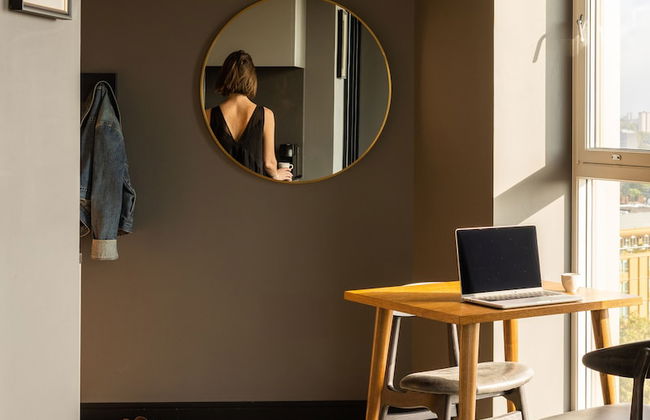
9Außergewöhnlich | 142 Bewertungen
Central London 3-bed Apt, Sleeps 6, 3 Mins to Tube - Foto 1
Central London 3-bed Apt, Sleeps 6, 3 Mins to Tube - Foto 2
Central London 3-bed Apt, Sleeps 6, 3 Mins to Tube - Foto 3
Central London 3-bed Apt, Sleeps 6, 3 Mins to Tube - Foto 4
Central London 3-bed Apt, Sleeps 6, 3 Mins to Tube - Foto 5
Central London 3-bed Apt, Sleeps 6, 3 Mins to Tube - Foto 6
Central London 3-bed Apt, Sleeps 6, 3 Mins to Tube - Foto 7
Central London 3-bed Apt, Sleeps 6, 3 Mins to Tube - Foto 8
Central London 3-bed Apt, Sleeps 6, 3 Mins to Tube - Foto 9
Central London 3-bed Apt, Sleeps 6, 3 Mins to Tube - Foto 10
Central London 3-bed Apt, Sleeps 6, 3 Mins to Tube - Foto 11
Central London 3-bed Apt, Sleeps 6, 3 Mins to Tube - Foto 12
Central London 3-bed Apt, Sleeps 6, 3 Mins to Tube - Foto 13
Central London 3-bed Apt, Sleeps 6, 3 Mins to Tube - Foto 14
Central London 3-bed Apt, Sleeps 6, 3 Mins to Tube - Foto 15
Central London 3-bed Apt, Sleeps 6, 3 Mins to Tube - Foto 16
Central London 3-bed Apt, Sleeps 6, 3 Mins to Tube - Foto 17
Central London 3-bed Apt, Sleeps 6, 3 Mins to Tube - Foto 18
Central London 3-bed Apt, Sleeps 6, 3 Mins to Tube - Foto 19
Central London 3-bed Apt, Sleeps 6, 3 Mins to Tube - Foto 20
Central London 3-bed Apt, Sleeps 6, 3 Mins to Tube - Foto 21
Central London 3-bed Apt, Sleeps 6, 3 Mins to Tube - Foto 22
Central London 3-bed Apt, Sleeps 6, 3 Mins to Tube - Foto 23
Central London 3-bed Apt, Sleeps 6, 3 Mins to Tube - Foto 24
Central London 3-bed Apt, Sleeps 6, 3 Mins to Tube - Foto 25
Central London 3-bed Apt, Sleeps 6, 3 Mins to Tube - Foto 26
Central London 3-bed Apt, Sleeps 6, 3 Mins to Tube - Foto 27
Central London 3-bed Apt, Sleeps 6, 3 Mins to Tube - Foto 28
Central London 3-bed Apt, Sleeps 6, 3 Mins to Tube - Foto 29
Central London 3-bed Apt, Sleeps 6, 3 Mins to Tube - Foto 30
Central London 3-bed Apt, Sleeps 6, 3 Mins to Tube - Foto 31
Central London 3-bed Apt, Sleeps 6, 3 Mins to Tube - Foto 32
Central London 3-bed Apt, Sleeps 6, 3 Mins to Tube - Foto 33
Central London 3-bed Apt, Sleeps 6, 3 Mins to Tube - Foto 34
Central London 3-bed Apt, Sleeps 6, 3 Mins to Tube - Foto 35
Central London 3-bed Apt, Sleeps 6, 3 Mins to Tube - Foto 36
Central London 3-bed Apt, Sleeps 6, 3 Mins to Tube - Foto 37
Central London 3-bed Apt, Sleeps 6, 3 Mins to Tube - Foto 38
Central London 3-bed Apt, Sleeps 6, 3 Mins to Tube - Foto 39
Central London 3-bed Apt, Sleeps 6, 3 Mins to Tube - Foto 40
Central London 3-bed Apt, Sleeps 6, 3 Mins to Tube - Foto 41
Central London 3-bed Apt, Sleeps 6, 3 Mins to Tube - Foto 42
Central London 3-bed Apt, Sleeps 6, 3 Mins to Tube - Foto 43
Central London 3-bed Apt, Sleeps 6, 3 Mins to Tube - Foto 44
Central London 3-bed Apt, Sleeps 6, 3 Mins to Tube - Foto 45
Central London 3-bed Apt, Sleeps 6, 3 Mins to Tube - Foto 46
Central London 3-bed Apt, Sleeps 6, 3 Mins to Tube - Foto 47
Central London 3-bed Apt, Sleeps 6, 3 Mins to Tube - Foto 48
Central London 3-bed Apt, Sleeps 6, 3 Mins to Tube - Foto 49
Central London 3-bed Apt, Sleeps 6, 3 Mins to Tube - Foto 50
Central London 3-bed Apt, Sleeps 6, 3 Mins to Tube - Foto 51
Central London 3-bed Apt, Sleeps 6, 3 Mins to Tube - Foto 52
Central London 3-bed Apt, Sleeps 6, 3 Mins to Tube - Foto 53
Central London 3-bed Apt, Sleeps 6, 3 Mins to Tube - Foto 54
Central London 3-bed Apt, Sleeps 6, 3 Mins to Tube - Foto 55
Central London 3-bed Apt, Sleeps 6, 3 Mins to Tube - Foto 56
Central London 3-bed Apt, Sleeps 6, 3 Mins to Tube - Foto 57
Central London 3-bed Apt, Sleeps 6, 3 Mins to Tube - Foto 58
Central London 3-bed Apt, Sleeps 6, 3 Mins to Tube - Foto 59
Central London 3-bed Apt, Sleeps 6, 3 Mins to Tube - Foto 60
Central London 3-bed Apt, Sleeps 6, 3 Mins to Tube - Foto 61
Central London 3-bed Apt, Sleeps 6, 3 Mins to Tube - Foto 62
Central London 3-bed Apt, Sleeps 6, 3 Mins to Tube - Foto 63
Central London 3-bed Apt, Sleeps 6, 3 Mins to Tube - Foto 64
Central London 3-bed Apt, Sleeps 6, 3 Mins to Tube - Foto 65
Central London 3-bed Apt, Sleeps 6, 3 Mins to Tube - Foto 66
Central London 3-bed Apt, Sleeps 6, 3 Mins to Tube - Foto 67
Central London 3-bed Apt, Sleeps 6, 3 Mins to Tube - Foto 68

Central London 3-bed Apt, Sleeps 6, 3 Mins to Tube

London - Tower Hamlets - 3.5 km vom Zentrum

  • 120 M2
  • 3 Schlafzimmer
  • 6 Personen
  • Heizung
  • Waschmaschine
  • Handtücher
  • Bettlaken
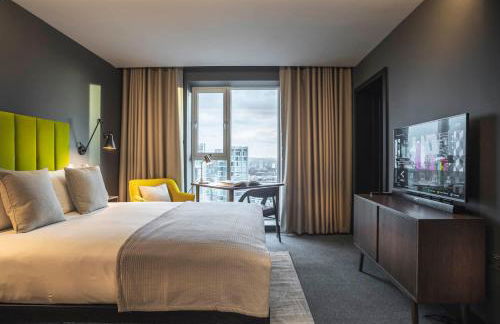
9.3Außergewöhnlich | 23 Bewertungen
Rockwell East - Foto 1
Rockwell East - Foto 2
Rockwell East - Foto 3
Rockwell East - Foto 4
Rockwell East - Foto 5
Rockwell East - Foto 6
Rockwell East - Foto 7
Rockwell East - Foto 8
Rockwell East - Foto 9
Rockwell East - Foto 10
Rockwell East - Foto 11
Rockwell East - Foto 12
Rockwell East - Foto 13
Rockwell East - Foto 14
Rockwell East - Foto 15
Rockwell East - Foto 16
Rockwell East - Foto 17
Rockwell East - Foto 18
Rockwell East - Foto 19
Rockwell East - Foto 20
Rockwell East - Foto 21
Rockwell East - Foto 22
Rockwell East - Foto 23
Rockwell East - Foto 24
Rockwell East - Foto 25
Rockwell East - Foto 26
Rockwell East - Foto 27
Rockwell East - Foto 28
Rockwell East - Foto 29
Rockwell East - Foto 30
Rockwell East - Foto 31
Rockwell East - Foto 32
Rockwell East - Foto 33
Rockwell East - Foto 34
Rockwell East - Foto 35
Rockwell East - Foto 36
Rockwell East - Foto 37
Rockwell East - Foto 38
Rockwell East - Foto 39
Rockwell East - Foto 40
Rockwell East - Foto 41
Rockwell East - Foto 42
Rockwell East - Foto 43
Rockwell East - Foto 44
Rockwell East - Foto 45
Rockwell East - Foto 46
Rockwell East - Foto 47
Rockwell East - Foto 48
Rockwell East - Foto 49
Rockwell East - Foto 50
Rockwell East - Foto 51

Rockwell East

London - Tower Hamlets - 3.3 km vom Zentrum

  • 2 Personen
  • Kochnische
  • Klimaanlage
  • Heizung
  • Fahrstuhl
  • Tv
  • Waschmaschine
  • Handtücher
  • Bettlaken
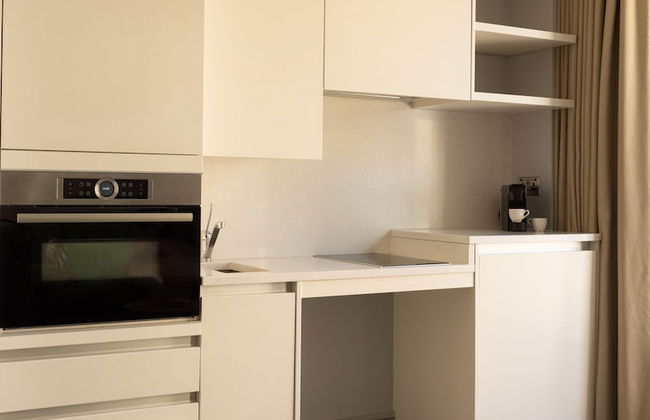
8.8Sehr gut | 883 Bewertungen
2Bed 2Bath Apartment in Liverpool Street, Steps to Brick Lane, Spitalfields & Shoreditch - Foto 1
2Bed 2Bath Apartment in Liverpool Street, Steps to Brick Lane, Spitalfields & Shoreditch - Foto 2
2Bed 2Bath Apartment in Liverpool Street, Steps to Brick Lane, Spitalfields & Shoreditch - Foto 3
2Bed 2Bath Apartment in Liverpool Street, Steps to Brick Lane, Spitalfields & Shoreditch - Foto 4
2Bed 2Bath Apartment in Liverpool Street, Steps to Brick Lane, Spitalfields & Shoreditch - Foto 5
2Bed 2Bath Apartment in Liverpool Street, Steps to Brick Lane, Spitalfields & Shoreditch - Foto 6
2Bed 2Bath Apartment in Liverpool Street, Steps to Brick Lane, Spitalfields & Shoreditch - Foto 7
2Bed 2Bath Apartment in Liverpool Street, Steps to Brick Lane, Spitalfields & Shoreditch - Foto 8
2Bed 2Bath Apartment in Liverpool Street, Steps to Brick Lane, Spitalfields & Shoreditch - Foto 9
2Bed 2Bath Apartment in Liverpool Street, Steps to Brick Lane, Spitalfields & Shoreditch - Foto 10
2Bed 2Bath Apartment in Liverpool Street, Steps to Brick Lane, Spitalfields & Shoreditch - Foto 11
2Bed 2Bath Apartment in Liverpool Street, Steps to Brick Lane, Spitalfields & Shoreditch - Foto 12
2Bed 2Bath Apartment in Liverpool Street, Steps to Brick Lane, Spitalfields & Shoreditch - Foto 13
2Bed 2Bath Apartment in Liverpool Street, Steps to Brick Lane, Spitalfields & Shoreditch - Foto 14
2Bed 2Bath Apartment in Liverpool Street, Steps to Brick Lane, Spitalfields & Shoreditch - Foto 15
2Bed 2Bath Apartment in Liverpool Street, Steps to Brick Lane, Spitalfields & Shoreditch - Foto 16
2Bed 2Bath Apartment in Liverpool Street, Steps to Brick Lane, Spitalfields & Shoreditch - Foto 17
2Bed 2Bath Apartment in Liverpool Street, Steps to Brick Lane, Spitalfields & Shoreditch - Foto 18
2Bed 2Bath Apartment in Liverpool Street, Steps to Brick Lane, Spitalfields & Shoreditch - Foto 19
2Bed 2Bath Apartment in Liverpool Street, Steps to Brick Lane, Spitalfields & Shoreditch - Foto 20
2Bed 2Bath Apartment in Liverpool Street, Steps to Brick Lane, Spitalfields & Shoreditch - Foto 21
2Bed 2Bath Apartment in Liverpool Street, Steps to Brick Lane, Spitalfields & Shoreditch - Foto 22
2Bed 2Bath Apartment in Liverpool Street, Steps to Brick Lane, Spitalfields & Shoreditch - Foto 23
2Bed 2Bath Apartment in Liverpool Street, Steps to Brick Lane, Spitalfields & Shoreditch - Foto 24
2Bed 2Bath Apartment in Liverpool Street, Steps to Brick Lane, Spitalfields & Shoreditch - Foto 25
2Bed 2Bath Apartment in Liverpool Street, Steps to Brick Lane, Spitalfields & Shoreditch - Foto 26
2Bed 2Bath Apartment in Liverpool Street, Steps to Brick Lane, Spitalfields & Shoreditch - Foto 27
2Bed 2Bath Apartment in Liverpool Street, Steps to Brick Lane, Spitalfields & Shoreditch - Foto 28
2Bed 2Bath Apartment in Liverpool Street, Steps to Brick Lane, Spitalfields & Shoreditch - Foto 29
2Bed 2Bath Apartment in Liverpool Street, Steps to Brick Lane, Spitalfields & Shoreditch - Foto 30
2Bed 2Bath Apartment in Liverpool Street, Steps to Brick Lane, Spitalfields & Shoreditch - Foto 31
2Bed 2Bath Apartment in Liverpool Street, Steps to Brick Lane, Spitalfields & Shoreditch - Foto 32
2Bed 2Bath Apartment in Liverpool Street, Steps to Brick Lane, Spitalfields & Shoreditch - Foto 33
2Bed 2Bath Apartment in Liverpool Street, Steps to Brick Lane, Spitalfields & Shoreditch - Foto 34
2Bed 2Bath Apartment in Liverpool Street, Steps to Brick Lane, Spitalfields & Shoreditch - Foto 35
2Bed 2Bath Apartment in Liverpool Street, Steps to Brick Lane, Spitalfields & Shoreditch - Foto 36
2Bed 2Bath Apartment in Liverpool Street, Steps to Brick Lane, Spitalfields & Shoreditch - Foto 37
2Bed 2Bath Apartment in Liverpool Street, Steps to Brick Lane, Spitalfields & Shoreditch - Foto 38
2Bed 2Bath Apartment in Liverpool Street, Steps to Brick Lane, Spitalfields & Shoreditch - Foto 39
2Bed 2Bath Apartment in Liverpool Street, Steps to Brick Lane, Spitalfields & Shoreditch - Foto 40
2Bed 2Bath Apartment in Liverpool Street, Steps to Brick Lane, Spitalfields & Shoreditch - Foto 41
2Bed 2Bath Apartment in Liverpool Street, Steps to Brick Lane, Spitalfields & Shoreditch - Foto 42
2Bed 2Bath Apartment in Liverpool Street, Steps to Brick Lane, Spitalfields & Shoreditch - Foto 43
2Bed 2Bath Apartment in Liverpool Street, Steps to Brick Lane, Spitalfields & Shoreditch - Foto 44
2Bed 2Bath Apartment in Liverpool Street, Steps to Brick Lane, Spitalfields & Shoreditch - Foto 45
2Bed 2Bath Apartment in Liverpool Street, Steps to Brick Lane, Spitalfields & Shoreditch - Foto 46
2Bed 2Bath Apartment in Liverpool Street, Steps to Brick Lane, Spitalfields & Shoreditch - Foto 47
2Bed 2Bath Apartment in Liverpool Street, Steps to Brick Lane, Spitalfields & Shoreditch - Foto 48
2Bed 2Bath Apartment in Liverpool Street, Steps to Brick Lane, Spitalfields & Shoreditch - Foto 49
2Bed 2Bath Apartment in Liverpool Street, Steps to Brick Lane, Spitalfields & Shoreditch - Foto 50
2Bed 2Bath Apartment in Liverpool Street, Steps to Brick Lane, Spitalfields & Shoreditch - Foto 51
2Bed 2Bath Apartment in Liverpool Street, Steps to Brick Lane, Spitalfields & Shoreditch - Foto 52
2Bed 2Bath Apartment in Liverpool Street, Steps to Brick Lane, Spitalfields & Shoreditch - Foto 53
2Bed 2Bath Apartment in Liverpool Street, Steps to Brick Lane, Spitalfields & Shoreditch - Foto 54
2Bed 2Bath Apartment in Liverpool Street, Steps to Brick Lane, Spitalfields & Shoreditch - Foto 55
2Bed 2Bath Apartment in Liverpool Street, Steps to Brick Lane, Spitalfields & Shoreditch - Foto 56
2Bed 2Bath Apartment in Liverpool Street, Steps to Brick Lane, Spitalfields & Shoreditch - Foto 57
2Bed 2Bath Apartment in Liverpool Street, Steps to Brick Lane, Spitalfields & Shoreditch - Foto 58
2Bed 2Bath Apartment in Liverpool Street, Steps to Brick Lane, Spitalfields & Shoreditch - Foto 59
2Bed 2Bath Apartment in Liverpool Street, Steps to Brick Lane, Spitalfields & Shoreditch - Foto 60

2Bed 2Bath Apartment in Liverpool Street, Steps to Brick Lane, Spitalfields & Shoreditch

London - Tower Hamlets - 3.4 km vom Zentrum

  • 70 M2
  • 2 Schlafzimmer
  • 6 Personen
  • Heizung
  • Tv
  • Handtücher
  • Bettlaken
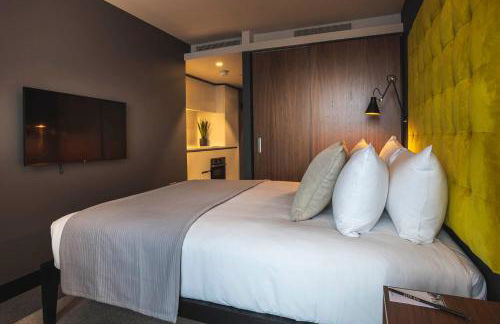
8.9Sehr gut | 10 Bewertungen
Tower Bridge Property - Foto 1
Tower Bridge Property - Foto 2
Tower Bridge Property - Foto 3
Tower Bridge Property - Foto 4
Tower Bridge Property - Foto 5
Tower Bridge Property - Foto 6
Tower Bridge Property - Foto 7
Tower Bridge Property - Foto 8
Tower Bridge Property - Foto 9
Tower Bridge Property - Foto 10
Tower Bridge Property - Foto 11
Tower Bridge Property - Foto 12
Tower Bridge Property - Foto 13
Tower Bridge Property - Foto 14
Tower Bridge Property - Foto 15
Tower Bridge Property - Foto 16
Tower Bridge Property - Foto 17
Tower Bridge Property - Foto 18
Tower Bridge Property - Foto 19
Tower Bridge Property - Foto 20
Tower Bridge Property - Foto 21
Tower Bridge Property - Foto 22
Tower Bridge Property - Foto 23
Tower Bridge Property - Foto 24
Tower Bridge Property - Foto 25
Tower Bridge Property - Foto 26
Tower Bridge Property - Foto 27
Tower Bridge Property - Foto 28
Tower Bridge Property - Foto 29
Tower Bridge Property - Foto 30
Tower Bridge Property - Foto 31
Tower Bridge Property - Foto 32
Tower Bridge Property - Foto 33
Tower Bridge Property - Foto 34
Tower Bridge Property - Foto 35
Tower Bridge Property - Foto 36
Tower Bridge Property - Foto 37
Tower Bridge Property - Foto 38
Tower Bridge Property - Foto 39
Tower Bridge Property - Foto 40
Tower Bridge Property - Foto 41
Tower Bridge Property - Foto 42
Tower Bridge Property - Foto 43
Tower Bridge Property - Foto 44
Tower Bridge Property - Foto 45
Tower Bridge Property - Foto 46

Tower Bridge Property

London - Tower Hamlets - 4.9 km vom Zentrum

  • 150 M2
  • 8 Personen
  • Heizung
  • Terrasse
  • Garten
  • Tv
  • Waschmaschine
  • Barbecue
  • Handtücher
10Hervorragend | 2 Bewertungen
Chapel House - Foto 1
Chapel House - Foto 2
Chapel House - Foto 3
Chapel House - Foto 4
Chapel House - Foto 5
Chapel House - Foto 6
Chapel House - Foto 7
Chapel House - Foto 8
Chapel House - Foto 9
Chapel House - Foto 10
Chapel House - Foto 11
Chapel House - Foto 12
Chapel House - Foto 13
Chapel House - Foto 14
Chapel House - Foto 15
Chapel House - Foto 16
Chapel House - Foto 17
Chapel House - Foto 18
Chapel House - Foto 19
Chapel House - Foto 20
Chapel House - Foto 21
Chapel House - Foto 22
Chapel House - Foto 23
Chapel House - Foto 24

Chapel House

London - Tower Hamlets - 3.7 km vom Zentrum

  • 10 Personen
  • Heizung
  • Tv
  • Waschmaschine
  • Bettlaken
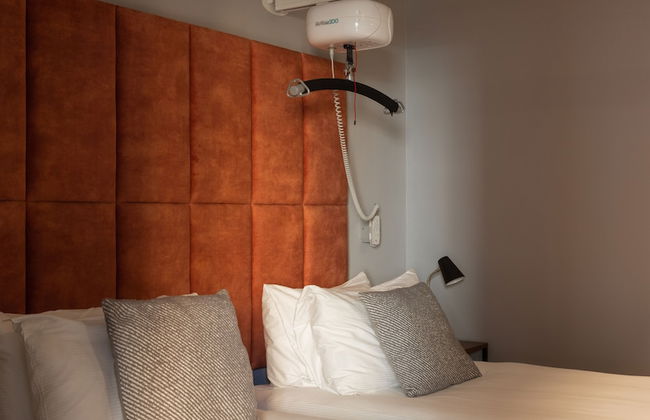
8.8Sehr gut | 15 Bewertungen
Beautiful Apartment next Tower Bridge E with AirCon - Foto 1
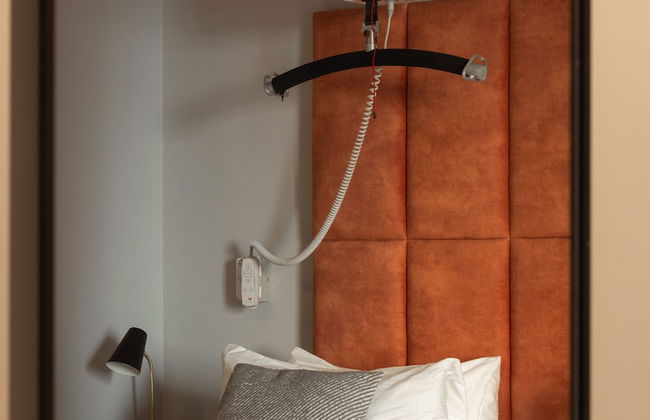
Beautiful Apartment next Tower Bridge E with AirCon - Foto 2
Beautiful Apartment next Tower Bridge E with AirCon - Foto 3
Beautiful Apartment next Tower Bridge E with AirCon - Foto 4
Beautiful Apartment next Tower Bridge E with AirCon - Foto 5
Beautiful Apartment next Tower Bridge E with AirCon - Foto 6
Beautiful Apartment next Tower Bridge E with AirCon - Foto 7
Beautiful Apartment next Tower Bridge E with AirCon - Foto 8
Beautiful Apartment next Tower Bridge E with AirCon - Foto 9
Beautiful Apartment next Tower Bridge E with AirCon - Foto 10
Beautiful Apartment next Tower Bridge E with AirCon - Foto 11
Beautiful Apartment next Tower Bridge E with AirCon - Foto 12
Beautiful Apartment next Tower Bridge E with AirCon - Foto 13
Beautiful Apartment next Tower Bridge E with AirCon - Foto 14
Beautiful Apartment next Tower Bridge E with AirCon - Foto 15
Beautiful Apartment next Tower Bridge E with AirCon - Foto 16
Beautiful Apartment next Tower Bridge E with AirCon - Foto 17
Beautiful Apartment next Tower Bridge E with AirCon - Foto 18
Beautiful Apartment next Tower Bridge E with AirCon - Foto 19
Beautiful Apartment next Tower Bridge E with AirCon - Foto 20
Beautiful Apartment next Tower Bridge E with AirCon - Foto 21
Beautiful Apartment next Tower Bridge E with AirCon - Foto 22
Beautiful Apartment next Tower Bridge E with AirCon - Foto 23
Beautiful Apartment next Tower Bridge E with AirCon - Foto 24
Beautiful Apartment next Tower Bridge E with AirCon - Foto 25
Beautiful Apartment next Tower Bridge E with AirCon - Foto 26
Beautiful Apartment next Tower Bridge E with AirCon - Foto 27
Beautiful Apartment next Tower Bridge E with AirCon - Foto 28
Beautiful Apartment next Tower Bridge E with AirCon - Foto 29
Beautiful Apartment next Tower Bridge E with AirCon - Foto 30
Beautiful Apartment next Tower Bridge E with AirCon - Foto 31
Beautiful Apartment next Tower Bridge E with AirCon - Foto 32
Beautiful Apartment next Tower Bridge E with AirCon - Foto 33
Beautiful Apartment next Tower Bridge E with AirCon - Foto 34
Beautiful Apartment next Tower Bridge E with AirCon - Foto 35
Beautiful Apartment next Tower Bridge E with AirCon - Foto 36
Beautiful Apartment next Tower Bridge E with AirCon - Foto 37
Beautiful Apartment next Tower Bridge E with AirCon - Foto 38
Beautiful Apartment next Tower Bridge E with AirCon - Foto 39
Beautiful Apartment next Tower Bridge E with AirCon - Foto 40
Beautiful Apartment next Tower Bridge E with AirCon - Foto 41
Beautiful Apartment next Tower Bridge E with AirCon - Foto 42
Beautiful Apartment next Tower Bridge E with AirCon - Foto 43
Beautiful Apartment next Tower Bridge E with AirCon - Foto 44
Beautiful Apartment next Tower Bridge E with AirCon - Foto 45
Beautiful Apartment next Tower Bridge E with AirCon - Foto 46

Beautiful Apartment next Tower Bridge E with AirCon

London - Tower Hamlets - 3.8 km vom Zentrum

  • 50 M2
  • 1 Schlafzimmer
  • 5 Personen
  • Klimaanlage
  • Fahrstuhl
  • Garten
9.3Außergewöhnlich | 10 Bewertungen
2 Bed Shoreditch Skyline Modern Flat By Station - Foto 1
2 Bed Shoreditch Skyline Modern Flat By Station - Foto 2
2 Bed Shoreditch Skyline Modern Flat By Station - Foto 3
2 Bed Shoreditch Skyline Modern Flat By Station - Foto 4
2 Bed Shoreditch Skyline Modern Flat By Station - Foto 5
2 Bed Shoreditch Skyline Modern Flat By Station - Foto 6
2 Bed Shoreditch Skyline Modern Flat By Station - Foto 7
2 Bed Shoreditch Skyline Modern Flat By Station - Foto 8
2 Bed Shoreditch Skyline Modern Flat By Station - Foto 9
2 Bed Shoreditch Skyline Modern Flat By Station - Foto 10
2 Bed Shoreditch Skyline Modern Flat By Station - Foto 11
2 Bed Shoreditch Skyline Modern Flat By Station - Foto 12
2 Bed Shoreditch Skyline Modern Flat By Station - Foto 13
2 Bed Shoreditch Skyline Modern Flat By Station - Foto 14
2 Bed Shoreditch Skyline Modern Flat By Station - Foto 15
2 Bed Shoreditch Skyline Modern Flat By Station - Foto 16
2 Bed Shoreditch Skyline Modern Flat By Station - Foto 17
2 Bed Shoreditch Skyline Modern Flat By Station - Foto 18
2 Bed Shoreditch Skyline Modern Flat By Station - Foto 19
2 Bed Shoreditch Skyline Modern Flat By Station - Foto 20
2 Bed Shoreditch Skyline Modern Flat By Station - Foto 21

2 Bed Shoreditch Skyline Modern Flat By Station

London - Tower Hamlets - 3.5 km vom Zentrum

  • 82 M2
  • 2 Schlafzimmer
  • 6 Personen
  • Heizung
  • Terrasse
  • Fahrstuhl
  • Garten
8.9Sehr gut | 63 Bewertungen
Entire Boat at St Katherine Docks 2 Available select using room options - Foto 1
Entire Boat at St Katherine Docks 2 Available select using room options - Foto 2
Entire Boat at St Katherine Docks 2 Available select using room options - Foto 3
Entire Boat at St Katherine Docks 2 Available select using room options - Foto 4
Entire Boat at St Katherine Docks 2 Available select using room options - Foto 5
Entire Boat at St Katherine Docks 2 Available select using room options - Foto 6
Entire Boat at St Katherine Docks 2 Available select using room options - Foto 7
Entire Boat at St Katherine Docks 2 Available select using room options - Foto 8
Entire Boat at St Katherine Docks 2 Available select using room options - Foto 9
Entire Boat at St Katherine Docks 2 Available select using room options - Foto 10
Entire Boat at St Katherine Docks 2 Available select using room options - Foto 11
Entire Boat at St Katherine Docks 2 Available select using room options - Foto 12
Entire Boat at St Katherine Docks 2 Available select using room options - Foto 13
Entire Boat at St Katherine Docks 2 Available select using room options - Foto 14
Entire Boat at St Katherine Docks 2 Available select using room options - Foto 15
Entire Boat at St Katherine Docks 2 Available select using room options - Foto 16
Entire Boat at St Katherine Docks 2 Available select using room options - Foto 17
Entire Boat at St Katherine Docks 2 Available select using room options - Foto 18
Entire Boat at St Katherine Docks 2 Available select using room options - Foto 19
Entire Boat at St Katherine Docks 2 Available select using room options - Foto 20
Entire Boat at St Katherine Docks 2 Available select using room options - Foto 21
Entire Boat at St Katherine Docks 2 Available select using room options - Foto 22
Entire Boat at St Katherine Docks 2 Available select using room options - Foto 23
Entire Boat at St Katherine Docks 2 Available select using room options - Foto 24
Entire Boat at St Katherine Docks 2 Available select using room options - Foto 25
Entire Boat at St Katherine Docks 2 Available select using room options - Foto 26
Entire Boat at St Katherine Docks 2 Available select using room options - Foto 27
Entire Boat at St Katherine Docks 2 Available select using room options - Foto 28
Entire Boat at St Katherine Docks 2 Available select using room options - Foto 29
Entire Boat at St Katherine Docks 2 Available select using room options - Foto 30
Entire Boat at St Katherine Docks 2 Available select using room options - Foto 31
Entire Boat at St Katherine Docks 2 Available select using room options - Foto 32
Entire Boat at St Katherine Docks 2 Available select using room options - Foto 33
Entire Boat at St Katherine Docks 2 Available select using room options - Foto 34
Entire Boat at St Katherine Docks 2 Available select using room options - Foto 35
Entire Boat at St Katherine Docks 2 Available select using room options - Foto 36
Entire Boat at St Katherine Docks 2 Available select using room options - Foto 37
Entire Boat at St Katherine Docks 2 Available select using room options - Foto 38
Entire Boat at St Katherine Docks 2 Available select using room options - Foto 39
Entire Boat at St Katherine Docks 2 Available select using room options - Foto 40
Entire Boat at St Katherine Docks 2 Available select using room options - Foto 41
Entire Boat at St Katherine Docks 2 Available select using room options - Foto 42
Entire Boat at St Katherine Docks 2 Available select using room options - Foto 43
Entire Boat at St Katherine Docks 2 Available select using room options - Foto 44
Entire Boat at St Katherine Docks 2 Available select using room options - Foto 45
Entire Boat at St Katherine Docks 2 Available select using room options - Foto 46
Entire Boat at St Katherine Docks 2 Available select using room options - Foto 47
Entire Boat at St Katherine Docks 2 Available select using room options - Foto 48
Entire Boat at St Katherine Docks 2 Available select using room options - Foto 49
Entire Boat at St Katherine Docks 2 Available select using room options - Foto 50
Entire Boat at St Katherine Docks 2 Available select using room options - Foto 51
Entire Boat at St Katherine Docks 2 Available select using room options - Foto 52
Entire Boat at St Katherine Docks 2 Available select using room options - Foto 53
Entire Boat at St Katherine Docks 2 Available select using room options - Foto 54
Entire Boat at St Katherine Docks 2 Available select using room options - Foto 55
Entire Boat at St Katherine Docks 2 Available select using room options - Foto 56
Entire Boat at St Katherine Docks 2 Available select using room options - Foto 57
Entire Boat at St Katherine Docks 2 Available select using room options - Foto 58
Entire Boat at St Katherine Docks 2 Available select using room options - Foto 59
Entire Boat at St Katherine Docks 2 Available select using room options - Foto 60
Entire Boat at St Katherine Docks 2 Available select using room options - Foto 61
Entire Boat at St Katherine Docks 2 Available select using room options - Foto 62
Entire Boat at St Katherine Docks 2 Available select using room options - Foto 63
Entire Boat at St Katherine Docks 2 Available select using room options - Foto 64
Entire Boat at St Katherine Docks 2 Available select using room options - Foto 65
Entire Boat at St Katherine Docks 2 Available select using room options - Foto 66
Entire Boat at St Katherine Docks 2 Available select using room options - Foto 67
Entire Boat at St Katherine Docks 2 Available select using room options - Foto 68
Entire Boat at St Katherine Docks 2 Available select using room options - Foto 69
Entire Boat at St Katherine Docks 2 Available select using room options - Foto 70
Entire Boat at St Katherine Docks 2 Available select using room options - Foto 71
Entire Boat at St Katherine Docks 2 Available select using room options - Foto 72
Entire Boat at St Katherine Docks 2 Available select using room options - Foto 73
Entire Boat at St Katherine Docks 2 Available select using room options - Foto 74
Entire Boat at St Katherine Docks 2 Available select using room options - Foto 75
Entire Boat at St Katherine Docks 2 Available select using room options - Foto 76
Entire Boat at St Katherine Docks 2 Available select using room options - Foto 77
Entire Boat at St Katherine Docks 2 Available select using room options - Foto 78
Entire Boat at St Katherine Docks 2 Available select using room options - Foto 79
Entire Boat at St Katherine Docks 2 Available select using room options - Foto 80

Entire Boat at St Katherine Docks 2 Available select using room options

London - Tower Hamlets - 290 m von Tower Bridge

  • 14 M2
  • 4 Personen
  • Heizung
  • Parkplatz
  • Garten
9.5Außergewöhnlich | 379 Bewertungen
Aldgate Apartment with City View in Zone 1 London - Foto 1
Aldgate Apartment with City View in Zone 1 London - Foto 2
Aldgate Apartment with City View in Zone 1 London - Foto 3
Aldgate Apartment with City View in Zone 1 London - Foto 4
Aldgate Apartment with City View in Zone 1 London - Foto 5
Aldgate Apartment with City View in Zone 1 London - Foto 6
Aldgate Apartment with City View in Zone 1 London - Foto 7
Aldgate Apartment with City View in Zone 1 London - Foto 8
Aldgate Apartment with City View in Zone 1 London - Foto 9
Aldgate Apartment with City View in Zone 1 London - Foto 10
Aldgate Apartment with City View in Zone 1 London - Foto 11
Aldgate Apartment with City View in Zone 1 London - Foto 12
Aldgate Apartment with City View in Zone 1 London - Foto 13
Aldgate Apartment with City View in Zone 1 London - Foto 14
Aldgate Apartment with City View in Zone 1 London - Foto 15

Aldgate Apartment with City View in Zone 1 London

London - Tower Hamlets - 3.6 km vom Zentrum

  • 95 M2
  • 2 Schlafzimmer
  • 5 Personen
  • Klimaanlage
  • Terrasse
9.8Außergewöhnlich | 11 Bewertungen
The Spitalfields Works by Urban Rest - Foto 1
The Spitalfields Works by Urban Rest - Foto 2
The Spitalfields Works by Urban Rest - Foto 3
The Spitalfields Works by Urban Rest - Foto 4
The Spitalfields Works by Urban Rest - Foto 5
The Spitalfields Works by Urban Rest - Foto 6
The Spitalfields Works by Urban Rest - Foto 7
The Spitalfields Works by Urban Rest - Foto 8
The Spitalfields Works by Urban Rest - Foto 9
The Spitalfields Works by Urban Rest - Foto 10
The Spitalfields Works by Urban Rest - Foto 11
The Spitalfields Works by Urban Rest - Foto 12
The Spitalfields Works by Urban Rest - Foto 13
The Spitalfields Works by Urban Rest - Foto 14
The Spitalfields Works by Urban Rest - Foto 15
The Spitalfields Works by Urban Rest - Foto 16
The Spitalfields Works by Urban Rest - Foto 17
The Spitalfields Works by Urban Rest - Foto 18
The Spitalfields Works by Urban Rest - Foto 19
The Spitalfields Works by Urban Rest - Foto 20
The Spitalfields Works by Urban Rest - Foto 21
The Spitalfields Works by Urban Rest - Foto 22
The Spitalfields Works by Urban Rest - Foto 23
The Spitalfields Works by Urban Rest - Foto 24
The Spitalfields Works by Urban Rest - Foto 25
The Spitalfields Works by Urban Rest - Foto 26
The Spitalfields Works by Urban Rest - Foto 27
The Spitalfields Works by Urban Rest - Foto 28
The Spitalfields Works by Urban Rest - Foto 29
The Spitalfields Works by Urban Rest - Foto 30
The Spitalfields Works by Urban Rest - Foto 31
The Spitalfields Works by Urban Rest - Foto 32
The Spitalfields Works by Urban Rest - Foto 33
The Spitalfields Works by Urban Rest - Foto 34
The Spitalfields Works by Urban Rest - Foto 35
The Spitalfields Works by Urban Rest - Foto 36
The Spitalfields Works by Urban Rest - Foto 37
The Spitalfields Works by Urban Rest - Foto 38
The Spitalfields Works by Urban Rest - Foto 39
The Spitalfields Works by Urban Rest - Foto 40
The Spitalfields Works by Urban Rest - Foto 41
The Spitalfields Works by Urban Rest - Foto 42
The Spitalfields Works by Urban Rest - Foto 43
The Spitalfields Works by Urban Rest - Foto 44
The Spitalfields Works by Urban Rest - Foto 45
The Spitalfields Works by Urban Rest - Foto 46

The Spitalfields Works by Urban Rest

London - Tower Hamlets - 3.4 km vom Zentrum

  • 61 M2
  • 2 Schlafzimmer
  • 4 Personen
  • Heizung
  • Fahrstuhl
8.1Sehr gut | 80 Bewertungen
Marlyn Lodge - City of London - Foto 1
Marlyn Lodge - City of London - Foto 2
Marlyn Lodge - City of London - Foto 3
Marlyn Lodge - City of London - Foto 4
Marlyn Lodge - City of London - Foto 5
Marlyn Lodge - City of London - Foto 6
Marlyn Lodge - City of London - Foto 7
Marlyn Lodge - City of London - Foto 8
Marlyn Lodge - City of London - Foto 9
Marlyn Lodge - City of London - Foto 10
Marlyn Lodge - City of London - Foto 11
Marlyn Lodge - City of London - Foto 12
Marlyn Lodge - City of London - Foto 13
Marlyn Lodge - City of London - Foto 14
Marlyn Lodge - City of London - Foto 15
Marlyn Lodge - City of London - Foto 16
Marlyn Lodge - City of London - Foto 17
Marlyn Lodge - City of London - Foto 18
Marlyn Lodge - City of London - Foto 19
Marlyn Lodge - City of London - Foto 20
Marlyn Lodge - City of London - Foto 21
Marlyn Lodge - City of London - Foto 22
Marlyn Lodge - City of London - Foto 23
Marlyn Lodge - City of London - Foto 24
Marlyn Lodge - City of London - Foto 25
Marlyn Lodge - City of London - Foto 26
Marlyn Lodge - City of London - Foto 27
Marlyn Lodge - City of London - Foto 28
Marlyn Lodge - City of London - Foto 29
Marlyn Lodge - City of London - Foto 30
Marlyn Lodge - City of London - Foto 31
Marlyn Lodge - City of London - Foto 32
Marlyn Lodge - City of London - Foto 33
Marlyn Lodge - City of London - Foto 34
Marlyn Lodge - City of London - Foto 35
Marlyn Lodge - City of London - Foto 36
Marlyn Lodge - City of London - Foto 37
Marlyn Lodge - City of London - Foto 38
Marlyn Lodge - City of London - Foto 39
Marlyn Lodge - City of London - Foto 40
Marlyn Lodge - City of London - Foto 41
Marlyn Lodge - City of London - Foto 42
Marlyn Lodge - City of London - Foto 43
Marlyn Lodge - City of London - Foto 44
Marlyn Lodge - City of London - Foto 45
Marlyn Lodge - City of London - Foto 46
Marlyn Lodge - City of London - Foto 47
Marlyn Lodge - City of London - Foto 48
Marlyn Lodge - City of London - Foto 49
Marlyn Lodge - City of London - Foto 50
Marlyn Lodge - City of London - Foto 51
Marlyn Lodge - City of London - Foto 52
Marlyn Lodge - City of London - Foto 53
Marlyn Lodge - City of London - Foto 54
Marlyn Lodge - City of London - Foto 55
Marlyn Lodge - City of London - Foto 56
Marlyn Lodge - City of London - Foto 57
Marlyn Lodge - City of London - Foto 58
Marlyn Lodge - City of London - Foto 59
Marlyn Lodge - City of London - Foto 60
Marlyn Lodge - City of London - Foto 61
Marlyn Lodge - City of London - Foto 62
Marlyn Lodge - City of London - Foto 63
Marlyn Lodge - City of London - Foto 64
Marlyn Lodge - City of London - Foto 65
Marlyn Lodge - City of London - Foto 66
Marlyn Lodge - City of London - Foto 67
Marlyn Lodge - City of London - Foto 68
Marlyn Lodge - City of London - Foto 69
Marlyn Lodge - City of London - Foto 70
Marlyn Lodge - City of London - Foto 71
Marlyn Lodge - City of London - Foto 72
Marlyn Lodge - City of London - Foto 73
Marlyn Lodge - City of London - Foto 74
Marlyn Lodge - City of London - Foto 75
Marlyn Lodge - City of London - Foto 76
Marlyn Lodge - City of London - Foto 77
Marlyn Lodge - City of London - Foto 78
Marlyn Lodge - City of London - Foto 79

Marlyn Lodge - City of London

London - Tower Hamlets - 3.3 km vom Zentrum

  • 35 M2
  • 4 Personen
  • Klimaanlage
  • Heizung
  • Fahrstuhl
  • Garten
  • Tv
  • Waschmaschine
  • Handtücher
  • Bettlaken
9.6Außergewöhnlich | 35 Bewertungen
Amazing location 1 BD flat on St Katharine's Docks - Foto 1
Amazing location 1 BD flat on St Katharine's Docks - Foto 2
Amazing location 1 BD flat on St Katharine's Docks - Foto 3
Amazing location 1 BD flat on St Katharine's Docks - Foto 4
Amazing location 1 BD flat on St Katharine's Docks - Foto 5
Amazing location 1 BD flat on St Katharine's Docks - Foto 6
Amazing location 1 BD flat on St Katharine's Docks - Foto 7
Amazing location 1 BD flat on St Katharine's Docks - Foto 8
Amazing location 1 BD flat on St Katharine's Docks - Foto 9
Amazing location 1 BD flat on St Katharine's Docks - Foto 10
Amazing location 1 BD flat on St Katharine's Docks - Foto 11
Amazing location 1 BD flat on St Katharine's Docks - Foto 12

Amazing location 1 BD flat on St Katharine's Docks

London - Tower Hamlets - 370 m von Tower Bridge

  • 40 M2
  • 1 Schlafzimmer
  • 4 Personen
  • Terrasse
  • Parkplatz
9Außergewöhnlich | 26 Bewertungen
Serenity in the Heart of London - Foto 1
Serenity in the Heart of London - Foto 2
Serenity in the Heart of London - Foto 3
Serenity in the Heart of London - Foto 4
Serenity in the Heart of London - Foto 5
Serenity in the Heart of London - Foto 6
Serenity in the Heart of London - Foto 7
Serenity in the Heart of London - Foto 8
Serenity in the Heart of London - Foto 9

Serenity in the Heart of London

London - Tower Hamlets - 380 m von Tower Bridge

  • 72 M2
  • 2 Schlafzimmer
  • 4 Personen
  • Terrasse
9.8Außergewöhnlich | 18 Bewertungen
Contemporary & Spacious 1BD - Fireplace with Modern Comforts - Foto 1
Contemporary & Spacious 1BD - Fireplace with Modern Comforts - Foto 2
Contemporary & Spacious 1BD - Fireplace with Modern Comforts - Foto 3
Contemporary & Spacious 1BD - Fireplace with Modern Comforts - Foto 4
Contemporary & Spacious 1BD - Fireplace with Modern Comforts - Foto 5
Contemporary & Spacious 1BD - Fireplace with Modern Comforts - Foto 6
Contemporary & Spacious 1BD - Fireplace with Modern Comforts - Foto 7
Contemporary & Spacious 1BD - Fireplace with Modern Comforts - Foto 8
Contemporary & Spacious 1BD - Fireplace with Modern Comforts - Foto 9
Contemporary & Spacious 1BD - Fireplace with Modern Comforts - Foto 10
Contemporary & Spacious 1BD - Fireplace with Modern Comforts - Foto 11
Contemporary & Spacious 1BD - Fireplace with Modern Comforts - Foto 12
Contemporary & Spacious 1BD - Fireplace with Modern Comforts - Foto 13
Contemporary & Spacious 1BD - Fireplace with Modern Comforts - Foto 14
Contemporary & Spacious 1BD - Fireplace with Modern Comforts - Foto 15
Contemporary & Spacious 1BD - Fireplace with Modern Comforts - Foto 16
Contemporary & Spacious 1BD - Fireplace with Modern Comforts - Foto 17

Contemporary & Spacious 1BD - Fireplace with Modern Comforts

London - Tower Hamlets - 4.5 km vom Zentrum

  • 47 M2
  • 1 Schlafzimmer
  • 5 Personen
  • Heizung
  • Parkplatz
  • Garten
9.1Außergewöhnlich | 40 Bewertungen
Boutique Brick Lane 2-Bed, Colourful City Vibes - Foto 1
Boutique Brick Lane 2-Bed, Colourful City Vibes - Foto 2
Boutique Brick Lane 2-Bed, Colourful City Vibes - Foto 3
Boutique Brick Lane 2-Bed, Colourful City Vibes - Foto 4
Boutique Brick Lane 2-Bed, Colourful City Vibes - Foto 5
Boutique Brick Lane 2-Bed, Colourful City Vibes - Foto 6
Boutique Brick Lane 2-Bed, Colourful City Vibes - Foto 7
Boutique Brick Lane 2-Bed, Colourful City Vibes - Foto 8
Boutique Brick Lane 2-Bed, Colourful City Vibes - Foto 9
Boutique Brick Lane 2-Bed, Colourful City Vibes - Foto 10
Boutique Brick Lane 2-Bed, Colourful City Vibes - Foto 11
Boutique Brick Lane 2-Bed, Colourful City Vibes - Foto 12
Boutique Brick Lane 2-Bed, Colourful City Vibes - Foto 13
Boutique Brick Lane 2-Bed, Colourful City Vibes - Foto 14
Boutique Brick Lane 2-Bed, Colourful City Vibes - Foto 15
Boutique Brick Lane 2-Bed, Colourful City Vibes - Foto 16
Boutique Brick Lane 2-Bed, Colourful City Vibes - Foto 17
Boutique Brick Lane 2-Bed, Colourful City Vibes - Foto 18
Boutique Brick Lane 2-Bed, Colourful City Vibes - Foto 19
Boutique Brick Lane 2-Bed, Colourful City Vibes - Foto 20
Boutique Brick Lane 2-Bed, Colourful City Vibes - Foto 21
Boutique Brick Lane 2-Bed, Colourful City Vibes - Foto 22
Boutique Brick Lane 2-Bed, Colourful City Vibes - Foto 23
Boutique Brick Lane 2-Bed, Colourful City Vibes - Foto 24
Boutique Brick Lane 2-Bed, Colourful City Vibes - Foto 25
Boutique Brick Lane 2-Bed, Colourful City Vibes - Foto 26
Boutique Brick Lane 2-Bed, Colourful City Vibes - Foto 27
Boutique Brick Lane 2-Bed, Colourful City Vibes - Foto 28
Boutique Brick Lane 2-Bed, Colourful City Vibes - Foto 29
Boutique Brick Lane 2-Bed, Colourful City Vibes - Foto 30
Boutique Brick Lane 2-Bed, Colourful City Vibes - Foto 31
Boutique Brick Lane 2-Bed, Colourful City Vibes - Foto 32
Boutique Brick Lane 2-Bed, Colourful City Vibes - Foto 33
Boutique Brick Lane 2-Bed, Colourful City Vibes - Foto 34
Boutique Brick Lane 2-Bed, Colourful City Vibes - Foto 35
Boutique Brick Lane 2-Bed, Colourful City Vibes - Foto 36
Boutique Brick Lane 2-Bed, Colourful City Vibes - Foto 37
Boutique Brick Lane 2-Bed, Colourful City Vibes - Foto 38
Boutique Brick Lane 2-Bed, Colourful City Vibes - Foto 39
Boutique Brick Lane 2-Bed, Colourful City Vibes - Foto 40
Boutique Brick Lane 2-Bed, Colourful City Vibes - Foto 41
Boutique Brick Lane 2-Bed, Colourful City Vibes - Foto 42
Boutique Brick Lane 2-Bed, Colourful City Vibes - Foto 43
Boutique Brick Lane 2-Bed, Colourful City Vibes - Foto 44
Boutique Brick Lane 2-Bed, Colourful City Vibes - Foto 45
Boutique Brick Lane 2-Bed, Colourful City Vibes - Foto 46
Boutique Brick Lane 2-Bed, Colourful City Vibes - Foto 47
Boutique Brick Lane 2-Bed, Colourful City Vibes - Foto 48
Boutique Brick Lane 2-Bed, Colourful City Vibes - Foto 49
Boutique Brick Lane 2-Bed, Colourful City Vibes - Foto 50
Boutique Brick Lane 2-Bed, Colourful City Vibes - Foto 51
Boutique Brick Lane 2-Bed, Colourful City Vibes - Foto 52
Boutique Brick Lane 2-Bed, Colourful City Vibes - Foto 53
Boutique Brick Lane 2-Bed, Colourful City Vibes - Foto 54
Boutique Brick Lane 2-Bed, Colourful City Vibes - Foto 55
Boutique Brick Lane 2-Bed, Colourful City Vibes - Foto 56

Boutique Brick Lane 2-Bed, Colourful City Vibes

London - Tower Hamlets - 3.7 km vom Zentrum

  • 68 M2
  • 2 Schlafzimmer
  • 5 Personen
  • Heizung
  • Fahrstuhl
9.5Außergewöhnlich | 12 Bewertungen
Chapter Spitalfields - Campus Accommodation - Foto 1
Chapter Spitalfields - Campus Accommodation - Foto 2
Chapter Spitalfields - Campus Accommodation - Foto 3
Chapter Spitalfields - Campus Accommodation - Foto 4
Chapter Spitalfields - Campus Accommodation - Foto 5
Chapter Spitalfields - Campus Accommodation - Foto 6
Chapter Spitalfields - Campus Accommodation - Foto 7
Chapter Spitalfields - Campus Accommodation - Foto 8
Chapter Spitalfields - Campus Accommodation - Foto 9
Chapter Spitalfields - Campus Accommodation - Foto 10
Chapter Spitalfields - Campus Accommodation - Foto 11
Chapter Spitalfields - Campus Accommodation - Foto 12
Chapter Spitalfields - Campus Accommodation - Foto 13
Chapter Spitalfields - Campus Accommodation - Foto 14
Chapter Spitalfields - Campus Accommodation - Foto 15
Chapter Spitalfields - Campus Accommodation - Foto 16
Chapter Spitalfields - Campus Accommodation - Foto 17
Chapter Spitalfields - Campus Accommodation - Foto 18
Chapter Spitalfields - Campus Accommodation - Foto 19
Chapter Spitalfields - Campus Accommodation - Foto 20
Chapter Spitalfields - Campus Accommodation - Foto 21
Chapter Spitalfields - Campus Accommodation - Foto 22
Chapter Spitalfields - Campus Accommodation - Foto 23
Chapter Spitalfields - Campus Accommodation - Foto 24
Chapter Spitalfields - Campus Accommodation - Foto 25
Chapter Spitalfields - Campus Accommodation - Foto 26
Chapter Spitalfields - Campus Accommodation - Foto 27
Chapter Spitalfields - Campus Accommodation - Foto 28
Chapter Spitalfields - Campus Accommodation - Foto 29
Chapter Spitalfields - Campus Accommodation - Foto 30
Chapter Spitalfields - Campus Accommodation - Foto 31
Chapter Spitalfields - Campus Accommodation - Foto 32
Chapter Spitalfields - Campus Accommodation - Foto 33
Chapter Spitalfields - Campus Accommodation - Foto 34
Chapter Spitalfields - Campus Accommodation - Foto 35
Chapter Spitalfields - Campus Accommodation - Foto 36
Chapter Spitalfields - Campus Accommodation - Foto 37
Chapter Spitalfields - Campus Accommodation - Foto 38
Chapter Spitalfields - Campus Accommodation - Foto 39
Chapter Spitalfields - Campus Accommodation - Foto 40
Chapter Spitalfields - Campus Accommodation - Foto 41
Chapter Spitalfields - Campus Accommodation - Foto 42
Chapter Spitalfields - Campus Accommodation - Foto 43
Chapter Spitalfields - Campus Accommodation - Foto 44
Chapter Spitalfields - Campus Accommodation - Foto 45
Chapter Spitalfields - Campus Accommodation - Foto 46
Chapter Spitalfields - Campus Accommodation - Foto 47
Chapter Spitalfields - Campus Accommodation - Foto 48
Chapter Spitalfields - Campus Accommodation - Foto 49
Chapter Spitalfields - Campus Accommodation - Foto 50
Chapter Spitalfields - Campus Accommodation - Foto 51
Chapter Spitalfields - Campus Accommodation - Foto 52
Chapter Spitalfields - Campus Accommodation - Foto 53
Chapter Spitalfields - Campus Accommodation - Foto 54
Chapter Spitalfields - Campus Accommodation - Foto 55
Chapter Spitalfields - Campus Accommodation - Foto 56
Chapter Spitalfields - Campus Accommodation - Foto 57
Chapter Spitalfields - Campus Accommodation - Foto 58
Chapter Spitalfields - Campus Accommodation - Foto 59
Chapter Spitalfields - Campus Accommodation - Foto 60

Chapter Spitalfields - Campus Accommodation

London - Tower Hamlets - 3.2 km vom Zentrum

  • 93 M2
  • 4 Personen
  • Kochnische
  • Heizung
  • Fahrstuhl
  • Handtücher
  • Bettlaken
7.8Gut | 62 Bewertungen
Verwandte Reiseziele