
50 Wohnungen in The Sea Ranch
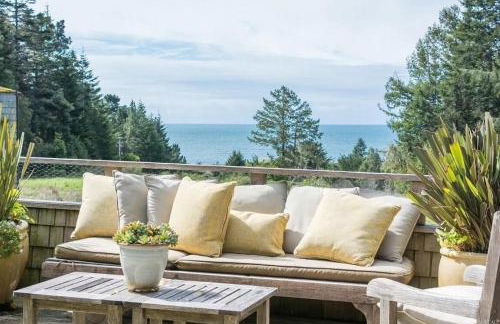

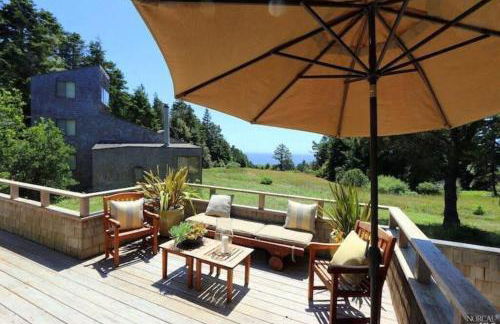
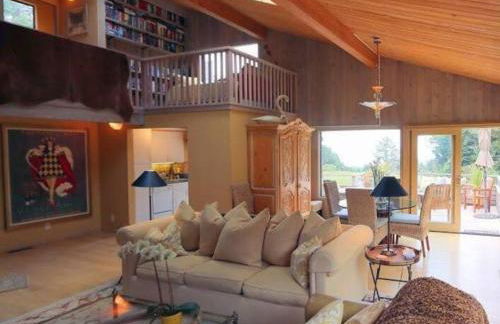
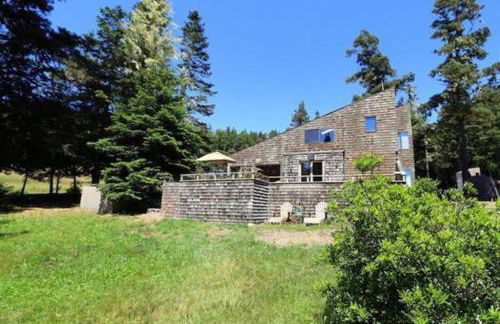
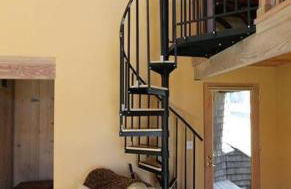


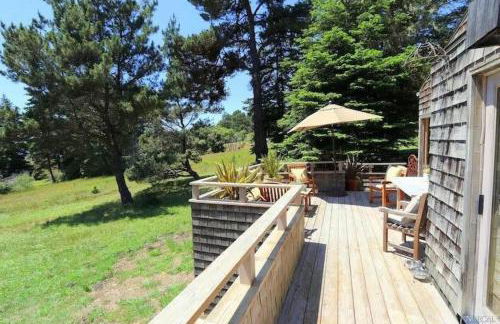

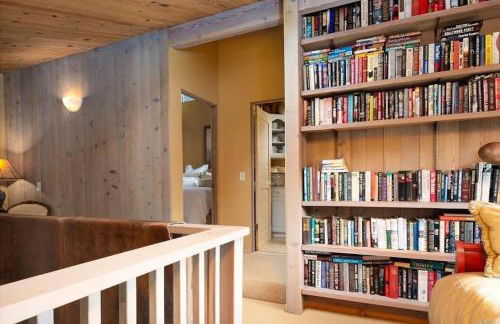


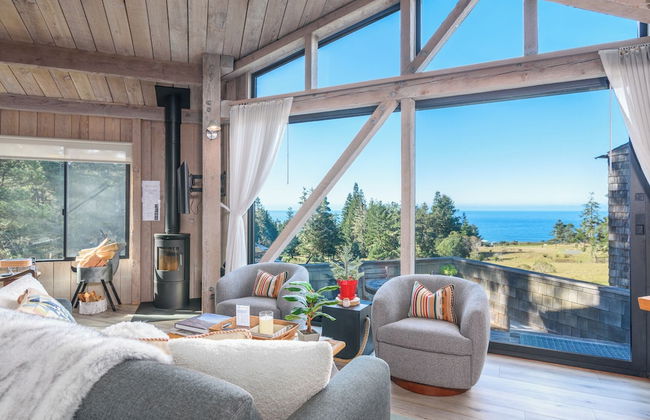
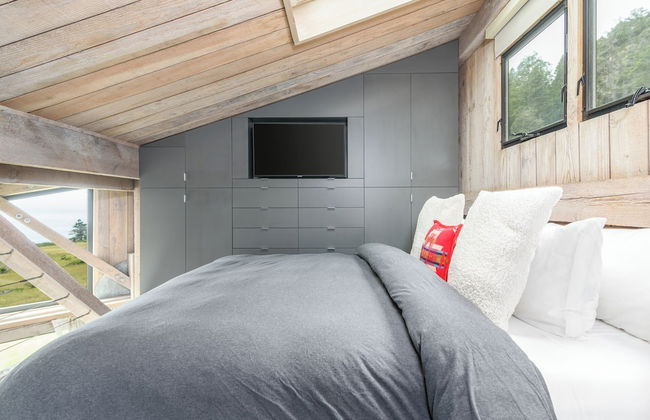
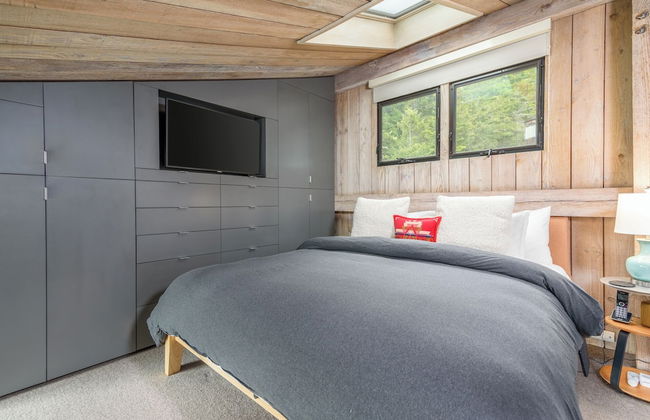
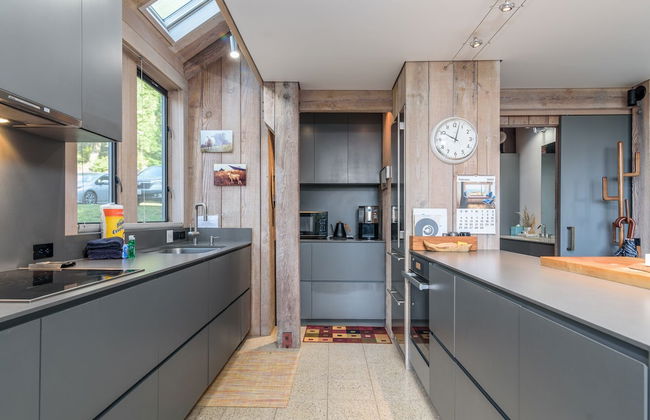
Indigo Tide, True Ocean Bluff at Sea Ranch
The Sea Ranch
- 42 M2
- 4 Personen
- Heizung
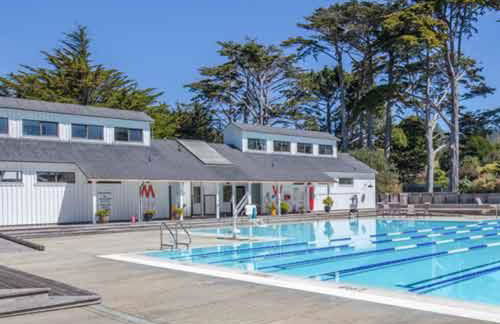
- Schwimmbad
- Parkplatz
- Garten
1 Bewertung


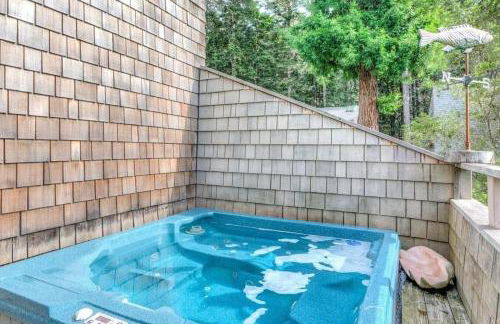
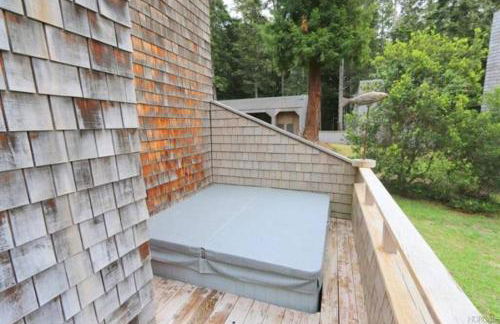
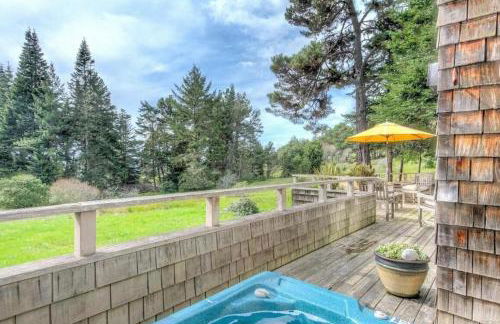
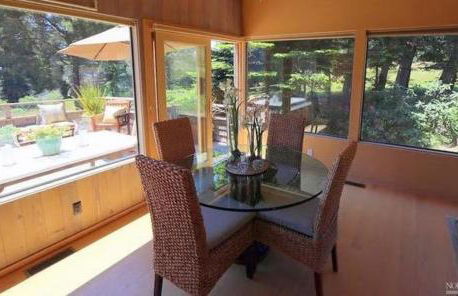
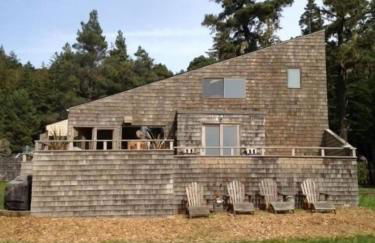
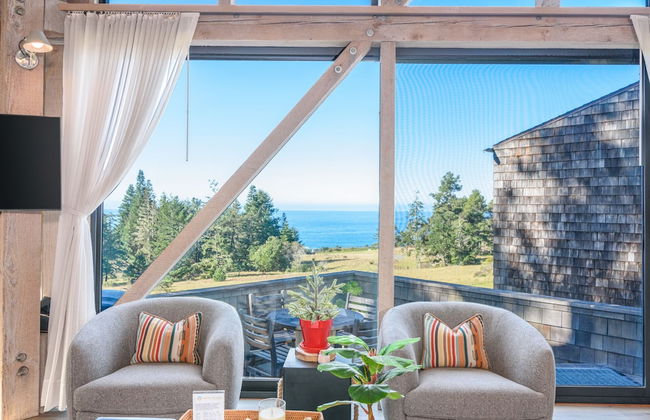
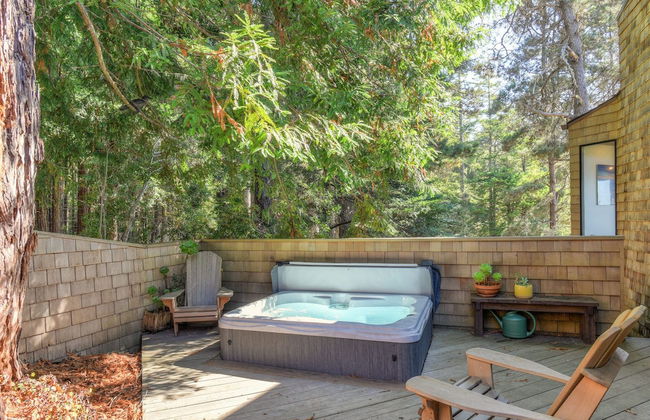
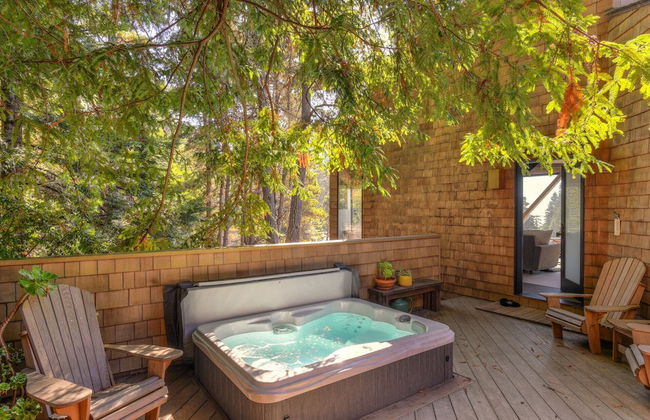
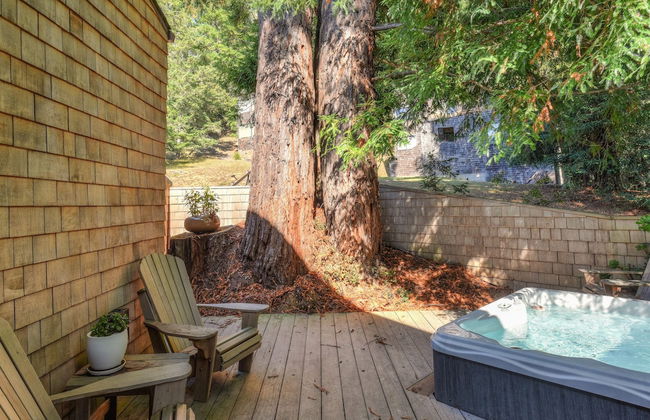
Architectural Treasure - Private Hot Tub
The Sea Ranch
- 93 M2
- 4 Personen
- Heizung
- Schwimmbad
- Parkplatz
1 Bewertung


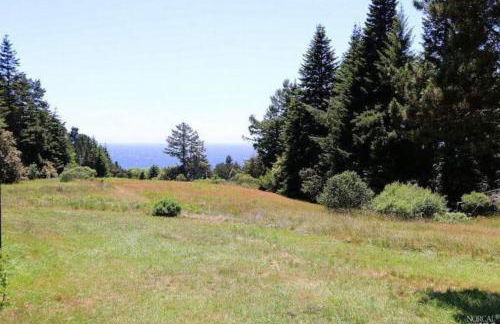
Gorgeous Sea Ranch Escape for 6 with Private Hot Tub
The Sea Ranch
- 149 M2
- 3 Schlafzimmer
- 6 Personen
- Heizung
- Schwimmbad
- Parkplatz
1 Bewertung


Sea Pine - Hot Tub with Ocean View
The Sea Ranch
- 126 M2
- 2 Personen
- Heizung
- Schwimmbad
- Parkplatz
1 Bewertung


Viglione - Fireplace Hot Tub & Ocean Views
The Sea Ranch
- 152 M2
- 3 Schlafzimmer
- 6 Personen
- Heizung
- Schwimmbad
- Parkplatz
1 Bewertung


Sea Meadow - Panoramic Ocean View
The Sea Ranch
- 130 M2
- 2 Schlafzimmer
- 5 Personen
- Heizung
- Schwimmbad
- Parkplatz


Ocean Retreat - BBQ Hot Tub & Ocean Views
The Sea Ranch
- 316 M2
- 3 Schlafzimmer
- 8 Personen
- Heizung
- Schwimmbad
- Parkplatz
- Garten


Lovely Views - Walk To Shell Beach
The Sea Ranch
- 167 M2
- 3 Schlafzimmer
- 6 Personen
- Heizung
- Schwimmbad
- Parkplatz
- Garten
- Barbecue


Starlight Reach - Private Hot Tub
The Sea Ranch
- 159 M2
- 2 Schlafzimmer
- 6 Personen
- Heizung
- Schwimmbad
- Parkplatz


Seaclusion - Close to Trails - Hot Tub
The Sea Ranch
- 201 M2
- 3 Schlafzimmer
- 8 Personen
- Heizung
- Schwimmbad
- Parkplatz
- Garten
- Schornstein
- Barbecue


Albatross House with Ocean View Hot Tub
The Sea Ranch
- 150 M2
- 2 Schlafzimmer
- 6 Personen
- Heizung
- Schwimmbad
- Parkplatz
- Garten
- Barbecue


Haltwhistle West With Ocean Views
The Sea Ranch
- 160 M2
- 3 Schlafzimmer
- 6 Personen
- Heizung
- Schwimmbad
- Parkplatz
- Garten
- Barbecue


Sea Pebble - Sea Ranch Retreat
The Sea Ranch
- 111 M2
- 3 Schlafzimmer
- 6 Personen
- Heizung
- Schwimmbad
- Parkplatz
- Garten
- Barbecue


Sea Myst - Private Hot Tub
The Sea Ranch
- 134 M2
- 2 Schlafzimmer
- 4 Personen
- Heizung
- Schwimmbad
- Parkplatz
- Garten
- Schornstein
- Barbecue


Sea Drifter - Stunning Apartment Home For 6 In Sea Ranch
The Sea Ranch
- 139 M2
- 2 Schlafzimmer
- 6 Personen
- Heizung
- Schwimmbad
- Parkplatz
- Barbecue


Ocean Views - Near Bluff Coast Trail - Hot Tub
The Sea Ranch
- 261 M2
- 3 Schlafzimmer
- 6 Personen
- Heizung
- Schwimmbad
- Parkplatz
- Garten
- Barbecue