
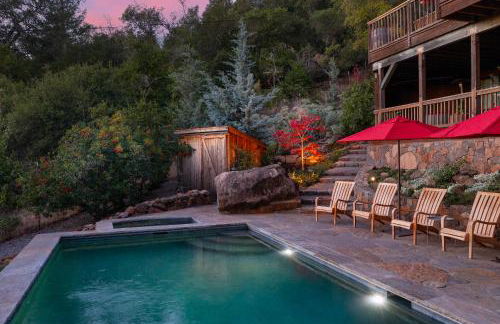
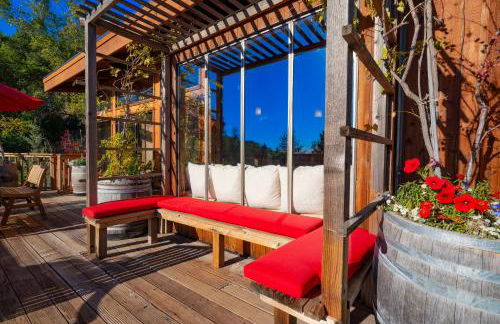
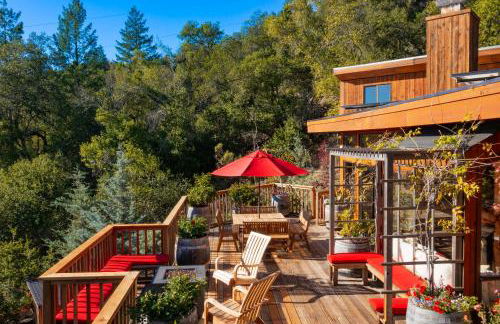
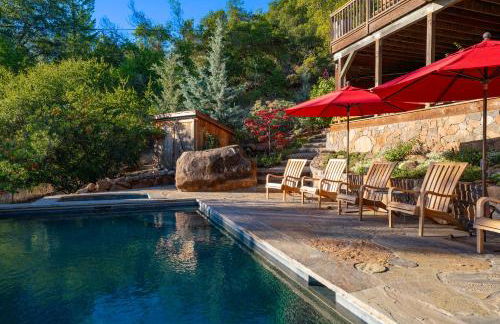
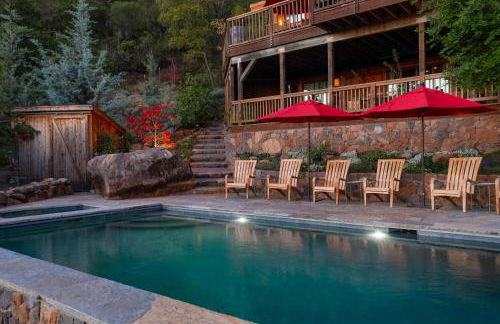
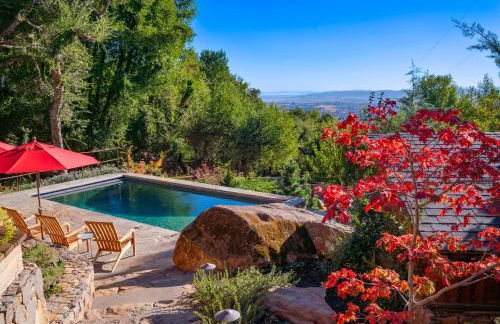
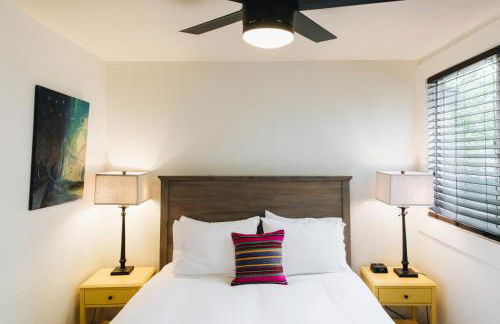
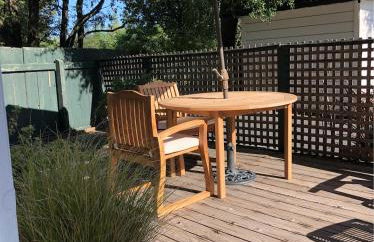
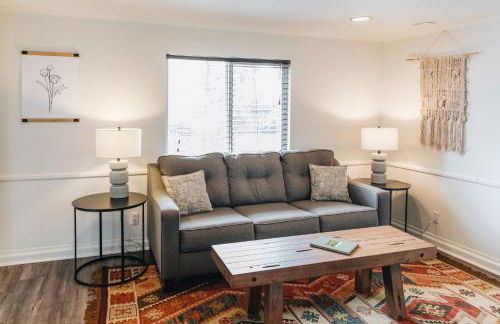
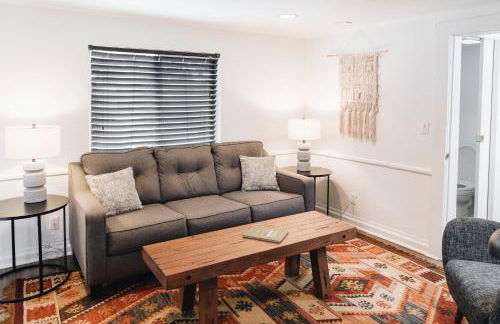
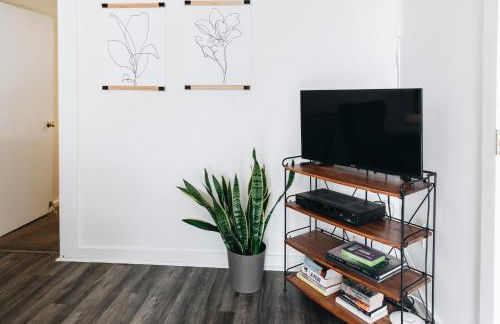
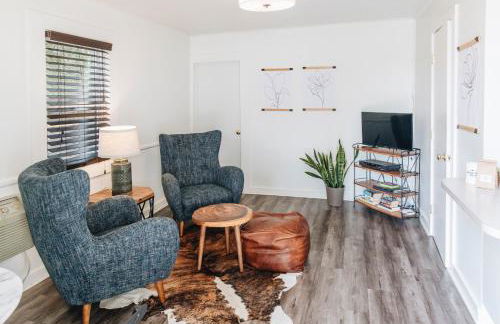
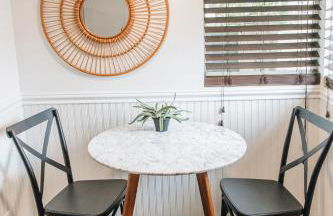
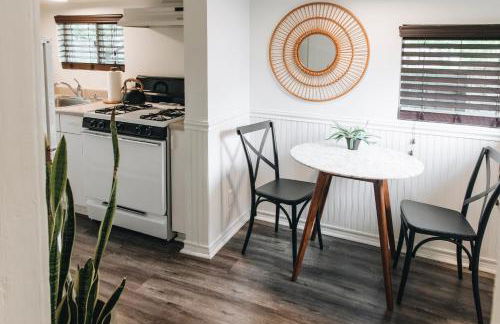
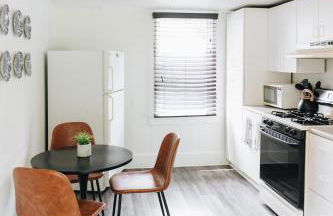
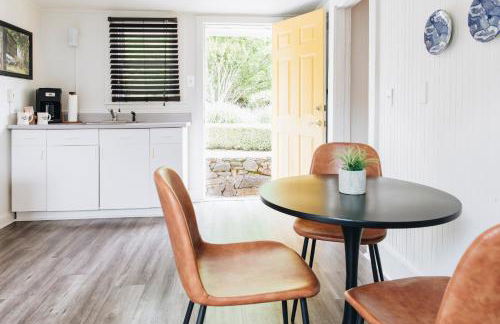
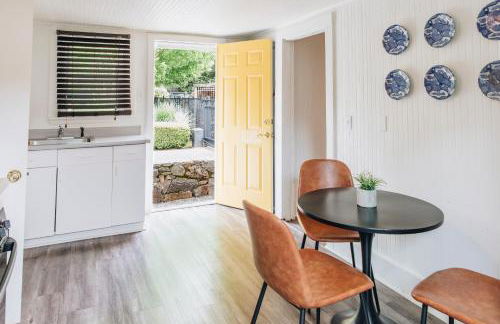
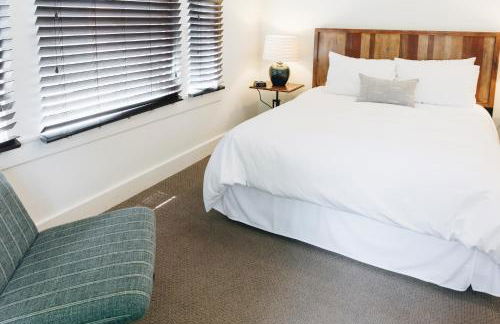
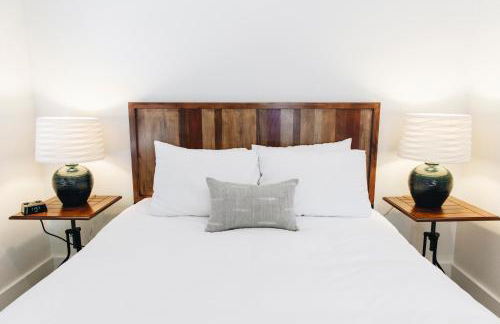
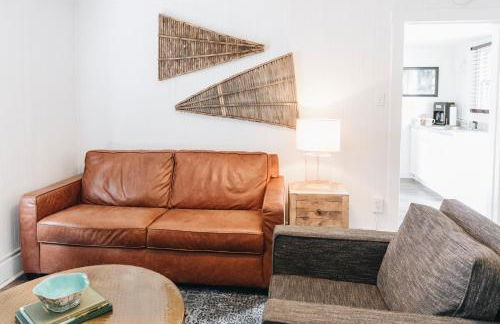
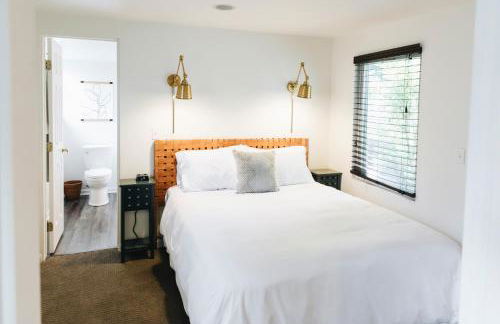
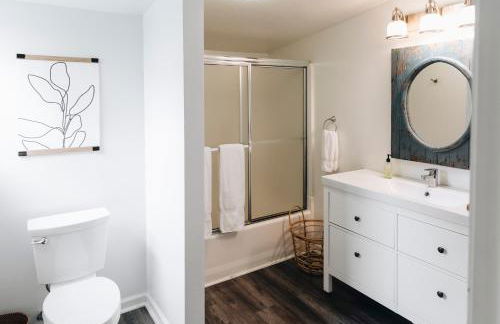
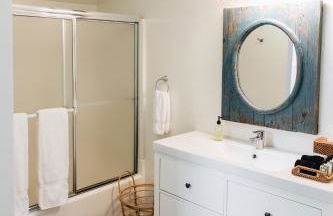
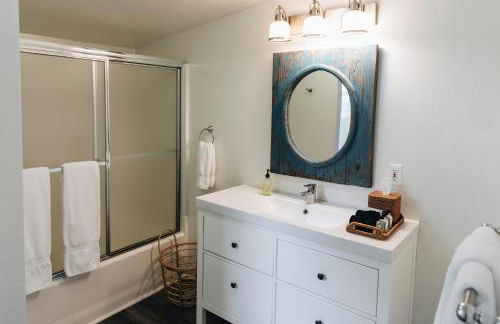
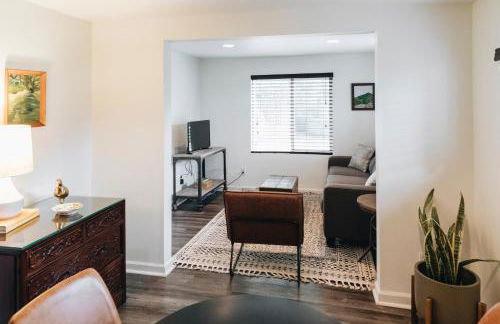
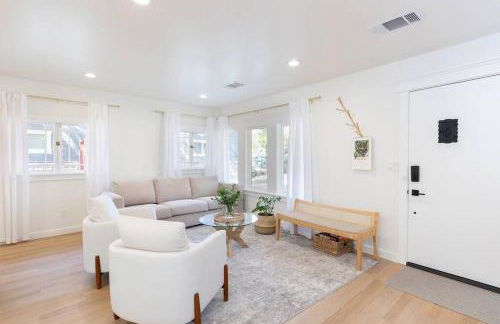
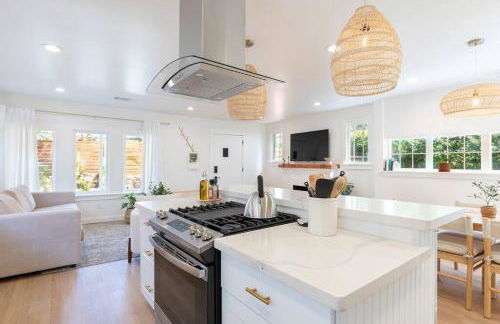
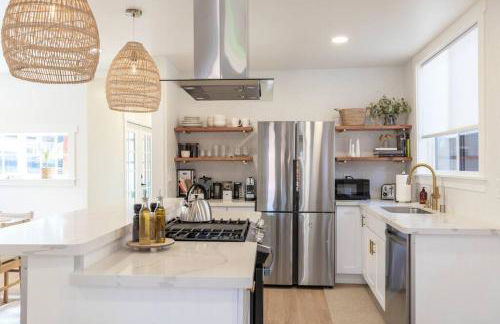
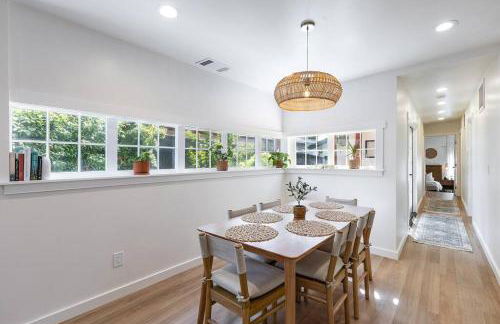
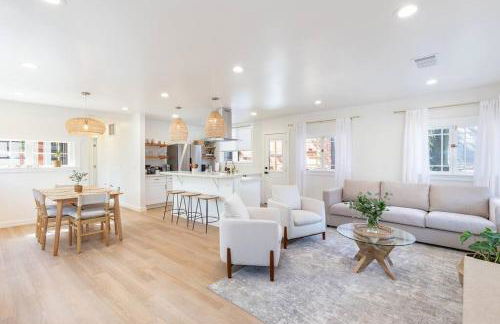
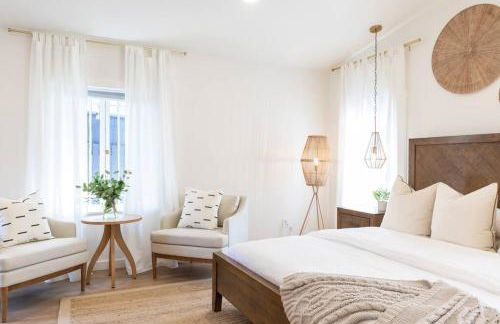
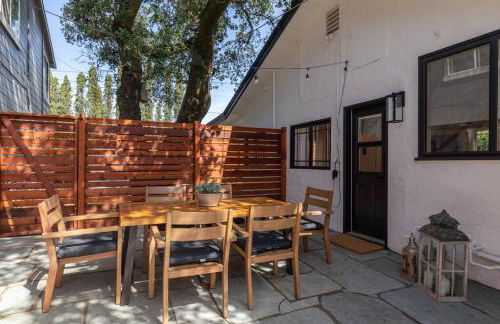
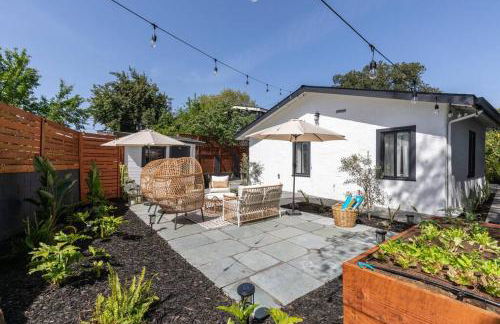
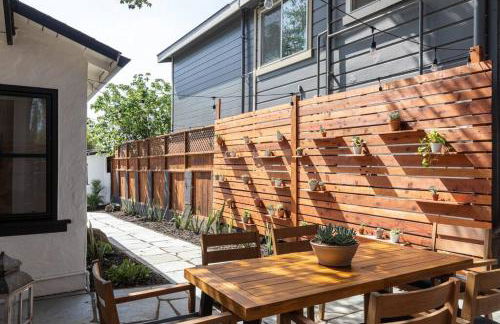
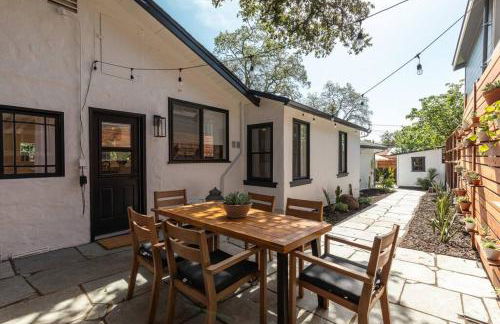
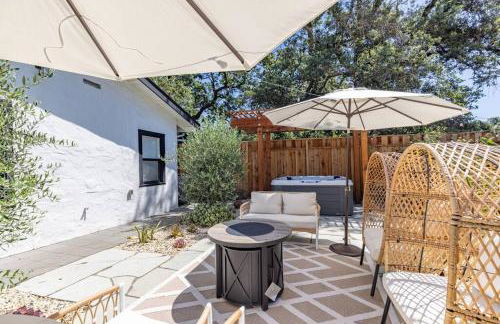
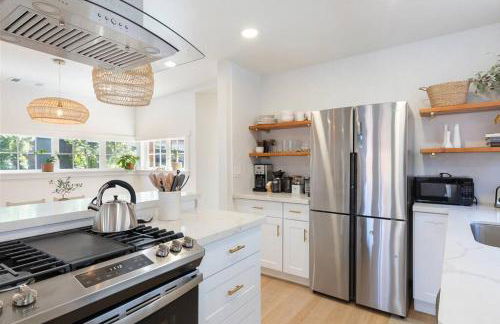
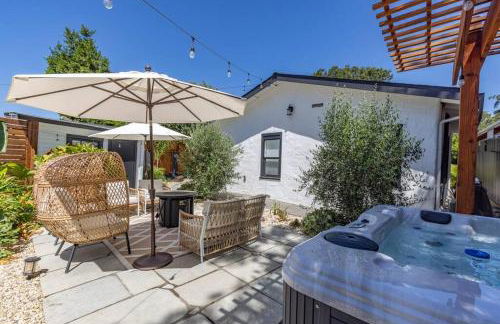
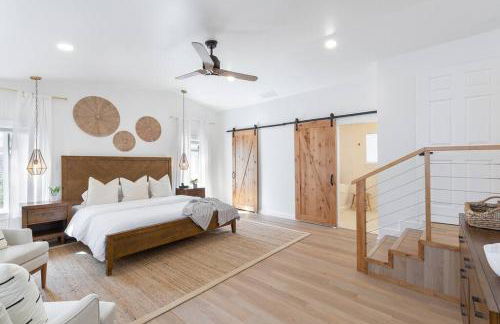
470 Wohnungen in Sonoma


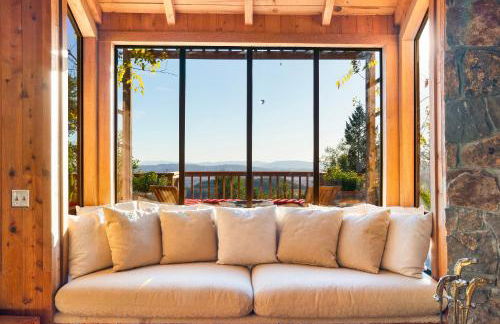
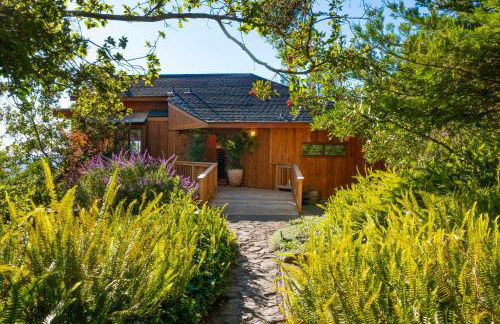
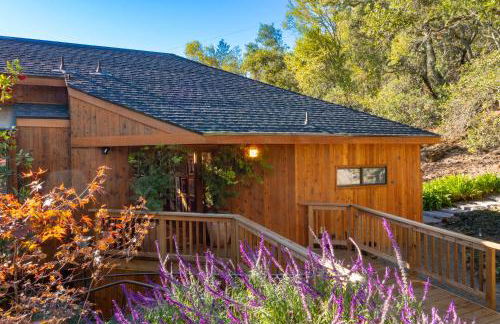
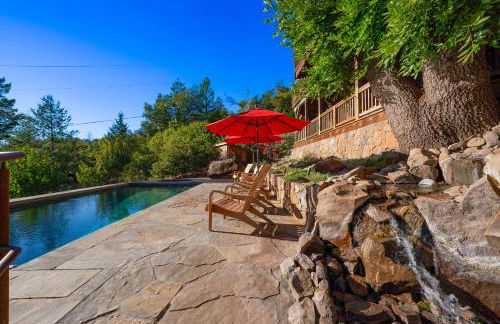
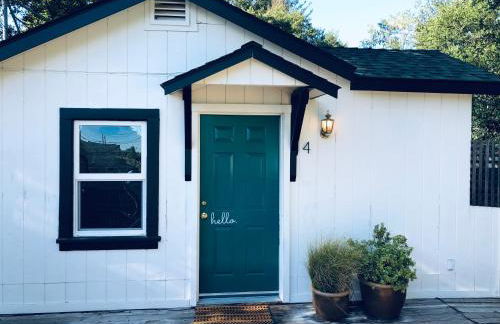
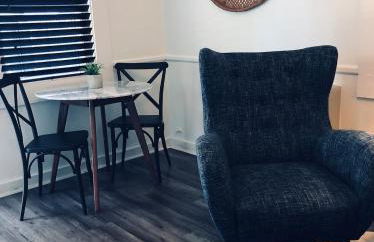
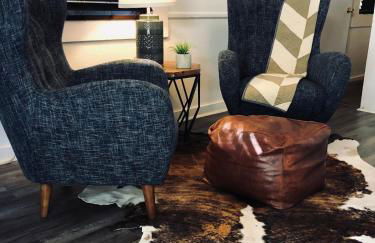
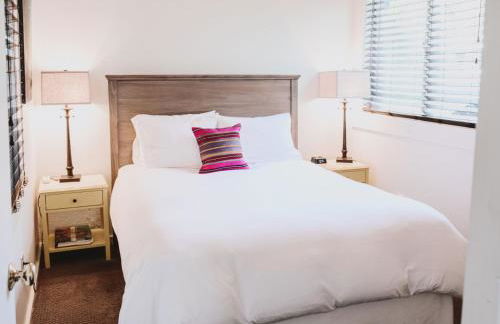
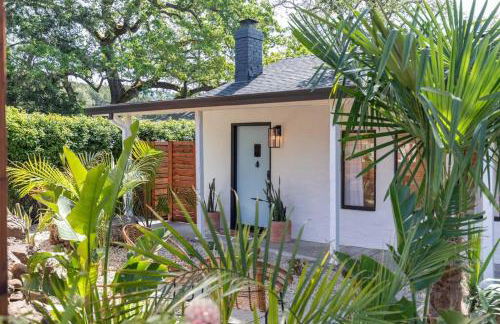
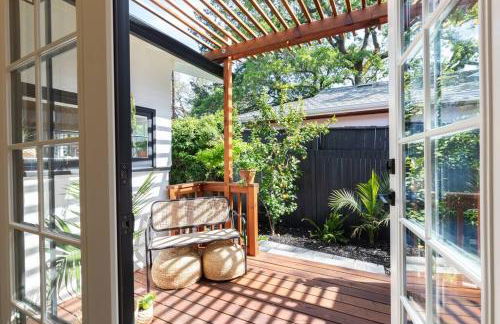
Cottages at Little Saint
Healdsburg
- 93 M2
- 4 Personen
- Klimaanlage
- Heizung
- Terrasse
- Schwimmbad
- Parkplatz
- Balkon
- Garten
- Tv
- Schornstein
- Handtücher
- Bettlaken
68 Bewertungen


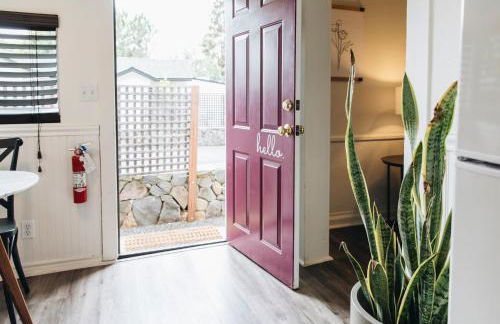
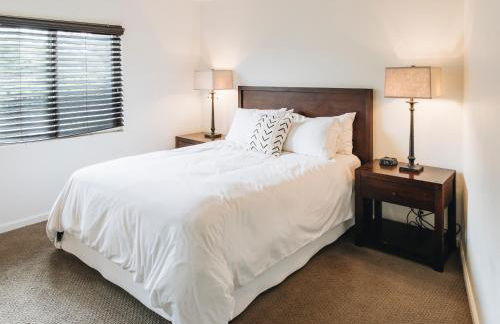
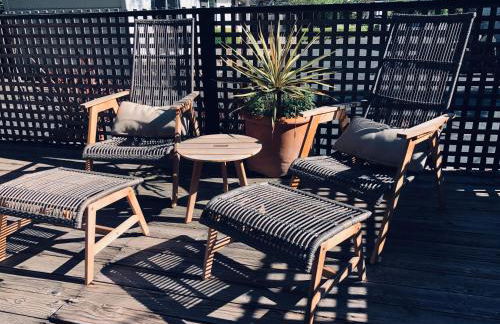
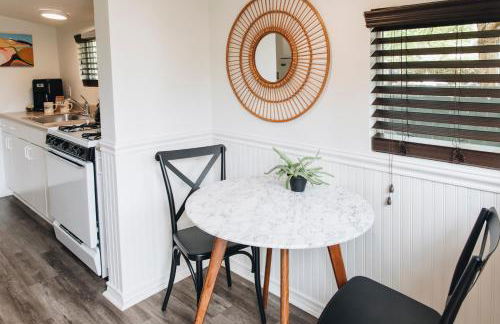
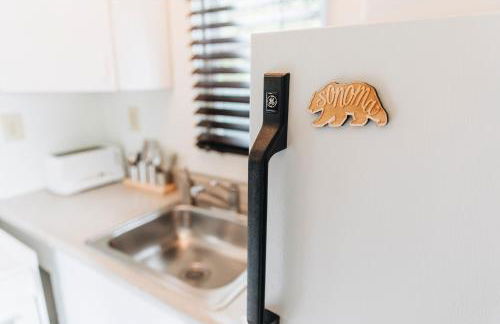
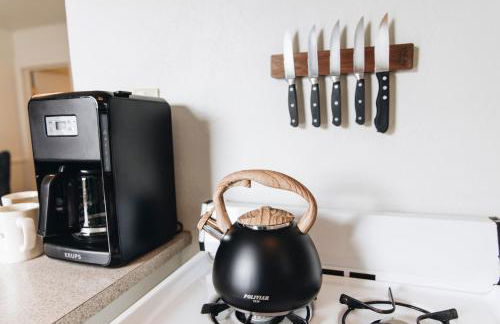
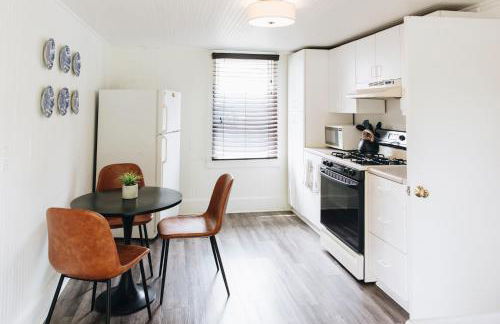
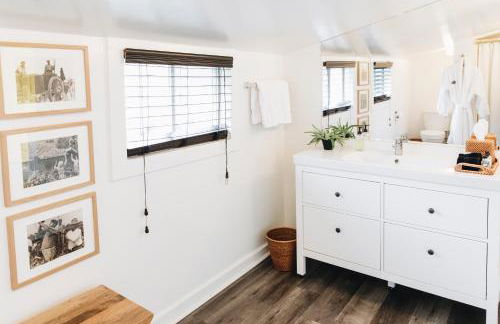
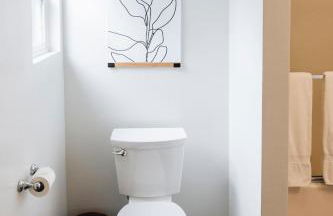
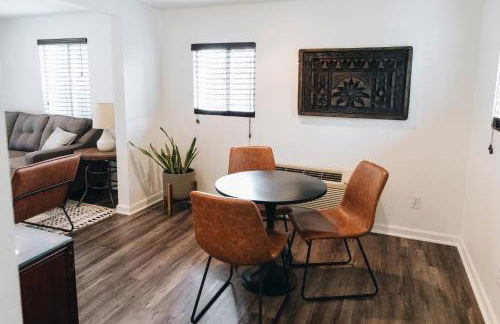
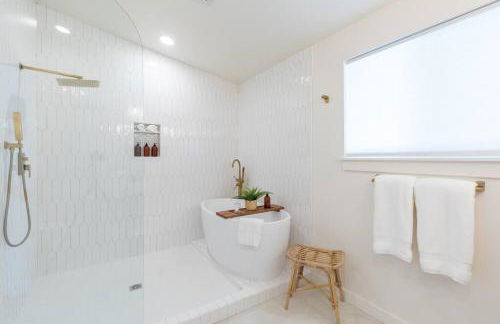
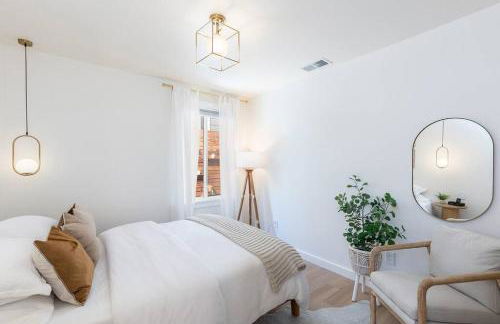
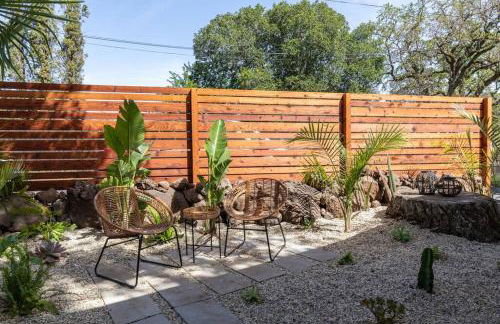
Surrey Resort
Guerneville
- 2 Personen
- Schwimmbad
- Parkplatz
- Garten
- Schornstein
- Barbecue
- Handtücher
- Bettlaken
80 Bewertungen


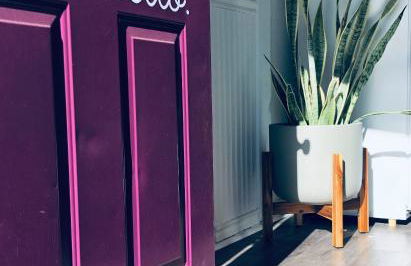
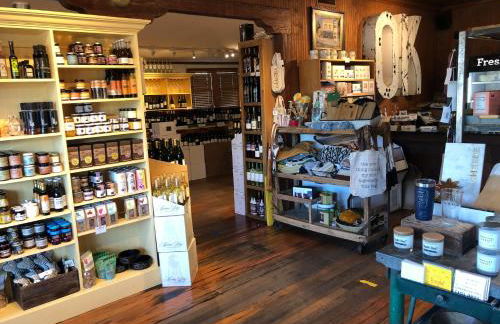
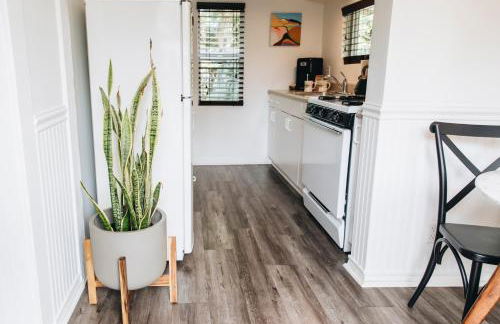
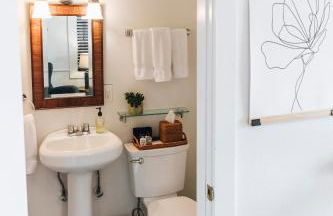
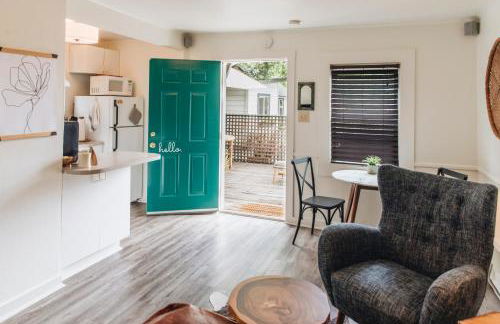
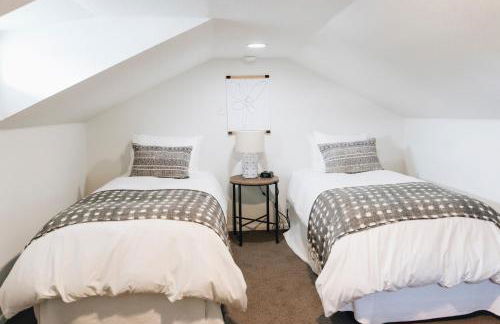
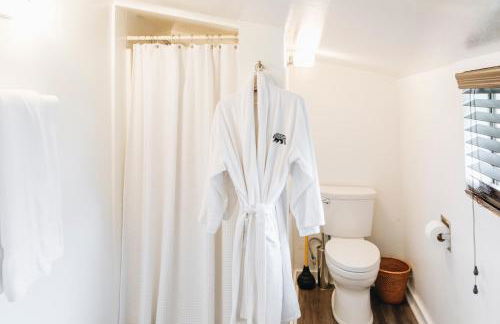
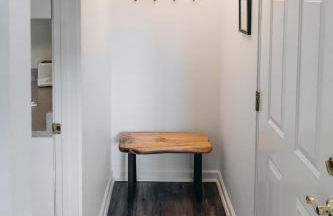
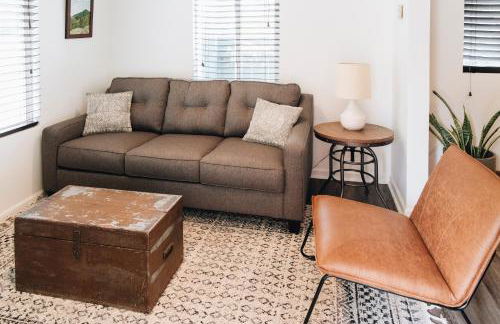
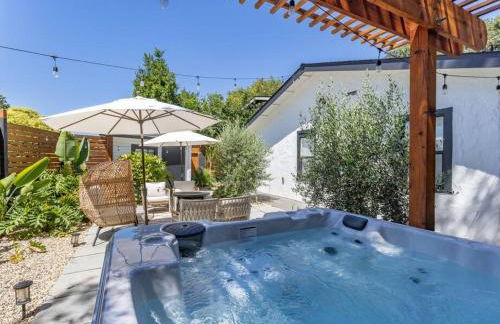
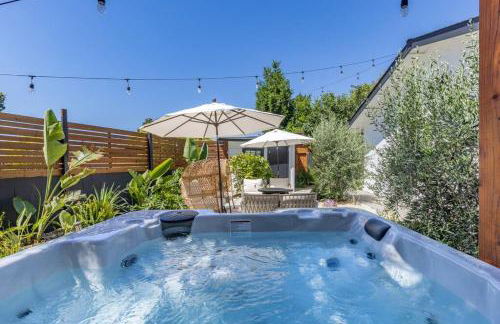
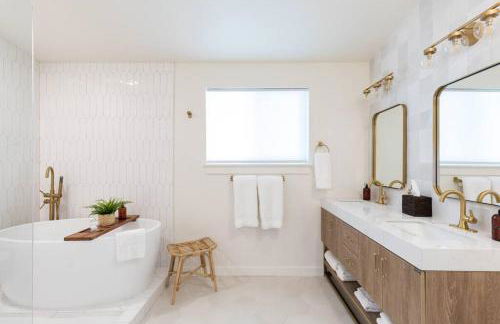
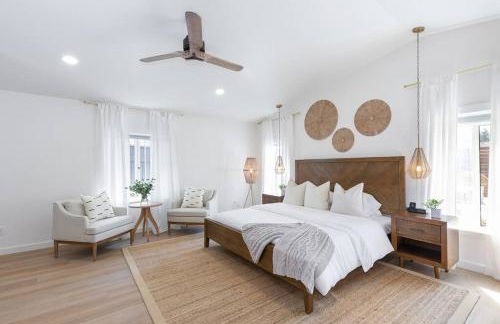
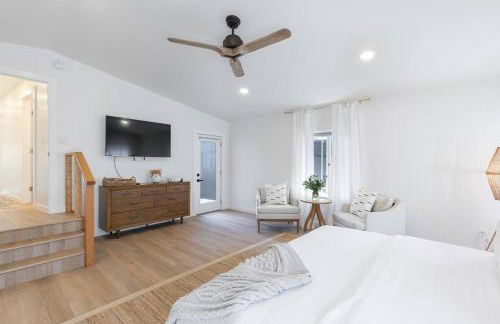
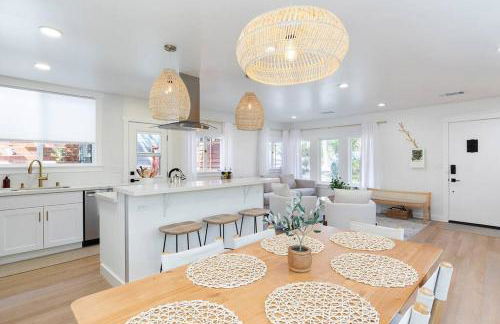
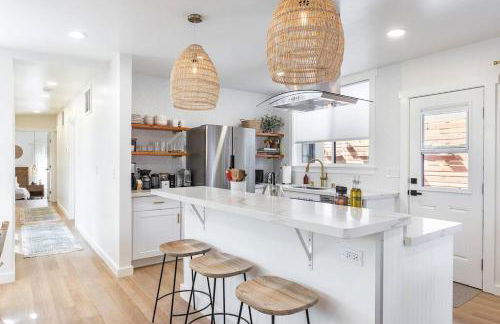
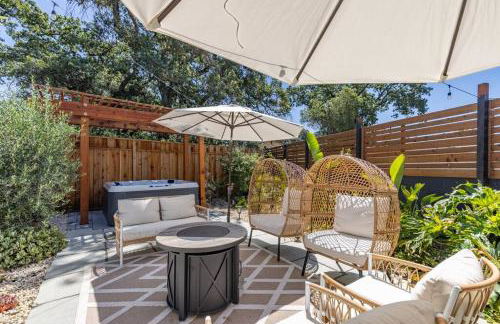
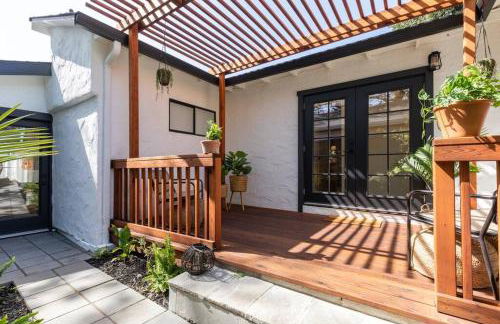
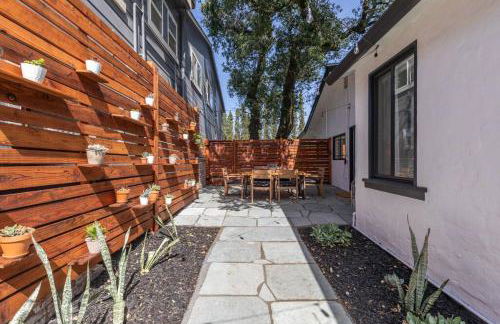
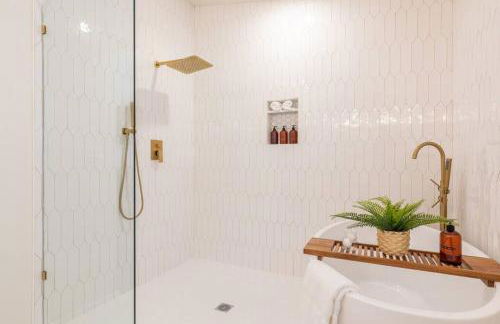
Spacious Oasis Hot Tub Backyard Garden 3BR/2BA
Sonoma
- 149 M2
- 3 Schlafzimmer
- 6 Personen
- Klimaanlage
- Heizung
- Terrasse
- Parkplatz
- Garten
- Barbecue
17 Bewertungen


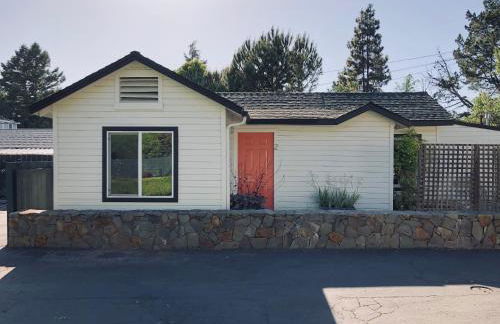
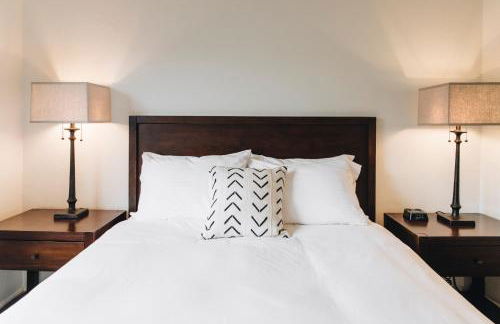
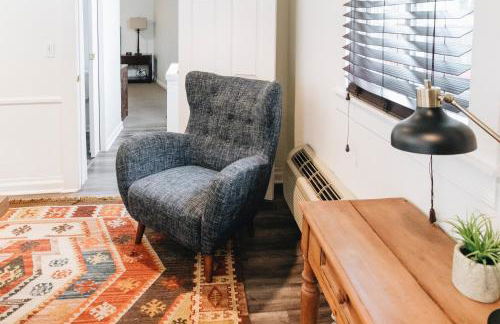
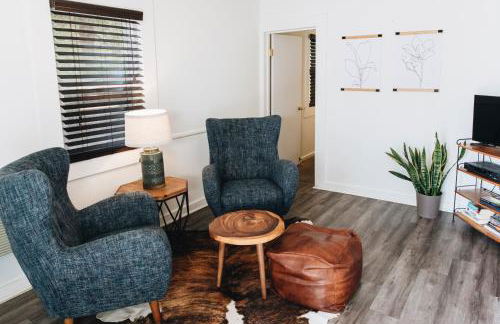
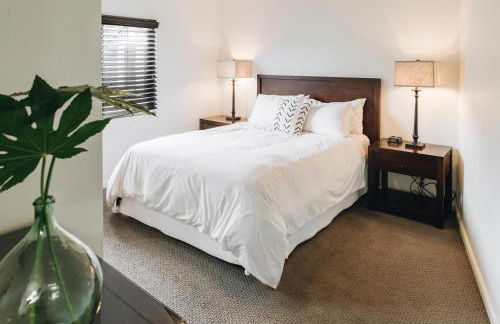
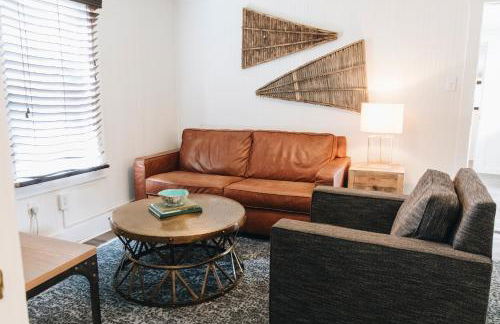
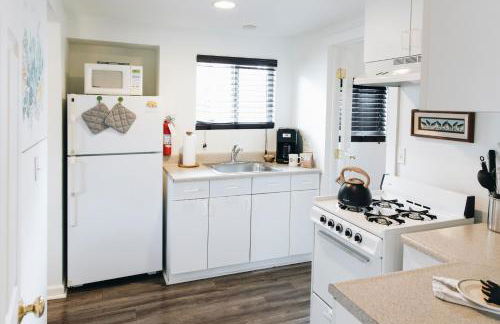
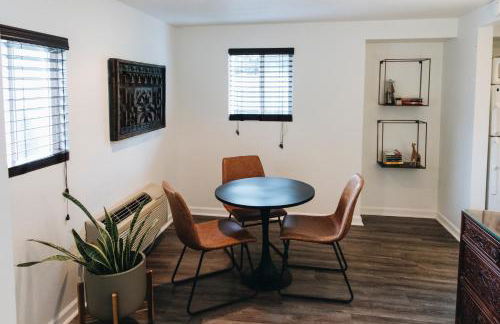
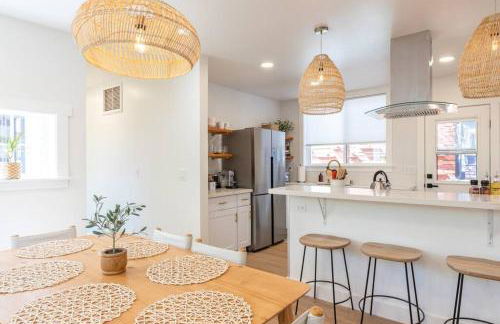
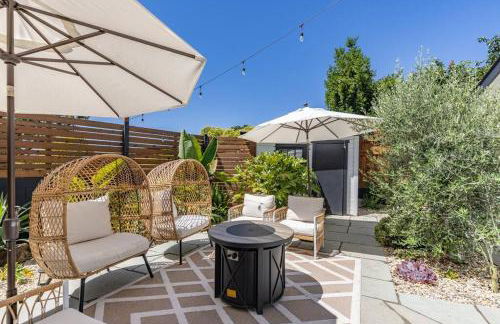
Inn Wine Country - Summers House
Sonoma
- 167 M2
- 3 Schlafzimmer
- 8 Personen
- Klimaanlage
- Heizung
- Terrasse
- Schwimmbad
- Parkplatz
- Garten
- Barbecue
6 Bewertungen


Ocean and Sunset Views - Cliff Side Cottage
Bodega Bay
- 116 M2
- 2 Schlafzimmer
- 2 Personen
- Heizung
- Parkplatz
- Garten
- Barbecue
12 Bewertungen


Petaluma Warehouse Lofts unit E
Petaluma - 1000 m vom Zentrum
- 93 M2
- 2 Schlafzimmer
- 4 Personen
- Klimaanlage
- Heizung
- Parkplatz
52 Bewertungen


Petaluma Warehouse Lofts Unit D
Petaluma - 1 km vom Zentrum
- 130 M2
- 2 Schlafzimmer
- 4 Personen
- Heizung
- Parkplatz
7 Bewertungen


Private Wine Country-River Bungalow! Sunny Treetop Views - Pets Stay Free
Forestville
- 79 M2
- 2 Schlafzimmer
- 6 Personen
- Klimaanlage
- Heizung
- Parkplatz
- Garten
- Barbecue
10 Bewertungen


Retreat to Stella Maris Soul Spa by the Russian River
Monte
- 139 M2
- 1 Schlafzimmer
- 2 Personen
- Klimaanlage
- Heizung
- Terrasse
- Parkplatz
- Garten
- Barbecue
29 Bewertungen


Sonoma's Best Guest Cottages
Sonoma
- 33 M2
- 4 Personen
- Klimaanlage
- Heizung
- Parkplatz
- Garten
- Tv
- Barbecue
58 Bewertungen


Amitabha Wine Country Cottage
Santa Rosa - 7.4 km vom Zentrum
- 155 M2
- 2 Personen
- Klimaanlage
- Heizung
- Parkplatz
- Garten
- Barbecue
35 Bewertungen


Spacious 3BD,2BA, ideal for families!
Santa Rosa - 5.6 km vom Zentrum
- 136 M2
- 3 Schlafzimmer
- 6 Personen
- Klimaanlage
- Heizung
- Terrasse
- Parkplatz
- Garten
- Barbecue
21 Bewertungen


Sonoma Wine Country Bungalow
Sonoma
- 167 M2
- 2 Schlafzimmer
- 6 Personen
- Klimaanlage
- Heizung
- Parkplatz
- Garten
56 Bewertungen


Casita Monterey Pet-Friendly Sonoma Escape
Sonoma
- 158 M2
- 3 Schlafzimmer
- 6 Personen
- Klimaanlage
- Heizung
- Parkplatz
- Garten
8 Bewertungen


Game Night Meets Wine Country Elegance
Santa Rosa - 5 km vom Zentrum
- 143 M2
- 3 Schlafzimmer
- 6 Personen
- Klimaanlage
- Heizung
- Parkplatz
- Garten
- Barbecue
6 Bewertungen


Spectacular & Secluded Wine Country Estate
Santa Rosa - 4.3 km vom Zentrum
- 372 M2
- 7 Schlafzimmer
- 16 Personen
- Klimaanlage
- Terrasse
- Schwimmbad
- Parkplatz
- Garten
- Barbecue
3 Bewertungen


Fishermans Cottage - Sand Dunes Walk to Ocean
Bodega Bay
- 4 Personen
- Heizung
- Garten
- Barbecue
14 Bewertungen


Enchanting Sonoma Wine Country Retreat 3BD2BA
Sonoma
- 149 M2
- 3 Schlafzimmer
- 8 Personen
- Klimaanlage
- Terrasse
6 Bewertungen


Redwoods Cabin with Hot Tub Walk to Russian River!
Guerneville - Guernewood Pk
- 83 M2
- 2 Schlafzimmer
- 6 Personen
- Heizung
- Parkplatz
9 Bewertungen