1057 Wohnungen in Surrey
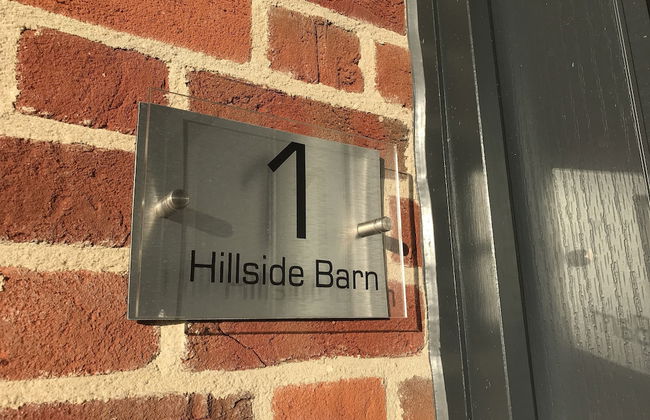
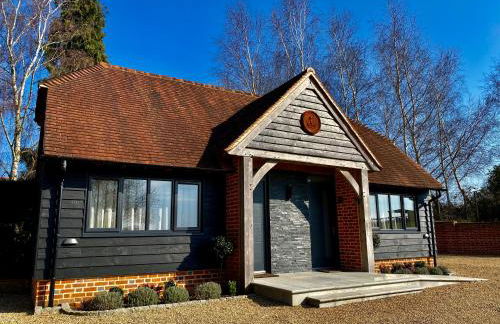
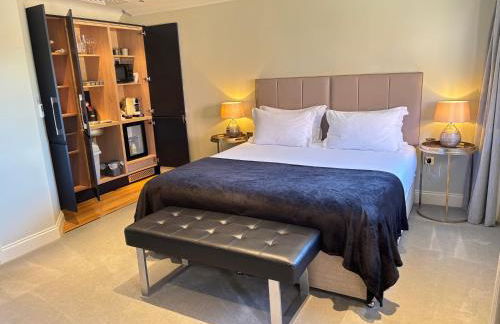
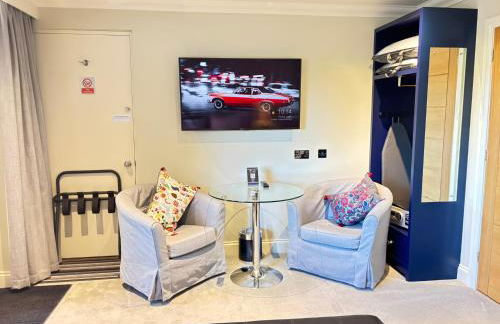
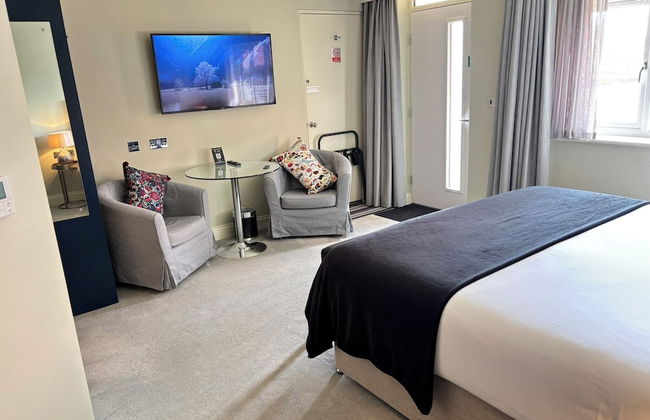
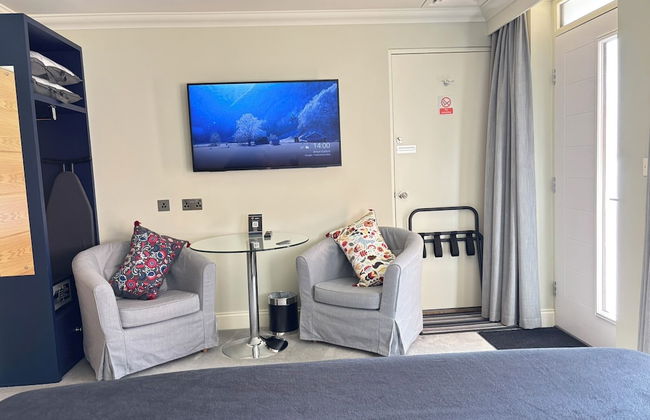
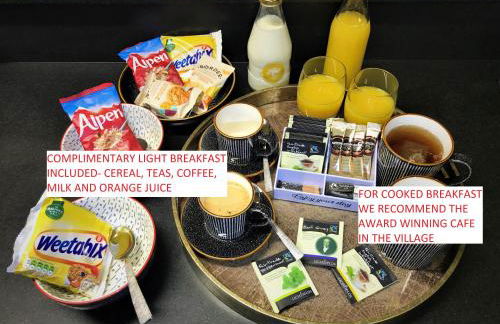
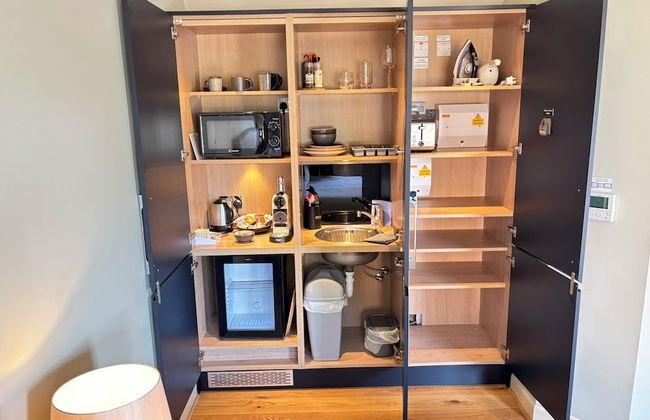
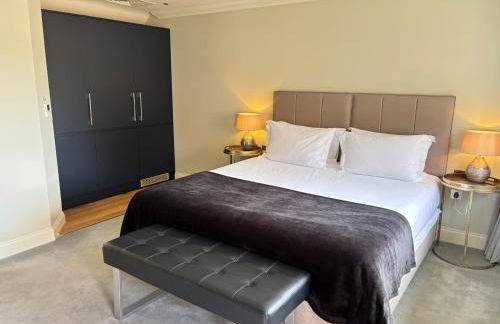
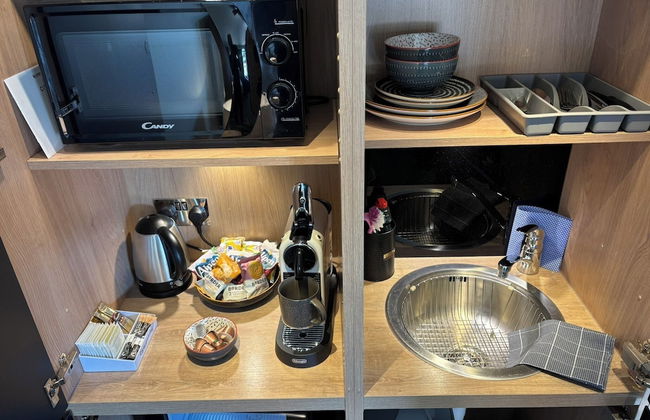
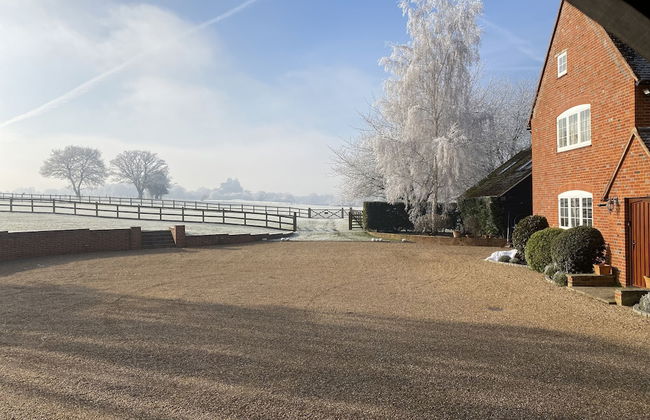
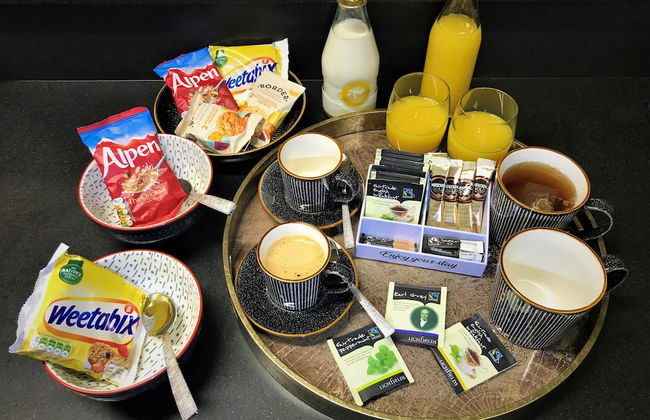
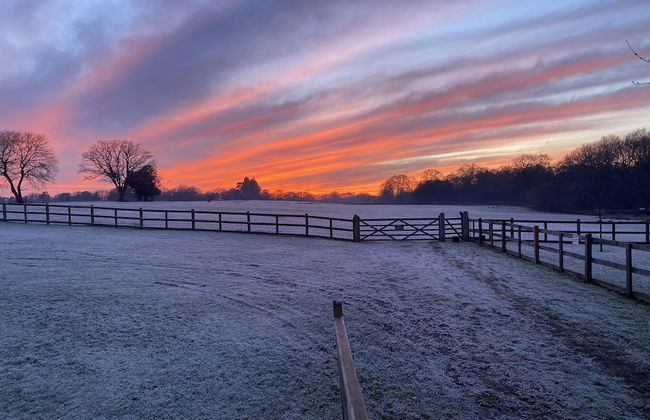
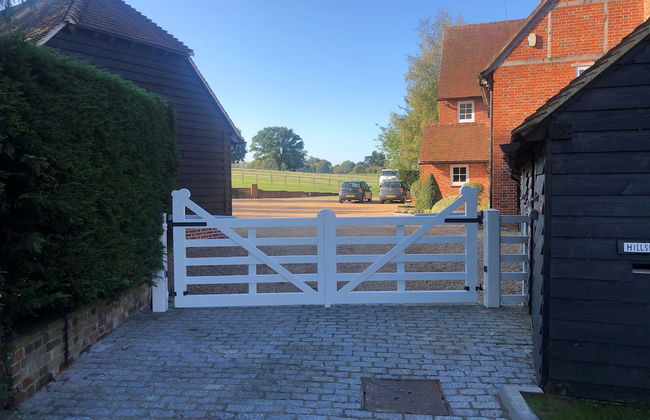
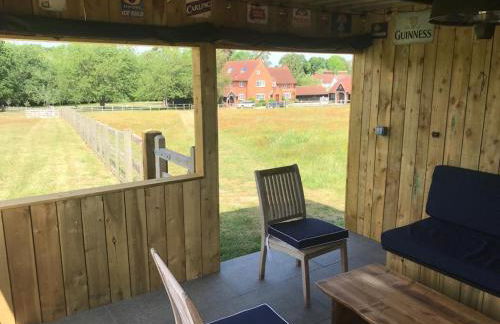
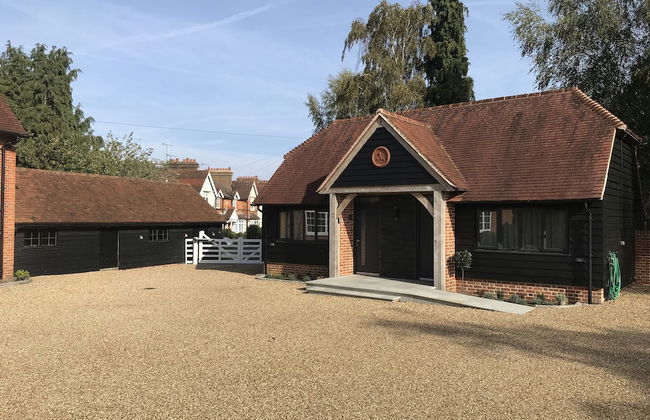
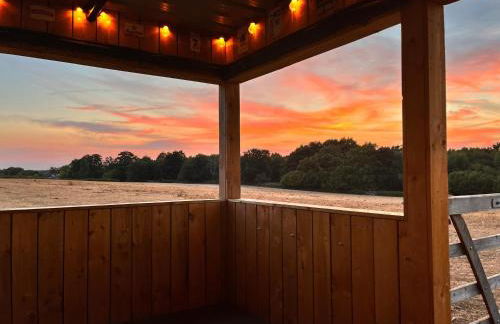
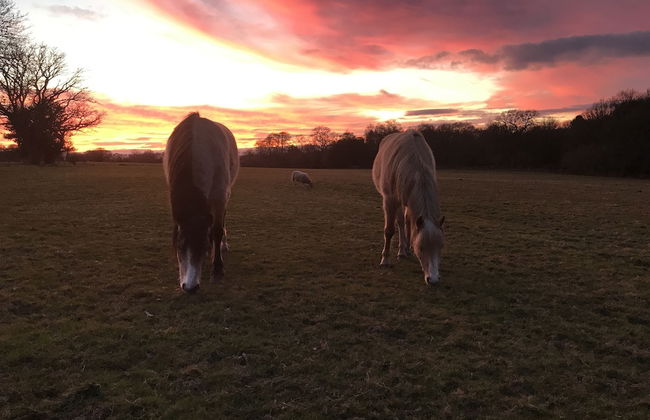
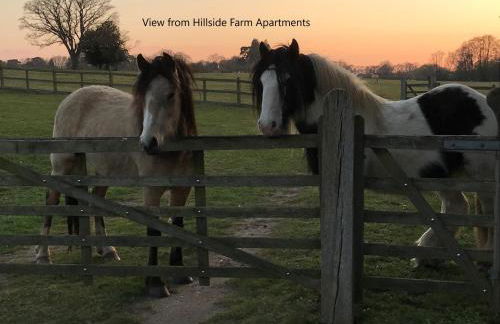
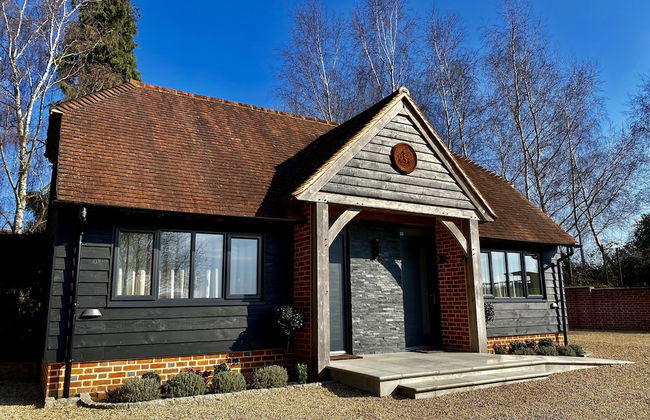
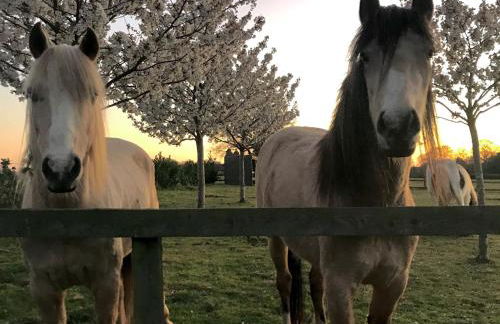
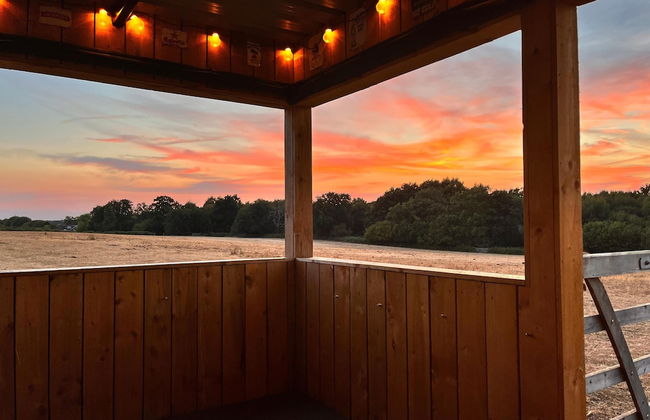
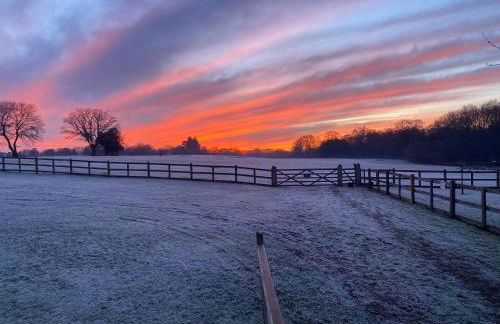
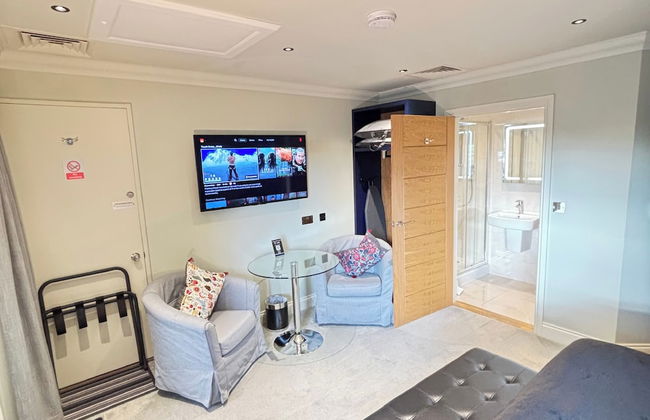
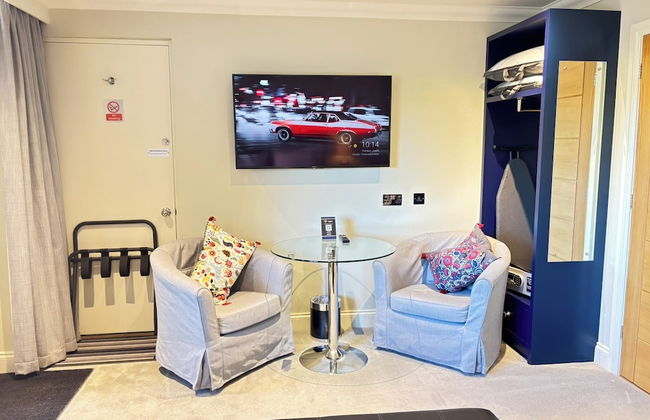
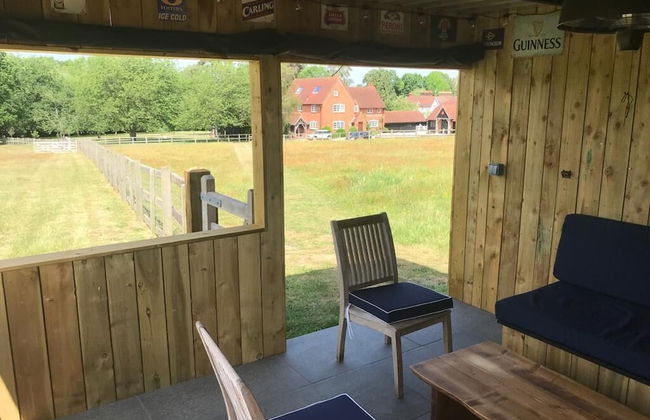
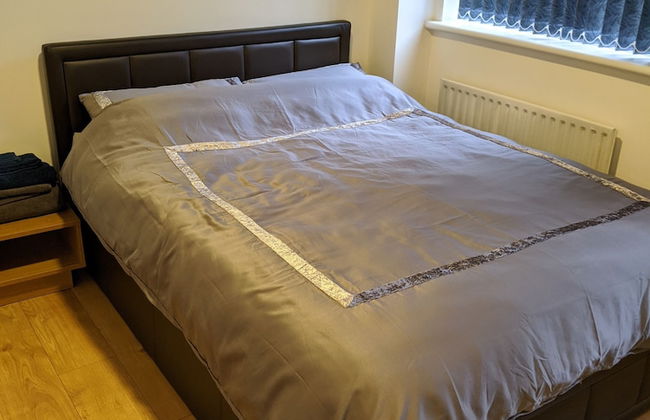
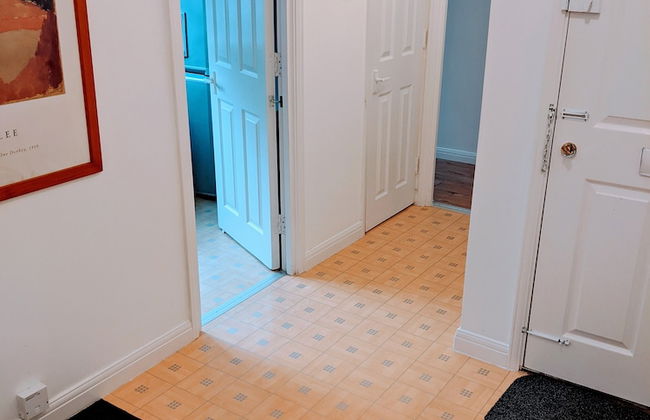
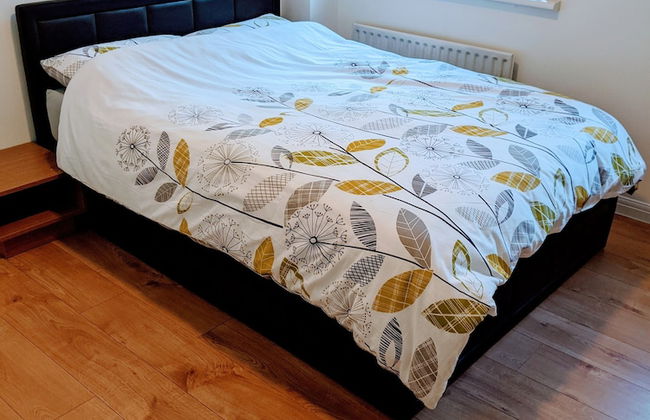
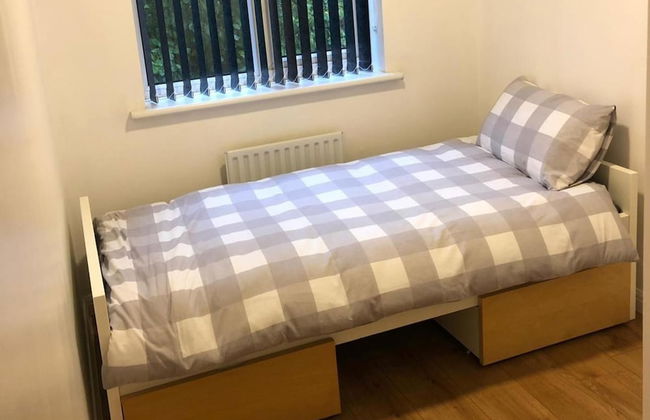
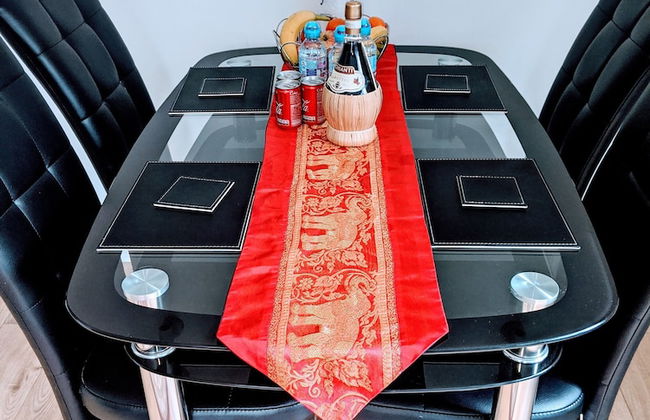
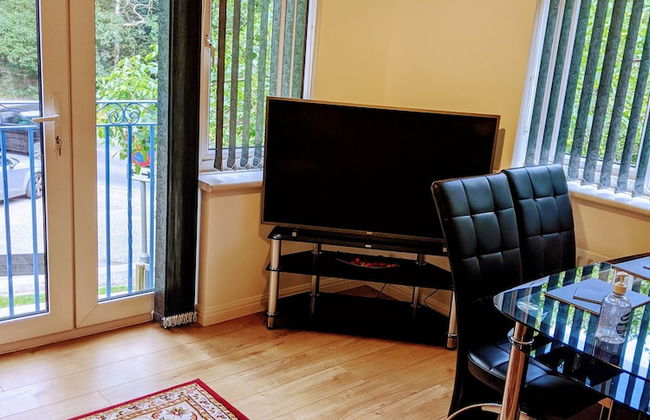
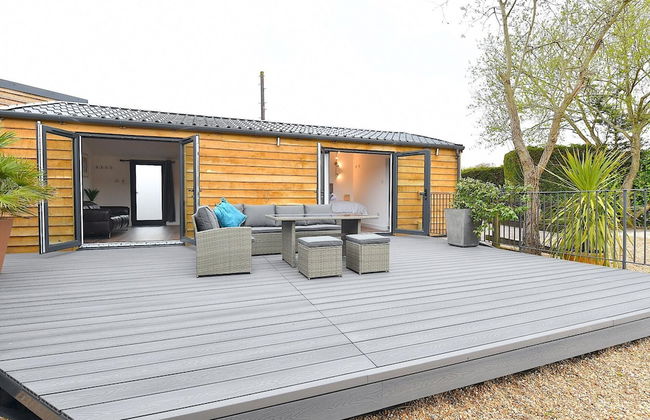
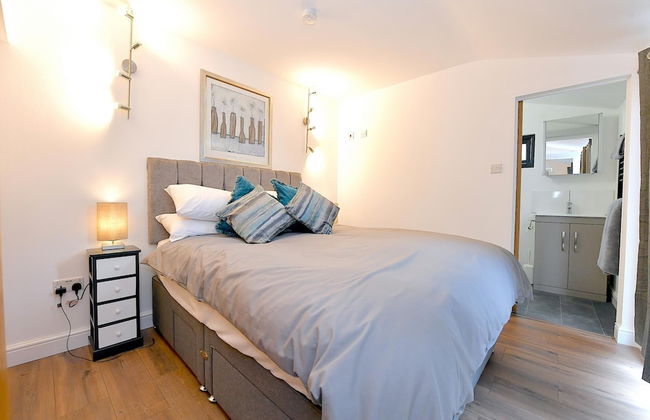
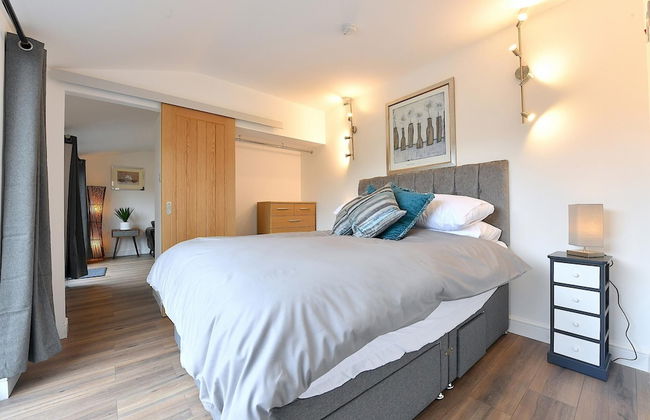
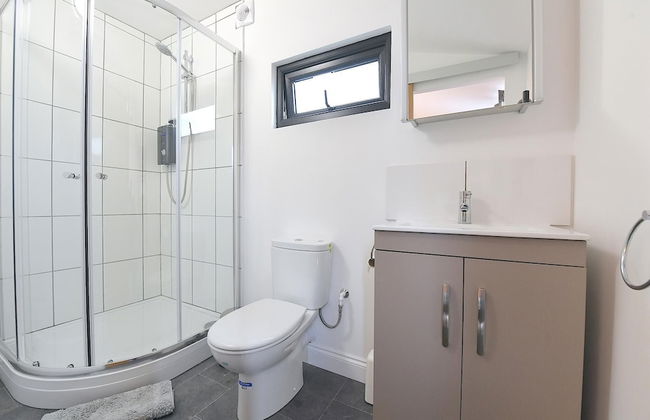
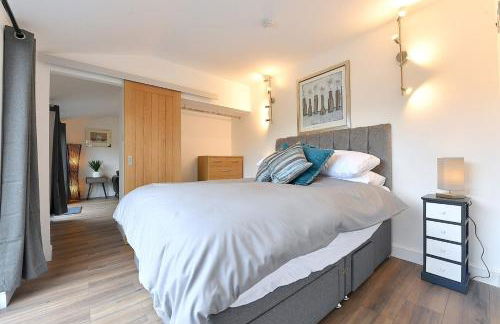
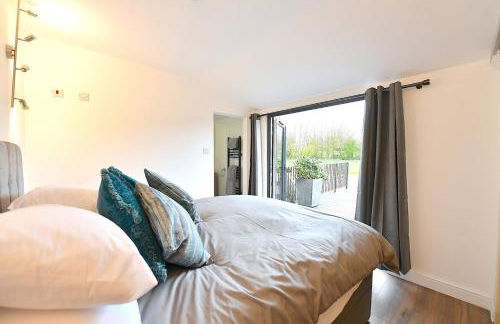
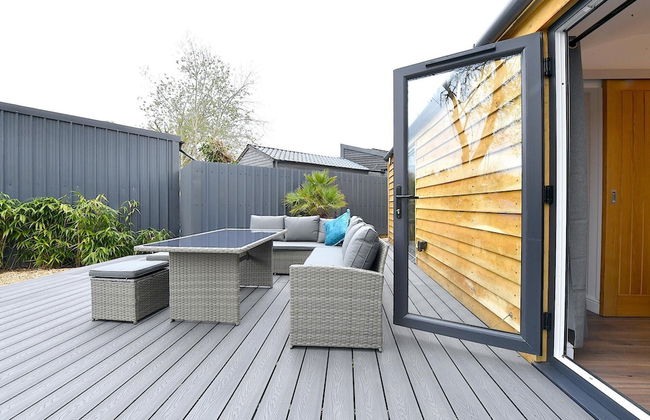
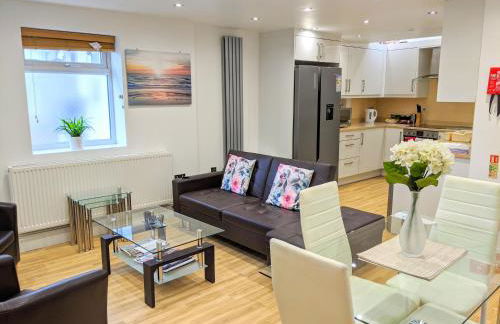
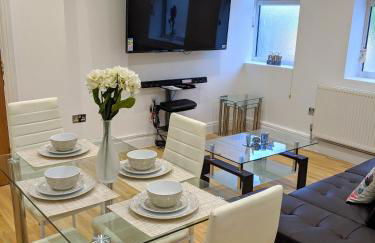
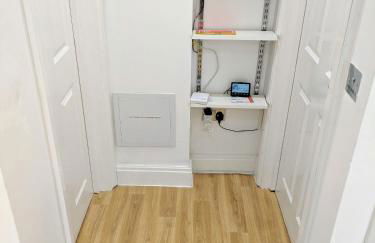
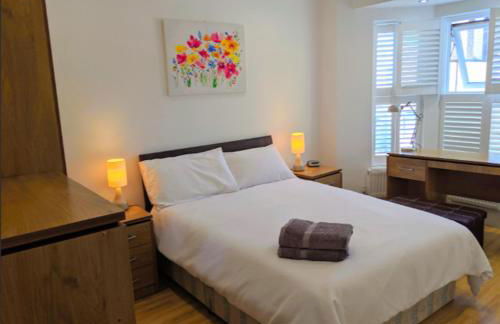
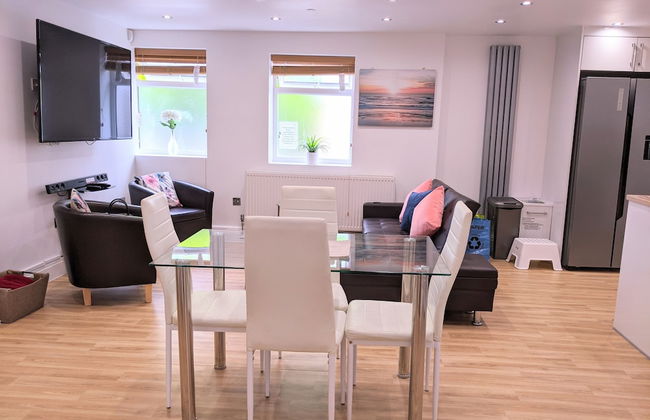
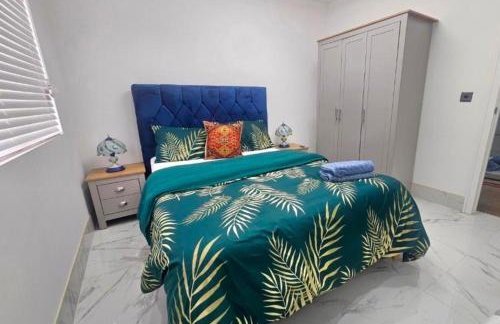
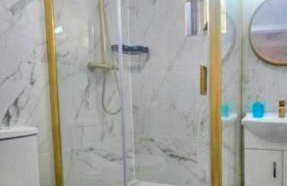
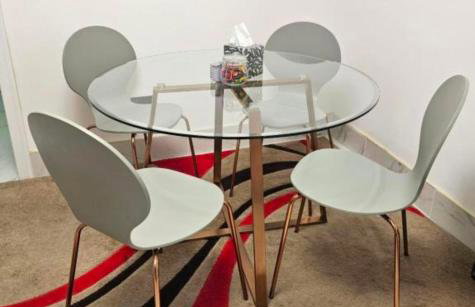
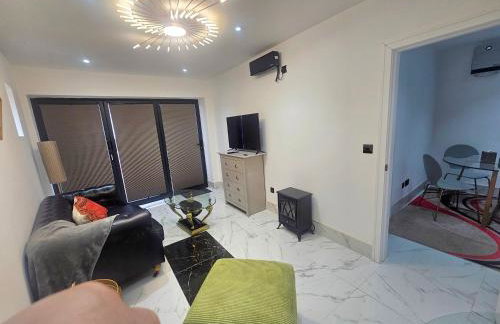
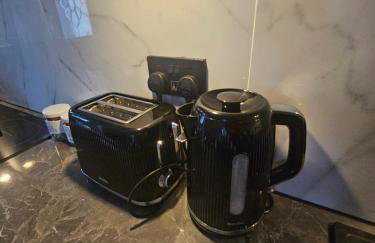
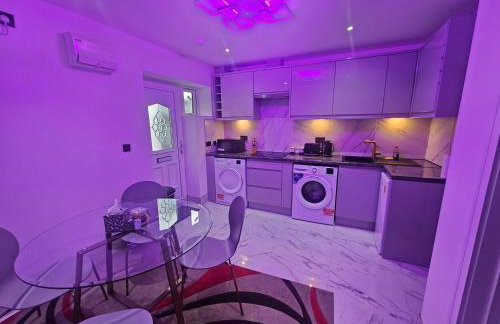
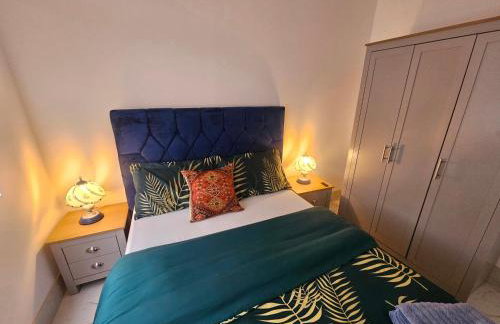
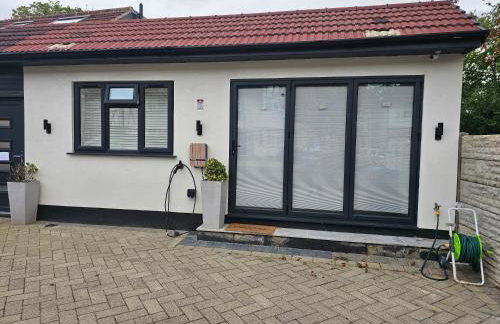
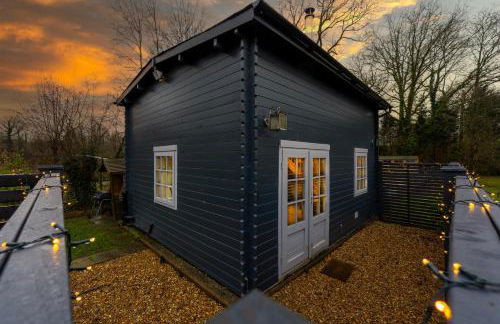
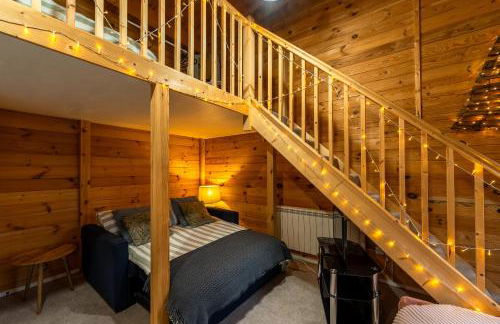
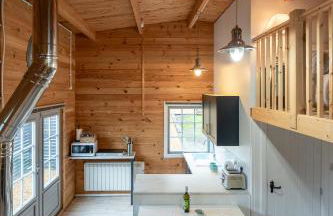
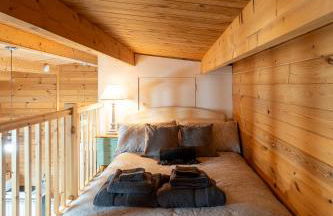
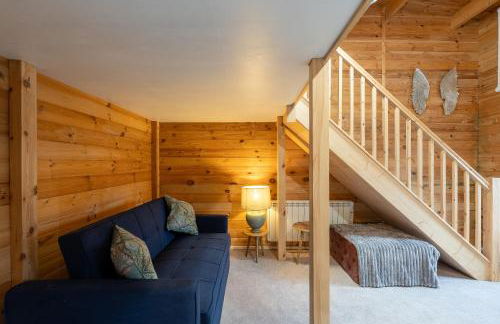
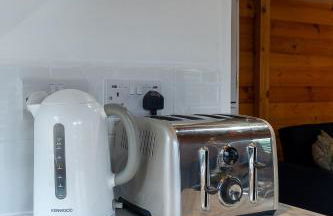
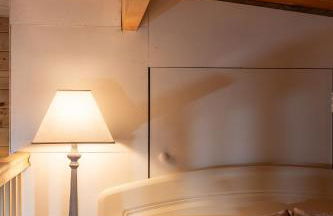
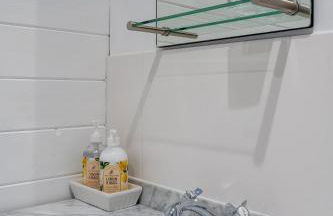
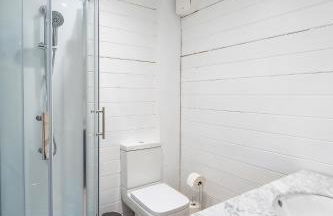
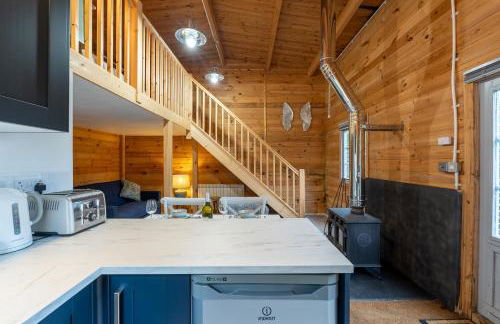
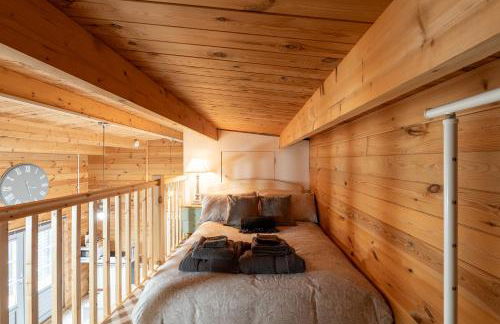
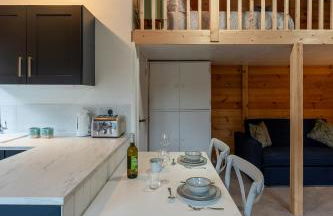
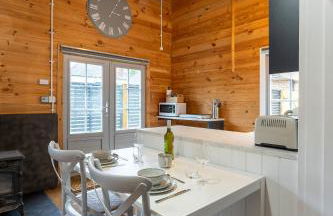
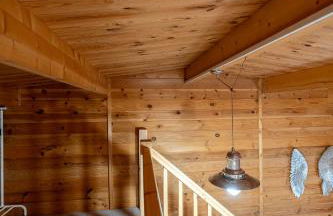
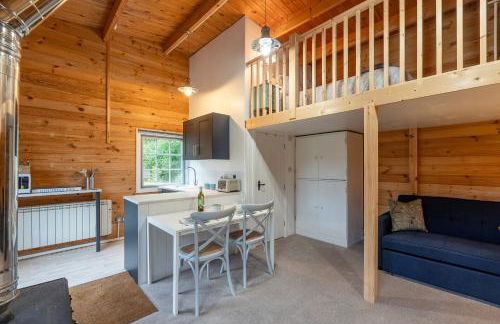
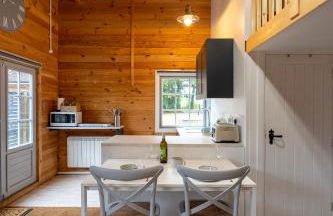
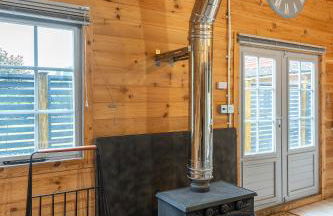
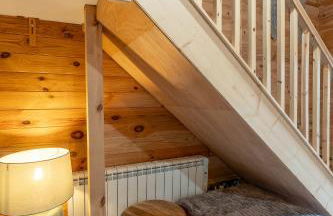
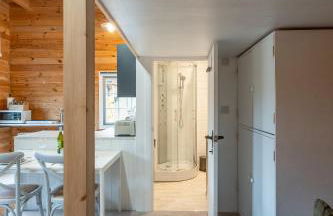
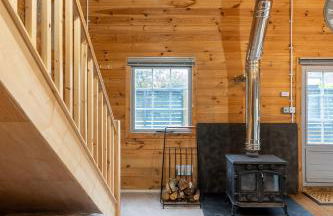
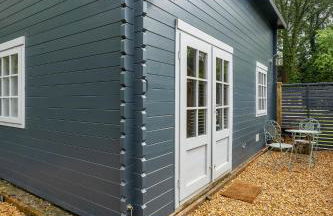
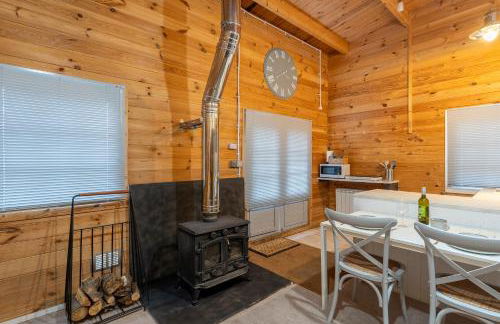
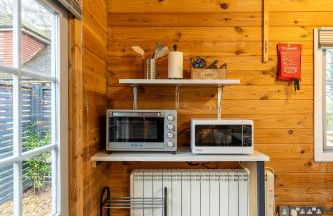
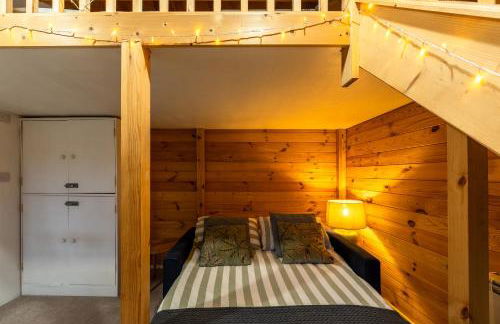
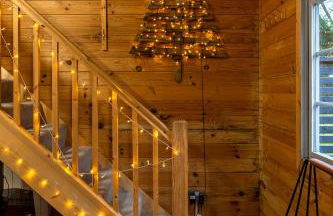
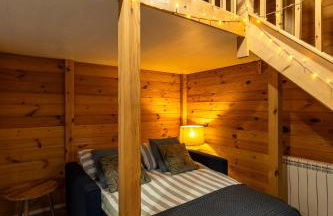
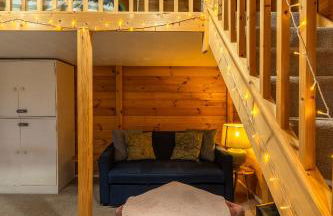
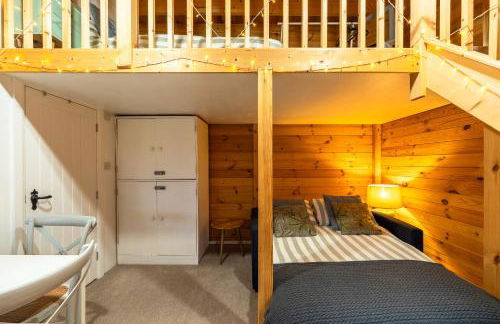
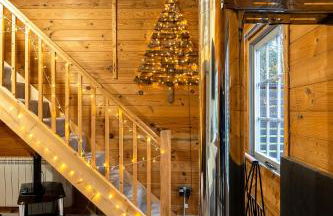
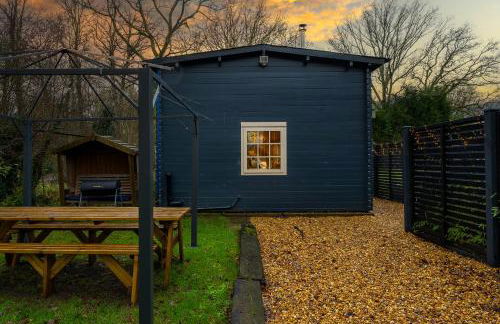
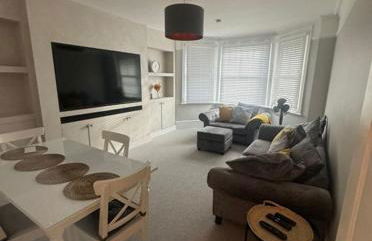
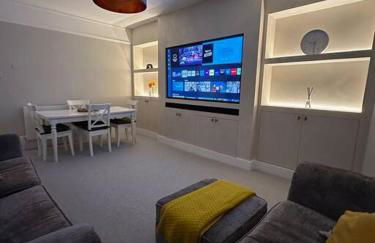
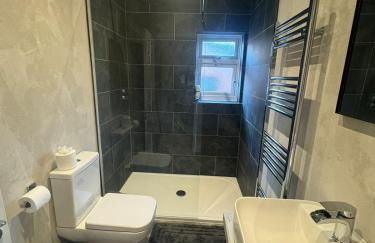
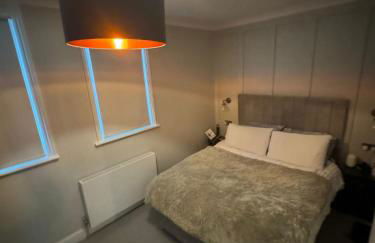
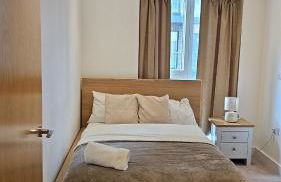
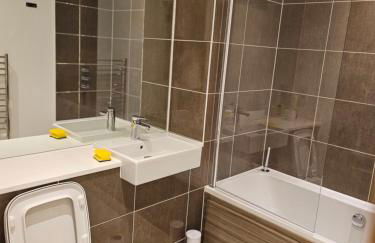
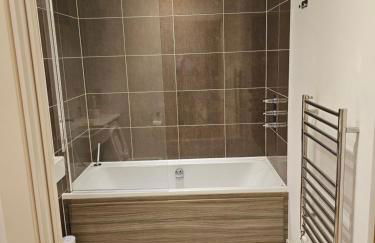
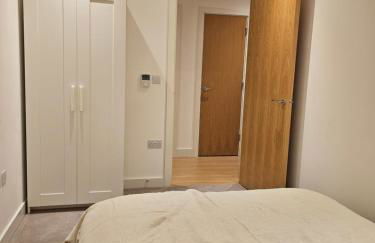
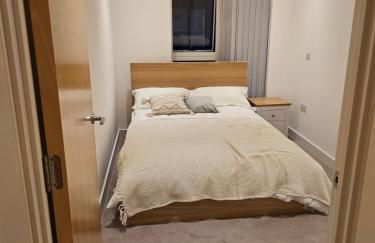
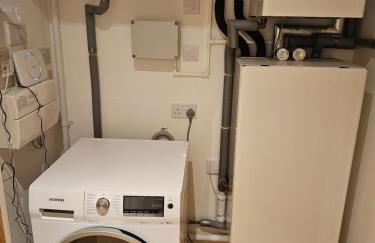
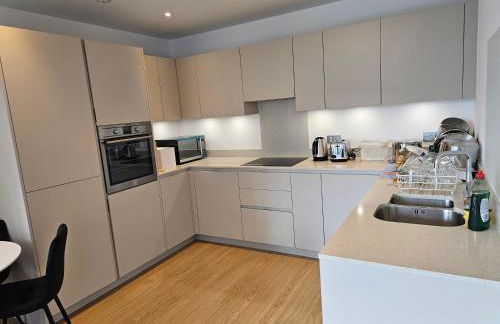
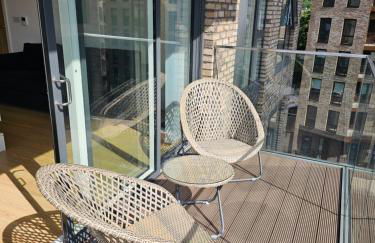
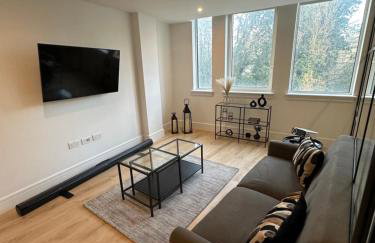
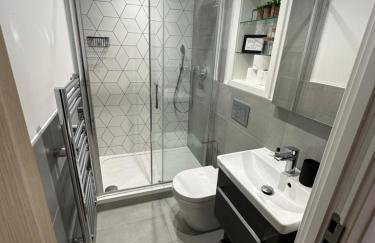
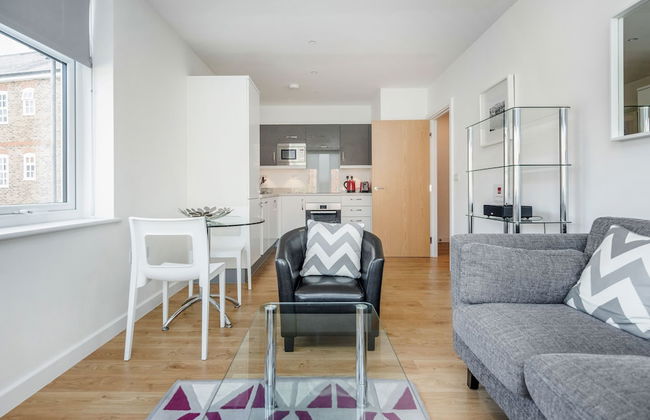
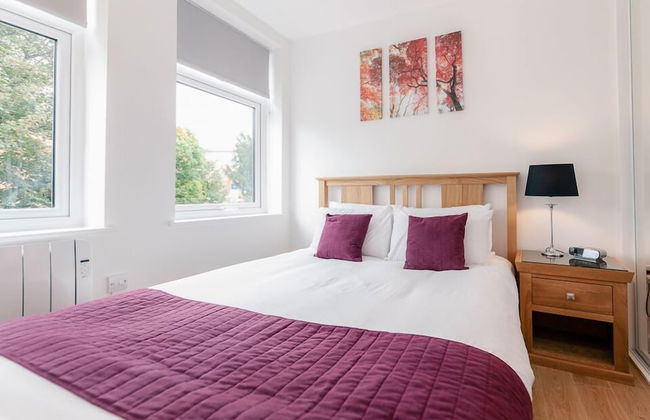
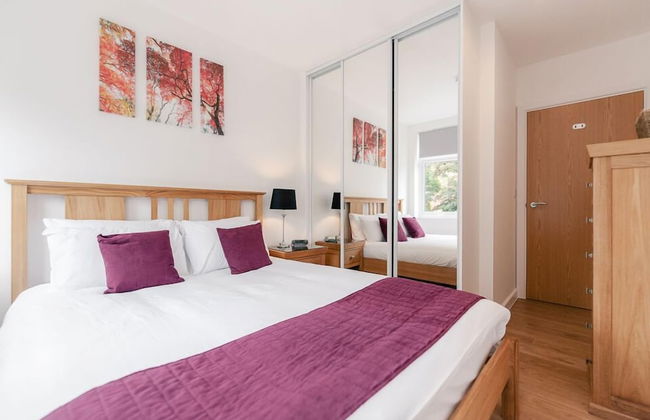
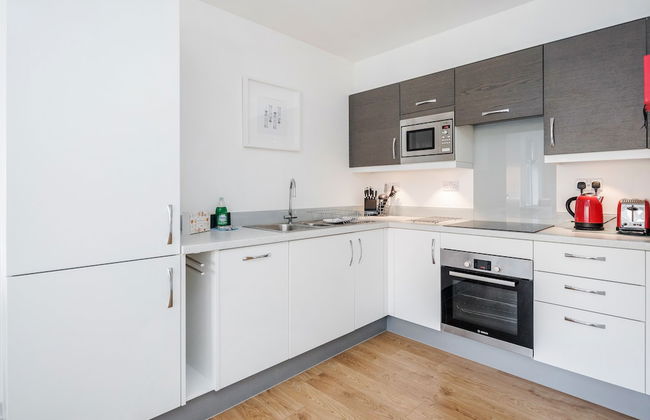
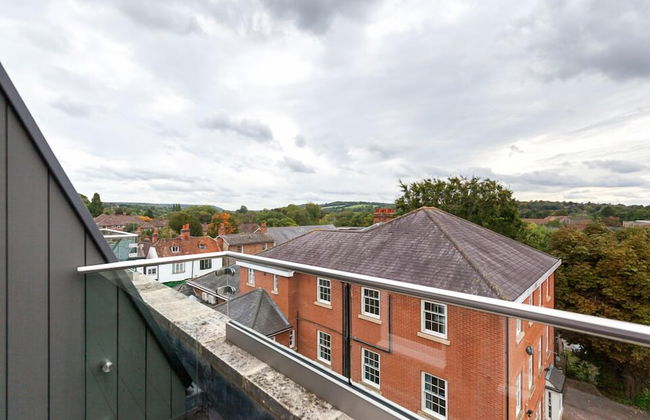
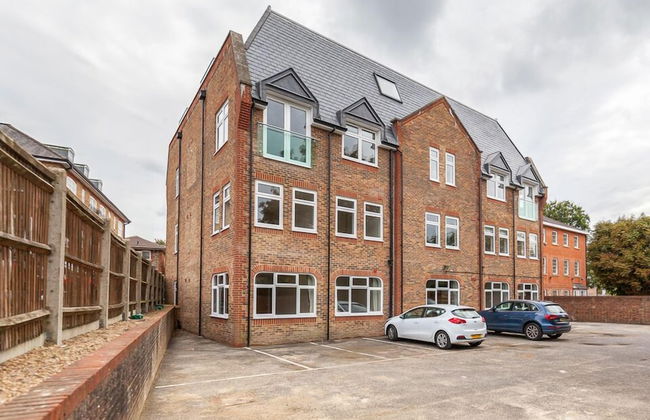
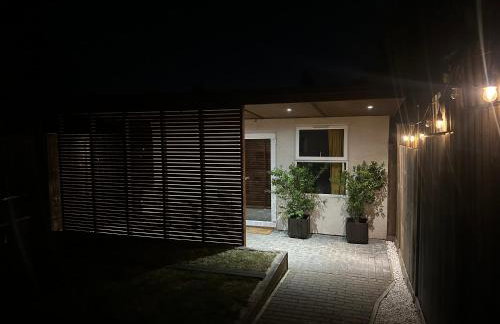
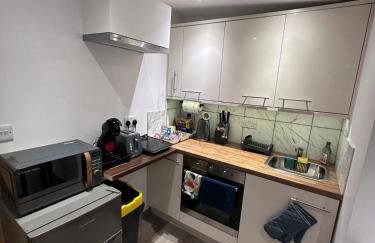
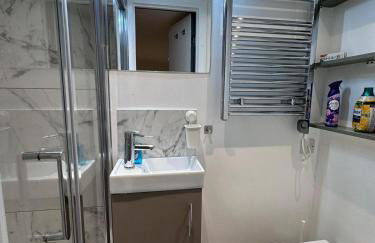
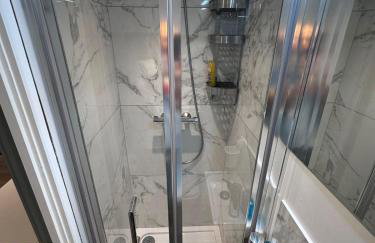
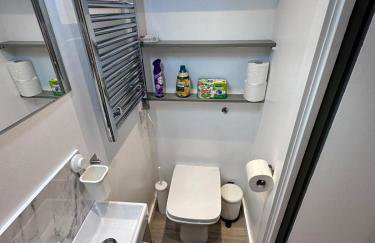
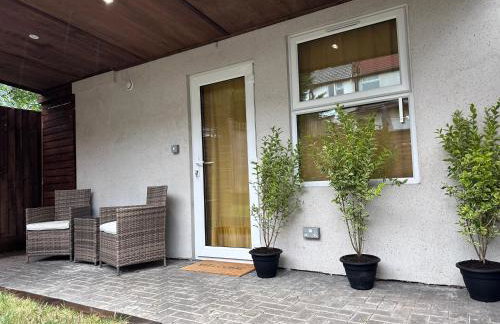
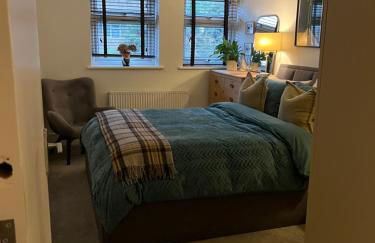
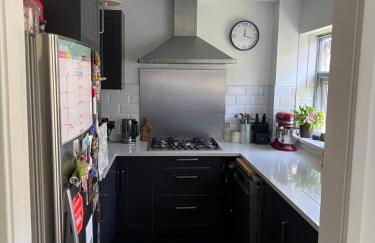
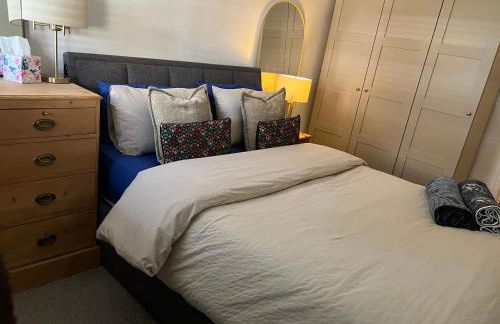
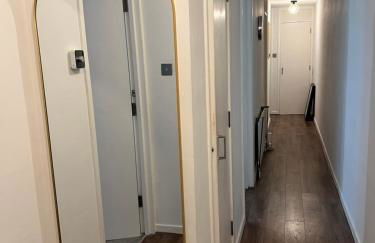
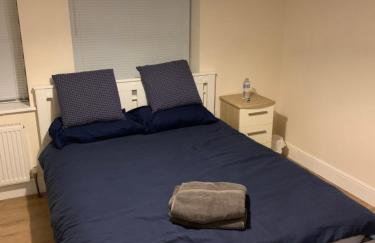
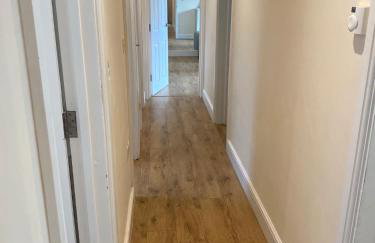
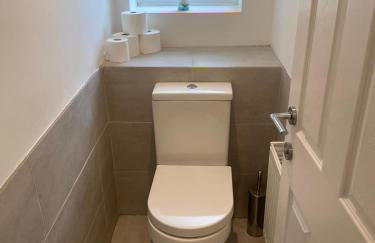
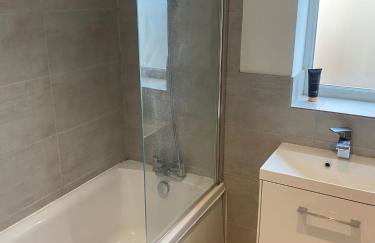
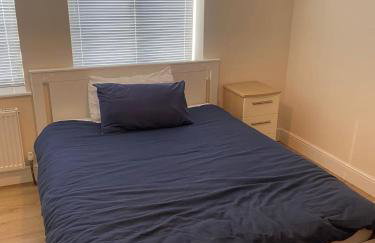
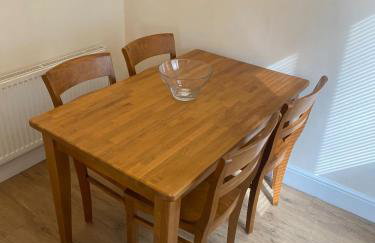
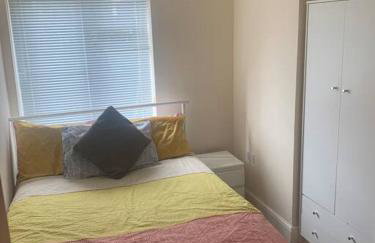
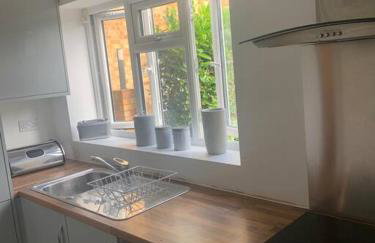
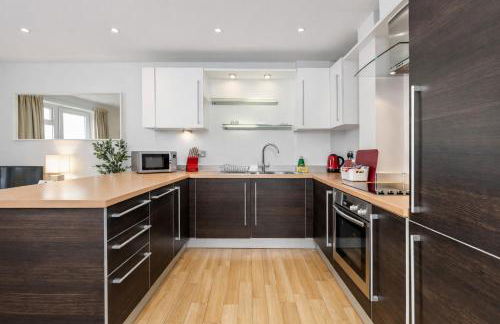
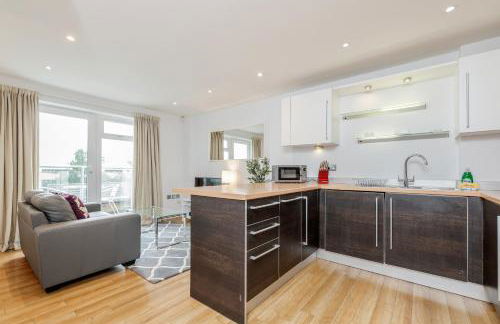
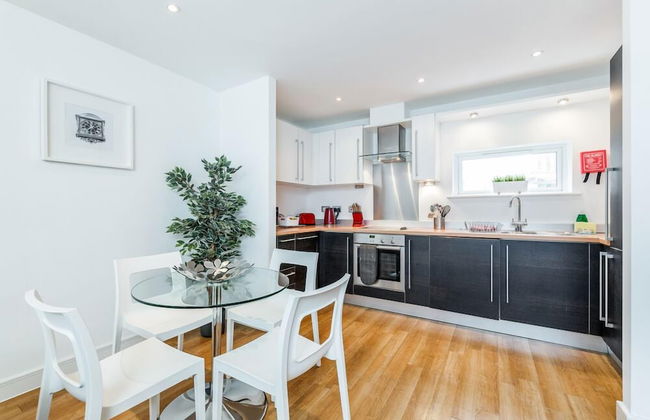
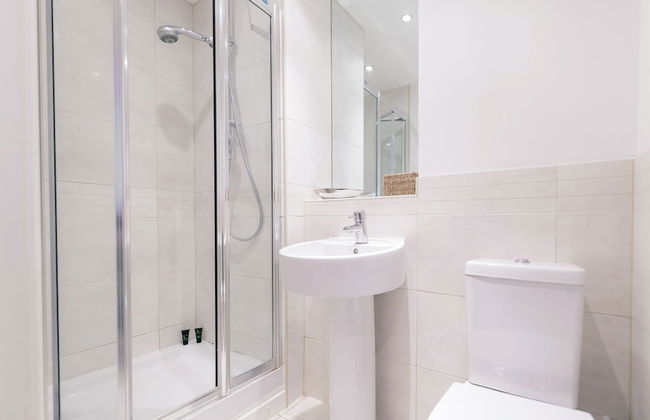
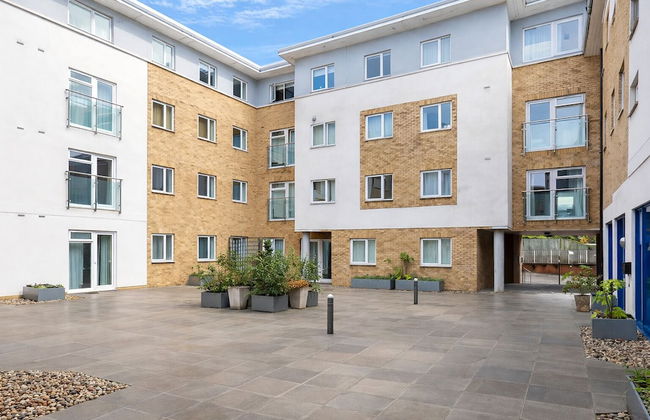
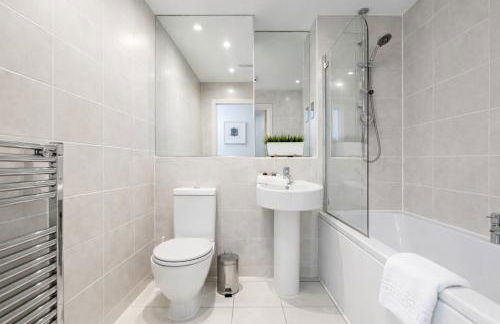
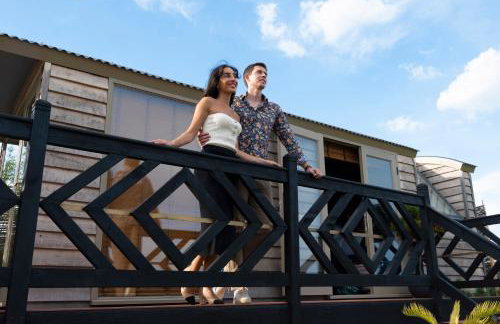
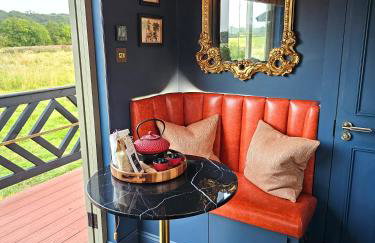
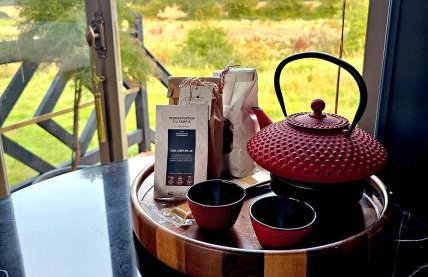
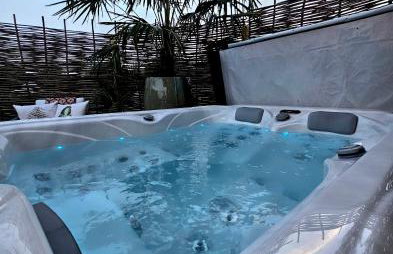
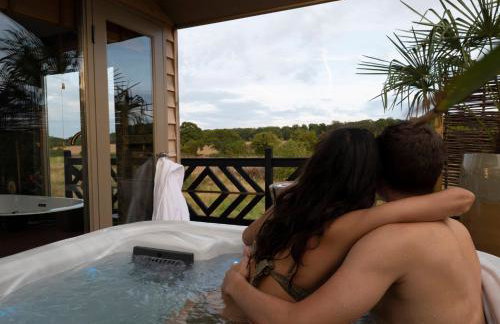
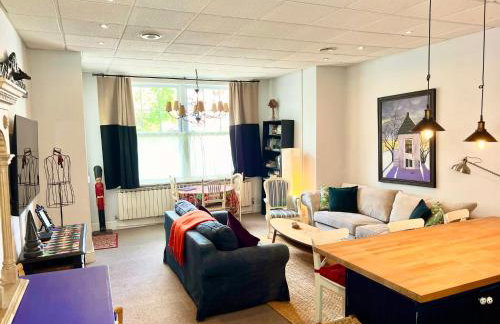
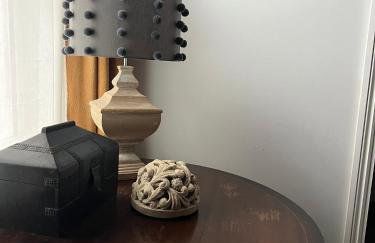
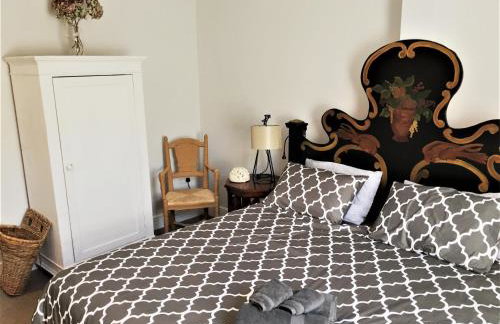
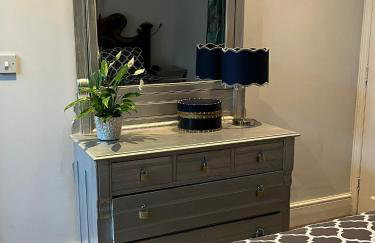
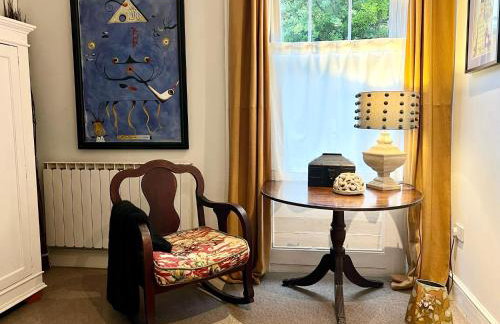
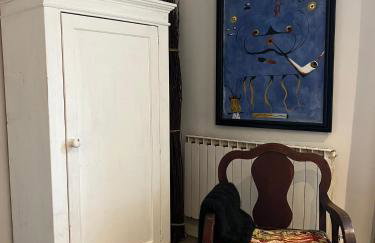
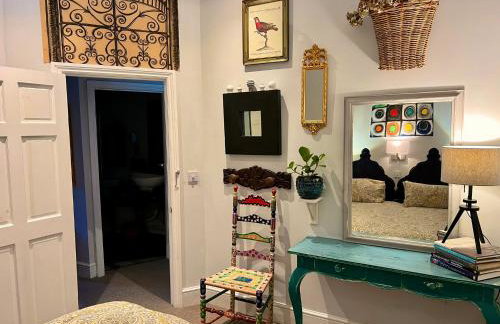
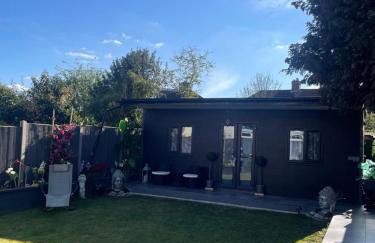
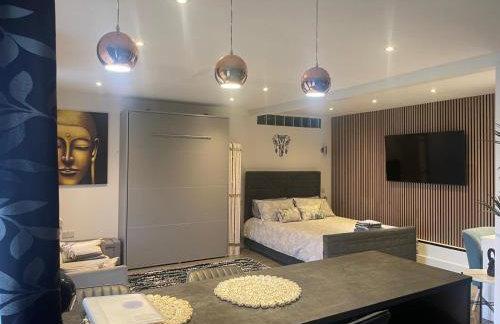
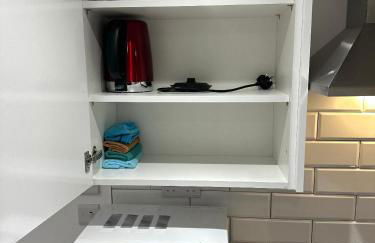
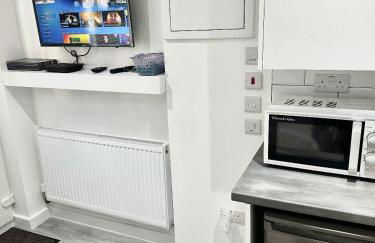
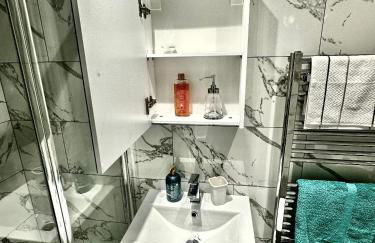
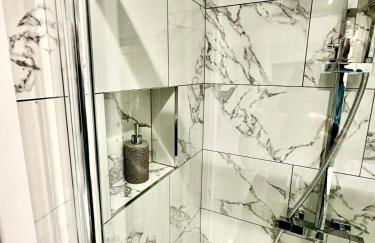
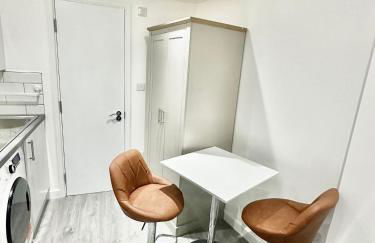
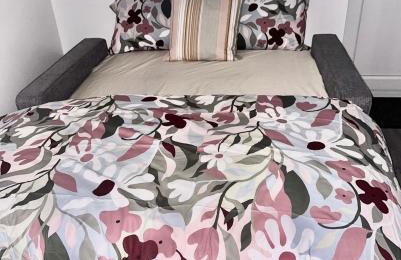
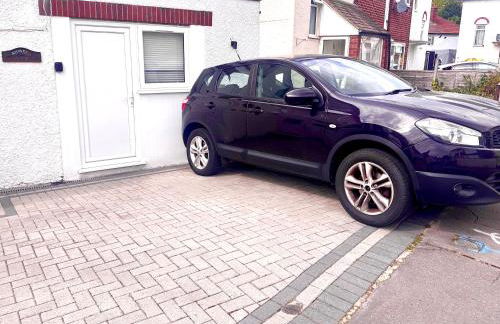
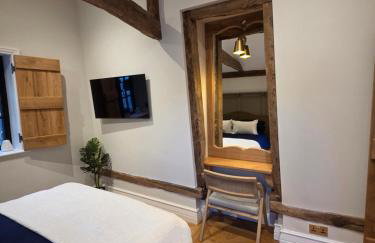
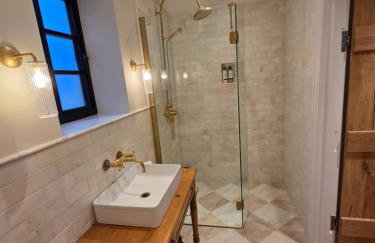
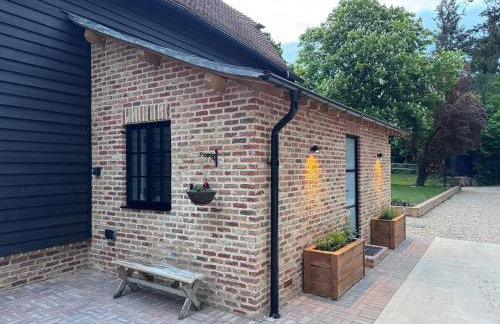
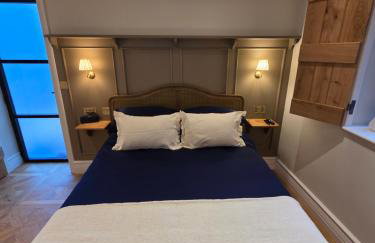
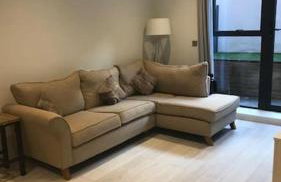
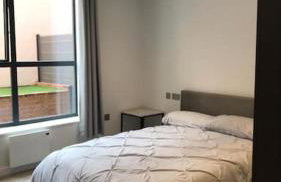
Hillside Farm Barn Apartments - Foto 1
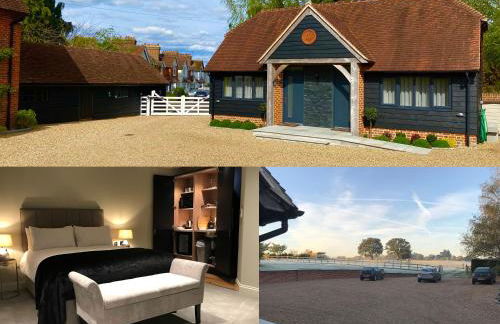
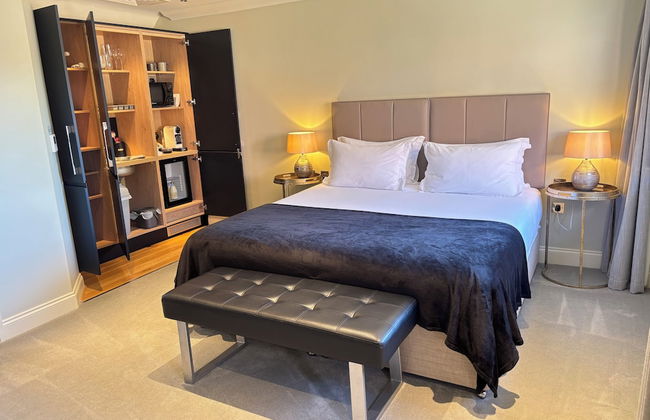
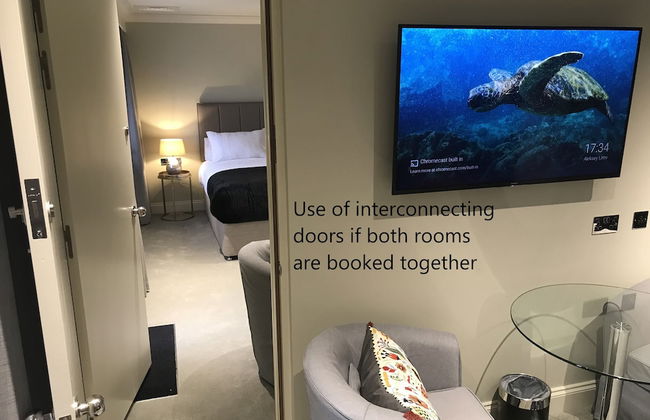
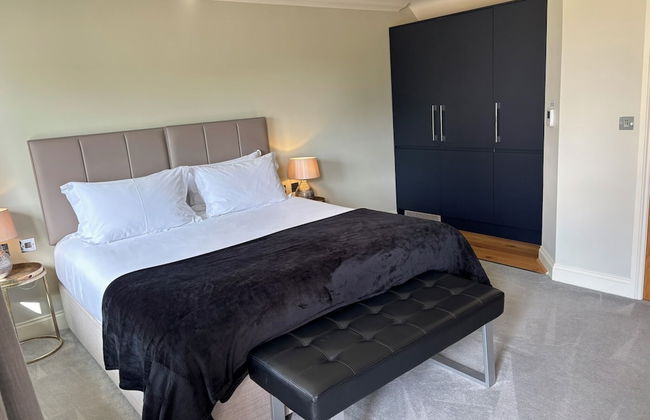
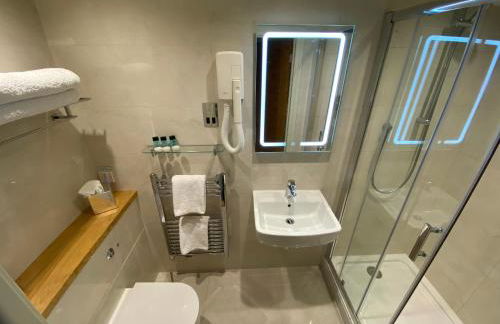
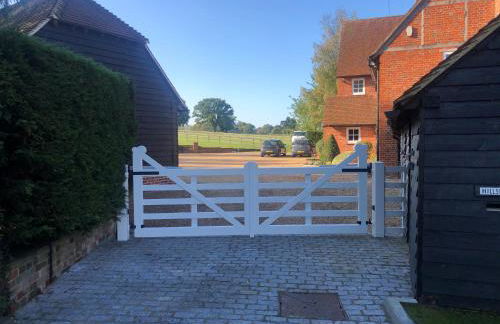
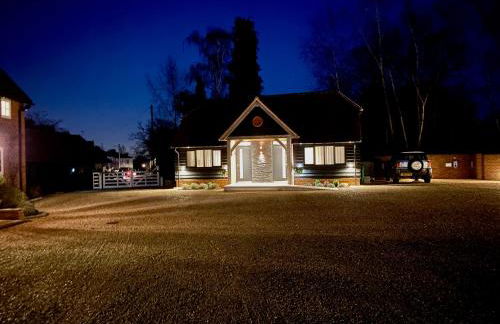
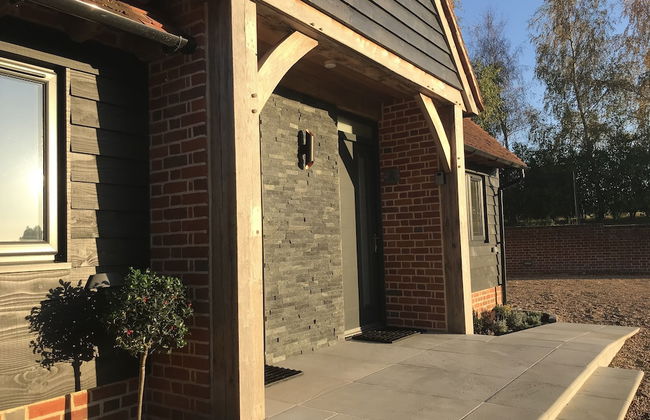
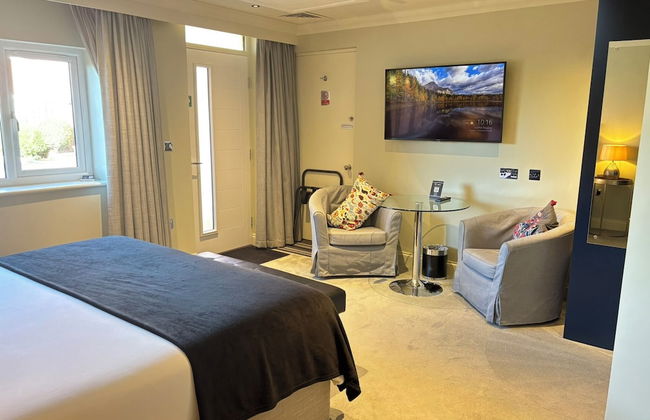
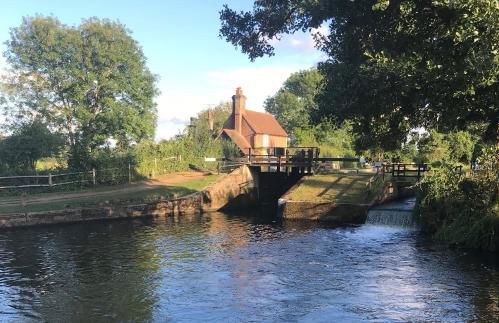
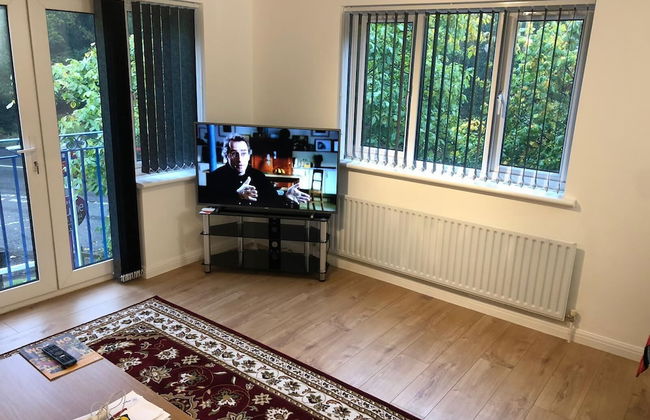
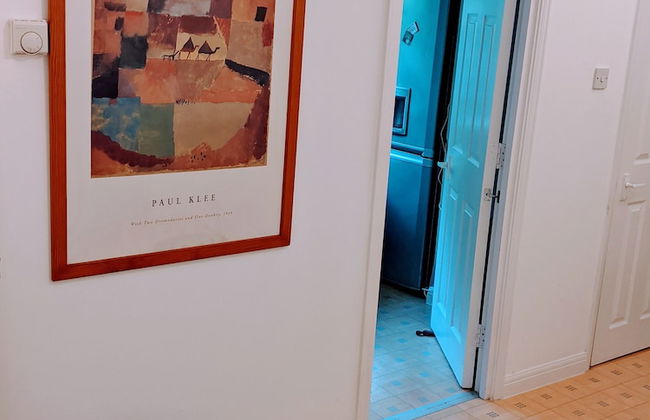
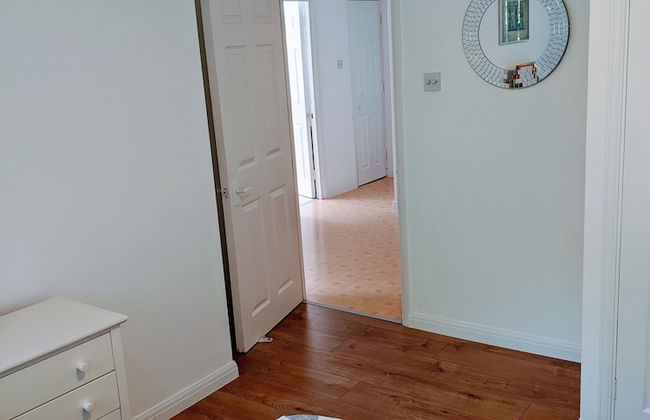
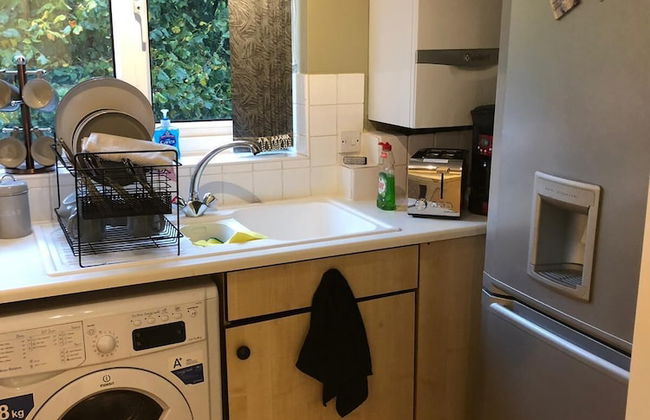
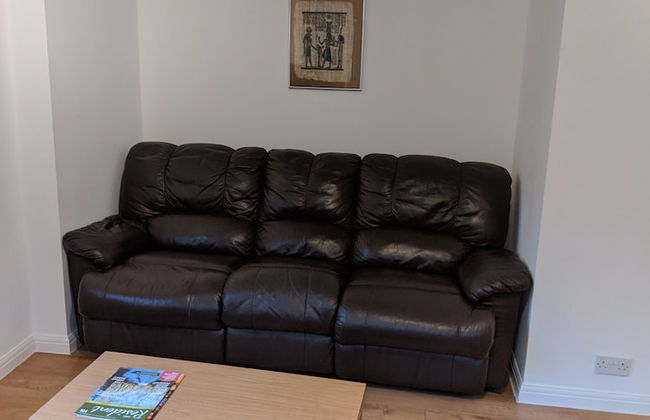
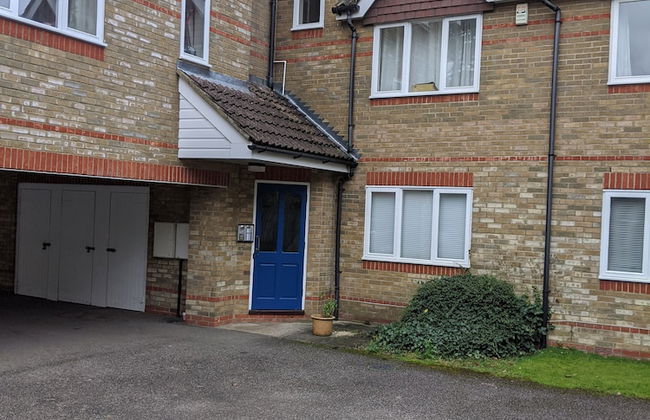
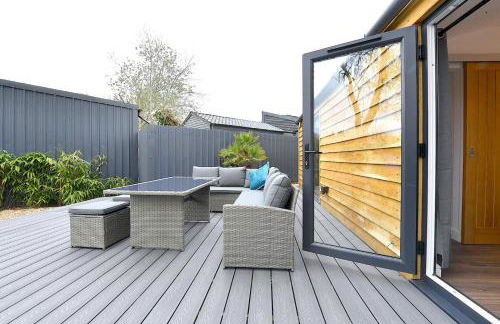
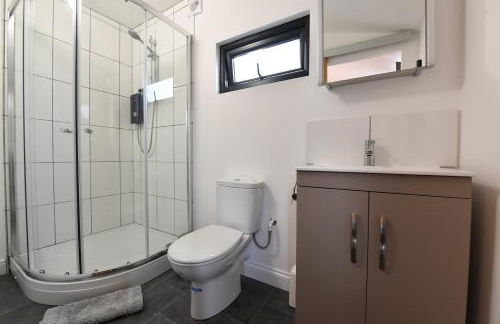
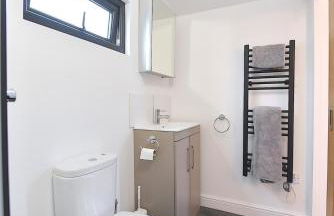
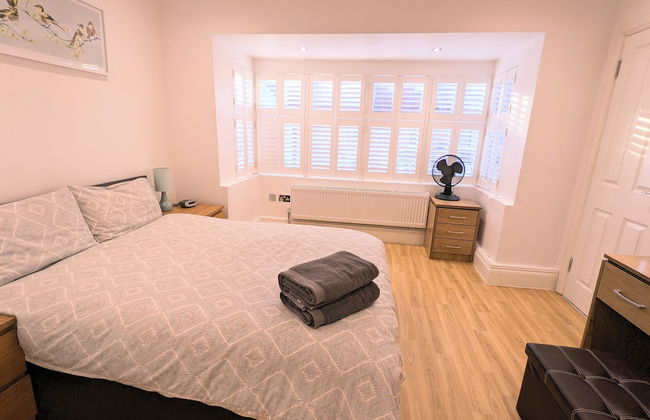
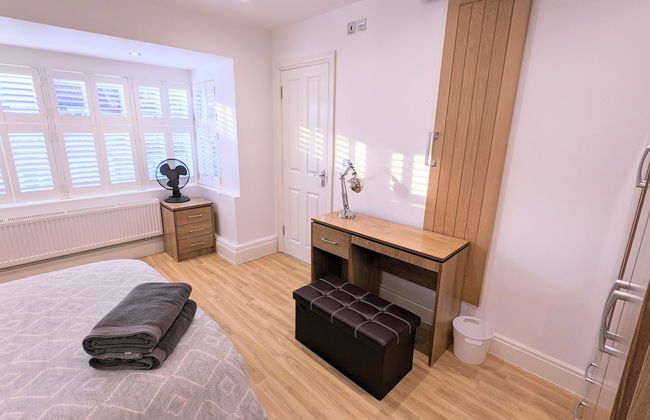
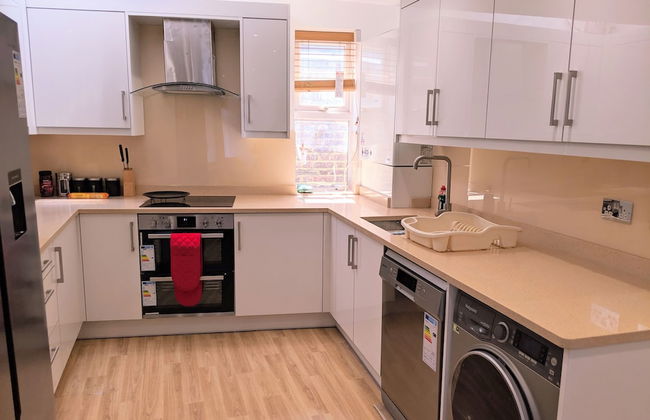
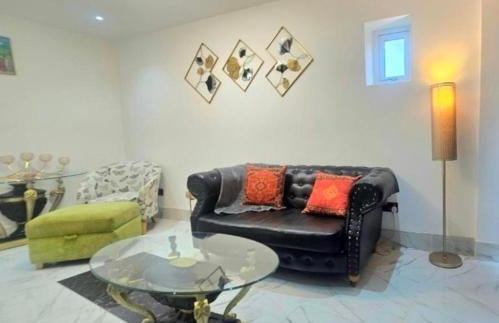
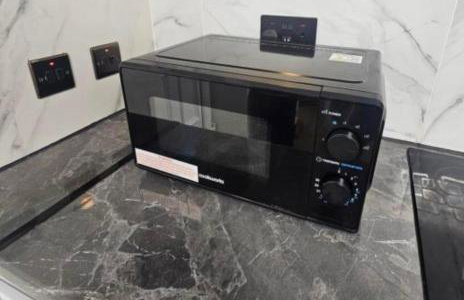
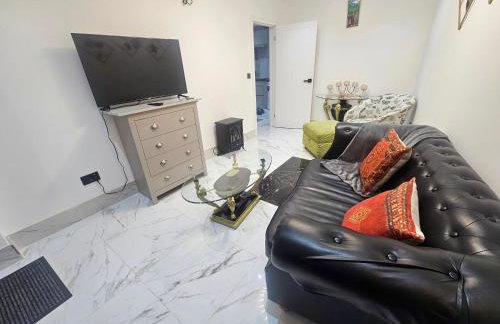
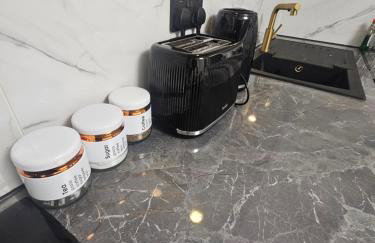
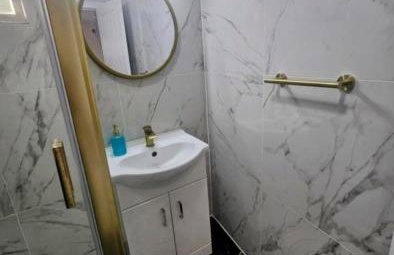
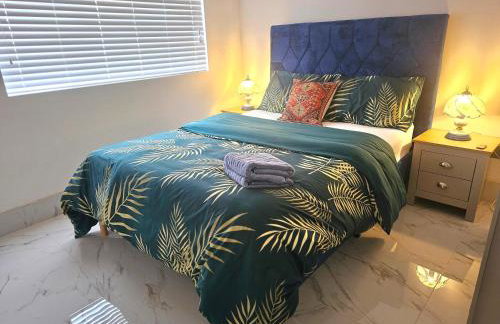
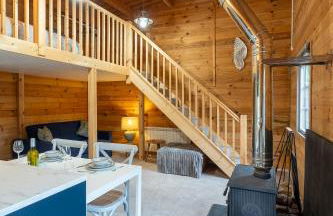
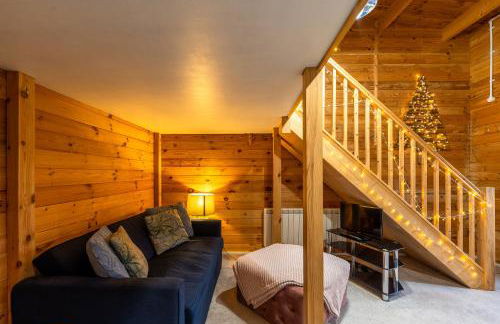
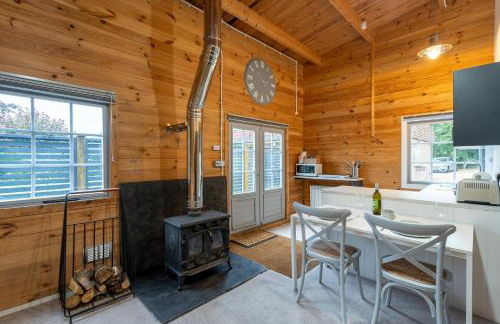
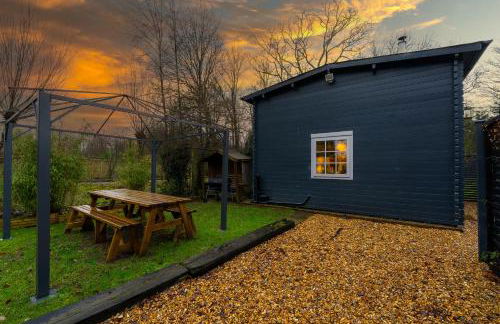
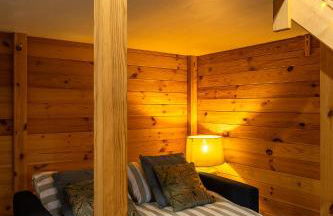
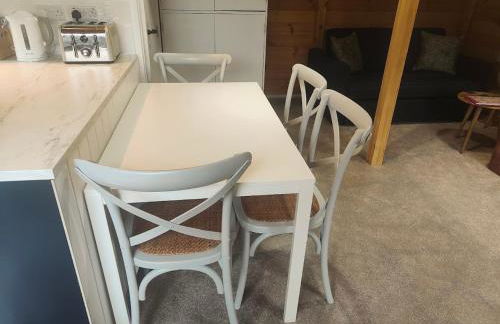
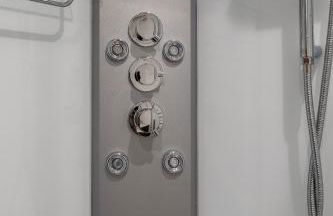
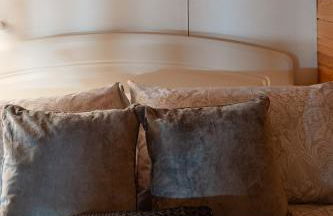
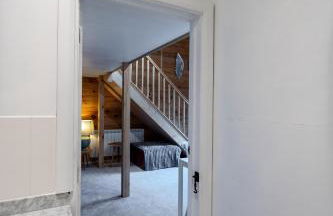
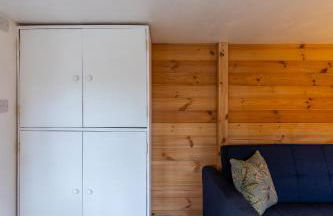
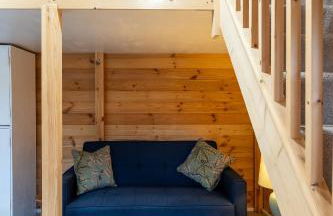
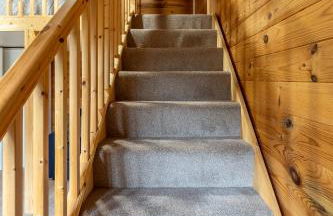
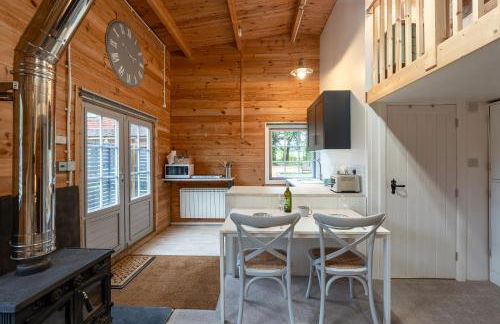
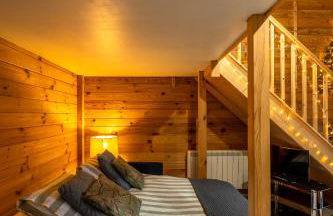
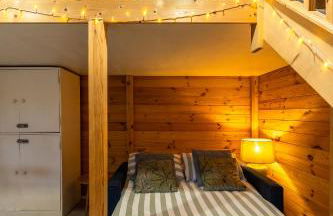
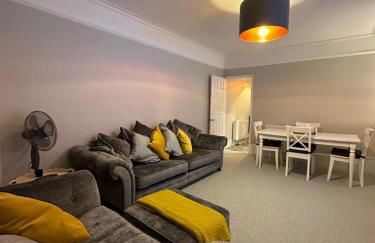
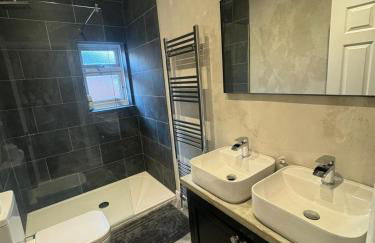
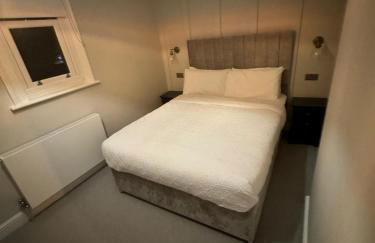
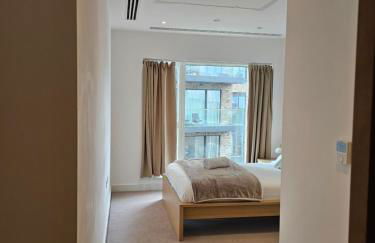
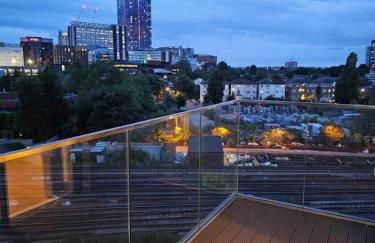
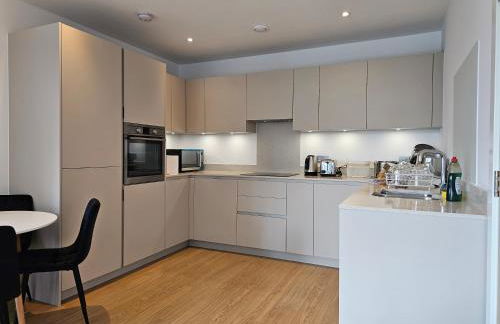
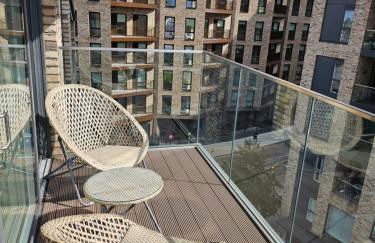
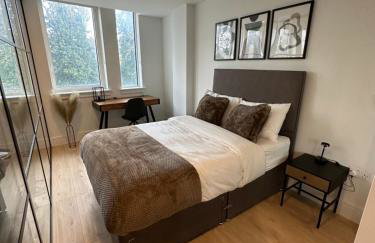
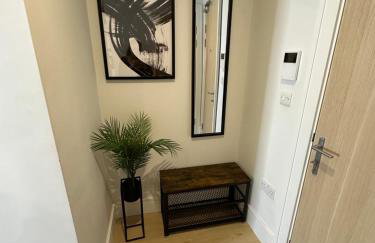
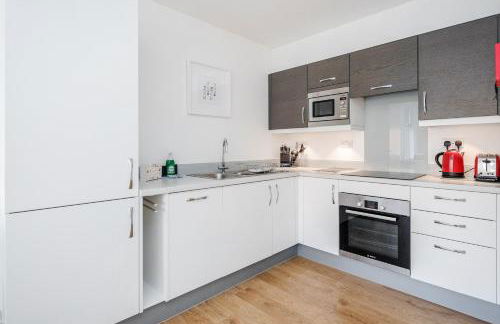
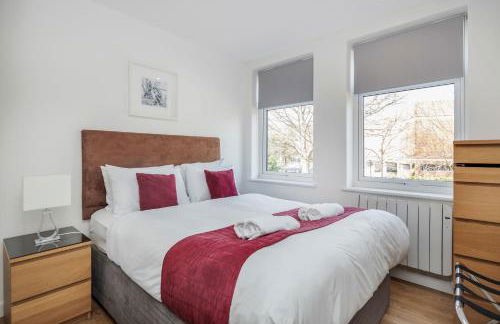
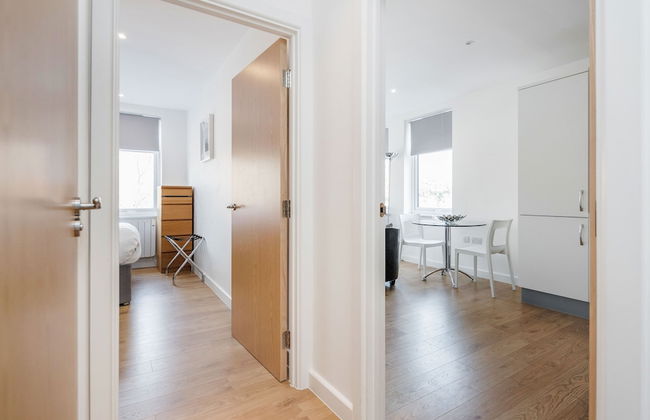
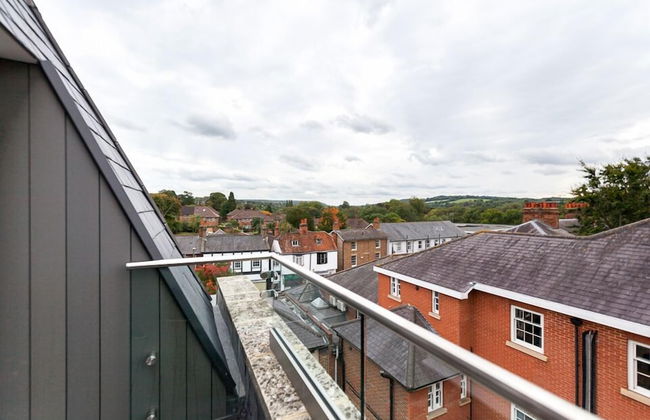
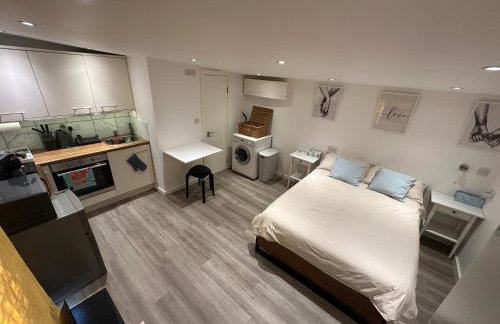
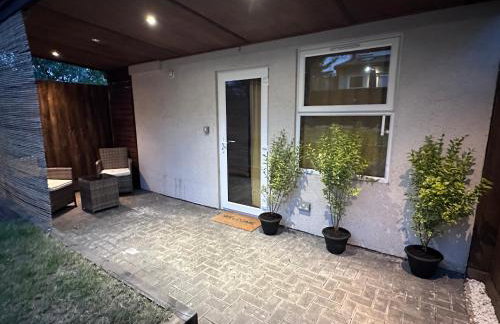
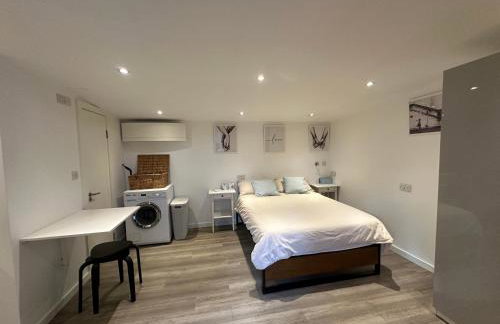
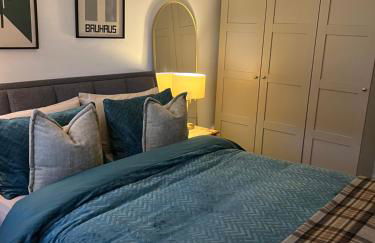
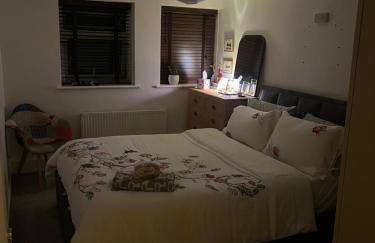
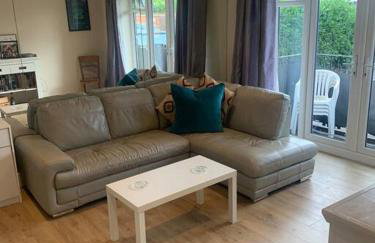
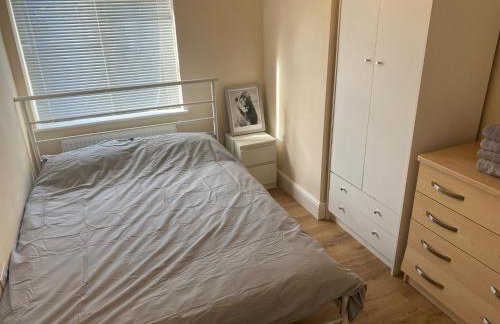
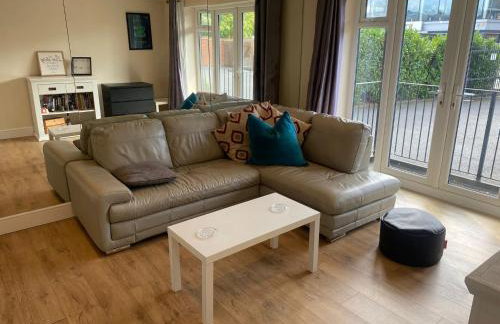
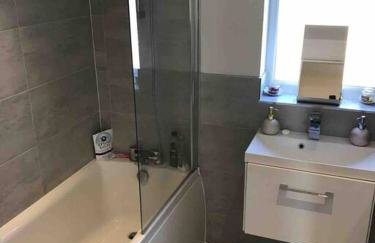
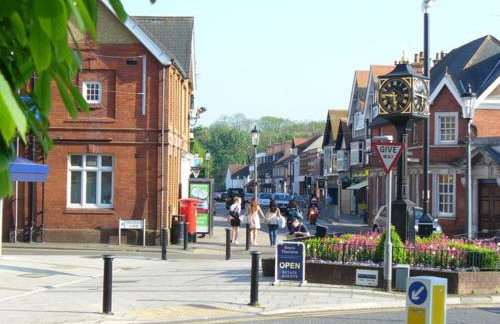
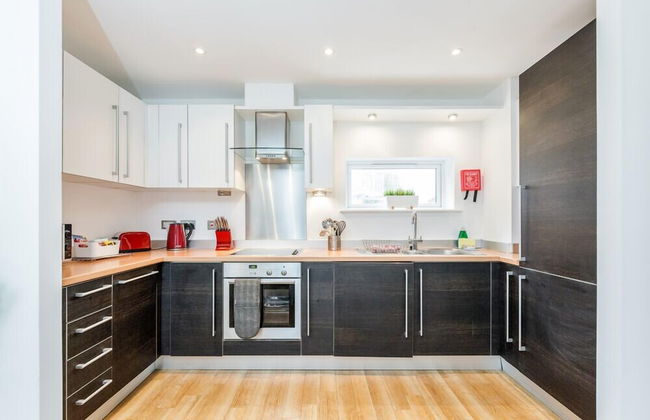
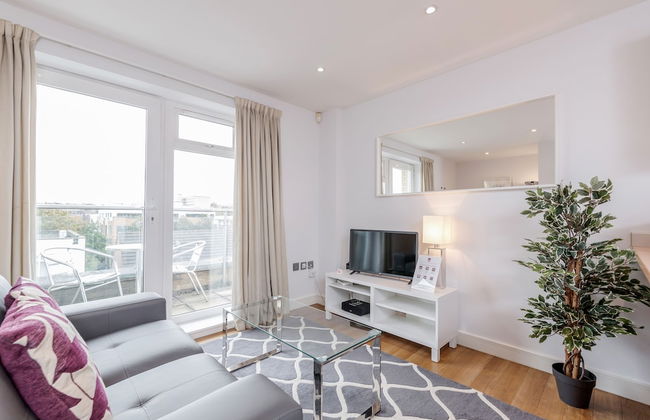
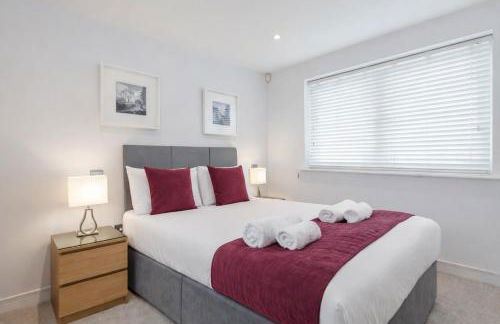
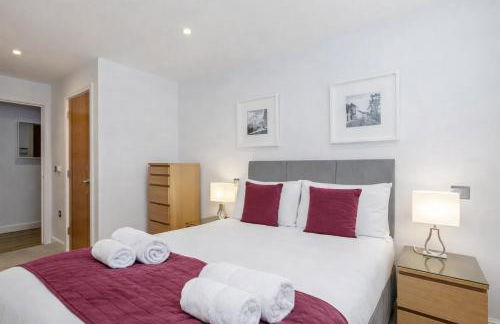
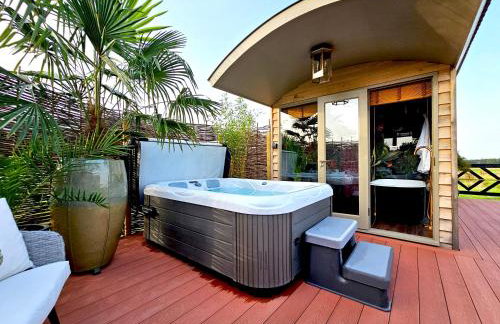
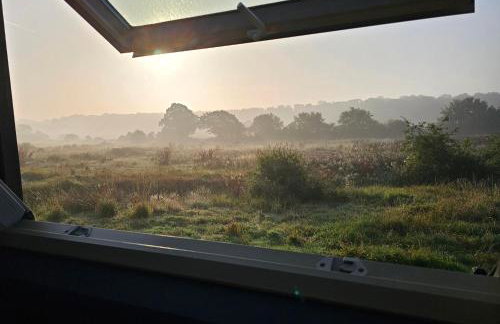
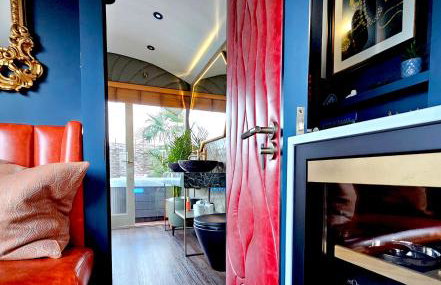
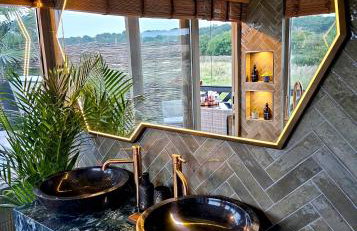
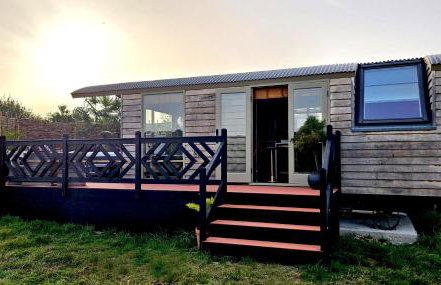
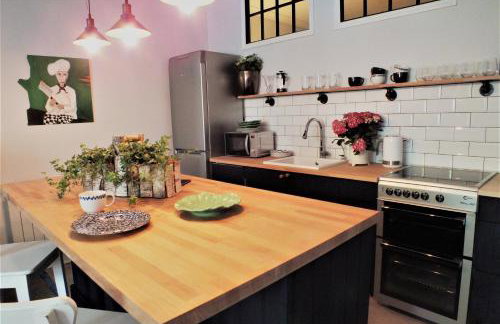
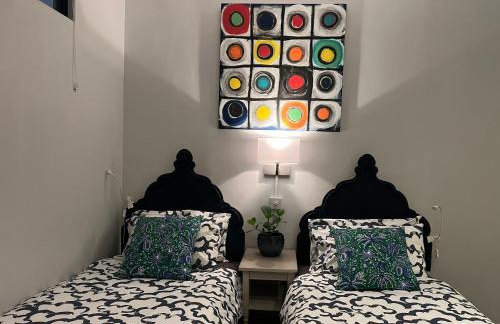
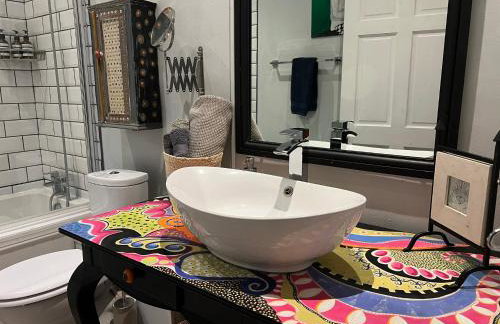
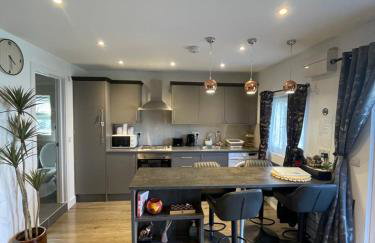
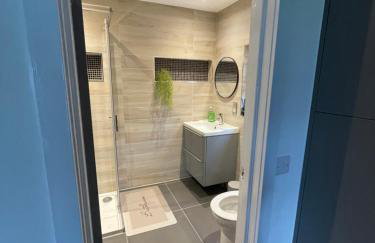
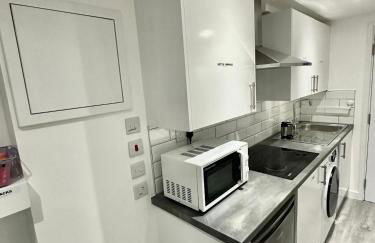
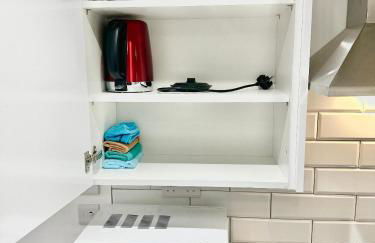
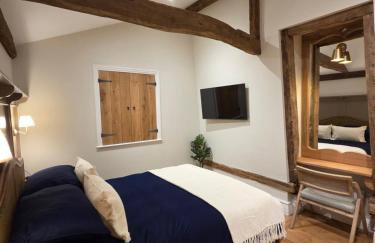
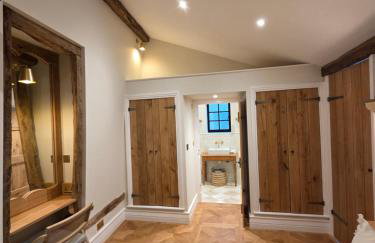
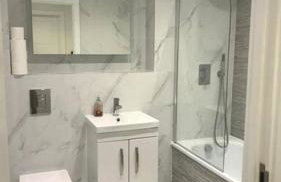
Hillside Farm Barn Apartments - Foto 2
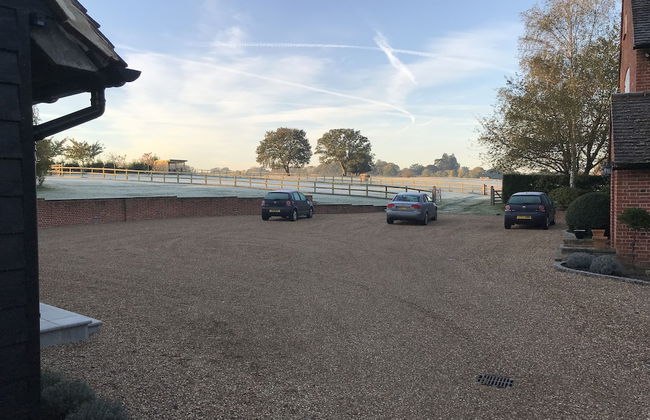
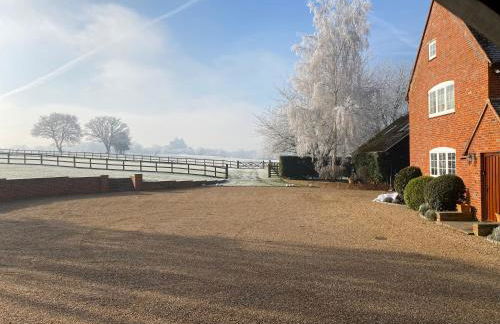
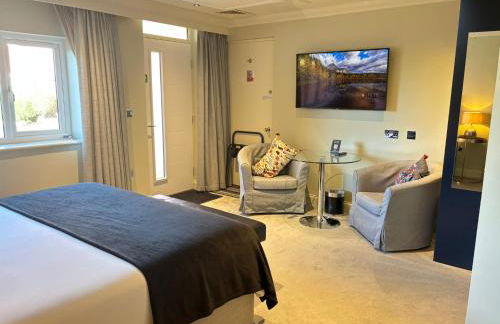
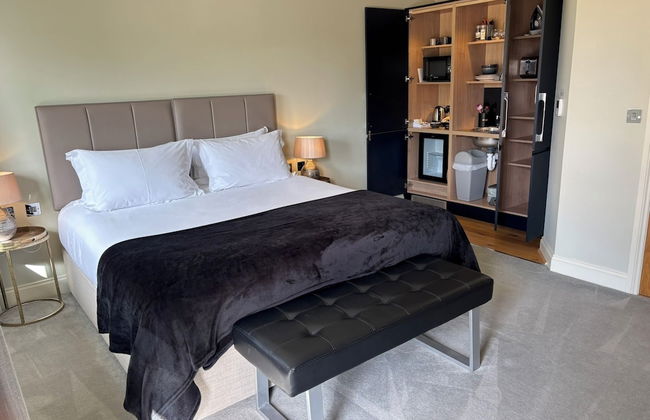
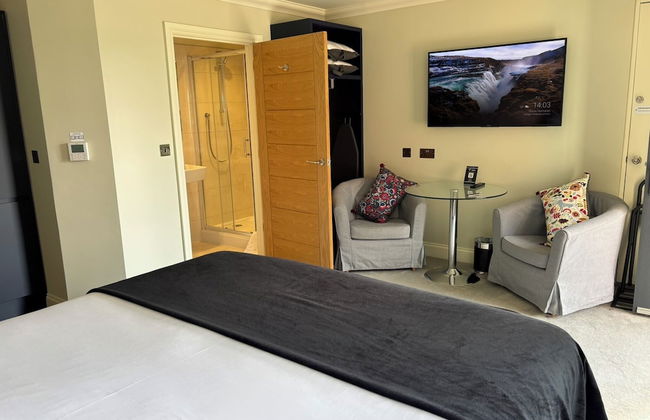
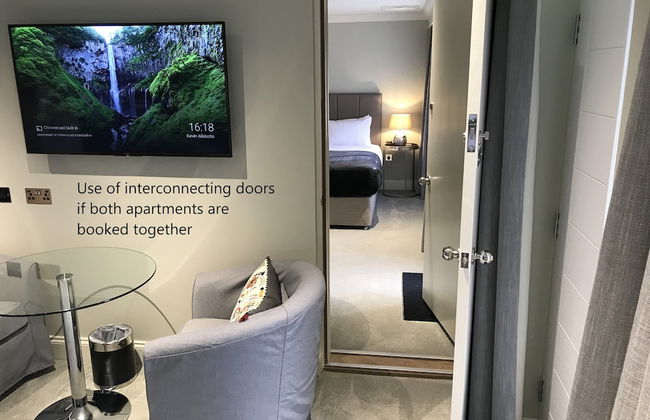
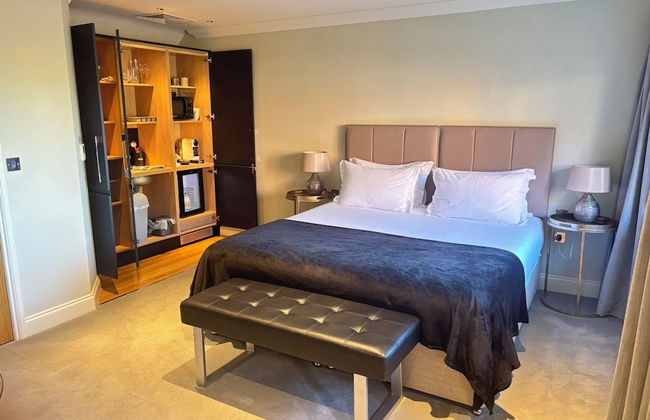
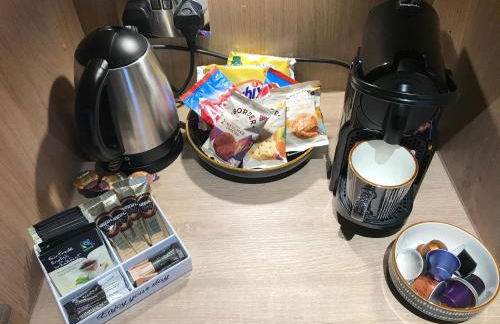
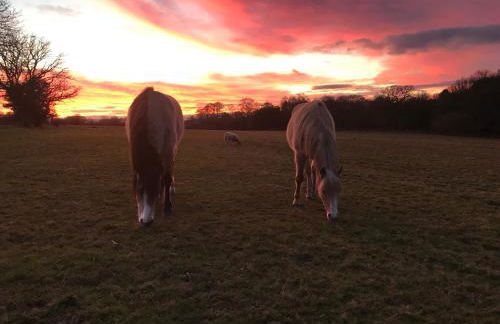
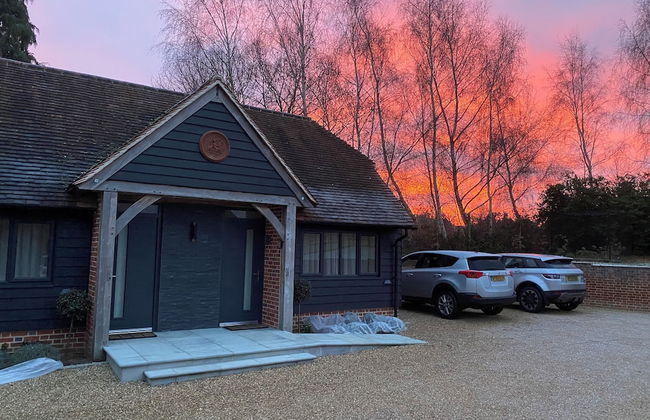
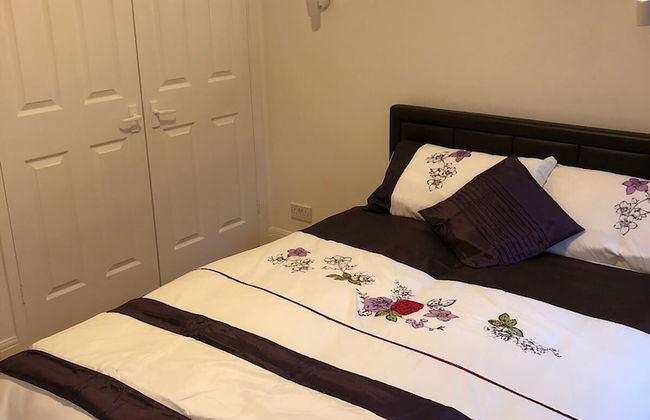
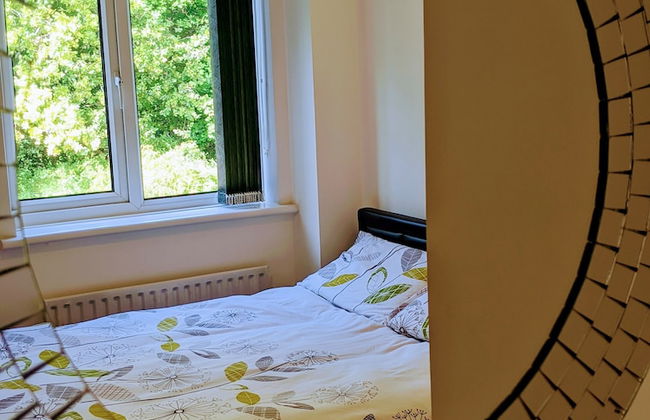
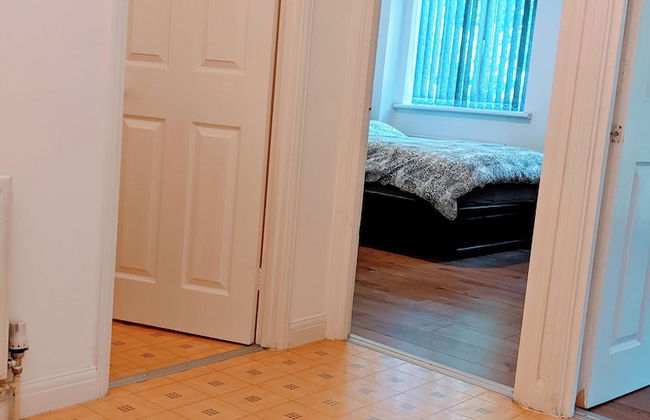
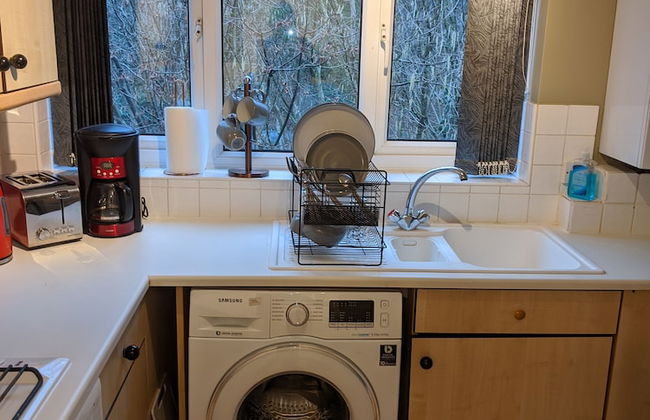
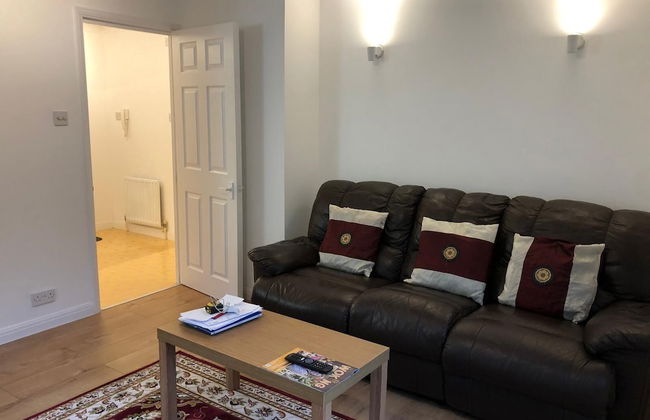
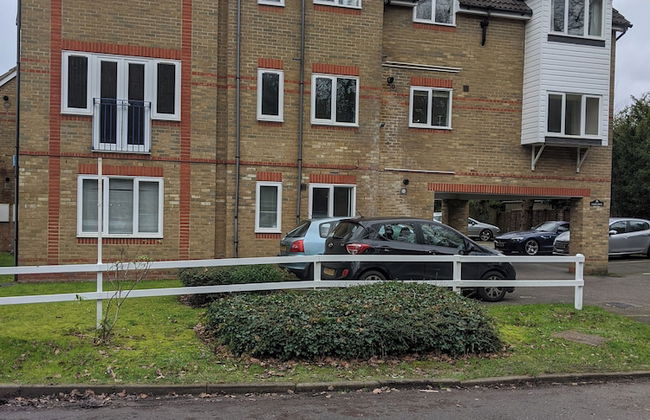
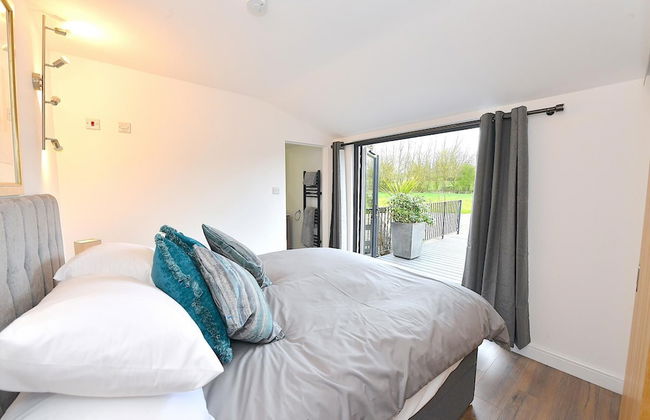
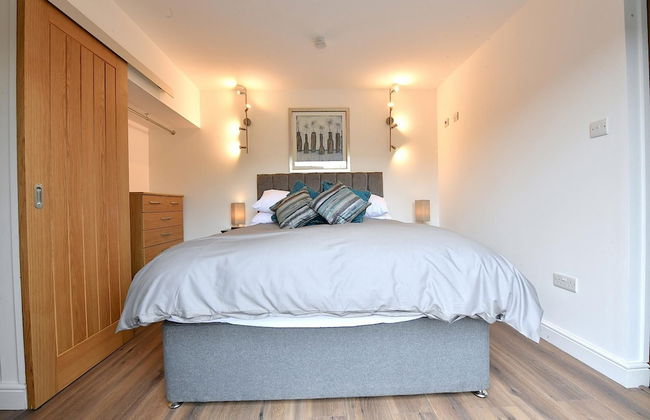
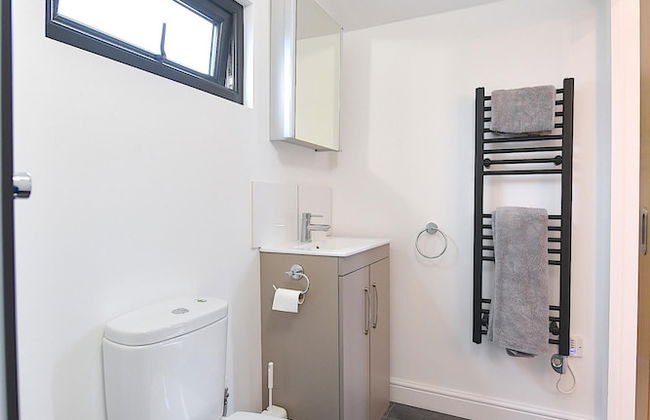
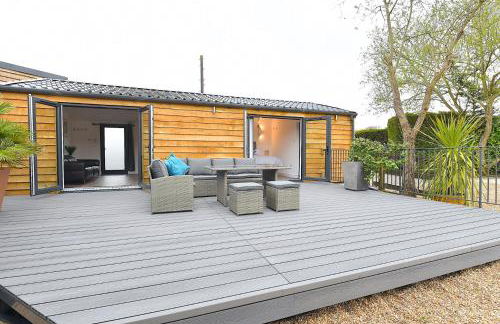
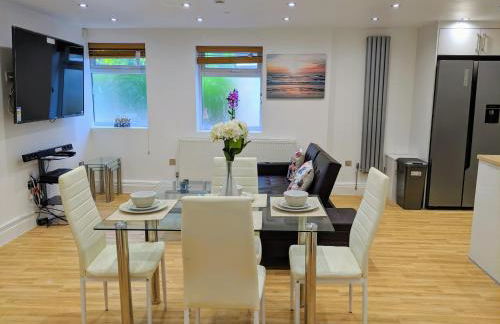
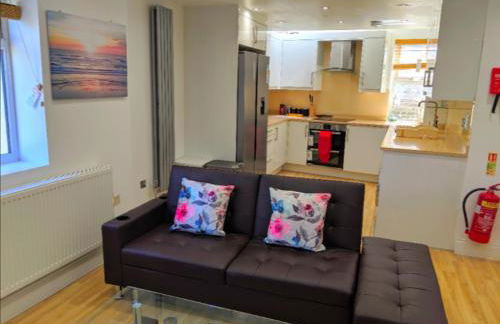
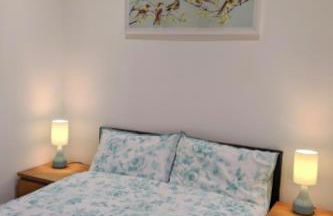
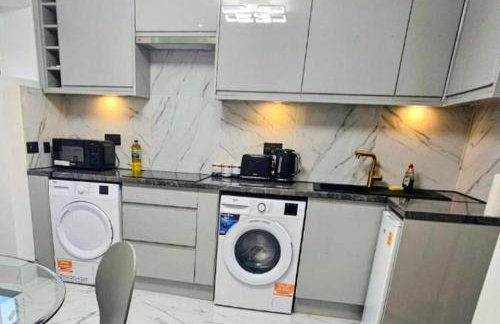
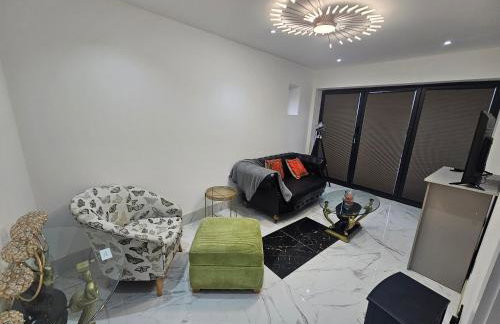
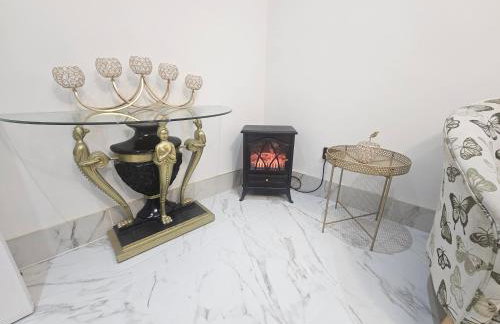
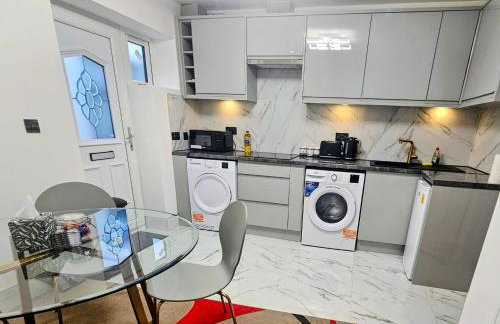
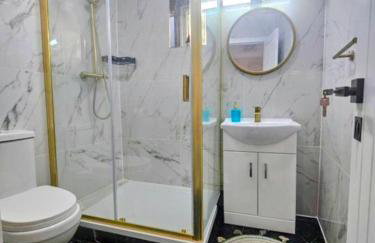
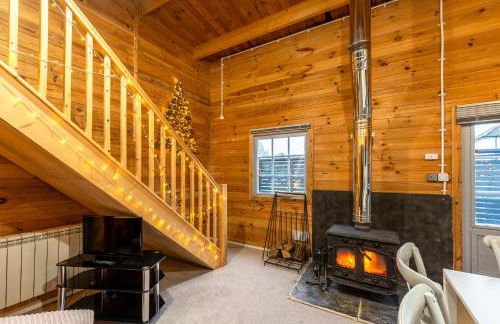
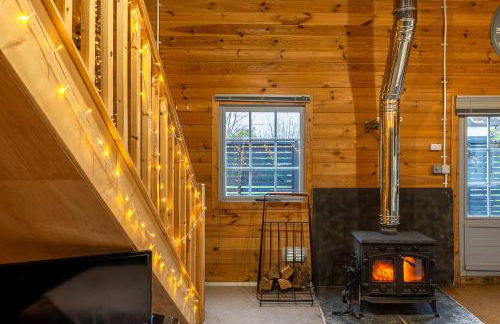
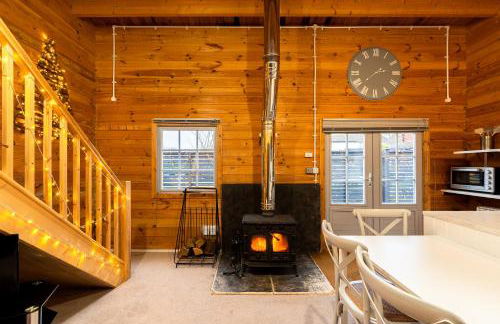
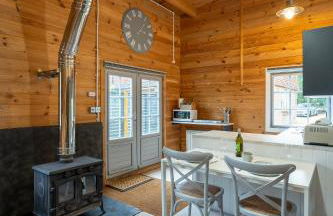
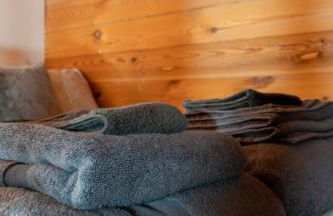
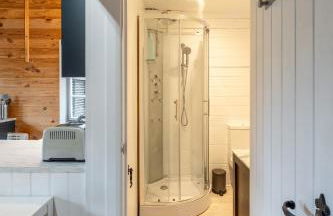
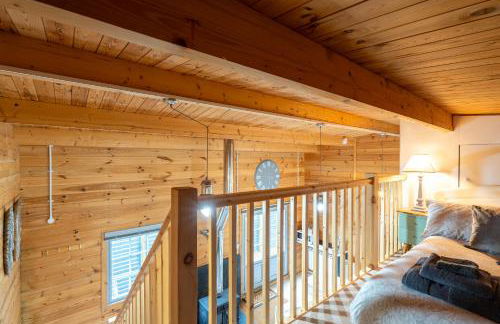
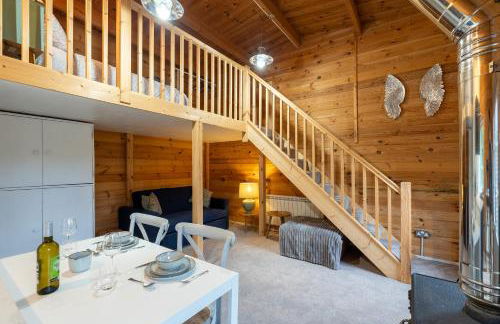
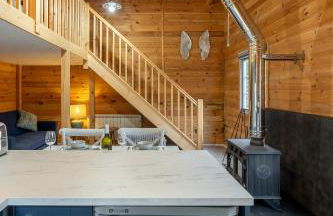
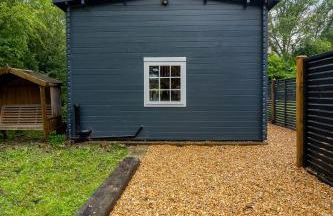
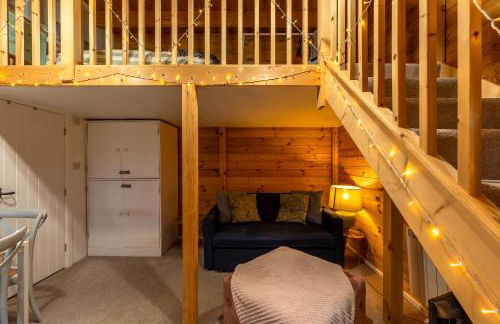
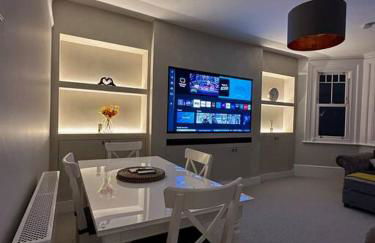
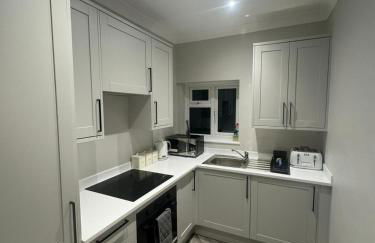
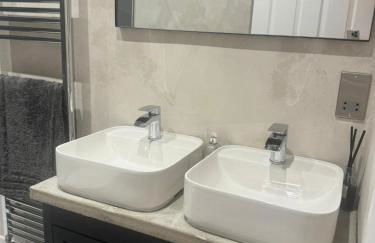
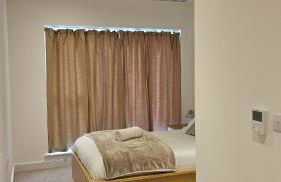
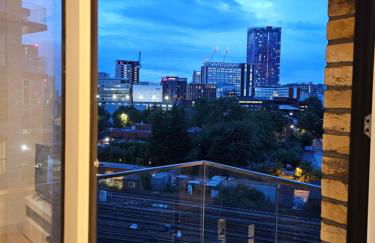
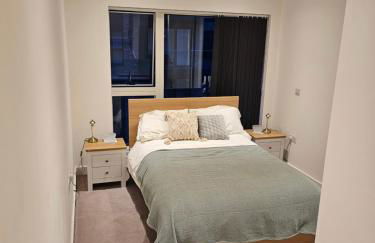
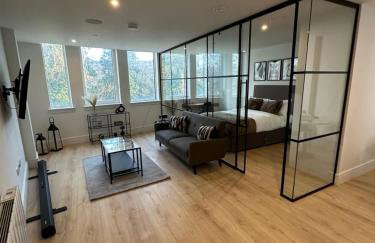
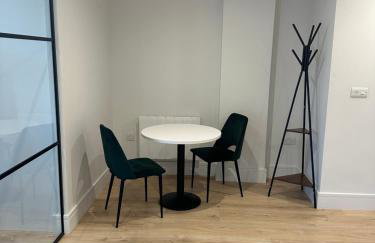
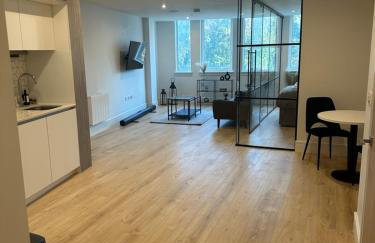
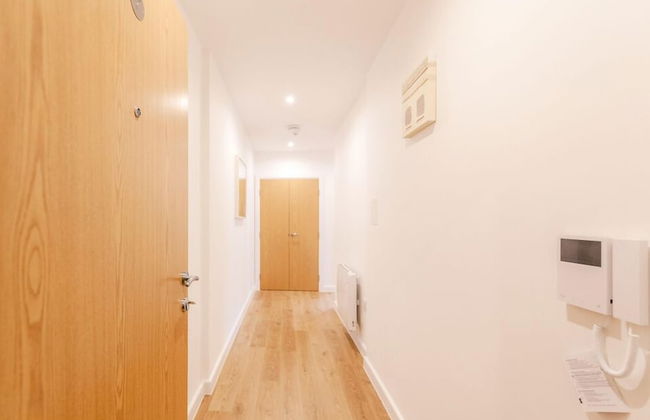
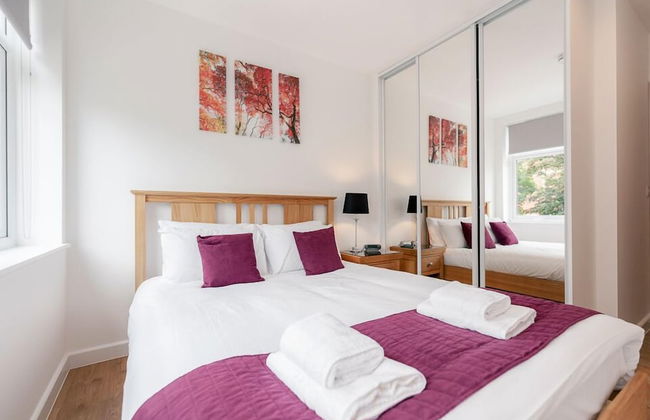
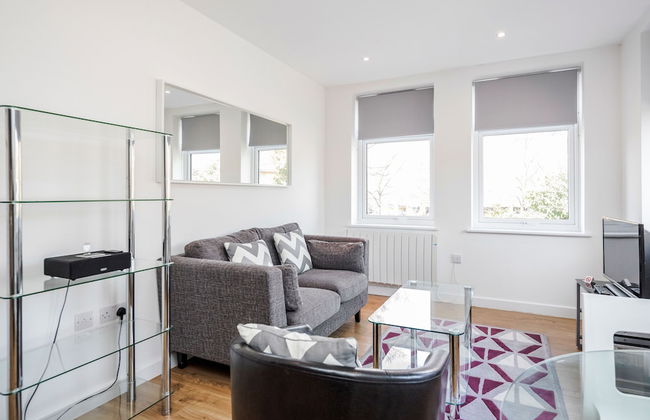
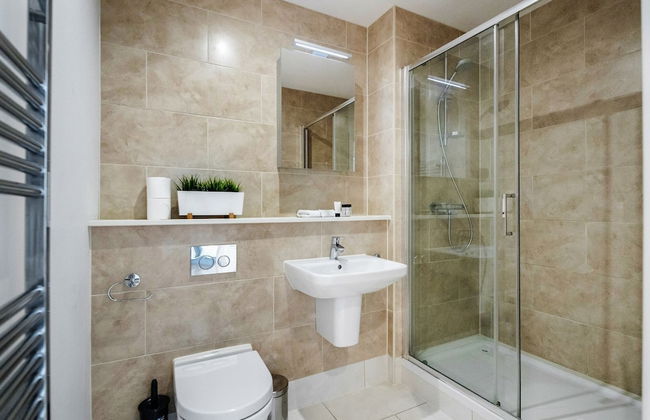
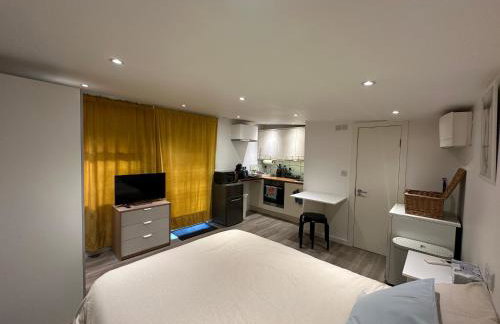
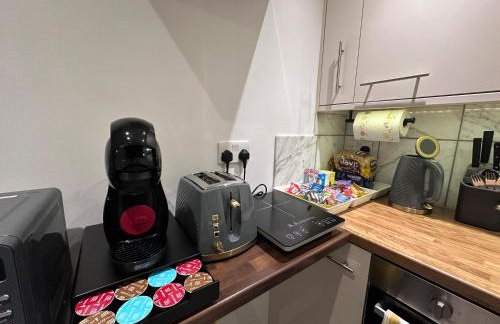
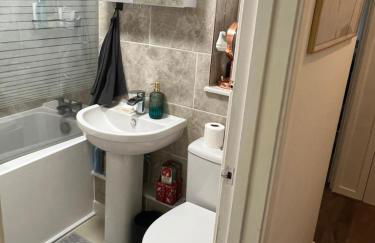
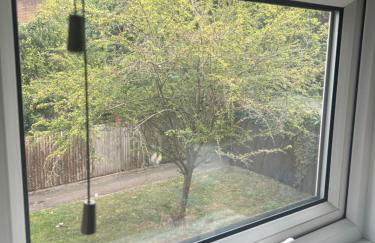
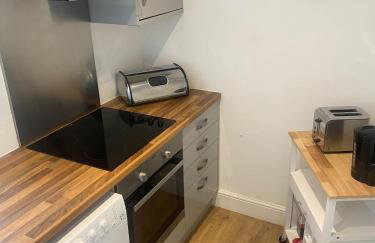
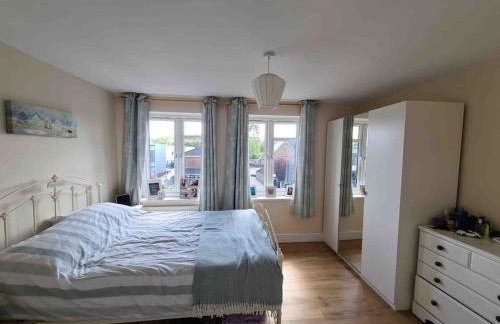
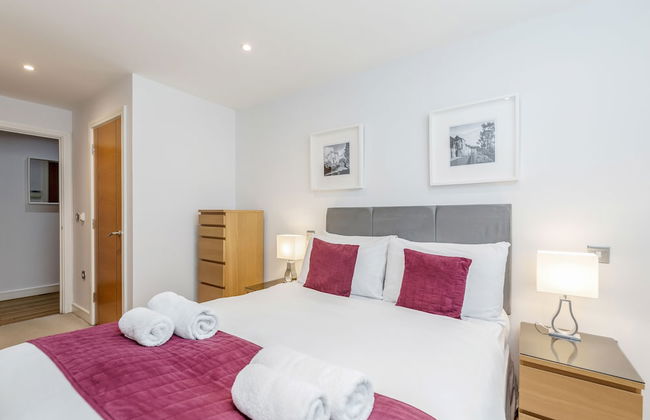
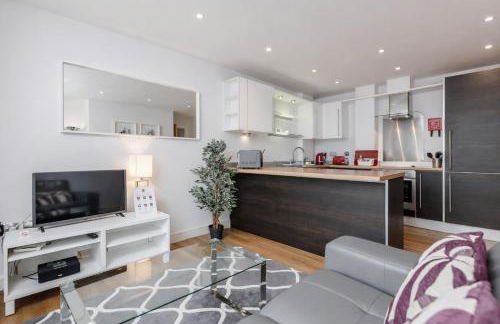
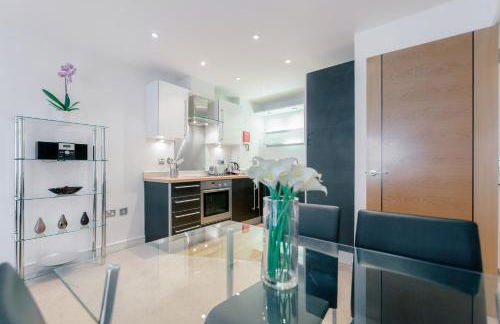
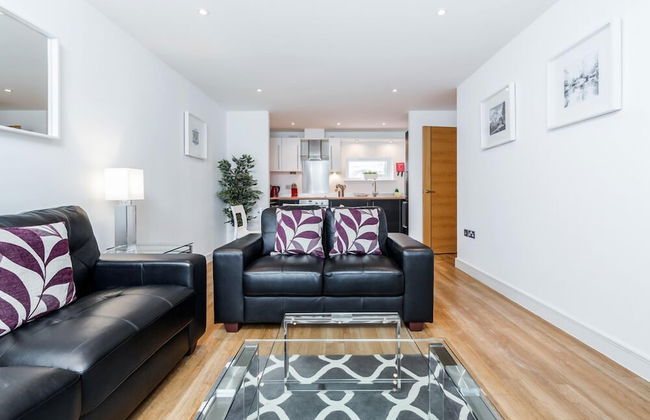
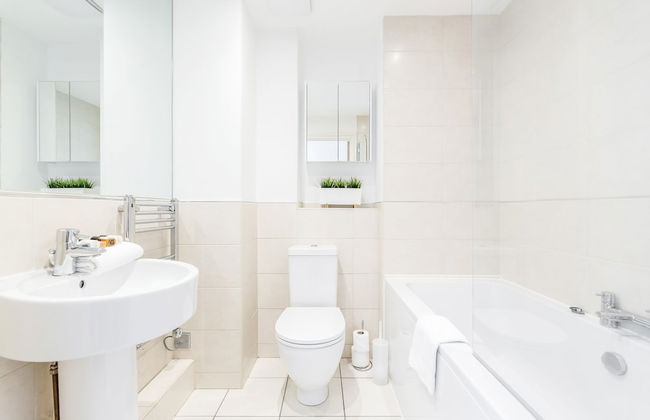
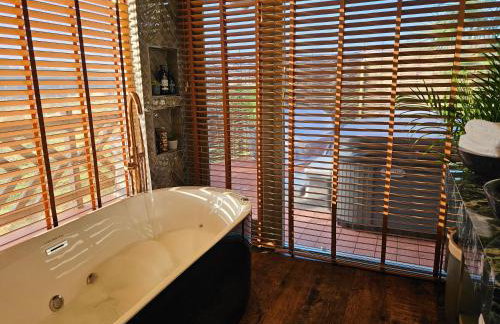
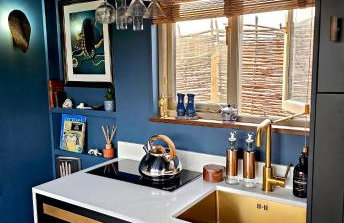
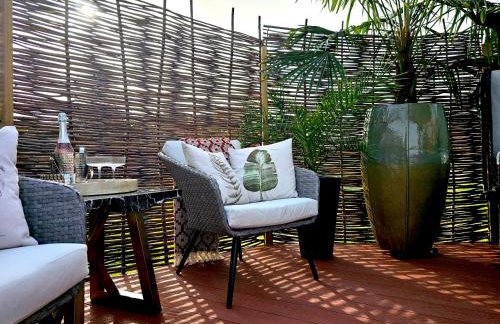
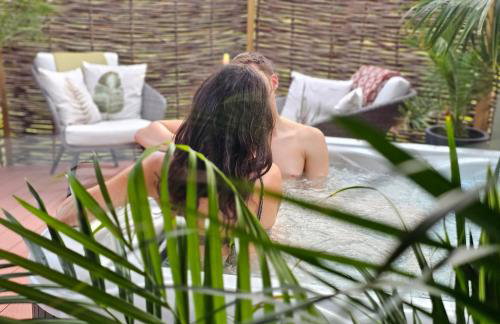
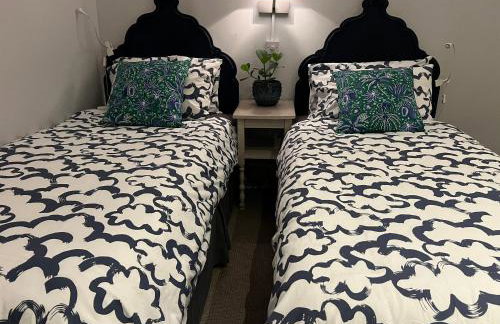
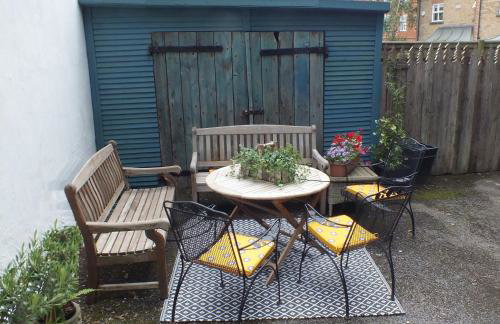
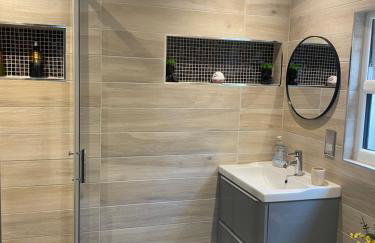
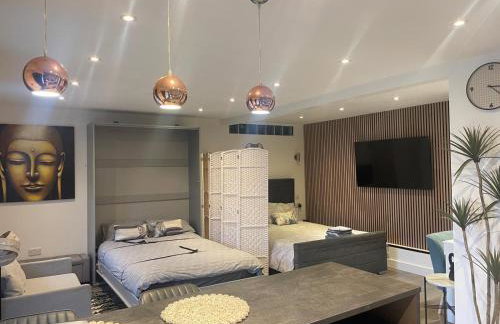
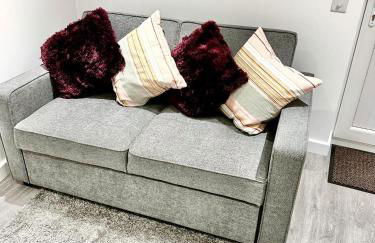
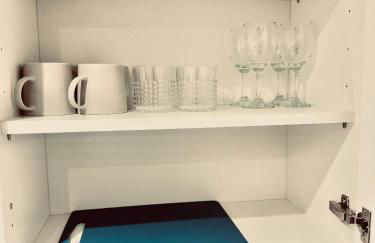
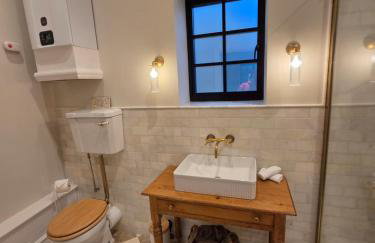
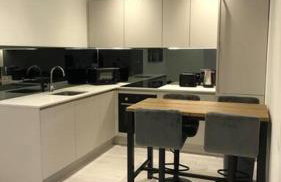
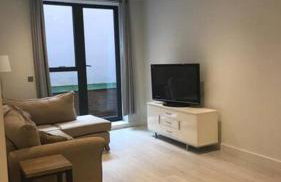
Hillside Farm Barn Apartments - Foto 3
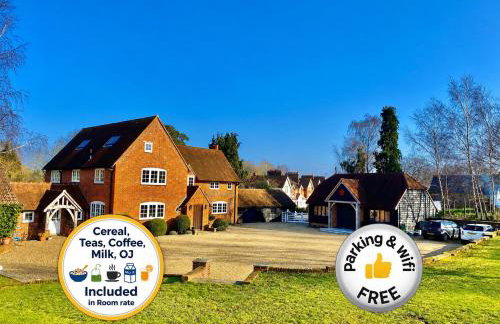
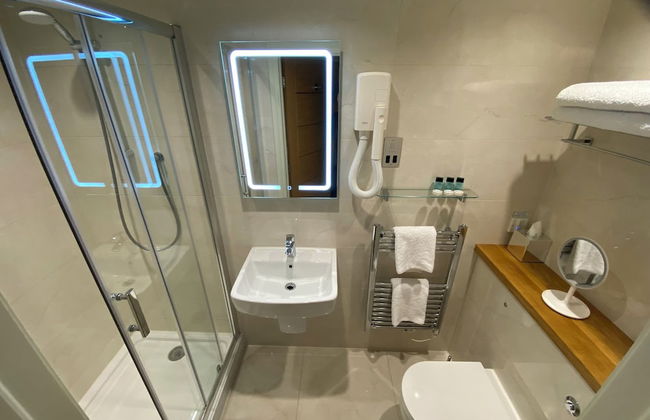
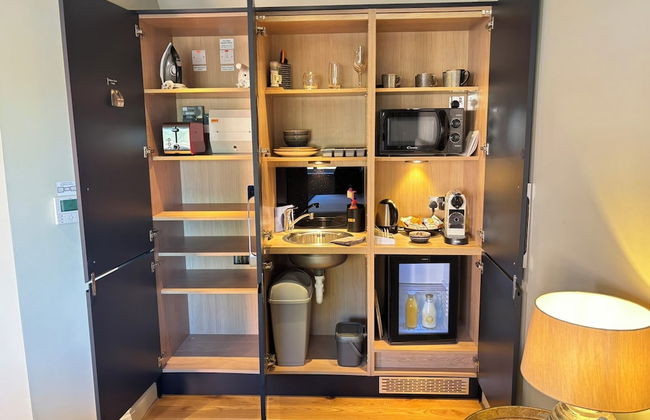
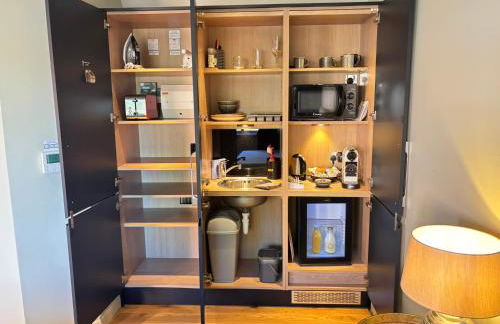
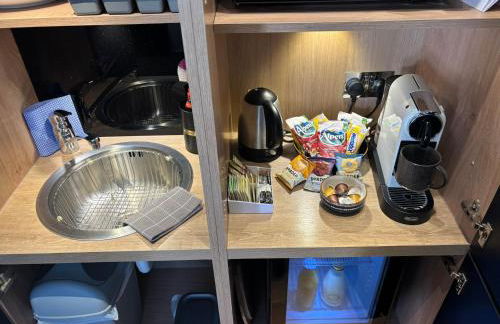
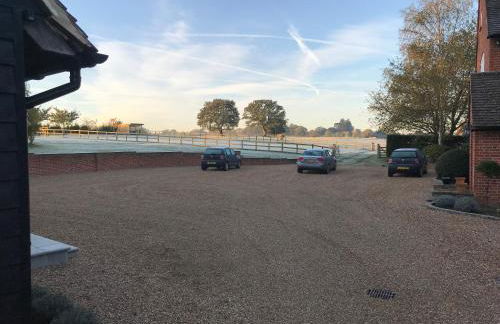
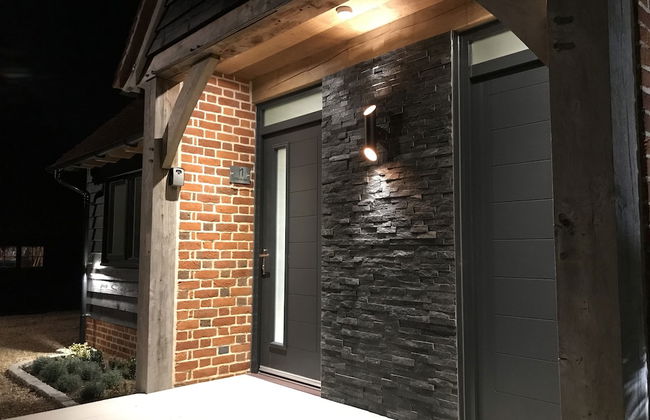
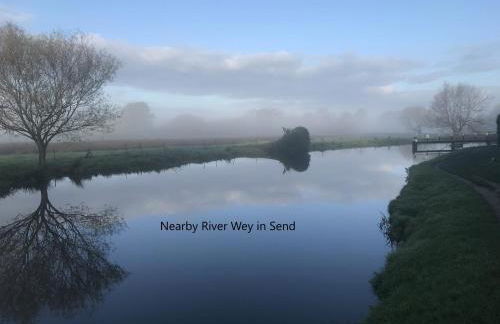
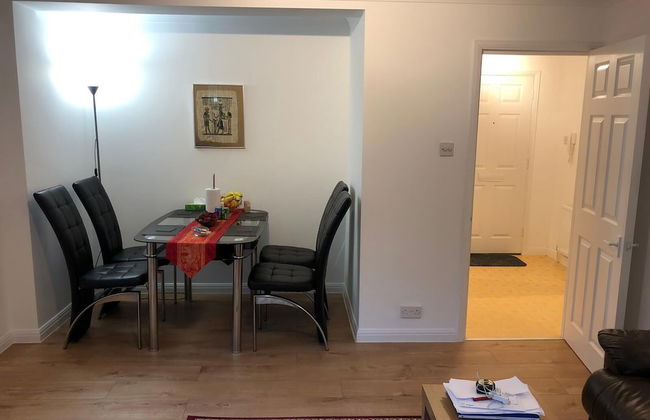
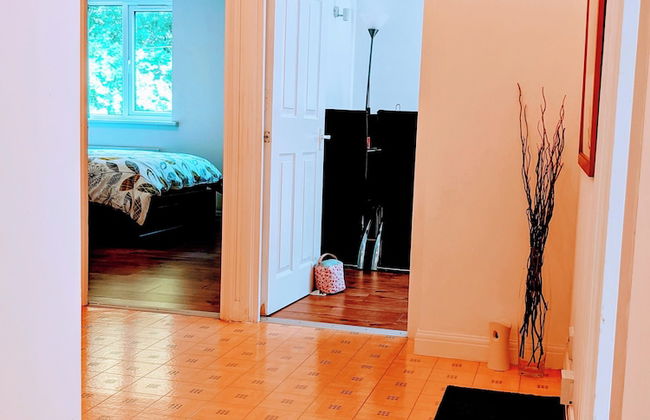
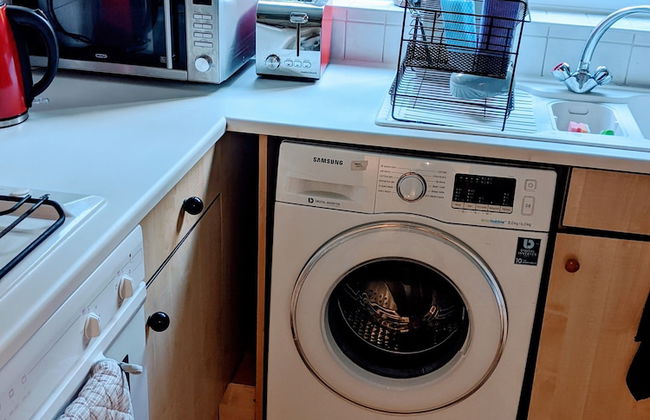
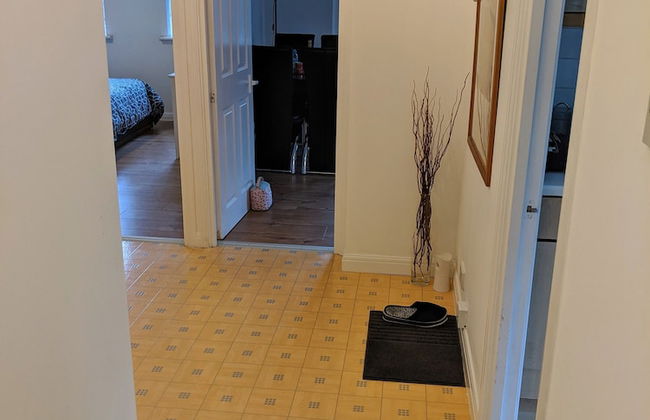
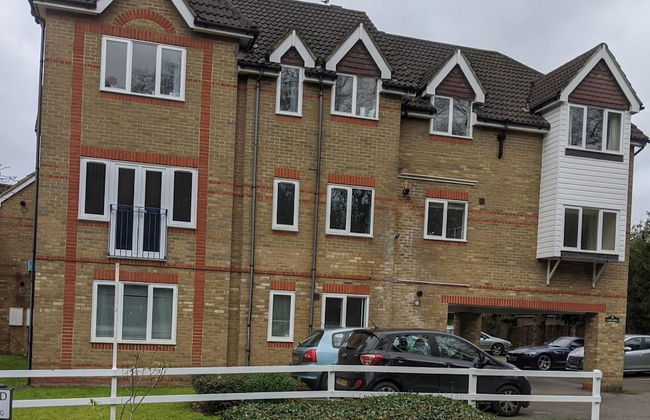
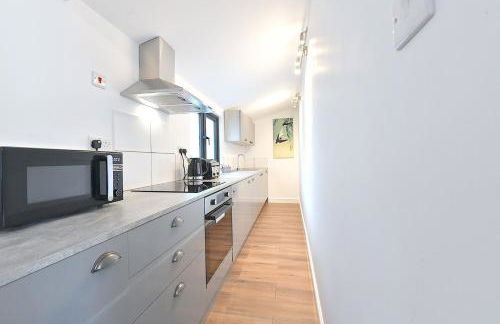
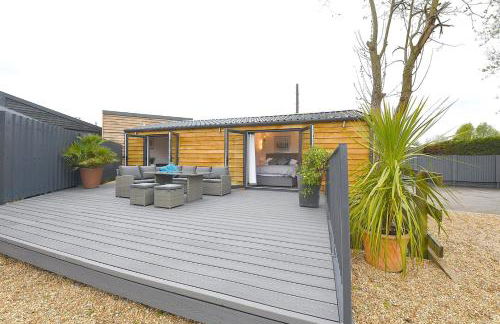
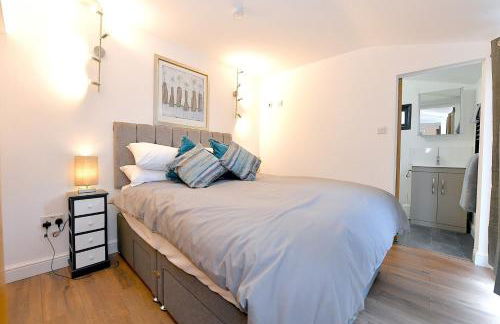
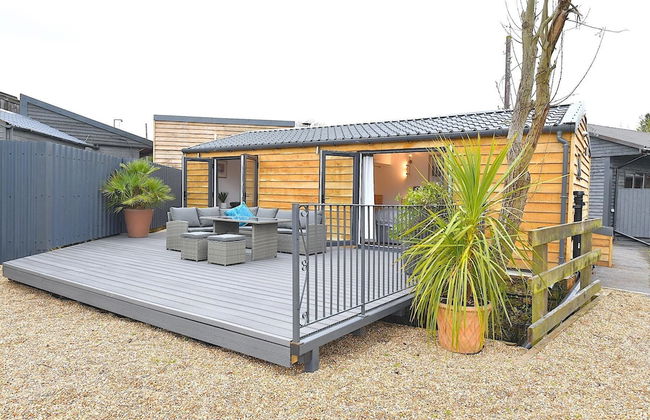
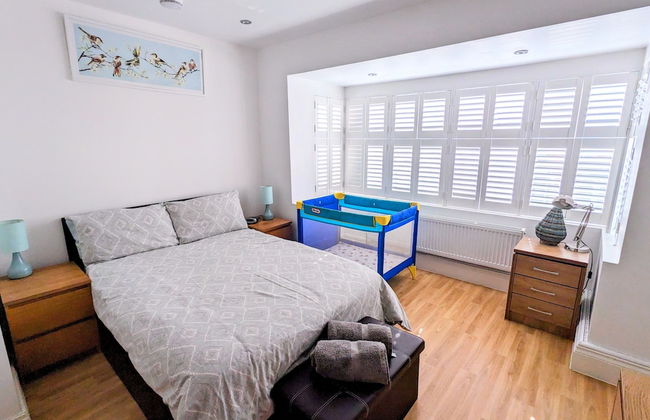
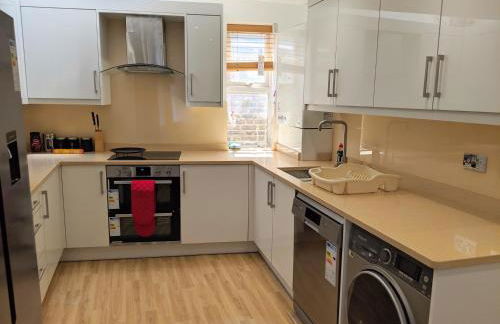
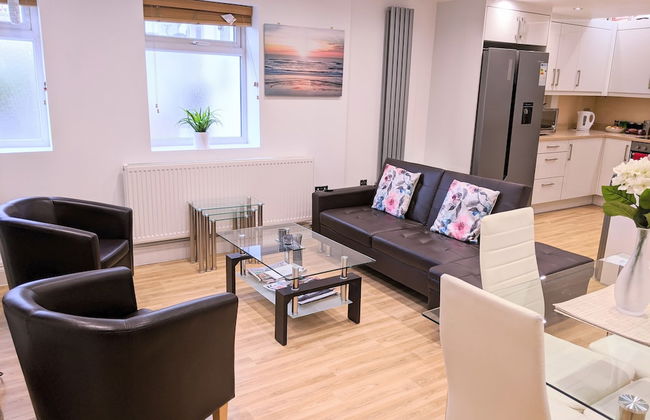
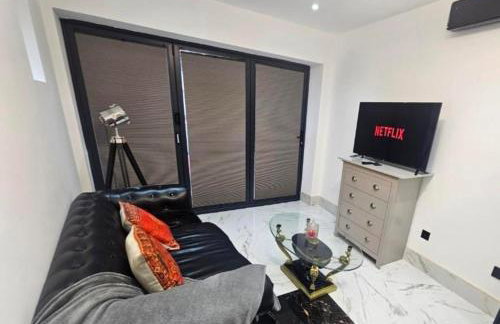
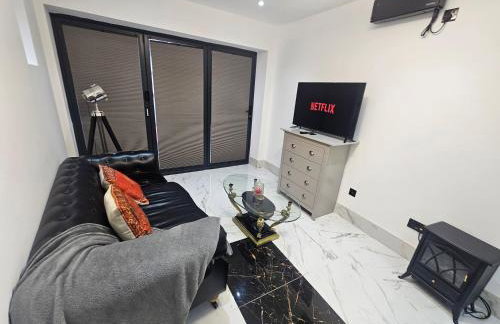
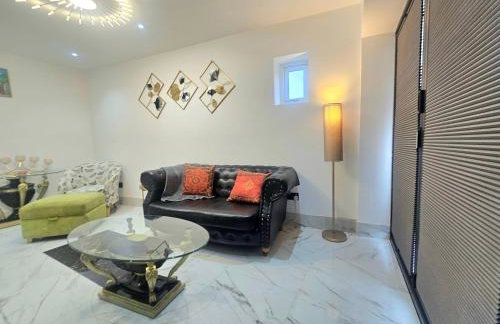
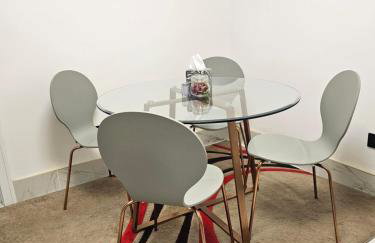
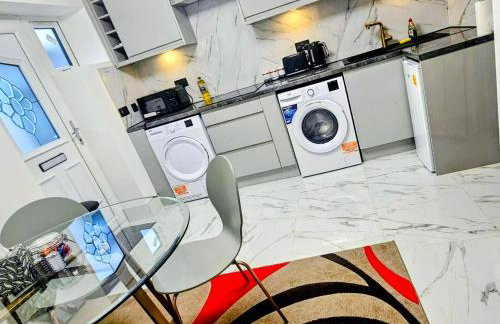
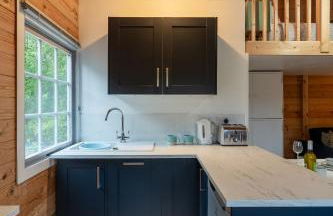
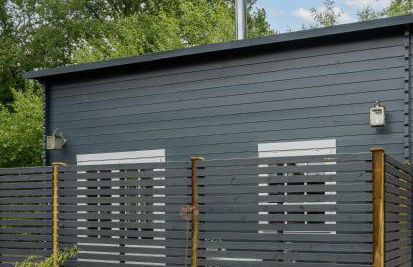
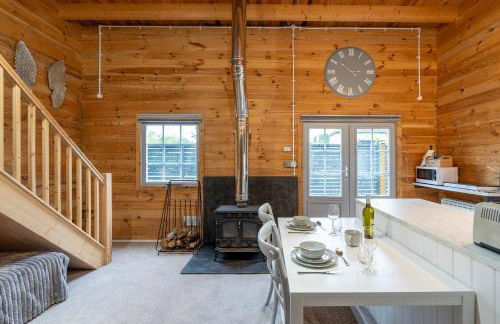
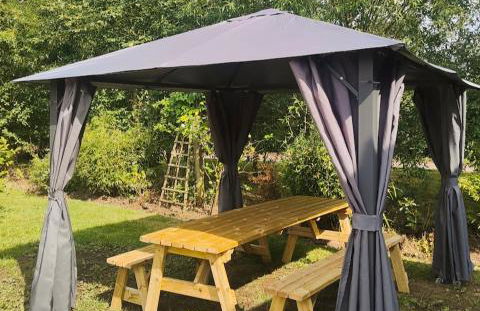
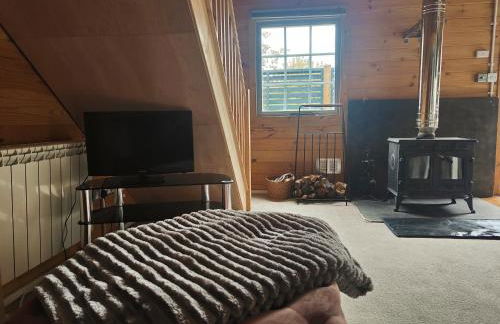
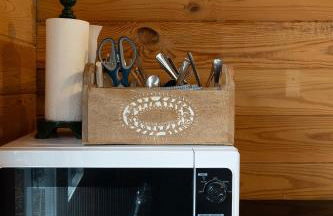
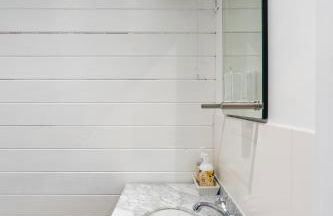
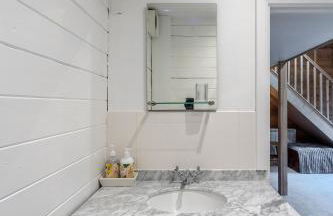
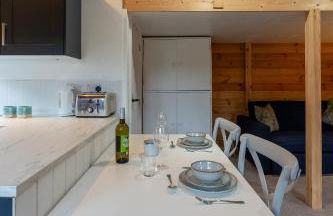
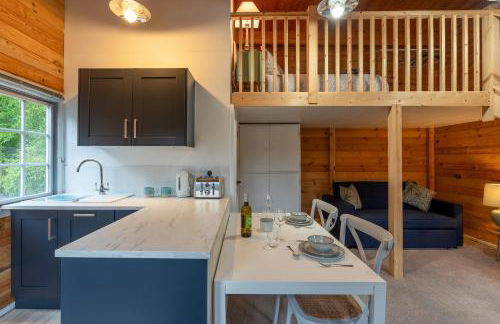
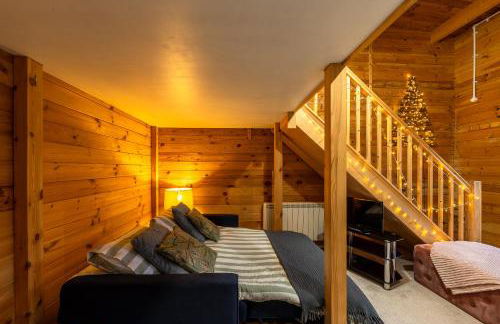
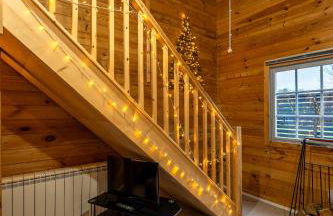
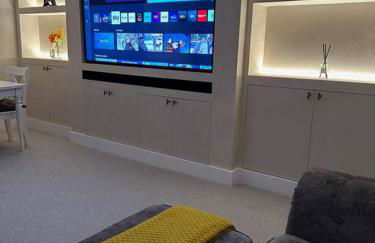
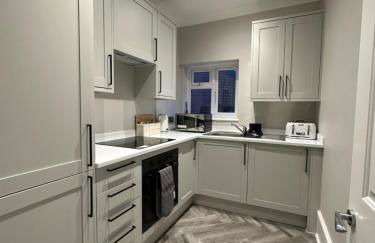
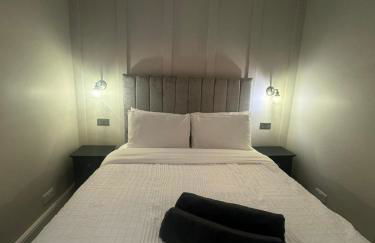
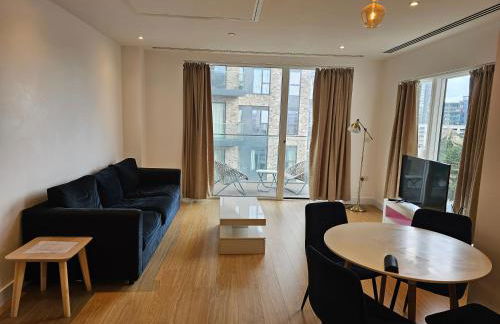
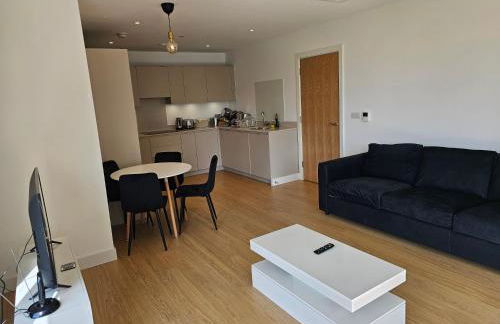
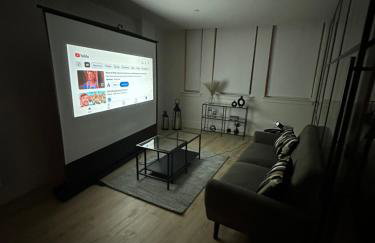
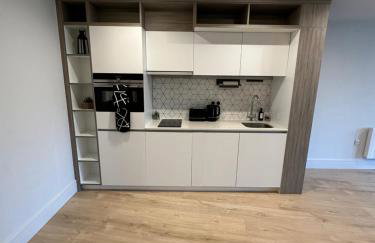
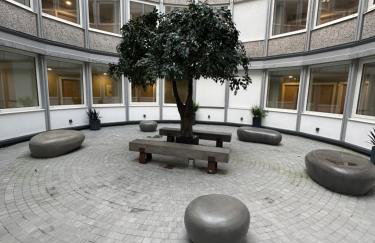
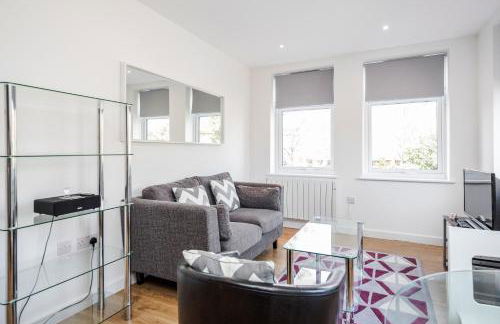
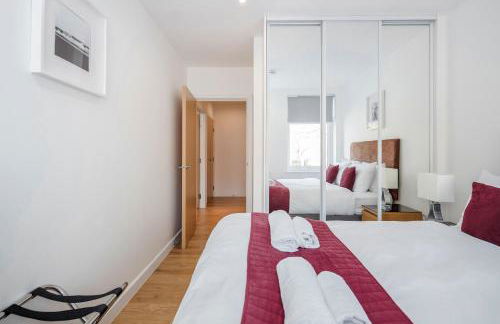
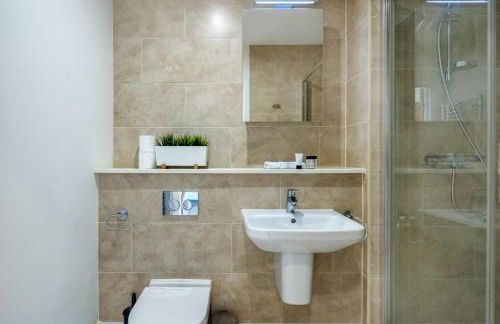
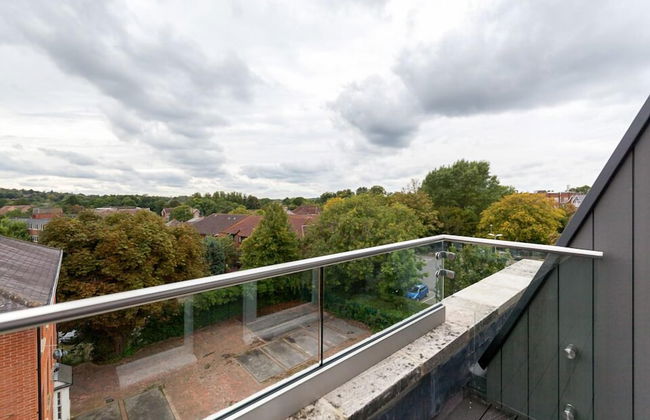
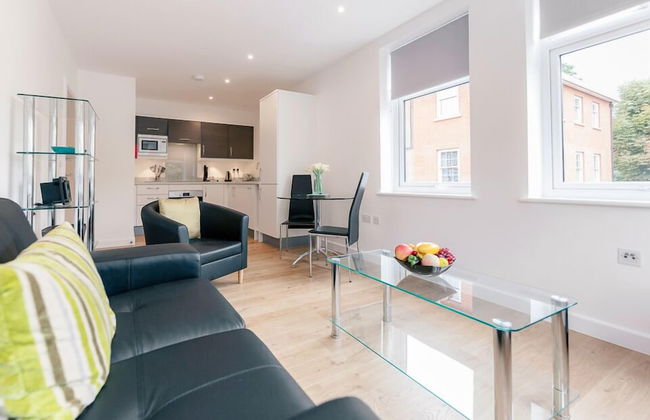
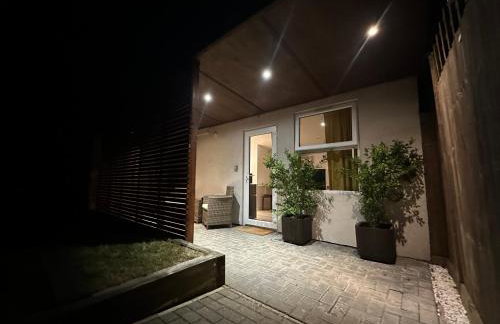
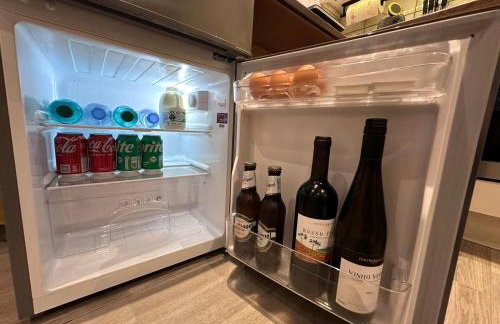
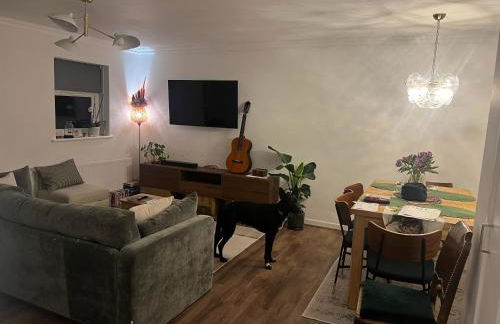
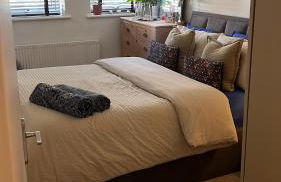
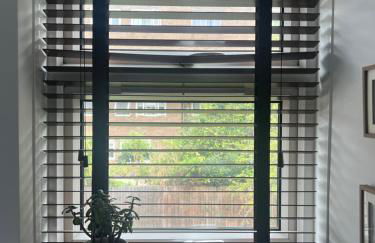
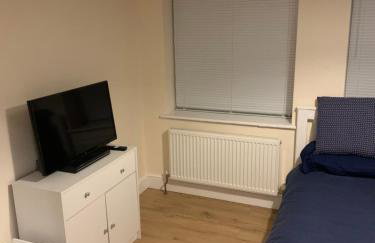
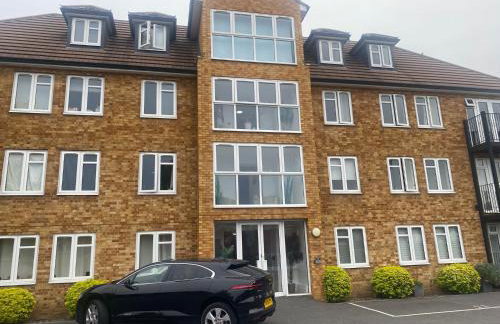
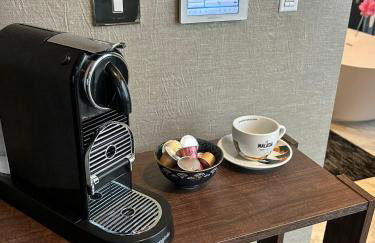
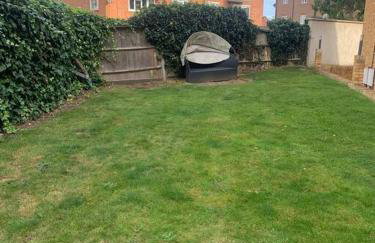
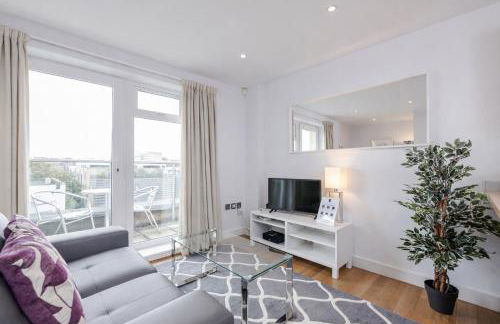
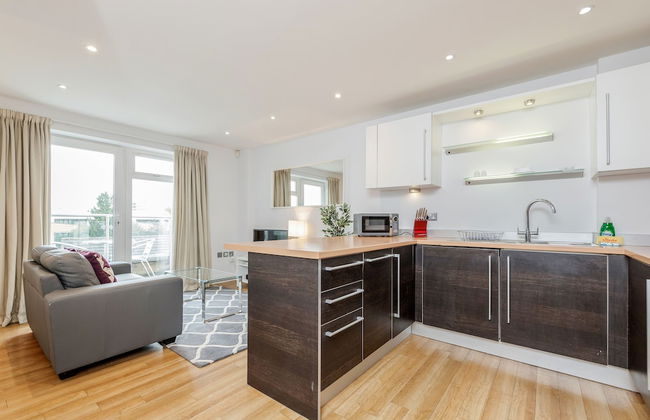
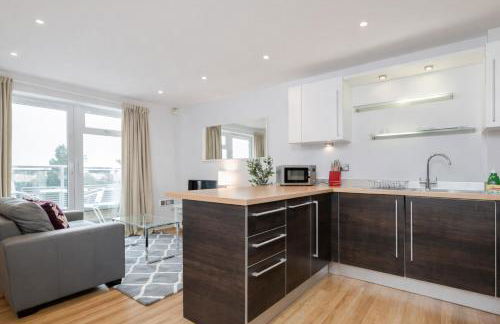
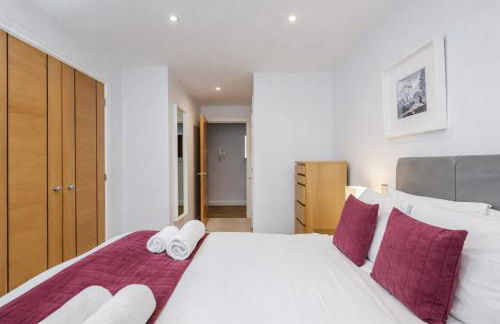
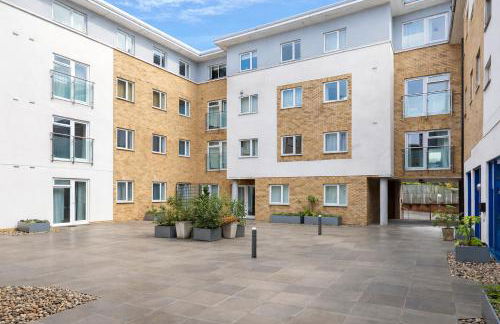
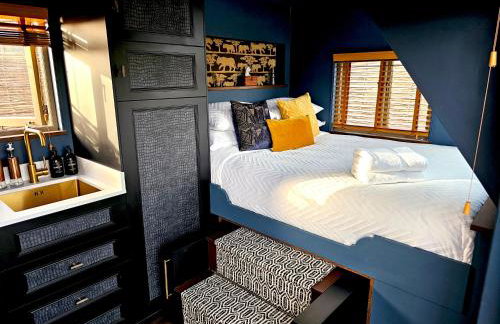
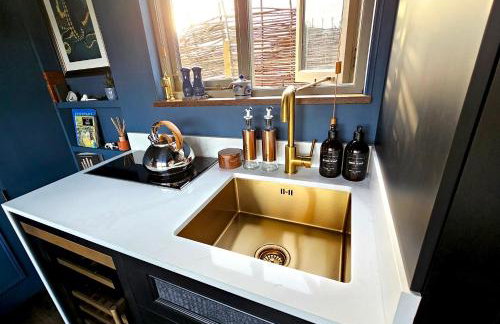
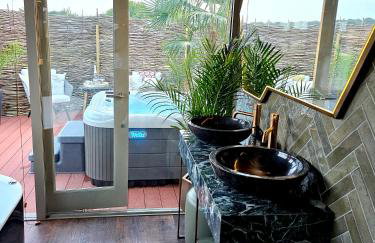
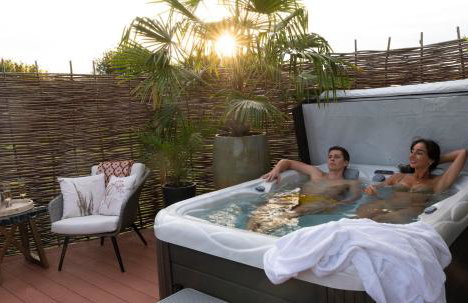
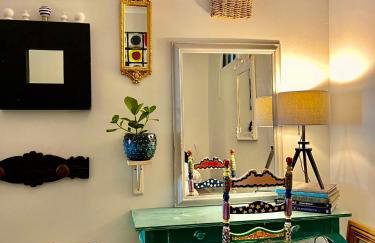
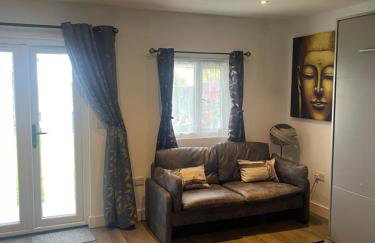
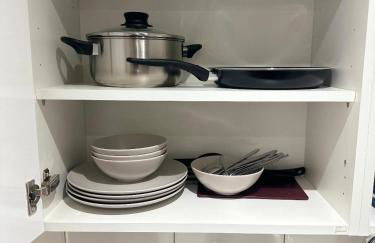
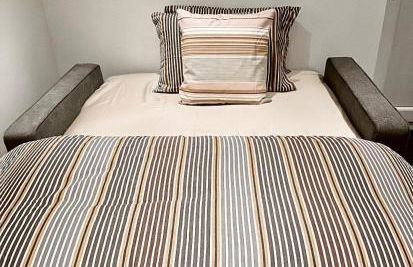
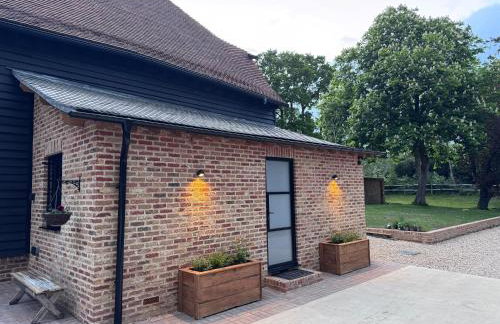
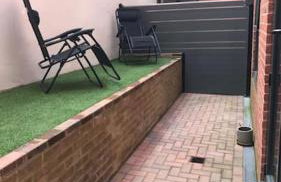
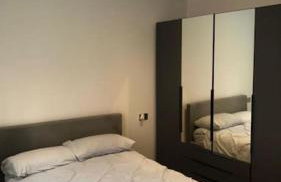
Hillside Farm Barn Apartments - Foto 4
Hillside Farm Barn Apartments - Foto 5
Hillside Farm Barn Apartments - Foto 6
Hillside Farm Barn Apartments - Foto 7
Hillside Farm Barn Apartments - Foto 8
Hillside Farm Barn Apartments - Foto 9
Hillside Farm Barn Apartments - Foto 10
Hillside Farm Barn Apartments - Foto 11
Hillside Farm Barn Apartments - Foto 12
Hillside Farm Barn Apartments - Foto 13
Hillside Farm Barn Apartments - Foto 14
Hillside Farm Barn Apartments - Foto 15
Hillside Farm Barn Apartments - Foto 16
Hillside Farm Barn Apartments - Foto 17
Hillside Farm Barn Apartments - Foto 18
Hillside Farm Barn Apartments - Foto 19
Hillside Farm Barn Apartments - Foto 20
Hillside Farm Barn Apartments - Foto 21
Hillside Farm Barn Apartments - Foto 22
Hillside Farm Barn Apartments - Foto 23
Hillside Farm Barn Apartments - Foto 24
Hillside Farm Barn Apartments - Foto 25
Hillside Farm Barn Apartments - Foto 26
Hillside Farm Barn Apartments - Foto 27
Hillside Farm Barn Apartments - Foto 28
Hillside Farm Barn Apartments - Foto 29
Hillside Farm Barn Apartments - Foto 30
Hillside Farm Barn Apartments - Foto 31
Hillside Farm Barn Apartments - Foto 32
Hillside Farm Barn Apartments - Foto 33
Hillside Farm Barn Apartments - Foto 34
Hillside Farm Barn Apartments - Foto 35
Hillside Farm Barn Apartments - Foto 36
Hillside Farm Barn Apartments - Foto 37
Hillside Farm Barn Apartments - Foto 38
Hillside Farm Barn Apartments - Foto 39
Hillside Farm Barn Apartments - Foto 40
Hillside Farm Barn Apartments - Foto 41
Hillside Farm Barn Apartments - Foto 42
Hillside Farm Barn Apartments - Foto 43
Hillside Farm Barn Apartments - Foto 44
Hillside Farm Barn Apartments - Foto 45
Hillside Farm Barn Apartments - Foto 46
Hillside Farm Barn Apartments - Foto 47
Hillside Farm Barn Apartments - Foto 48
Hillside Farm Barn Apartments - Foto 49
Hillside Farm Barn Apartments - Foto 50
Hillside Farm Barn Apartments - Foto 51
Hillside Farm Barn Apartments - Foto 52
Hillside Farm Barn Apartments - Foto 53
Hillside Farm Barn Apartments - Foto 54
Hillside Farm Barn Apartments - Foto 55
Hillside Farm Barn Apartments - Foto 56
Hillside Farm Barn Apartments - Foto 57
Hillside Farm Barn Apartments - Foto 58
Hillside Farm Barn Apartments - Foto 59
Hillside Farm Barn Apartments - Foto 60
Hillside Farm Barn Apartments - Foto 61
Hillside Farm Barn Apartments - Foto 62
Hillside Farm Barn Apartments - Foto 63
Hillside Farm Barn Apartments - Foto 64
Hillside Farm Barn Apartments - Foto 65
Hillside Farm Barn Apartments - Foto 66
Hillside Farm Barn Apartments - Foto 67
Hillside Farm Barn Apartments - Foto 68
Hillside Farm Barn Apartments - Foto 69
Hillside Farm Barn Apartments - Foto 70
Hillside Farm Barn Apartments - Foto 71

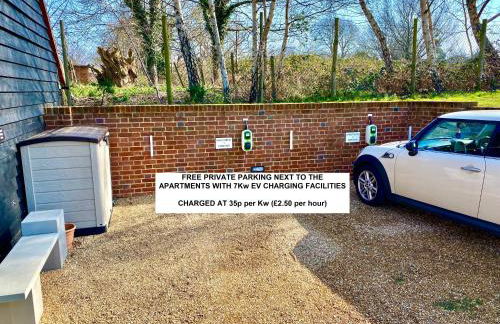
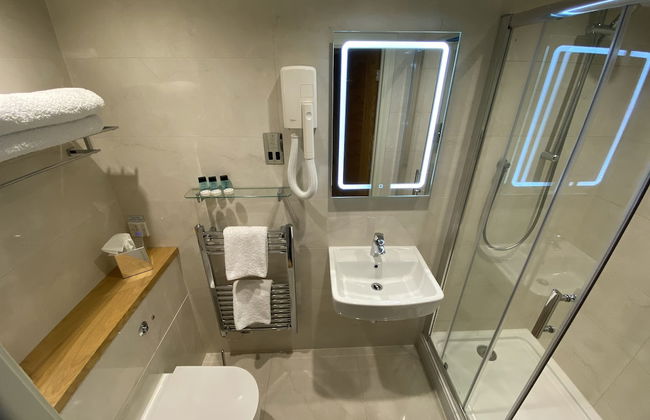
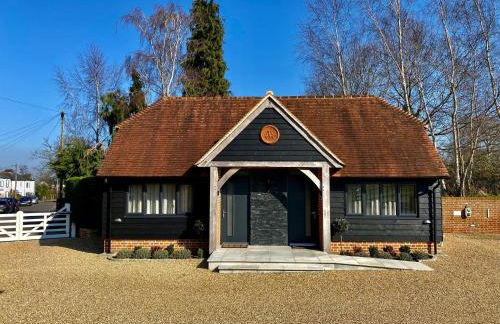
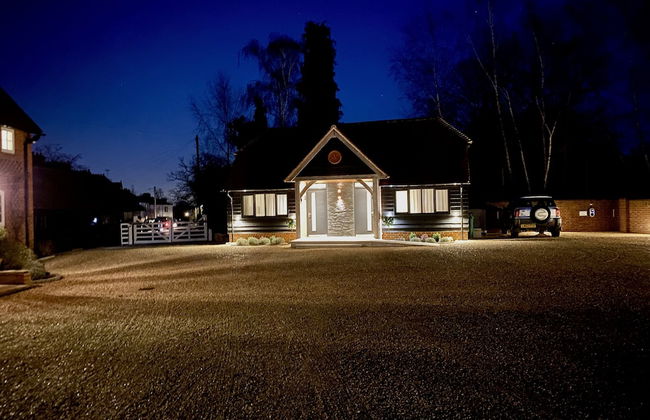
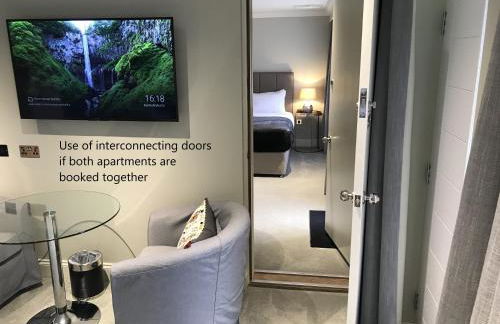
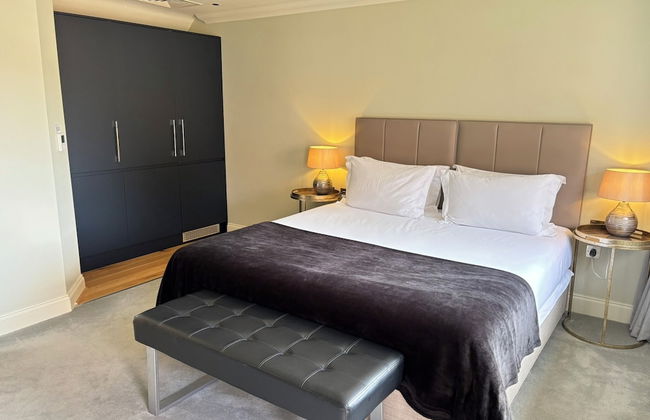
Hillside Farm Barn Apartments

Woking - Send - 3.6 km vom Zentrum

  • 23 M2
  • 2 Personen
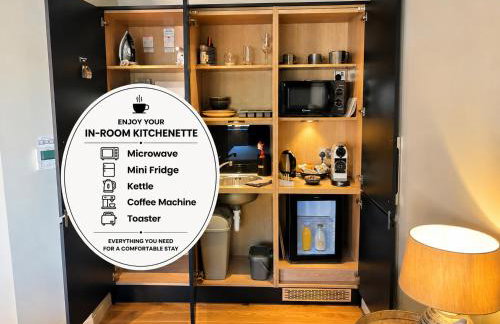
  • Kochnische
  • Klimaanlage
  • Heizung
  • Parkplatz
  • Garten
  • Tv
  • Handtücher
  • Bettlaken
10Hervorragend | 28 Bewertungen
Oaklawn Serviced Apartments - Foto 1
Oaklawn Serviced Apartments - Foto 2
Oaklawn Serviced Apartments - Foto 3
Oaklawn Serviced Apartments - Foto 4
Oaklawn Serviced Apartments - Foto 5
Oaklawn Serviced Apartments - Foto 6
Oaklawn Serviced Apartments - Foto 7
Oaklawn Serviced Apartments - Foto 8
Oaklawn Serviced Apartments - Foto 9
Oaklawn Serviced Apartments - Foto 10
Oaklawn Serviced Apartments - Foto 11
Oaklawn Serviced Apartments - Foto 12
Oaklawn Serviced Apartments - Foto 13
Oaklawn Serviced Apartments - Foto 14
Oaklawn Serviced Apartments - Foto 15
Oaklawn Serviced Apartments - Foto 16
Oaklawn Serviced Apartments - Foto 17
Oaklawn Serviced Apartments - Foto 18
Oaklawn Serviced Apartments - Foto 19
Oaklawn Serviced Apartments - Foto 20
Oaklawn Serviced Apartments - Foto 21
Oaklawn Serviced Apartments - Foto 22
Oaklawn Serviced Apartments - Foto 23
Oaklawn Serviced Apartments - Foto 24
Oaklawn Serviced Apartments - Foto 25
Oaklawn Serviced Apartments - Foto 26
Oaklawn Serviced Apartments - Foto 27
Oaklawn Serviced Apartments - Foto 28
Oaklawn Serviced Apartments - Foto 29
Oaklawn Serviced Apartments - Foto 30
Oaklawn Serviced Apartments - Foto 31
Oaklawn Serviced Apartments - Foto 32
Oaklawn Serviced Apartments - Foto 33
Oaklawn Serviced Apartments - Foto 34
Oaklawn Serviced Apartments - Foto 35
Oaklawn Serviced Apartments - Foto 36
Oaklawn Serviced Apartments - Foto 37
Oaklawn Serviced Apartments - Foto 38
Oaklawn Serviced Apartments - Foto 39
Oaklawn Serviced Apartments - Foto 40
Oaklawn Serviced Apartments - Foto 41
Oaklawn Serviced Apartments - Foto 42
Oaklawn Serviced Apartments - Foto 43

Oaklawn Serviced Apartments

Woking - Horsell - 680 m vom Zentrum

  • Parkplatz
  • Garten
9.8Außergewöhnlich | 11 Bewertungen
Cheerful 1BD Cottage With Parking Nr Guildford - Foto 1
Cheerful 1BD Cottage With Parking Nr Guildford - Foto 2
Cheerful 1BD Cottage With Parking Nr Guildford - Foto 3
Cheerful 1BD Cottage With Parking Nr Guildford - Foto 4
Cheerful 1BD Cottage With Parking Nr Guildford - Foto 5
Cheerful 1BD Cottage With Parking Nr Guildford - Foto 6
Cheerful 1BD Cottage With Parking Nr Guildford - Foto 7
Cheerful 1BD Cottage With Parking Nr Guildford - Foto 8
Cheerful 1BD Cottage With Parking Nr Guildford - Foto 9
Cheerful 1BD Cottage With Parking Nr Guildford - Foto 10
Cheerful 1BD Cottage With Parking Nr Guildford - Foto 11
Cheerful 1BD Cottage With Parking Nr Guildford - Foto 12
Cheerful 1BD Cottage With Parking Nr Guildford - Foto 13
Cheerful 1BD Cottage With Parking Nr Guildford - Foto 14
Cheerful 1BD Cottage With Parking Nr Guildford - Foto 15
Cheerful 1BD Cottage With Parking Nr Guildford - Foto 16
Cheerful 1BD Cottage With Parking Nr Guildford - Foto 17
Cheerful 1BD Cottage With Parking Nr Guildford - Foto 18
Cheerful 1BD Cottage With Parking Nr Guildford - Foto 19
Cheerful 1BD Cottage With Parking Nr Guildford - Foto 20
Cheerful 1BD Cottage With Parking Nr Guildford - Foto 21

Cheerful 1BD Cottage With Parking Nr Guildford

Guildford - Guildford - 3.3 km vom Zentrum

  • 60 M2
  • 1 Schlafzimmer
  • 4 Personen
  • Heizung
  • Terrasse
  • Parkplatz
  • Garten
  • Tv
  • Waschmaschine
  • Handtücher
  • Bettlaken
9.8Außergewöhnlich | 6 Bewertungen
Spacious 2-bed apartment in central Kingston near Richmond Park - Foto 1
Spacious 2-bed apartment in central Kingston near Richmond Park - Foto 2
Spacious 2-bed apartment in central Kingston near Richmond Park - Foto 3
Spacious 2-bed apartment in central Kingston near Richmond Park - Foto 4
Spacious 2-bed apartment in central Kingston near Richmond Park - Foto 5
Spacious 2-bed apartment in central Kingston near Richmond Park - Foto 6
Spacious 2-bed apartment in central Kingston near Richmond Park - Foto 7
Spacious 2-bed apartment in central Kingston near Richmond Park - Foto 8
Spacious 2-bed apartment in central Kingston near Richmond Park - Foto 9
Spacious 2-bed apartment in central Kingston near Richmond Park - Foto 10
Spacious 2-bed apartment in central Kingston near Richmond Park - Foto 11
Spacious 2-bed apartment in central Kingston near Richmond Park - Foto 12
Spacious 2-bed apartment in central Kingston near Richmond Park - Foto 13
Spacious 2-bed apartment in central Kingston near Richmond Park - Foto 14
Spacious 2-bed apartment in central Kingston near Richmond Park - Foto 15
Spacious 2-bed apartment in central Kingston near Richmond Park - Foto 16
Spacious 2-bed apartment in central Kingston near Richmond Park - Foto 17
Spacious 2-bed apartment in central Kingston near Richmond Park - Foto 18
Spacious 2-bed apartment in central Kingston near Richmond Park - Foto 19
Spacious 2-bed apartment in central Kingston near Richmond Park - Foto 20
Spacious 2-bed apartment in central Kingston near Richmond Park - Foto 21
Spacious 2-bed apartment in central Kingston near Richmond Park - Foto 22
Spacious 2-bed apartment in central Kingston near Richmond Park - Foto 23
Spacious 2-bed apartment in central Kingston near Richmond Park - Foto 24
Spacious 2-bed apartment in central Kingston near Richmond Park - Foto 25
Spacious 2-bed apartment in central Kingston near Richmond Park - Foto 26
Spacious 2-bed apartment in central Kingston near Richmond Park - Foto 27

Spacious 2-bed apartment in central Kingston near Richmond Park

Kingston - Kingston - 370 m vom Zentrum

  • 65 M2
  • 2 Schlafzimmer
  • 5 Personen
  • Heizung
  • Parkplatz
8.9Sehr gut | 61 Bewertungen
Heaven - Foto 1
Heaven - Foto 2
Heaven - Foto 3
Heaven - Foto 4
Heaven - Foto 5
Heaven - Foto 6
Heaven - Foto 7
Heaven - Foto 8
Heaven - Foto 9
Heaven - Foto 10
Heaven - Foto 11
Heaven - Foto 12
Heaven - Foto 13
Heaven - Foto 14
Heaven - Foto 15
Heaven - Foto 16
Heaven - Foto 17
Heaven - Foto 18
Heaven - Foto 19
Heaven - Foto 20
Heaven - Foto 21
Heaven - Foto 22
Heaven - Foto 23
Heaven - Foto 24
Heaven - Foto 25
Heaven - Foto 26
Heaven - Foto 27
Heaven - Foto 28
Heaven - Foto 29

Heaven

Morden - Morden

  • 40 M2
  • 1 Schlafzimmer
  • 2 Personen
  • Parkplatz
9.9Außergewöhnlich | 29 Bewertungen
Walliswood Lodge - Wood Burner, Air Con & Wi-fi, Rural Retreat - Foto 1
Walliswood Lodge - Wood Burner, Air Con & Wi-fi, Rural Retreat - Foto 2
Walliswood Lodge - Wood Burner, Air Con & Wi-fi, Rural Retreat - Foto 3
Walliswood Lodge - Wood Burner, Air Con & Wi-fi, Rural Retreat - Foto 4
Walliswood Lodge - Wood Burner, Air Con & Wi-fi, Rural Retreat - Foto 5
Walliswood Lodge - Wood Burner, Air Con & Wi-fi, Rural Retreat - Foto 6
Walliswood Lodge - Wood Burner, Air Con & Wi-fi, Rural Retreat - Foto 7
Walliswood Lodge - Wood Burner, Air Con & Wi-fi, Rural Retreat - Foto 8
Walliswood Lodge - Wood Burner, Air Con & Wi-fi, Rural Retreat - Foto 9
Walliswood Lodge - Wood Burner, Air Con & Wi-fi, Rural Retreat - Foto 10
Walliswood Lodge - Wood Burner, Air Con & Wi-fi, Rural Retreat - Foto 11
Walliswood Lodge - Wood Burner, Air Con & Wi-fi, Rural Retreat - Foto 12
Walliswood Lodge - Wood Burner, Air Con & Wi-fi, Rural Retreat - Foto 13
Walliswood Lodge - Wood Burner, Air Con & Wi-fi, Rural Retreat - Foto 14
Walliswood Lodge - Wood Burner, Air Con & Wi-fi, Rural Retreat - Foto 15
Walliswood Lodge - Wood Burner, Air Con & Wi-fi, Rural Retreat - Foto 16
Walliswood Lodge - Wood Burner, Air Con & Wi-fi, Rural Retreat - Foto 17
Walliswood Lodge - Wood Burner, Air Con & Wi-fi, Rural Retreat - Foto 18
Walliswood Lodge - Wood Burner, Air Con & Wi-fi, Rural Retreat - Foto 19
Walliswood Lodge - Wood Burner, Air Con & Wi-fi, Rural Retreat - Foto 20
Walliswood Lodge - Wood Burner, Air Con & Wi-fi, Rural Retreat - Foto 21
Walliswood Lodge - Wood Burner, Air Con & Wi-fi, Rural Retreat - Foto 22
Walliswood Lodge - Wood Burner, Air Con & Wi-fi, Rural Retreat - Foto 23
Walliswood Lodge - Wood Burner, Air Con & Wi-fi, Rural Retreat - Foto 24
Walliswood Lodge - Wood Burner, Air Con & Wi-fi, Rural Retreat - Foto 25
Walliswood Lodge - Wood Burner, Air Con & Wi-fi, Rural Retreat - Foto 26
Walliswood Lodge - Wood Burner, Air Con & Wi-fi, Rural Retreat - Foto 27
Walliswood Lodge - Wood Burner, Air Con & Wi-fi, Rural Retreat - Foto 28
Walliswood Lodge - Wood Burner, Air Con & Wi-fi, Rural Retreat - Foto 29
Walliswood Lodge - Wood Burner, Air Con & Wi-fi, Rural Retreat - Foto 30
Walliswood Lodge - Wood Burner, Air Con & Wi-fi, Rural Retreat - Foto 31
Walliswood Lodge - Wood Burner, Air Con & Wi-fi, Rural Retreat - Foto 32
Walliswood Lodge - Wood Burner, Air Con & Wi-fi, Rural Retreat - Foto 33
Walliswood Lodge - Wood Burner, Air Con & Wi-fi, Rural Retreat - Foto 34
Walliswood Lodge - Wood Burner, Air Con & Wi-fi, Rural Retreat - Foto 35
Walliswood Lodge - Wood Burner, Air Con & Wi-fi, Rural Retreat - Foto 36
Walliswood Lodge - Wood Burner, Air Con & Wi-fi, Rural Retreat - Foto 37
Walliswood Lodge - Wood Burner, Air Con & Wi-fi, Rural Retreat - Foto 38
Walliswood Lodge - Wood Burner, Air Con & Wi-fi, Rural Retreat - Foto 39
Walliswood Lodge - Wood Burner, Air Con & Wi-fi, Rural Retreat - Foto 40
Walliswood Lodge - Wood Burner, Air Con & Wi-fi, Rural Retreat - Foto 41
Walliswood Lodge - Wood Burner, Air Con & Wi-fi, Rural Retreat - Foto 42
Walliswood Lodge - Wood Burner, Air Con & Wi-fi, Rural Retreat - Foto 43
Walliswood Lodge - Wood Burner, Air Con & Wi-fi, Rural Retreat - Foto 44
Walliswood Lodge - Wood Burner, Air Con & Wi-fi, Rural Retreat - Foto 45
Walliswood Lodge - Wood Burner, Air Con & Wi-fi, Rural Retreat - Foto 46
Walliswood Lodge - Wood Burner, Air Con & Wi-fi, Rural Retreat - Foto 47
Walliswood Lodge - Wood Burner, Air Con & Wi-fi, Rural Retreat - Foto 48
Walliswood Lodge - Wood Burner, Air Con & Wi-fi, Rural Retreat - Foto 49
Walliswood Lodge - Wood Burner, Air Con & Wi-fi, Rural Retreat - Foto 50
Walliswood Lodge - Wood Burner, Air Con & Wi-fi, Rural Retreat - Foto 51
Walliswood Lodge - Wood Burner, Air Con & Wi-fi, Rural Retreat - Foto 52
Walliswood Lodge - Wood Burner, Air Con & Wi-fi, Rural Retreat - Foto 53
Walliswood Lodge - Wood Burner, Air Con & Wi-fi, Rural Retreat - Foto 54
Walliswood Lodge - Wood Burner, Air Con & Wi-fi, Rural Retreat - Foto 55
Walliswood Lodge - Wood Burner, Air Con & Wi-fi, Rural Retreat - Foto 56
Walliswood Lodge - Wood Burner, Air Con & Wi-fi, Rural Retreat - Foto 57
Walliswood Lodge - Wood Burner, Air Con & Wi-fi, Rural Retreat - Foto 58
Walliswood Lodge - Wood Burner, Air Con & Wi-fi, Rural Retreat - Foto 59
Walliswood Lodge - Wood Burner, Air Con & Wi-fi, Rural Retreat - Foto 60
Walliswood Lodge - Wood Burner, Air Con & Wi-fi, Rural Retreat - Foto 61
Walliswood Lodge - Wood Burner, Air Con & Wi-fi, Rural Retreat - Foto 62
Walliswood Lodge - Wood Burner, Air Con & Wi-fi, Rural Retreat - Foto 63
Walliswood Lodge - Wood Burner, Air Con & Wi-fi, Rural Retreat - Foto 64
Walliswood Lodge - Wood Burner, Air Con & Wi-fi, Rural Retreat - Foto 65
Walliswood Lodge - Wood Burner, Air Con & Wi-fi, Rural Retreat - Foto 66
Walliswood Lodge - Wood Burner, Air Con & Wi-fi, Rural Retreat - Foto 67
Walliswood Lodge - Wood Burner, Air Con & Wi-fi, Rural Retreat - Foto 68
Walliswood Lodge - Wood Burner, Air Con & Wi-fi, Rural Retreat - Foto 69
Walliswood Lodge - Wood Burner, Air Con & Wi-fi, Rural Retreat - Foto 70
Walliswood Lodge - Wood Burner, Air Con & Wi-fi, Rural Retreat - Foto 71
Walliswood Lodge - Wood Burner, Air Con & Wi-fi, Rural Retreat - Foto 72
Walliswood Lodge - Wood Burner, Air Con & Wi-fi, Rural Retreat - Foto 73
Walliswood Lodge - Wood Burner, Air Con & Wi-fi, Rural Retreat - Foto 74
Walliswood Lodge - Wood Burner, Air Con & Wi-fi, Rural Retreat - Foto 75
Walliswood Lodge - Wood Burner, Air Con & Wi-fi, Rural Retreat - Foto 76
Walliswood Lodge - Wood Burner, Air Con & Wi-fi, Rural Retreat - Foto 77
Walliswood Lodge - Wood Burner, Air Con & Wi-fi, Rural Retreat - Foto 78
Walliswood Lodge - Wood Burner, Air Con & Wi-fi, Rural Retreat - Foto 79
Walliswood Lodge - Wood Burner, Air Con & Wi-fi, Rural Retreat - Foto 80

Walliswood Lodge - Wood Burner, Air Con & Wi-fi, Rural Retreat

Dorking - Wallis Wood

  • 42 M2
  • 1 Schlafzimmer
  • 4 Personen
  • Klimaanlage
  • Terrasse
  • Parkplatz
  • Garten
9.4Außergewöhnlich | 52 Bewertungen
Premium Apartment in Redhill Town Centre - Foto 1
Premium Apartment in Redhill Town Centre - Foto 2
Premium Apartment in Redhill Town Centre - Foto 3
Premium Apartment in Redhill Town Centre - Foto 4
Premium Apartment in Redhill Town Centre - Foto 5
Premium Apartment in Redhill Town Centre - Foto 6
Premium Apartment in Redhill Town Centre - Foto 7
Premium Apartment in Redhill Town Centre - Foto 8
Premium Apartment in Redhill Town Centre - Foto 9
Premium Apartment in Redhill Town Centre - Foto 10
Premium Apartment in Redhill Town Centre - Foto 11
Premium Apartment in Redhill Town Centre - Foto 12
Premium Apartment in Redhill Town Centre - Foto 13
Premium Apartment in Redhill Town Centre - Foto 14

Premium Apartment in Redhill Town Centre

Redhill - Redhill

  • 70 M2
  • 1 Schlafzimmer
  • 4 Personen
  • Heizung
  • Parkplatz
9.7Außergewöhnlich | 19 Bewertungen
Santina Apartments - Foto 1
Santina Apartments - Foto 2
Santina Apartments - Foto 3
Santina Apartments - Foto 4
Santina Apartments - Foto 5
Santina Apartments - Foto 6
Santina Apartments - Foto 7
Santina Apartments - Foto 8
Santina Apartments - Foto 9
Santina Apartments - Foto 10
Santina Apartments - Foto 11
Santina Apartments - Foto 12
Santina Apartments - Foto 13
Santina Apartments - Foto 14
Santina Apartments - Foto 15
Santina Apartments - Foto 16
Santina Apartments - Foto 17
Santina Apartments - Foto 18
Santina Apartments - Foto 19
Santina Apartments - Foto 20
Santina Apartments - Foto 21
Santina Apartments - Foto 22
Santina Apartments - Foto 23
Santina Apartments - Foto 24
Santina Apartments - Foto 25
Santina Apartments - Foto 26
Santina Apartments - Foto 27
Santina Apartments - Foto 28
Santina Apartments - Foto 29
Santina Apartments - Foto 30
Santina Apartments - Foto 31
Santina Apartments - Foto 32
Santina Apartments - Foto 33
Santina Apartments - Foto 34

Santina Apartments

Croydon - Croydon - 210 m vom Zentrum

  • 68 M2
  • 2 Schlafzimmer
  • 4 Personen
  • Klimaanlage
  • Heizung
  • Terrasse
  • Parkplatz
  • Fahrstuhl
8.8Sehr gut | 91 Bewertungen
Stylish 1 Bedroom Apartment in Purley, Croydon - Foto 1
Stylish 1 Bedroom Apartment in Purley, Croydon - Foto 2
Stylish 1 Bedroom Apartment in Purley, Croydon - Foto 3
Stylish 1 Bedroom Apartment in Purley, Croydon - Foto 4
Stylish 1 Bedroom Apartment in Purley, Croydon - Foto 5
Stylish 1 Bedroom Apartment in Purley, Croydon - Foto 6
Stylish 1 Bedroom Apartment in Purley, Croydon - Foto 7
Stylish 1 Bedroom Apartment in Purley, Croydon - Foto 8
Stylish 1 Bedroom Apartment in Purley, Croydon - Foto 9
Stylish 1 Bedroom Apartment in Purley, Croydon - Foto 10
Stylish 1 Bedroom Apartment in Purley, Croydon - Foto 11
Stylish 1 Bedroom Apartment in Purley, Croydon - Foto 12
Stylish 1 Bedroom Apartment in Purley, Croydon - Foto 13
Stylish 1 Bedroom Apartment in Purley, Croydon - Foto 14

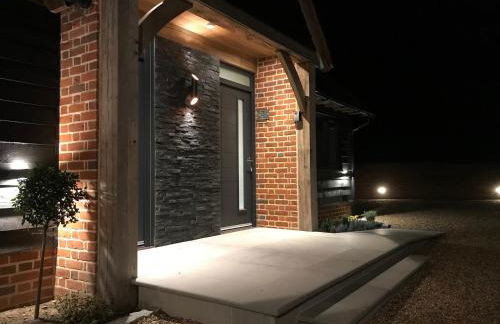
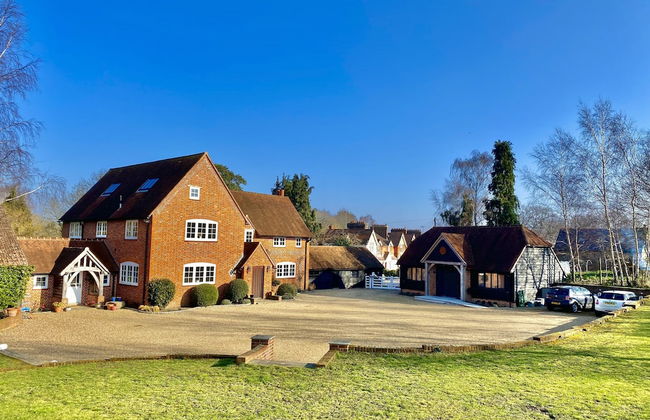
Stylish 1 Bedroom Apartment in Purley, Croydon

Purley - Purley
  • 9 M2
  • 2 Personen
  • Heizung
  • Parkplatz
  • Fahrstuhl
  • Garten
9.3Außergewöhnlich | 16 Bewertungen
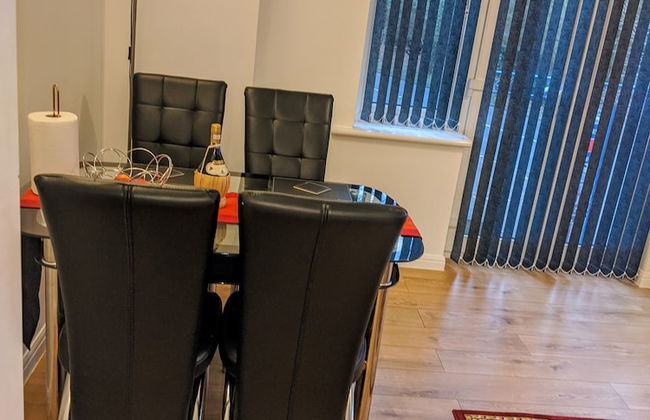
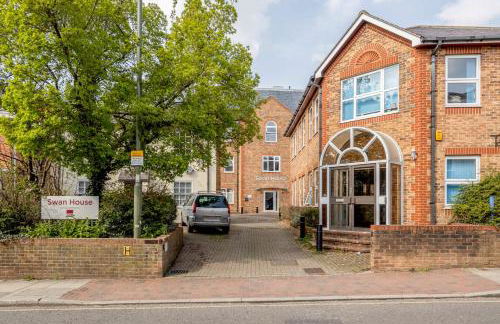
Roomspace Serviced Apartments - Swan House - Foto 1
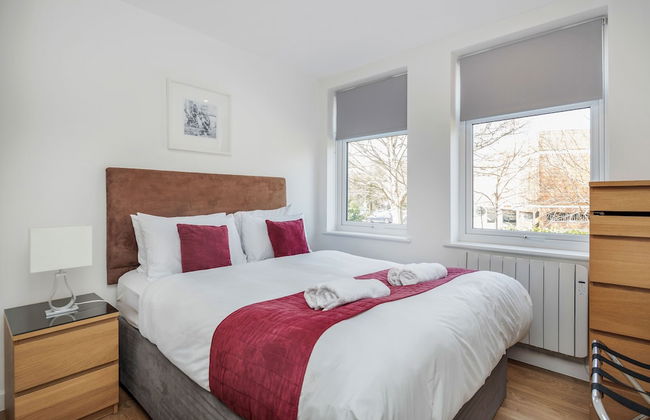
Roomspace Serviced Apartments - Swan House - Foto 2
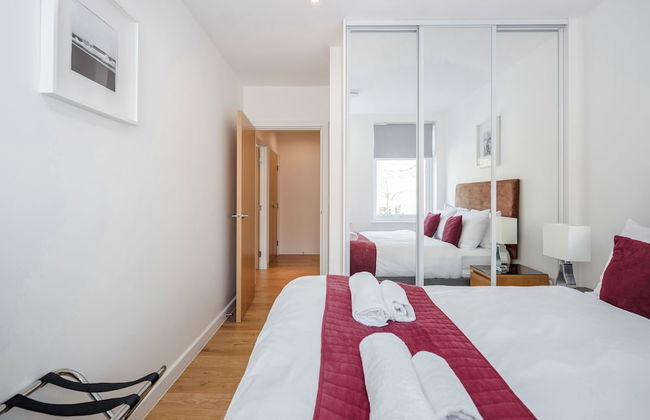
Roomspace Serviced Apartments - Swan House - Foto 3
Roomspace Serviced Apartments - Swan House - Foto 4
Roomspace Serviced Apartments - Swan House - Foto 5
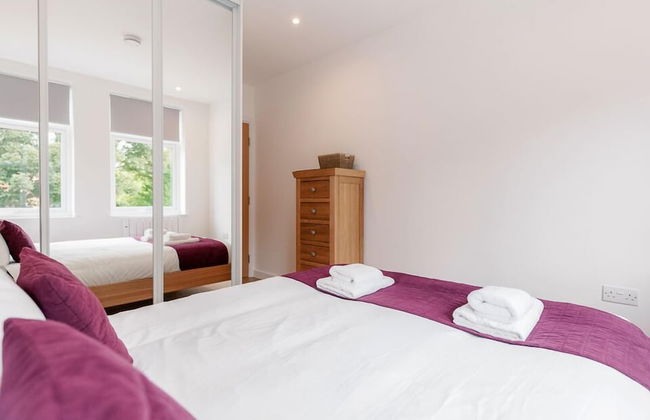
Roomspace Serviced Apartments - Swan House - Foto 6
Roomspace Serviced Apartments - Swan House - Foto 7
Roomspace Serviced Apartments - Swan House - Foto 8
Roomspace Serviced Apartments - Swan House - Foto 9
Roomspace Serviced Apartments - Swan House - Foto 10
Roomspace Serviced Apartments - Swan House - Foto 11
Roomspace Serviced Apartments - Swan House - Foto 12
Roomspace Serviced Apartments - Swan House - Foto 13
Roomspace Serviced Apartments - Swan House - Foto 14
Roomspace Serviced Apartments - Swan House - Foto 15
Roomspace Serviced Apartments - Swan House - Foto 16
Roomspace Serviced Apartments - Swan House - Foto 17
Roomspace Serviced Apartments - Swan House - Foto 18
Roomspace Serviced Apartments - Swan House - Foto 19
Roomspace Serviced Apartments - Swan House - Foto 20
Roomspace Serviced Apartments - Swan House - Foto 21
Roomspace Serviced Apartments - Swan House - Foto 22
Roomspace Serviced Apartments - Swan House - Foto 23
Roomspace Serviced Apartments - Swan House - Foto 24
Roomspace Serviced Apartments - Swan House - Foto 25
Roomspace Serviced Apartments - Swan House - Foto 26

Roomspace Serviced Apartments - Swan House

Leatherhead - Leatherhead

  • 78 M2
  • 5 Personen
  • Heizung
  • Fahrstuhl
  • Tv
  • Waschmaschine
  • Handtücher
  • Bettlaken
9.2Außergewöhnlich | 7 Bewertungen
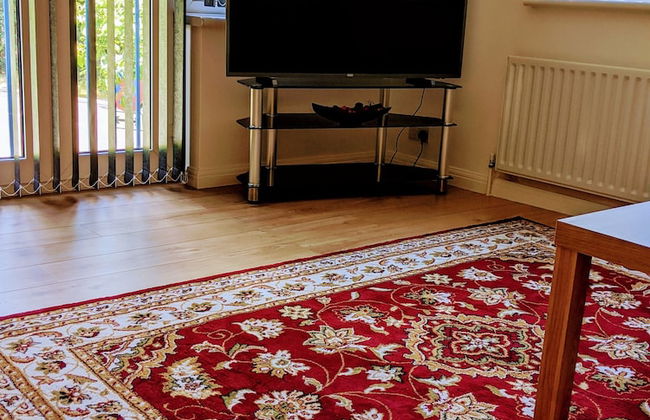
Cosy, self-contained guest house - Foto 1
Cosy, self-contained guest house - Foto 2
Cosy, self-contained guest house - Foto 3
Cosy, self-contained guest house - Foto 4
Cosy, self-contained guest house - Foto 5
Cosy, self-contained guest house - Foto 6
Cosy, self-contained guest house - Foto 7
Cosy, self-contained guest house - Foto 8
Cosy, self-contained guest house - Foto 9
Cosy, self-contained guest house - Foto 10
Cosy, self-contained guest house - Foto 11
Cosy, self-contained guest house - Foto 12
Cosy, self-contained guest house - Foto 13
Cosy, self-contained guest house - Foto 14

Cosy, self-contained guest house

Thornton - Thornton

  • 16 M2
  • 2 Personen
  • Klimaanlage
  • Heizung
  • Terrasse
  • Parkplatz
  • Garten
  • Barbecue
9.9Außergewöhnlich | 61 Bewertungen
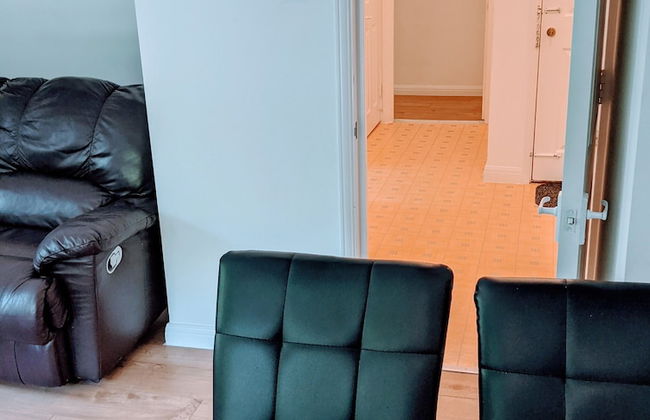
Room at Wallington Green for professionals, free parking, near station, 30 min to London Bridge, 27 min to LDN Victoria - Foto 1
Room at Wallington Green for professionals, free parking, near station, 30 min to London Bridge, 27 min to LDN Victoria - Foto 2
Room at Wallington Green for professionals, free parking, near station, 30 min to London Bridge, 27 min to LDN Victoria - Foto 3
Room at Wallington Green for professionals, free parking, near station, 30 min to London Bridge, 27 min to LDN Victoria - Foto 4
Room at Wallington Green for professionals, free parking, near station, 30 min to London Bridge, 27 min to LDN Victoria - Foto 5
Room at Wallington Green for professionals, free parking, near station, 30 min to London Bridge, 27 min to LDN Victoria - Foto 6
Room at Wallington Green for professionals, free parking, near station, 30 min to London Bridge, 27 min to LDN Victoria - Foto 7
Room at Wallington Green for professionals, free parking, near station, 30 min to London Bridge, 27 min to LDN Victoria - Foto 8
Room at Wallington Green for professionals, free parking, near station, 30 min to London Bridge, 27 min to LDN Victoria - Foto 9
Room at Wallington Green for professionals, free parking, near station, 30 min to London Bridge, 27 min to LDN Victoria - Foto 10
Room at Wallington Green for professionals, free parking, near station, 30 min to London Bridge, 27 min to LDN Victoria - Foto 11
Room at Wallington Green for professionals, free parking, near station, 30 min to London Bridge, 27 min to LDN Victoria - Foto 12
Room at Wallington Green for professionals, free parking, near station, 30 min to London Bridge, 27 min to LDN Victoria - Foto 13
Room at Wallington Green for professionals, free parking, near station, 30 min to London Bridge, 27 min to LDN Victoria - Foto 14
Room at Wallington Green for professionals, free parking, near station, 30 min to London Bridge, 27 min to LDN Victoria - Foto 15
Room at Wallington Green for professionals, free parking, near station, 30 min to London Bridge, 27 min to LDN Victoria - Foto 16
Room at Wallington Green for professionals, free parking, near station, 30 min to London Bridge, 27 min to LDN Victoria - Foto 17
Room at Wallington Green for professionals, free parking, near station, 30 min to London Bridge, 27 min to LDN Victoria - Foto 18
Room at Wallington Green for professionals, free parking, near station, 30 min to London Bridge, 27 min to LDN Victoria - Foto 19

Room at Wallington Green for professionals, free parking, near station, 30 min to London Bridge, 27 min to LDN Victoria

Wallington - Wallington

  • 23 M2
  • 2 Personen
  • Heizung
  • Parkplatz
9.5Außergewöhnlich | 21 Bewertungen
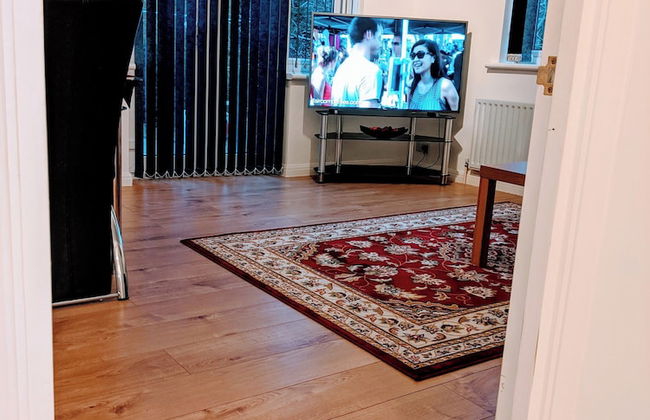
Large Luxury appartment - Foto 1
Large Luxury appartment - Foto 2
Large Luxury appartment - Foto 3
Large Luxury appartment - Foto 4
Large Luxury appartment - Foto 5
Large Luxury appartment - Foto 6
Large Luxury appartment - Foto 7
Large Luxury appartment - Foto 8
Large Luxury appartment - Foto 9
Large Luxury appartment - Foto 10
Large Luxury appartment - Foto 11
Large Luxury appartment - Foto 12
Large Luxury appartment - Foto 13
Large Luxury appartment - Foto 14
Large Luxury appartment - Foto 15
Large Luxury appartment - Foto 16
Large Luxury appartment - Foto 17
Large Luxury appartment - Foto 18
Large Luxury appartment - Foto 19
Large Luxury appartment - Foto 20
Large Luxury appartment - Foto 21
Large Luxury appartment - Foto 22
Large Luxury appartment - Foto 23
Large Luxury appartment - Foto 24
Large Luxury appartment - Foto 25
Large Luxury appartment - Foto 26
Large Luxury appartment - Foto 27

Large Luxury appartment

Cobham - Cobham

  • 90 M2
  • 3 Schlafzimmer
  • 5 Personen
  • Heizung
  • Terrasse
  • Parkplatz
  • Garten
9.1Außergewöhnlich | 73 Bewertungen
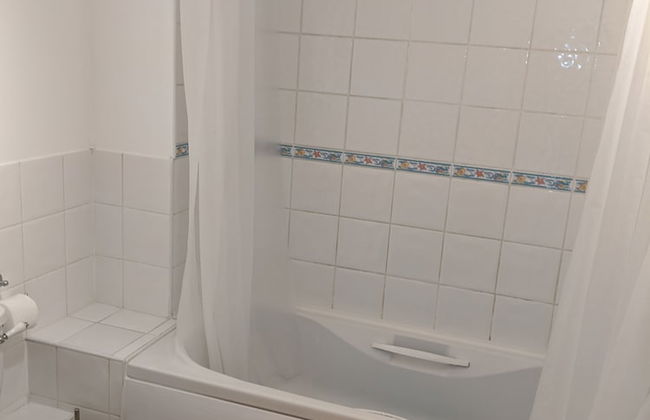
Roomspace Serviced Apartments - Abbot's Yard - Foto 1
Roomspace Serviced Apartments - Abbot's Yard - Foto 2
Roomspace Serviced Apartments - Abbot's Yard - Foto 3
Roomspace Serviced Apartments - Abbot's Yard - Foto 4
Roomspace Serviced Apartments - Abbot's Yard - Foto 5
Roomspace Serviced Apartments - Abbot's Yard - Foto 6
Roomspace Serviced Apartments - Abbot's Yard - Foto 7
Roomspace Serviced Apartments - Abbot's Yard - Foto 8
Roomspace Serviced Apartments - Abbot's Yard - Foto 9
Roomspace Serviced Apartments - Abbot's Yard - Foto 10
Roomspace Serviced Apartments - Abbot's Yard - Foto 11
Roomspace Serviced Apartments - Abbot's Yard - Foto 12
Roomspace Serviced Apartments - Abbot's Yard - Foto 13
Roomspace Serviced Apartments - Abbot's Yard - Foto 14
Roomspace Serviced Apartments - Abbot's Yard - Foto 15
Roomspace Serviced Apartments - Abbot's Yard - Foto 16
Roomspace Serviced Apartments - Abbot's Yard - Foto 17
Roomspace Serviced Apartments - Abbot's Yard - Foto 18
Roomspace Serviced Apartments - Abbot's Yard - Foto 19
Roomspace Serviced Apartments - Abbot's Yard - Foto 20
Roomspace Serviced Apartments - Abbot's Yard - Foto 21
Roomspace Serviced Apartments - Abbot's Yard - Foto 22
Roomspace Serviced Apartments - Abbot's Yard - Foto 23
Roomspace Serviced Apartments - Abbot's Yard - Foto 24
Roomspace Serviced Apartments - Abbot's Yard - Foto 25
Roomspace Serviced Apartments - Abbot's Yard - Foto 26
Roomspace Serviced Apartments - Abbot's Yard - Foto 27
Roomspace Serviced Apartments - Abbot's Yard - Foto 28
Roomspace Serviced Apartments - Abbot's Yard - Foto 29
Roomspace Serviced Apartments - Abbot's Yard - Foto 30

Roomspace Serviced Apartments - Abbot's Yard

Guildford - Guildford - 290 m vom Zentrum

  • 80 M2
  • 5 Personen
  • Heizung
  • Fahrstuhl
  • Tv
  • Waschmaschine
  • Handtücher
  • Bettlaken
9Außergewöhnlich | 6 Bewertungen
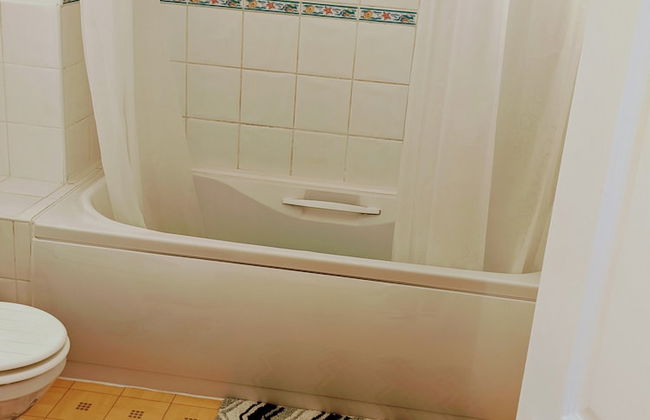
Lavish Country Retreat 30mins Taxi Ride From West London - Foto 1
Lavish Country Retreat 30mins Taxi Ride From West London - Foto 2
Lavish Country Retreat 30mins Taxi Ride From West London - Foto 3
Lavish Country Retreat 30mins Taxi Ride From West London - Foto 4
Lavish Country Retreat 30mins Taxi Ride From West London - Foto 5
Lavish Country Retreat 30mins Taxi Ride From West London - Foto 6
Lavish Country Retreat 30mins Taxi Ride From West London - Foto 7
Lavish Country Retreat 30mins Taxi Ride From West London - Foto 8
Lavish Country Retreat 30mins Taxi Ride From West London - Foto 9
Lavish Country Retreat 30mins Taxi Ride From West London - Foto 10
Lavish Country Retreat 30mins Taxi Ride From West London - Foto 11
Lavish Country Retreat 30mins Taxi Ride From West London - Foto 12
Lavish Country Retreat 30mins Taxi Ride From West London - Foto 13
Lavish Country Retreat 30mins Taxi Ride From West London - Foto 14
Lavish Country Retreat 30mins Taxi Ride From West London - Foto 15
Lavish Country Retreat 30mins Taxi Ride From West London - Foto 16
Lavish Country Retreat 30mins Taxi Ride From West London - Foto 17
Lavish Country Retreat 30mins Taxi Ride From West London - Foto 18
Lavish Country Retreat 30mins Taxi Ride From West London - Foto 19
Lavish Country Retreat 30mins Taxi Ride From West London - Foto 20
Lavish Country Retreat 30mins Taxi Ride From West London - Foto 21
Lavish Country Retreat 30mins Taxi Ride From West London - Foto 22
Lavish Country Retreat 30mins Taxi Ride From West London - Foto 23
Lavish Country Retreat 30mins Taxi Ride From West London - Foto 24
Lavish Country Retreat 30mins Taxi Ride From West London - Foto 25
Lavish Country Retreat 30mins Taxi Ride From West London - Foto 26
Lavish Country Retreat 30mins Taxi Ride From West London - Foto 27
Lavish Country Retreat 30mins Taxi Ride From West London - Foto 28
Lavish Country Retreat 30mins Taxi Ride From West London - Foto 29
Lavish Country Retreat 30mins Taxi Ride From West London - Foto 30
Lavish Country Retreat 30mins Taxi Ride From West London - Foto 31

Lavish Country Retreat 30mins Taxi Ride From West London

Chessington - Chessington

  • 42 M2
  • 2 Personen
  • Terrasse
  • Parkplatz
  • Garten
10Hervorragend | 6 Bewertungen
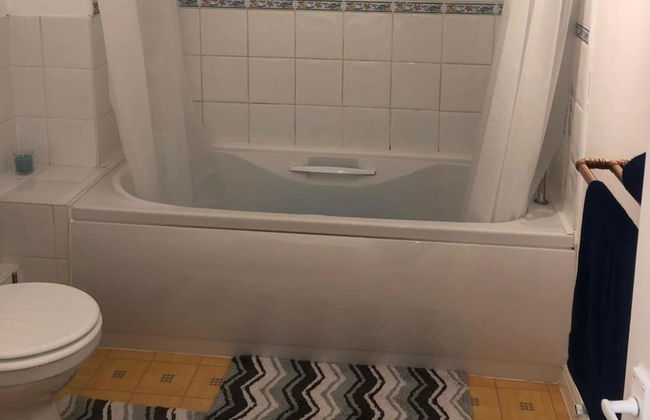
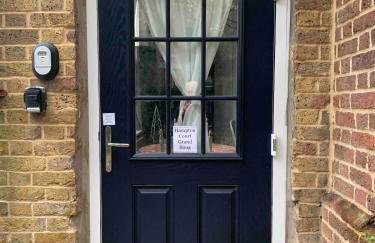
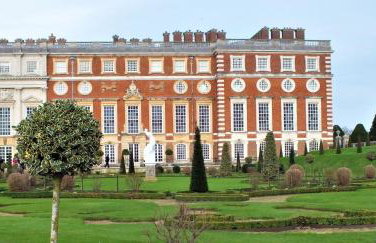
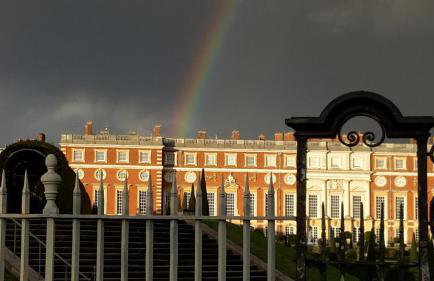
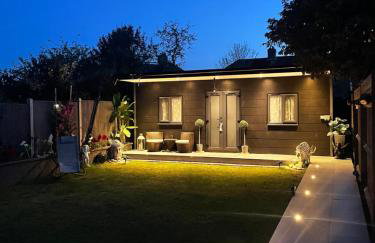
Hampton Court Grand Snug Sleeps 6 - Palace walk - Foto 1
Hampton Court Grand Snug Sleeps 6 - Palace walk - Foto 2
Hampton Court Grand Snug Sleeps 6 - Palace walk - Foto 3
Hampton Court Grand Snug Sleeps 6 - Palace walk - Foto 4
Hampton Court Grand Snug Sleeps 6 - Palace walk - Foto 5
Hampton Court Grand Snug Sleeps 6 - Palace walk - Foto 6
Hampton Court Grand Snug Sleeps 6 - Palace walk - Foto 7
Hampton Court Grand Snug Sleeps 6 - Palace walk - Foto 8
Hampton Court Grand Snug Sleeps 6 - Palace walk - Foto 9
Hampton Court Grand Snug Sleeps 6 - Palace walk - Foto 10
Hampton Court Grand Snug Sleeps 6 - Palace walk - Foto 11
Hampton Court Grand Snug Sleeps 6 - Palace walk - Foto 12
Hampton Court Grand Snug Sleeps 6 - Palace walk - Foto 13
Hampton Court Grand Snug Sleeps 6 - Palace walk - Foto 14
Hampton Court Grand Snug Sleeps 6 - Palace walk - Foto 15
Hampton Court Grand Snug Sleeps 6 - Palace walk - Foto 16
Hampton Court Grand Snug Sleeps 6 - Palace walk - Foto 17
Hampton Court Grand Snug Sleeps 6 - Palace walk - Foto 18
Hampton Court Grand Snug Sleeps 6 - Palace walk - Foto 19
Hampton Court Grand Snug Sleeps 6 - Palace walk - Foto 20
Hampton Court Grand Snug Sleeps 6 - Palace walk - Foto 21
Hampton Court Grand Snug Sleeps 6 - Palace walk - Foto 22
Hampton Court Grand Snug Sleeps 6 - Palace walk - Foto 23
Hampton Court Grand Snug Sleeps 6 - Palace walk - Foto 24
Hampton Court Grand Snug Sleeps 6 - Palace walk - Foto 25
Hampton Court Grand Snug Sleeps 6 - Palace walk - Foto 26
Hampton Court Grand Snug Sleeps 6 - Palace walk - Foto 27
Hampton Court Grand Snug Sleeps 6 - Palace walk - Foto 28

Hampton Court Grand Snug Sleeps 6 - Palace walk

East - East - 290 m von Hampton Court (geolocation.placetype.train_station)

  • 92 M2
  • 2 Schlafzimmer
  • 6 Personen
  • Heizung
  • Parkplatz
9.4Außergewöhnlich | 11 Bewertungen
Family cottage - Foto 1
Family cottage - Foto 2
Family cottage - Foto 3
Family cottage - Foto 4
Family cottage - Foto 5
Family cottage - Foto 6
Family cottage - Foto 7
Family cottage - Foto 8
Family cottage - Foto 9
Family cottage - Foto 10
Family cottage - Foto 11
Family cottage - Foto 12

Family cottage

Epsom - Epsom

  • 6 M2
  • 1 Schlafzimmer
  • 4 Personen
  • Heizung
  • Parkplatz
  • Garten
9.4Außergewöhnlich | 49 Bewertungen
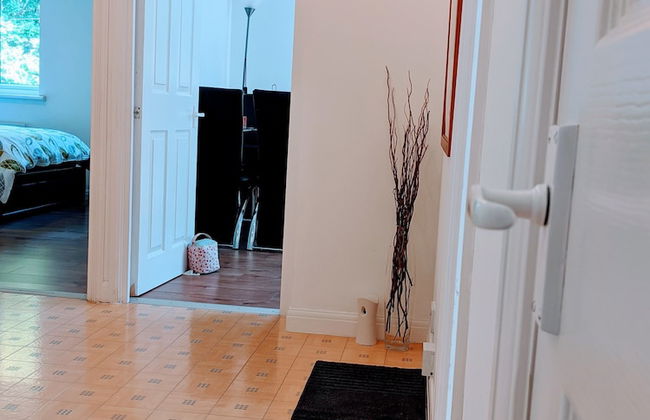
Timex Studio - Foto 1
Timex Studio - Foto 2
Timex Studio - Foto 3
Timex Studio - Foto 4
Timex Studio - Foto 5
Timex Studio - Foto 6
Timex Studio - Foto 7
Timex Studio - Foto 8
Timex Studio - Foto 9
Timex Studio - Foto 10
Timex Studio - Foto 11
Timex Studio - Foto 12
Timex Studio - Foto 13
Timex Studio - Foto 14

Timex Studio

Croydon - Croydon - 1.1 km vom Zentrum

  • 15 M2
  • 2 Personen
  • Heizung
  • Parkplatz
9.4Außergewöhnlich | 36 Bewertungen
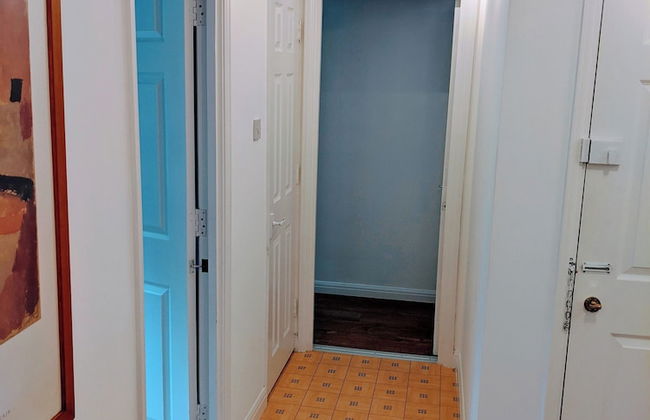
The Heritage Hideaway - Foto 1
The Heritage Hideaway - Foto 2
The Heritage Hideaway - Foto 3
The Heritage Hideaway - Foto 4
The Heritage Hideaway - Foto 5
The Heritage Hideaway - Foto 6
The Heritage Hideaway - Foto 7
The Heritage Hideaway - Foto 8
The Heritage Hideaway - Foto 9

The Heritage Hideaway

Horley - Charlwood

  • 18 M2
  • 3 Personen
  • Parkplatz
9.5Außergewöhnlich | 12 Bewertungen
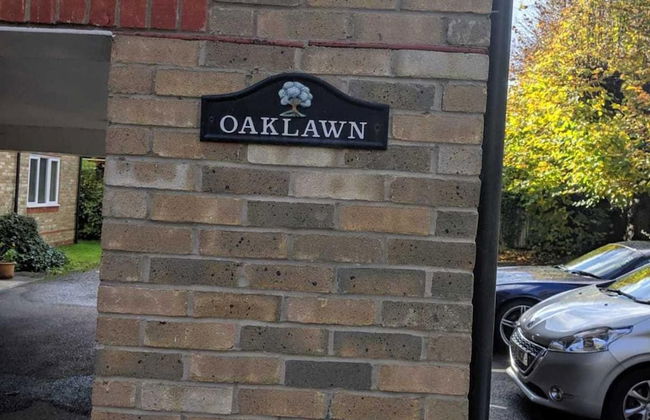
Central Camberley Apartment - Parking - Garden - Foto 1
Central Camberley Apartment - Parking - Garden - Foto 2
Central Camberley Apartment - Parking - Garden - Foto 3
Central Camberley Apartment - Parking - Garden - Foto 4
Central Camberley Apartment - Parking - Garden - Foto 5
Central Camberley Apartment - Parking - Garden - Foto 6
Central Camberley Apartment - Parking - Garden - Foto 7

Central Camberley Apartment - Parking - Garden

Camberley - Camberley

  • 1 Schlafzimmer
  • 4 Personen
  • Parkplatz
9.5Außergewöhnlich | 55 Bewertungen
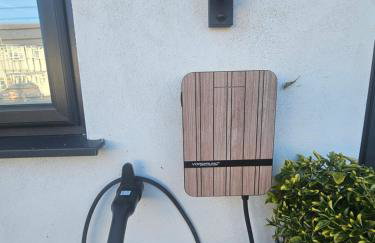
Verwandte Reiseziele