


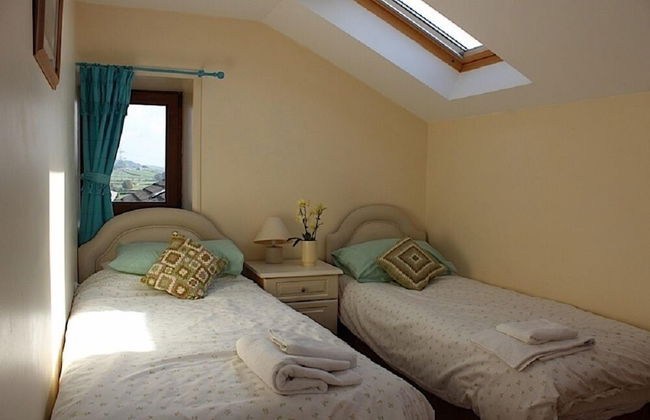


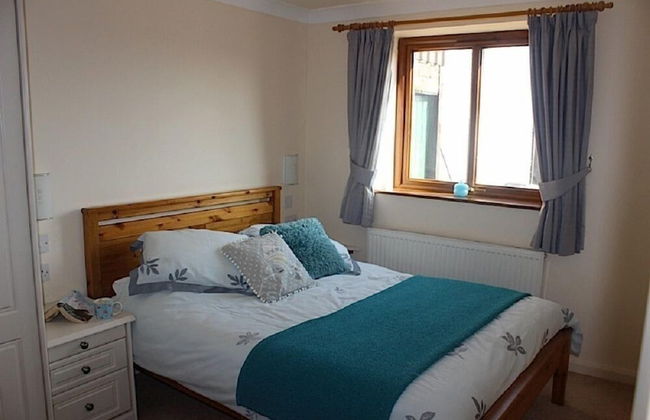


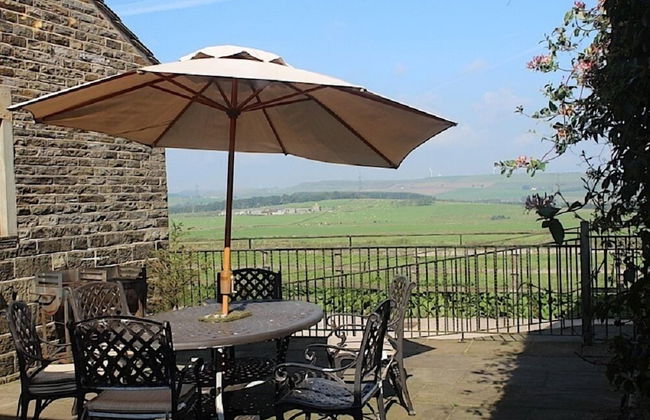


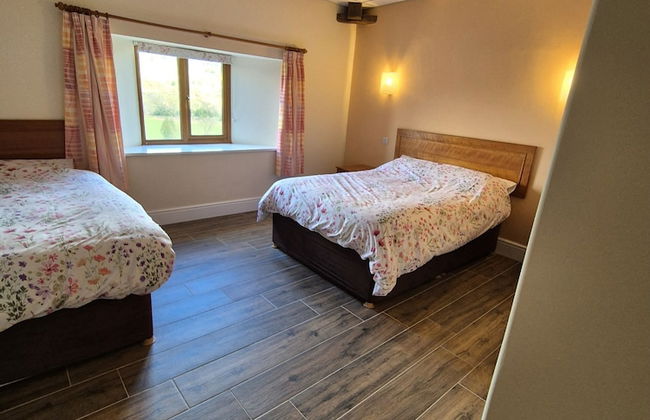
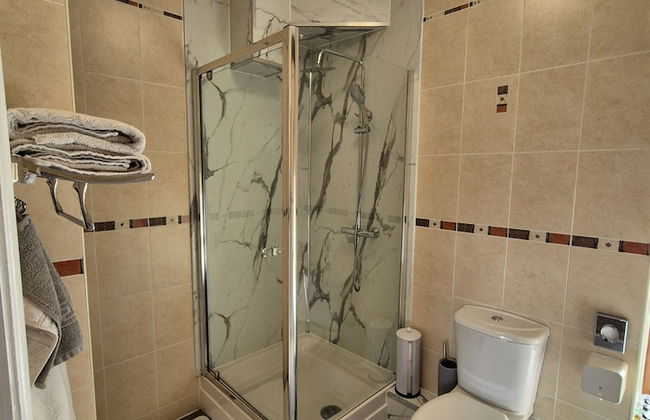
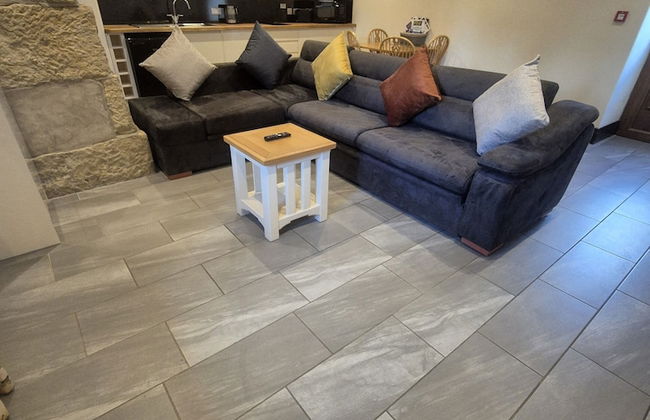
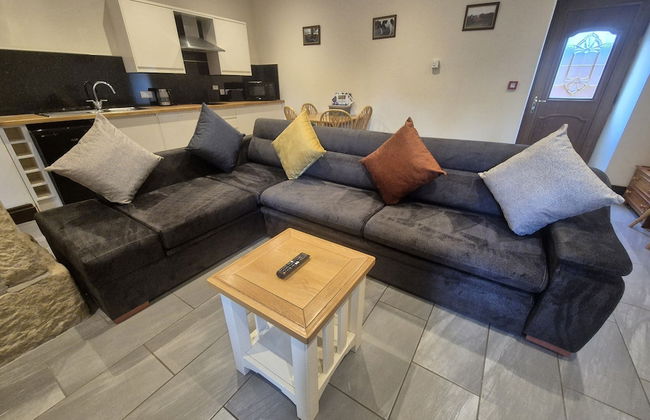
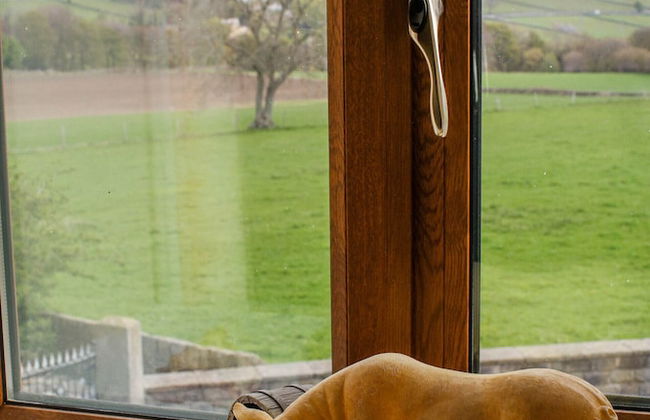
Lazy Daisys Farm Cottages
Sheffield - Sheffield - 20.2 km vom Zentrum
- 15 M2
- 3 Schlafzimmer
- 7 Personen
- Heizung
- Terrasse
- Parkplatz
- Tv
- Waschmaschine
- Barbecue
- Handtücher
- Bettlaken


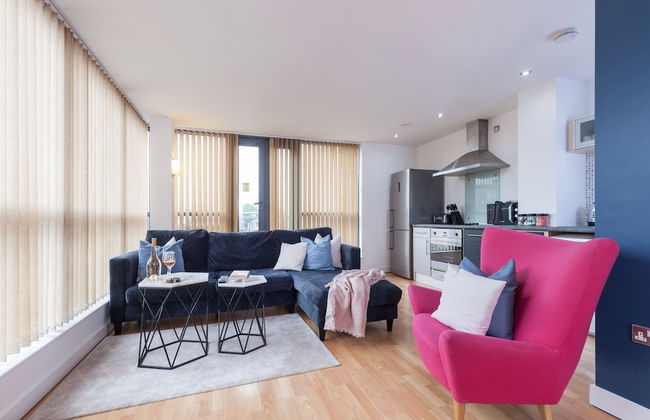


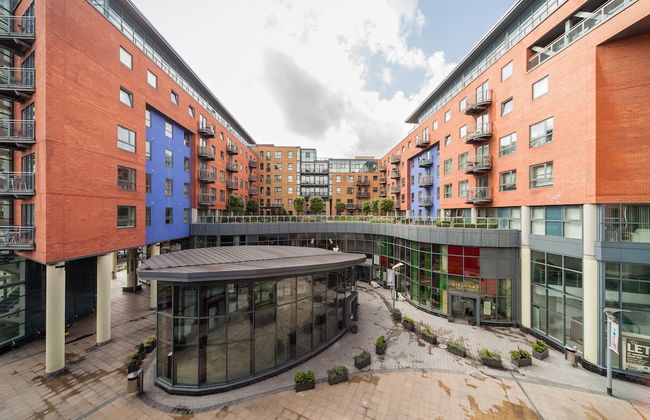

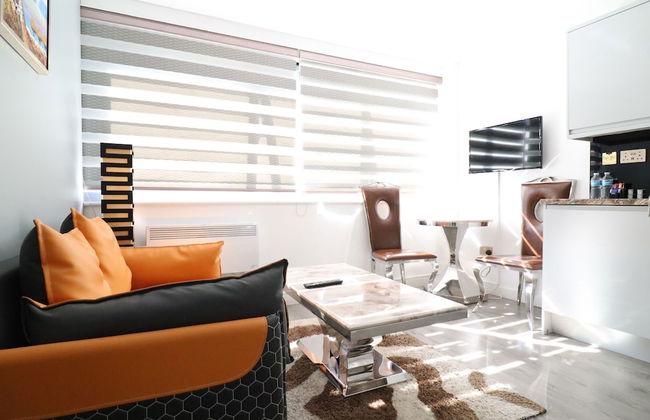
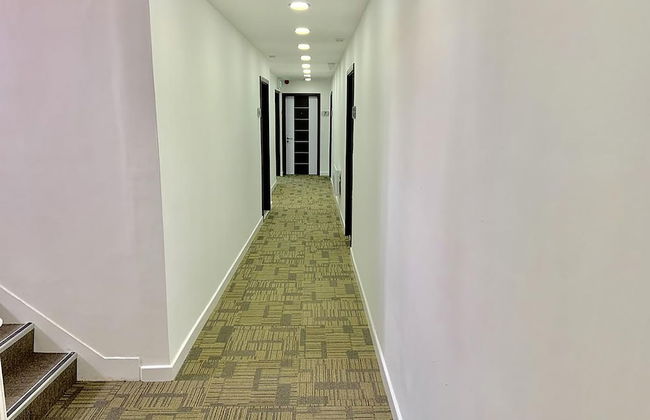
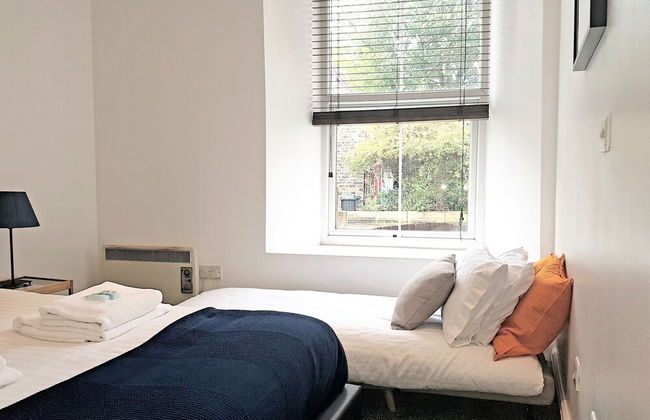
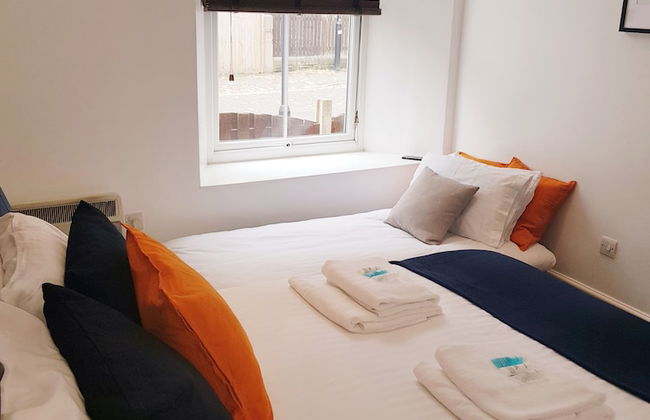
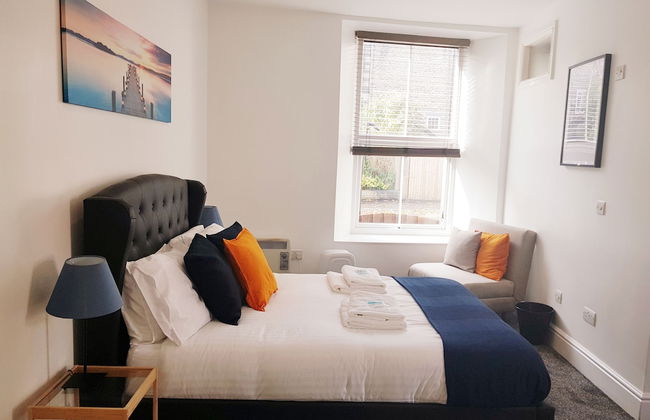
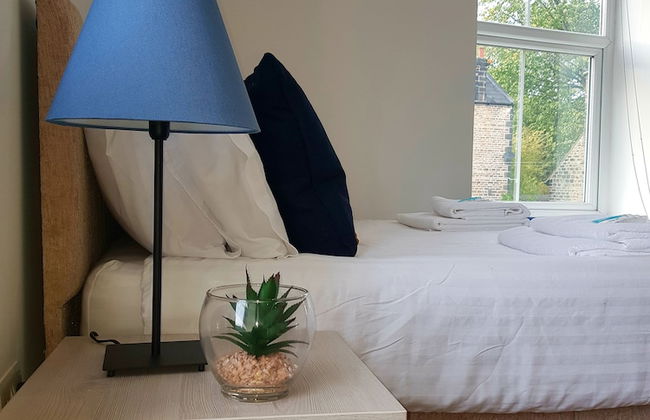
KSpace Serviced Apartments West One
Sheffield - Sheffield - 640 m vom Zentrum
- 4 Personen
- Heizung
- Terrasse
- Parkplatz
- Fahrstuhl
- Garten
- Tv
- Waschmaschine
- Handtücher
- Bettlaken


Padley Farm
Sheffield - Sheffield - 7.5 km vom Zentrum
- 90 M2
- 2 Schlafzimmer
- 6 Personen
- Kochnische
- Heizung
- Parkplatz
- Garten
- Tv
- Handtücher
- Bettlaken


Nancy's Cabin
Sheffield - Halfway - 9.8 km vom Zentrum
- 30 M2
- 2 Personen
- Heizung
- Terrasse
- Parkplatz
- Garten
- Barbecue


Rose Cottage studio
Sheffield - Stocksbridge - 12.6 km vom Zentrum
- 10 M2
- 2 Personen
- Heizung
- Terrasse
- Parkplatz
- Garten
- Barbecue


The Hideout - Boutique 2 Bedroom Apartment
Sheffield - Sheffield - Im Zentrum
- 68 M2
- 2 Schlafzimmer
- 6 Personen
- Heizung
- Parkplatz


The Coach House & The Stables Yorkshire Peak District With and without hot tub options
Sheffield - Stocksbridge - 13.5 km vom Zentrum
- 80 M2
- 2 Schlafzimmer
- 4 Personen
- Heizung
- Terrasse
- Parkplatz
- Garten


Hartcliffe Retreat
Sheffield - Penistone - 17.5 km vom Zentrum
- 170 M2
- 3 Schlafzimmer
- 9 Personen
- Heizung
- Parkplatz
- Garten
- Barbecue


Homely Serviced Apartments - Blonk St
Sheffield - Sheffield - Im Zentrum
- 60 M2
- 2 Schlafzimmer
- 4 Personen
- Heizung
- Fahrstuhl
- Tv
- Waschmaschine
- Handtücher
- Bettlaken


Modern Home2Home - Easy Centre Access & Free Parking
Sheffield - Heeley - 1.2 km vom Zentrum
- 73 M2
- 3 Schlafzimmer
- 6 Personen
- Heizung
- Parkplatz
- Garten


Contemporary City Centre 3 bedroom apartment
Sheffield - Sheffield - Im Zentrum
- 90 M2
- 3 Schlafzimmer
- 6 Personen
- Heizung


Luxury Apartment - Great Location
Sheffield - Sheffield - 3.7 km vom Zentrum
- 85 M2
- 2 Personen
- Terrasse
- Parkplatz


Queen Stay Apartments
Sheffield - Sheffield - Im Zentrum
- 69 M2
- 2 Schlafzimmer
- 4 Personen
- Heizung
- Parkplatz
- Fahrstuhl
- Tv
- Waschmaschine
- Handtücher
- Bettlaken


Rural Retreat with Hot Tub, Fire Pit & Games Room
Sheffield - Marsh - 8.9 km vom Zentrum
- 166 M2
- 6 Schlafzimmer
- 12 Personen
- Heizung
- Terrasse
- Schwimmbad
- Parkplatz
- Garten


Kelham Riverside Loft,Free Parking,Gym, River view
Sheffield - Sheffield - 740 m vom Zentrum
- 89 M2
- 2 Schlafzimmer
- 6 Personen
- Heizung
- Parkplatz


Cozy 1 bedroom apartment, Sheffield city center, free wifi
Sheffield - Sheffield - 530 m vom Zentrum
- 34 M2
- 1 Schlafzimmer
- 3 Personen
- Parkplatz
- Fahrstuhl


Luxeliving The Larch Residence
Sheffield - Sheffield - 4.1 km vom Zentrum
- 2 Schlafzimmer
- 4 Personen
- Parkplatz


BlueOne Serviced Apartments-Sandon House
Sheffield - Sheffield - 1.1 km vom Zentrum
- 6 Personen
- Heizung
- Parkplatz
- Waschmaschine
- Handtücher
- Bettlaken


Nook of Wentworth
Sheffield - Penistone - 19.2 km vom Zentrum
- 55 M2
- 2 Schlafzimmer
- 6 Personen
- Heizung
- Terrasse
- Parkplatz
- Garten