179 Wohnungen in Port
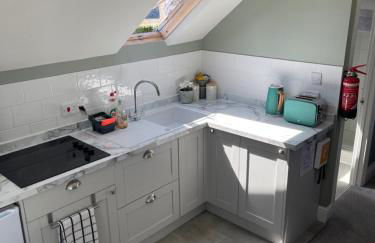
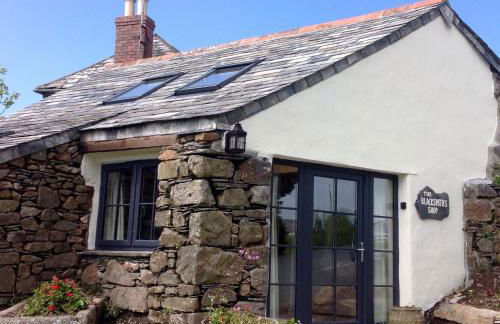
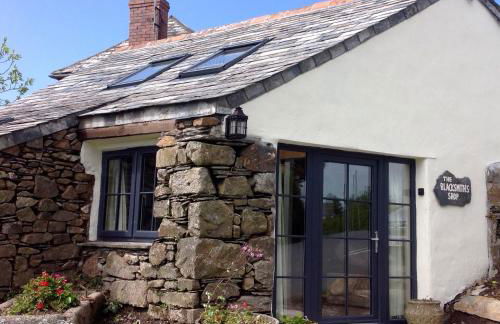
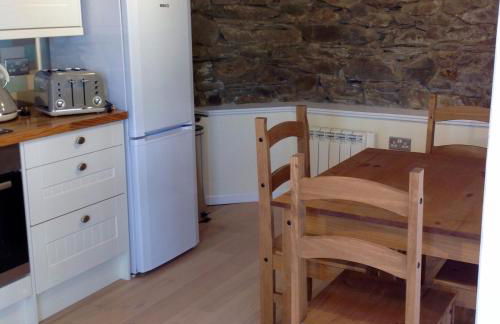
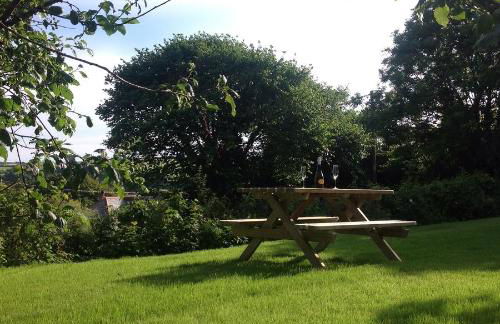
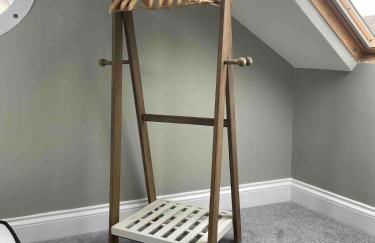
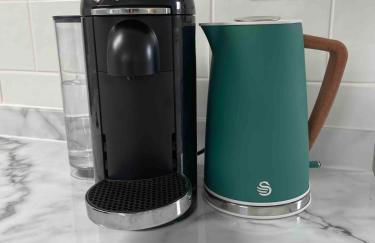
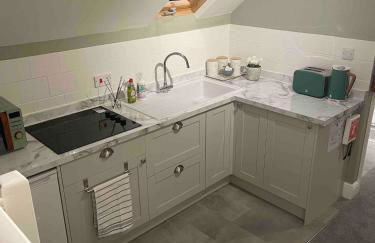
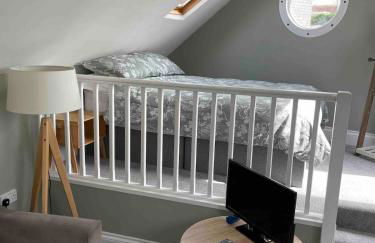
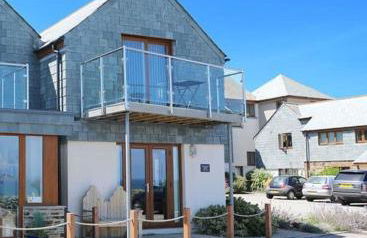
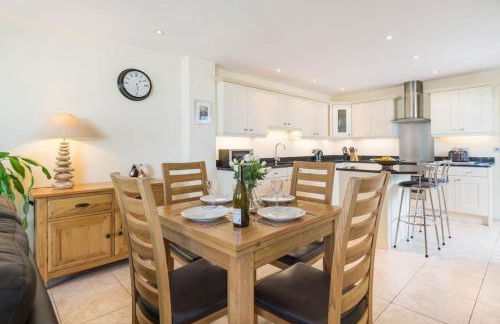
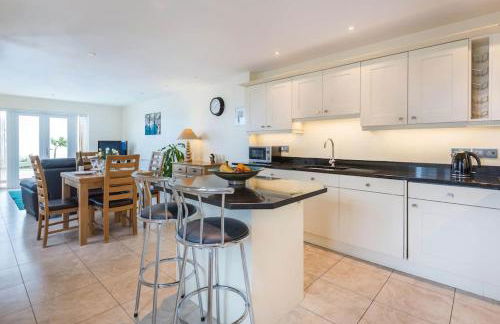
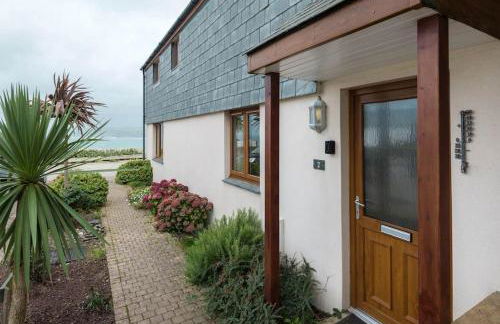
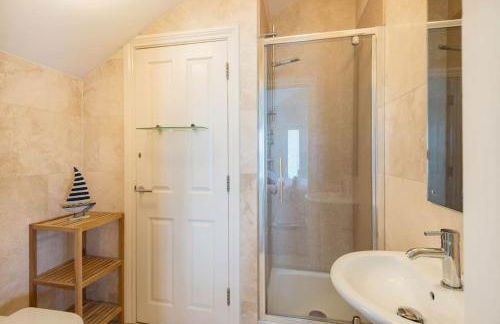
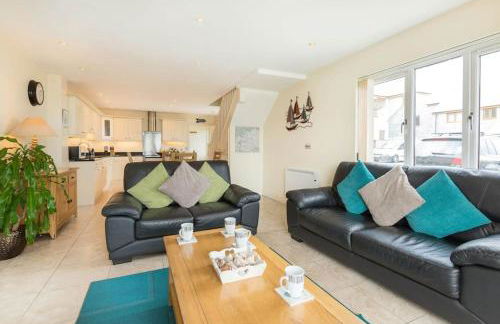
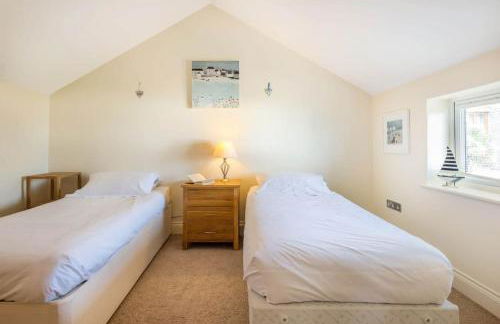
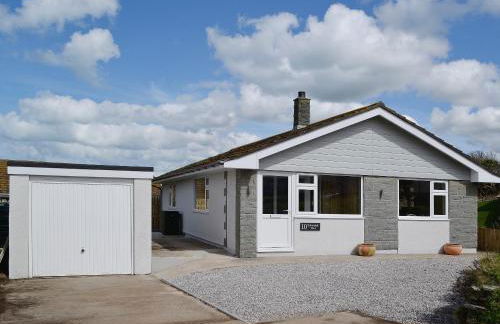
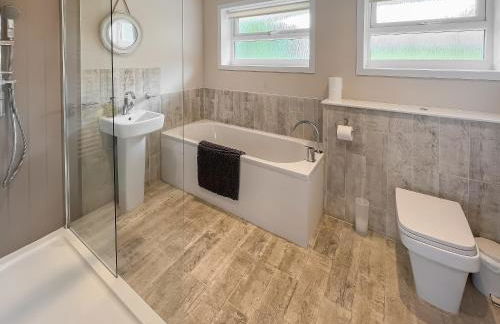
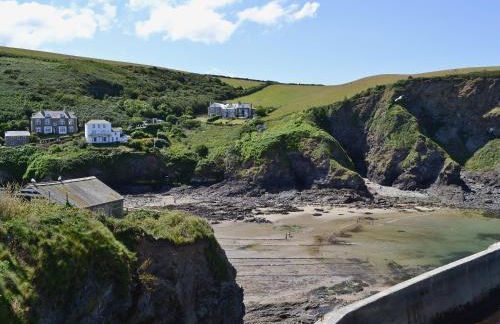
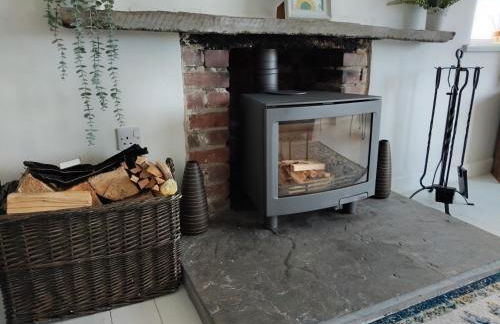
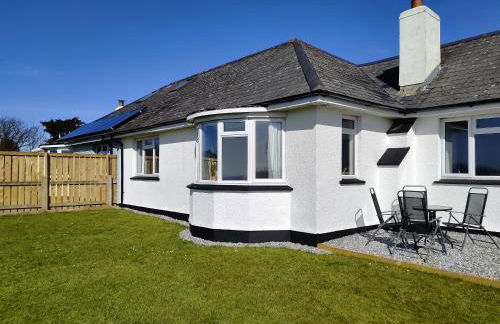
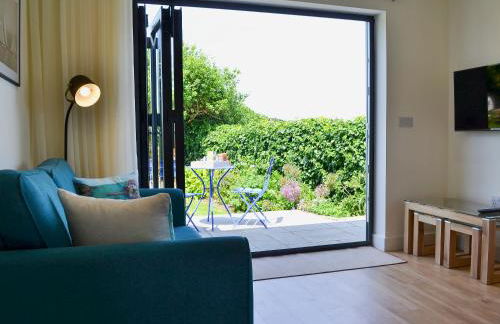
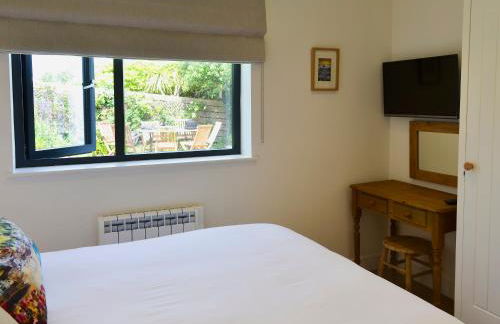
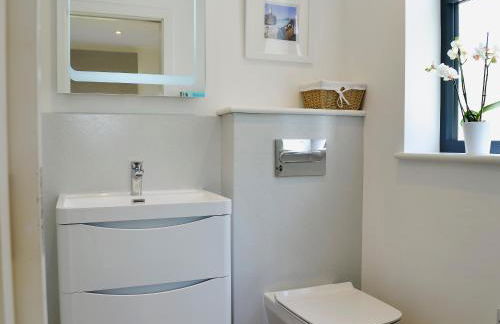
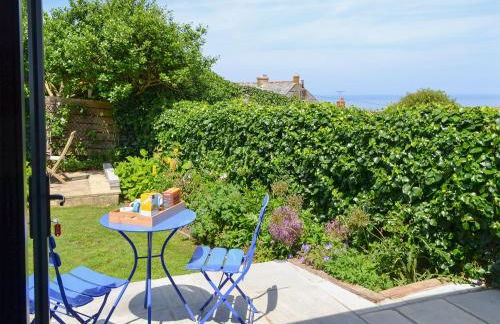
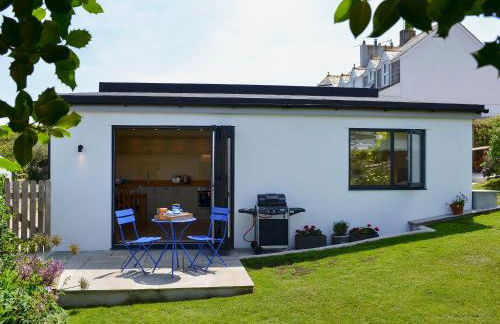
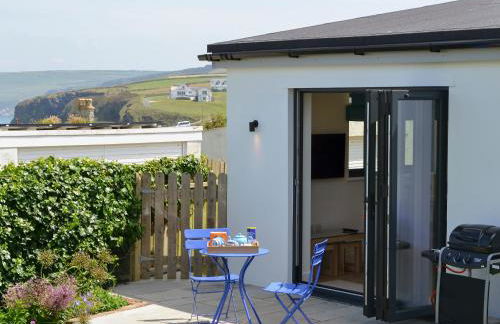
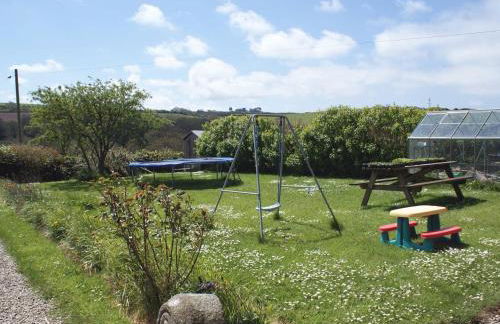
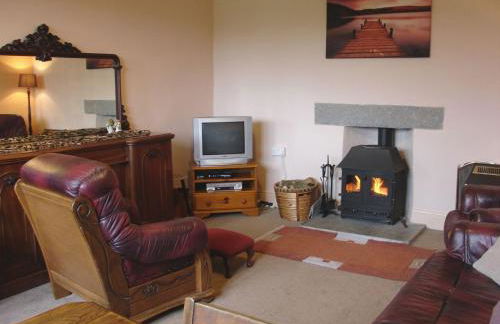
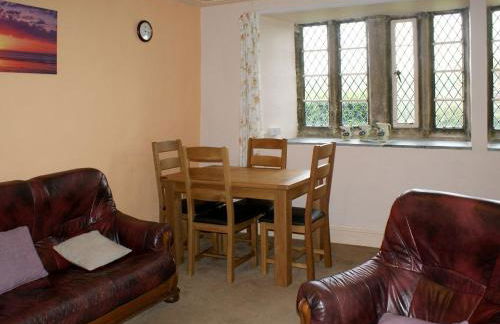
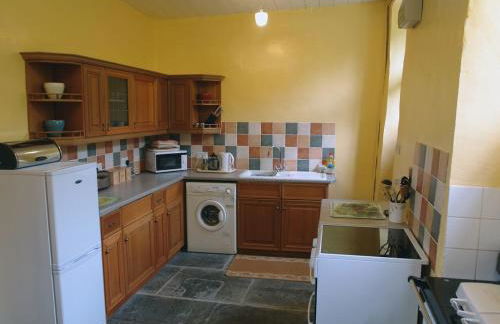
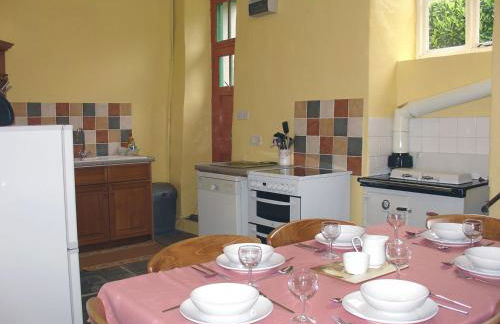
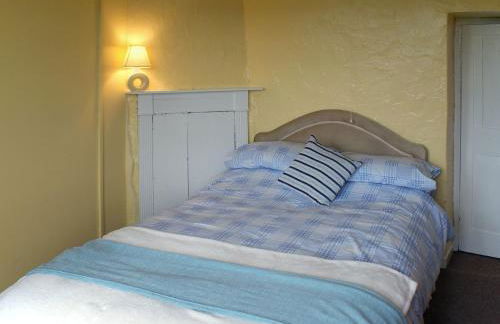
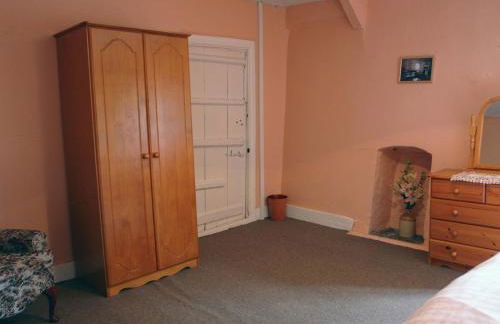
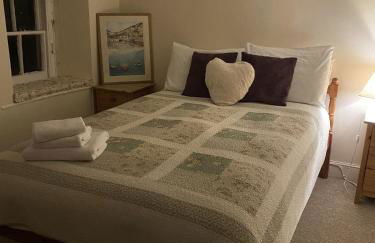
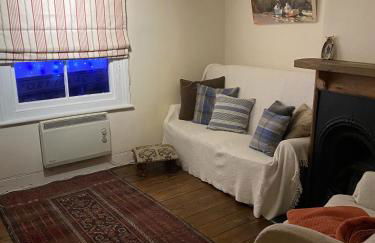
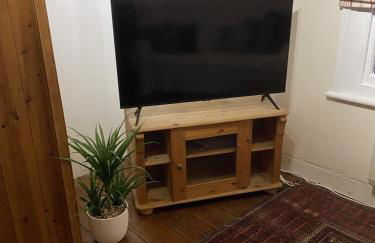
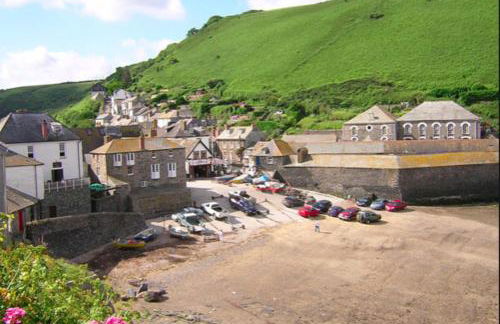
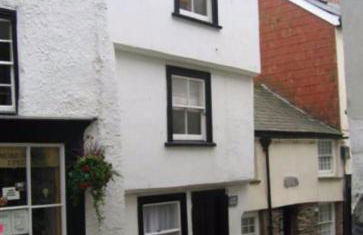
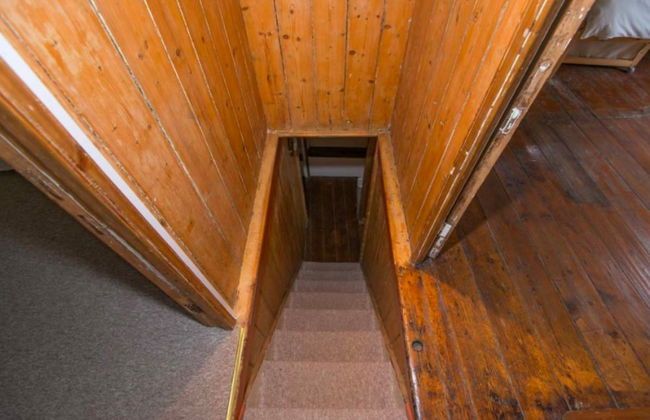
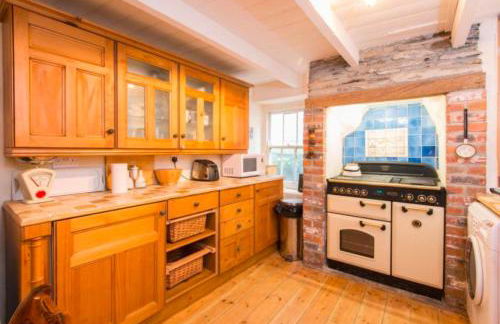
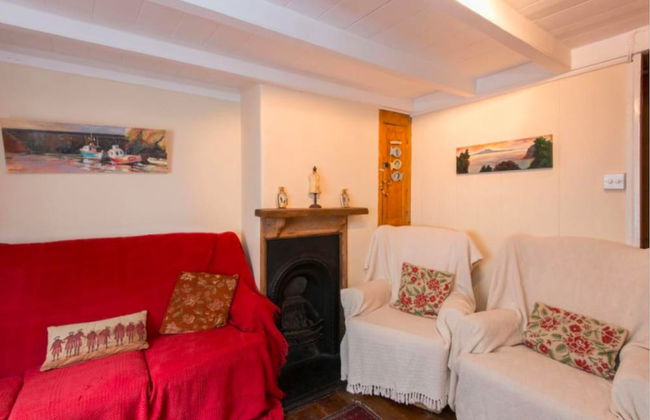
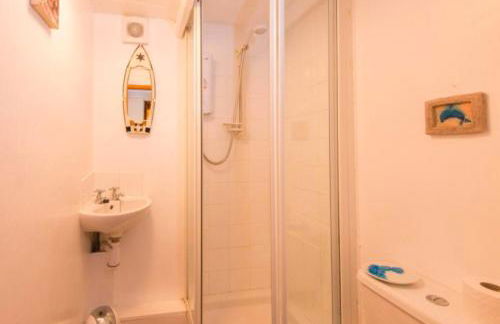
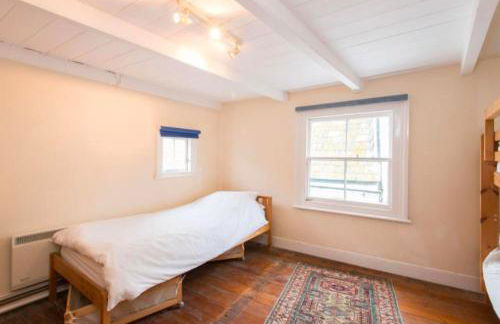
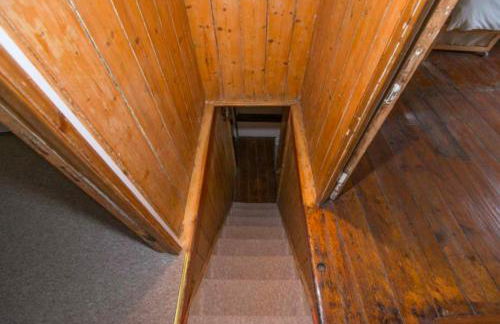
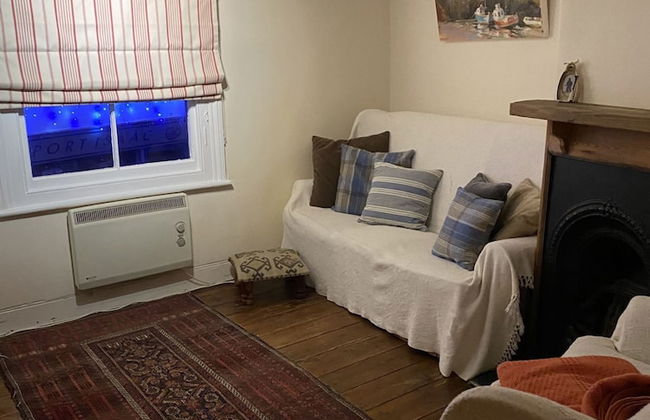
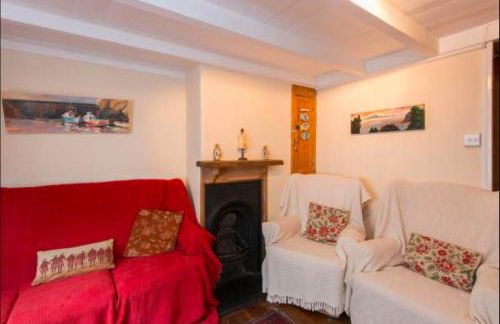
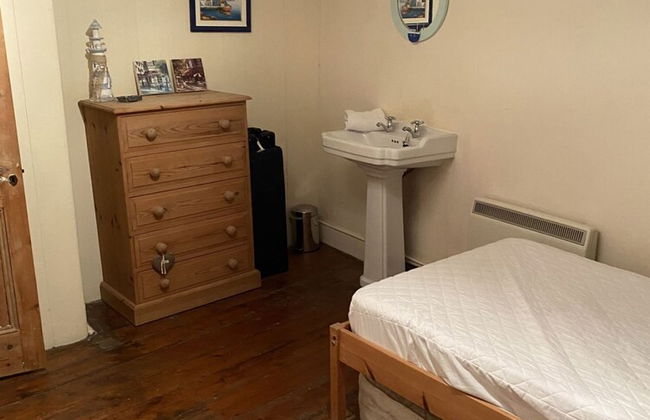
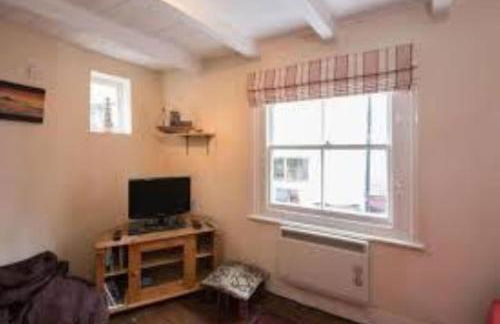
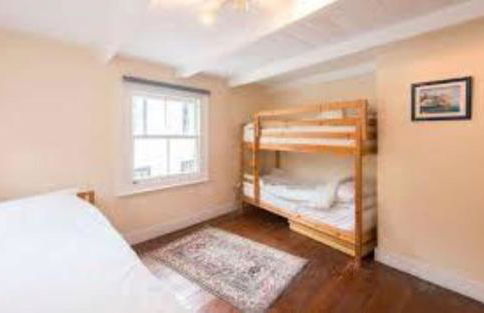
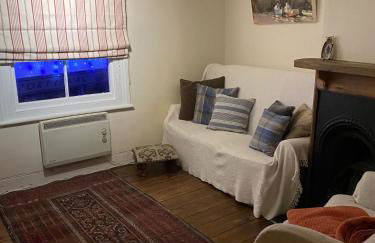
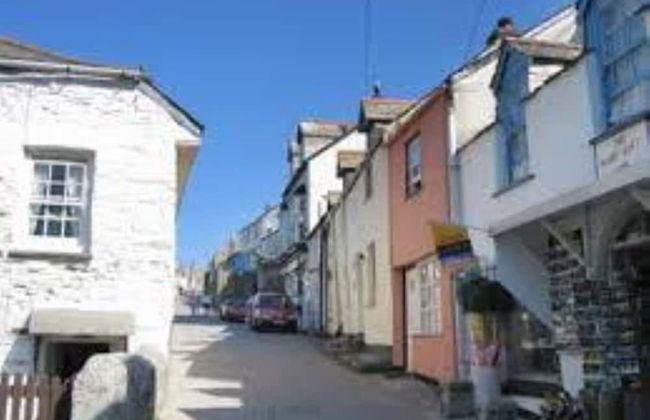
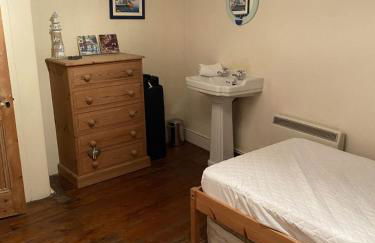
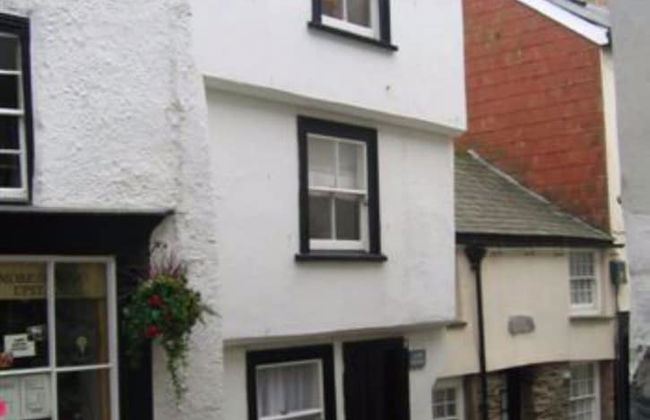
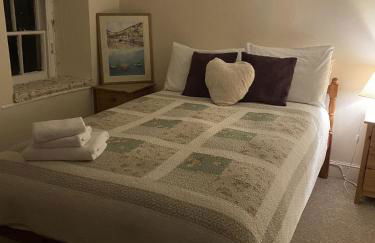
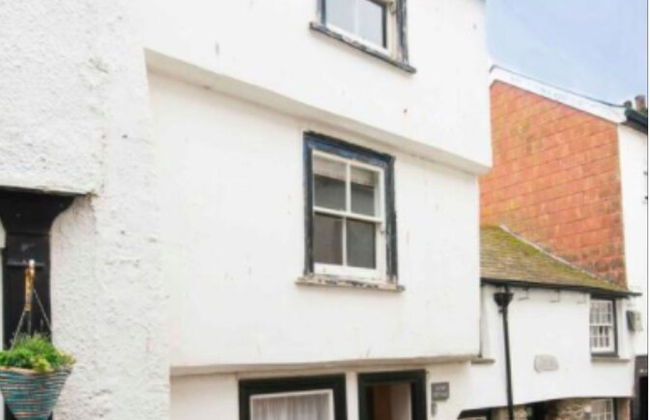
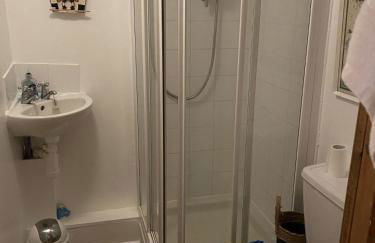
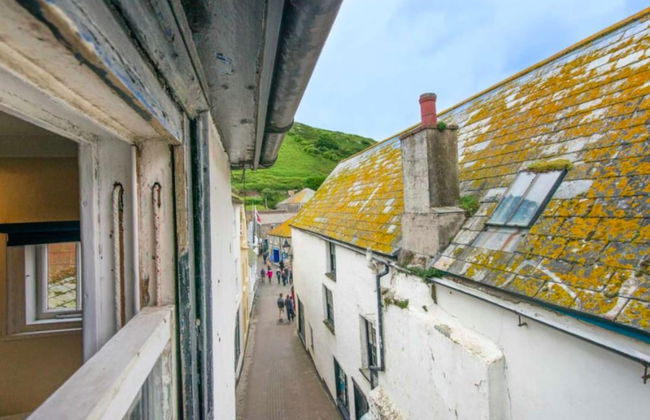
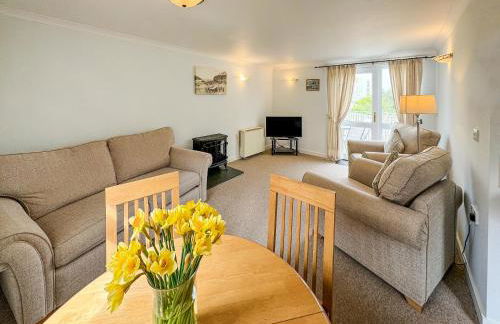
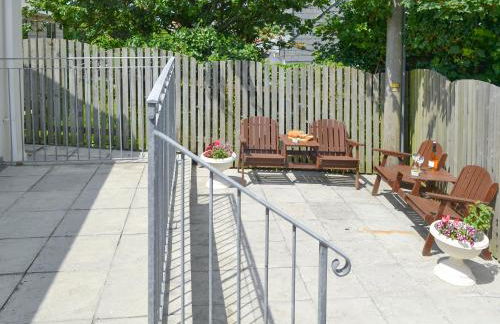
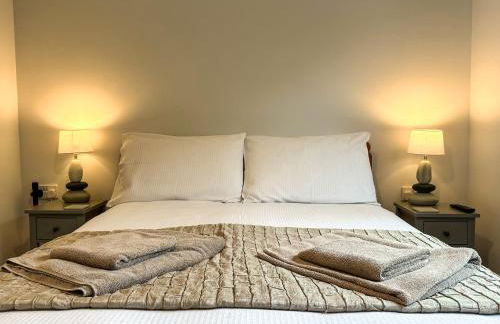
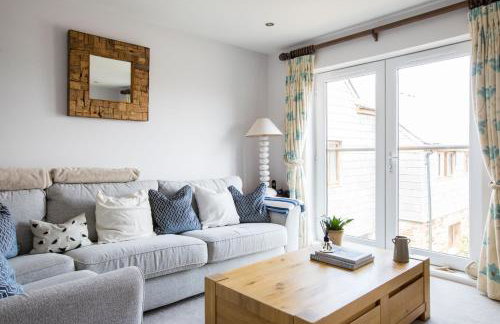
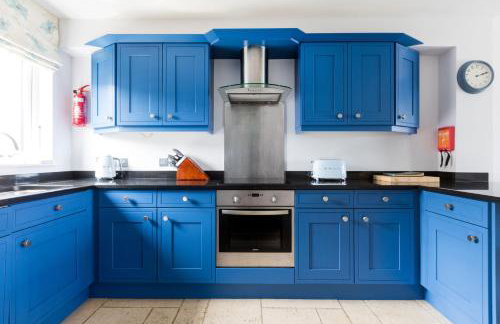
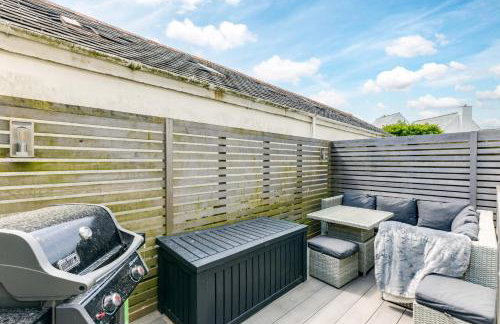
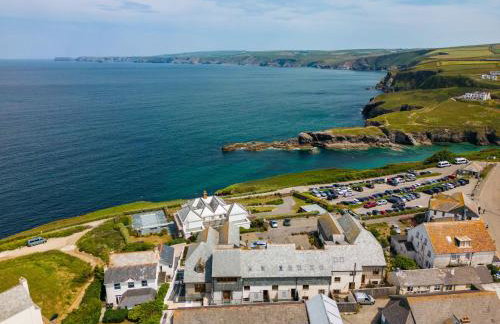
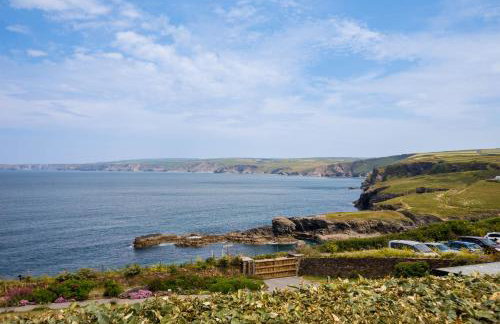
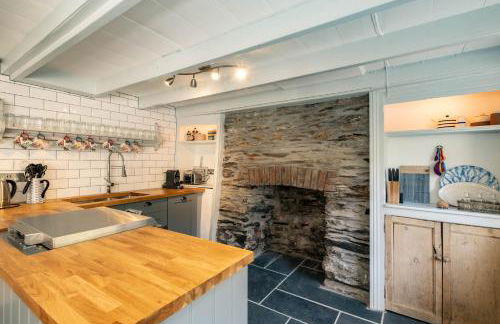
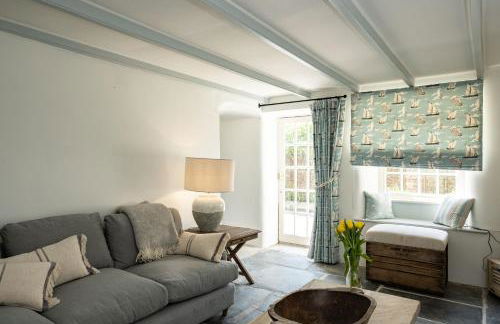
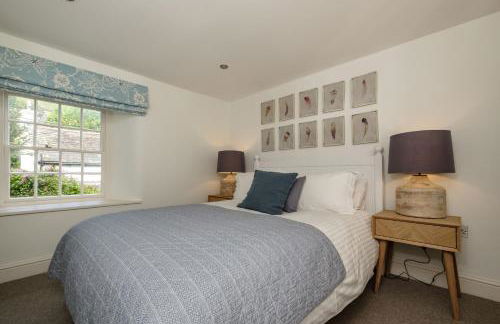
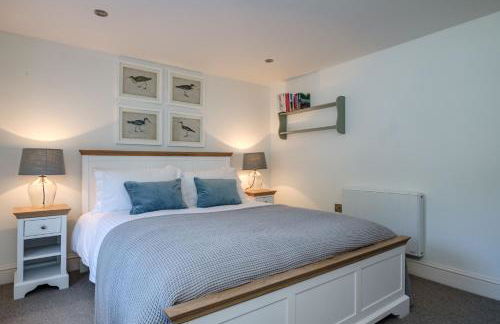
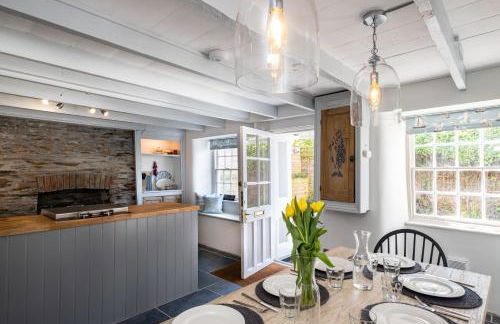
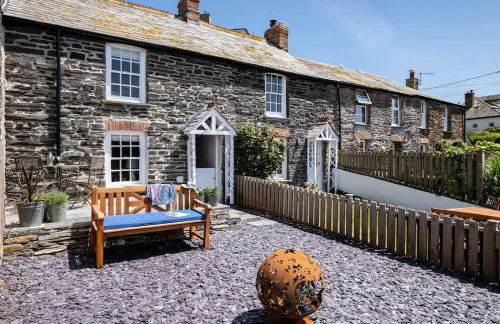
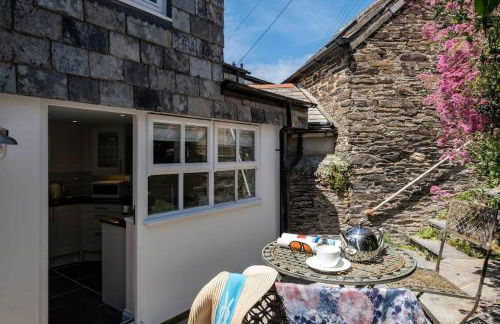
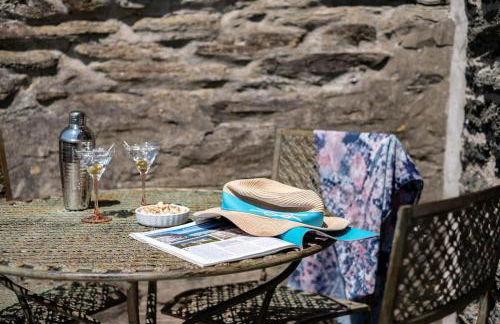
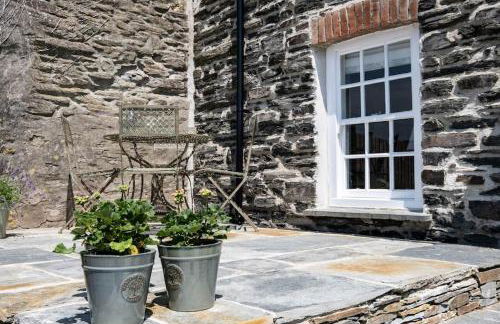
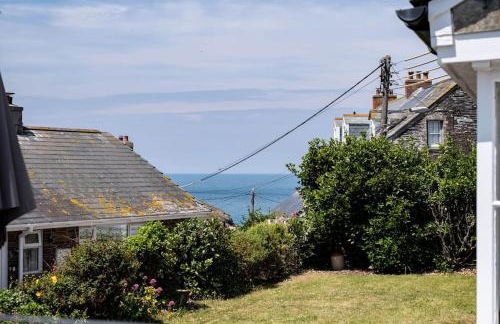
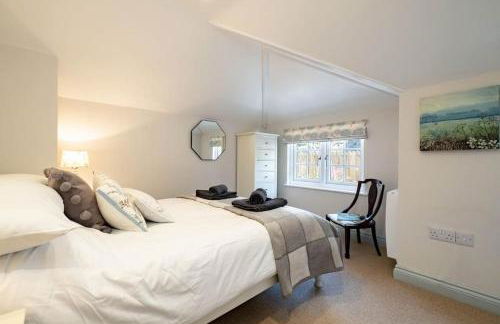
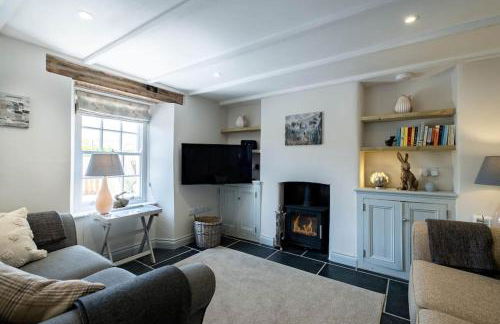
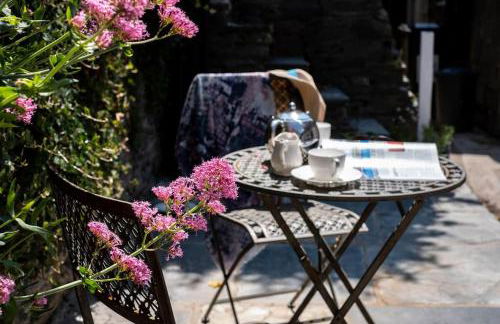
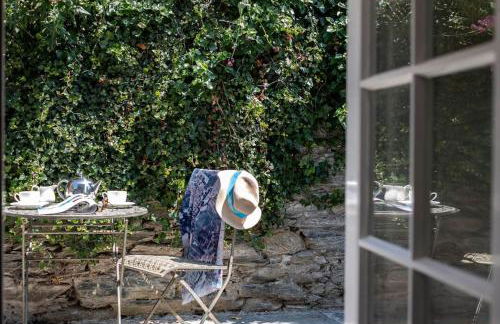
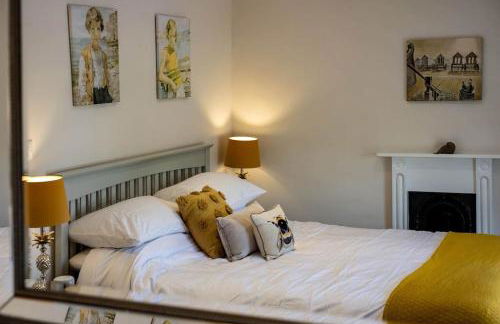
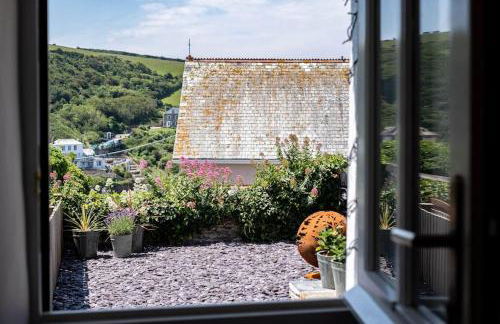
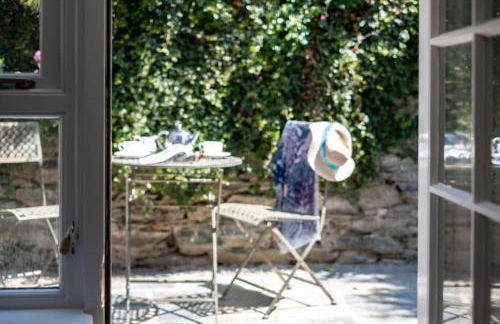
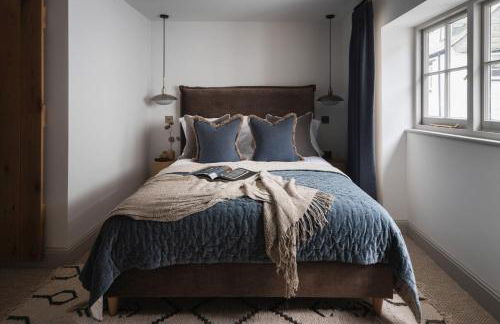
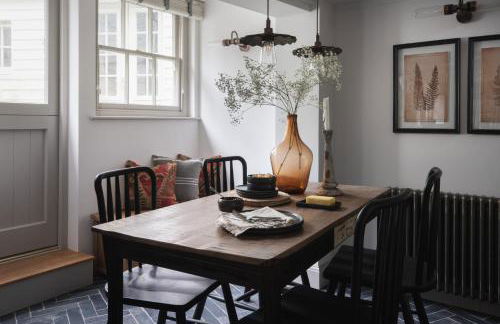
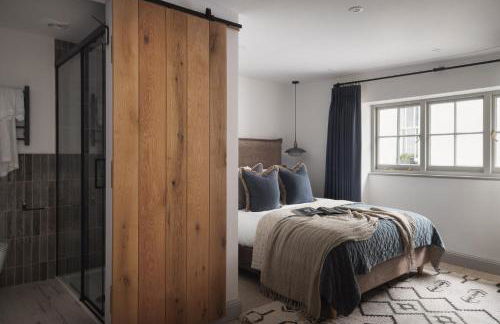
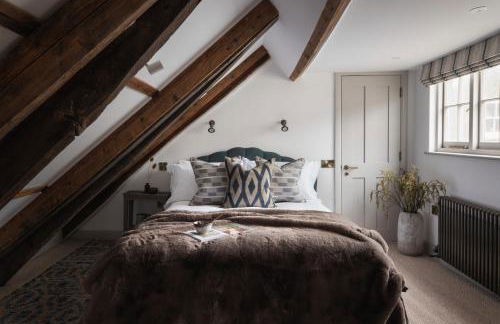
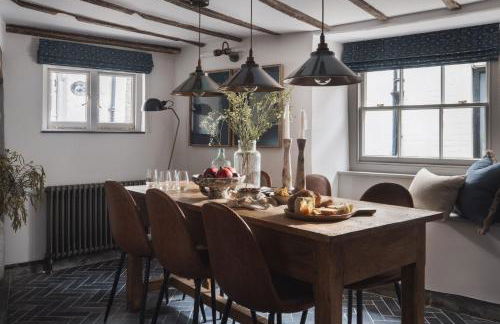
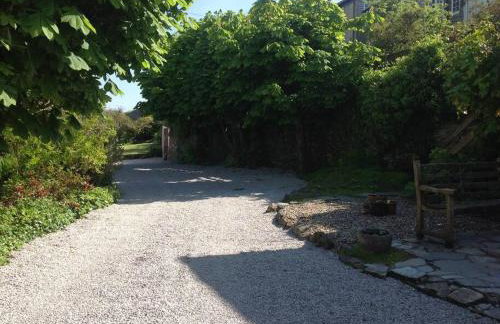
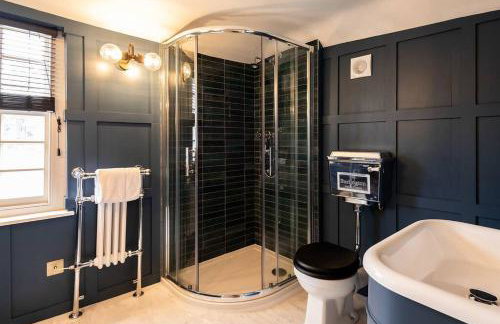
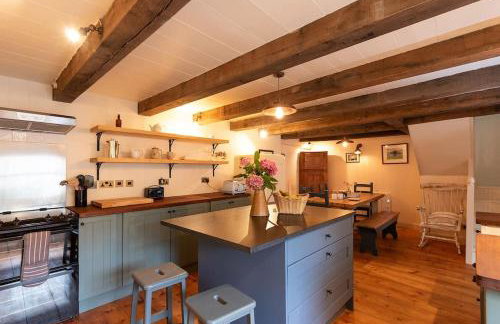
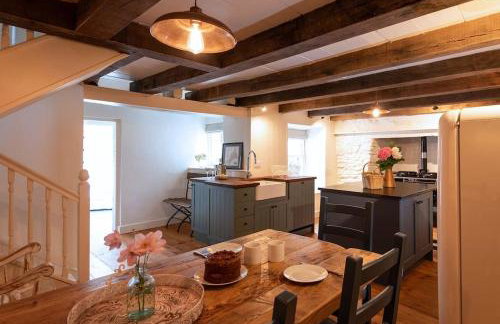
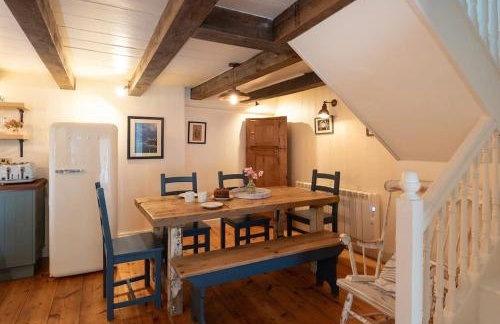
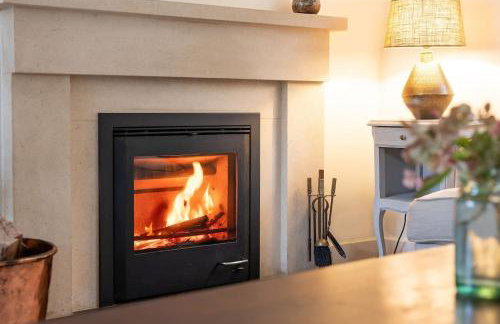
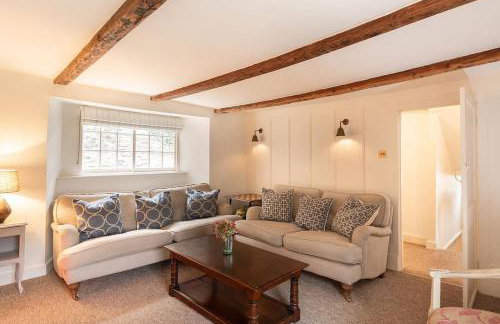
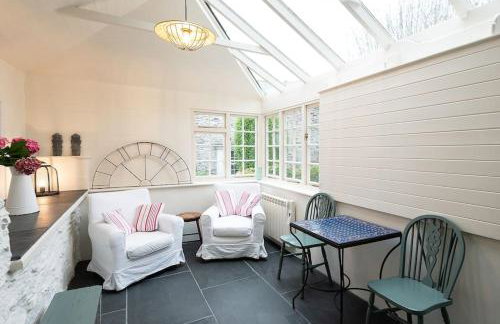
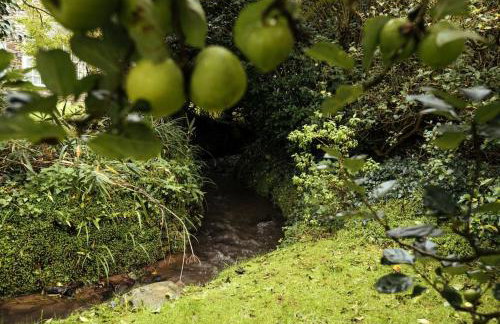
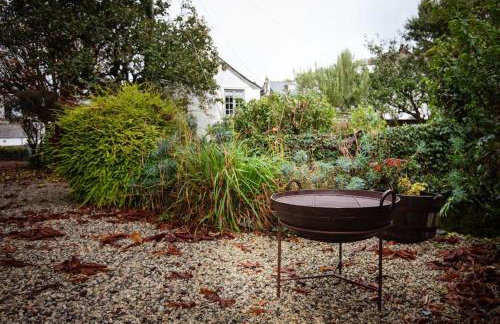
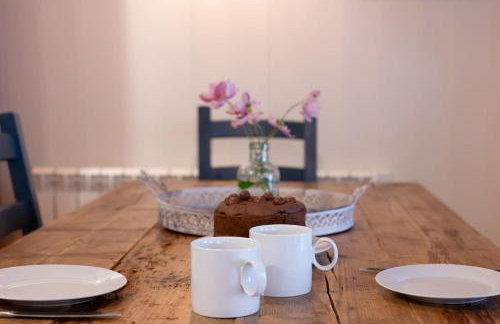
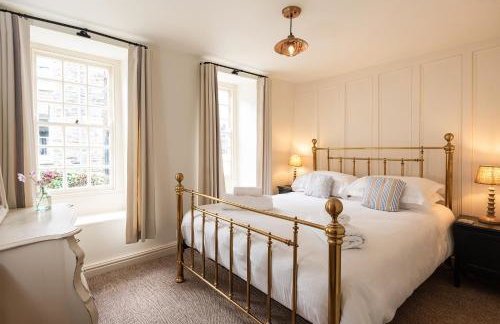
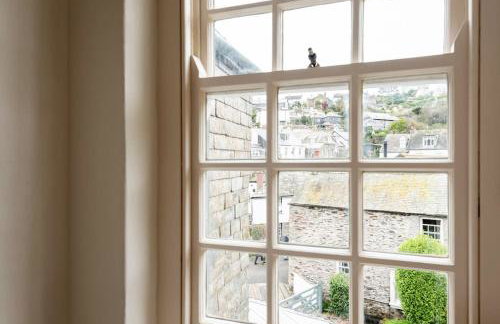
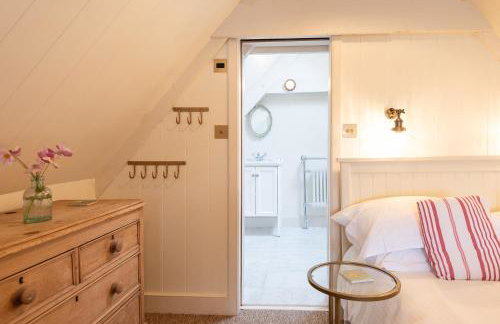
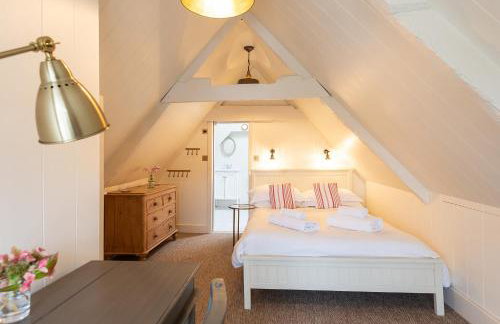
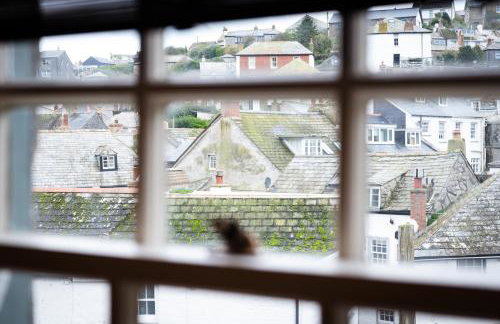
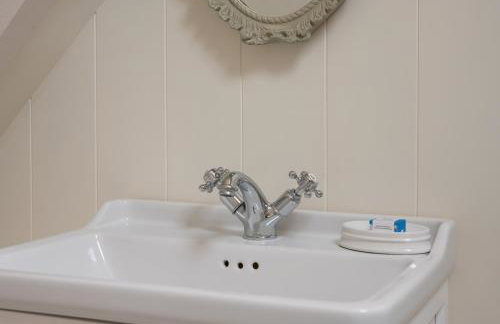
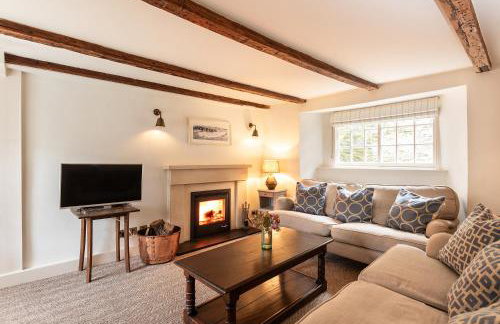
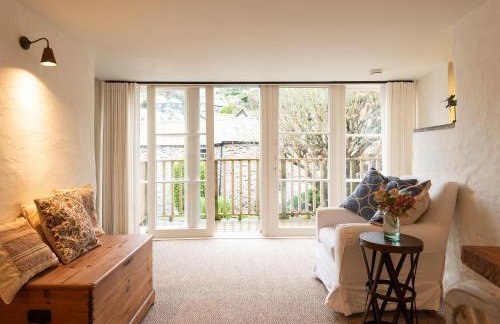
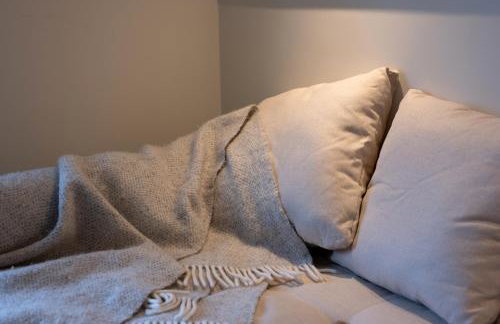
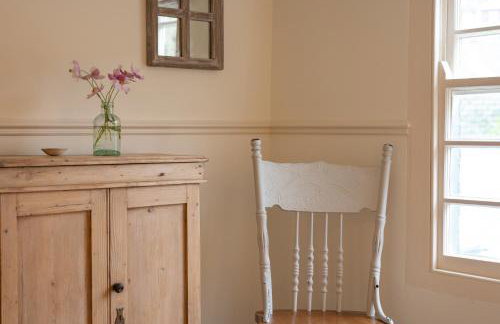
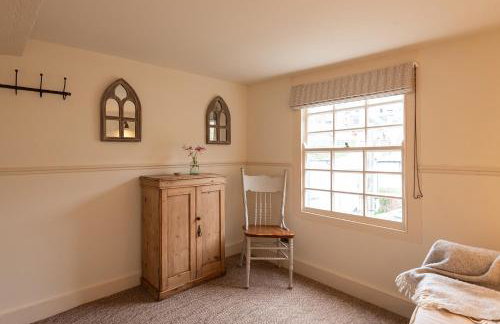
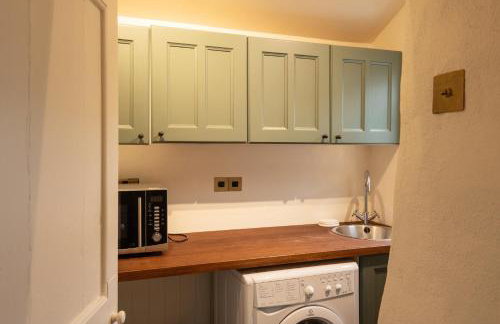
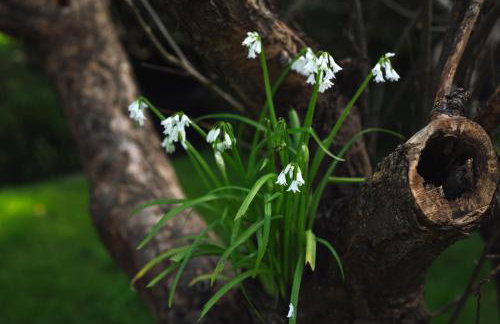
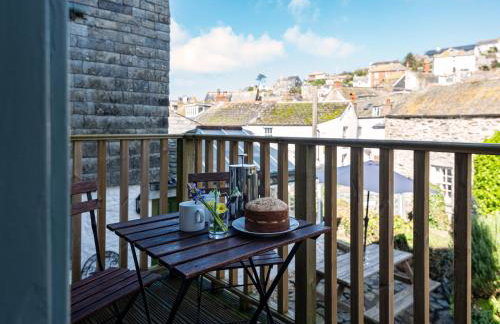
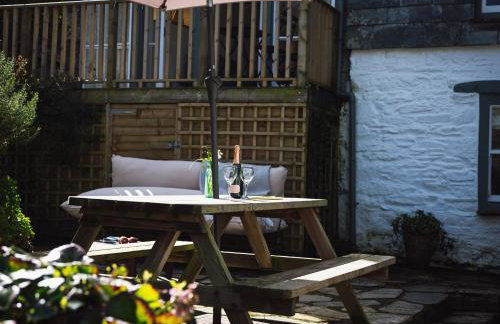
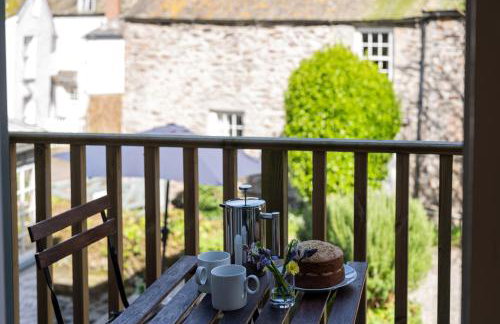
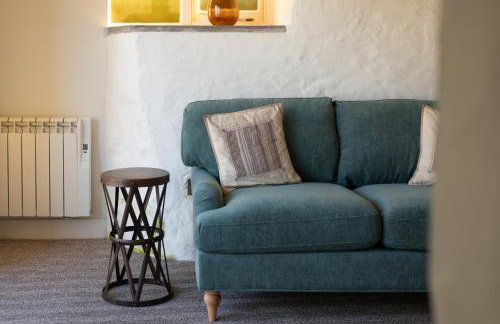
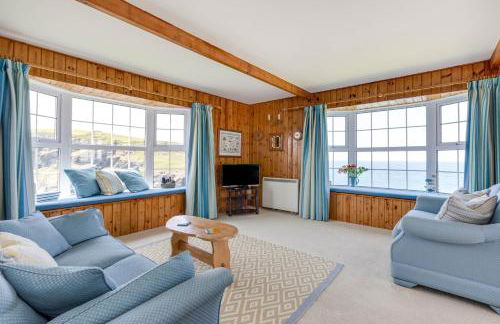
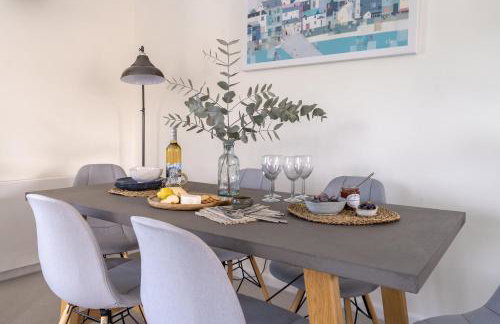
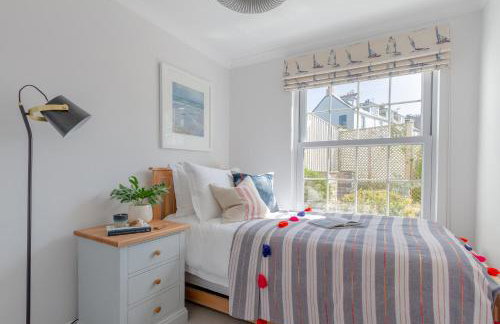
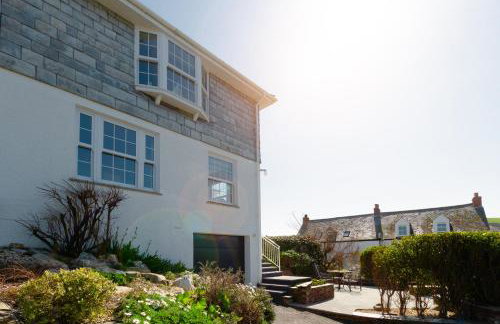
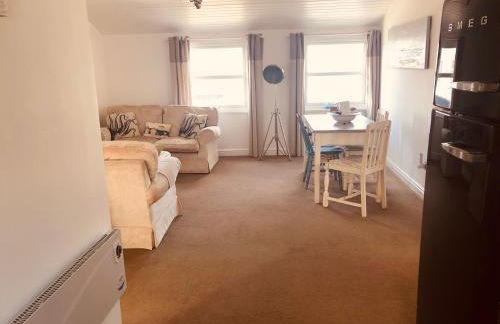
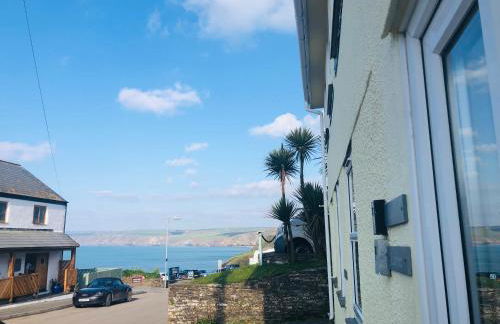
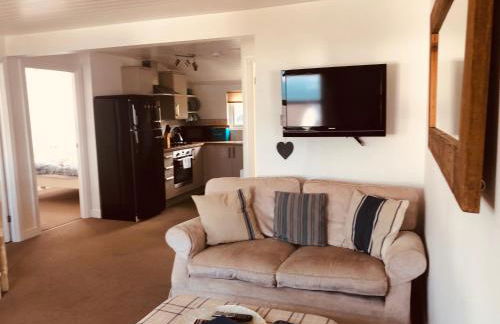
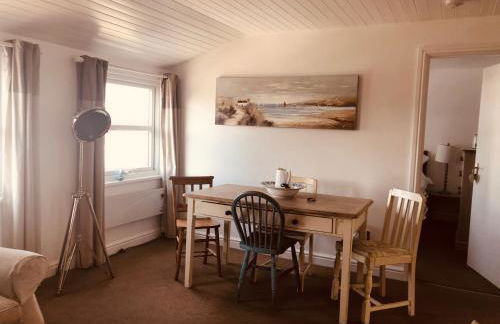
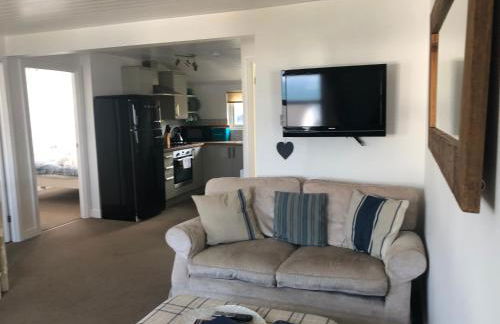
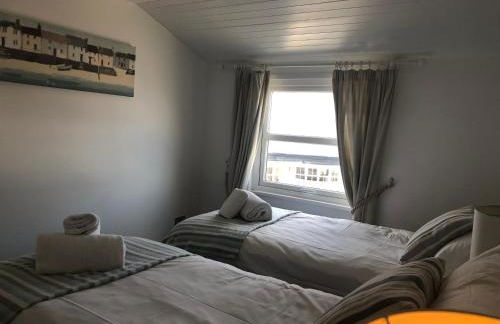
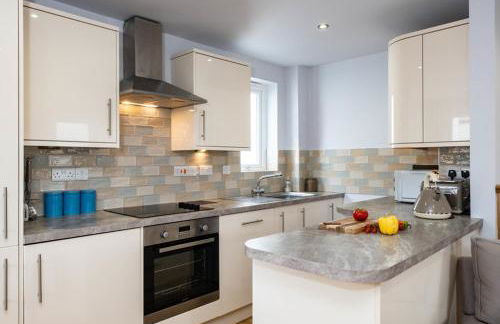
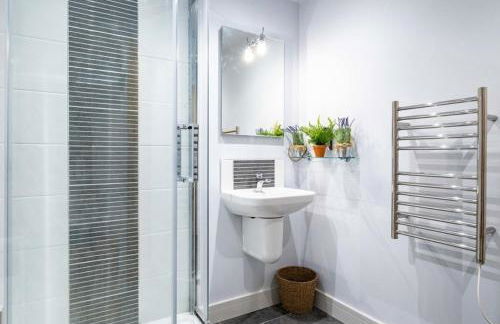
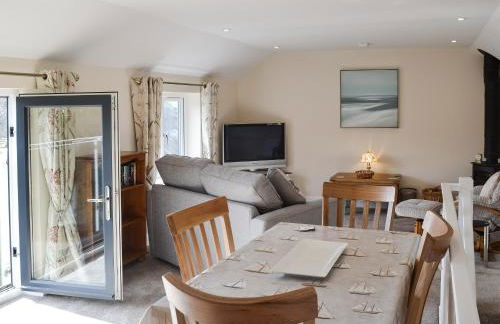
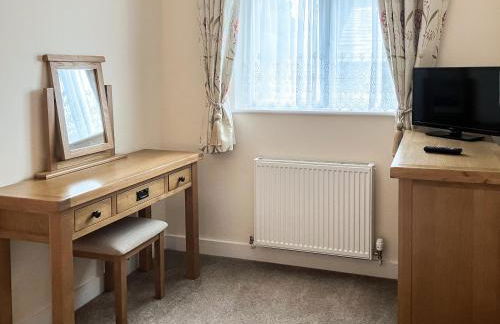
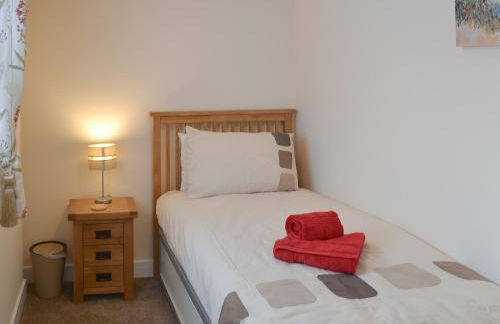
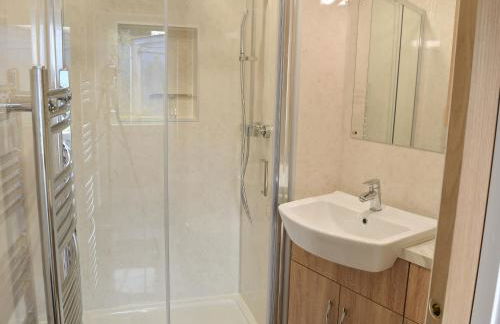
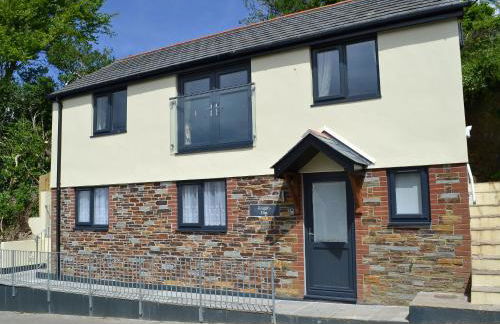
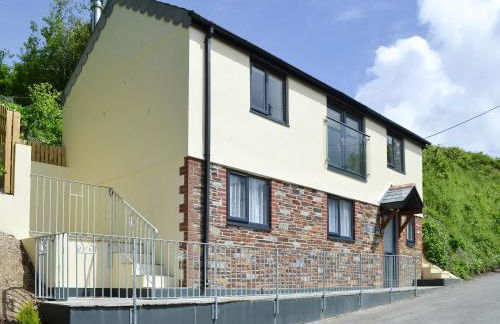
The Blacksmith's Shop - Foto 1
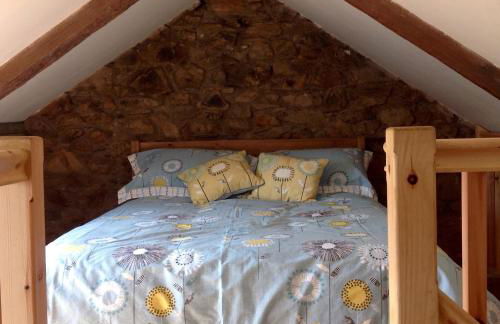
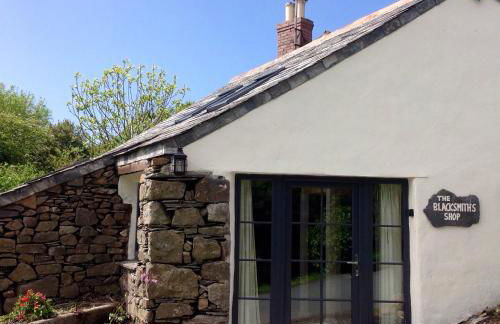
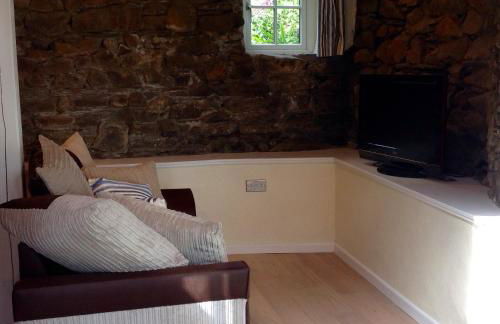
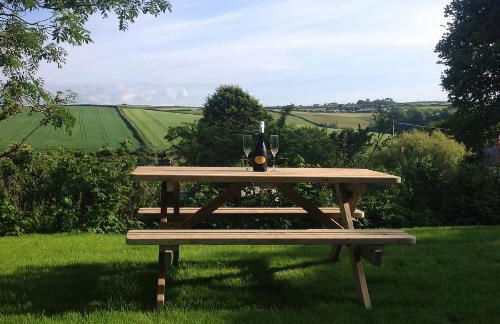
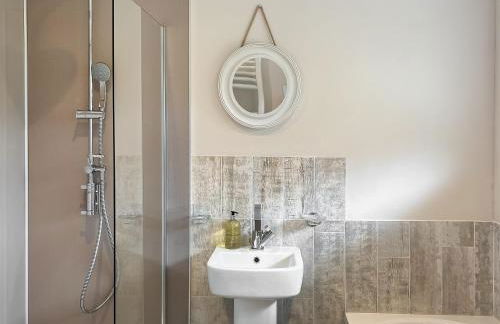
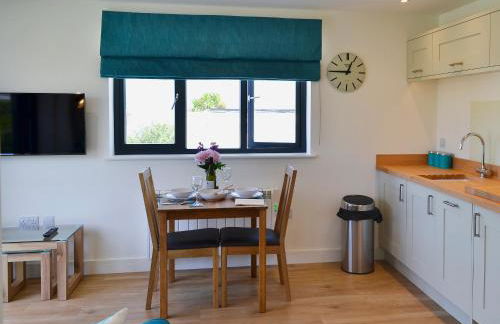
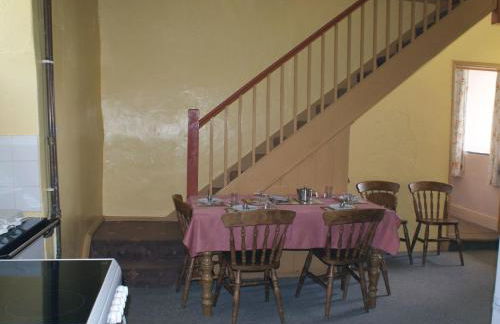
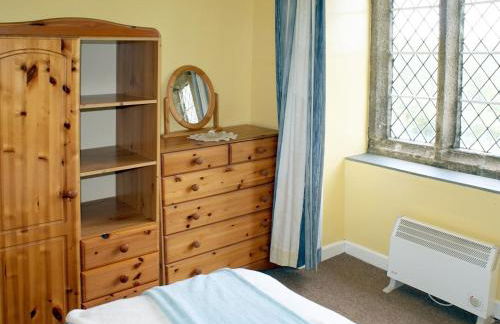
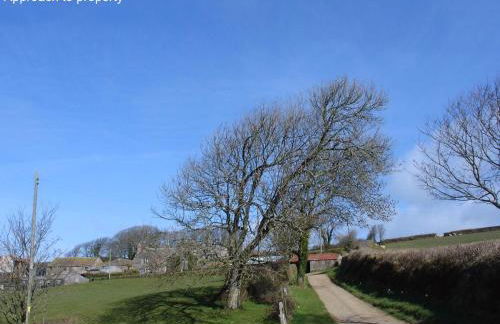
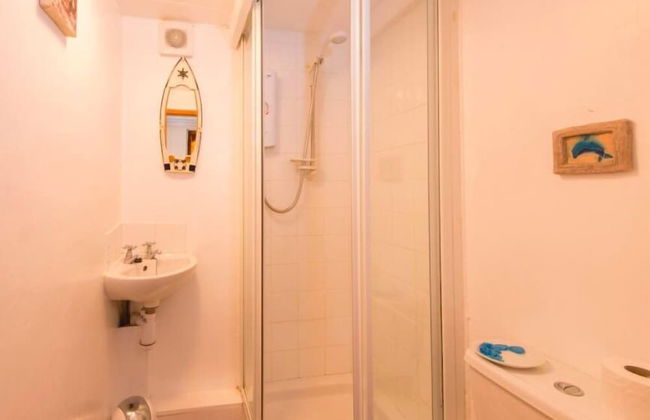
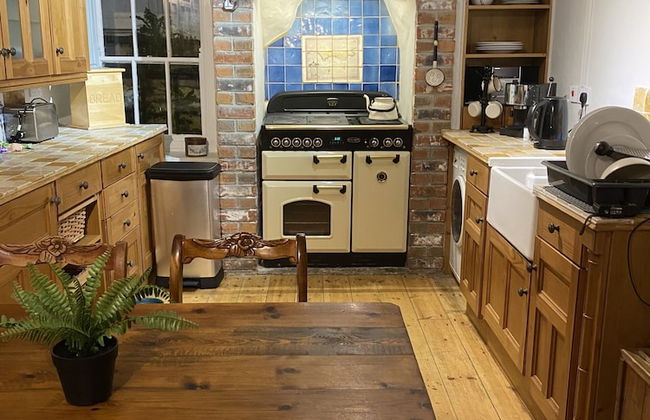
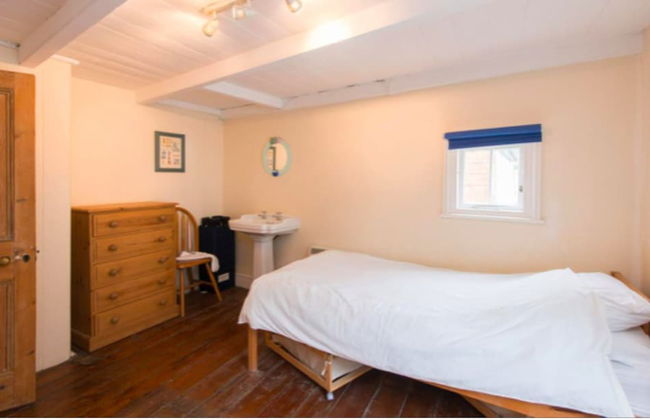
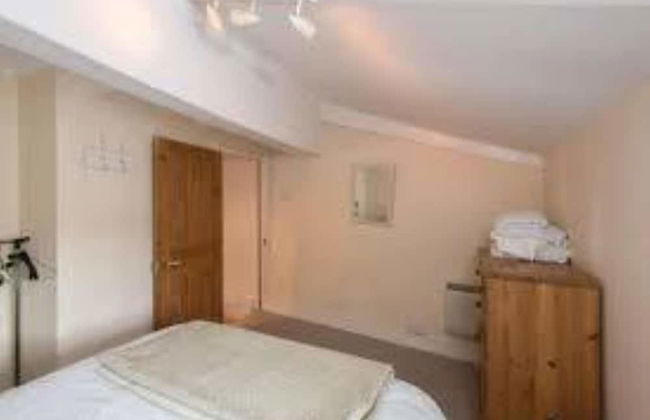
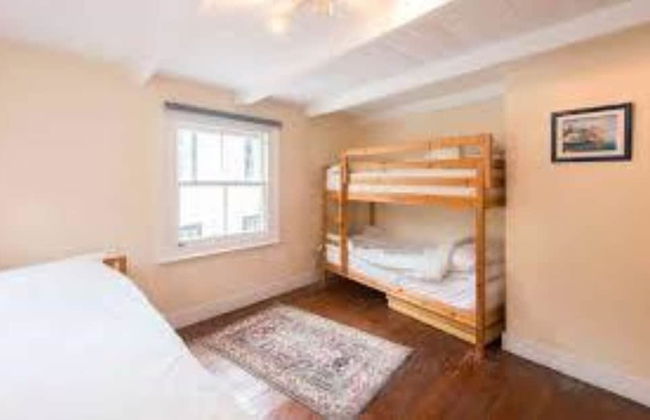
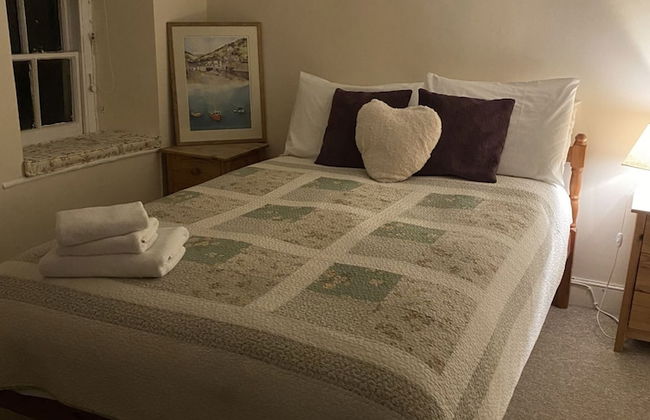
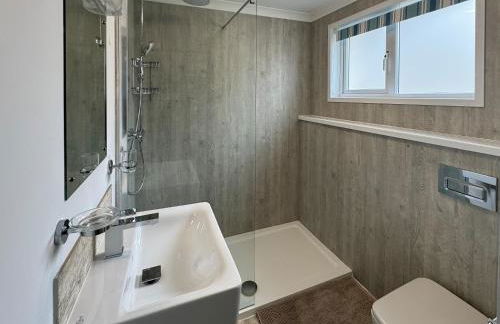
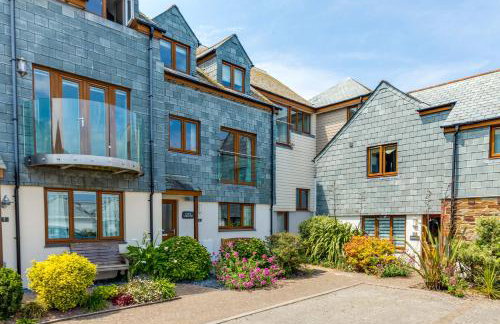
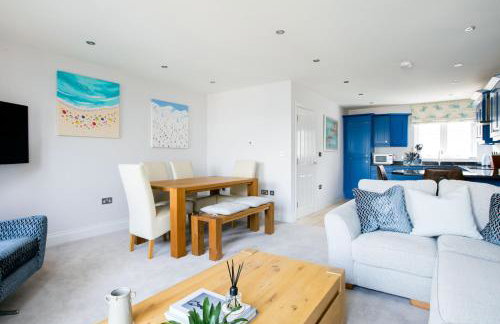
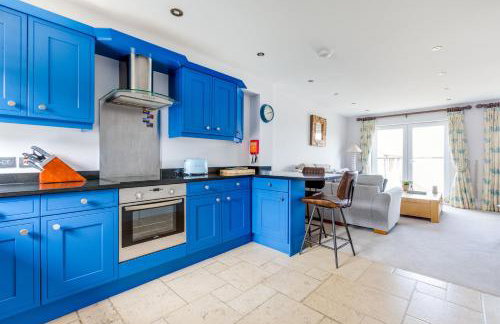
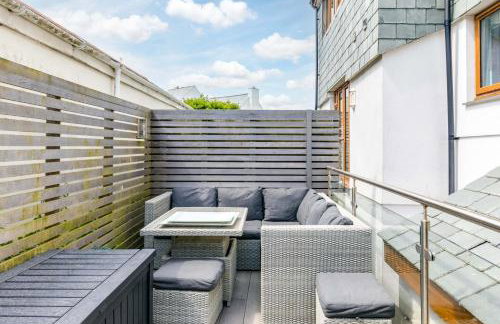
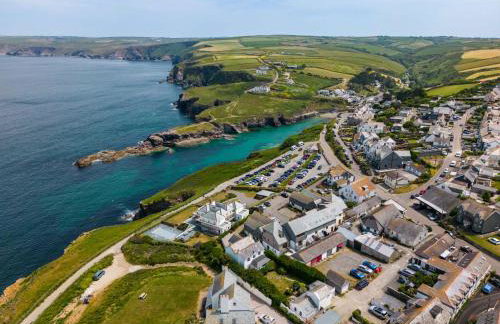
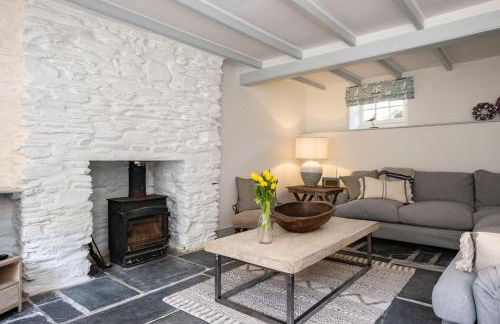
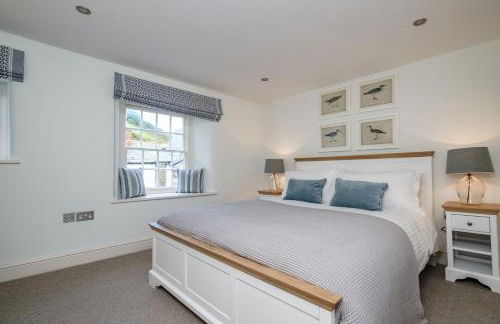
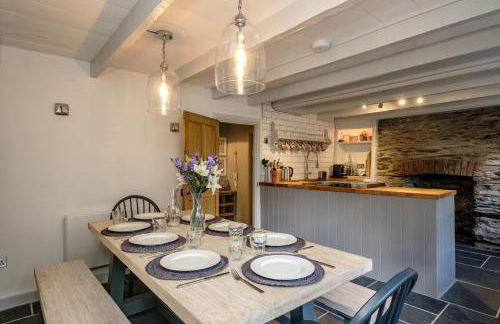
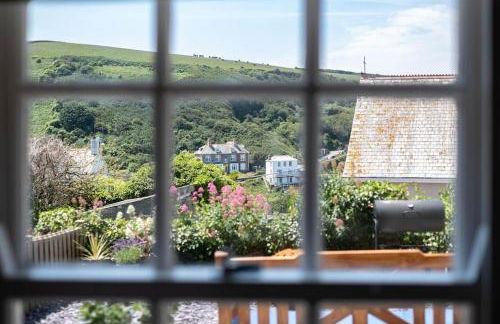
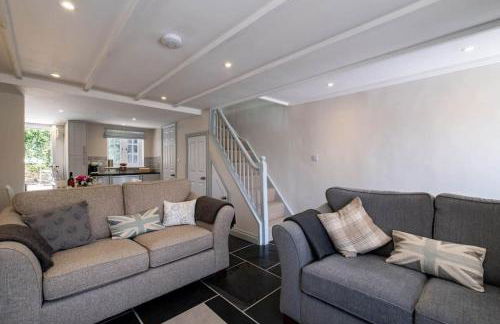
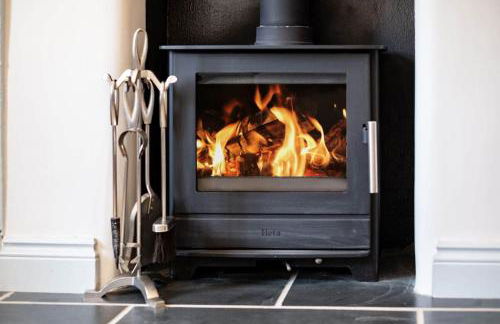
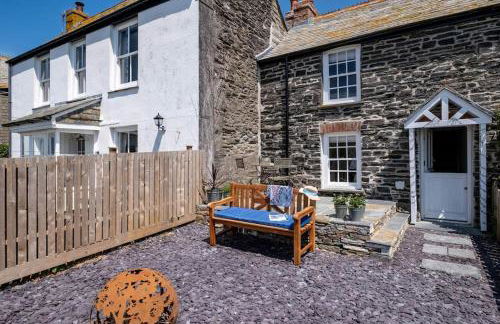
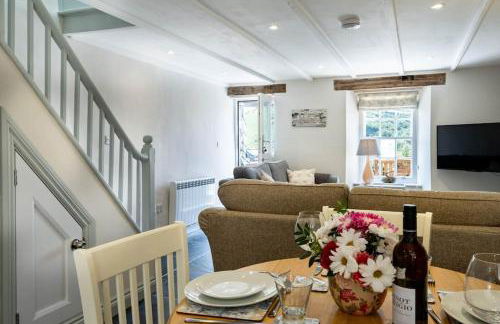
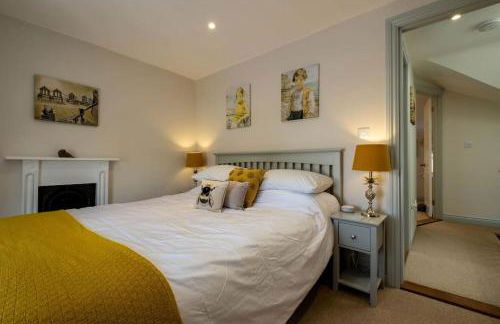
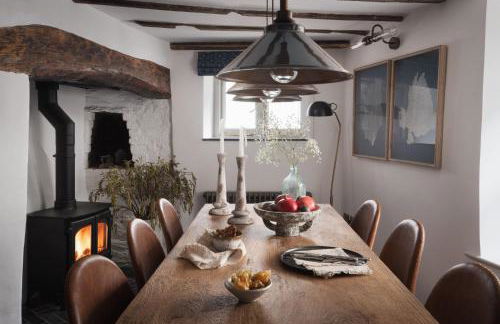
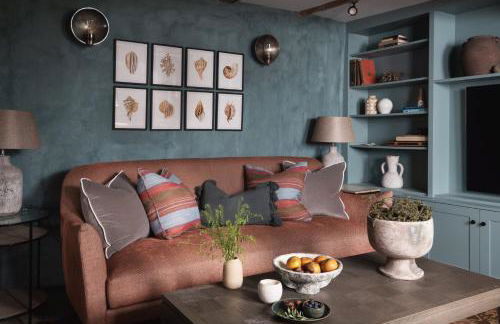
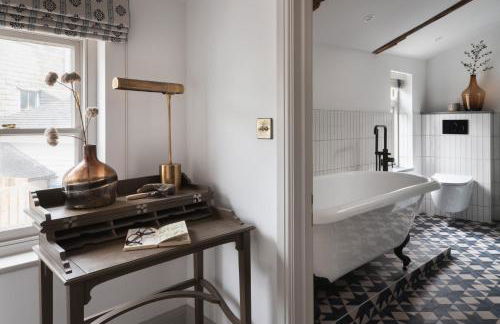
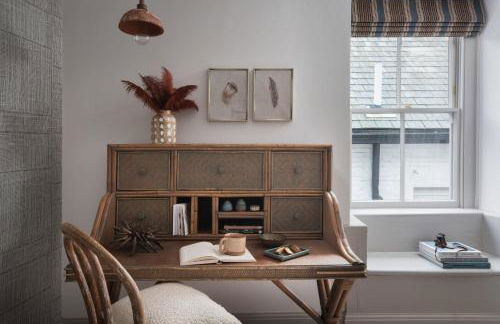
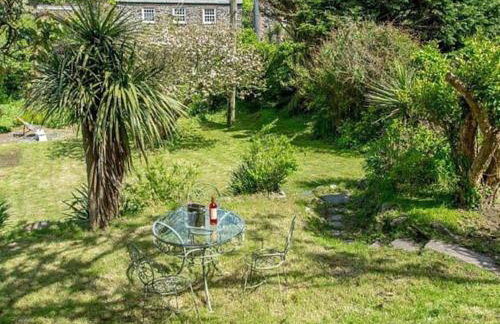
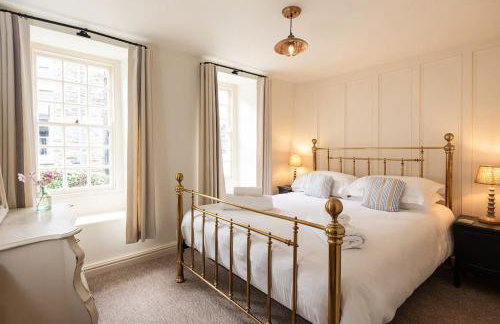
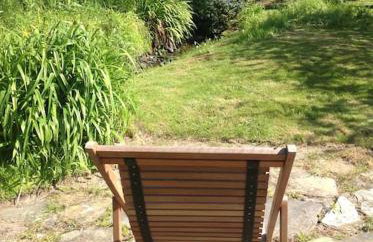
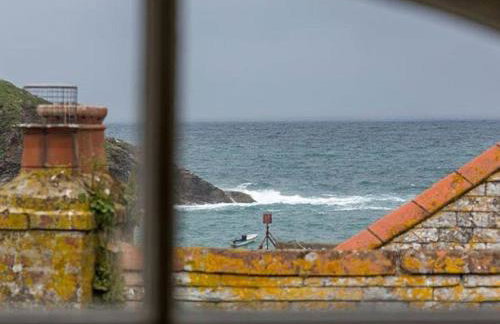
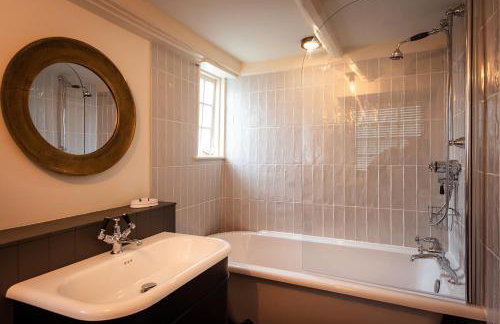
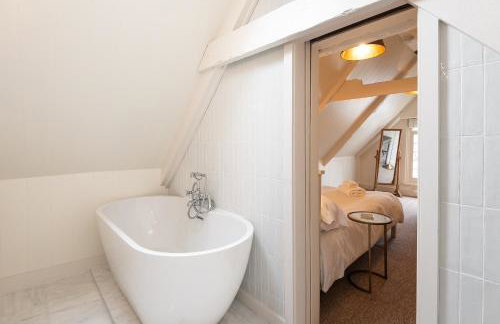
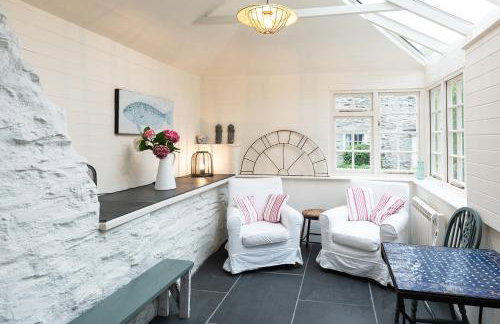
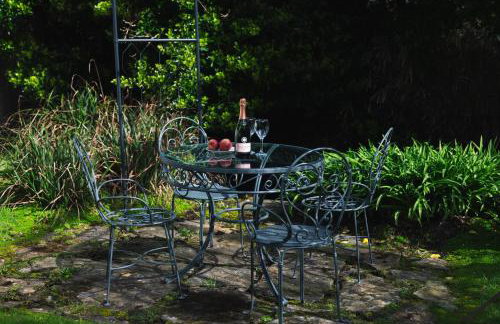
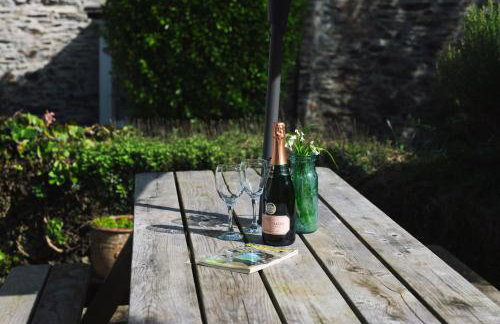
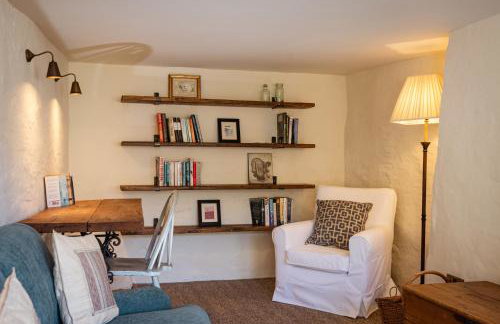
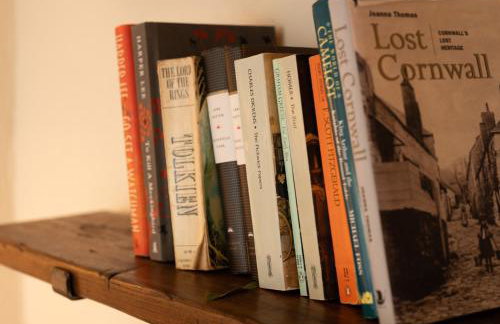
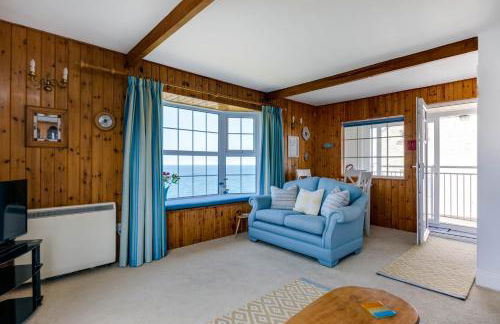
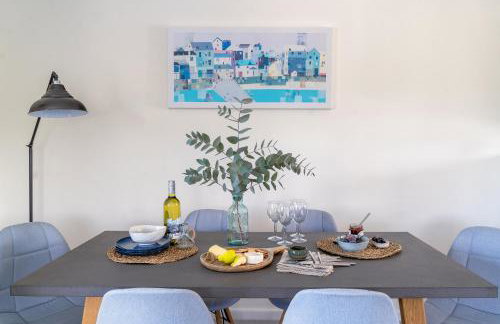
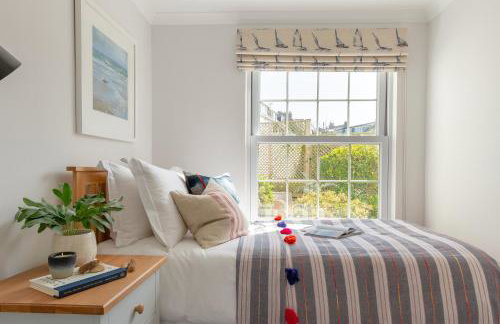
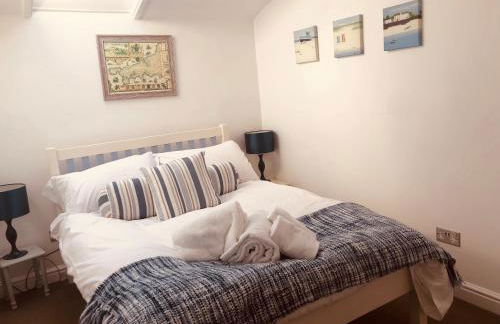
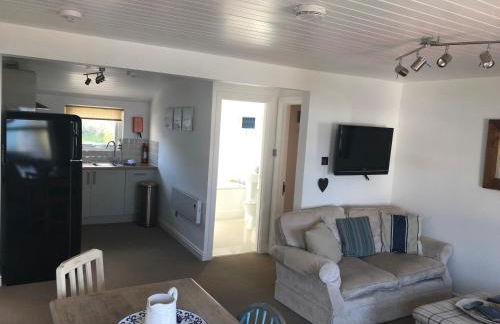
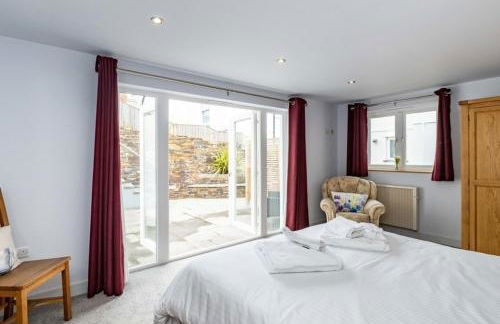
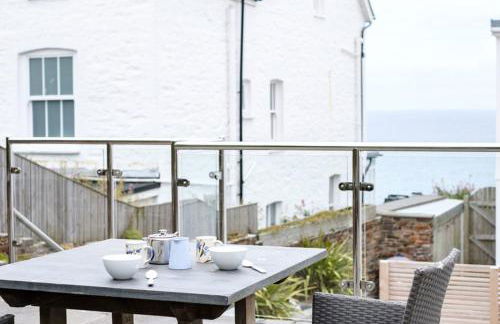
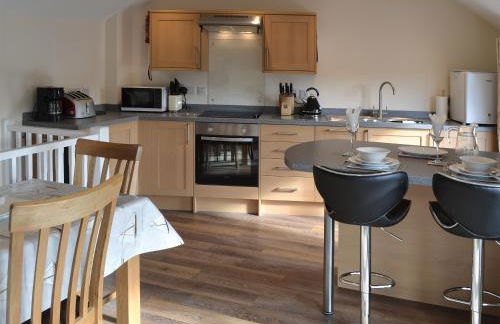
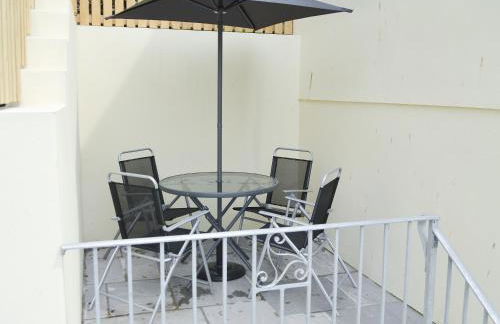
The Blacksmith's Shop - Foto 2
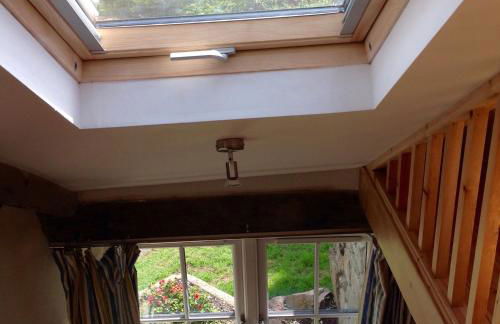
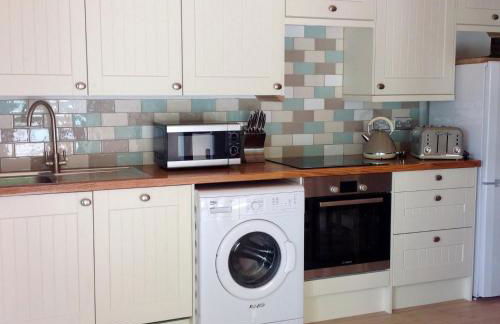
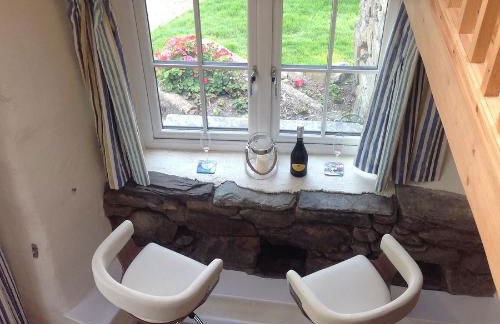
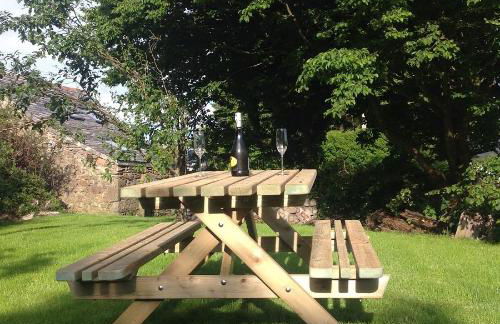
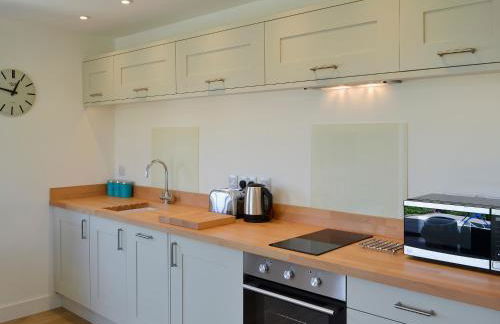
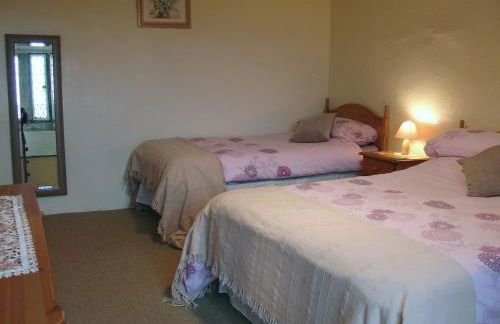
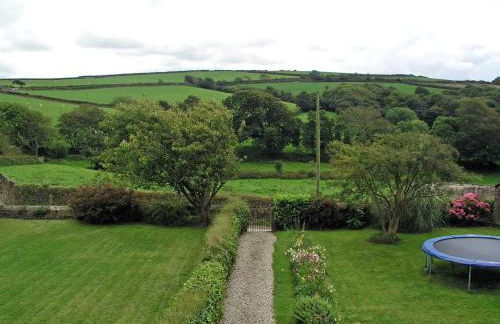
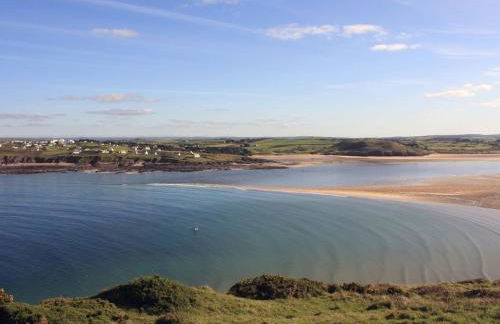
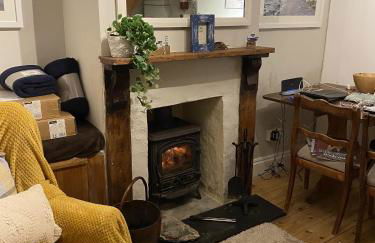
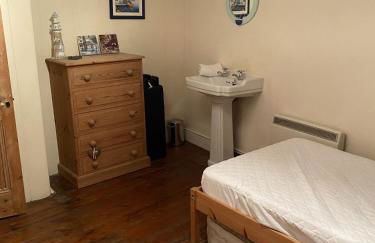
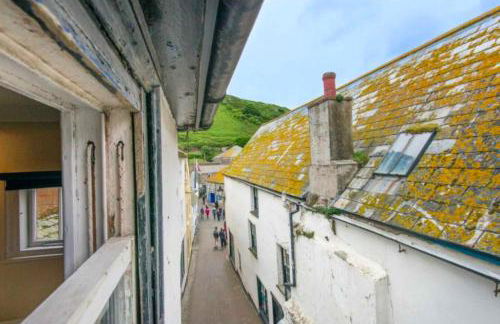
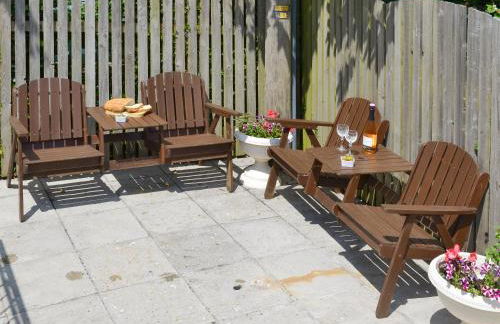
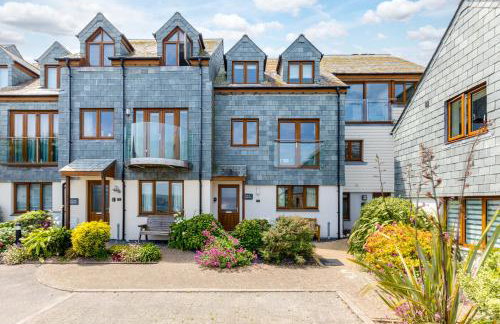
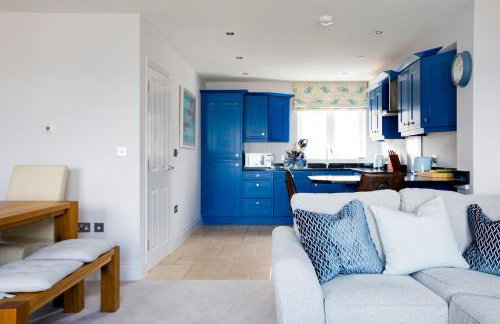
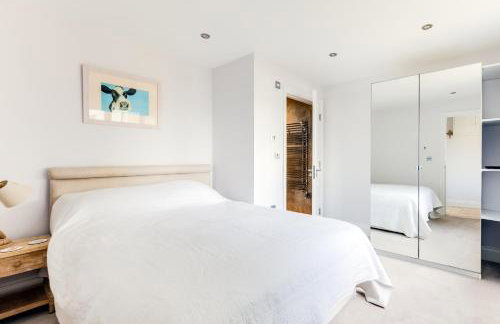
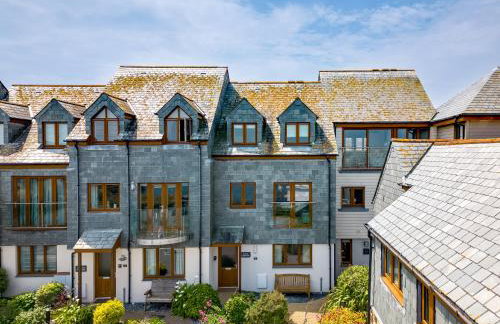
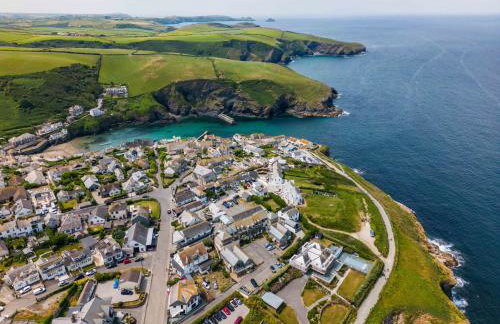
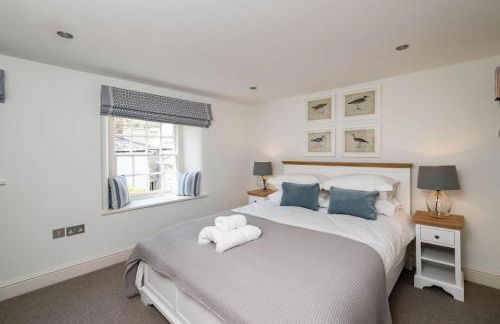
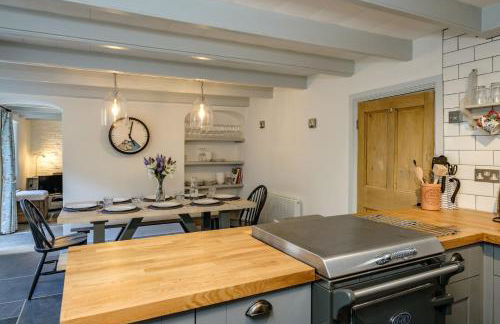
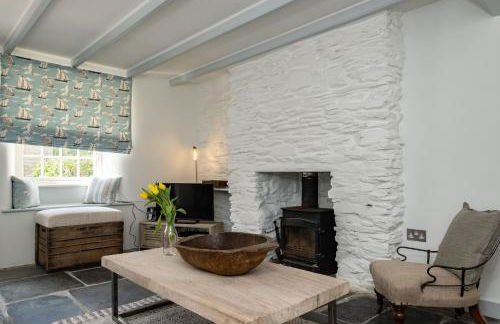
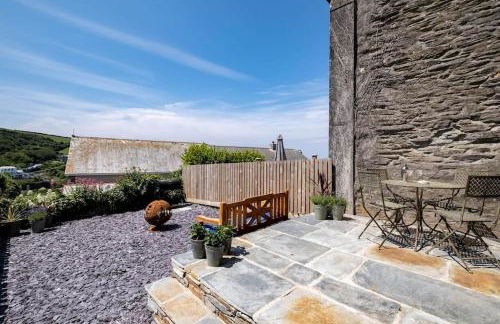
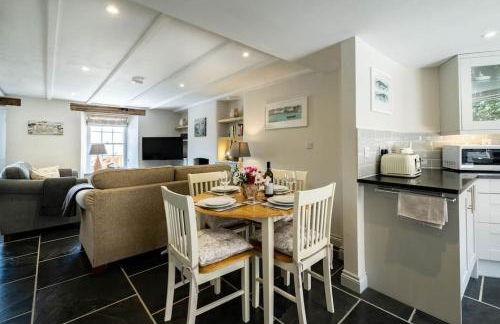
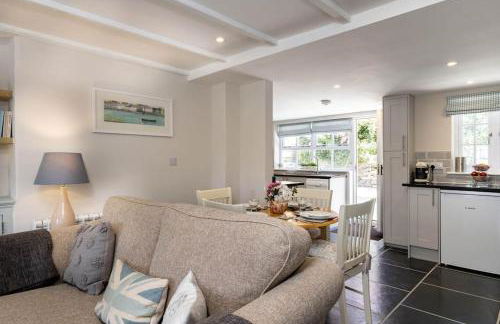
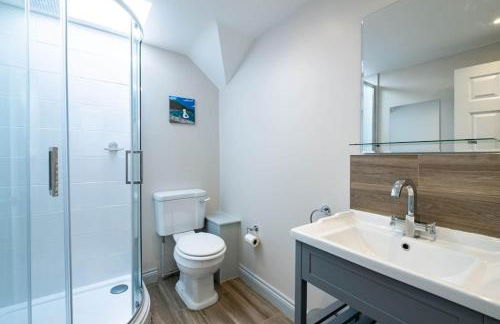
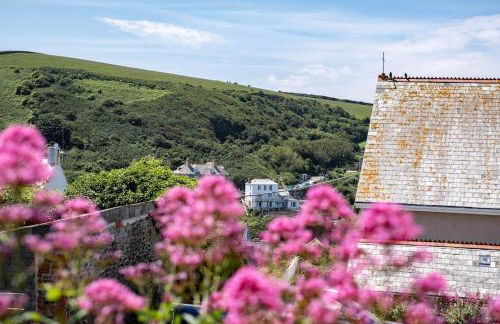
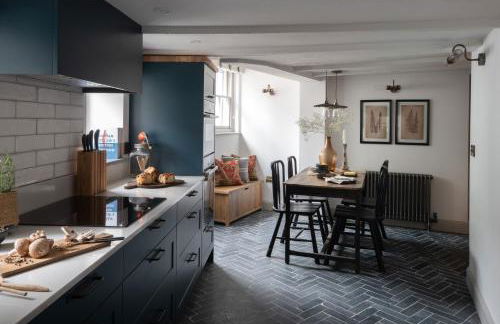
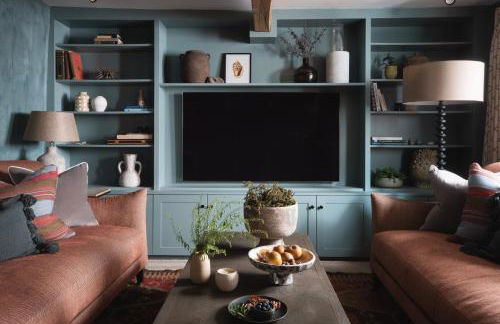
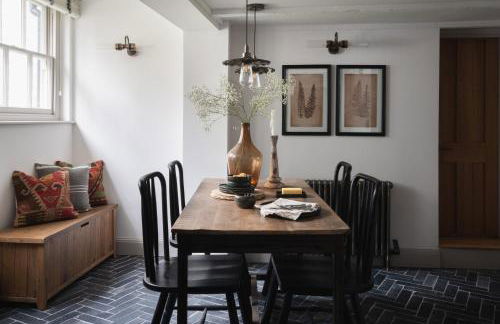
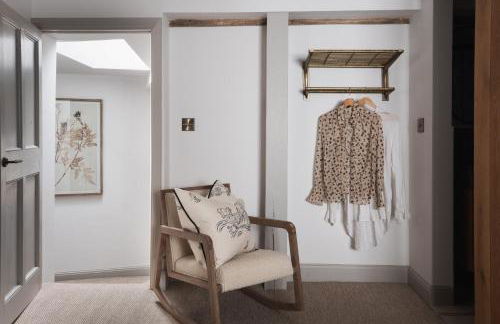
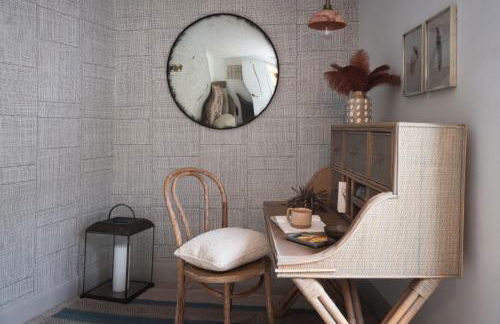
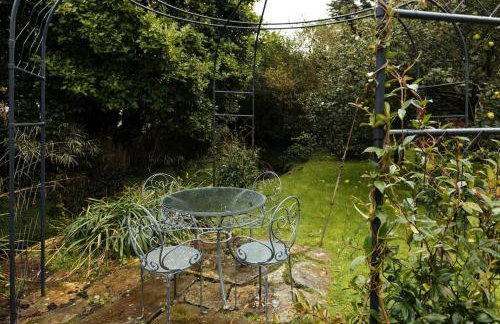
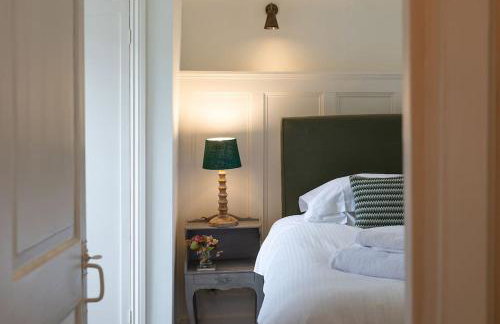
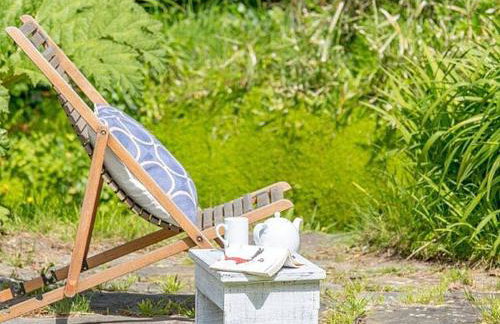
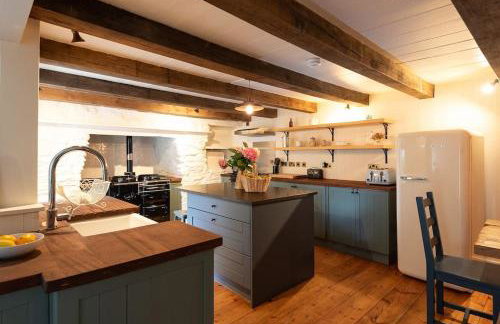
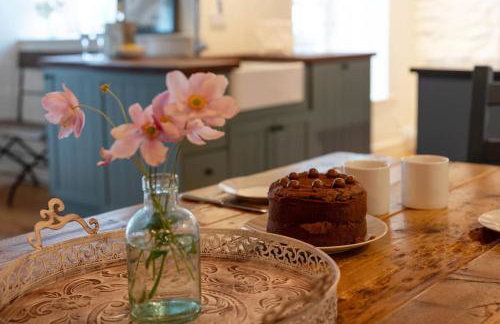
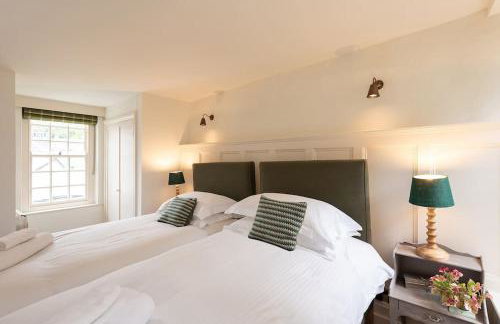
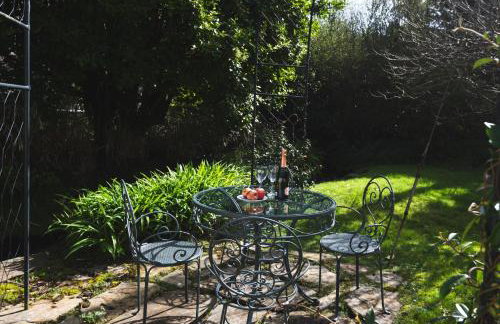
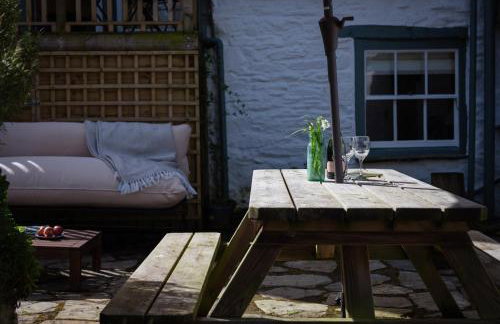
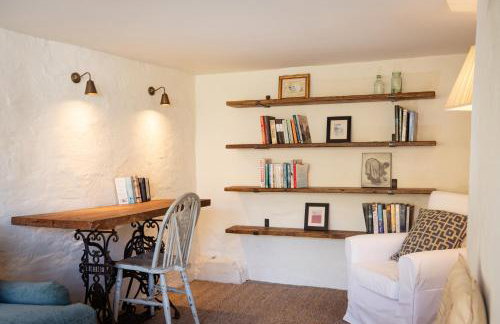
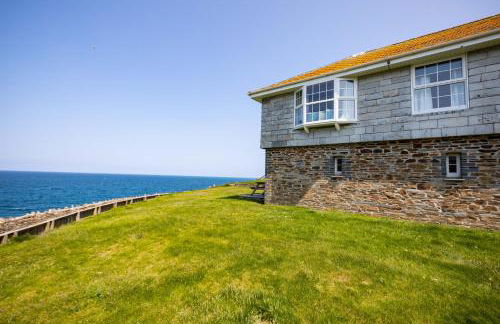
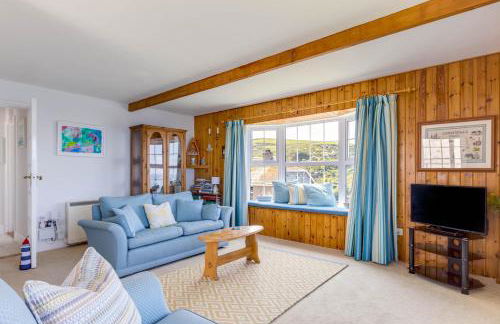
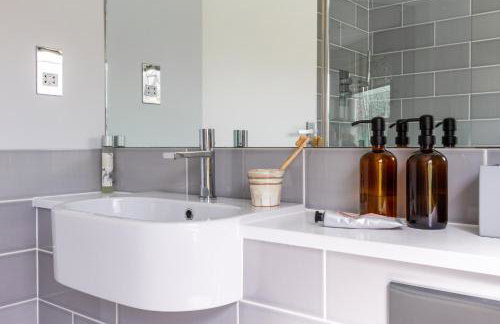
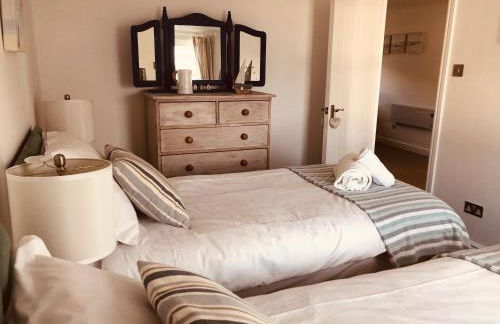
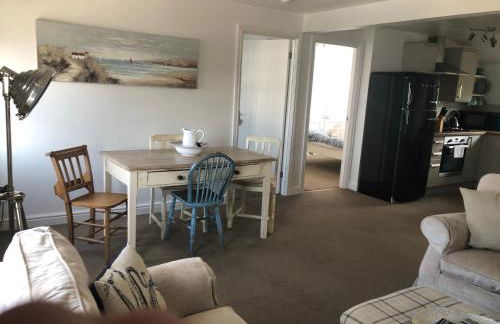
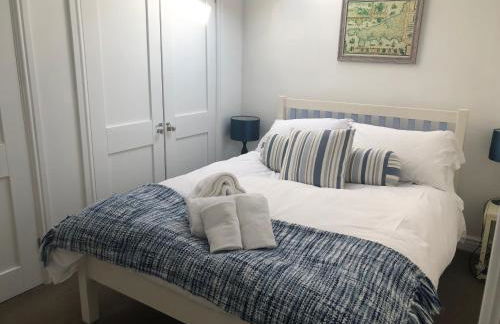
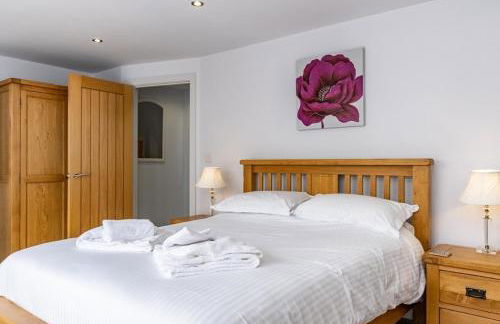
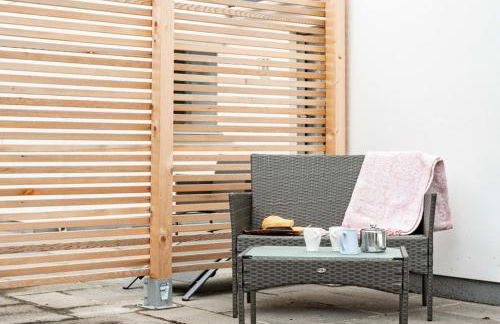
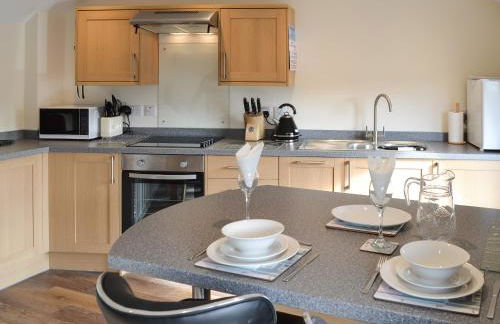
The Blacksmith's Shop - Foto 3
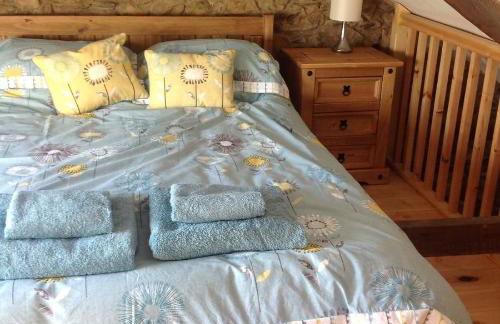
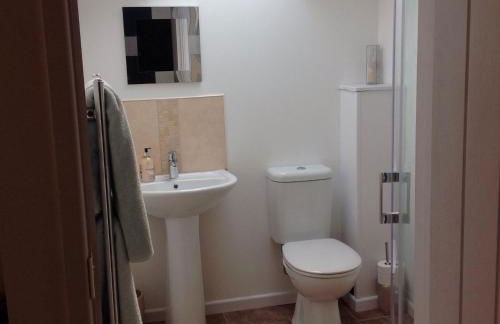
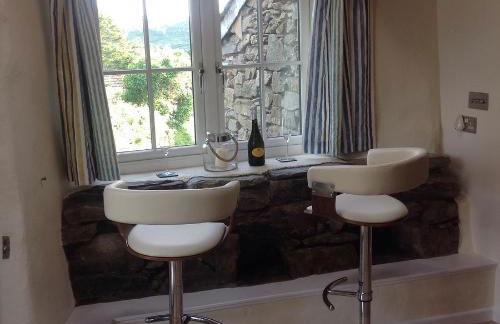
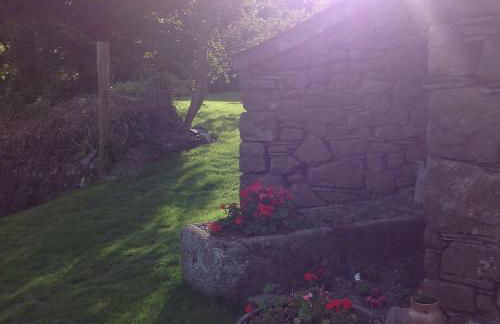
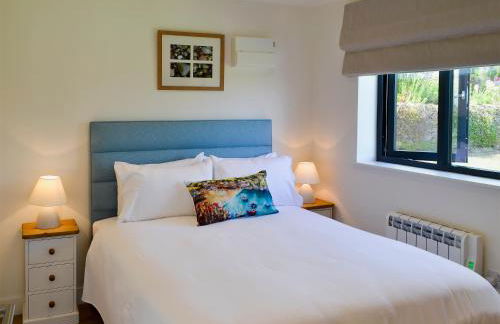
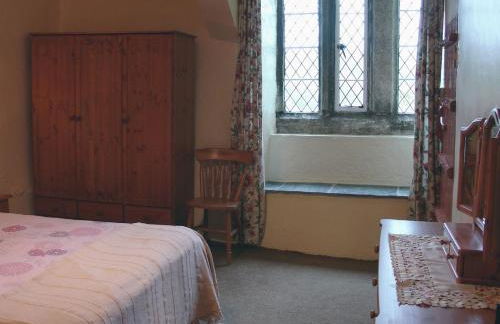
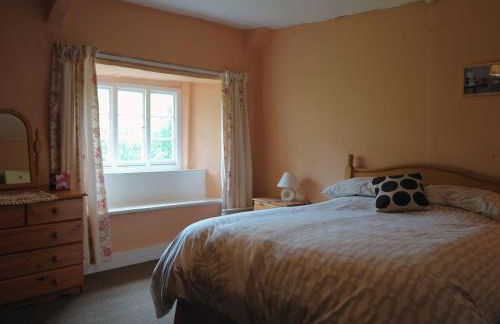
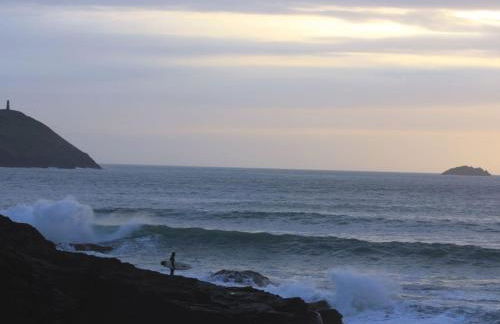
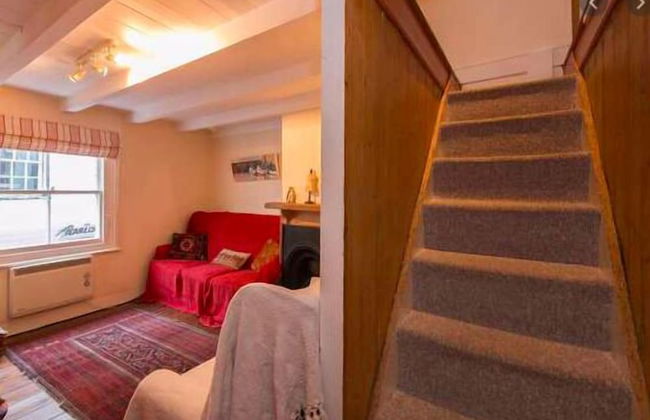
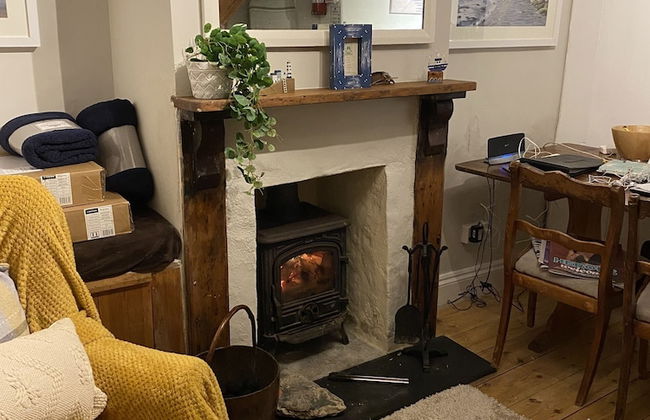
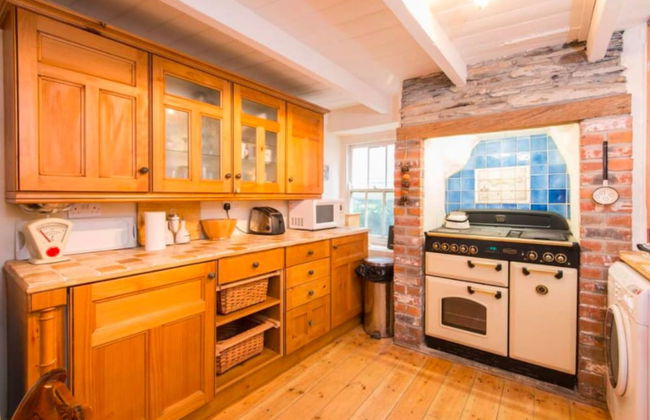
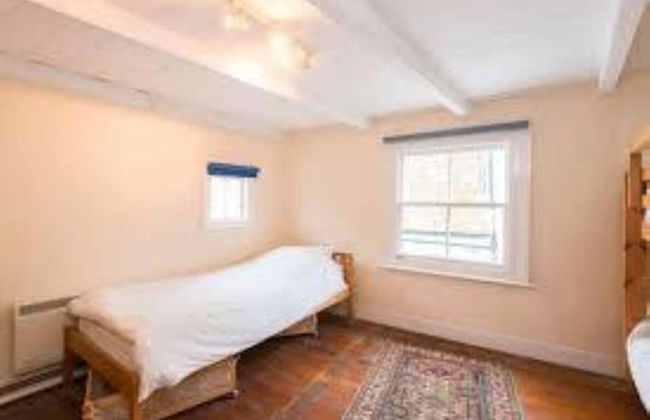
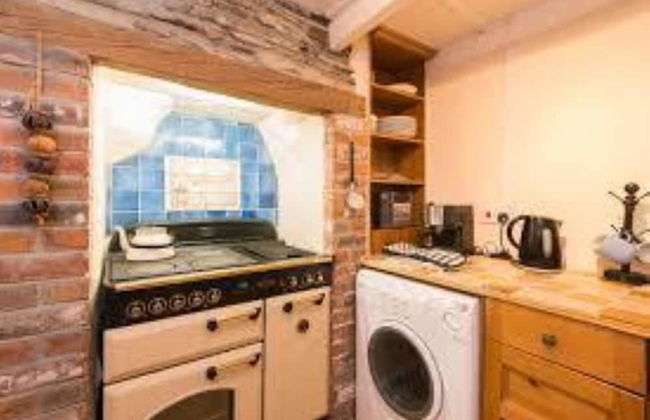
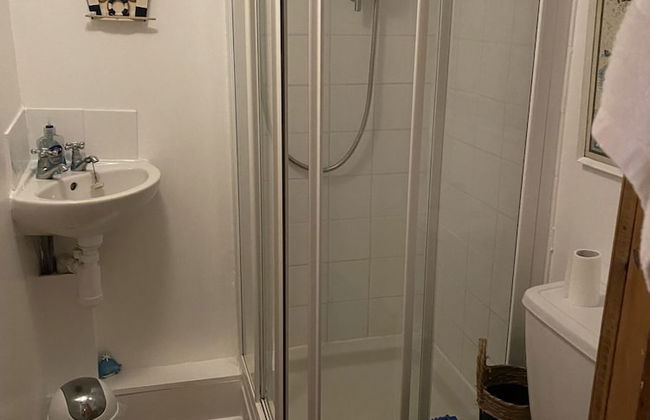
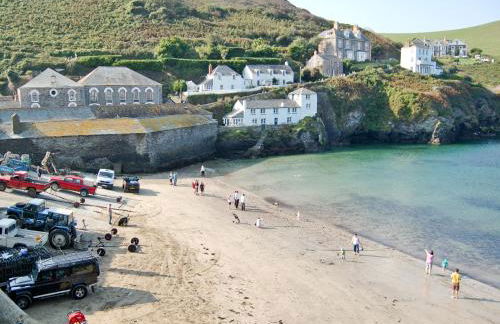
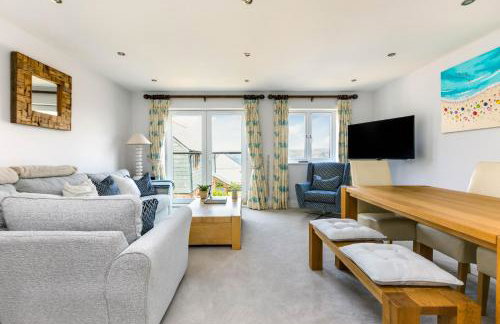
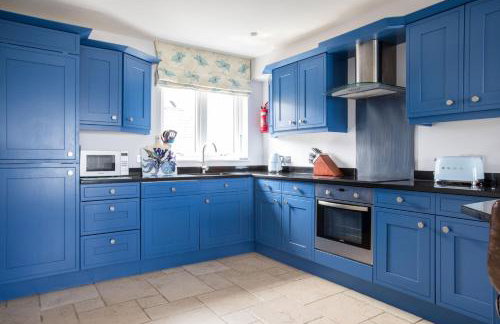
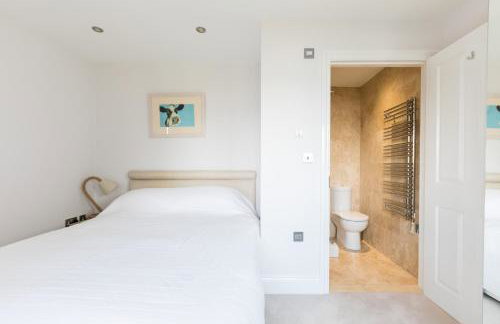
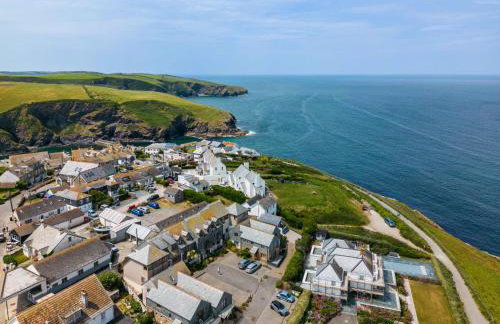
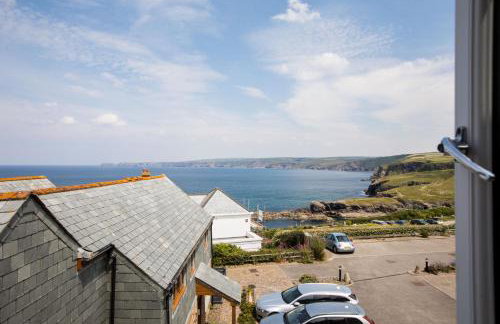
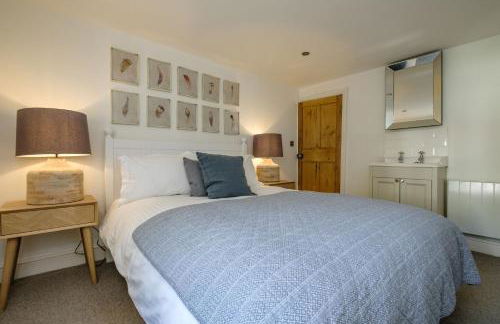
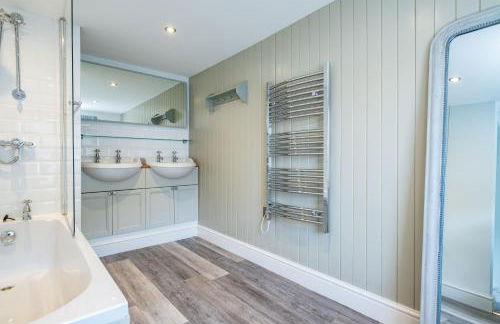
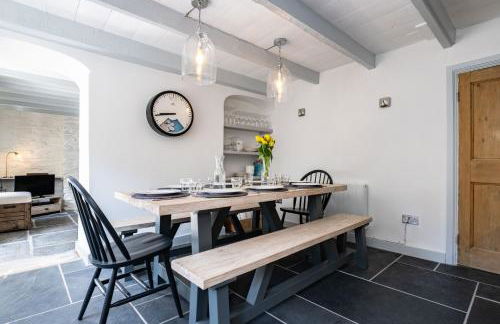
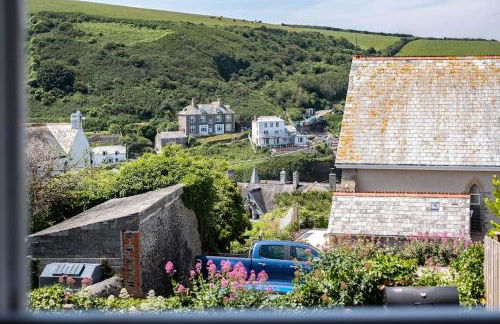
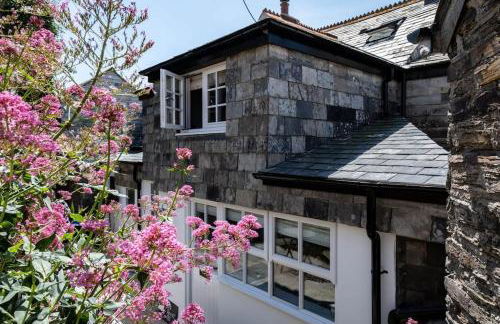
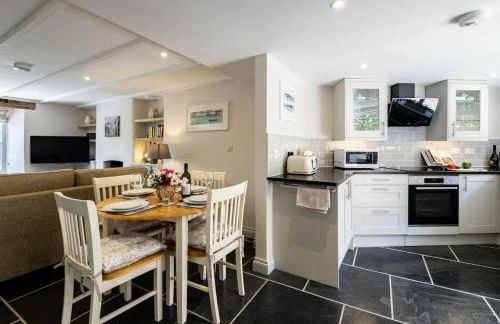
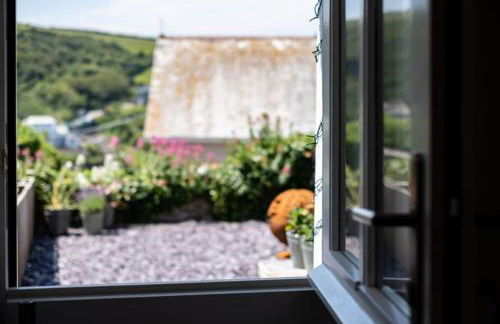
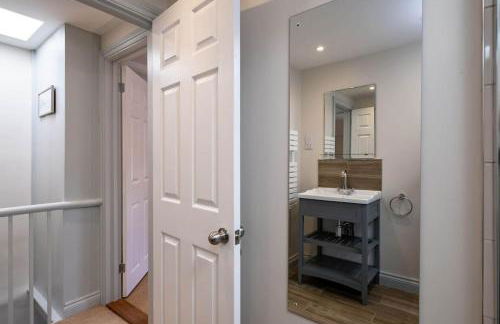
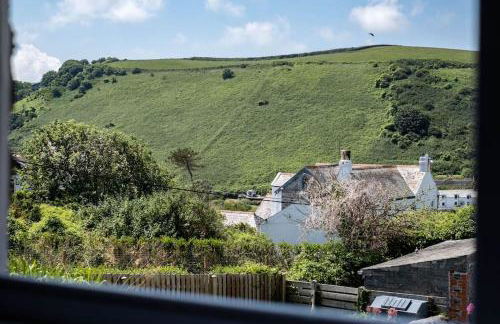
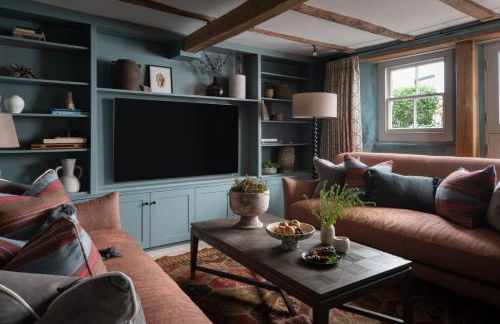
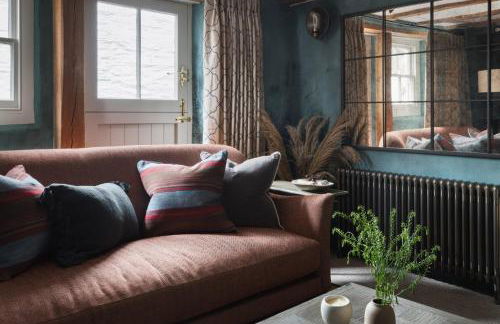
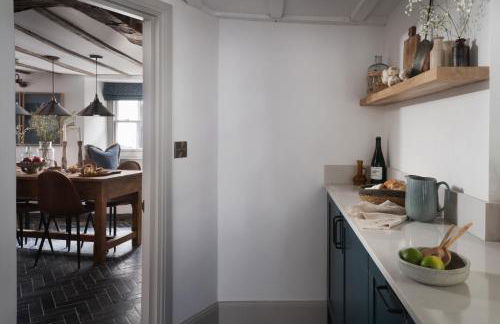
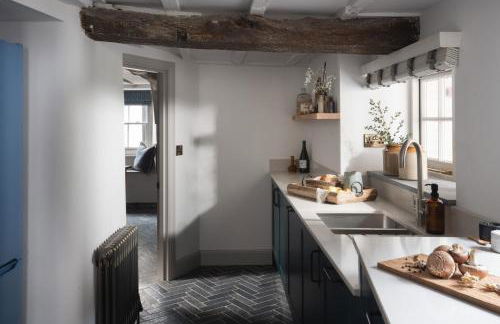
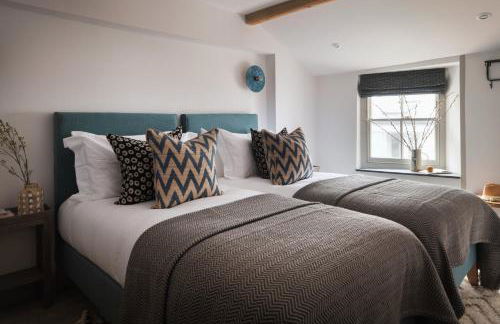
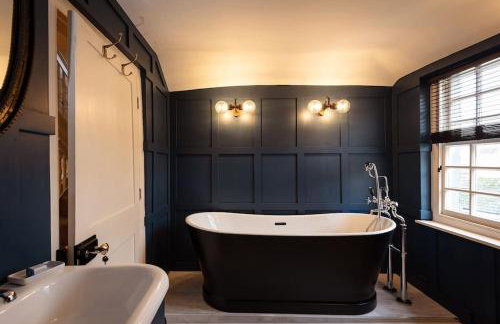
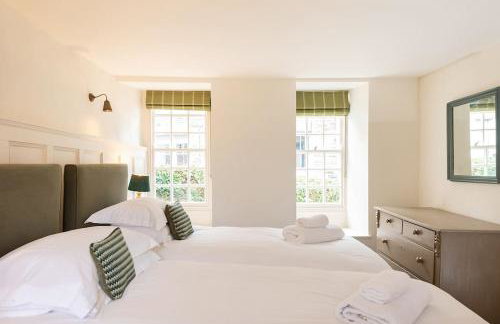
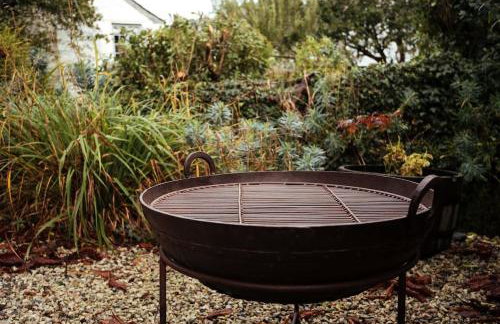
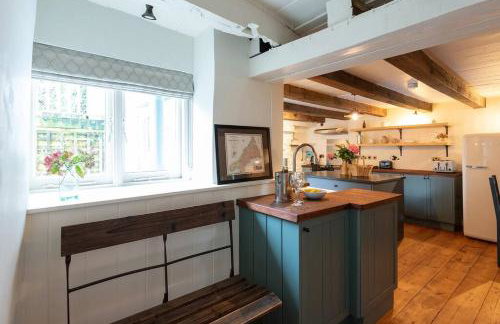
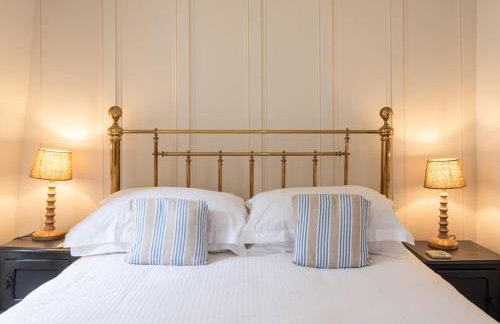
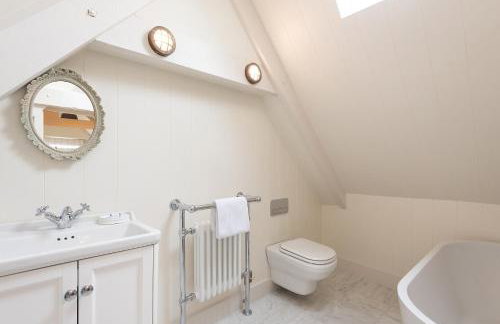
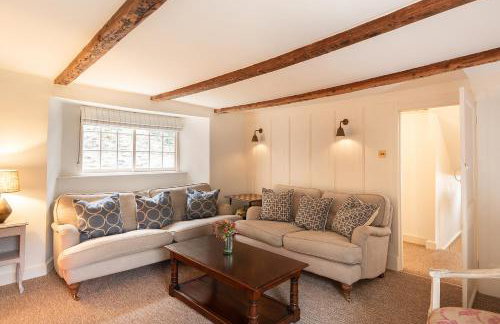
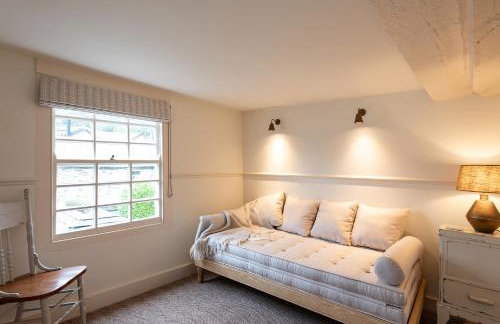
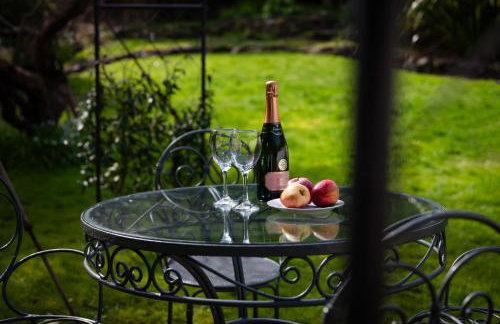
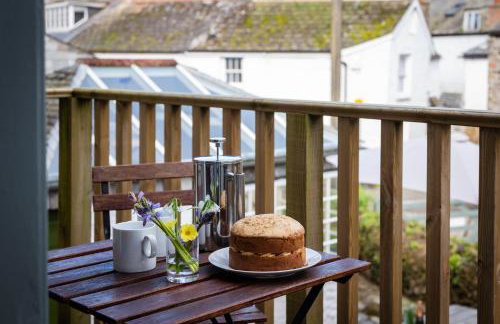
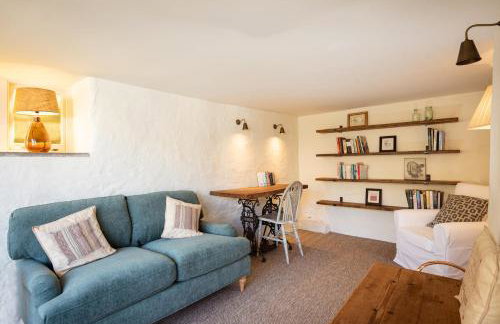
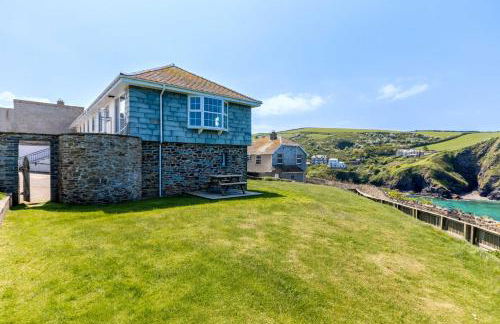
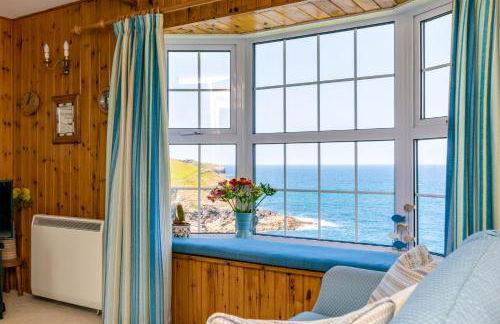
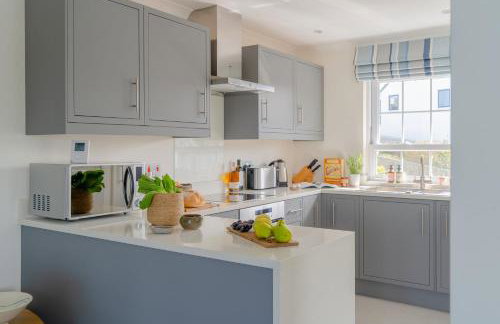
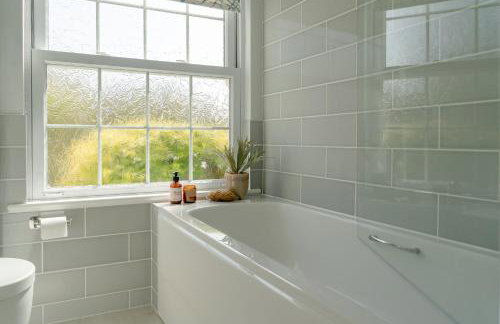
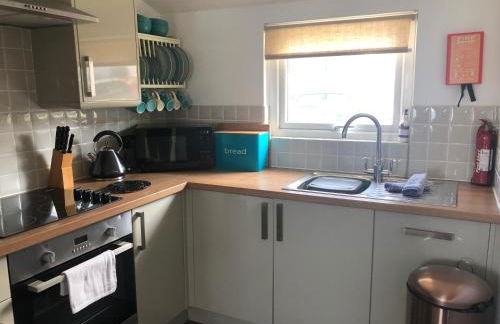
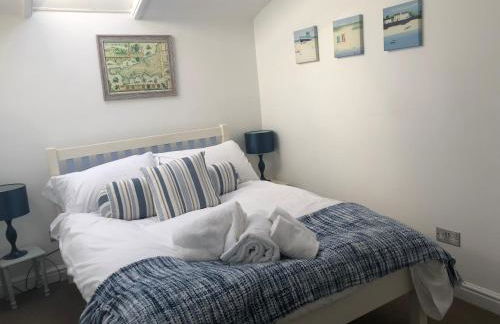
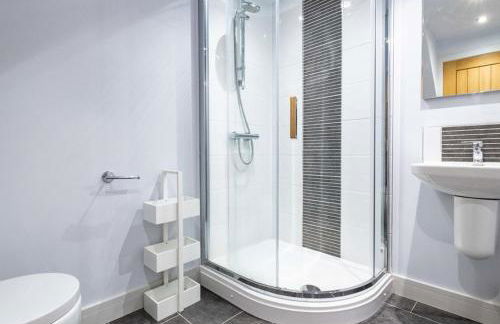
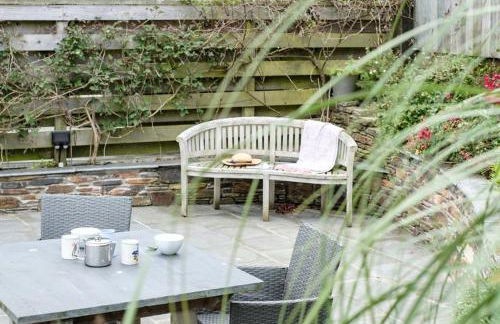
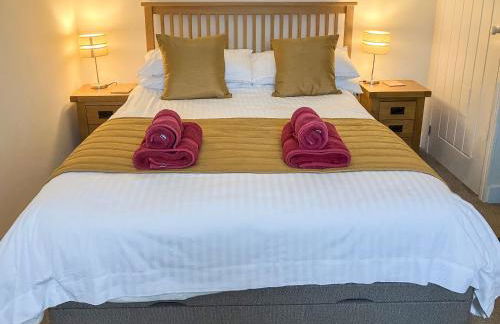
The Blacksmith's Shop - Foto 4
The Blacksmith's Shop - Foto 5
The Blacksmith's Shop - Foto 6
The Blacksmith's Shop - Foto 7
The Blacksmith's Shop - Foto 8
The Blacksmith's Shop - Foto 9
The Blacksmith's Shop - Foto 10
The Blacksmith's Shop - Foto 11
The Blacksmith's Shop - Foto 12
The Blacksmith's Shop - Foto 13
The Blacksmith's Shop - Foto 14
The Blacksmith's Shop - Foto 15
The Blacksmith's Shop - Foto 16

The Blacksmith's Shop

Port - Trewetha

  • 15 M2
  • 2 Personen
  • Heizung
  • Parkplatz
  • Garten
9.9Außergewöhnlich | 33 Bewertungen
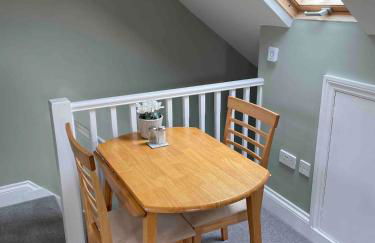
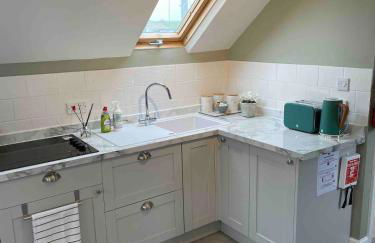
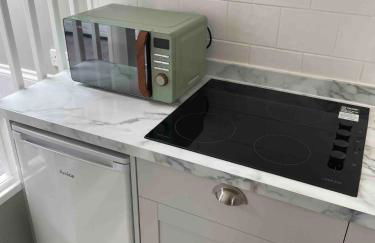
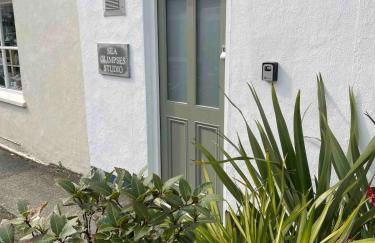
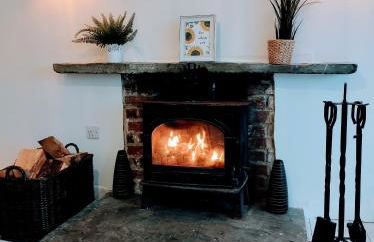
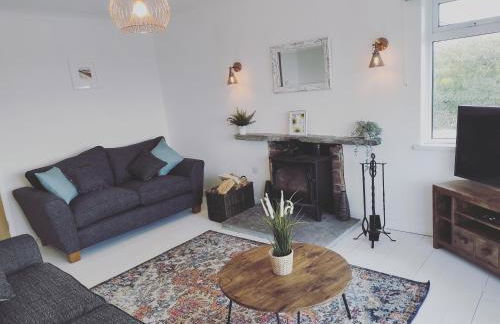
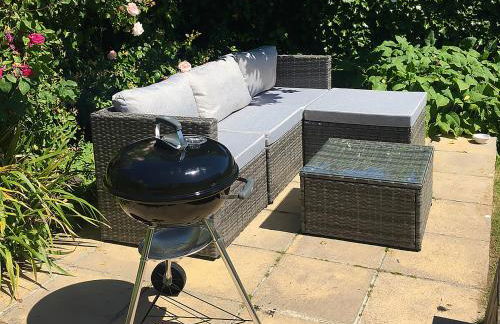
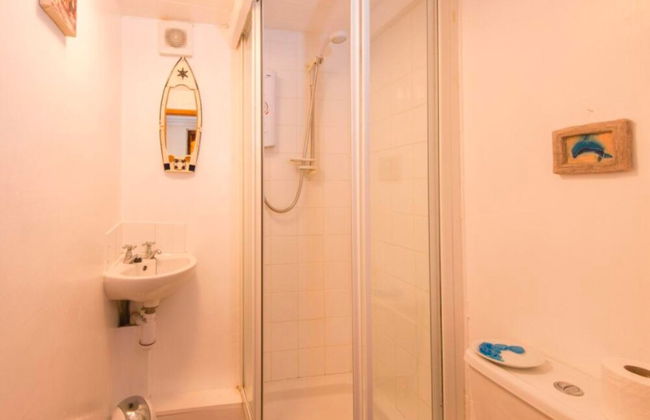
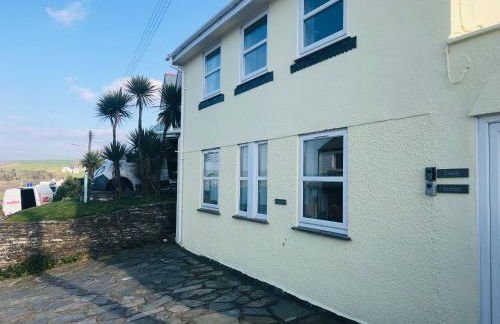
Sea Glimpses Studio Port Isaac - Foto 1
Sea Glimpses Studio Port Isaac - Foto 2
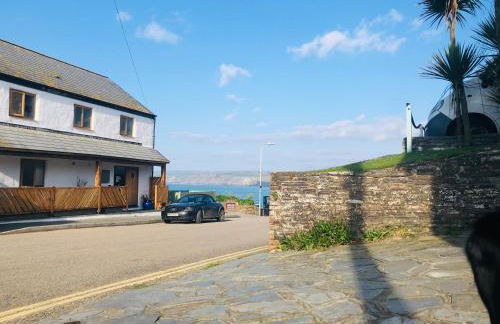
Sea Glimpses Studio Port Isaac - Foto 3
Sea Glimpses Studio Port Isaac - Foto 4
Sea Glimpses Studio Port Isaac - Foto 5
Sea Glimpses Studio Port Isaac - Foto 6
Sea Glimpses Studio Port Isaac - Foto 7
Sea Glimpses Studio Port Isaac - Foto 8
Sea Glimpses Studio Port Isaac - Foto 9
Sea Glimpses Studio Port Isaac - Foto 10
Sea Glimpses Studio Port Isaac - Foto 11
Sea Glimpses Studio Port Isaac - Foto 12
Sea Glimpses Studio Port Isaac - Foto 13
Sea Glimpses Studio Port Isaac - Foto 14
Sea Glimpses Studio Port Isaac - Foto 15
Sea Glimpses Studio Port Isaac - Foto 16
Sea Glimpses Studio Port Isaac - Foto 17
Sea Glimpses Studio Port Isaac - Foto 18
Sea Glimpses Studio Port Isaac - Foto 19
Sea Glimpses Studio Port Isaac - Foto 20
Sea Glimpses Studio Port Isaac - Foto 21
Sea Glimpses Studio Port Isaac - Foto 22
Sea Glimpses Studio Port Isaac - Foto 23
Sea Glimpses Studio Port Isaac - Foto 24
Sea Glimpses Studio Port Isaac - Foto 25
Sea Glimpses Studio Port Isaac - Foto 26
Sea Glimpses Studio Port Isaac - Foto 27
Sea Glimpses Studio Port Isaac - Foto 28
Sea Glimpses Studio Port Isaac - Foto 29
Sea Glimpses Studio Port Isaac - Foto 30
Sea Glimpses Studio Port Isaac - Foto 31
Sea Glimpses Studio Port Isaac - Foto 32
Sea Glimpses Studio Port Isaac - Foto 33
Sea Glimpses Studio Port Isaac - Foto 34
Sea Glimpses Studio Port Isaac - Foto 35

Sea Glimpses Studio Port Isaac

Port - Port

  • 6 M2
  • 2 Personen
  • Parkplatz
9.4Außergewöhnlich | 60 Bewertungen
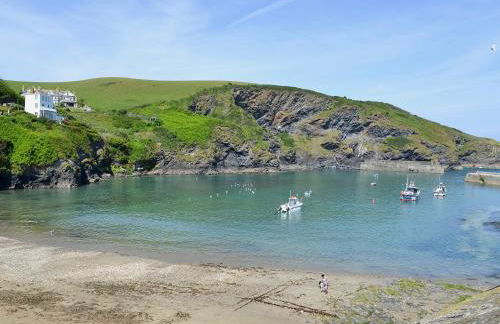
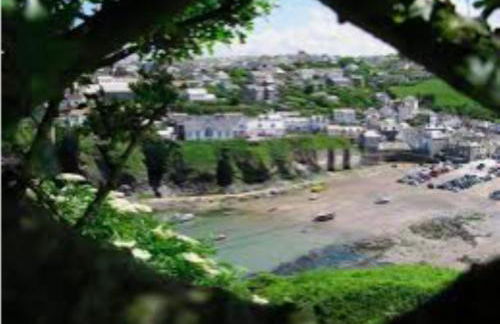
Sea Gem, Port Isaac Bay Holidays - Foto 1
Sea Gem, Port Isaac Bay Holidays - Foto 2
Sea Gem, Port Isaac Bay Holidays - Foto 3
Sea Gem, Port Isaac Bay Holidays - Foto 4
Sea Gem, Port Isaac Bay Holidays - Foto 5
Sea Gem, Port Isaac Bay Holidays - Foto 6
Sea Gem, Port Isaac Bay Holidays - Foto 7
Sea Gem, Port Isaac Bay Holidays - Foto 8
Sea Gem, Port Isaac Bay Holidays - Foto 9
Sea Gem, Port Isaac Bay Holidays - Foto 10
Sea Gem, Port Isaac Bay Holidays - Foto 11
Sea Gem, Port Isaac Bay Holidays - Foto 12
Sea Gem, Port Isaac Bay Holidays - Foto 13
Sea Gem, Port Isaac Bay Holidays - Foto 14
Sea Gem, Port Isaac Bay Holidays - Foto 15

Sea Gem, Port Isaac Bay Holidays

Port - Port

  • 2 Schlafzimmer
  • 4 Personen
  • Parkplatz
9.4Außergewöhnlich | 12 Bewertungen
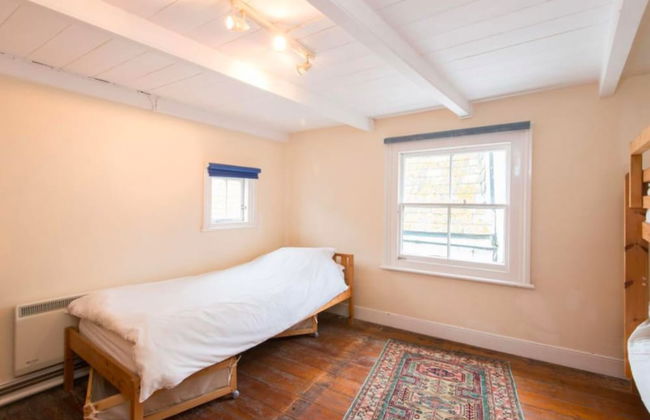
Silvershell View - Foto 1
Silvershell View - Foto 2
Silvershell View - Foto 3
Silvershell View - Foto 4
Silvershell View - Foto 5
Silvershell View - Foto 6
Silvershell View - Foto 7
Silvershell View - Foto 8
Silvershell View - Foto 9
Silvershell View - Foto 10
Silvershell View - Foto 11
Silvershell View - Foto 12
Silvershell View - Foto 13
Silvershell View - Foto 14

Silvershell View

Port - Port

  • 2 Schlafzimmer
  • 4 Personen
  • Heizung
  • Parkplatz
  • Garten
  • Barbecue
10Hervorragend | 12 Bewertungen
Trevose, sea views - Foto 1
Trevose, sea views - Foto 2
Trevose, sea views - Foto 3
Trevose, sea views - Foto 4
Trevose, sea views - Foto 5
Trevose, sea views - Foto 6
Trevose, sea views - Foto 7
Trevose, sea views - Foto 8
Trevose, sea views - Foto 9
Trevose, sea views - Foto 10
Trevose, sea views - Foto 11
Trevose, sea views - Foto 12
Trevose, sea views - Foto 13
Trevose, sea views - Foto 14
Trevose, sea views - Foto 15
Trevose, sea views - Foto 16
Trevose, sea views - Foto 17
Trevose, sea views - Foto 18
Trevose, sea views - Foto 19
Trevose, sea views - Foto 20
Trevose, sea views - Foto 21
Trevose, sea views - Foto 22
Trevose, sea views - Foto 23
Trevose, sea views - Foto 24
Trevose, sea views - Foto 25
Trevose, sea views - Foto 26
Trevose, sea views - Foto 27
Trevose, sea views - Foto 28
Trevose, sea views - Foto 29
Trevose, sea views - Foto 30
Trevose, sea views - Foto 31
Trevose, sea views - Foto 32
Trevose, sea views - Foto 33

Trevose, sea views

Port - Trelights

  • 180 M2
  • 2 Schlafzimmer
  • 4 Personen
  • Heizung
  • Terrasse
  • Parkplatz
  • Garten
9.5Außergewöhnlich | 33 Bewertungen
Bosun's - Foto 1
Bosun's - Foto 2
Bosun's - Foto 3
Bosun's - Foto 4
Bosun's - Foto 5
Bosun's - Foto 6
Bosun's - Foto 7
Bosun's - Foto 8
Bosun's - Foto 9
Bosun's - Foto 10
Bosun's - Foto 11
Bosun's - Foto 12
Bosun's - Foto 13

Bosun's

Port - Port

  • 2 Personen
  • Heizung
  • Parkplatz
  • Garten
  • Barbecue
9.8Außergewöhnlich | 11 Bewertungen
Tresungers Cottage - Foto 1
Tresungers Cottage - Foto 2
Tresungers Cottage - Foto 3
Tresungers Cottage - Foto 4
Tresungers Cottage - Foto 5
Tresungers Cottage - Foto 6
Tresungers Cottage - Foto 7
Tresungers Cottage - Foto 8
Tresungers Cottage - Foto 9
Tresungers Cottage - Foto 10
Tresungers Cottage - Foto 11
Tresungers Cottage - Foto 12
Tresungers Cottage - Foto 13
Tresungers Cottage - Foto 14
Tresungers Cottage - Foto 15
Tresungers Cottage - Foto 16
Tresungers Cottage - Foto 17
Tresungers Cottage - Foto 18
Tresungers Cottage - Foto 19

Tresungers Cottage

Port - St Endellion

  • 130 M2
  • 3 Schlafzimmer
  • 7 Personen
  • Parkplatz
  • Garten
9.9Außergewöhnlich | 12 Bewertungen
Jacobs Cottage - Foto 1
Jacobs Cottage - Foto 2
Jacobs Cottage - Foto 3
Jacobs Cottage - Foto 4
Jacobs Cottage - Foto 5
Jacobs Cottage - Foto 6
Jacobs Cottage - Foto 7
Jacobs Cottage - Foto 8
Jacobs Cottage - Foto 9
Jacobs Cottage - Foto 10
Jacobs Cottage - Foto 11
Jacobs Cottage - Foto 12
Jacobs Cottage - Foto 13
Jacobs Cottage - Foto 14
Jacobs Cottage - Foto 15
Jacobs Cottage - Foto 16
Jacobs Cottage - Foto 17
Jacobs Cottage - Foto 18
Jacobs Cottage - Foto 19
Jacobs Cottage - Foto 20
Jacobs Cottage - Foto 21
Jacobs Cottage - Foto 22
Jacobs Cottage - Foto 23
Jacobs Cottage - Foto 24
Jacobs Cottage - Foto 25
Jacobs Cottage - Foto 26
Jacobs Cottage - Foto 27
Jacobs Cottage - Foto 28
Jacobs Cottage - Foto 29
Jacobs Cottage - Foto 30
Jacobs Cottage - Foto 31
Jacobs Cottage - Foto 32
Jacobs Cottage - Foto 33
Jacobs Cottage - Foto 34
Jacobs Cottage - Foto 35
Jacobs Cottage - Foto 36
Jacobs Cottage - Foto 37
Jacobs Cottage - Foto 38
Jacobs Cottage - Foto 39
Jacobs Cottage - Foto 40
Jacobs Cottage - Foto 41
Jacobs Cottage - Foto 42
Jacobs Cottage - Foto 43
Jacobs Cottage - Foto 44
Jacobs Cottage - Foto 45
Jacobs Cottage - Foto 46
Jacobs Cottage - Foto 47
Jacobs Cottage - Foto 48
Jacobs Cottage - Foto 49
Jacobs Cottage - Foto 50
Jacobs Cottage - Foto 51
Jacobs Cottage - Foto 52
Jacobs Cottage - Foto 53
Jacobs Cottage - Foto 54
Jacobs Cottage - Foto 55
Jacobs Cottage - Foto 56
Jacobs Cottage - Foto 57
Jacobs Cottage - Foto 58
Jacobs Cottage - Foto 59
Jacobs Cottage - Foto 60
Jacobs Cottage - Foto 61
Jacobs Cottage - Foto 62
Jacobs Cottage - Foto 63
Jacobs Cottage - Foto 64
Jacobs Cottage - Foto 65
Jacobs Cottage - Foto 66
Jacobs Cottage - Foto 67
Jacobs Cottage - Foto 68
Jacobs Cottage - Foto 69

Jacobs Cottage

Port - Port

  • 3 Schlafzimmer
  • 6 Personen
  • Heizung
  • Handtücher
  • Bettlaken
8.8Sehr gut | 11 Bewertungen
Lower Moon - Foto 1
Lower Moon - Foto 2
Lower Moon - Foto 3
Lower Moon - Foto 4
Lower Moon - Foto 5
Lower Moon - Foto 6
Lower Moon - Foto 7
Lower Moon - Foto 8
Lower Moon - Foto 9
Lower Moon - Foto 10
Lower Moon - Foto 11
Lower Moon - Foto 12
Lower Moon - Foto 13
Lower Moon - Foto 14
Lower Moon - Foto 15
Lower Moon - Foto 16

Lower Moon

Port - Port
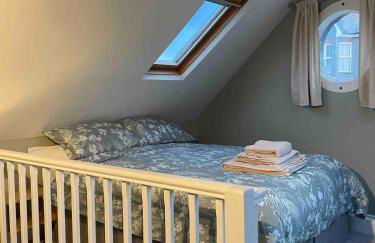
  • 2 Schlafzimmer
  • 4 Personen
  • Heizung
  • Parkplatz
  • Garten
  • Barbecue
9.6Außergewöhnlich | 20 Bewertungen
Rock Lobster - Foto 1
Rock Lobster - Foto 2
Rock Lobster - Foto 3
Rock Lobster - Foto 4
Rock Lobster - Foto 5
Rock Lobster - Foto 6
Rock Lobster - Foto 7
Rock Lobster - Foto 8
Rock Lobster - Foto 9
Rock Lobster - Foto 10
Rock Lobster - Foto 11
Rock Lobster - Foto 12
Rock Lobster - Foto 13
Rock Lobster - Foto 14
Rock Lobster - Foto 15
Rock Lobster - Foto 16
Rock Lobster - Foto 17
Rock Lobster - Foto 18
Rock Lobster - Foto 19
Rock Lobster - Foto 20
Rock Lobster - Foto 21
Rock Lobster - Foto 22
Rock Lobster - Foto 23
Rock Lobster - Foto 24
Rock Lobster - Foto 25
Rock Lobster - Foto 26
Rock Lobster - Foto 27
Rock Lobster - Foto 28
Rock Lobster - Foto 29
Rock Lobster - Foto 30
Rock Lobster - Foto 31
Rock Lobster - Foto 32

Rock Lobster

Port - Port
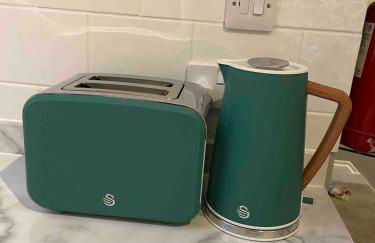
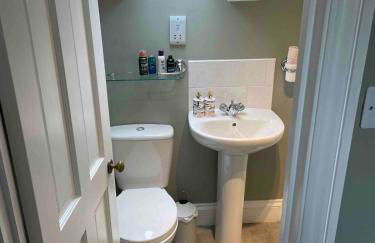
  • 145 M2
  • 4 Schlafzimmer
  • 9 Personen
  • Parkplatz
9.6Außergewöhnlich | 10 Bewertungen
Windlass, Port Isaac Bay Holidays - Foto 1
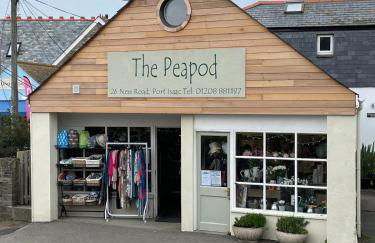
Windlass, Port Isaac Bay Holidays - Foto 2
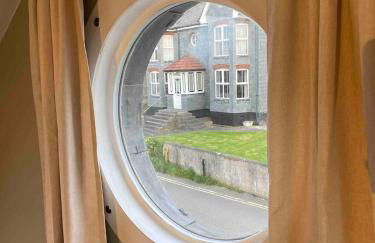
Windlass, Port Isaac Bay Holidays - Foto 3
Windlass, Port Isaac Bay Holidays - Foto 4
Windlass, Port Isaac Bay Holidays - Foto 5
Windlass, Port Isaac Bay Holidays - Foto 6
Windlass, Port Isaac Bay Holidays - Foto 7
Windlass, Port Isaac Bay Holidays - Foto 8
Windlass, Port Isaac Bay Holidays - Foto 9
Windlass, Port Isaac Bay Holidays - Foto 10
Windlass, Port Isaac Bay Holidays - Foto 11
Windlass, Port Isaac Bay Holidays - Foto 12
Windlass, Port Isaac Bay Holidays - Foto 13
Windlass, Port Isaac Bay Holidays - Foto 14

Windlass, Port Isaac Bay Holidays

Port - Port

  • 4 Schlafzimmer
  • 6 Personen
  • Parkplatz
9.5Außergewöhnlich | 10 Bewertungen
Gulls Roost, Port Isaac Bay Holidays - Foto 1
Gulls Roost, Port Isaac Bay Holidays - Foto 2
Gulls Roost, Port Isaac Bay Holidays - Foto 3
Gulls Roost, Port Isaac Bay Holidays - Foto 4
Gulls Roost, Port Isaac Bay Holidays - Foto 5
Gulls Roost, Port Isaac Bay Holidays - Foto 6
Gulls Roost, Port Isaac Bay Holidays - Foto 7
Gulls Roost, Port Isaac Bay Holidays - Foto 8
Gulls Roost, Port Isaac Bay Holidays - Foto 9
Gulls Roost, Port Isaac Bay Holidays - Foto 10
Gulls Roost, Port Isaac Bay Holidays - Foto 11
Gulls Roost, Port Isaac Bay Holidays - Foto 12
Gulls Roost, Port Isaac Bay Holidays - Foto 13
Gulls Roost, Port Isaac Bay Holidays - Foto 14
Gulls Roost, Port Isaac Bay Holidays - Foto 15
Gulls Roost, Port Isaac Bay Holidays - Foto 16
Gulls Roost, Port Isaac Bay Holidays - Foto 17
Gulls Roost, Port Isaac Bay Holidays - Foto 18
Gulls Roost, Port Isaac Bay Holidays - Foto 19
Gulls Roost, Port Isaac Bay Holidays - Foto 20
Gulls Roost, Port Isaac Bay Holidays - Foto 21
Gulls Roost, Port Isaac Bay Holidays - Foto 22
Gulls Roost, Port Isaac Bay Holidays - Foto 23
Gulls Roost, Port Isaac Bay Holidays - Foto 24
Gulls Roost, Port Isaac Bay Holidays - Foto 25
Gulls Roost, Port Isaac Bay Holidays - Foto 26
Gulls Roost, Port Isaac Bay Holidays - Foto 27
Gulls Roost, Port Isaac Bay Holidays - Foto 28
Gulls Roost, Port Isaac Bay Holidays - Foto 29
Gulls Roost, Port Isaac Bay Holidays - Foto 30
Gulls Roost, Port Isaac Bay Holidays - Foto 31
Gulls Roost, Port Isaac Bay Holidays - Foto 32
Gulls Roost, Port Isaac Bay Holidays - Foto 33
Gulls Roost, Port Isaac Bay Holidays - Foto 34
Gulls Roost, Port Isaac Bay Holidays - Foto 35

Gulls Roost, Port Isaac Bay Holidays

Port - Port

  • 2 Schlafzimmer
  • 4 Personen
  • Parkplatz
  • Garten
9.5Außergewöhnlich | 22 Bewertungen
Kittiwake Cottage - Charming harbour-side cottage, luxury interiors - Foto 1
Kittiwake Cottage - Charming harbour-side cottage, luxury interiors - Foto 2
Kittiwake Cottage - Charming harbour-side cottage, luxury interiors - Foto 3
Kittiwake Cottage - Charming harbour-side cottage, luxury interiors - Foto 4
Kittiwake Cottage - Charming harbour-side cottage, luxury interiors - Foto 5
Kittiwake Cottage - Charming harbour-side cottage, luxury interiors - Foto 6
Kittiwake Cottage - Charming harbour-side cottage, luxury interiors - Foto 7
Kittiwake Cottage - Charming harbour-side cottage, luxury interiors - Foto 8
Kittiwake Cottage - Charming harbour-side cottage, luxury interiors - Foto 9
Kittiwake Cottage - Charming harbour-side cottage, luxury interiors - Foto 10
Kittiwake Cottage - Charming harbour-side cottage, luxury interiors - Foto 11
Kittiwake Cottage - Charming harbour-side cottage, luxury interiors - Foto 12
Kittiwake Cottage - Charming harbour-side cottage, luxury interiors - Foto 13
Kittiwake Cottage - Charming harbour-side cottage, luxury interiors - Foto 14
Kittiwake Cottage - Charming harbour-side cottage, luxury interiors - Foto 15
Kittiwake Cottage - Charming harbour-side cottage, luxury interiors - Foto 16
Kittiwake Cottage - Charming harbour-side cottage, luxury interiors - Foto 17
Kittiwake Cottage - Charming harbour-side cottage, luxury interiors - Foto 18
Kittiwake Cottage - Charming harbour-side cottage, luxury interiors - Foto 19
Kittiwake Cottage - Charming harbour-side cottage, luxury interiors - Foto 20
Kittiwake Cottage - Charming harbour-side cottage, luxury interiors - Foto 21
Kittiwake Cottage - Charming harbour-side cottage, luxury interiors - Foto 22
Kittiwake Cottage - Charming harbour-side cottage, luxury interiors - Foto 23
Kittiwake Cottage - Charming harbour-side cottage, luxury interiors - Foto 24
Kittiwake Cottage - Charming harbour-side cottage, luxury interiors - Foto 25
Kittiwake Cottage - Charming harbour-side cottage, luxury interiors - Foto 26
Kittiwake Cottage - Charming harbour-side cottage, luxury interiors - Foto 27
Kittiwake Cottage - Charming harbour-side cottage, luxury interiors - Foto 28
Kittiwake Cottage - Charming harbour-side cottage, luxury interiors - Foto 29
Kittiwake Cottage - Charming harbour-side cottage, luxury interiors - Foto 30
Kittiwake Cottage - Charming harbour-side cottage, luxury interiors - Foto 31
Kittiwake Cottage - Charming harbour-side cottage, luxury interiors - Foto 32
Kittiwake Cottage - Charming harbour-side cottage, luxury interiors - Foto 33
Kittiwake Cottage - Charming harbour-side cottage, luxury interiors - Foto 34
Kittiwake Cottage - Charming harbour-side cottage, luxury interiors - Foto 35
Kittiwake Cottage - Charming harbour-side cottage, luxury interiors - Foto 36

Kittiwake Cottage - Charming harbour-side cottage, luxury interiors

Port - Port

  • 190 M2
  • 3 Schlafzimmer
  • 6 Personen
  • Heizung
10Hervorragend | 6 Bewertungen
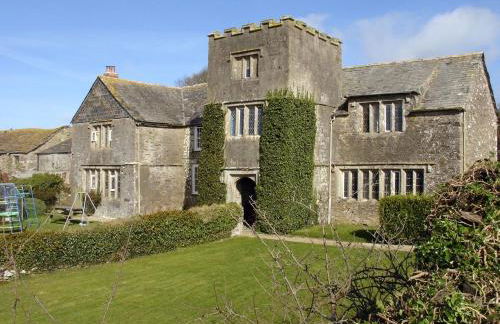
The Manor House - Foto 1
The Manor House - Foto 2
The Manor House - Foto 3
The Manor House - Foto 4
The Manor House - Foto 5
The Manor House - Foto 6
The Manor House - Foto 7
The Manor House - Foto 8
The Manor House - Foto 9
The Manor House - Foto 10
The Manor House - Foto 11
The Manor House - Foto 12
The Manor House - Foto 13
The Manor House - Foto 14
The Manor House - Foto 15
The Manor House - Foto 16
The Manor House - Foto 17
The Manor House - Foto 18
The Manor House - Foto 19
The Manor House - Foto 20
The Manor House - Foto 21
The Manor House - Foto 22
The Manor House - Foto 23
The Manor House - Foto 24
The Manor House - Foto 25
The Manor House - Foto 26
The Manor House - Foto 27
The Manor House - Foto 28
The Manor House - Foto 29
The Manor House - Foto 30
The Manor House - Foto 31
The Manor House - Foto 32
The Manor House - Foto 33
The Manor House - Foto 34
The Manor House - Foto 35
The Manor House - Foto 36
The Manor House - Foto 37
The Manor House - Foto 38
The Manor House - Foto 39
The Manor House - Foto 40
The Manor House - Foto 41
The Manor House - Foto 42
The Manor House - Foto 43
The Manor House - Foto 44
The Manor House - Foto 45
The Manor House - Foto 46
The Manor House - Foto 47
The Manor House - Foto 48
The Manor House - Foto 49
The Manor House - Foto 50
The Manor House - Foto 51
The Manor House - Foto 52
The Manor House - Foto 53
The Manor House - Foto 54
The Manor House - Foto 55
The Manor House - Foto 56
The Manor House - Foto 57
The Manor House - Foto 58
The Manor House - Foto 59
The Manor House - Foto 60
The Manor House - Foto 61
The Manor House - Foto 62
The Manor House - Foto 63
The Manor House - Foto 64
The Manor House - Foto 65
The Manor House - Foto 66
The Manor House - Foto 67
The Manor House - Foto 68
The Manor House - Foto 69
The Manor House - Foto 70
The Manor House - Foto 71
The Manor House - Foto 72
The Manor House - Foto 73
The Manor House - Foto 74
The Manor House - Foto 75
The Manor House - Foto 76
The Manor House - Foto 77
The Manor House - Foto 78
The Manor House - Foto 79
The Manor House - Foto 80

The Manor House

Port - Port

  • 186 M2
  • 3 Schlafzimmer
  • 8 Personen
  • Terrasse
  • Parkplatz
  • Garten
9.8Außergewöhnlich | 6 Bewertungen
Gulland - Foto 1
Gulland - Foto 2
Gulland - Foto 3
Gulland - Foto 4
Gulland - Foto 5
Gulland - Foto 6
Gulland - Foto 7
Gulland - Foto 8
Gulland - Foto 9
Gulland - Foto 10
Gulland - Foto 11
Gulland - Foto 12
Gulland - Foto 13
Gulland - Foto 14
Gulland - Foto 15
Gulland - Foto 16
Gulland - Foto 17
Gulland - Foto 18

Gulland

Port - Port

  • 105 M2
  • 2 Schlafzimmer
  • 3 Personen
  • Parkplatz
  • Garten
9.3Außergewöhnlich | 18 Bewertungen
Sandpipers, Port Isaac Bay Holidays - Foto 1
Sandpipers, Port Isaac Bay Holidays - Foto 2
Sandpipers, Port Isaac Bay Holidays - Foto 3
Sandpipers, Port Isaac Bay Holidays - Foto 4
Sandpipers, Port Isaac Bay Holidays - Foto 5
Sandpipers, Port Isaac Bay Holidays - Foto 6
Sandpipers, Port Isaac Bay Holidays - Foto 7
Sandpipers, Port Isaac Bay Holidays - Foto 8
Sandpipers, Port Isaac Bay Holidays - Foto 9
Sandpipers, Port Isaac Bay Holidays - Foto 10
Sandpipers, Port Isaac Bay Holidays - Foto 11
Sandpipers, Port Isaac Bay Holidays - Foto 12
Sandpipers, Port Isaac Bay Holidays - Foto 13
Sandpipers, Port Isaac Bay Holidays - Foto 14
Sandpipers, Port Isaac Bay Holidays - Foto 15
Sandpipers, Port Isaac Bay Holidays - Foto 16
Sandpipers, Port Isaac Bay Holidays - Foto 17
Sandpipers, Port Isaac Bay Holidays - Foto 18
Sandpipers, Port Isaac Bay Holidays - Foto 19
Sandpipers, Port Isaac Bay Holidays - Foto 20
Sandpipers, Port Isaac Bay Holidays - Foto 21
Sandpipers, Port Isaac Bay Holidays - Foto 22
Sandpipers, Port Isaac Bay Holidays - Foto 23
Sandpipers, Port Isaac Bay Holidays - Foto 24
Sandpipers, Port Isaac Bay Holidays - Foto 25
Sandpipers, Port Isaac Bay Holidays - Foto 26
Sandpipers, Port Isaac Bay Holidays - Foto 27
Sandpipers, Port Isaac Bay Holidays - Foto 28
Sandpipers, Port Isaac Bay Holidays - Foto 29

Sandpipers, Port Isaac Bay Holidays

Port - Port

  • 1 M2
  • 3 Schlafzimmer
  • 4 Personen
  • Terrasse
  • Parkplatz
  • Garten
9.7Außergewöhnlich | 6 Bewertungen
Bay House Lundy Port Isaac Apartment with Sea Views & Parking - Foto 1
Bay House Lundy Port Isaac Apartment with Sea Views & Parking - Foto 2
Bay House Lundy Port Isaac Apartment with Sea Views & Parking - Foto 3
Bay House Lundy Port Isaac Apartment with Sea Views & Parking - Foto 4
Bay House Lundy Port Isaac Apartment with Sea Views & Parking - Foto 5
Bay House Lundy Port Isaac Apartment with Sea Views & Parking - Foto 6
Bay House Lundy Port Isaac Apartment with Sea Views & Parking - Foto 7
Bay House Lundy Port Isaac Apartment with Sea Views & Parking - Foto 8
Bay House Lundy Port Isaac Apartment with Sea Views & Parking - Foto 9
Bay House Lundy Port Isaac Apartment with Sea Views & Parking - Foto 10
Bay House Lundy Port Isaac Apartment with Sea Views & Parking - Foto 11
Bay House Lundy Port Isaac Apartment with Sea Views & Parking - Foto 12
Bay House Lundy Port Isaac Apartment with Sea Views & Parking - Foto 13
Bay House Lundy Port Isaac Apartment with Sea Views & Parking - Foto 14
Bay House Lundy Port Isaac Apartment with Sea Views & Parking - Foto 15
Bay House Lundy Port Isaac Apartment with Sea Views & Parking - Foto 16
Bay House Lundy Port Isaac Apartment with Sea Views & Parking - Foto 17
Bay House Lundy Port Isaac Apartment with Sea Views & Parking - Foto 18
Bay House Lundy Port Isaac Apartment with Sea Views & Parking - Foto 19
Bay House Lundy Port Isaac Apartment with Sea Views & Parking - Foto 20
Bay House Lundy Port Isaac Apartment with Sea Views & Parking - Foto 21
Bay House Lundy Port Isaac Apartment with Sea Views & Parking - Foto 22
Bay House Lundy Port Isaac Apartment with Sea Views & Parking - Foto 23
Bay House Lundy Port Isaac Apartment with Sea Views & Parking - Foto 24
Bay House Lundy Port Isaac Apartment with Sea Views & Parking - Foto 25
Bay House Lundy Port Isaac Apartment with Sea Views & Parking - Foto 26
Bay House Lundy Port Isaac Apartment with Sea Views & Parking - Foto 27
Bay House Lundy Port Isaac Apartment with Sea Views & Parking - Foto 28
Bay House Lundy Port Isaac Apartment with Sea Views & Parking - Foto 29
Bay House Lundy Port Isaac Apartment with Sea Views & Parking - Foto 30
Bay House Lundy Port Isaac Apartment with Sea Views & Parking - Foto 31
Bay House Lundy Port Isaac Apartment with Sea Views & Parking - Foto 32
Bay House Lundy Port Isaac Apartment with Sea Views & Parking - Foto 33
Bay House Lundy Port Isaac Apartment with Sea Views & Parking - Foto 34
Bay House Lundy Port Isaac Apartment with Sea Views & Parking - Foto 35
Bay House Lundy Port Isaac Apartment with Sea Views & Parking - Foto 36
Bay House Lundy Port Isaac Apartment with Sea Views & Parking - Foto 37
Bay House Lundy Port Isaac Apartment with Sea Views & Parking - Foto 38
Bay House Lundy Port Isaac Apartment with Sea Views & Parking - Foto 39
Bay House Lundy Port Isaac Apartment with Sea Views & Parking - Foto 40
Bay House Lundy Port Isaac Apartment with Sea Views & Parking - Foto 41
Bay House Lundy Port Isaac Apartment with Sea Views & Parking - Foto 42
Bay House Lundy Port Isaac Apartment with Sea Views & Parking - Foto 43
Bay House Lundy Port Isaac Apartment with Sea Views & Parking - Foto 44

Bay House Lundy Port Isaac Apartment with Sea Views & Parking

Port - Port

  • 64 M2
  • 2 Schlafzimmer
  • 6 Personen
  • Heizung
  • Parkplatz
9.1Außergewöhnlich | 78 Bewertungen
The Hideaway - Foto 1
The Hideaway - Foto 2
The Hideaway - Foto 3
The Hideaway - Foto 4
The Hideaway - Foto 5
The Hideaway - Foto 6
The Hideaway - Foto 7
The Hideaway - Foto 8
The Hideaway - Foto 9
The Hideaway - Foto 10
The Hideaway - Foto 11
The Hideaway - Foto 12
The Hideaway - Foto 13
The Hideaway - Foto 14

The Hideaway

Port - Port

  • 90 M2
  • 2 Personen
  • Terrasse
  • Garten
8.9Sehr gut | 12 Bewertungen
Knights Den - Foto 1
Knights Den - Foto 2
Knights Den - Foto 3
Knights Den - Foto 4
Knights Den - Foto 5
Knights Den - Foto 6
Knights Den - Foto 7
Knights Den - Foto 8
Knights Den - Foto 9
Knights Den - Foto 10
Knights Den - Foto 11
Knights Den - Foto 12
Knights Den - Foto 13
Knights Den - Foto 14
Knights Den - Foto 15
Knights Den - Foto 16
Knights Den - Foto 17
Knights Den - Foto 18
Knights Den - Foto 19

Knights Den

Port - Port
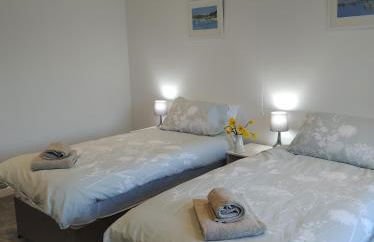
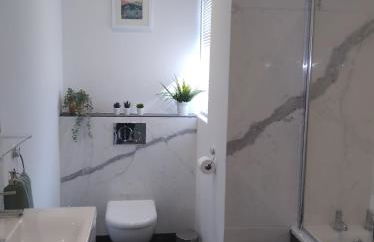
  • 2 Schlafzimmer
  • 4 Personen
  • Heizung
  • Garten
9.8Außergewöhnlich | 7 Bewertungen
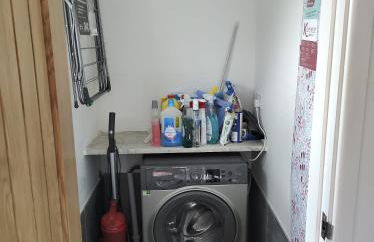
Kylden - Foto 1

Kylden

Port - Port
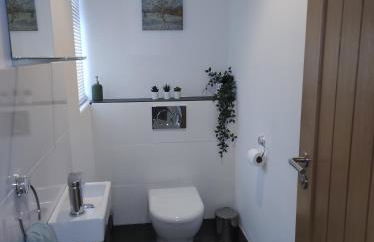
  • 2 Schlafzimmer
  • 4 Personen
  • Heizung
  • Parkplatz
  • Garten
9.8Außergewöhnlich | 9 Bewertungen
Verwandte Reiseziele