
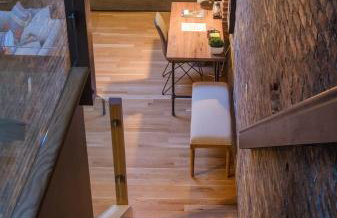
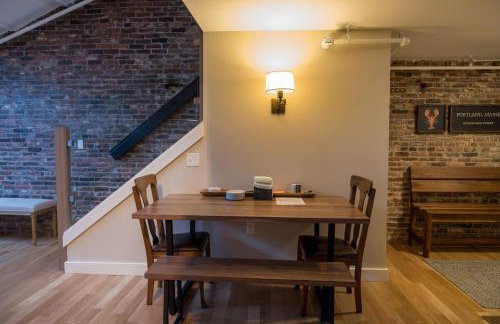
3 Wohnungen in Old Port
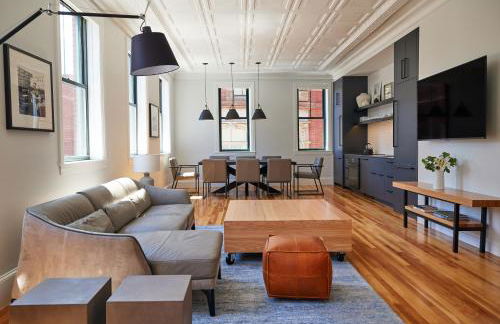


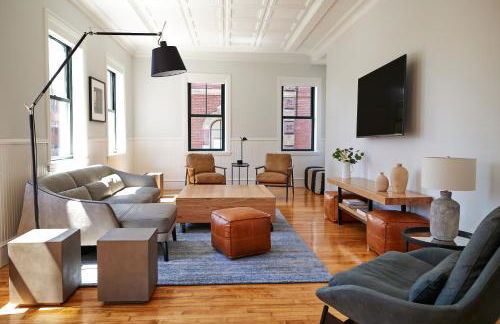


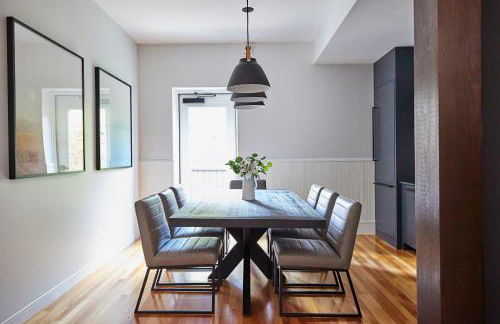
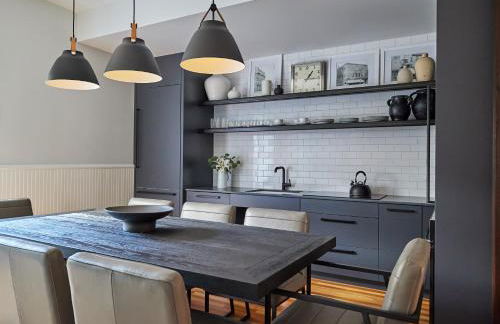


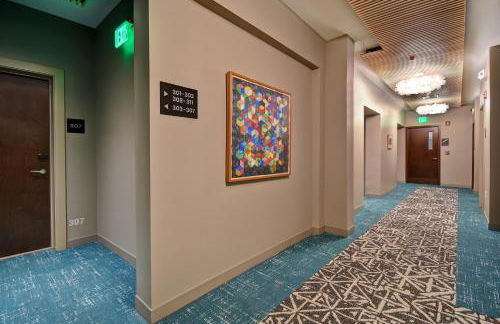


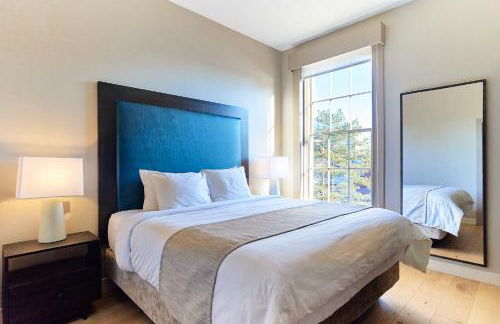


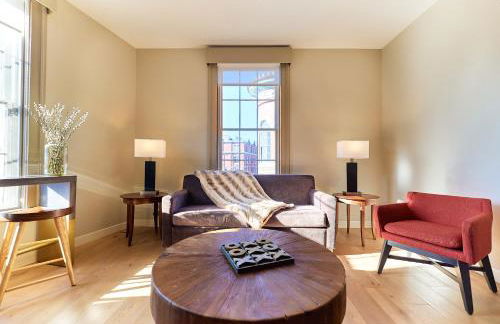


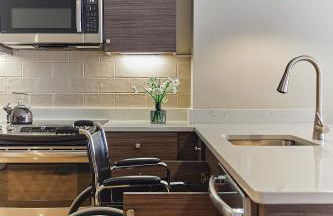
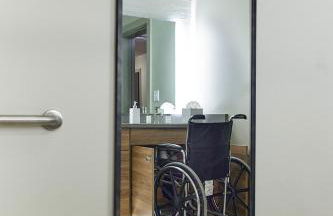


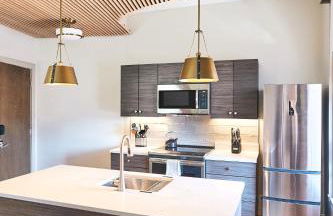


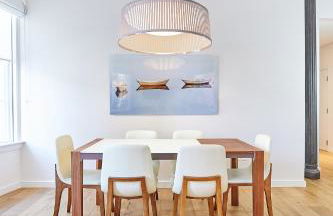


The Docent's Collection
Portland - Old Port - Im Zentrum
- 232 M2
- 3 Schlafzimmer
- 7 Personen
- Klimaanlage
- Parkplatz
- Fahrstuhl
106 Bewertungen


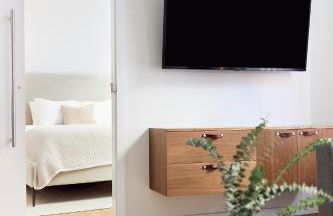
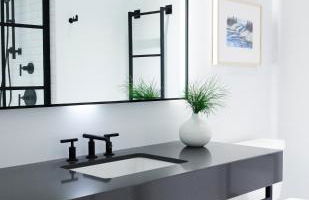
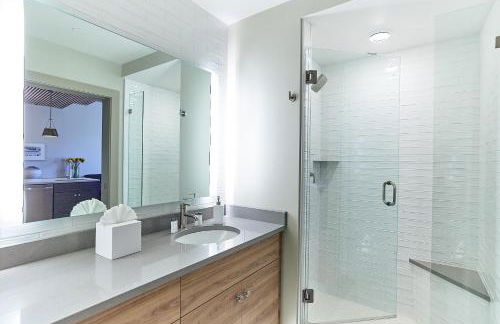
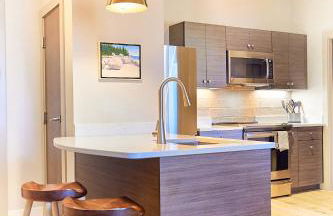
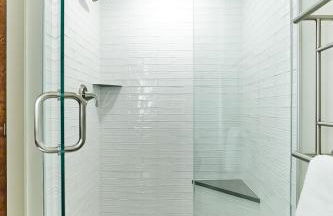
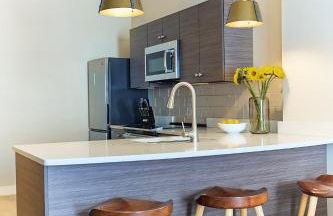
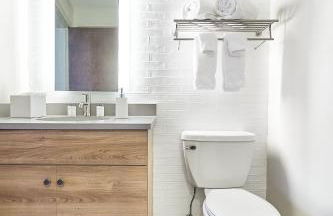
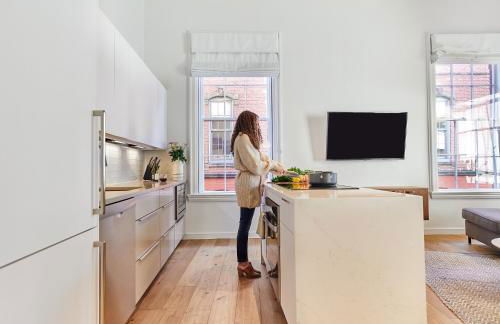
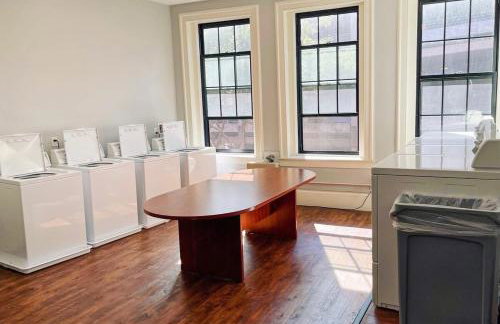
Spacious 2BR Old Port Loft, Steps from Waterfront
Portland - Old Port - Im Zentrum
- 79 M2
- 2 Schlafzimmer
- 4 Personen
- Klimaanlage
10 Bewertungen


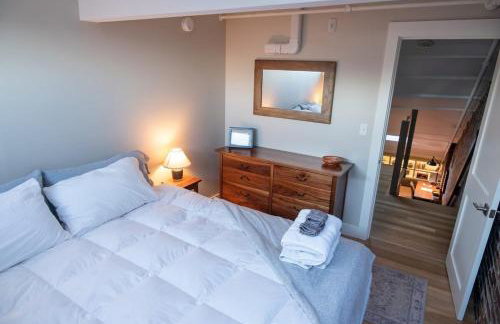

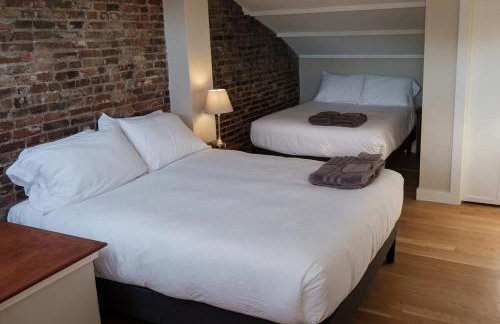


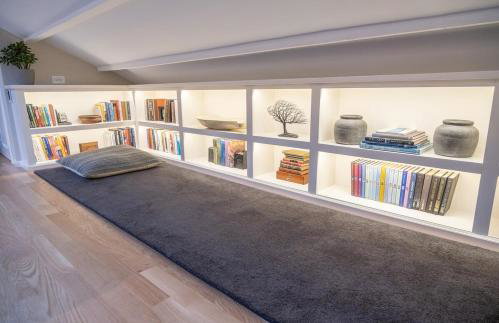
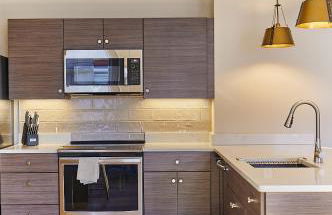
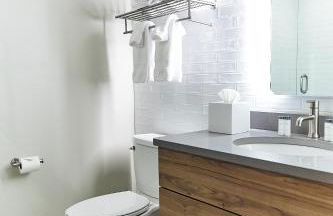
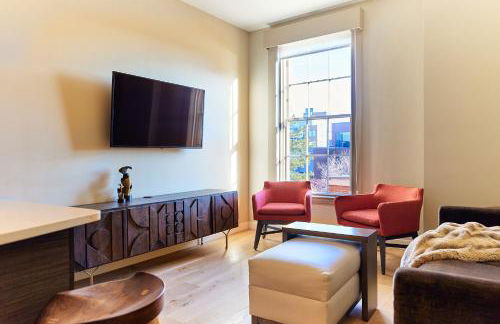
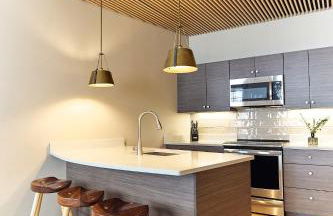
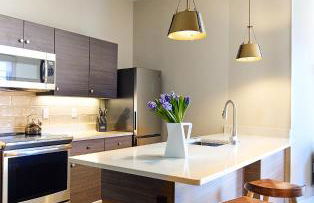
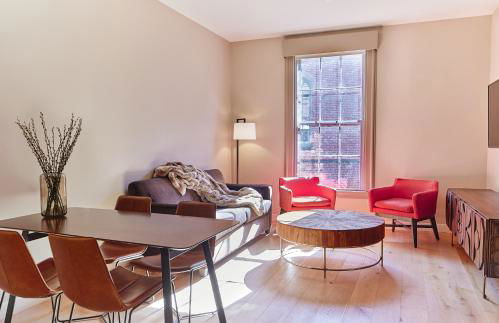
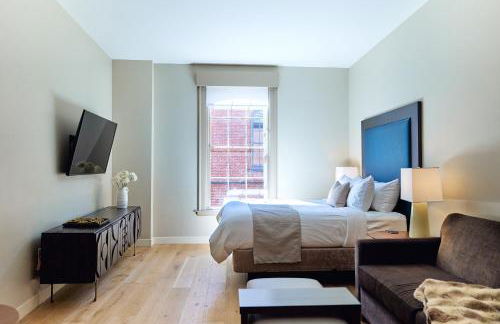
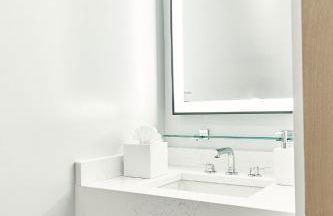
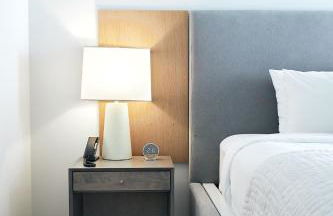
Luxury Penthouse in Downtown Portland
Portland - Old Port - Im Zentrum
- 5 Personen
- Klimaanlage
- Parkplatz
- Fahrstuhl