
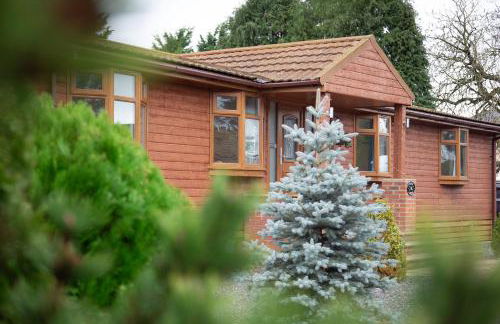
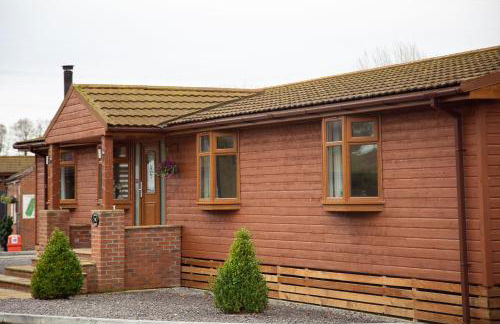
7084 Wohnungen in North Yorkshire


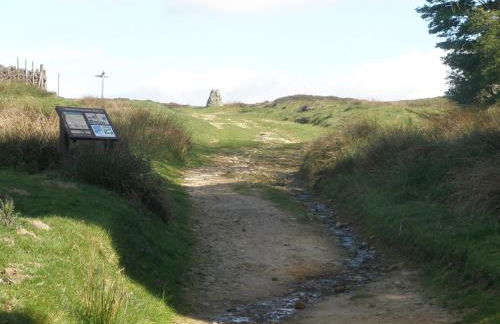
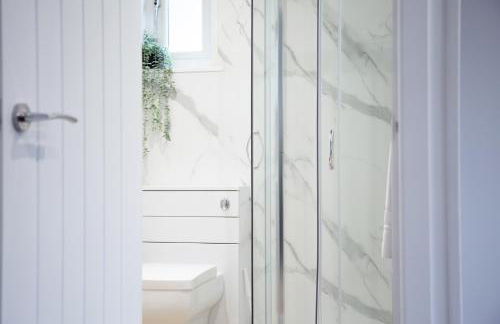
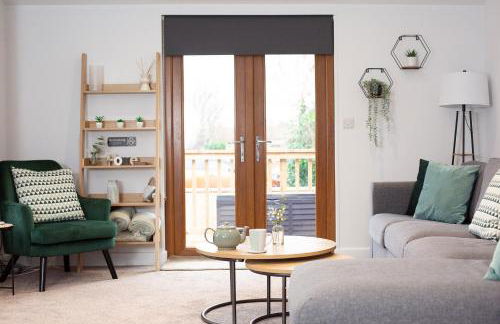
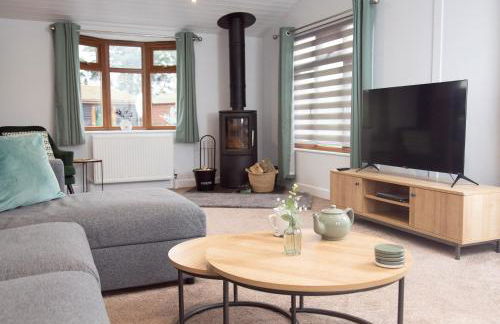
Middlehead Cottages at Cropton Forest
Pickering - Stape
- 68 M2
- 5 Personen
- Heizung
- Terrasse
- Parkplatz
- Garten
- Tv
- Schornstein
- Handtücher
- Bettlaken
35 Bewertungen


Wensleydale Glamping Pods
Leyburn - Redmire
- 4 Personen
- Kochnische
- Heizung
- Terrasse
- Parkplatz
- Tv
- Barbecue
- Handtücher
- Bettlaken
14 Bewertungen


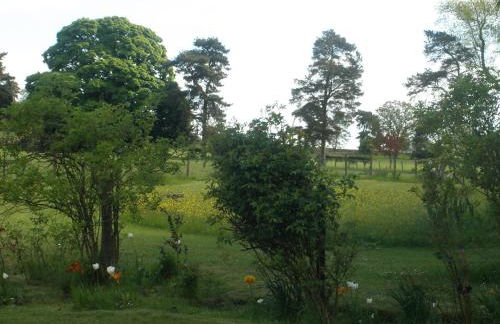
Rawcliffe House Farm Studios, Peaceful North York Moors Retreat
Pickering - Newton
- 21 M2
- 2 Personen
- Heizung
- Terrasse
- Parkplatz
- Garten
- Barbecue
29 Bewertungen


Morndyke Shepherds' Huts
Thirsk - Catton
- 13 M2
- 2 Personen
- Kochnische
- Heizung
- Terrasse
- Parkplatz
- Garten
- Tv
- Waschmaschine
- Schornstein
- Barbecue
- Handtücher
- Bettlaken
18 Bewertungen


King's 23
York - York - 290 m vom Zentrum
- 45 M2
- 2 Personen
- Heizung
- Fahrstuhl
- Garten
- Tv
- Handtücher
- Bettlaken
16 Bewertungen

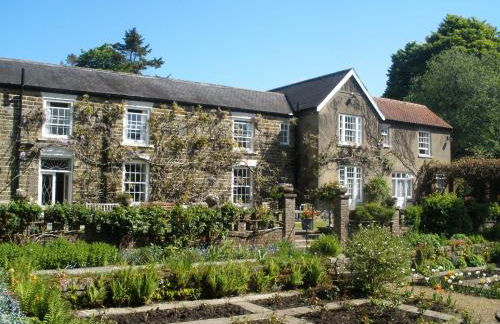

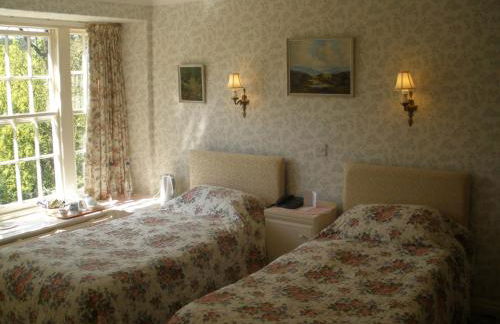


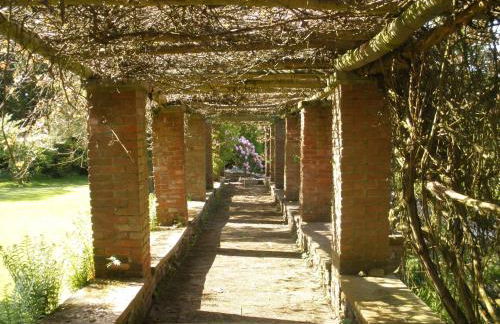


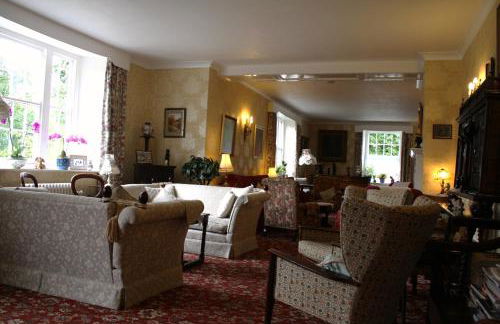

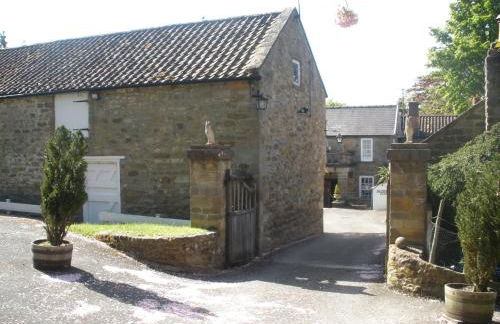

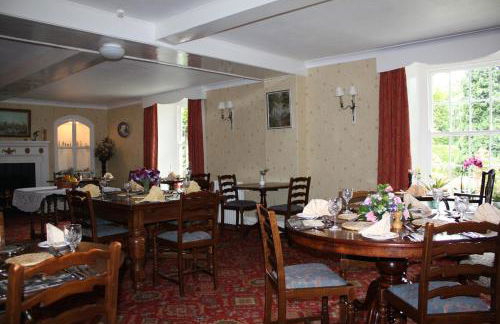


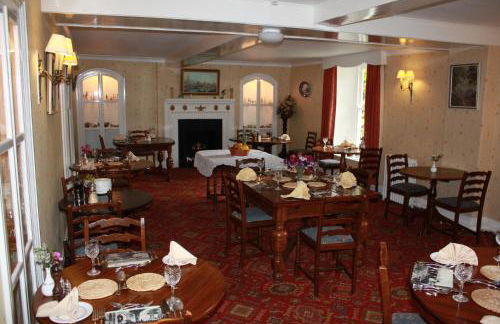

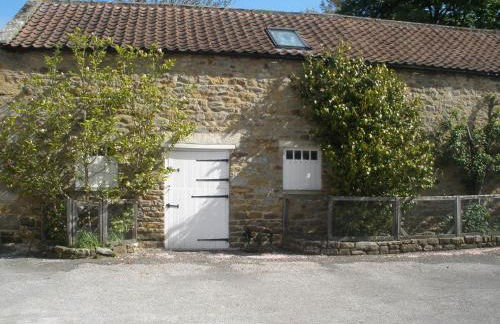

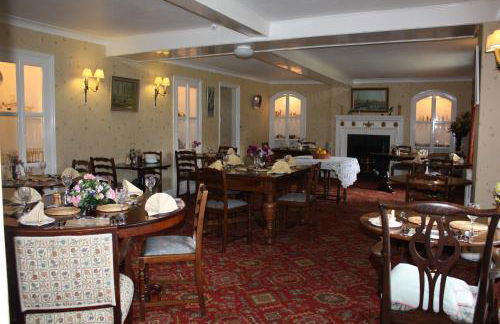

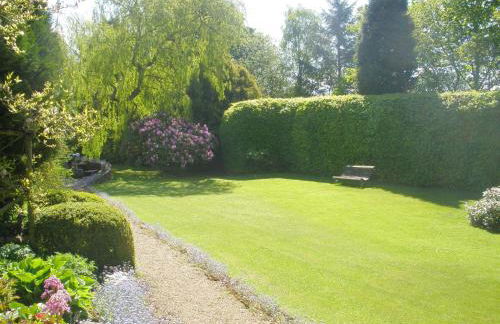

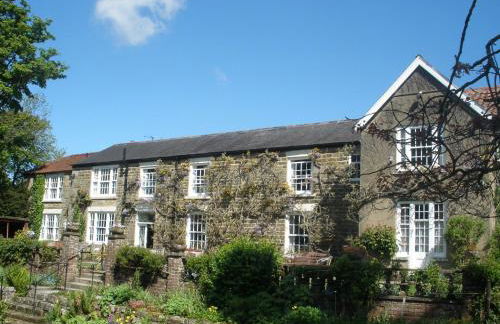

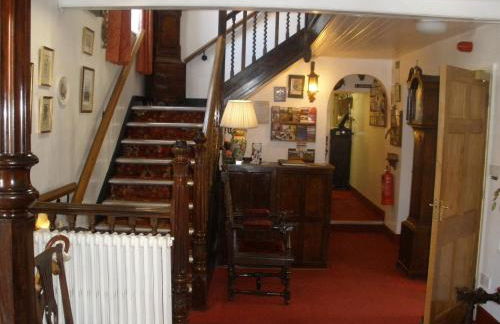


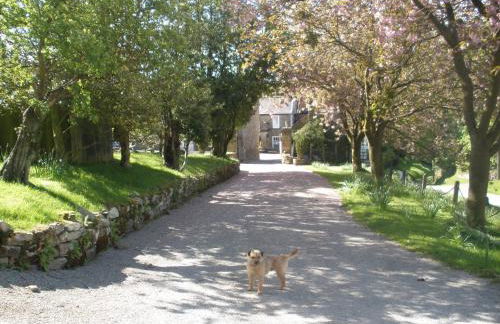

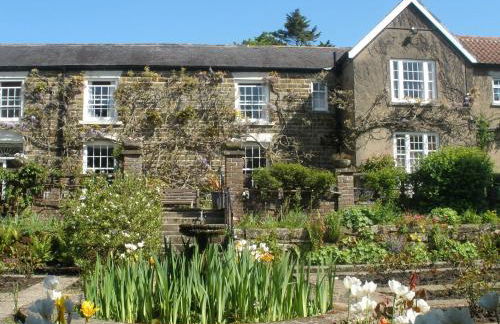


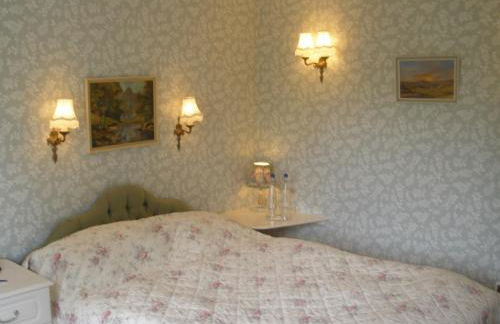


Lastingham Grange
York - Lastingham - 41 km vom Zentrum
- 20 M2
- 2 Personen
- Heizung
- Terrasse
- Parkplatz
- Garten
- Tv
- Schornstein
- Handtücher
- Bettlaken
17 Bewertungen


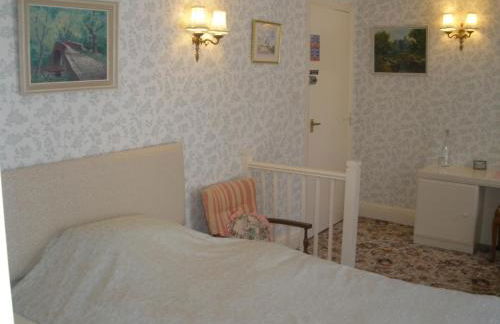
Artists' Cottages
Harrogate - Harrogate - 400 m vom Zentrum
- 35 M2
- 1 Schlafzimmer
- 2 Personen
- Heizung
- Terrasse
- Parkplatz
- Garten
- Tv
- Schornstein
- Barbecue
- Handtücher
- Bettlaken
13 Bewertungen


Stunning 3 Bedroom Lodge With Hot Tub in York
York - Barmby Moor - 14.4 km vom Zentrum
- 112 M2
- 3 Schlafzimmer
- 8 Personen
- Heizung
- Terrasse
- Parkplatz
- Balkon
- Garten
- Tv
- Waschmaschine
- Schornstein
- Barbecue
- Handtücher
- Bettlaken
71 Bewertungen


York Apartment Conway Cottage
York - Heslington - 290 m vom Zentrum
- 46 M2
- 1 Schlafzimmer
- 2 Personen
- Heizung
- Parkplatz
- Tv
- Waschmaschine
- Schornstein
- Handtücher
- Bettlaken
10 Bewertungen


No. 45
York - Acomb - 2.1 km vom Zentrum
- 59 M2
- 4 Personen
- Heizung
- Parkplatz
- Fahrstuhl
- Garten
- Tv
- Waschmaschine
- Handtücher
- Bettlaken
11 Bewertungen


Stone House Hotel
Hawes - Sedbusk
- 9 M2
- 2 Personen
- Heizung
- Terrasse
- Parkplatz
- Garten
- Tv
- Schornstein
- Handtücher
- Bettlaken
56 Bewertungen


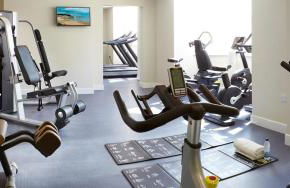

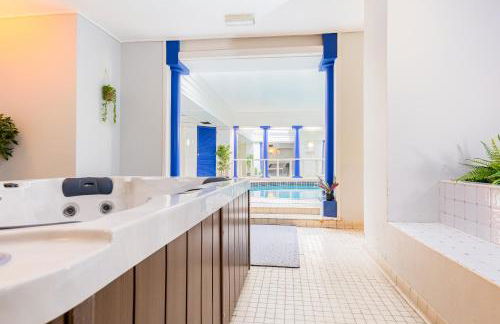


Red Lea Apartments with Pool & Spa Access
Scarborough - Scarborough - 360 m vom Zentrum
- 60 M2
- 2 Schlafzimmer
- 4 Personen
- Kochnische
- Heizung
- Schwimmbad
- Parkplatz
- Fahrstuhl
- Garten
- Tv
- Schornstein
- Handtücher
- Bettlaken
12 Bewertungen


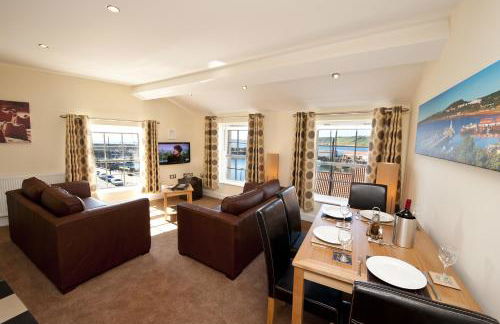

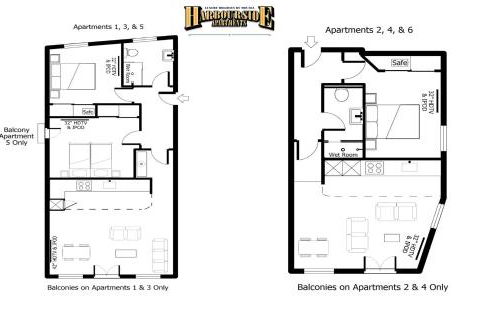


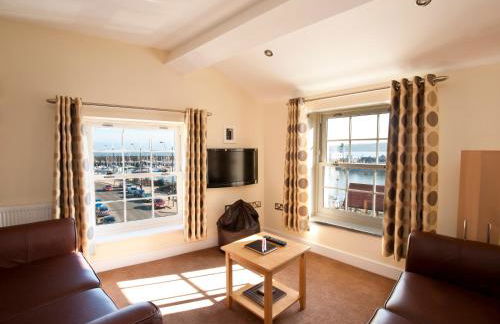


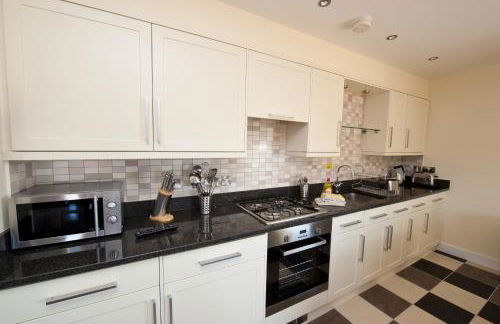

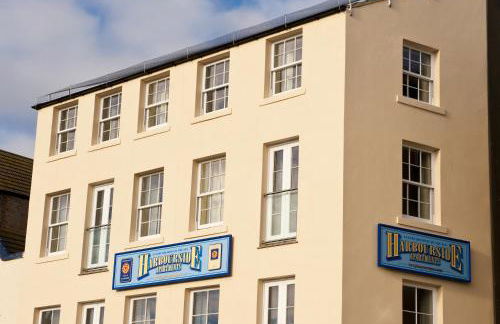


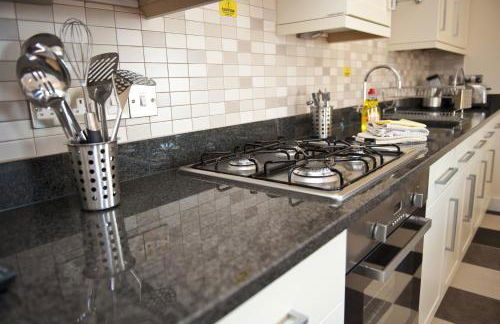


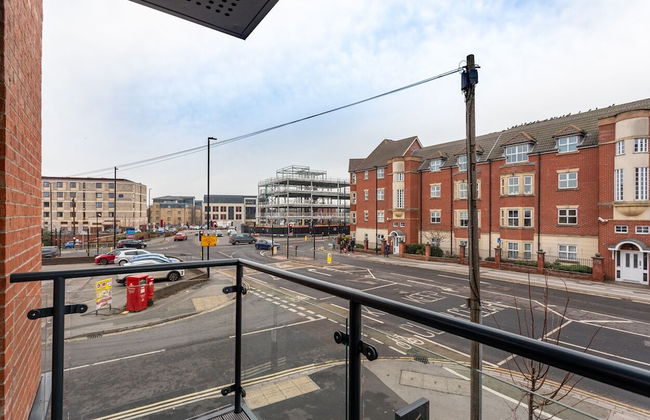
Harbourside Apartments with Private Parking
Scarborough - Scarborough - 1 km vom Zentrum
- 84 M2
- 2 Schlafzimmer
- 4 Personen
- Parkplatz
- Tv
- Handtücher
- Bettlaken
22 Bewertungen


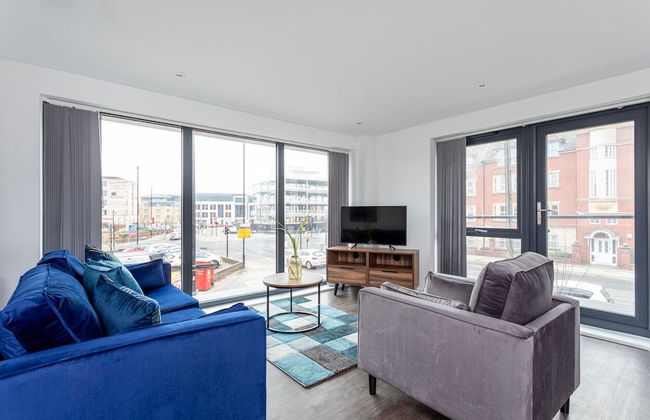
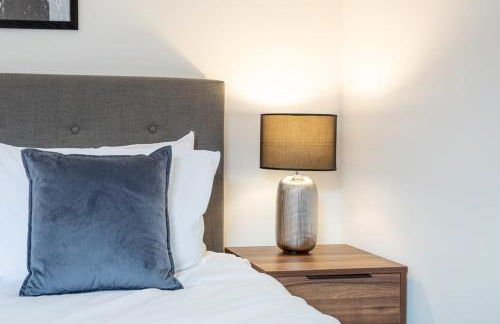
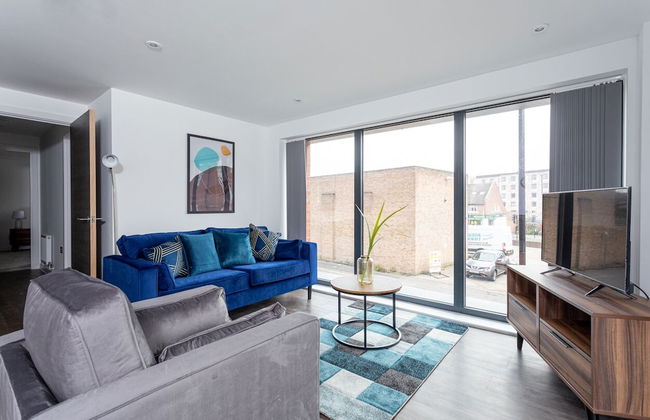
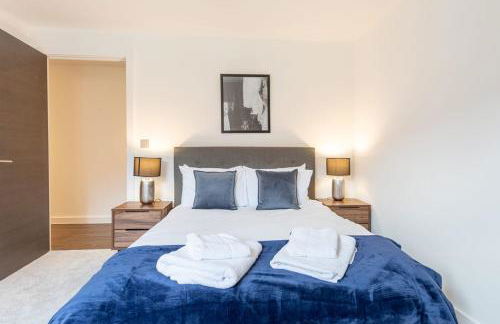

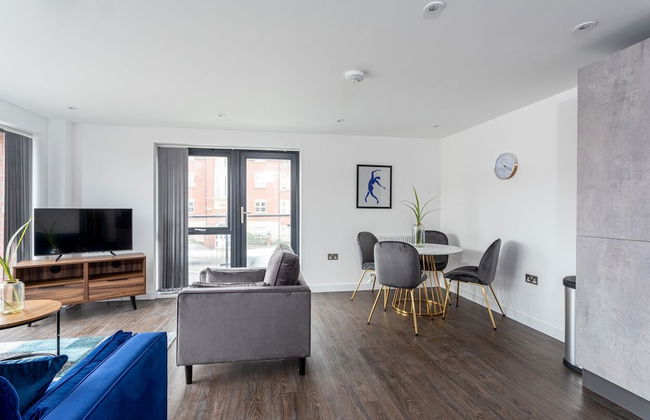
Bright and Spacious 2 Bedroom Apartment in York
York - York - 850 m vom Zentrum
- 74 M2
- 2 Schlafzimmer
- 5 Personen
- Heizung
- Fahrstuhl
25 Bewertungen


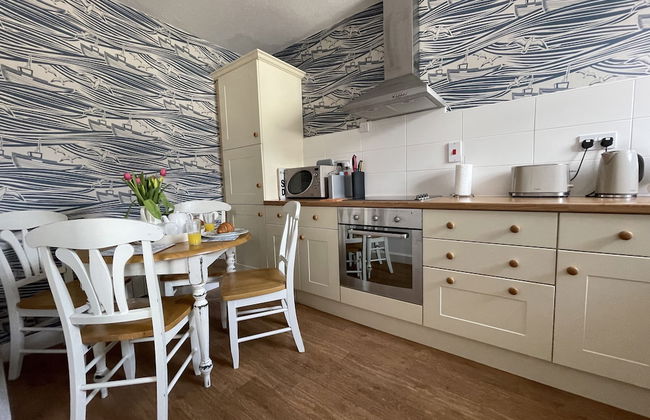


Fayvan Apartments
Whitby - Whitby
- 45 M2
- 1 Schlafzimmer
- 4 Personen
- Heizung
- Parkplatz
- Tv
- Waschmaschine
- Handtücher
- Bettlaken
28 Bewertungen

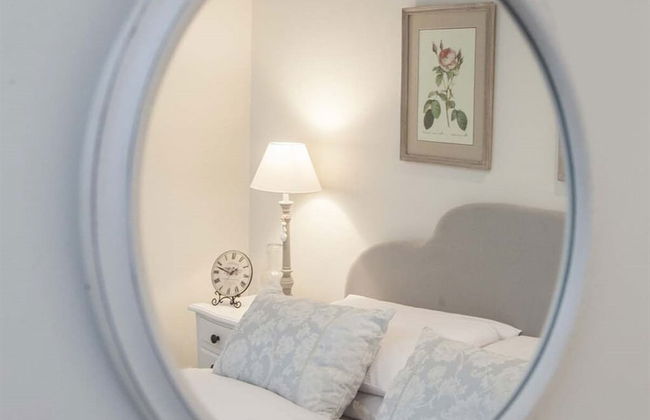


Milton House Studio Apartment Suites
Leyburn - Askrigg
- 2 Personen
- Heizung
- Parkplatz
- Tv
- Handtücher
- Bettlaken
34 Bewertungen


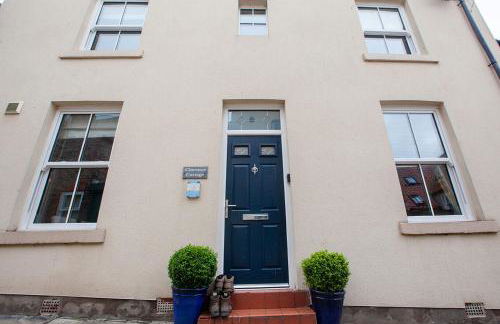


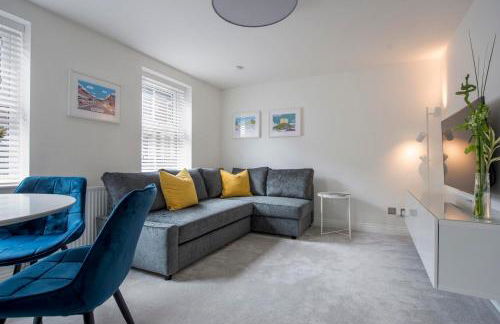
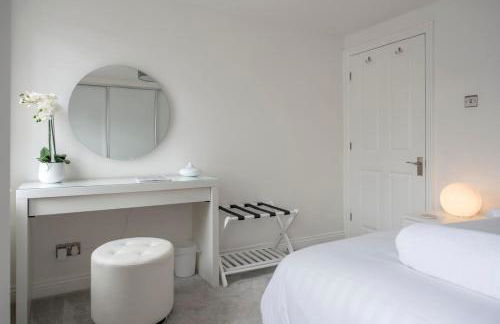
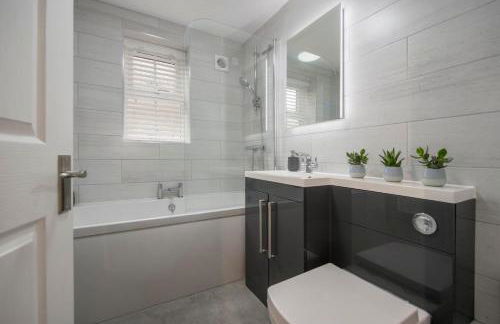
Clarence Cottage
Whitby - Whitby
- 89 M2
- 2 Schlafzimmer
- 4 Personen
- Heizung
- Parkplatz
- Tv
- Waschmaschine
- Schornstein
- Handtücher
- Bettlaken
14 Bewertungen


Penleys Apartment
York - York - 890 m vom Zentrum
- 47 M2
- 1 Schlafzimmer
- 4 Personen
- Heizung
- Parkplatz
- Tv
- Waschmaschine
- Handtücher
- Bettlaken
13 Bewertungen

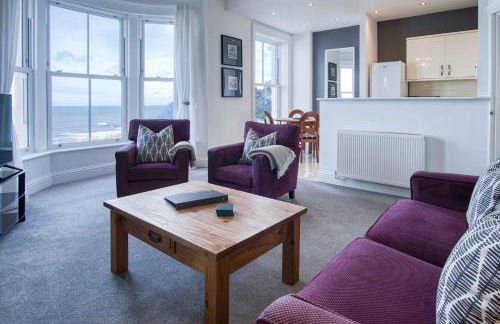

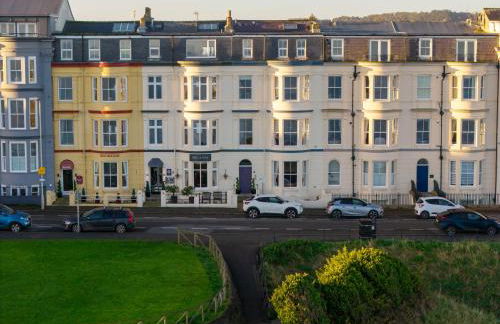
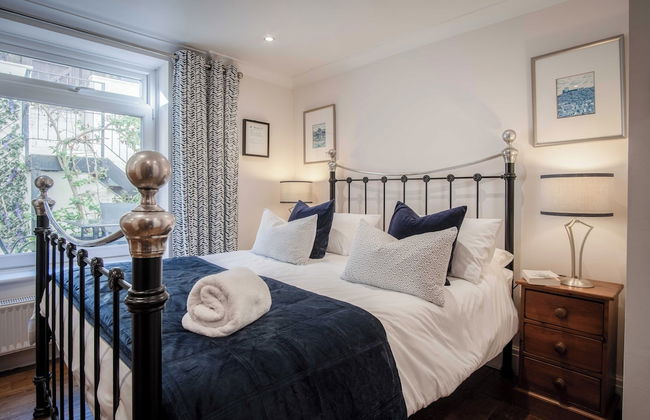
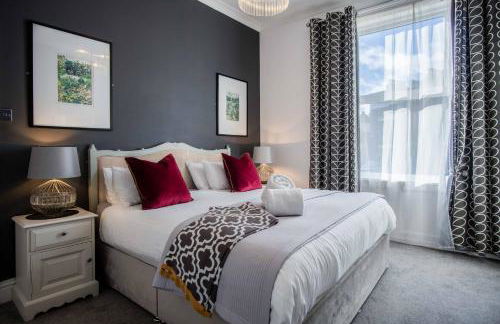


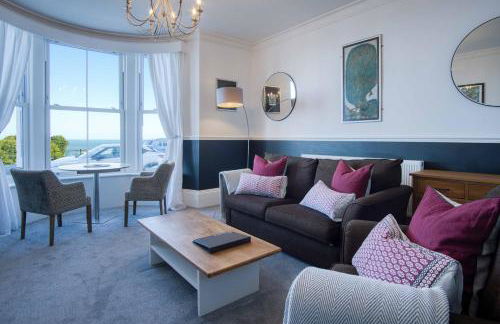
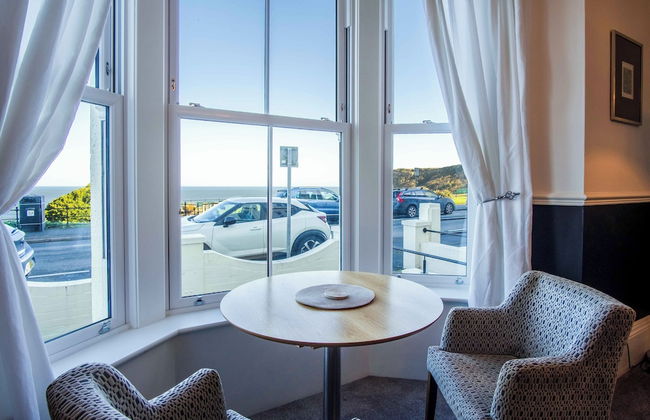

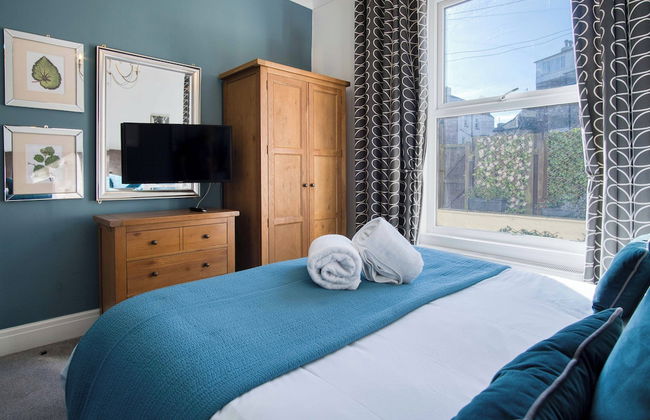


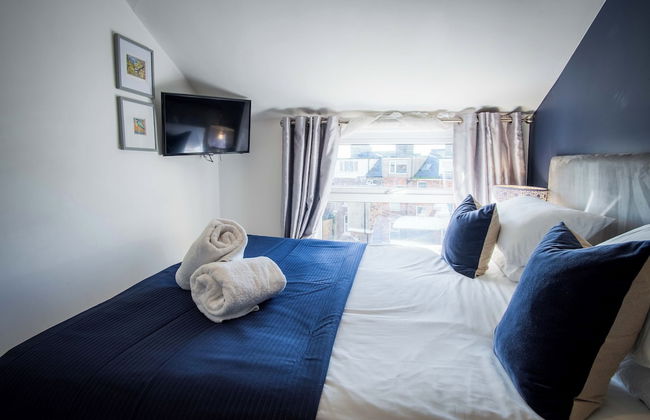


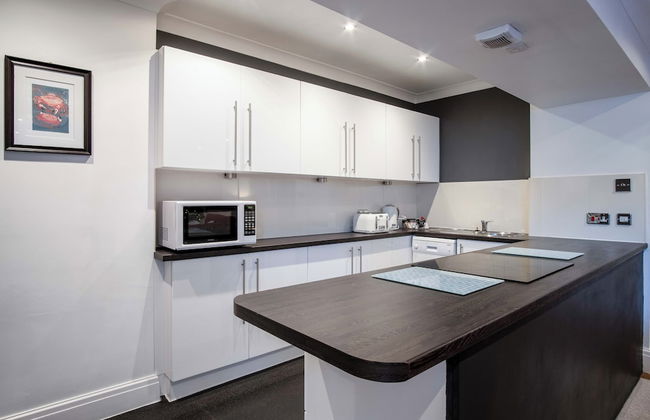
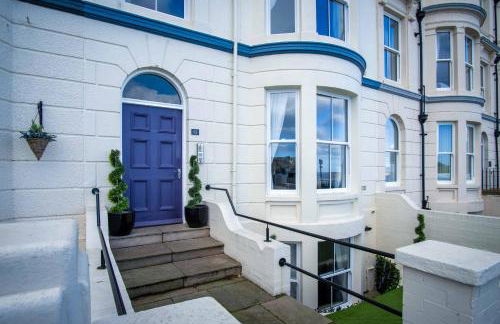
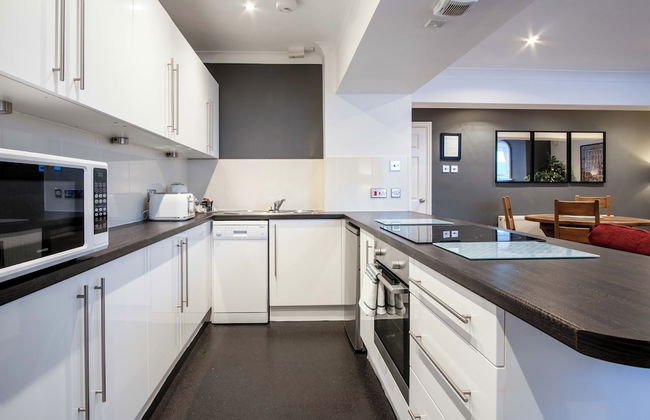


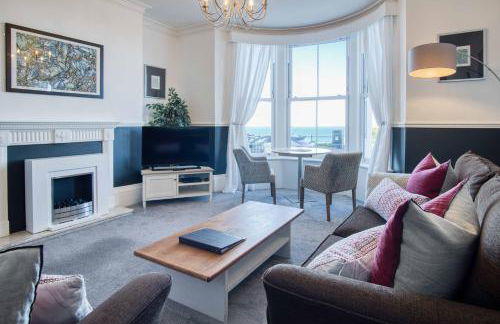

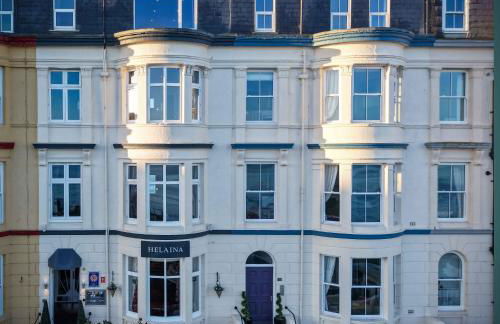
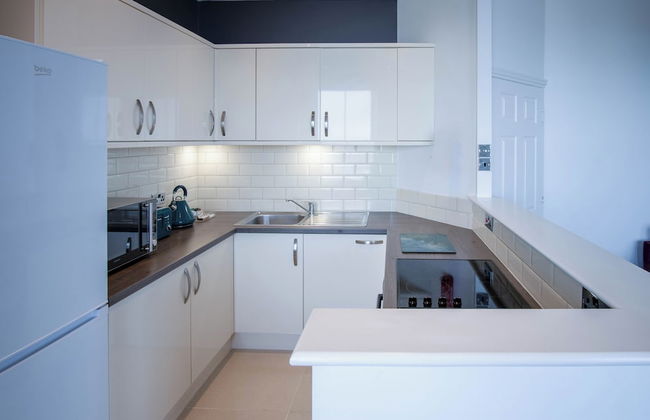
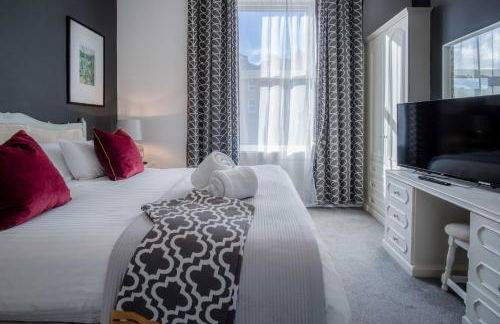
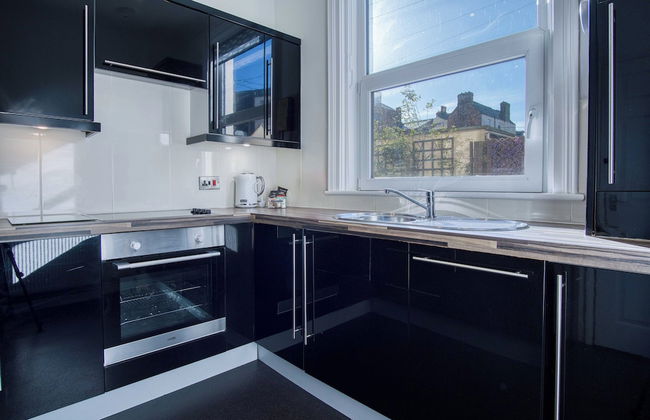
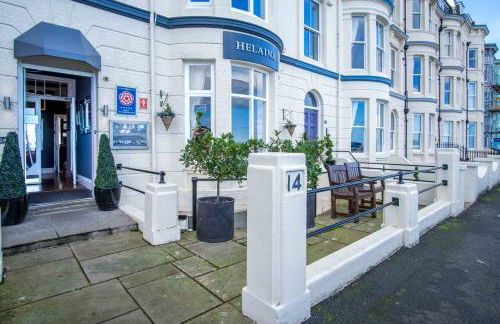


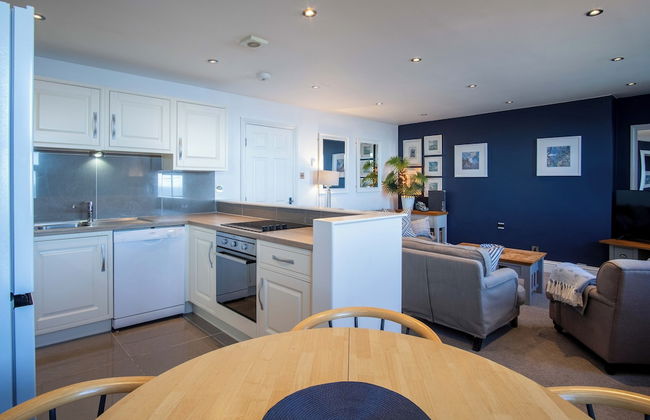

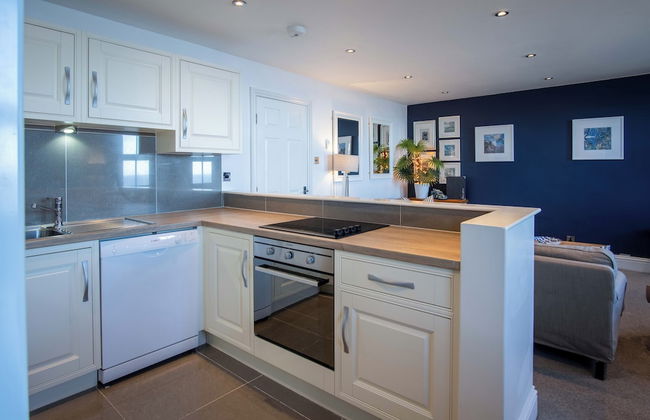


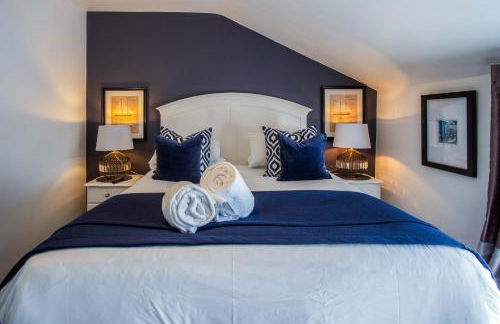
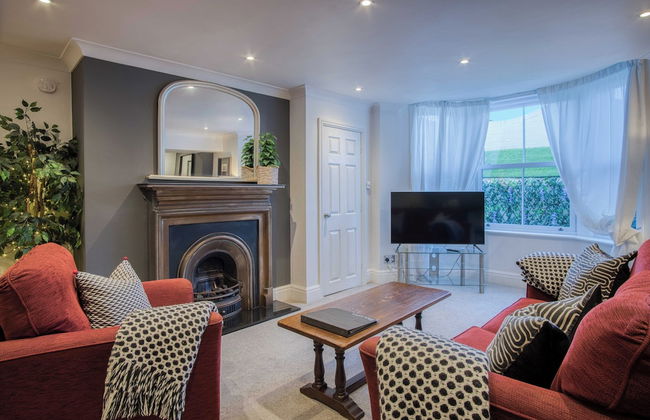
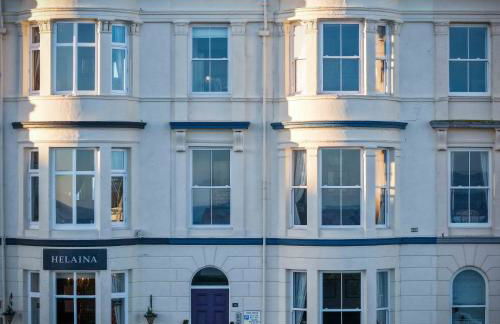
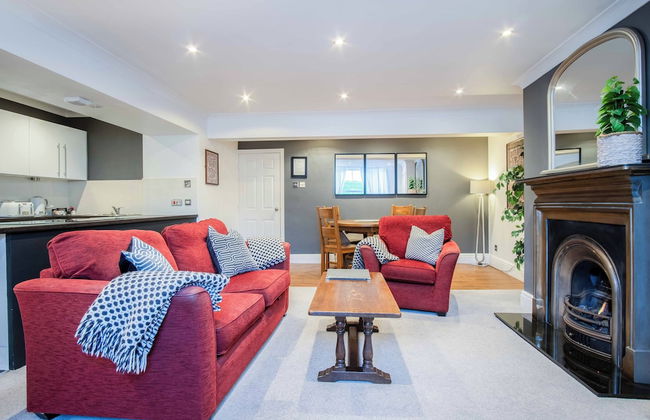
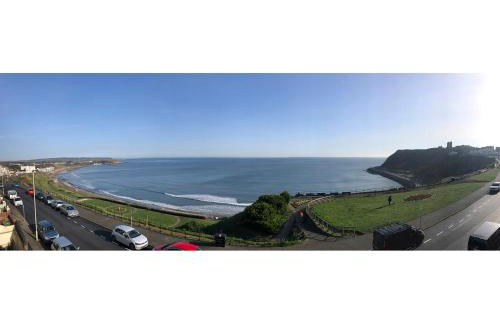
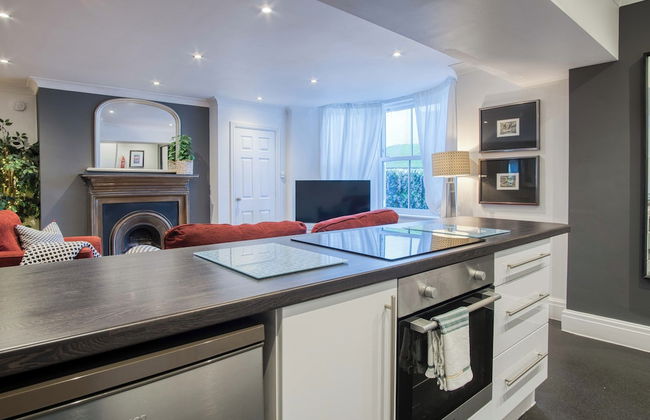

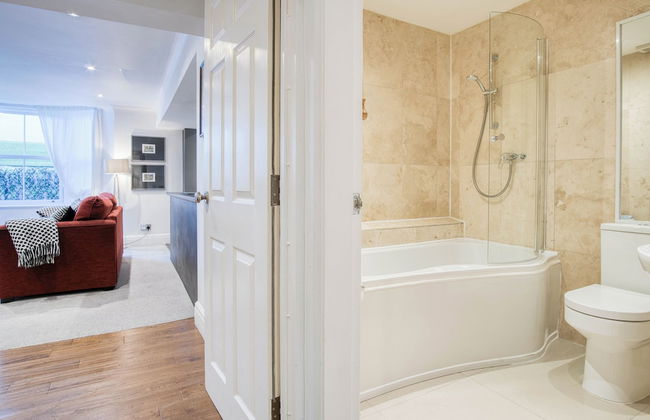


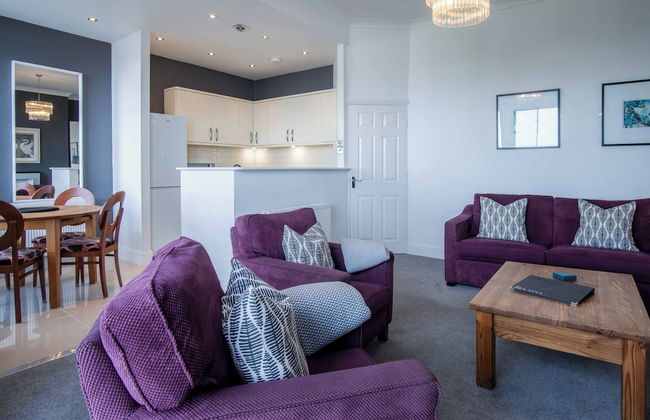

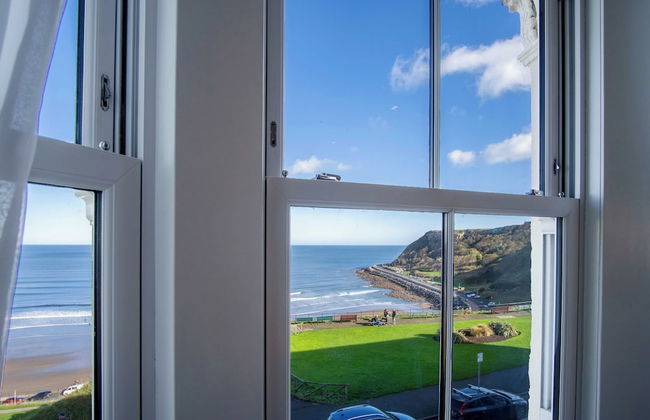

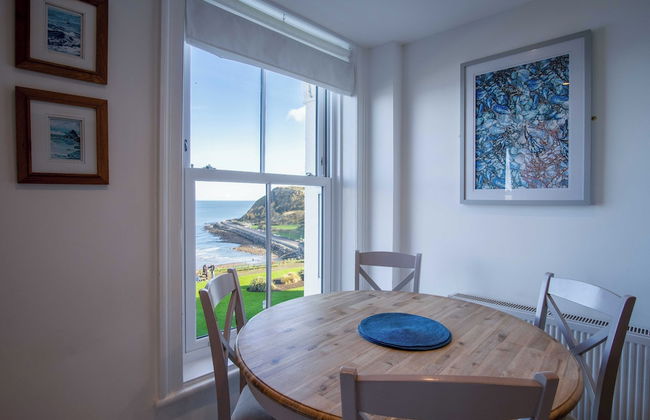

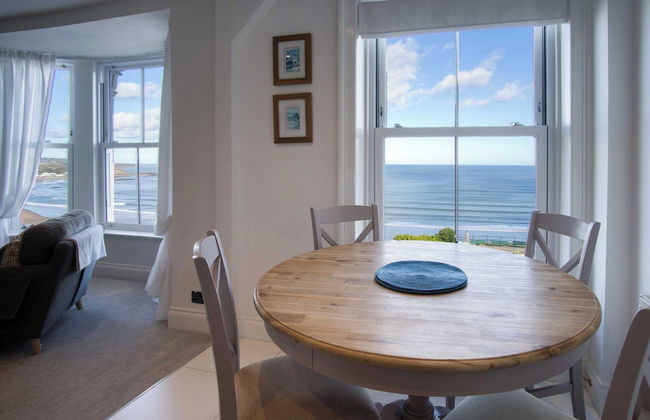

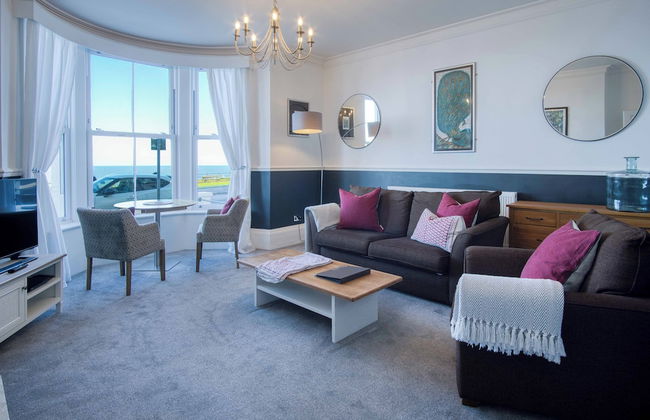
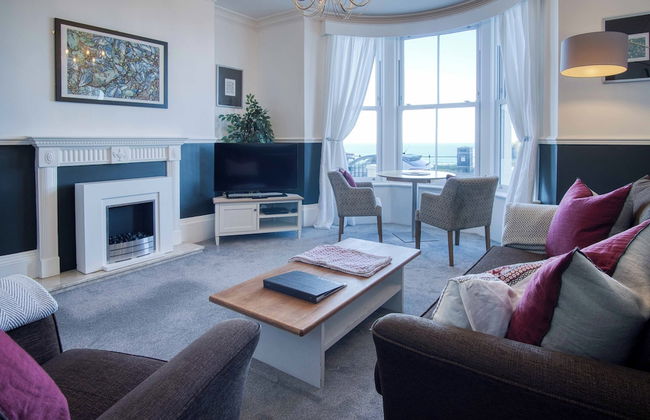
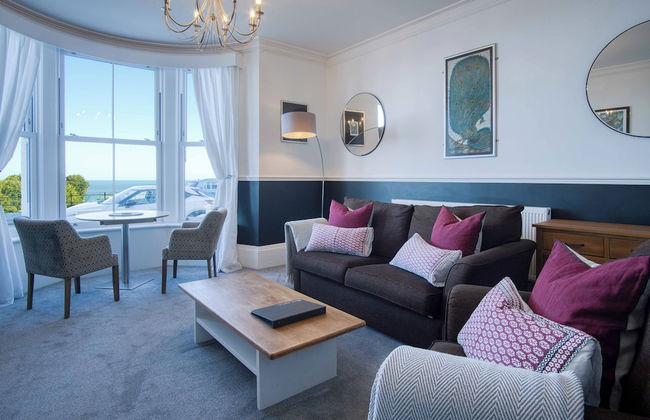

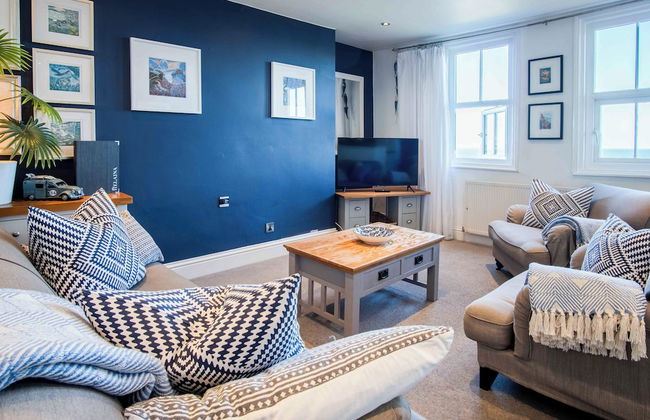
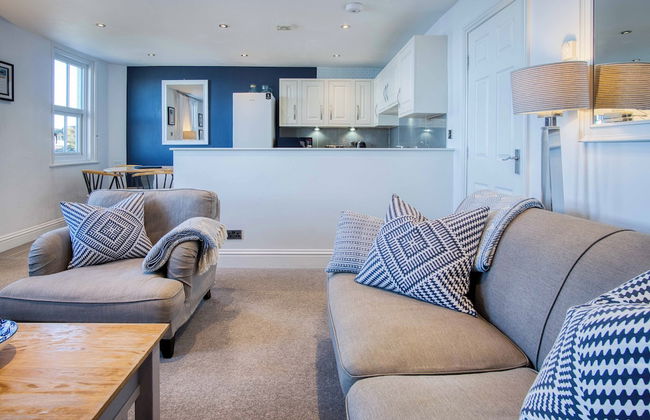
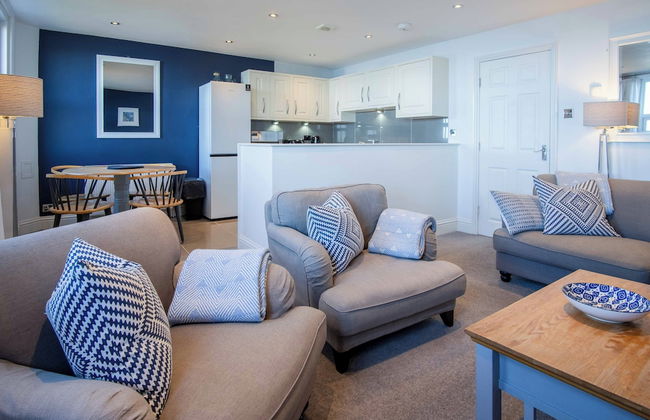


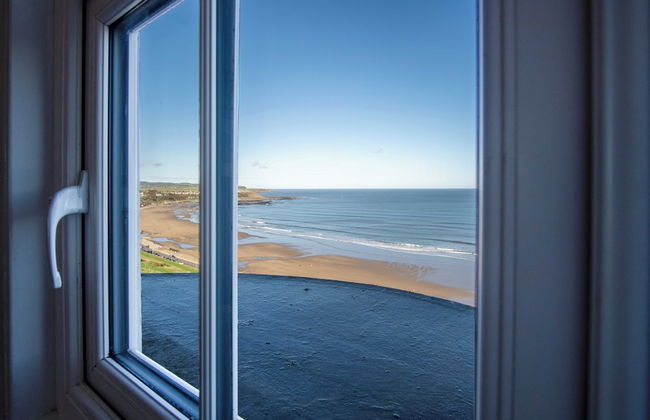
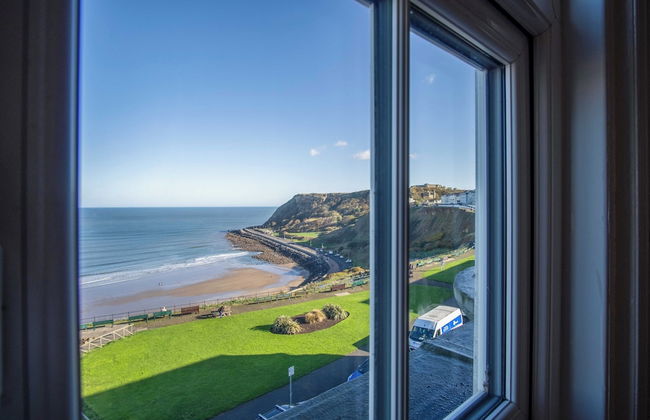
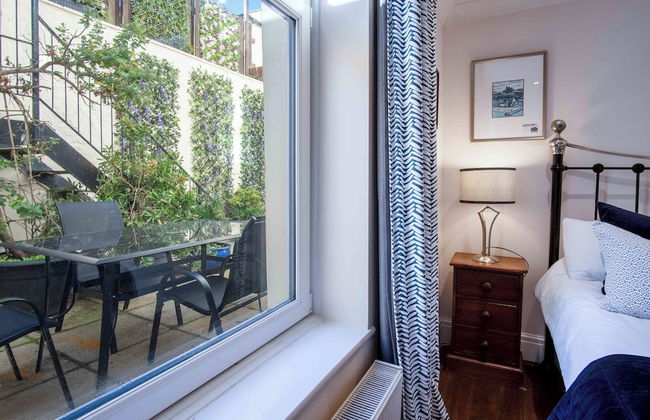


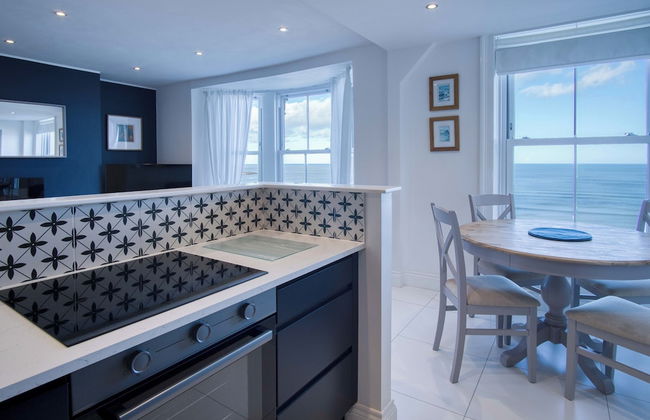
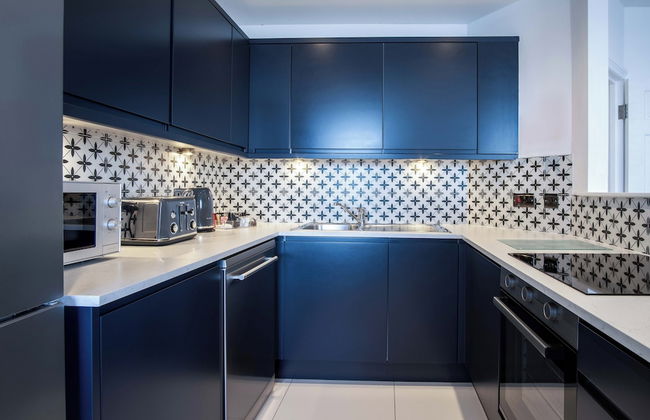

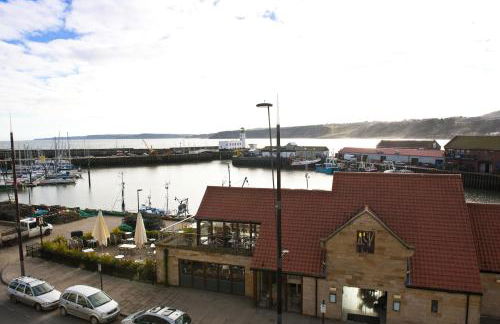
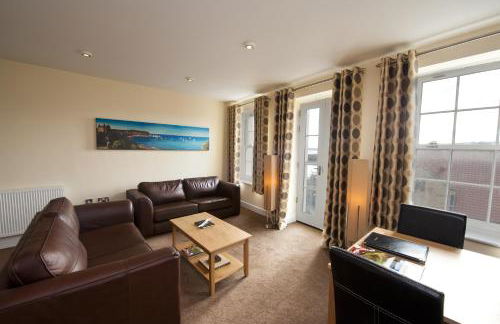
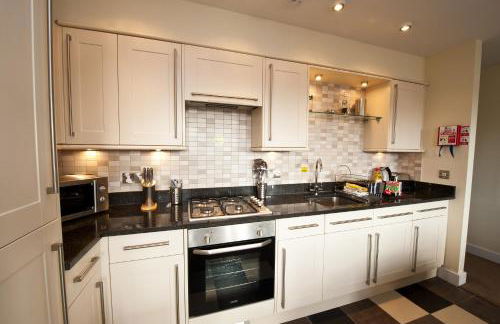
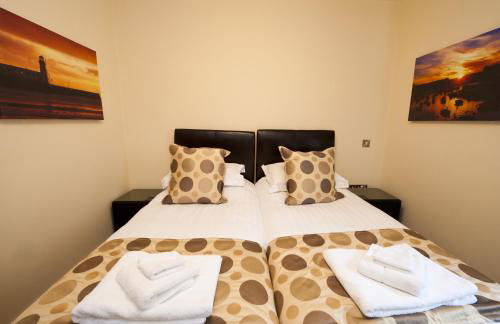
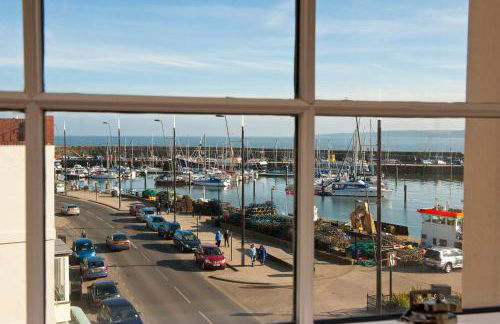
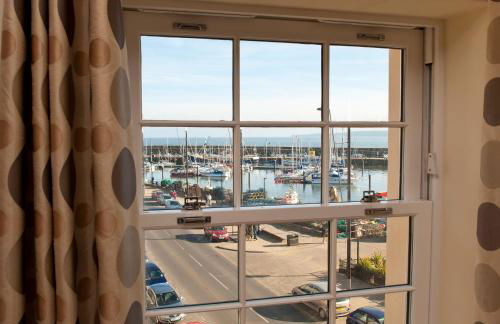
Blue Horizon Apartments at The Helaina
Scarborough - Scarborough - 780 m vom Zentrum
- 56 M2
- 2 Schlafzimmer
- 4 Personen
- Heizung
- Tv
- Schornstein
- Handtücher
- Bettlaken
44 Bewertungen