
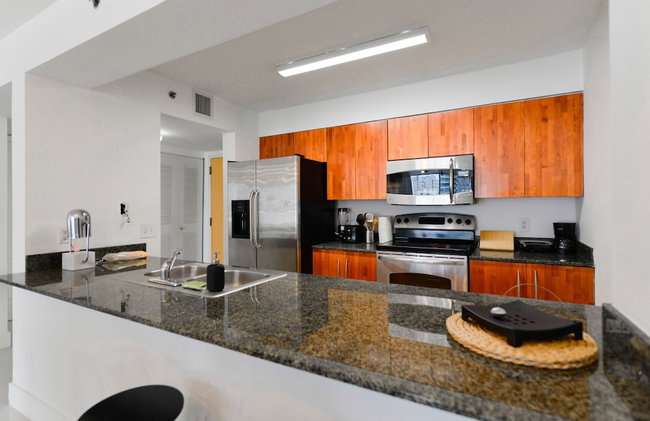
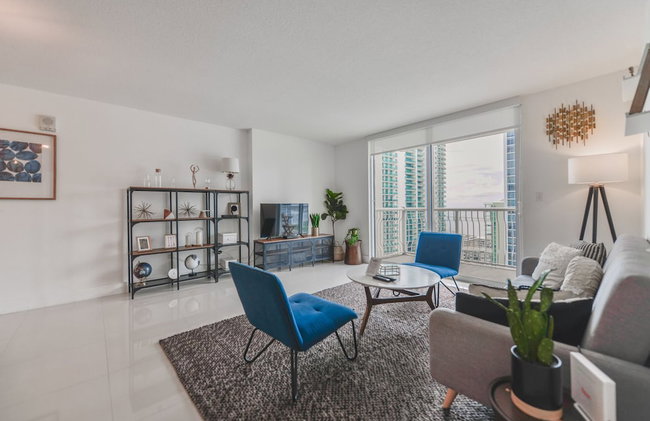
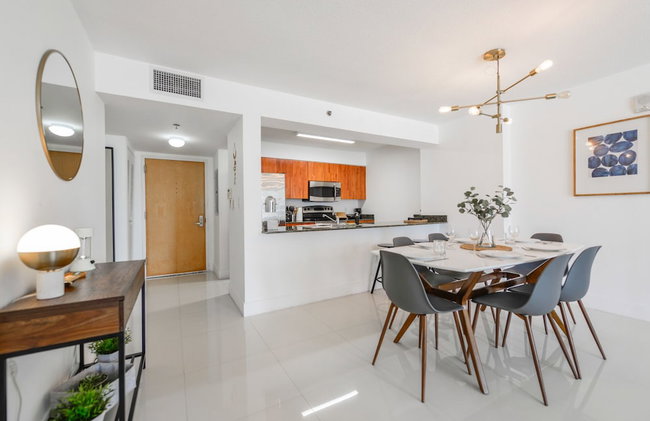
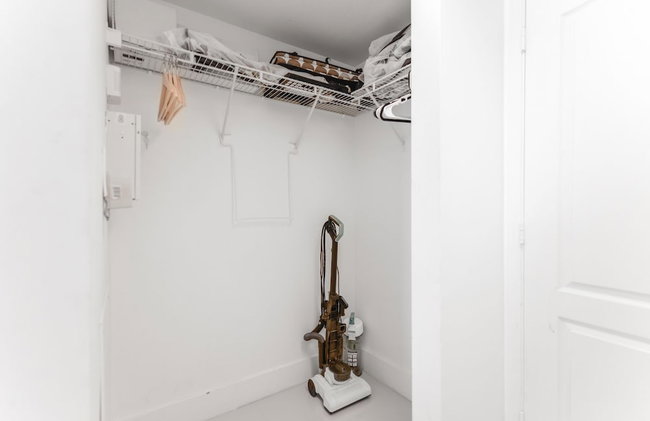
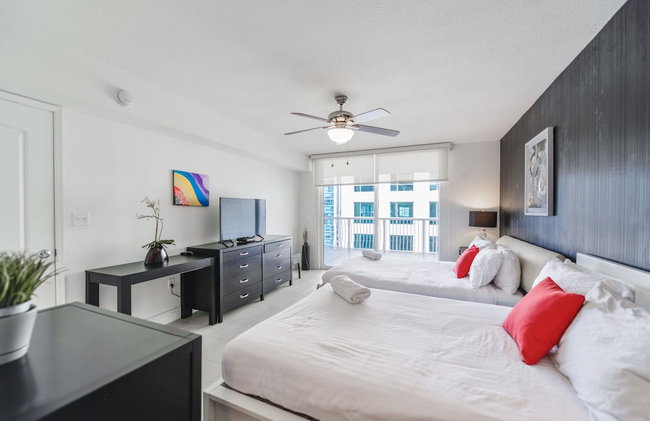
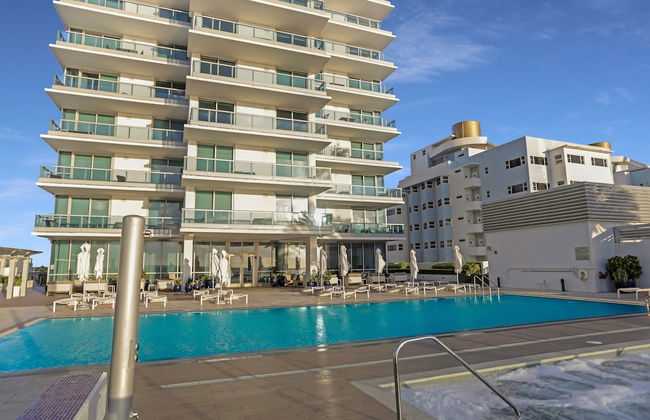
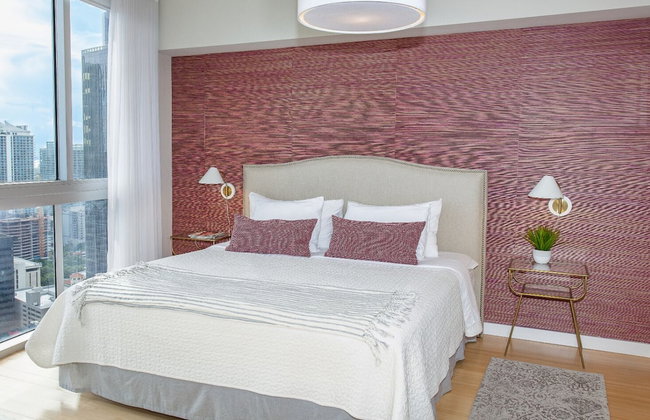
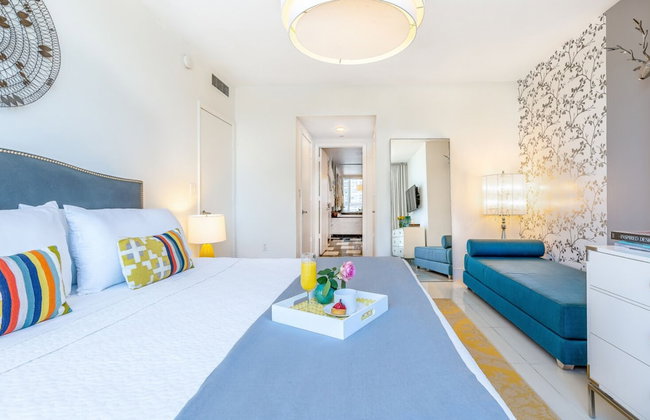
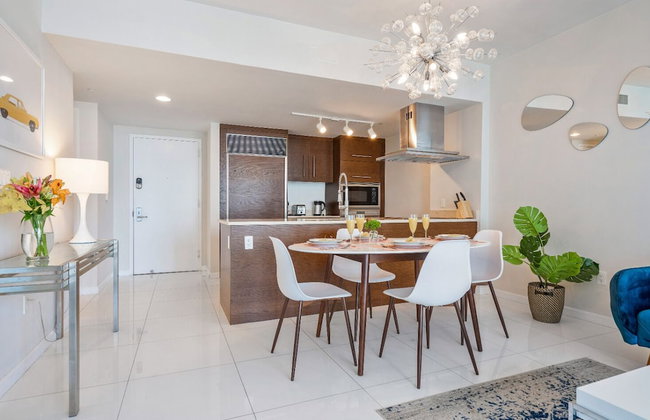
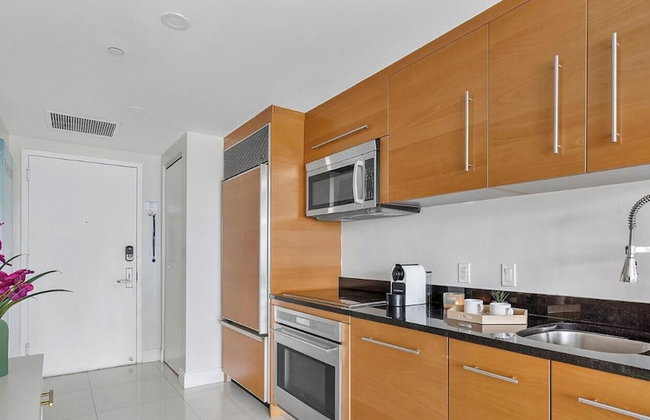
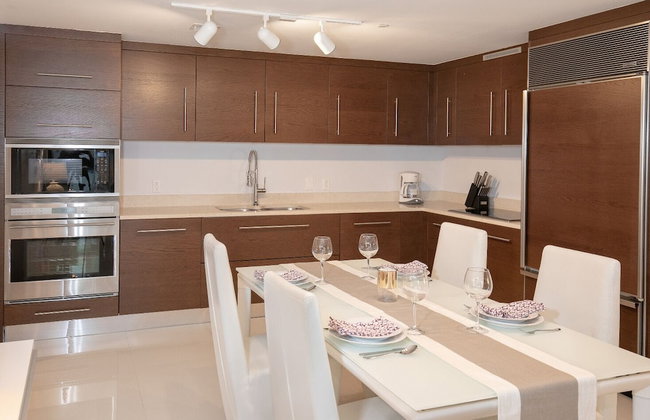
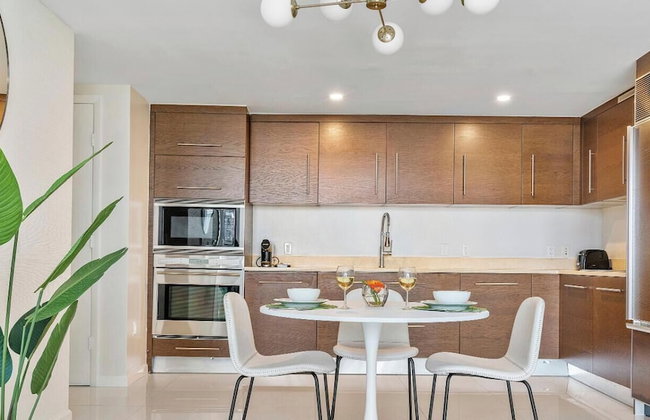
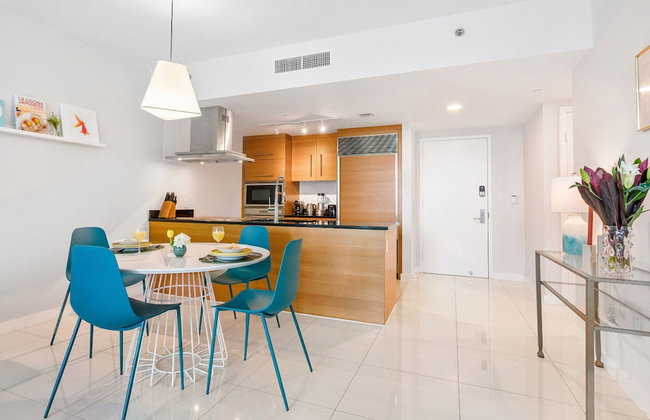
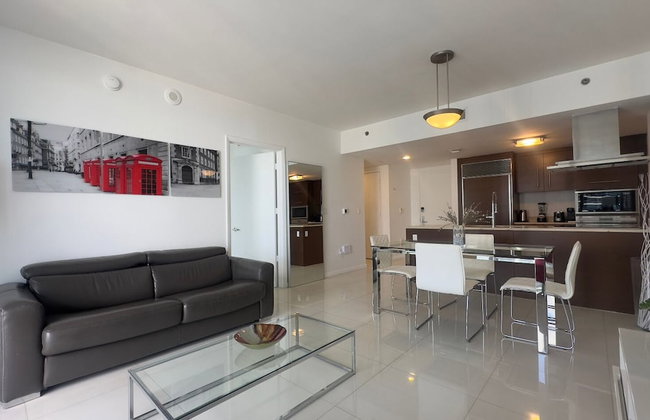
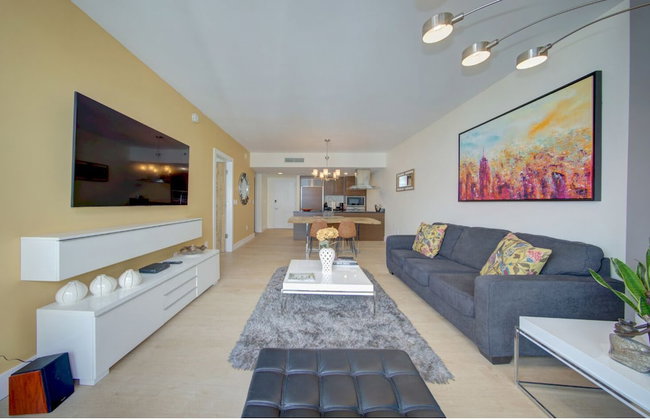
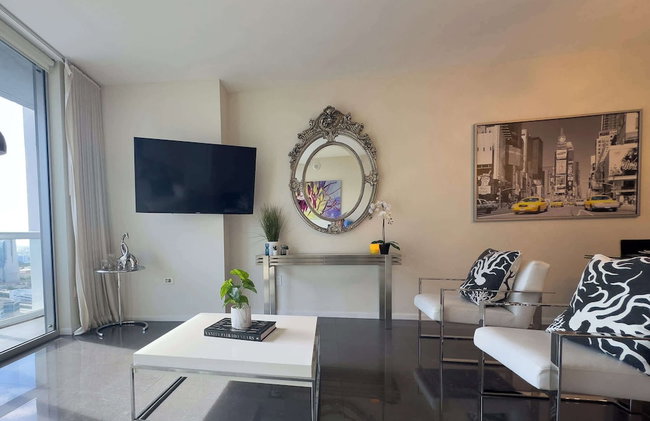
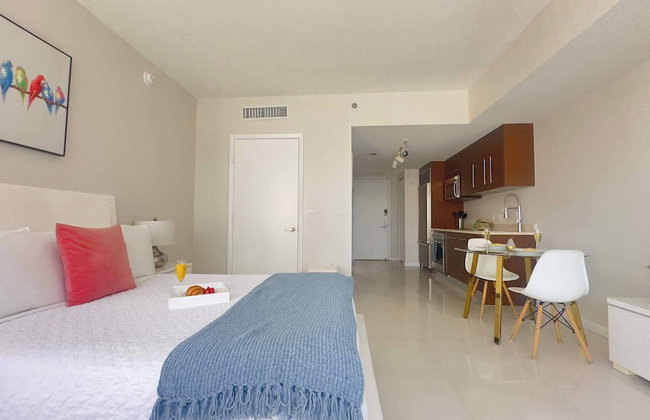
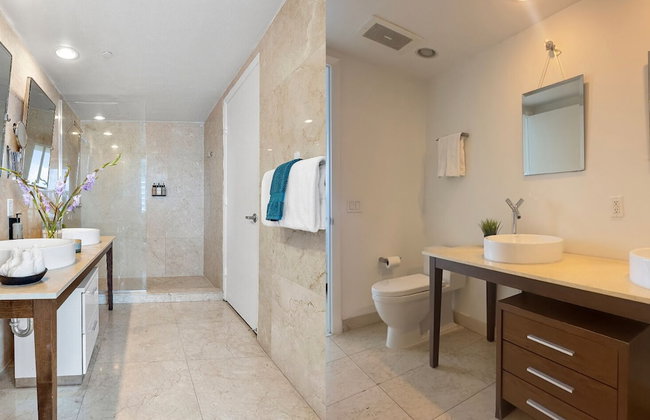
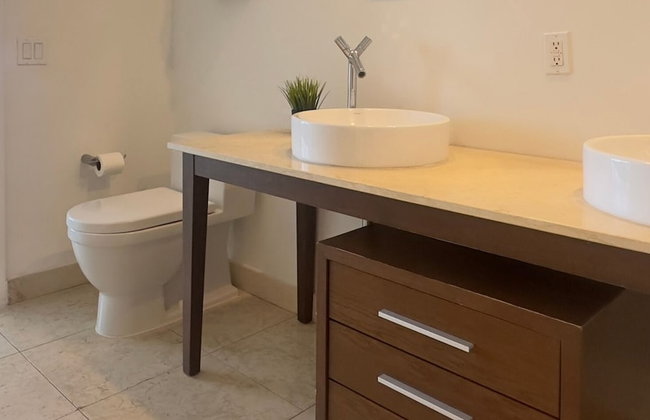
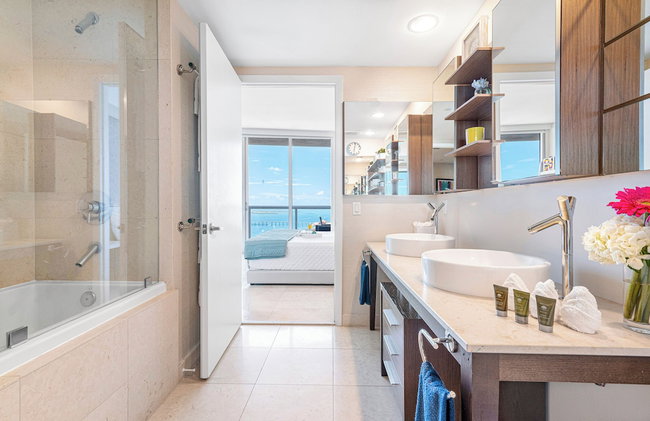
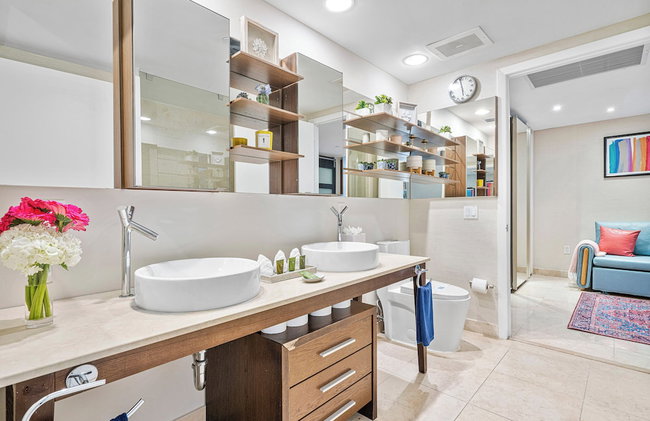
3158 Wohnungen in Miami

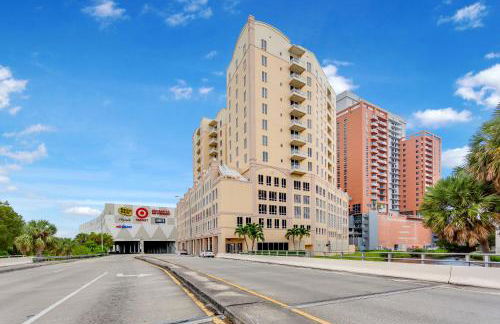


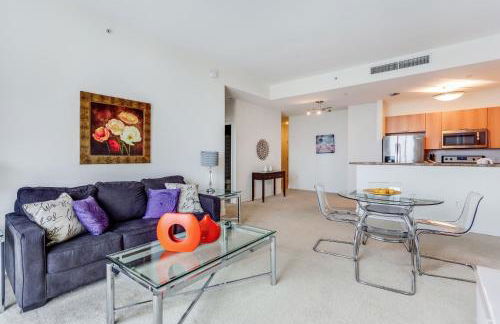


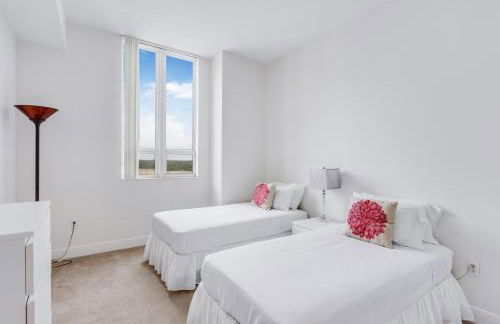


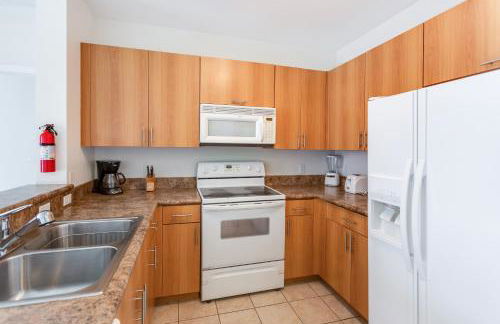

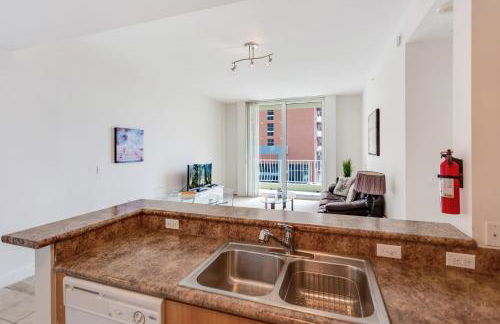

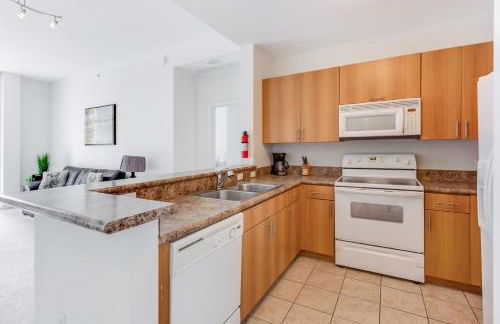

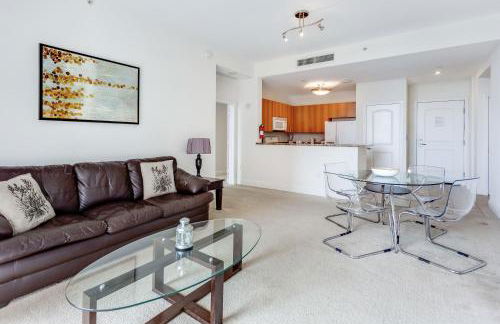


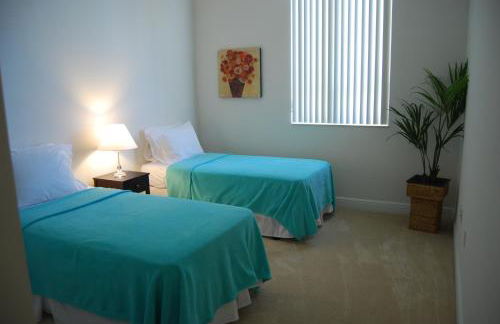

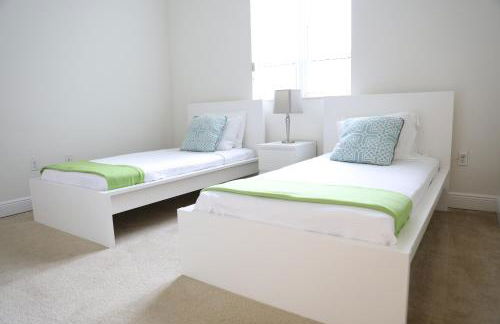

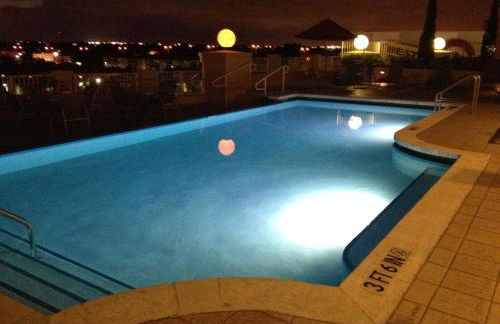

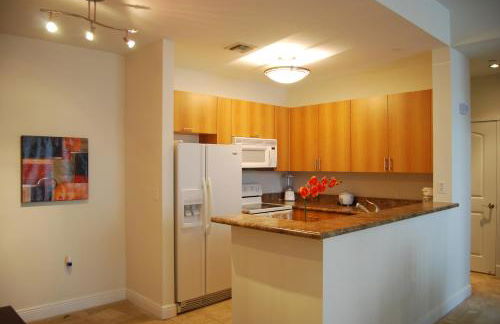

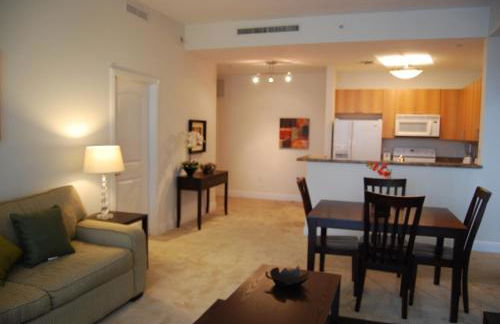


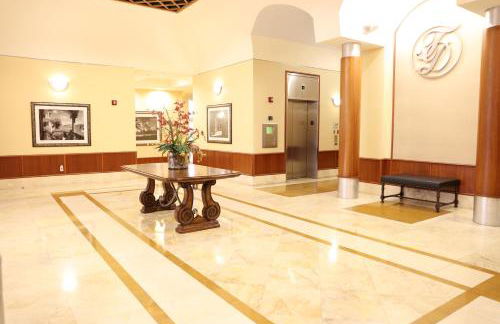

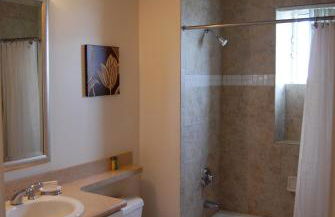

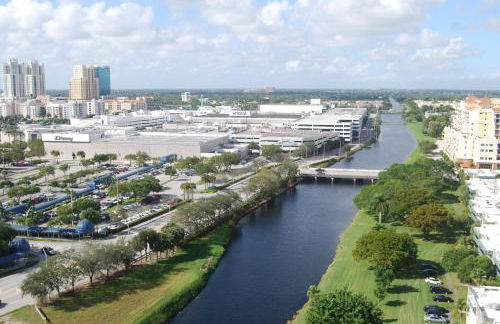

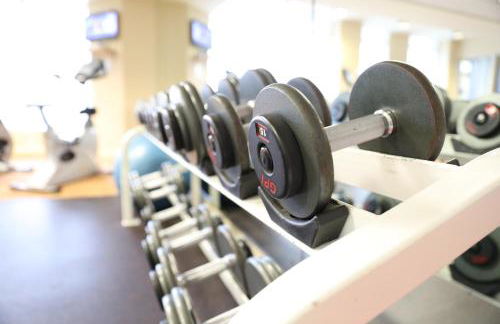


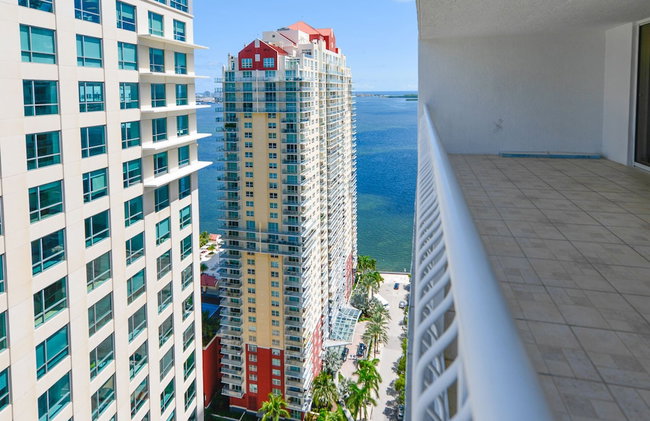
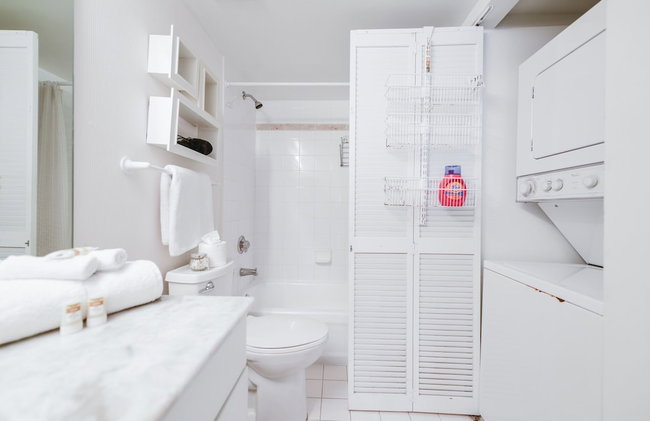
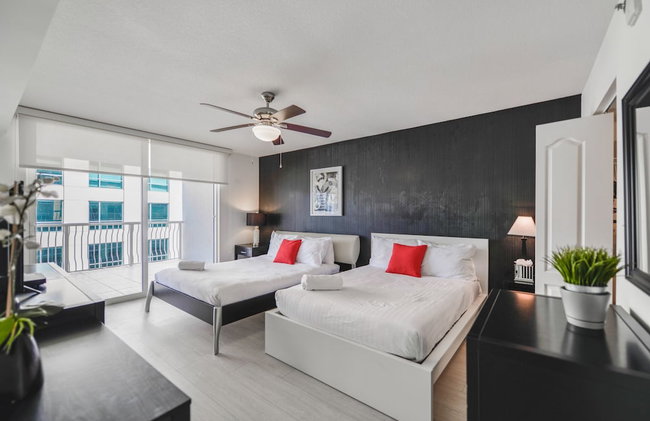
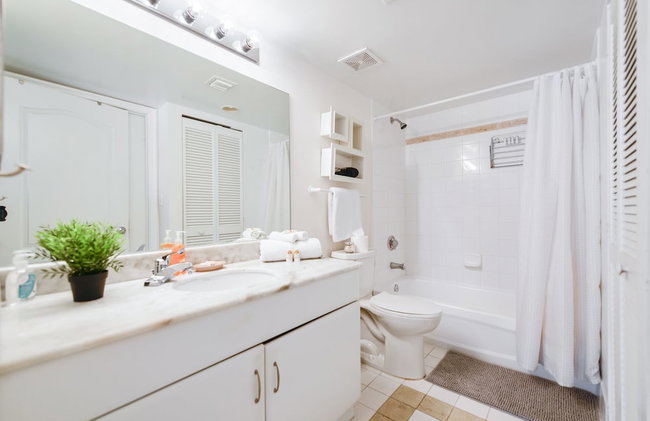
Towers of Dadeland by Miami Vacations
Miami - Glenvar Heights - 13.7 km vom Zentrum
- 102 M2
- 2 Schlafzimmer
- 6 Personen
- Klimaanlage
- Heizung
- Terrasse
- Schwimmbad
- Parkplatz
- Fahrstuhl
- Balkon
- Tv
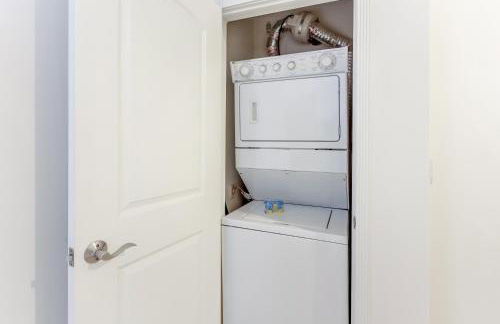
- Waschmaschine
- Handtücher
- Bettlaken
416 Bewertungen


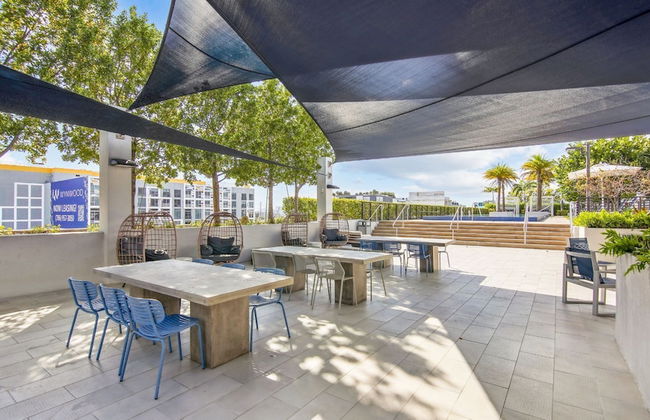

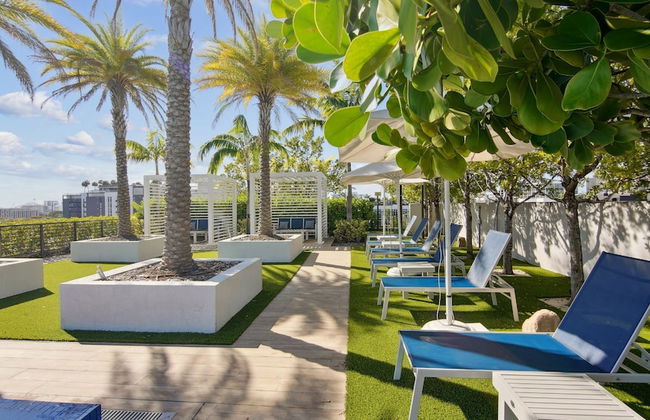

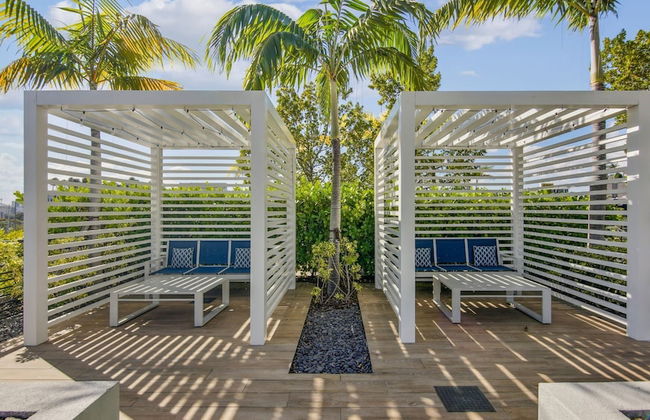
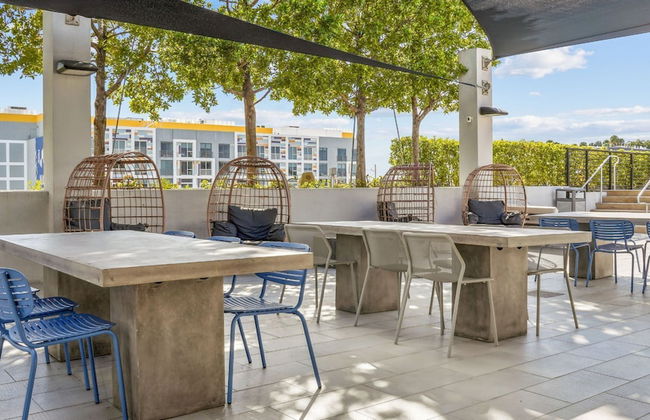
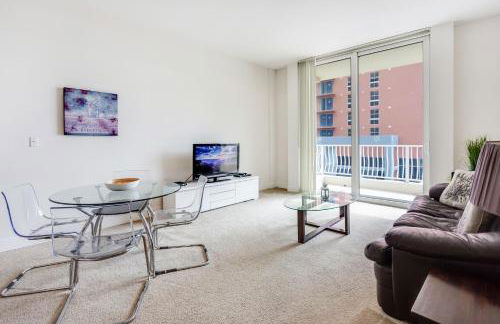
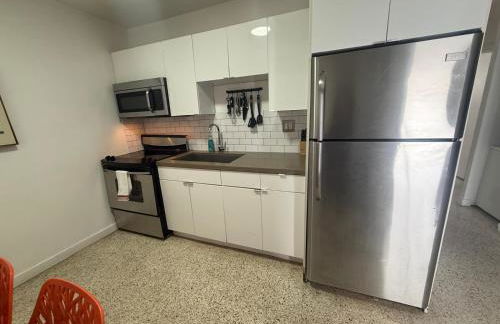
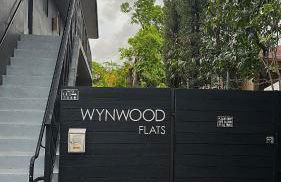
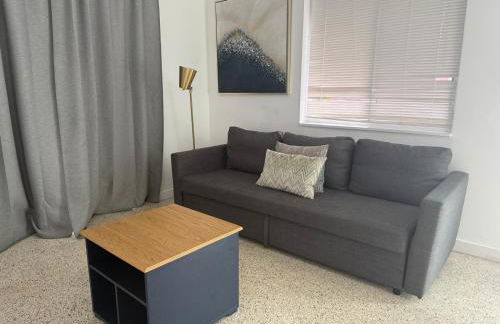
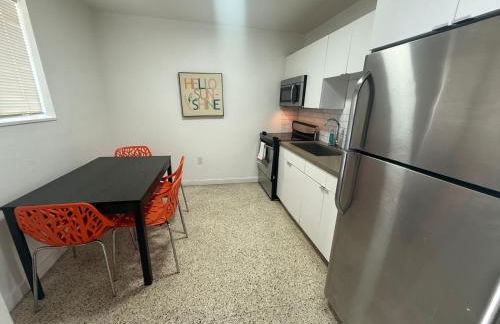
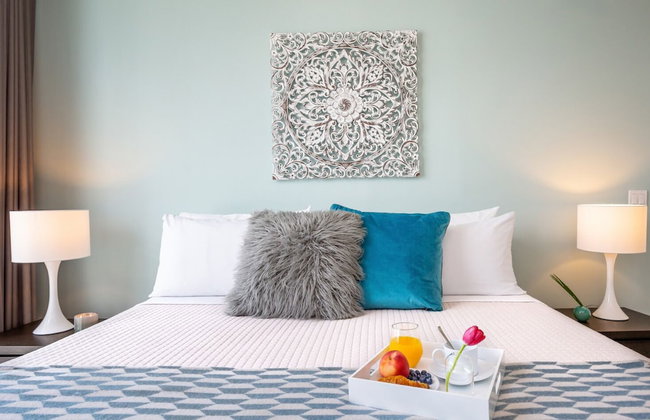
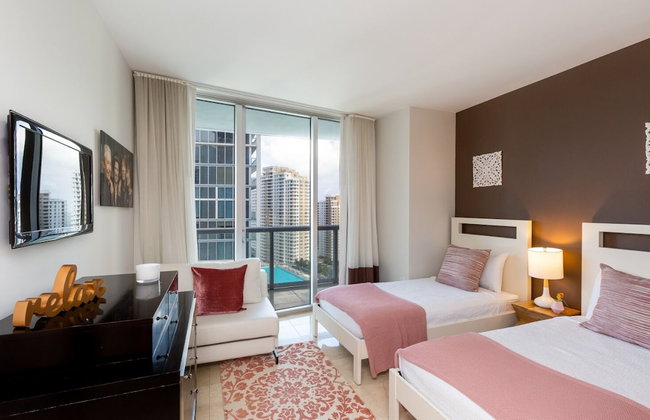
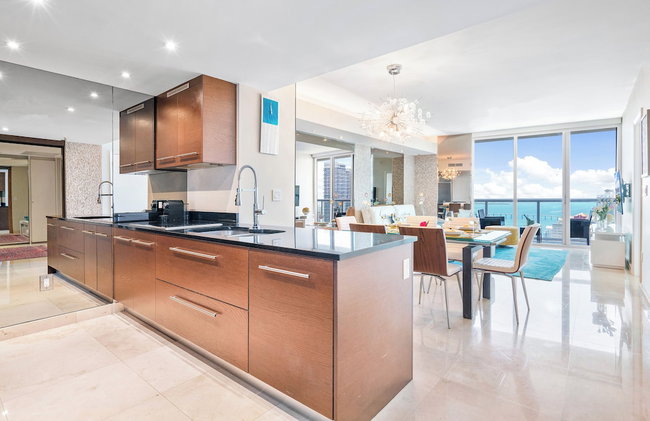
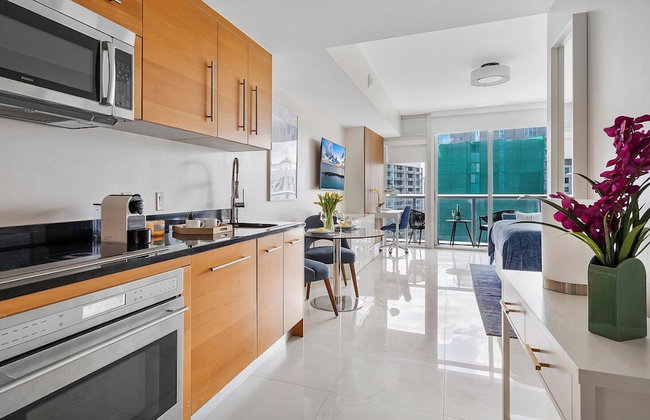
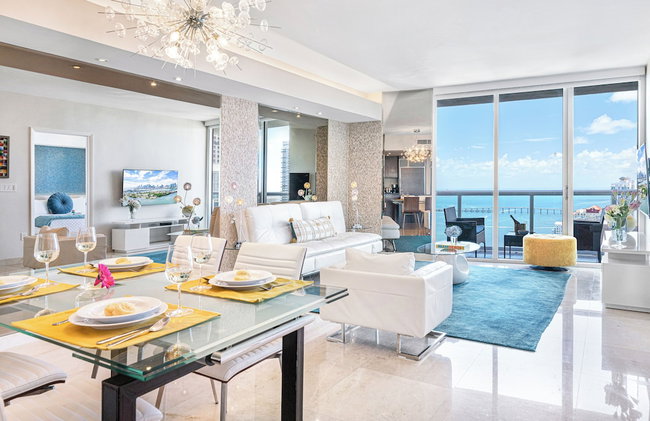
Sentral Wynwood
Miami - 13.7 km vom Zentrum
- 91 M2
- 6 Personen
- Klimaanlage
- Heizung
- Terrasse
- Schwimmbad
- Parkplatz
- Fahrstuhl
- Tv
- Waschmaschine
- Schornstein
- Barbecue
- Handtücher
1874 Bewertungen


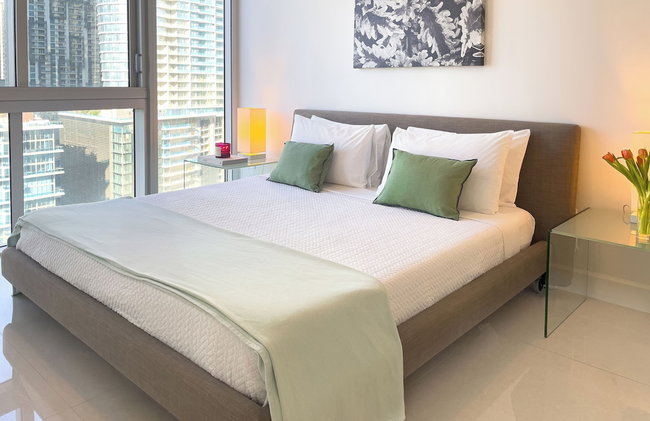
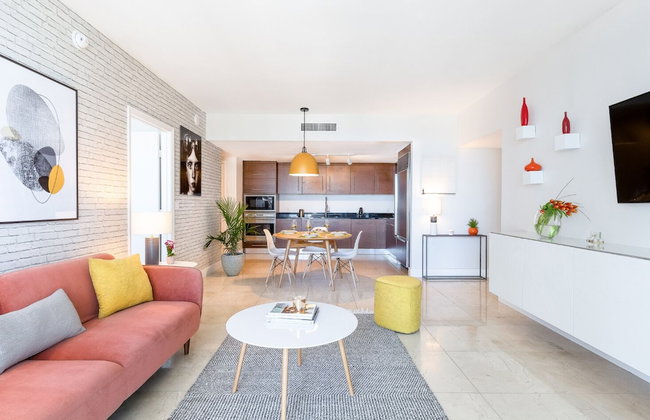
Andy Resort
Miami - 39.1 km vom Zentrum
- 254 M2
- 4 Personen
- Klimaanlage
- Heizung
- Terrasse
- Schwimmbad
- Parkplatz
- Garten
- Tv
- Schornstein
- Barbecue
- Handtücher
- Bettlaken
12 Bewertungen


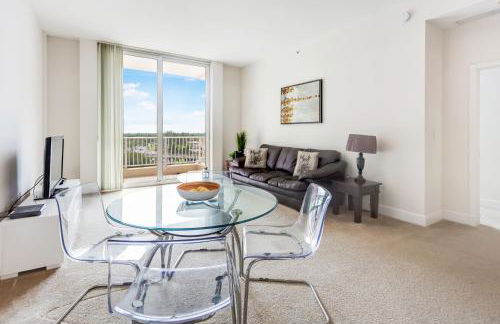
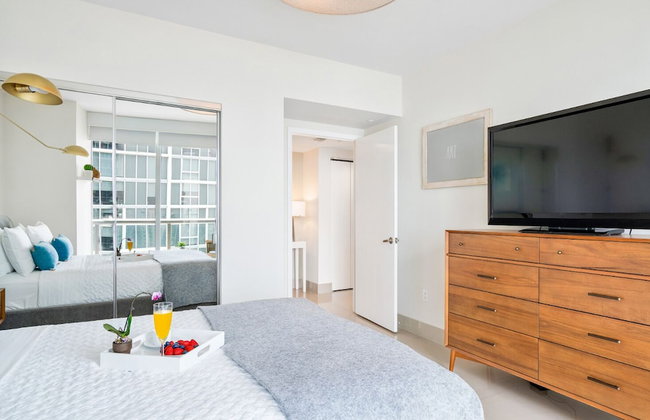
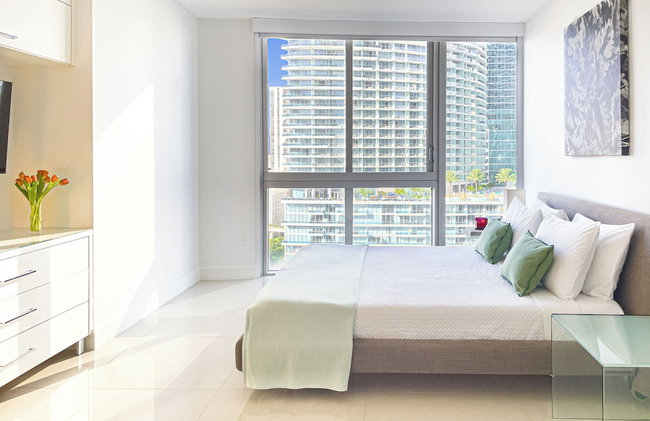
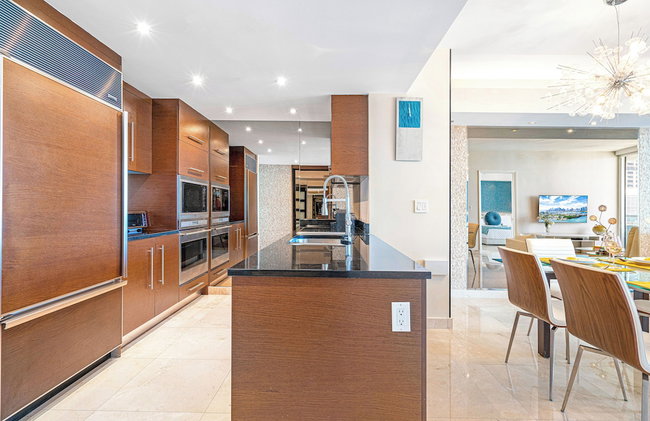
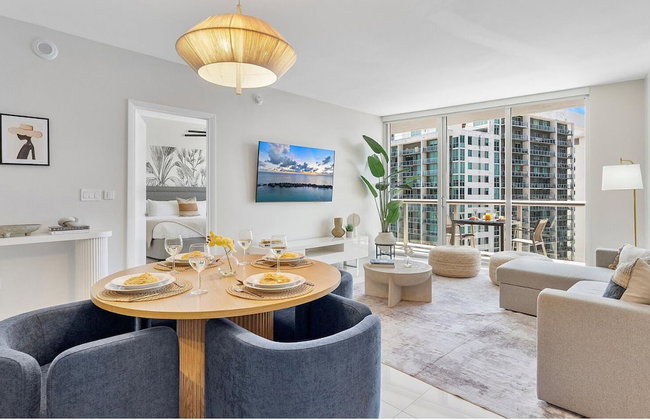
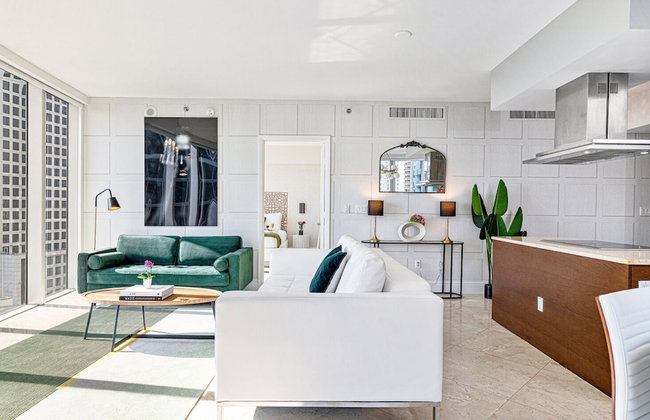
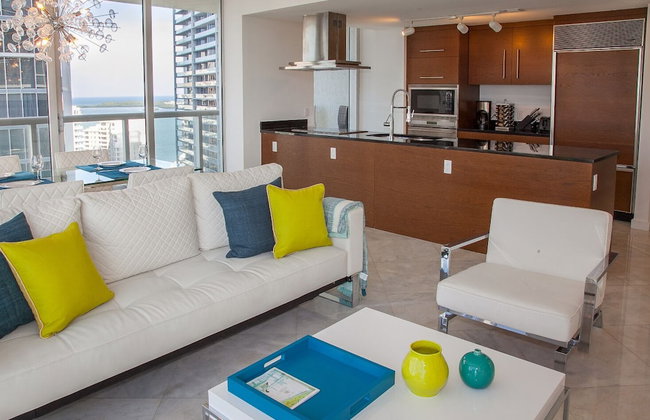
Miami Vacation Rentals - Downtown
Miami - 16.4 km vom Zentrum
- 142 M2
- 8 Personen
- Klimaanlage
- Terrasse
- Schwimmbad
- Parkplatz
- Fahrstuhl
- Balkon
- Garten
- Tv
- Waschmaschine
- Handtücher
- Bettlaken
61 Bewertungen


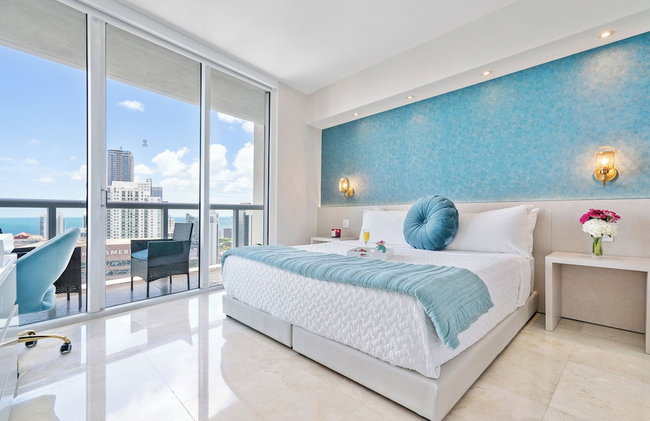
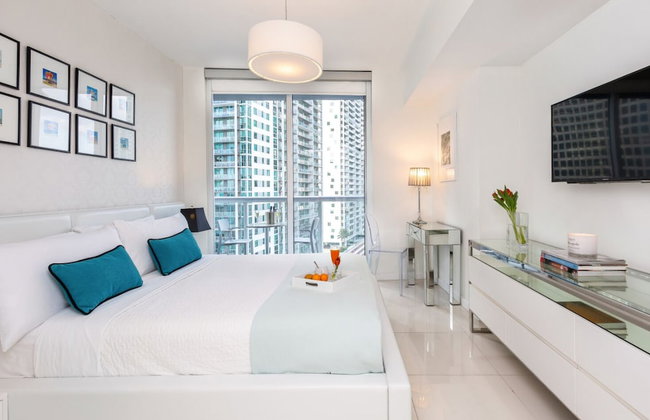
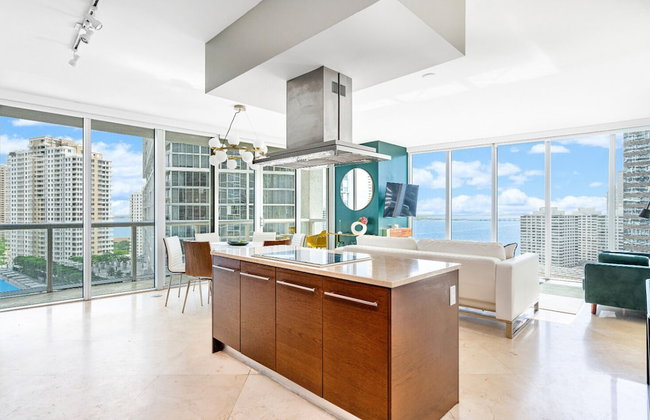
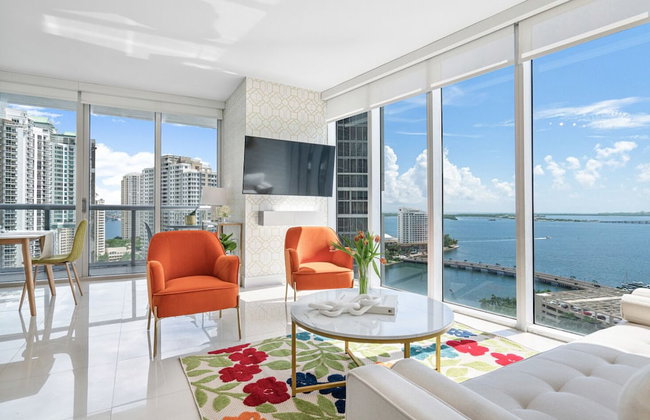
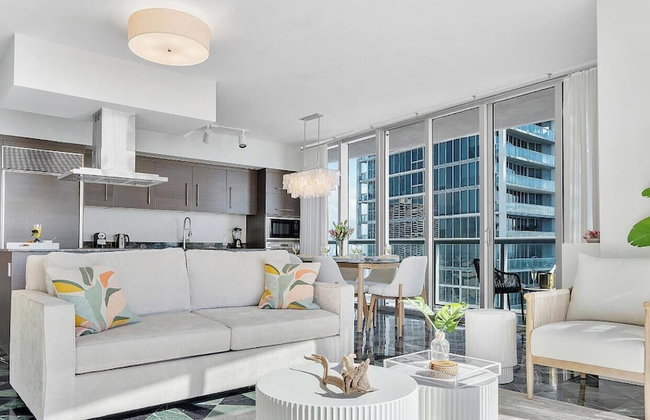
Luxurious 3BR Condo with Pool in Brickell
Miami - Downtown Miami - 1.1 km vom Zentrum
- 114 M2
- 3 Schlafzimmer
- 9 Personen
- Klimaanlage
- Terrasse
- Schwimmbad
- Parkplatz
- Fahrstuhl
- Balkon
- Garten
- Tv
- Waschmaschine
- Handtücher
- Bettlaken
21 Bewertungen


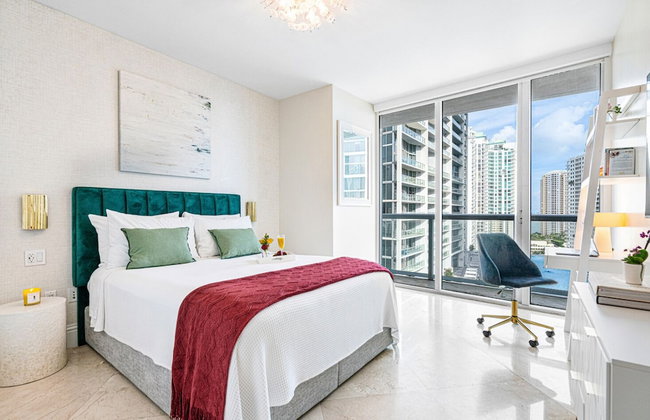
Nomada Destination Residences - Quadro
Miami - Design District - 3.9 km vom Zentrum
- 99 M2
- 6 Personen
- Klimaanlage
- Heizung
- Terrasse
- Schwimmbad
- Parkplatz
- Fahrstuhl
- Balkon
- Tv
- Waschmaschine
- Barbecue
- Handtücher
- Bettlaken
707 Bewertungen


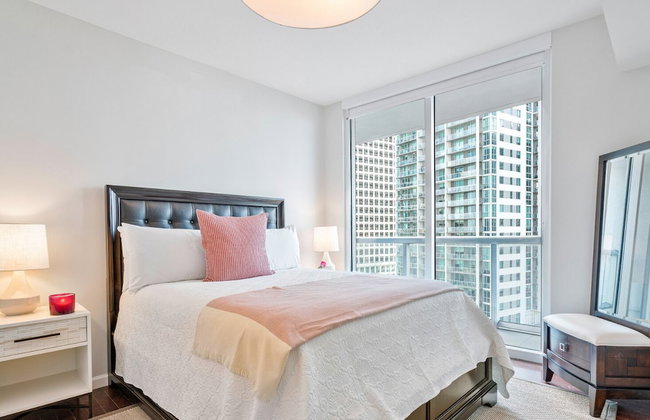
High-End Brickell Condos
Miami - 17.7 km vom Zentrum
- 99 M2
- 7 Personen
- Klimaanlage
- Schwimmbad
- Parkplatz
- Fahrstuhl
- Tv
- Waschmaschine
- Handtücher
- Bettlaken
23 Bewertungen


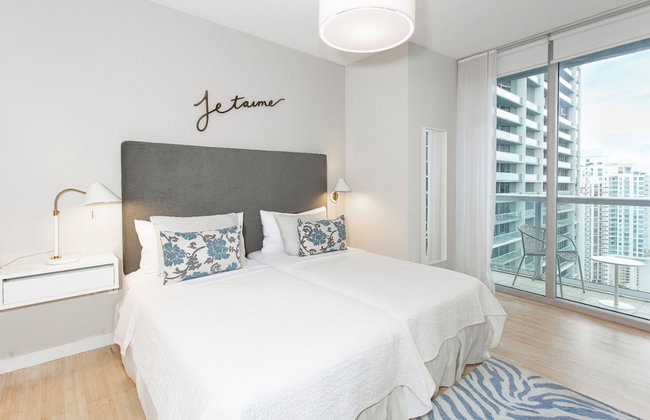
Lofts of Aventura
Miami - 20.1 km vom Zentrum
- 92 M2
- 1 Schlafzimmer
- 6 Personen
- Klimaanlage
- Heizung
- Schwimmbad
- Parkplatz
- Fahrstuhl
- Tv
- Waschmaschine
- Barbecue
- Handtücher
- Bettlaken
49 Bewertungen


Miami Luxury Executive Apartment
Miami - Downtown Miami - 1.2 km vom Zentrum
- 2 Personen
- Kochnische
- Schwimmbad
- Parkplatz
- Waschmaschine
23 Bewertungen


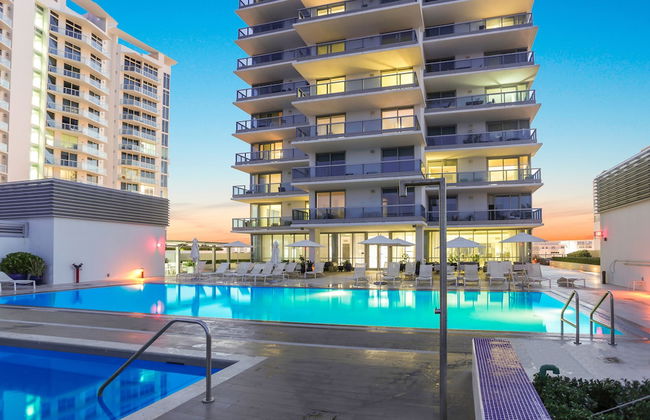

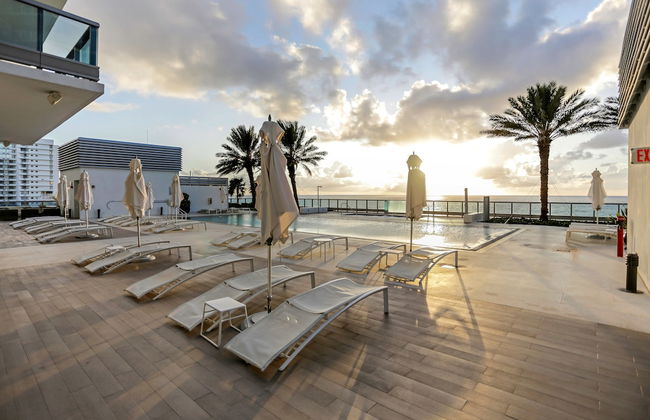


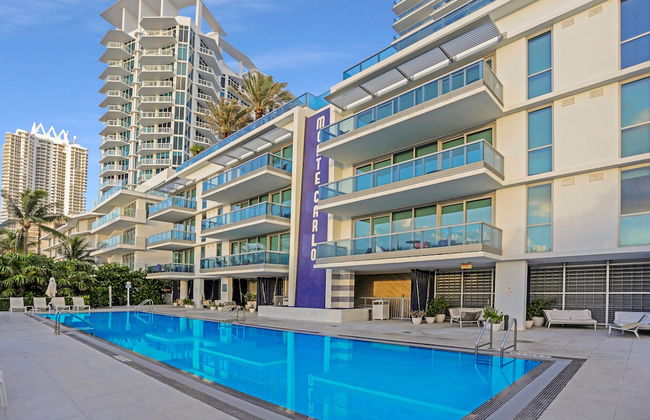


Monte Carlo by Miami Vacations
Miami - North Shores - 10.8 km vom Zentrum
- 69 M2
- 1 Schlafzimmer
- 4 Personen
- Klimaanlage
- Heizung
- Terrasse
- Schwimmbad
- Parkplatz
- Fahrstuhl
- Balkon
- Garten
- Tv
- Waschmaschine
- Handtücher
- Bettlaken
626 Bewertungen


Bay Breeze Premium Apartments By Eskape Collection
Bay Hbr Iss
- 121 M2
- 6 Personen
- Klimaanlage
- Heizung
- Terrasse
- Schwimmbad
- Parkplatz
- Fahrstuhl
- Balkon
- Garten
- Tv
- Waschmaschine
- Handtücher
- Bettlaken
222 Bewertungen


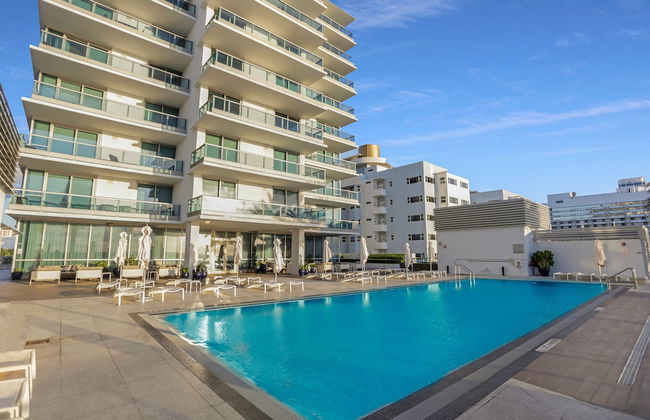
Dharma Home Suites Miami Beach at Monte Carlo
Miami - North Shores - 10.8 km vom Zentrum
- 91 M2
- 1 Schlafzimmer
- 5 Personen
- Klimaanlage
- Heizung
- Terrasse
- Schwimmbad
- Parkplatz
- Fahrstuhl
- Balkon
- Tv
- Waschmaschine
- Handtücher
- Bettlaken
191 Bewertungen


Prime Location Apt on Calle Ocho in Little Havana
Miami - East Little Havana - 1.3 km vom Zentrum
- 118 M2
- 1 Schlafzimmer
- 6 Personen
- Klimaanlage
- Terrasse
- Parkplatz
- Tv
- Handtücher
- Bettlaken
18 Bewertungen


Downtown Doral Condo w-Free Parking
Miami - 14.1 km vom Zentrum
- 60 M2
- 1 Schlafzimmer
- 4 Personen
- Klimaanlage
- Schwimmbad
- Parkplatz
- Fahrstuhl
- Balkon
- Garten
- Tv
- Handtücher
- Bettlaken
8 Bewertungen


Marina Bay Sunny Isles
Sunny Isle Bch
- 6 Personen
- Klimaanlage
- Terrasse
- Schwimmbad
- Parkplatz
- Tv
- Waschmaschine
- Handtücher
- Bettlaken
7 Bewertungen


Wynwood Bungalows By Renzzi
Miami - Allapattah - 2.7 km vom Zentrum
- 60 M2
- 2 Schlafzimmer
- 4 Personen
- Klimaanlage
- Heizung
- Schwimmbad
- Parkplatz
- Garten
- Tv
- Handtücher
- Bettlaken
15 Bewertungen


Amazing apartment in the Heart of Brickell
Miami - Downtown Miami - 1.1 km vom Zentrum
- 1 Schlafzimmer
- 8 Personen
- Klimaanlage
- Terrasse
- Schwimmbad
- Parkplatz
- Fahrstuhl
- Garten
- Tv
- Waschmaschine
- Handtücher
- Bettlaken
40 Bewertungen


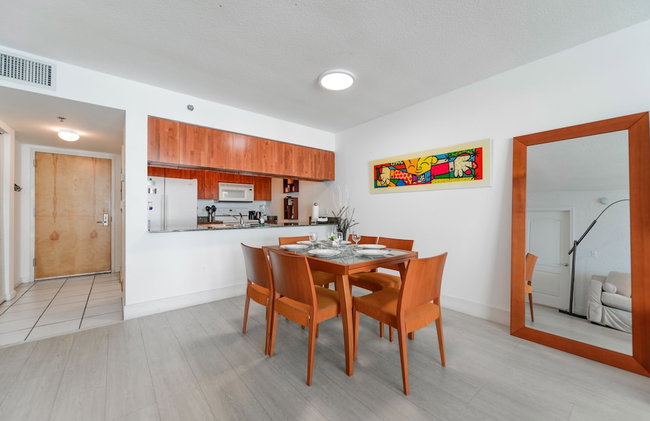
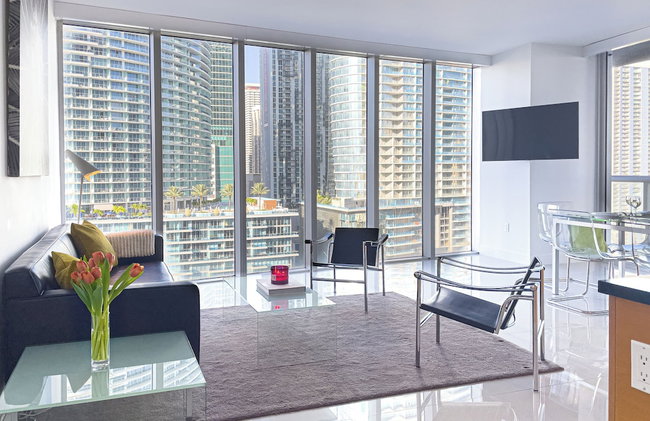
Fantastic 2BR Condo on 31st Floor Free Parking
Miami - Downtown Miami - 1.2 km vom Zentrum
- 96 M2
- 2 Schlafzimmer
- 6 Personen
- Klimaanlage
- Terrasse
- Schwimmbad
- Parkplatz
- Fahrstuhl
- Balkon
- Garten
- Tv
- Waschmaschine
- Handtücher
- Bettlaken
13 Bewertungen


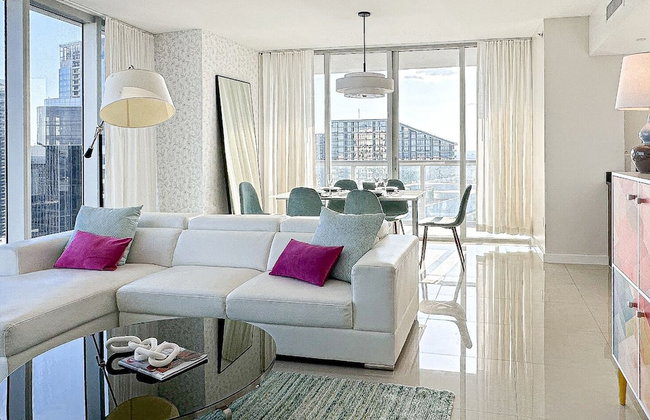


Miami Vacation Rentals - Brickell
Miami - Downtown Miami - 640 m vom Zentrum
- 129 M2
- 2 Schlafzimmer
- 6 Personen
- Klimaanlage
- Terrasse
- Schwimmbad
- Parkplatz
- Fahrstuhl
- Garten
- Tv
- Waschmaschine
- Handtücher
- Bettlaken
563 Bewertungen