
54457 Wohnungen in Florida


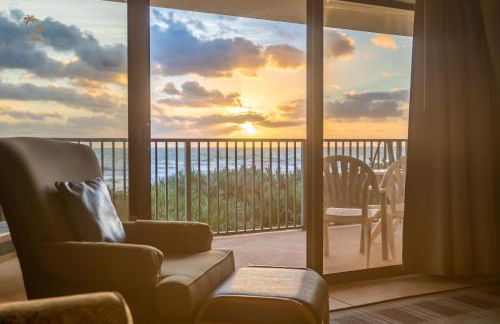


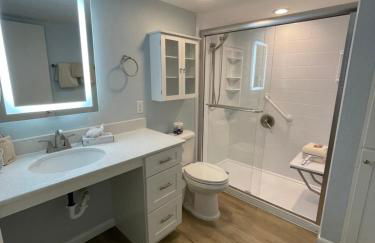

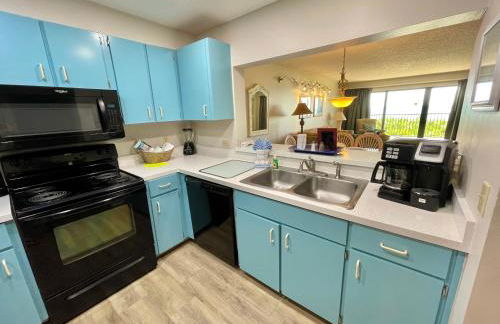

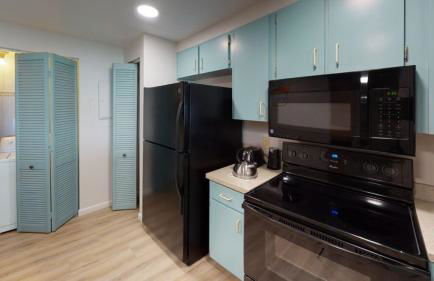


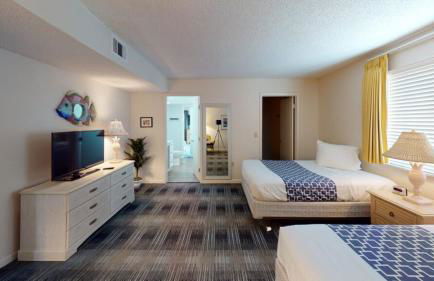

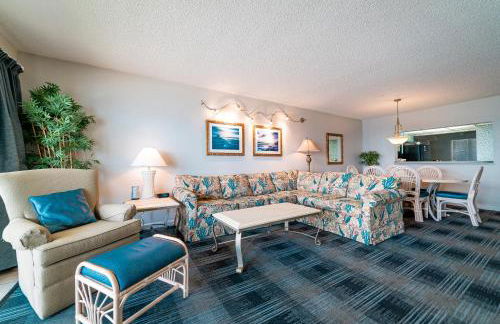

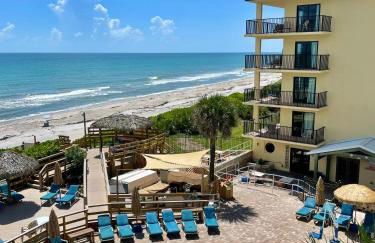


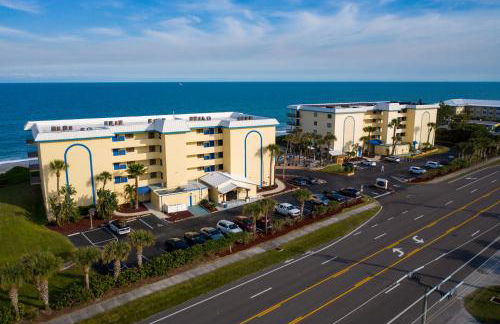


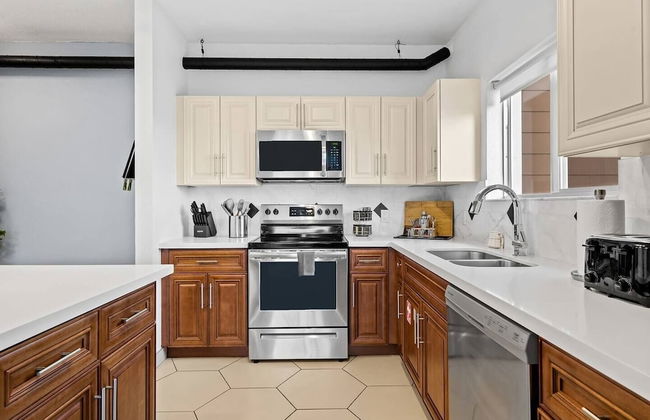
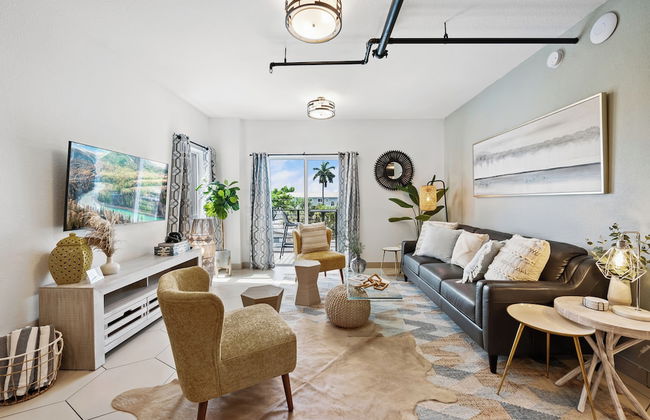
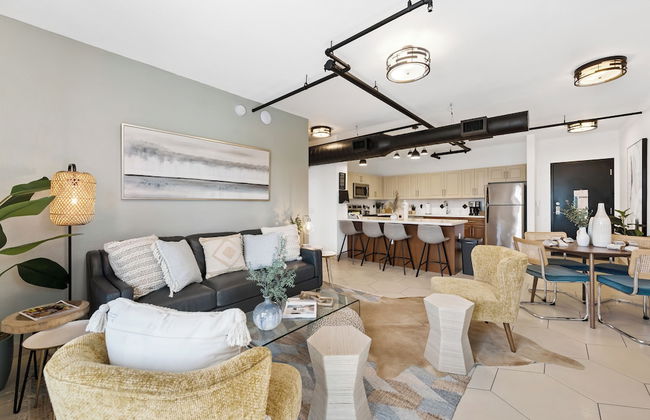
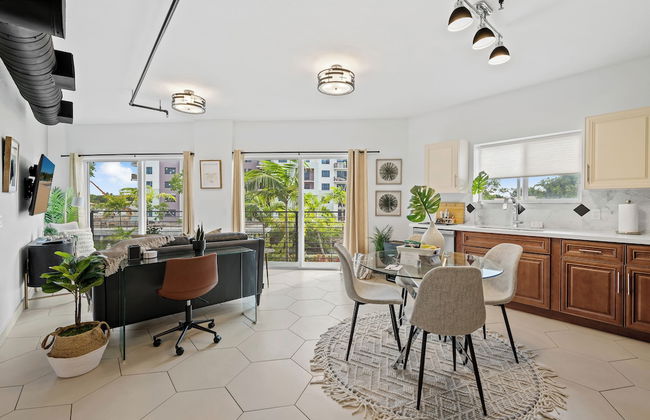
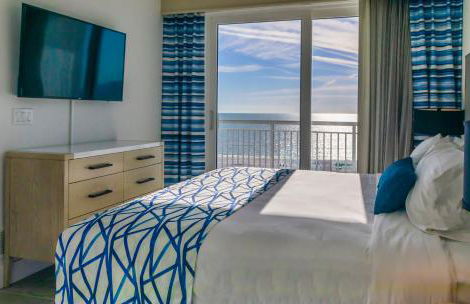
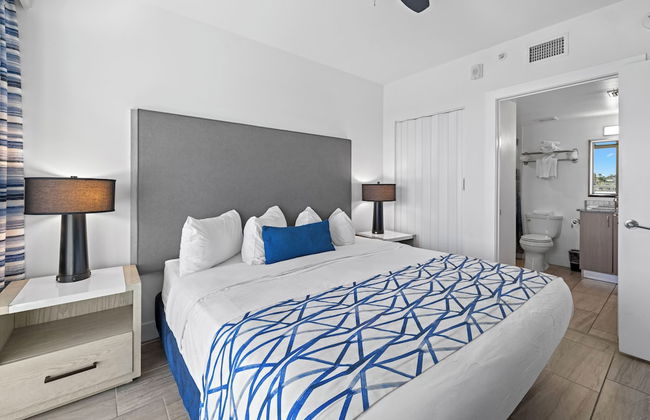
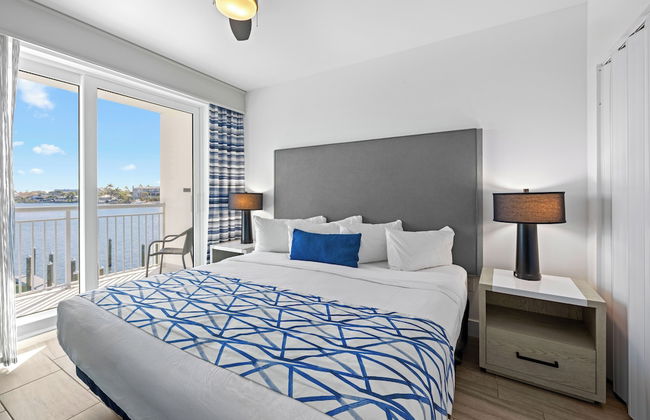
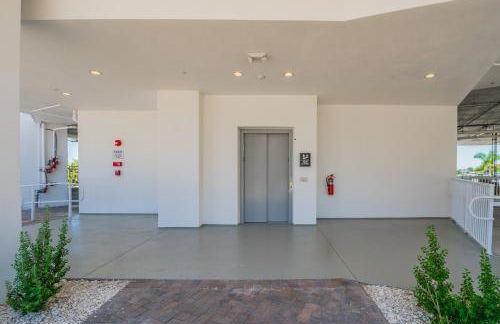
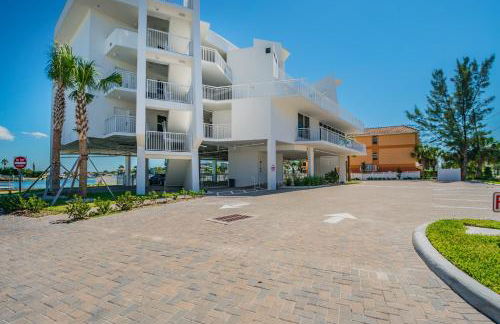
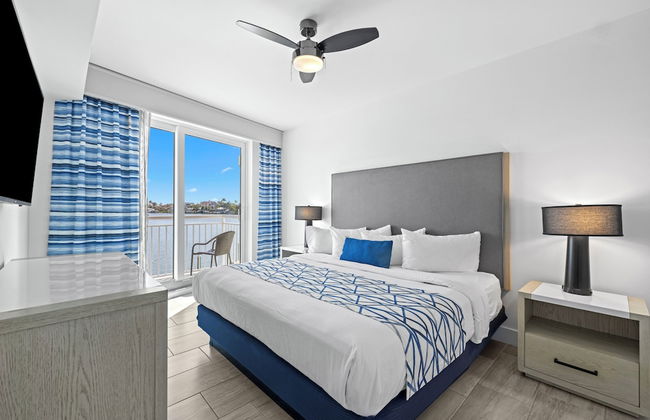
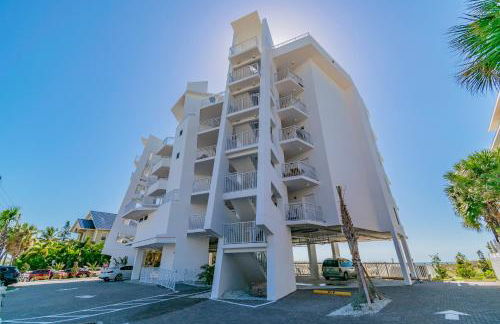
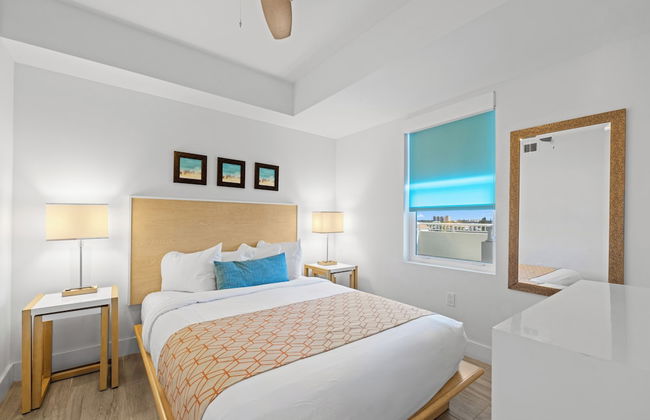
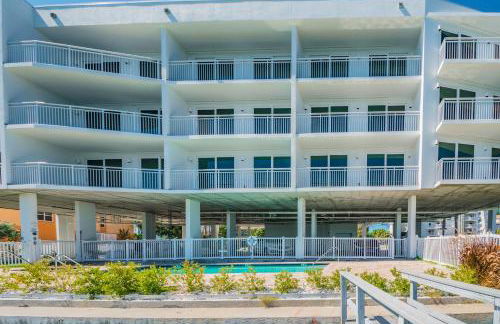
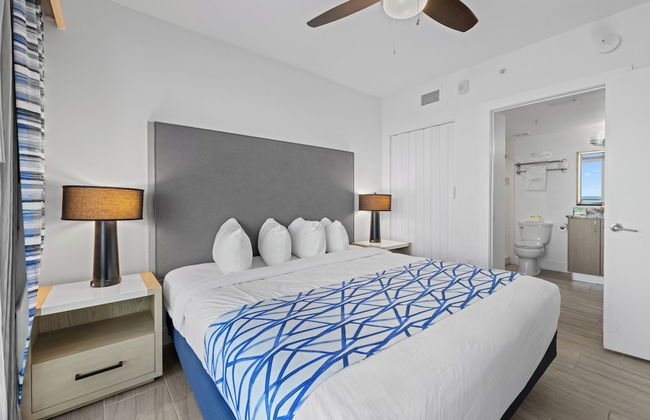
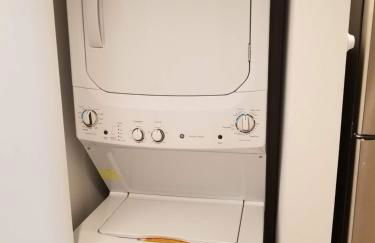
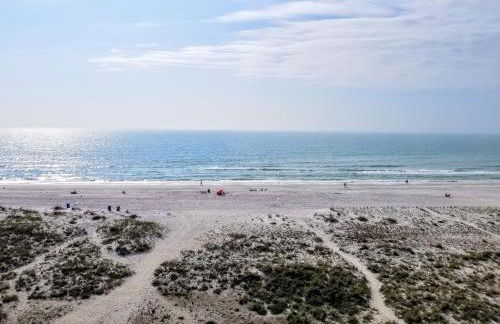
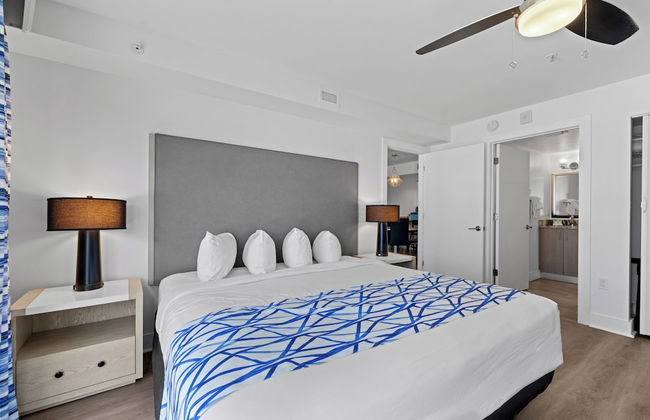
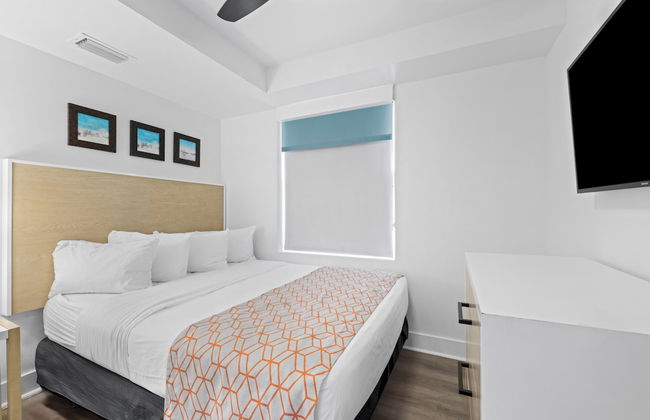
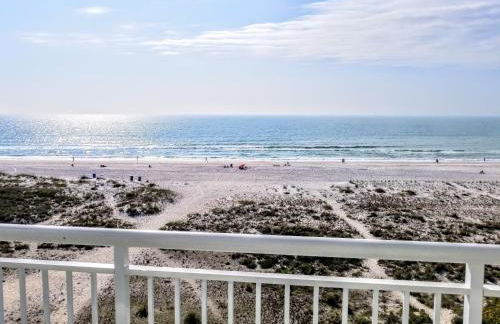
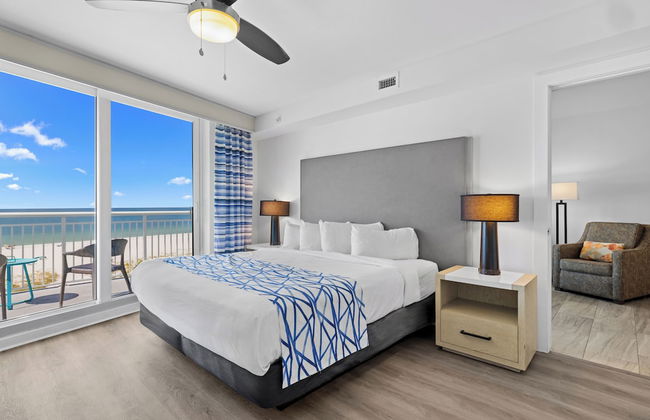
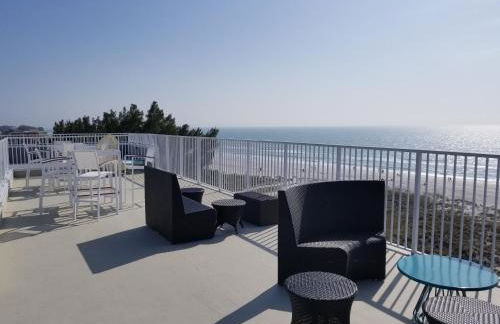
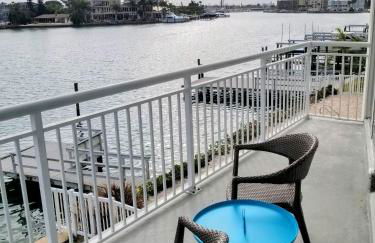
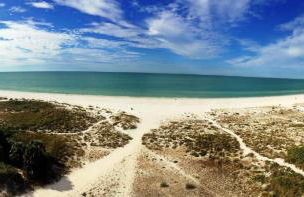
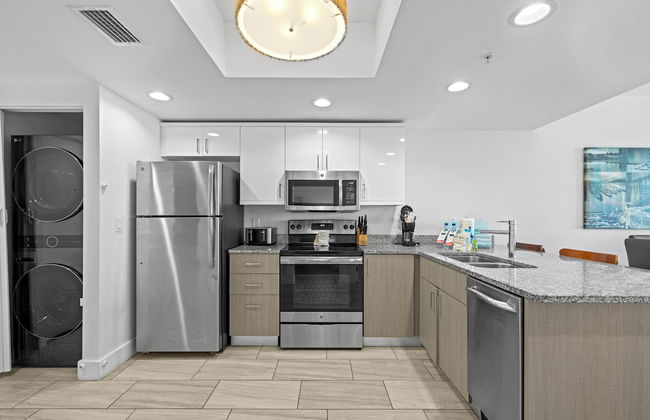
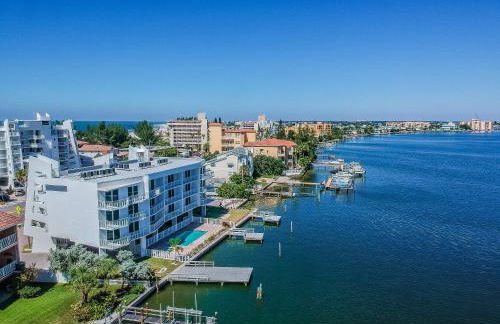
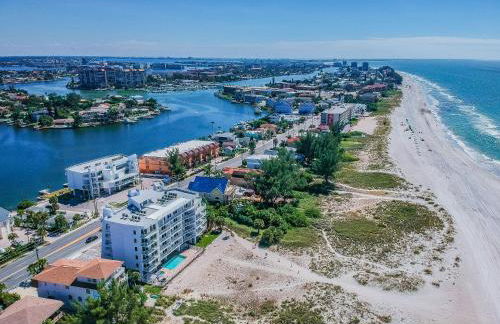
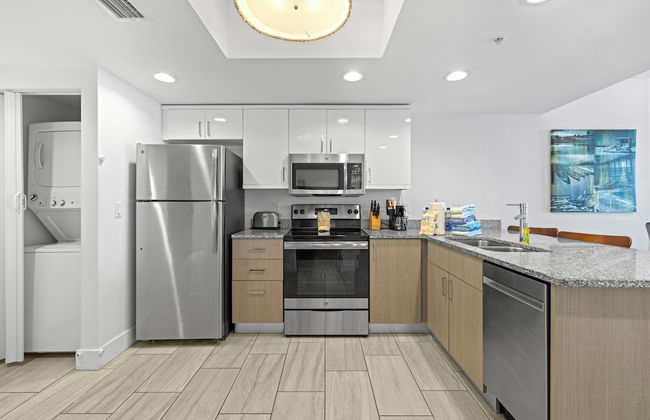
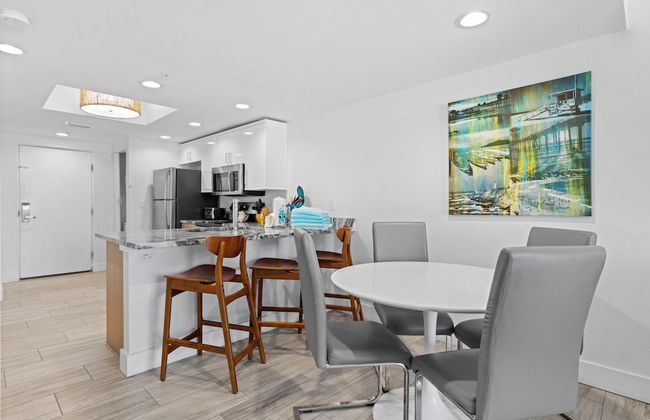
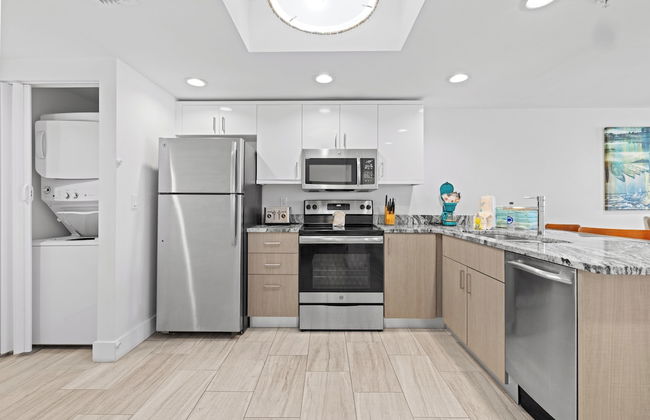
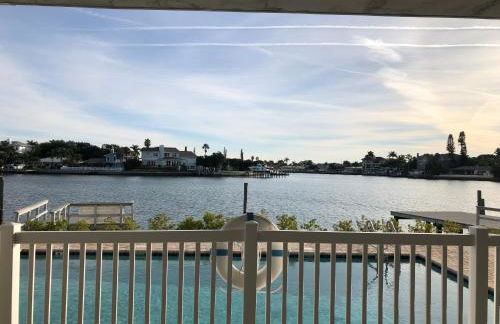
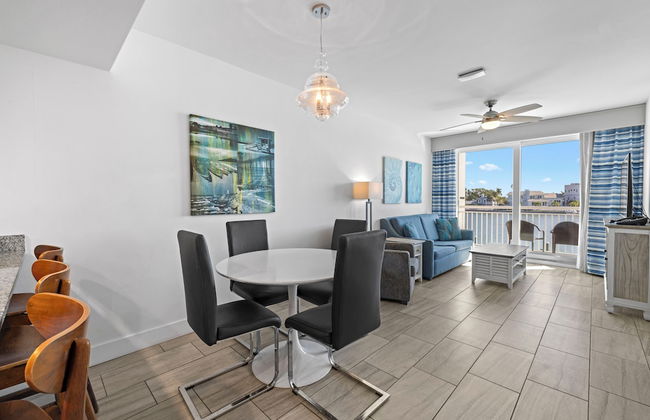
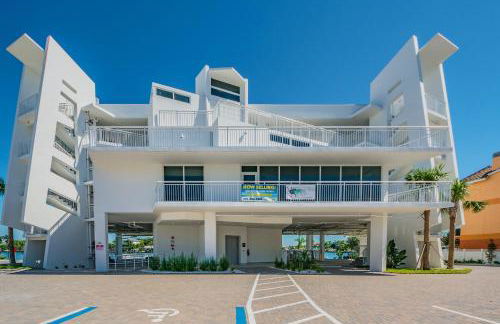
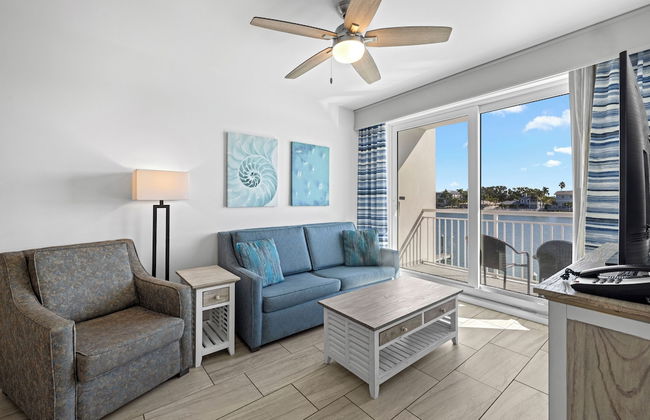
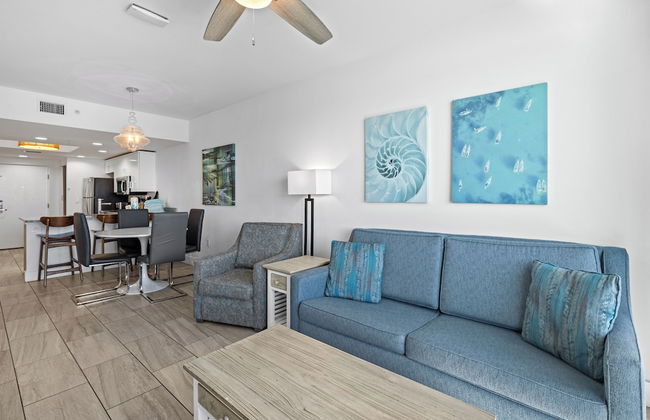
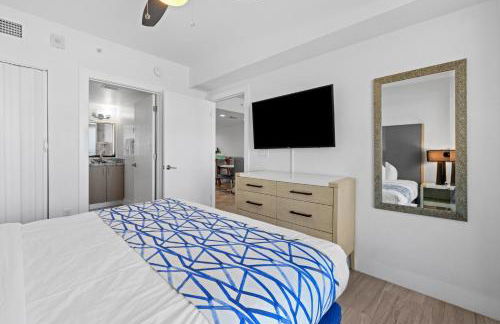
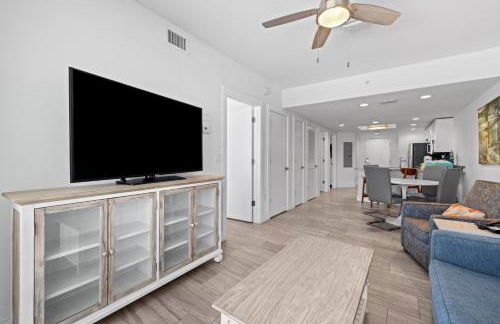
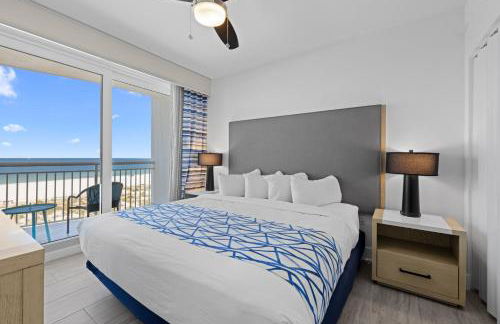
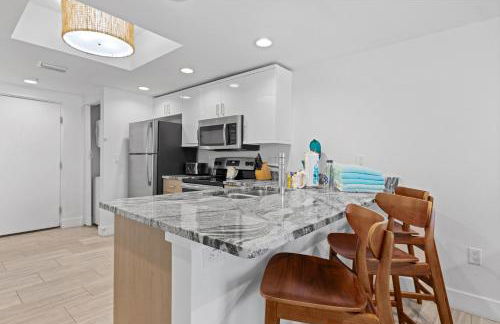
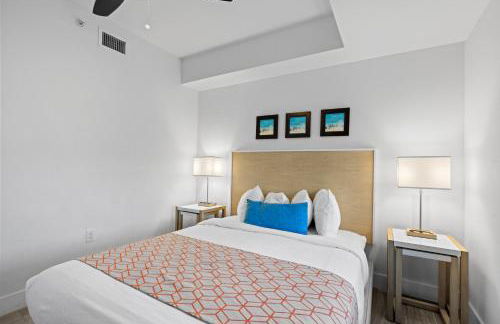
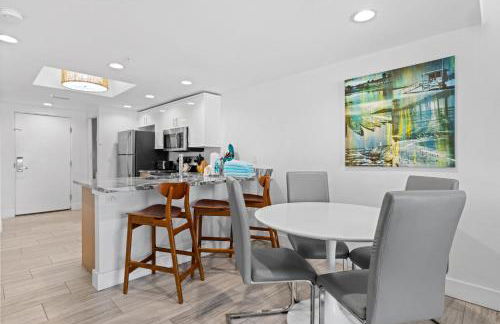
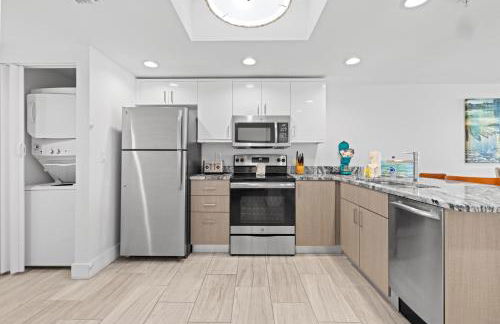
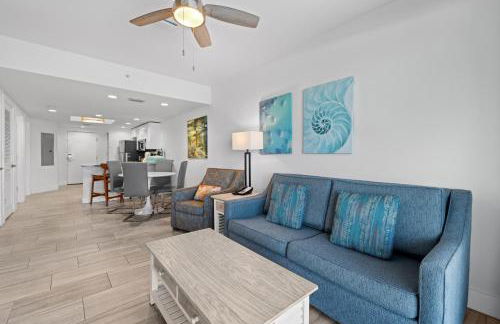
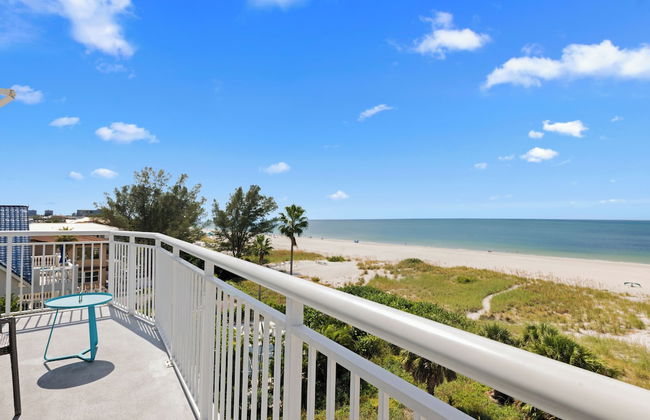
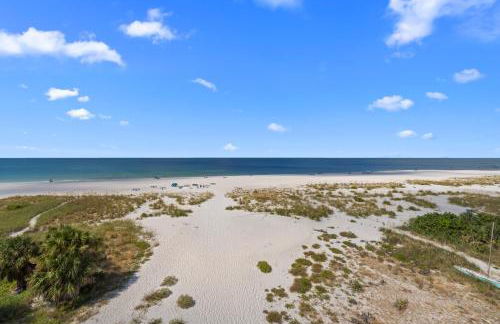
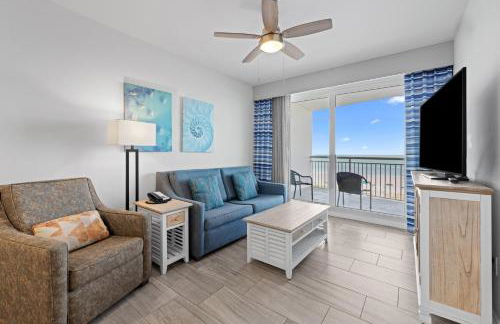
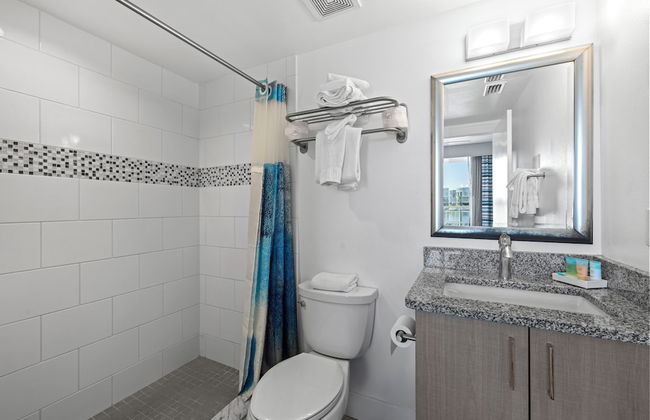
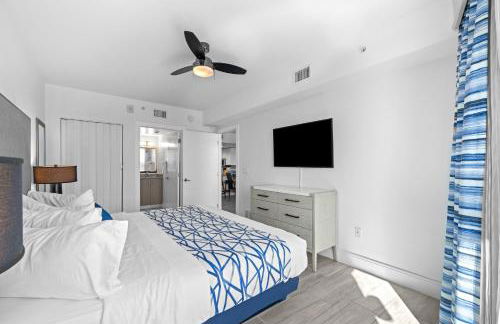
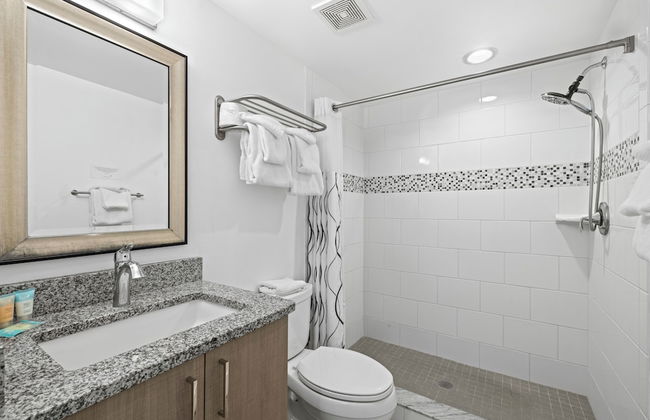
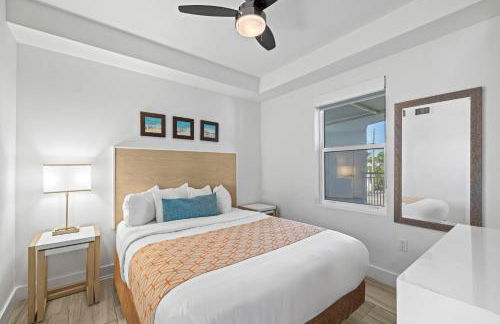
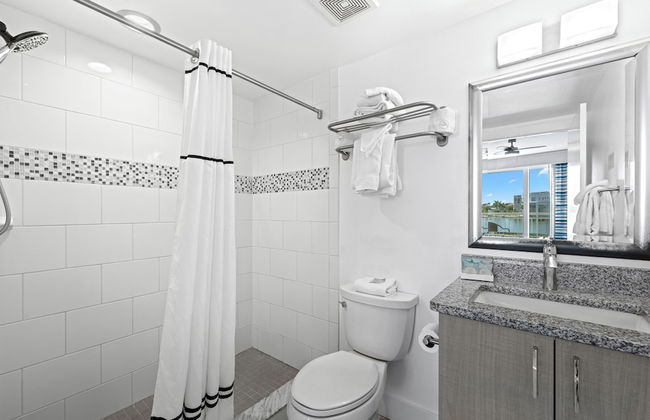
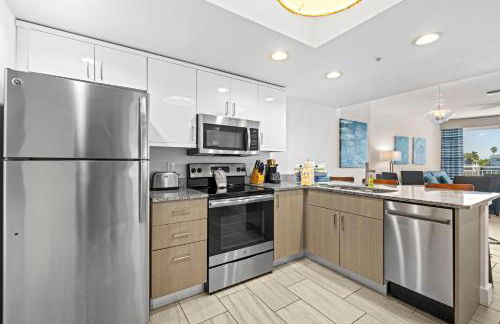
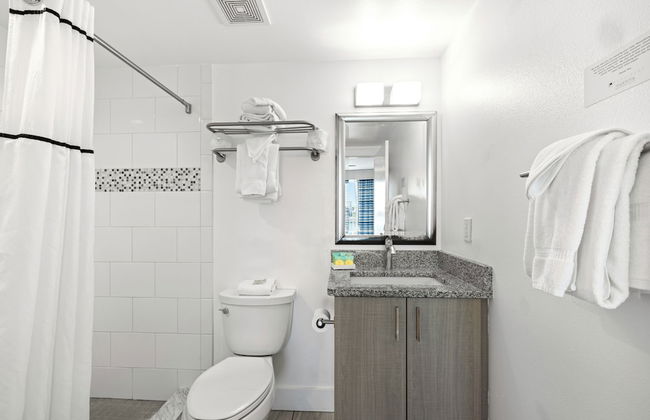
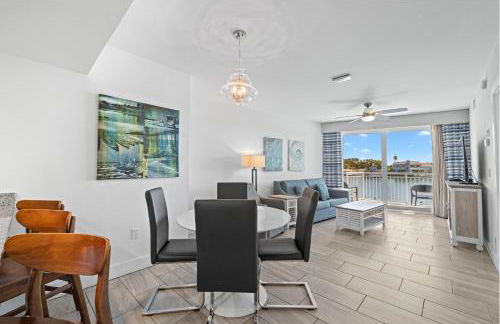
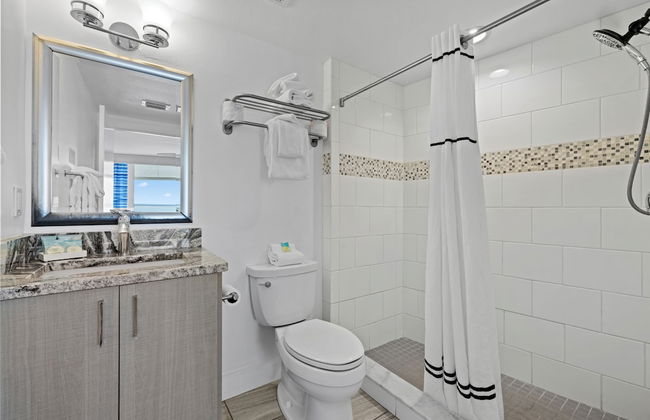
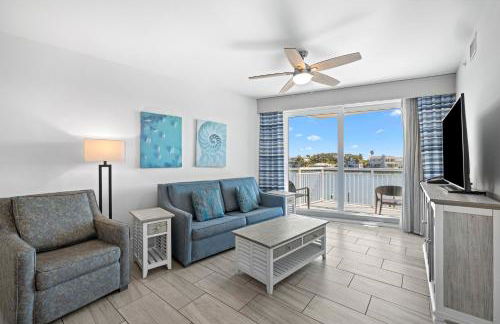
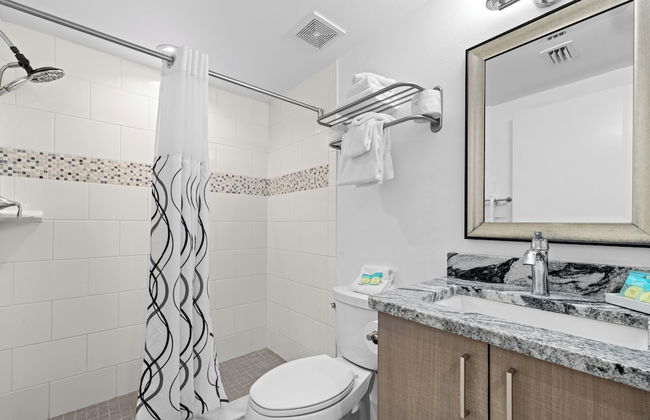
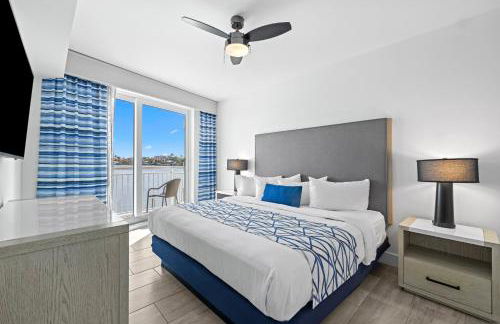
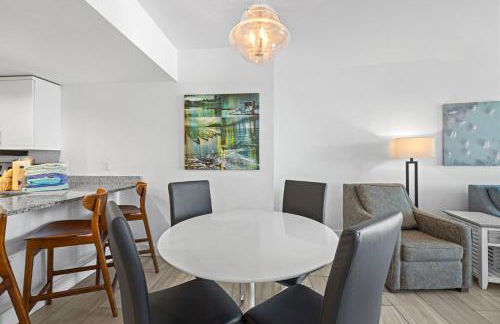
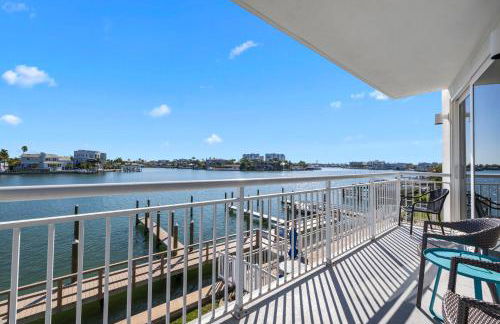
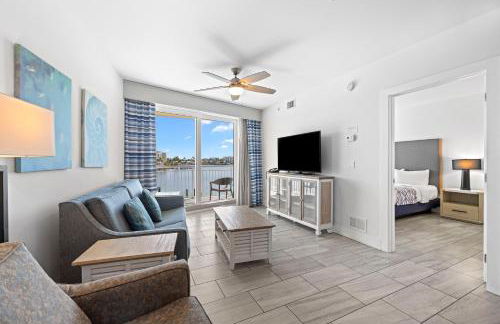
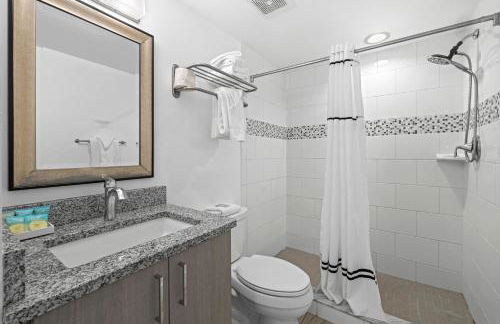
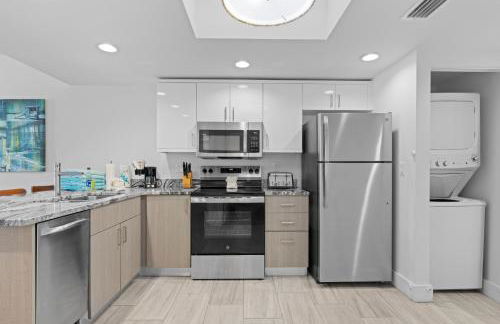
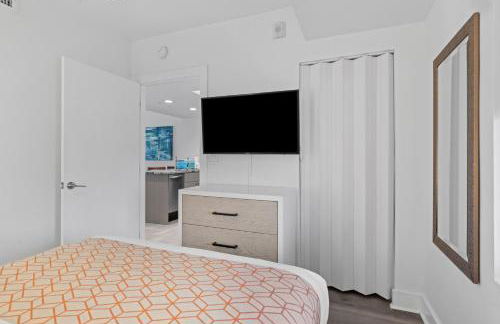
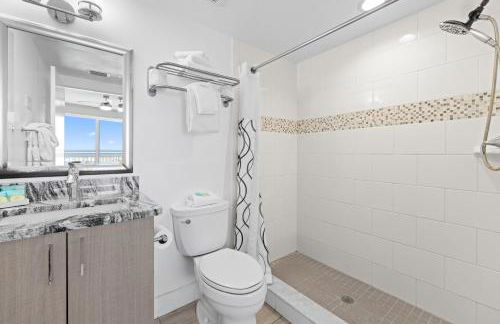
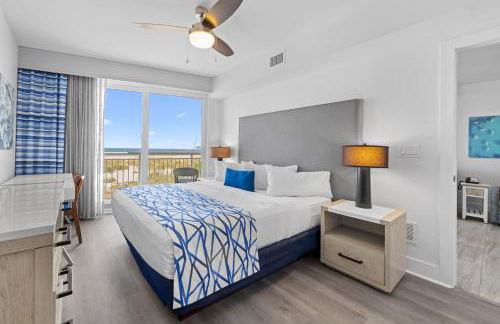
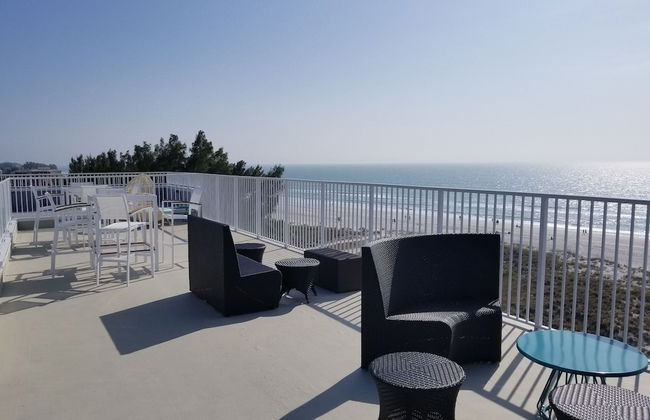
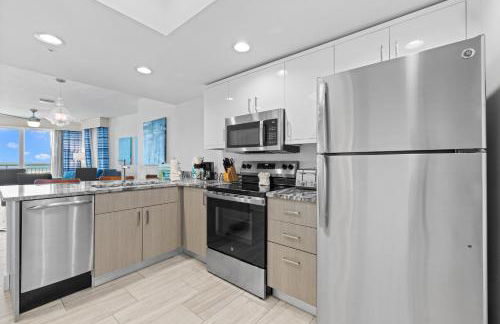
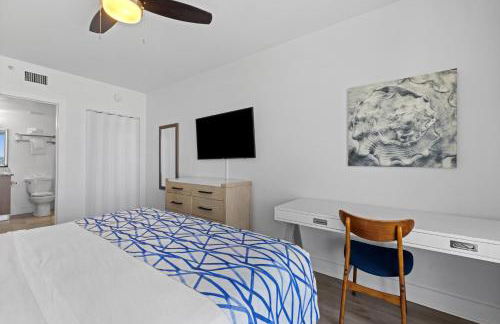
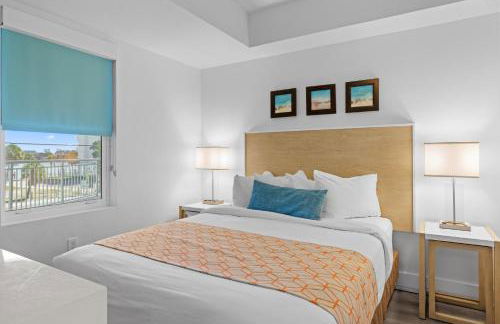
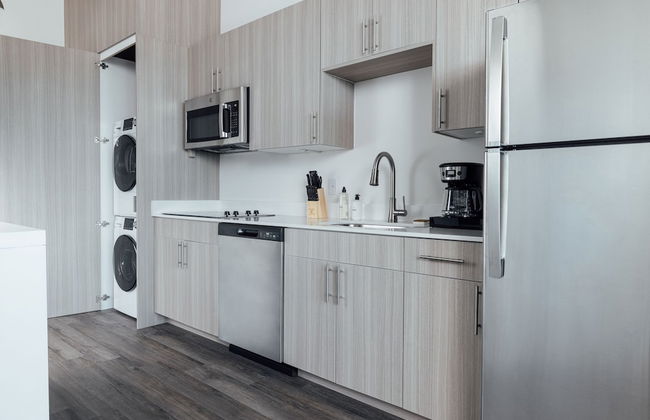
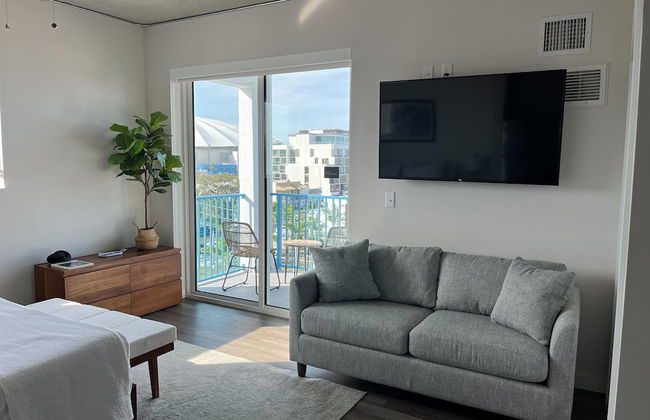
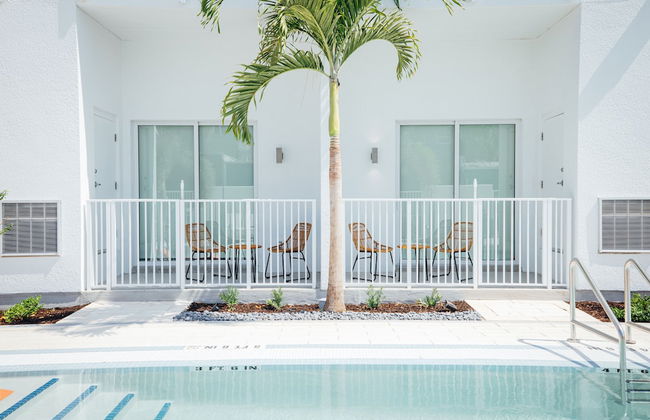
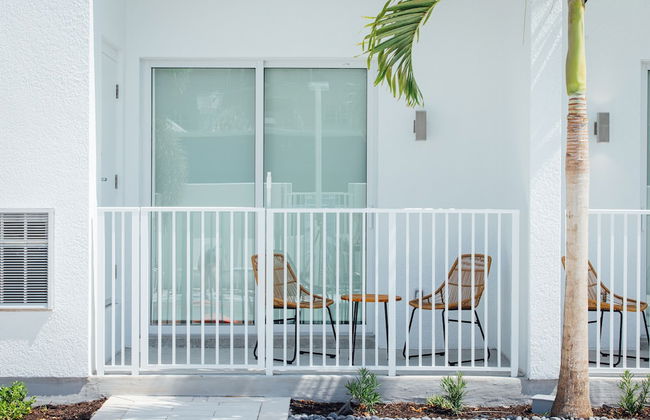
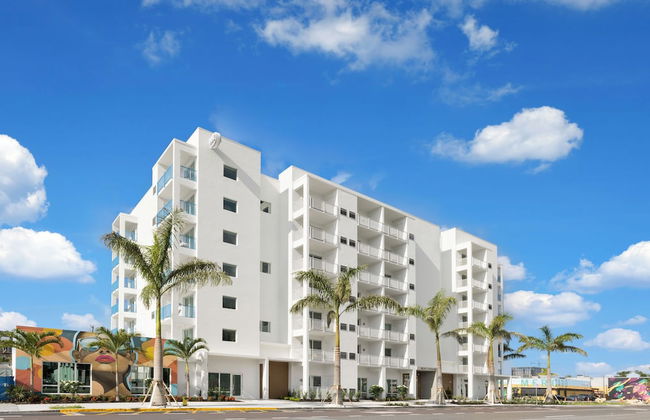
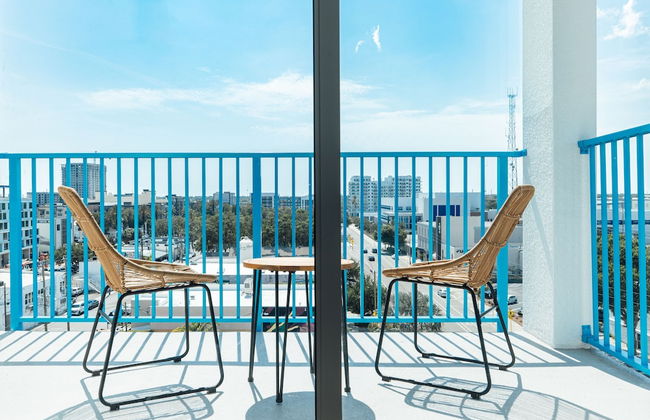
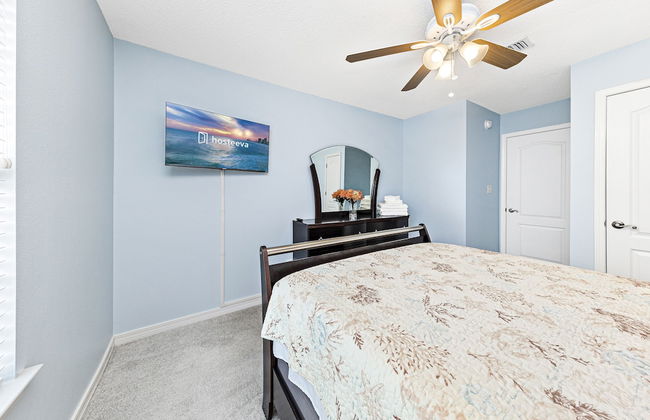
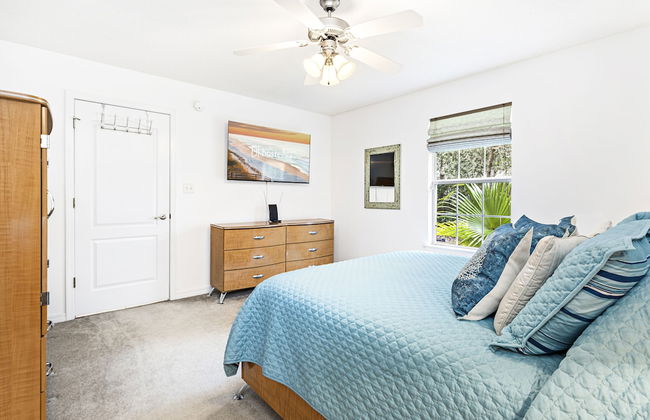
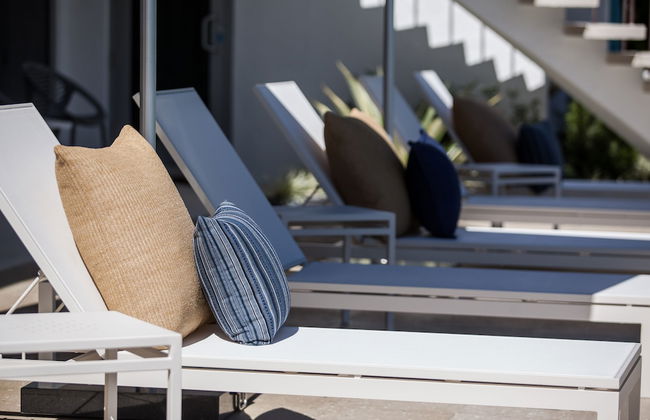
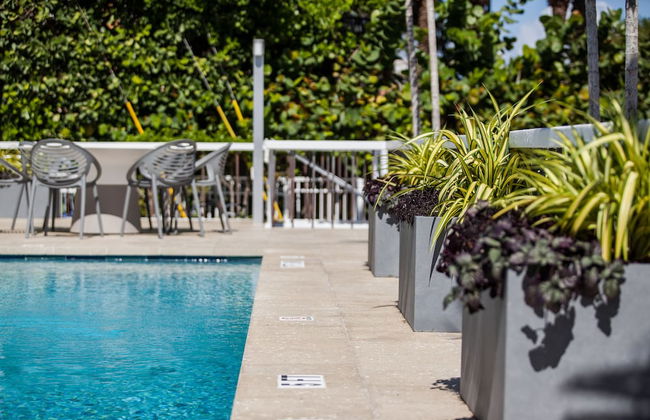
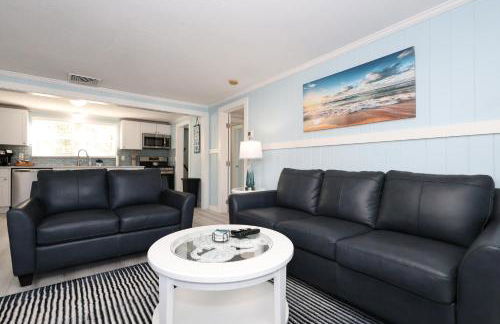
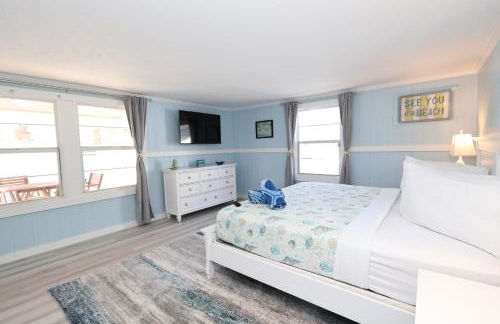
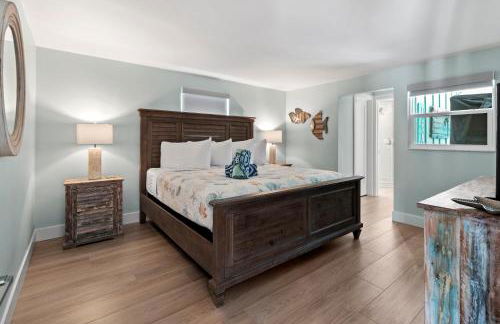
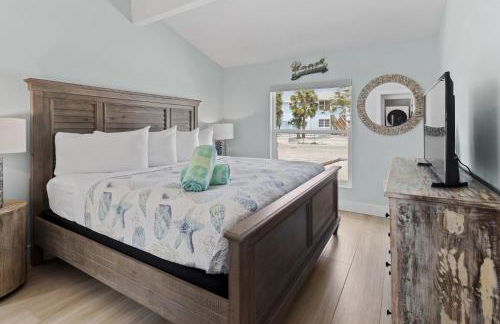
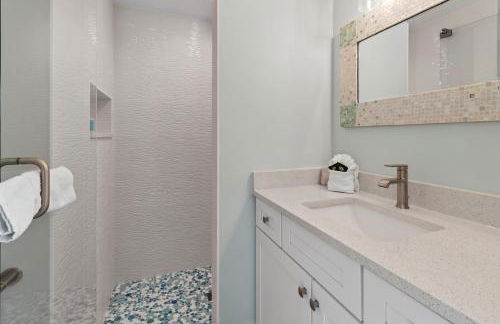
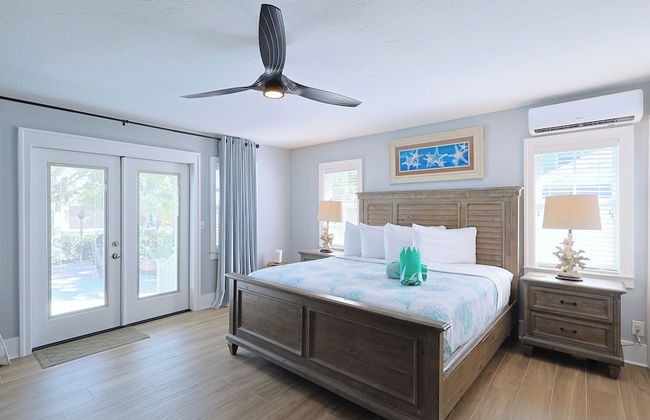
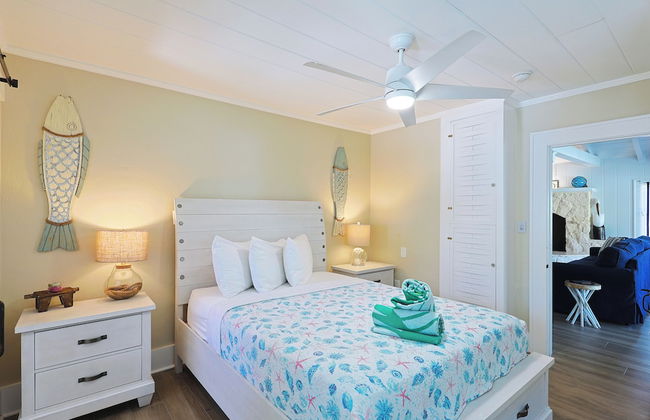
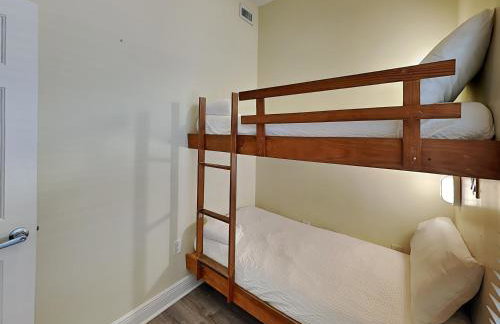
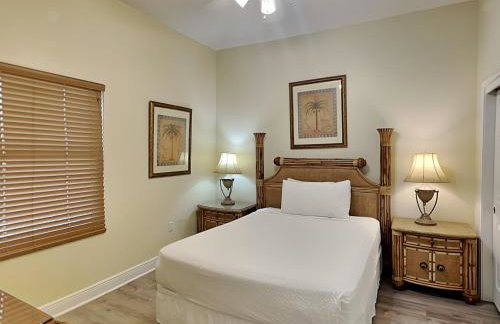
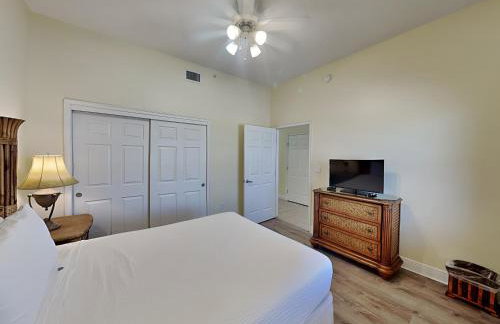
Las Olas Beach Club of Satellite Beach
Satellite Beach
- 130 M2
- 2 Schlafzimmer
- 6 Personen
- Klimaanlage
- Heizung
- Terrasse
- Schwimmbad
- Parkplatz
- Fahrstuhl
- Balkon
- Garten
- Tv
- Waschmaschine
- Barbecue
- Handtücher
- Bettlaken
29 Bewertungen


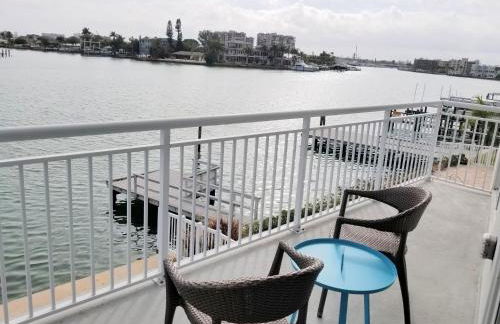
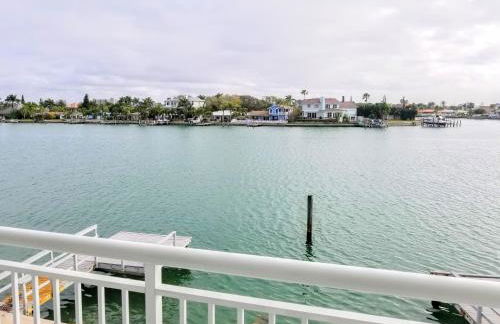
Vista Cay Commons by OVH360
Orlando - 13.5 km vom Zentrum
- 130 M2
- 6 Personen
- Klimaanlage
- Heizung
- Schwimmbad
- Parkplatz
- Fahrstuhl
- Balkon
- Tv
- Waschmaschine
- Handtücher
- Bettlaken
54 Bewertungen


The Inn On Siesta Key
Sarasota - Sarasota Beach - 7.3 km vom Zentrum
- 102 M2
- 8 Personen
- Klimaanlage
- Heizung
- Terrasse
- Schwimmbad
- Parkplatz
- Balkon
- Garten
- Tv
- Barbecue
- Handtücher
- Bettlaken
199 Bewertungen


Wilton River Suites (Adults Only)
Fort Lauderdale - 4 km vom Zentrum
- 107 M2
- 4 Personen
- Klimaanlage
- Heizung
- Schwimmbad
- Parkplatz
- Fahrstuhl
- Balkon
- Garten
- Tv
- Waschmaschine
- Barbecue
- Handtücher
- Bettlaken
48 Bewertungen


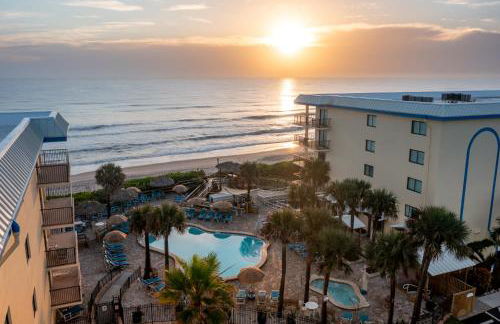
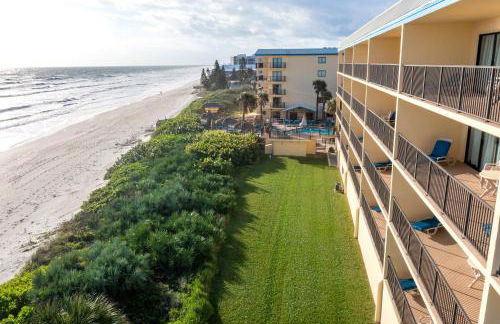
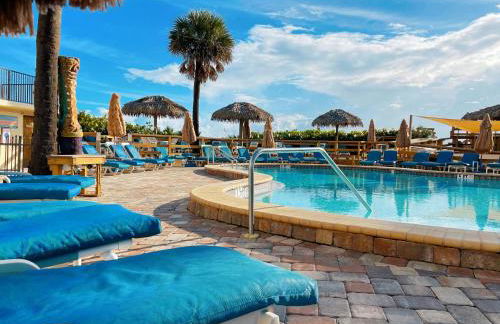
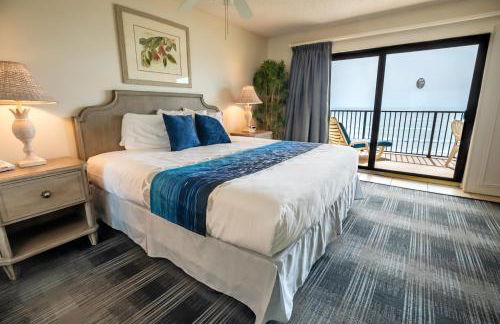
Atlantic Terrace
Daytona - Ocean View Halifax Estates - 8.9 km vom Zentrum
- 131 M2
- 6 Personen
- Klimaanlage
- Heizung
- Terrasse
- Schwimmbad
- Parkplatz
- Fahrstuhl
- Balkon
- Tv
- Waschmaschine
- Barbecue
- Handtücher
- Bettlaken
139 Bewertungen


The Berkley, Orlando
Kissimmee - 22 km vom Zentrum
- 197 M2
- 10 Personen
- Klimaanlage
- Heizung
- Terrasse
- Schwimmbad
- Parkplatz
- Fahrstuhl
- Tv
- Waschmaschine
- Barbecue
- Handtücher
- Bettlaken
2283 Bewertungen


Marriott's Sabal Palms 2BR Apartment with Resort Access
Orlando - 23 km vom Zentrum
- 116 M2
- 2 Schlafzimmer
- 6 Personen
- Klimaanlage
- Heizung
- Terrasse
- Schwimmbad
- Parkplatz
- Fahrstuhl
- Balkon
- Garten
- Tv
- Waschmaschine
- Schornstein
- Barbecue
- Handtücher
- Bettlaken
222 Bewertungen


Vistalmar Beach Resort
Deerfield Beach - 1.8 km vom Zentrum
- 6 Personen
- Klimaanlage
- Heizung
- Terrasse
- Schwimmbad
- Parkplatz
- Fahrstuhl
- Balkon
- Tv
- Barbecue
- Handtücher
- Bettlaken
384 Bewertungen


Downtown Doral Condo w-Free Parking
Miami - 14.1 km vom Zentrum
- 60 M2
- 1 Schlafzimmer
- 4 Personen
- Klimaanlage
- Schwimmbad
- Parkplatz
- Fahrstuhl
- Balkon
- Garten
- Tv
- Handtücher
- Bettlaken
10 Bewertungen


Sand Dune Shores
West Palm Beach - Sand Dune Shores Resort - 7.1 km vom Zentrum
- 68 M2
- 6 Personen
- Klimaanlage
- Heizung
- Terrasse
- Schwimmbad
- Parkplatz
- Tv
- Barbecue
- Handtücher
- Bettlaken
154 Bewertungen


Grand Panama Beach Resort by Resort Collection
Panama - 350 m vom Zentrum
- 130 M2
- 2 Schlafzimmer
- 10 Personen
- Klimaanlage
- Heizung
- Schwimmbad
- Parkplatz
- Fahrstuhl
- Waschmaschine
- Barbecue
- Handtücher
- Bettlaken
11 Bewertungen


Ocean's Reach Condominiums
Sanibel - 1.2 km vom Zentrum
- 92 M2
- 6 Personen
- Klimaanlage
- Terrasse
- Schwimmbad
- Parkplatz
- Fahrstuhl
- Garten
- Tv
- Waschmaschine
- Barbecue
- Handtücher
- Bettlaken
103 Bewertungen


Aqua Beach Resort by Panhandle Getaways
Panama - 3.8 km vom Zentrum
- 143 M2
- 3 Schlafzimmer
- 11 Personen
- Klimaanlage
- Heizung
- Terrasse
- Schwimmbad
- Parkplatz
- Fahrstuhl
- Balkon
- Garten
- Tv
- Waschmaschine
- Barbecue
- Handtücher
- Bettlaken
14 Bewertungen


Provident Oceana Beachfront Suites
Treasure Island
- 116 M2
- 3 Schlafzimmer
- 8 Personen
- Klimaanlage
- Heizung
- Terrasse
- Schwimmbad
- Parkplatz
- Fahrstuhl
- Balkon
- Garten
- Tv
- Waschmaschine
- Handtücher
- Bettlaken
650 Bewertungen


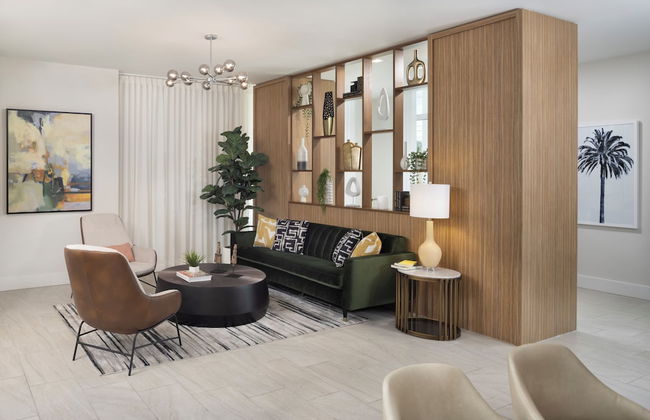

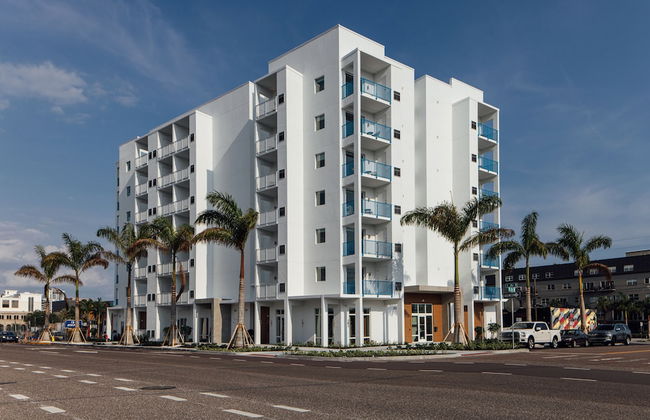

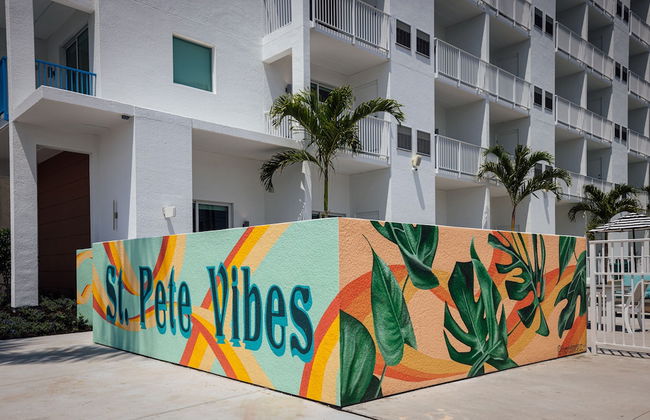


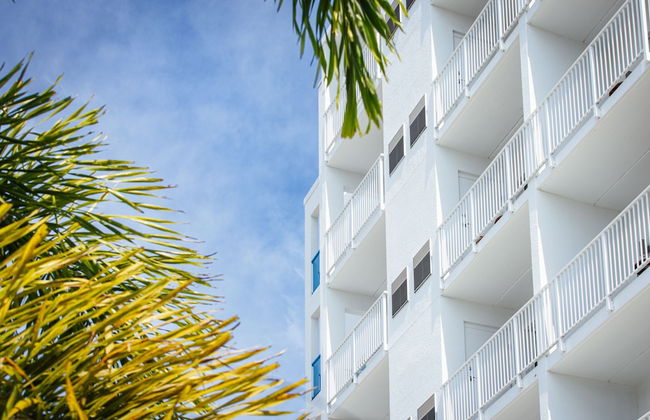


Mint House St. Petersburg Downtown by Kasa
St Petersburg - 550 m vom Zentrum
- 32 M2
- 4 Personen
- Kochnische
- Klimaanlage
- Heizung
- Terrasse
- Schwimmbad
- Parkplatz
- Fahrstuhl
- Tv
- Waschmaschine
- Schornstein
- Barbecue
- Handtücher
- Bettlaken
878 Bewertungen


Lillian House
Pensacola - 18.7 km vom Zentrum
- 139 M2
- 3 Schlafzimmer
- 7 Personen
- Klimaanlage
- Heizung
- Terrasse
- Parkplatz
- Garten
- Tv
- Waschmaschine
- Handtücher
- Bettlaken
12 Bewertungen


The Elmar Boutique Hotel
Lauderdale-by-the-Sea
- 46 M2
- 3 Personen
- Kochnische
- Klimaanlage
- Heizung
- Schwimmbad
- Parkplatz
- Tv
- Handtücher
- Bettlaken
53 Bewertungen


Siesta Key Island Rentals
Sarasota - Sarasota Beach - 7.4 km vom Zentrum
- 167 M2
- 4 Schlafzimmer
- 10 Personen
- Klimaanlage
- Heizung
- Terrasse
- Schwimmbad
- Parkplatz
- Balkon
- Garten
- Tv
- Waschmaschine
- Barbecue
- Handtücher
- Bettlaken
69 Bewertungen


Water's Edge by Southern Vacation Rentals
Fort Walton Beach - Santa Rosa Island
- 157 M2
- 3 Schlafzimmer
- 8 Personen
- Klimaanlage
- Heizung
- Schwimmbad
- Parkplatz
- Fahrstuhl
- Balkon
- Tv
- Waschmaschine
- Barbecue
- Handtücher
- Bettlaken
28 Bewertungen


The Islands of Islamorada
Islamorada
- 10 Personen
- Klimaanlage
- Heizung
- Schwimmbad
- Parkplatz
- Fahrstuhl
- Balkon
- Garten
- Tv
- Schornstein
- Barbecue
- Handtücher
- Bettlaken
76 Bewertungen