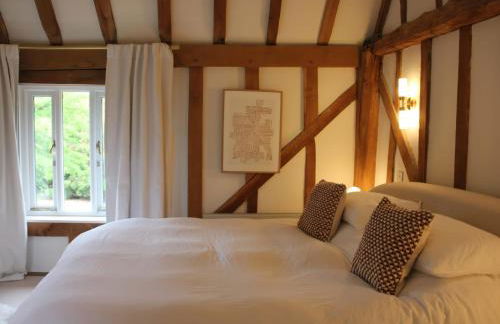
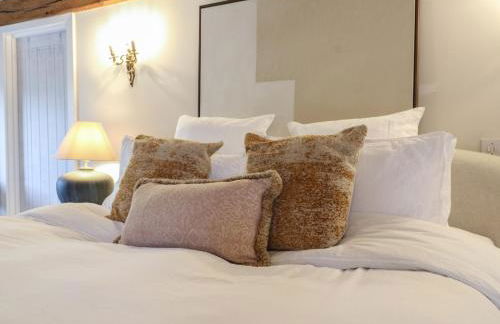
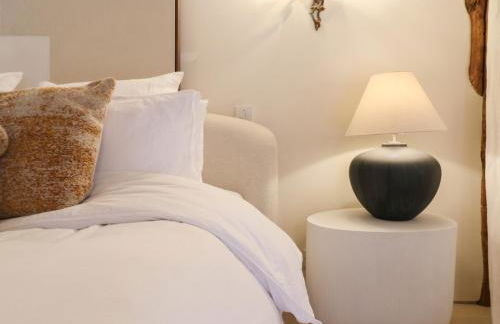
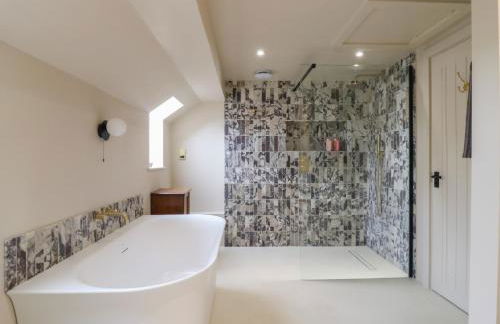
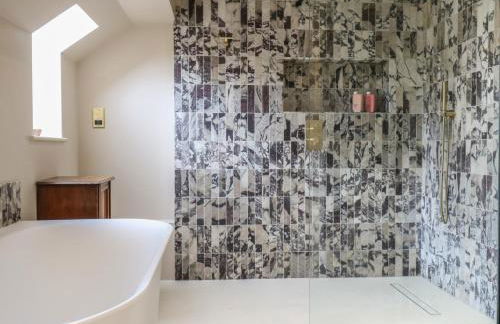
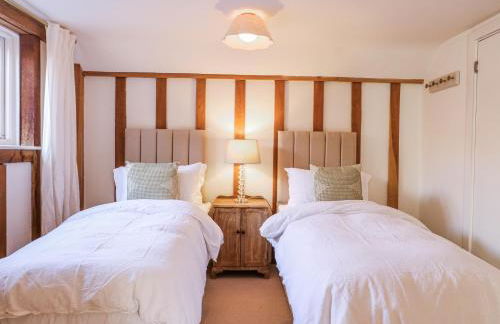
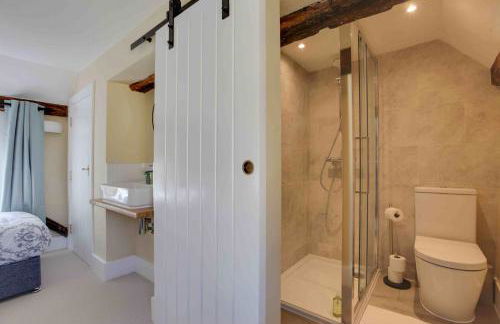
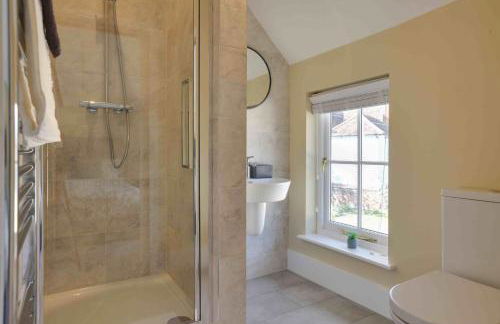
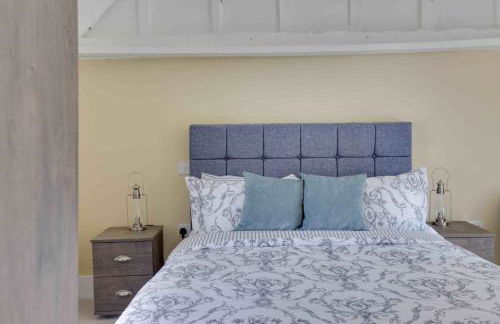
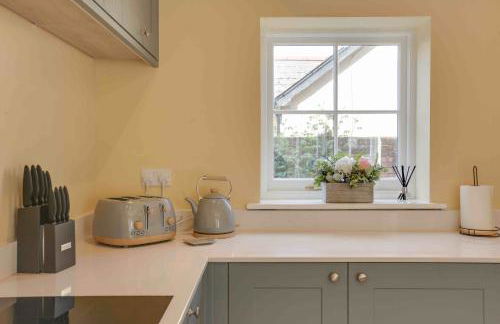
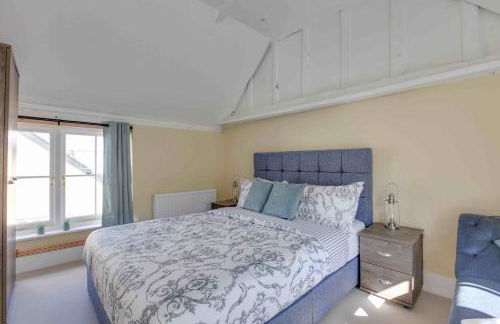
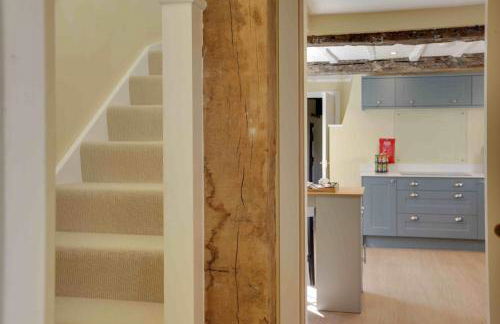
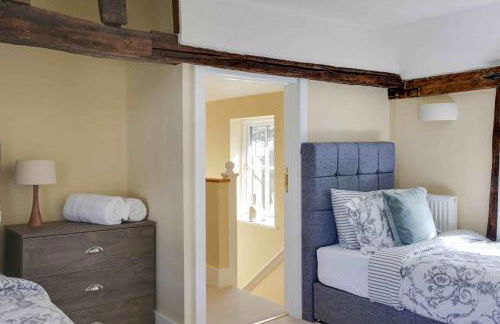
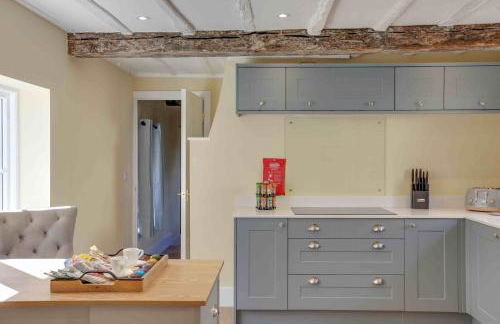
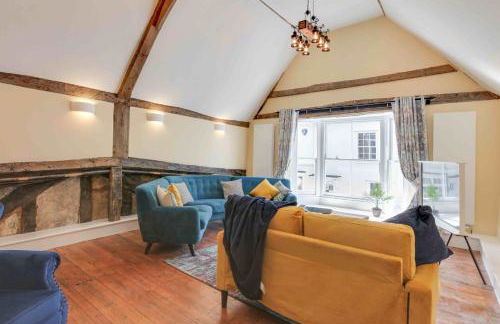
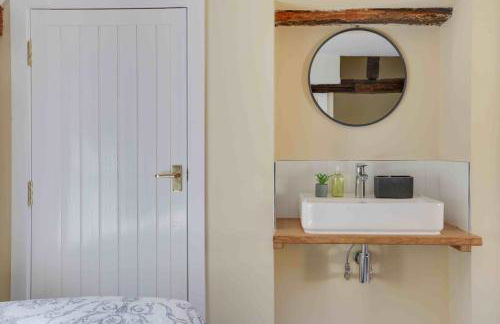
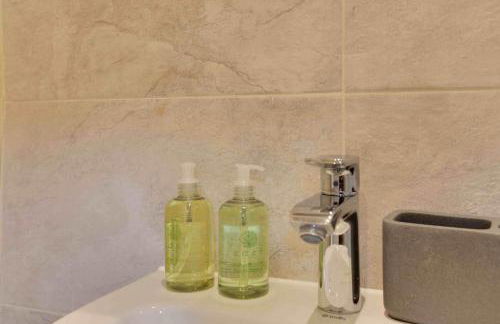
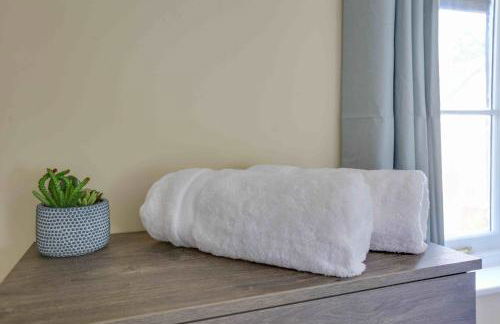
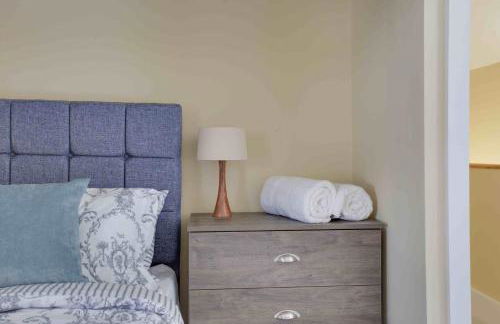
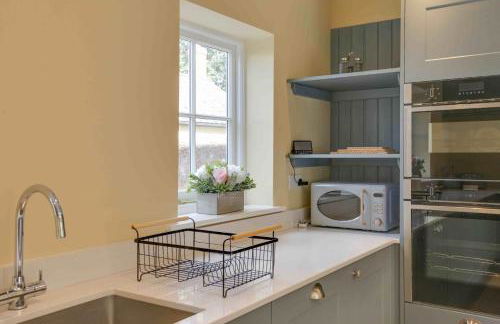
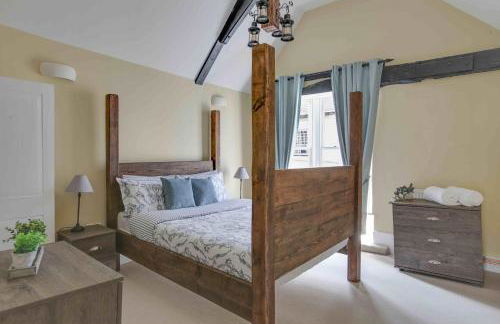
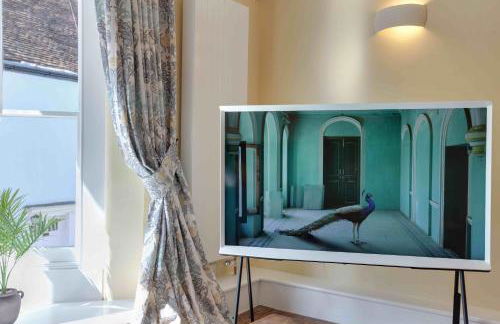
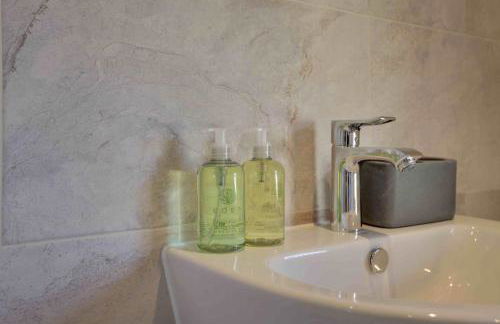
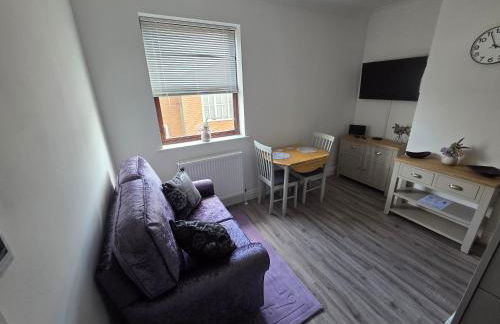
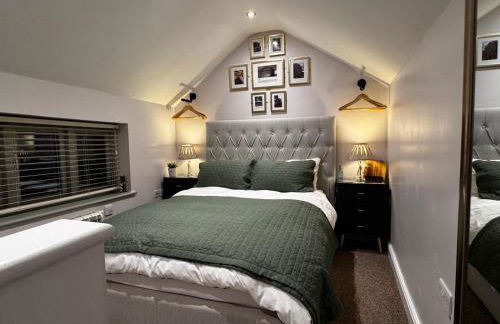
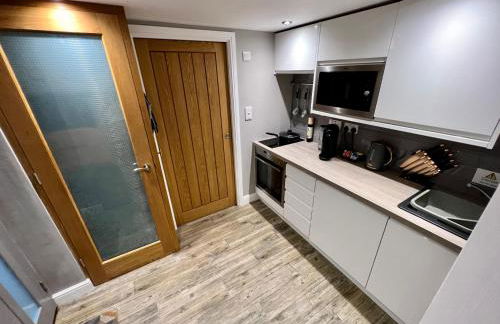
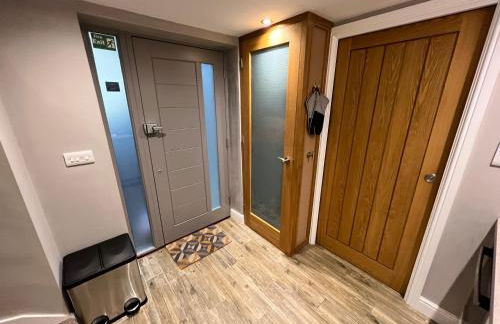
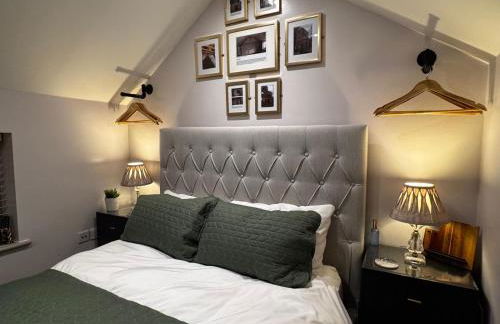
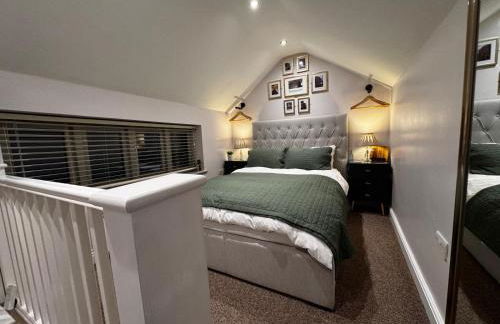
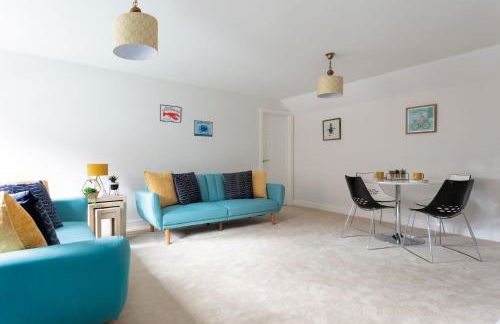
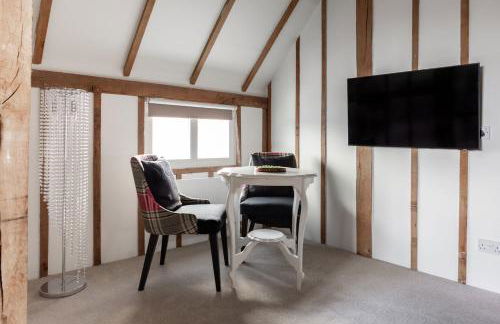
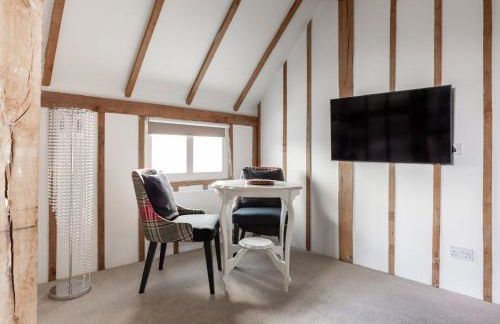
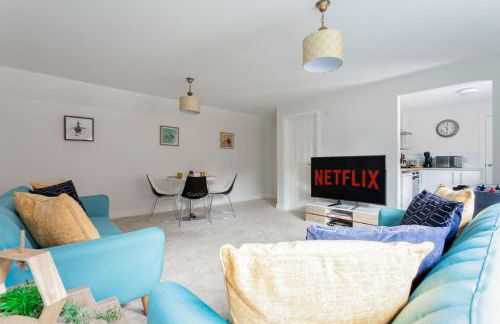
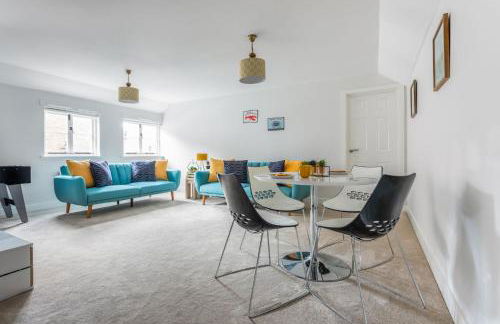
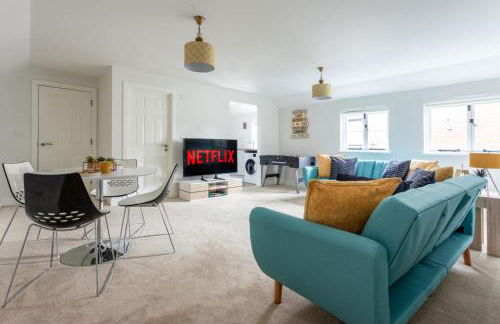
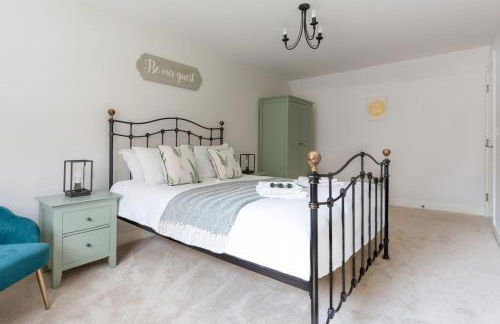
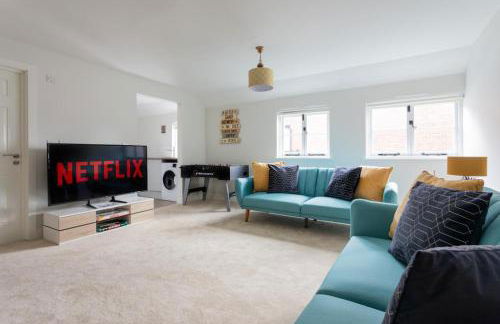
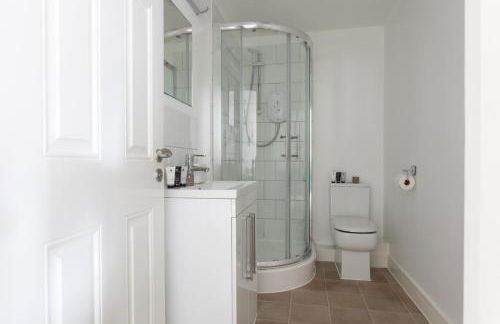
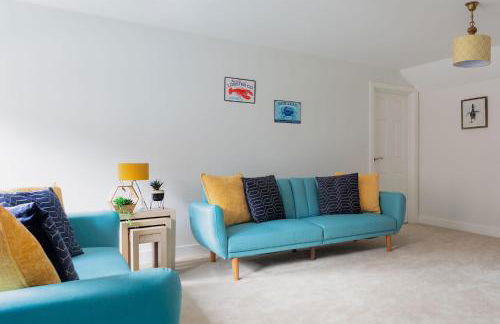
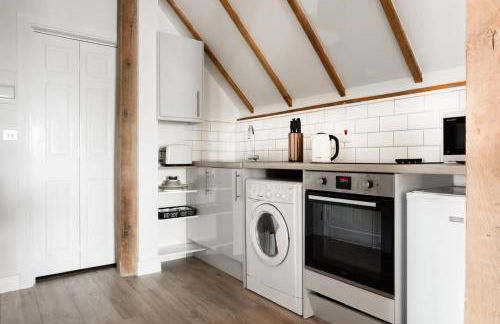
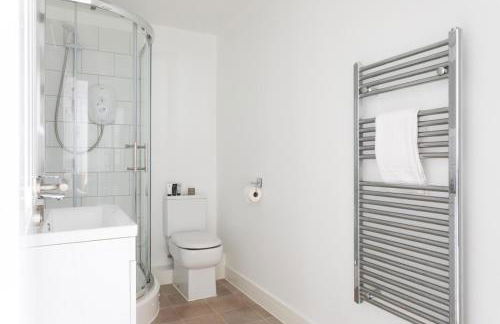
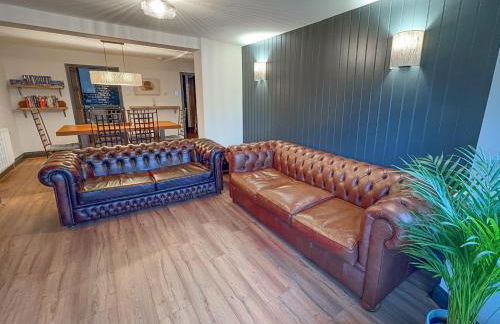
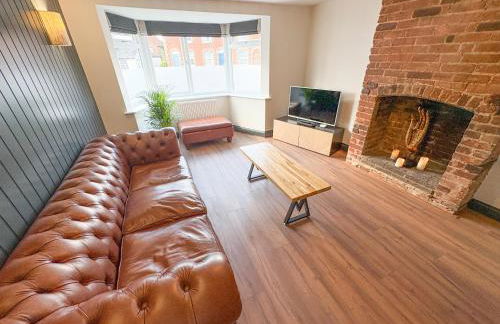
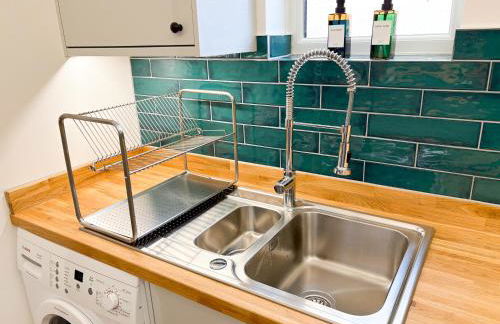
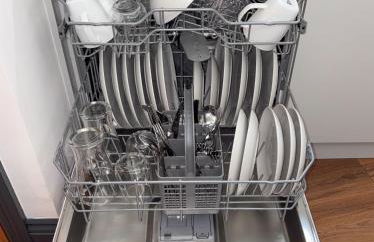
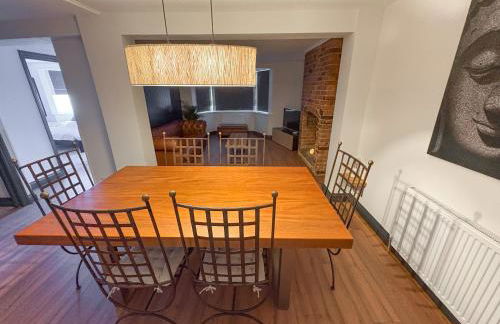
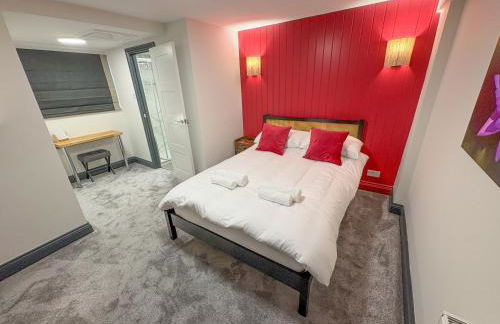
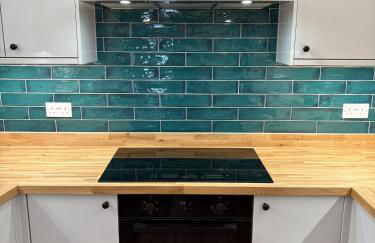
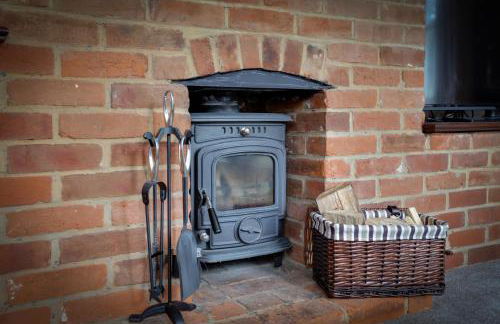
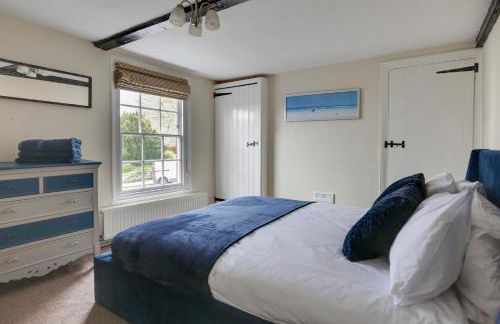
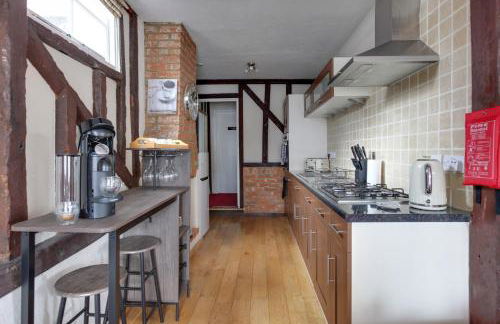
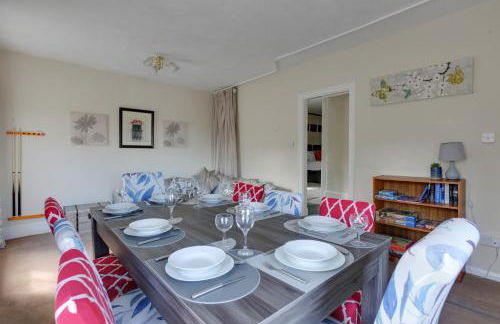
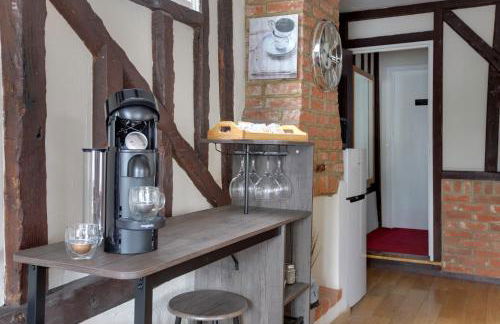
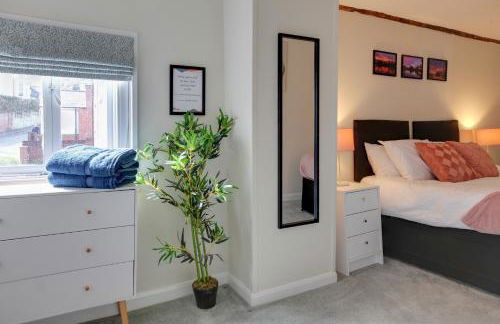
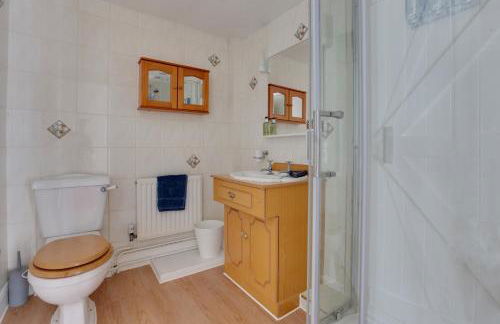
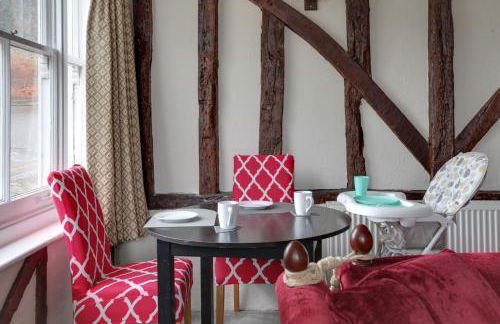
19 Wohnungen in Maldon


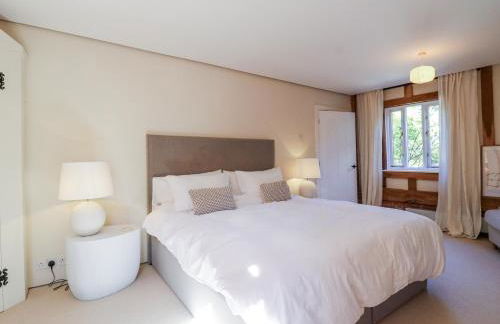
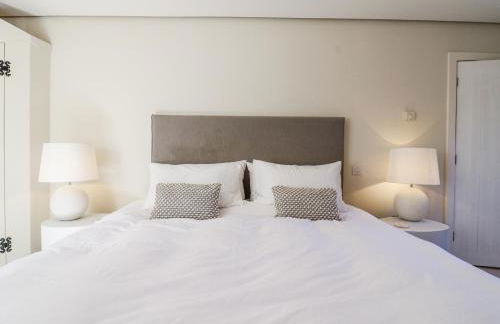
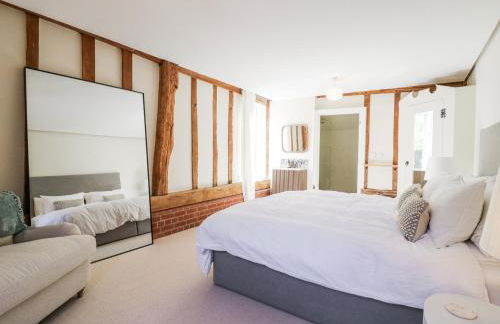
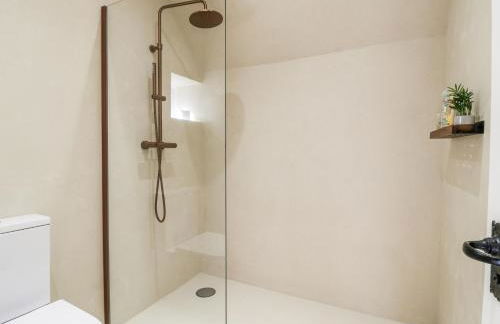
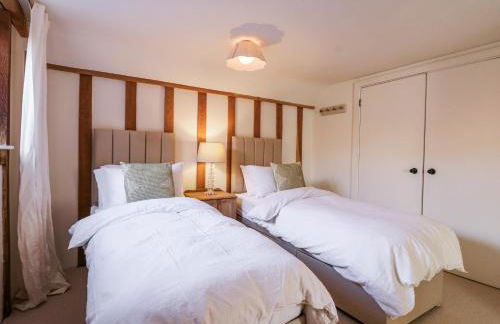
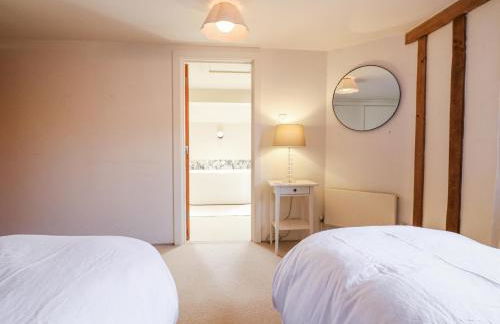
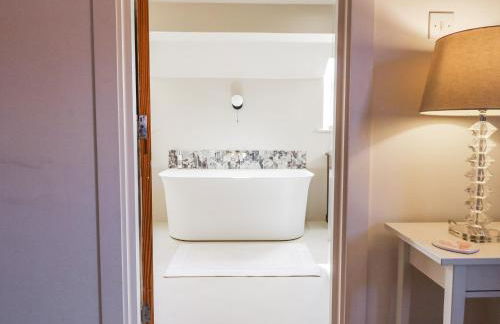
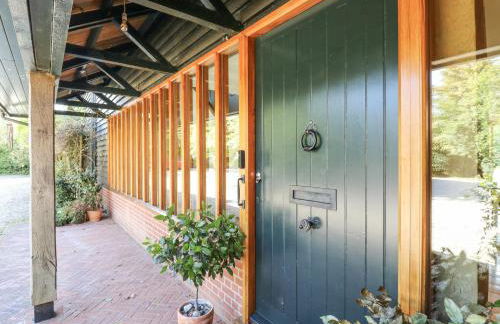
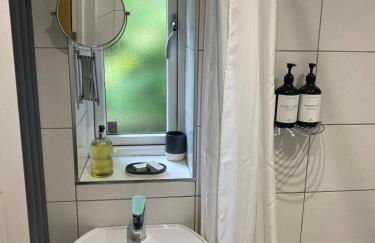
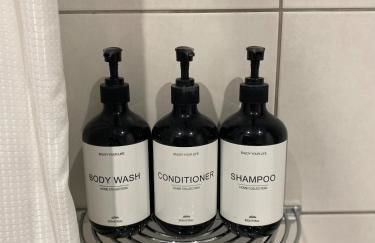
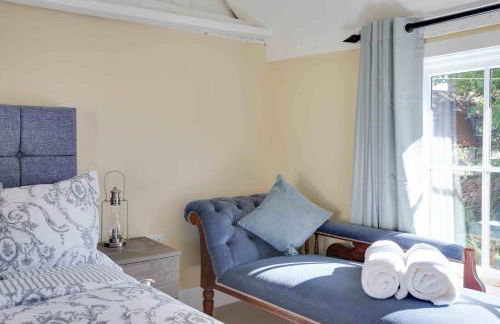
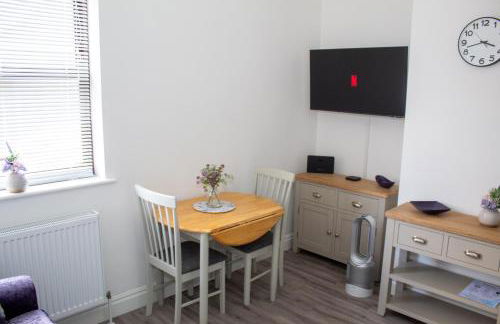
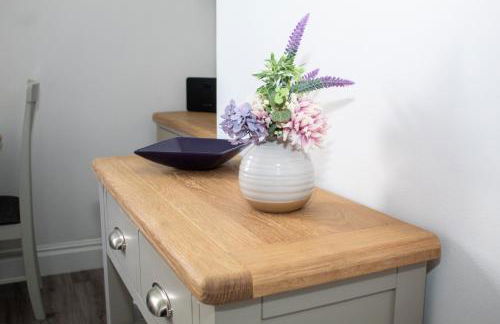
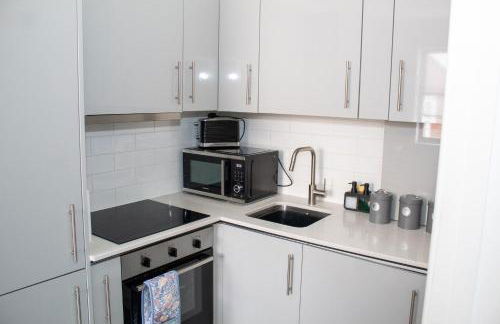
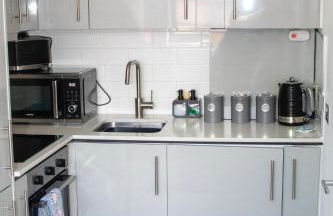
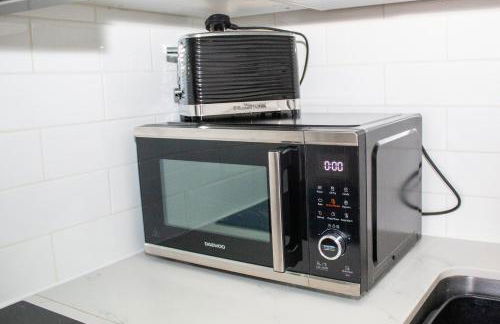
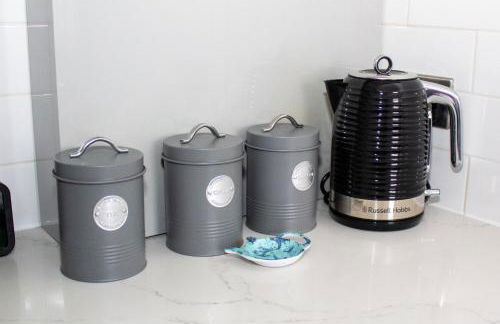
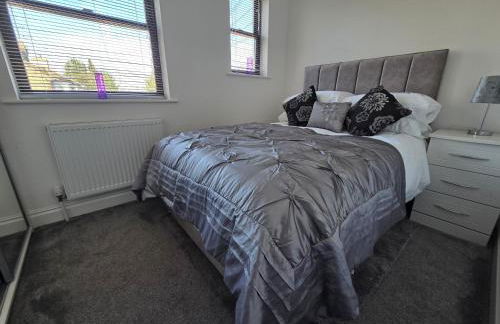
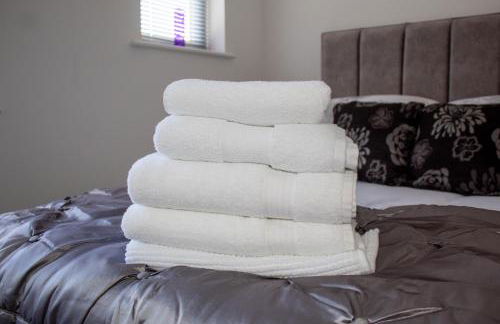
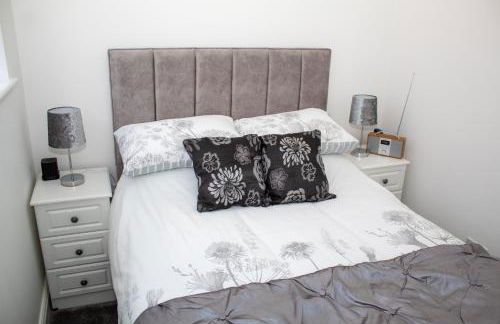
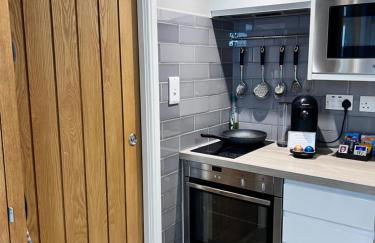
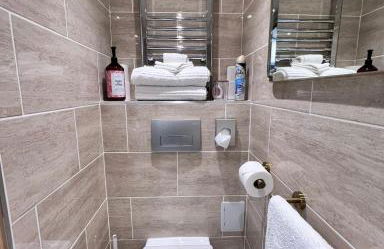
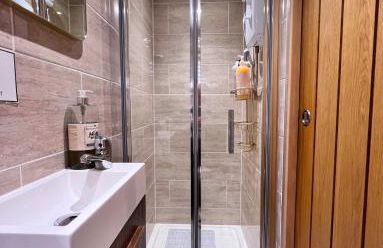
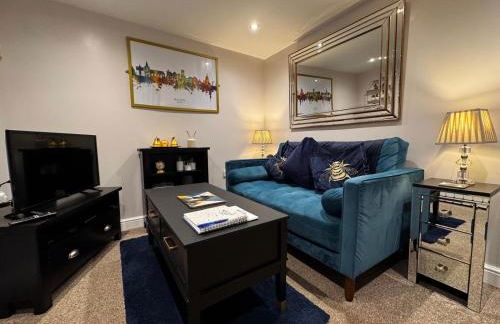
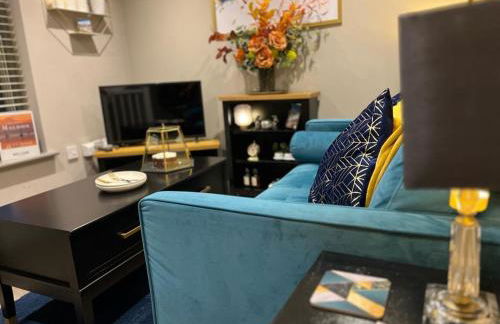
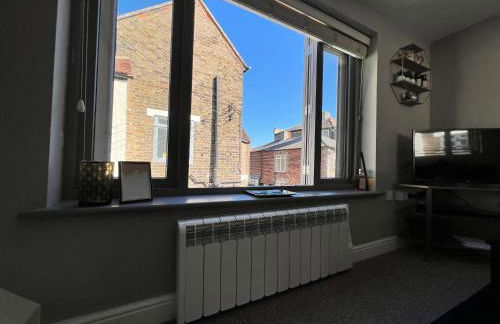
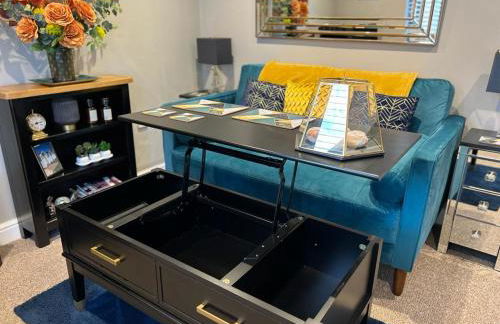
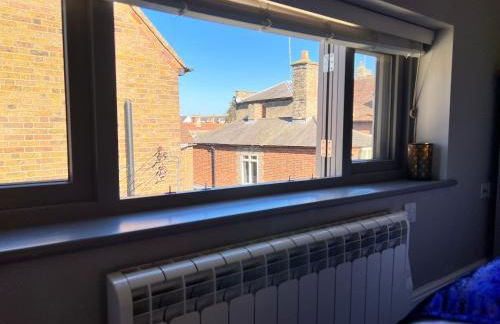
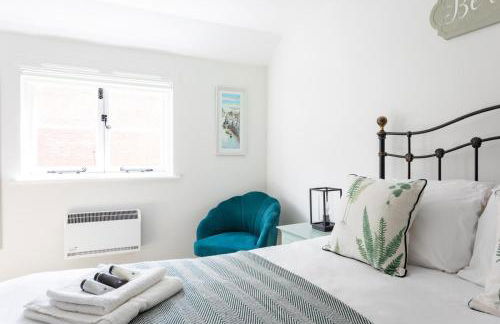
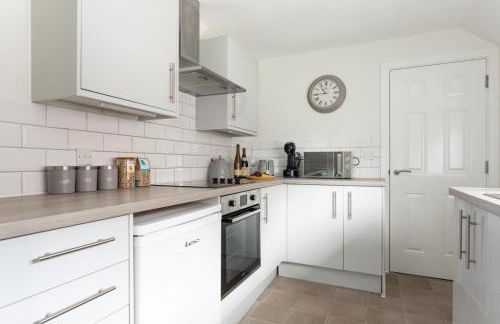
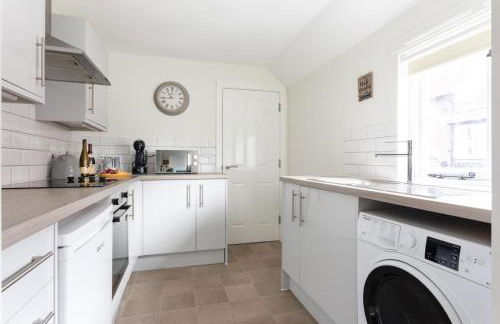
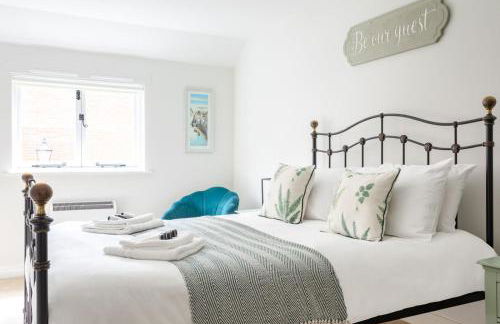
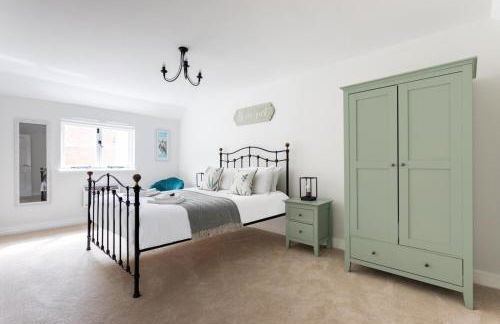
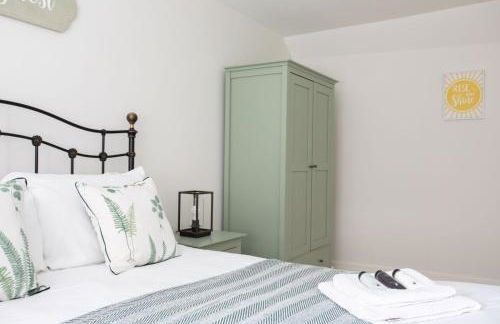
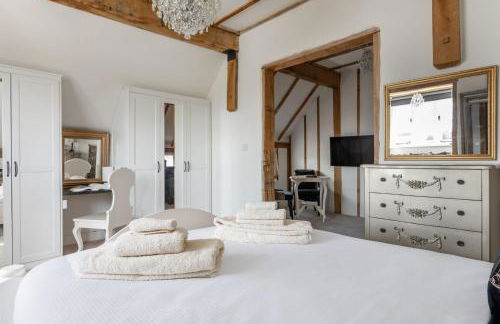
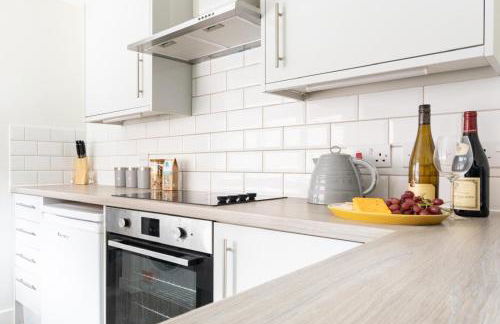
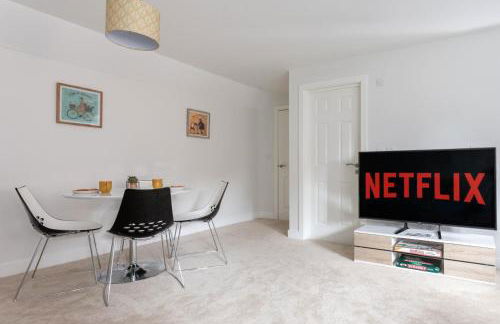
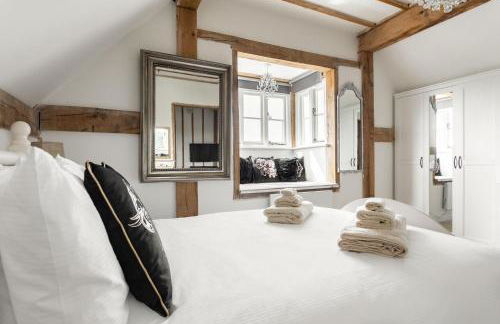
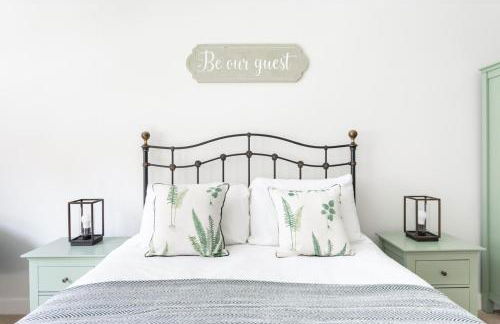
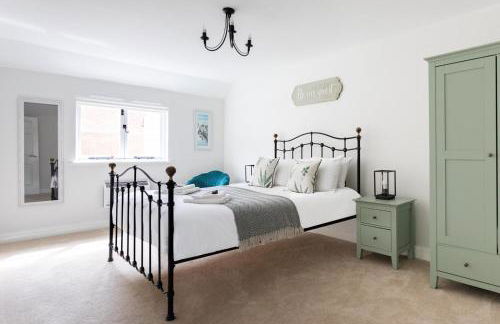
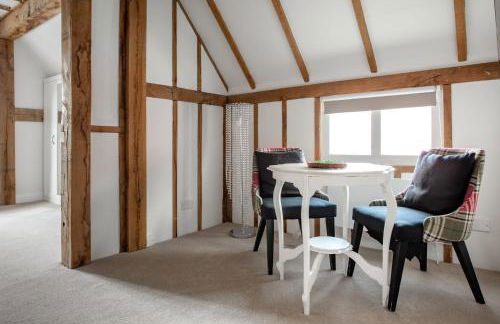
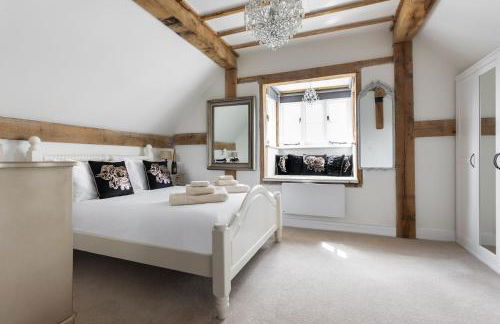
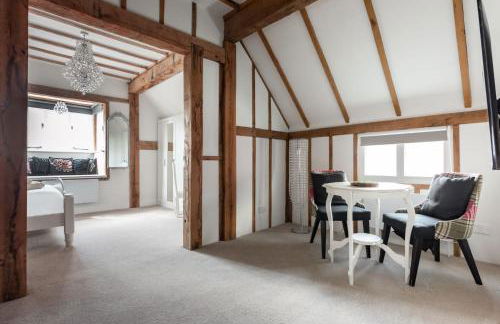
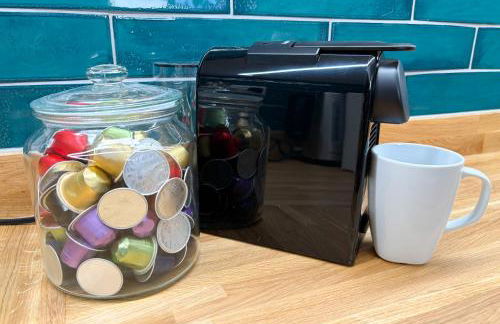
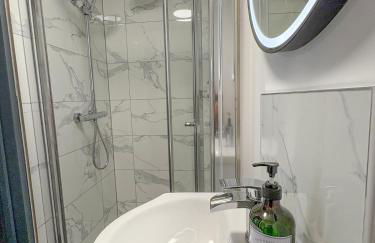
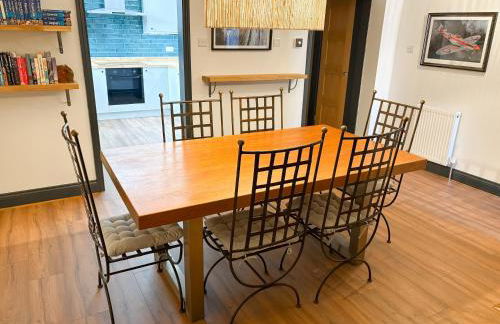
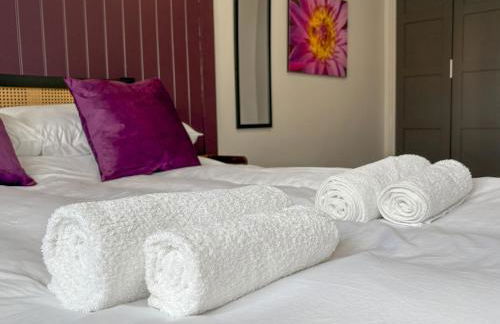
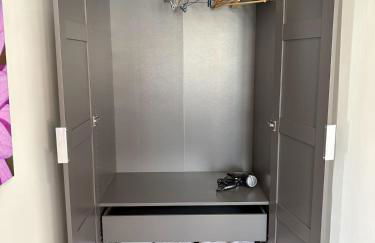
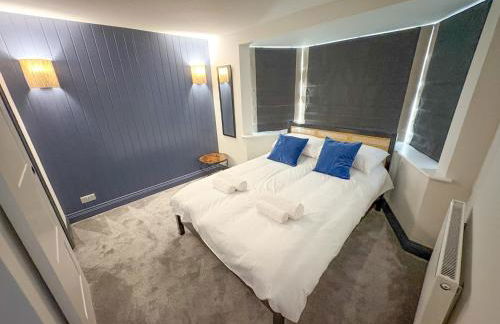
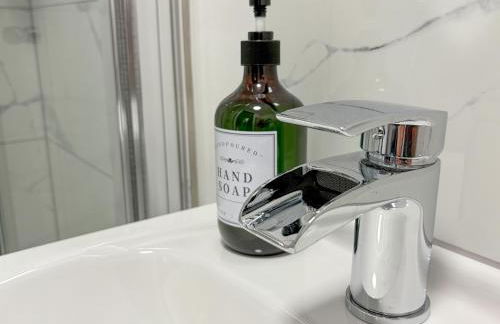
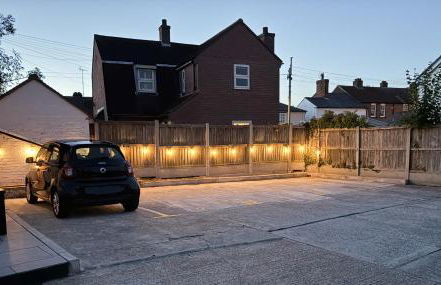
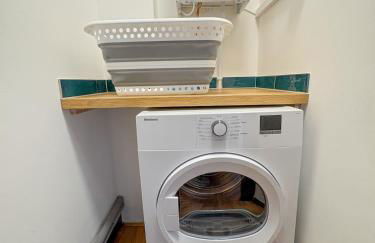
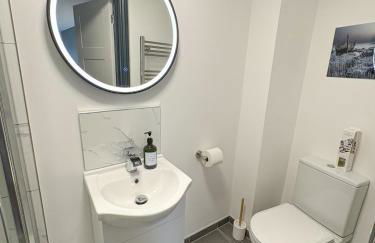
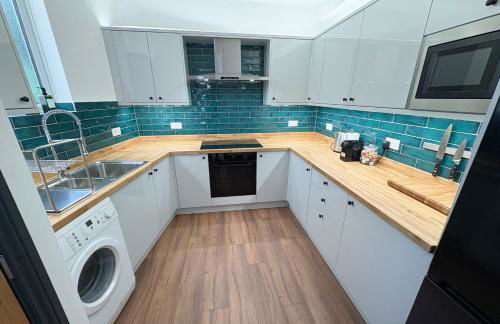
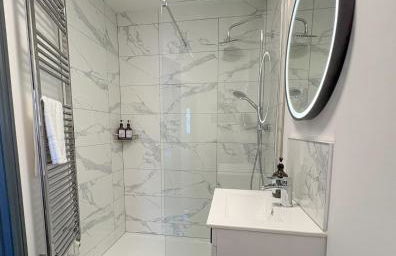
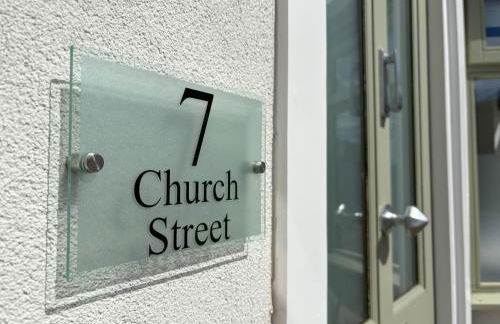
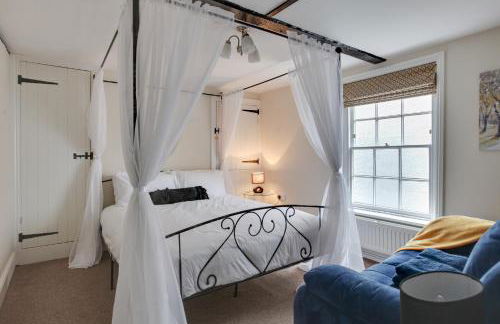
Staycations Maldon Suites
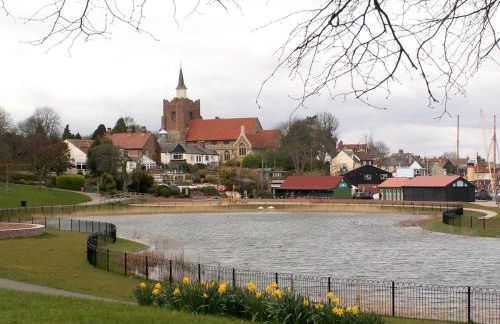
Maldon - Maldon - Im Zentrum
- 65 M2
- 2 Schlafzimmer
- 4 Personen
- Klimaanlage
- Heizung
- Terrasse
- Parkplatz
- Tv
- Waschmaschine
- Schornstein
- Handtücher
- Bettlaken
9 Bewertungen

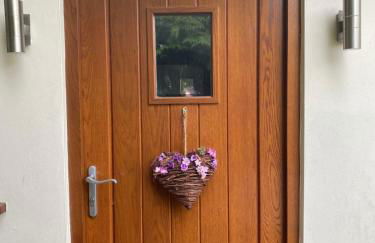

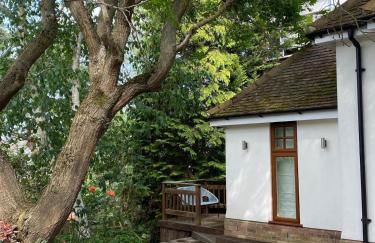


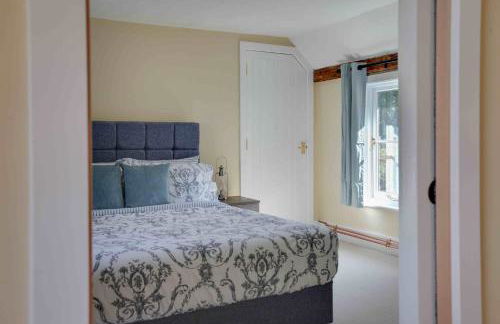
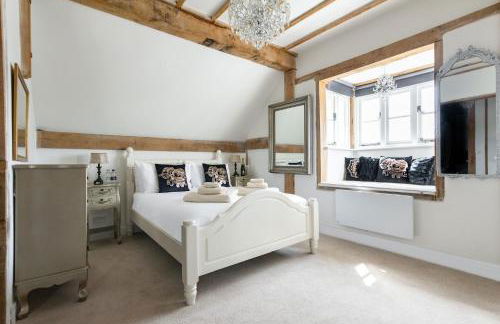
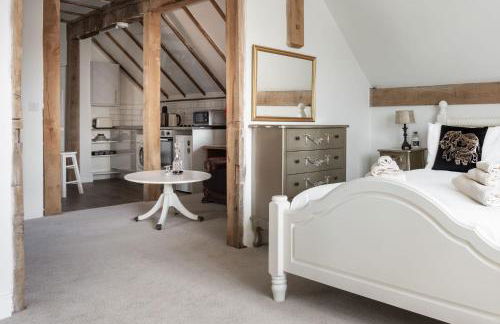
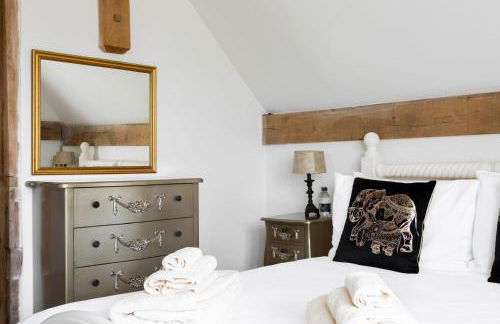
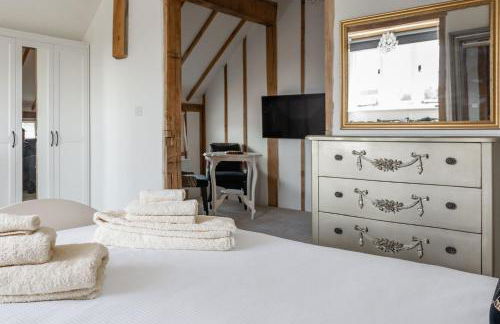
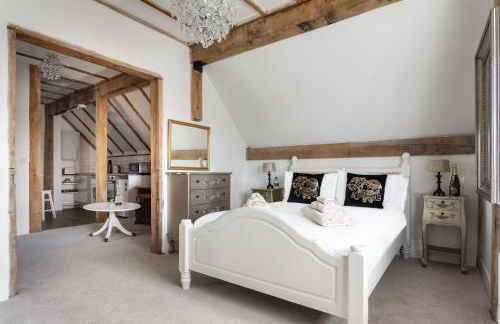
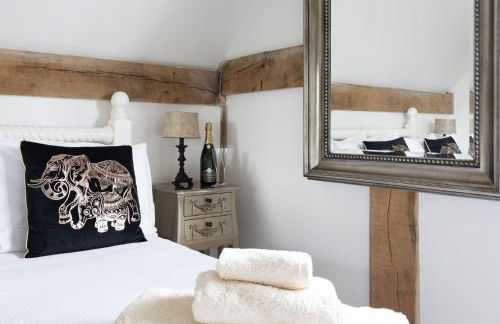
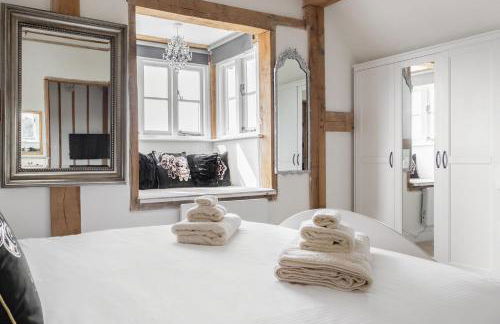
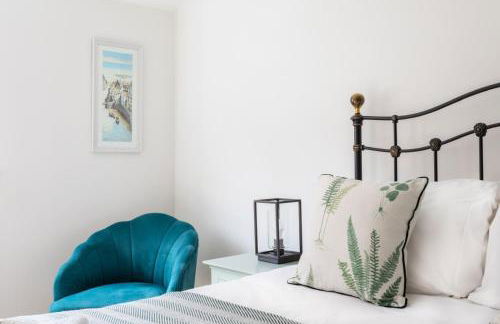
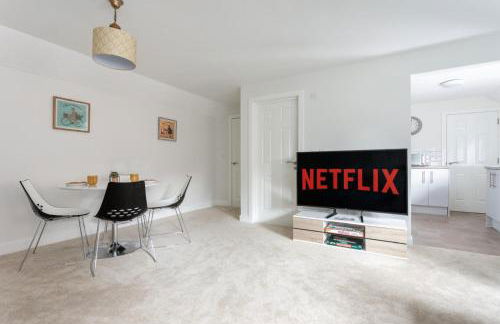
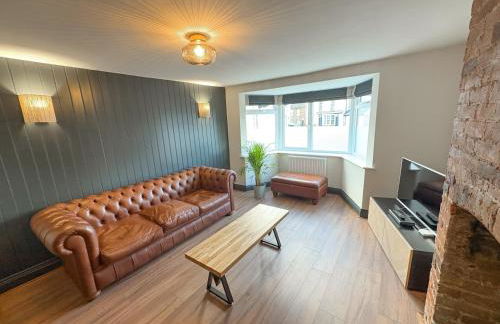
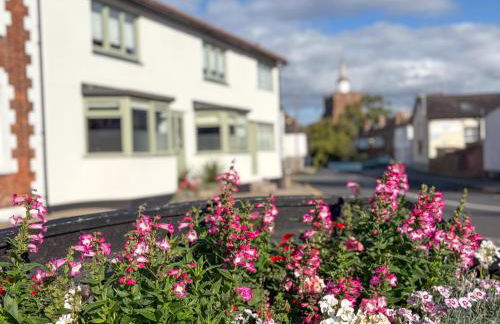
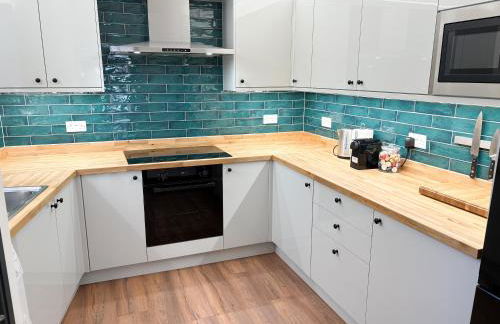
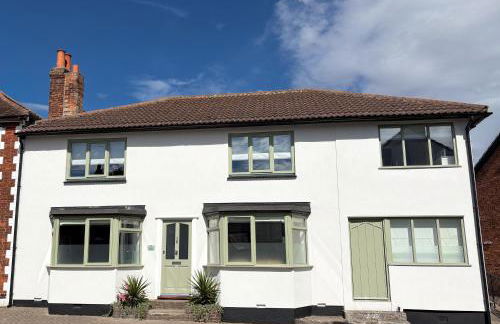
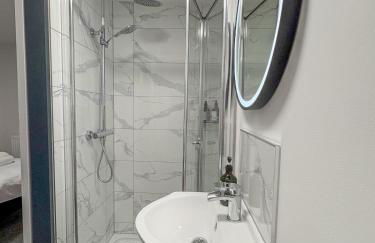
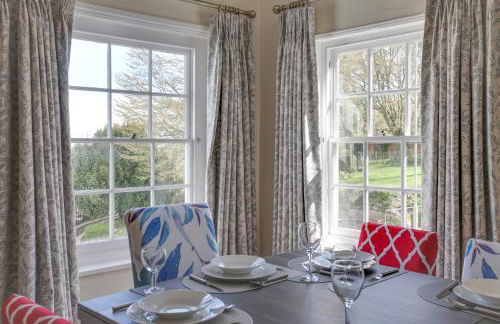
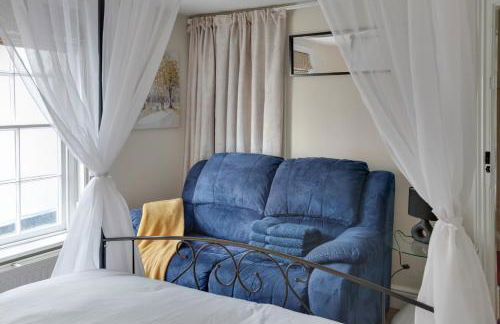
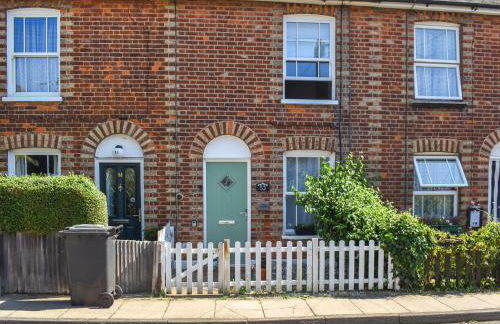
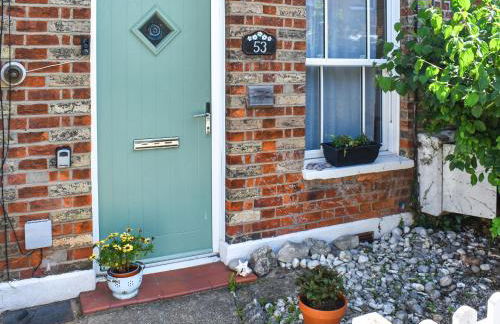
Primrose Lodge in Maldon
Maldon - Maldon - Im Zentrum
- 1 Schlafzimmer
- 4 Personen
- Terrasse
- Parkplatz
- Garten
27 Bewertungen


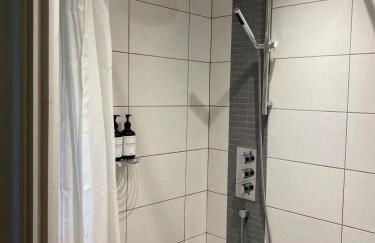
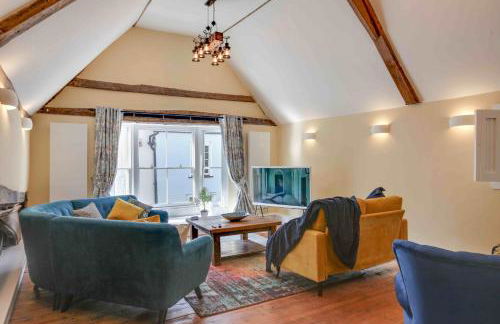
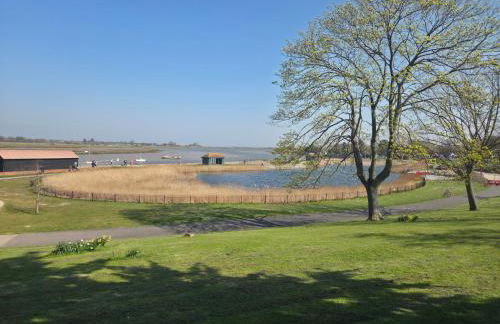
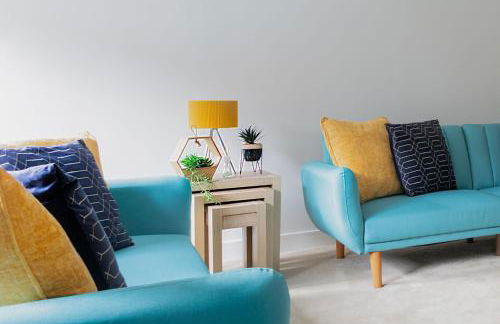
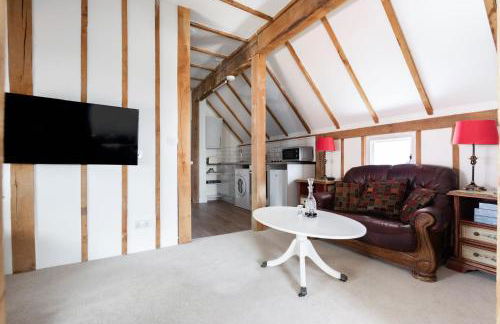
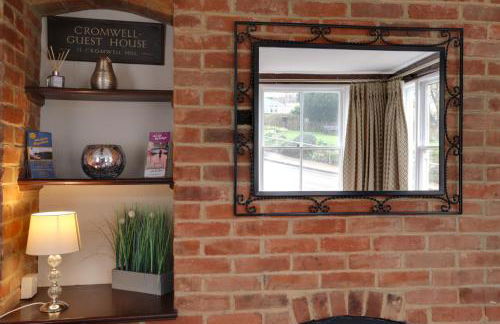
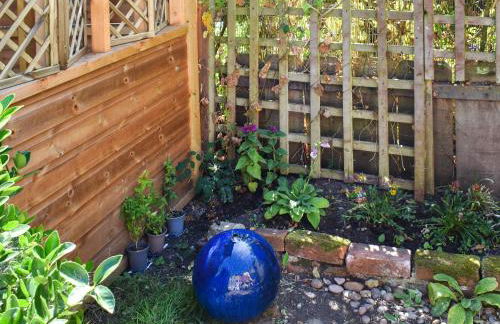
The Retreat- amazing scenic views of the Essex countryside!
Maldon - Salcott - 12.1 km vom Zentrum
- 15 M2
- 2 Personen
- Heizung
- Terrasse
- Parkplatz
- Garten
40 Bewertungen
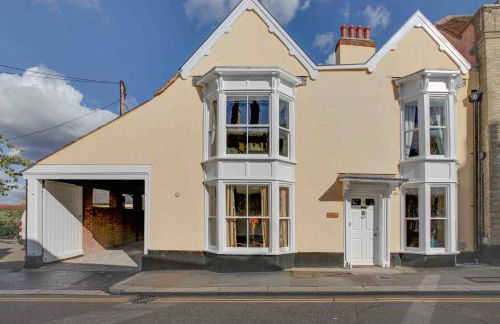
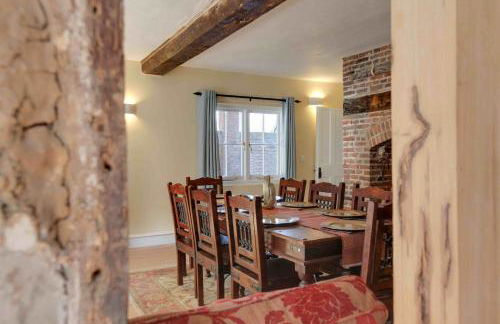
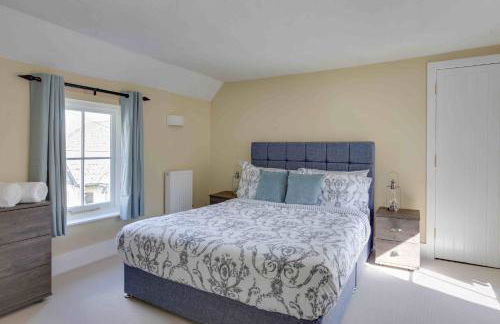

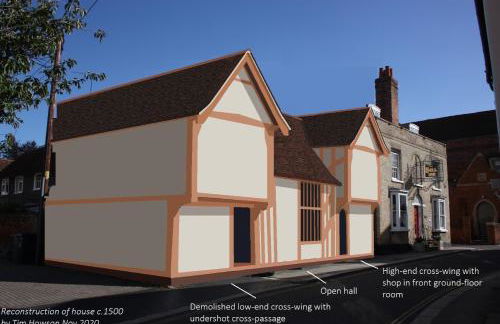
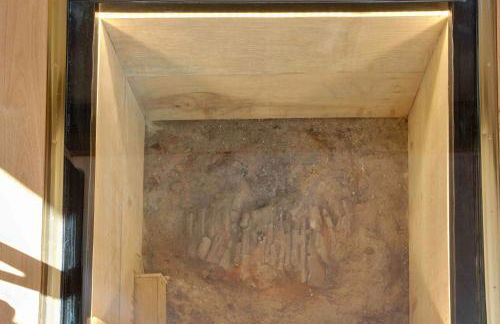
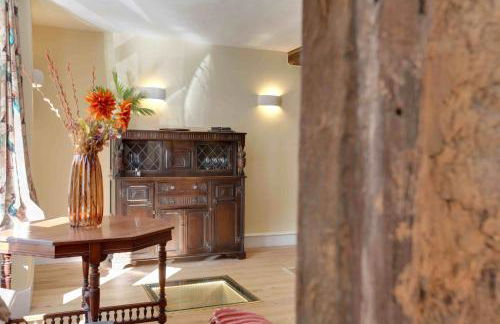
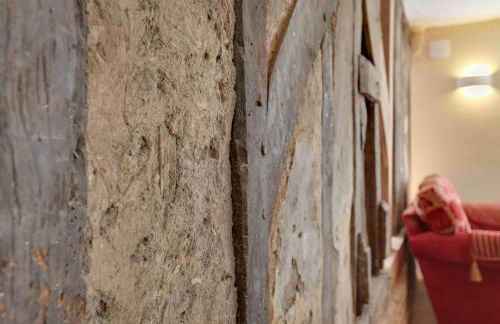

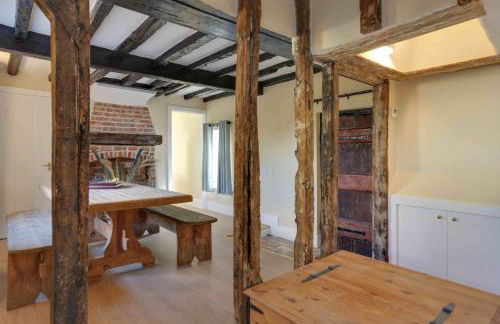
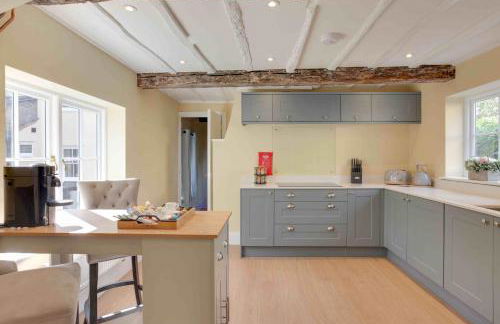
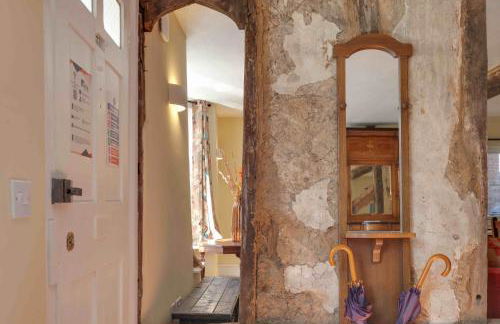
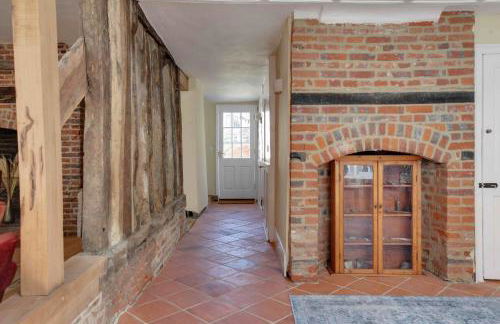
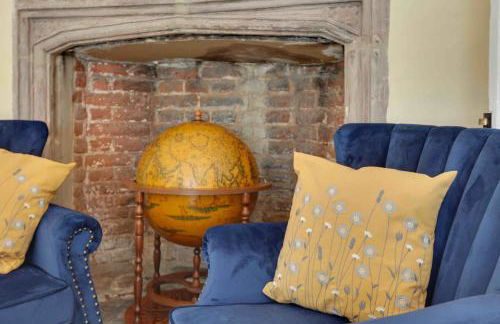

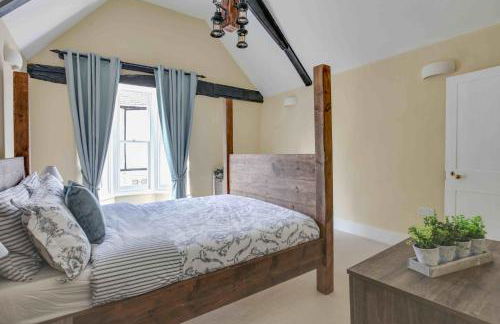
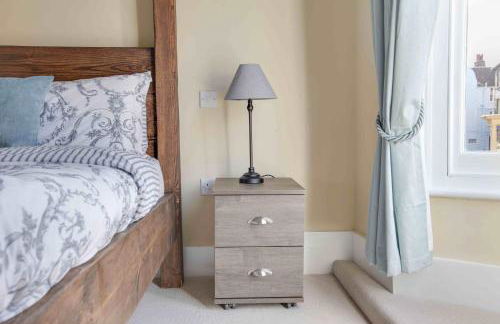
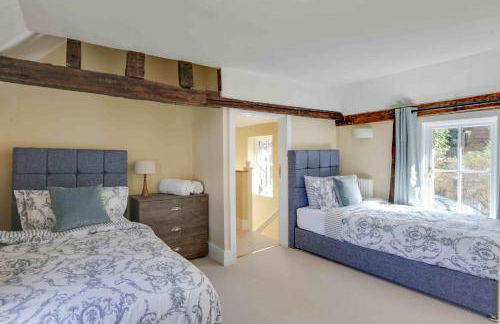

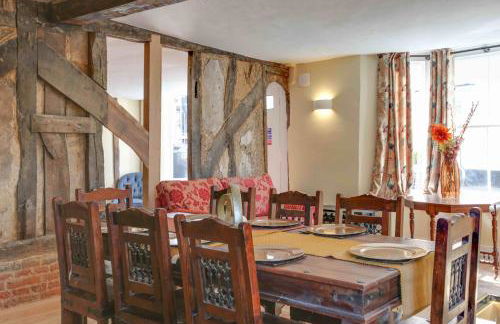
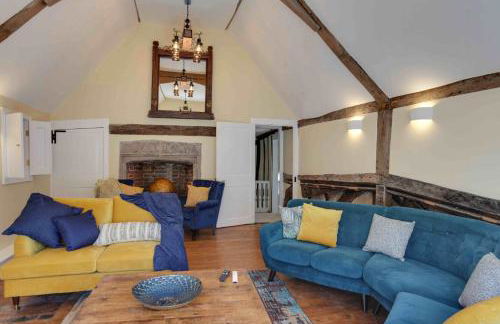


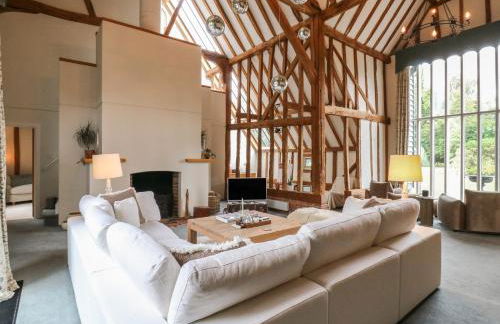
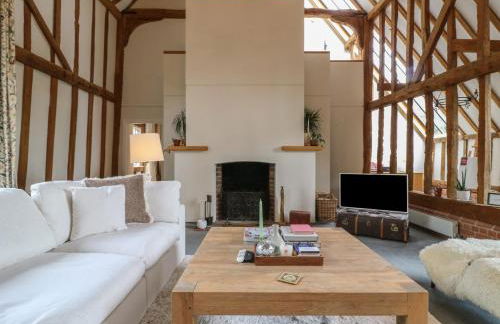
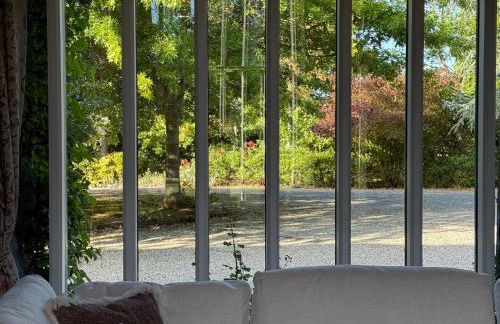
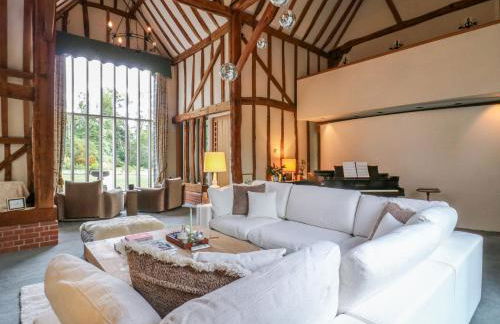
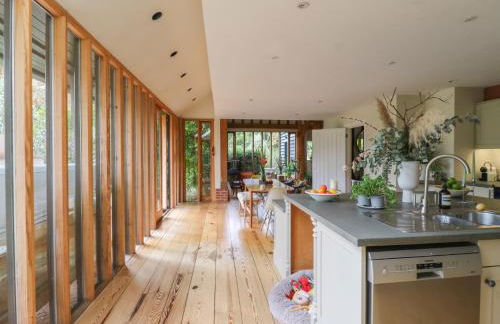
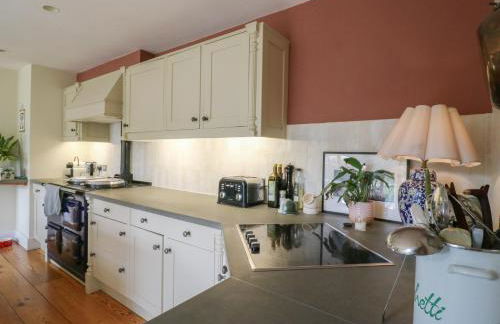
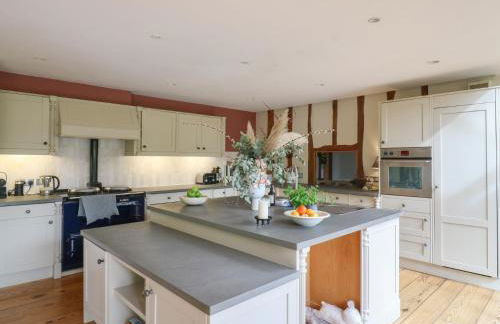
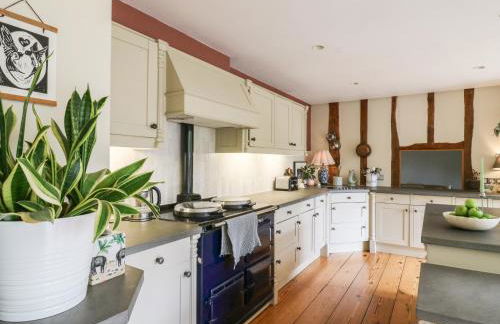
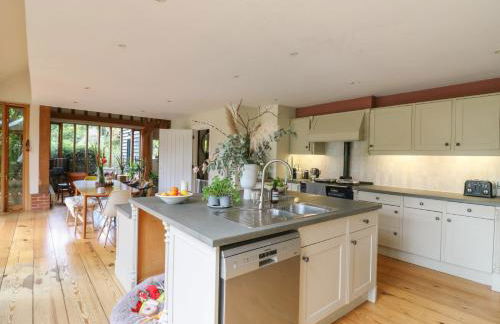
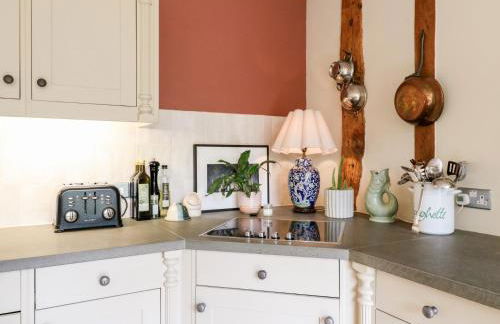
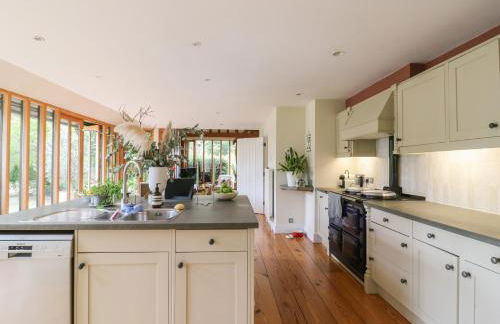
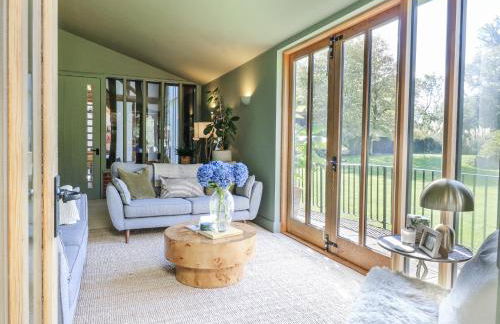
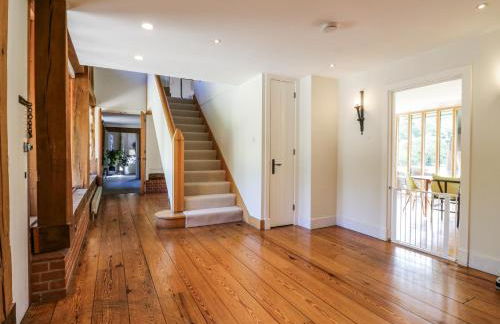
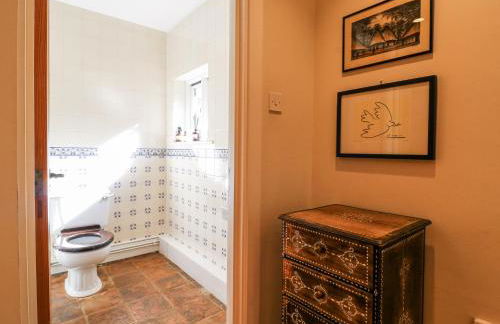
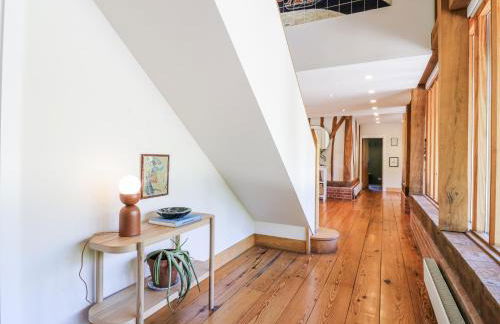
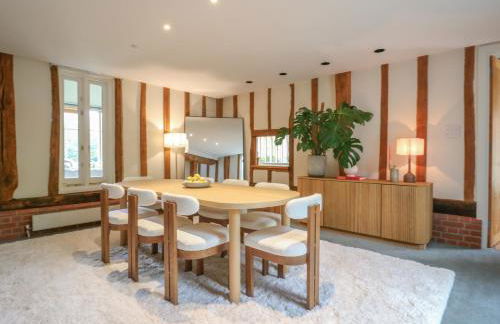
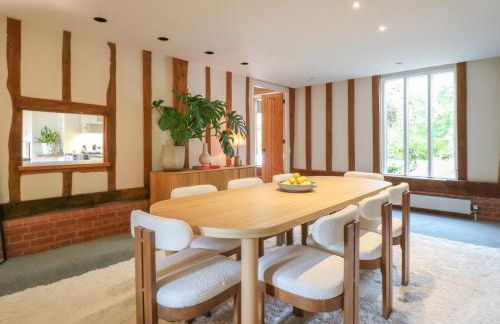
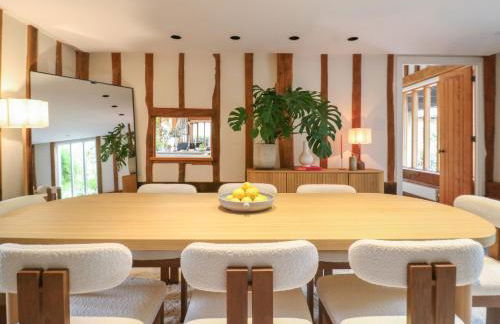
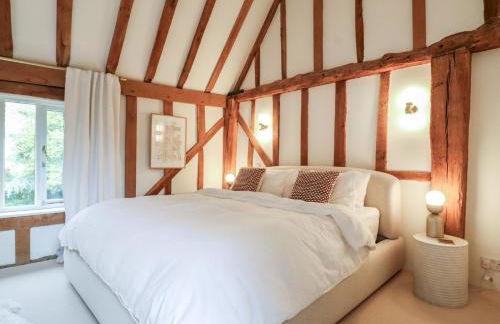
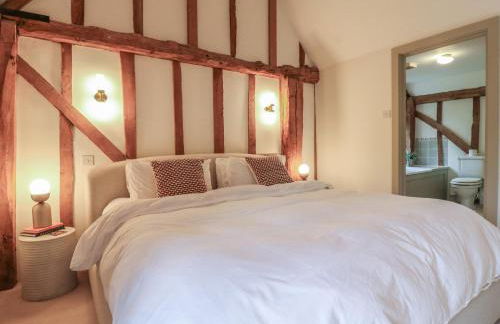
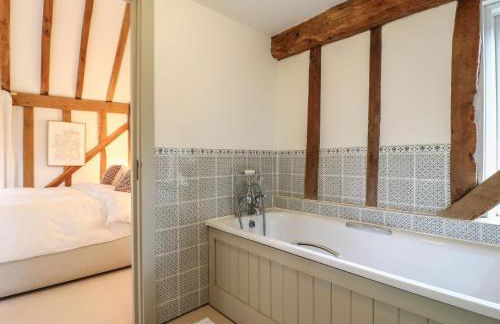
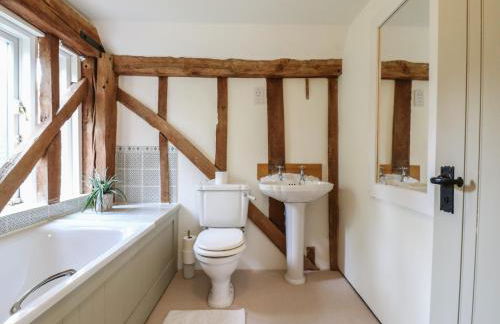
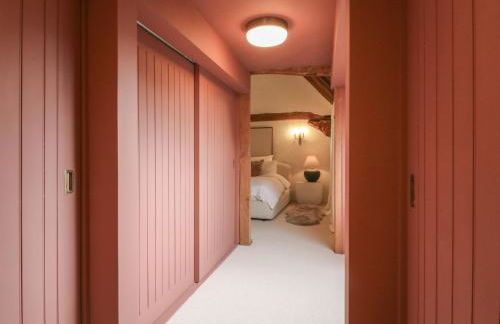
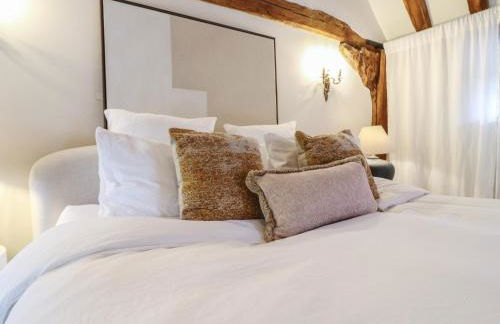
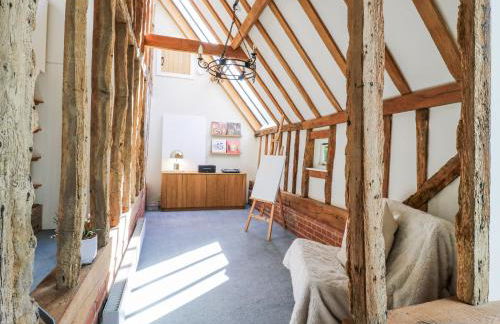
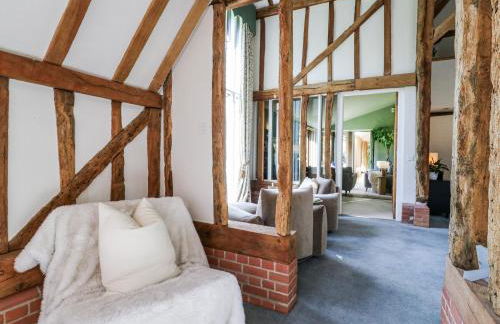
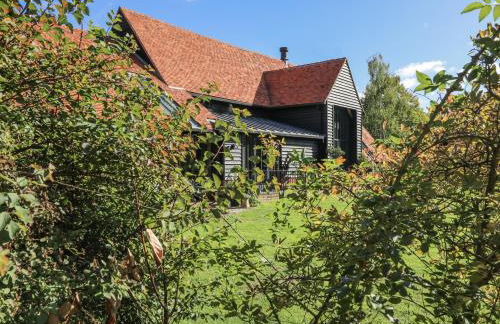
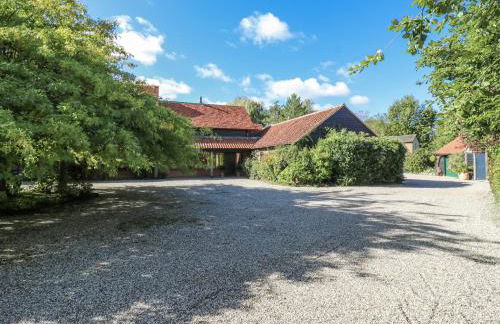
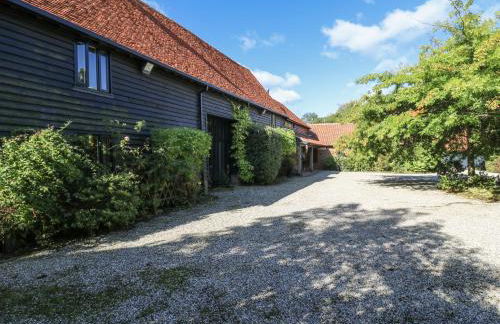
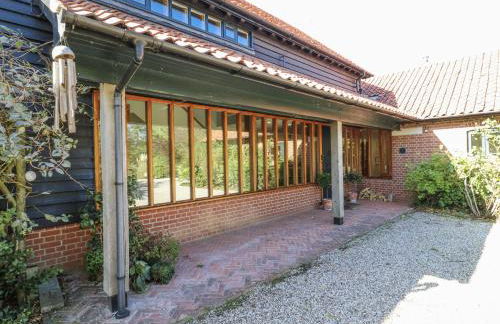
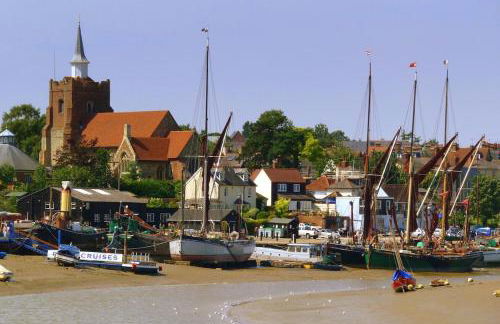
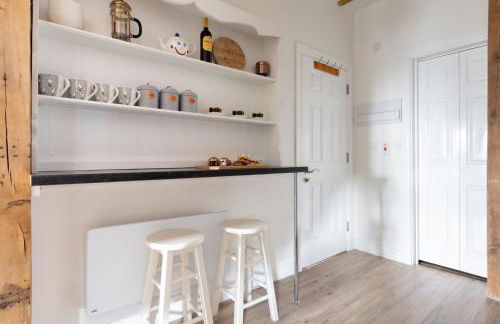
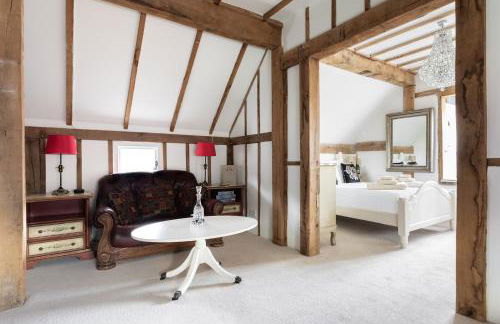
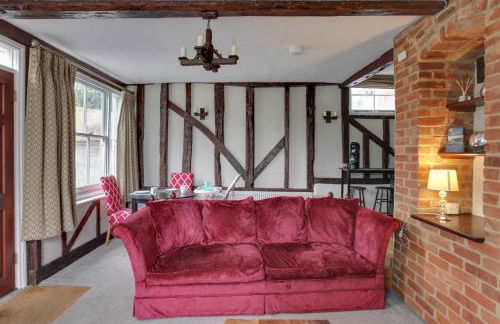
Josua Medieval Living Maldon
Maldon - Maldon - Im Zentrum
- 257 M2
- 5 Schlafzimmer
- 10 Personen
- Terrasse
- Parkplatz
- Garten
23 Bewertungen
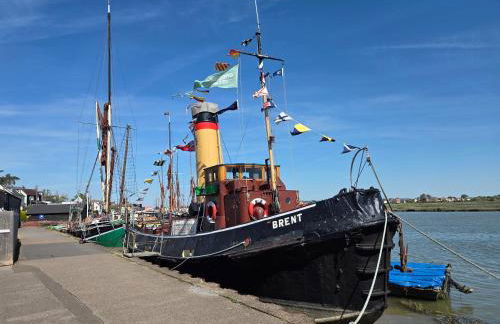


Navigation Cottage on the Historic Sea Lock overlooking the Nature Reserve
Maldon - Heybridge Basin - 1.8 km vom Zentrum
- 160 M2
- 3 Schlafzimmer
- 5 Personen
- Heizung
- Parkplatz
- Garten
- Barbecue
11 Bewertungen


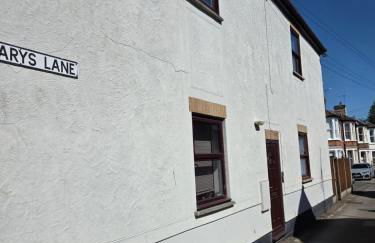
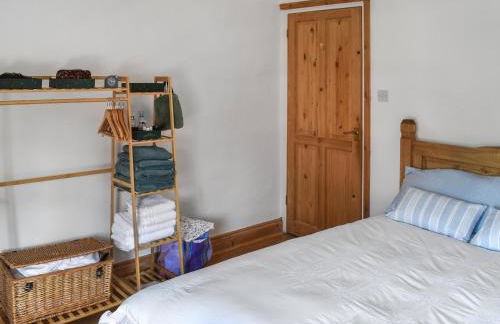
Fully Refurbished 3 bed Victorian Cottage in Tolleshunt D'Arcy
Maldon - Tolleshunt - 9.1 km vom Zentrum
- 75 M2
- 3 Schlafzimmer
- 5 Personen
- Parkplatz
- Garten
36 Bewertungen

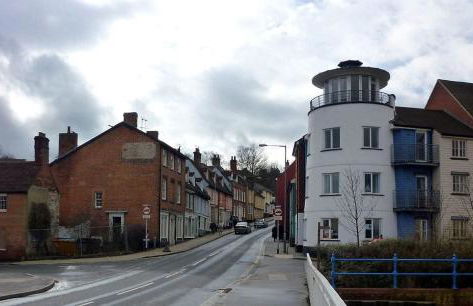
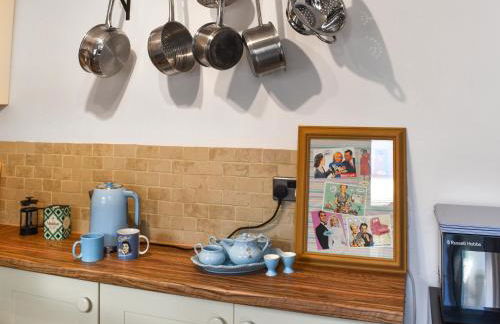
The Tower, 1 bed 1850's Tiny House
Maldon - Maldon - Im Zentrum
- 29 M2
- 1 Schlafzimmer
- 2 Personen
- Heizung
53 Bewertungen


Maldon Executive Apartments
Maldon - Maldon - Im Zentrum
- 65 M2
- 1 Schlafzimmer
- 4 Personen
- Heizung
13 Bewertungen


Fernleigh - Lovely Self Catering Apartment in Tollesbury
Maldon - Tollesbury - 11.5 km vom Zentrum
- 74 M2
- 2 Schlafzimmer
- 4 Personen
- Parkplatz
2 Bewertungen


The Wobbin, Remote, Comfort, Sea Views and the beautiful Essex Marshes
Maldon - Tollesbury - 11.1 km vom Zentrum
- 155 M2
- 3 Schlafzimmer
- 5 Personen
- Heizung
- Parkplatz
- Garten
- Barbecue
4 Bewertungen


The Hexagon, wow what a location, views over the Essex marshes and sea
Maldon - Tollesbury - 11.6 km vom Zentrum
- 60 M2
- 2 Personen
- Heizung
- Parkplatz
- Garten
- Barbecue
3 Bewertungen


4 Bed Home In Central Maldon
Maldon - Maldon - 250 m vom Zentrum
- 121 M2
- 4 Schlafzimmer
- 8 Personen
- Heizung
- Parkplatz
5 Bewertungen
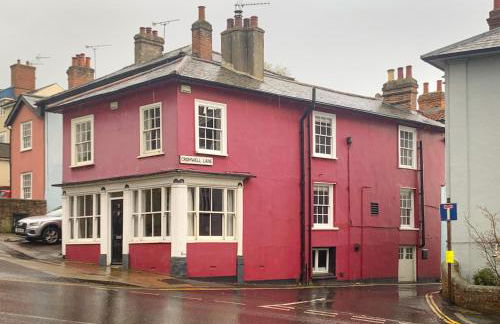
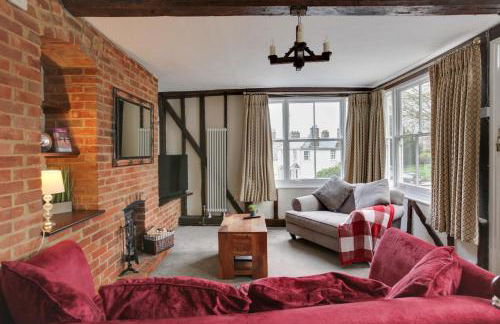
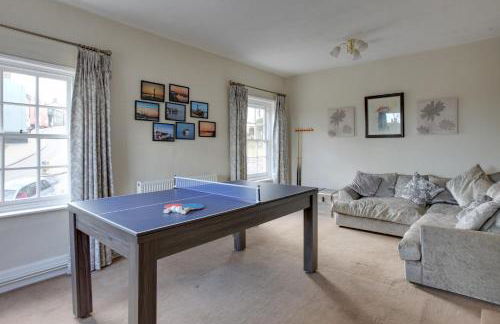
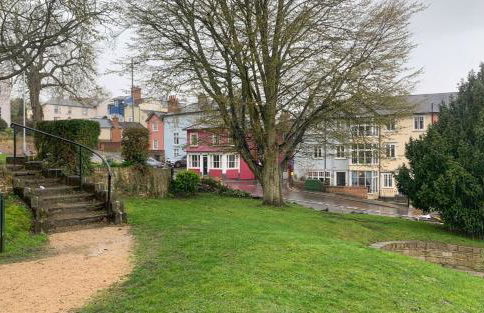
The Red House Maldon
Maldon - Maldon - Im Zentrum
- 180 M2
- 2 Schlafzimmer
- 4 Personen
- Parkplatz
9 Bewertungen


Essex Dungeon Suite
Maldon - Heybridge - 670 m vom Zentrum
- 58 M2
- 2 Personen
- Klimaanlage
- Parkplatz
1 Bewertung


Yasmin Cottage
Maldon - Maldon - 300 m vom Zentrum
- 2 Schlafzimmer
- 3 Personen
- Heizung
- Parkplatz
- Garten
1 Bewertung