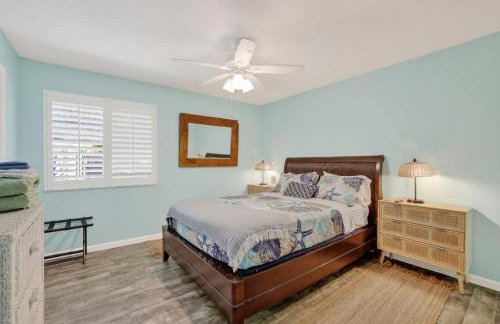
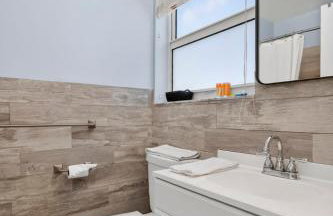
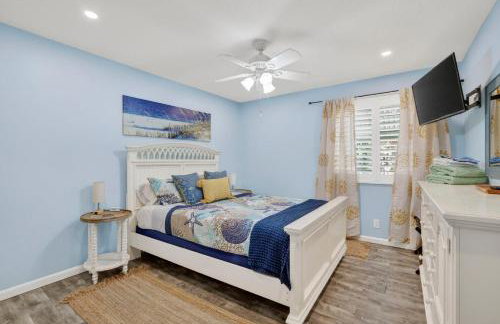
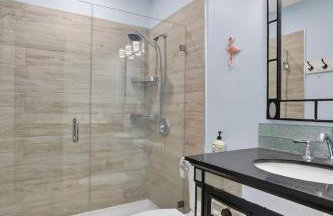
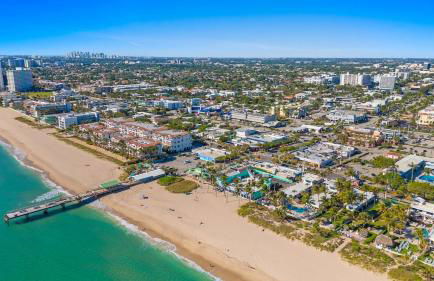
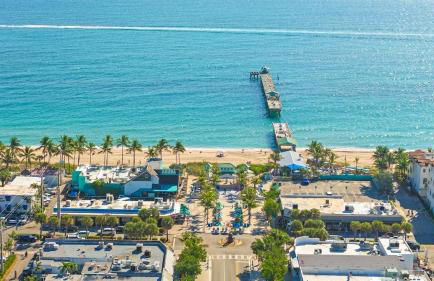
44 Wohnungen in Lauderdale-by-the-Sea
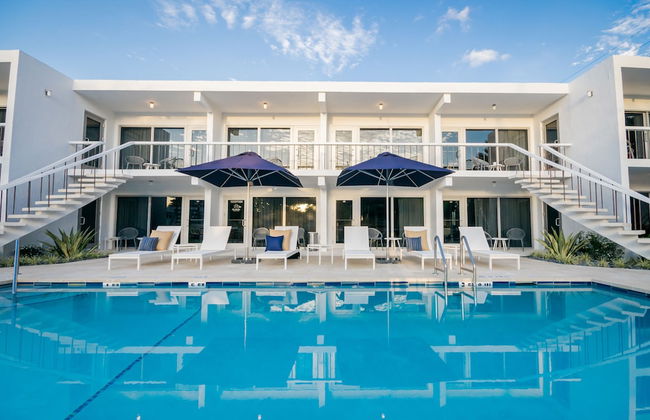
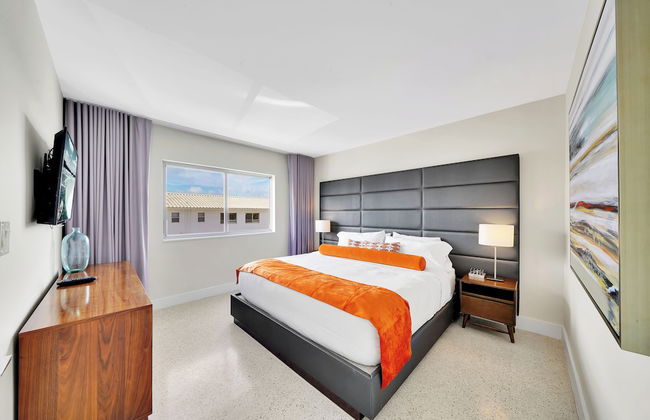
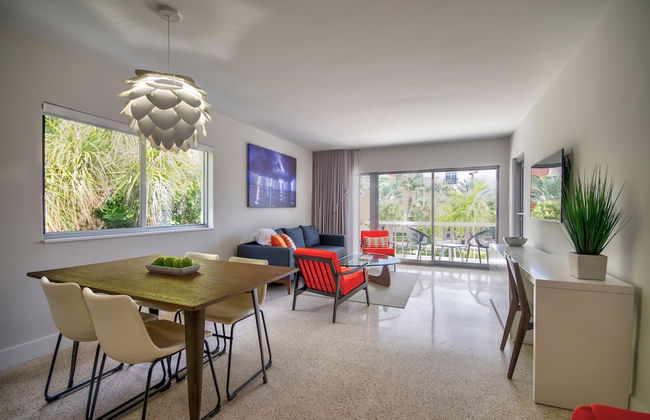
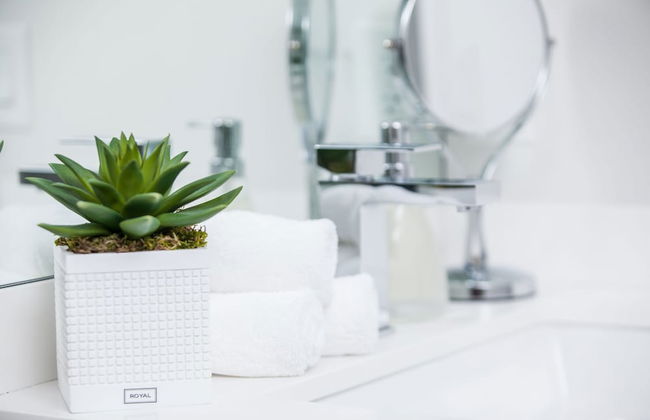
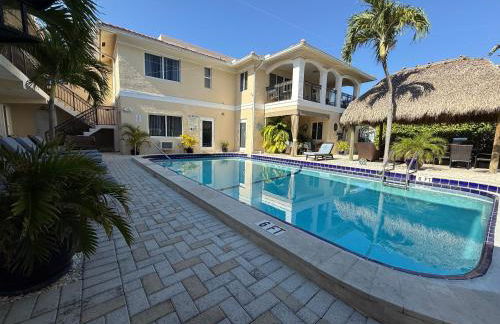
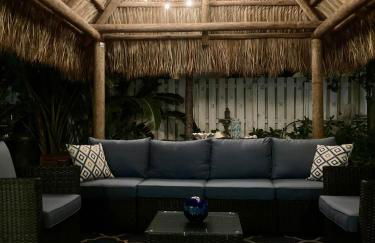
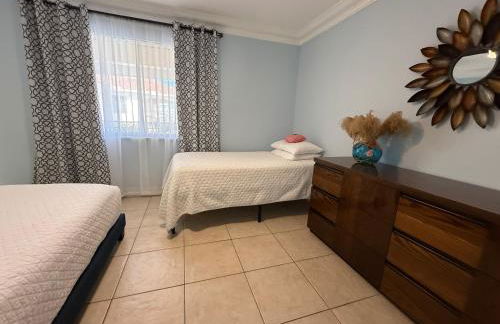
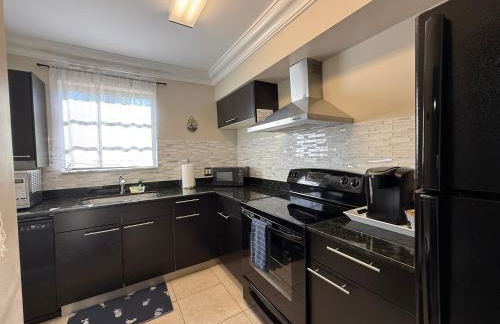
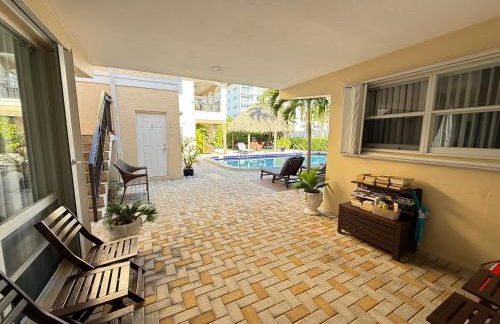
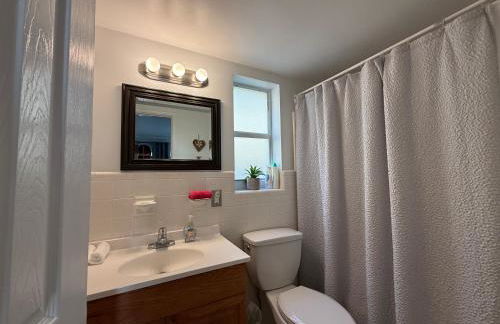
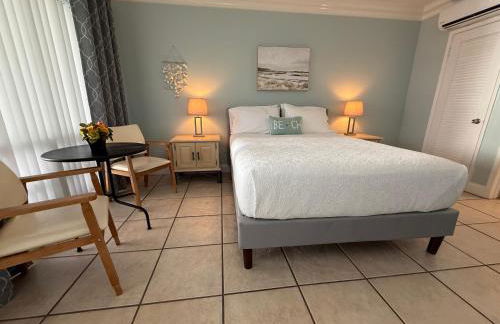
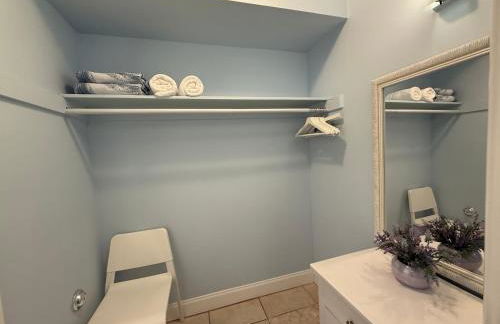
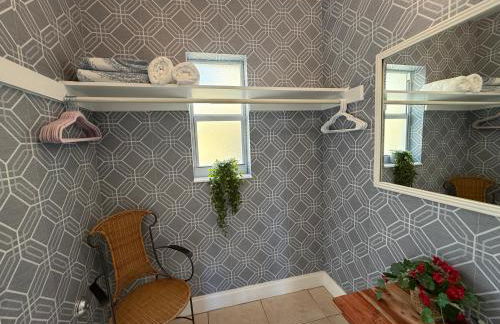
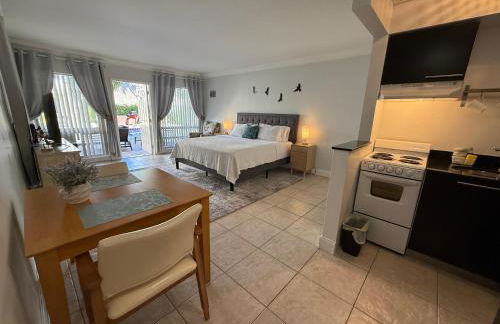
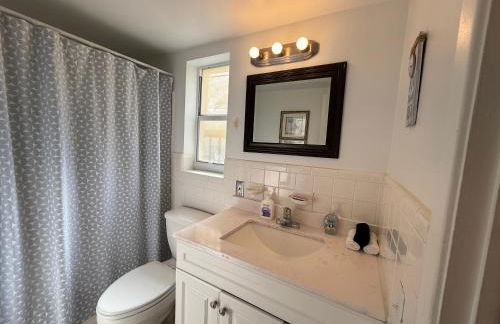
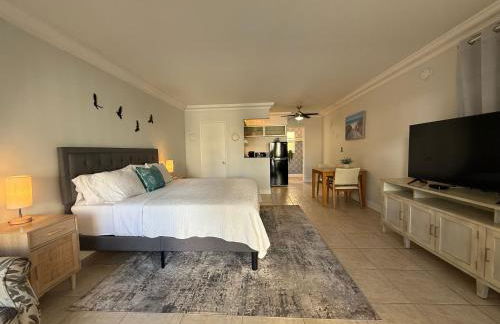
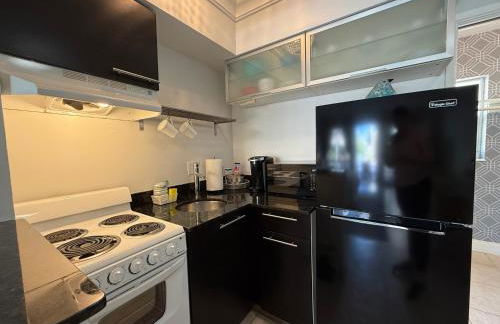
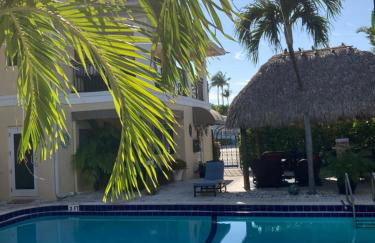
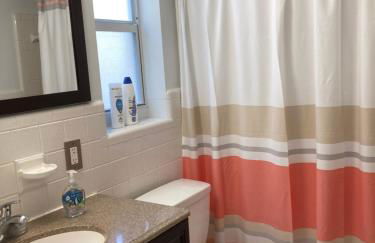
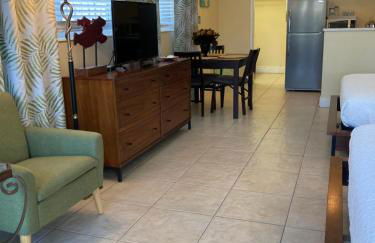
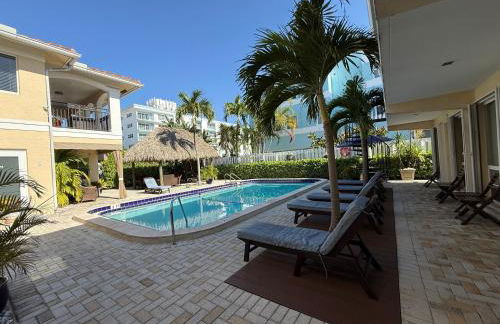
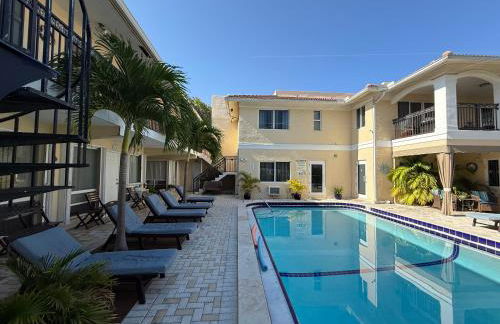
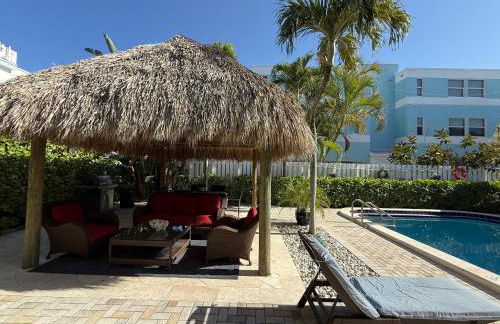
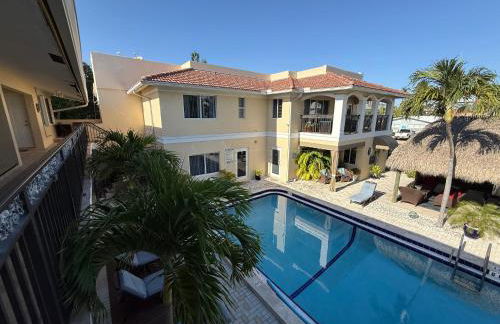
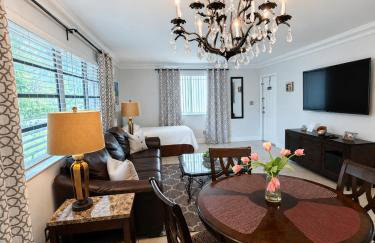
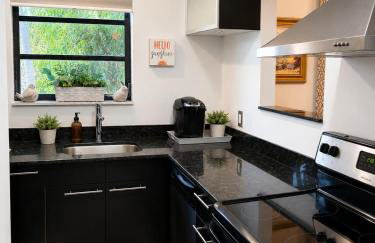
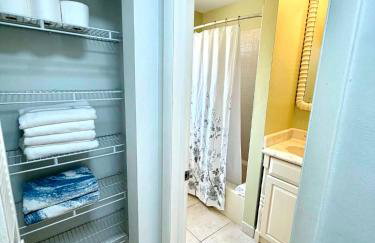
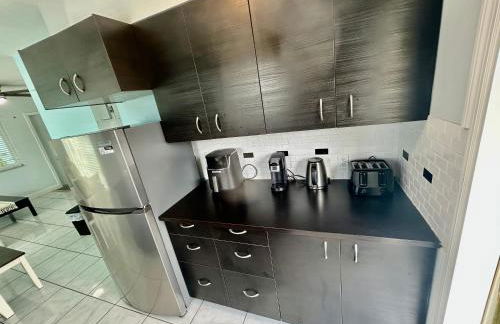
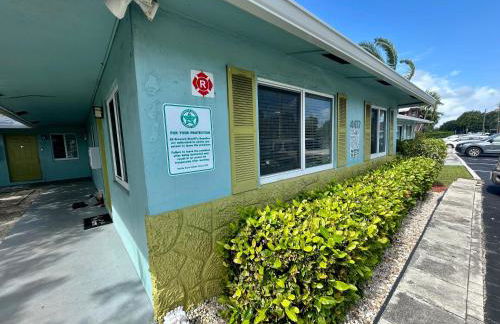
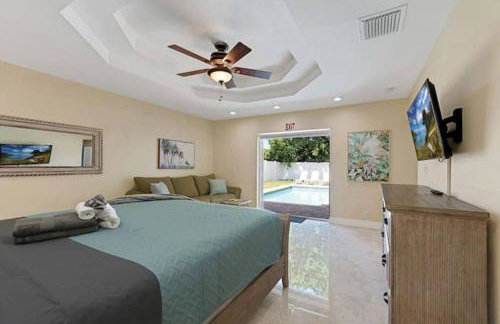
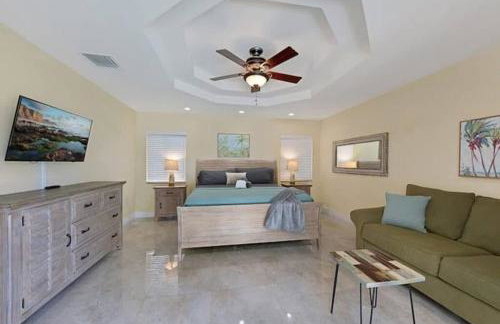
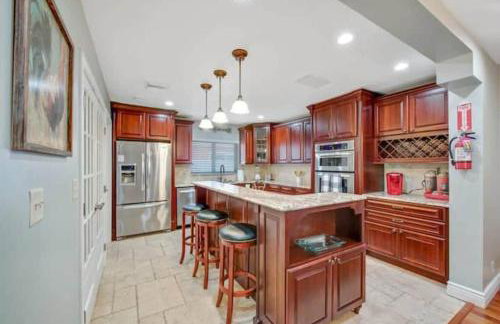
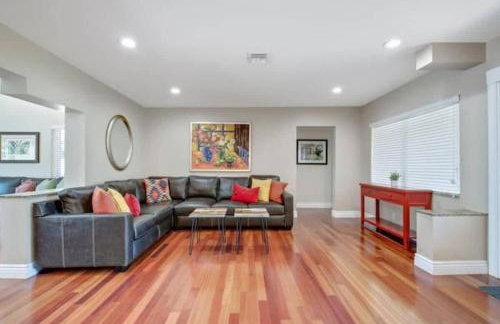
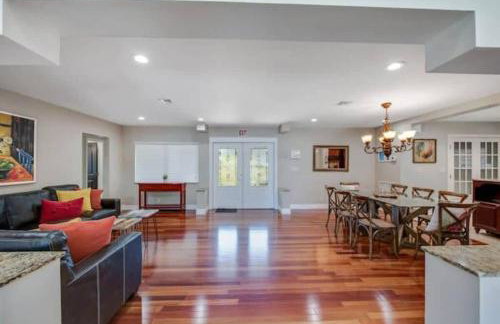
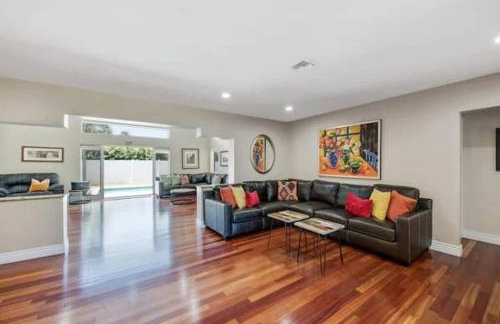
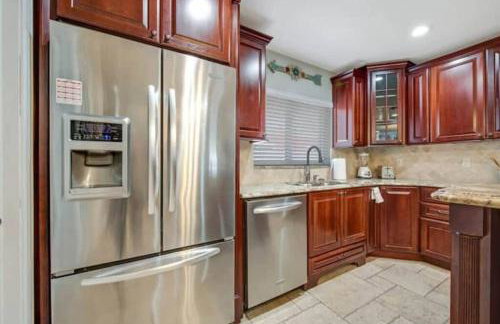
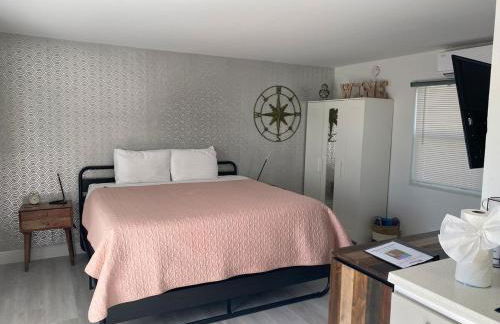
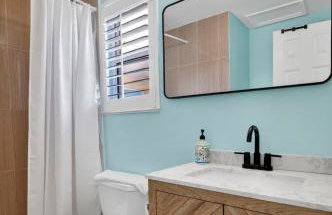
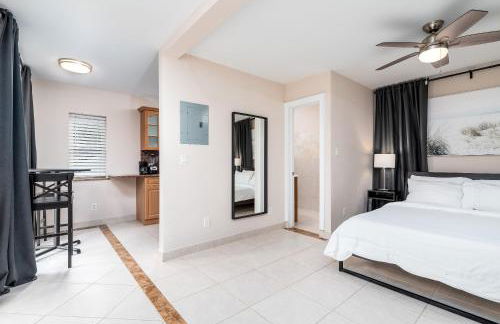
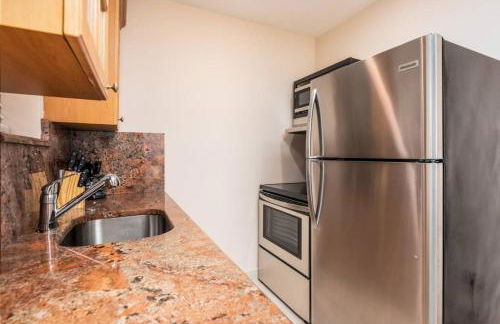
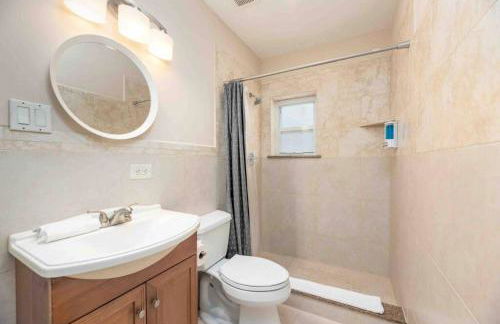
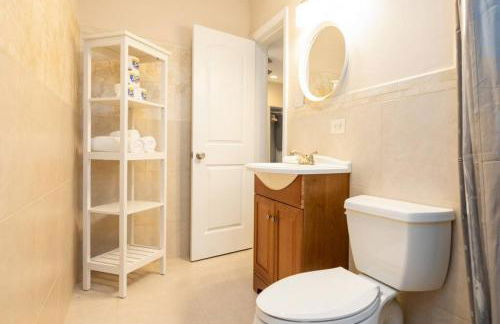
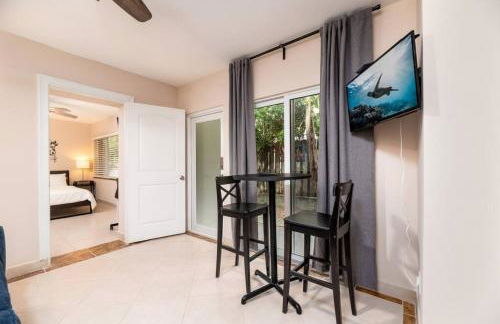
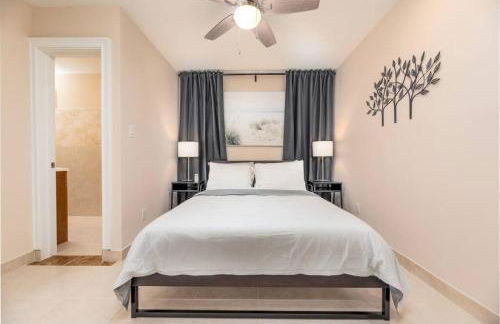
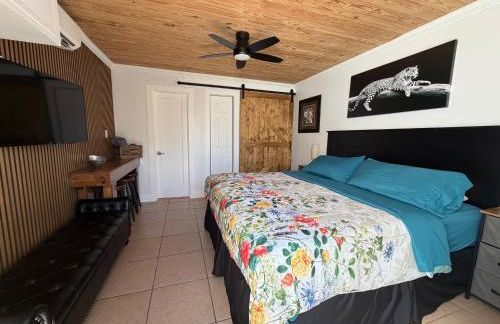
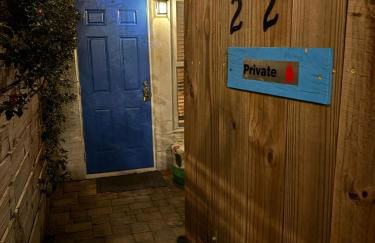
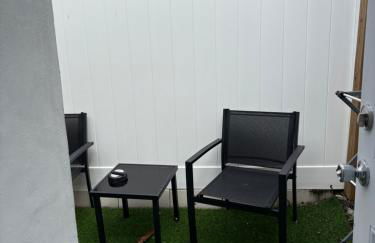
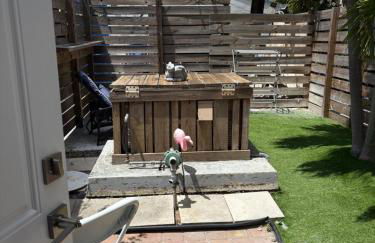
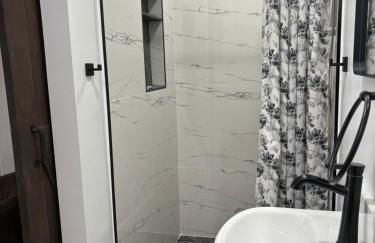
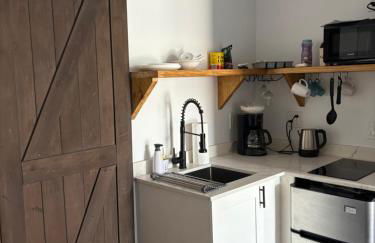
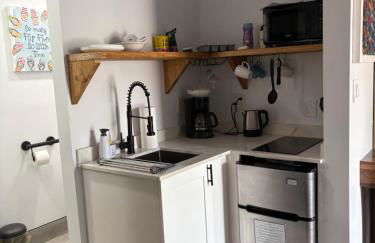
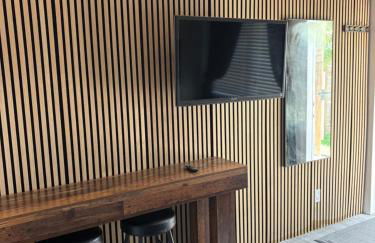
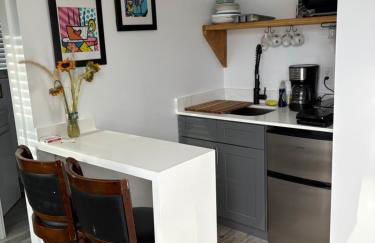
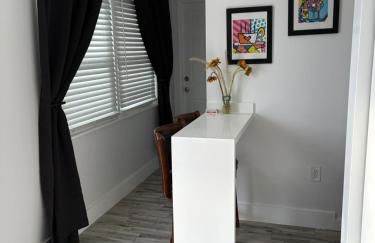
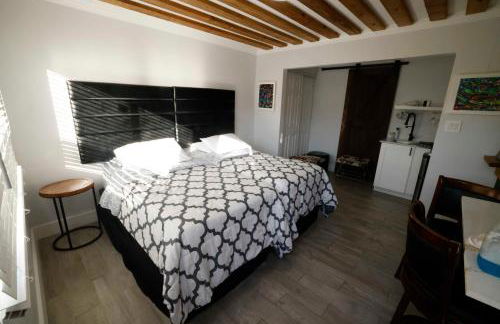
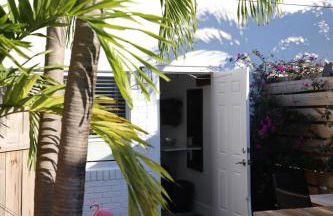
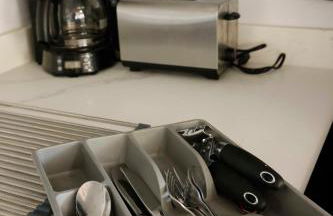
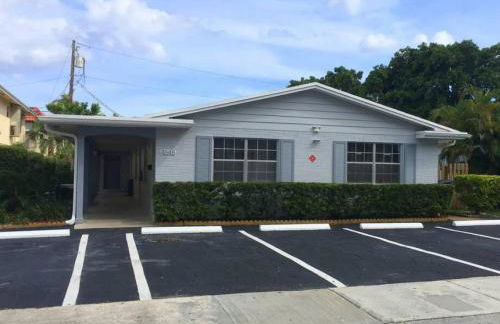
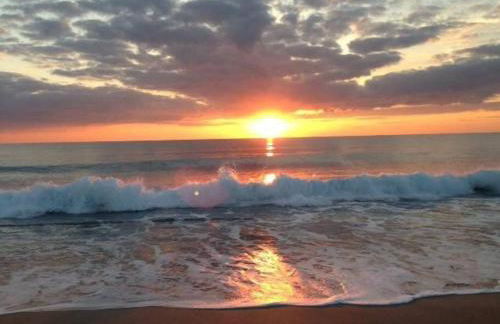
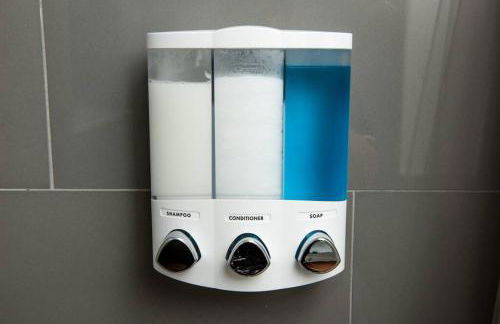
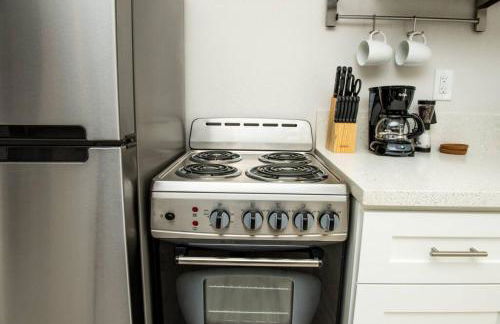
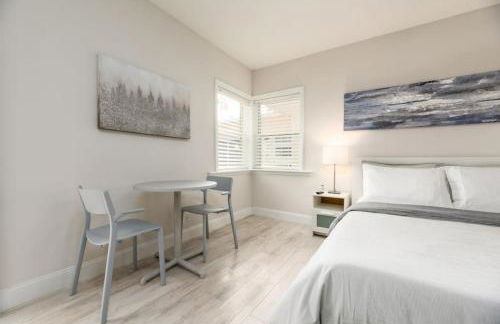
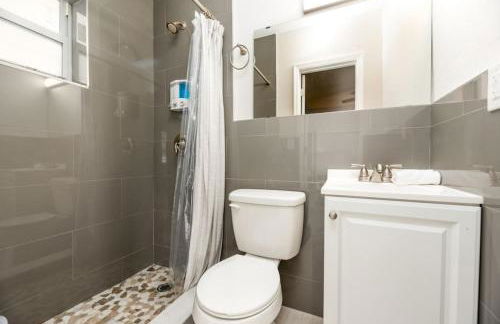
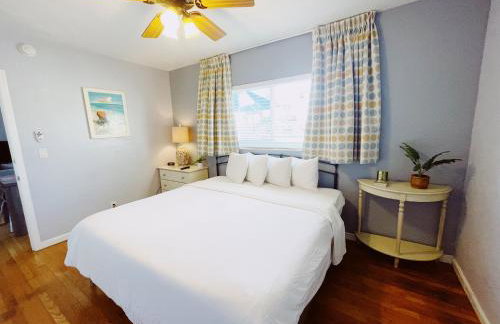
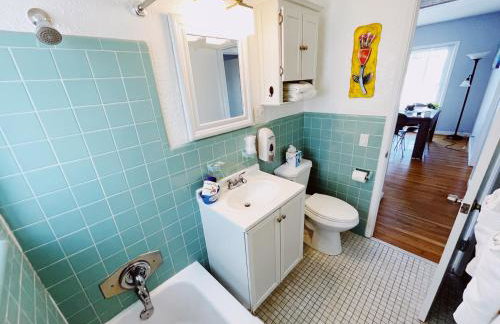
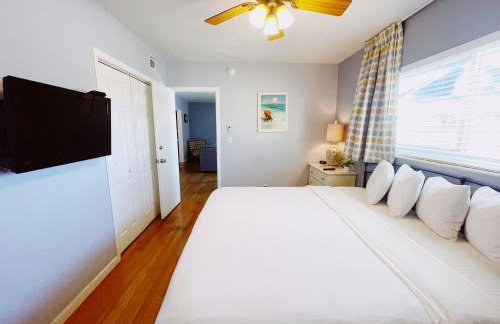
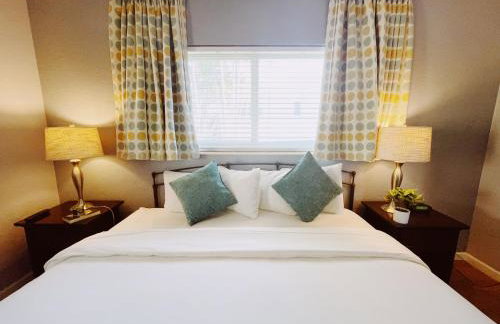
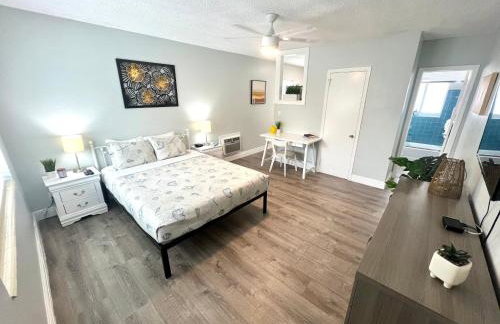
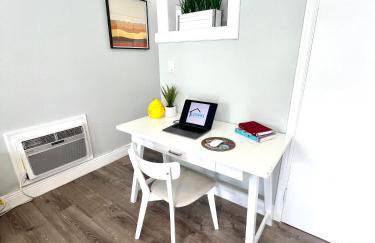
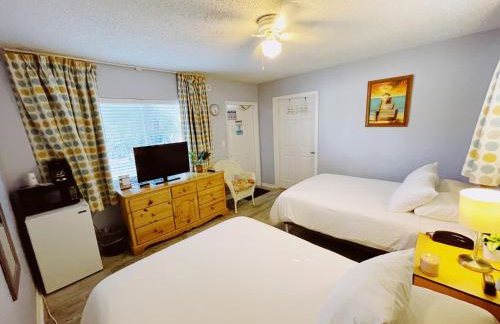
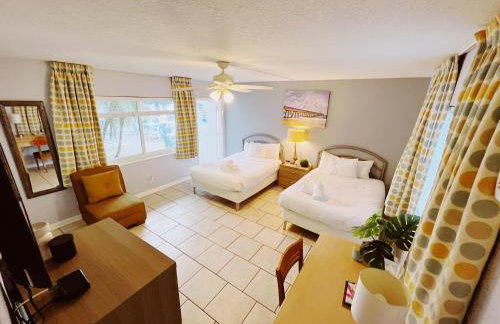
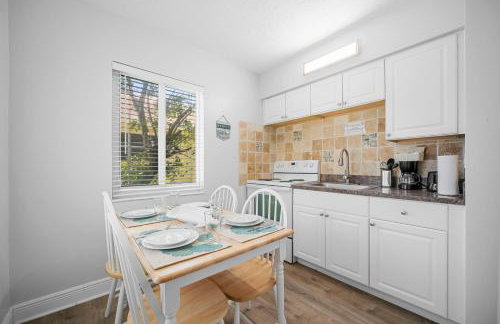
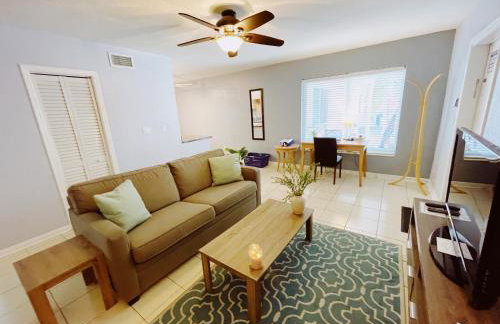
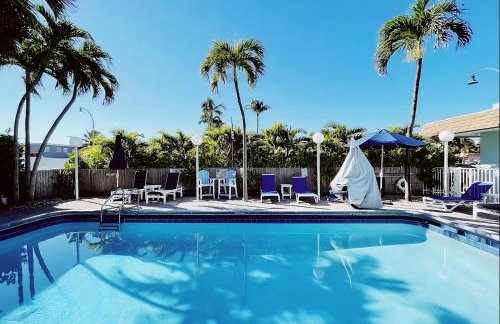
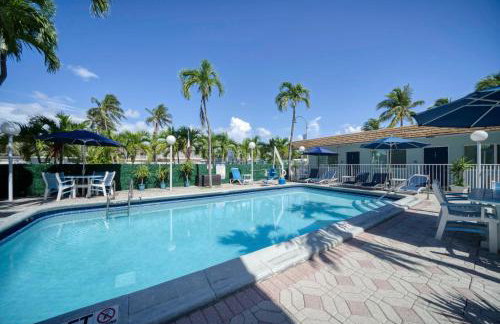
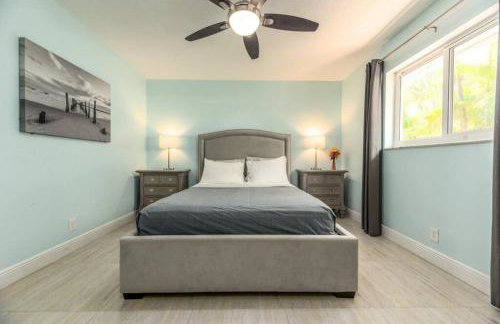
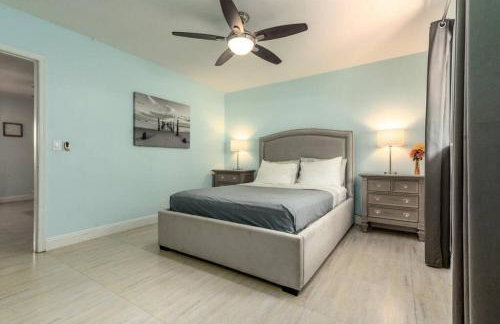
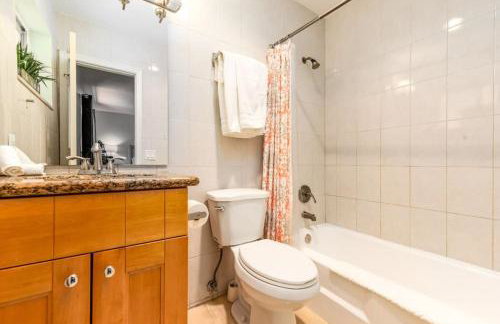
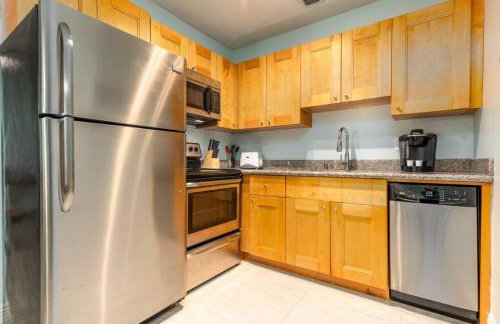
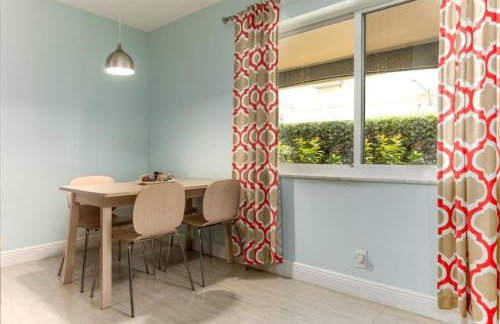
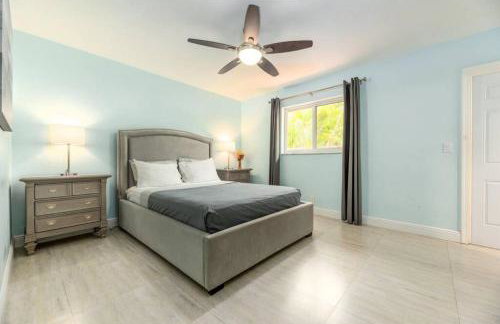
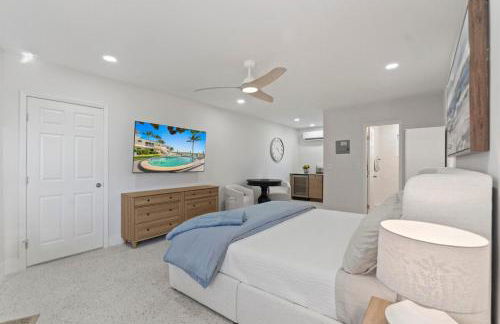
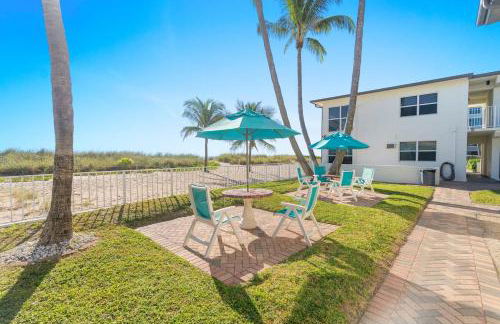
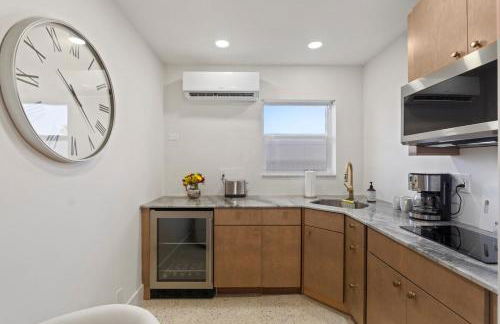
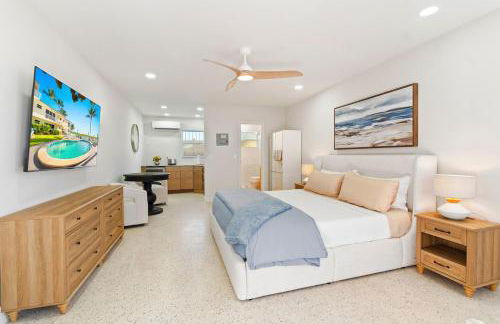
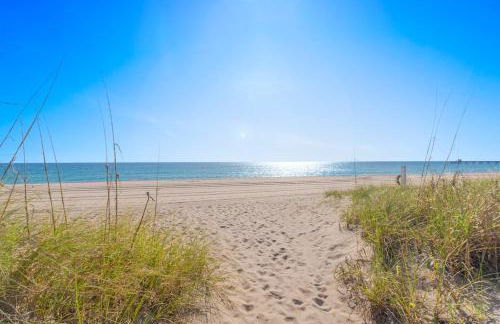
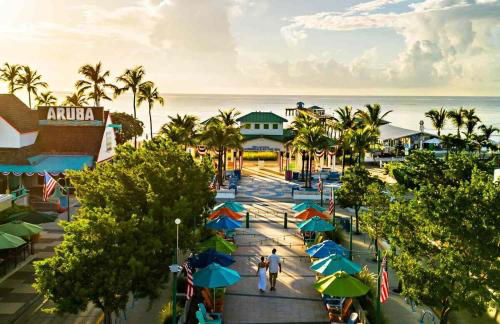
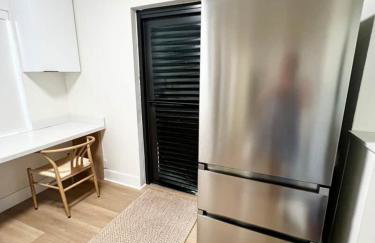
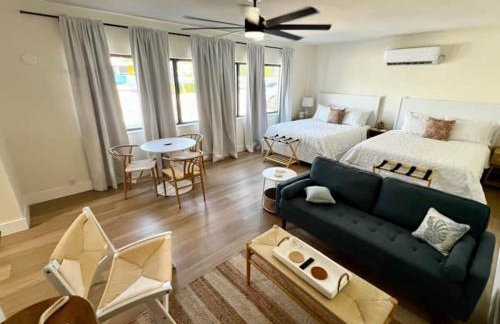
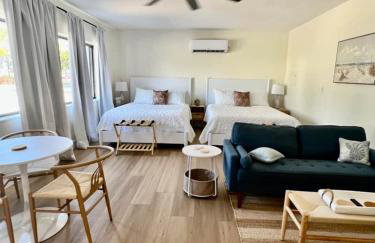
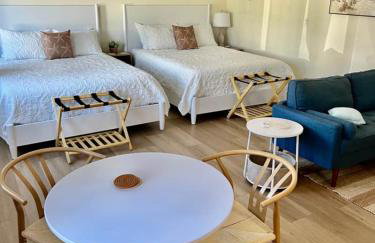
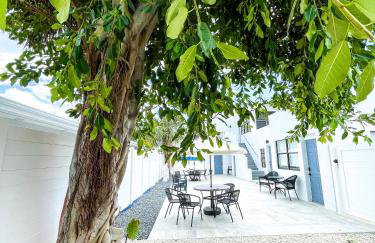
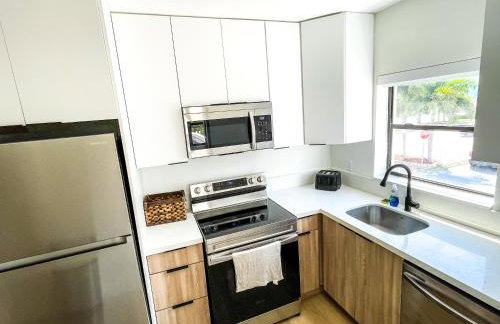
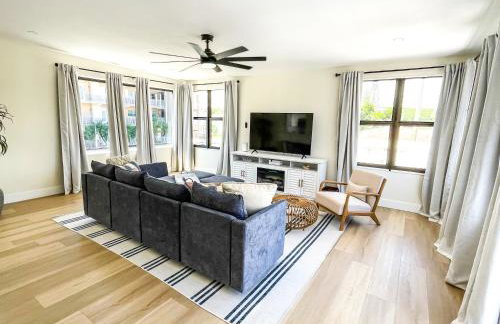
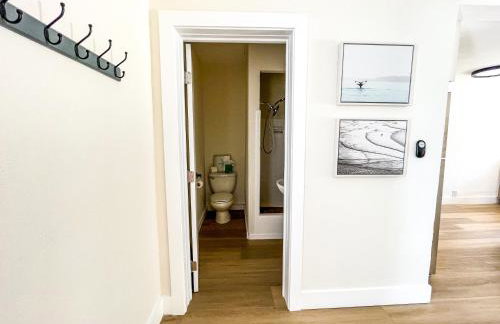
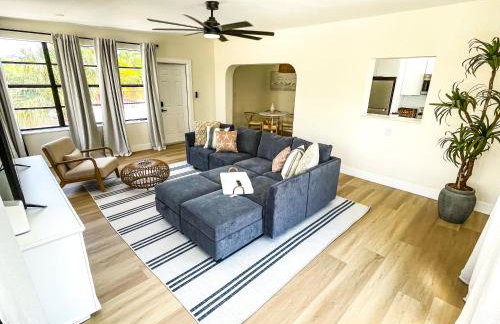
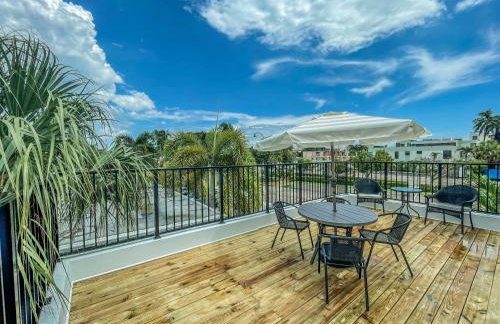
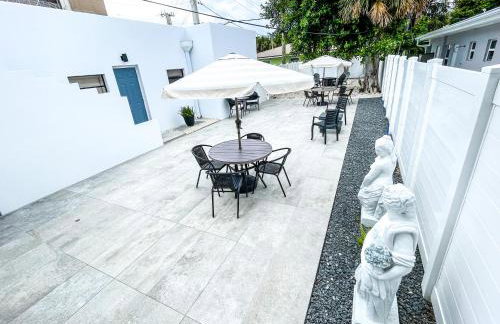
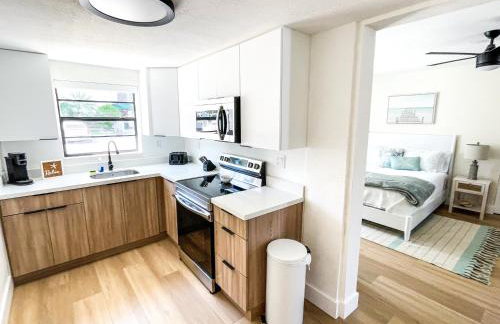
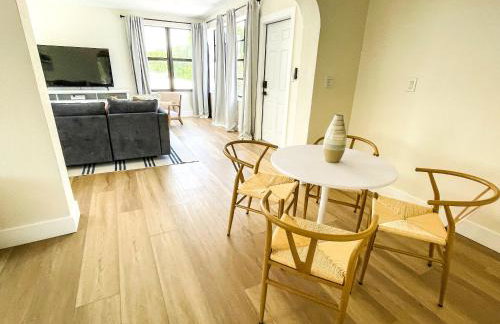
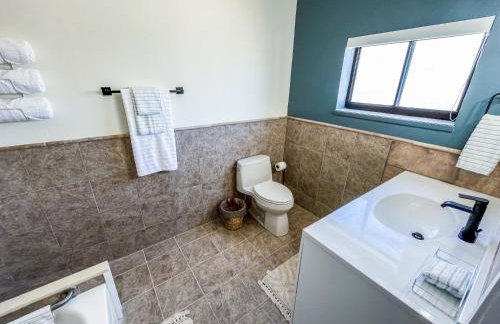
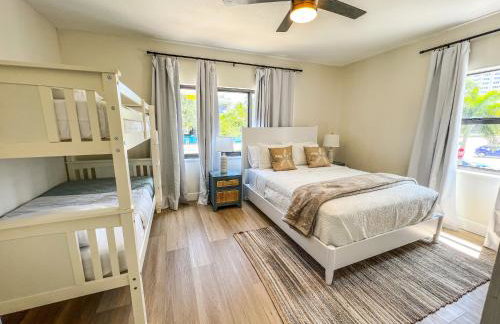
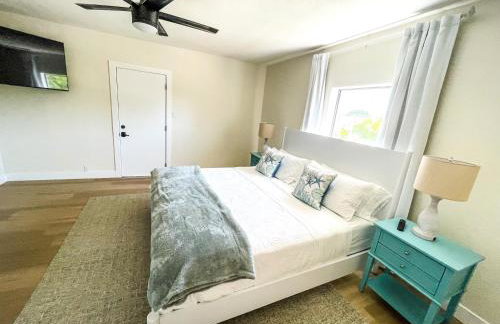
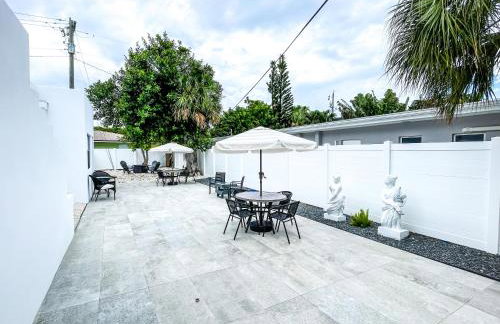
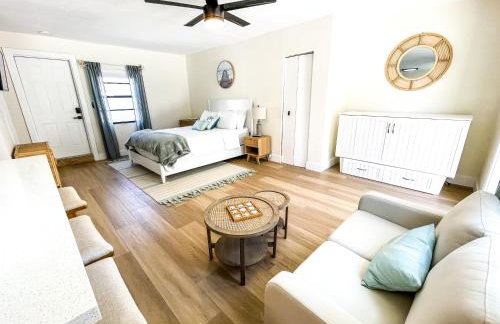
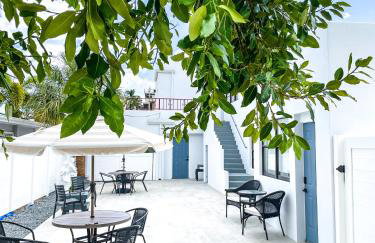
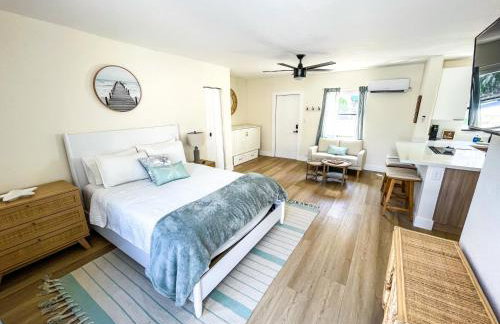
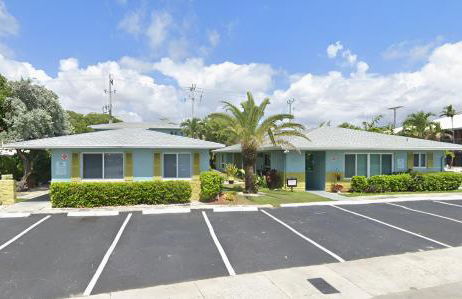
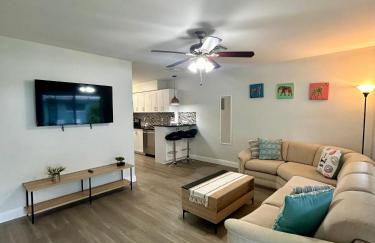
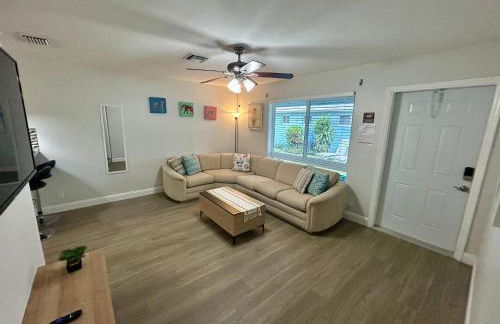
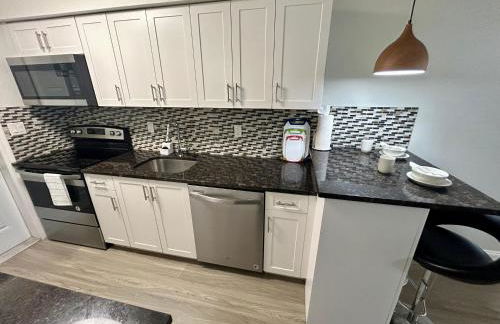
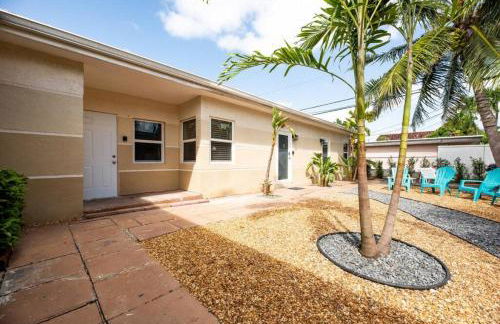
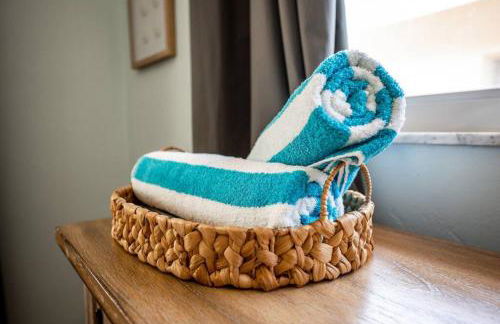
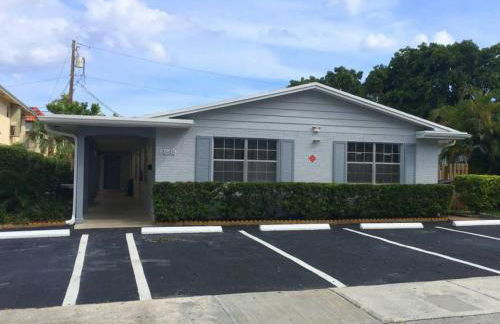
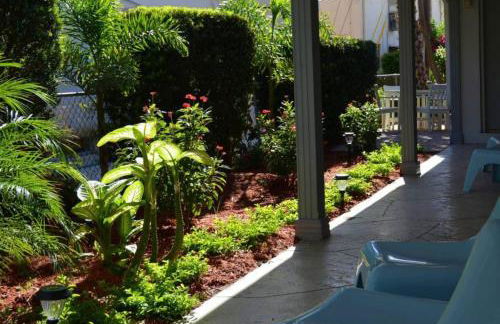
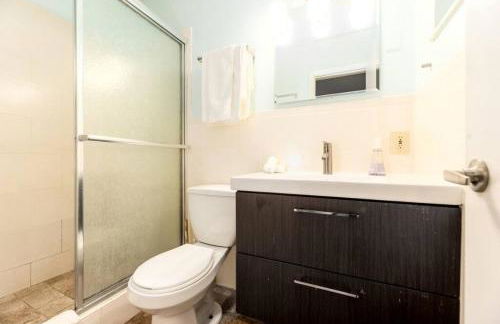
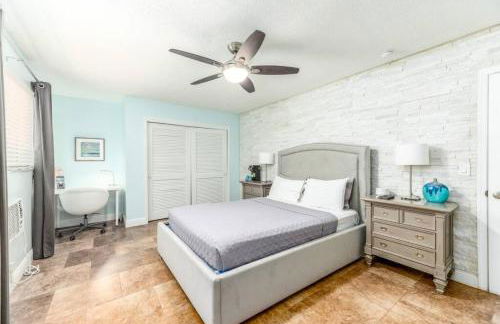
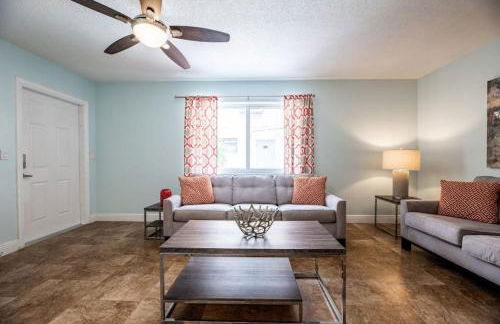
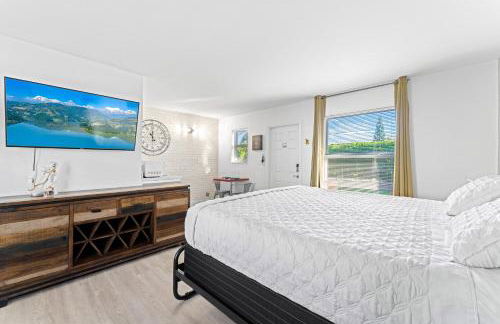
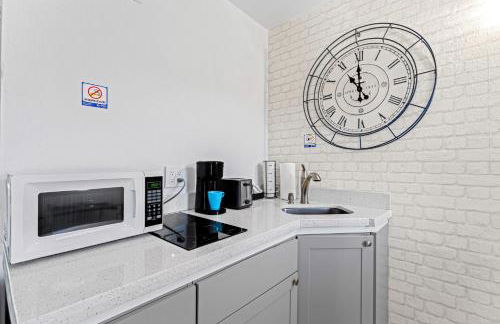
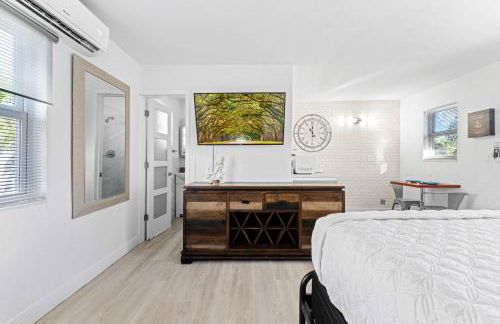
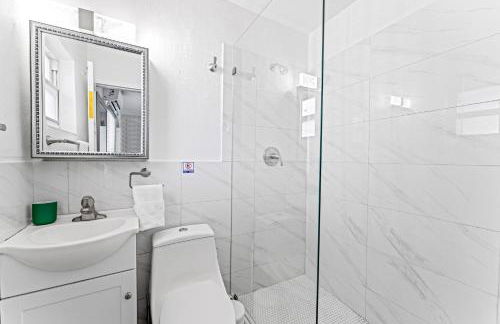
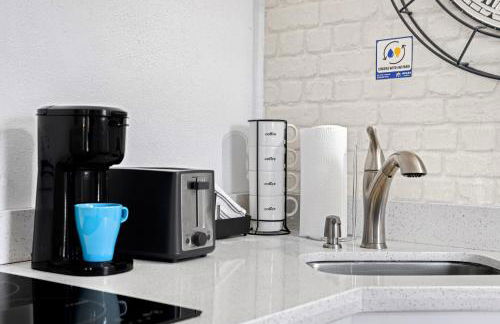
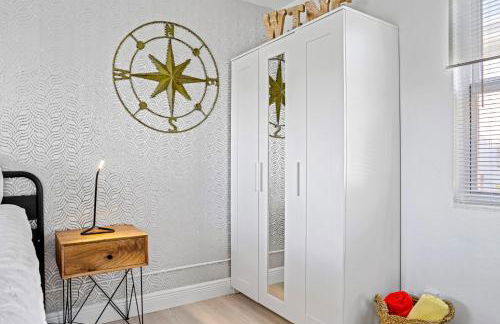
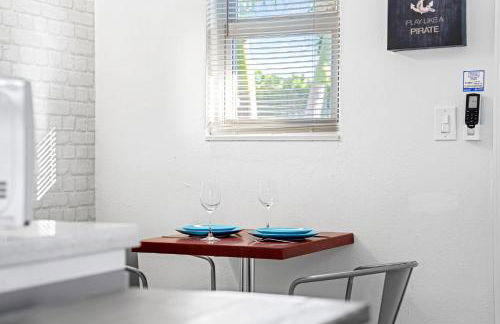
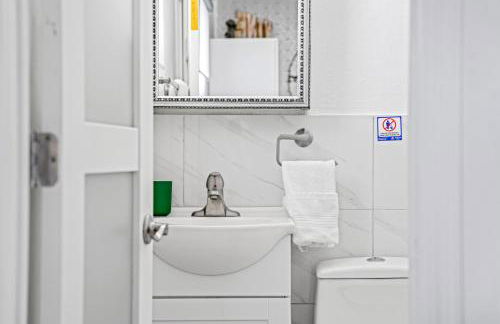
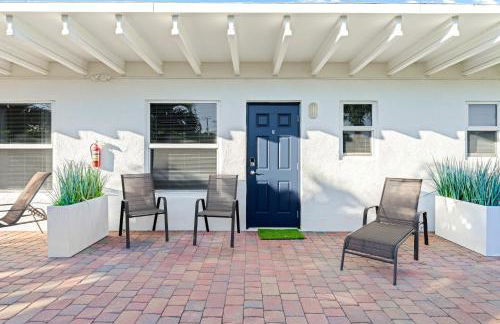
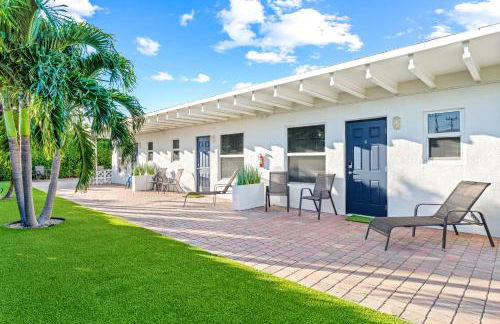
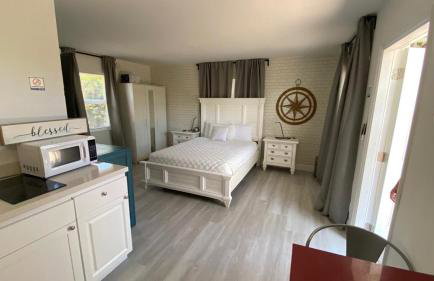
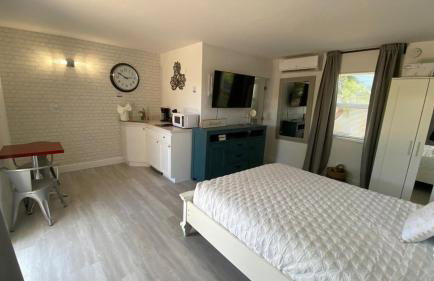
The Elmar Boutique Hotel - Foto 1
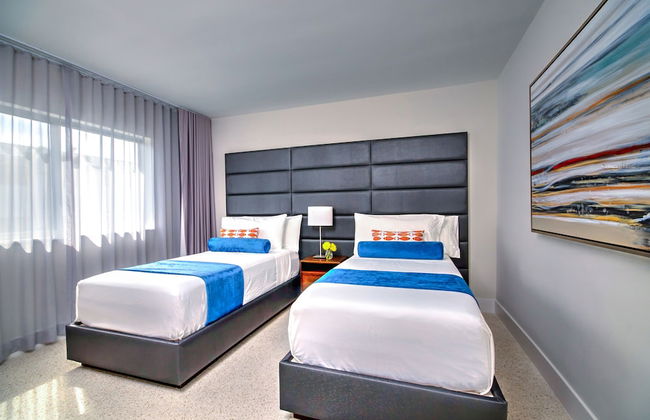
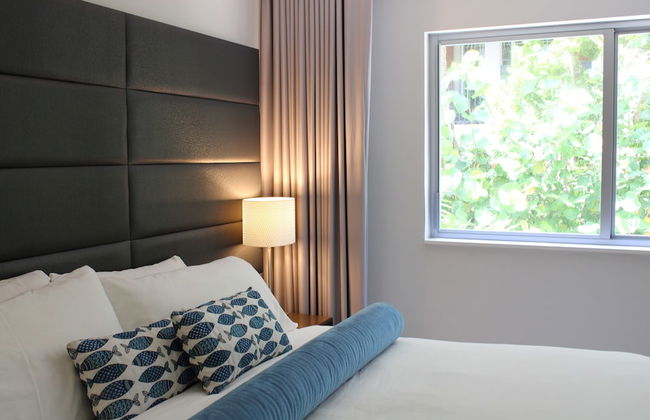
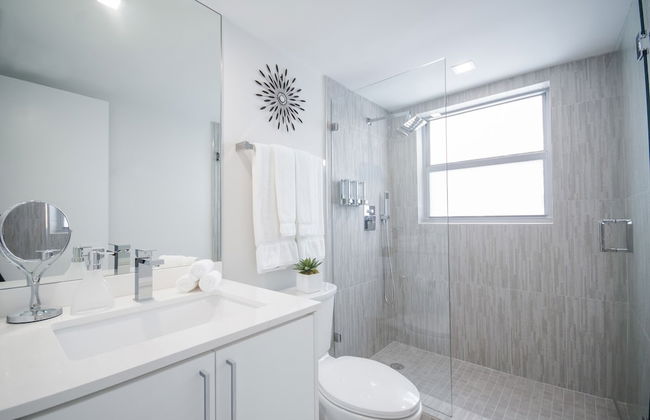
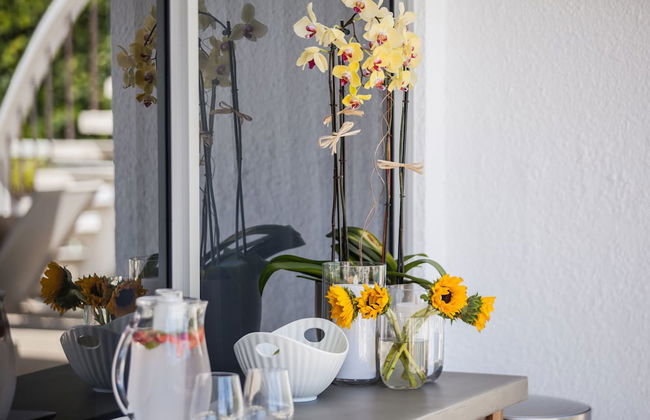
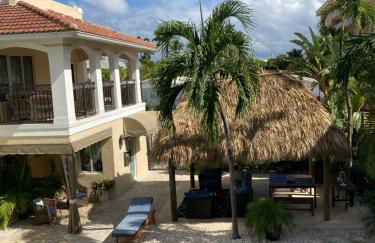
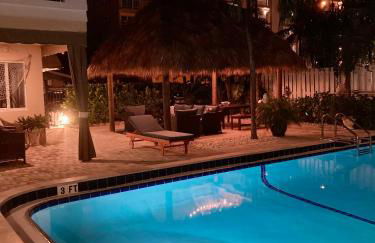
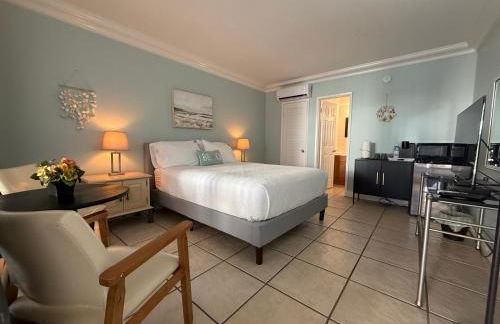
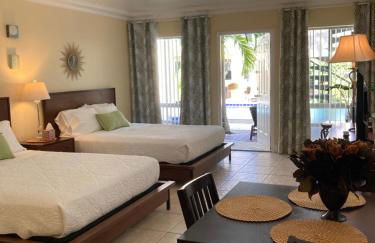
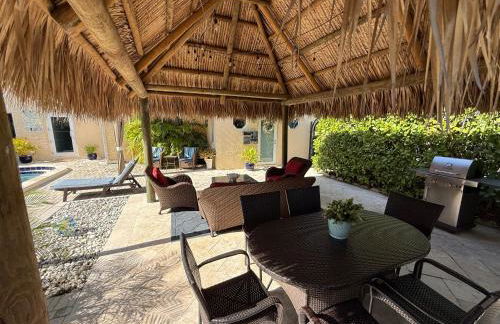
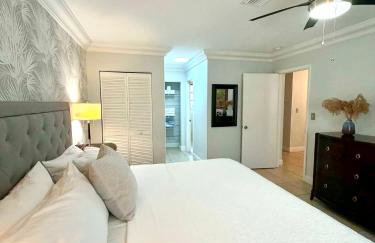
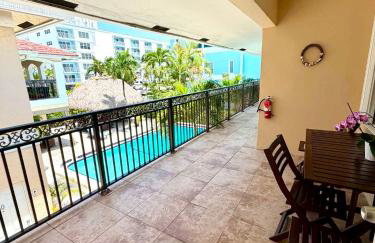
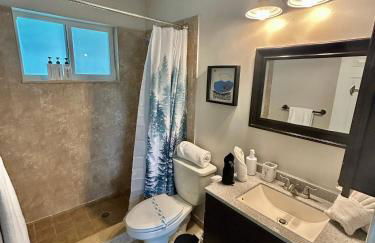
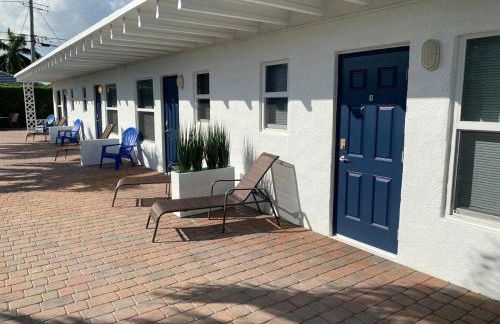
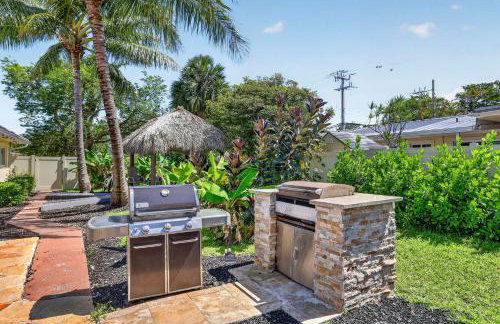
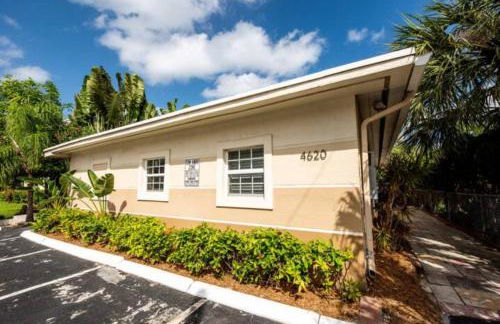
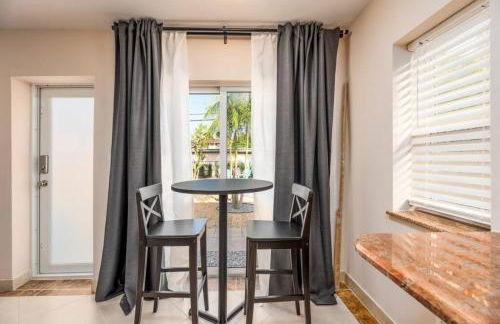
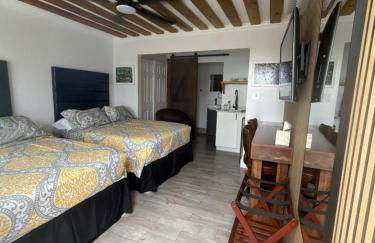
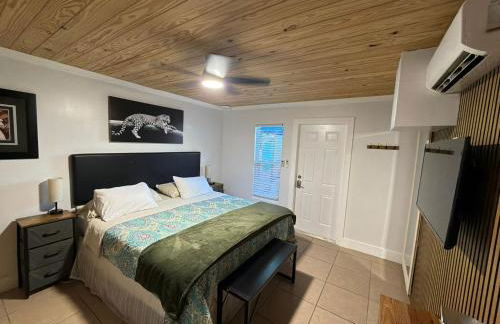
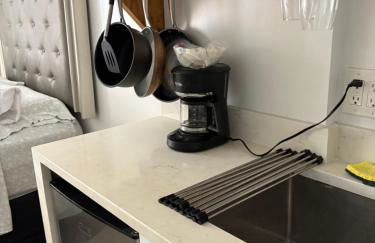
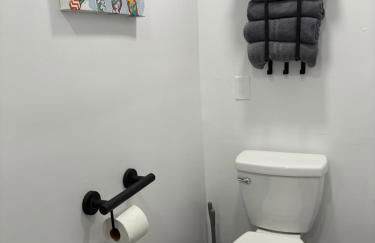
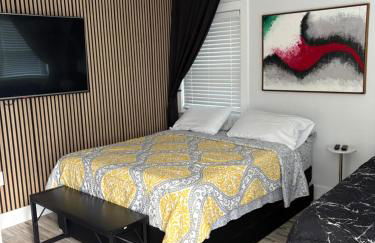
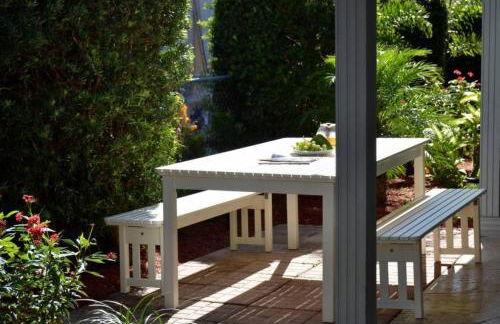
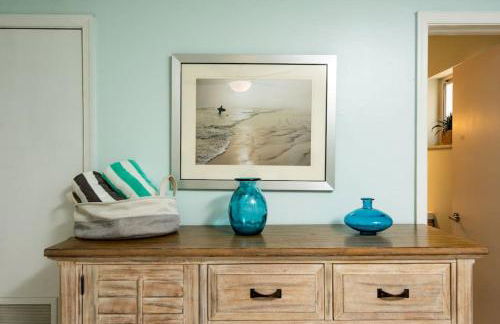
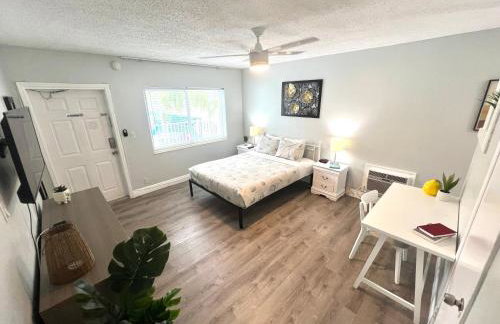
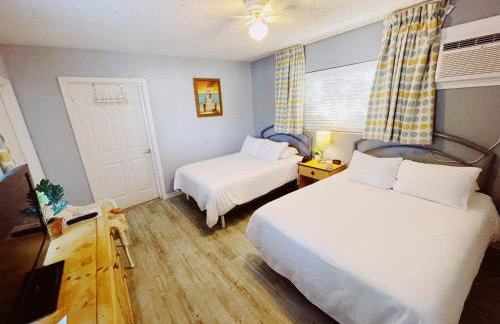
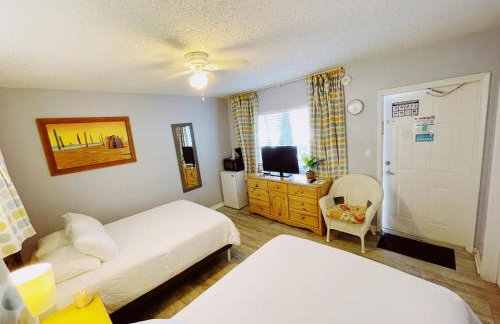
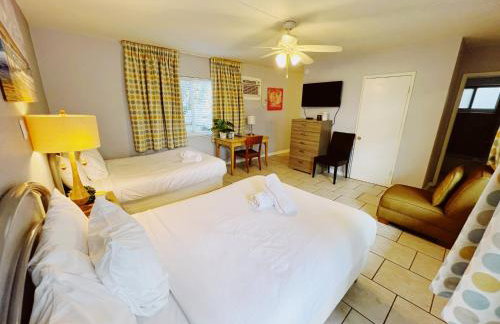
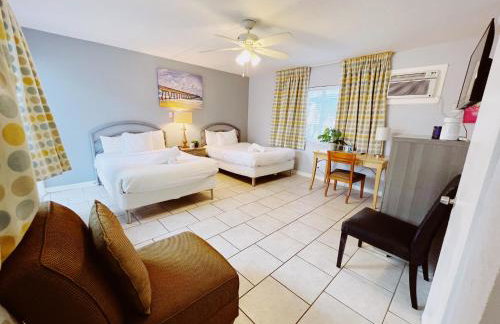
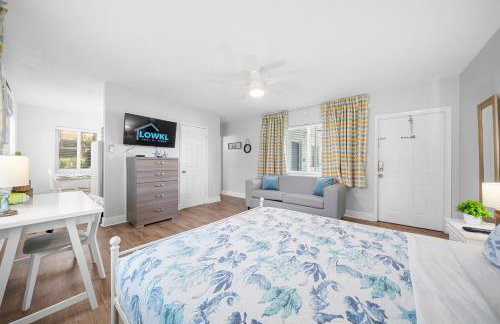
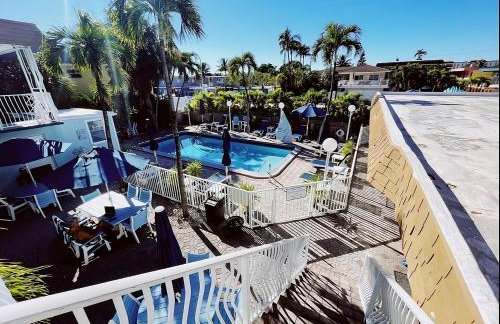
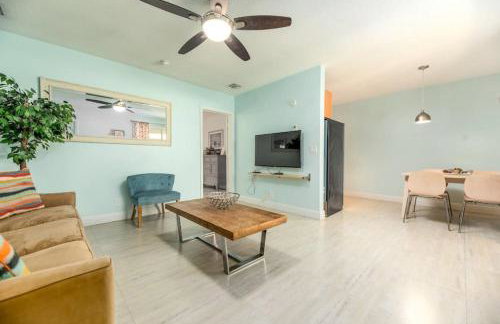
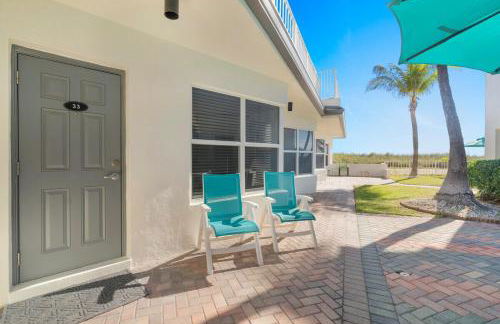
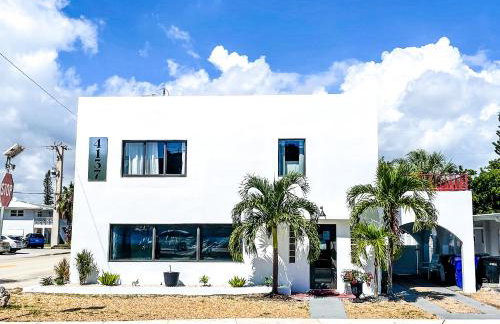
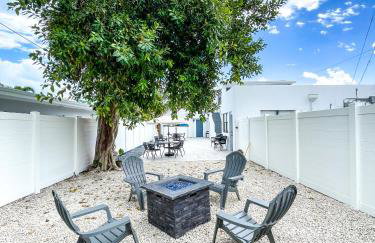
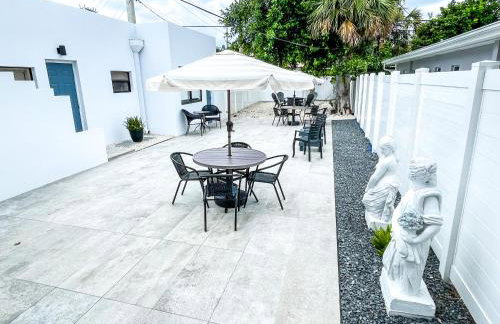
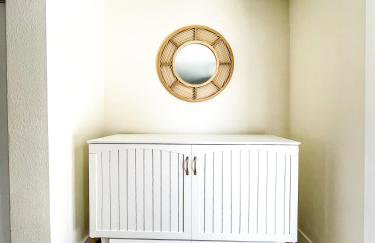
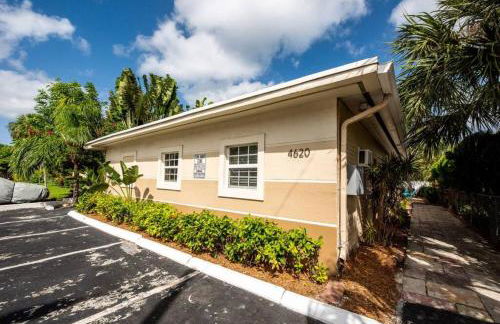
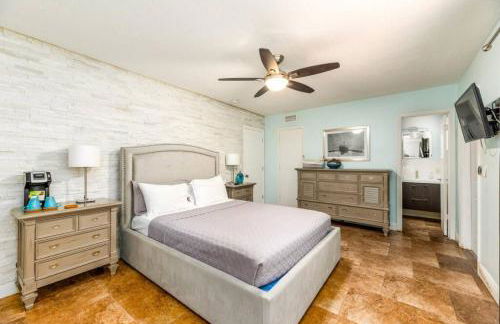
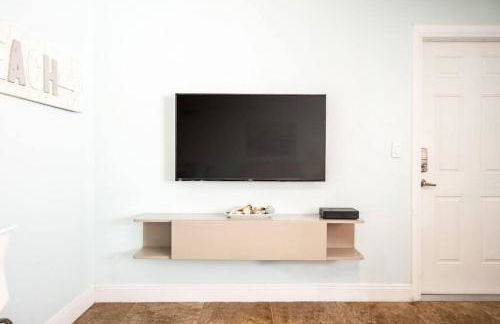
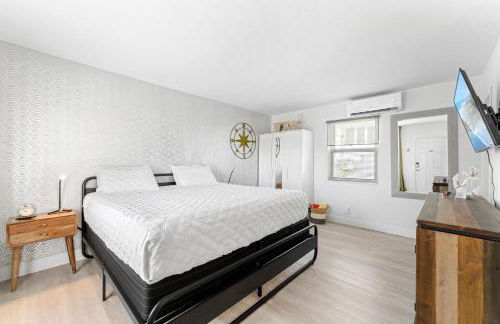
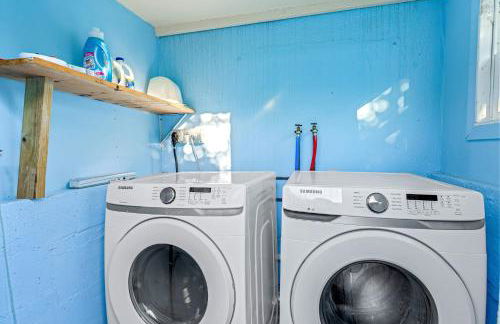
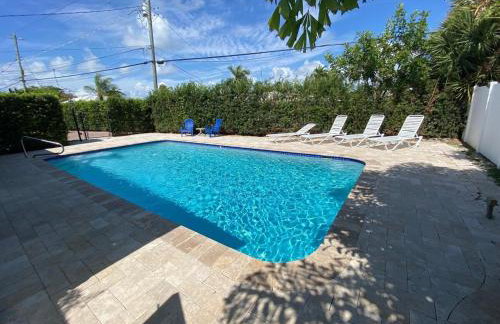
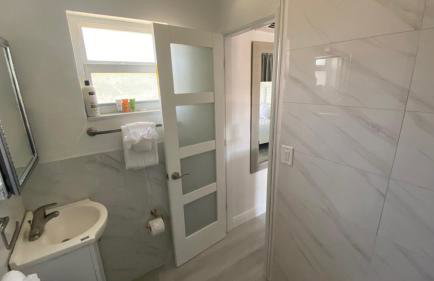
The Elmar Boutique Hotel - Foto 2
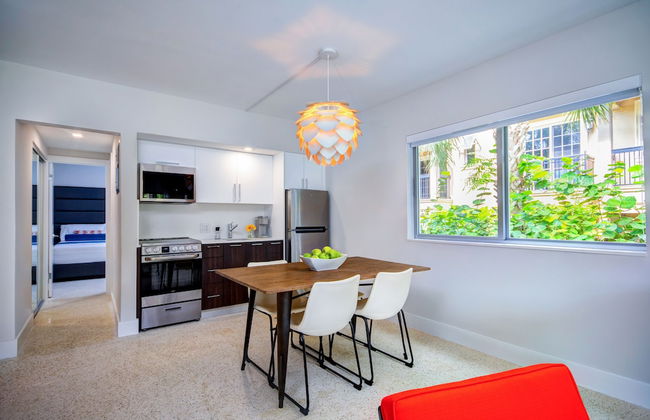
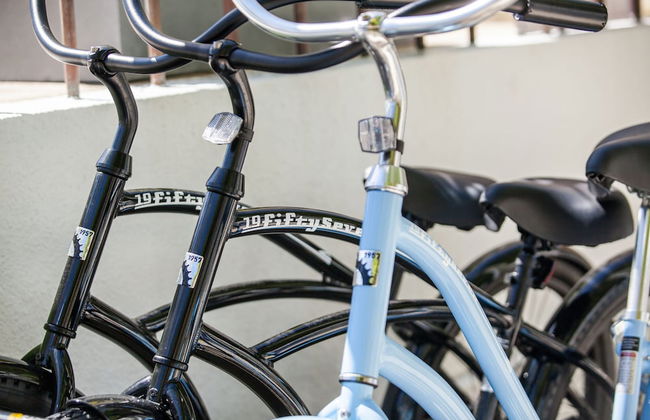
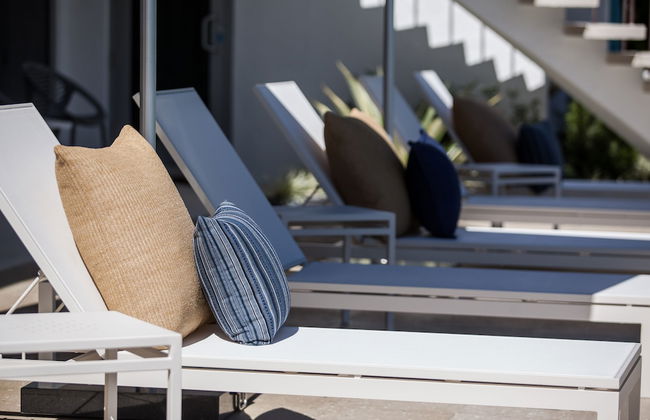
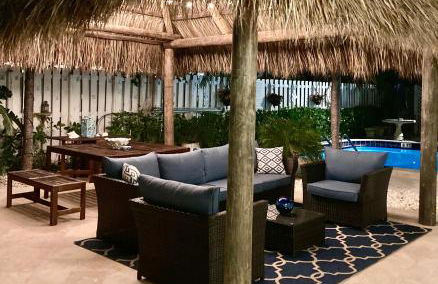
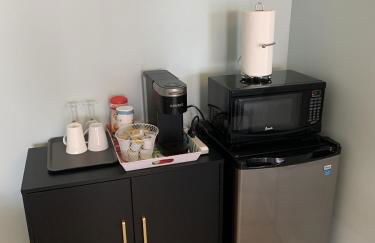
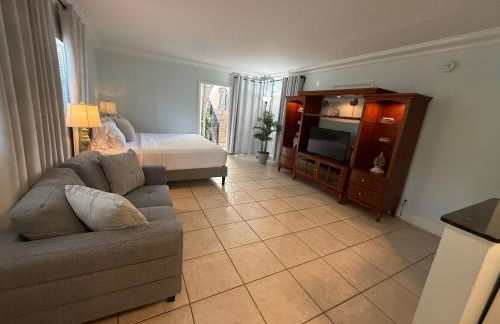
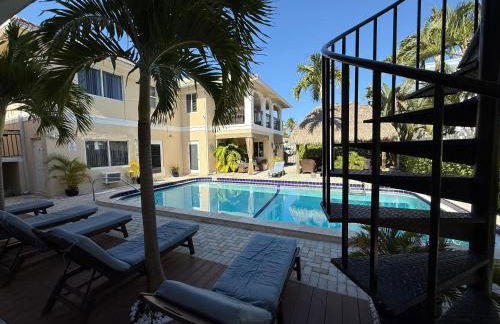
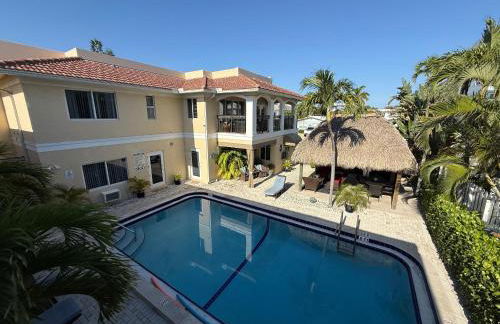
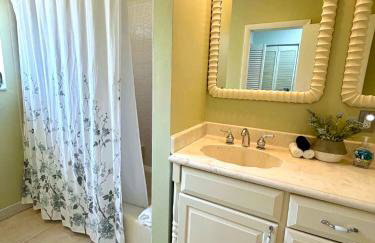
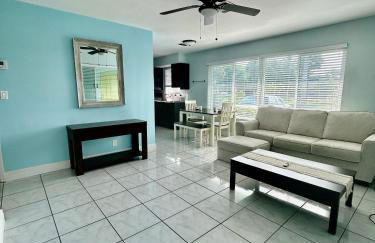
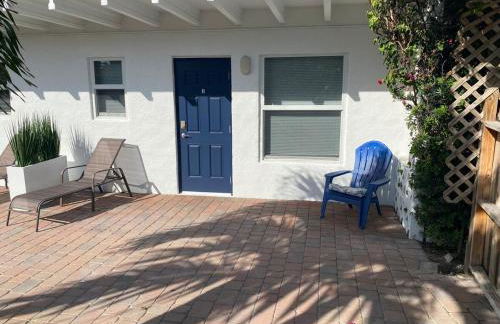
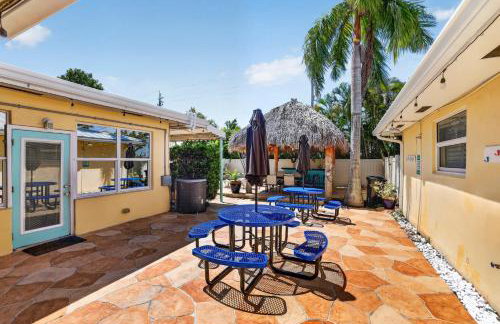
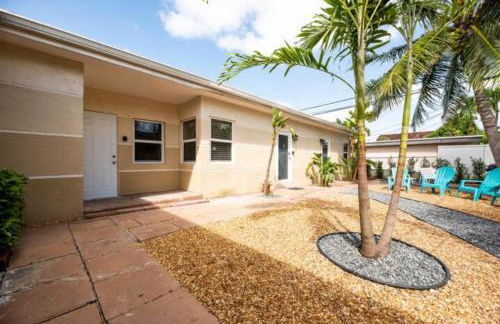
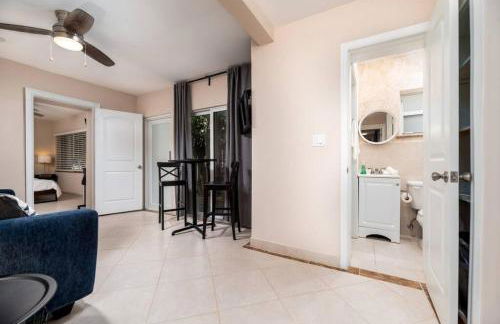
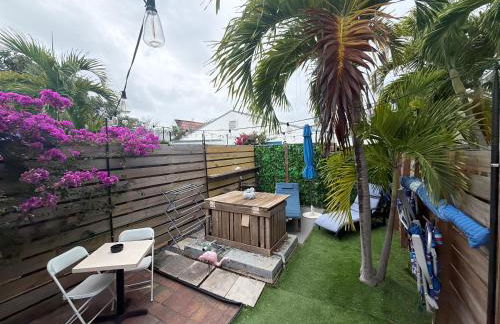
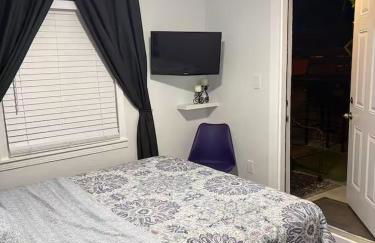
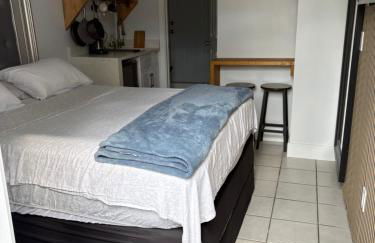
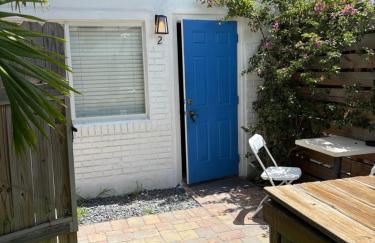
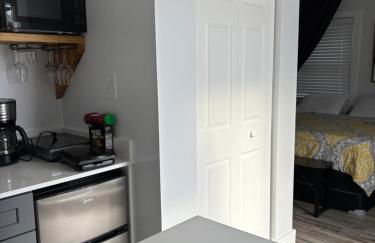
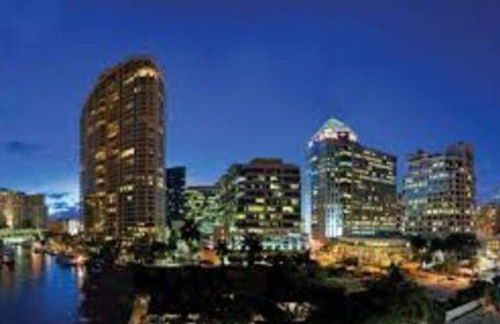
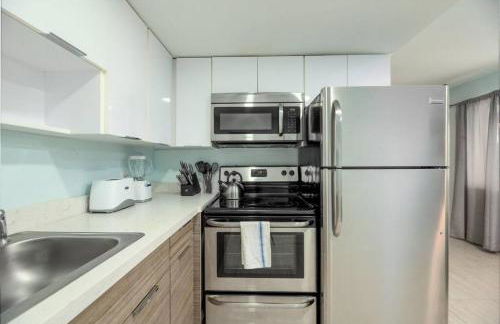
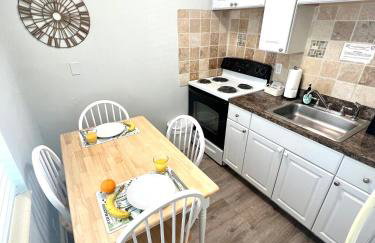
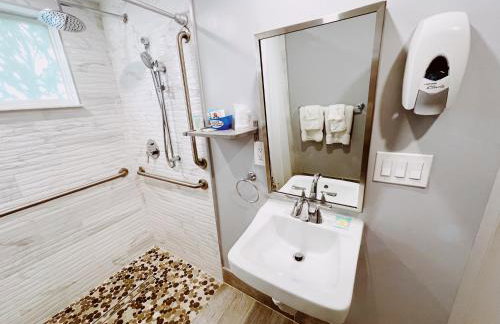
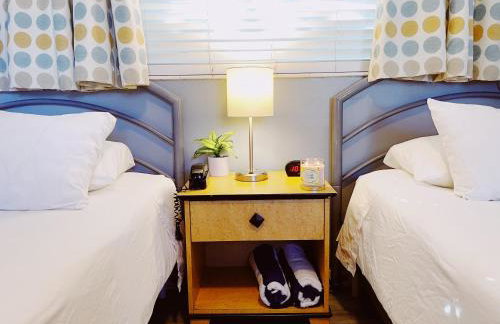
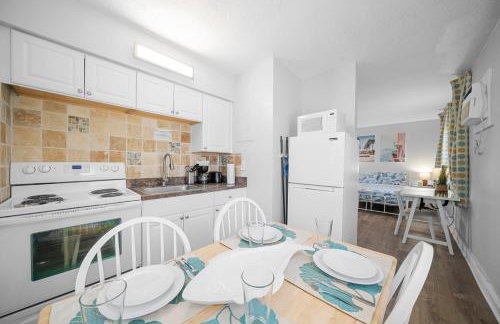
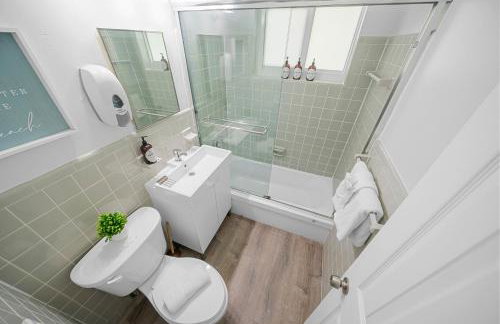
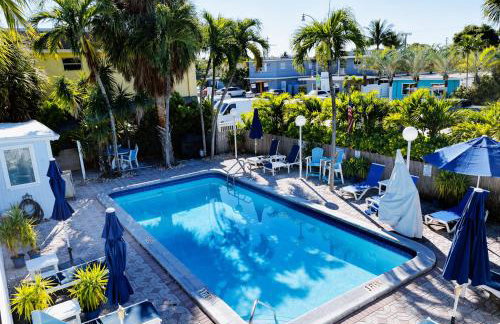
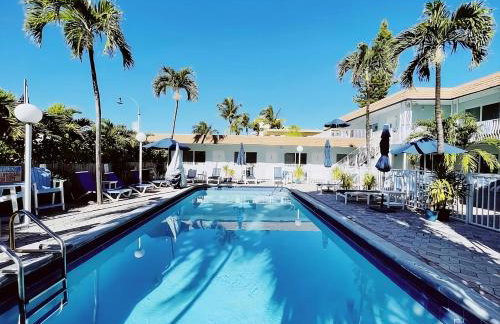
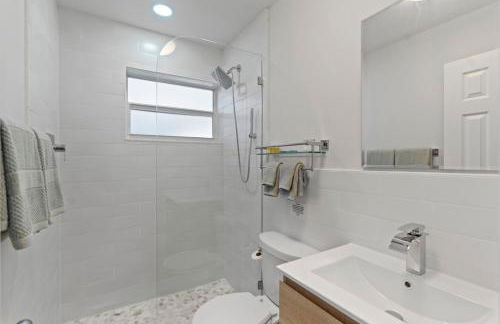
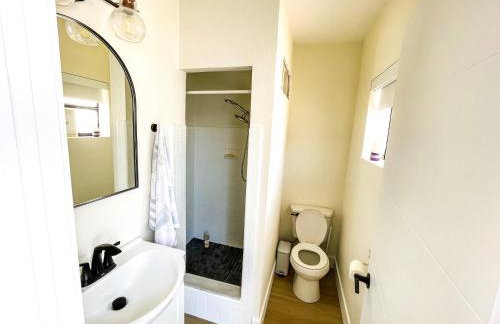
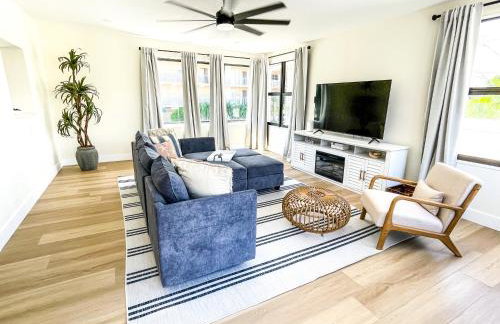
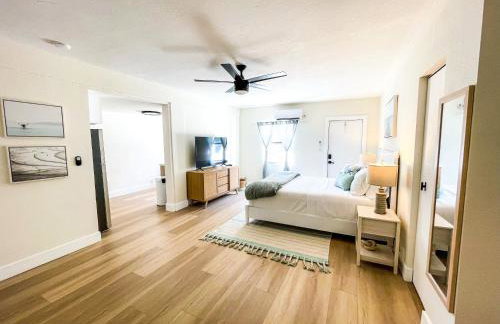
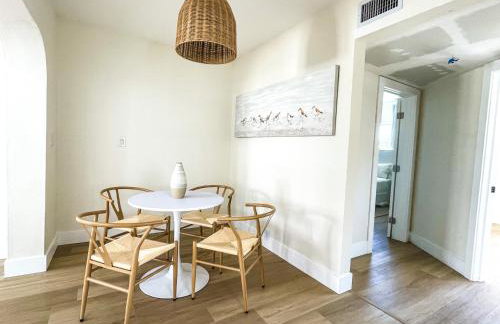
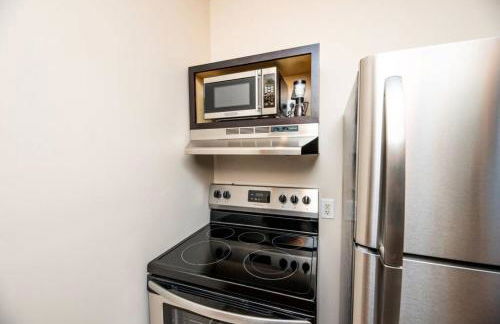
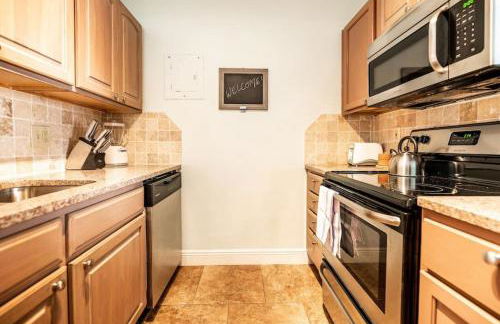
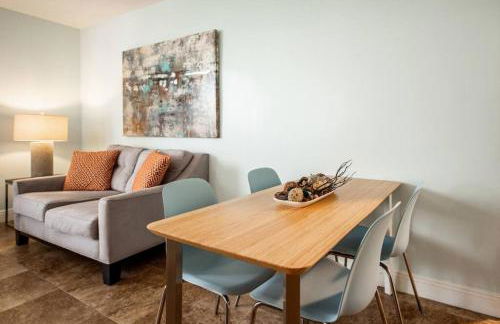
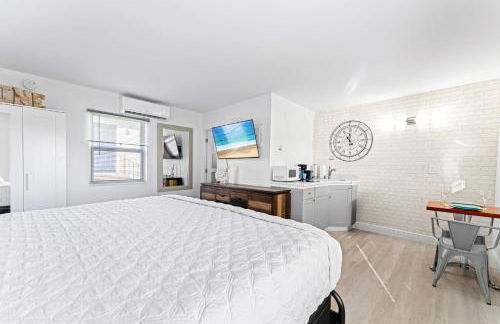
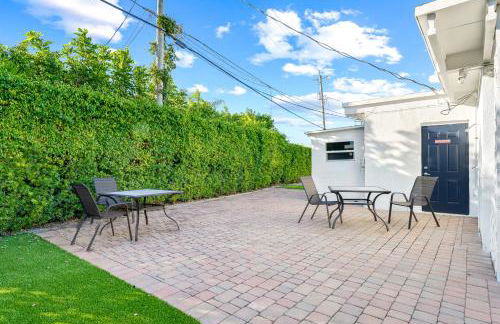
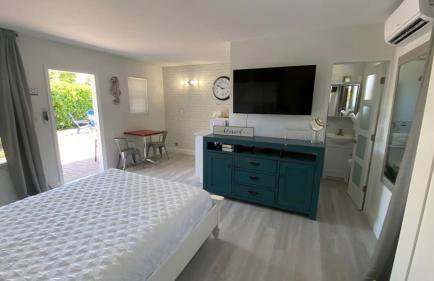
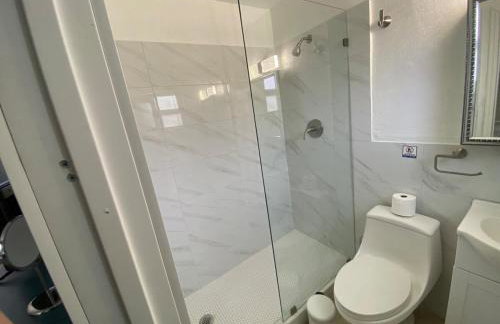
The Elmar Boutique Hotel - Foto 3
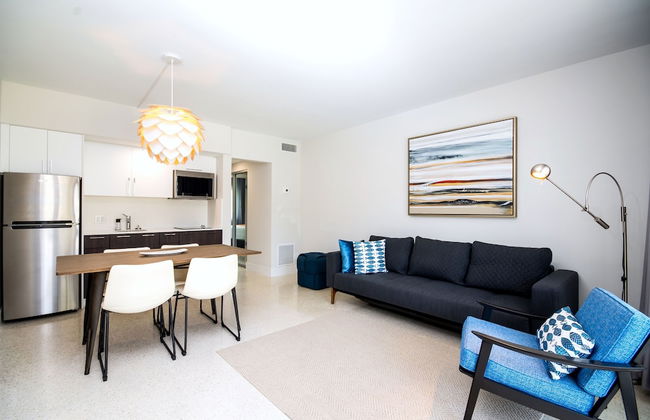
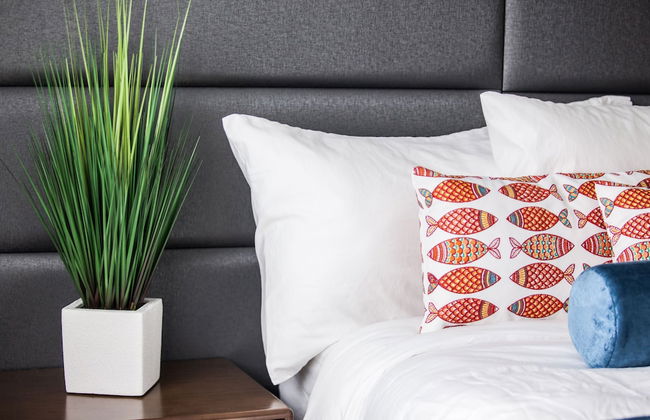
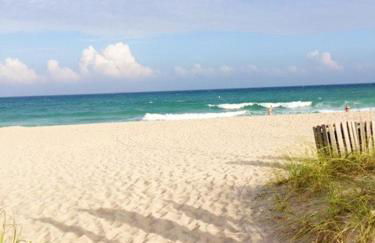
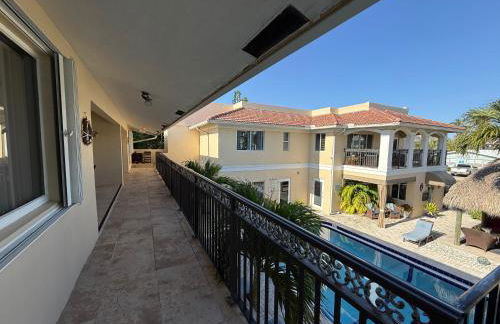
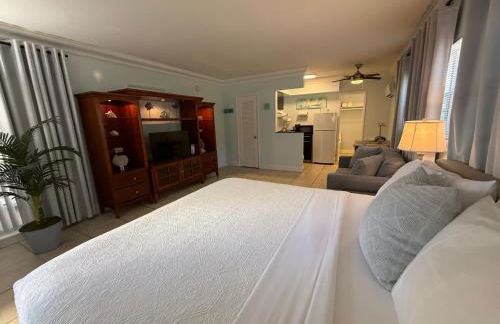
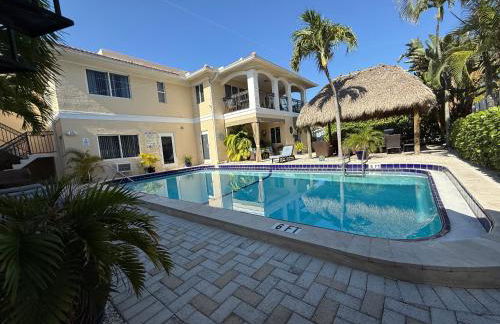
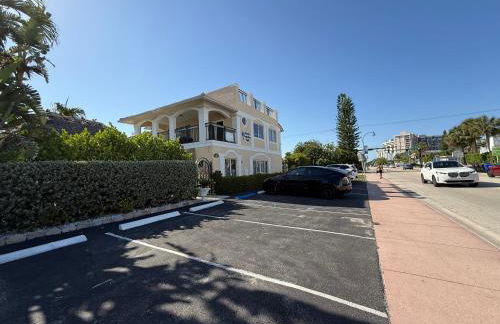
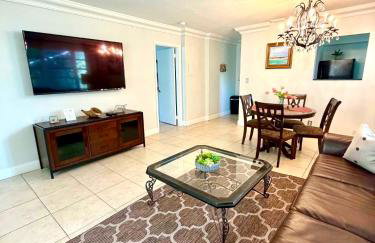
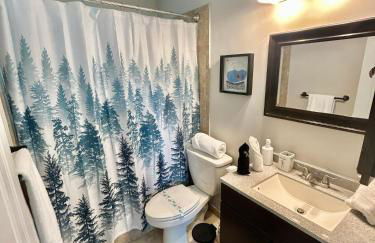
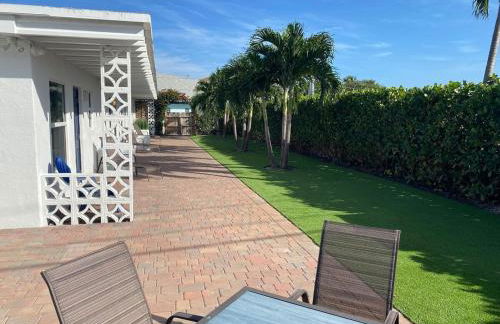
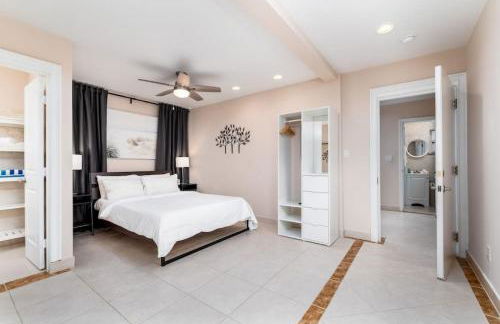
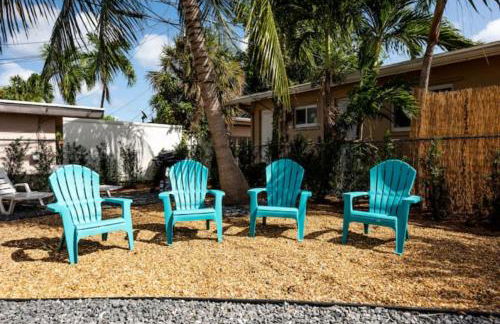
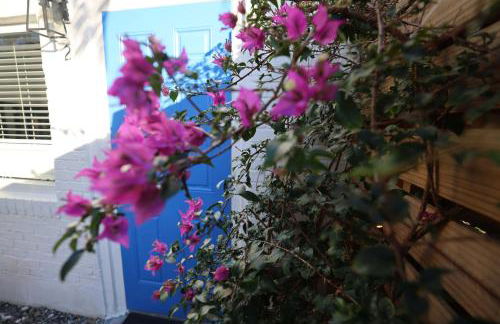
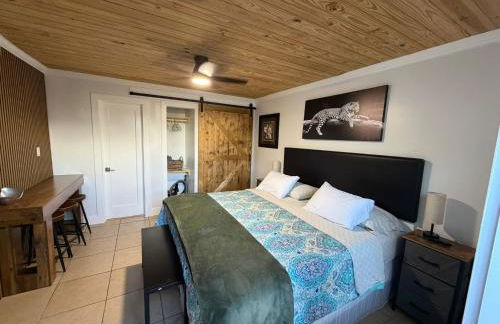
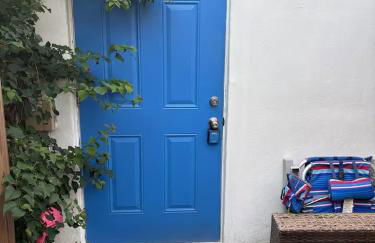
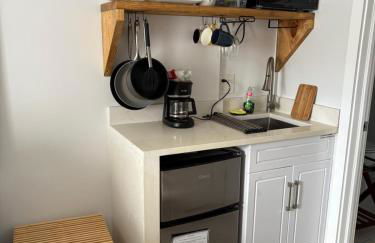
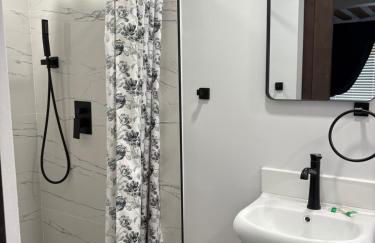
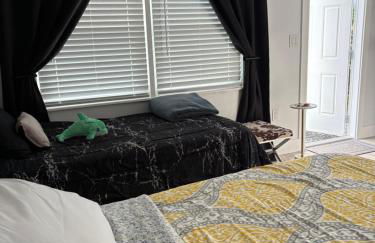
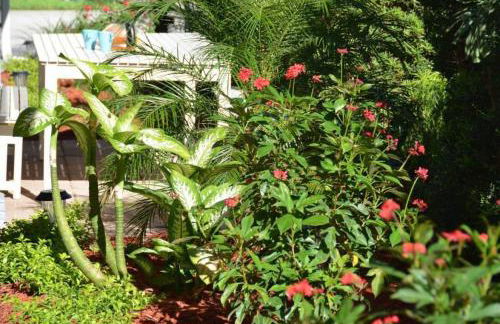
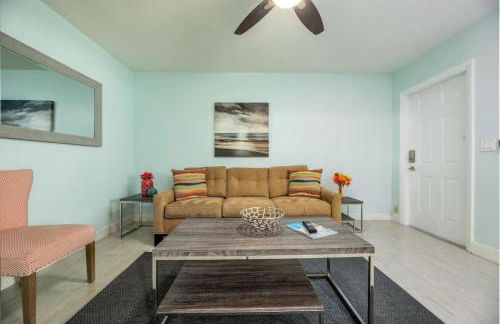
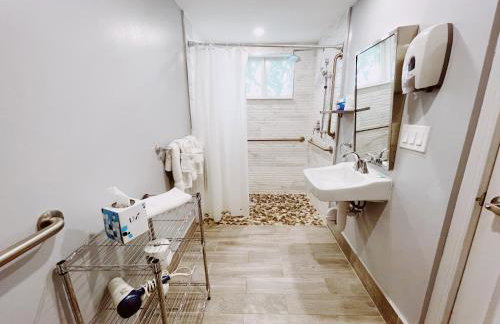
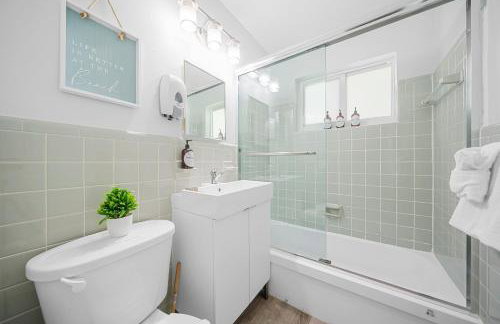
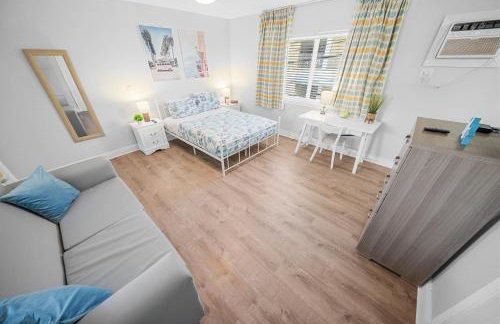
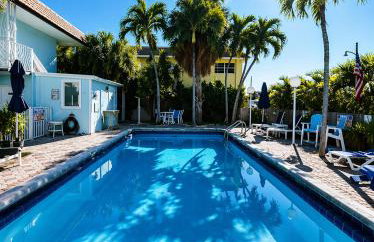
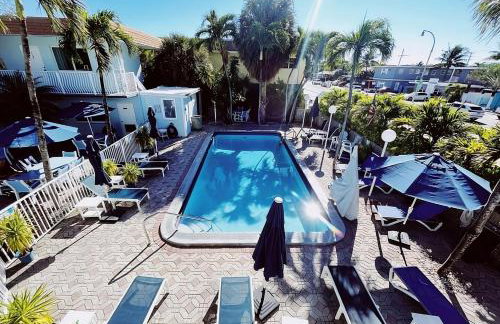
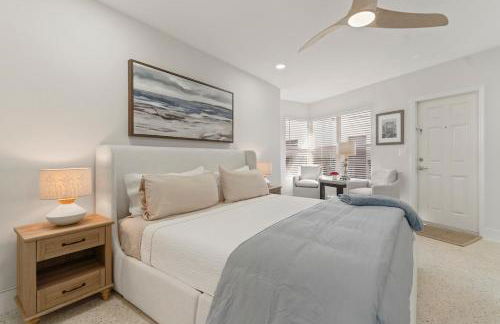
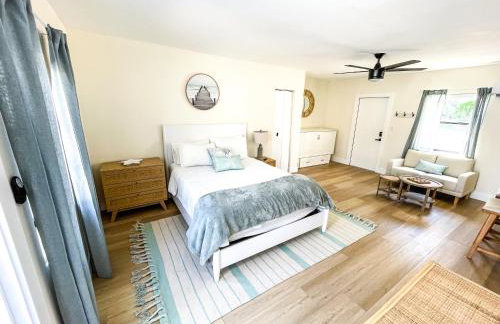
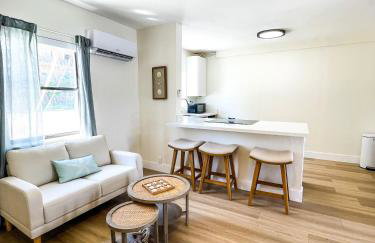
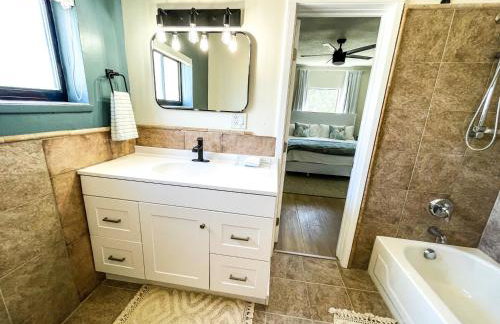
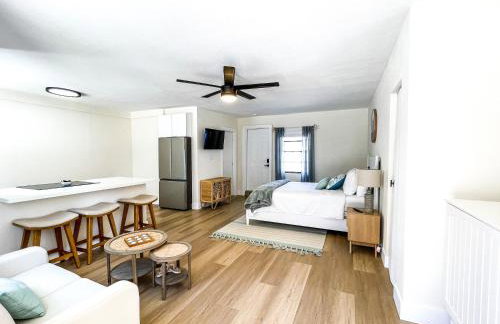
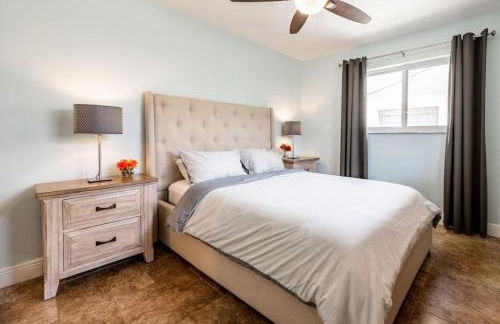
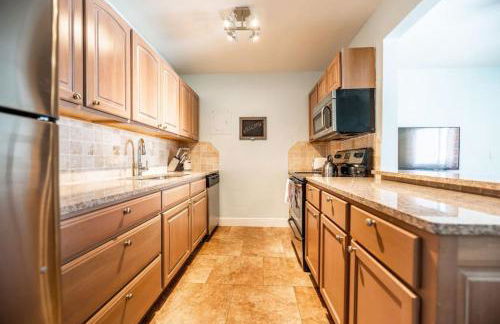
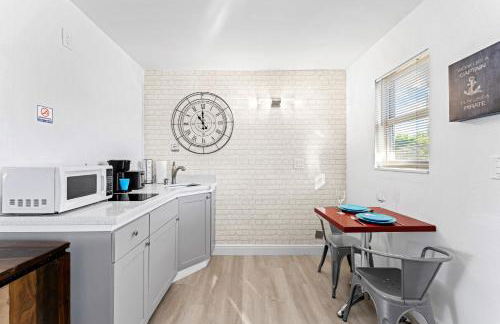
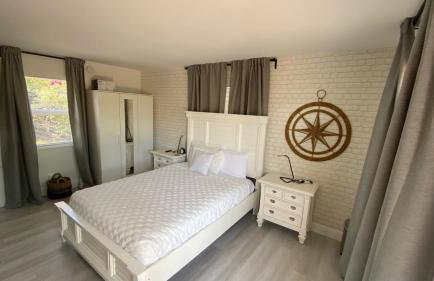
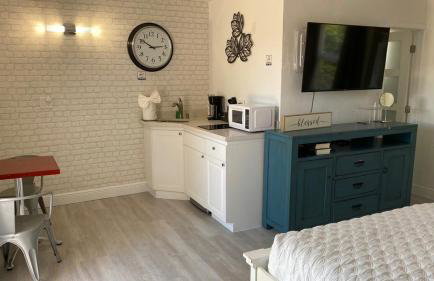
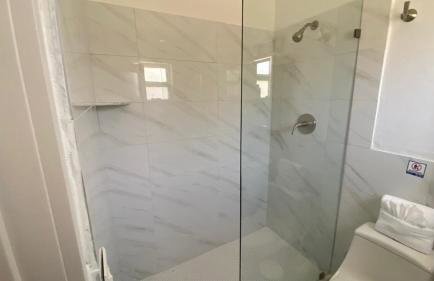
The Elmar Boutique Hotel - Foto 4
The Elmar Boutique Hotel - Foto 5
The Elmar Boutique Hotel - Foto 6
The Elmar Boutique Hotel - Foto 7
The Elmar Boutique Hotel - Foto 8
The Elmar Boutique Hotel - Foto 9
The Elmar Boutique Hotel - Foto 10
The Elmar Boutique Hotel - Foto 11
The Elmar Boutique Hotel - Foto 12
The Elmar Boutique Hotel - Foto 13
The Elmar Boutique Hotel - Foto 14
The Elmar Boutique Hotel - Foto 15
The Elmar Boutique Hotel - Foto 16
The Elmar Boutique Hotel - Foto 17
The Elmar Boutique Hotel - Foto 18
The Elmar Boutique Hotel - Foto 19

The Elmar Boutique Hotel

Lauderdale-by-the-Sea

  • 46 M2
  • 3 Personen
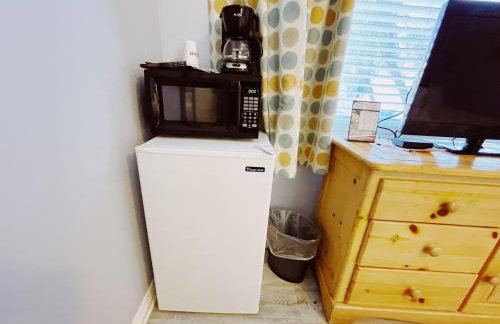
  • Kochnische
  • Klimaanlage
  • Heizung
  • Schwimmbad
  • Parkplatz
  • Tv
  • Handtücher
  • Bettlaken
10Hervorragend | 53 Bewertungen
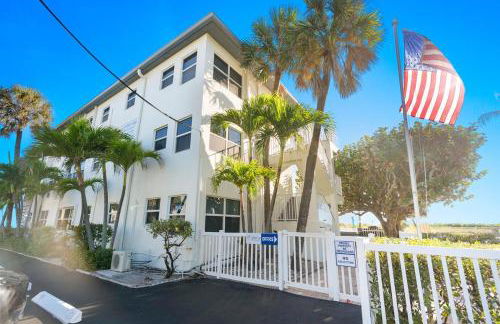
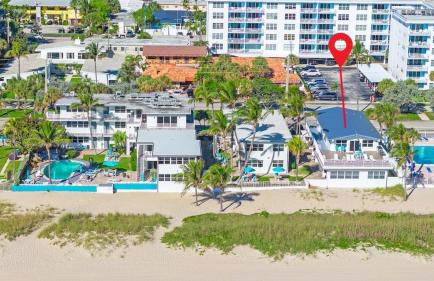
Beach Aqualina Apartments - Foto 1
Beach Aqualina Apartments - Foto 2
Beach Aqualina Apartments - Foto 3
Beach Aqualina Apartments - Foto 4
Beach Aqualina Apartments - Foto 5
Beach Aqualina Apartments - Foto 6
Beach Aqualina Apartments - Foto 7
Beach Aqualina Apartments - Foto 8
Beach Aqualina Apartments - Foto 9
Beach Aqualina Apartments - Foto 10
Beach Aqualina Apartments - Foto 11
Beach Aqualina Apartments - Foto 12
Beach Aqualina Apartments - Foto 13
Beach Aqualina Apartments - Foto 14
Beach Aqualina Apartments - Foto 15
Beach Aqualina Apartments - Foto 16
Beach Aqualina Apartments - Foto 17
Beach Aqualina Apartments - Foto 18
Beach Aqualina Apartments - Foto 19
Beach Aqualina Apartments - Foto 20
Beach Aqualina Apartments - Foto 21
Beach Aqualina Apartments - Foto 22
Beach Aqualina Apartments - Foto 23
Beach Aqualina Apartments - Foto 24
Beach Aqualina Apartments - Foto 25
Beach Aqualina Apartments - Foto 26
Beach Aqualina Apartments - Foto 27
Beach Aqualina Apartments - Foto 28
Beach Aqualina Apartments - Foto 29
Beach Aqualina Apartments - Foto 30
Beach Aqualina Apartments - Foto 31
Beach Aqualina Apartments - Foto 32
Beach Aqualina Apartments - Foto 33
Beach Aqualina Apartments - Foto 34
Beach Aqualina Apartments - Foto 35
Beach Aqualina Apartments - Foto 36
Beach Aqualina Apartments - Foto 37
Beach Aqualina Apartments - Foto 38
Beach Aqualina Apartments - Foto 39
Beach Aqualina Apartments - Foto 40
Beach Aqualina Apartments - Foto 41
Beach Aqualina Apartments - Foto 42
Beach Aqualina Apartments - Foto 43
Beach Aqualina Apartments - Foto 44
Beach Aqualina Apartments - Foto 45
Beach Aqualina Apartments - Foto 46
Beach Aqualina Apartments - Foto 47
Beach Aqualina Apartments - Foto 48
Beach Aqualina Apartments - Foto 49
Beach Aqualina Apartments - Foto 50
Beach Aqualina Apartments - Foto 51
Beach Aqualina Apartments - Foto 52
Beach Aqualina Apartments - Foto 53
Beach Aqualina Apartments - Foto 54
Beach Aqualina Apartments - Foto 55
Beach Aqualina Apartments - Foto 56
Beach Aqualina Apartments - Foto 57
Beach Aqualina Apartments - Foto 58
Beach Aqualina Apartments - Foto 59
Beach Aqualina Apartments - Foto 60
Beach Aqualina Apartments - Foto 61
Beach Aqualina Apartments - Foto 62
Beach Aqualina Apartments - Foto 63
Beach Aqualina Apartments - Foto 64
Beach Aqualina Apartments - Foto 65
Beach Aqualina Apartments - Foto 66
Beach Aqualina Apartments - Foto 67
Beach Aqualina Apartments - Foto 68
Beach Aqualina Apartments - Foto 69
Beach Aqualina Apartments - Foto 70
Beach Aqualina Apartments - Foto 71

Beach Aqualina Apartments

Lauderdale-by-the-Sea

  • 1 Schlafzimmer
  • 4 Personen
  • Klimaanlage
  • Terrasse
  • Schwimmbad
  • Parkplatz
  • Garten
  • Barbecue
9.5Außergewöhnlich | 415 Bewertungen
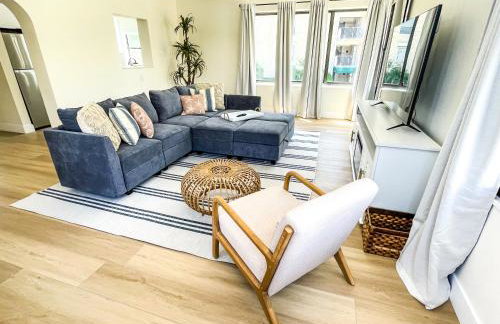
2 min walk to beach & free parking Lauderdale 21-1 - Foto 1
2 min walk to beach & free parking Lauderdale 21-1 - Foto 2
2 min walk to beach & free parking Lauderdale 21-1 - Foto 3
2 min walk to beach & free parking Lauderdale 21-1 - Foto 4
2 min walk to beach & free parking Lauderdale 21-1 - Foto 5
2 min walk to beach & free parking Lauderdale 21-1 - Foto 6
2 min walk to beach & free parking Lauderdale 21-1 - Foto 7
2 min walk to beach & free parking Lauderdale 21-1 - Foto 8
2 min walk to beach & free parking Lauderdale 21-1 - Foto 9
2 min walk to beach & free parking Lauderdale 21-1 - Foto 10
2 min walk to beach & free parking Lauderdale 21-1 - Foto 11
2 min walk to beach & free parking Lauderdale 21-1 - Foto 12
2 min walk to beach & free parking Lauderdale 21-1 - Foto 13
2 min walk to beach & free parking Lauderdale 21-1 - Foto 14
2 min walk to beach & free parking Lauderdale 21-1 - Foto 15
2 min walk to beach & free parking Lauderdale 21-1 - Foto 16
2 min walk to beach & free parking Lauderdale 21-1 - Foto 17
2 min walk to beach & free parking Lauderdale 21-1 - Foto 18
2 min walk to beach & free parking Lauderdale 21-1 - Foto 19
2 min walk to beach & free parking Lauderdale 21-1 - Foto 20
2 min walk to beach & free parking Lauderdale 21-1 - Foto 21
2 min walk to beach & free parking Lauderdale 21-1 - Foto 22
2 min walk to beach & free parking Lauderdale 21-1 - Foto 23
2 min walk to beach & free parking Lauderdale 21-1 - Foto 24
2 min walk to beach & free parking Lauderdale 21-1 - Foto 25
2 min walk to beach & free parking Lauderdale 21-1 - Foto 26
2 min walk to beach & free parking Lauderdale 21-1 - Foto 27
2 min walk to beach & free parking Lauderdale 21-1 - Foto 28
2 min walk to beach & free parking Lauderdale 21-1 - Foto 29
2 min walk to beach & free parking Lauderdale 21-1 - Foto 30
2 min walk to beach & free parking Lauderdale 21-1 - Foto 31
2 min walk to beach & free parking Lauderdale 21-1 - Foto 32
2 min walk to beach & free parking Lauderdale 21-1 - Foto 33
2 min walk to beach & free parking Lauderdale 21-1 - Foto 34

2 min walk to beach & free parking Lauderdale 21-1

Lauderdale-by-the-Sea

  • 70 M2
  • 1 Schlafzimmer
  • 2 Personen
  • Klimaanlage
  • Parkplatz
9.8Außergewöhnlich | 6 Bewertungen
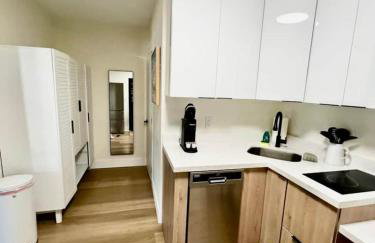
2 min walk to beach with free parking at Lauderdale 17-1 - Foto 1
2 min walk to beach with free parking at Lauderdale 17-1 - Foto 2
2 min walk to beach with free parking at Lauderdale 17-1 - Foto 3
2 min walk to beach with free parking at Lauderdale 17-1 - Foto 4
2 min walk to beach with free parking at Lauderdale 17-1 - Foto 5
2 min walk to beach with free parking at Lauderdale 17-1 - Foto 6
2 min walk to beach with free parking at Lauderdale 17-1 - Foto 7
2 min walk to beach with free parking at Lauderdale 17-1 - Foto 8
2 min walk to beach with free parking at Lauderdale 17-1 - Foto 9
2 min walk to beach with free parking at Lauderdale 17-1 - Foto 10
2 min walk to beach with free parking at Lauderdale 17-1 - Foto 11
2 min walk to beach with free parking at Lauderdale 17-1 - Foto 12
2 min walk to beach with free parking at Lauderdale 17-1 - Foto 13
2 min walk to beach with free parking at Lauderdale 17-1 - Foto 14
2 min walk to beach with free parking at Lauderdale 17-1 - Foto 15
2 min walk to beach with free parking at Lauderdale 17-1 - Foto 16
2 min walk to beach with free parking at Lauderdale 17-1 - Foto 17
2 min walk to beach with free parking at Lauderdale 17-1 - Foto 18
2 min walk to beach with free parking at Lauderdale 17-1 - Foto 19
2 min walk to beach with free parking at Lauderdale 17-1 - Foto 20
2 min walk to beach with free parking at Lauderdale 17-1 - Foto 21
2 min walk to beach with free parking at Lauderdale 17-1 - Foto 22

2 min walk to beach with free parking at Lauderdale 17-1

Lauderdale-by-the-Sea

  • 79 M2
  • 1 Schlafzimmer
  • 2 Personen
  • Klimaanlage
  • Parkplatz
  • Garten
8.7Sehr gut | 24 Bewertungen
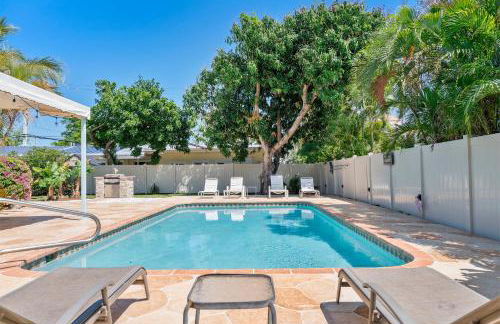
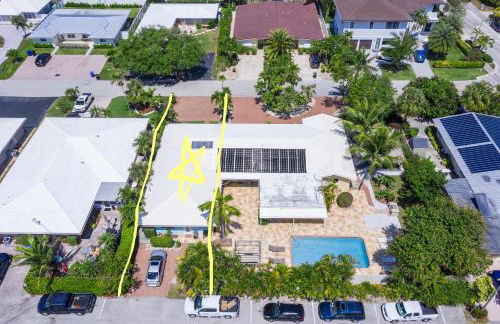
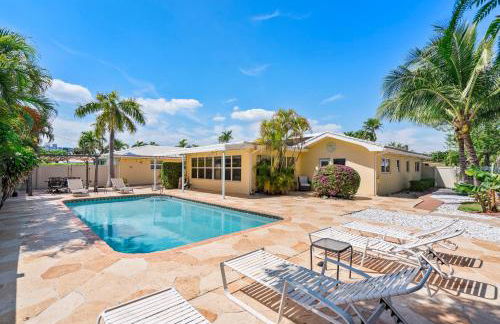
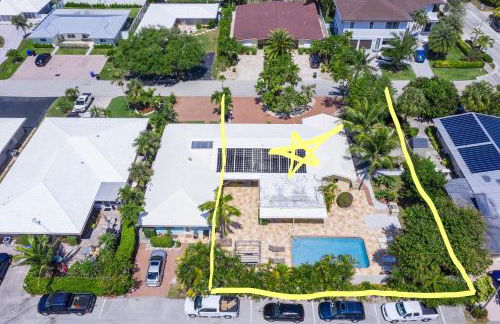
Home with pool by Dream Vacation - Foto 1
Home with pool by Dream Vacation - Foto 2
Home with pool by Dream Vacation - Foto 3
Home with pool by Dream Vacation - Foto 4
Home with pool by Dream Vacation - Foto 5
Home with pool by Dream Vacation - Foto 6
Home with pool by Dream Vacation - Foto 7
Home with pool by Dream Vacation - Foto 8
Home with pool by Dream Vacation - Foto 9
Home with pool by Dream Vacation - Foto 10
Home with pool by Dream Vacation - Foto 11
Home with pool by Dream Vacation - Foto 12
Home with pool by Dream Vacation - Foto 13
Home with pool by Dream Vacation - Foto 14
Home with pool by Dream Vacation - Foto 15
Home with pool by Dream Vacation - Foto 16
Home with pool by Dream Vacation - Foto 17
Home with pool by Dream Vacation - Foto 18
Home with pool by Dream Vacation - Foto 19
Home with pool by Dream Vacation - Foto 20
Home with pool by Dream Vacation - Foto 21
Home with pool by Dream Vacation - Foto 22
Home with pool by Dream Vacation - Foto 23
Home with pool by Dream Vacation - Foto 24
Home with pool by Dream Vacation - Foto 25
Home with pool by Dream Vacation - Foto 26
Home with pool by Dream Vacation - Foto 27
Home with pool by Dream Vacation - Foto 28
Home with pool by Dream Vacation - Foto 29
Home with pool by Dream Vacation - Foto 30
Home with pool by Dream Vacation - Foto 31
Home with pool by Dream Vacation - Foto 32
Home with pool by Dream Vacation - Foto 33
Home with pool by Dream Vacation - Foto 34
Home with pool by Dream Vacation - Foto 35
Home with pool by Dream Vacation - Foto 36
Home with pool by Dream Vacation - Foto 37
Home with pool by Dream Vacation - Foto 38
Home with pool by Dream Vacation - Foto 39
Home with pool by Dream Vacation - Foto 40
Home with pool by Dream Vacation - Foto 41
Home with pool by Dream Vacation - Foto 42
Home with pool by Dream Vacation - Foto 43
Home with pool by Dream Vacation - Foto 44
Home with pool by Dream Vacation - Foto 45
Home with pool by Dream Vacation - Foto 46
Home with pool by Dream Vacation - Foto 47
Home with pool by Dream Vacation - Foto 48
Home with pool by Dream Vacation - Foto 49

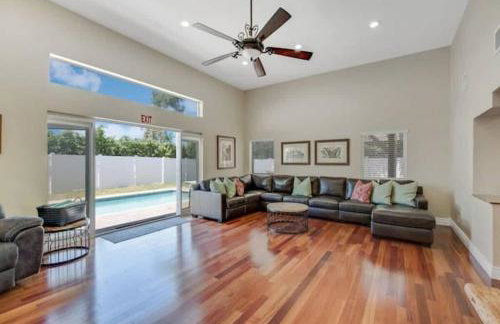
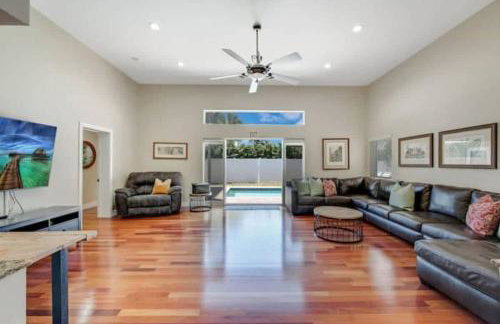
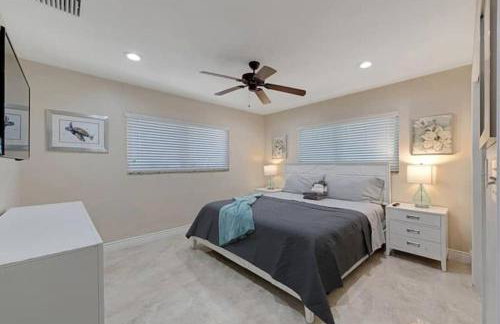
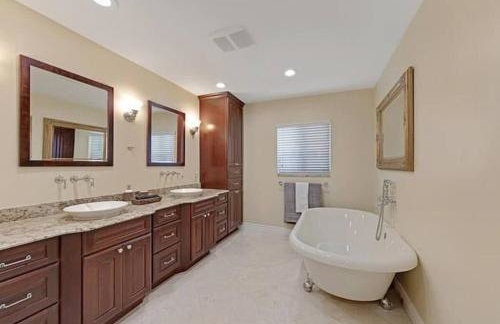
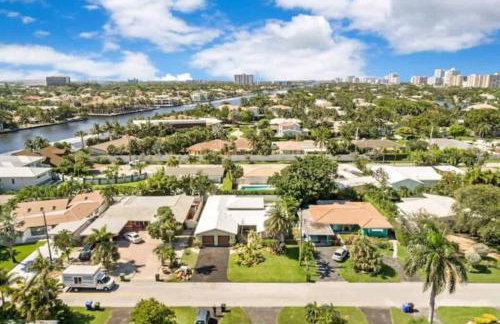
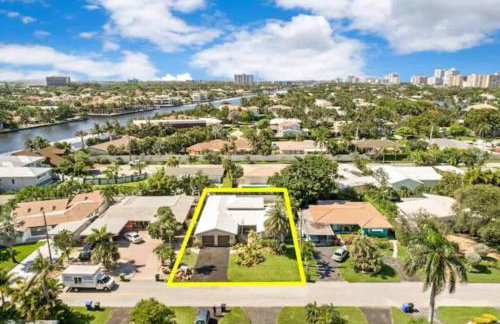
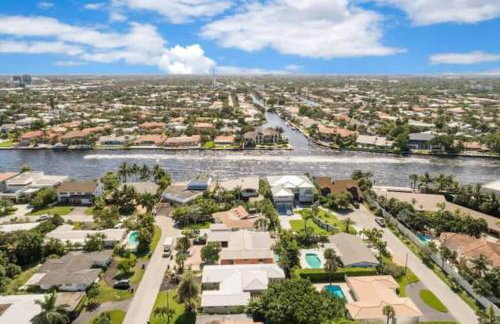
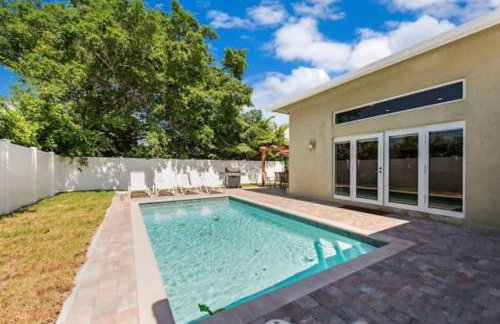
Home with pool by Dream Vacation

Lauderdale-by-the-Sea
  • 215 M2
  • 3 Schlafzimmer
  • 7 Personen
  • Klimaanlage
  • Heizung
  • Schwimmbad
  • Garten
  • Barbecue
8.7Sehr gut | 22 Bewertungen
King Studio 2 Min to Beach, Pool Parking - Foto 1
King Studio 2 Min to Beach, Pool Parking - Foto 2
King Studio 2 Min to Beach, Pool Parking - Foto 3
King Studio 2 Min to Beach, Pool Parking - Foto 4
King Studio 2 Min to Beach, Pool Parking - Foto 5
King Studio 2 Min to Beach, Pool Parking - Foto 6
King Studio 2 Min to Beach, Pool Parking - Foto 7
King Studio 2 Min to Beach, Pool Parking - Foto 8
King Studio 2 Min to Beach, Pool Parking - Foto 9
King Studio 2 Min to Beach, Pool Parking - Foto 10
King Studio 2 Min to Beach, Pool Parking - Foto 11
King Studio 2 Min to Beach, Pool Parking - Foto 12
King Studio 2 Min to Beach, Pool Parking - Foto 13
King Studio 2 Min to Beach, Pool Parking - Foto 14
King Studio 2 Min to Beach, Pool Parking - Foto 15
King Studio 2 Min to Beach, Pool Parking - Foto 16
King Studio 2 Min to Beach, Pool Parking - Foto 17

King Studio 2 Min to Beach, Pool Parking

Lauderdale-by-the-Sea
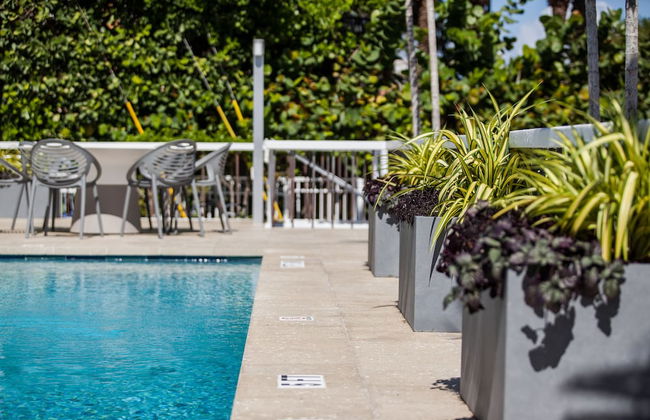
  • 29 M2
  • 2 Personen
  • Klimaanlage
  • Schwimmbad
  • Parkplatz
  • Barbecue
8.7Sehr gut | 12 Bewertungen
Edens Reef, Three configurations to choose from, Lauderdale by the Sea, FL - Foto 1
Edens Reef, Three configurations to choose from, Lauderdale by the Sea, FL - Foto 2
Edens Reef, Three configurations to choose from, Lauderdale by the Sea, FL - Foto 3
Edens Reef, Three configurations to choose from, Lauderdale by the Sea, FL - Foto 4
Edens Reef, Three configurations to choose from, Lauderdale by the Sea, FL - Foto 5
Edens Reef, Three configurations to choose from, Lauderdale by the Sea, FL - Foto 6
Edens Reef, Three configurations to choose from, Lauderdale by the Sea, FL - Foto 7
Edens Reef, Three configurations to choose from, Lauderdale by the Sea, FL - Foto 8
Edens Reef, Three configurations to choose from, Lauderdale by the Sea, FL - Foto 9
Edens Reef, Three configurations to choose from, Lauderdale by the Sea, FL - Foto 10
Edens Reef, Three configurations to choose from, Lauderdale by the Sea, FL - Foto 11
Edens Reef, Three configurations to choose from, Lauderdale by the Sea, FL - Foto 12
Edens Reef, Three configurations to choose from, Lauderdale by the Sea, FL - Foto 13
Edens Reef, Three configurations to choose from, Lauderdale by the Sea, FL - Foto 14
Edens Reef, Three configurations to choose from, Lauderdale by the Sea, FL - Foto 15
Edens Reef, Three configurations to choose from, Lauderdale by the Sea, FL - Foto 16
Edens Reef, Three configurations to choose from, Lauderdale by the Sea, FL - Foto 17
Edens Reef, Three configurations to choose from, Lauderdale by the Sea, FL - Foto 18
Edens Reef, Three configurations to choose from, Lauderdale by the Sea, FL - Foto 19
Edens Reef, Three configurations to choose from, Lauderdale by the Sea, FL - Foto 20
Edens Reef, Three configurations to choose from, Lauderdale by the Sea, FL - Foto 21
Edens Reef, Three configurations to choose from, Lauderdale by the Sea, FL - Foto 22
Edens Reef, Three configurations to choose from, Lauderdale by the Sea, FL - Foto 23
Edens Reef, Three configurations to choose from, Lauderdale by the Sea, FL - Foto 24
Edens Reef, Three configurations to choose from, Lauderdale by the Sea, FL - Foto 25
Edens Reef, Three configurations to choose from, Lauderdale by the Sea, FL - Foto 26
Edens Reef, Three configurations to choose from, Lauderdale by the Sea, FL - Foto 27
Edens Reef, Three configurations to choose from, Lauderdale by the Sea, FL - Foto 28
Edens Reef, Three configurations to choose from, Lauderdale by the Sea, FL - Foto 29
Edens Reef, Three configurations to choose from, Lauderdale by the Sea, FL - Foto 30
Edens Reef, Three configurations to choose from, Lauderdale by the Sea, FL - Foto 31
Edens Reef, Three configurations to choose from, Lauderdale by the Sea, FL - Foto 32
Edens Reef, Three configurations to choose from, Lauderdale by the Sea, FL - Foto 33
Edens Reef, Three configurations to choose from, Lauderdale by the Sea, FL - Foto 34
Edens Reef, Three configurations to choose from, Lauderdale by the Sea, FL - Foto 35
Edens Reef, Three configurations to choose from, Lauderdale by the Sea, FL - Foto 36
Edens Reef, Three configurations to choose from, Lauderdale by the Sea, FL - Foto 37
Edens Reef, Three configurations to choose from, Lauderdale by the Sea, FL - Foto 38
Edens Reef, Three configurations to choose from, Lauderdale by the Sea, FL - Foto 39
Edens Reef, Three configurations to choose from, Lauderdale by the Sea, FL - Foto 40
Edens Reef, Three configurations to choose from, Lauderdale by the Sea, FL - Foto 41
Edens Reef, Three configurations to choose from, Lauderdale by the Sea, FL - Foto 42

Edens Reef, Three configurations to choose from, Lauderdale by the Sea, FL

Lauderdale-by-the-Sea
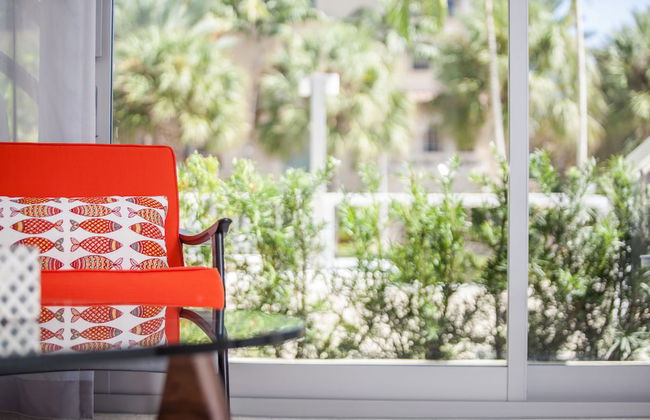
  • 372 M2
  • 5 Schlafzimmer
  • 16 Personen
  • Klimaanlage
  • Heizung
  • Terrasse
  • Garten
  • Barbecue
10Hervorragend | 2 Bewertungen
Ocean Flats 2 - Lauderdale-by-the-Sea - Foto 1
Ocean Flats 2 - Lauderdale-by-the-Sea - Foto 2
Ocean Flats 2 - Lauderdale-by-the-Sea - Foto 3
Ocean Flats 2 - Lauderdale-by-the-Sea - Foto 4
Ocean Flats 2 - Lauderdale-by-the-Sea - Foto 5
Ocean Flats 2 - Lauderdale-by-the-Sea - Foto 6
Ocean Flats 2 - Lauderdale-by-the-Sea - Foto 7
Ocean Flats 2 - Lauderdale-by-the-Sea - Foto 8
Ocean Flats 2 - Lauderdale-by-the-Sea - Foto 9
Ocean Flats 2 - Lauderdale-by-the-Sea - Foto 10
Ocean Flats 2 - Lauderdale-by-the-Sea - Foto 11
Ocean Flats 2 - Lauderdale-by-the-Sea - Foto 12
Ocean Flats 2 - Lauderdale-by-the-Sea - Foto 13
Ocean Flats 2 - Lauderdale-by-the-Sea - Foto 14
Ocean Flats 2 - Lauderdale-by-the-Sea - Foto 15
Ocean Flats 2 - Lauderdale-by-the-Sea - Foto 16
Ocean Flats 2 - Lauderdale-by-the-Sea - Foto 17
Ocean Flats 2 - Lauderdale-by-the-Sea - Foto 18
Ocean Flats 2 - Lauderdale-by-the-Sea - Foto 19
Ocean Flats 2 - Lauderdale-by-the-Sea - Foto 20
Ocean Flats 2 - Lauderdale-by-the-Sea - Foto 21
Ocean Flats 2 - Lauderdale-by-the-Sea - Foto 22
Ocean Flats 2 - Lauderdale-by-the-Sea - Foto 23
Ocean Flats 2 - Lauderdale-by-the-Sea - Foto 24
Ocean Flats 2 - Lauderdale-by-the-Sea - Foto 25
Ocean Flats 2 - Lauderdale-by-the-Sea - Foto 26
Ocean Flats 2 - Lauderdale-by-the-Sea - Foto 27
Ocean Flats 2 - Lauderdale-by-the-Sea - Foto 28
Ocean Flats 2 - Lauderdale-by-the-Sea - Foto 29
Ocean Flats 2 - Lauderdale-by-the-Sea - Foto 30
Ocean Flats 2 - Lauderdale-by-the-Sea - Foto 31
Ocean Flats 2 - Lauderdale-by-the-Sea - Foto 32

Ocean Flats 2 - Lauderdale-by-the-Sea

Lauderdale-by-the-Sea

  • 65 M2
  • 2 Schlafzimmer
  • 4 Personen
  • Klimaanlage
  • Heizung
  • Parkplatz
  • Garten
8.6Sehr gut | 29 Bewertungen
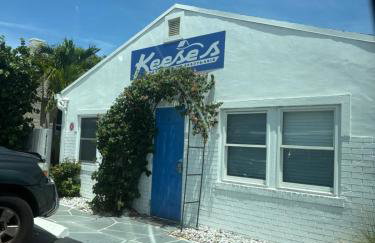
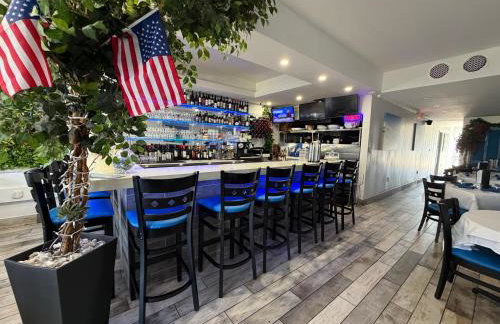
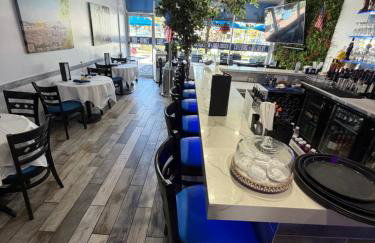
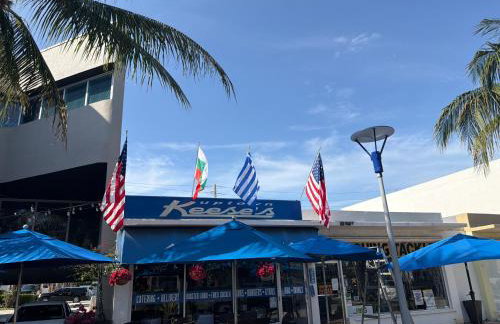
Keese's Cottages by the Ocean - Foto 1
Keese's Cottages by the Ocean - Foto 2
Keese's Cottages by the Ocean - Foto 3
Keese's Cottages by the Ocean - Foto 4
Keese's Cottages by the Ocean - Foto 5
Keese's Cottages by the Ocean - Foto 6
Keese's Cottages by the Ocean - Foto 7
Keese's Cottages by the Ocean - Foto 8
Keese's Cottages by the Ocean - Foto 9
Keese's Cottages by the Ocean - Foto 10
Keese's Cottages by the Ocean - Foto 11
Keese's Cottages by the Ocean - Foto 12
Keese's Cottages by the Ocean - Foto 13
Keese's Cottages by the Ocean - Foto 14
Keese's Cottages by the Ocean - Foto 15
Keese's Cottages by the Ocean - Foto 16
Keese's Cottages by the Ocean - Foto 17
Keese's Cottages by the Ocean - Foto 18
Keese's Cottages by the Ocean - Foto 19
Keese's Cottages by the Ocean - Foto 20
Keese's Cottages by the Ocean - Foto 21
Keese's Cottages by the Ocean - Foto 22
Keese's Cottages by the Ocean - Foto 23
Keese's Cottages by the Ocean - Foto 24
Keese's Cottages by the Ocean - Foto 25
Keese's Cottages by the Ocean - Foto 26
Keese's Cottages by the Ocean - Foto 27
Keese's Cottages by the Ocean - Foto 28
Keese's Cottages by the Ocean - Foto 29
Keese's Cottages by the Ocean - Foto 30
Keese's Cottages by the Ocean - Foto 31
Keese's Cottages by the Ocean - Foto 32
Keese's Cottages by the Ocean - Foto 33
Keese's Cottages by the Ocean - Foto 34
Keese's Cottages by the Ocean - Foto 35
Keese's Cottages by the Ocean - Foto 36
Keese's Cottages by the Ocean - Foto 37
Keese's Cottages by the Ocean - Foto 38
Keese's Cottages by the Ocean - Foto 39
Keese's Cottages by the Ocean - Foto 40
Keese's Cottages by the Ocean - Foto 41
Keese's Cottages by the Ocean - Foto 42
Keese's Cottages by the Ocean - Foto 43
Keese's Cottages by the Ocean - Foto 44
Keese's Cottages by the Ocean - Foto 45
Keese's Cottages by the Ocean - Foto 46
Keese's Cottages by the Ocean - Foto 47
Keese's Cottages by the Ocean - Foto 48
Keese's Cottages by the Ocean - Foto 49
Keese's Cottages by the Ocean - Foto 50
Keese's Cottages by the Ocean - Foto 51
Keese's Cottages by the Ocean - Foto 52
Keese's Cottages by the Ocean - Foto 53
Keese's Cottages by the Ocean - Foto 54
Keese's Cottages by the Ocean - Foto 55
Keese's Cottages by the Ocean - Foto 56
Keese's Cottages by the Ocean - Foto 57
Keese's Cottages by the Ocean - Foto 58
Keese's Cottages by the Ocean - Foto 59
Keese's Cottages by the Ocean - Foto 60
Keese's Cottages by the Ocean - Foto 61
Keese's Cottages by the Ocean - Foto 62
Keese's Cottages by the Ocean - Foto 63
Keese's Cottages by the Ocean - Foto 64
Keese's Cottages by the Ocean - Foto 65
Keese's Cottages by the Ocean - Foto 66
Keese's Cottages by the Ocean - Foto 67
Keese's Cottages by the Ocean - Foto 68
Keese's Cottages by the Ocean - Foto 69
Keese's Cottages by the Ocean - Foto 70
Keese's Cottages by the Ocean - Foto 71
Keese's Cottages by the Ocean - Foto 72
Keese's Cottages by the Ocean - Foto 73
Keese's Cottages by the Ocean - Foto 74
Keese's Cottages by the Ocean - Foto 75
Keese's Cottages by the Ocean - Foto 76
Keese's Cottages by the Ocean - Foto 77
Keese's Cottages by the Ocean - Foto 78
Keese's Cottages by the Ocean - Foto 79

Keese's Cottages by the Ocean

Lauderdale-by-the-Sea

  • 26 M2
  • 4 Personen
  • Klimaanlage
  • Heizung
  • Parkplatz
  • Garten
8.5Sehr gut | 161 Bewertungen
Steps to Sand and Sea 2 - Foto 1
Steps to Sand and Sea 2 - Foto 2
Steps to Sand and Sea 2 - Foto 3
Steps to Sand and Sea 2 - Foto 4
Steps to Sand and Sea 2 - Foto 5
Steps to Sand and Sea 2 - Foto 6
Steps to Sand and Sea 2 - Foto 7
Steps to Sand and Sea 2 - Foto 8
Steps to Sand and Sea 2 - Foto 9
Steps to Sand and Sea 2 - Foto 10
Steps to Sand and Sea 2 - Foto 11
Steps to Sand and Sea 2 - Foto 12
Steps to Sand and Sea 2 - Foto 13
Steps to Sand and Sea 2 - Foto 14
Steps to Sand and Sea 2 - Foto 15
Steps to Sand and Sea 2 - Foto 16
Steps to Sand and Sea 2 - Foto 17
Steps to Sand and Sea 2 - Foto 18
Steps to Sand and Sea 2 - Foto 19
Steps to Sand and Sea 2 - Foto 20
Steps to Sand and Sea 2 - Foto 21
Steps to Sand and Sea 2 - Foto 22
Steps to Sand and Sea 2 - Foto 23
Steps to Sand and Sea 2 - Foto 24
Steps to Sand and Sea 2 - Foto 25
Steps to Sand and Sea 2 - Foto 26

Steps to Sand and Sea 2

Lauderdale-by-the-Sea

  • 70 M2
  • 4 Personen
  • Klimaanlage
  • Heizung
  • Parkplatz
8.4Sehr gut | 43 Bewertungen
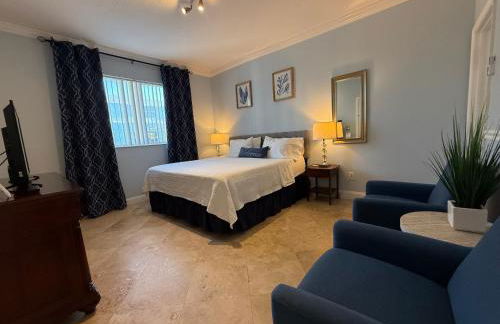
Ocean Flats 3 - Lauderdale-by-the-Sea - Foto 1
Ocean Flats 3 - Lauderdale-by-the-Sea - Foto 2
Ocean Flats 3 - Lauderdale-by-the-Sea - Foto 3
Ocean Flats 3 - Lauderdale-by-the-Sea - Foto 4
Ocean Flats 3 - Lauderdale-by-the-Sea - Foto 5
Ocean Flats 3 - Lauderdale-by-the-Sea - Foto 6
Ocean Flats 3 - Lauderdale-by-the-Sea - Foto 7
Ocean Flats 3 - Lauderdale-by-the-Sea - Foto 8
Ocean Flats 3 - Lauderdale-by-the-Sea - Foto 9
Ocean Flats 3 - Lauderdale-by-the-Sea - Foto 10
Ocean Flats 3 - Lauderdale-by-the-Sea - Foto 11
Ocean Flats 3 - Lauderdale-by-the-Sea - Foto 12
Ocean Flats 3 - Lauderdale-by-the-Sea - Foto 13
Ocean Flats 3 - Lauderdale-by-the-Sea - Foto 14
Ocean Flats 3 - Lauderdale-by-the-Sea - Foto 15
Ocean Flats 3 - Lauderdale-by-the-Sea - Foto 16
Ocean Flats 3 - Lauderdale-by-the-Sea - Foto 17
Ocean Flats 3 - Lauderdale-by-the-Sea - Foto 18
Ocean Flats 3 - Lauderdale-by-the-Sea - Foto 19
Ocean Flats 3 - Lauderdale-by-the-Sea - Foto 20
Ocean Flats 3 - Lauderdale-by-the-Sea - Foto 21
Ocean Flats 3 - Lauderdale-by-the-Sea - Foto 22
Ocean Flats 3 - Lauderdale-by-the-Sea - Foto 23
Ocean Flats 3 - Lauderdale-by-the-Sea - Foto 24
Ocean Flats 3 - Lauderdale-by-the-Sea - Foto 25
Ocean Flats 3 - Lauderdale-by-the-Sea - Foto 26
Ocean Flats 3 - Lauderdale-by-the-Sea - Foto 27
Ocean Flats 3 - Lauderdale-by-the-Sea - Foto 28
Ocean Flats 3 - Lauderdale-by-the-Sea - Foto 29
Ocean Flats 3 - Lauderdale-by-the-Sea - Foto 30
Ocean Flats 3 - Lauderdale-by-the-Sea - Foto 31

Ocean Flats 3 - Lauderdale-by-the-Sea

Lauderdale-by-the-Sea

  • 38 M2
  • 2 Personen
  • Klimaanlage
  • Heizung
  • Parkplatz
  • Garten
8.3Sehr gut | 26 Bewertungen
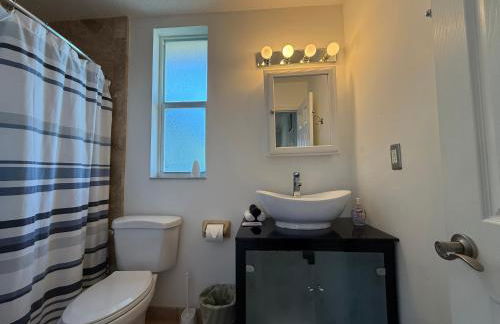
Great Escape Apartments By Lowkl - Foto 1
Great Escape Apartments By Lowkl - Foto 2
Great Escape Apartments By Lowkl - Foto 3
Great Escape Apartments By Lowkl - Foto 4
Great Escape Apartments By Lowkl - Foto 5
Great Escape Apartments By Lowkl - Foto 6
Great Escape Apartments By Lowkl - Foto 7
Great Escape Apartments By Lowkl - Foto 8
Great Escape Apartments By Lowkl - Foto 9
Great Escape Apartments By Lowkl - Foto 10
Great Escape Apartments By Lowkl - Foto 11
Great Escape Apartments By Lowkl - Foto 12
Great Escape Apartments By Lowkl - Foto 13
Great Escape Apartments By Lowkl - Foto 14
Great Escape Apartments By Lowkl - Foto 15
Great Escape Apartments By Lowkl - Foto 16
Great Escape Apartments By Lowkl - Foto 17
Great Escape Apartments By Lowkl - Foto 18
Great Escape Apartments By Lowkl - Foto 19
Great Escape Apartments By Lowkl - Foto 20
Great Escape Apartments By Lowkl - Foto 21
Great Escape Apartments By Lowkl - Foto 22
Great Escape Apartments By Lowkl - Foto 23
Great Escape Apartments By Lowkl - Foto 24
Great Escape Apartments By Lowkl - Foto 25
Great Escape Apartments By Lowkl - Foto 26
Great Escape Apartments By Lowkl - Foto 27
Great Escape Apartments By Lowkl - Foto 28
Great Escape Apartments By Lowkl - Foto 29
Great Escape Apartments By Lowkl - Foto 30
Great Escape Apartments By Lowkl - Foto 31
Great Escape Apartments By Lowkl - Foto 32
Great Escape Apartments By Lowkl - Foto 33
Great Escape Apartments By Lowkl - Foto 34
Great Escape Apartments By Lowkl - Foto 35
Great Escape Apartments By Lowkl - Foto 36
Great Escape Apartments By Lowkl - Foto 37
Great Escape Apartments By Lowkl - Foto 38
Great Escape Apartments By Lowkl - Foto 39
Great Escape Apartments By Lowkl - Foto 40
Great Escape Apartments By Lowkl - Foto 41
Great Escape Apartments By Lowkl - Foto 42
Great Escape Apartments By Lowkl - Foto 43
Great Escape Apartments By Lowkl - Foto 44
Great Escape Apartments By Lowkl - Foto 45
Great Escape Apartments By Lowkl - Foto 46
Great Escape Apartments By Lowkl - Foto 47
Great Escape Apartments By Lowkl - Foto 48
Great Escape Apartments By Lowkl - Foto 49
Great Escape Apartments By Lowkl - Foto 50
Great Escape Apartments By Lowkl - Foto 51
Great Escape Apartments By Lowkl - Foto 52

Great Escape Apartments By Lowkl

Lauderdale-by-the-Sea

  • 42 M2
  • 1 Schlafzimmer
  • 6 Personen
  • Klimaanlage
  • Terrasse
  • Schwimmbad
  • Parkplatz
  • Garten
  • Barbecue
7.7Gut | 301 Bewertungen
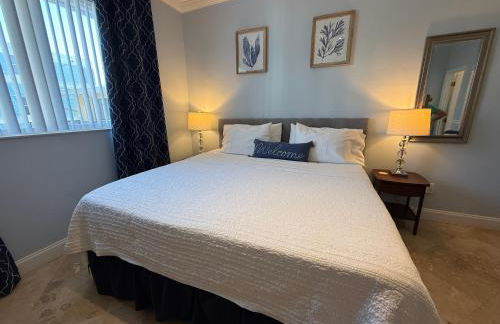
Steps to Sand and Sea 3 - Foto 1
Steps to Sand and Sea 3 - Foto 2
Steps to Sand and Sea 3 - Foto 3
Steps to Sand and Sea 3 - Foto 4
Steps to Sand and Sea 3 - Foto 5
Steps to Sand and Sea 3 - Foto 6
Steps to Sand and Sea 3 - Foto 7
Steps to Sand and Sea 3 - Foto 8
Steps to Sand and Sea 3 - Foto 9
Steps to Sand and Sea 3 - Foto 10
Steps to Sand and Sea 3 - Foto 11
Steps to Sand and Sea 3 - Foto 12
Steps to Sand and Sea 3 - Foto 13
Steps to Sand and Sea 3 - Foto 14
Steps to Sand and Sea 3 - Foto 15
Steps to Sand and Sea 3 - Foto 16
Steps to Sand and Sea 3 - Foto 17
Steps to Sand and Sea 3 - Foto 18
Steps to Sand and Sea 3 - Foto 19
Steps to Sand and Sea 3 - Foto 20
Steps to Sand and Sea 3 - Foto 21
Steps to Sand and Sea 3 - Foto 22
Steps to Sand and Sea 3 - Foto 23
Steps to Sand and Sea 3 - Foto 24

Steps to Sand and Sea 3

Lauderdale-by-the-Sea

  • 70 M2
  • 1 Schlafzimmer
  • 4 Personen
  • Klimaanlage
  • Heizung
  • Parkplatz
  • Garten
8.2Sehr gut | 25 Bewertungen
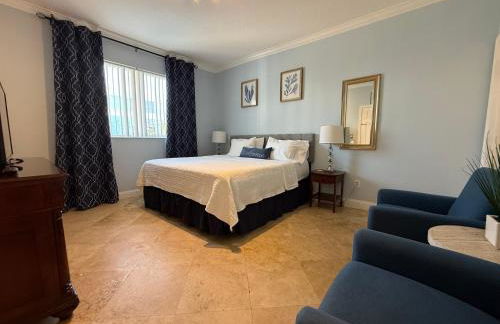
Pool Beachfront Studio - Foto 1
Pool Beachfront Studio - Foto 2
Pool Beachfront Studio - Foto 3
Pool Beachfront Studio - Foto 4
Pool Beachfront Studio - Foto 5
Pool Beachfront Studio - Foto 6
Pool Beachfront Studio - Foto 7
Pool Beachfront Studio - Foto 8
Pool Beachfront Studio - Foto 9
Pool Beachfront Studio - Foto 10
Pool Beachfront Studio - Foto 11
Pool Beachfront Studio - Foto 12
Pool Beachfront Studio - Foto 13
Pool Beachfront Studio - Foto 14
Pool Beachfront Studio - Foto 15
Pool Beachfront Studio - Foto 16
Pool Beachfront Studio - Foto 17
Pool Beachfront Studio - Foto 18
Pool Beachfront Studio - Foto 19
Pool Beachfront Studio - Foto 20
Pool Beachfront Studio - Foto 21
Pool Beachfront Studio - Foto 22
Pool Beachfront Studio - Foto 23
Pool Beachfront Studio - Foto 24

Pool Beachfront Studio

Lauderdale-by-the-Sea

  • 35 M2
  • 2 Personen
  • Klimaanlage
  • Schwimmbad
  • Parkplatz
  • Garten
  • Barbecue
7.5Gut | 16 Bewertungen
Bougainvilla Seaside Suites - Foto 1
Bougainvilla Seaside Suites - Foto 2
Bougainvilla Seaside Suites - Foto 3
Bougainvilla Seaside Suites - Foto 4
Bougainvilla Seaside Suites - Foto 5
Bougainvilla Seaside Suites - Foto 6
Bougainvilla Seaside Suites - Foto 7
Bougainvilla Seaside Suites - Foto 8
Bougainvilla Seaside Suites - Foto 9
Bougainvilla Seaside Suites - Foto 10
Bougainvilla Seaside Suites - Foto 11
Bougainvilla Seaside Suites - Foto 12
Bougainvilla Seaside Suites - Foto 13
Bougainvilla Seaside Suites - Foto 14
Bougainvilla Seaside Suites - Foto 15
Bougainvilla Seaside Suites - Foto 16
Bougainvilla Seaside Suites - Foto 17
Bougainvilla Seaside Suites - Foto 18
Bougainvilla Seaside Suites - Foto 19
Bougainvilla Seaside Suites - Foto 20
Bougainvilla Seaside Suites - Foto 21
Bougainvilla Seaside Suites - Foto 22
Bougainvilla Seaside Suites - Foto 23
Bougainvilla Seaside Suites - Foto 24
Bougainvilla Seaside Suites - Foto 25
Bougainvilla Seaside Suites - Foto 26
Bougainvilla Seaside Suites - Foto 27
Bougainvilla Seaside Suites - Foto 28
Bougainvilla Seaside Suites - Foto 29
Bougainvilla Seaside Suites - Foto 30
Bougainvilla Seaside Suites - Foto 31
Bougainvilla Seaside Suites - Foto 32
Bougainvilla Seaside Suites - Foto 33
Bougainvilla Seaside Suites - Foto 34
Bougainvilla Seaside Suites - Foto 35
Bougainvilla Seaside Suites - Foto 36
Bougainvilla Seaside Suites - Foto 37
Bougainvilla Seaside Suites - Foto 38
Bougainvilla Seaside Suites - Foto 39
Bougainvilla Seaside Suites - Foto 40
Bougainvilla Seaside Suites - Foto 41
Bougainvilla Seaside Suites - Foto 42
Bougainvilla Seaside Suites - Foto 43
Bougainvilla Seaside Suites - Foto 44
Bougainvilla Seaside Suites - Foto 45
Bougainvilla Seaside Suites - Foto 46
Bougainvilla Seaside Suites - Foto 47
Bougainvilla Seaside Suites - Foto 48

Bougainvilla Seaside Suites

Lauderdale-by-the-Sea

  • 74 M2
  • 1 Schlafzimmer
  • 4 Personen
  • Klimaanlage
  • Terrasse
  • Parkplatz
  • Garten
9Außergewöhnlich | 2 Bewertungen
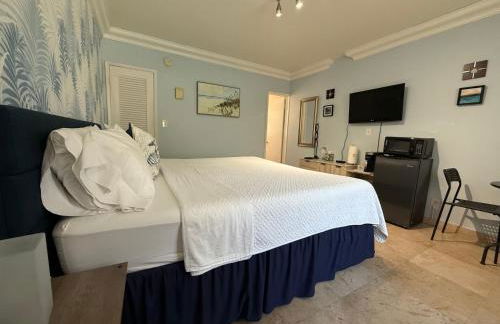
2 min walk to beach with free parking at Lauderdale 21-3 - Foto 1
2 min walk to beach with free parking at Lauderdale 21-3 - Foto 2
2 min walk to beach with free parking at Lauderdale 21-3 - Foto 3
2 min walk to beach with free parking at Lauderdale 21-3 - Foto 4
2 min walk to beach with free parking at Lauderdale 21-3 - Foto 5
2 min walk to beach with free parking at Lauderdale 21-3 - Foto 6
2 min walk to beach with free parking at Lauderdale 21-3 - Foto 7
2 min walk to beach with free parking at Lauderdale 21-3 - Foto 8
2 min walk to beach with free parking at Lauderdale 21-3 - Foto 9
2 min walk to beach with free parking at Lauderdale 21-3 - Foto 10
2 min walk to beach with free parking at Lauderdale 21-3 - Foto 11
2 min walk to beach with free parking at Lauderdale 21-3 - Foto 12
2 min walk to beach with free parking at Lauderdale 21-3 - Foto 13
2 min walk to beach with free parking at Lauderdale 21-3 - Foto 14
2 min walk to beach with free parking at Lauderdale 21-3 - Foto 15
2 min walk to beach with free parking at Lauderdale 21-3 - Foto 16
2 min walk to beach with free parking at Lauderdale 21-3 - Foto 17
2 min walk to beach with free parking at Lauderdale 21-3 - Foto 18
2 min walk to beach with free parking at Lauderdale 21-3 - Foto 19
2 min walk to beach with free parking at Lauderdale 21-3 - Foto 20
2 min walk to beach with free parking at Lauderdale 21-3 - Foto 21
2 min walk to beach with free parking at Lauderdale 21-3 - Foto 22

2 min walk to beach with free parking at Lauderdale 21-3

Lauderdale-by-the-Sea

  • 79 M2
  • 1 Schlafzimmer
  • 2 Personen
  • Klimaanlage
  • Parkplatz
8.5Sehr gut | 4 Bewertungen
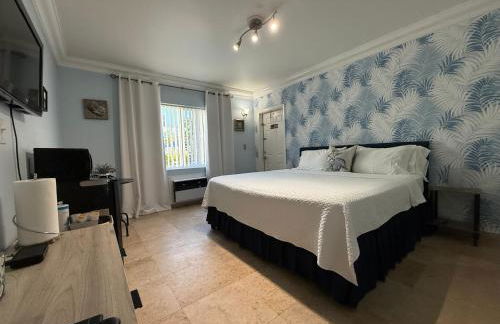
Ocean Flats 1 - Lauderdale-by-the-Sea - Foto 1
Ocean Flats 1 - Lauderdale-by-the-Sea - Foto 2
Ocean Flats 1 - Lauderdale-by-the-Sea - Foto 3
Ocean Flats 1 - Lauderdale-by-the-Sea - Foto 4
Ocean Flats 1 - Lauderdale-by-the-Sea - Foto 5
Ocean Flats 1 - Lauderdale-by-the-Sea - Foto 6
Ocean Flats 1 - Lauderdale-by-the-Sea - Foto 7
Ocean Flats 1 - Lauderdale-by-the-Sea - Foto 8
Ocean Flats 1 - Lauderdale-by-the-Sea - Foto 9
Ocean Flats 1 - Lauderdale-by-the-Sea - Foto 10
Ocean Flats 1 - Lauderdale-by-the-Sea - Foto 11
Ocean Flats 1 - Lauderdale-by-the-Sea - Foto 12
Ocean Flats 1 - Lauderdale-by-the-Sea - Foto 13
Ocean Flats 1 - Lauderdale-by-the-Sea - Foto 14
Ocean Flats 1 - Lauderdale-by-the-Sea - Foto 15
Ocean Flats 1 - Lauderdale-by-the-Sea - Foto 16
Ocean Flats 1 - Lauderdale-by-the-Sea - Foto 17
Ocean Flats 1 - Lauderdale-by-the-Sea - Foto 18
Ocean Flats 1 - Lauderdale-by-the-Sea - Foto 19
Ocean Flats 1 - Lauderdale-by-the-Sea - Foto 20
Ocean Flats 1 - Lauderdale-by-the-Sea - Foto 21
Ocean Flats 1 - Lauderdale-by-the-Sea - Foto 22
Ocean Flats 1 - Lauderdale-by-the-Sea - Foto 23
Ocean Flats 1 - Lauderdale-by-the-Sea - Foto 24
Ocean Flats 1 - Lauderdale-by-the-Sea - Foto 25
Ocean Flats 1 - Lauderdale-by-the-Sea - Foto 26
Ocean Flats 1 - Lauderdale-by-the-Sea - Foto 27
Ocean Flats 1 - Lauderdale-by-the-Sea - Foto 28
Ocean Flats 1 - Lauderdale-by-the-Sea - Foto 29
Ocean Flats 1 - Lauderdale-by-the-Sea - Foto 30
Ocean Flats 1 - Lauderdale-by-the-Sea - Foto 31
Ocean Flats 1 - Lauderdale-by-the-Sea - Foto 32
Ocean Flats 1 - Lauderdale-by-the-Sea - Foto 33
Ocean Flats 1 - Lauderdale-by-the-Sea - Foto 34

Ocean Flats 1 - Lauderdale-by-the-Sea

Lauderdale-by-the-Sea

  • 100 M2
  • 2 Schlafzimmer
  • 6 Personen
  • Klimaanlage
  • Parkplatz
  • Garten
7.6Gut | 29 Bewertungen
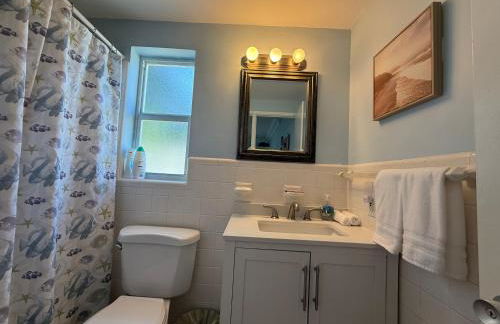
Steps to Sand and Sea 4 - Foto 1
Steps to Sand and Sea 4 - Foto 2
Steps to Sand and Sea 4 - Foto 3
Steps to Sand and Sea 4 - Foto 4
Steps to Sand and Sea 4 - Foto 5
Steps to Sand and Sea 4 - Foto 6
Steps to Sand and Sea 4 - Foto 7
Steps to Sand and Sea 4 - Foto 8
Steps to Sand and Sea 4 - Foto 9
Steps to Sand and Sea 4 - Foto 10
Steps to Sand and Sea 4 - Foto 11
Steps to Sand and Sea 4 - Foto 12
Steps to Sand and Sea 4 - Foto 13
Steps to Sand and Sea 4 - Foto 14
Steps to Sand and Sea 4 - Foto 15
Steps to Sand and Sea 4 - Foto 16
Steps to Sand and Sea 4 - Foto 17
Steps to Sand and Sea 4 - Foto 18
Steps to Sand and Sea 4 - Foto 19
Steps to Sand and Sea 4 - Foto 20
Steps to Sand and Sea 4 - Foto 21
Steps to Sand and Sea 4 - Foto 22
Steps to Sand and Sea 4 - Foto 23
Steps to Sand and Sea 4 - Foto 24
Steps to Sand and Sea 4 - Foto 25
Steps to Sand and Sea 4 - Foto 26
Steps to Sand and Sea 4 - Foto 27
Steps to Sand and Sea 4 - Foto 28
Steps to Sand and Sea 4 - Foto 29
Steps to Sand and Sea 4 - Foto 30
Steps to Sand and Sea 4 - Foto 31
Steps to Sand and Sea 4 - Foto 32
Steps to Sand and Sea 4 - Foto 33

Steps to Sand and Sea 4

Lauderdale-by-the-Sea

  • 90 M2
  • 2 Schlafzimmer
  • 4 Personen
  • Klimaanlage
  • Heizung
  • Parkplatz
  • Garten
7.2Gut | 22 Bewertungen
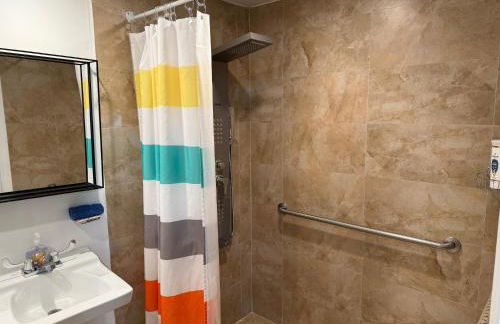
King Studio 3 Min to Beach Pool Parking - Foto 1
King Studio 3 Min to Beach Pool Parking - Foto 2
King Studio 3 Min to Beach Pool Parking - Foto 3
King Studio 3 Min to Beach Pool Parking - Foto 4
King Studio 3 Min to Beach Pool Parking - Foto 5
King Studio 3 Min to Beach Pool Parking - Foto 6
King Studio 3 Min to Beach Pool Parking - Foto 7
King Studio 3 Min to Beach Pool Parking - Foto 8
King Studio 3 Min to Beach Pool Parking - Foto 9
King Studio 3 Min to Beach Pool Parking - Foto 10
King Studio 3 Min to Beach Pool Parking - Foto 11
King Studio 3 Min to Beach Pool Parking - Foto 12
King Studio 3 Min to Beach Pool Parking - Foto 13
King Studio 3 Min to Beach Pool Parking - Foto 14
King Studio 3 Min to Beach Pool Parking - Foto 15
King Studio 3 Min to Beach Pool Parking - Foto 16
King Studio 3 Min to Beach Pool Parking - Foto 17
King Studio 3 Min to Beach Pool Parking - Foto 18
King Studio 3 Min to Beach Pool Parking - Foto 19
King Studio 3 Min to Beach Pool Parking - Foto 20
King Studio 3 Min to Beach Pool Parking - Foto 21
King Studio 3 Min to Beach Pool Parking - Foto 22
King Studio 3 Min to Beach Pool Parking - Foto 23

King Studio 3 Min to Beach Pool Parking

Lauderdale-by-the-Sea

  • 29 M2
  • 2 Personen
  • Klimaanlage
  • Schwimmbad
  • Parkplatz
  • Barbecue
8Sehr gut | 2 Bewertungen
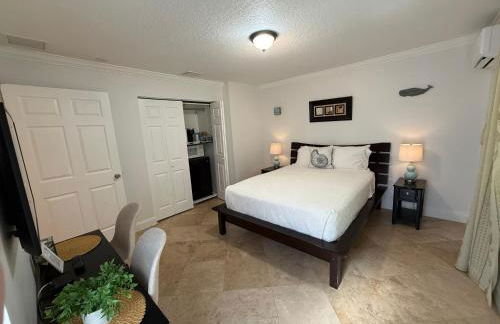
Queen Studio Walk to Beach Pool Parking - Foto 1
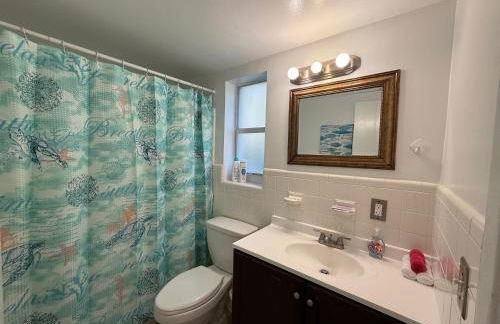
Queen Studio Walk to Beach Pool Parking - Foto 2
Queen Studio Walk to Beach Pool Parking - Foto 3
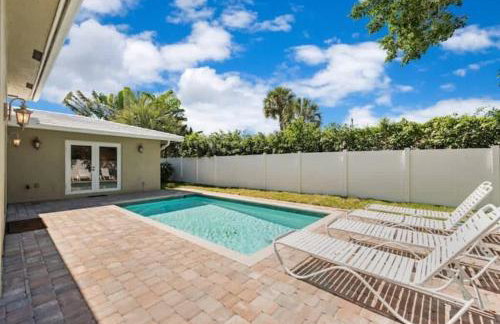
Queen Studio Walk to Beach Pool Parking - Foto 4
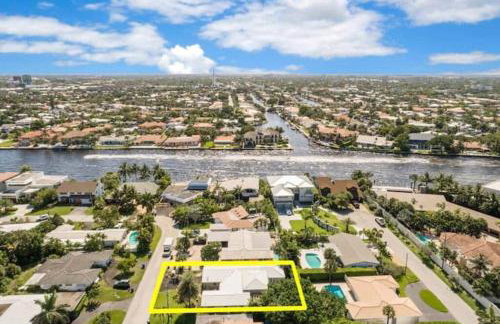
Queen Studio Walk to Beach Pool Parking - Foto 5
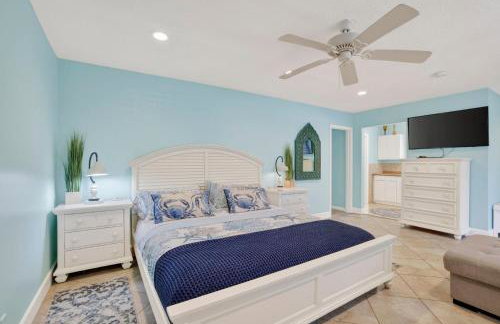
Queen Studio Walk to Beach Pool Parking - Foto 6
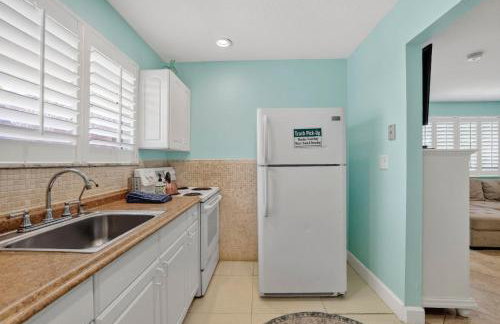
Queen Studio Walk to Beach Pool Parking - Foto 7
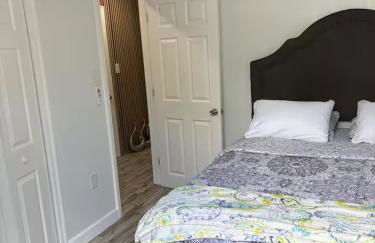
Queen Studio Walk to Beach Pool Parking - Foto 8
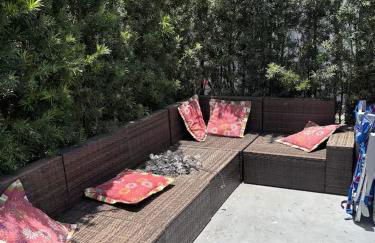
Queen Studio Walk to Beach Pool Parking - Foto 9
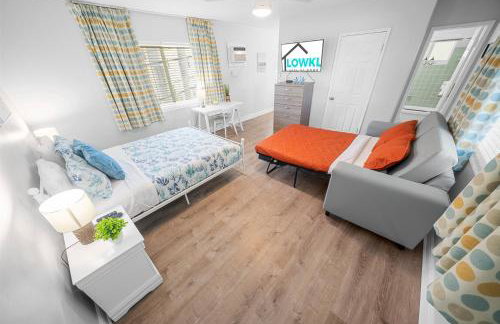
Queen Studio Walk to Beach Pool Parking - Foto 10
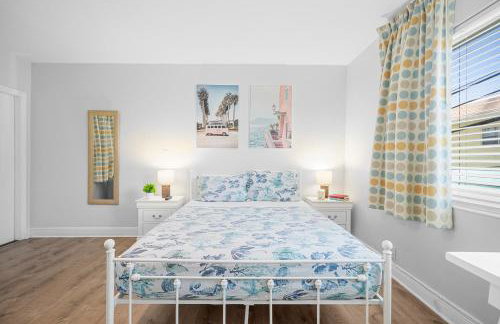
Queen Studio Walk to Beach Pool Parking - Foto 11
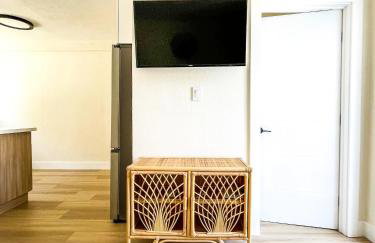
Queen Studio Walk to Beach Pool Parking - Foto 12
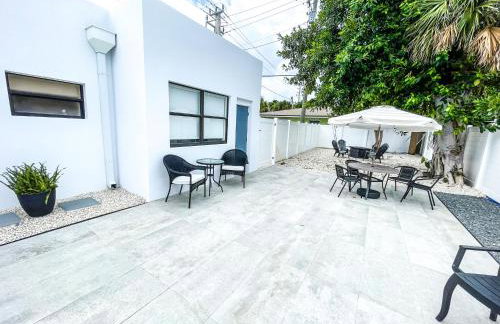
Queen Studio Walk to Beach Pool Parking - Foto 13
Queen Studio Walk to Beach Pool Parking - Foto 14
Queen Studio Walk to Beach Pool Parking - Foto 15
Queen Studio Walk to Beach Pool Parking - Foto 16
Queen Studio Walk to Beach Pool Parking - Foto 17
Queen Studio Walk to Beach Pool Parking - Foto 18
Queen Studio Walk to Beach Pool Parking - Foto 19

Queen Studio Walk to Beach Pool Parking

Lauderdale-by-the-Sea

  • 29 M2
  • 2 Personen
  • Klimaanlage
  • Schwimmbad
  • Parkplatz
  • Barbecue
8Sehr gut | 2 Bewertungen