
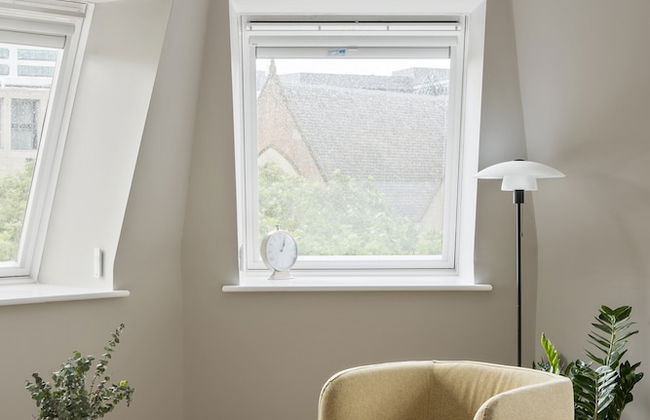
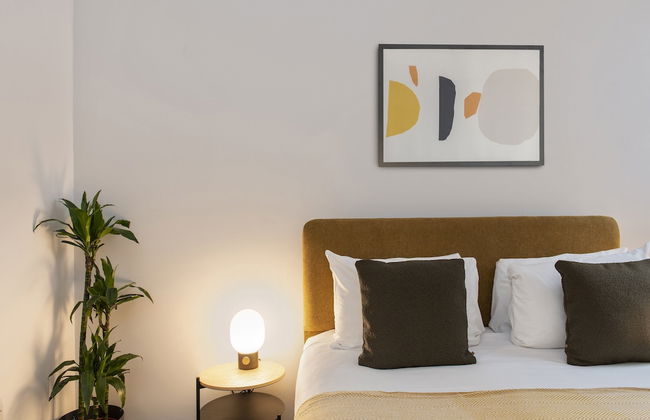
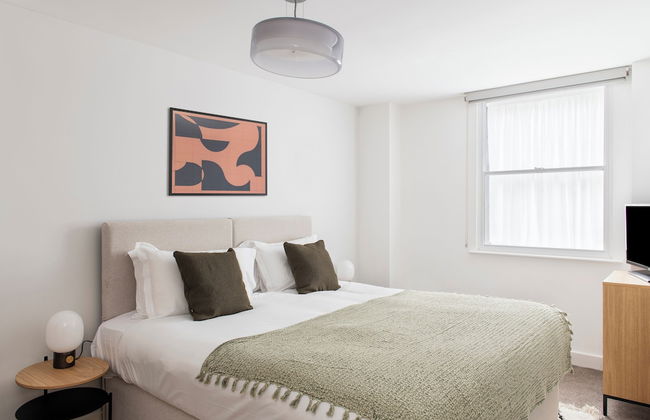
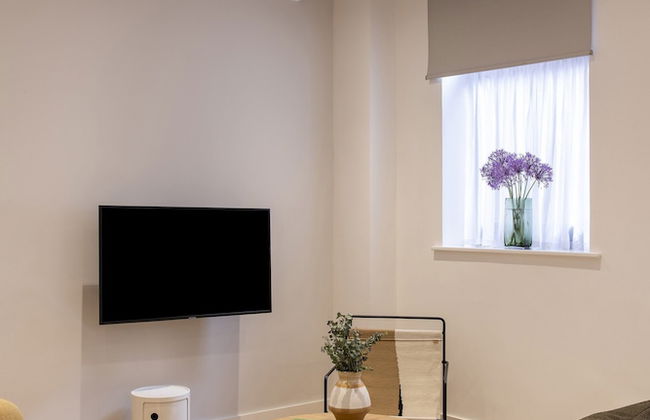
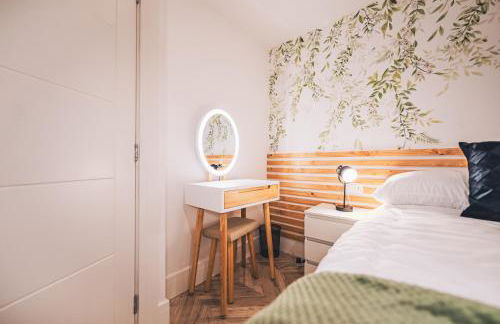
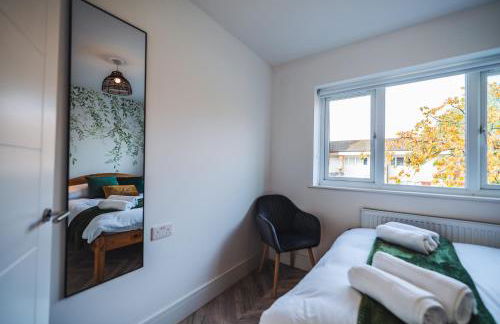
5014 Wohnungen in Lancashire
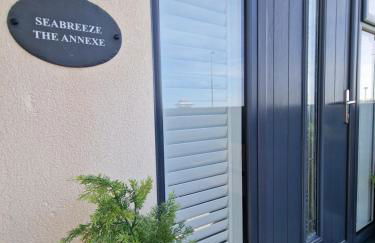
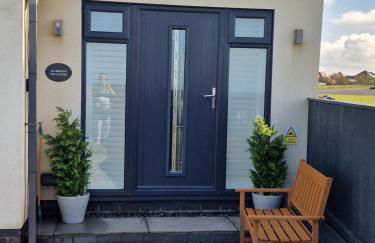
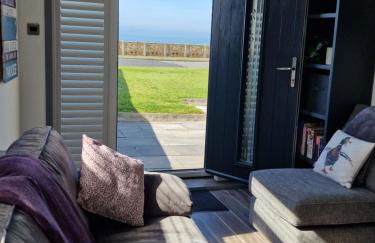
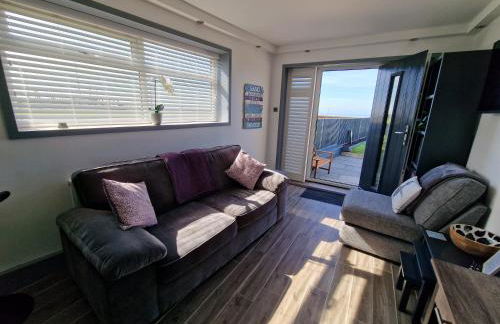
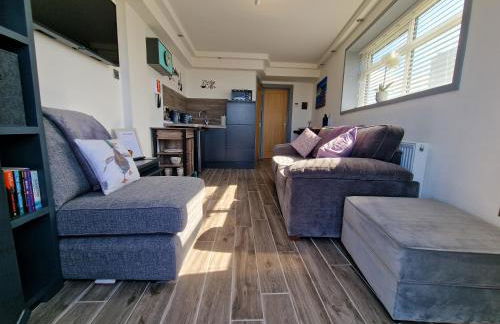
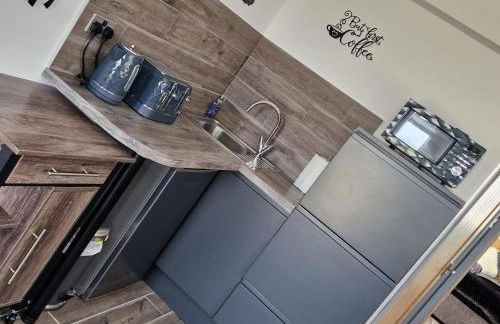
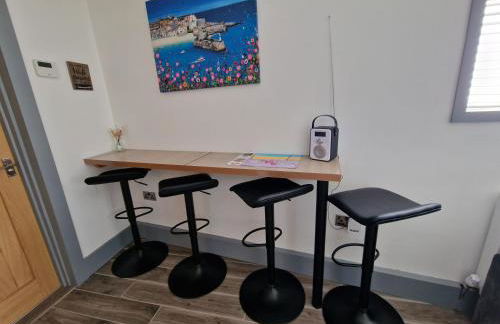


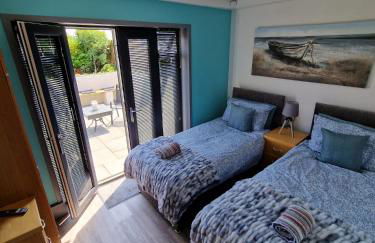


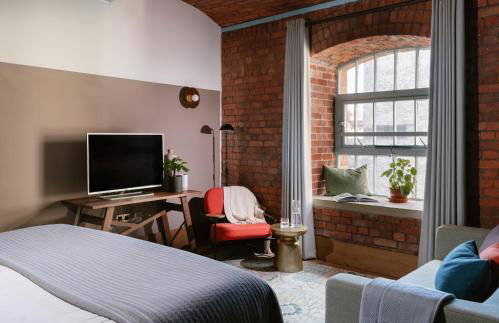
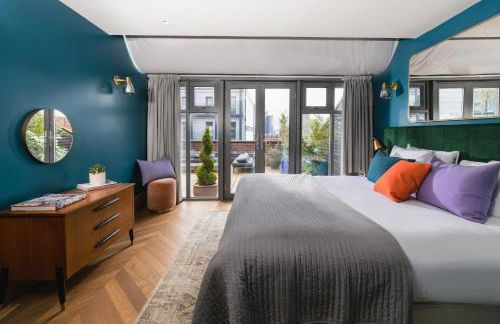
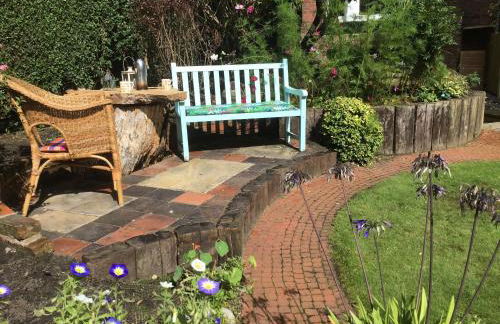
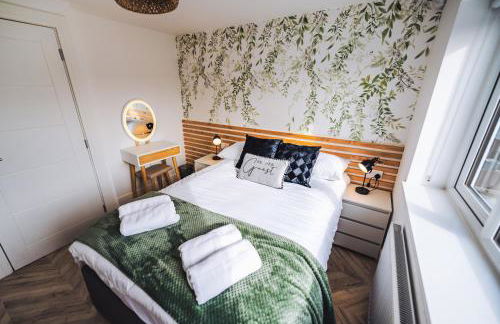
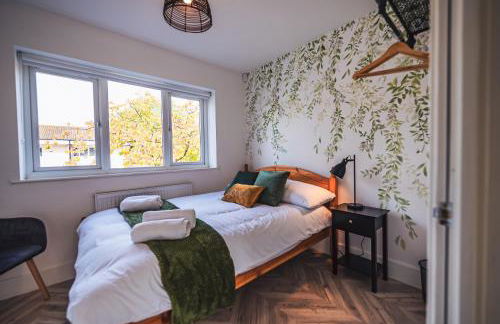
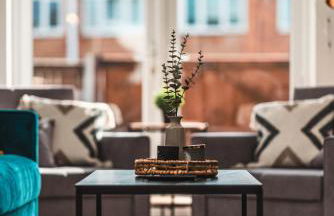
Seabreeze The Annexe
Thornton - Thornton
- 45 M2
- 2 Schlafzimmer
- 4 Personen
- Klimaanlage
- Heizung
- Terrasse
- Schwimmbad
- Parkplatz
- Garten
53 Bewertungen


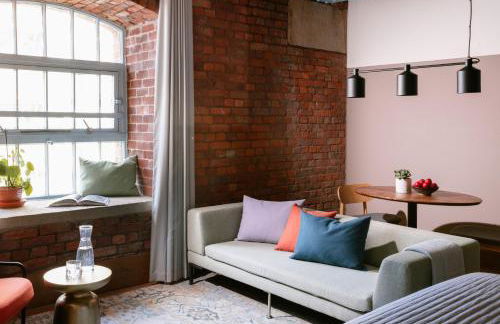


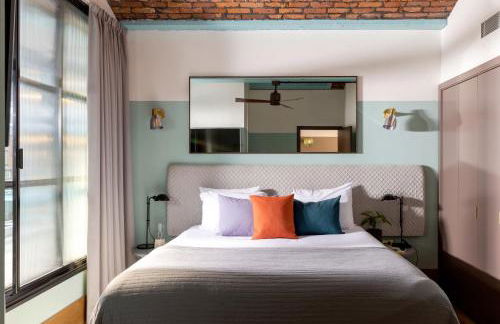


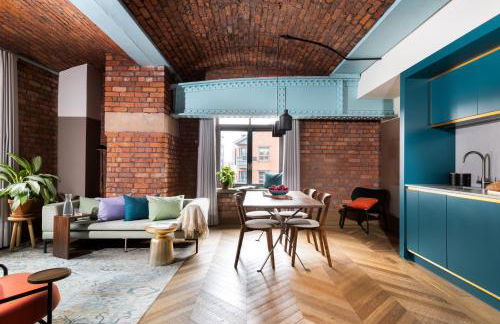
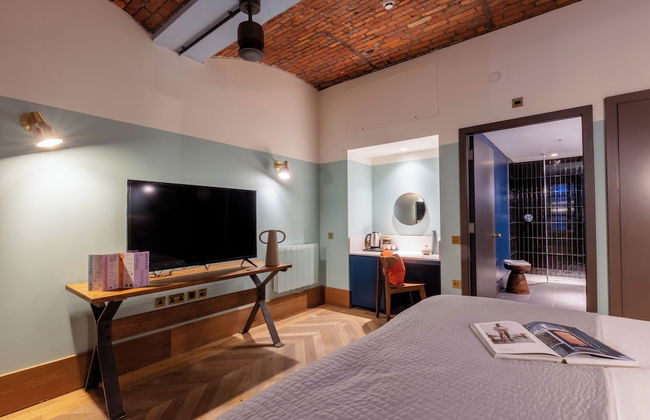
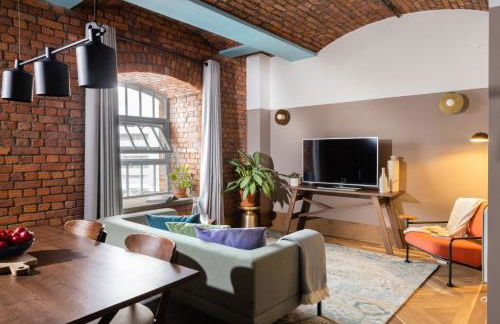


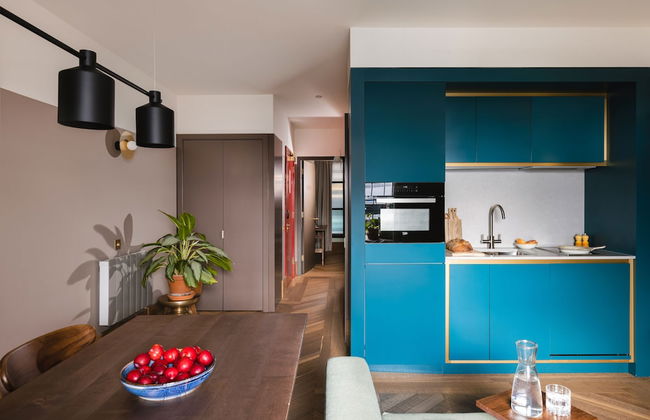


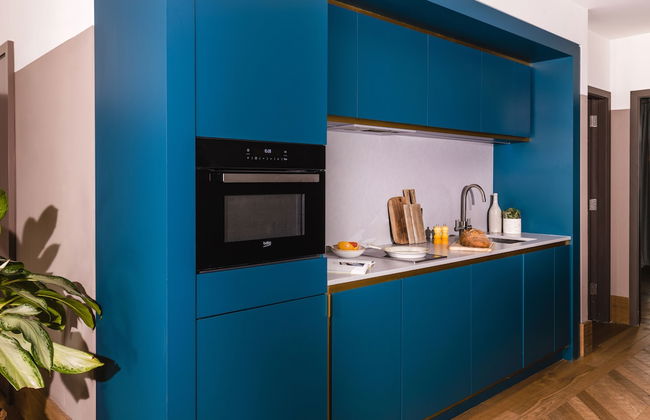
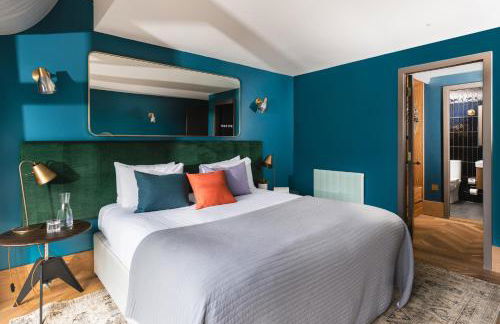


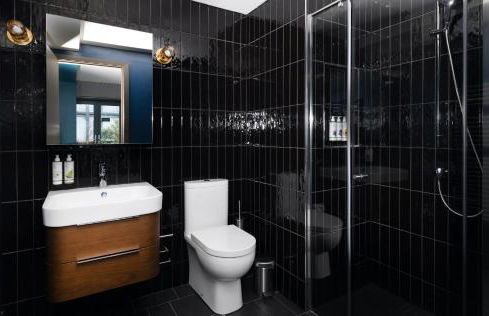


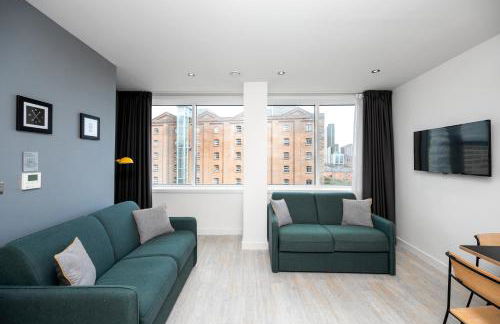
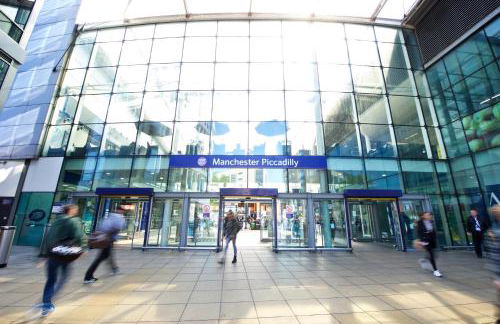
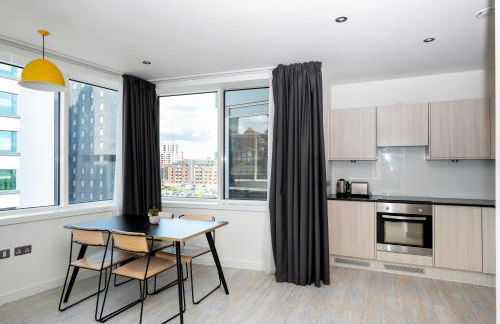
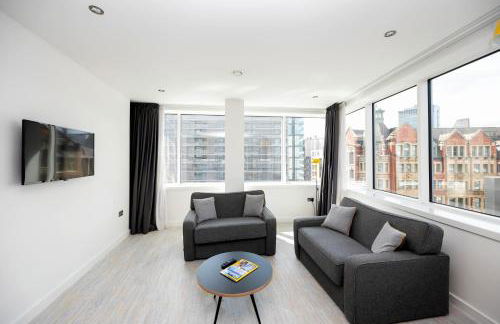
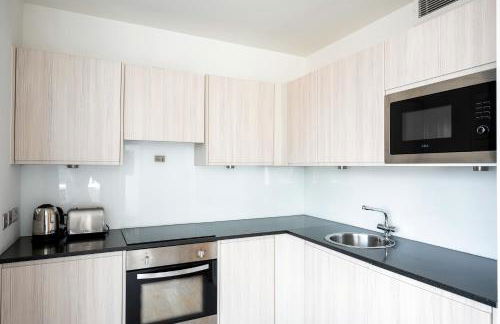
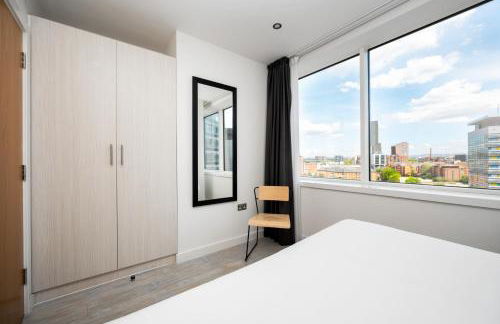
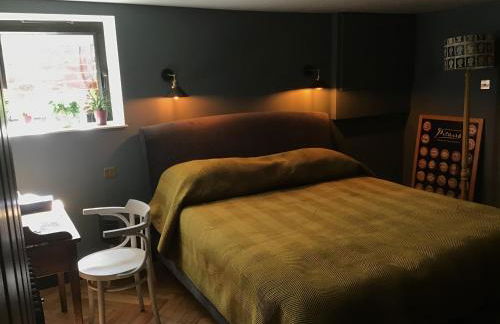
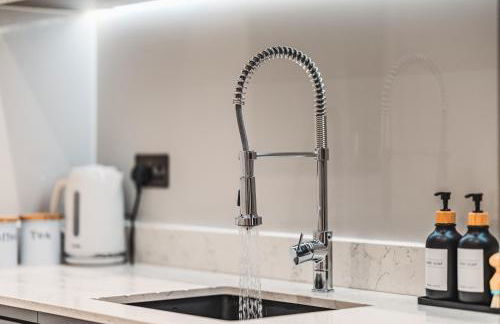
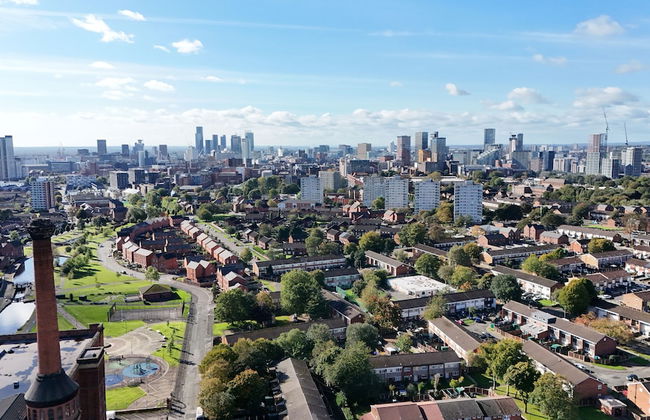
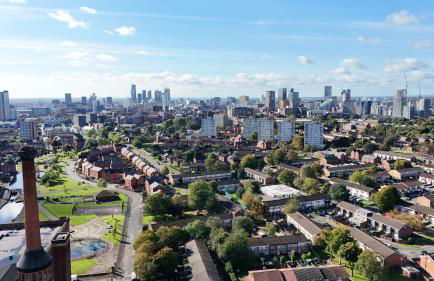
Native Manchester
Manchester - Piccadilly - 660 m vom Zentrum
- 111 M2
- 2 Schlafzimmer
- 5 Personen
- Heizung
- Terrasse
- Parkplatz
- Fahrstuhl
- Balkon
- Tv
- Waschmaschine
- Handtücher
- Bettlaken
762 Bewertungen


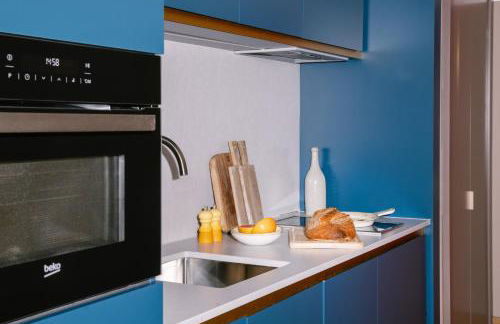
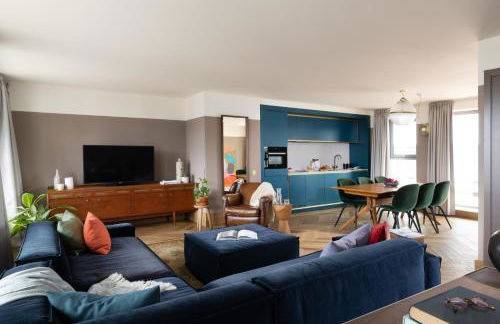
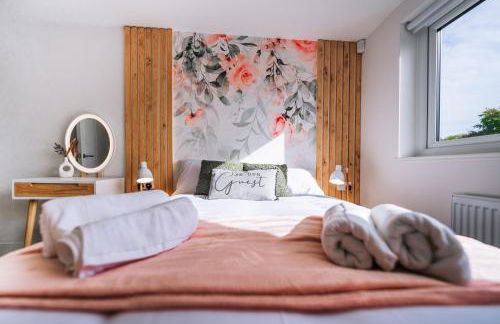
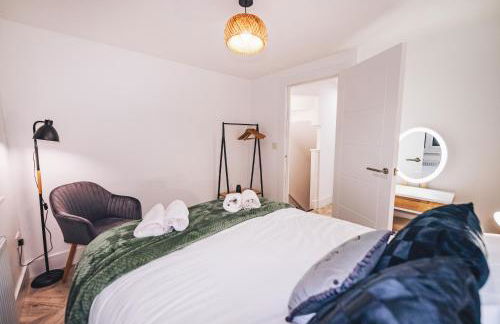
Design Suites Lytham
Lytham - Lytham
- 19 M2
- 2 Schlafzimmer
- 5 Personen
- Kochnische
- Heizung
- Parkplatz
- Tv
- Handtücher
- Bettlaken
27 Bewertungen


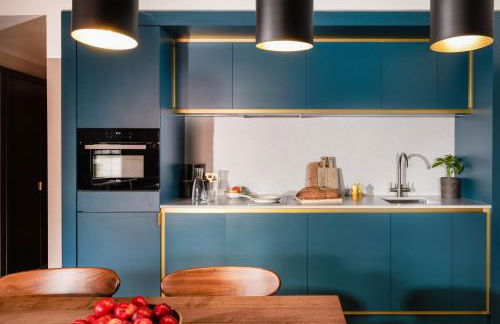
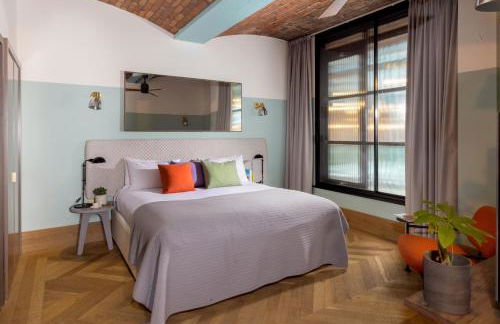
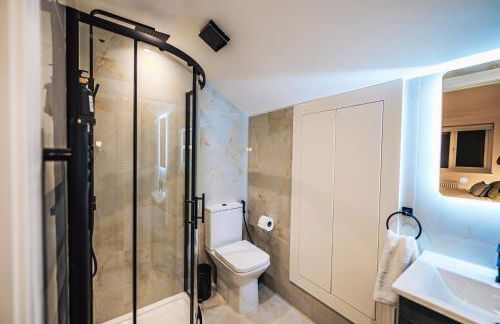
Cove Minshull Street
Manchester - The - 350 m vom Zentrum
- 60 M2
- 5 Personen
- Heizung
- Parkplatz
- Fahrstuhl
- Tv
- Waschmaschine
- Handtücher
- Bettlaken
586 Bewertungen


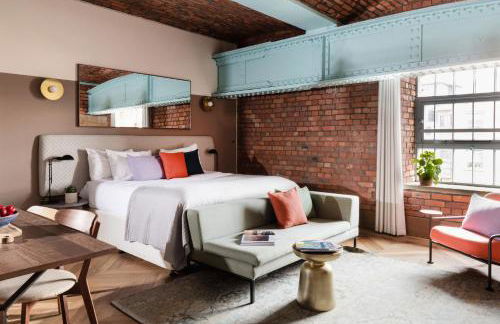
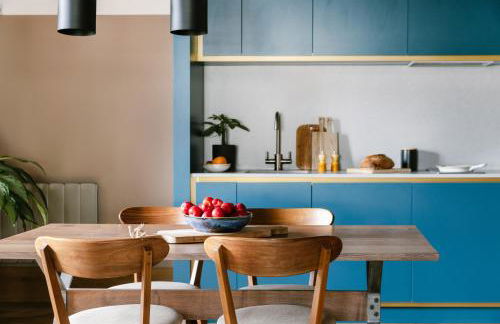
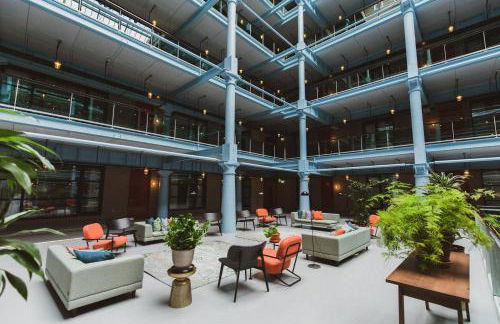
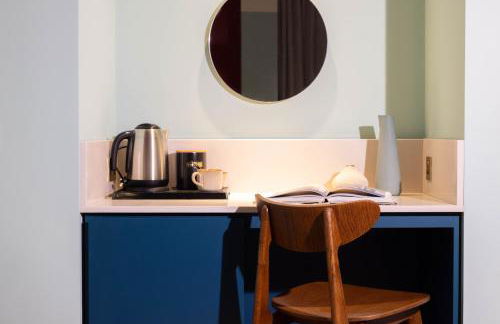
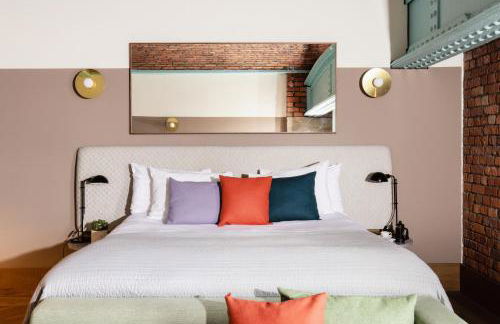
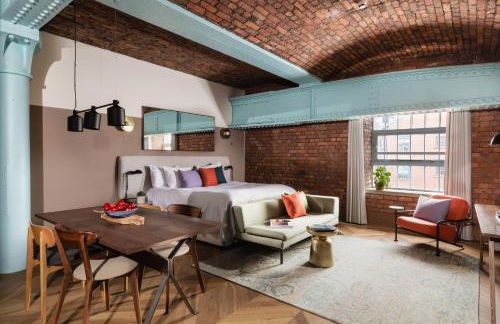
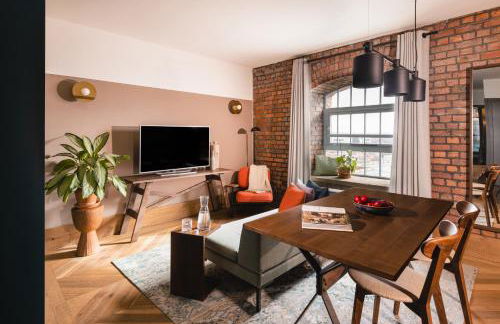
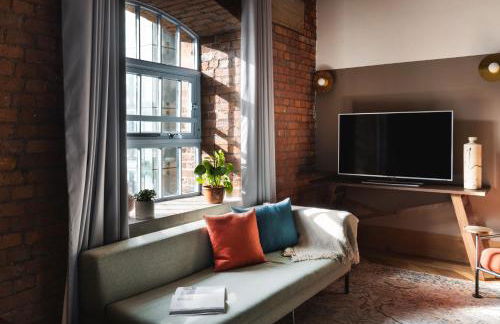
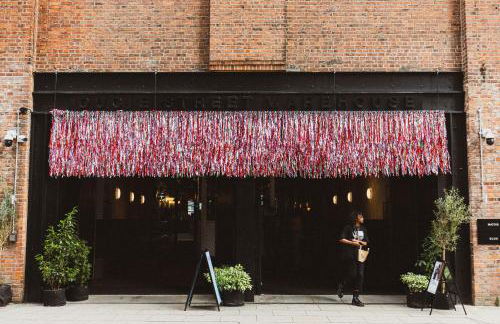
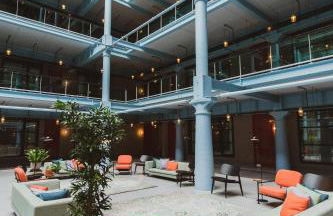
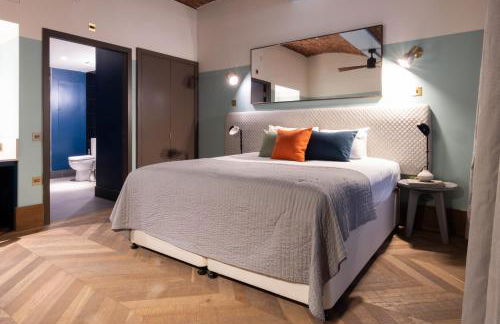
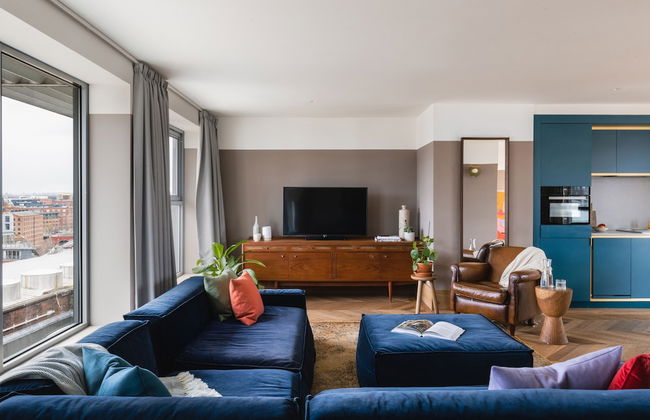
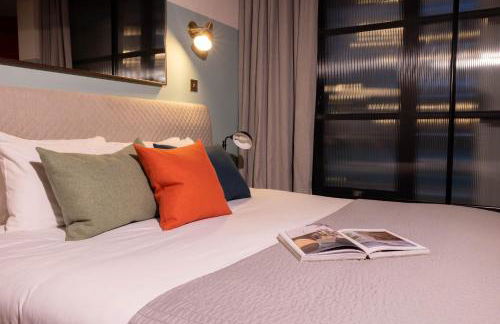
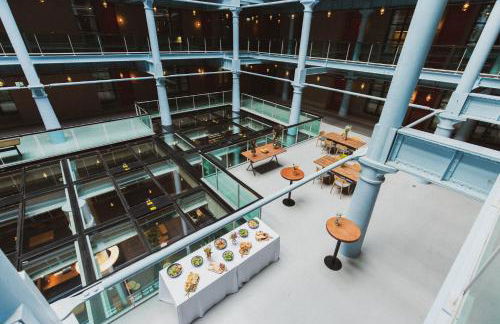
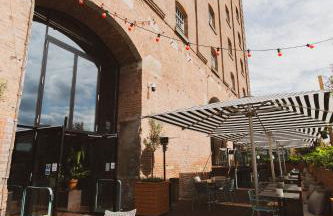
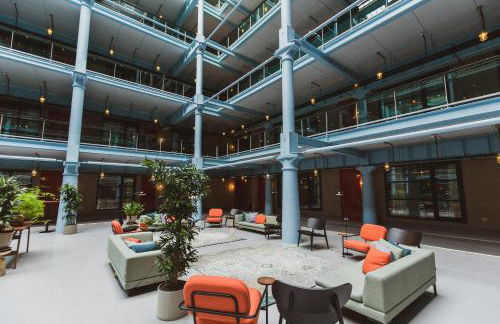
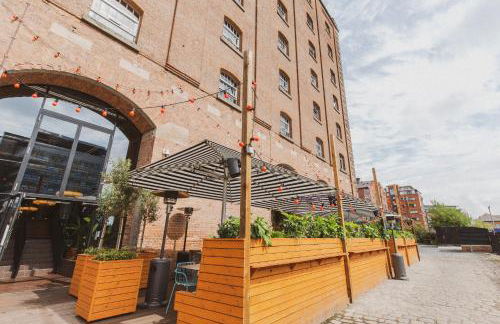
Whitworth Locke
Manchester - University District - 310 m vom Zentrum
- 80 M2
- 5 Personen
- Heizung
- Fahrstuhl
- Tv
- Waschmaschine
- Handtücher
- Bettlaken
1098 Bewertungen


Laythams Holiday Lets Retreat
Clitheroe - Slaidburn
- 10 M2
- 3 Schlafzimmer
- 8 Personen
- Kochnische
- Heizung
- Parkplatz
- Tv
- Waschmaschine
- Schornstein
- Barbecue
- Handtücher
- Bettlaken
40 Bewertungen


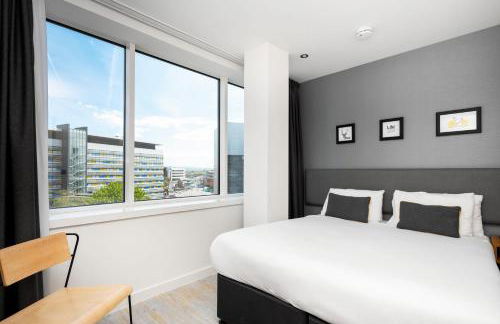

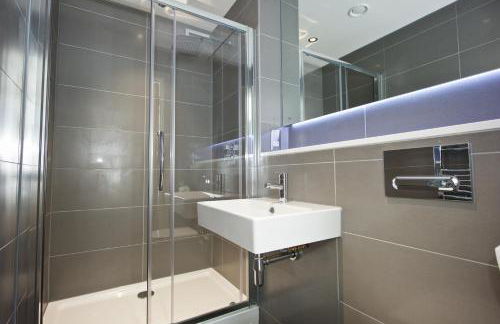

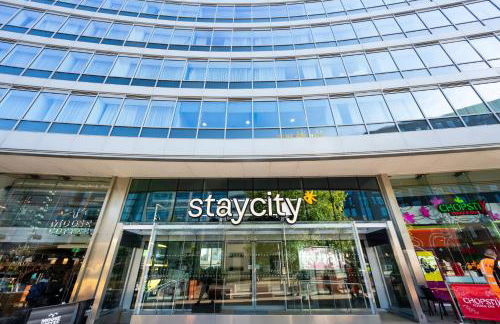


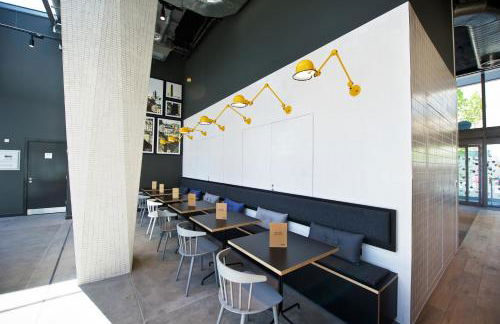

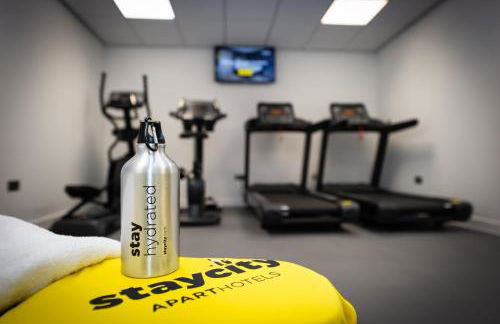


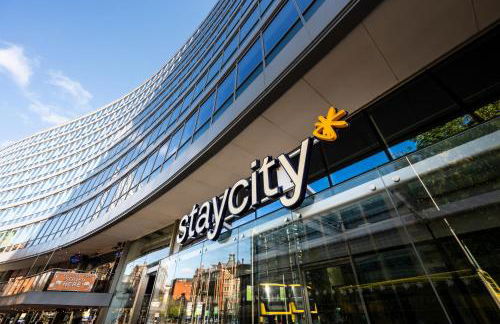


Staycity Aparthotels, Manchester, Piccadilly
Manchester - Piccadilly - 620 m vom Zentrum
- 70 M2
- 3 Schlafzimmer
- 8 Personen
- Klimaanlage
- Heizung
- Parkplatz
- Fahrstuhl
- Tv
- Waschmaschine
- Handtücher
- Bettlaken
1944 Bewertungen


Pine Lake Resort
Carnforth - Carnforth
- 66 M2
- 6 Personen
- Kochnische
- Heizung
- Terrasse
- Schwimmbad
- Parkplatz
- Garten
- Tv
- Waschmaschine
- Handtücher
- Bettlaken
1295 Bewertungen


The Bawdens Holiday Apartments
Blackpool - Blackpool - 400 m vom Zentrum
- 45 M2
- 2 Schlafzimmer
- 6 Personen
- Heizung
- Parkplatz
- Tv
- Handtücher
- Bettlaken
21 Bewertungen


Baxter Holiday Apartments
Blackpool - Blackpool - Im Zentrum
- 46 M2
- 2 Schlafzimmer
- 4 Personen
- Heizung
- Parkplatz
- Garten
- Tv
- Bettlaken
23 Bewertungen


Sweet Suites Lytham St Annes
Lytham - Lytham
- 58 M2
- 1 Schlafzimmer
- 5 Personen
- Kochnische
- Heizung
- Parkplatz
- Tv
- Handtücher
- Bettlaken
116 Bewertungen


Granada Apartments Queen's Promenade
Blackpool - Bispham - 3.8 km vom Zentrum
- 67 M2
- 2 Schlafzimmer
- 9 Personen
- Heizung
- Terrasse
- Parkplatz
- Garten
- Tv
- Handtücher
- Bettlaken
92 Bewertungen


Thurnham Hall Resort
Lancaster - Thurnham - 6.7 km vom Zentrum
- 90 M2
- 6 Personen
- Heizung
- Schwimmbad
- Parkplatz
- Garten
- Tv
- Schornstein
- Handtücher
- Bettlaken
994 Bewertungen


Orient Residence Manchester
Manchester - China Town - Im Zentrum
- 6 Personen
- Heizung
- Fahrstuhl
- Balkon
- Waschmaschine
- Handtücher
- Bettlaken
12 Bewertungen


Chorlton Garden Rooms. Relax, work, stay and play.
Manchester - Chorlton - 4.3 km vom Zentrum
- 85 M2
- 2 Personen
- Heizung
- Terrasse
- Parkplatz
- Garten
20 Bewertungen


Alpaca Fold
Preston - Samlesbury Bottoms - 7.8 km vom Zentrum
- 20 M2
- 2 Personen
- Heizung
- Terrasse
- Parkplatz
- Garten
- Barbecue
18 Bewertungen
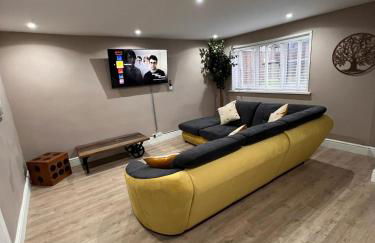


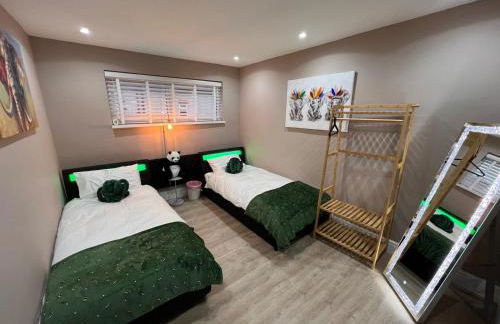
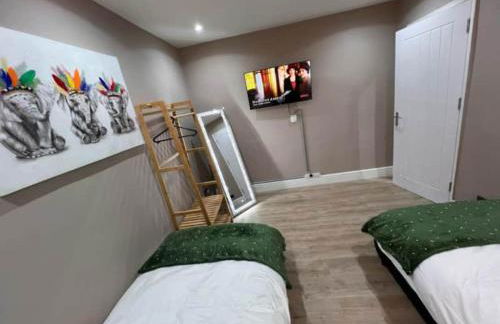


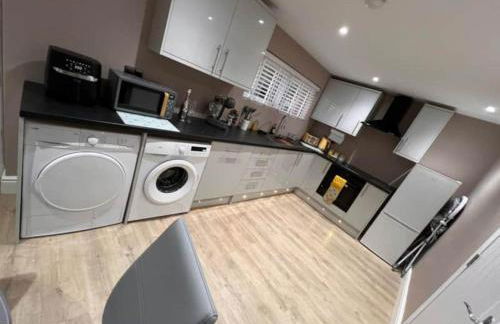
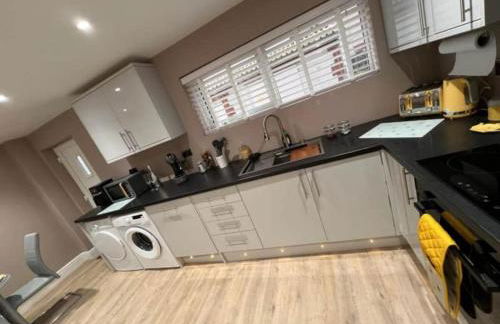

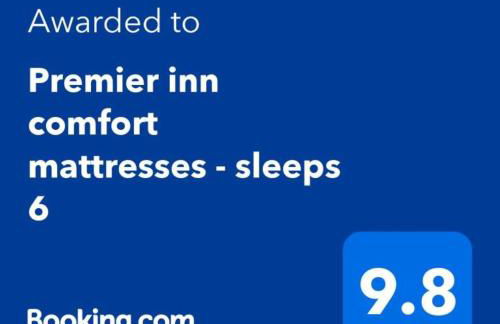


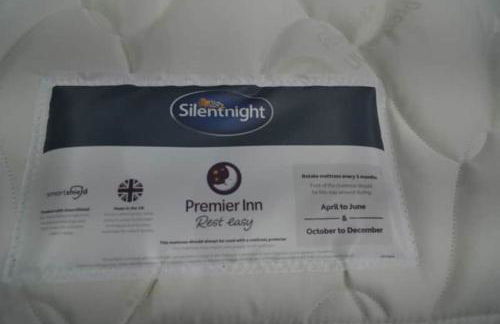


Premier inn mattresses SKY SPORTS & Netflix- sleeps 6
Manchester - Middleton - 8.7 km vom Zentrum
- 77 M2
- 2 Schlafzimmer
- 6 Personen
- Heizung
- Terrasse
- Parkplatz
- Garten
16 Bewertungen


Birkby Lodge Escape
Lytham - Fairhaven
- 95 M2
- 2 Schlafzimmer
- 6 Personen
- Heizung
- Parkplatz
- Garten
- Tv
- Waschmaschine
- Handtücher
- Bettlaken
113 Bewertungen


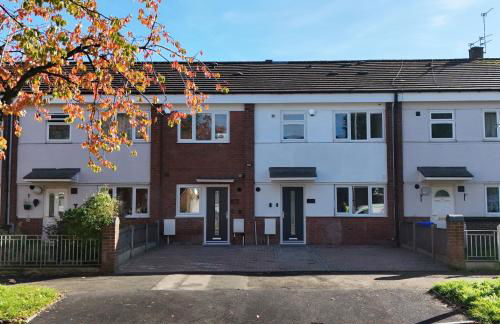
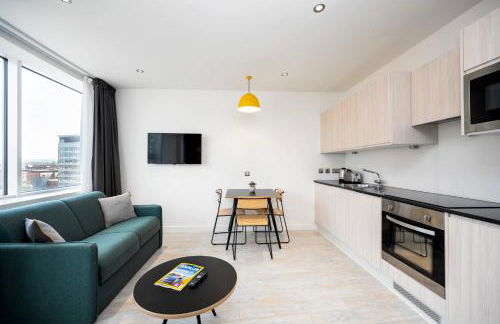
Luxurious 3-Bedroom Oasis Manchester
Manchester - Miles Platting - 2 km vom Zentrum
- 300 M2
- 3 Schlafzimmer
- 8 Personen
- Heizung
- Parkplatz
- Tv
- Waschmaschine
- Handtücher
- Bettlaken
19 Bewertungen


Caravan to Hire - CalaGran Fleetwood Blackpool
Fleetwood - Fleetwood
- 3 M2
- 2 Schlafzimmer
- 7 Personen
- Heizung
- Terrasse
- Schwimmbad
- Parkplatz
- Garten
12 Bewertungen