
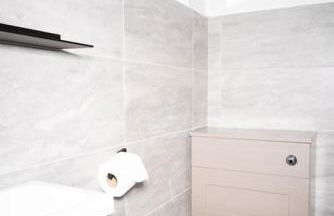
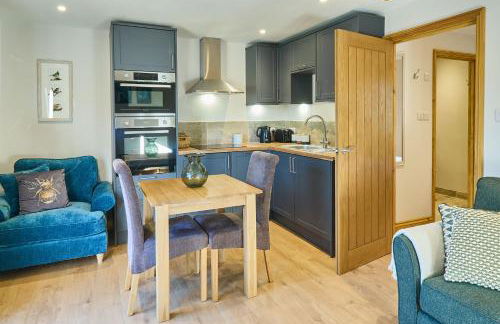
3372 Wohnungen in Kent


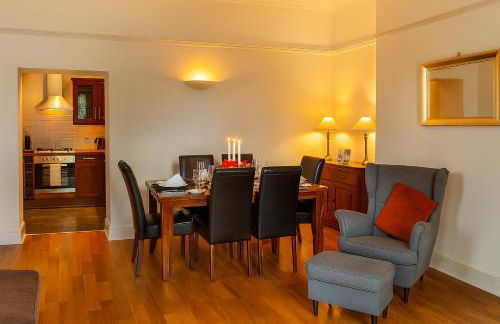


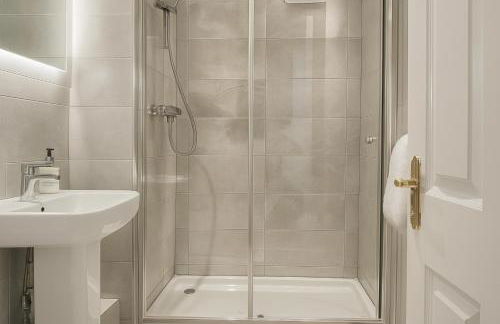

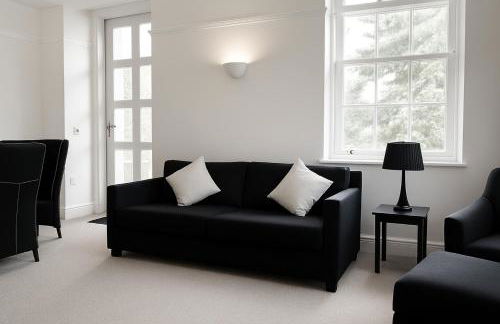

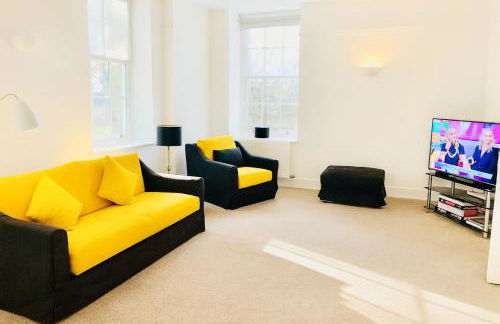


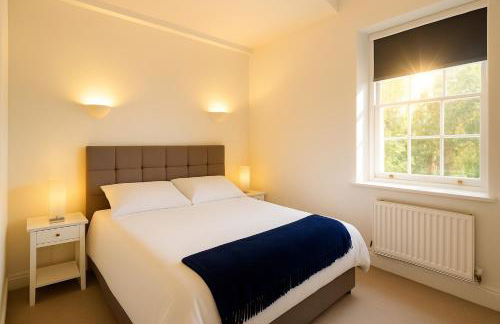


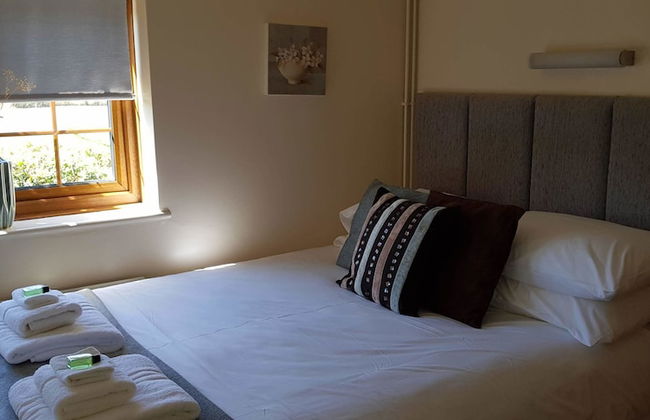
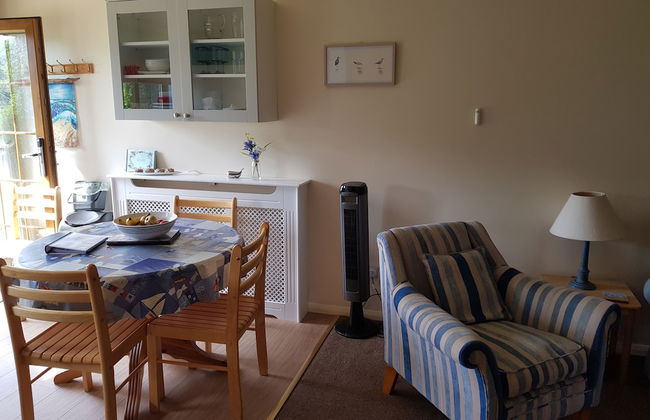
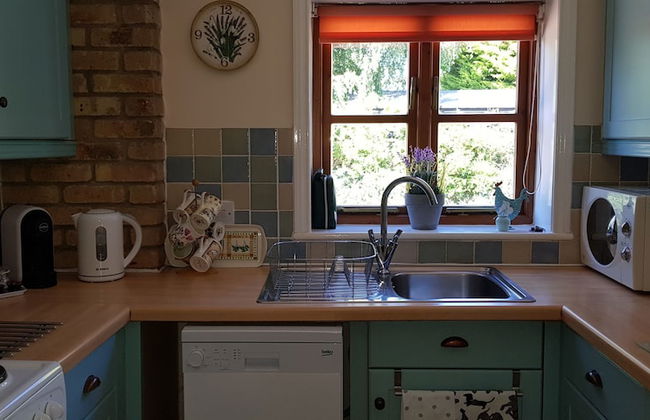
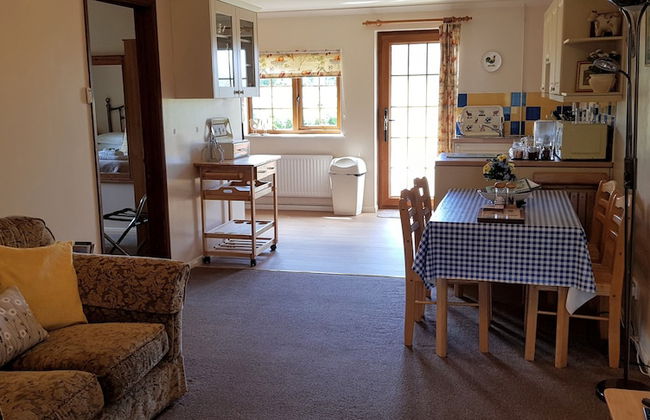
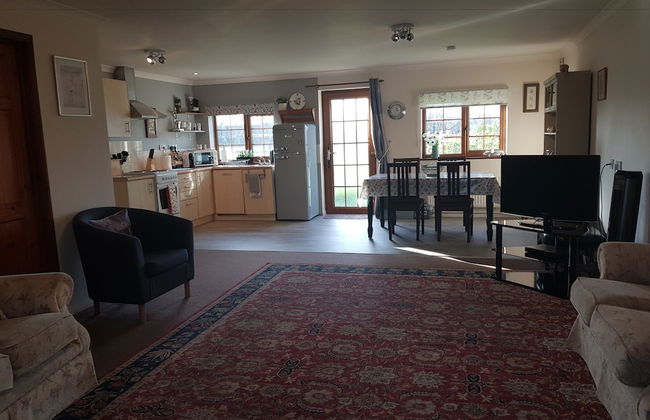
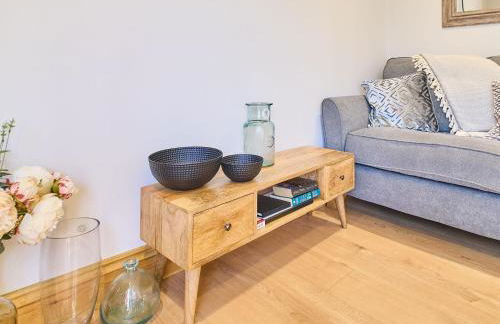
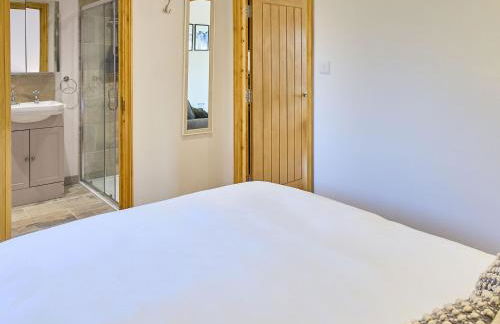
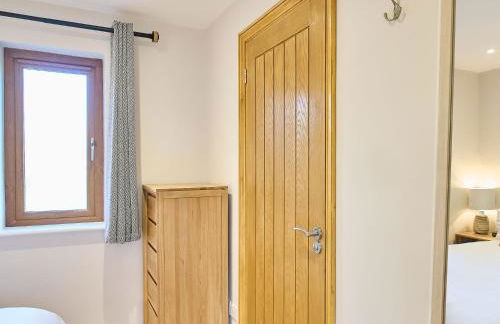
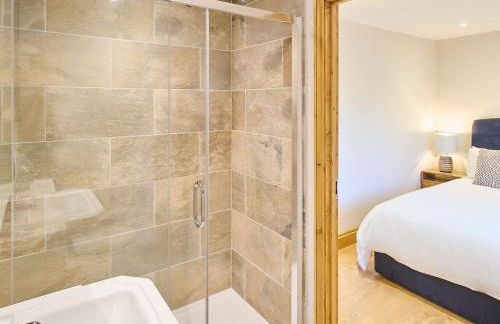
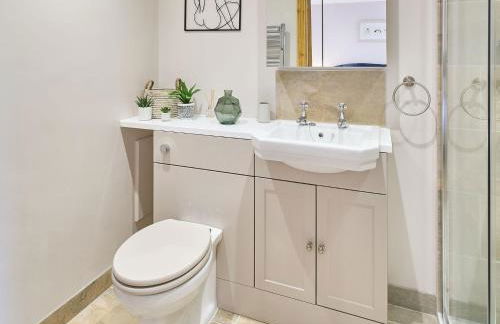
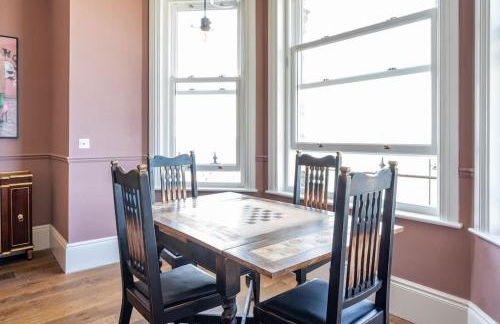
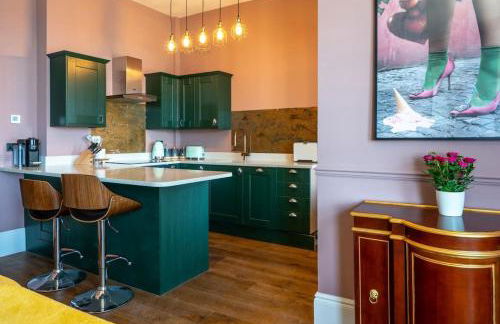
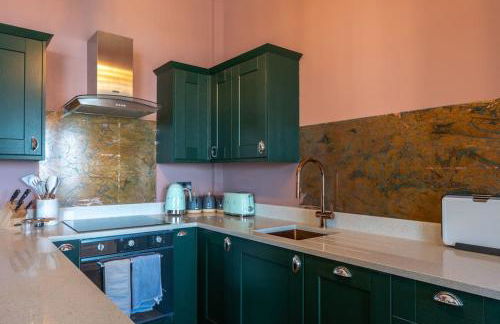
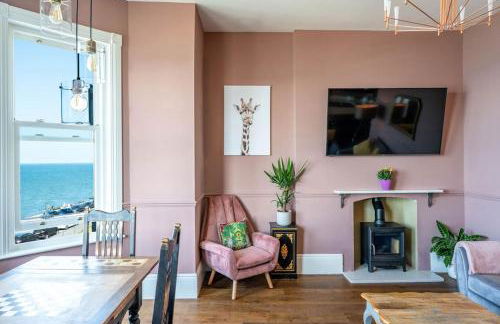
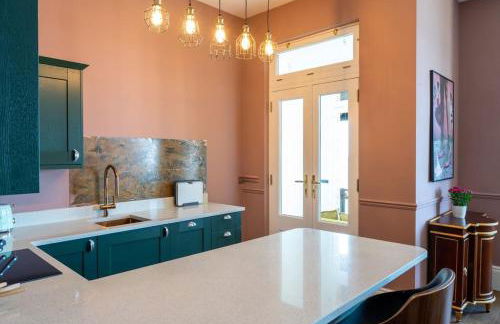
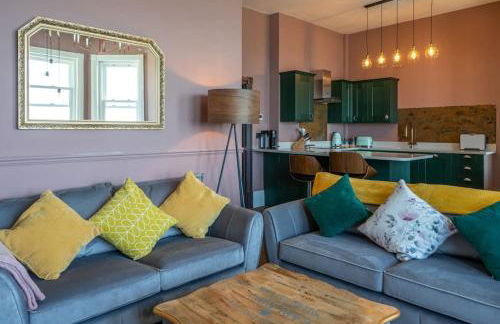
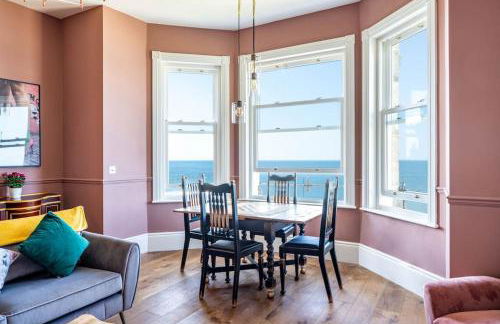
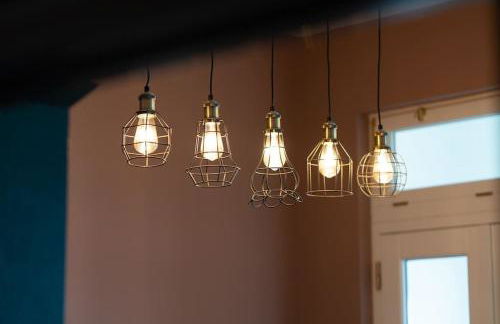
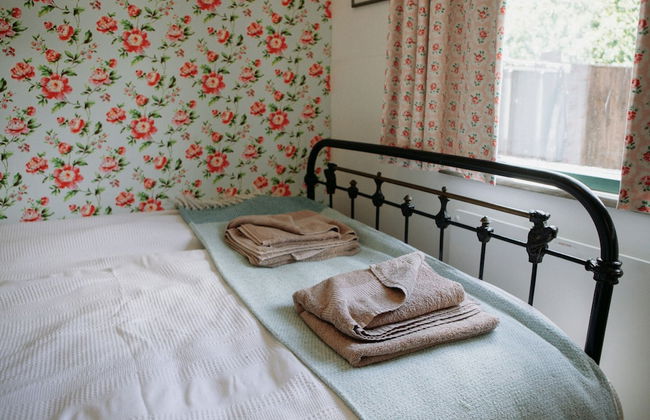
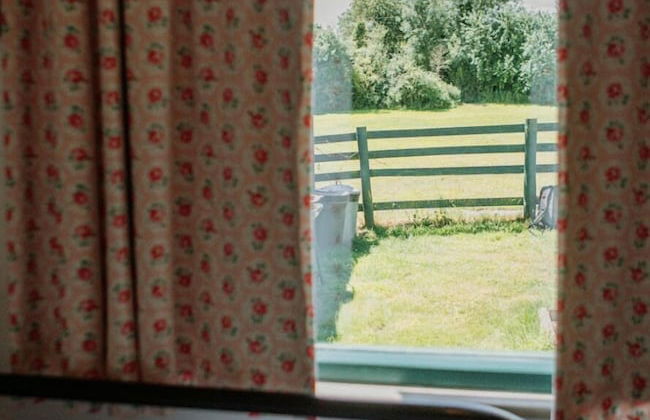
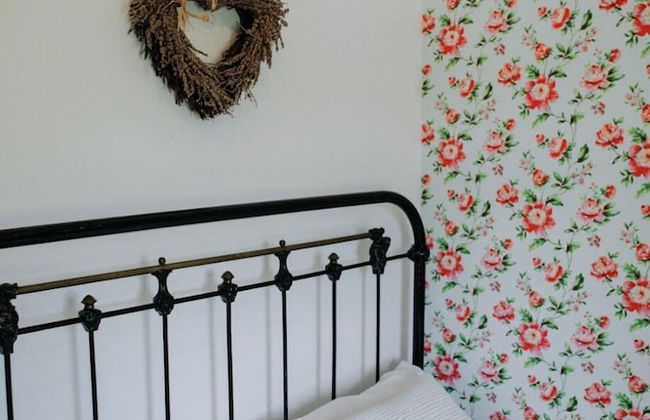
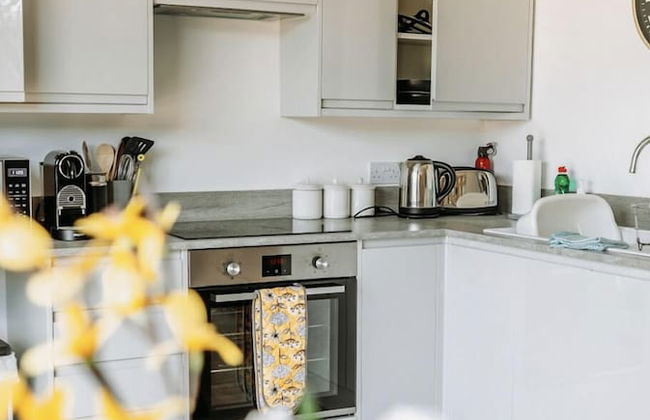
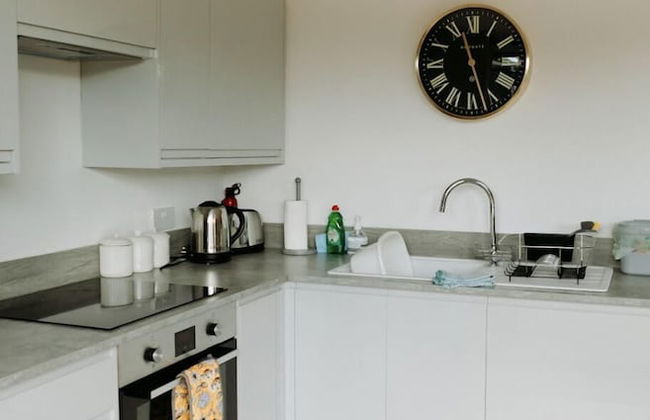
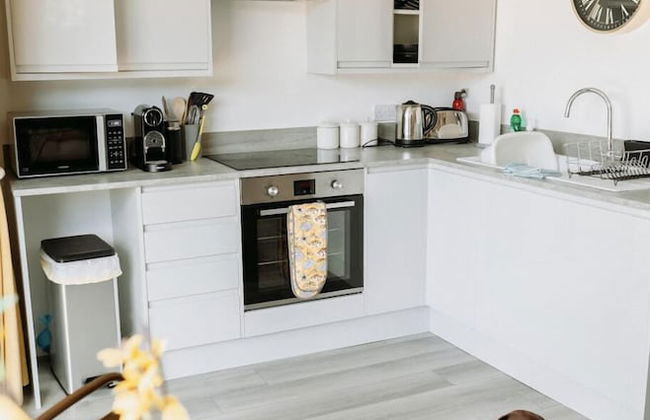
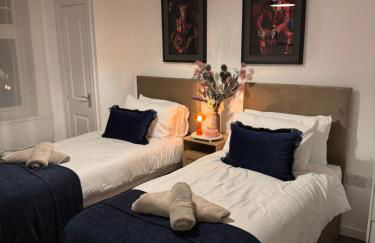
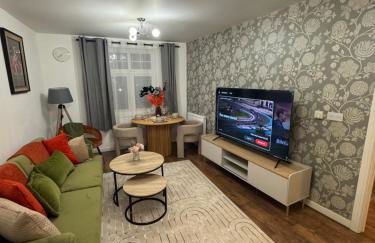
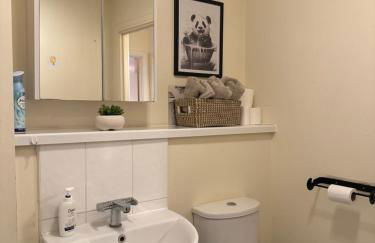
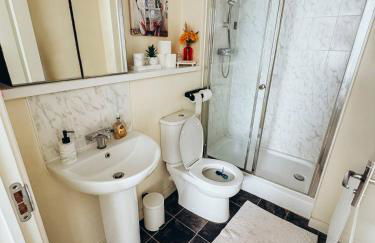
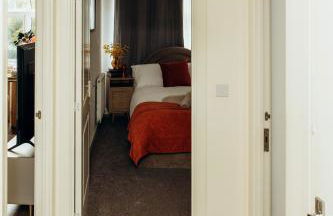
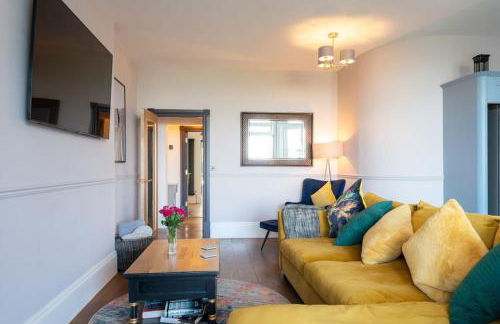
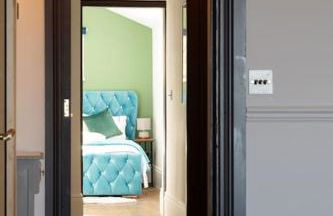
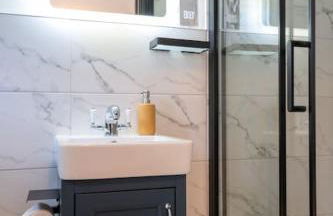
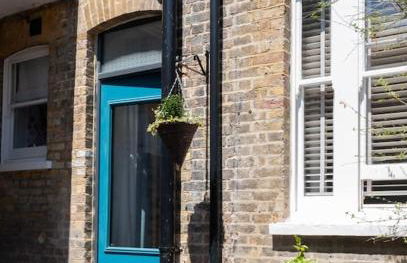
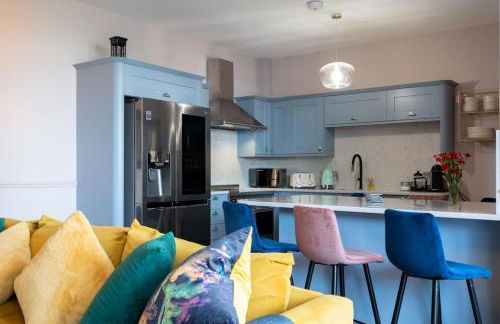
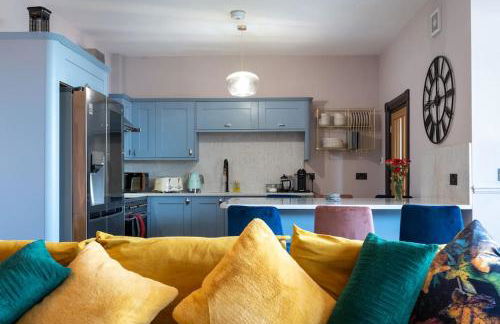
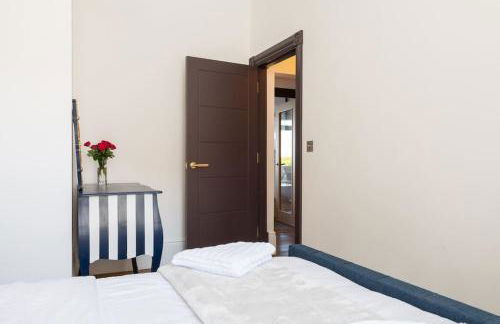
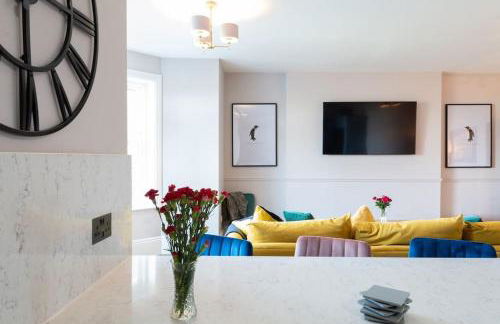
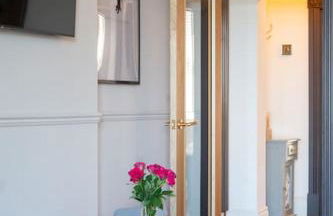
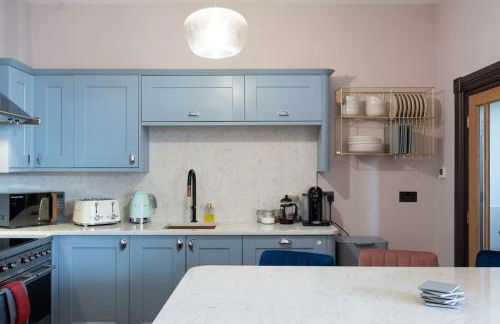
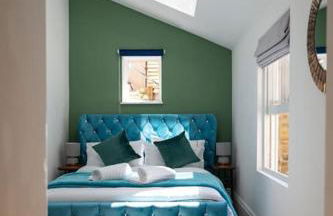
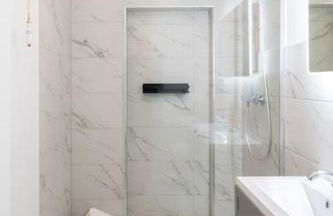
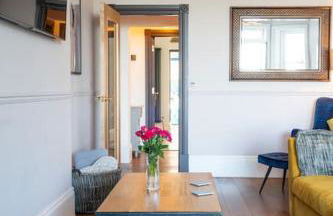
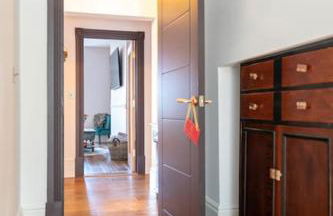
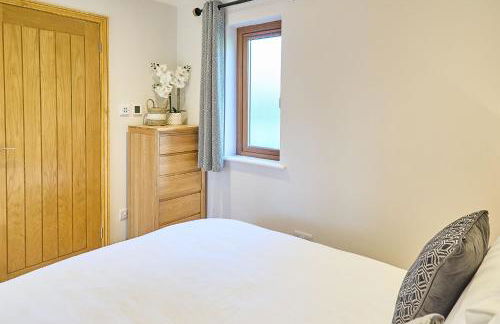
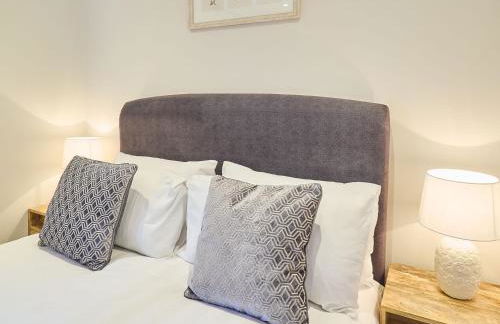
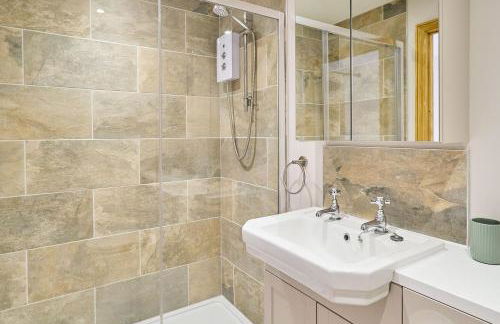
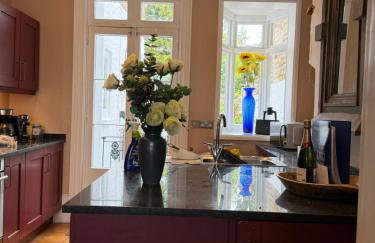
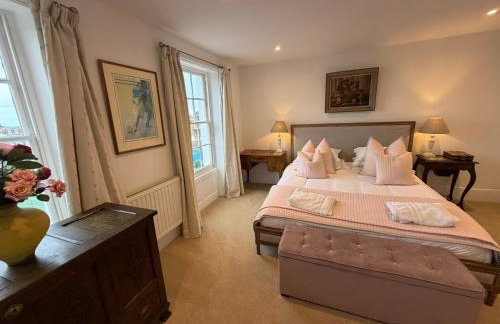
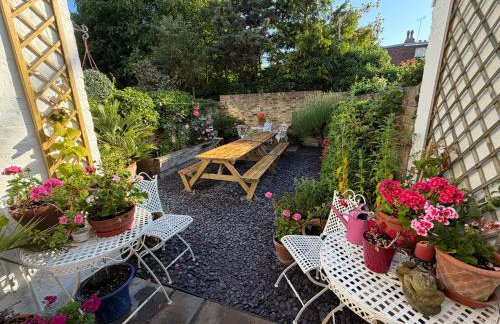
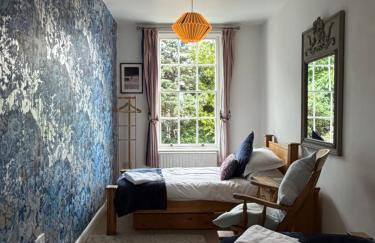
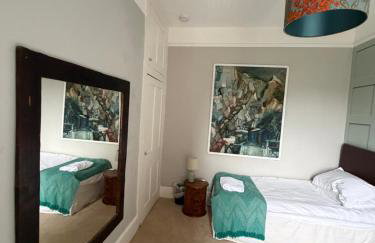
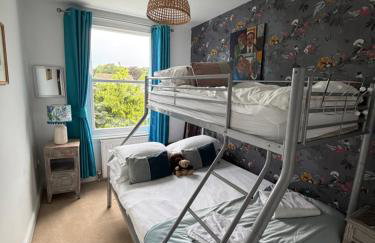
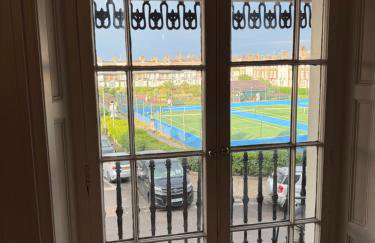
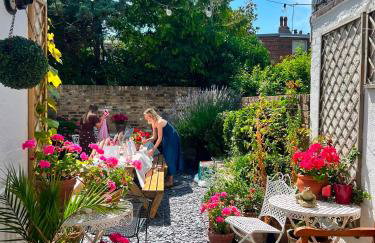
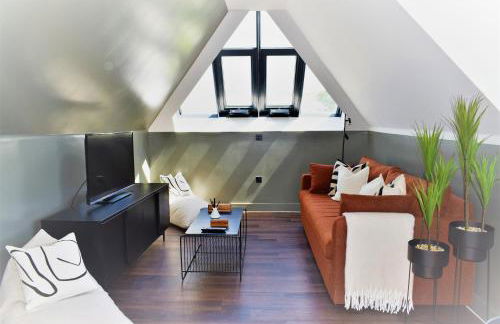
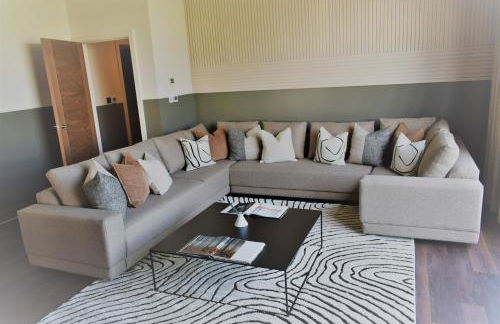
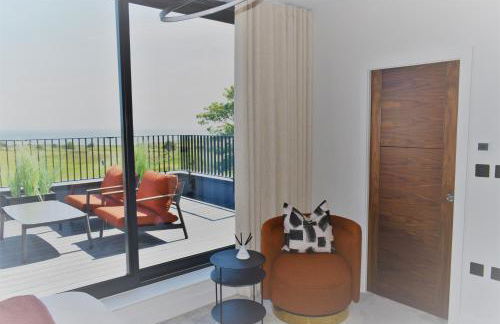
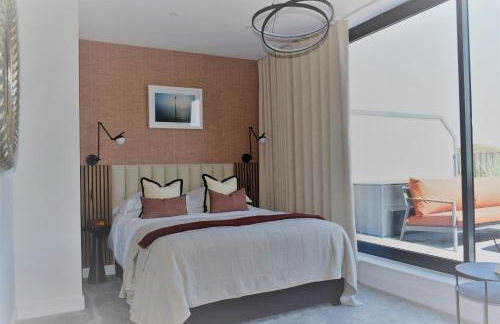
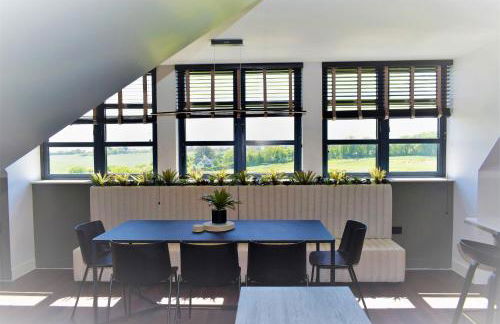
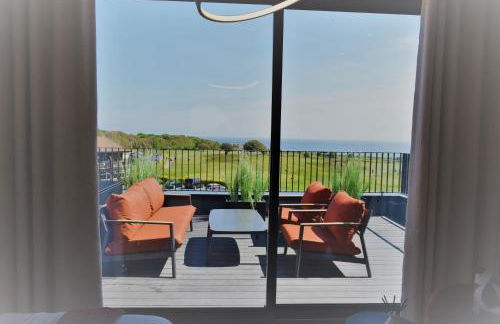
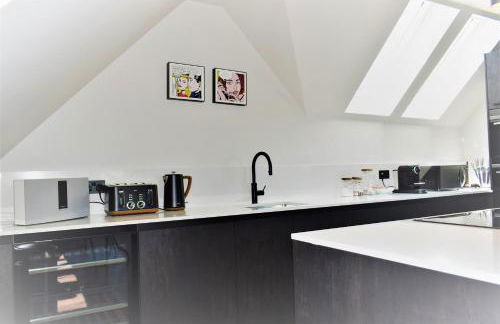
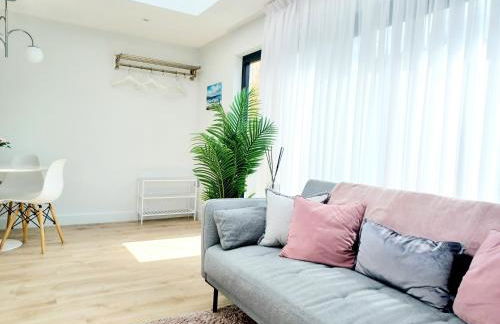
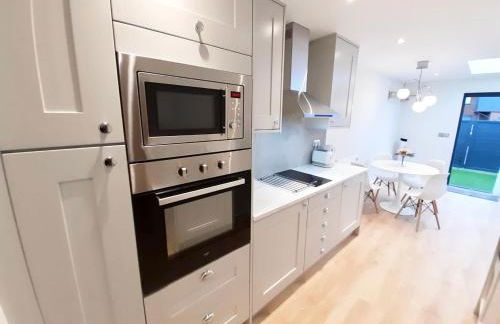
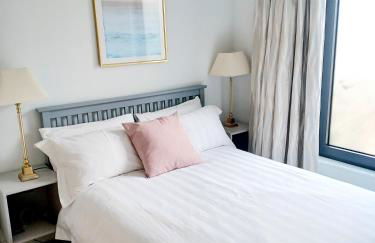
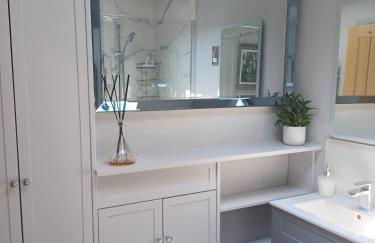
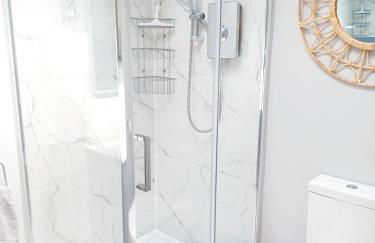
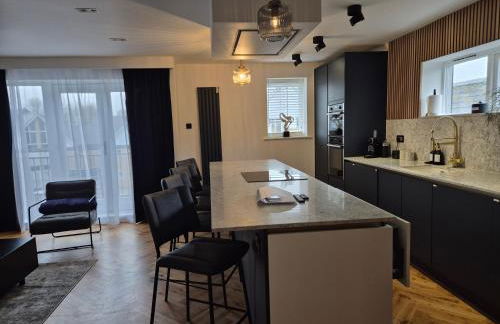
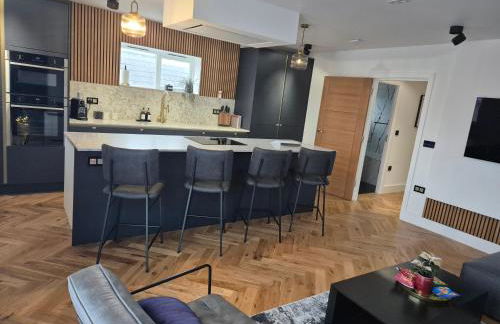
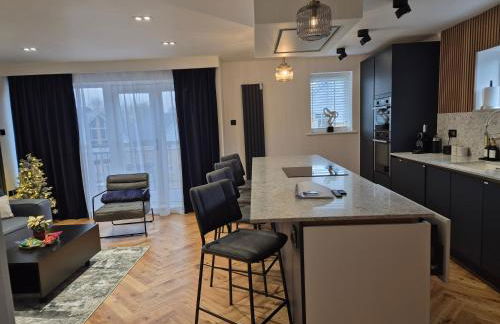
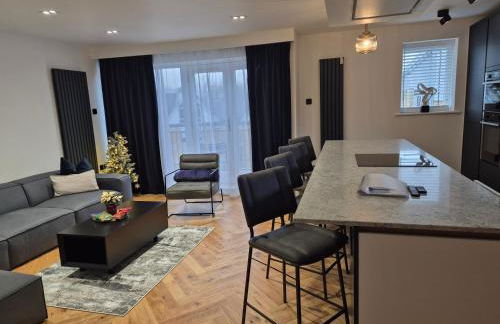
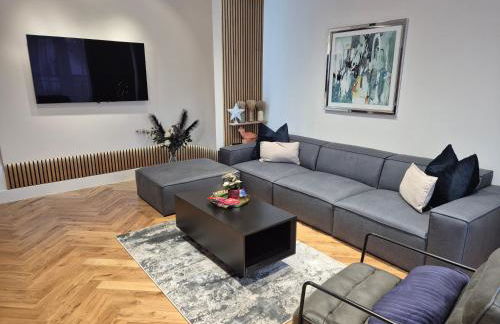
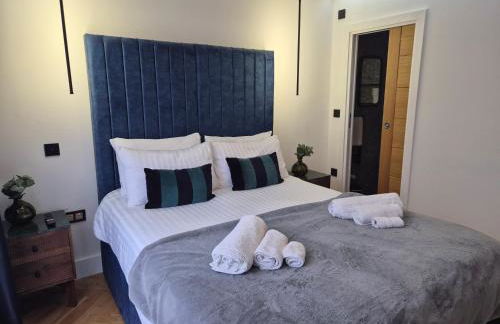
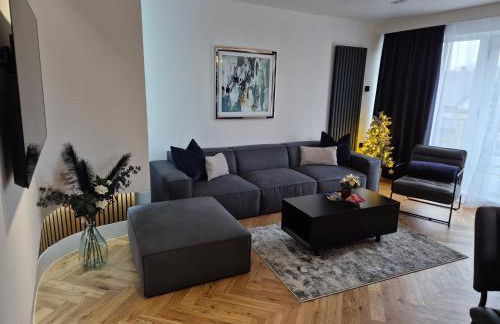
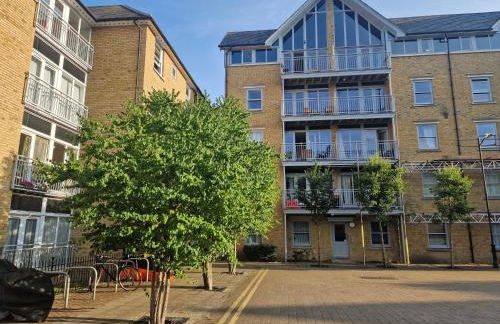
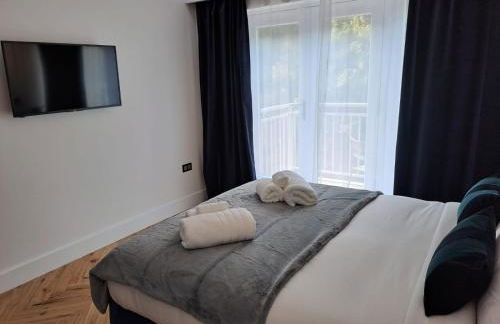
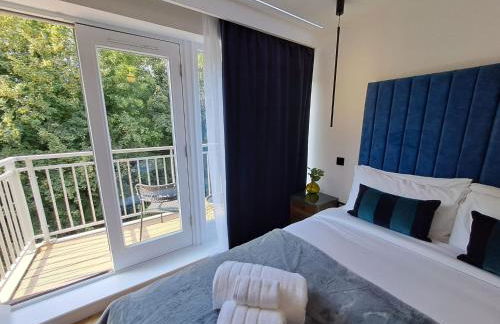
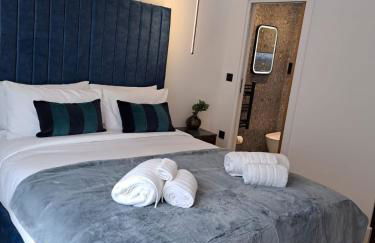
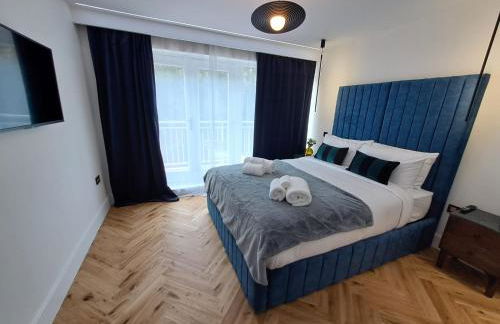
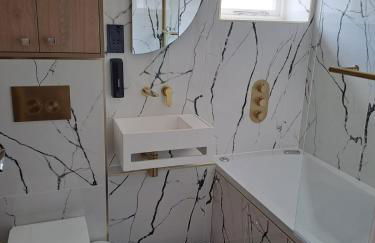
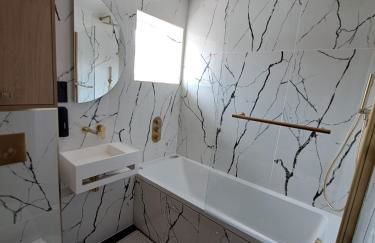
St Andrews Apartments
Maidstone - Maidstone - 2.3 km vom Zentrum
- 120 M2
- 2 Schlafzimmer
- 6 Personen
- Heizung
- Terrasse
- Parkplatz
- Garten
- Tv
- Waschmaschine
- Barbecue
- Handtücher
- Bettlaken
30 Bewertungen


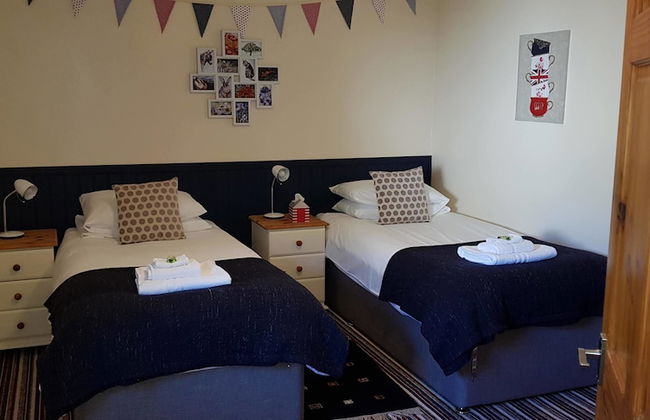
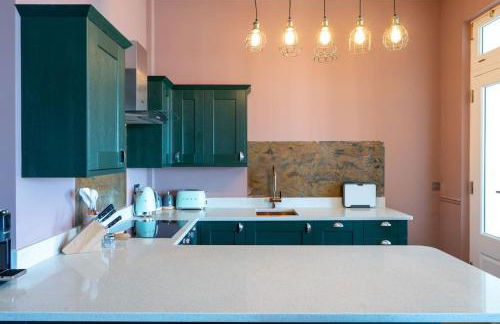
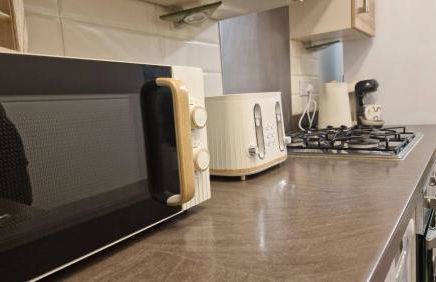
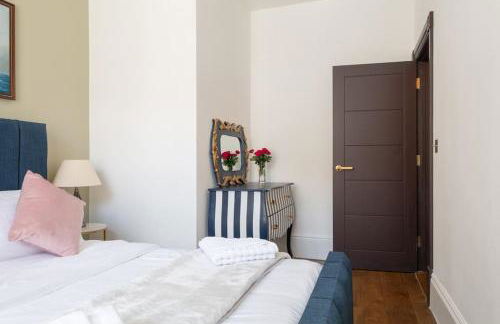
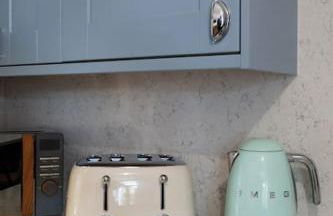
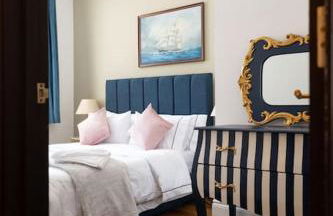
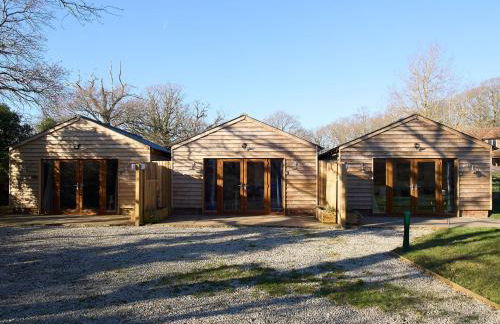
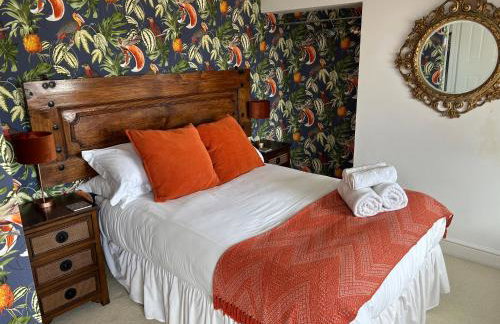
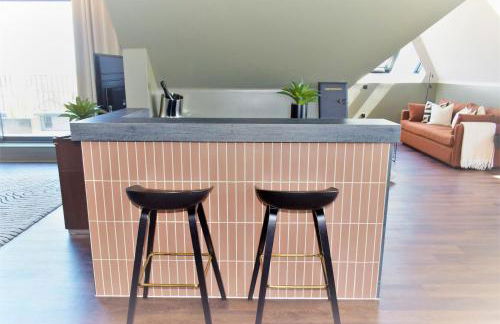
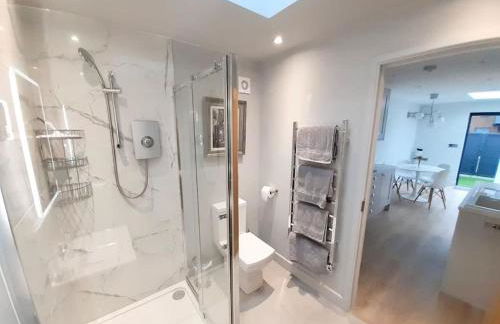
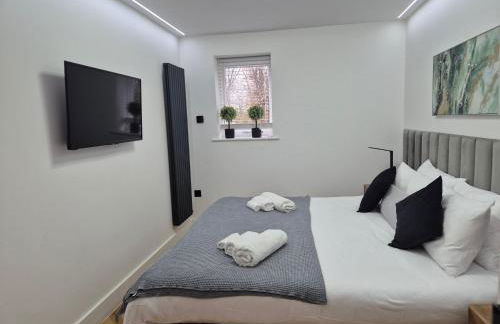
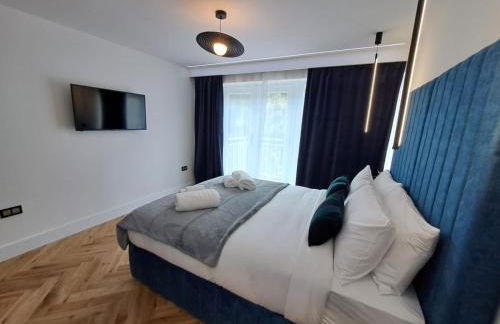
Old Town House by Ezestays
Margate - Margate
- 20 M2
- 2 Personen
- Klimaanlage
- Heizung
- Parkplatz
- Tv
- Handtücher
- Bettlaken
47 Bewertungen

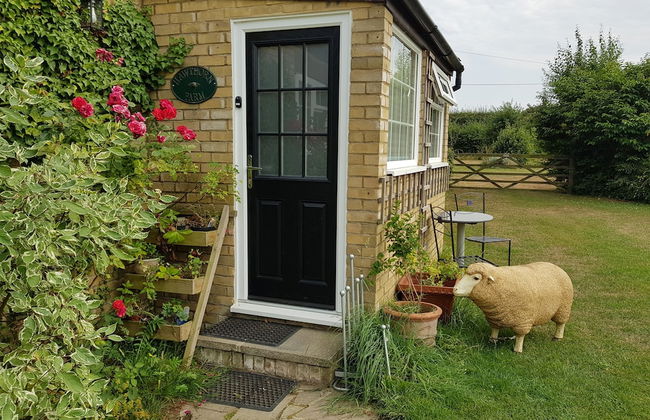

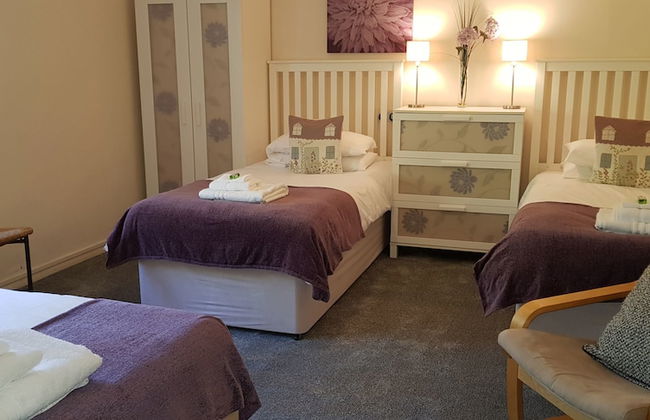


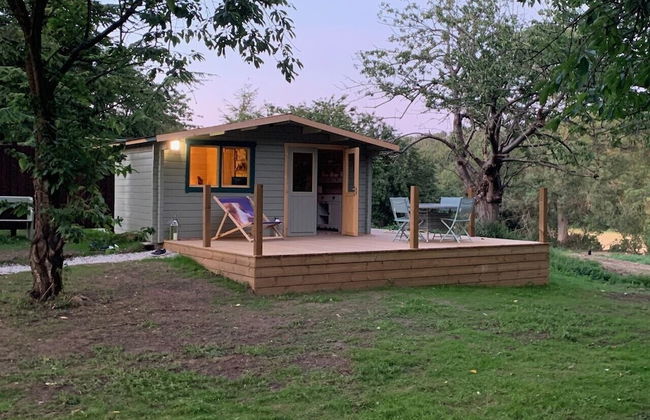
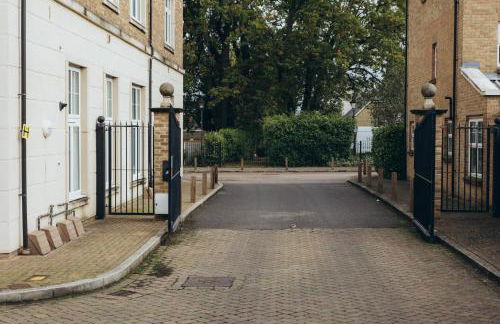
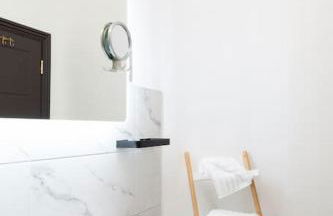
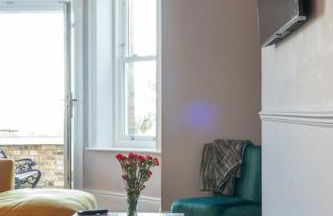
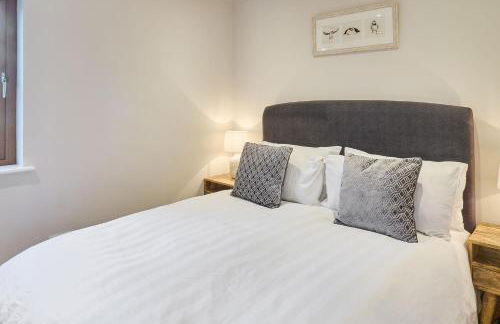
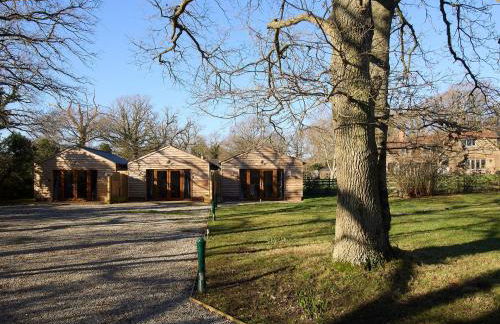
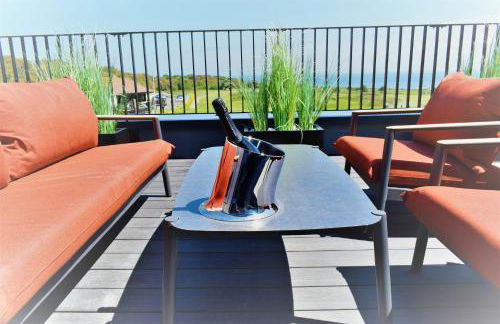
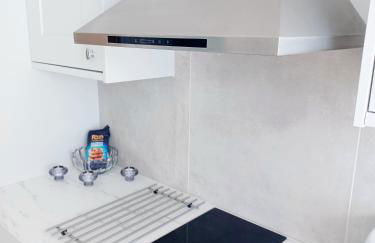
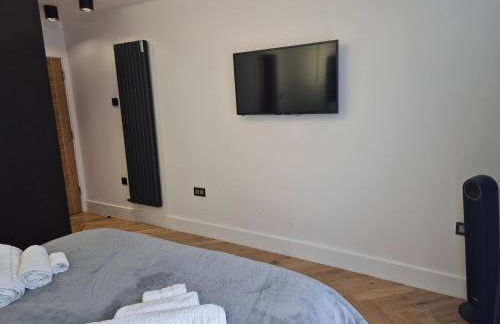
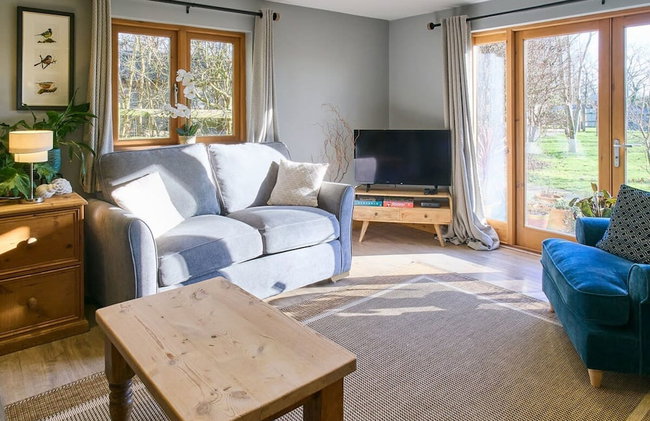
Hawthorn Farm Cottages
Canterbury - Canterbury - 13.7 km vom Zentrum
- 88 M2
- 5 Personen
- Heizung
- Terrasse
- Parkplatz
- Garten
- Tv
- Waschmaschine
- Barbecue
- Handtücher
- Bettlaken
18 Bewertungen


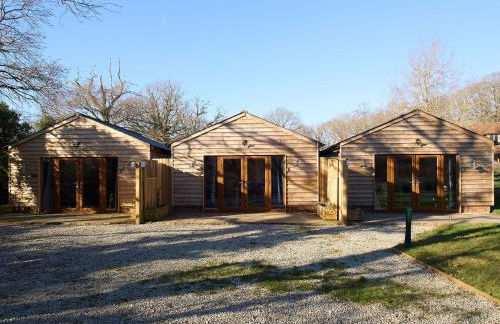


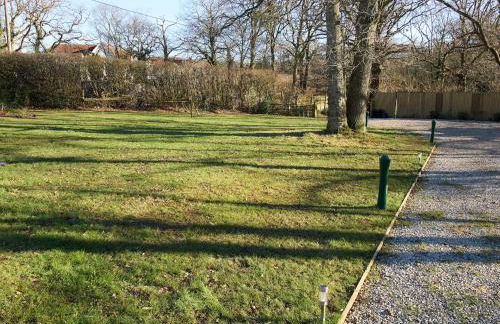

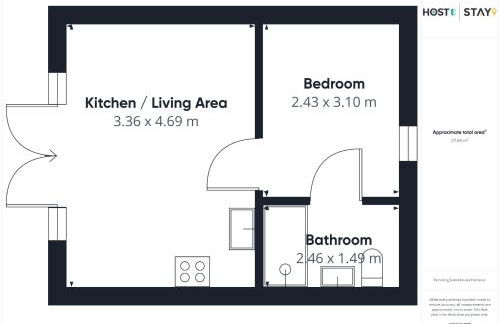


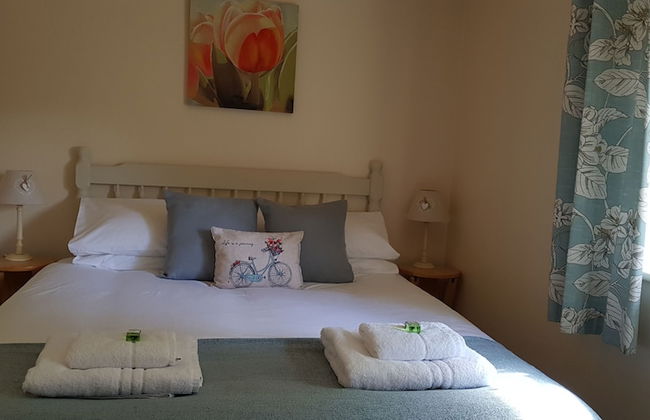
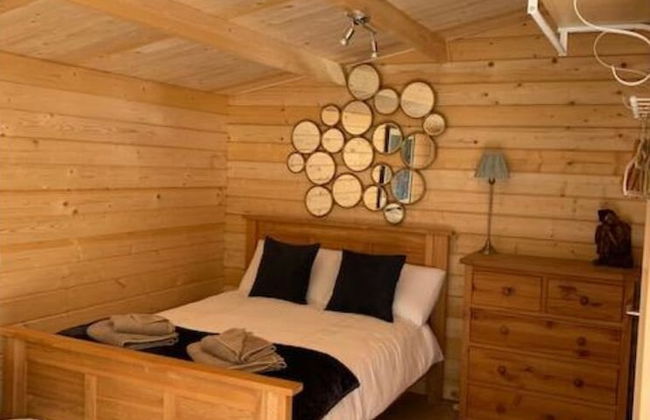
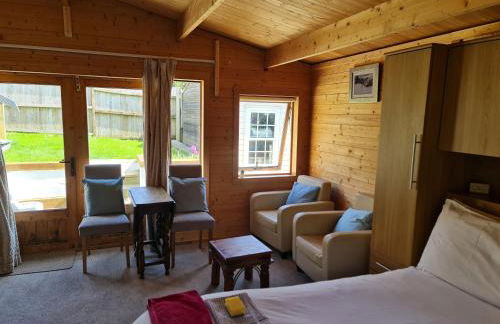
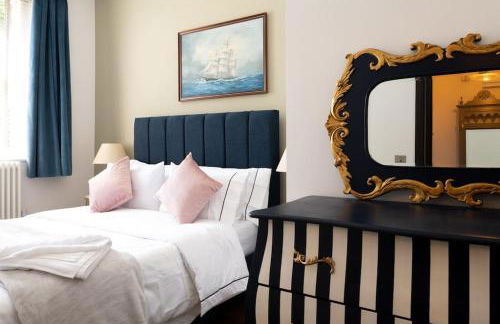
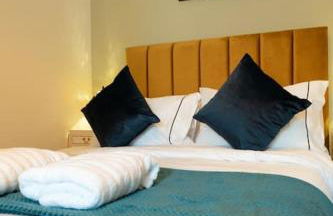
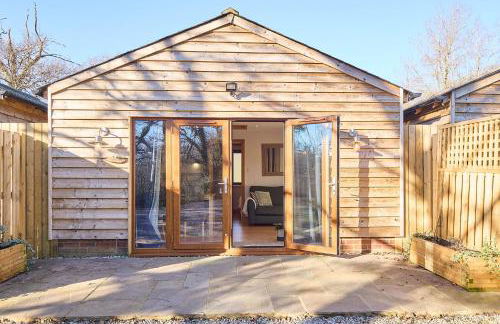
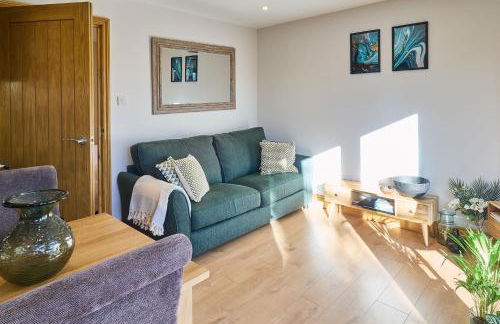
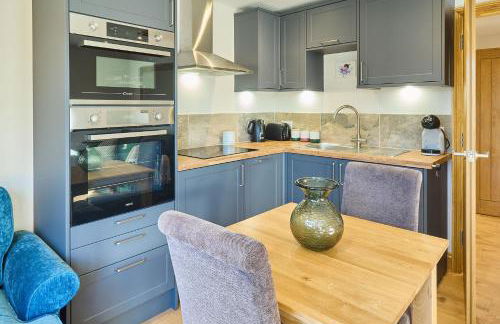
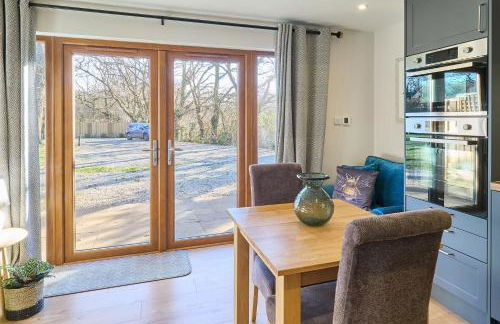
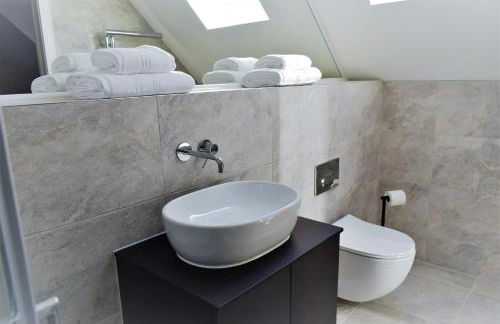
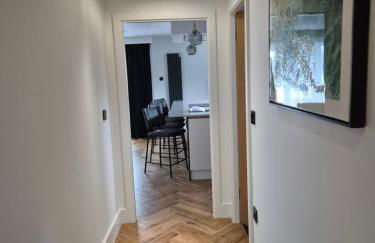
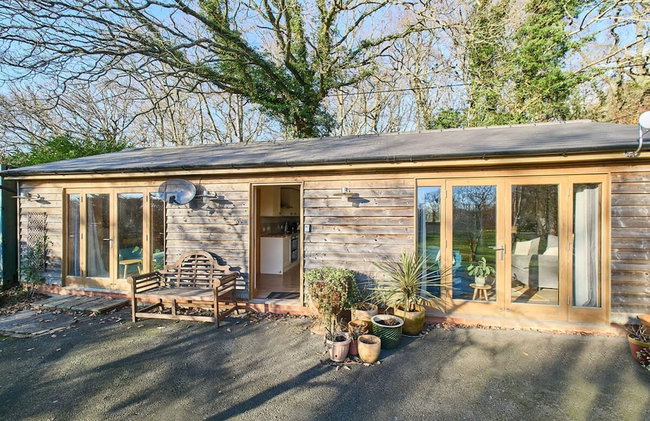
Host & Stay - Oak Barn
Ashford - Bonnington - 7.6 km vom Zentrum
- 28 M2
- 1 Schlafzimmer
- 2 Personen
- Heizung
- Terrasse
- Parkplatz
- Balkon
- Garten
- Tv
- Waschmaschine
- Handtücher
- Bettlaken
31 Bewertungen


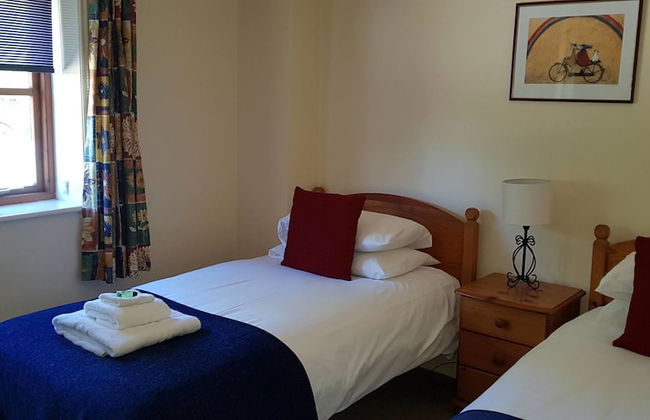
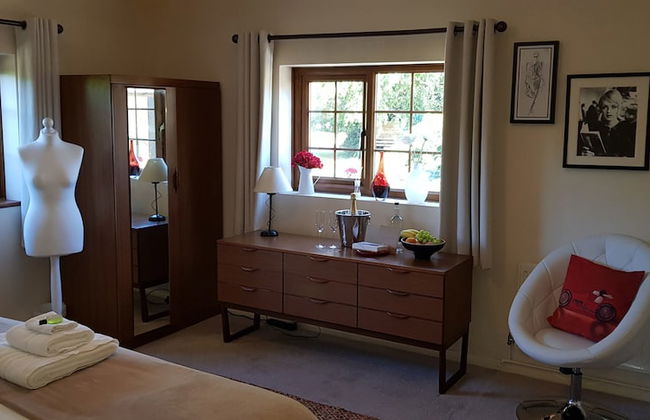
Sandhurst Farm Forge
Sittingbourne - Newnham
- 104 M2
- 2 Personen
- Heizung
- Parkplatz
- Garten
- Tv
- Waschmaschine
- Handtücher
- Bettlaken
32 Bewertungen

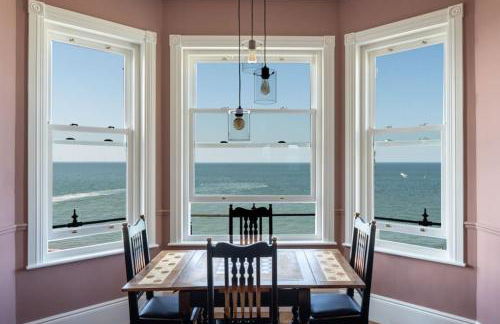


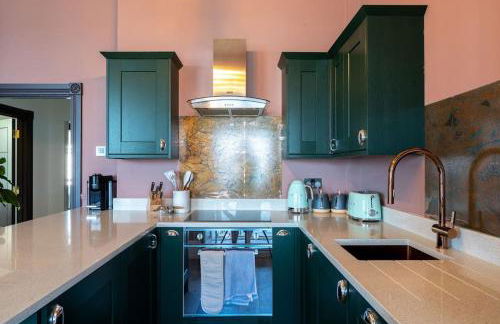

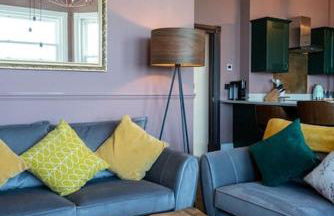


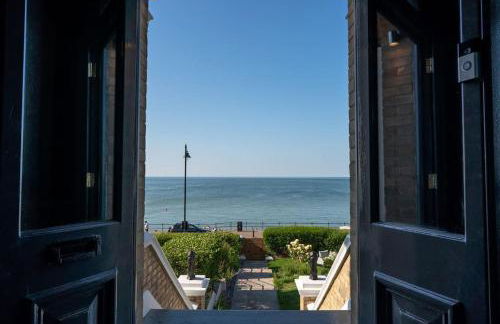

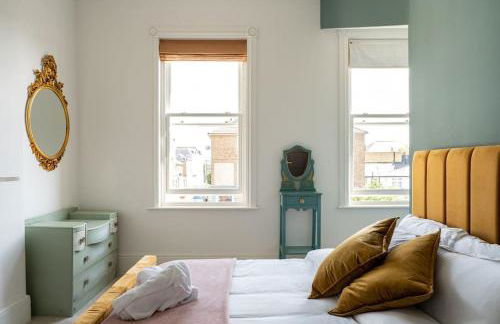

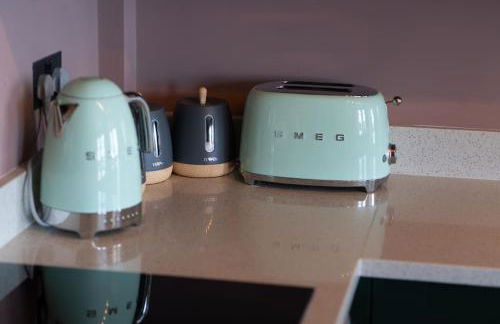


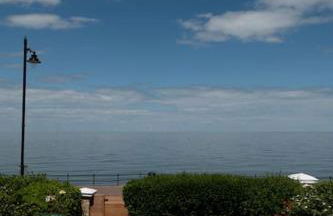
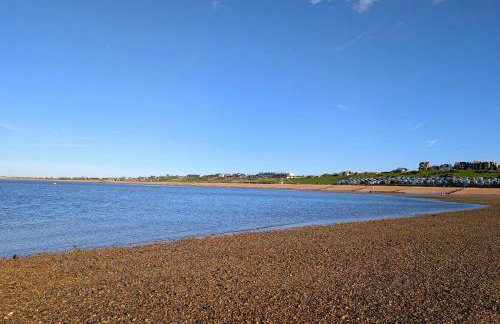
Stylish Beachfront Luxury Apartment, Sweeping Ocean Views and Log Burner
Herne - Herne
- 88 M2
- 2 Schlafzimmer
- 4 Personen
- Terrasse
- Parkplatz
36 Bewertungen


Truly Kentish Holiday Lets
Sittingbourne - Sittingbourne
- 30 M2
- 4 Personen
- Heizung
- Terrasse
- Parkplatz
- Garten
- Tv
- Barbecue
- Handtücher
- Bettlaken
9 Bewertungen


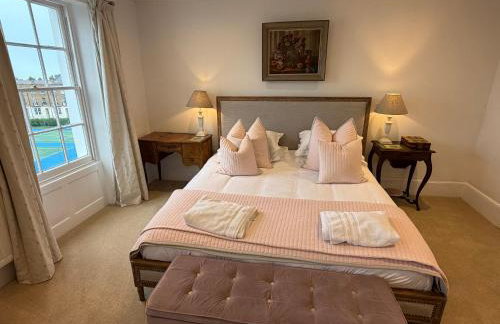
The Penthouse Canterbury - Cathedral View
Canterbury - Canterbury - Im Zentrum
- 46 M2
- 1 Schlafzimmer
- 2 Personen
- Heizung
- Terrasse
- Garten
- Handtücher
- Bettlaken
6 Bewertungen


Bromley jefersons place
Bromley - Bromley - 2 km vom Zentrum
- 65 M2
- 2 Schlafzimmer
- 5 Personen
- Heizung
- Parkplatz
- Fahrstuhl
- Garten
13 Bewertungen


Secret Hythe, Sea views Town location 2km Eurotunnel
Hythe - Hythe
- 30 M2
- 2 Personen
- Klimaanlage
- Heizung
- Terrasse
- Parkplatz
- Balkon
- Garten
- Waschmaschine
- Barbecue
- Handtücher
- Bettlaken
210 Bewertungen


Spacious Beachfront Getaway with Stunning Ocean Views & Parking
Herne - Herne
- 107 M2
- 3 Schlafzimmer
- 6 Personen
- Terrasse
- Parkplatz
- Garten
38 Bewertungen


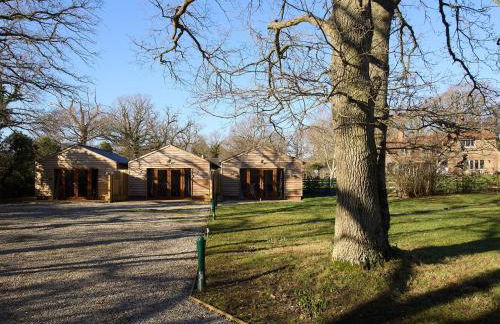
Host & Stay - Cobnut Barn
Ashford - Bonnington - 7.6 km vom Zentrum
- 28 M2
- 1 Schlafzimmer
- 2 Personen
- Heizung
- Terrasse
- Parkplatz
- Balkon
- Garten
- Tv
- Waschmaschine
- Handtücher
20 Bewertungen


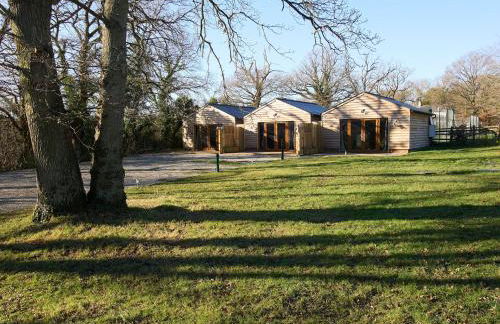
Host & Stay - Willow Barn
Ashford - Bonnington - 7.7 km vom Zentrum
- 28 M2
- 1 Schlafzimmer
- 2 Personen
- Heizung
- Terrasse
- Parkplatz
- Balkon
- Garten
- Tv
- Waschmaschine
- Handtücher
- Bettlaken
24 Bewertungen


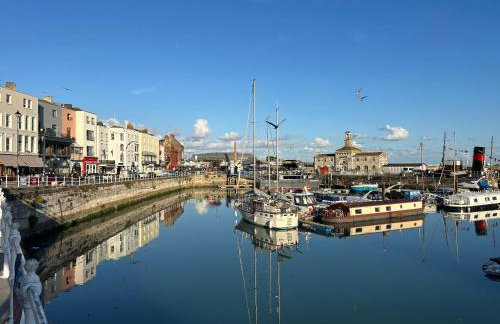


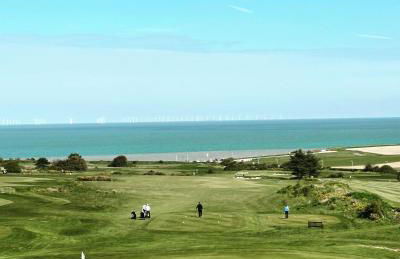
Ramsgate Retreats - Latimer House, boutique seaside holiday home for large families, groups, golf
Ramsgate - Ramsgate
- 3500 M2
- 6 Schlafzimmer
- 14 Personen
- Heizung
- Terrasse
- Parkplatz
- Garten
- Barbecue
17 Bewertungen
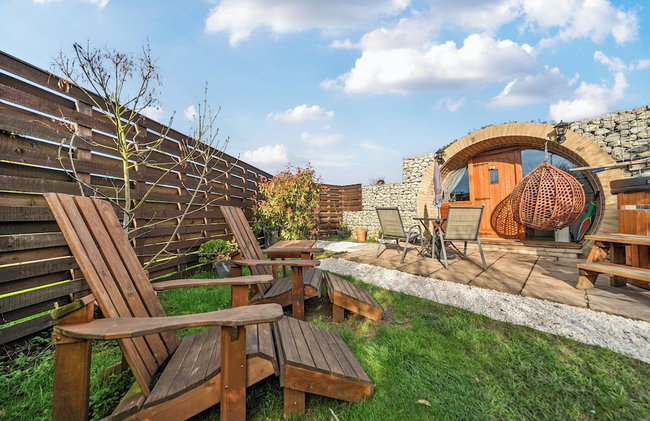
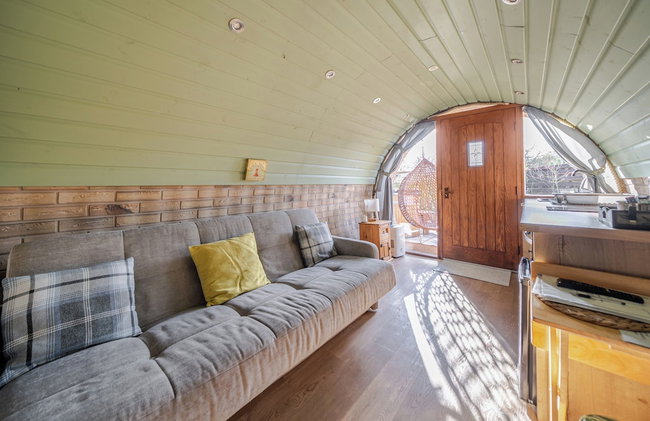
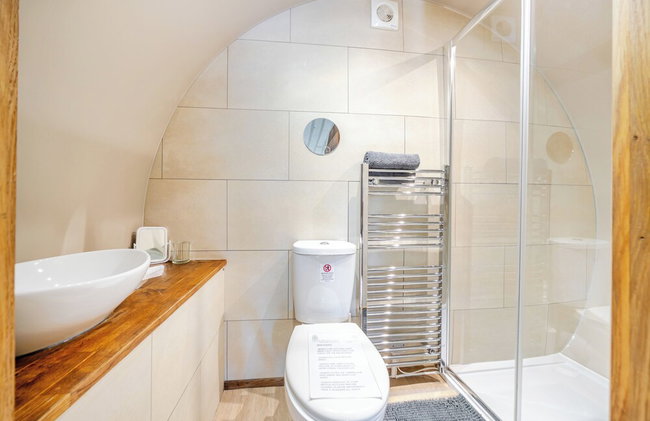


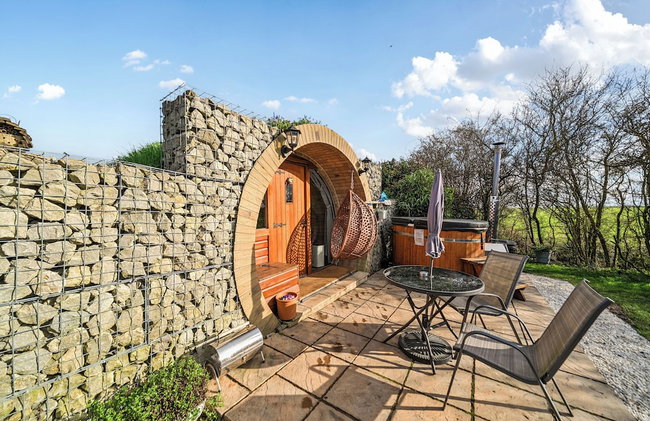
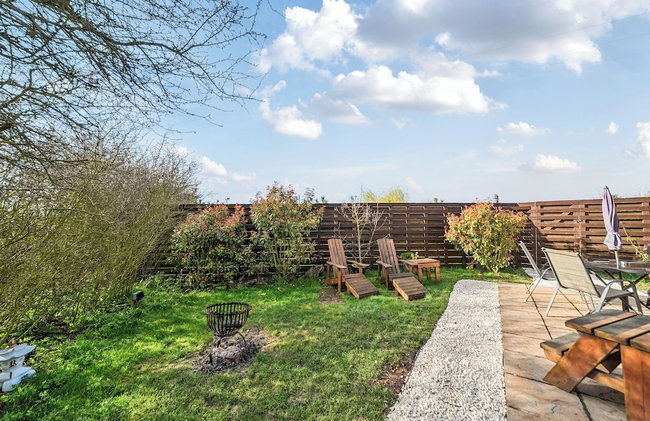
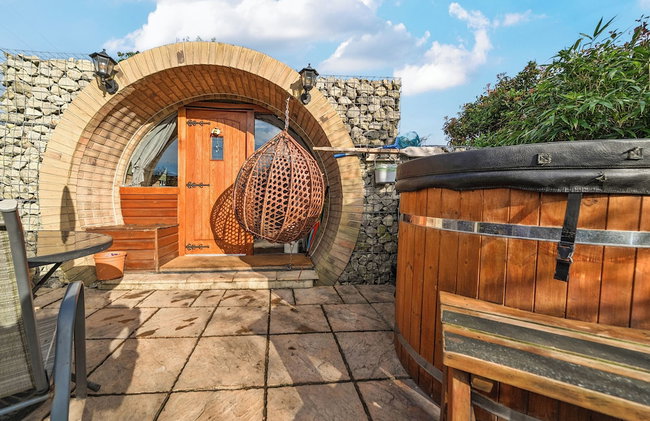
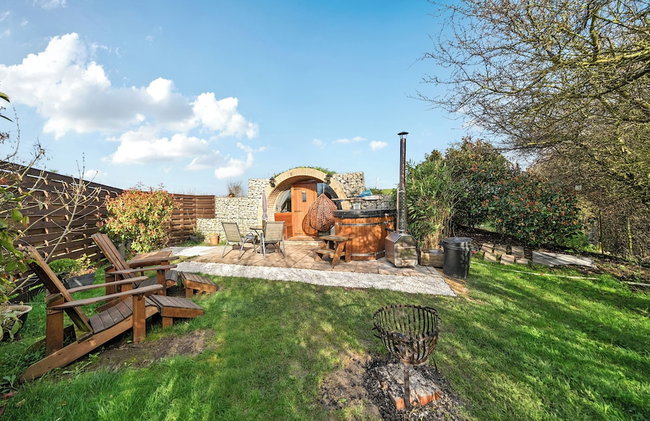
Cosy Escape Heated Luxury pod With hot tub
Sheerness - Sheerness
- 20 M2
- 2 Personen
- Heizung
- Schwimmbad
- Parkplatz
- Garten
- Tv
- Handtücher
- Bettlaken
7 Bewertungen


17 The Fairways
Broadstairs - Broadstairs
- 177 M2
- 3 Schlafzimmer
- 6 Personen
- Klimaanlage
- Heizung
- Terrasse
- Parkplatz
29 Bewertungen


AIR CON Modern 2BR House with Garden Near Beach
Whitstable - Whitstable
- 40 M2
- 2 Schlafzimmer
- 4 Personen
- Klimaanlage
- Heizung
- Terrasse
- Parkplatz
- Garten
56 Bewertungen


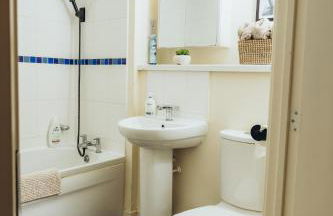
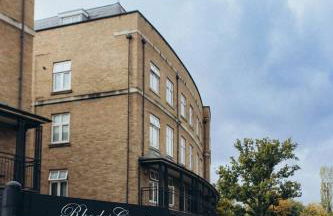
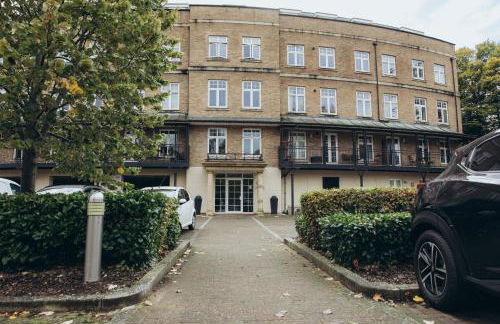
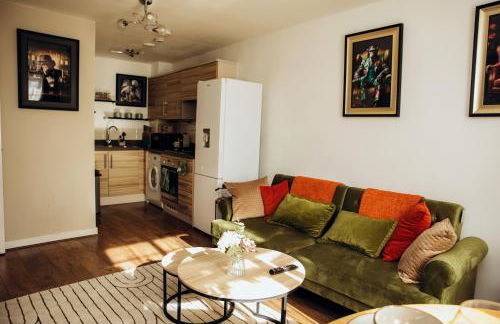
Newly Renovated Flat with Parking space
Canterbury - Canterbury - Im Zentrum
- 2 Schlafzimmer
- 4 Personen
- Heizung
- Terrasse
- Parkplatz
- Fahrstuhl
59 Bewertungen


Host & Stay - Orchard Barn
Ashford - Bonnington - 7.7 km vom Zentrum
- 35 M2
- 1 Schlafzimmer
- 2 Personen
- Heizung
- Terrasse
- Parkplatz
- Balkon
- Garten
- Tv
- Waschmaschine
- Barbecue
- Handtücher
- Bettlaken
28 Bewertungen


Birch Cottage with private wood fire hot tub
Maidstone - Harrietsham - 9.5 km vom Zentrum
- 15 M2
- 1 Schlafzimmer
- 2 Personen
- Heizung
- Terrasse
- Parkplatz
- Garten
- Barbecue
145 Bewertungen