
1487 Wohnungen in Grafschaft Antrim


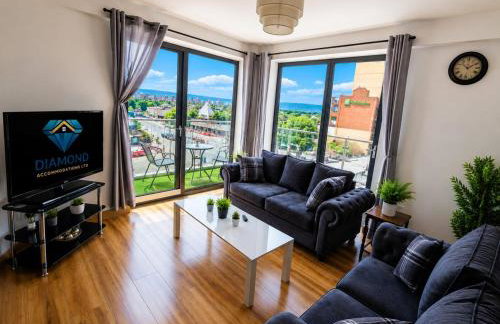
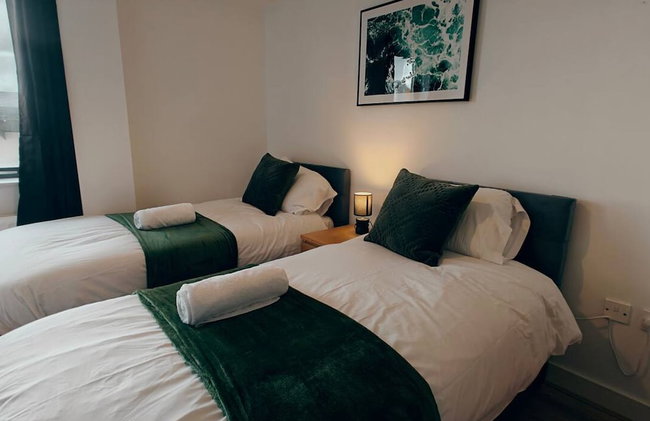
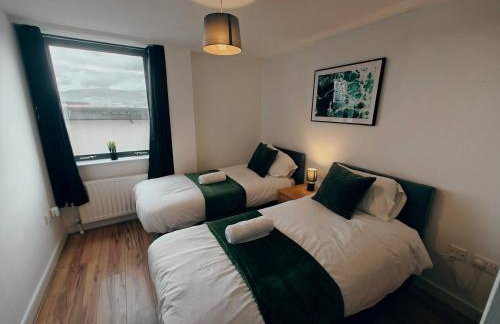
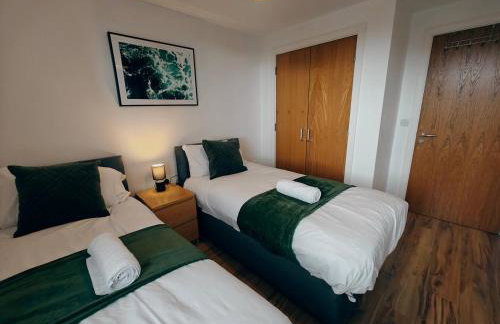
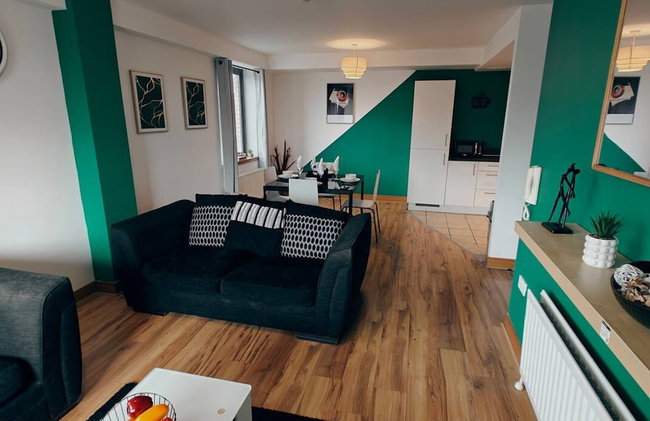
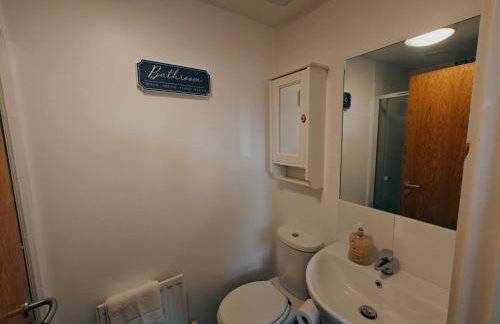
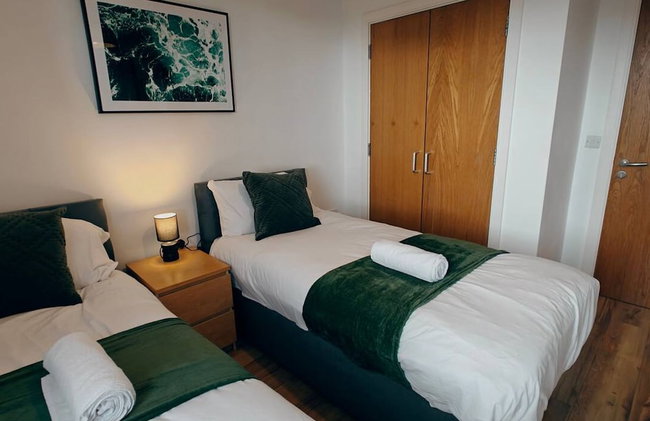
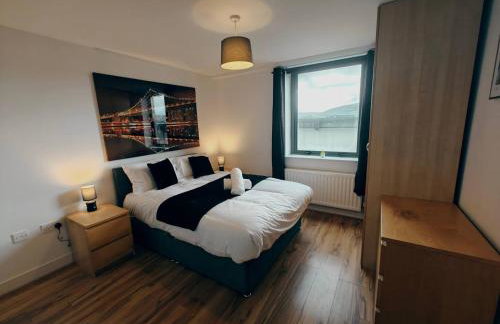
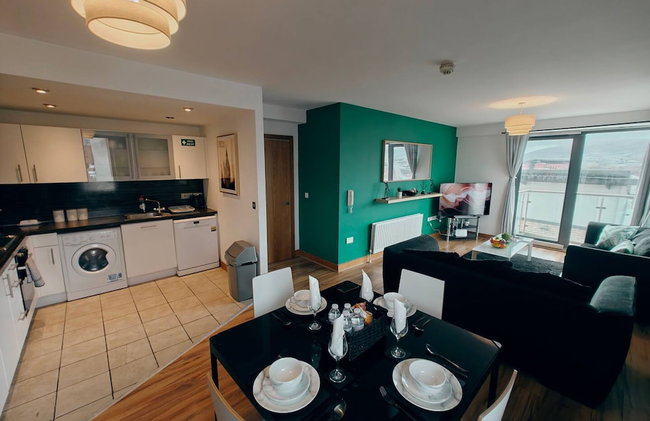
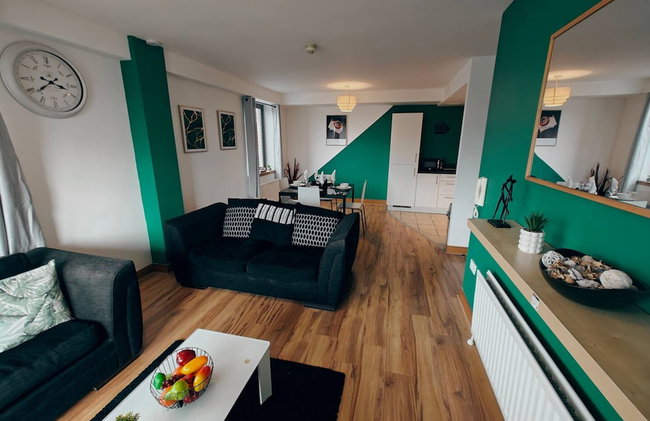
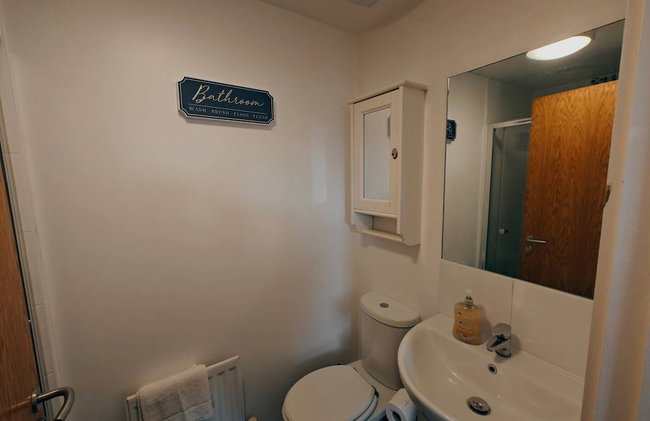
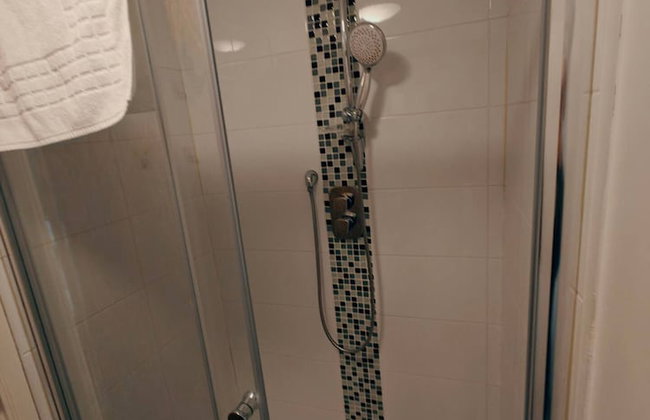
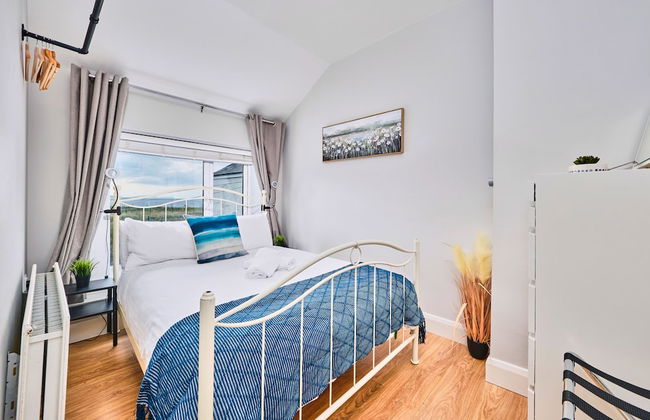
Curran Gate Luxury Apartments, Portrush
Portrush - Portrush
- 153 M2
- 6 Personen
- Heizung
- Terrasse
- Parkplatz
- Fahrstuhl
- Balkon
- Garten
- Tv
- Waschmaschine
- Handtücher
- Bettlaken
19 Bewertungen


Stable Cottage - Kinbane Self Catering Cottages
Ballycastle - Ballycastle
- 14 M2
- 2 Personen
- Heizung
- Terrasse
- Parkplatz
- Garten
- Tv
- Waschmaschine
- Schornstein
- Barbecue
- Handtücher
- Bettlaken
55 Bewertungen


Ocean View Pods
Ballymena - Glenarm
- 18 M2
- 4 Personen
- Kochnische
- Heizung
- Terrasse
- Garten
- Schornstein
- Handtücher
- Bettlaken
19 Bewertungen


Stay Lagom Lodge
Ballycastle - Ballycastle
- 5 Personen
- Heizung
- Terrasse
- Parkplatz
- Garten
- Tv
- Schornstein
- Barbecue
- Handtücher
- Bettlaken
35 Bewertungen


Ballylagan Organic Farm
Ballyclare - Ballyclare
- 204 M2
- 4 Schlafzimmer
- 9 Personen
- Kochnische
- Heizung
- Parkplatz
- Garten
- Tv
- Waschmaschine
- Barbecue
- Handtücher
- Bettlaken
36 Bewertungen


5 Star - The Ulsterville Residences - Free On-site Parking
Belfast - Belfast
- 70 M2
- 2 Schlafzimmer
- 4 Personen
- Heizung
- Parkplatz
- Garten
- Tv
- Waschmaschine
- Handtücher
- Bettlaken
105 Bewertungen
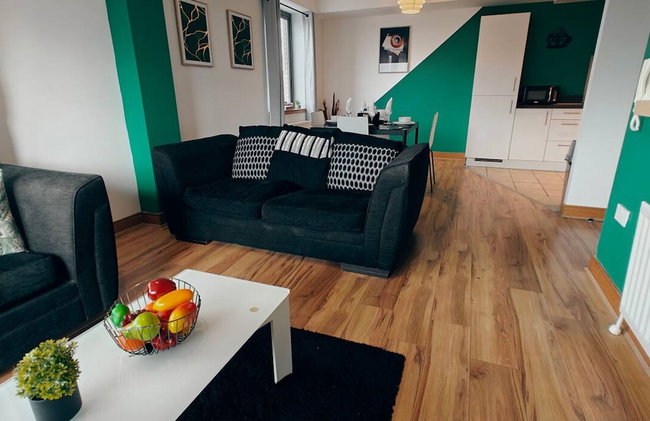

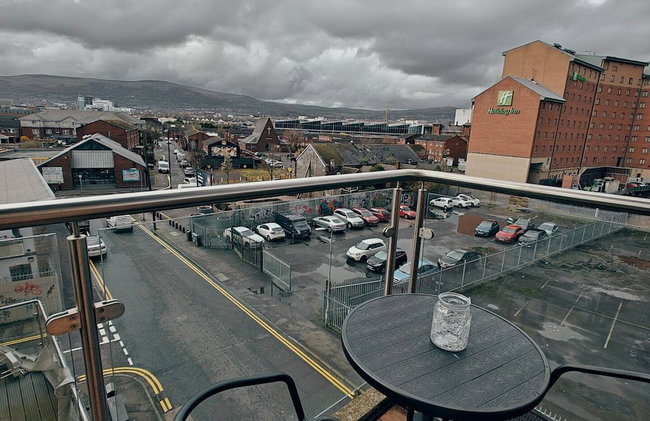
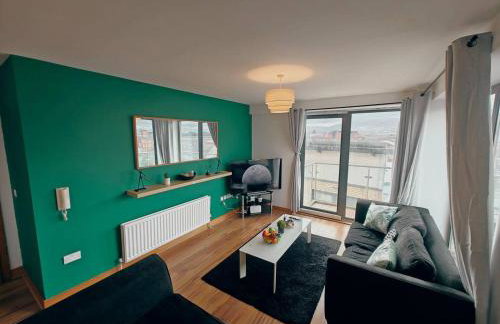
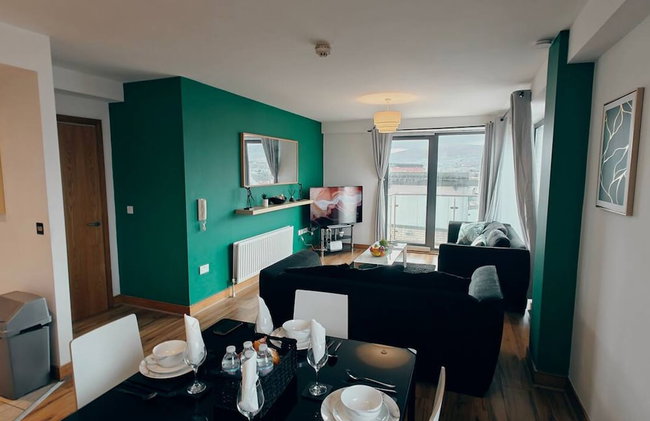
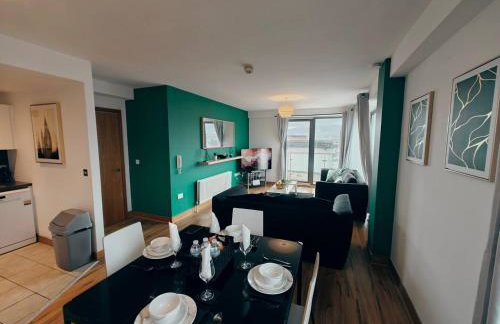
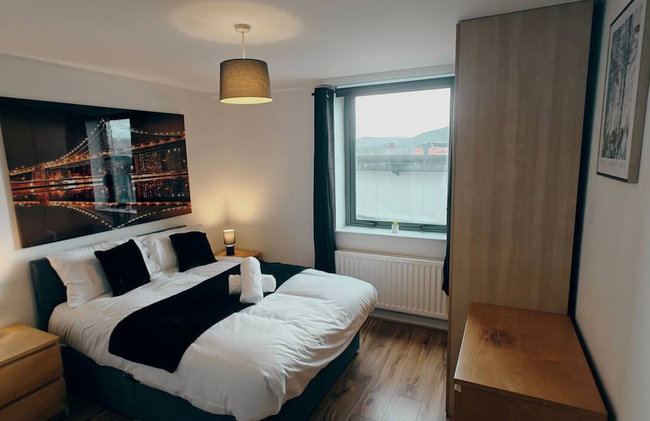

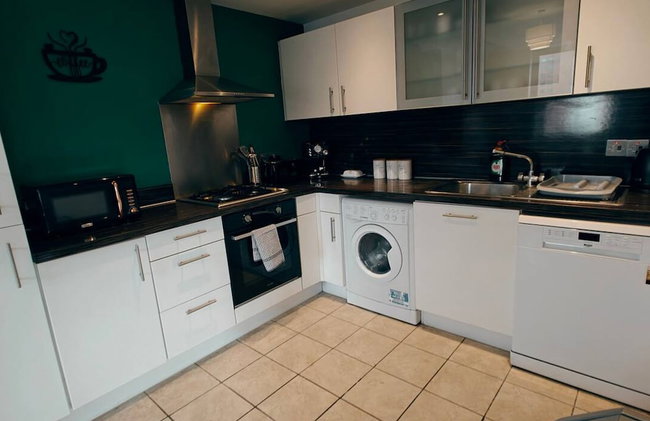

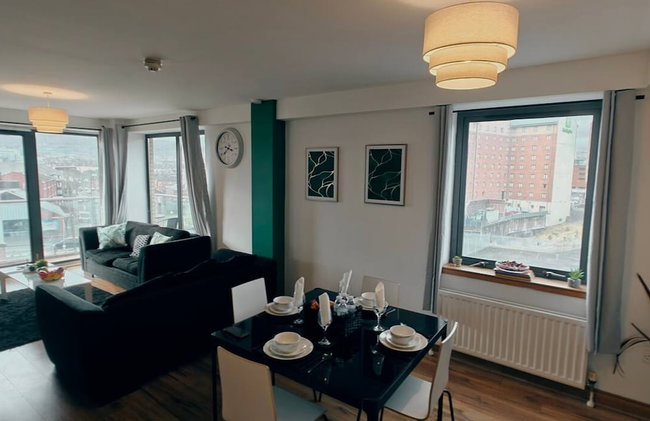
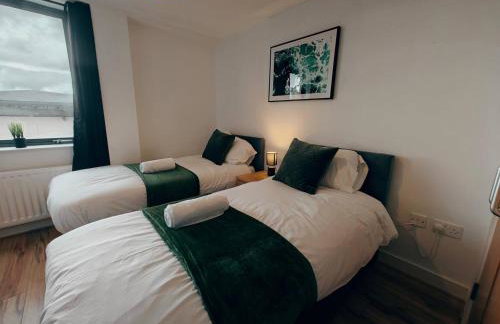
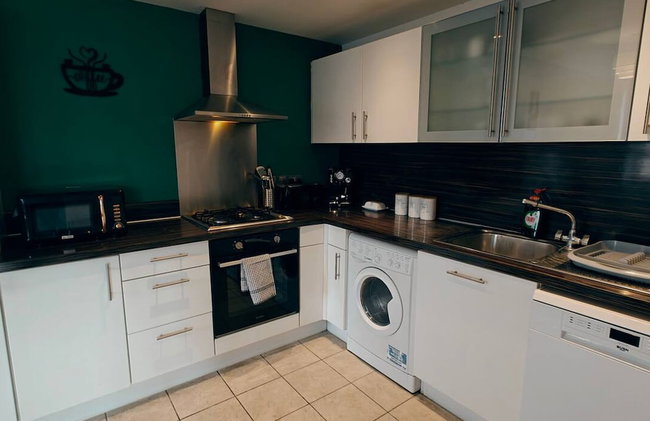
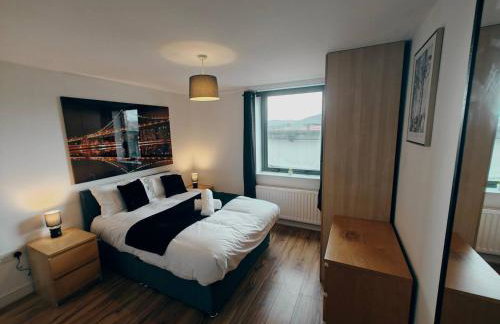
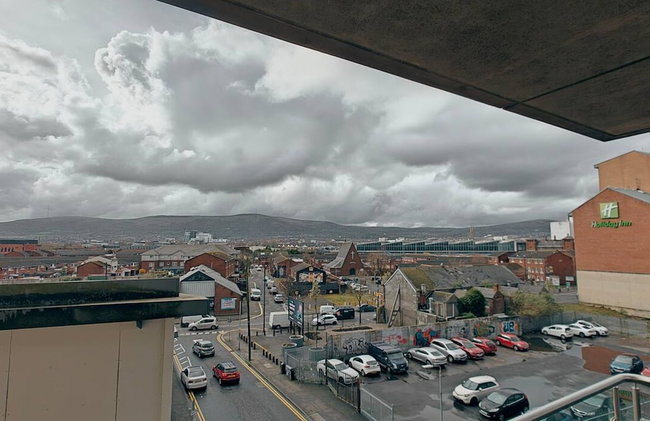
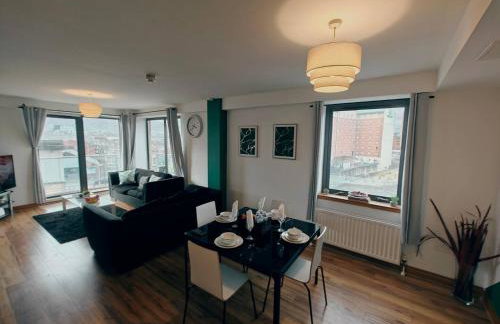
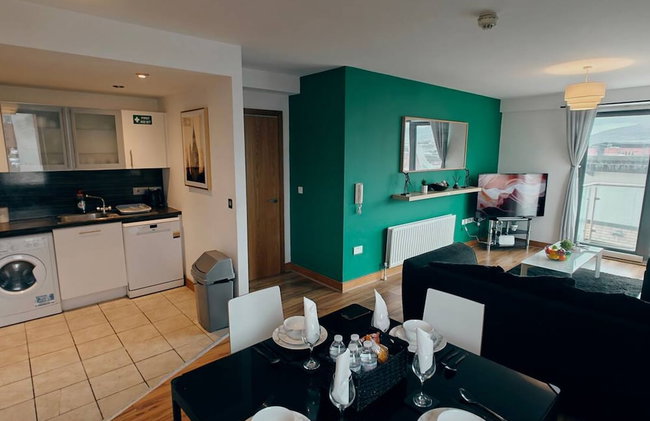
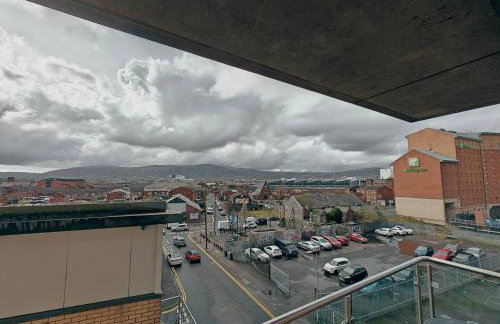
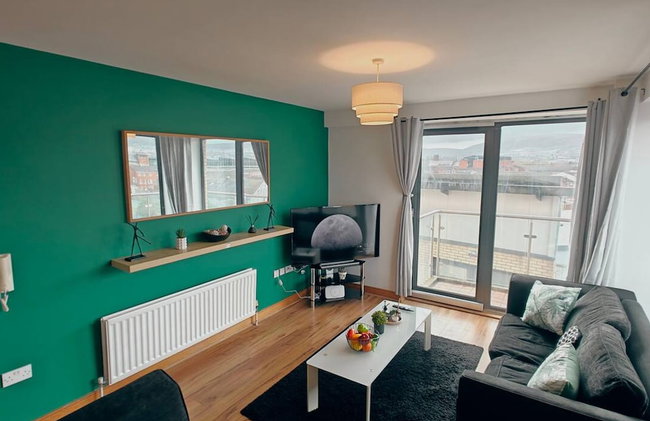


2BR Mountain View City Centre
Belfast - Belfast
- 83 M2
- 2 Schlafzimmer
- 4 Personen
- Heizung
- Terrasse
- Parkplatz
- Fahrstuhl
- Balkon
- Tv
- Waschmaschine
- Handtücher
- Bettlaken
56 Bewertungen


Squirrel Cottage
Ballymena - Dunloy
- 70 M2
- 2 Personen
- Heizung
- Terrasse
- Parkplatz
- Garten
- Tv
- Waschmaschine
- Barbecue
- Handtücher
- Bettlaken
13 Bewertungen


2br Ormeau Central in Belfast
Belfast - Belfast
- 83 M2
- 2 Schlafzimmer
- 4 Personen
- Heizung
- Tv
- Waschmaschine
16 Bewertungen


Portrush Apt with Stunning Sea Views- West Beach 5
Portrush - Portrush
- 47 M2
- 2 Schlafzimmer
- 5 Personen
- Heizung
- Terrasse
- Parkplatz
71 Bewertungen


Central Belfast Apartments: Alfred Street
Belfast - Belfast
- 79 M2
- 4 Schlafzimmer
- 6 Personen
- Heizung
- Tv
- Waschmaschine
- Handtücher
- Bettlaken
18 Bewertungen


Seaview Cottage on the Island
Larne - Islandmagee
- 60 M2
- 4 Personen
- Heizung
- Terrasse
- Parkplatz
- Garten
- Tv
- Waschmaschine
- Schornstein
- Barbecue
- Handtücher
- Bettlaken
6 Bewertungen


Stable Court Apartments
Antrim - Muckamore
- 70 M2
- 6 Personen
- Heizung
- Terrasse
- Parkplatz
- Garten
- Tv
- Waschmaschine
- Barbecue
- Handtücher
17 Bewertungen


Great Location - City Centre - Parking - 4 Beds - 2 Bedrooms
Belfast - Belfast
- 65 M2
- 2 Schlafzimmer
- 5 Personen
- Heizung
- Terrasse
- Parkplatz
- Balkon
- Garten
- Tv
- Waschmaschine
- Handtücher
- Bettlaken
10 Bewertungen


The Barn at BallyCairn
Larne - Ballygally
- 1250 M2
- 3 Schlafzimmer
- 6 Personen
- Heizung
- Terrasse
- Parkplatz
- Garten
- Barbecue
20 Bewertungen


The Byre at Conker Tree Cottages
Belfast - Carryduff
- 75 M2
- 1 Schlafzimmer
- 4 Personen
- Heizung
- Terrasse
- Parkplatz
- Garten
16 Bewertungen


BallyCairn Self Catering Studio
Larne - Ballygally
- 25 M2
- 2 Personen
- Heizung
- Terrasse
- Parkplatz
- Garten
- Barbecue
26 Bewertungen


Ballapousta
Ballycastle - Ballycastle
- 180 M2
- 5 Schlafzimmer
- 9 Personen
- Heizung
- Terrasse
- Parkplatz
- Garten
- Barbecue
18 Bewertungen


Hopefield Premium Holiday Home Portrush Sleeps 10 4 bedrooms
Portrush - Portrush
- 139 M2
- 4 Schlafzimmer
- 10 Personen
- Heizung
- Terrasse
- Parkplatz
- Garten
- Barbecue
68 Bewertungen