3676 Wohnungen in Dorset
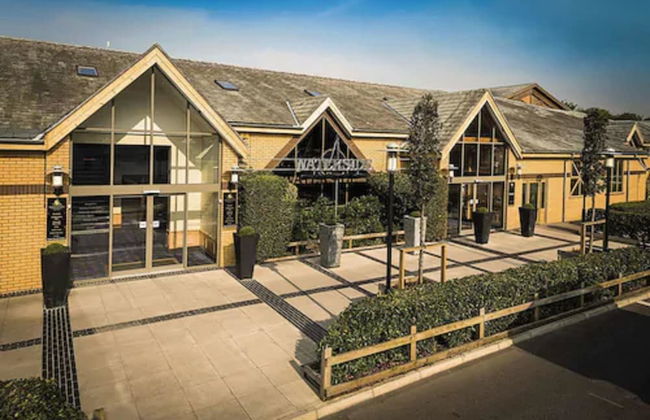
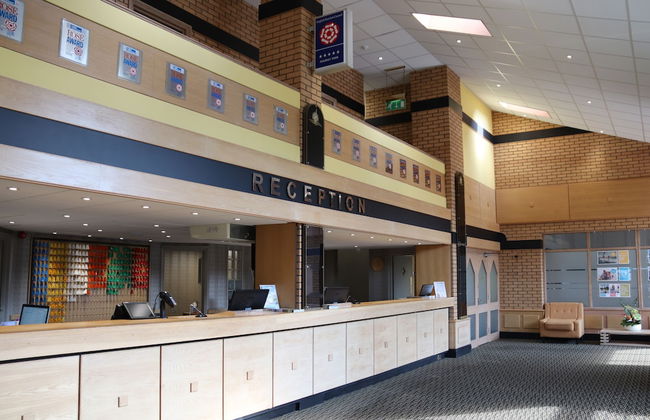


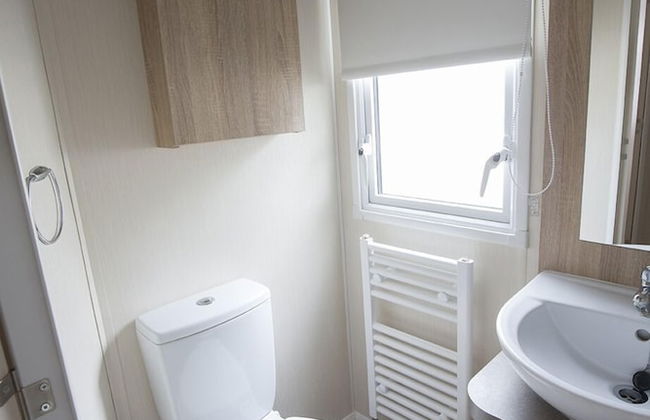
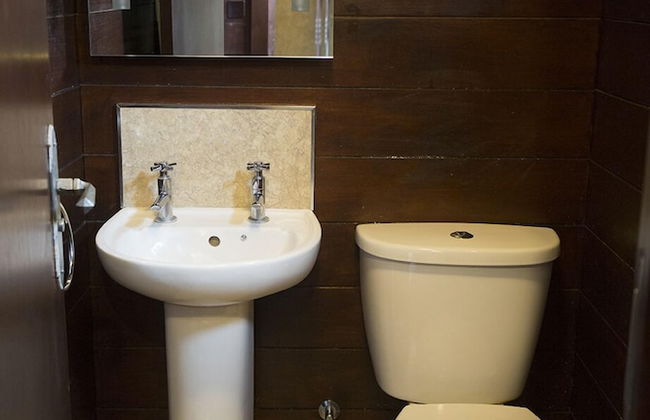
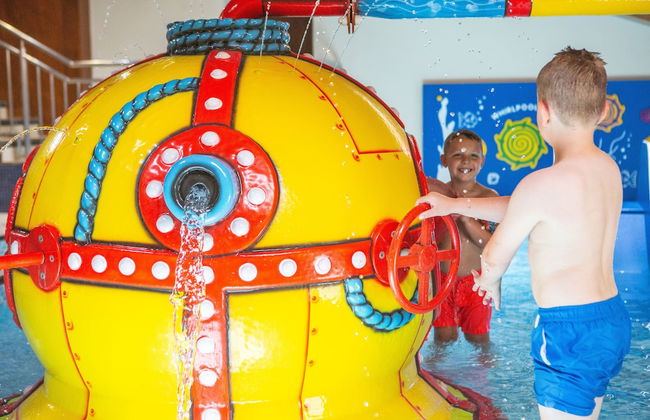
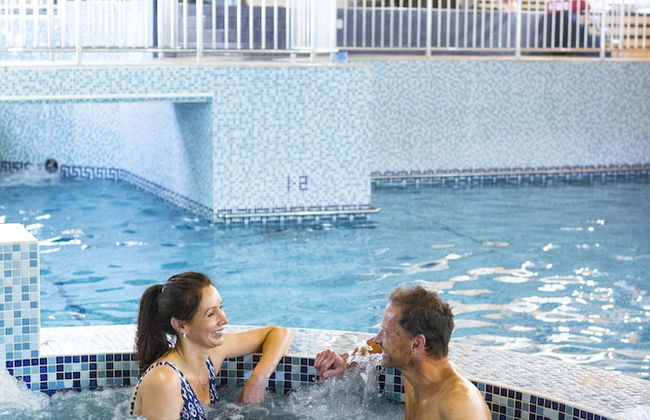
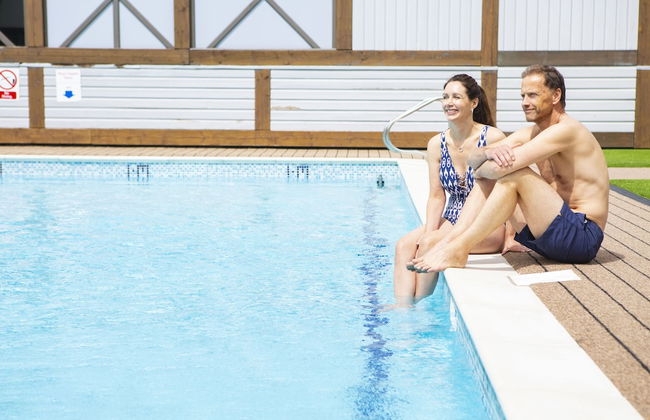
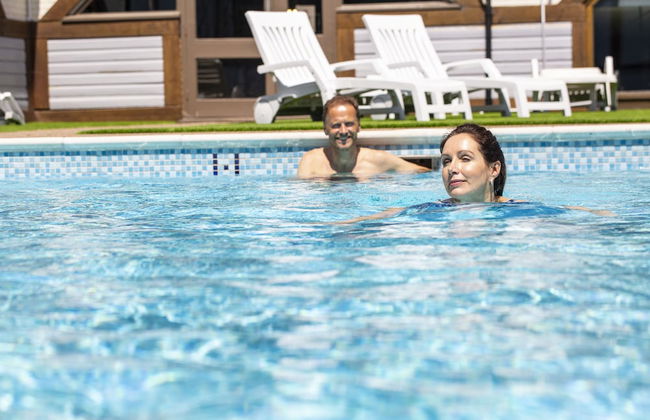
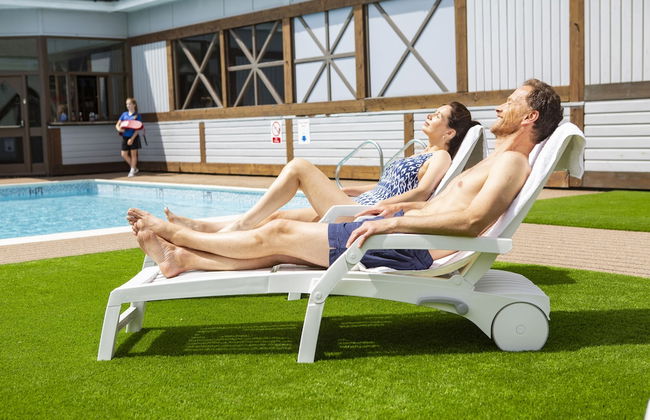
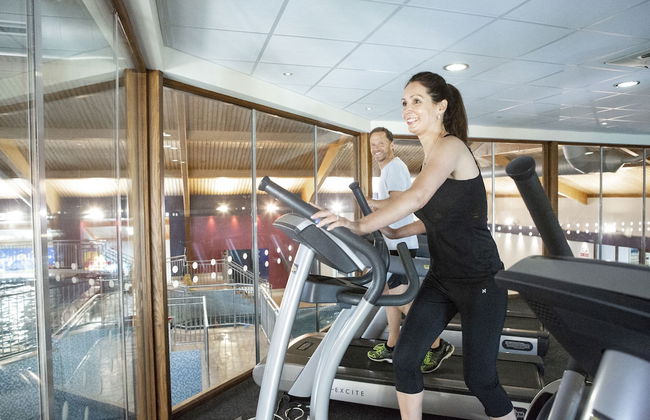
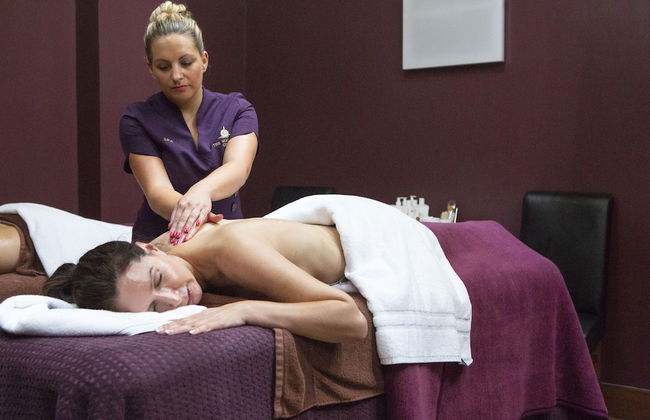


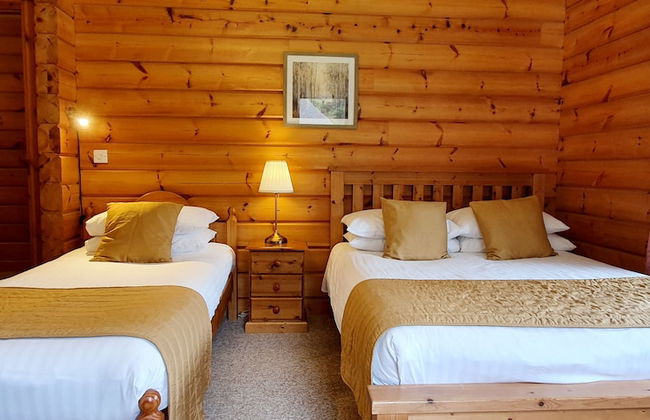
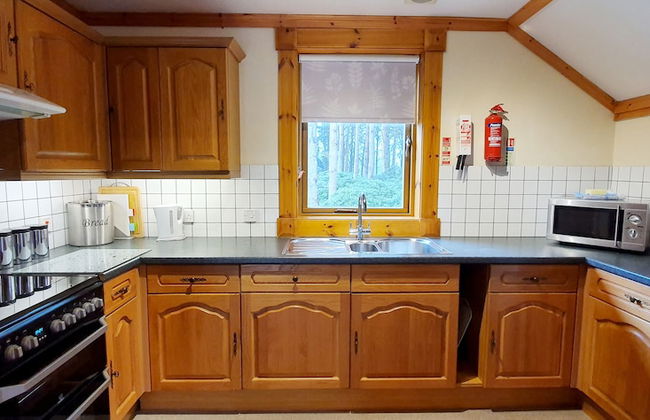
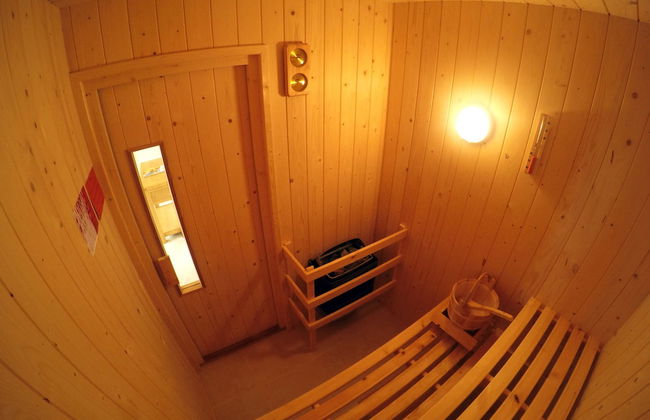
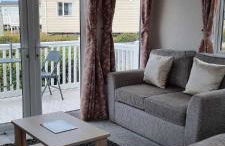
Waterside Holiday Park & Spa
Weymouth - Preston
- 8 Personen
- Heizung
- Terrasse
- Schwimmbad
- Parkplatz
- Fahrstuhl
- Tv
- Handtücher
6 Bewertungen
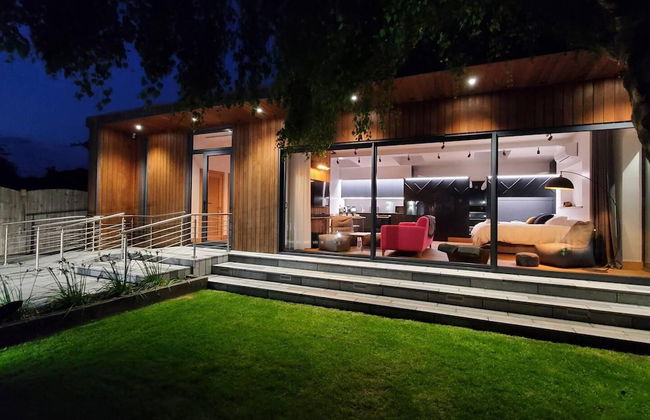
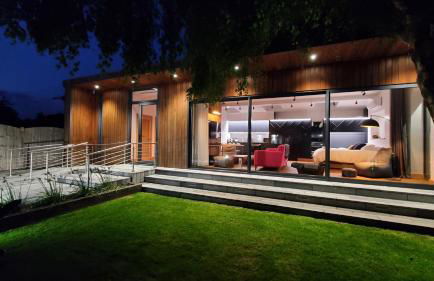


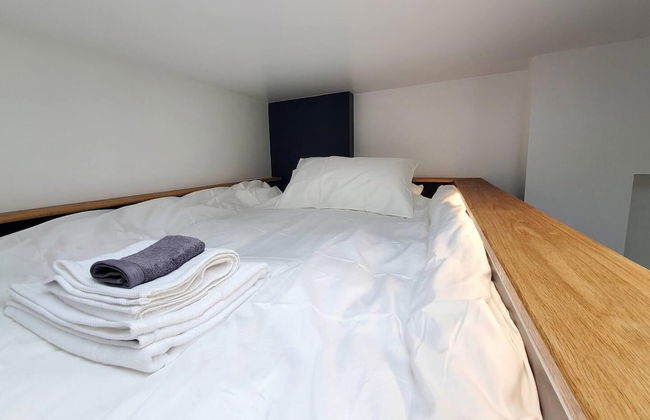
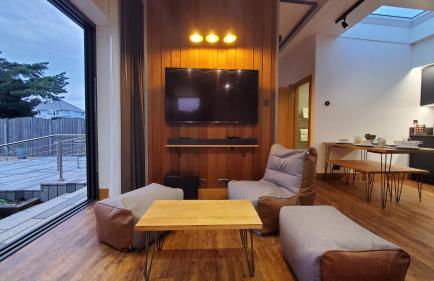
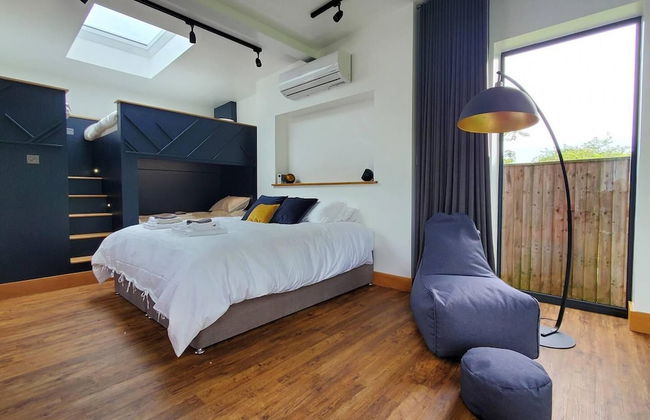


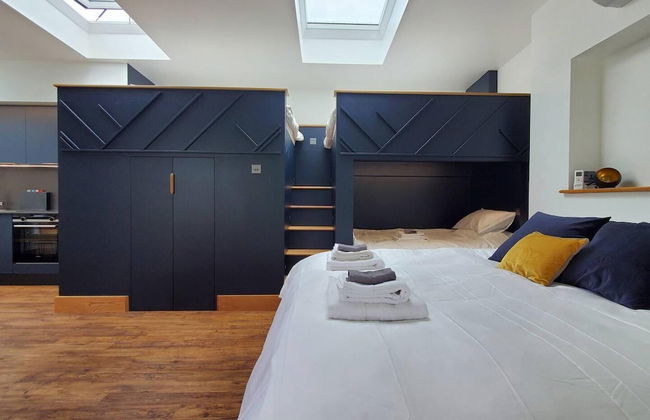


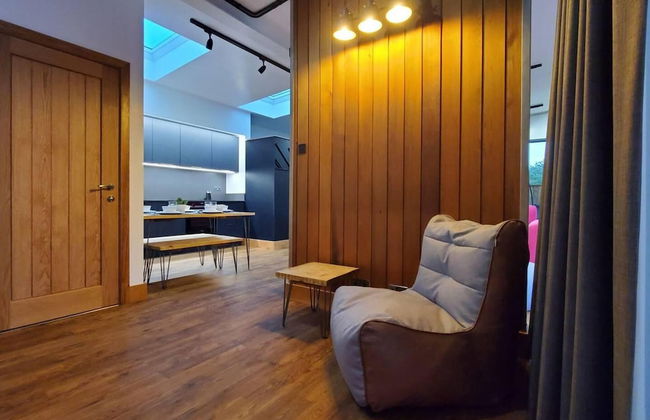
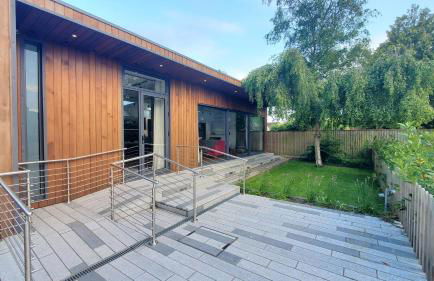
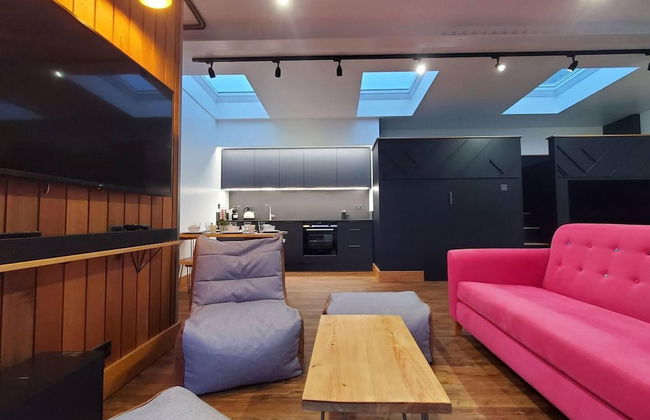

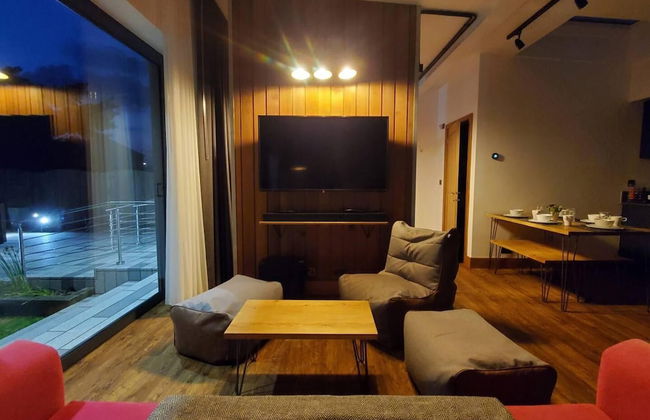


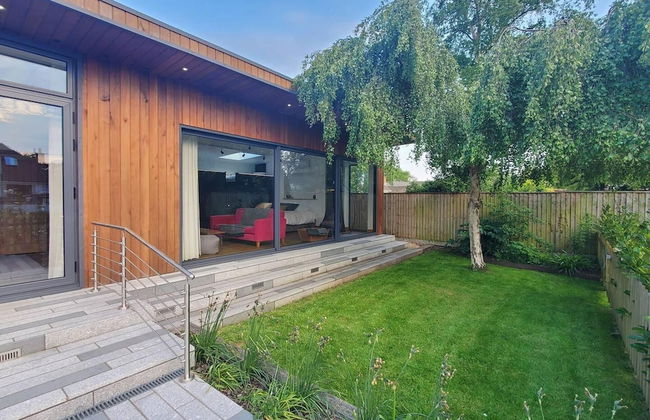


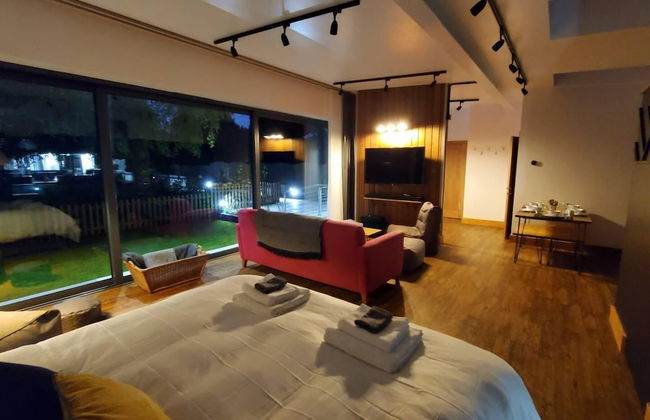
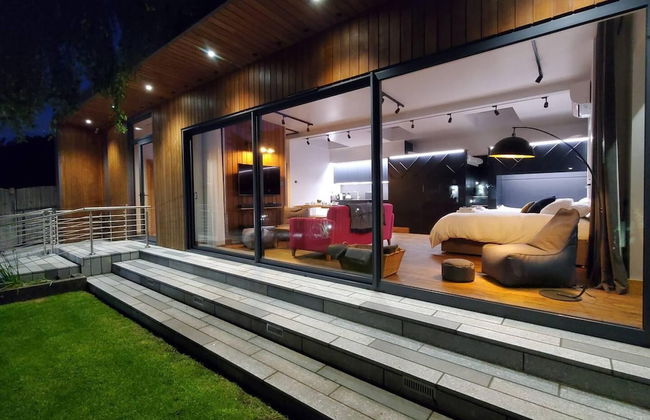


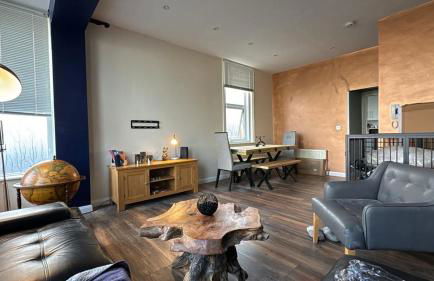
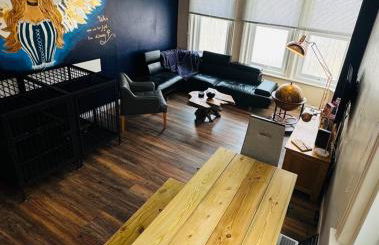
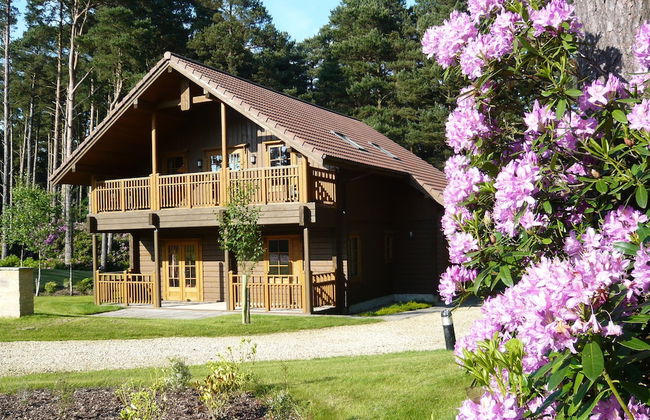
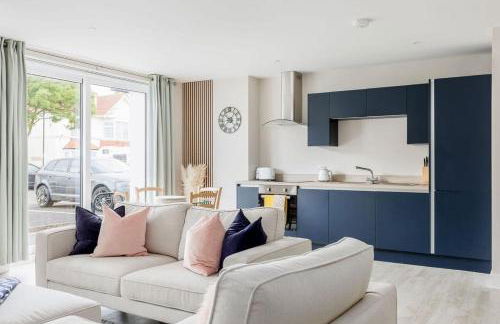
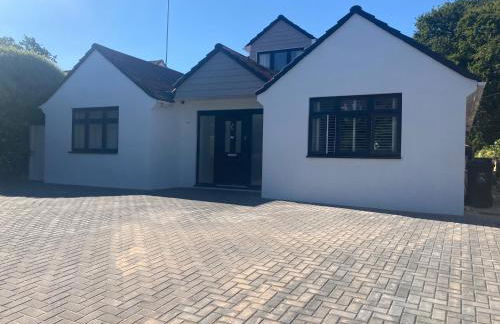
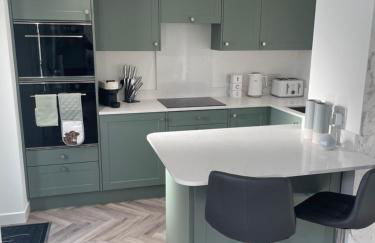
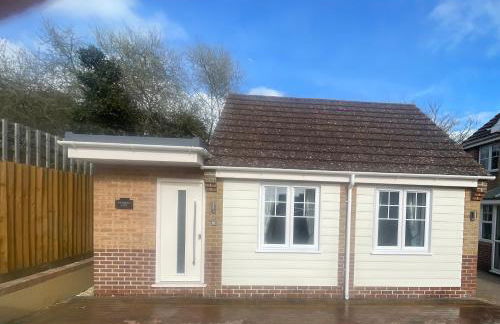
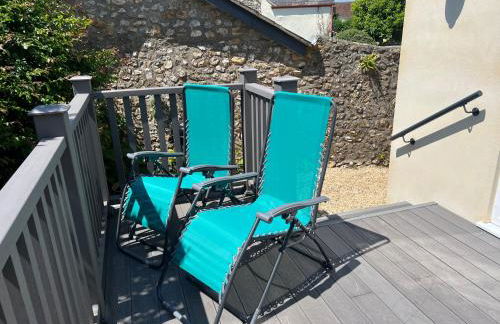
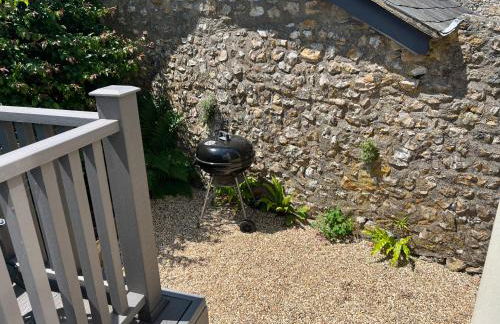
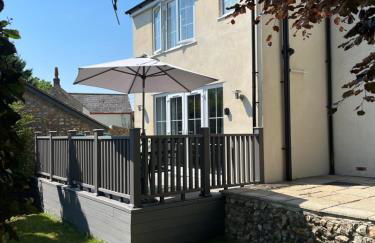
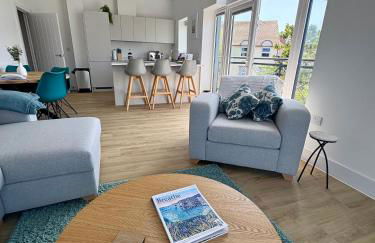
The Cedarwoods - luxury for up to 5 and your woof!
Christchurch - Christchurch
- 70 M2
- 5 Personen
- Klimaanlage
- Heizung
- Terrasse
- Parkplatz
- Garten
- Barbecue
26 Bewertungen


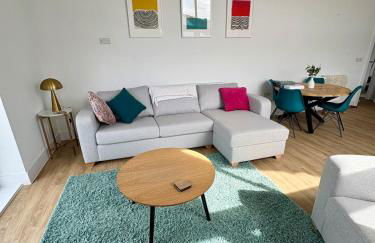
The Dorset Resort
Wareham - Bere
- 120 M2
- 9 Personen
- Heizung
- Terrasse
- Parkplatz
- Balkon
- Garten
- Tv
- Waschmaschine
- Schornstein
- Barbecue
- Handtücher
- Bettlaken
30 Bewertungen


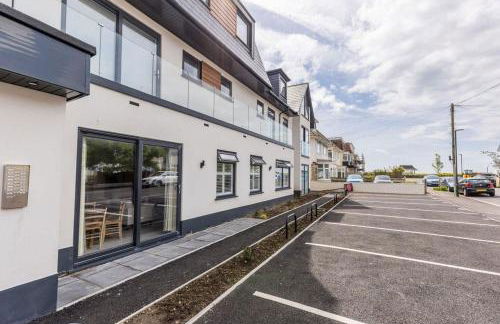


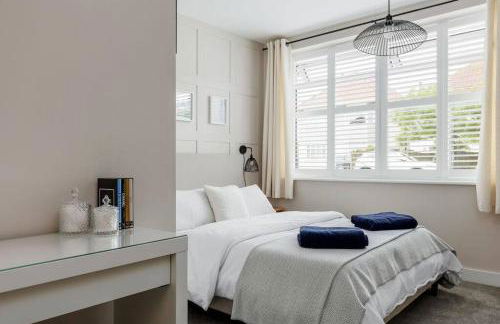

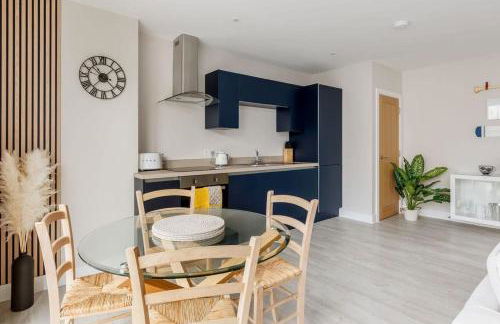

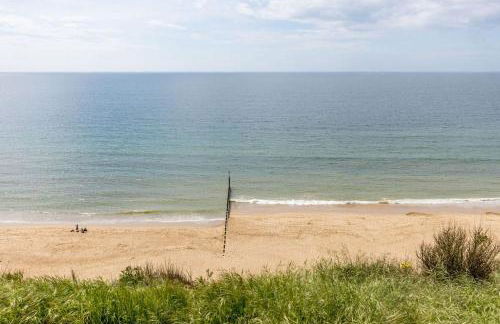


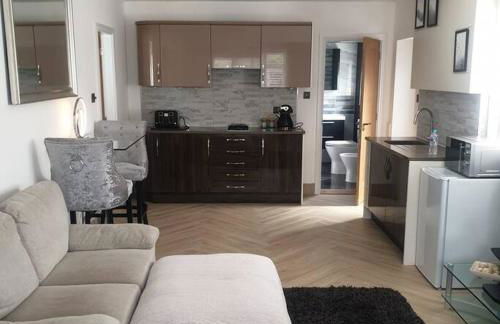
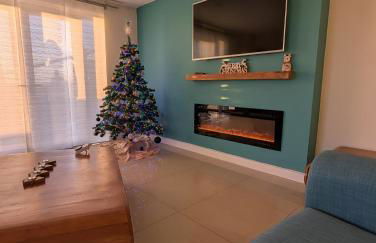
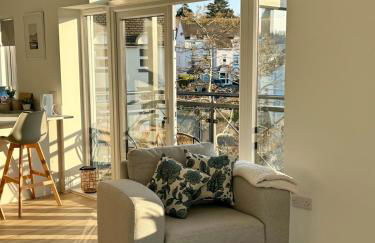
Modern 2bed Flat, Parking, Close to Beach & Shops
Bournemouth - Bournemouth
- 65 M2
- 2 Schlafzimmer
- 5 Personen
- Heizung
- Parkplatz
27 Bewertungen


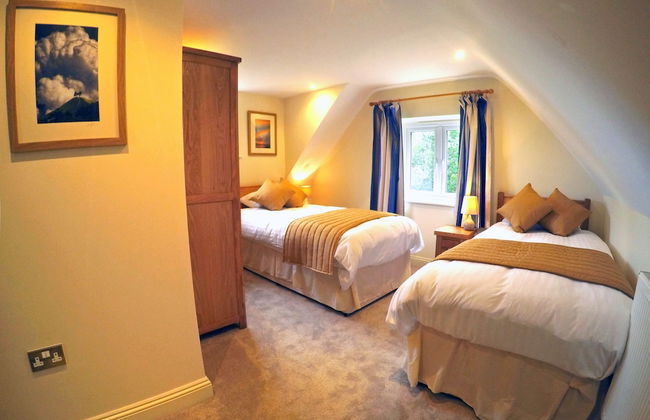
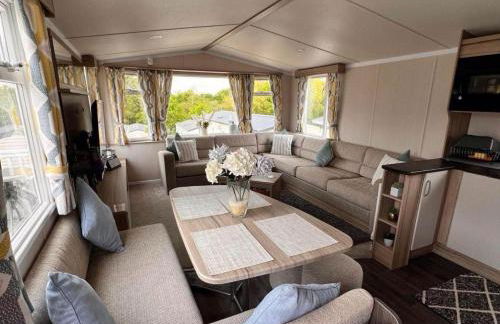
6 Berth Luxury Lodge in Christchurch, Dorset
Christchurch - Christchurch
- 80 M2
- 2 Schlafzimmer
- 6 Personen
- Heizung
- Schwimmbad
- Parkplatz
- Garten
- Waschmaschine
- Schornstein
20 Bewertungen


Seashell Retreat
Bournemouth - Bournemouth
- 50 M2
- 1 Schlafzimmer
- 4 Personen
- Heizung
- Terrasse
- Parkplatz
39 Bewertungen
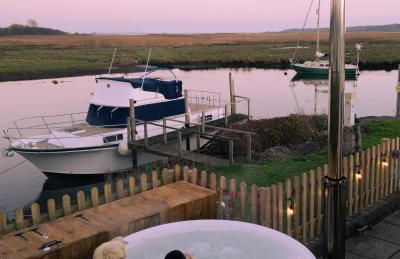


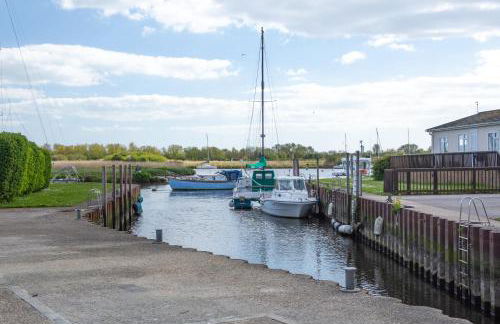

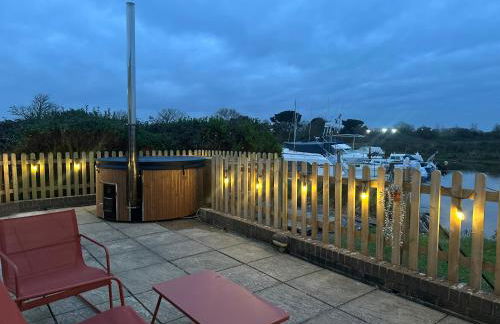


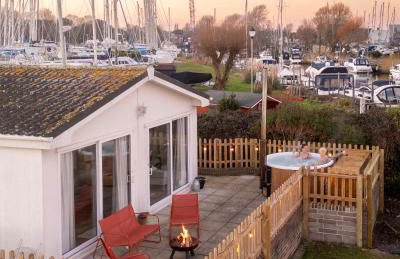
Hot Tub With A View - Christchurch Harbour
Christchurch - Christchurch
- 47 M2
- 2 Schlafzimmer
- 4 Personen
- Heizung
- Terrasse
- Parkplatz
- Garten
- Barbecue
27 Bewertungen


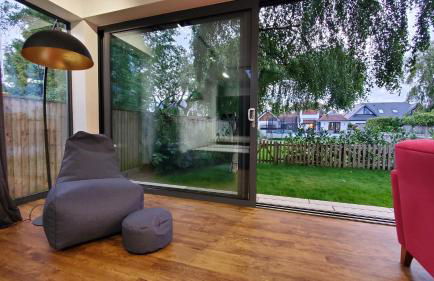
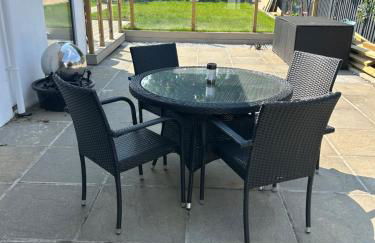
The Garden House
Dorchester - Crawthorne
- 135 M2
- 1 Schlafzimmer
- 4 Personen
- Heizung
- Terrasse
- Parkplatz
- Garten
- Barbecue
30 Bewertungen


Button Cottage on Gold Hill - Hovis Hill
Shaftesbury - Shaftesbury
- 84 M2
- 2 Schlafzimmer
- 2 Personen
- Terrasse
- Garten
18 Bewertungen


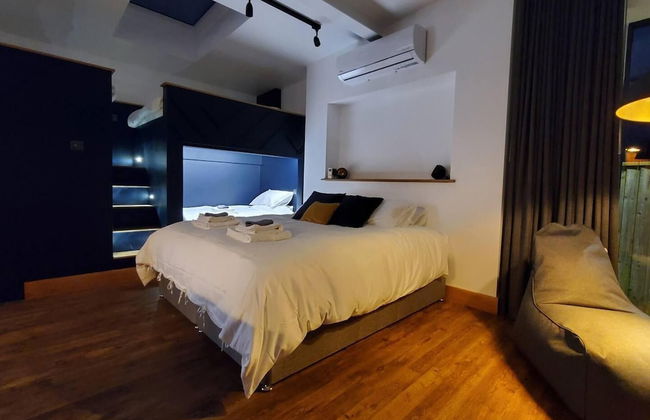
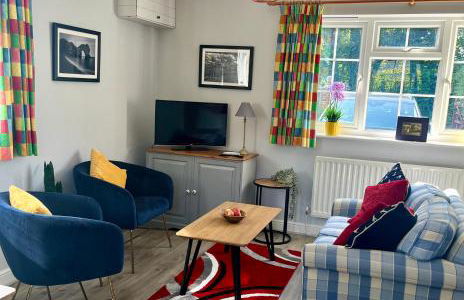
Lovely studio annex in Lilliput
Poole - Parkstone
- 60 M2
- 2 Personen
- Heizung
- Terrasse
- Parkplatz
- Garten
102 Bewertungen


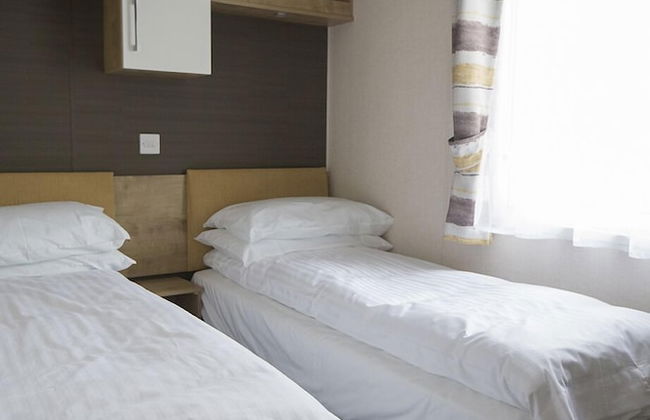
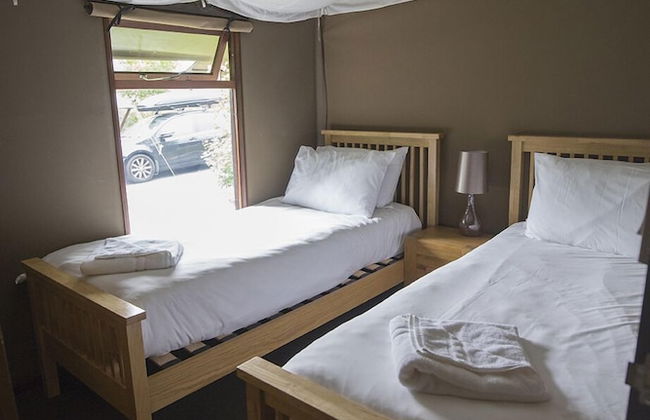
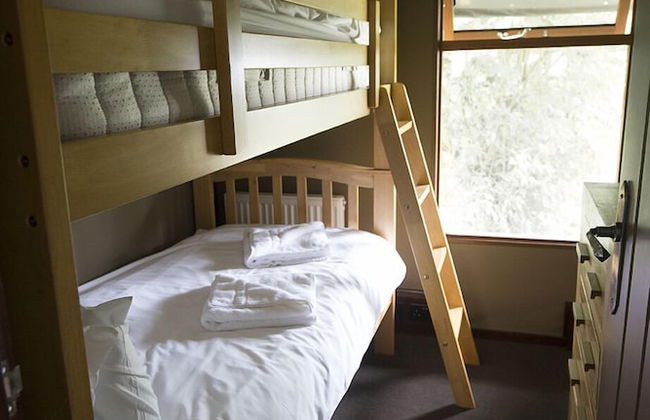
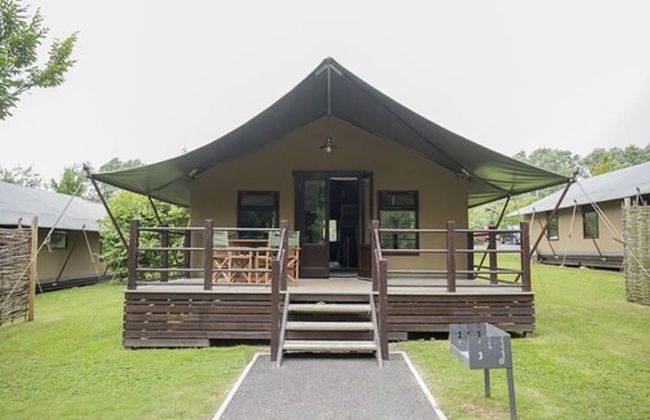
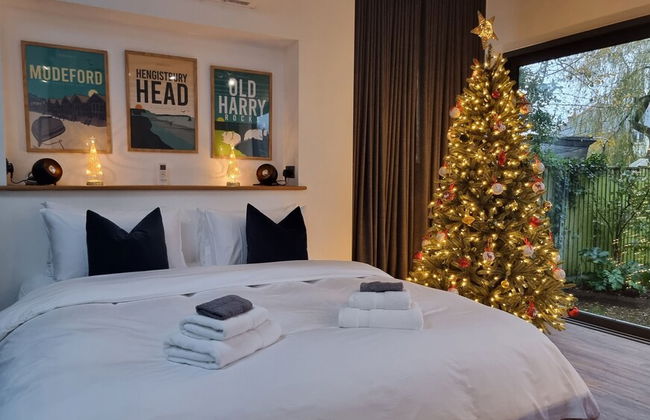
Savannah Lodge
Weymouth - Weymouth
- 35 M2
- 1 Schlafzimmer
- 4 Personen
- Heizung
- Terrasse
- Parkplatz
- Garten
98 Bewertungen


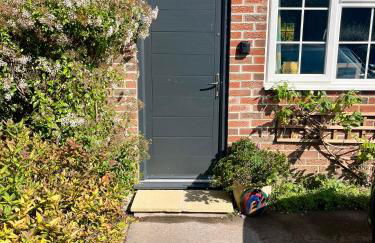
The Haven at Halsons
Bridport - Morcombelake
- 45 M2
- 1 Schlafzimmer
- 2 Personen
- Heizung
- Terrasse
- Parkplatz
- Garten
97 Bewertungen

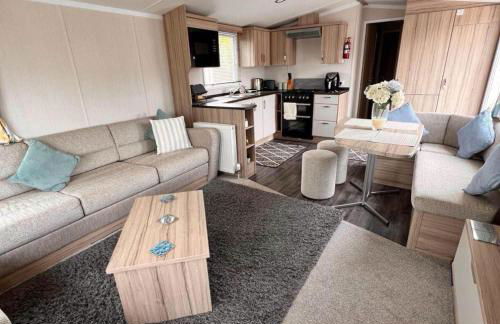


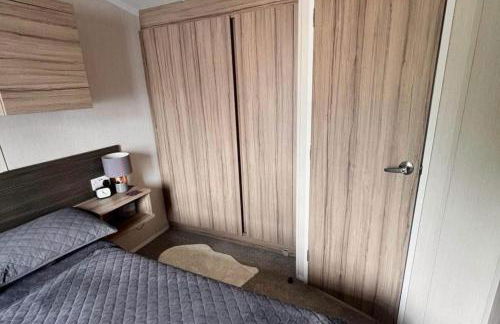
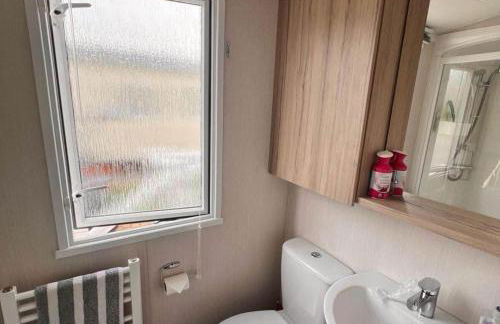
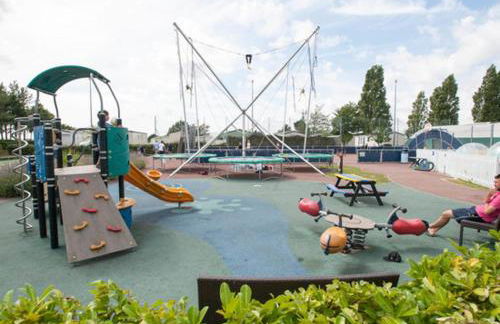


Rockley Park Poole caravan-3Bed-On site Activities
Poole - Hamworthy
- 70 M2
- 2 Schlafzimmer
- 6 Personen
- Heizung
- Schwimmbad
- Parkplatz
12 Bewertungen


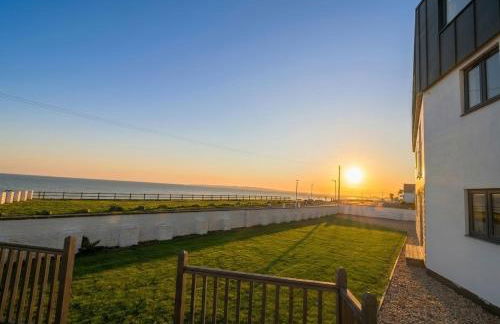
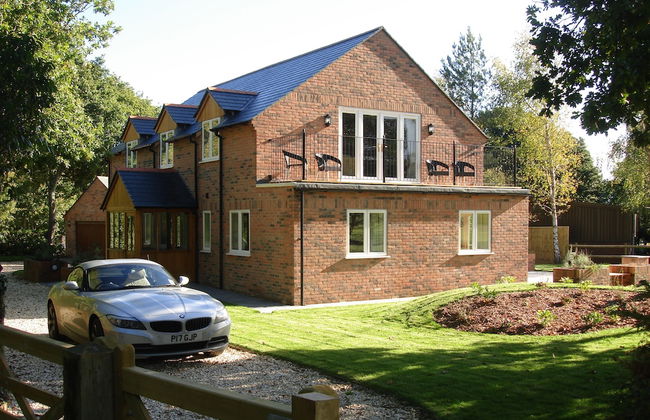
Bournemouth Beach & Sea Views
Bournemouth - Southbourne
- 200 M2
- 5 Schlafzimmer
- 10 Personen
- Heizung
- Terrasse
- Parkplatz
- Garten
25 Bewertungen


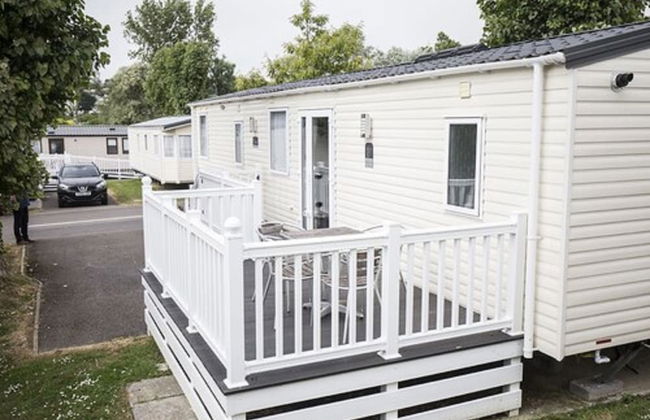
Littlesea-wv55 Weymouth
Weymouth - Weymouth
- 46 M2
- 1 Schlafzimmer
- 8 Personen
- Terrasse
- Schwimmbad
- Parkplatz
- Garten
14 Bewertungen


Brewhouse Coastal Retreat
Weymouth - Weymouth - 680 m von Weymouth Port (geolocation.placetype.port)
- 64 M2
- 2 Schlafzimmer
- 5 Personen
- Terrasse
- Parkplatz
- Fahrstuhl
13 Bewertungen