
191 Wohnungen in Cocoa Beach


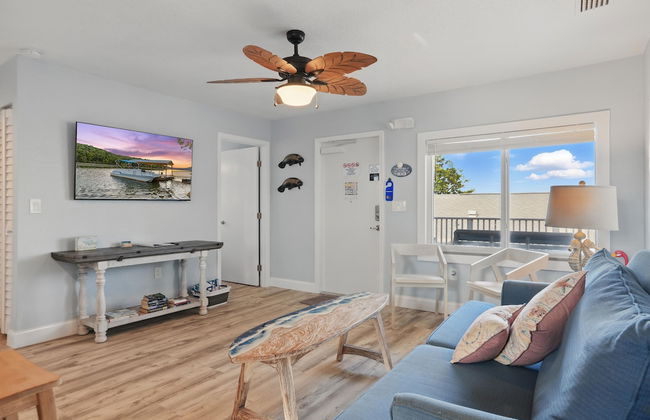
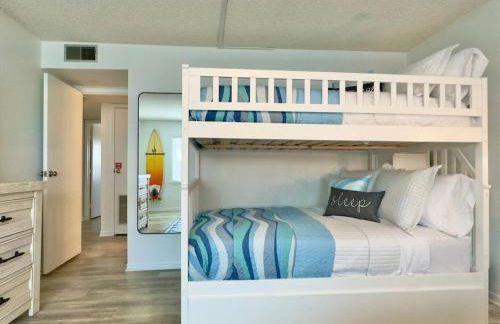
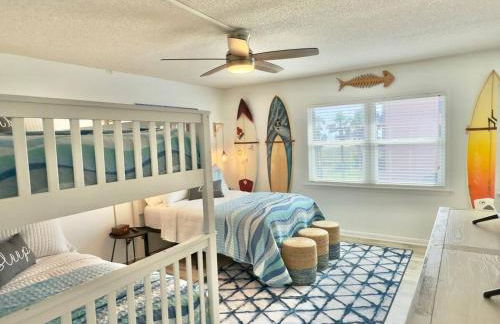
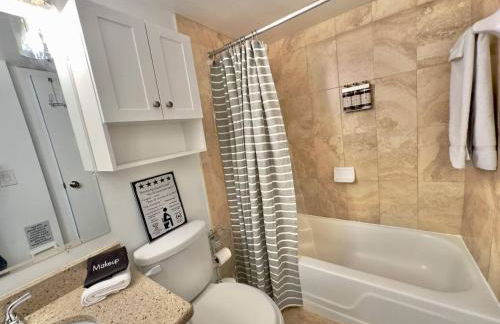
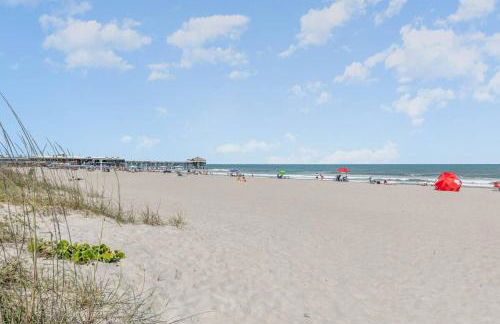
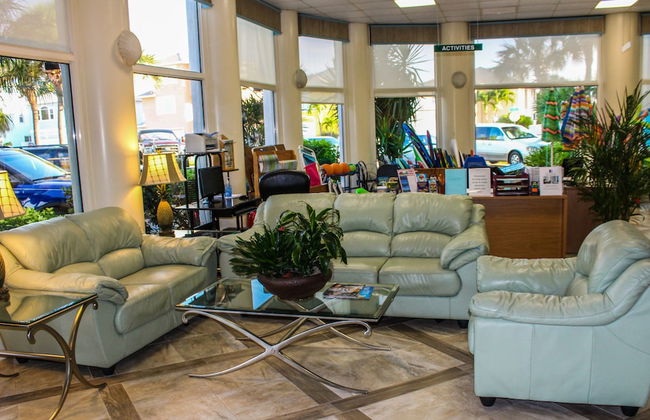
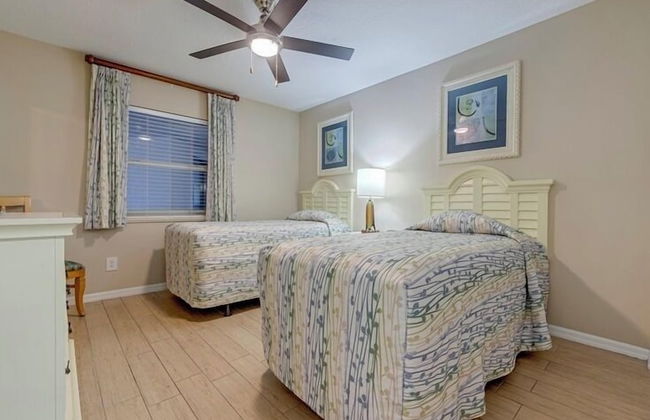
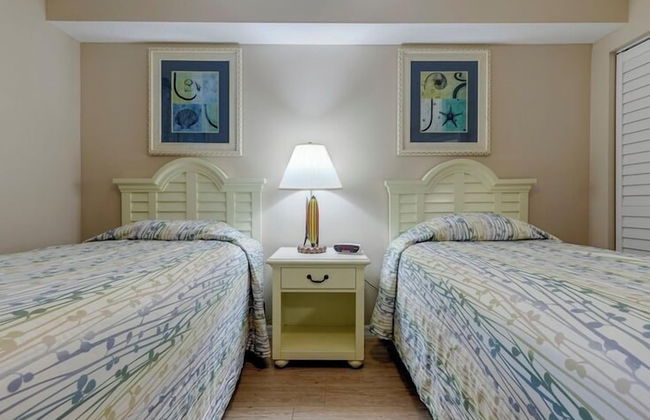
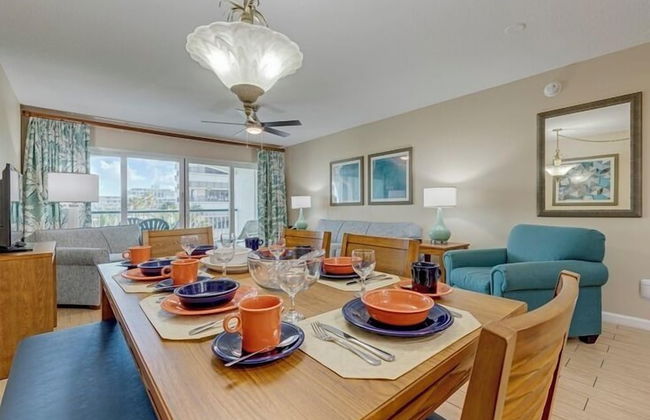
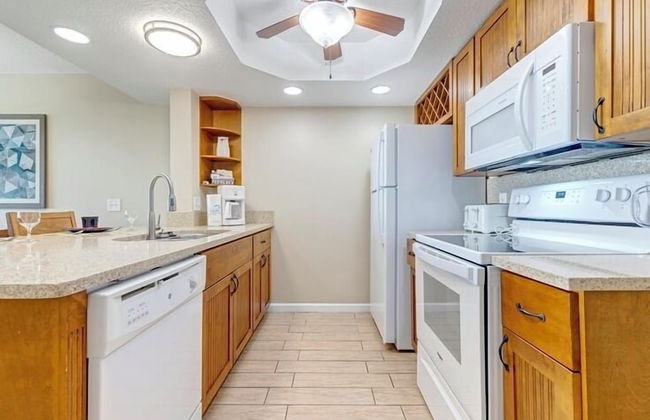
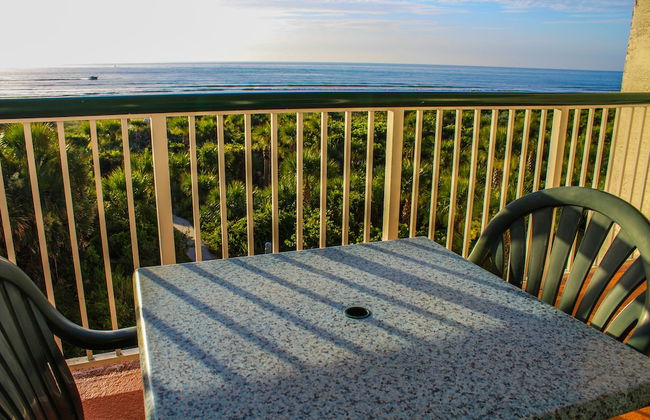
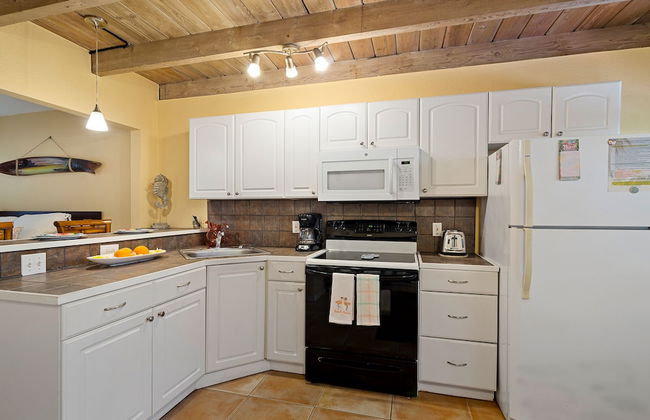
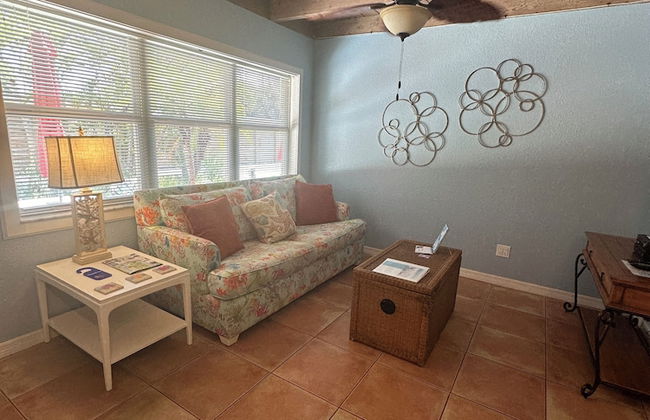
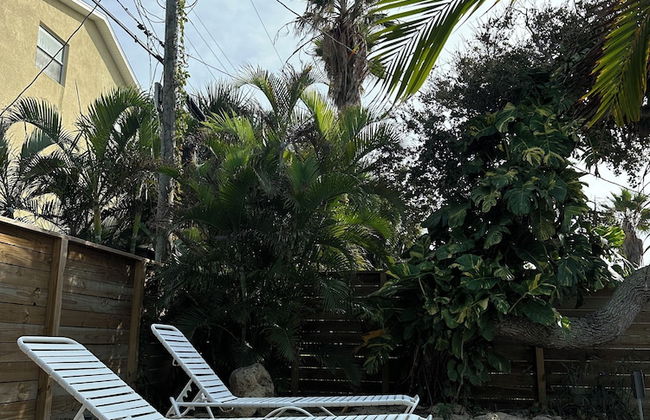
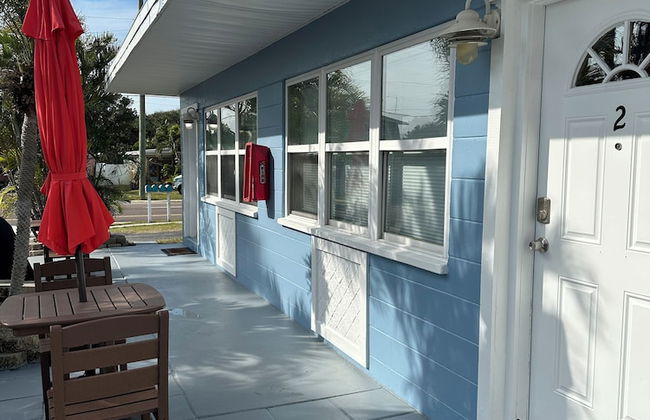
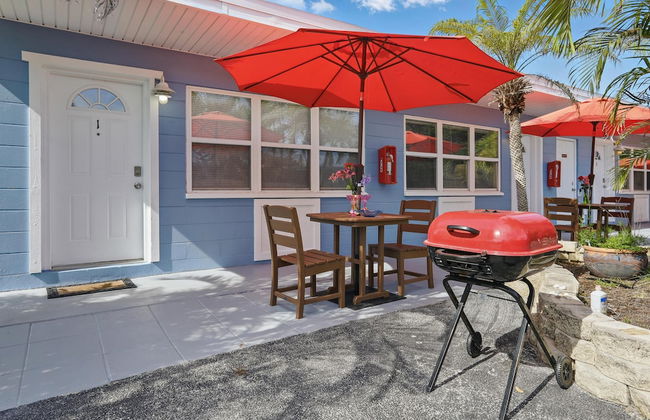
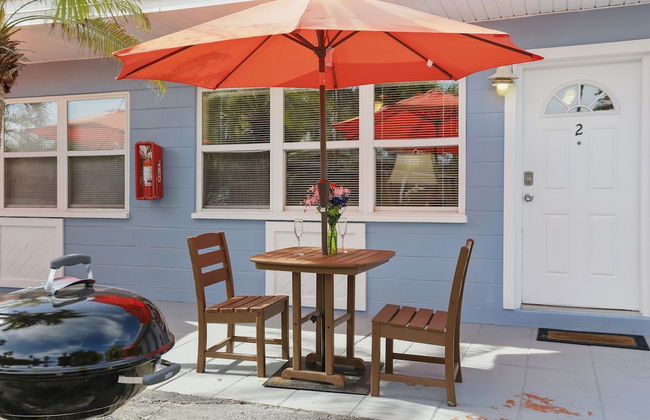
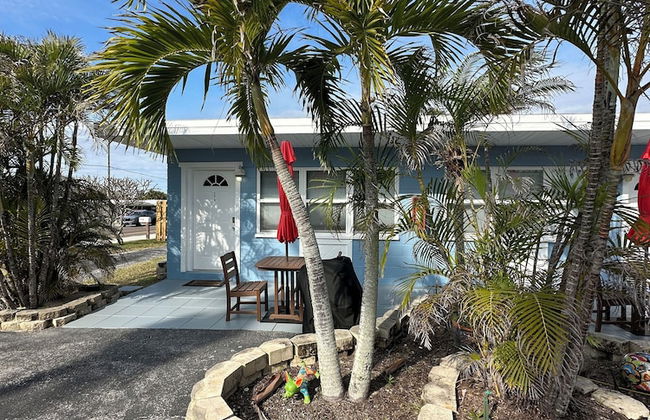
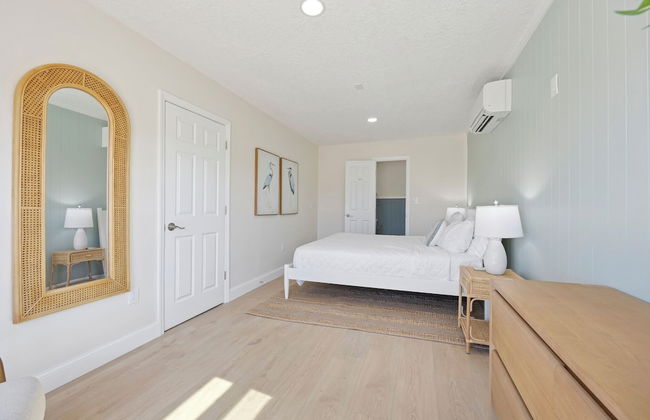
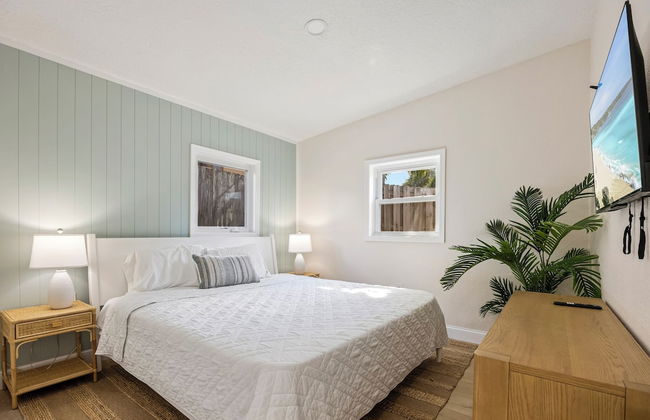
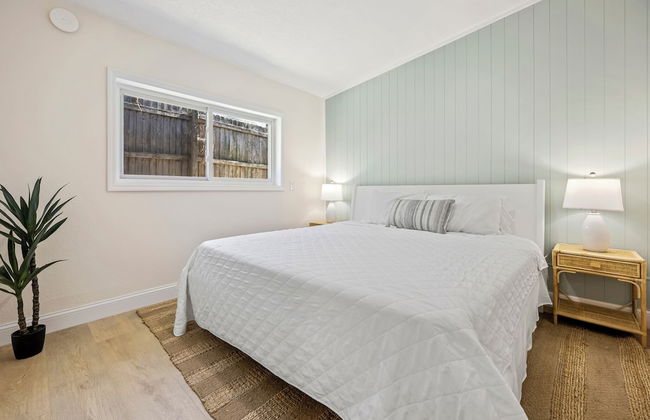
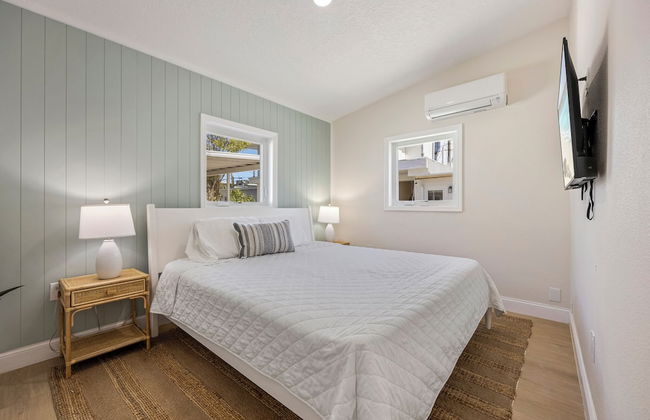
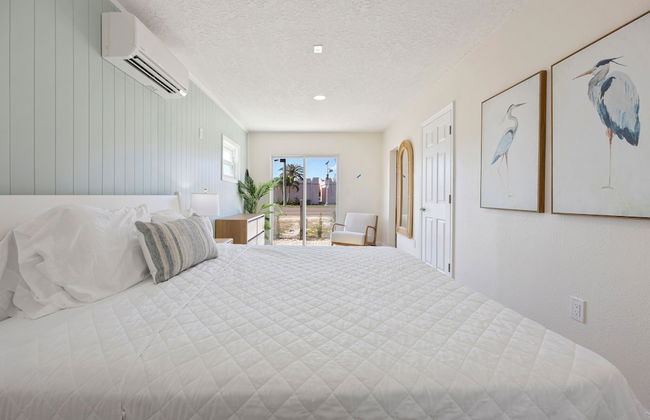
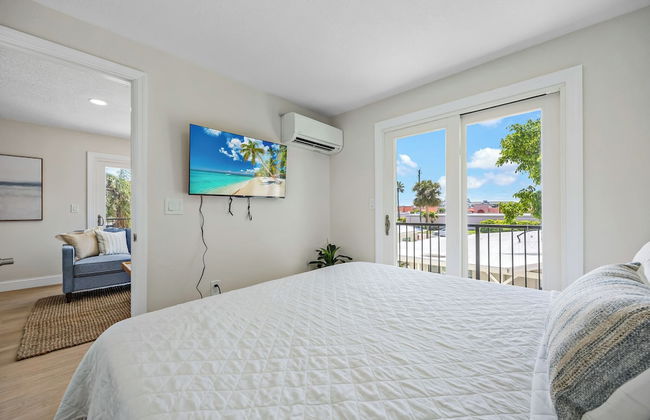
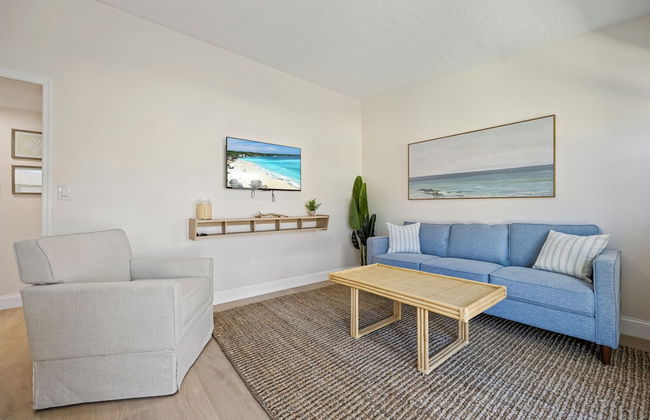
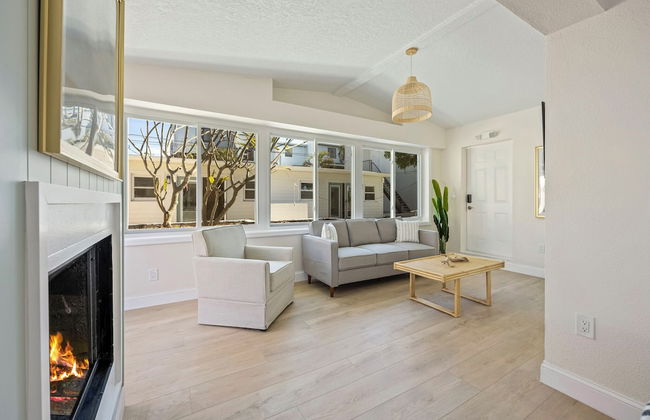
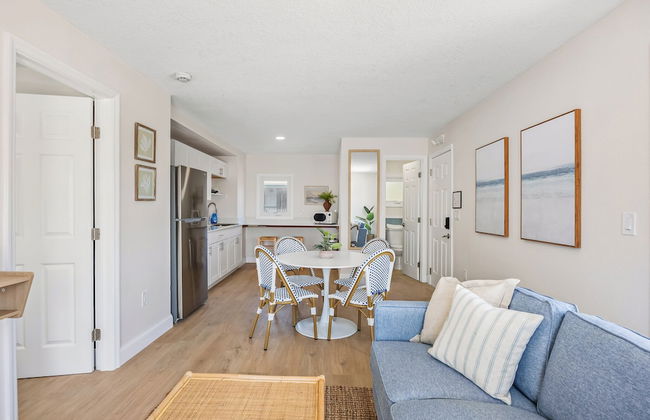
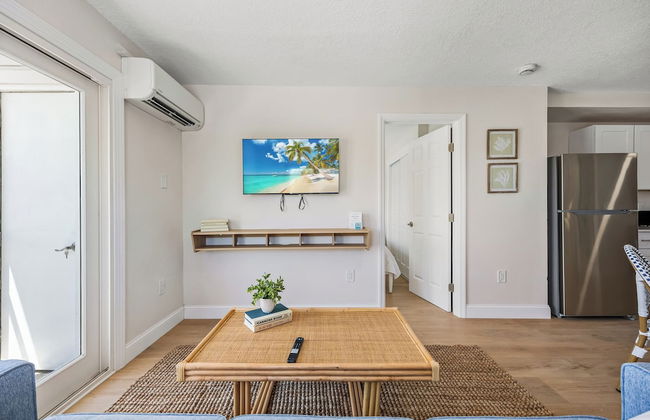
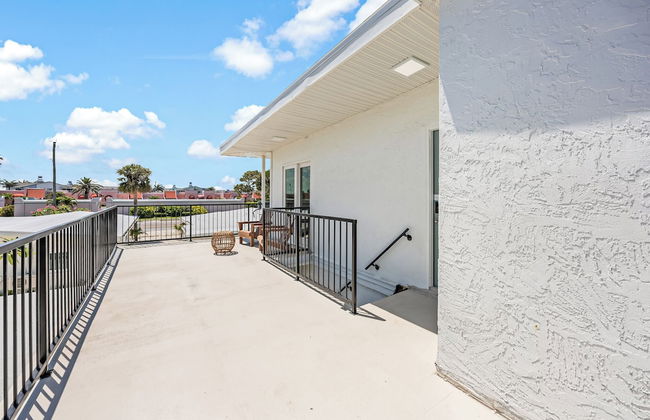
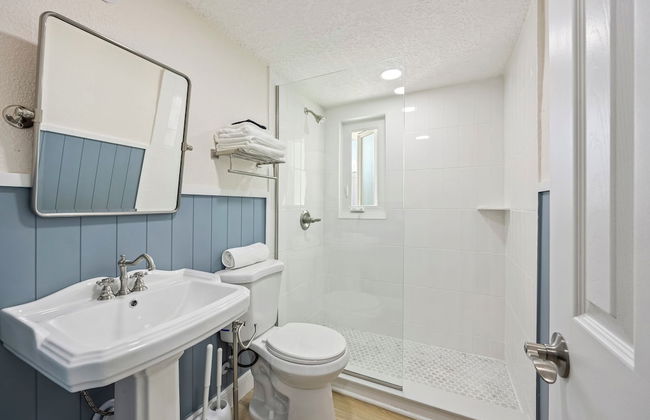
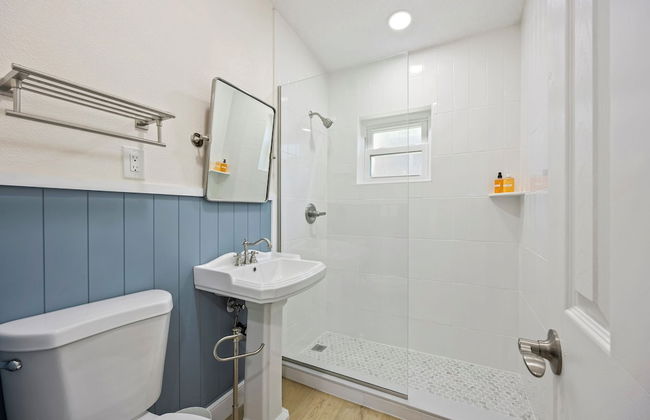
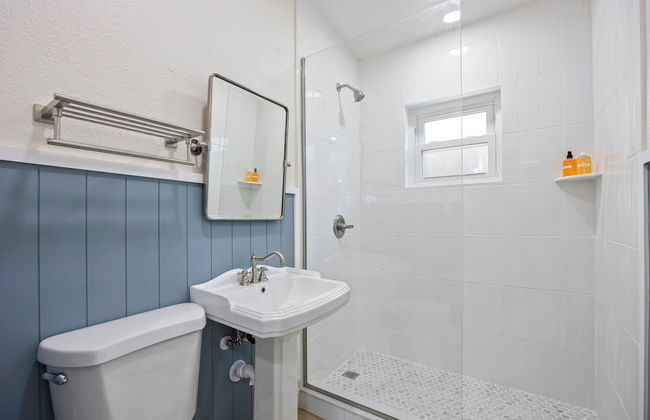
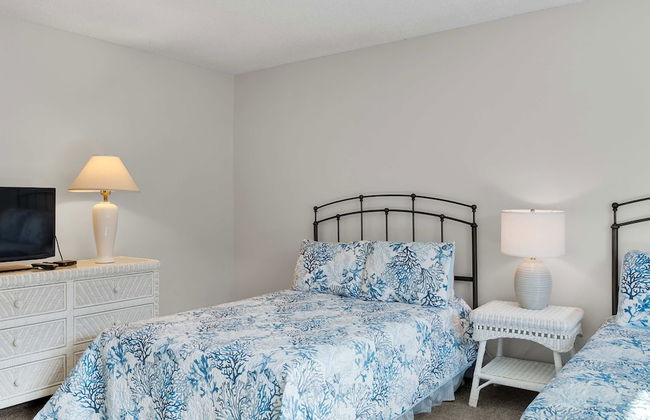
Beach Place Guesthouses
Cocoa Beach - 2.4 km vom Zentrum
- 84 M2
- 2 Schlafzimmer
- 5 Personen
- Klimaanlage
- Heizung
- Terrasse
- Parkplatz
- Garten
- Tv
- Barbecue
- Handtücher
- Bettlaken
624 Bewertungen


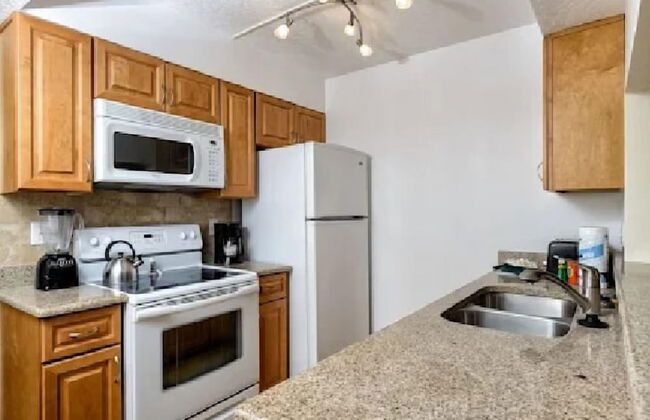
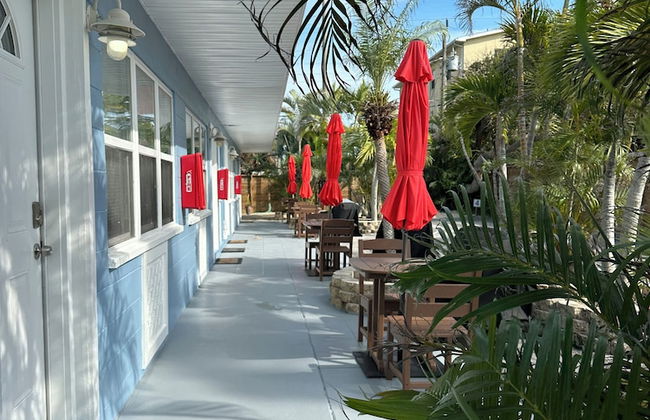
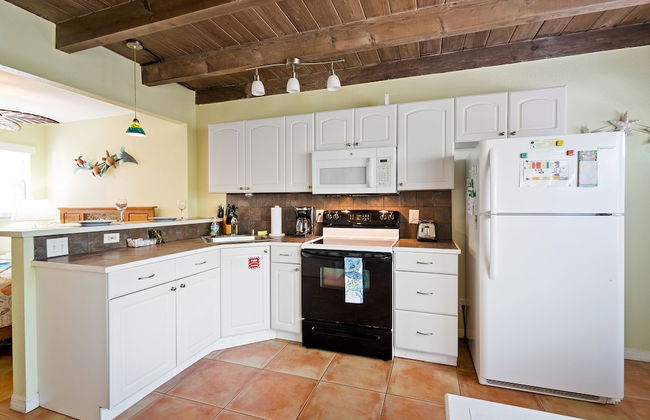
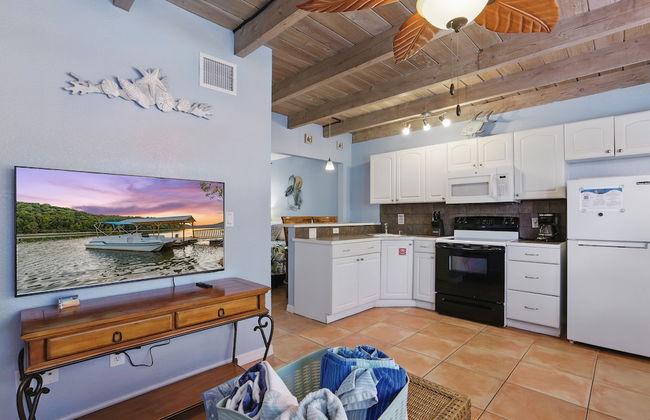
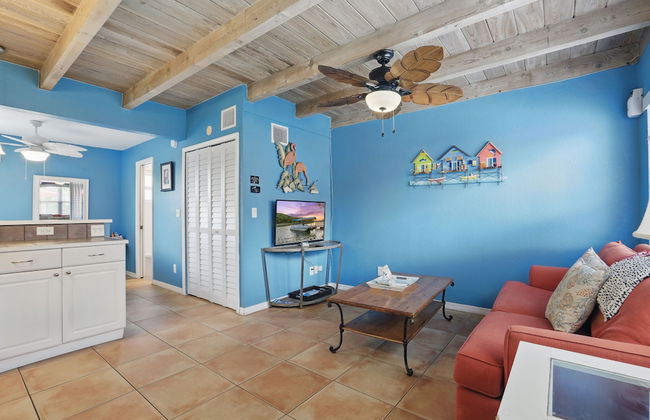
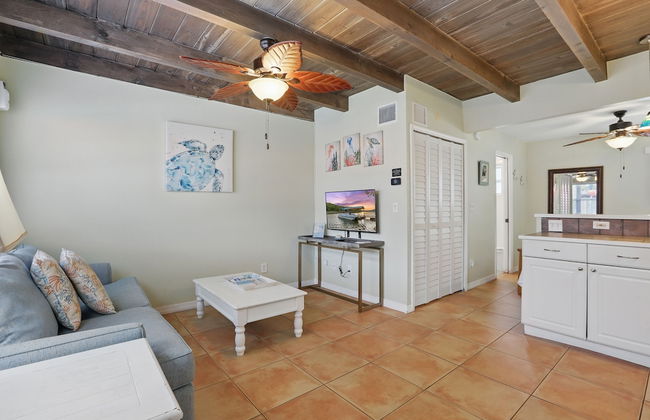
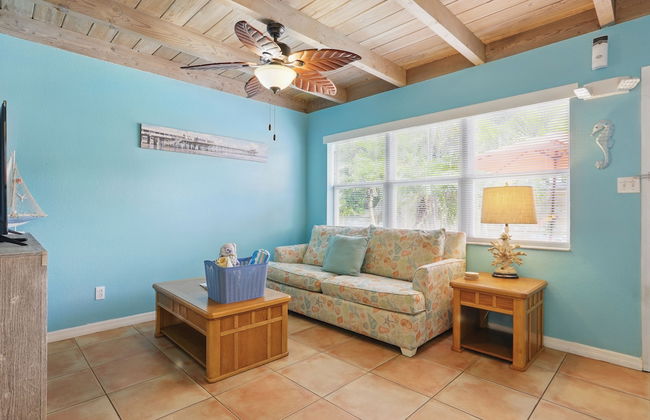
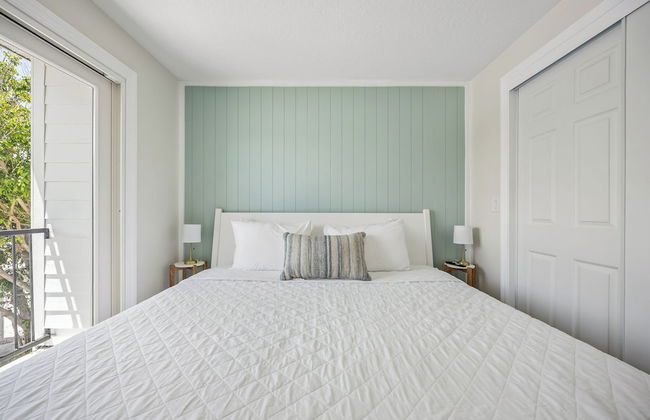
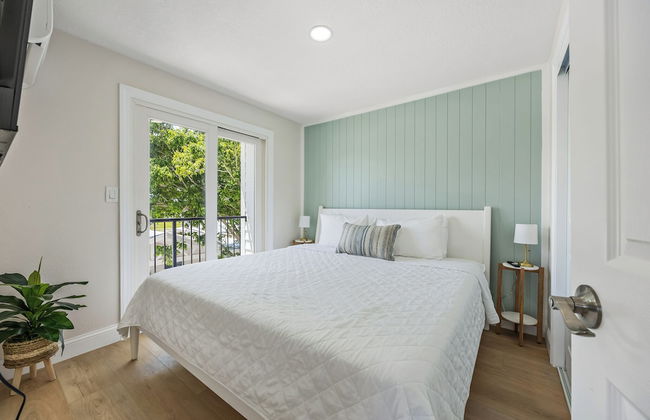
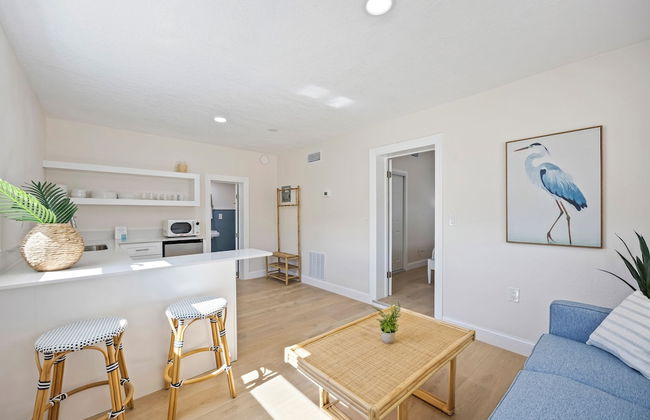
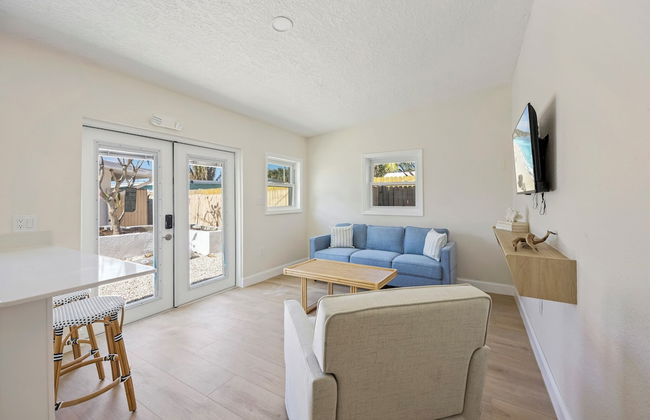
Coco Sands Beachside Cottages
Cocoa Beach - 2.4 km vom Zentrum
- 8 Personen
- Klimaanlage
- Heizung
- Terrasse
- Parkplatz
- Tv
- Waschmaschine
- Barbecue
- Handtücher
- Bettlaken
324 Bewertungen
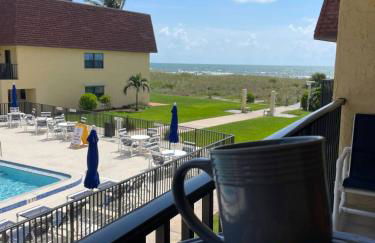


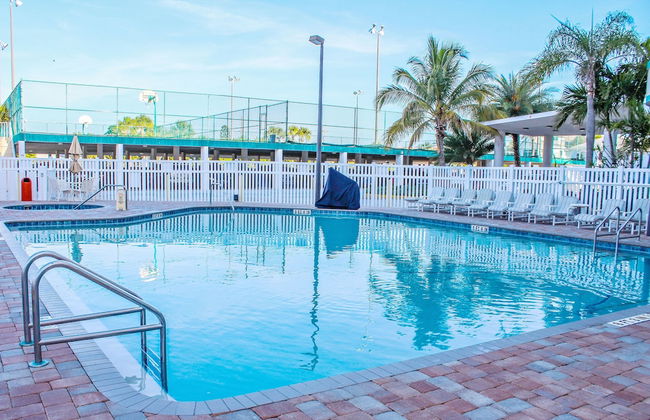
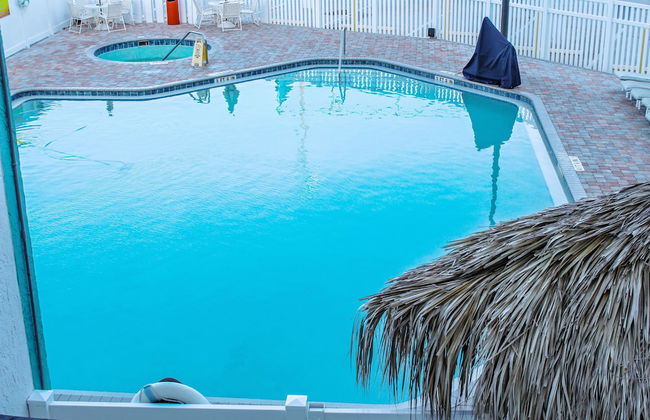
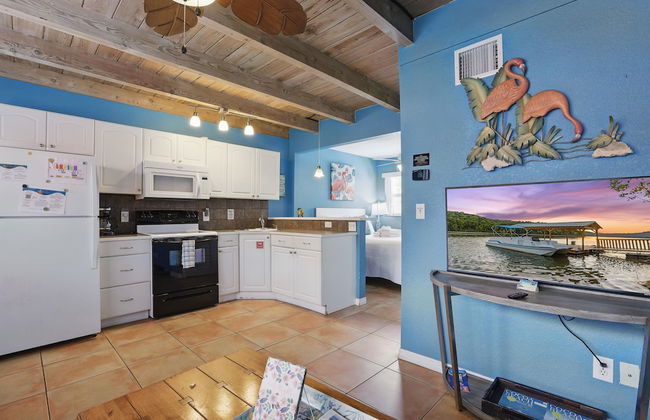
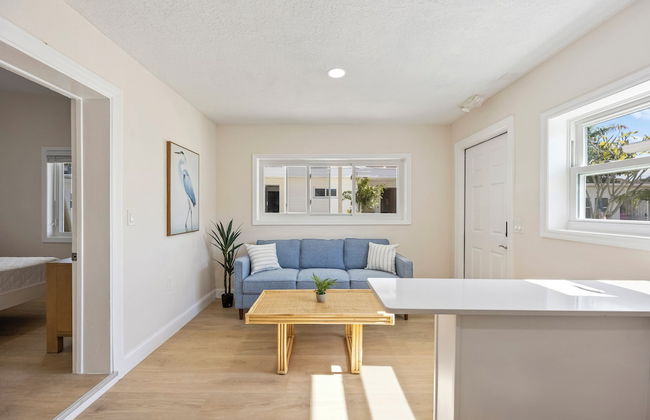
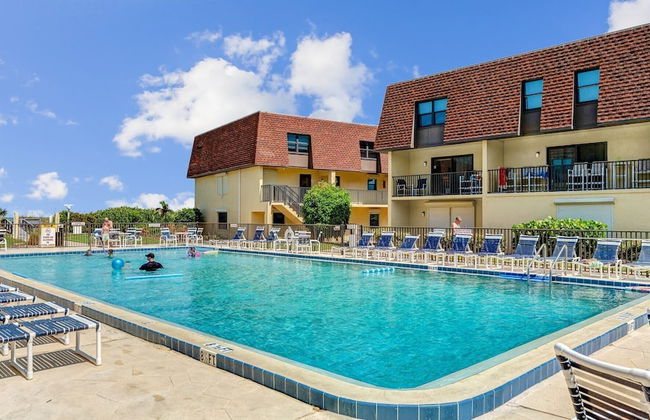
Beachfront with heated pool, 60 seconds to beach
Cocoa Beach - Avon by the Sea - 4.8 km vom Zentrum
- 109 M2
- 2 Schlafzimmer
- 6 Personen
- Klimaanlage
- Heizung
- Terrasse
- Schwimmbad
- Parkplatz
- Barbecue
25 Bewertungen


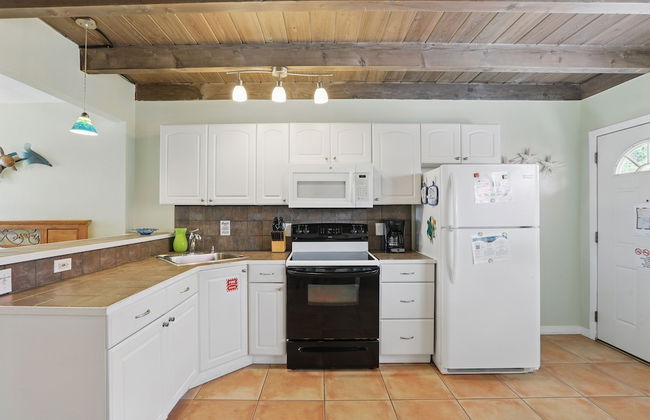
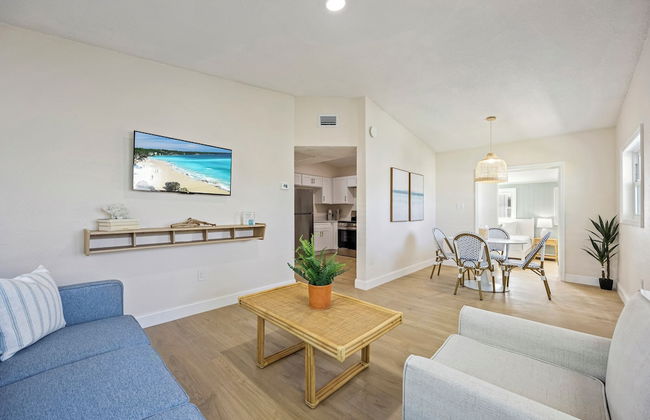
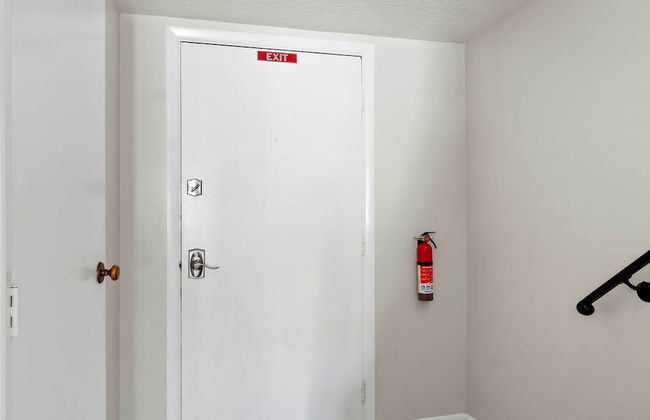
Discovery Beach Resort
Cocoa Beach - 5.4 km vom Zentrum
- 77 M2
- 6 Personen
- Klimaanlage
- Terrasse
- Schwimmbad
- Parkplatz
- Balkon
- Tv
- Waschmaschine
- Handtücher
- Bettlaken
216 Bewertungen


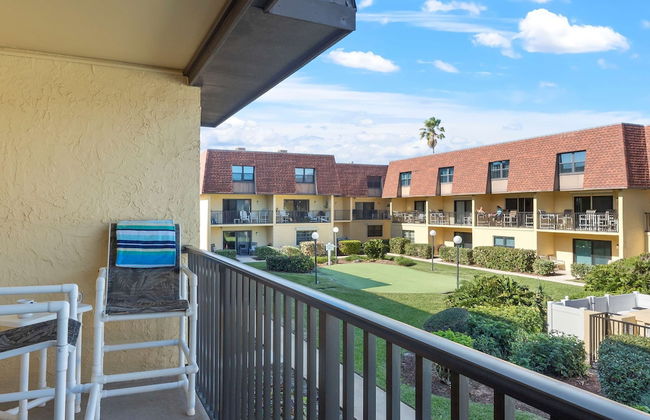
The Resort on Cocoa Beach
Cocoa Beach - 1.9 km vom Zentrum
- 98 M2
- 6 Personen
- Klimaanlage
- Schwimmbad
- Parkplatz
- Fahrstuhl
- Balkon
- Tv
- Waschmaschine
- Barbecue
- Handtücher
- Bettlaken
548 Bewertungen


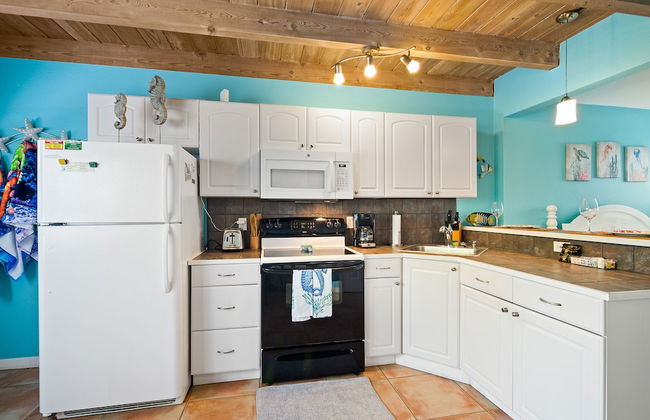


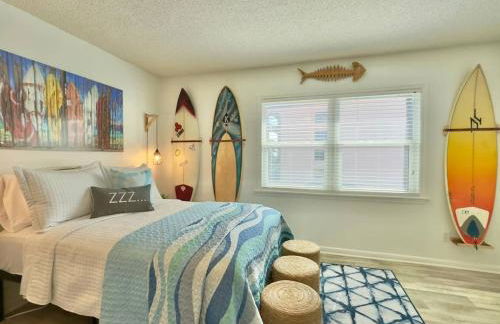
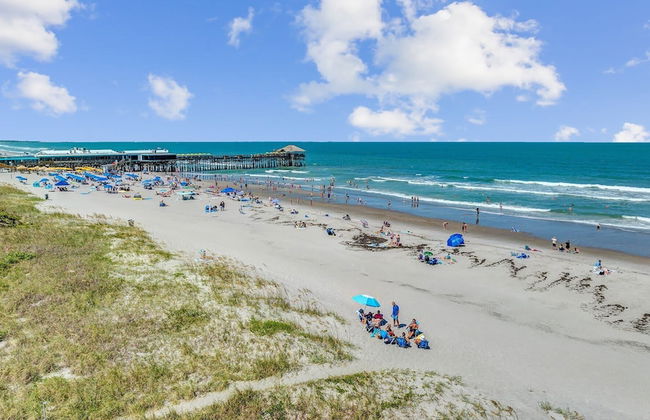
Coco Sands Studios
Cocoa Beach - 2.2 km vom Zentrum
- 2 Personen
- Parkplatz
- Tv
- Handtücher
- Bettlaken
124 Bewertungen


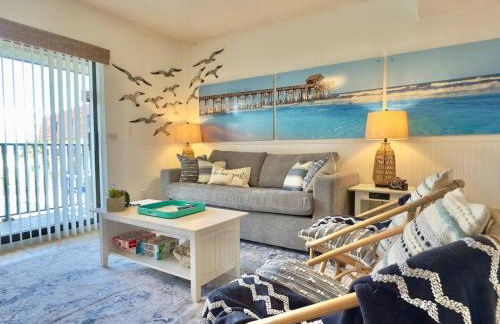
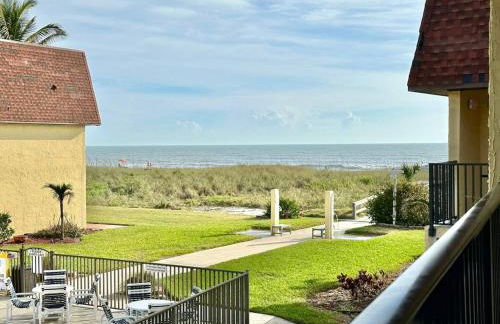
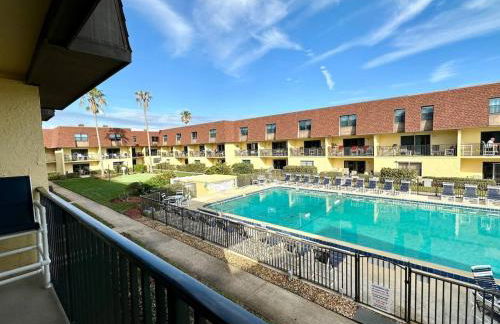
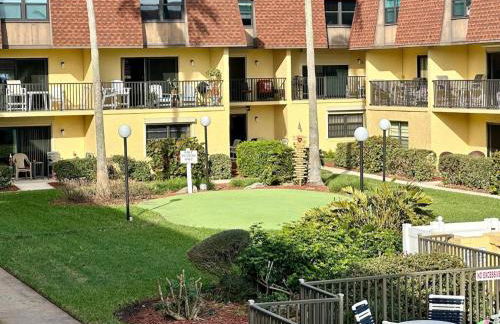
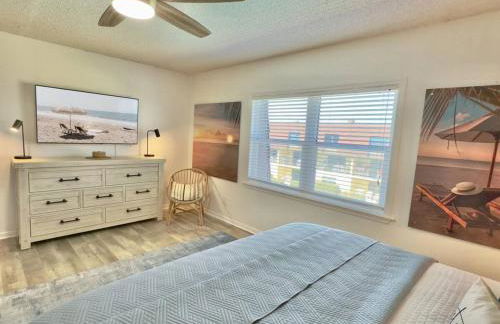
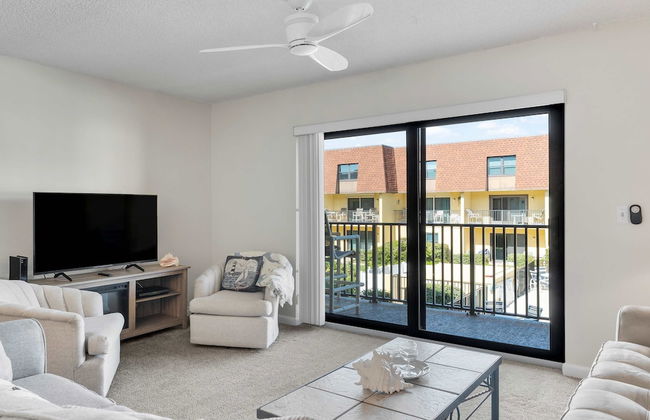
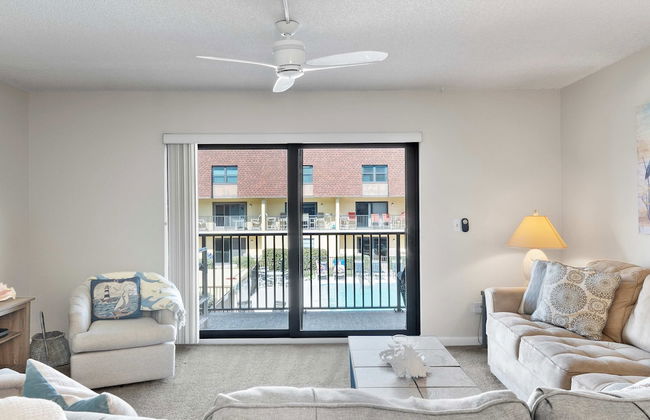
Fully Updated, Ground Floor, Poolside With Great Ocean View - Unit 49!
Cocoa Beach - Seacrest Beach - 500 m vom Zentrum
- 107 M2
- 2 Schlafzimmer
- 4 Personen
- Klimaanlage
- Heizung
- Schwimmbad
- Parkplatz
- Fahrstuhl
- Garten
- Barbecue
11 Bewertungen


Dolphin Cove 1 block from the Beach
Cocoa Beach - 980 m vom Zentrum
- 92 M2
- 2 Schlafzimmer
- 4 Personen
- Klimaanlage
- Heizung
- Terrasse
- Parkplatz
- Garten
17 Bewertungen


Summer Rayne
Cocoa Beach - 6 km vom Zentrum
- 167 M2
- 3 Schlafzimmer
- 9 Personen
- Klimaanlage
- Terrasse
- Schwimmbad
- Parkplatz
- Garten
11 Bewertungen


Beach Living at its Best!
Cocoa Beach - Im Zentrum
- 120 M2
- 2 Schlafzimmer
- 6 Personen
- Klimaanlage
- Terrasse
- Schwimmbad
- Parkplatz
- Fahrstuhl
- Garten
18 Bewertungen


The Drift
Cocoa Beach - 750 m vom Zentrum
- 20 Personen
- Kochnische
- Klimaanlage
- Heizung
- Parkplatz
- Tv
- Handtücher
- Bettlaken
2 Bewertungen


Beach house w/Putting Green/Game Rm/Rooftop Deck
Cocoa Beach - Crescent - 3.5 km vom Zentrum
- 10 M2
- 3 Schlafzimmer
- 8 Personen
- Klimaanlage
- Heizung
- Terrasse
- Parkplatz
- Garten
- Barbecue
23 Bewertungen


Stunning Beachfront Apartment Near Cocoa Beach Pier
Cocoa Beach - Im Zentrum
- 120 M2
- 2 Schlafzimmer
- 6 Personen
- Klimaanlage
- Heizung
- Terrasse
- Schwimmbad
- Parkplatz
- Fahrstuhl
- Garten
82 Bewertungen


Spacious Townhome 5 Mins Walk to Beach
Cocoa Beach - Im Zentrum
- 130 M2
- 3 Schlafzimmer
- 8 Personen
- Klimaanlage
- Terrasse
- Parkplatz
- Garten
- Barbecue
20 Bewertungen


Tahitian Cottage - Heated Pool Walk to the Beach
Cocoa Beach - 6 km vom Zentrum
- 70 M2
- 1 Schlafzimmer
- 4 Personen
- Klimaanlage
- Heizung
- Schwimmbad
- Parkplatz
- Garten
41 Bewertungen


Oceanfront Cocoa Beach Vacation Home Private Beach, Tiki Bar & Family Fun
Cocoa Beach - 1.1 km vom Zentrum
- 186 M2
- 4 Schlafzimmer
- 8 Personen
- Klimaanlage
- Terrasse
- Parkplatz
- Garten
34 Bewertungen


SōLE
Cocoa Beach - Crescent - 3.5 km vom Zentrum
- 105 M2
- 6 Personen
- Klimaanlage
- Heizung
- Parkplatz
- Balkon
- Garten
- Tv
- Waschmaschine
- Handtücher
- Bettlaken
9 Bewertungen


Spanish Main
Cocoa Beach - Seacrest Beach - 440 m vom Zentrum
- 116 M2
- 2 Schlafzimmer
- 5 Personen
- Klimaanlage
- Schwimmbad
- Parkplatz
- Fahrstuhl
- Garten
- Barbecue
84 Bewertungen