
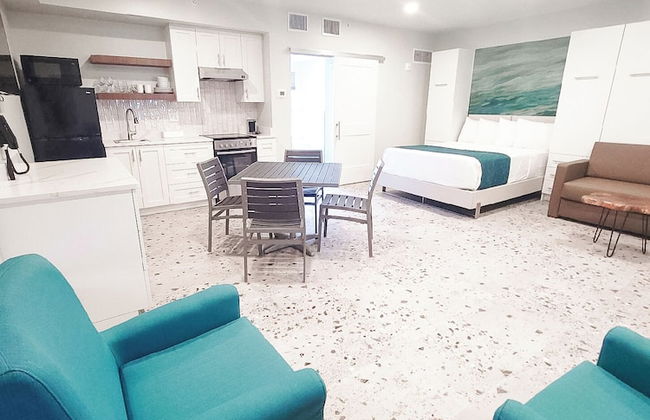
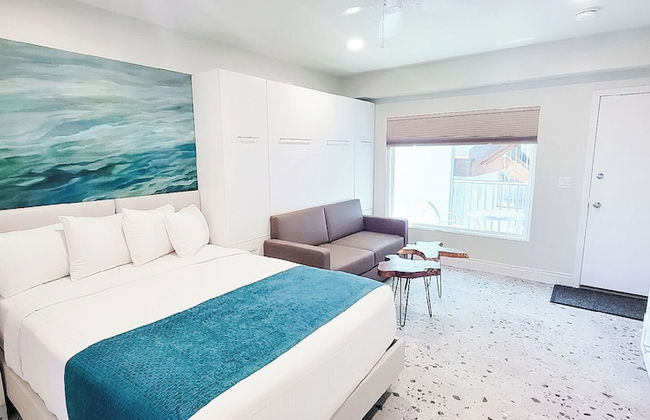
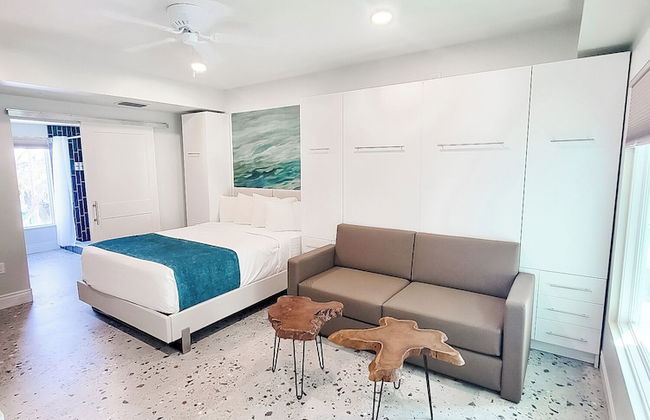
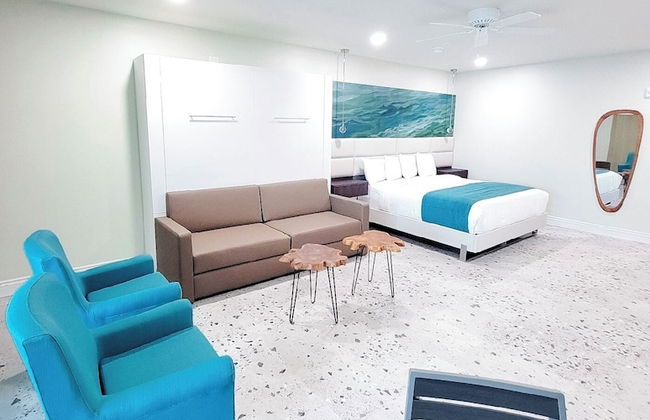
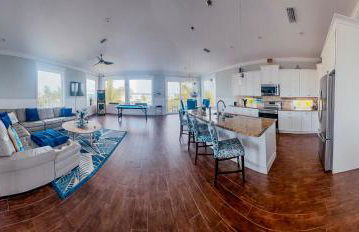
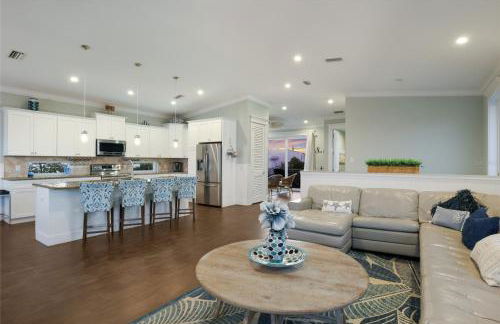
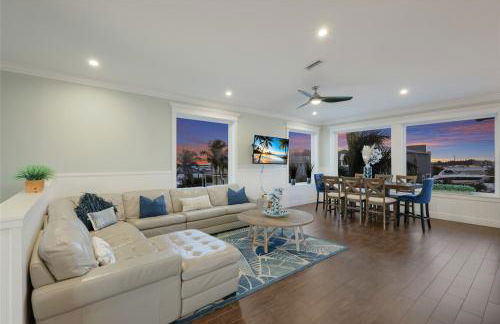
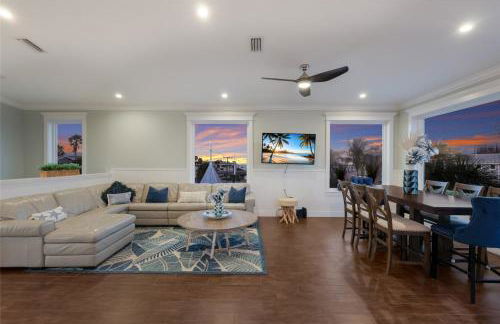
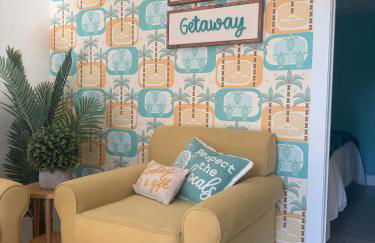
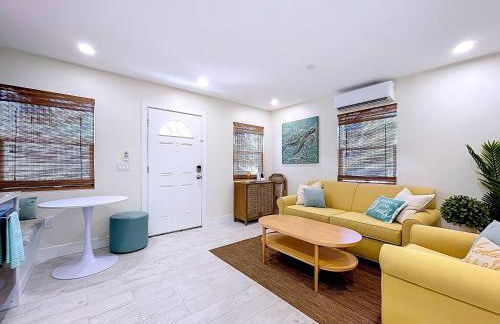
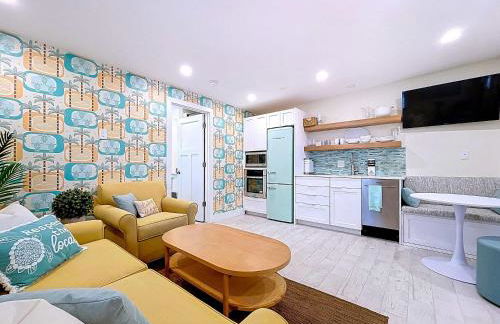
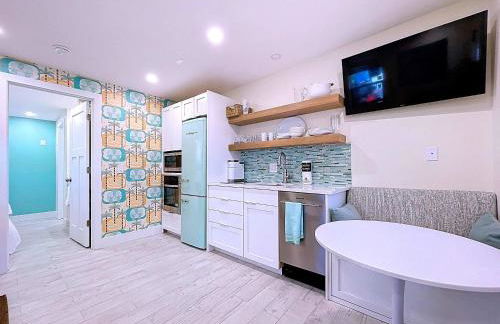
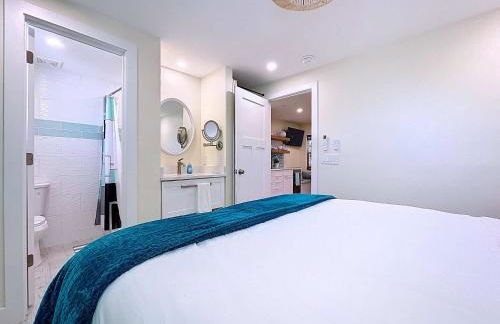
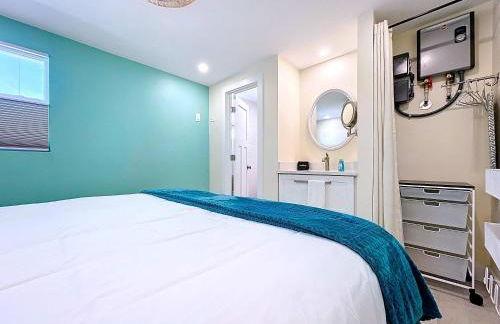
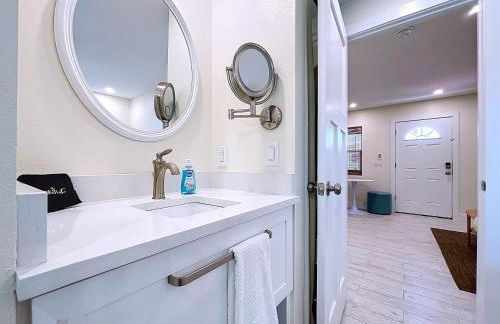
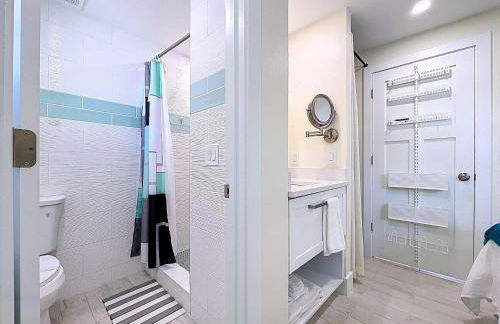
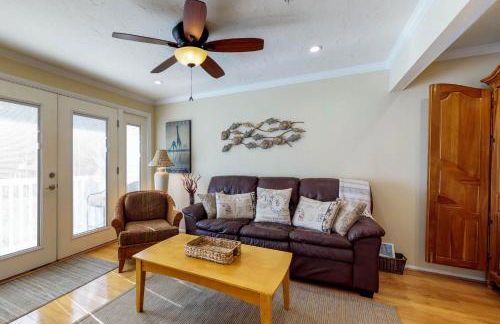
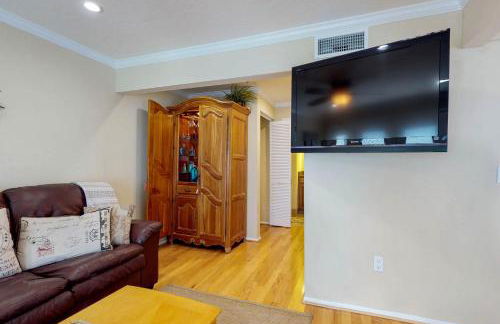
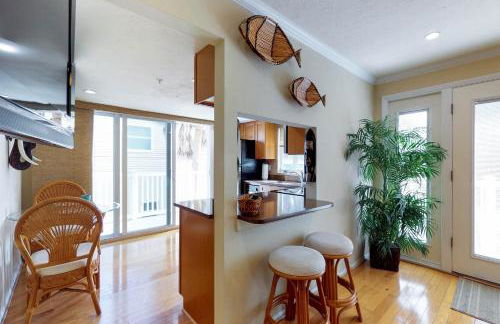
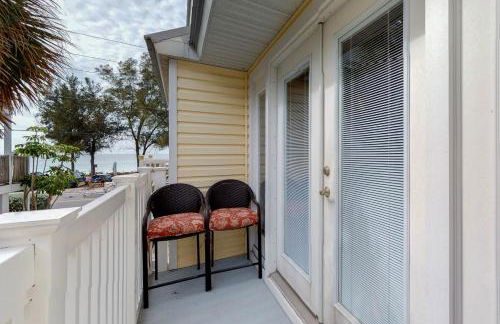
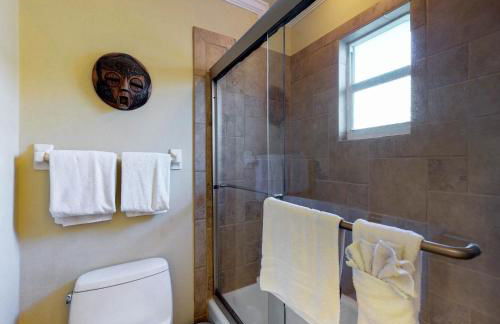
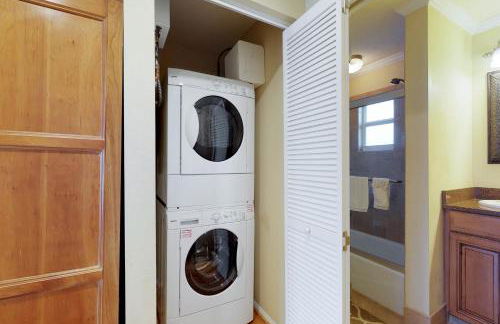
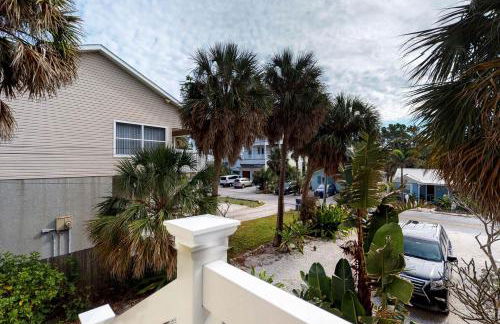
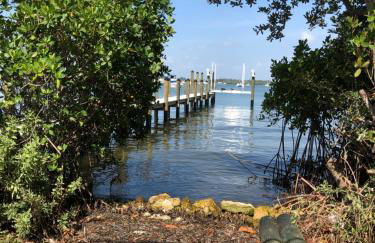
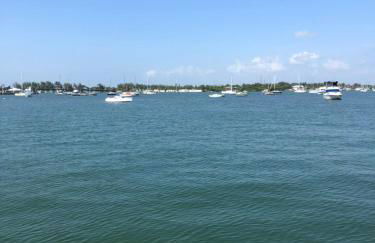
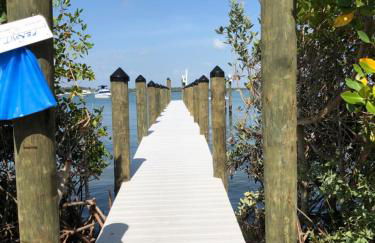
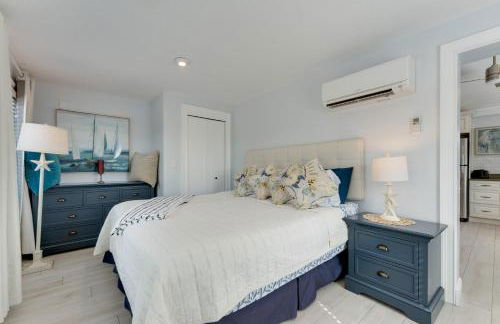
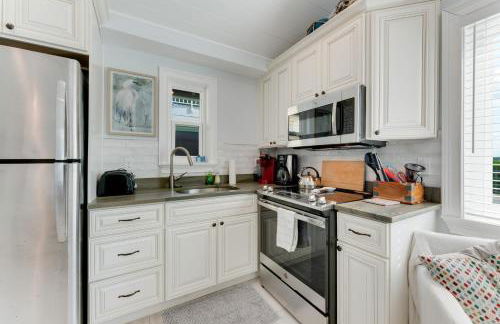
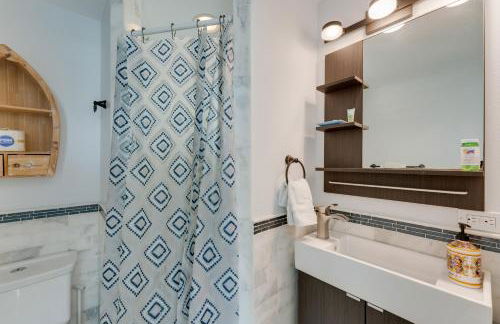
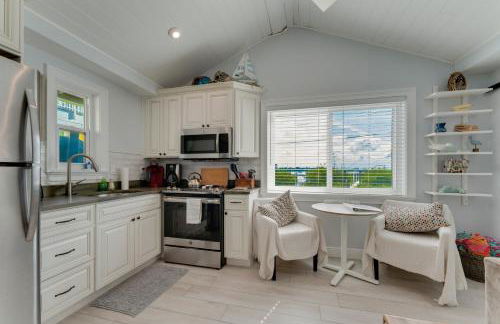
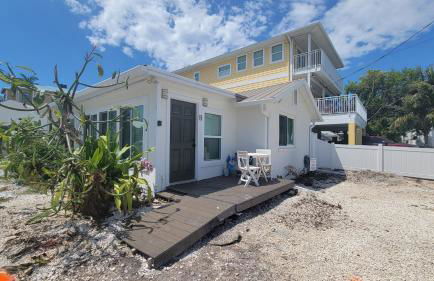
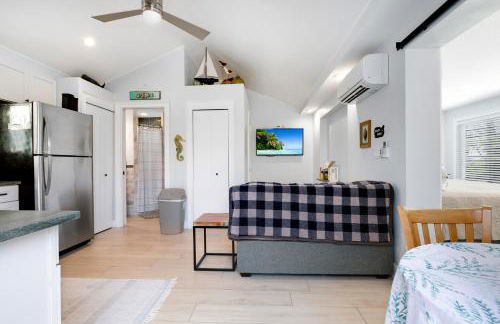
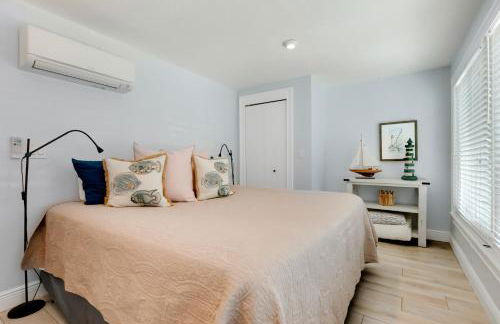
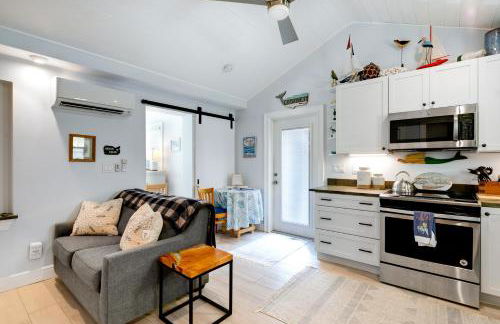
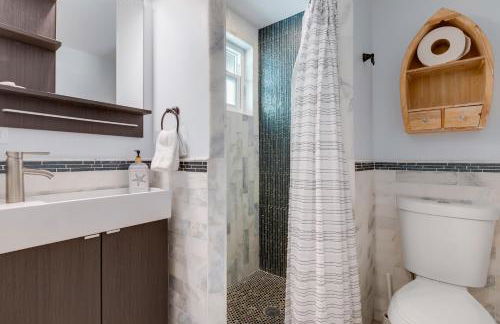
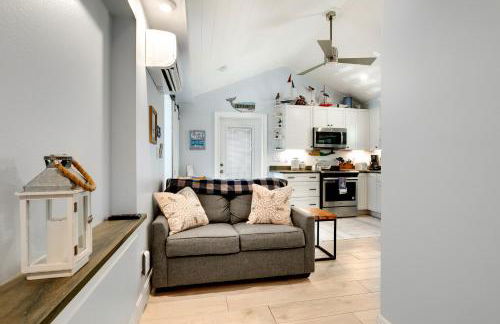
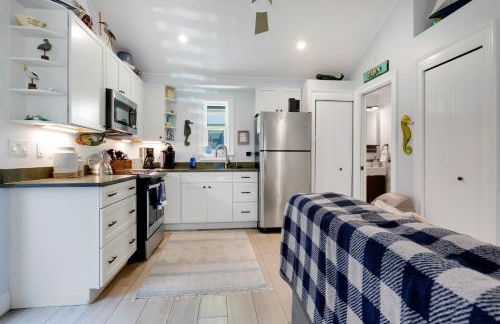
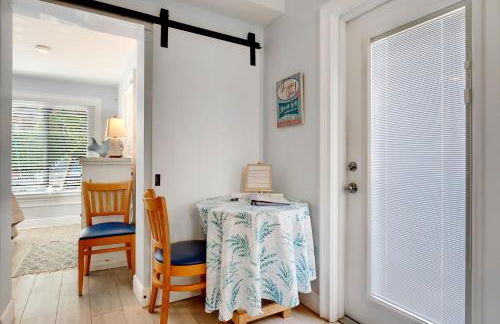
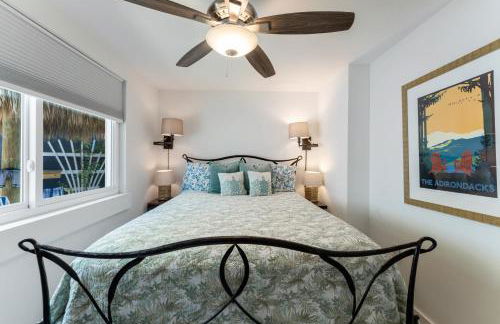
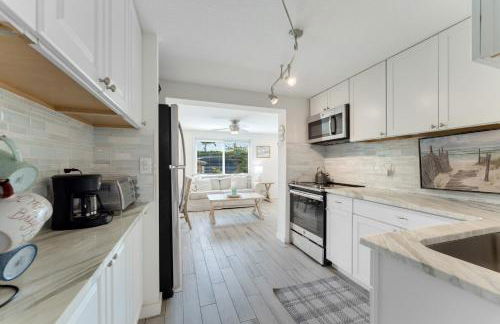
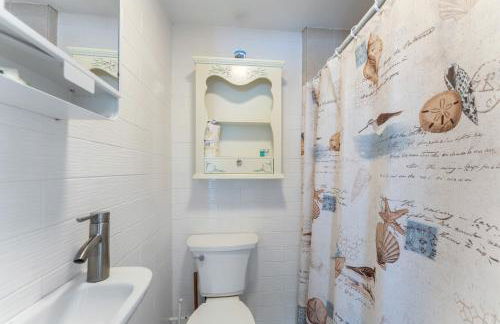
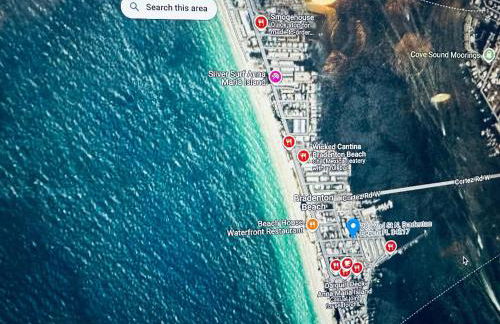
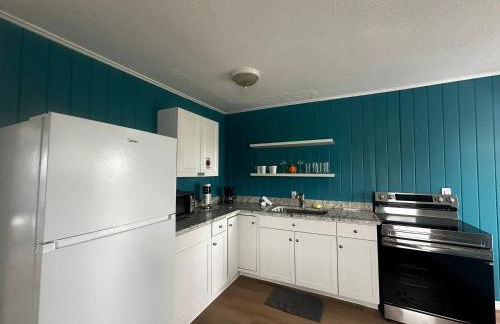
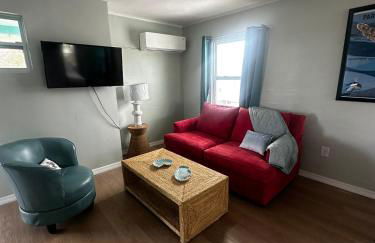
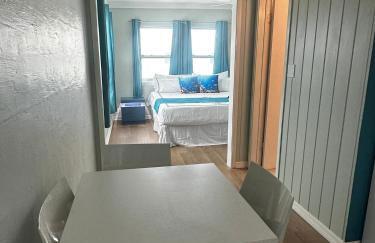
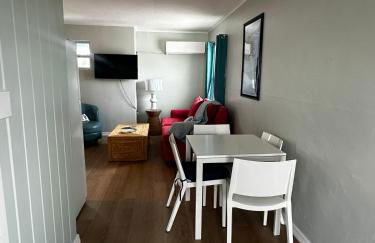
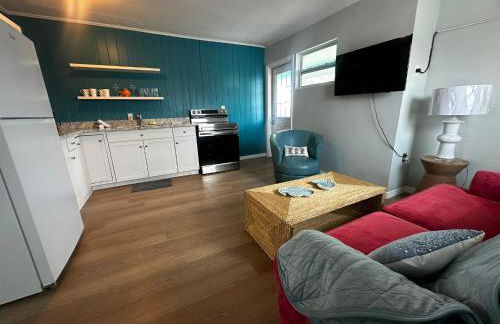
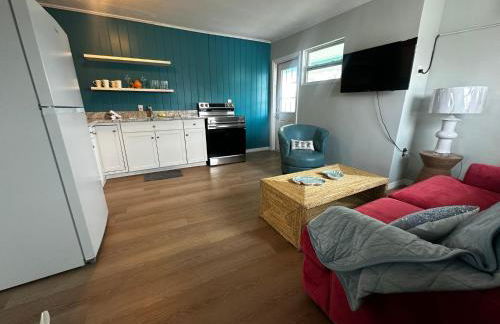
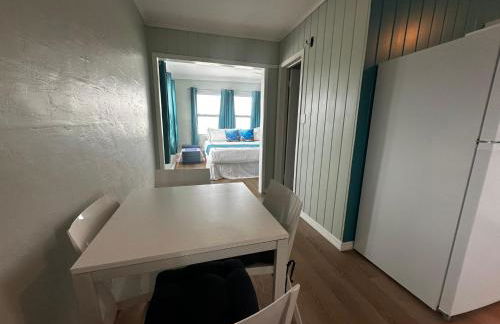
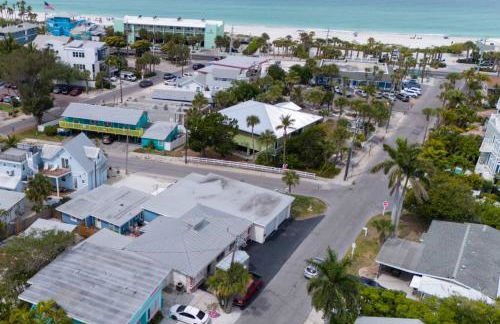
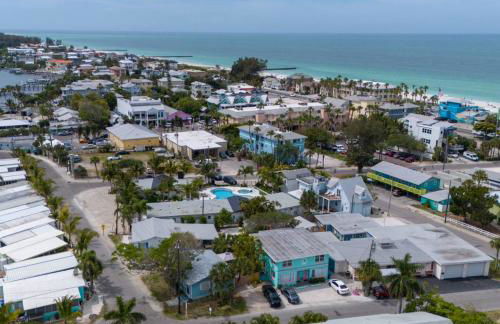
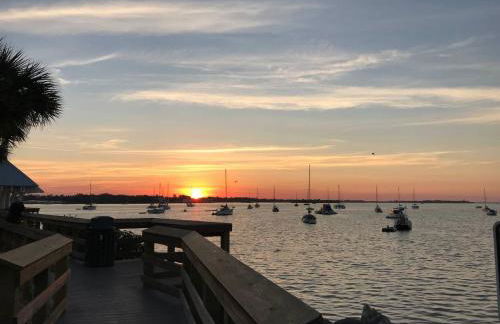
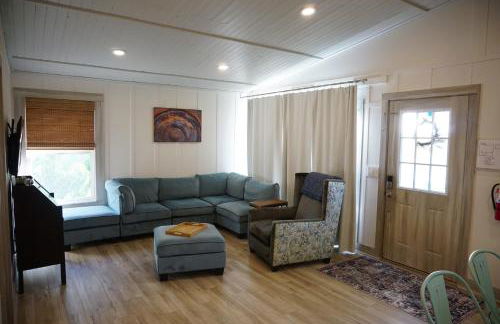
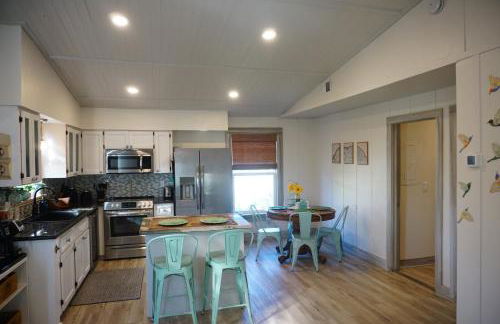
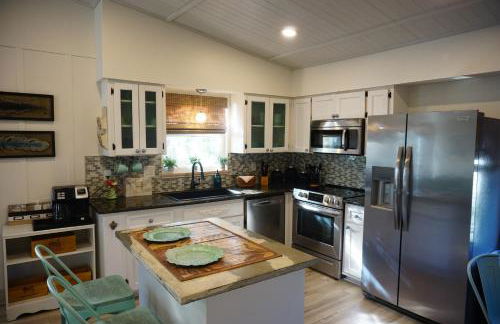
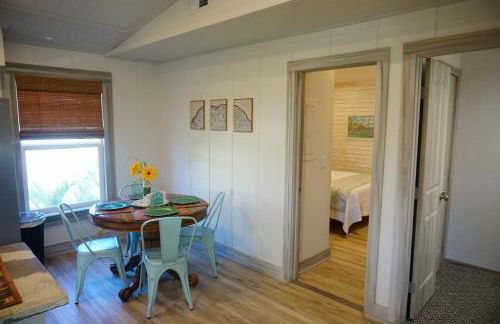
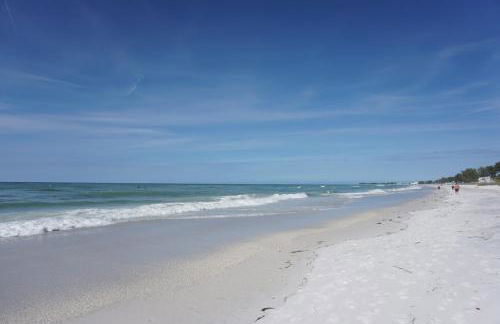
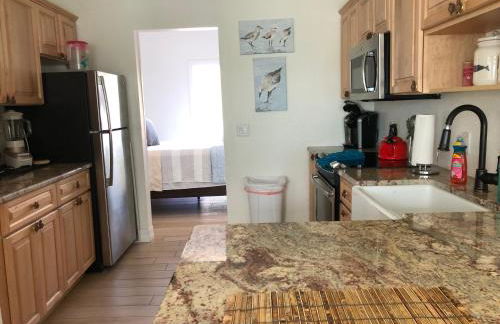
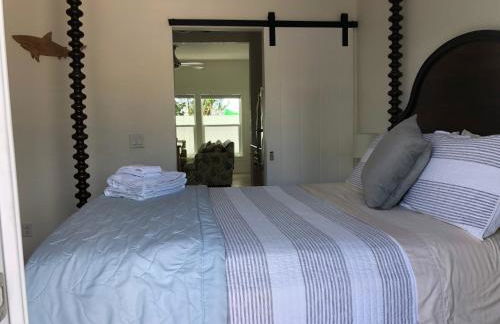
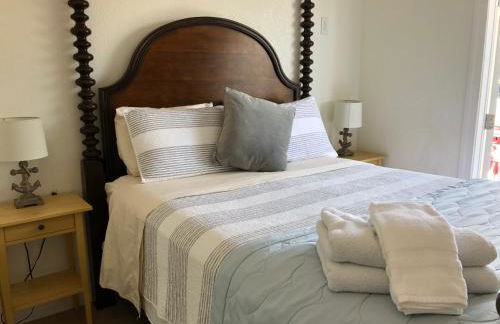
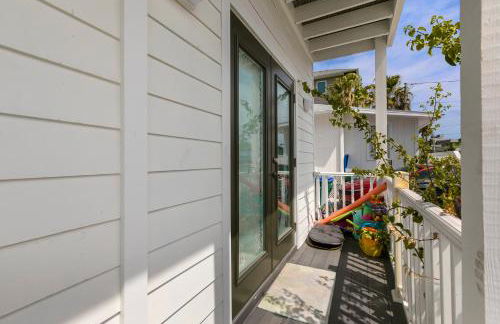
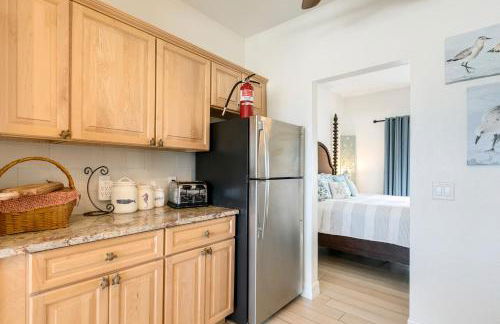
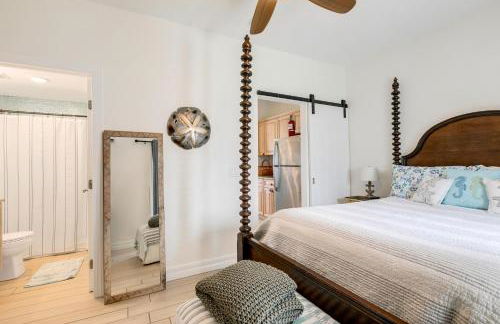
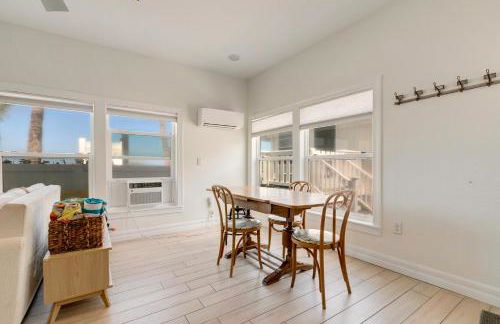
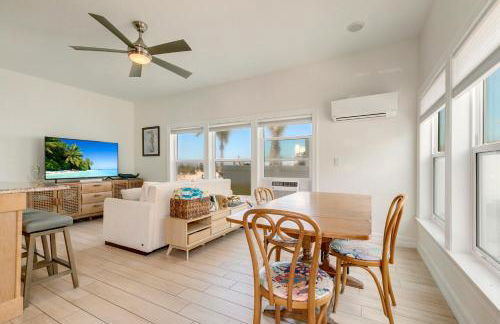
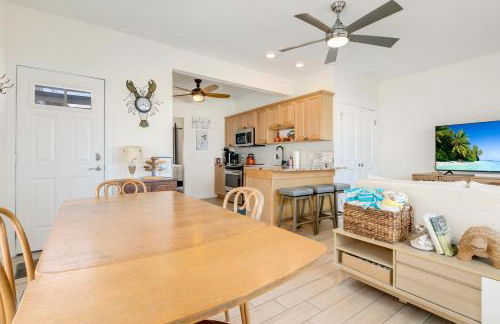
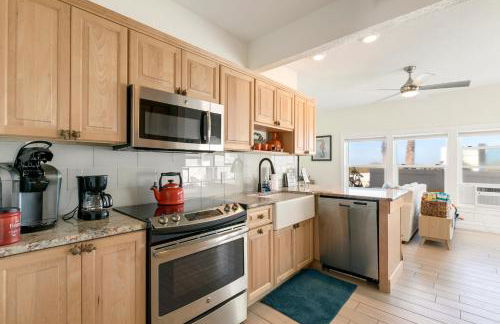
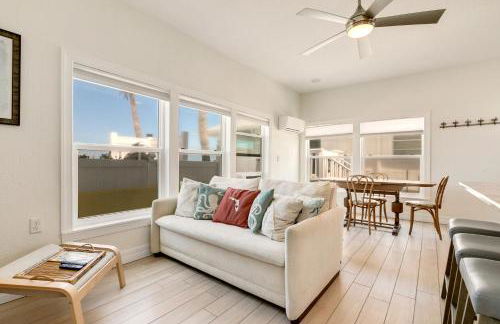
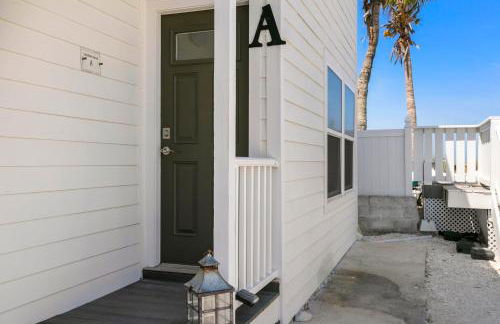
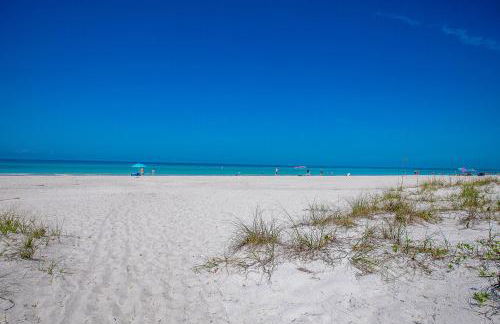
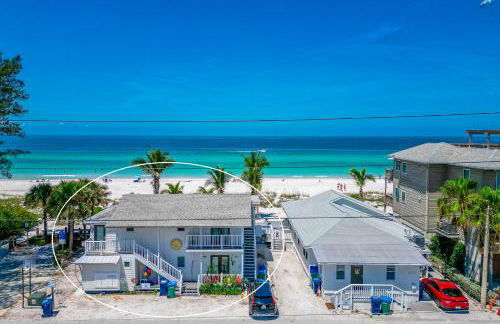
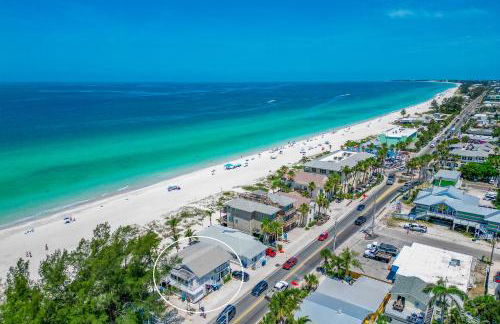
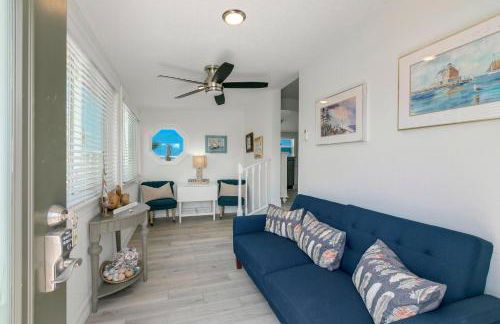
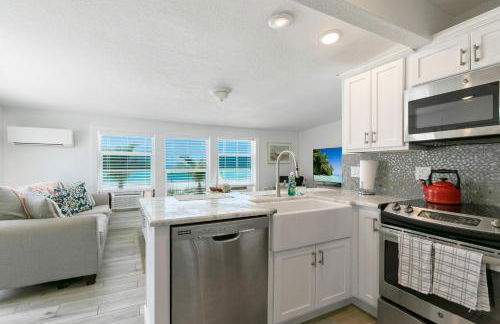
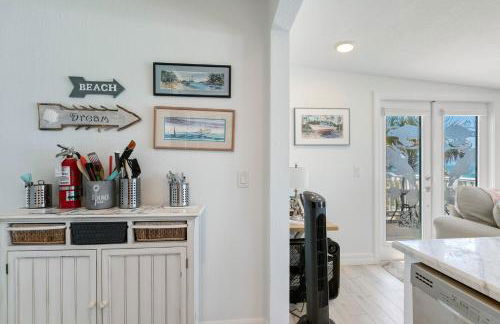
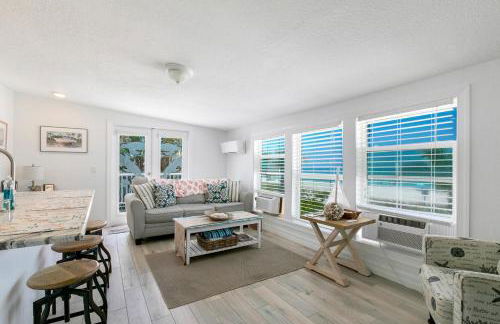
358 Wohnungen in Bradenton Beach


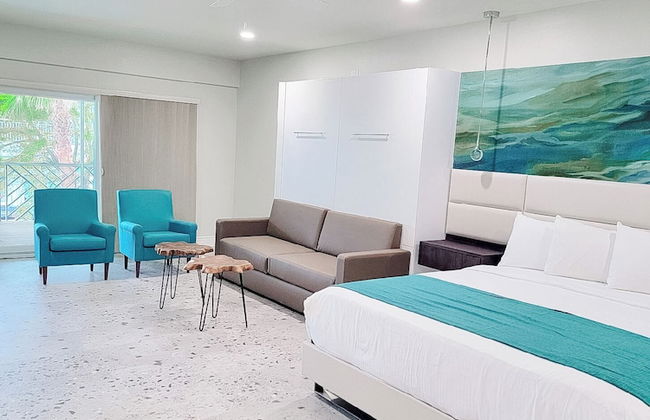
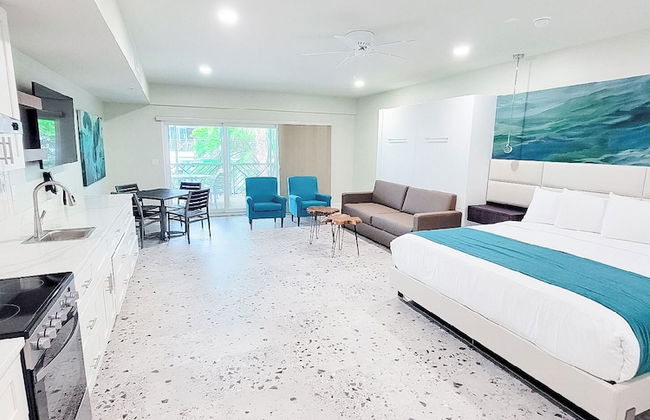
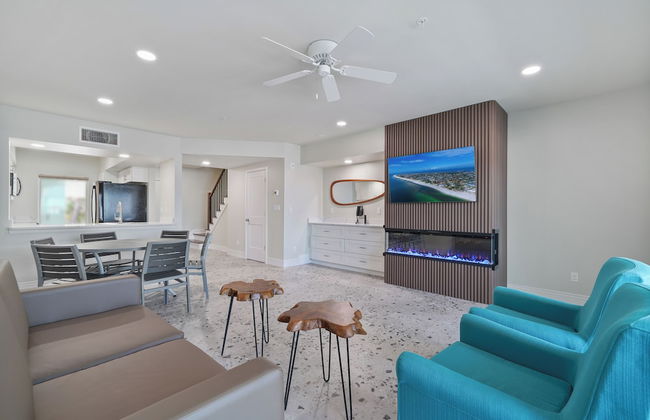
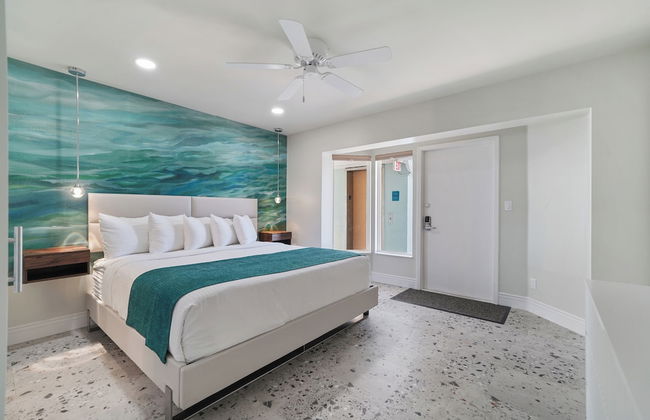
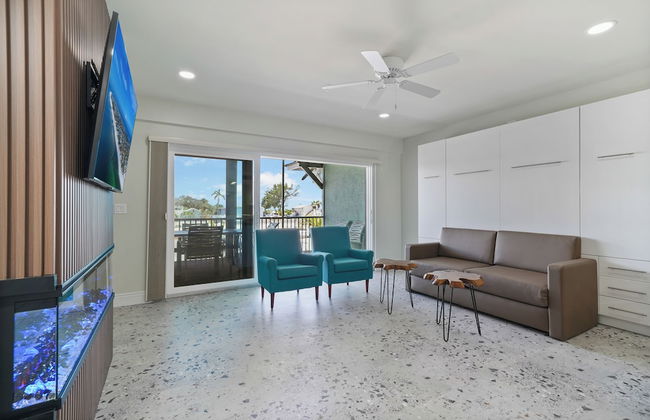
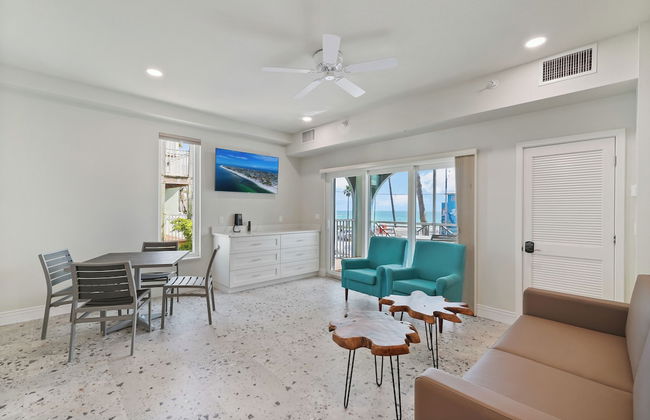
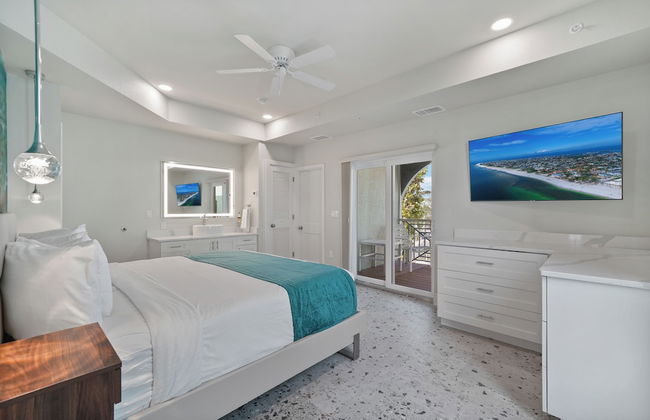
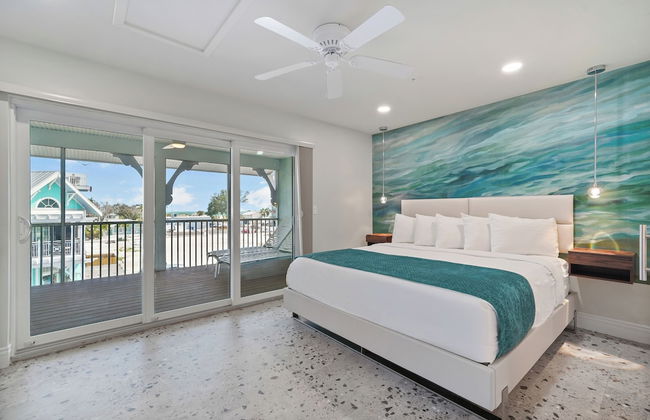
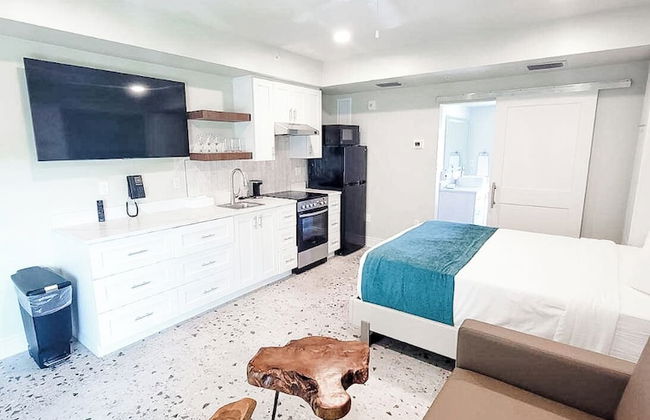
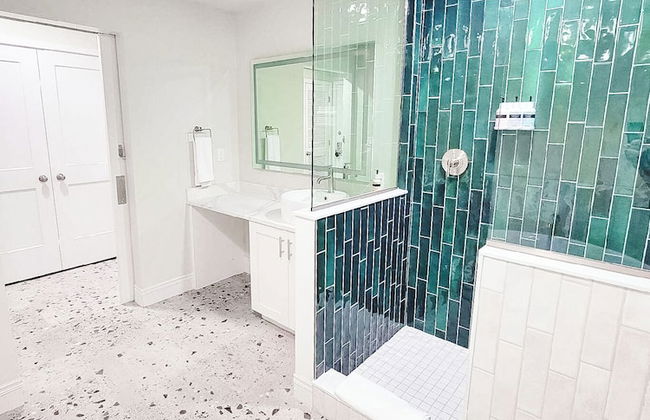
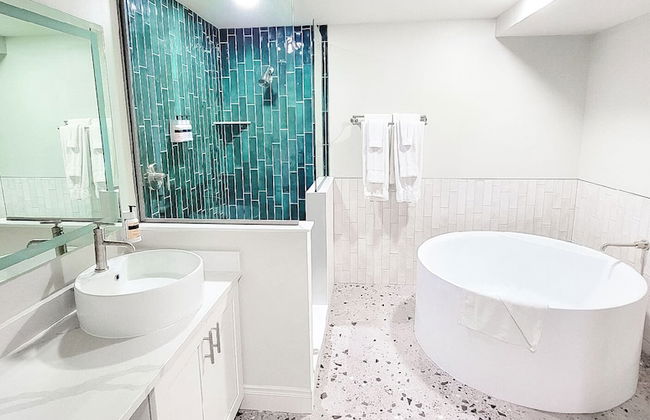
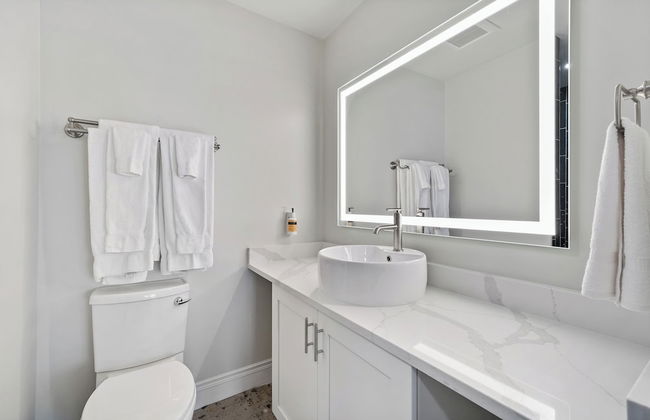
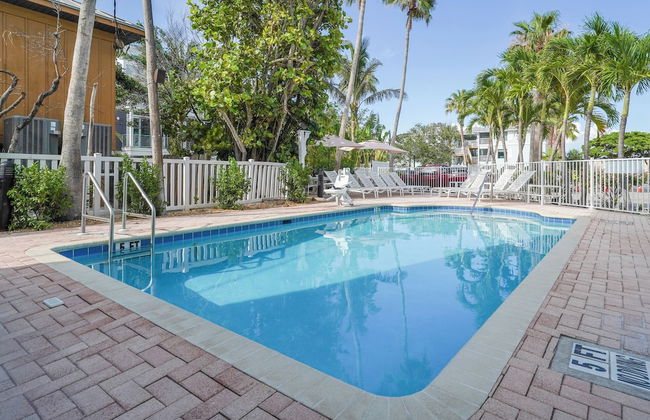
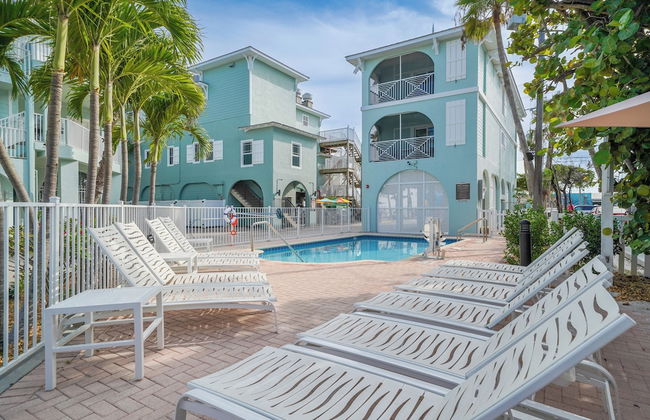
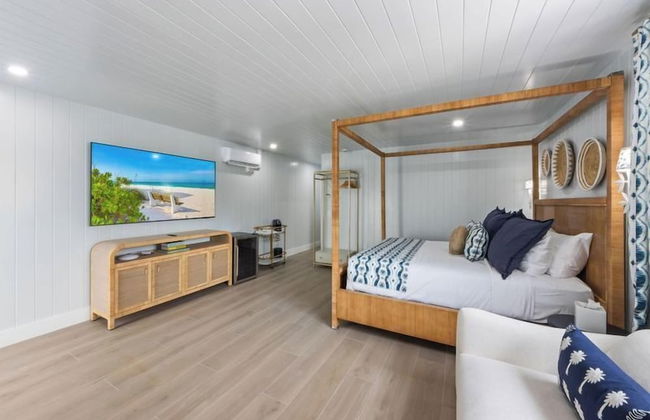
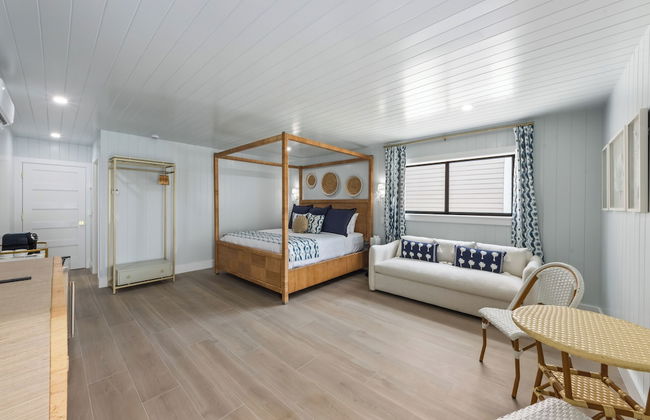
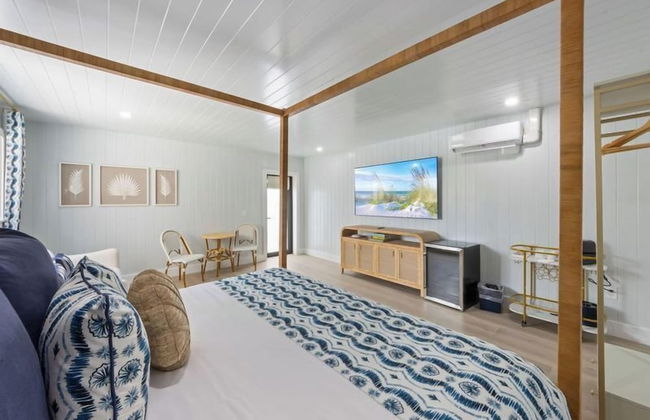
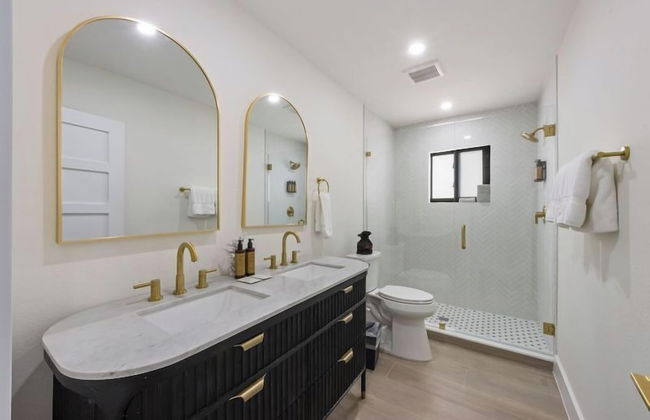
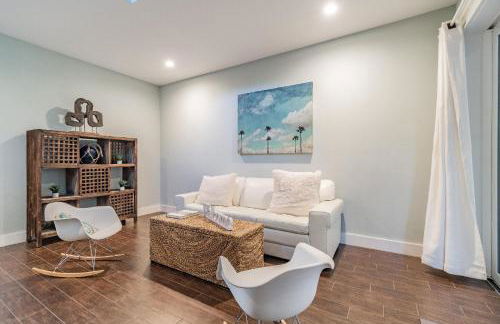
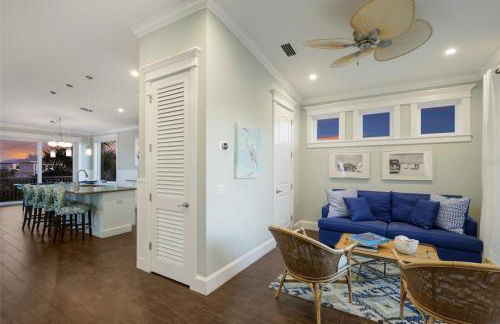
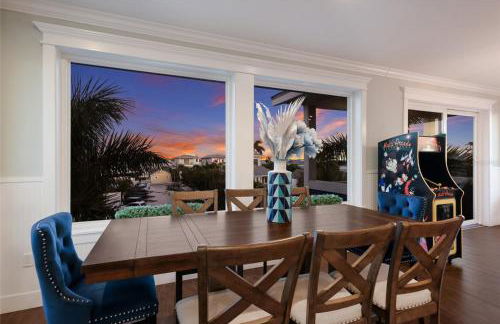
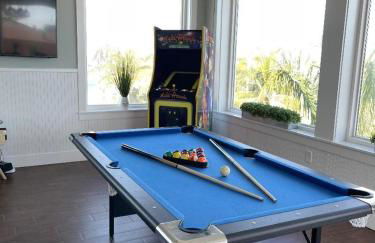
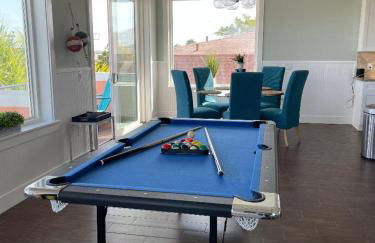
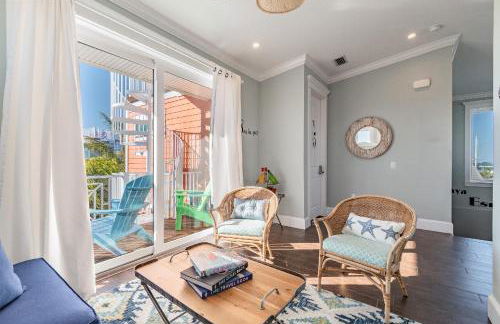
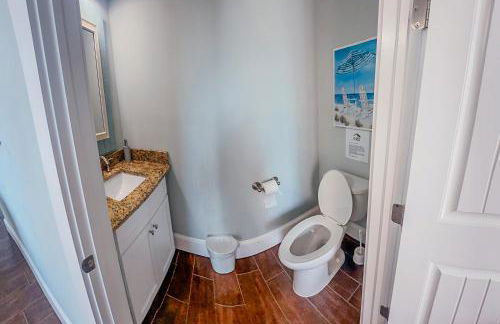
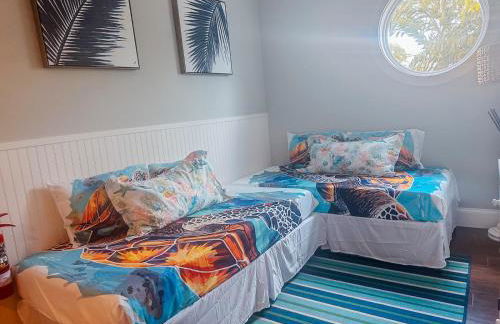
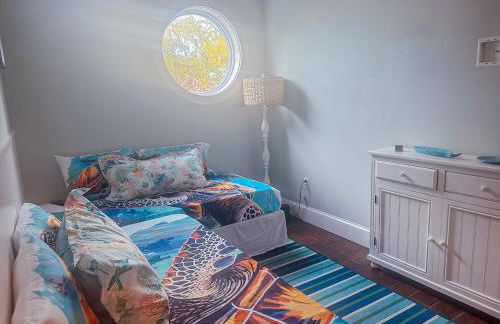
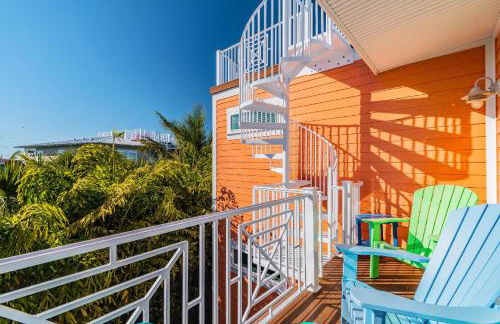
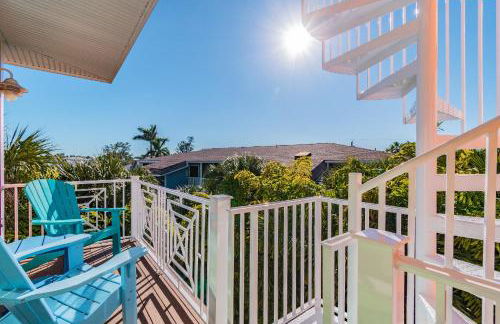
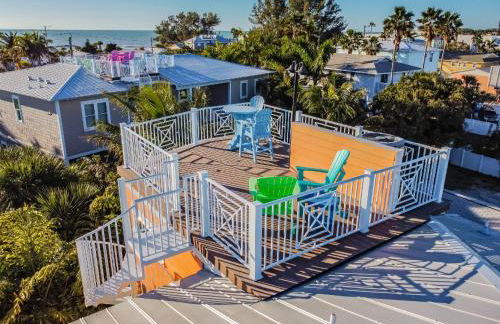
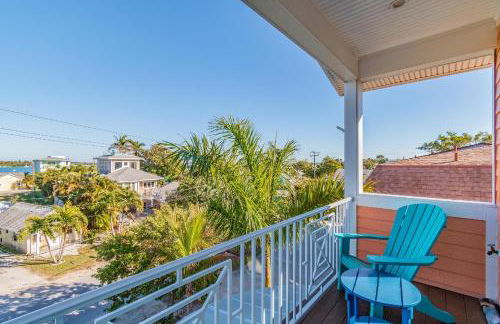
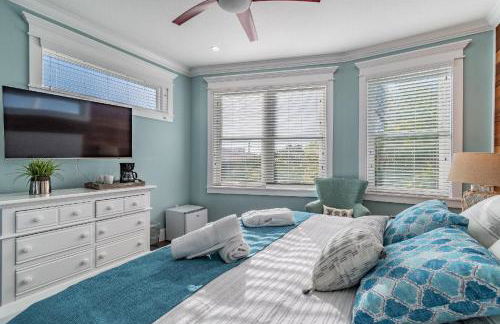
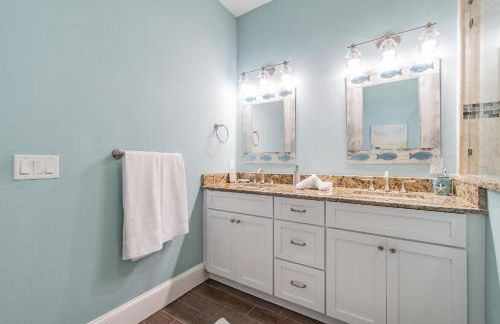
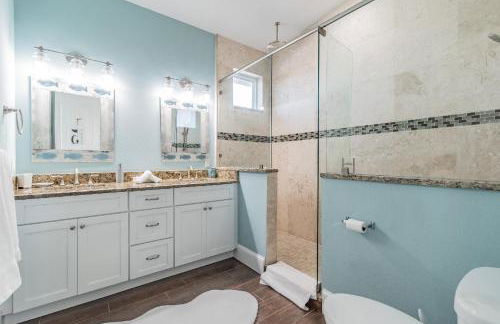
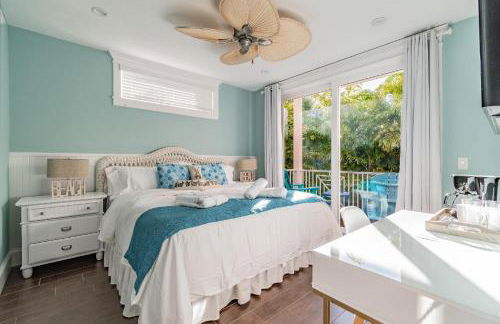
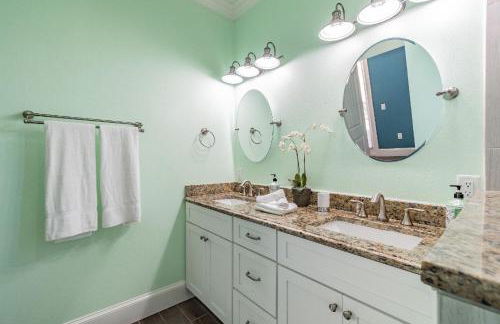
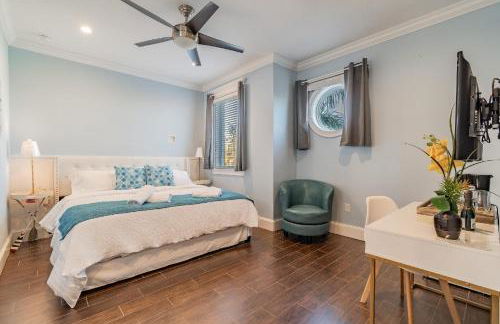
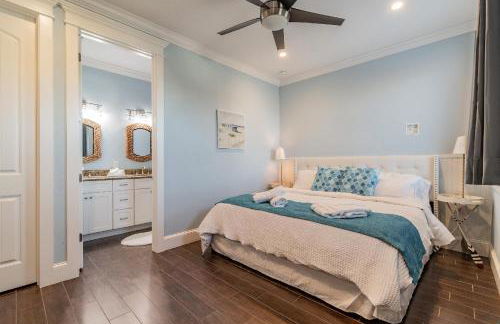
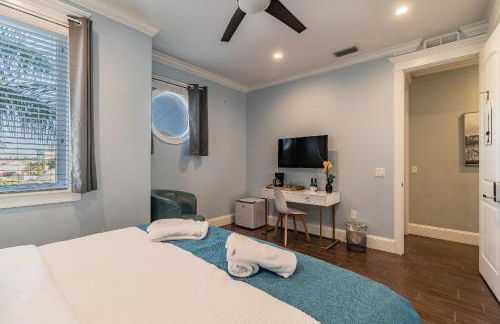
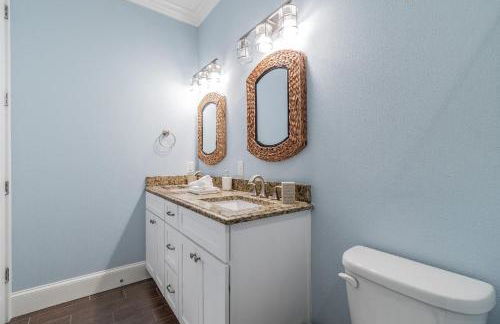
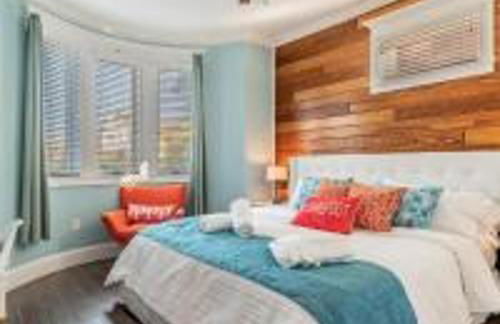
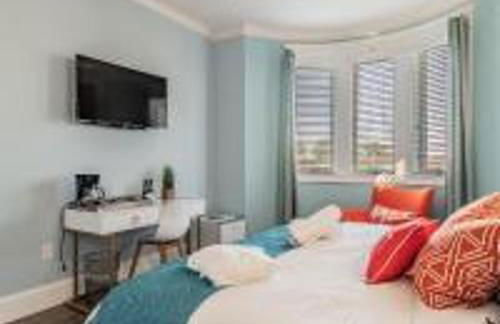
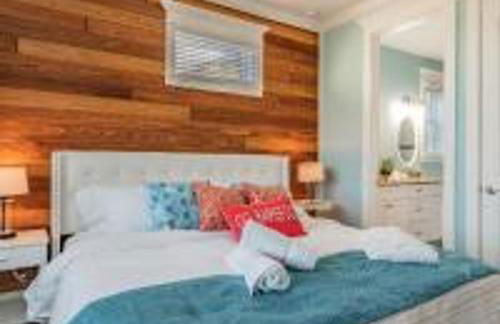
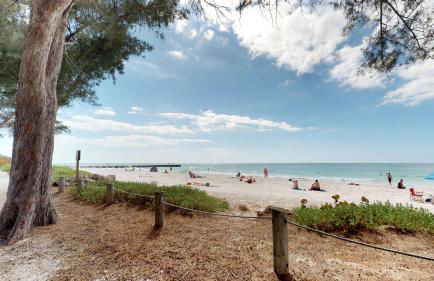
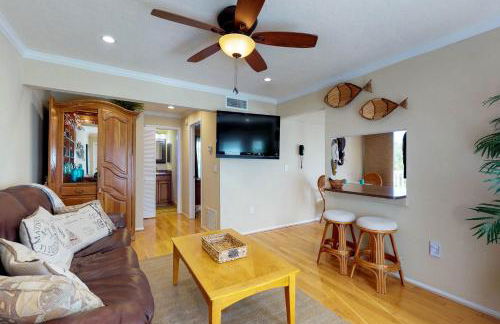
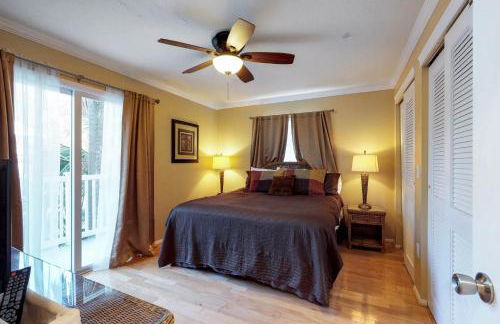
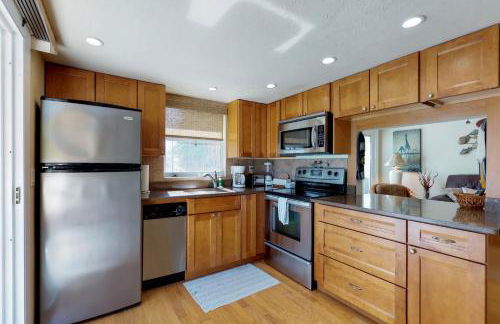
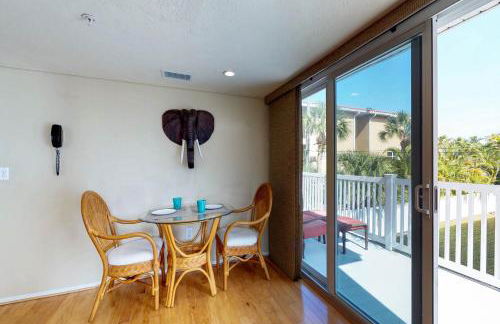
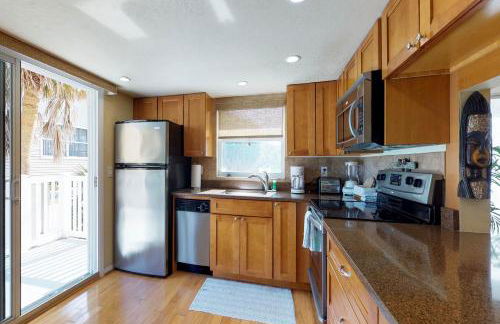
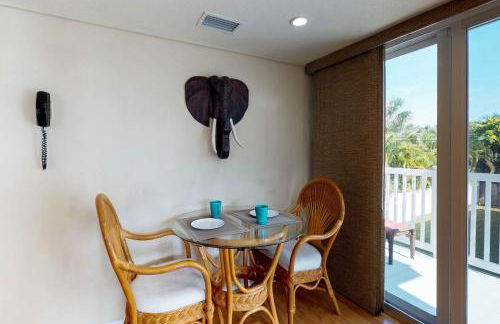
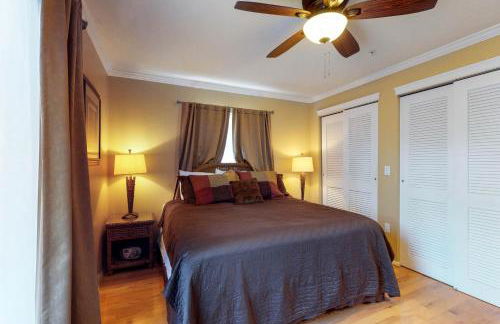
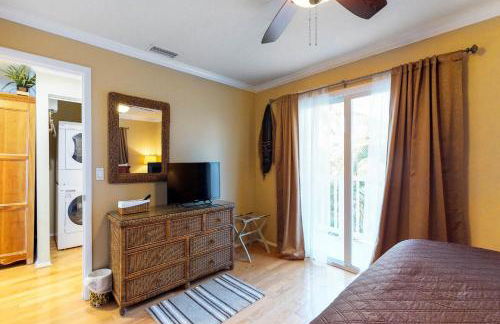
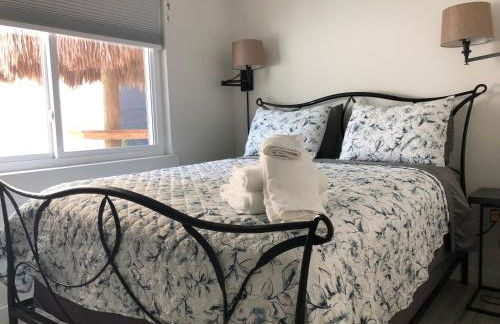
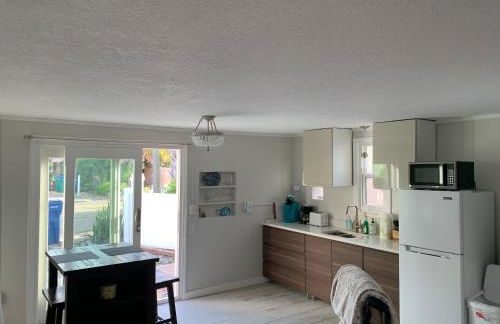
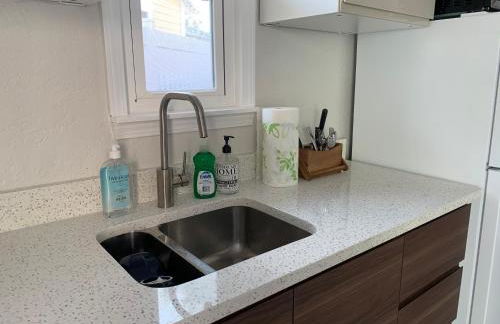
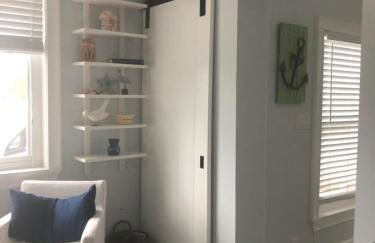
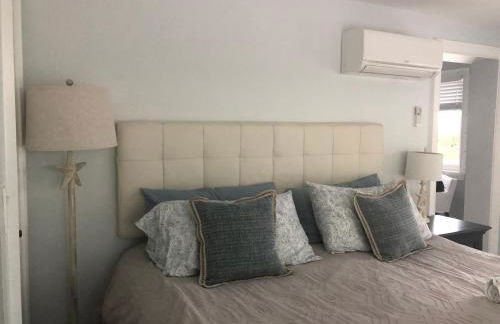
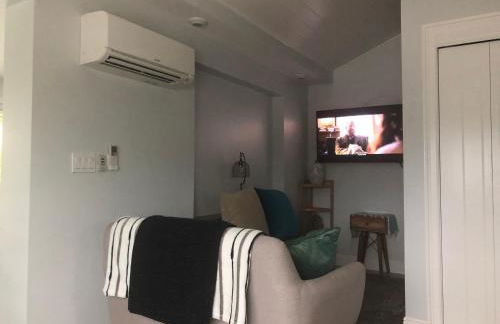
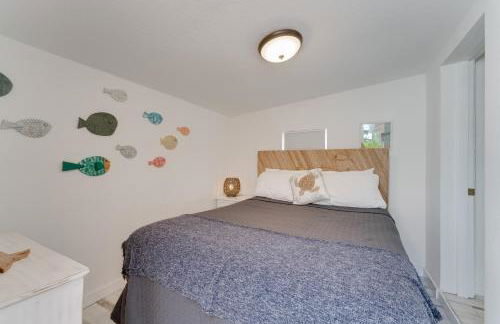
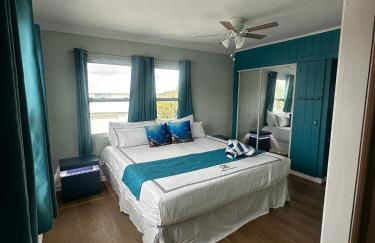
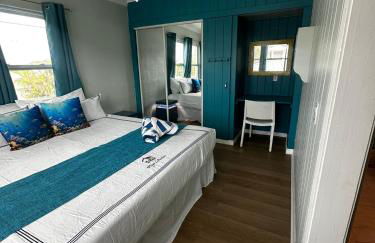
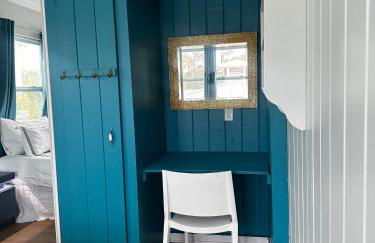
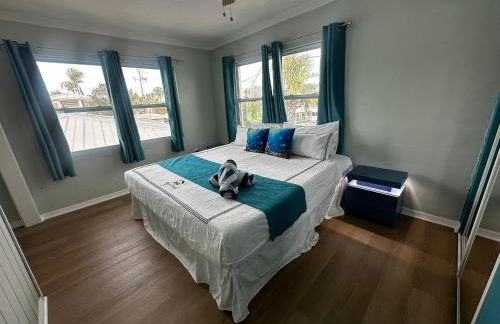
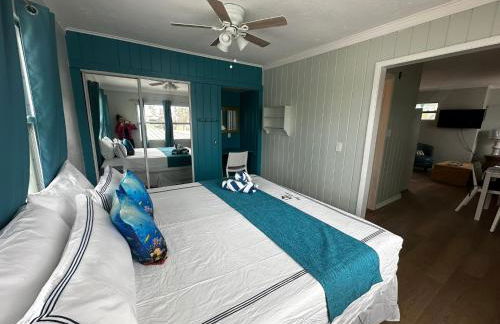
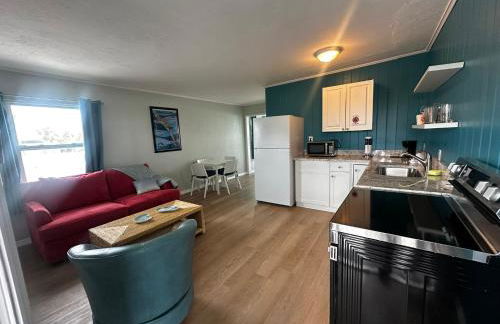
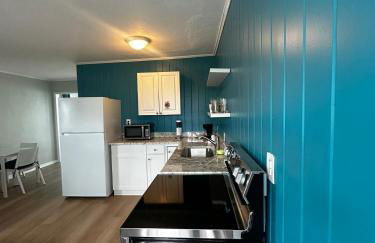
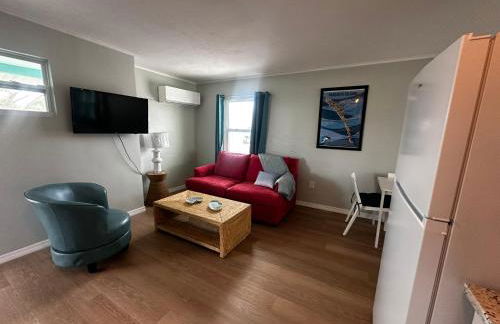
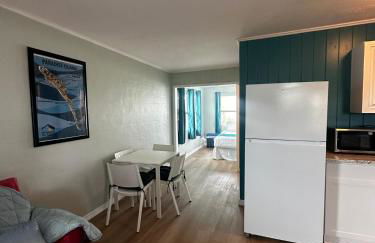
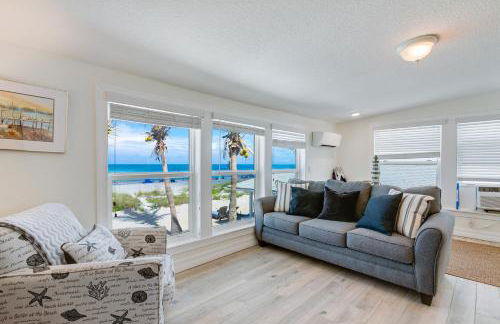
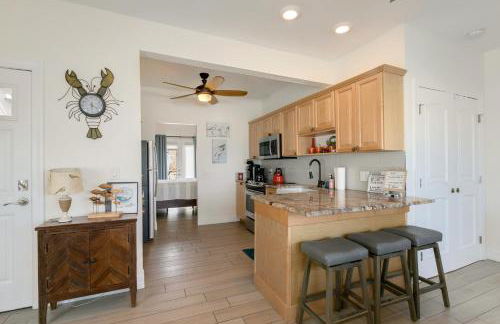
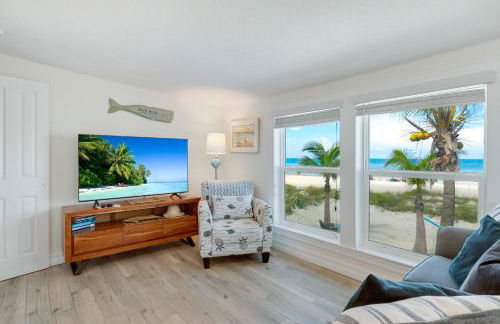
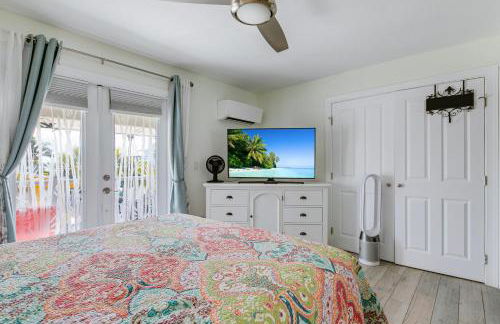
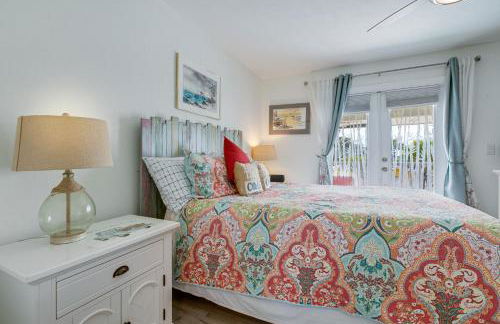
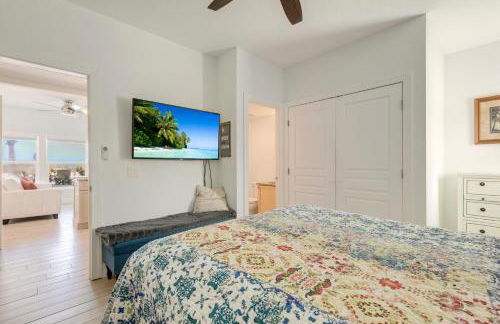
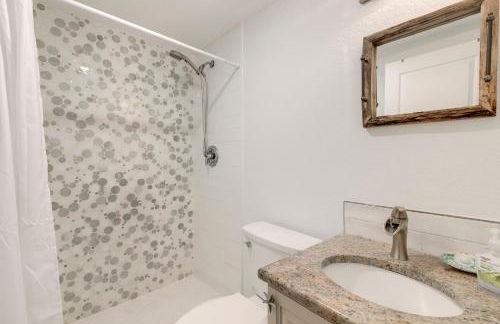
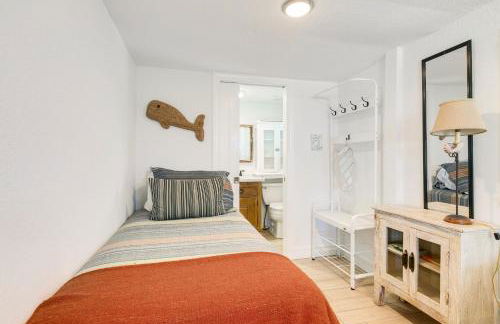
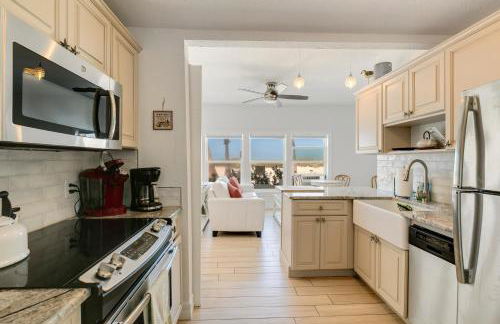
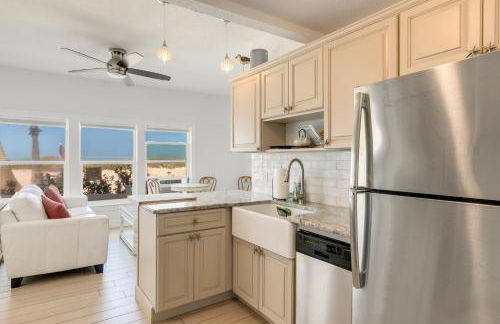
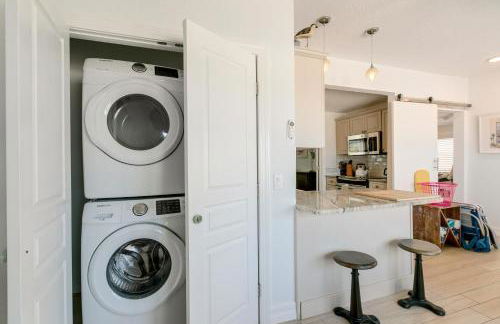
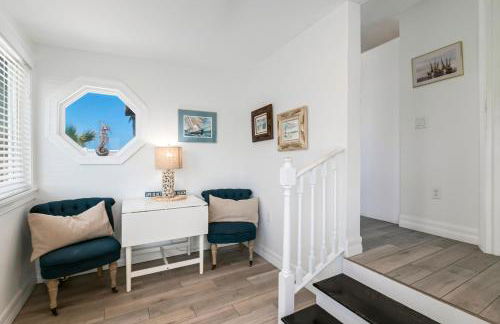
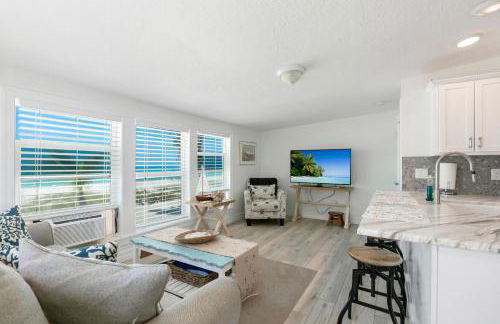
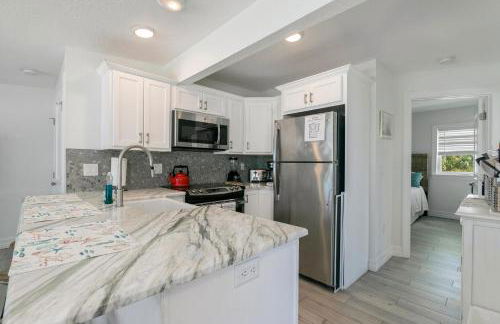
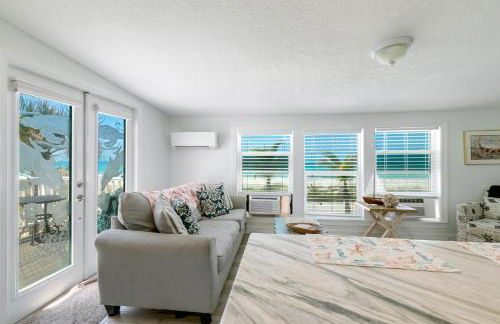
The Beach Club at Anna Maria by RVA
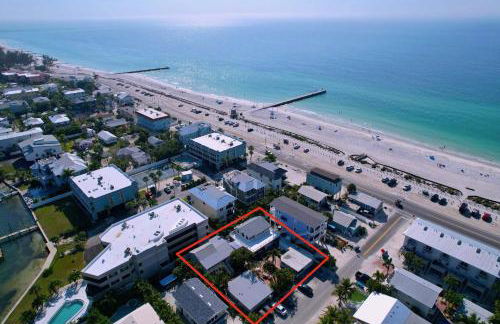
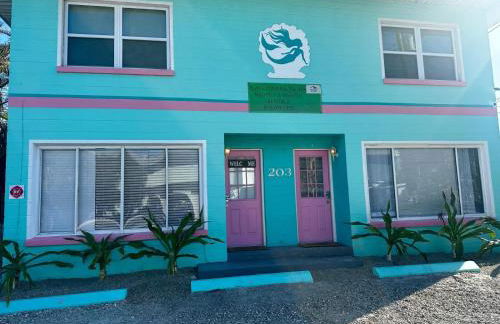
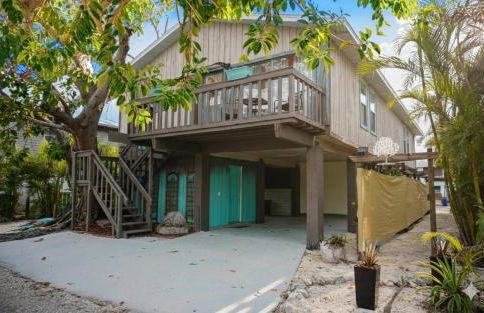
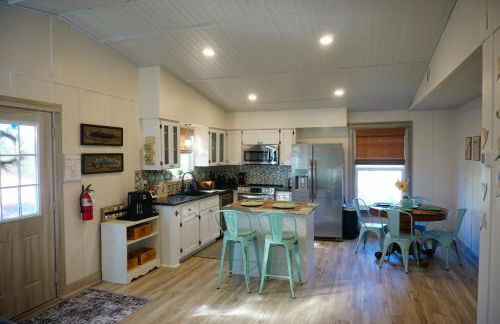
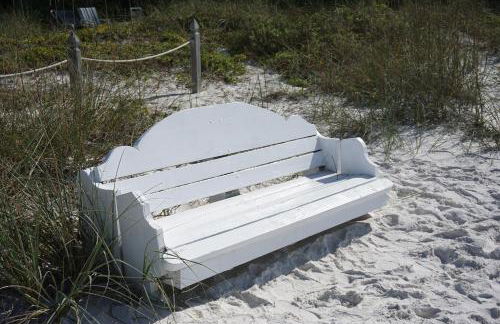
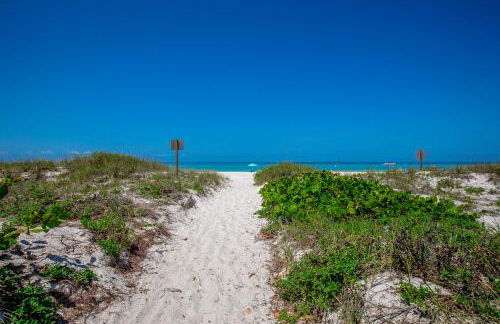
Bradenton Beach
- 80 M2
- 8 Personen
- Klimaanlage
- Heizung
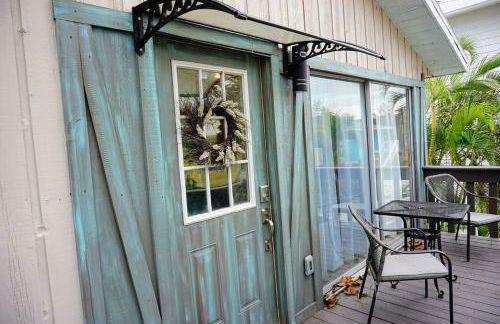
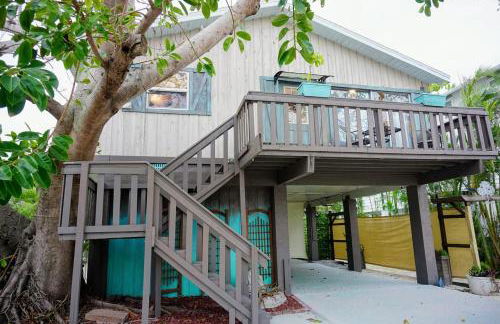
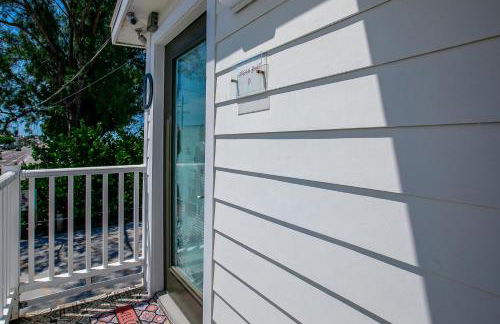
- Terrasse
- Schwimmbad
- Parkplatz
- Tv
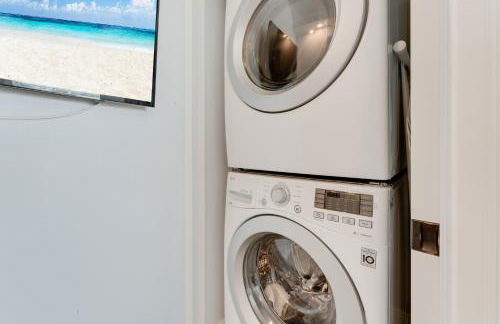
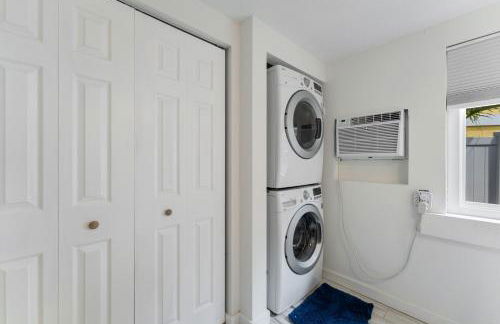
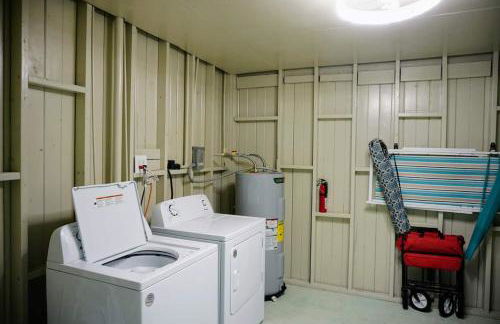
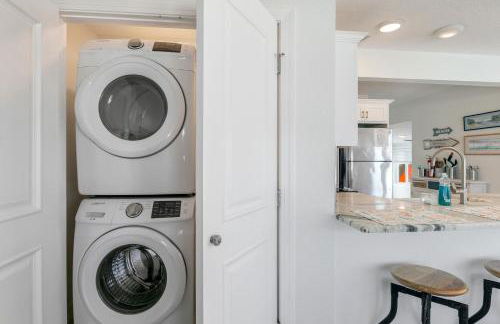
- Waschmaschine
- Handtücher
488 Bewertungen


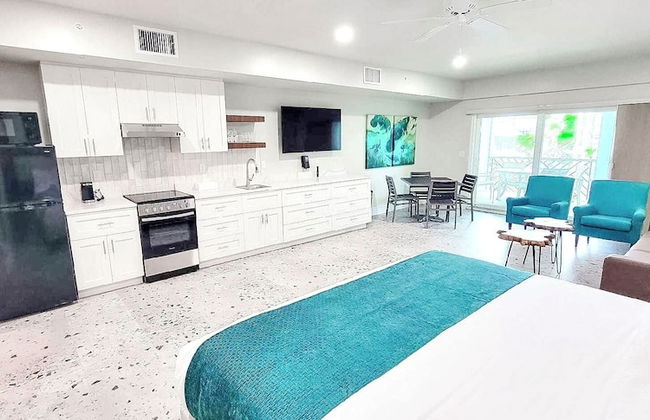


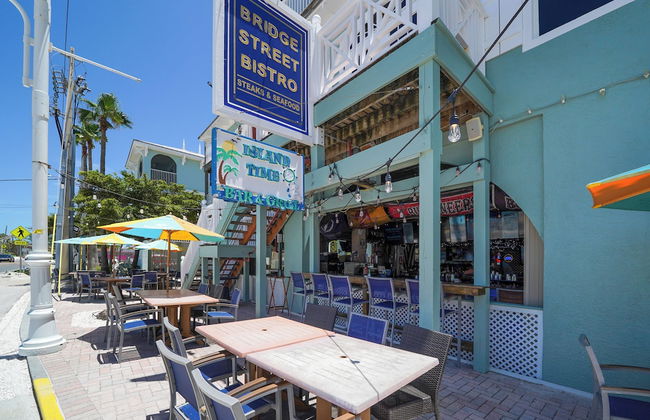
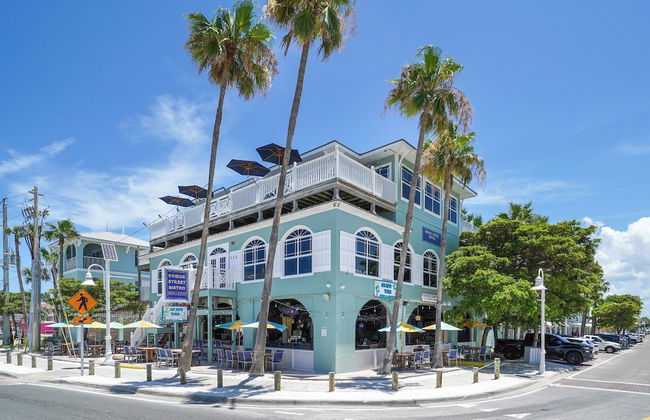
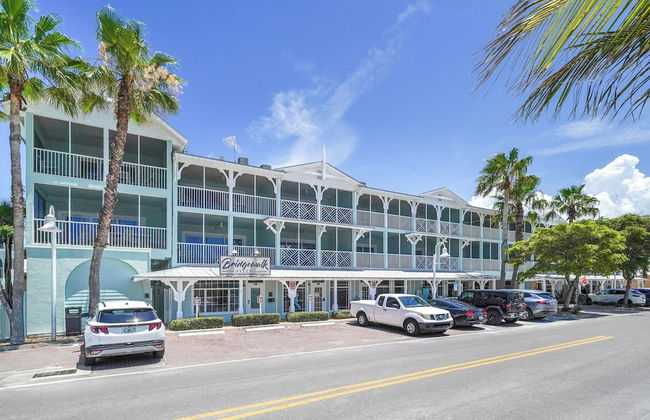
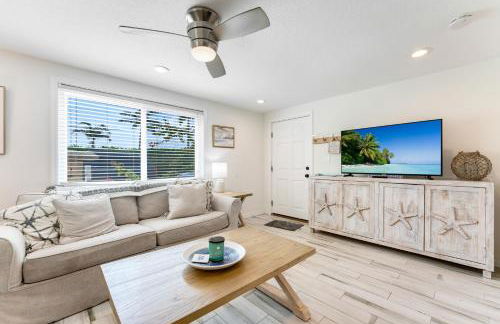
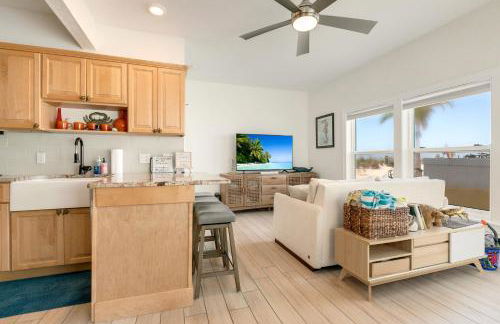
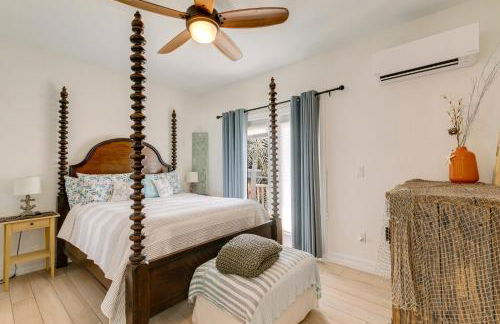
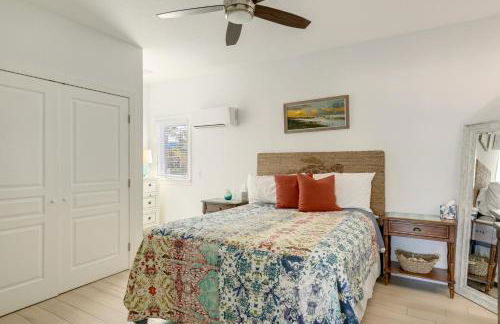
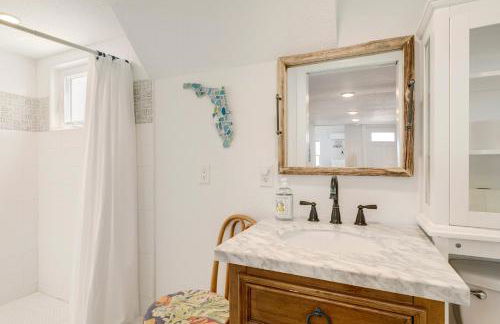
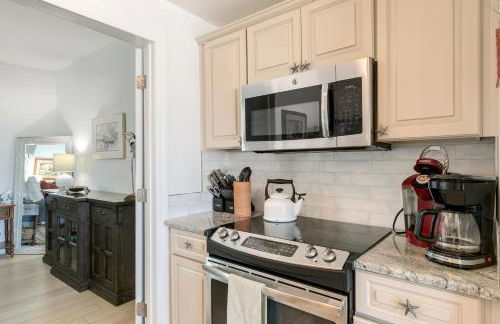
Bridgewalk Resort
Bradenton Beach
- 149 M2
- 6 Personen
- Klimaanlage
- Heizung
- Schwimmbad
- Parkplatz
- Tv
- Waschmaschine
- Schornstein
- Handtücher
- Bettlaken
719 Bewertungen


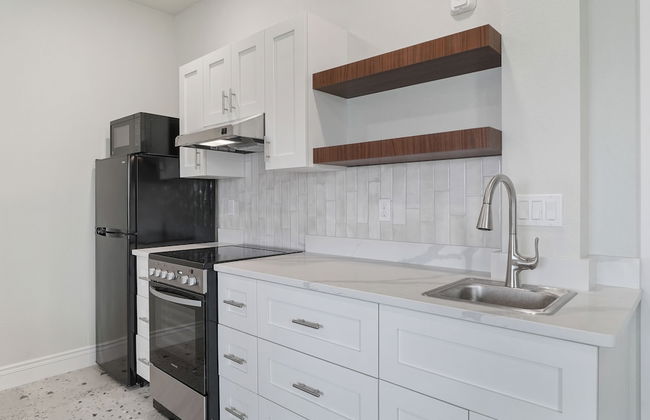
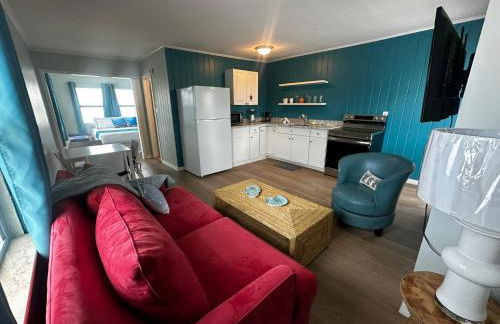
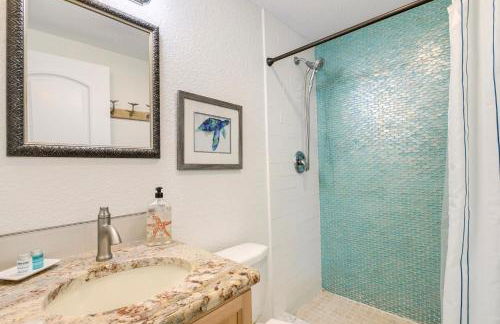
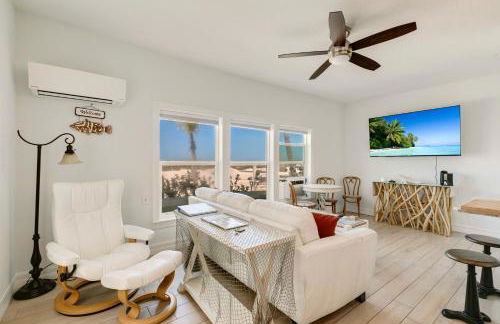
Coquina Beach Club 109
Bradenton Beach
- 42 M2
- 2 Personen
- Klimaanlage
- Heizung
- Terrasse
- Schwimmbad
- Parkplatz
- Garten
14 Bewertungen


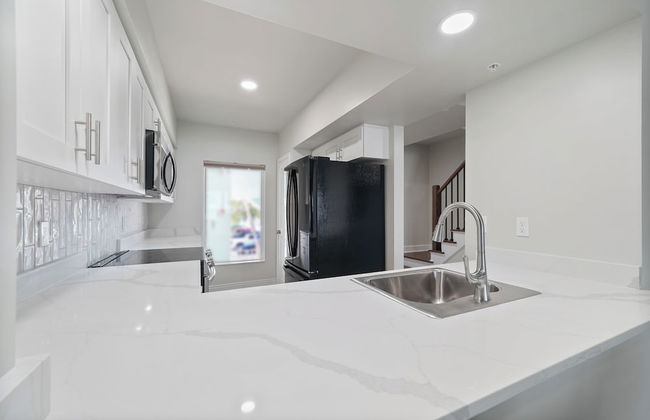
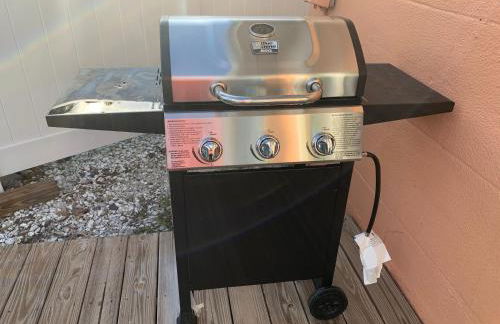
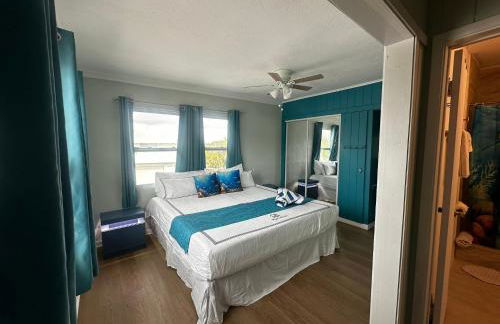
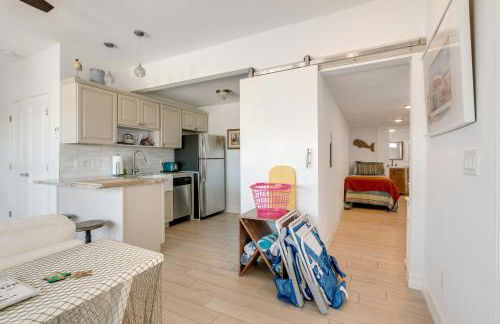
Tradewinds Beach Resort
Bradenton Beach
- 6 Personen
- Klimaanlage
- Schwimmbad
- Parkplatz
- Tv
- Barbecue
- Handtücher
- Bettlaken
375 Bewertungen


Pelican Post at Anna Maria Island Inn
Bradenton Beach
- 6 Personen
- Klimaanlage
- Heizung
- Schwimmbad
- Parkplatz
- Garten
- Tv
- Handtücher
- Bettlaken
269 Bewertungen


Haley's at The Anna Maria Island Inn
Bradenton Beach
- 20 M2
- 4 Personen
- Klimaanlage
- Heizung
- Terrasse
- Schwimmbad
- Parkplatz
- Garten
- Tv
- Handtücher
- Bettlaken
373 Bewertungen


Cheerful Pelican on Anna Maria Island
Bradenton Beach
- 100 M2
- 2 Schlafzimmer
- 6 Personen
- Klimaanlage
- Heizung
- Terrasse
- Schwimmbad
- Parkplatz
- Garten
- Barbecue
13 Bewertungen


Seabreeze at Anna Maria Island Inn
Bradenton Beach
- 81 M2
- 8 Personen
- Klimaanlage
- Heizung
- Terrasse
- Parkplatz
- Tv
- Handtücher
- Bettlaken
303 Bewertungen


Hibiscus Hideaway Condo Walk To Historic Bridge St
Bradenton Beach
- 144 M2
- 2 Schlafzimmer
- 5 Personen
- Klimaanlage
- Heizung
- Schwimmbad
- Parkplatz
- Barbecue
10 Bewertungen


Coastal Cheer
Bradenton Beach
- 55 M2
- 1 Schlafzimmer
- 4 Personen
- Klimaanlage
- Heizung
- Schwimmbad
- Parkplatz
- Garten
- Barbecue
39 Bewertungen
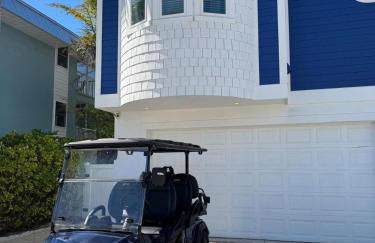
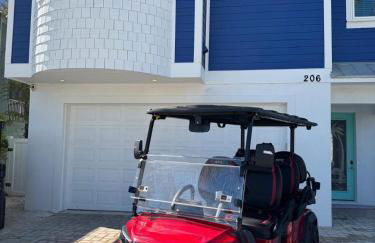
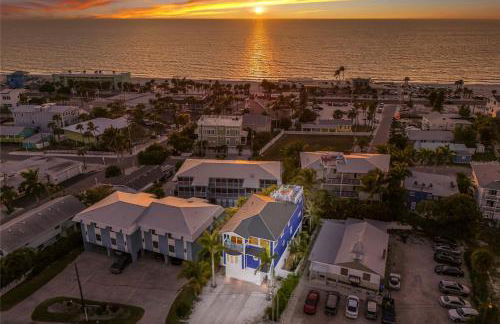
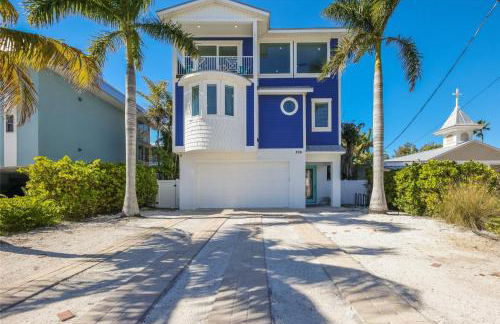
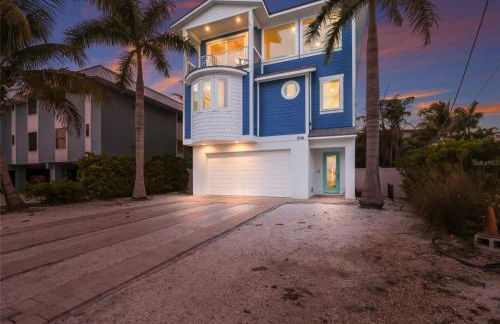
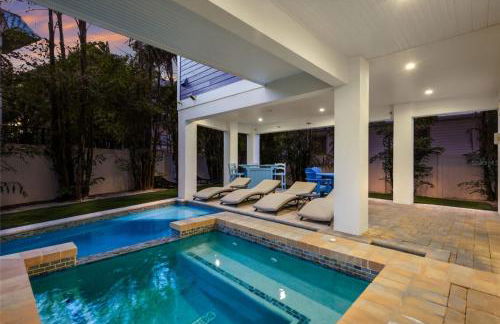
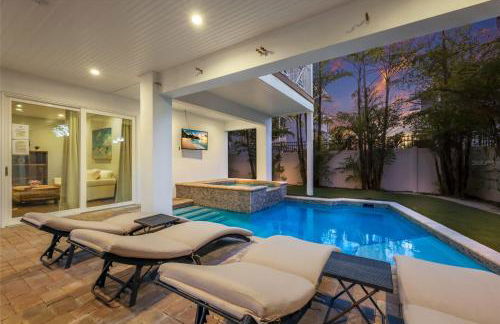

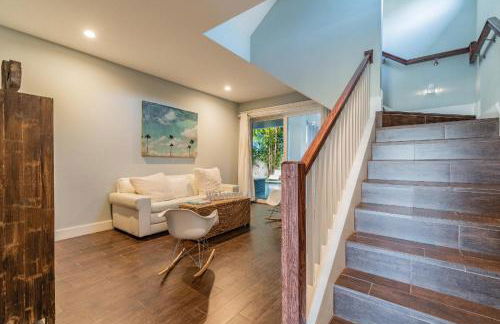


LUXURY VACATION HOME! ADD A GOLF CART!!
Bradenton Beach
- 335 M2
- 5 Schlafzimmer
- 12 Personen
- Klimaanlage
- Heizung
- Parkplatz
81 Bewertungen
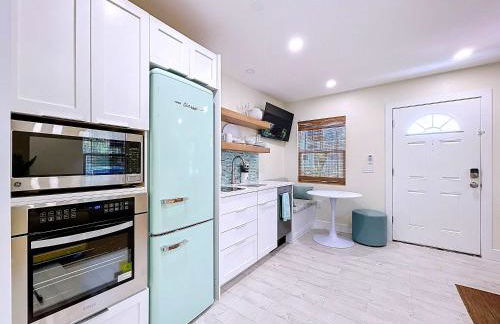
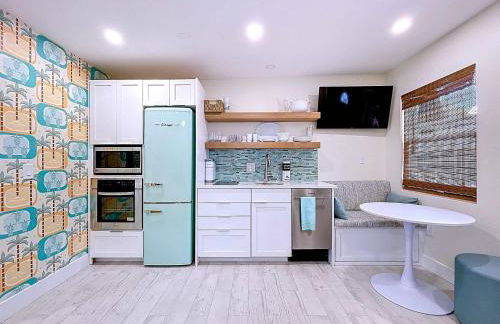
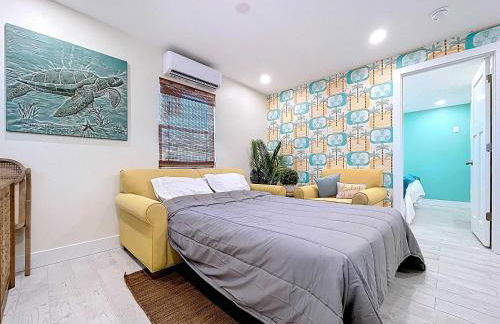
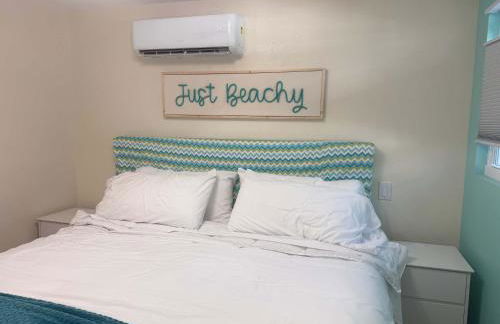


Just Beachy! One bed one bath charmer steps to beach
Bradenton Beach
- 36 M2
- 1 Schlafzimmer
- 3 Personen
- Klimaanlage
- Heizung
- Parkplatz
- Garten
16 Bewertungen


Gulfside Garden De-Light
Bradenton Beach
- 129 M2
- 2 Schlafzimmer
- 6 Personen
- Klimaanlage
- Heizung
- Terrasse
- Schwimmbad
- Fahrstuhl
- Garten
- Barbecue
10 Bewertungen


Highland Avenue Heaven
Bradenton Beach
- 55 M2
- 1 Schlafzimmer
- 4 Personen
- Klimaanlage
- Heizung
- Schwimmbad
- Garten
- Barbecue
10 Bewertungen


Tides Inn on the Bay Vacation Homes
Bradenton Beach
- 74 M2
- 2 Schlafzimmer
- 6 Personen
- Klimaanlage
- Heizung
- Parkplatz
- Garten
- Barbecue
7 Bewertungen


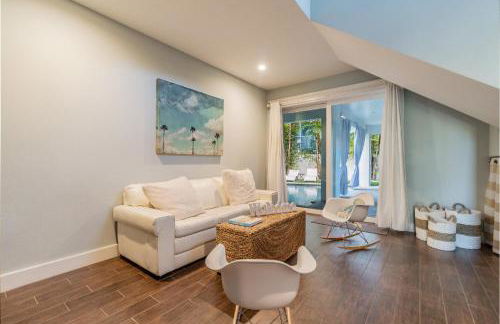
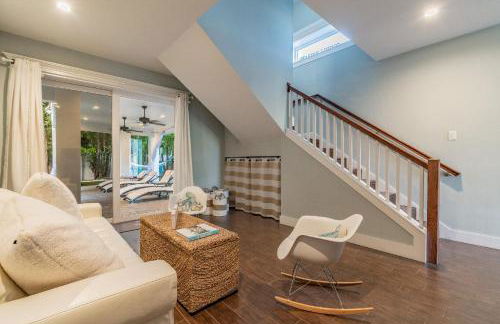
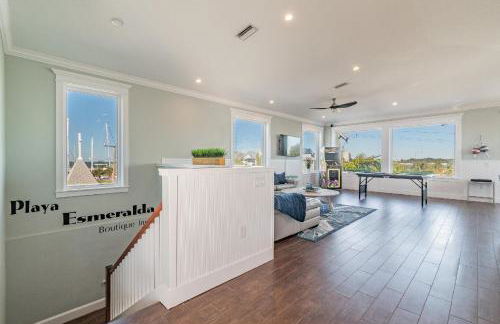
Playa Esmeralda suite 3
Bradenton Beach
- 42 M2
- 1 Schlafzimmer
- 4 Personen
- Klimaanlage
- Heizung
- Parkplatz
18 Bewertungen


Anna Maria Island Tree House
Bradenton Beach
- 74 M2
- 2 Schlafzimmer
- 5 Personen
- Klimaanlage
- Heizung
- Terrasse
- Parkplatz
7 Bewertungen


Beach Dreams Resort
Bradenton Beach
- 42 M2
- 1 Schlafzimmer
- 4 Personen
- Klimaanlage
- Heizung
- Terrasse
- Parkplatz
- Garten
- Barbecue
21 Bewertungen


