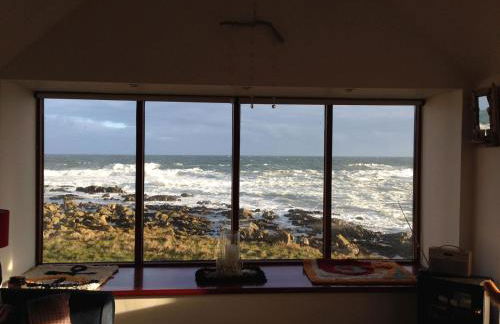
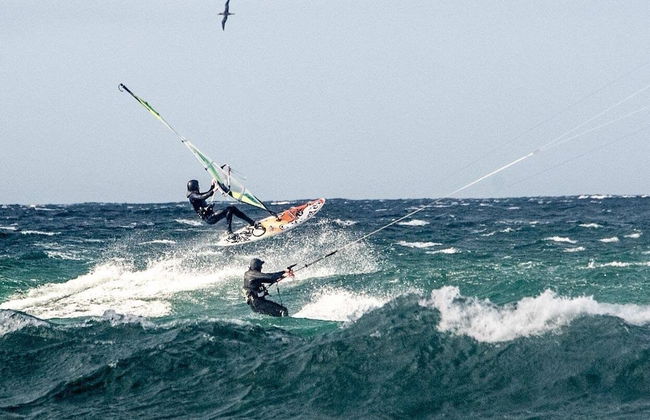
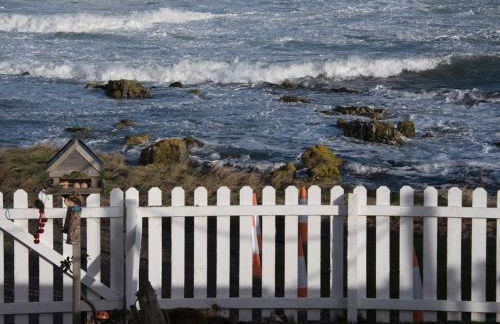
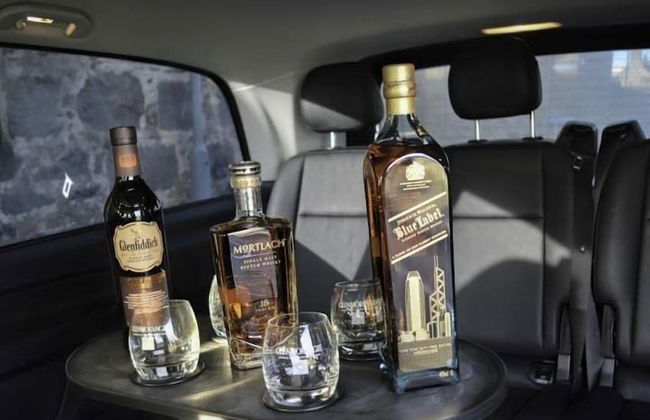
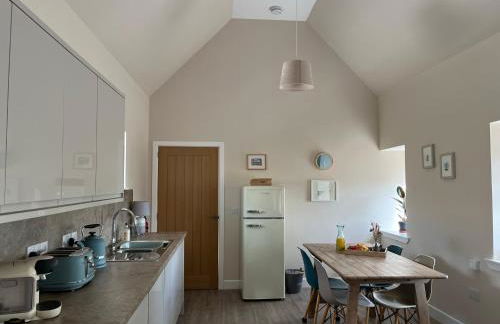
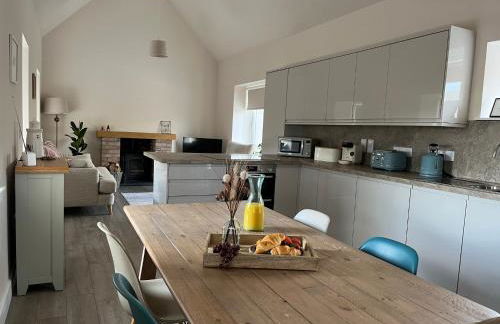
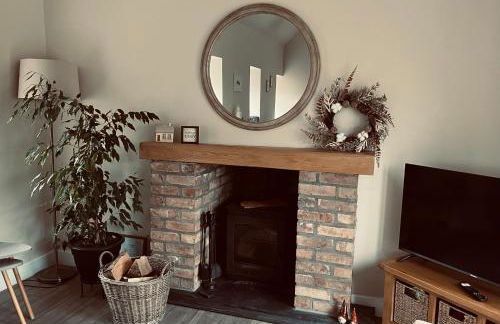
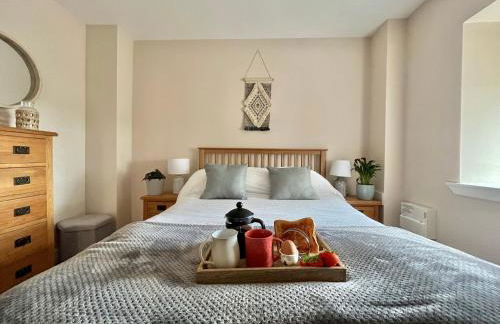
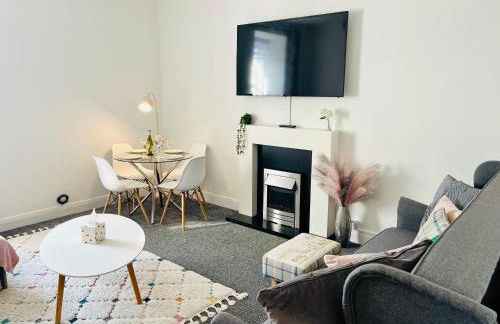
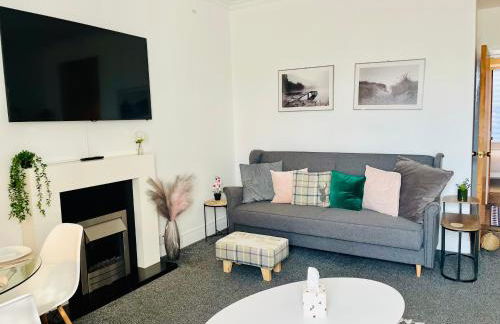
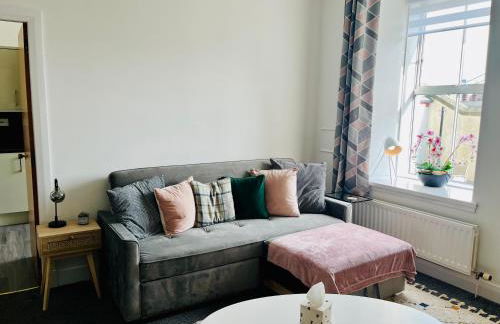
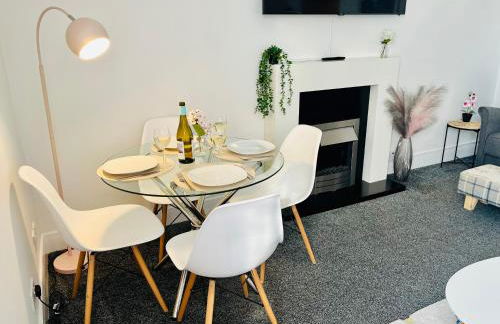
756 Wohnungen in Aberdeenshire
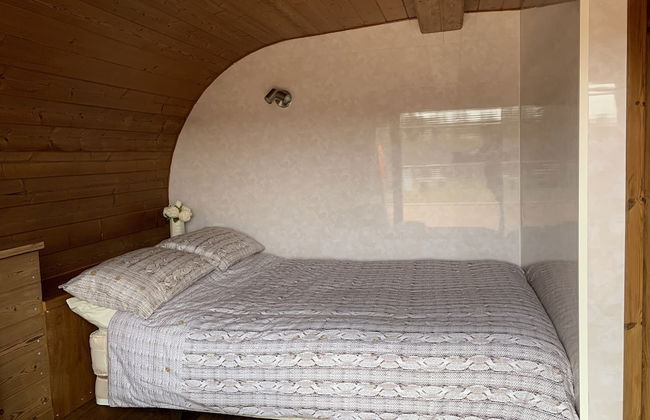
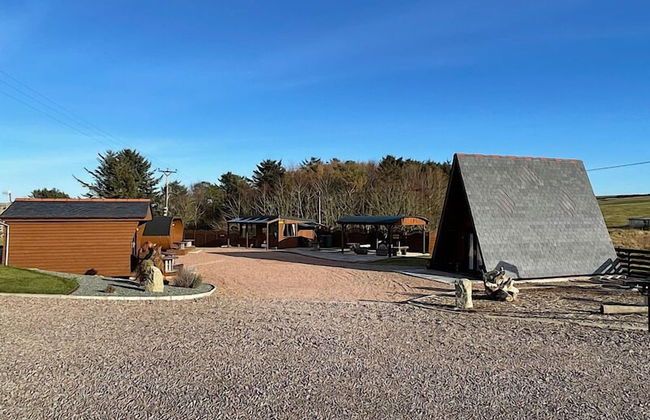
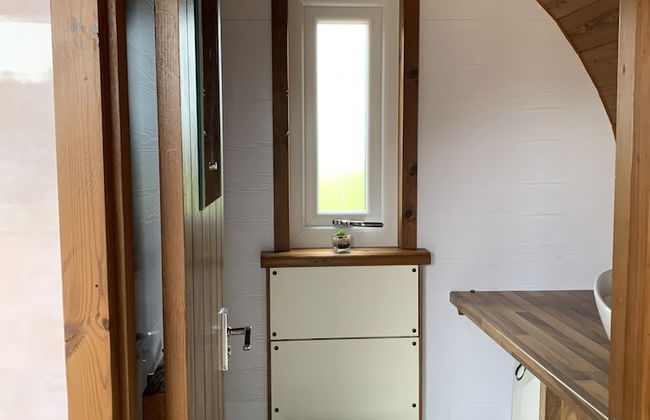
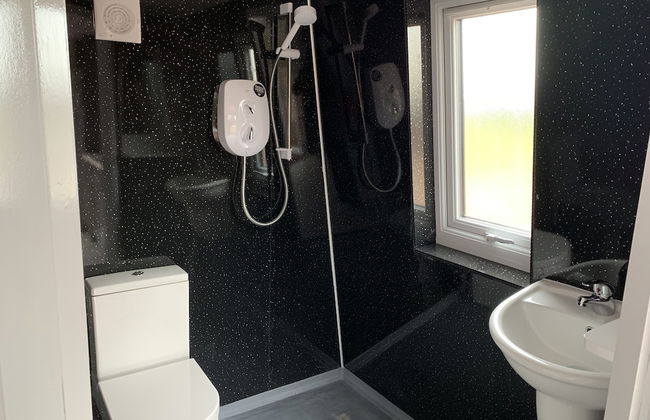
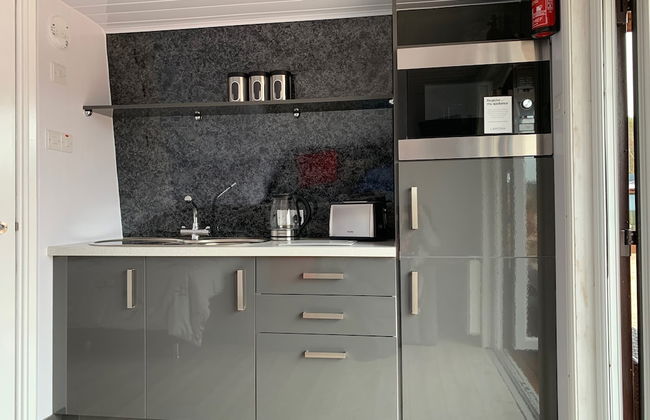
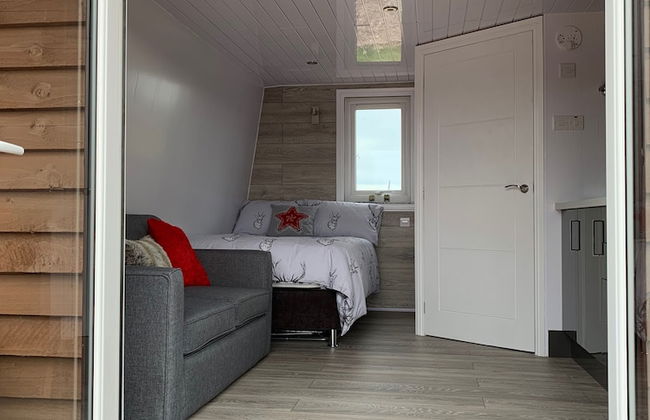
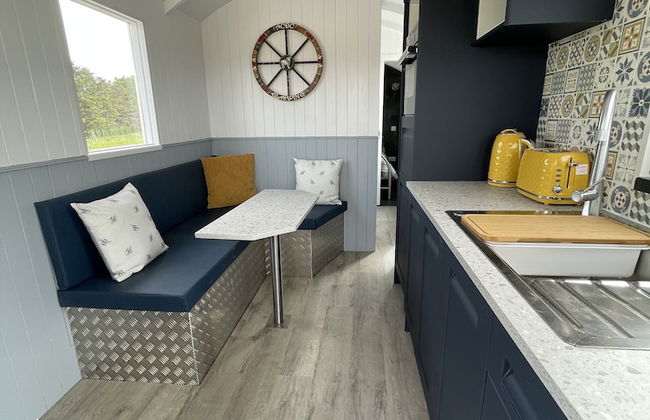
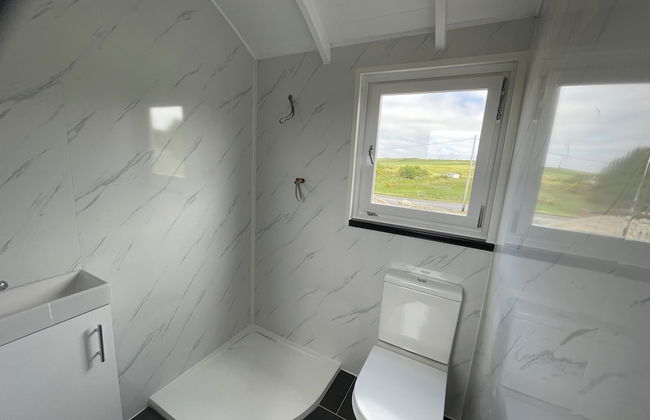
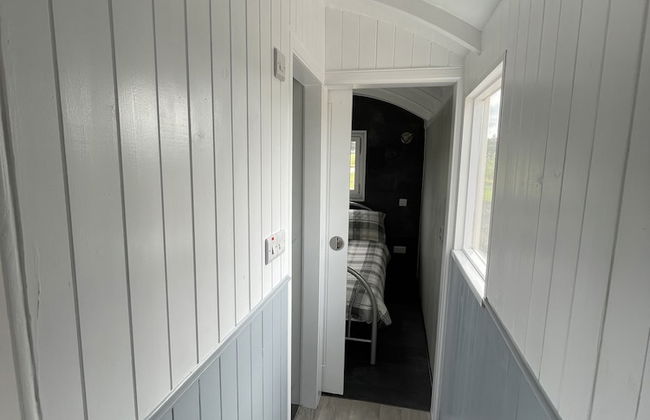
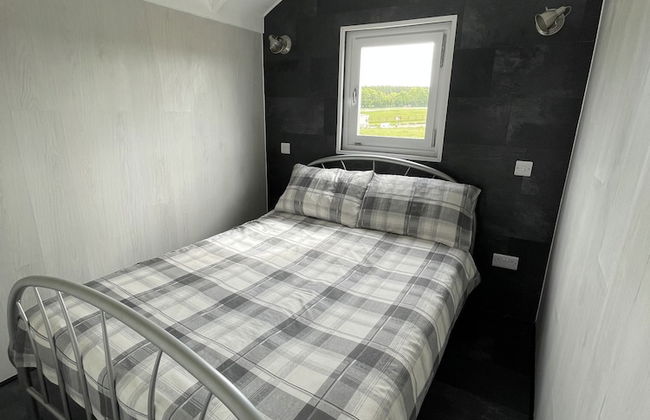
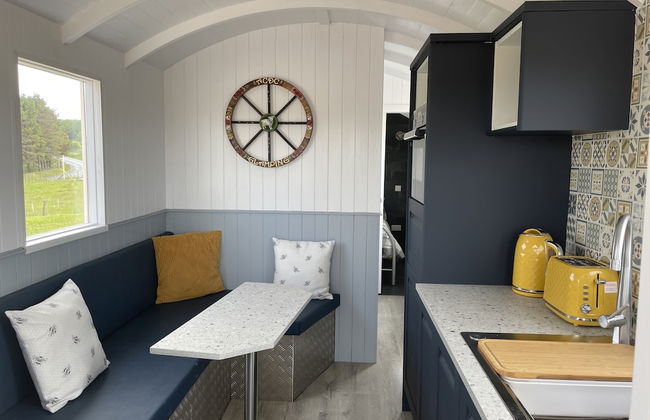
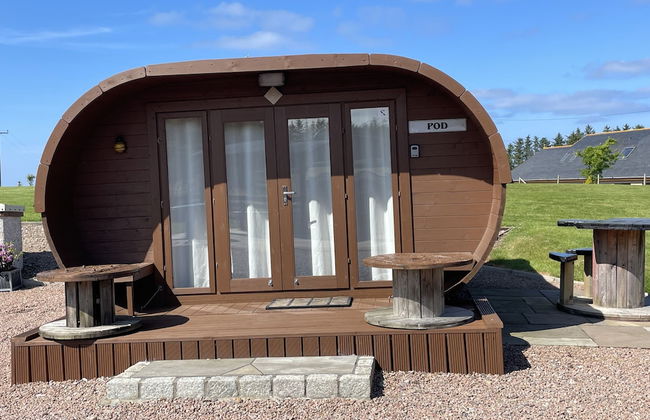
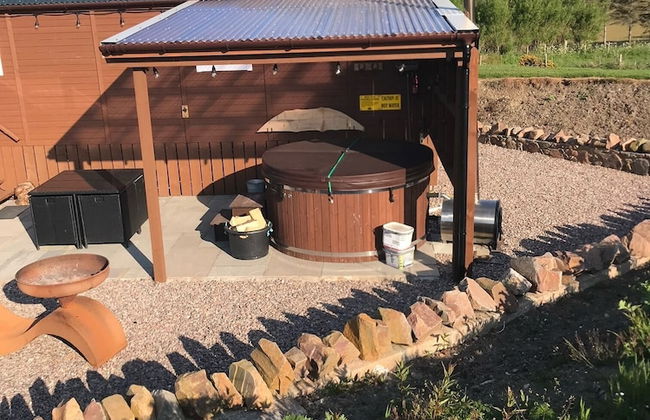
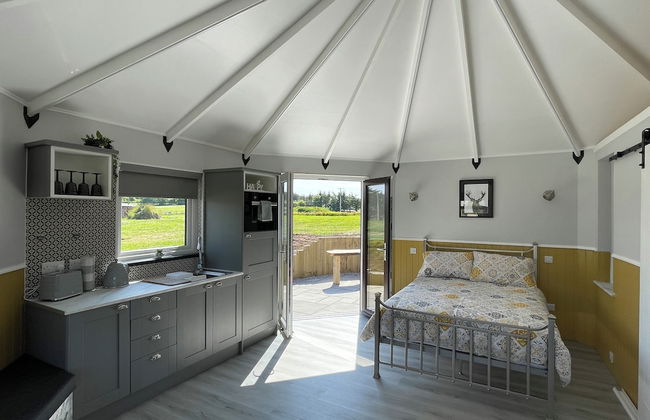
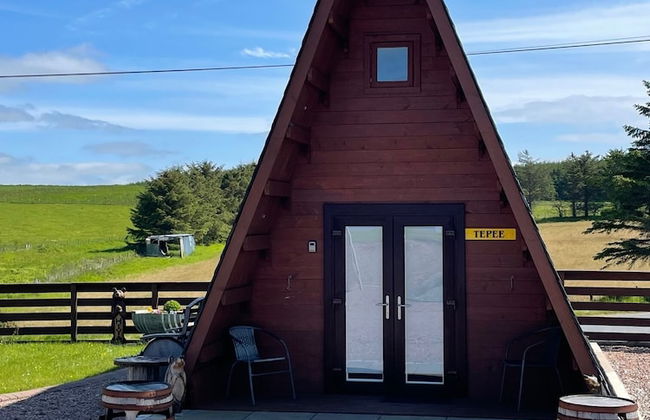
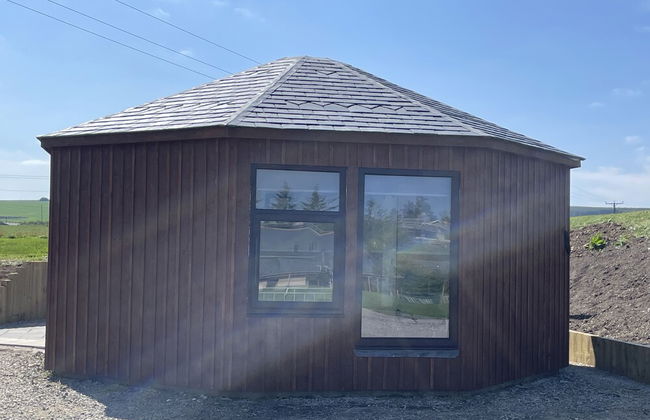
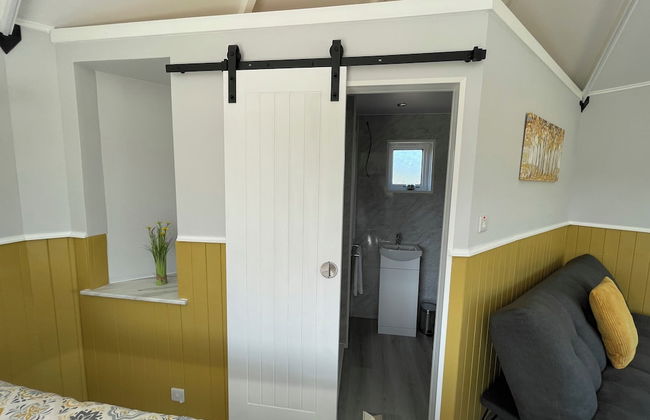
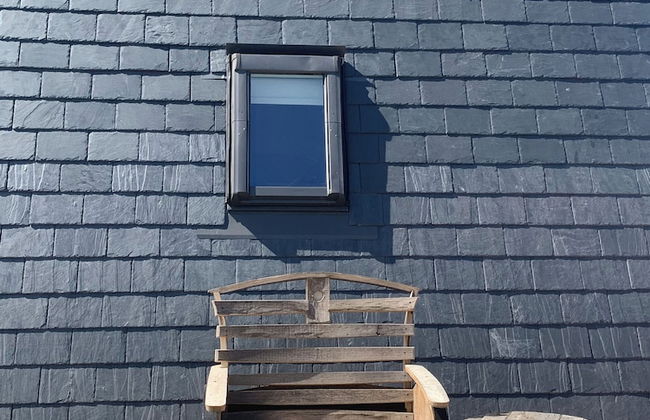
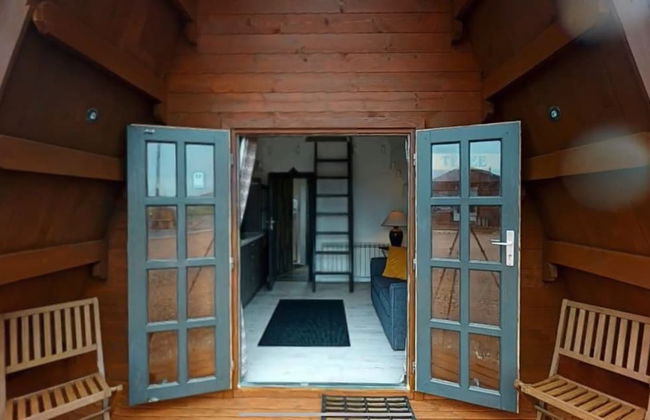
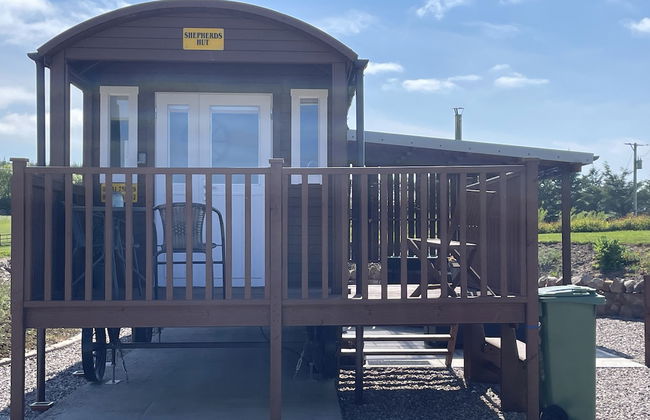
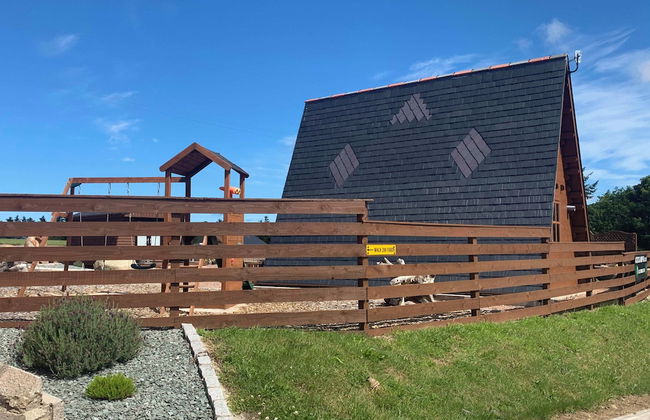
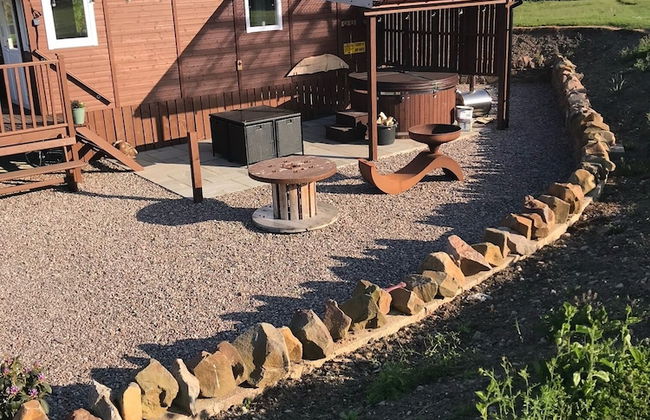
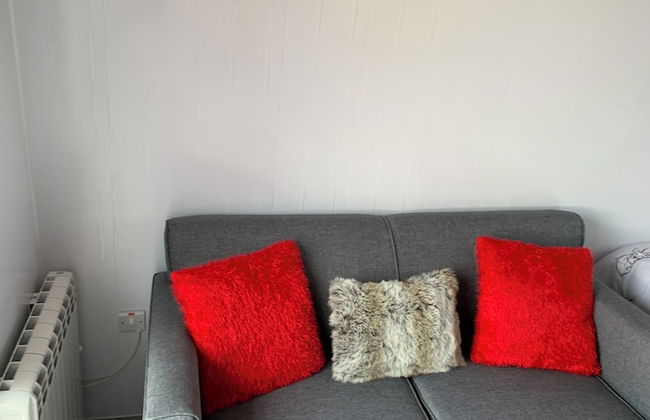
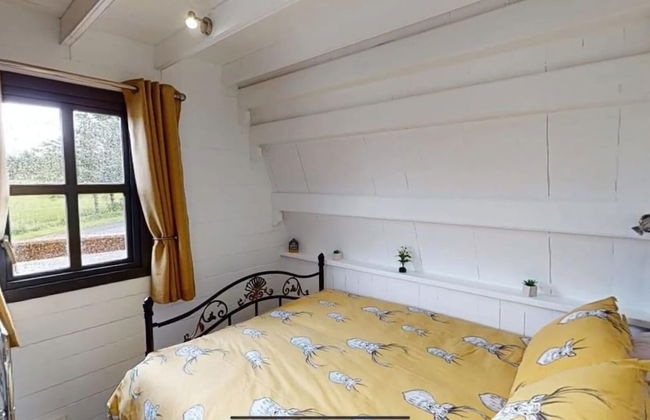
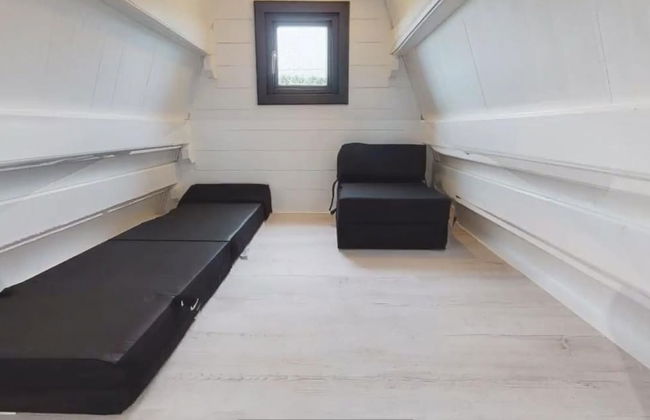
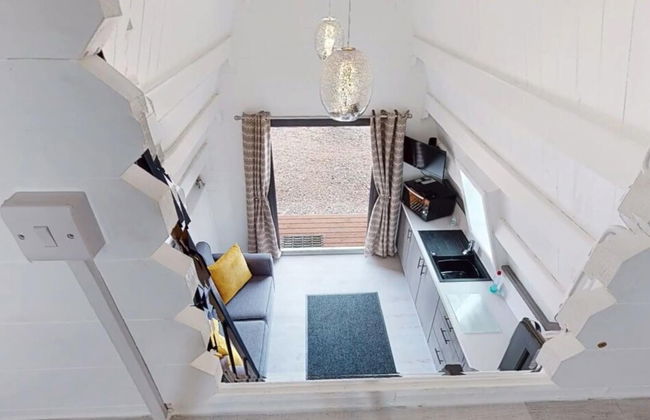
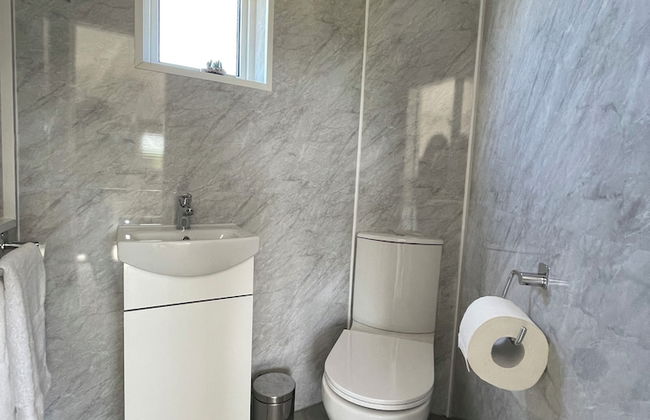
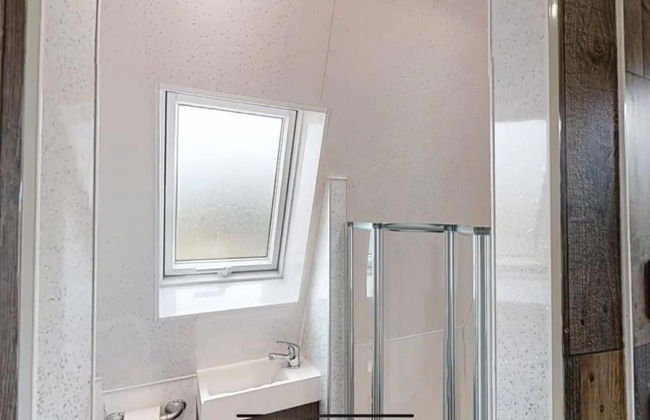
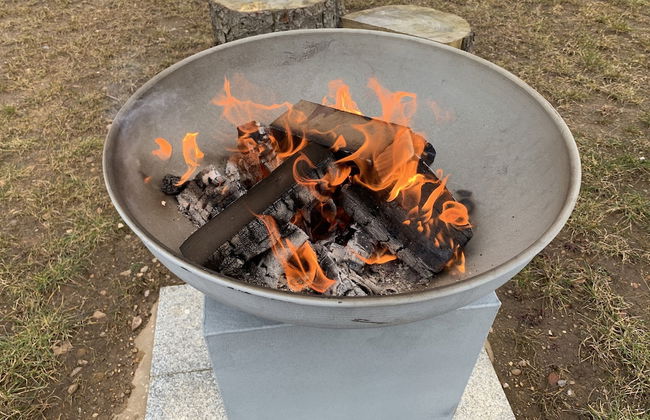
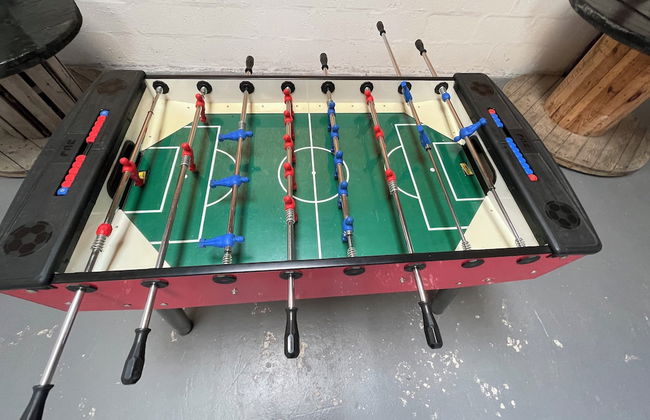
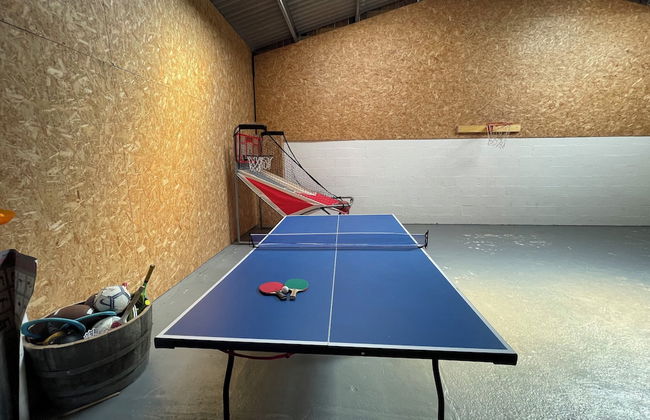
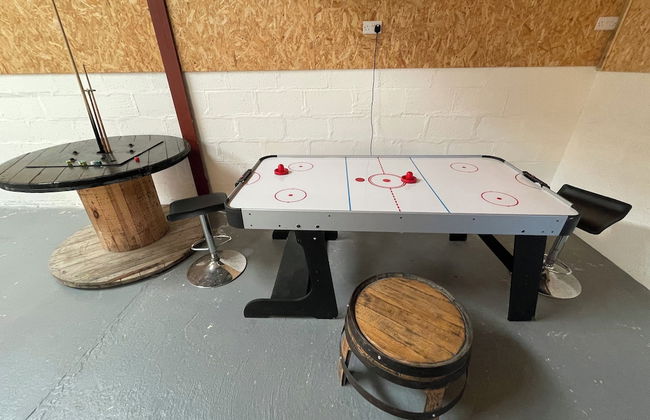
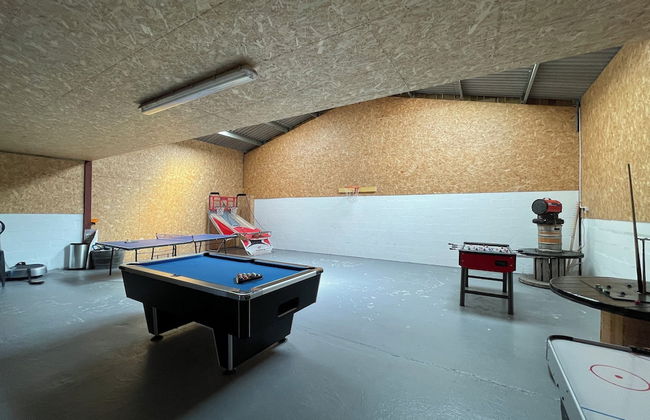
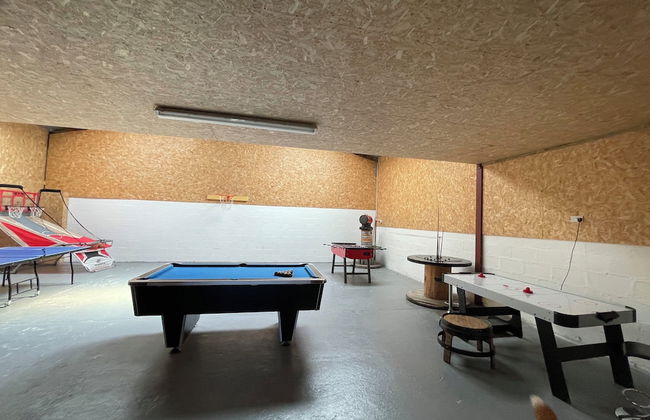
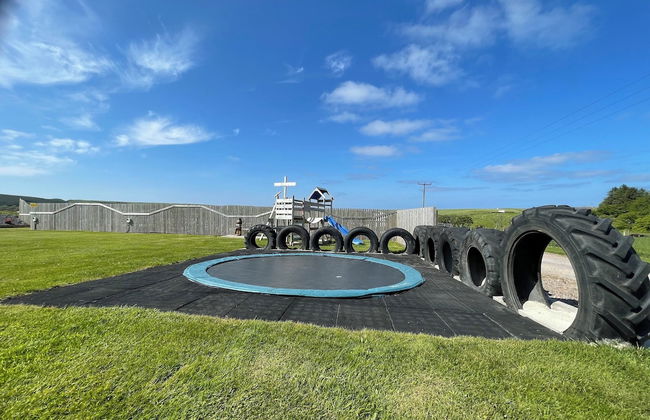
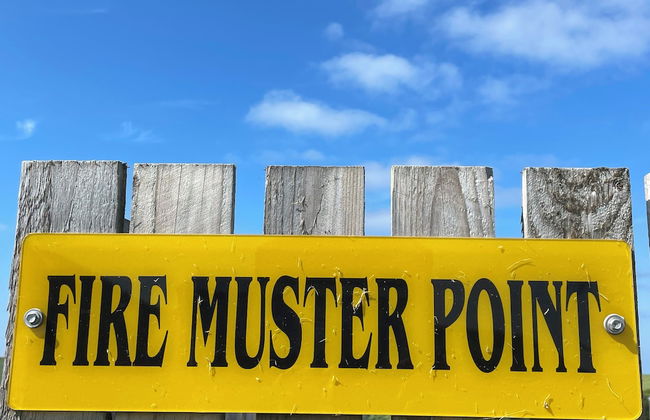
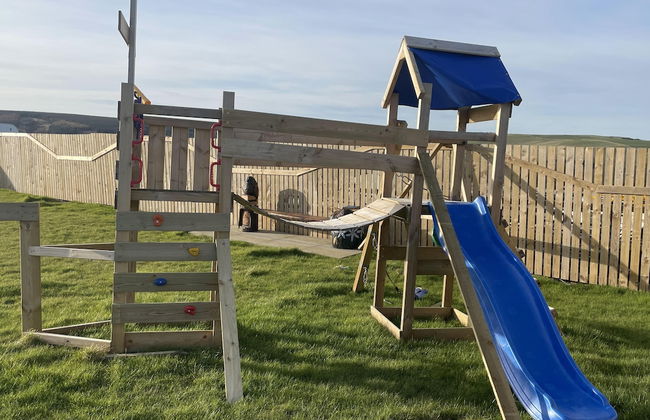
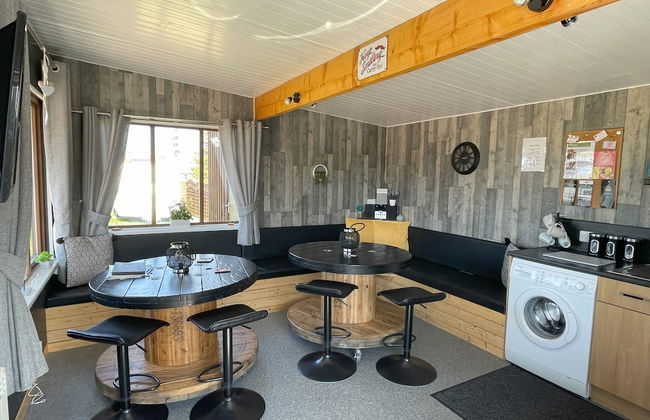
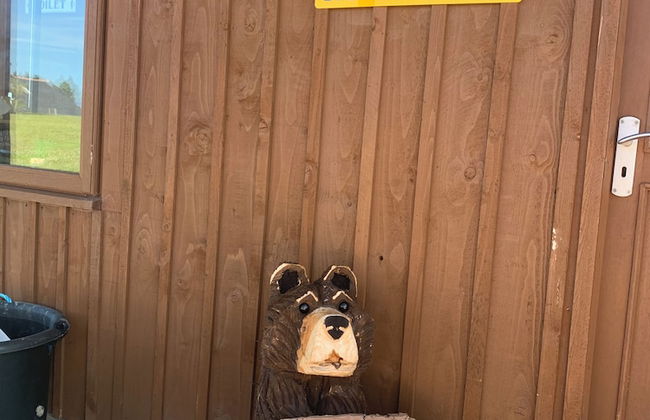
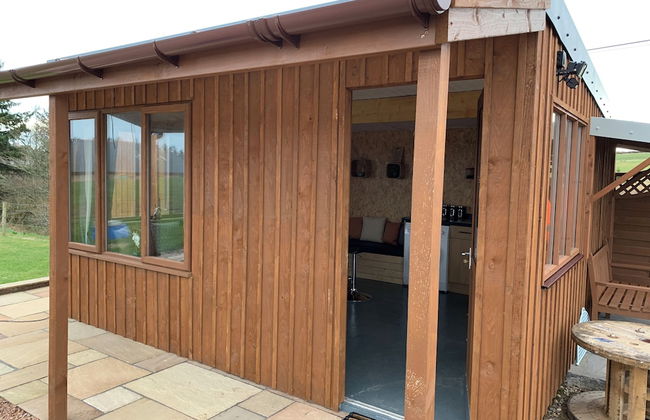
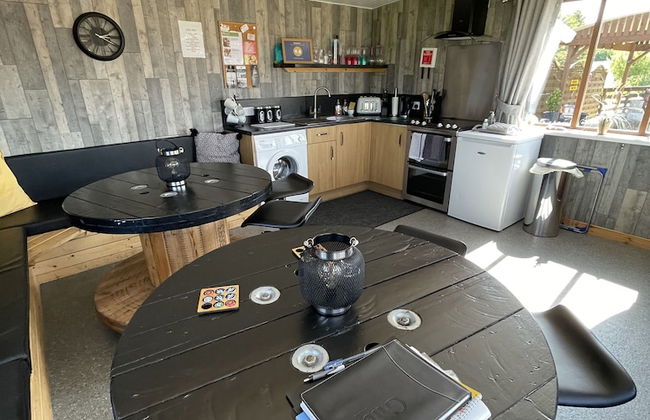
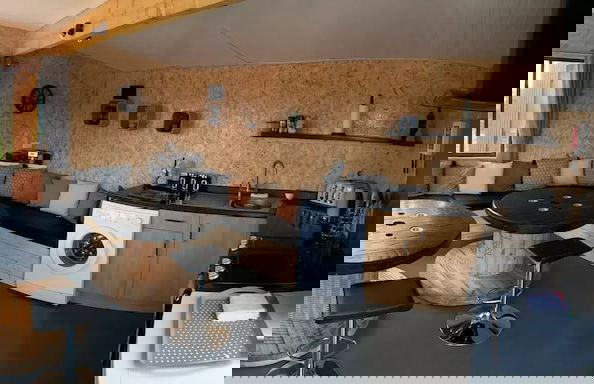
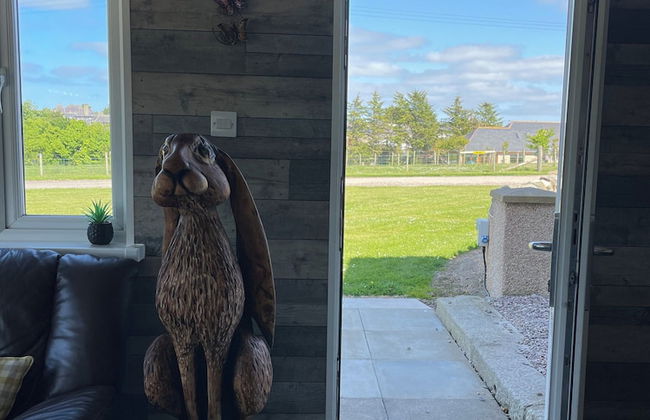
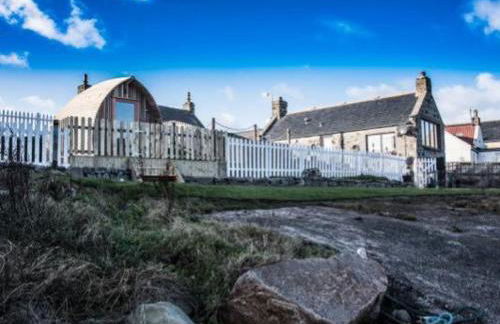
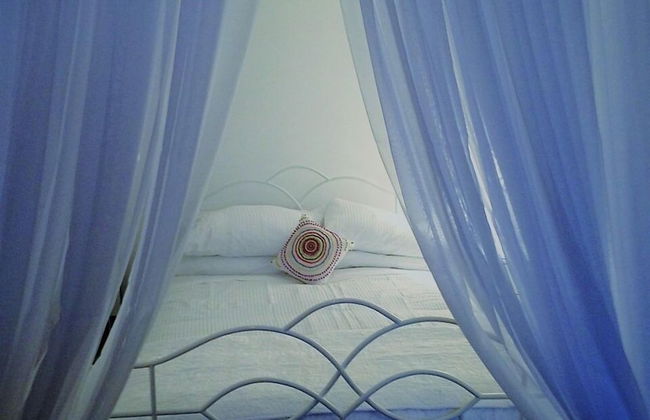
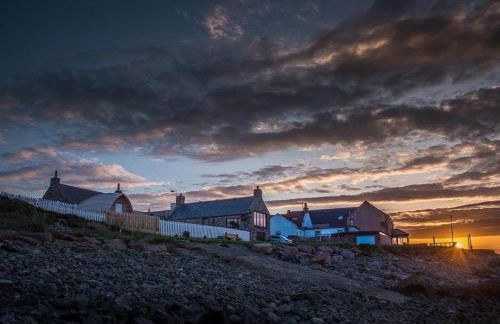
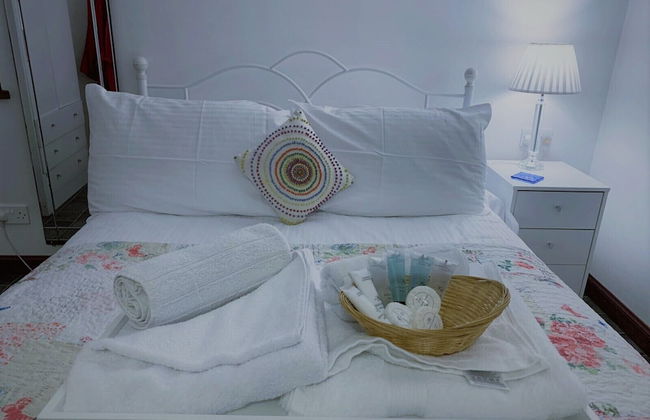
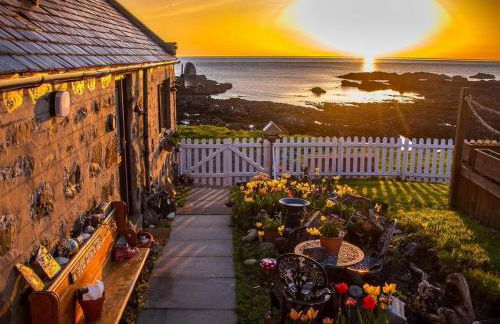
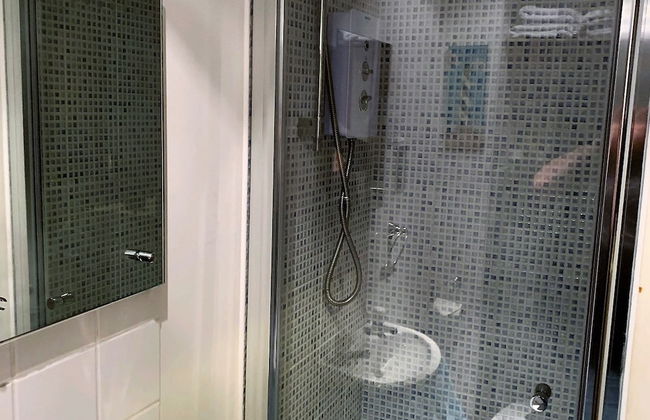
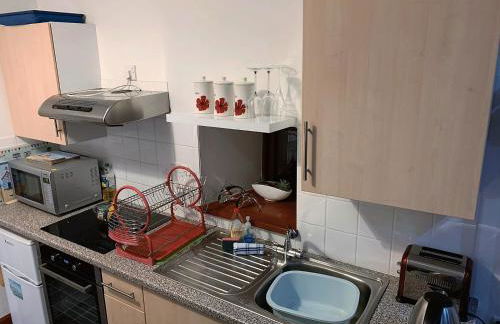
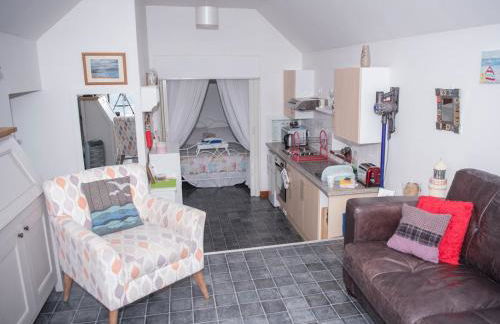
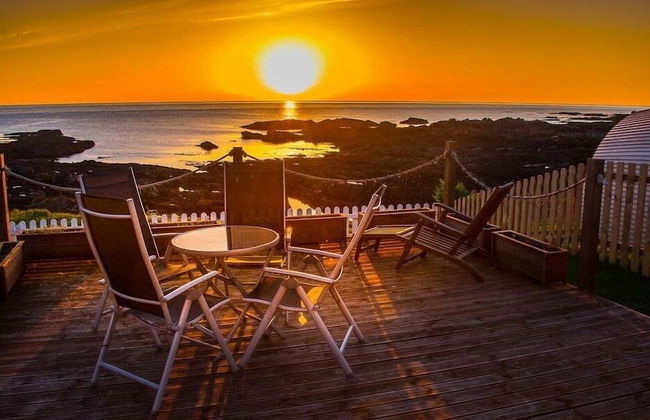
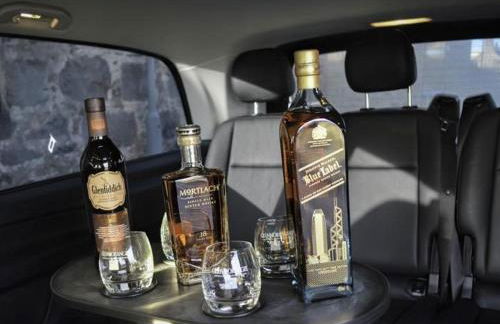
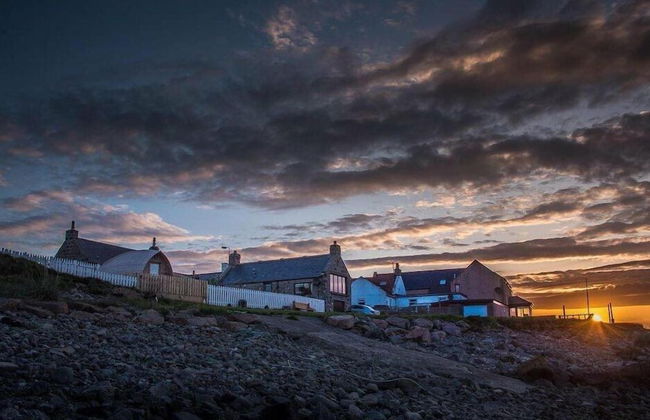
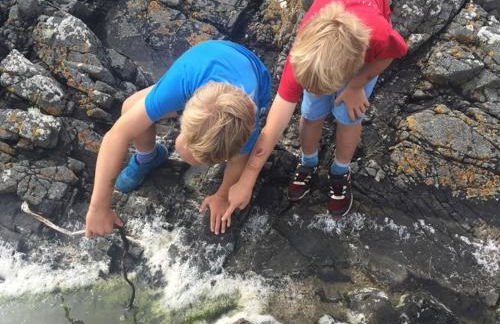
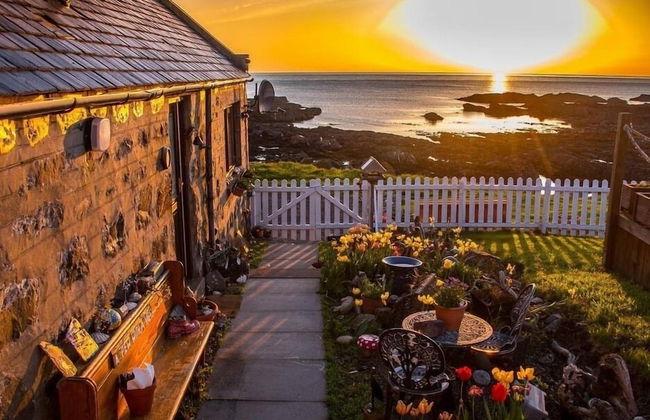
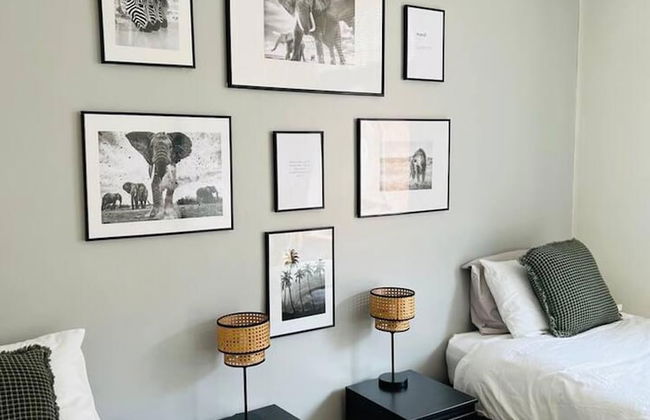
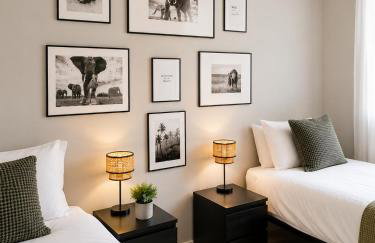
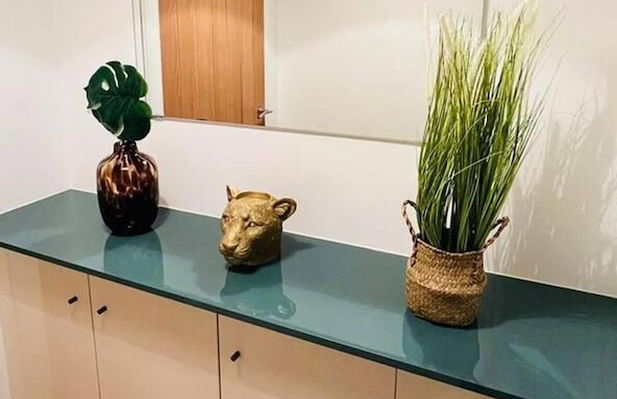
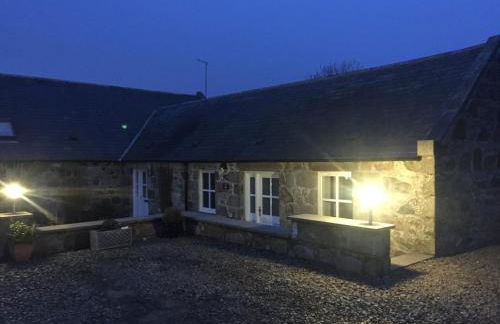
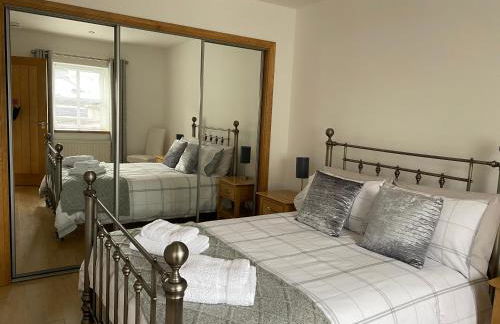
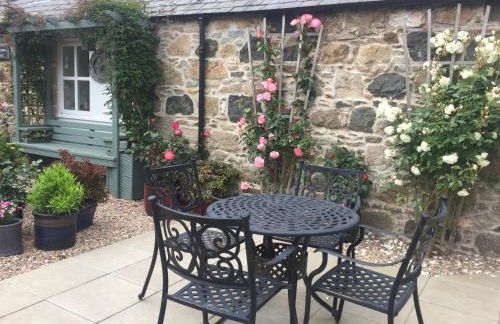
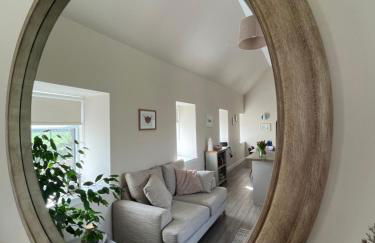
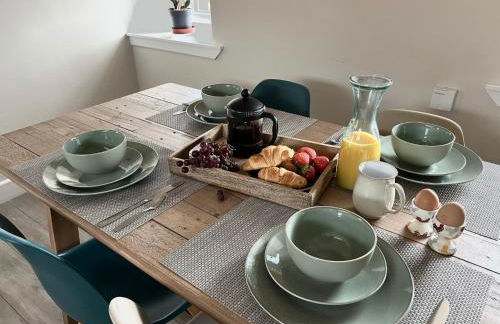
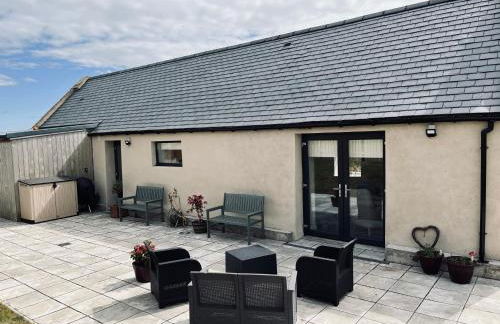
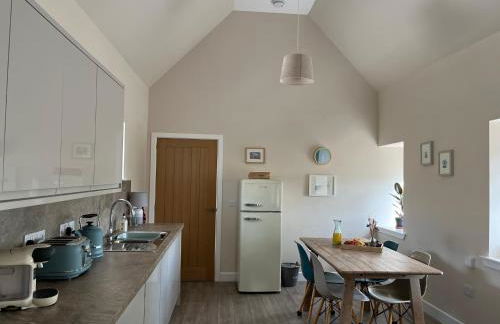
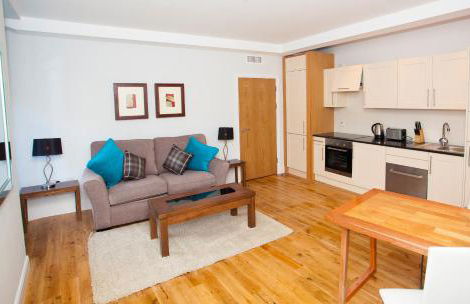
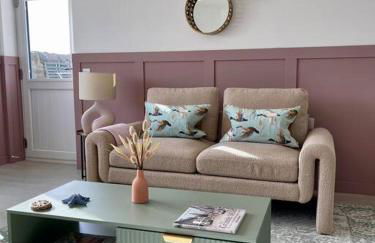
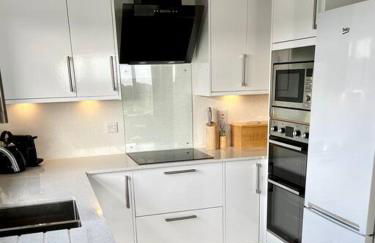
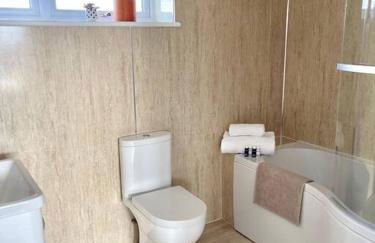
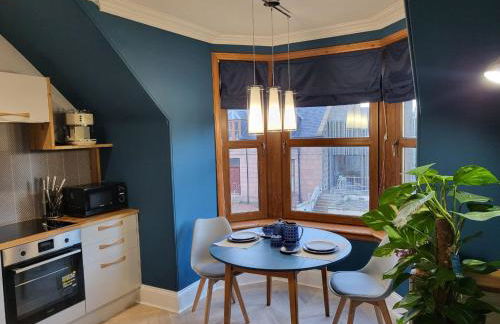
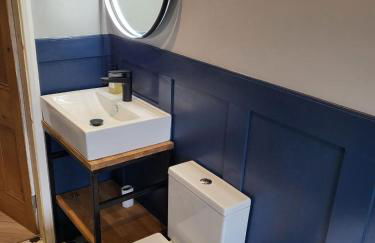
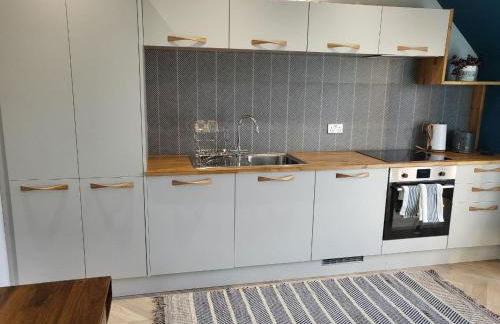
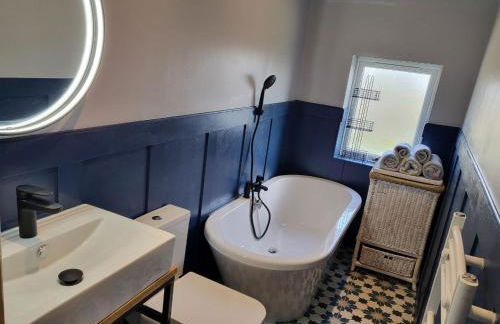
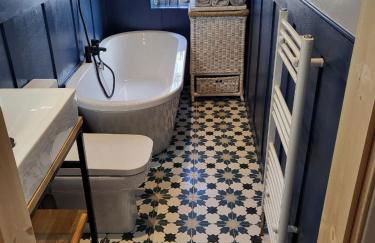
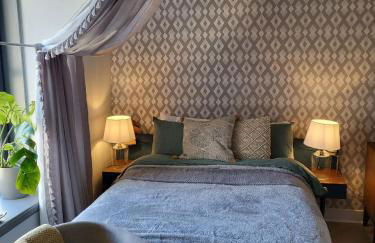
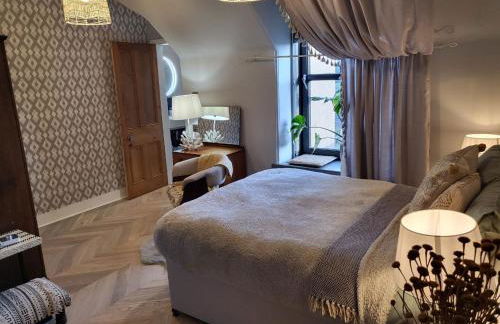
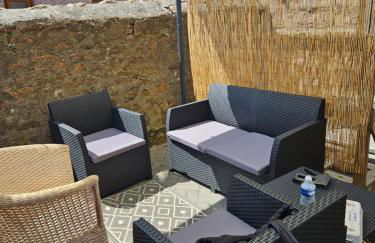
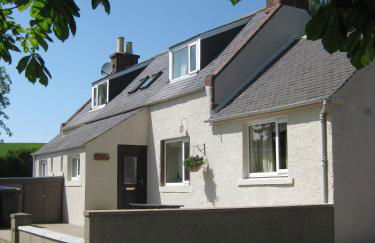
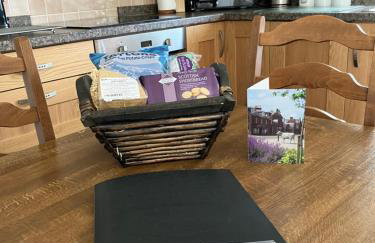
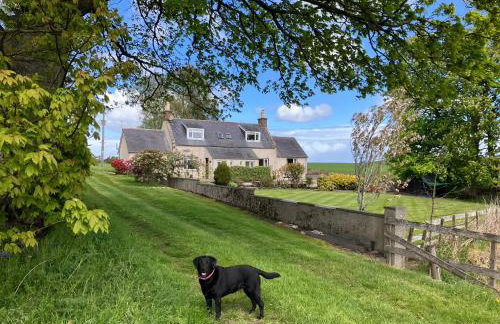
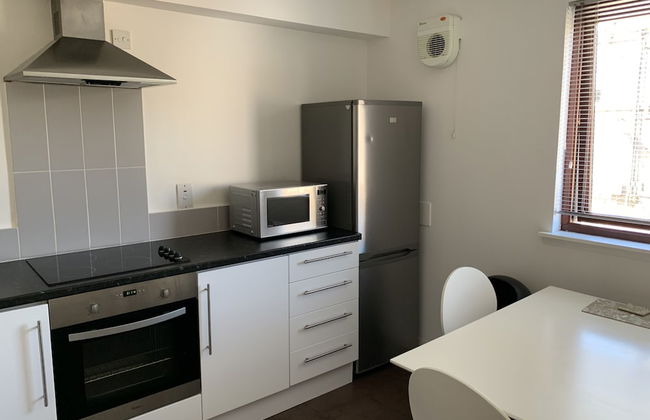
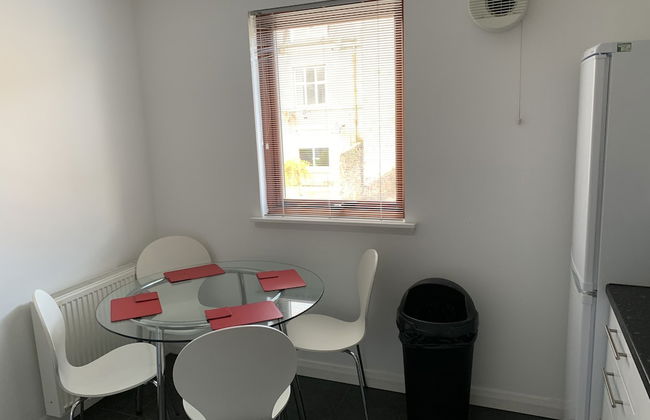
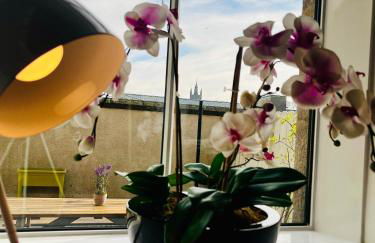
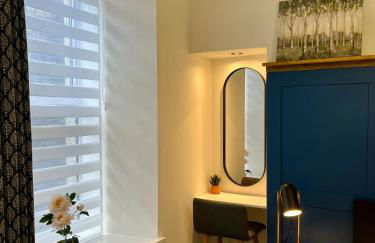
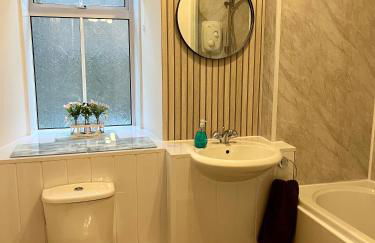
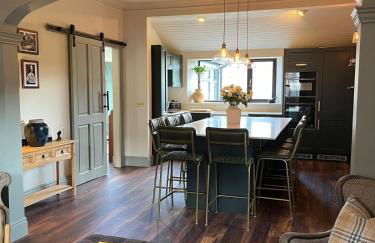
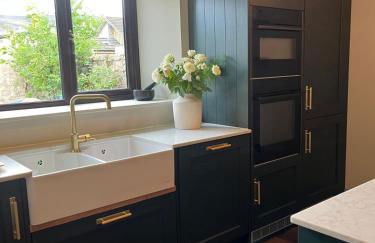
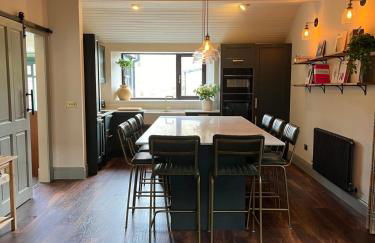
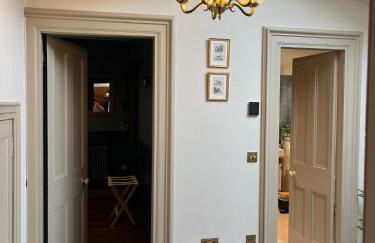
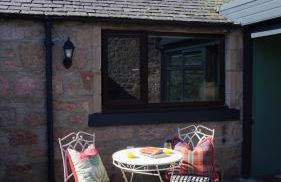
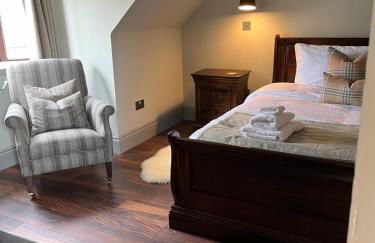
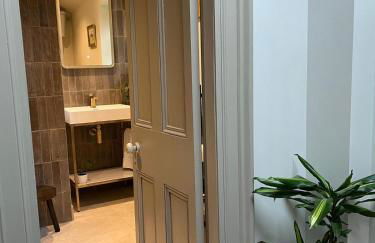
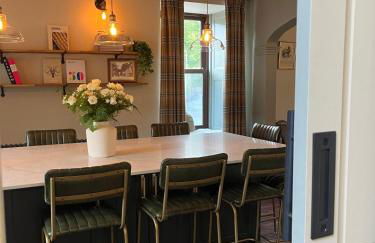
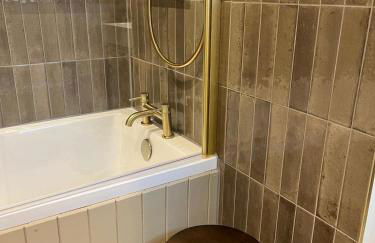
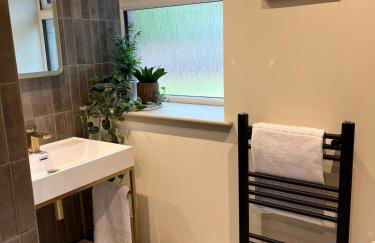
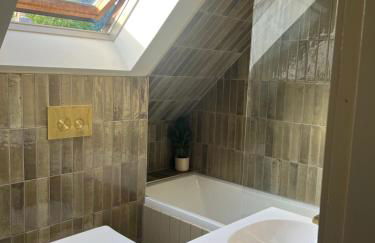
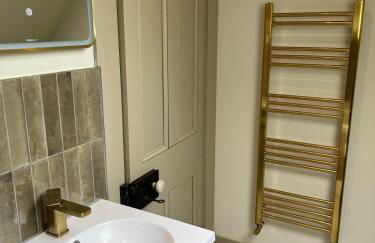
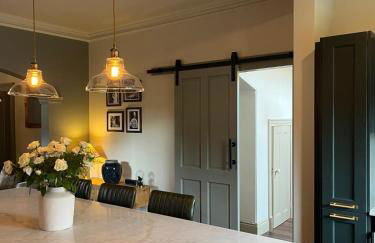
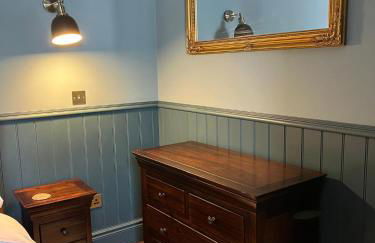
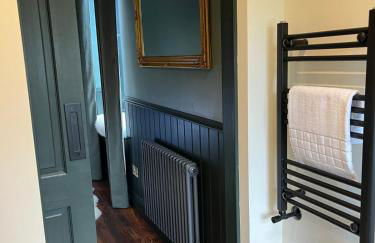
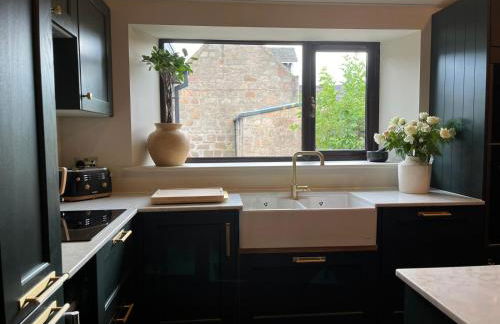
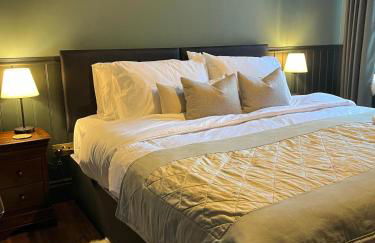
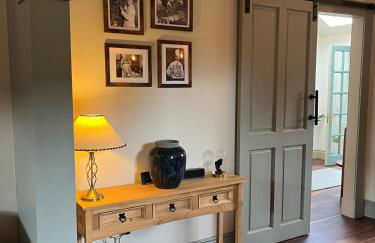
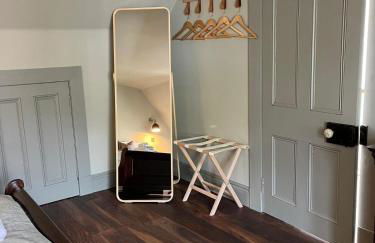
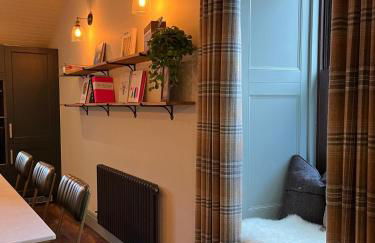
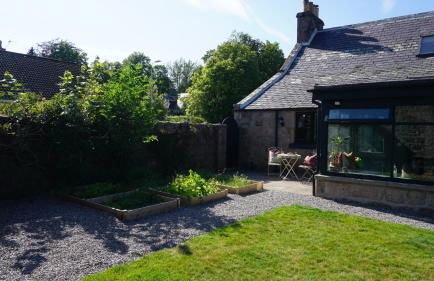
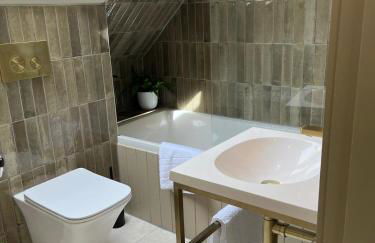
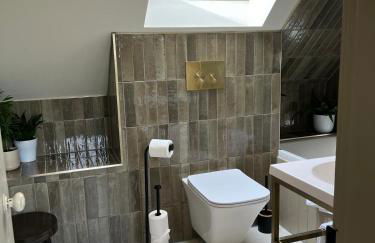
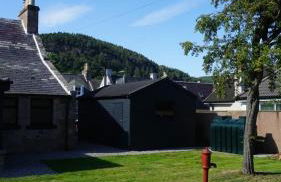
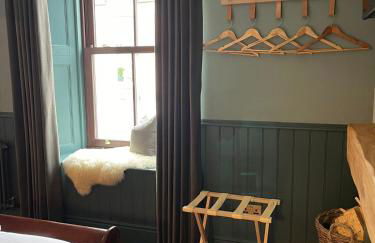
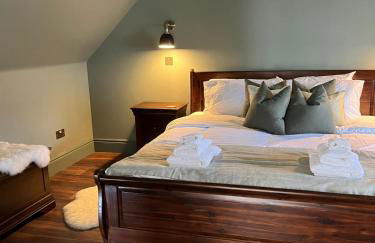
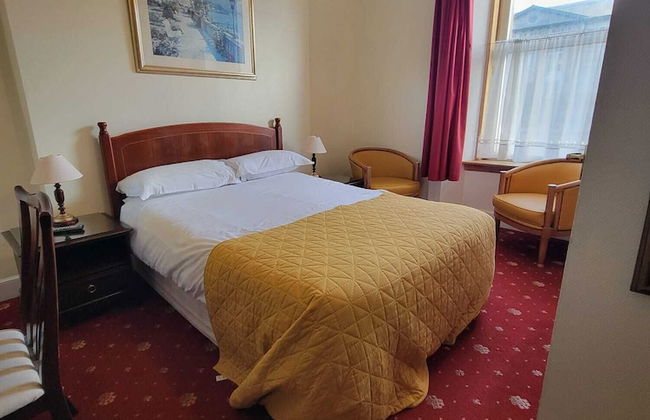
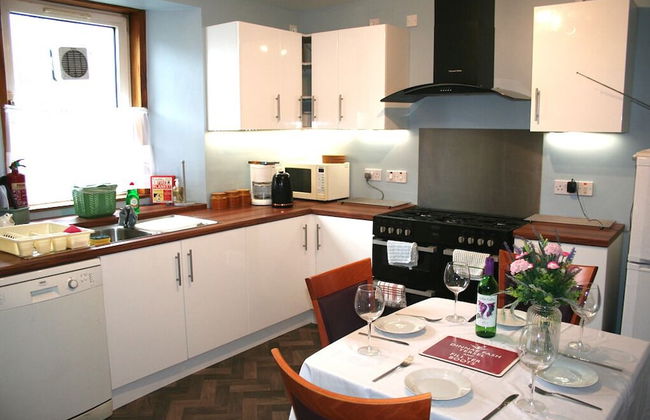
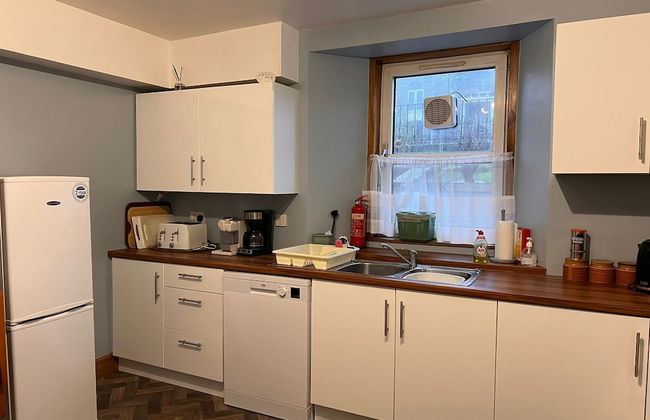
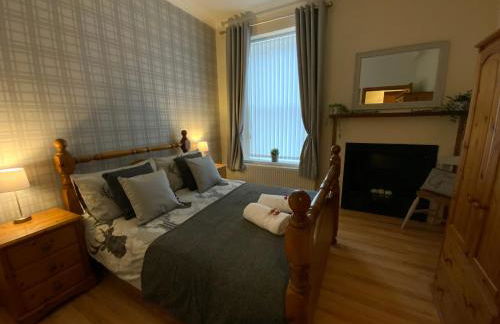
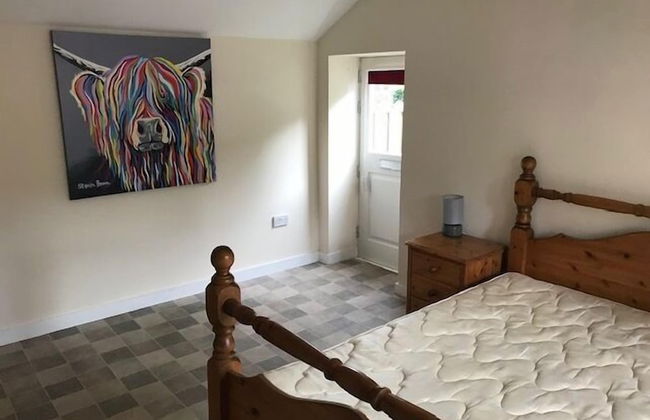
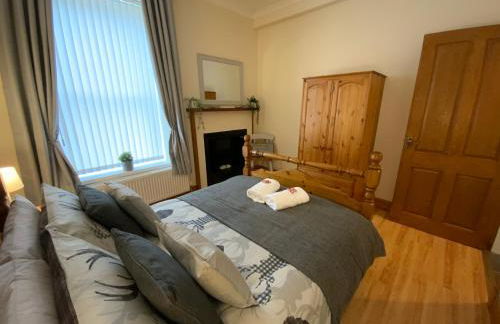
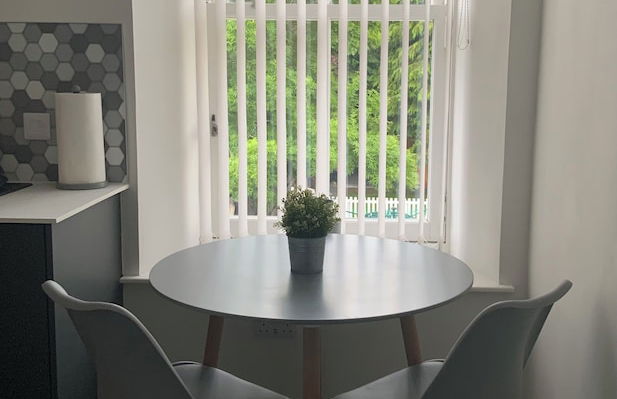
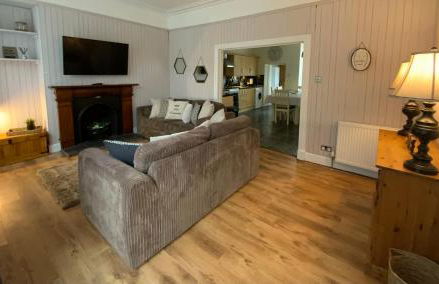
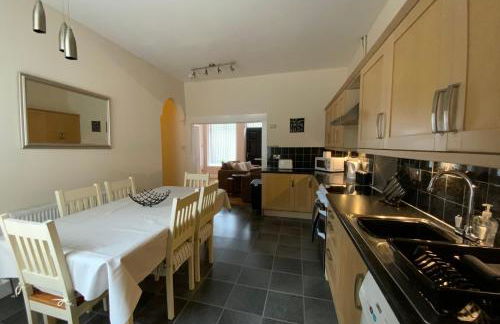
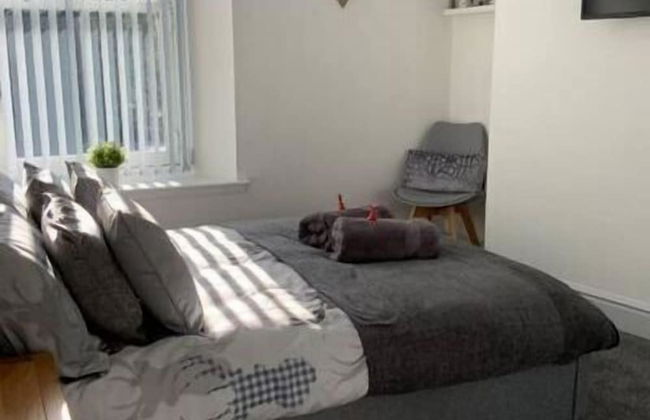
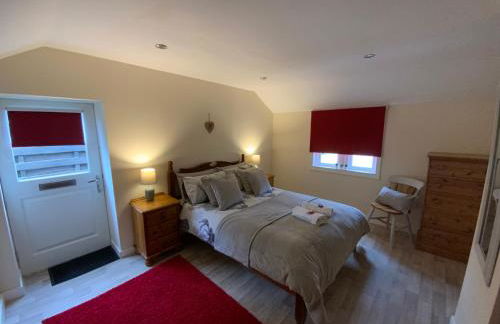
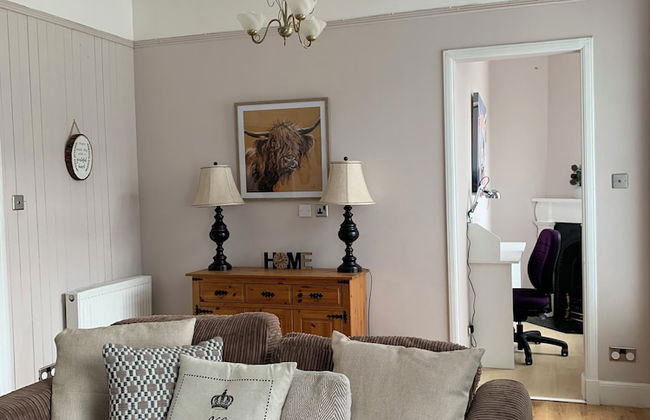
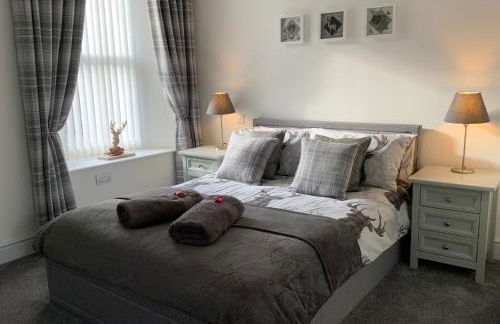
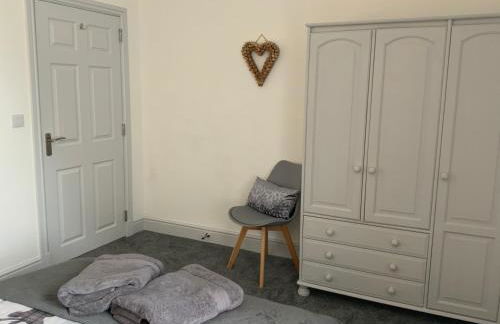
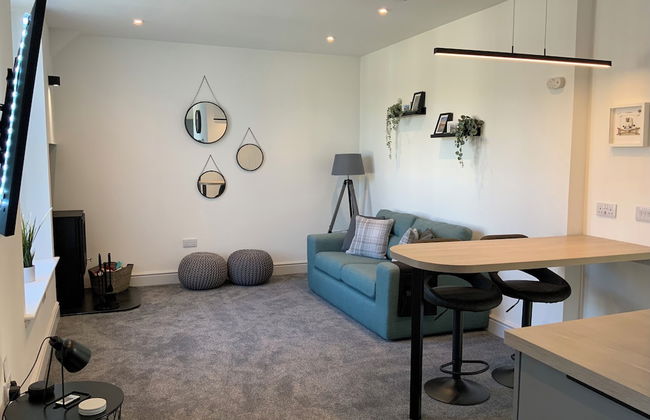
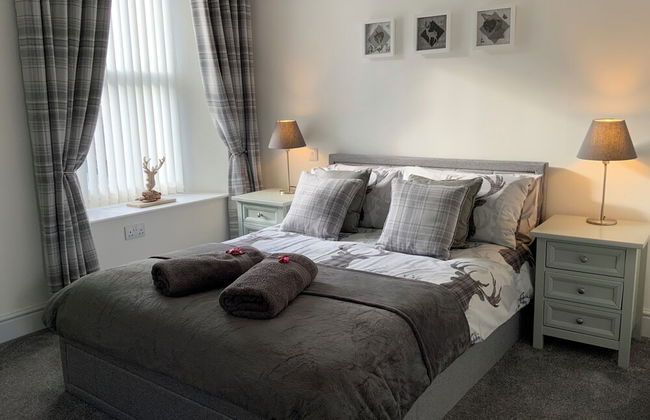
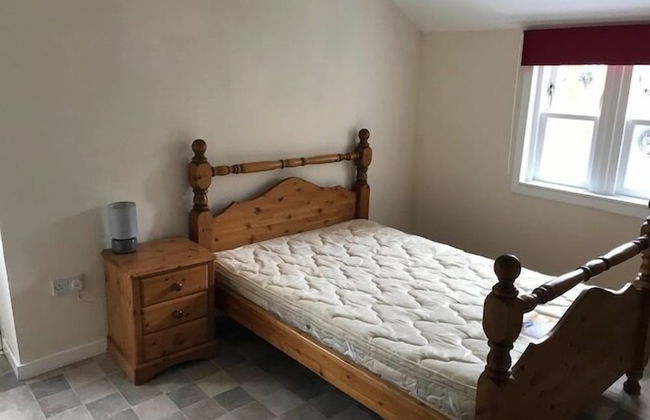
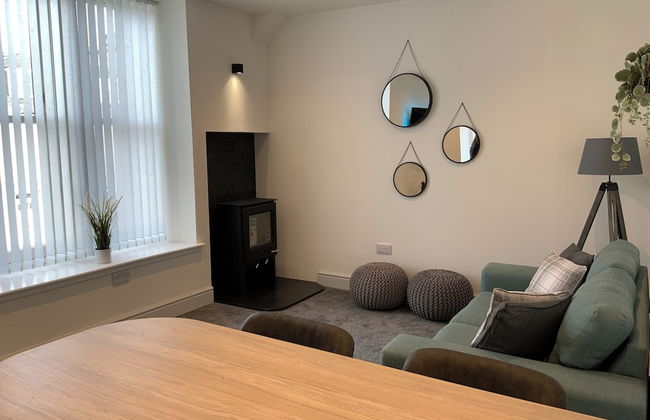
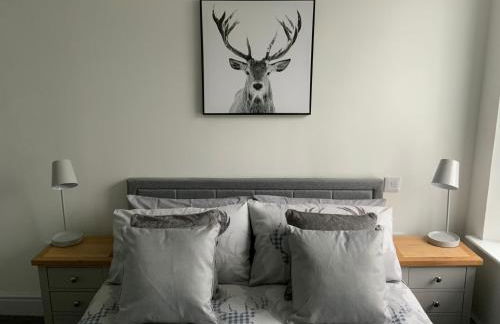
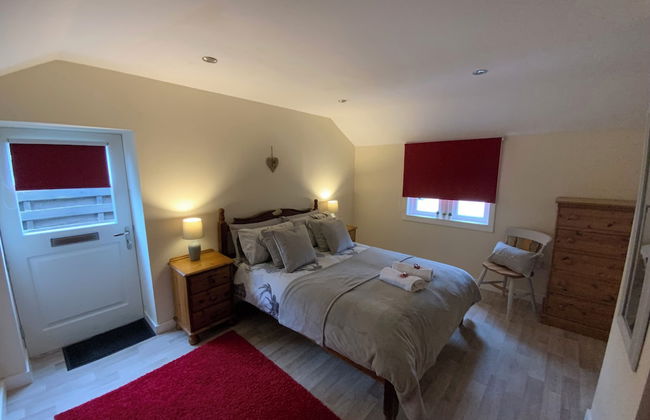
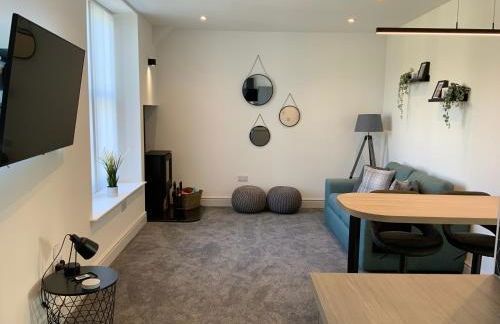
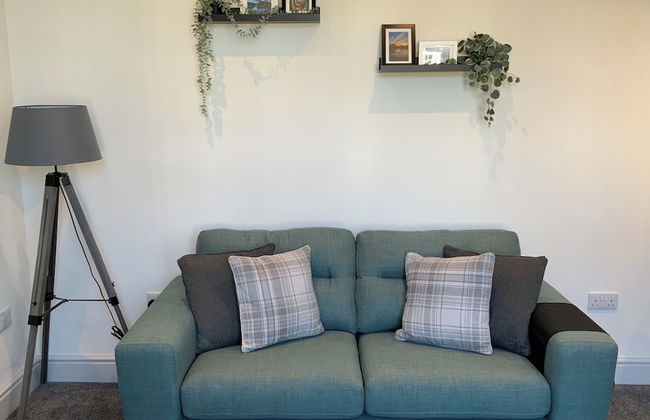
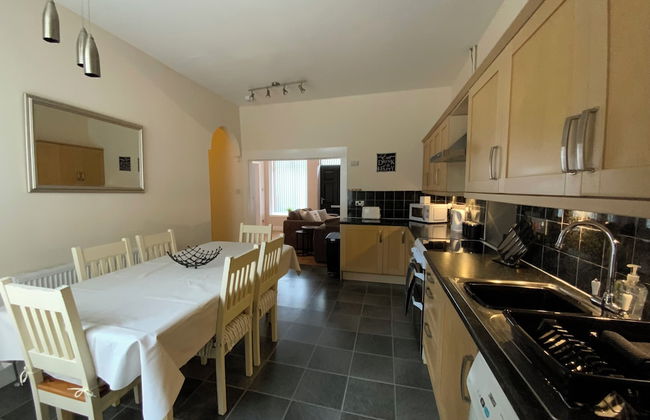
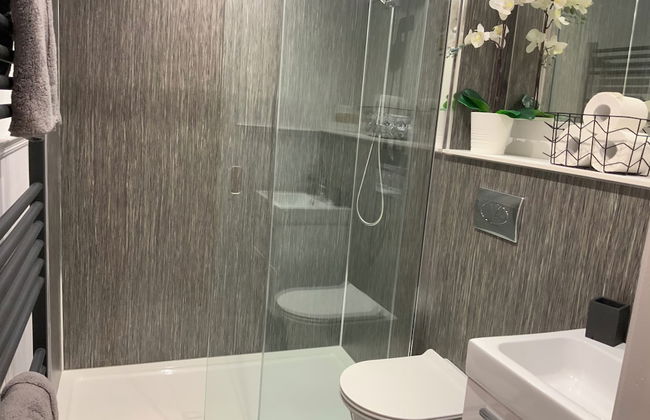
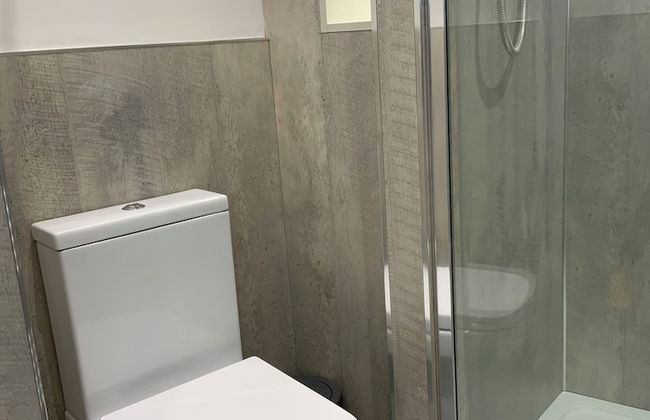
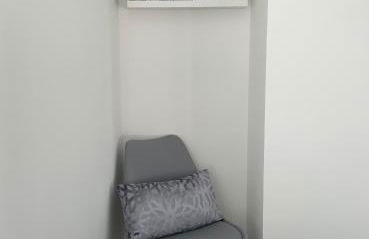
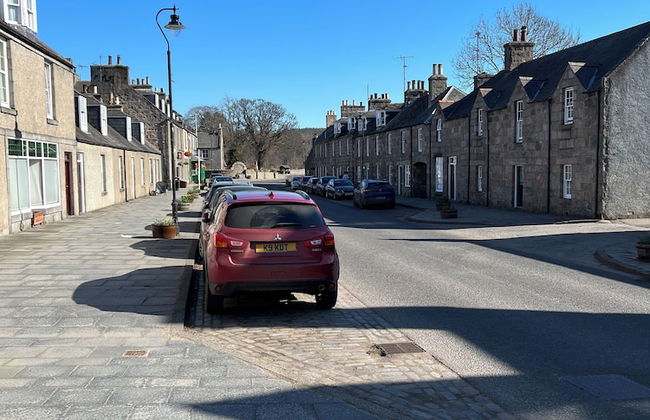
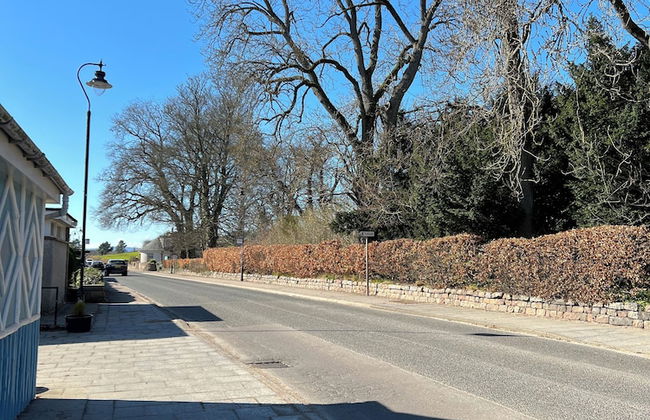
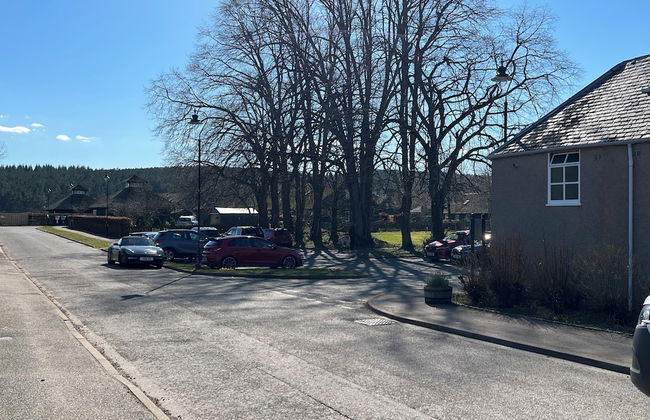
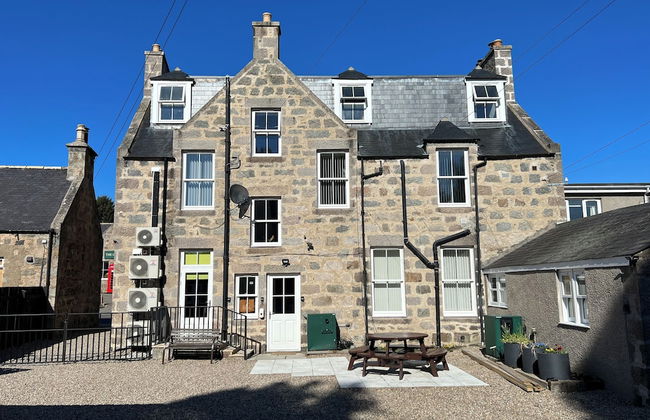
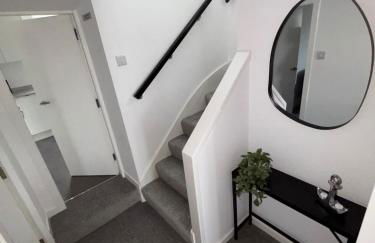
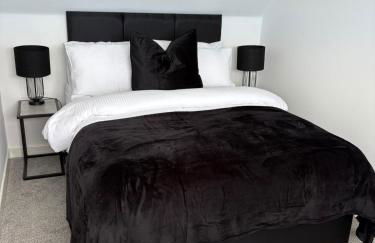
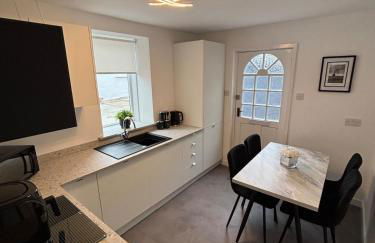
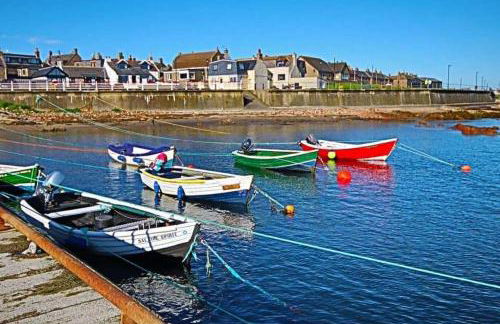
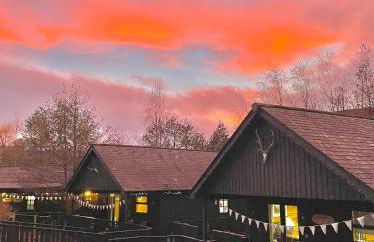
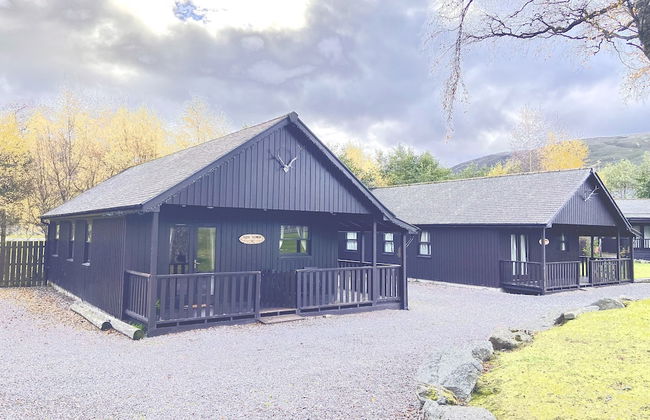
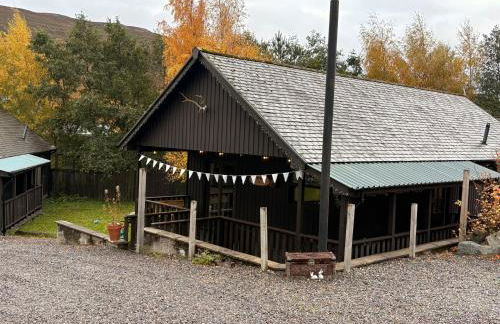
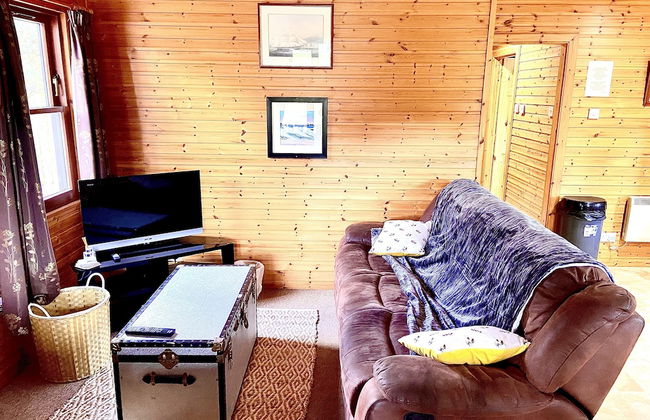
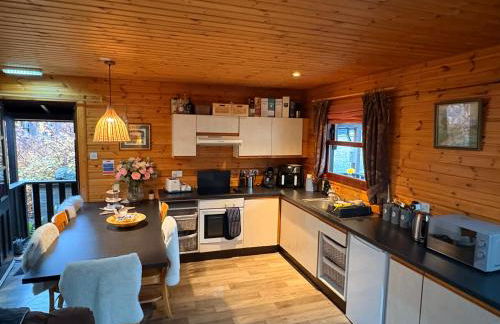
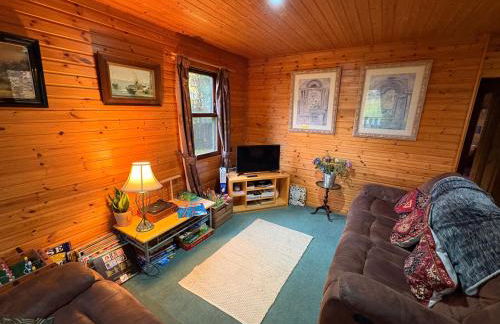
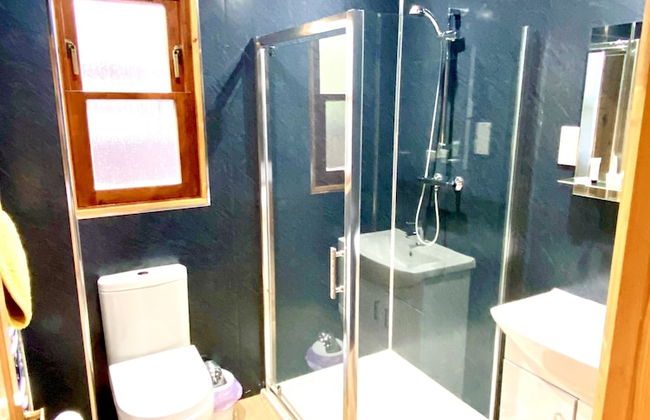
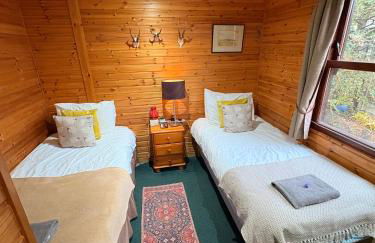
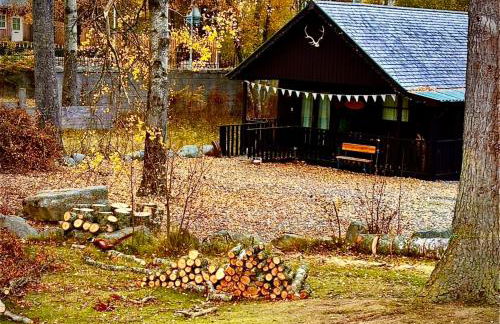
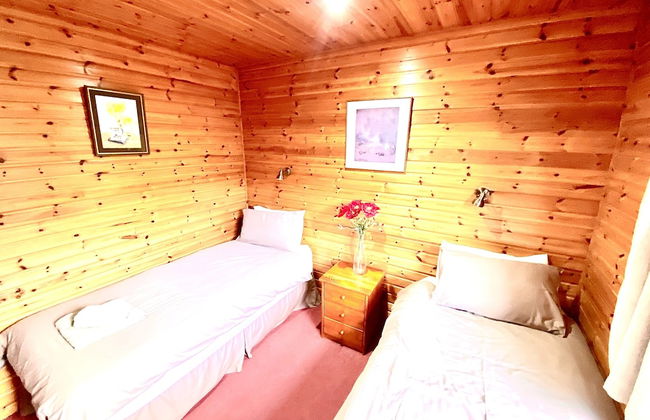
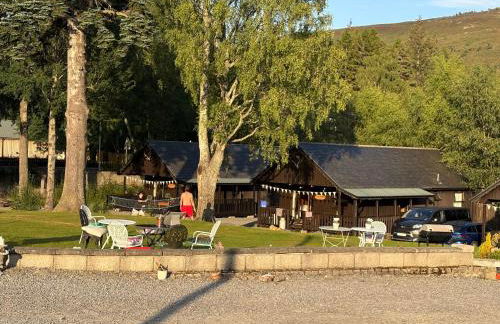
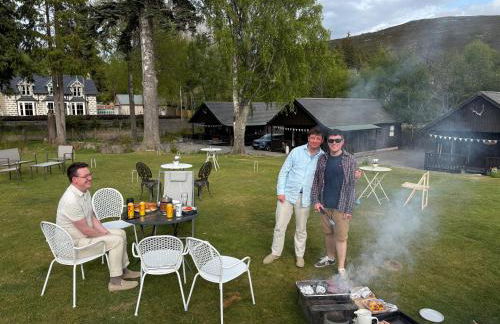
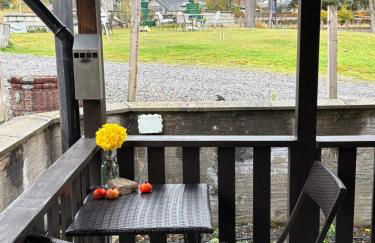
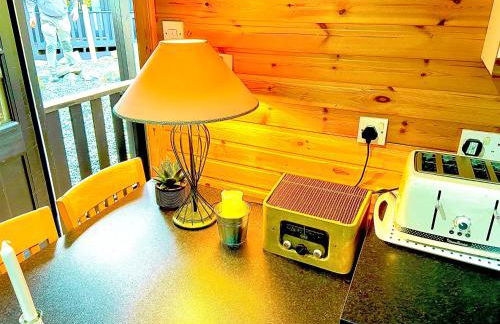
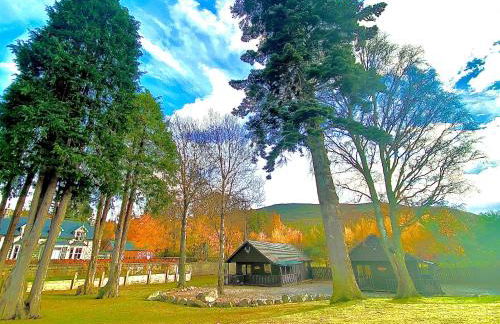
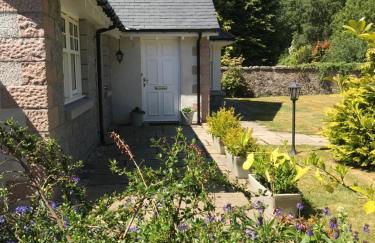
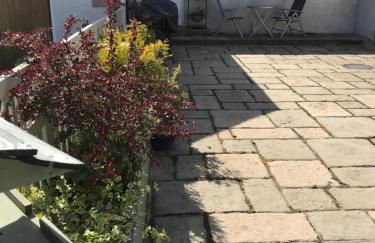
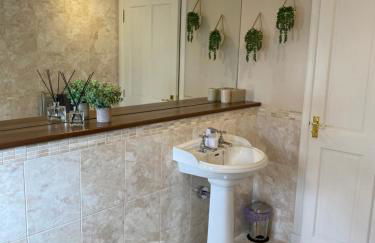
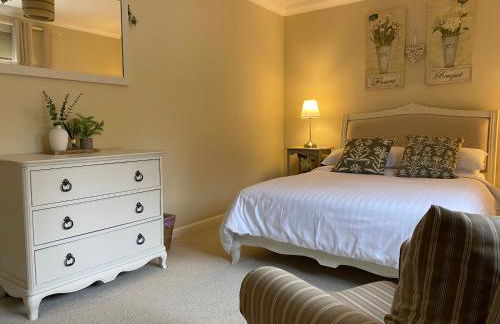
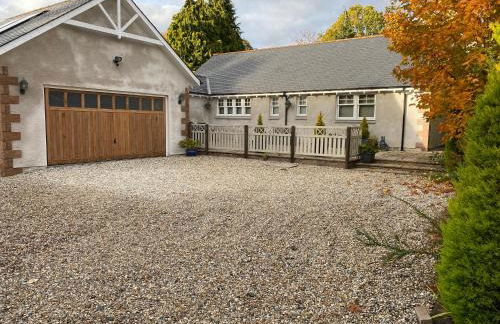
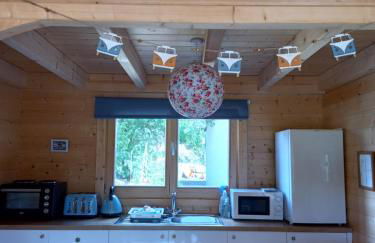
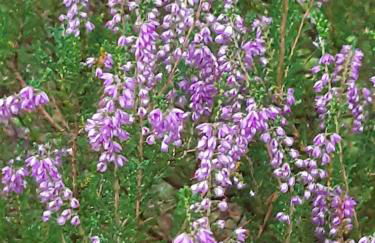
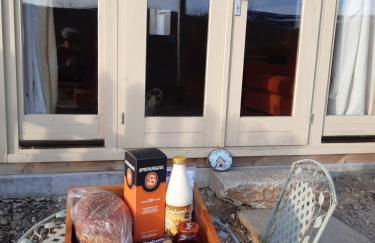
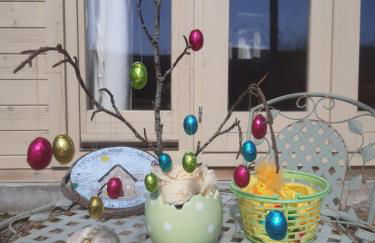
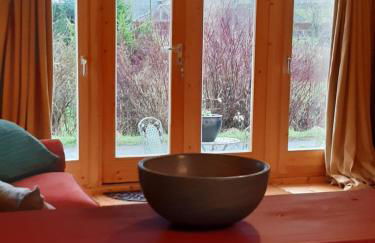
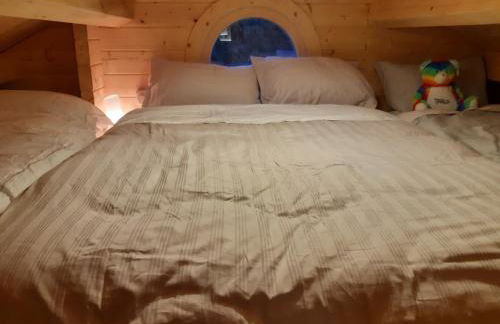
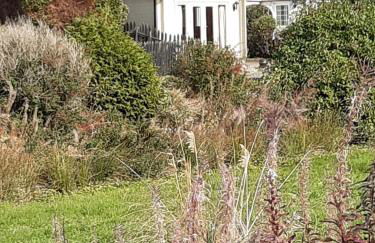
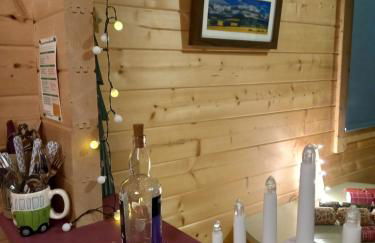
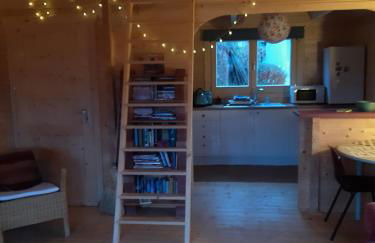
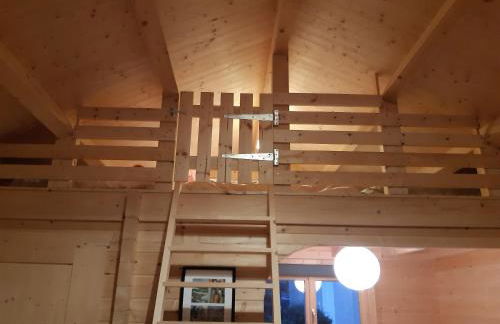
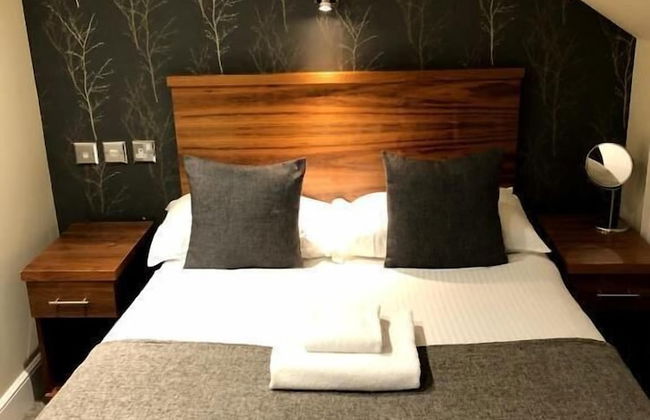
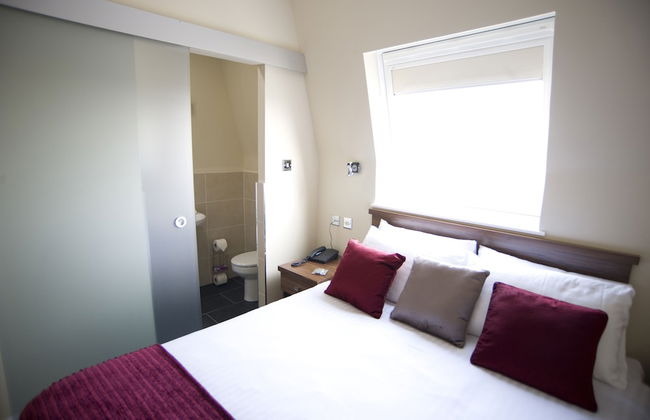
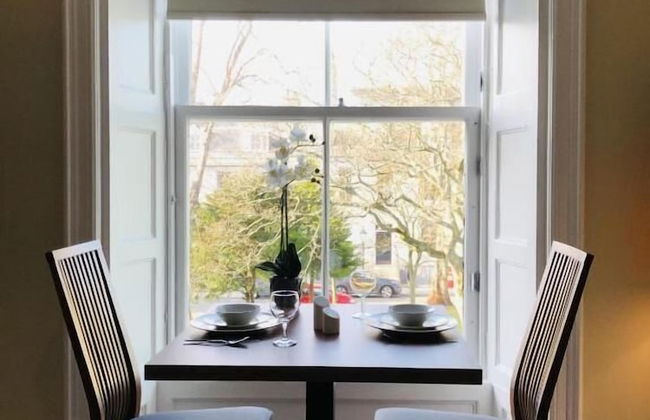
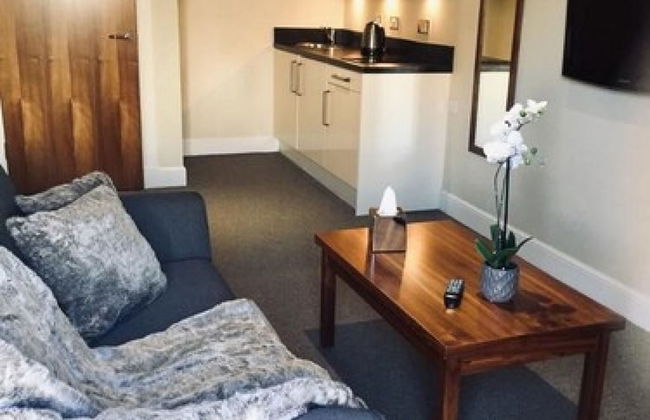
Acdc Glamping, Campervan , Caravan and Tent Resort - Foto 1
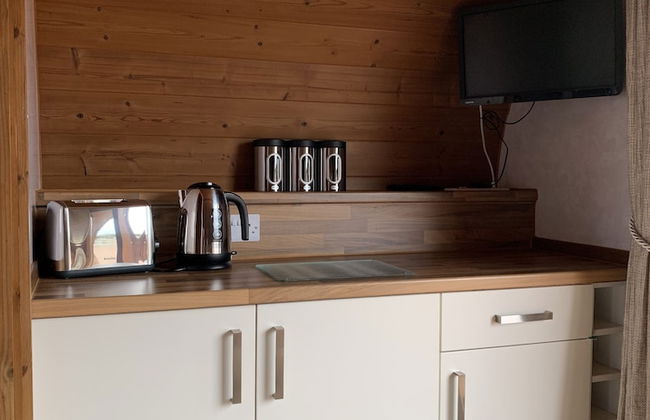
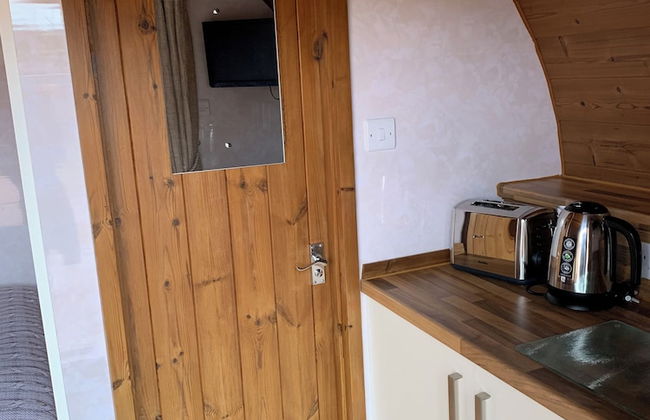
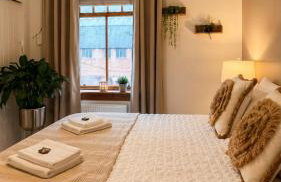
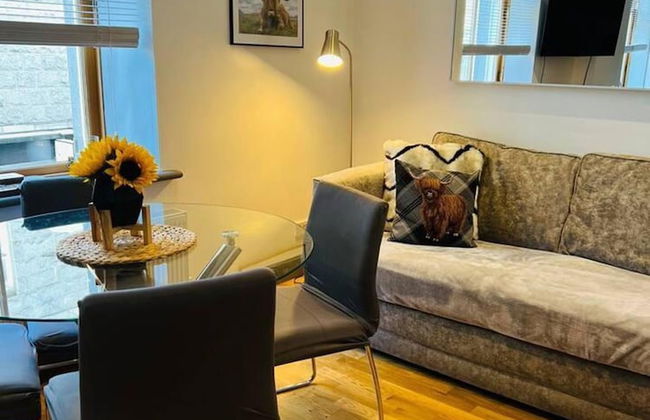
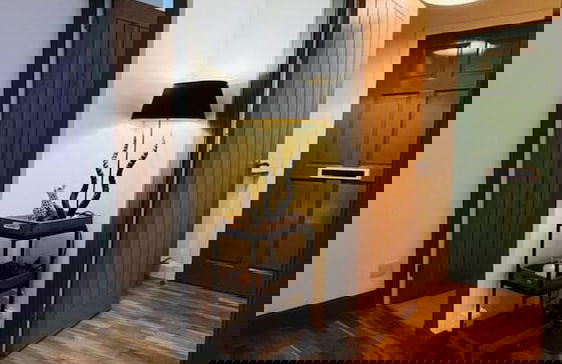
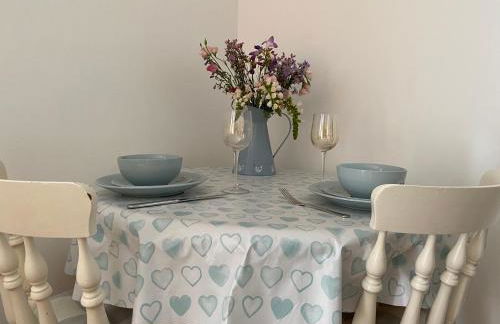
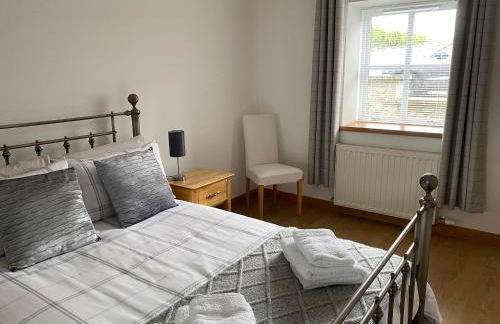
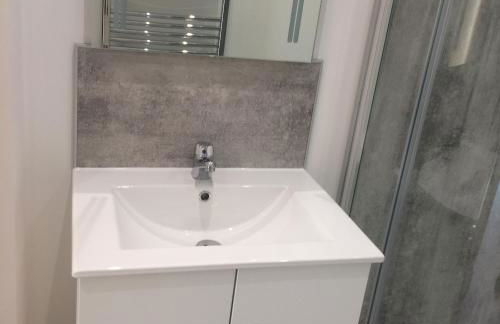
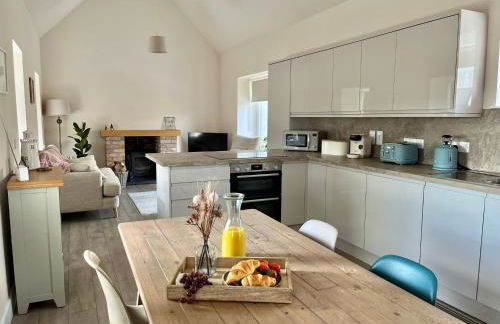
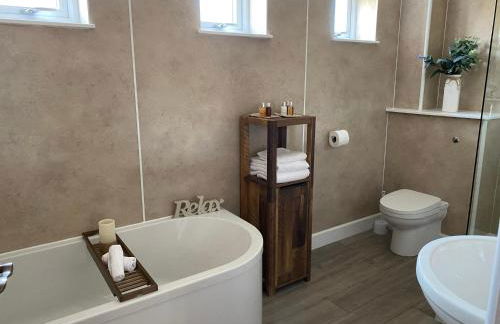
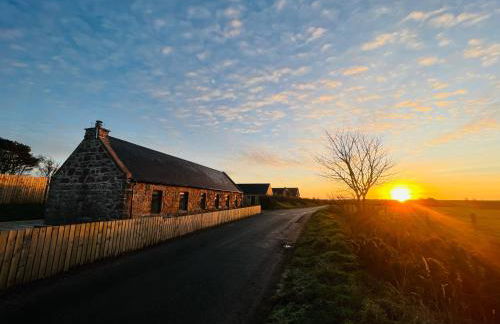
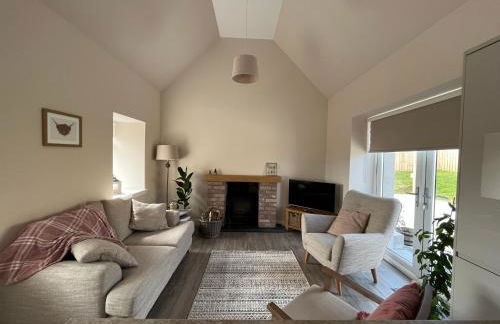
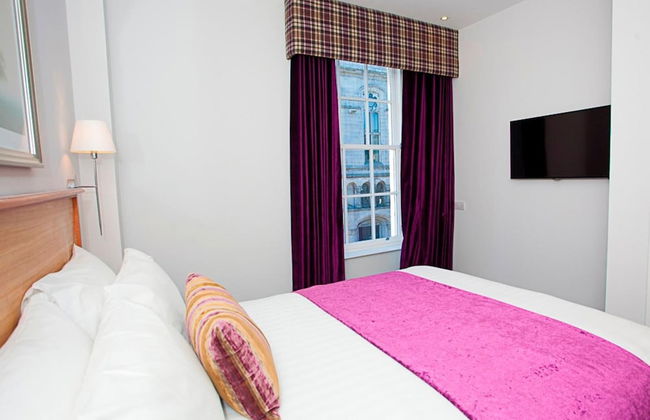
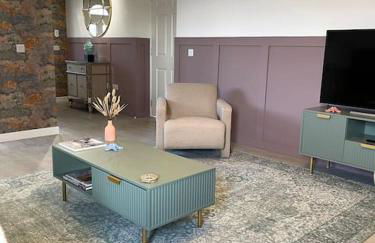
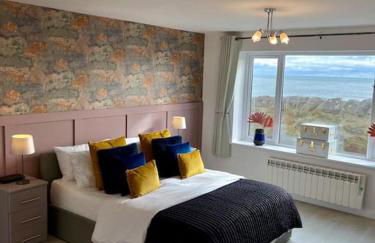
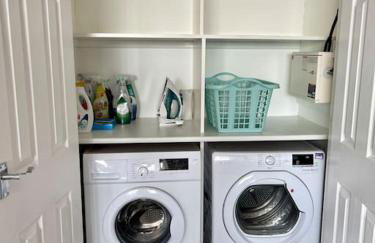
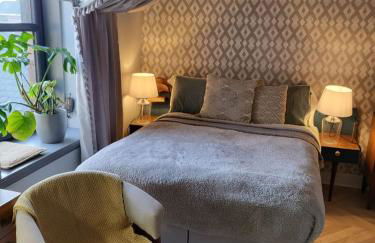
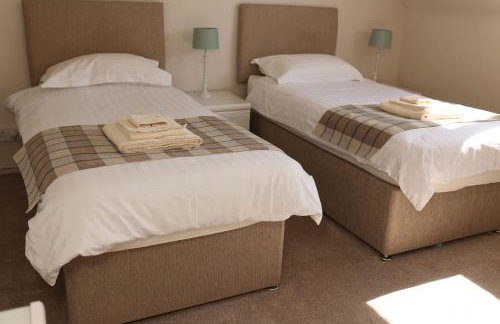
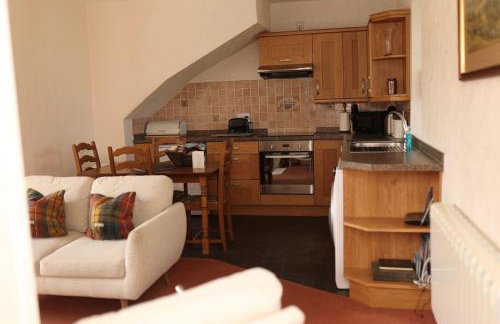
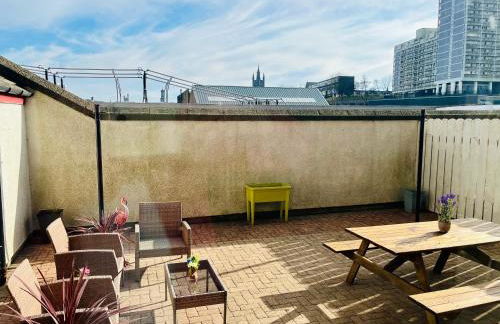
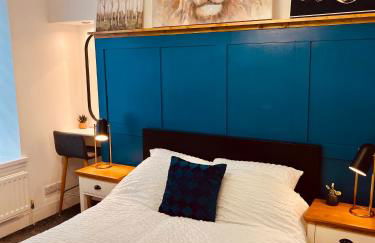
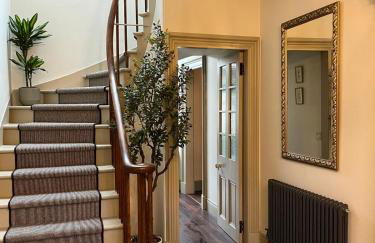
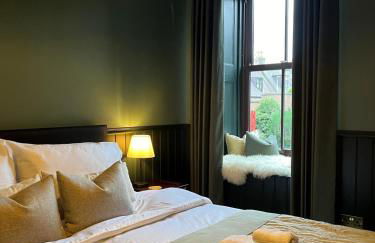
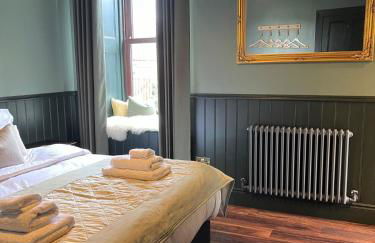
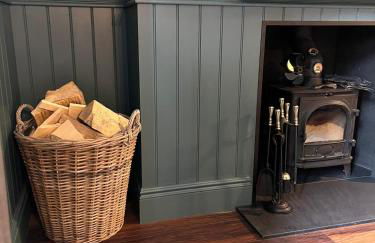
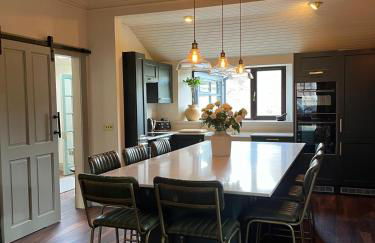
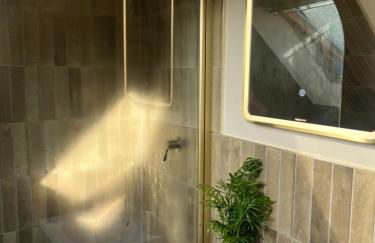
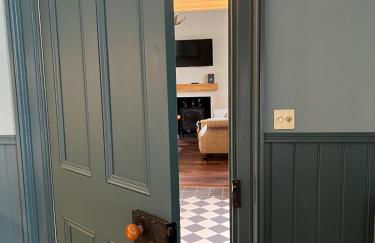
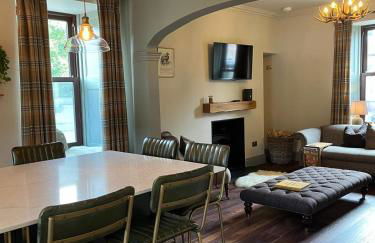
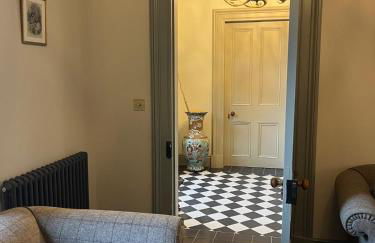
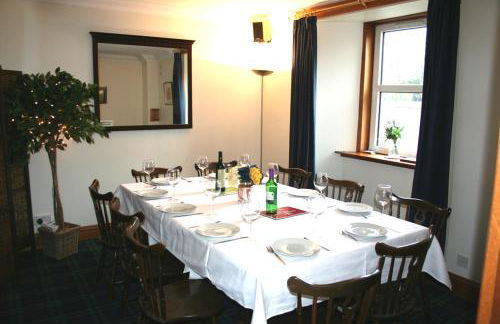
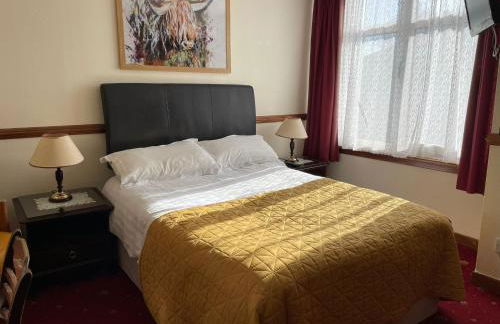
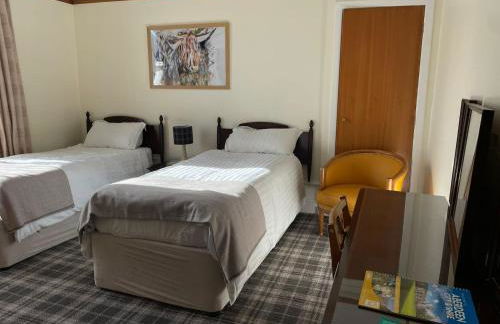
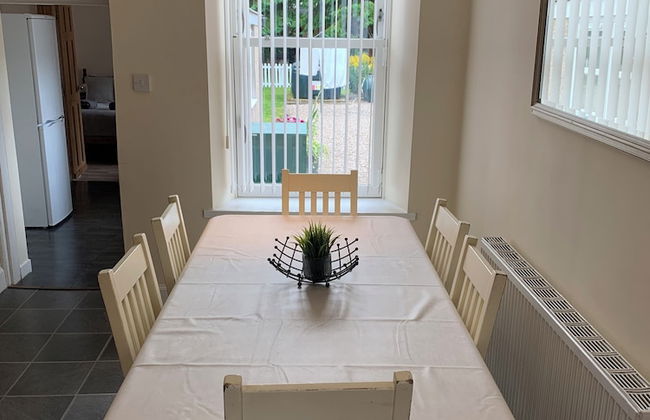
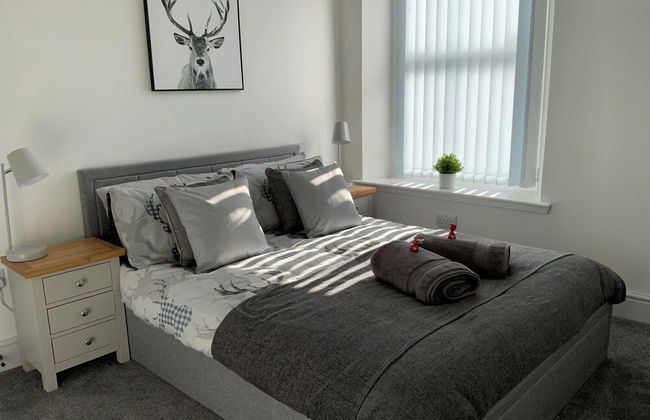
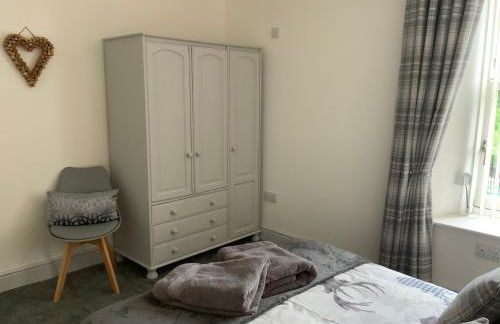
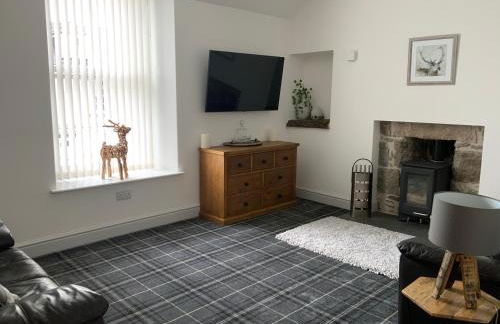
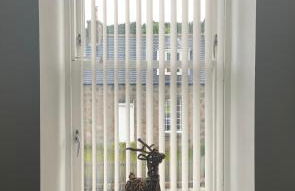
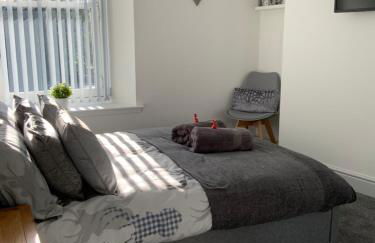
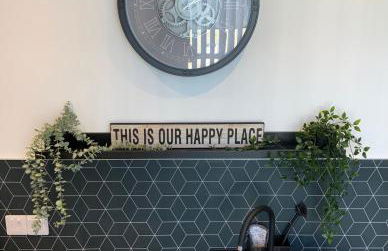
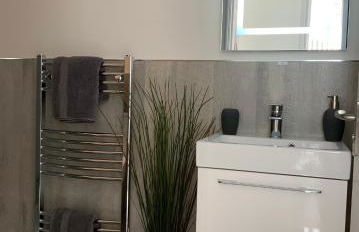
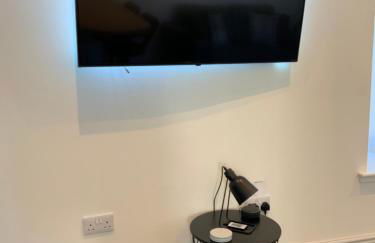
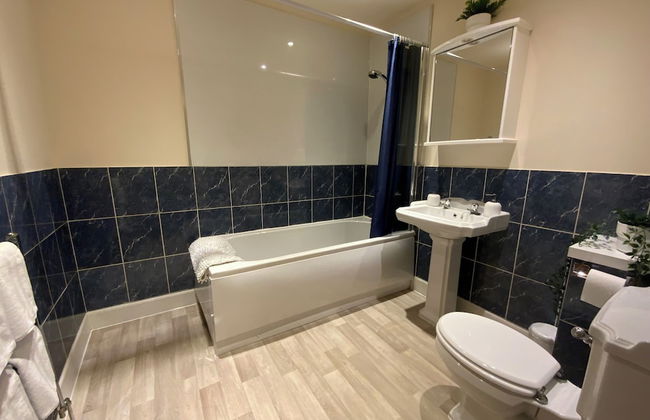
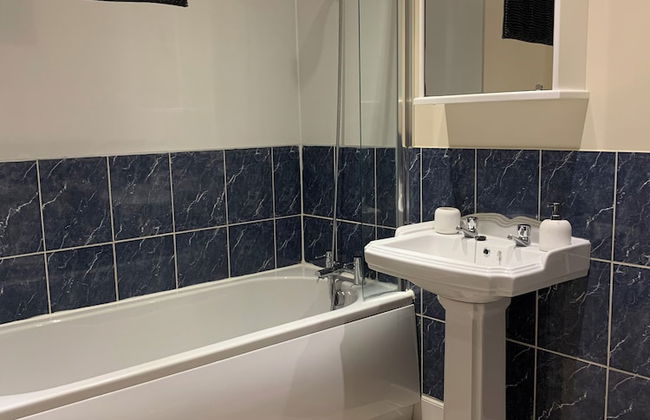
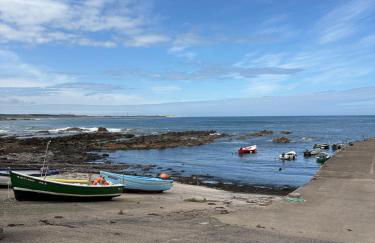
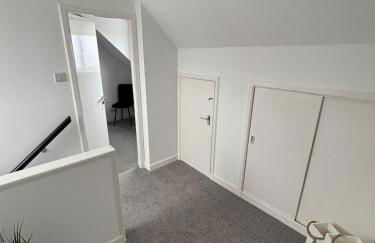
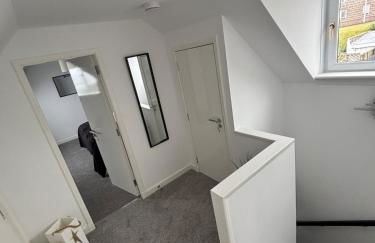
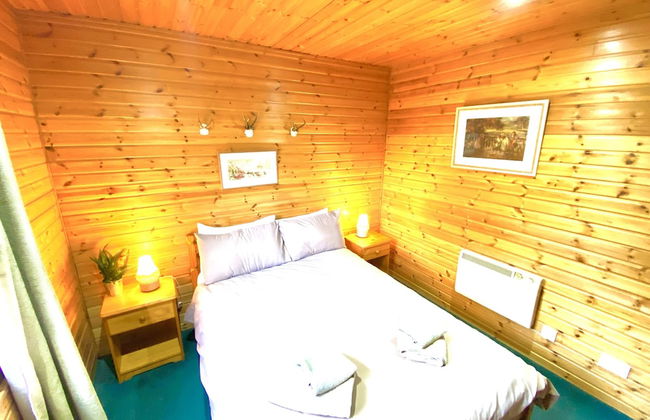
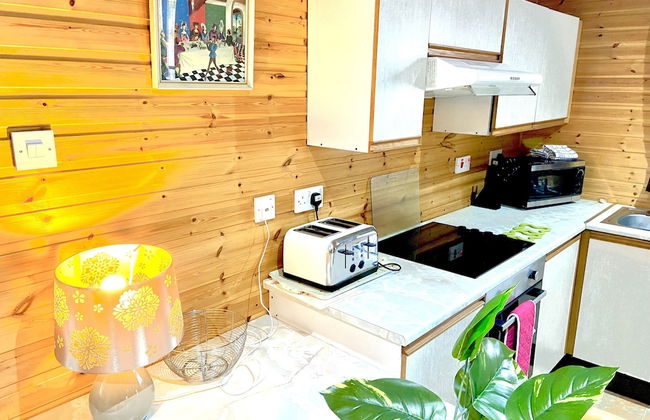
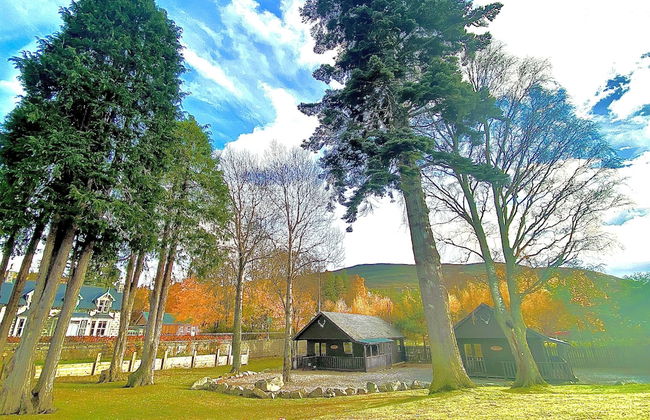
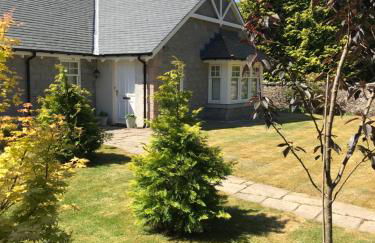
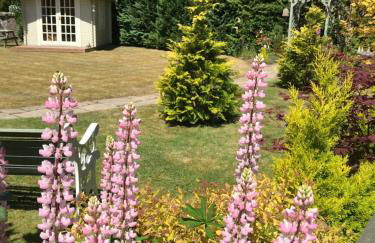
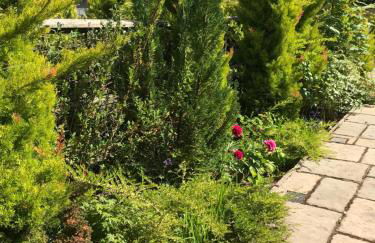
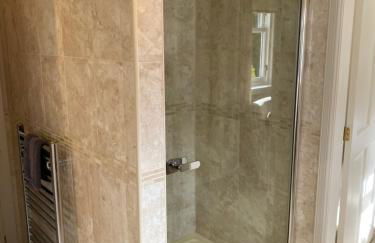
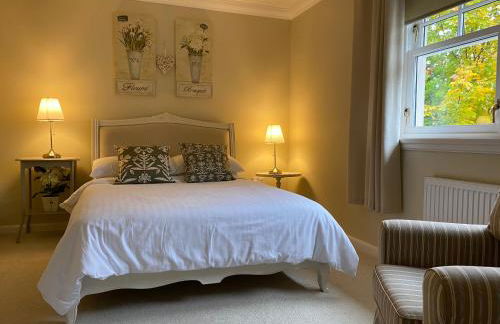
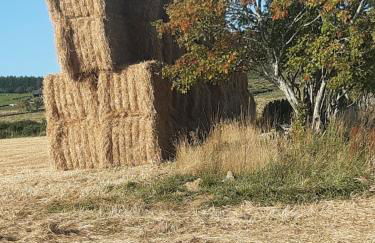
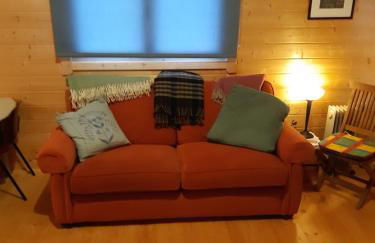
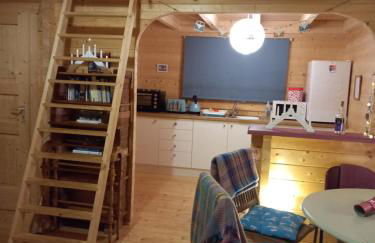
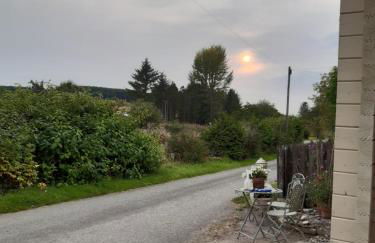
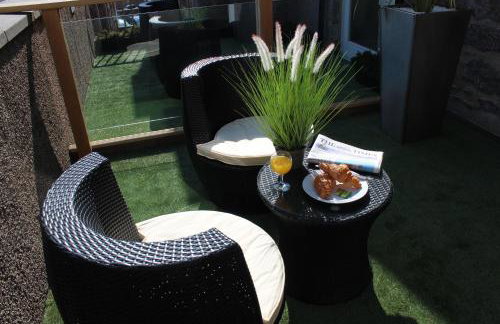
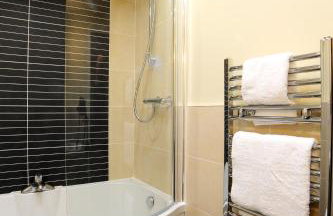
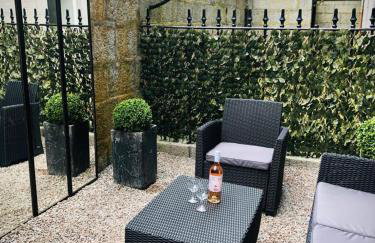
Acdc Glamping, Campervan , Caravan and Tent Resort - Foto 2
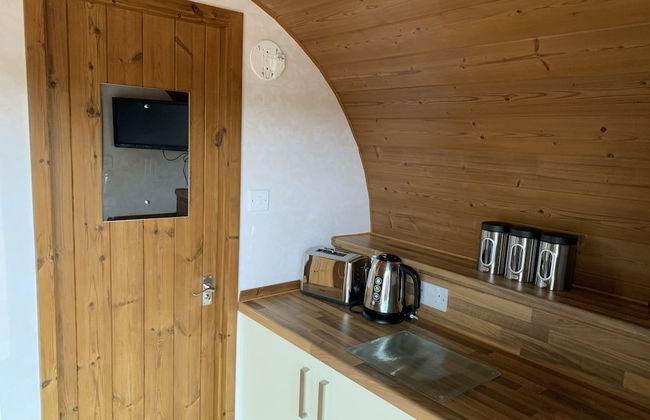
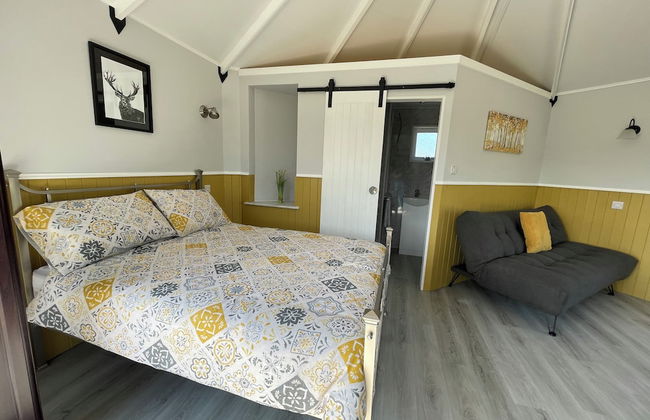
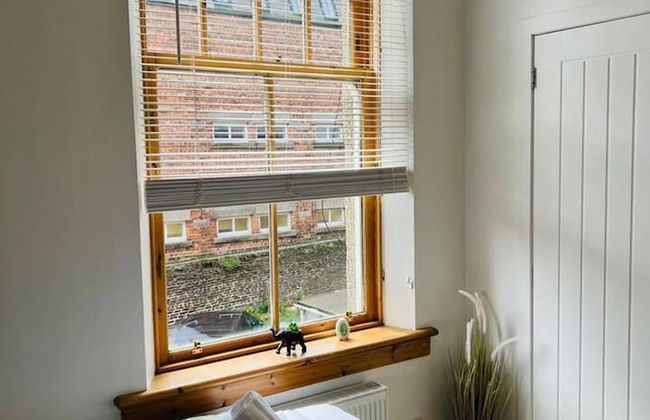
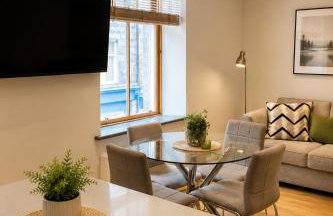
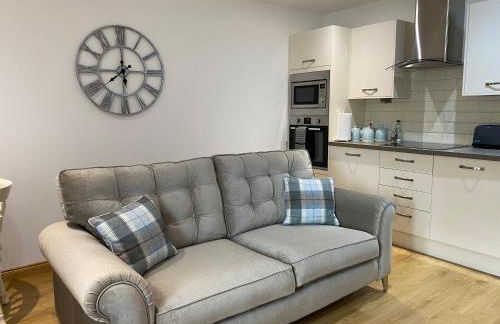
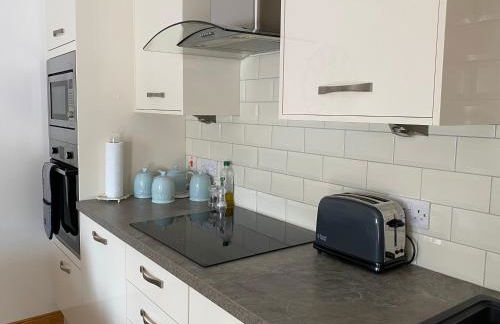
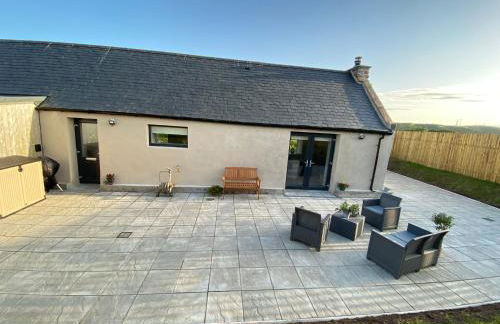
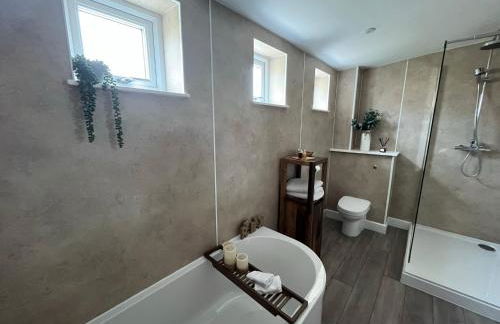
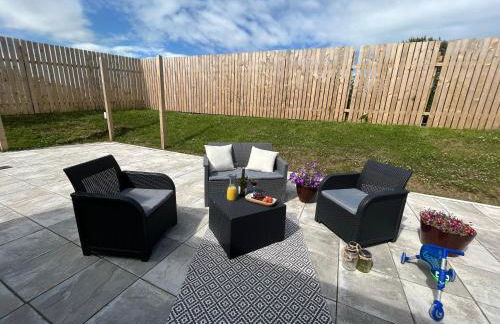
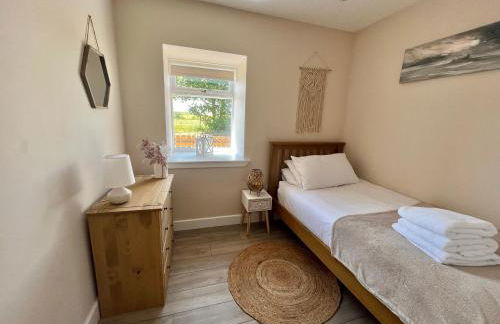
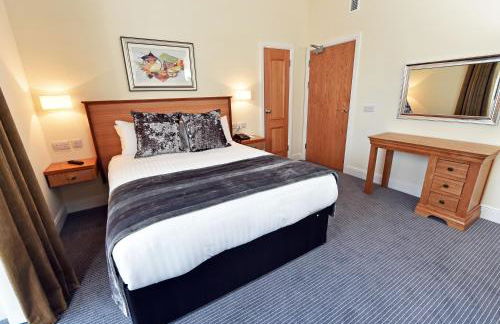
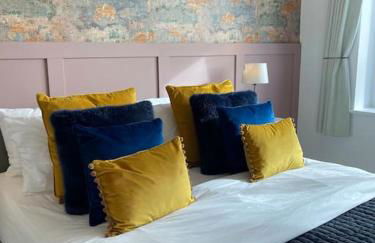
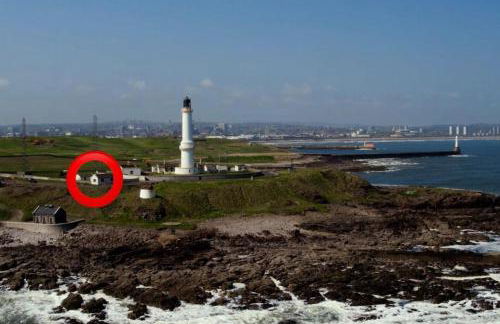
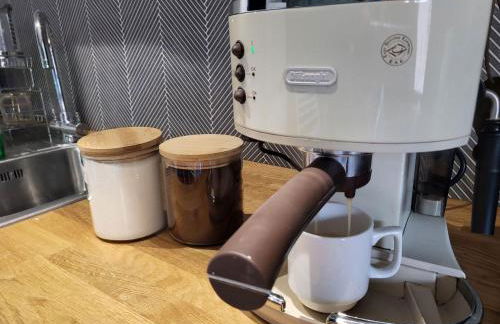
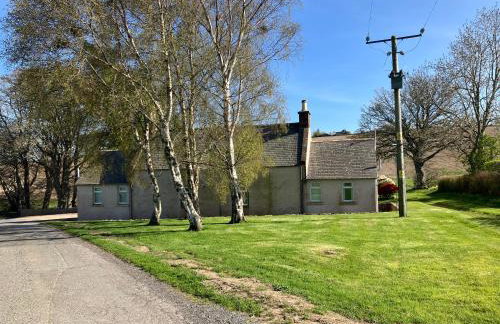
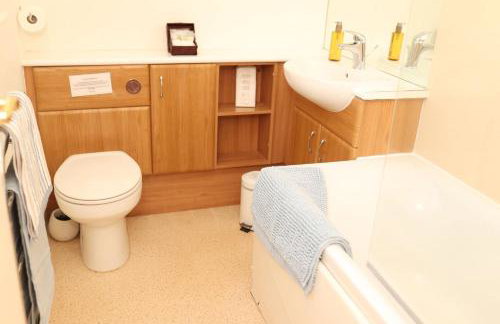
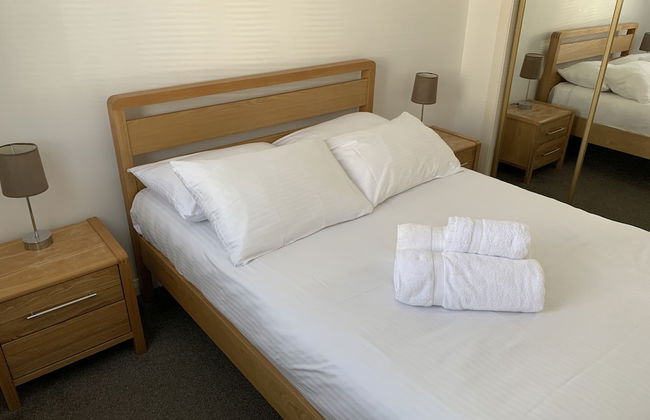
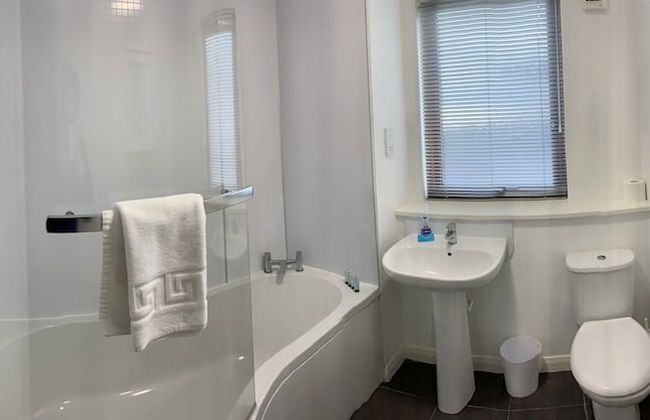
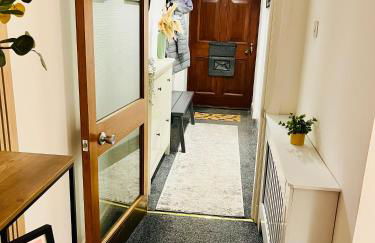
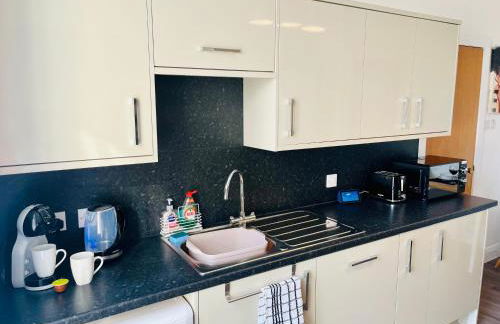
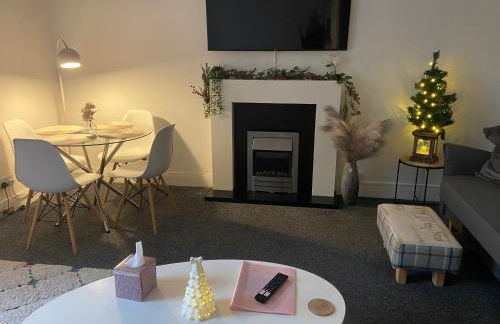
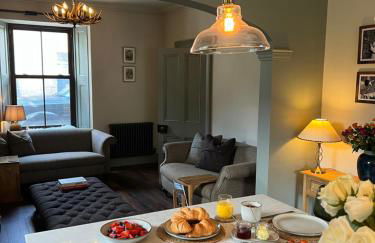
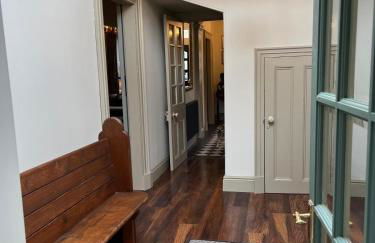
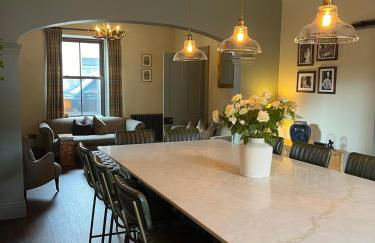
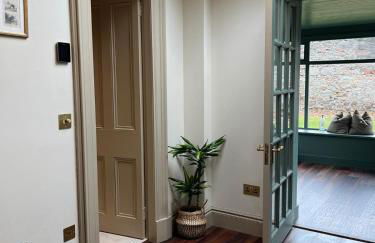
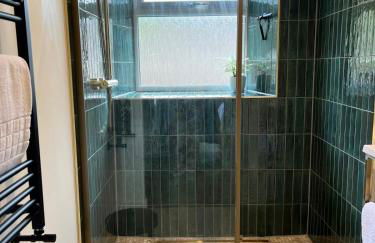
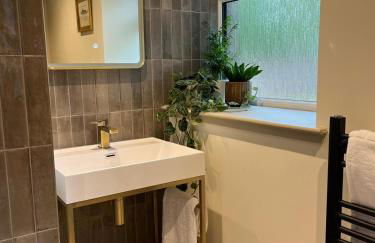
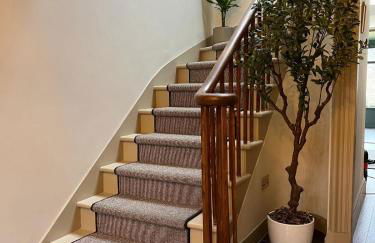
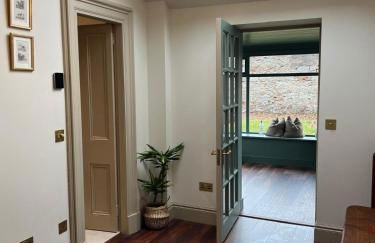
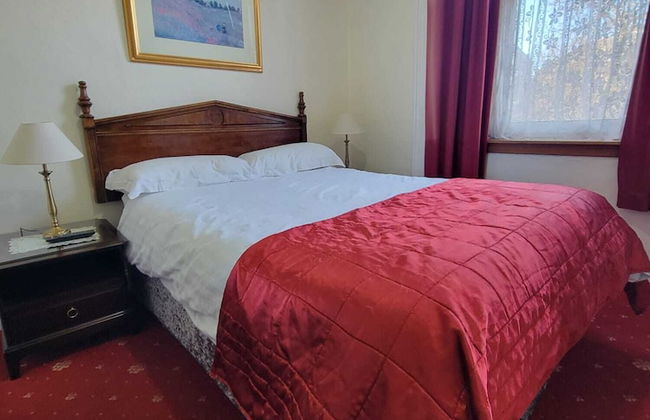
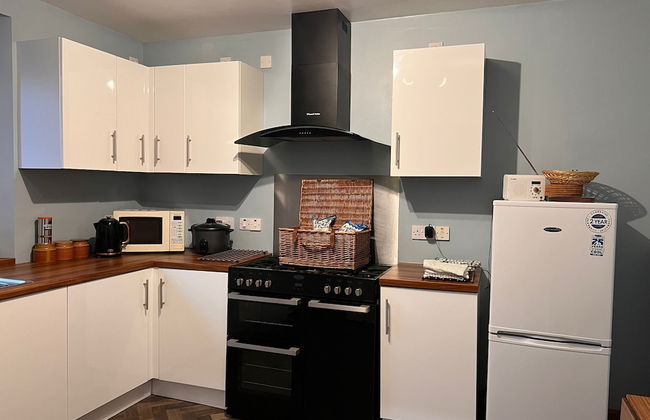
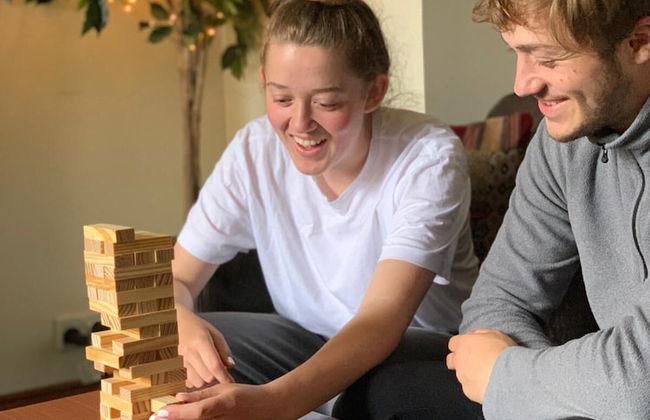
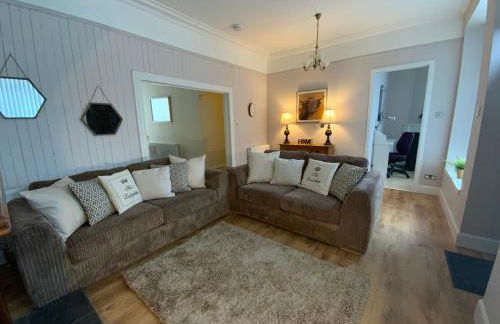
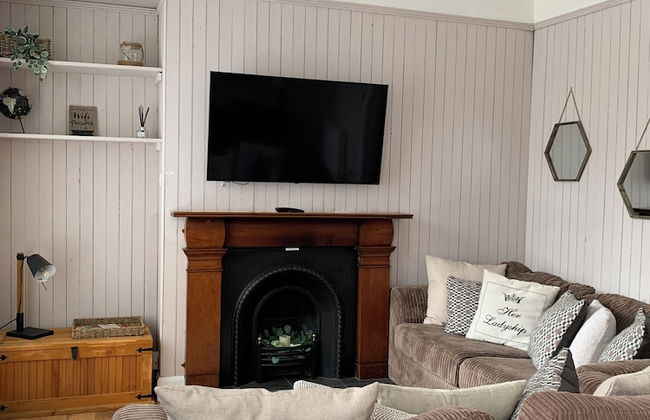
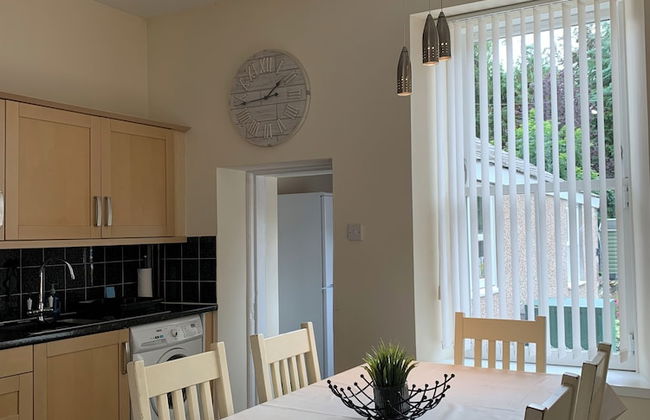
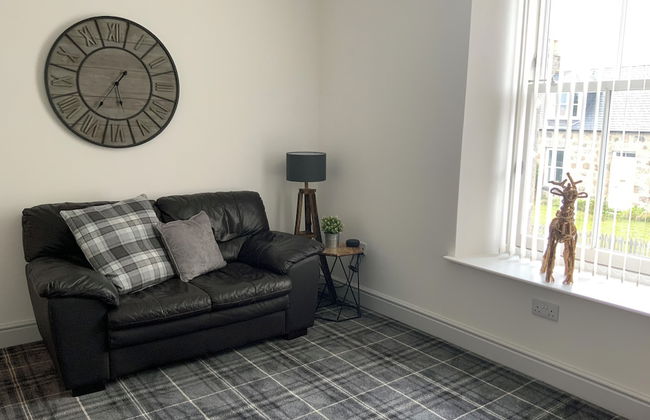
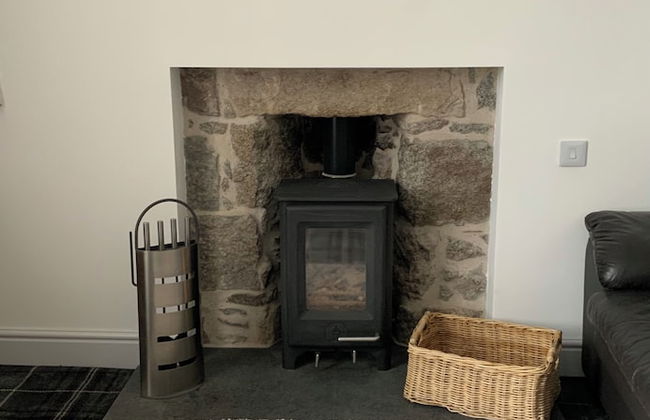
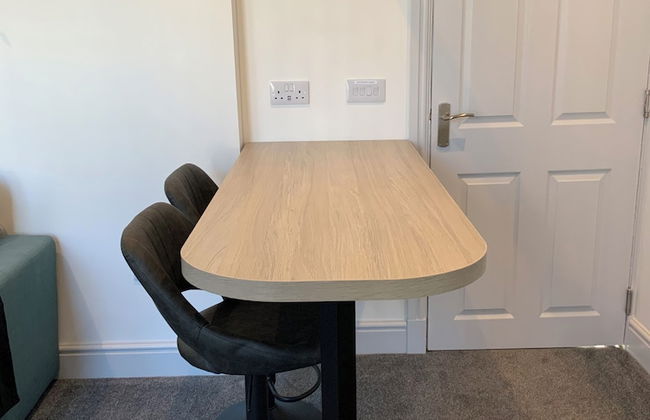
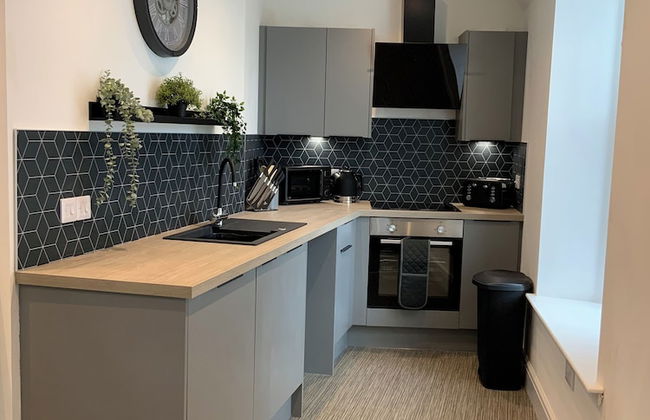
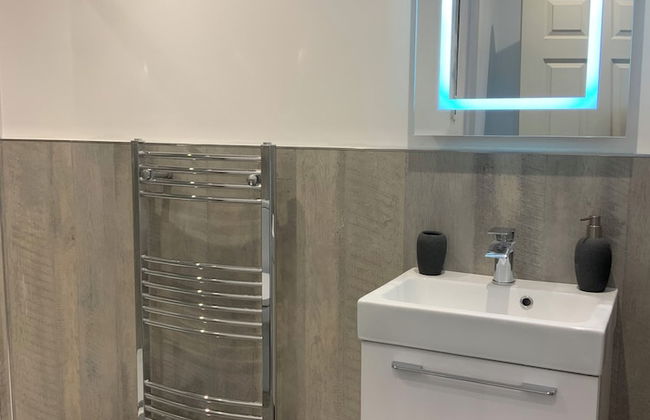
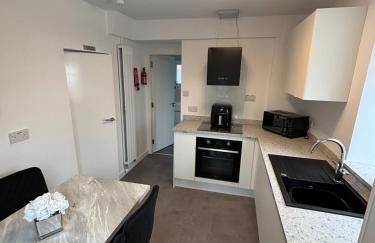
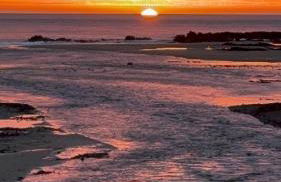
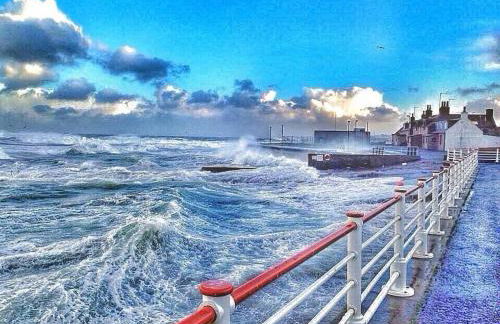
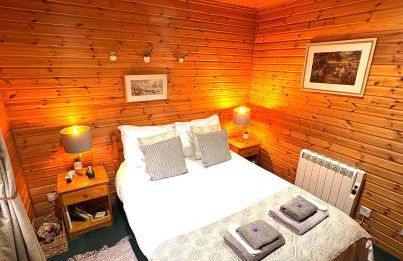
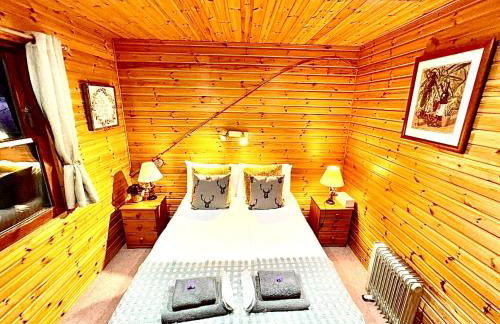
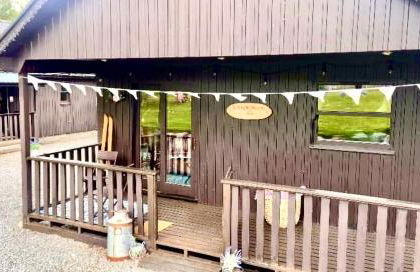
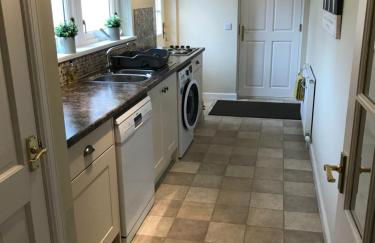
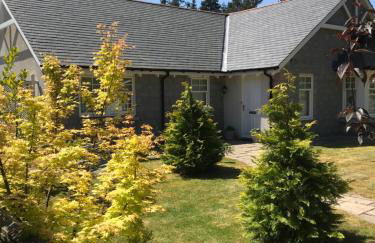
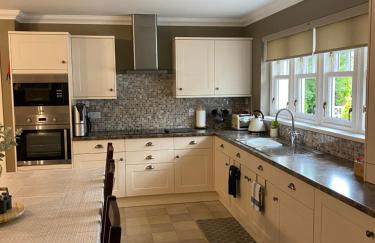
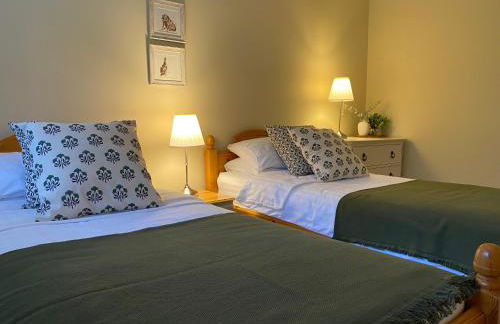
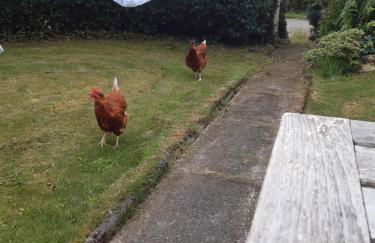
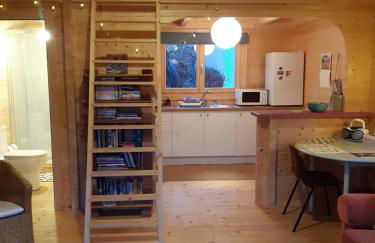
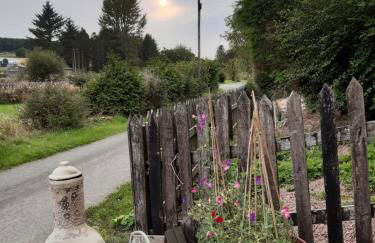
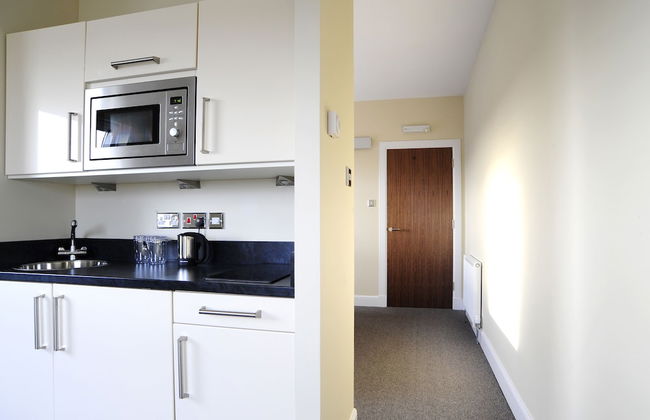
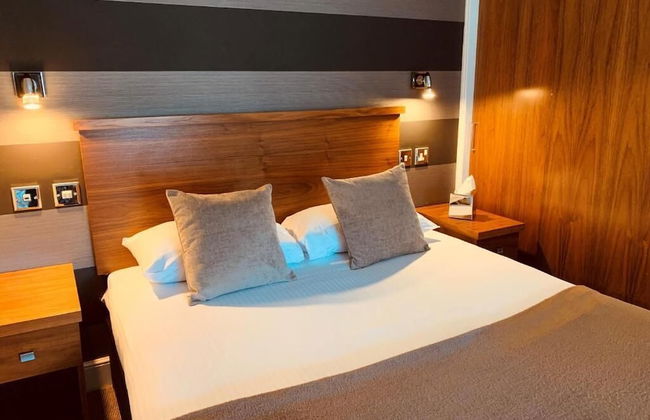
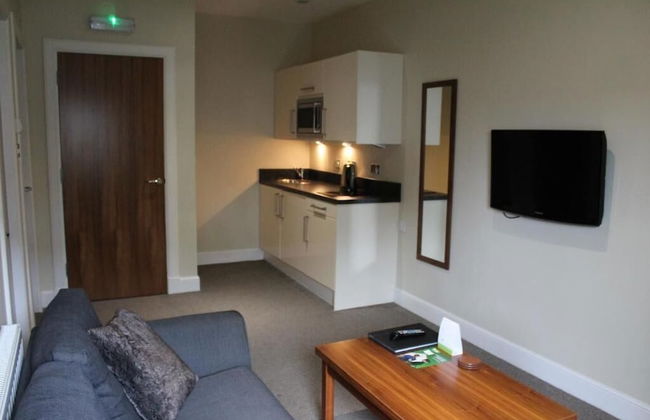
Acdc Glamping, Campervan , Caravan and Tent Resort - Foto 3
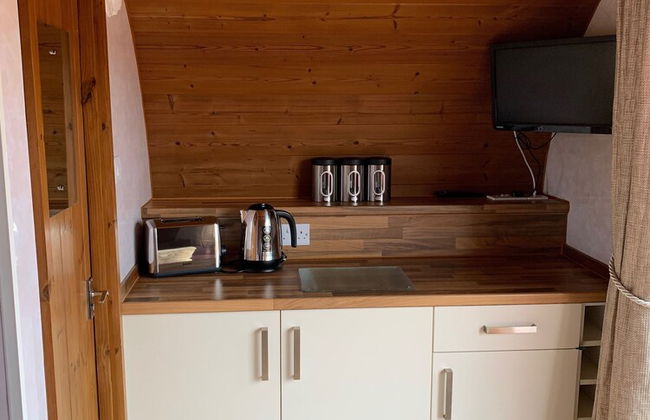
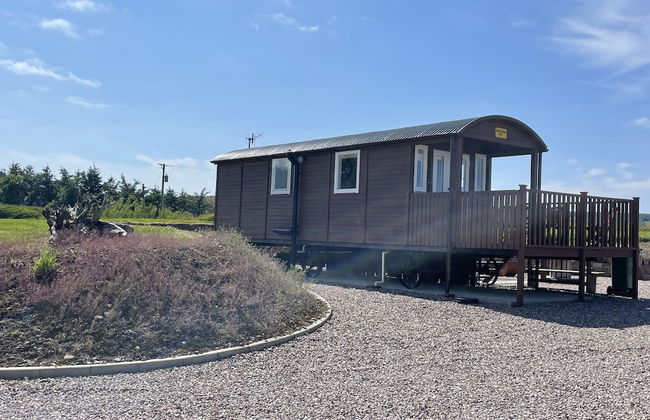
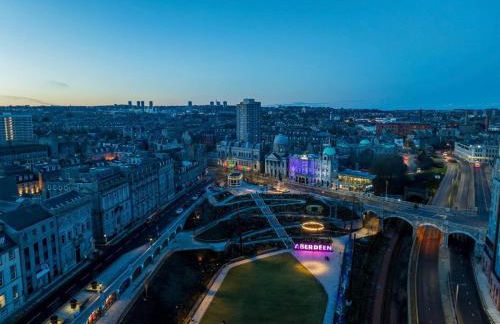
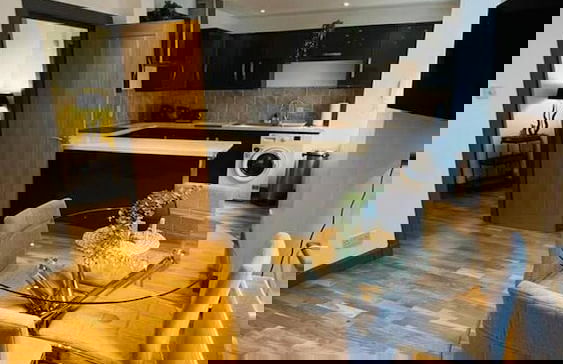
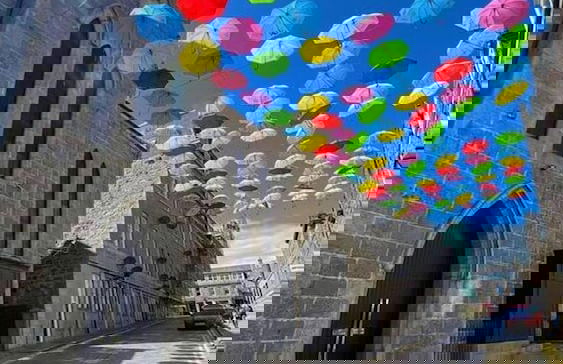
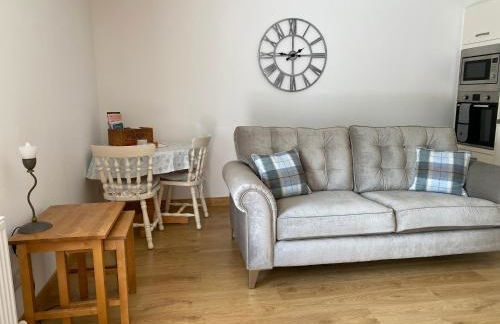
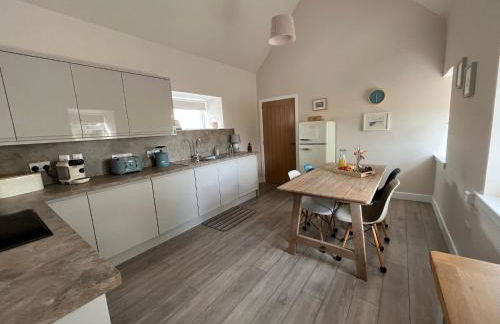
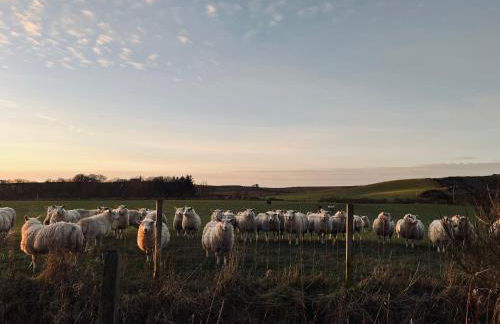
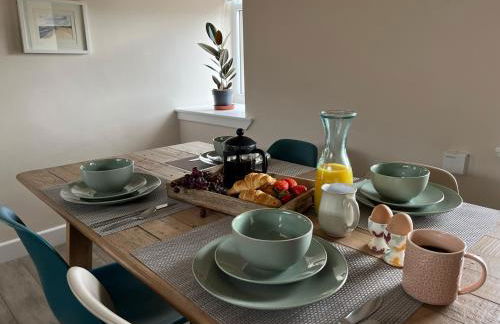
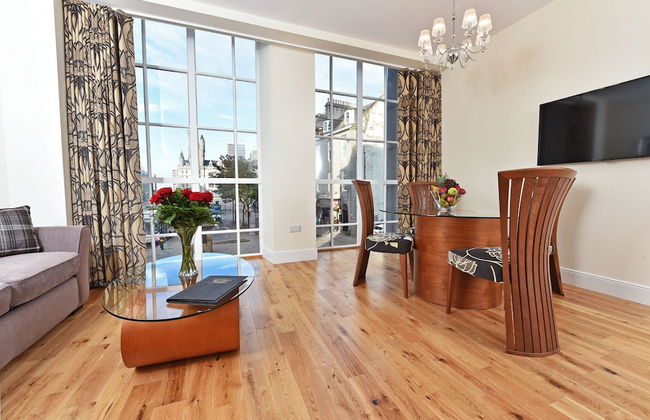
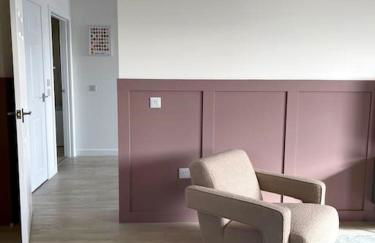
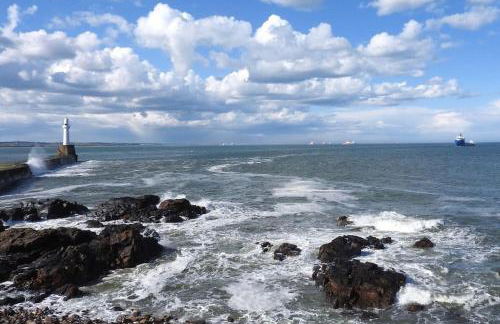
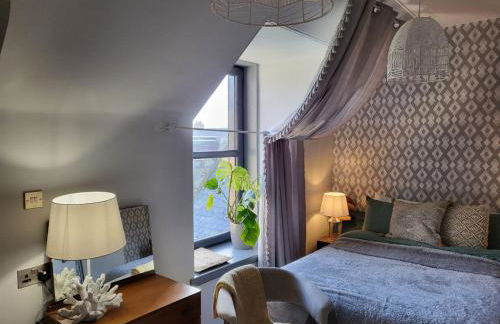
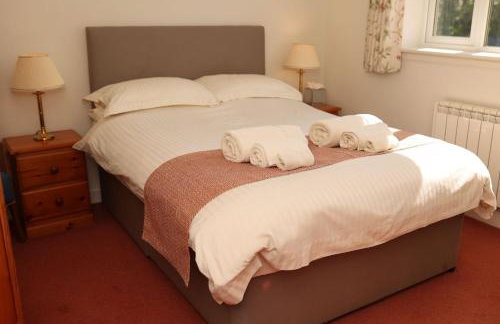
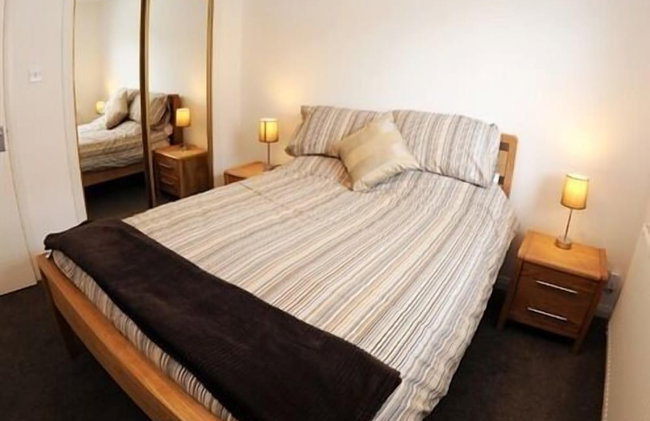
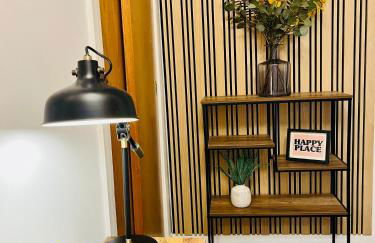
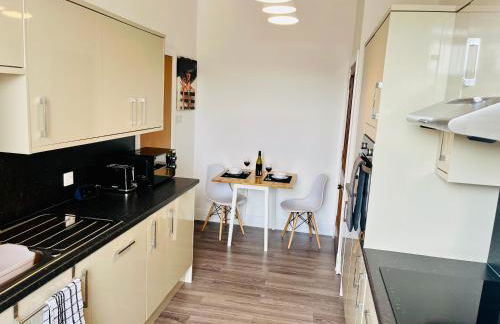
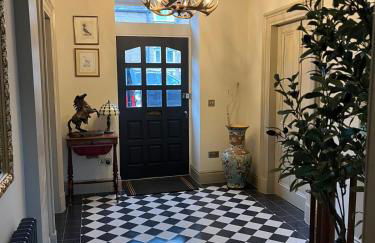
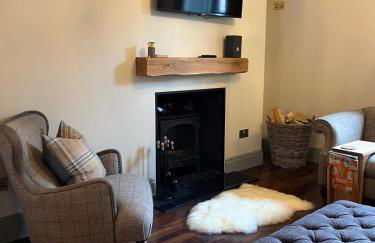
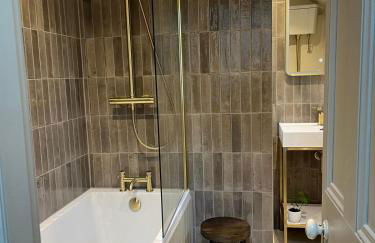
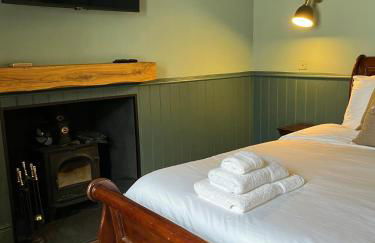
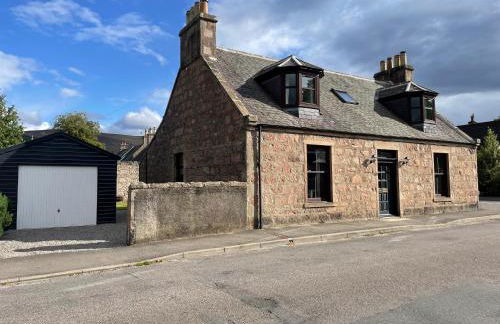
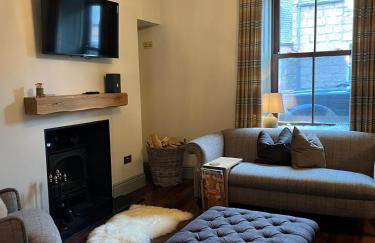
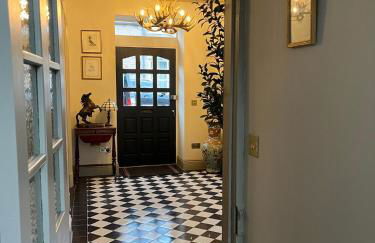
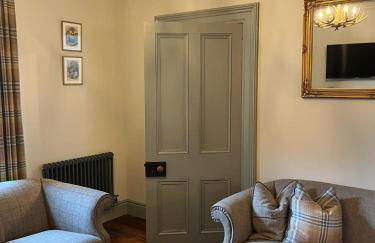
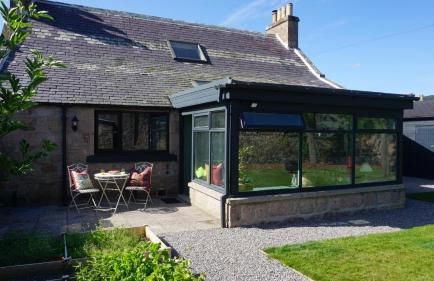
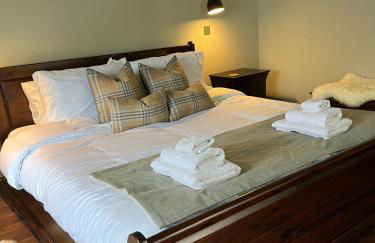
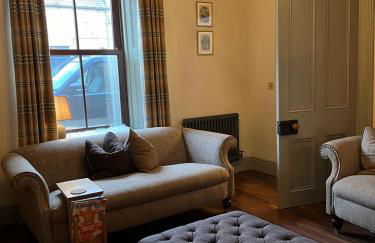
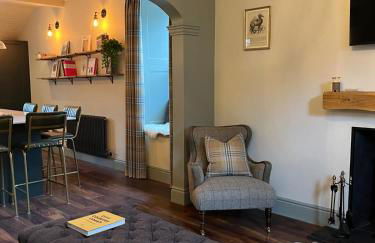
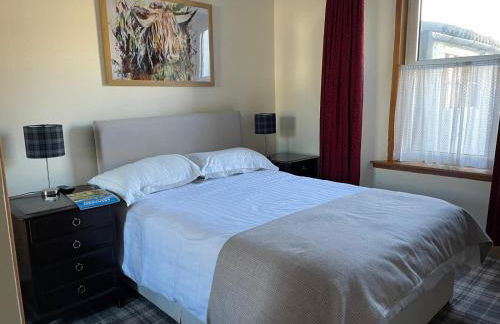
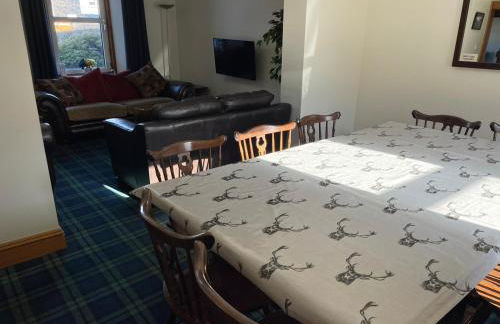
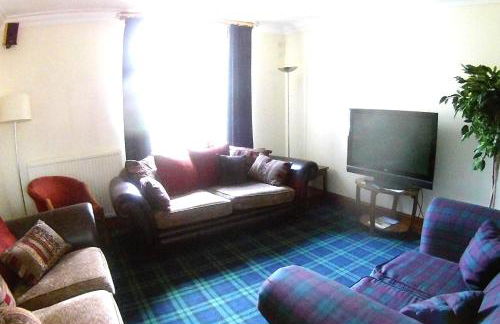
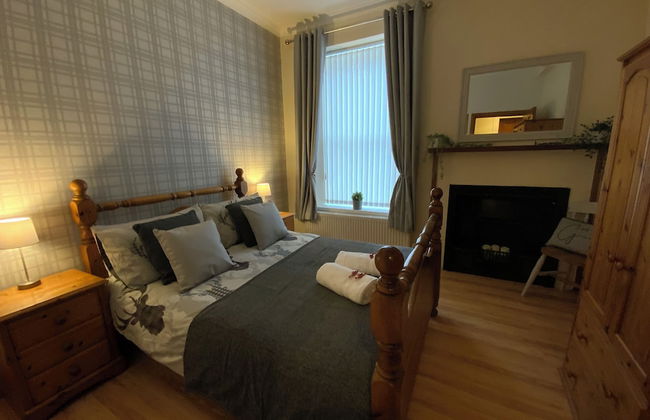
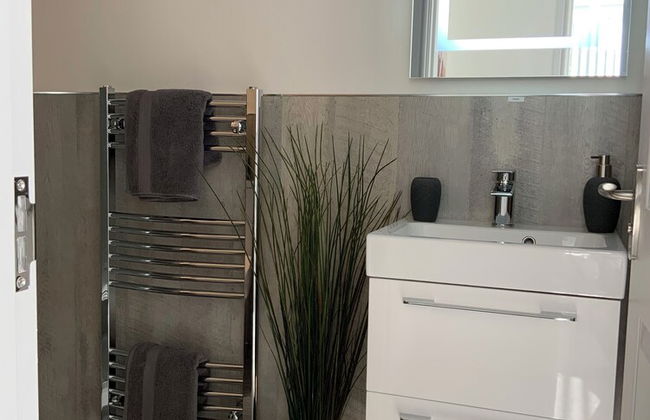
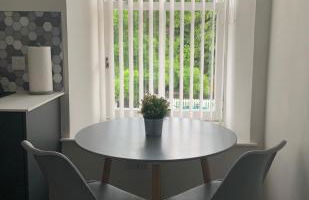
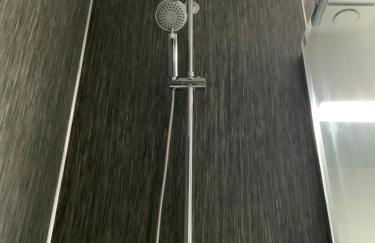
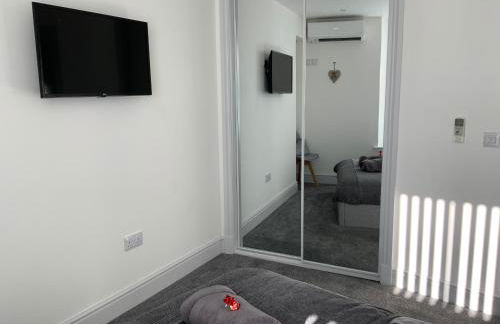
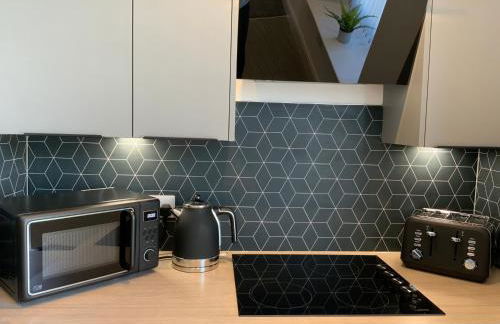
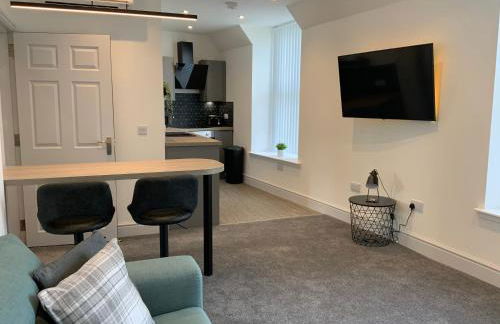
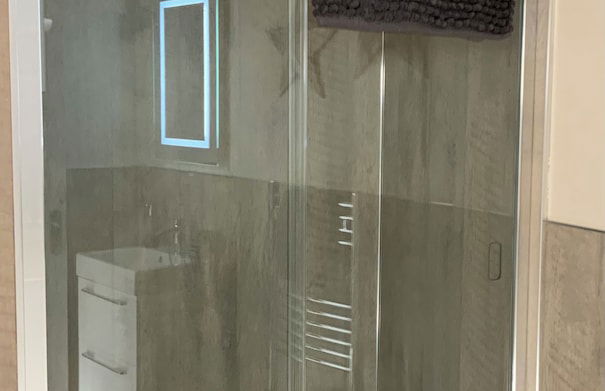
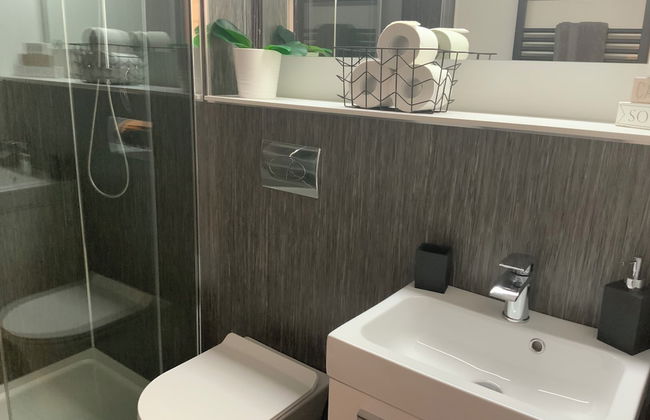
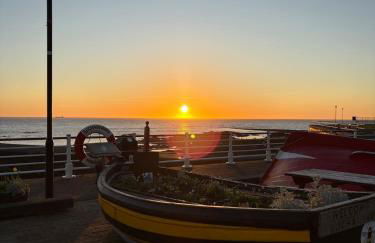
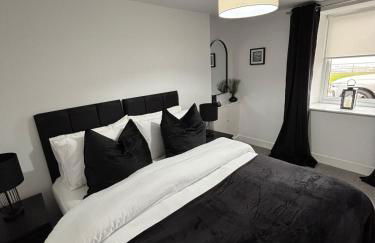
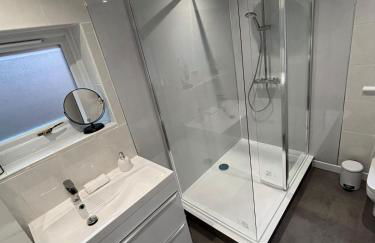
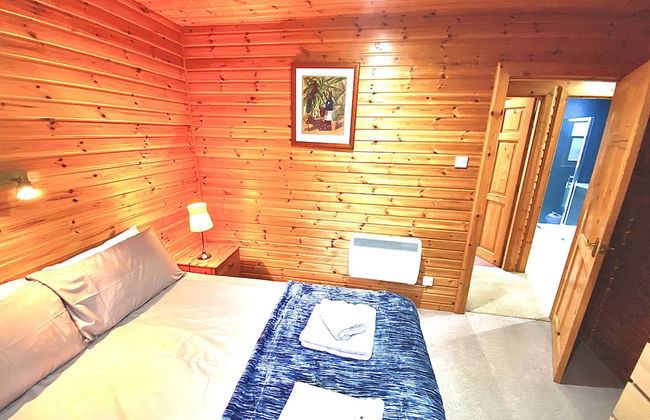
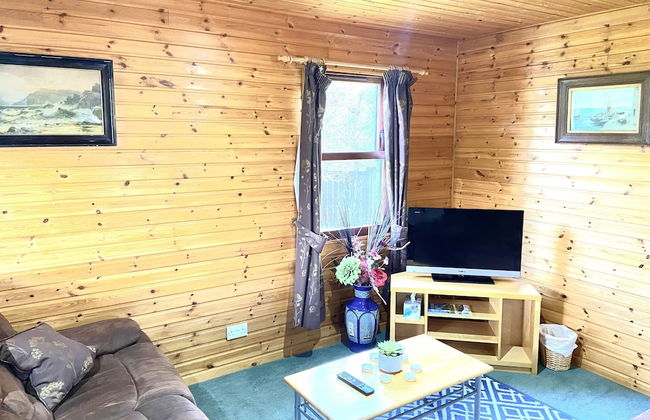
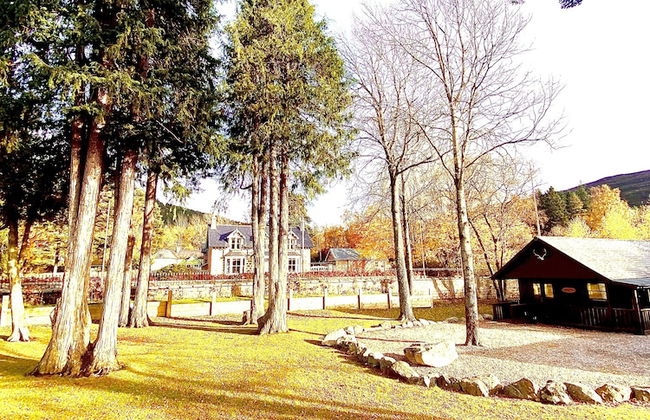
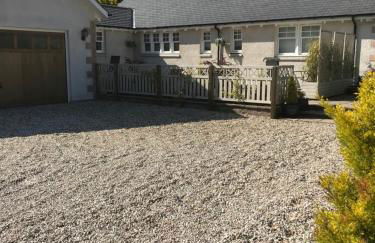
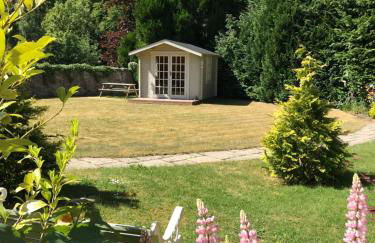
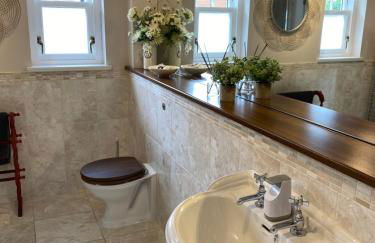
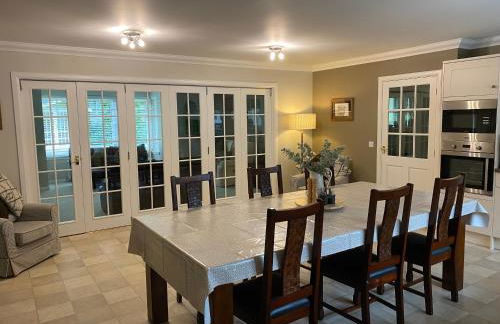
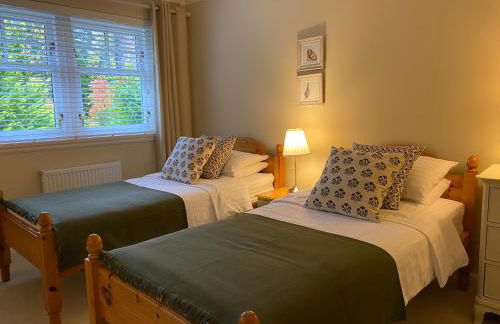
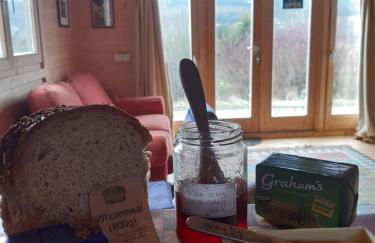
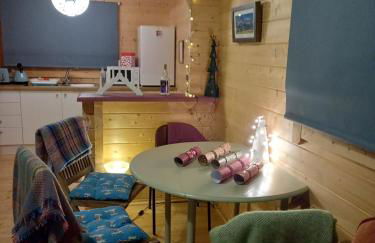
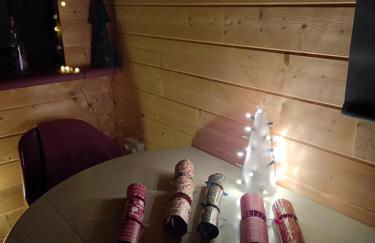
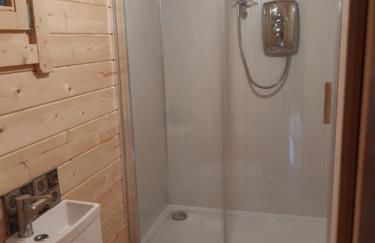
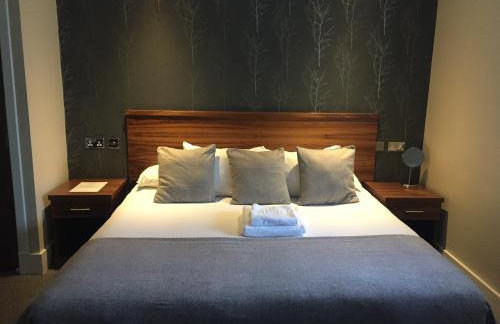
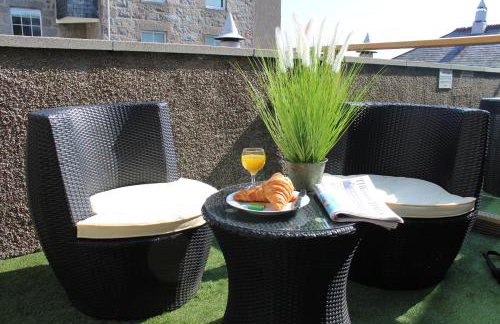
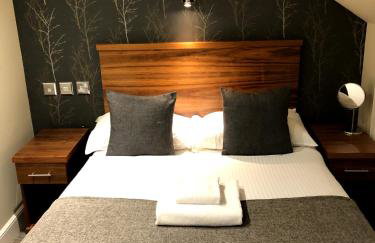
Acdc Glamping, Campervan , Caravan and Tent Resort - Foto 4
Acdc Glamping, Campervan , Caravan and Tent Resort - Foto 5
Acdc Glamping, Campervan , Caravan and Tent Resort - Foto 6
Acdc Glamping, Campervan , Caravan and Tent Resort - Foto 7
Acdc Glamping, Campervan , Caravan and Tent Resort - Foto 8
Acdc Glamping, Campervan , Caravan and Tent Resort - Foto 9
Acdc Glamping, Campervan , Caravan and Tent Resort - Foto 10
Acdc Glamping, Campervan , Caravan and Tent Resort - Foto 11
Acdc Glamping, Campervan , Caravan and Tent Resort - Foto 12
Acdc Glamping, Campervan , Caravan and Tent Resort - Foto 13
Acdc Glamping, Campervan , Caravan and Tent Resort - Foto 14
Acdc Glamping, Campervan , Caravan and Tent Resort - Foto 15
Acdc Glamping, Campervan , Caravan and Tent Resort - Foto 16
Acdc Glamping, Campervan , Caravan and Tent Resort - Foto 17
Acdc Glamping, Campervan , Caravan and Tent Resort - Foto 18
Acdc Glamping, Campervan , Caravan and Tent Resort - Foto 19
Acdc Glamping, Campervan , Caravan and Tent Resort - Foto 20
Acdc Glamping, Campervan , Caravan and Tent Resort - Foto 21
Acdc Glamping, Campervan , Caravan and Tent Resort - Foto 22
Acdc Glamping, Campervan , Caravan and Tent Resort - Foto 23
Acdc Glamping, Campervan , Caravan and Tent Resort - Foto 24
Acdc Glamping, Campervan , Caravan and Tent Resort - Foto 25
Acdc Glamping, Campervan , Caravan and Tent Resort - Foto 26
Acdc Glamping, Campervan , Caravan and Tent Resort - Foto 27
Acdc Glamping, Campervan , Caravan and Tent Resort - Foto 28
Acdc Glamping, Campervan , Caravan and Tent Resort - Foto 29
Acdc Glamping, Campervan , Caravan and Tent Resort - Foto 30
Acdc Glamping, Campervan , Caravan and Tent Resort - Foto 31
Acdc Glamping, Campervan , Caravan and Tent Resort - Foto 32
Acdc Glamping, Campervan , Caravan and Tent Resort - Foto 33
Acdc Glamping, Campervan , Caravan and Tent Resort - Foto 34
Acdc Glamping, Campervan , Caravan and Tent Resort - Foto 35
Acdc Glamping, Campervan , Caravan and Tent Resort - Foto 36
Acdc Glamping, Campervan , Caravan and Tent Resort - Foto 37
Acdc Glamping, Campervan , Caravan and Tent Resort - Foto 38
Acdc Glamping, Campervan , Caravan and Tent Resort - Foto 39
Acdc Glamping, Campervan , Caravan and Tent Resort - Foto 40
Acdc Glamping, Campervan , Caravan and Tent Resort - Foto 41
Acdc Glamping, Campervan , Caravan and Tent Resort - Foto 42
Acdc Glamping, Campervan , Caravan and Tent Resort - Foto 43
Acdc Glamping, Campervan , Caravan and Tent Resort - Foto 44
Acdc Glamping, Campervan , Caravan and Tent Resort - Foto 45
Acdc Glamping, Campervan , Caravan and Tent Resort - Foto 46
Acdc Glamping, Campervan , Caravan and Tent Resort - Foto 47
Acdc Glamping, Campervan , Caravan and Tent Resort - Foto 48
Acdc Glamping, Campervan , Caravan and Tent Resort - Foto 49
Acdc Glamping, Campervan , Caravan and Tent Resort - Foto 50
Acdc Glamping, Campervan , Caravan and Tent Resort - Foto 51
Acdc Glamping, Campervan , Caravan and Tent Resort - Foto 52
Acdc Glamping, Campervan , Caravan and Tent Resort - Foto 53
Acdc Glamping, Campervan , Caravan and Tent Resort - Foto 54
Acdc Glamping, Campervan , Caravan and Tent Resort - Foto 55
Acdc Glamping, Campervan , Caravan and Tent Resort - Foto 56
Acdc Glamping, Campervan , Caravan and Tent Resort - Foto 57
Acdc Glamping, Campervan , Caravan and Tent Resort - Foto 58
Acdc Glamping, Campervan , Caravan and Tent Resort - Foto 59
Acdc Glamping, Campervan , Caravan and Tent Resort - Foto 60
Acdc Glamping, Campervan , Caravan and Tent Resort - Foto 61
Acdc Glamping, Campervan , Caravan and Tent Resort - Foto 62
Acdc Glamping, Campervan , Caravan and Tent Resort - Foto 63
Acdc Glamping, Campervan , Caravan and Tent Resort - Foto 64
Acdc Glamping, Campervan , Caravan and Tent Resort - Foto 65
Acdc Glamping, Campervan , Caravan and Tent Resort - Foto 66
Acdc Glamping, Campervan , Caravan and Tent Resort - Foto 67
Acdc Glamping, Campervan , Caravan and Tent Resort - Foto 68
Acdc Glamping, Campervan , Caravan and Tent Resort - Foto 69
Acdc Glamping, Campervan , Caravan and Tent Resort - Foto 70
Acdc Glamping, Campervan , Caravan and Tent Resort - Foto 71
Acdc Glamping, Campervan , Caravan and Tent Resort - Foto 72
Acdc Glamping, Campervan , Caravan and Tent Resort - Foto 73
Acdc Glamping, Campervan , Caravan and Tent Resort - Foto 74
Acdc Glamping, Campervan , Caravan and Tent Resort - Foto 75
Acdc Glamping, Campervan , Caravan and Tent Resort - Foto 76
Acdc Glamping, Campervan , Caravan and Tent Resort - Foto 77
Acdc Glamping, Campervan , Caravan and Tent Resort - Foto 78
Acdc Glamping, Campervan , Caravan and Tent Resort - Foto 79
Acdc Glamping, Campervan , Caravan and Tent Resort - Foto 80

Acdc Glamping, Campervan , Caravan and Tent Resort

Fraserburgh - New Aberdour

  • 24 M2
  • 5 Personen
  • Heizung
  • Terrasse
  • Parkplatz
  • Balkon
  • Garten
  • Tv
  • Waschmaschine
  • Barbecue
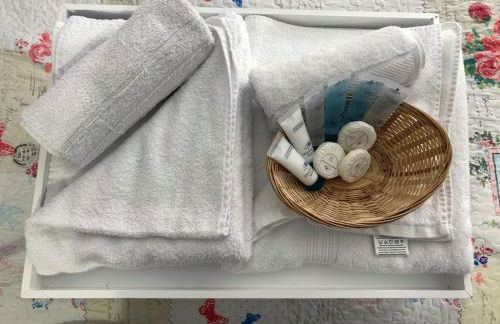
  • Handtücher
10Hervorragend | 15 Bewertungen
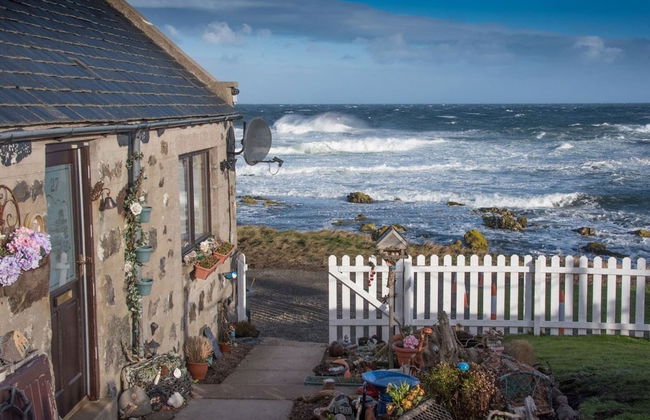
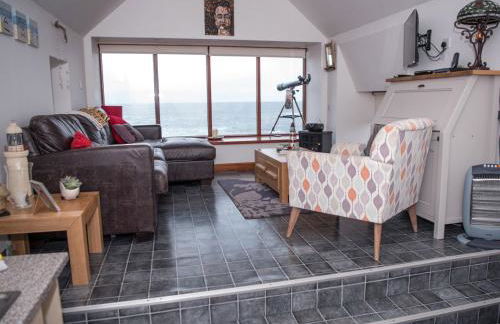
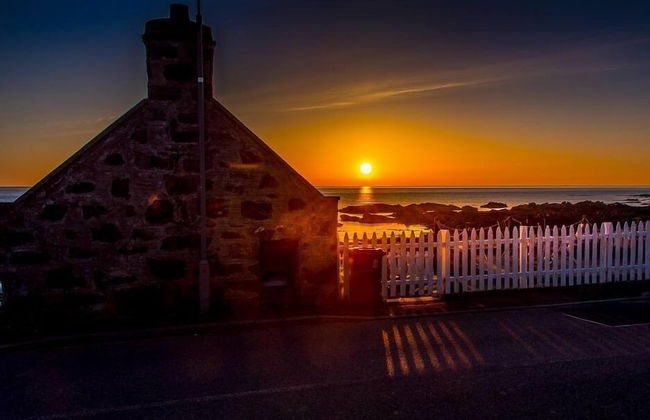
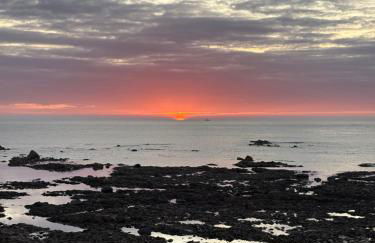
Pew With a View - Seafront Cottages - Foto 1
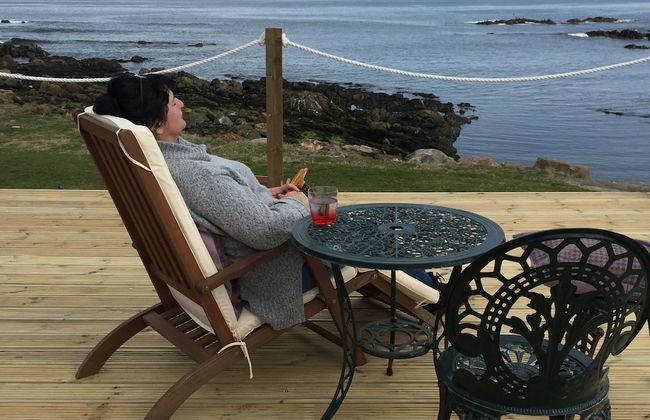
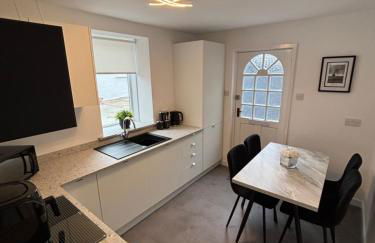
Pew With a View - Seafront Cottages - Foto 2
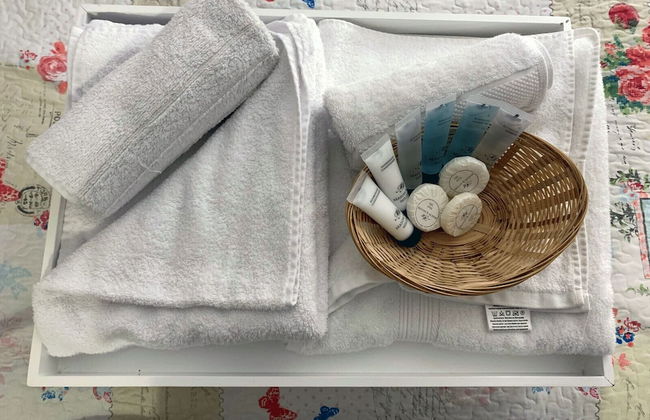
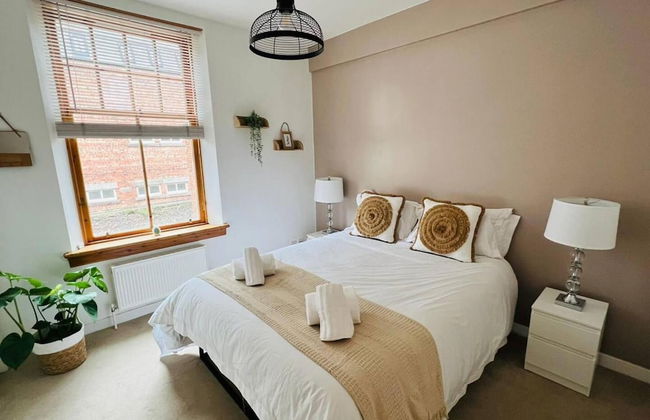
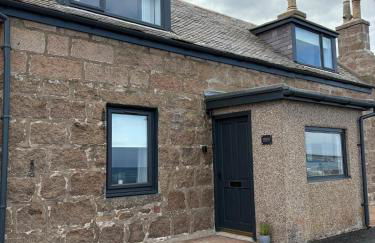
Pew With a View - Seafront Cottages - Foto 3
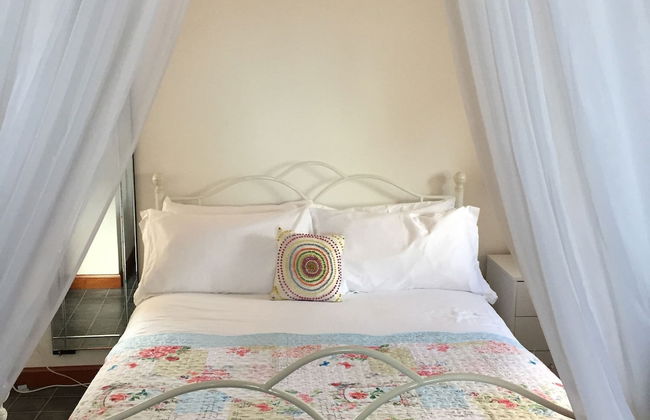
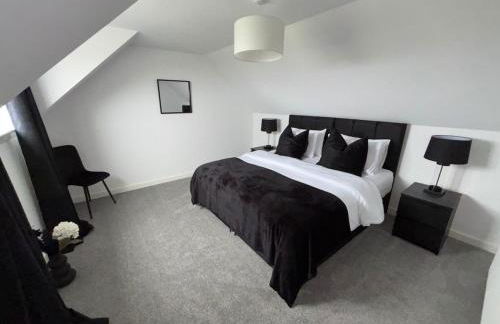
Pew With a View - Seafront Cottages - Foto 4
Pew With a View - Seafront Cottages - Foto 5
Pew With a View - Seafront Cottages - Foto 6
Pew With a View - Seafront Cottages - Foto 7
Pew With a View - Seafront Cottages - Foto 8
Pew With a View - Seafront Cottages - Foto 9
Pew With a View - Seafront Cottages - Foto 10
Pew With a View - Seafront Cottages - Foto 11
Pew With a View - Seafront Cottages - Foto 12
Pew With a View - Seafront Cottages - Foto 13
Pew With a View - Seafront Cottages - Foto 14
Pew With a View - Seafront Cottages - Foto 15
Pew With a View - Seafront Cottages - Foto 16
Pew With a View - Seafront Cottages - Foto 17
Pew With a View - Seafront Cottages - Foto 18
Pew With a View - Seafront Cottages - Foto 19
Pew With a View - Seafront Cottages - Foto 20
Pew With a View - Seafront Cottages - Foto 21
Pew With a View - Seafront Cottages - Foto 22
Pew With a View - Seafront Cottages - Foto 23
Pew With a View - Seafront Cottages - Foto 24
Pew With a View - Seafront Cottages - Foto 25
Pew With a View - Seafront Cottages - Foto 26
Pew With a View - Seafront Cottages - Foto 27
Pew With a View - Seafront Cottages - Foto 28
Pew With a View - Seafront Cottages - Foto 29
Pew With a View - Seafront Cottages - Foto 30
Pew With a View - Seafront Cottages - Foto 31
Pew With a View - Seafront Cottages - Foto 32
Pew With a View - Seafront Cottages - Foto 33
Pew With a View - Seafront Cottages - Foto 34
Pew With a View - Seafront Cottages - Foto 35
Pew With a View - Seafront Cottages - Foto 36
Pew With a View - Seafront Cottages - Foto 37
Pew With a View - Seafront Cottages - Foto 38
Pew With a View - Seafront Cottages - Foto 39
Pew With a View - Seafront Cottages - Foto 40
Pew With a View - Seafront Cottages - Foto 41
Pew With a View - Seafront Cottages - Foto 42
Pew With a View - Seafront Cottages - Foto 43
Pew With a View - Seafront Cottages - Foto 44
Pew With a View - Seafront Cottages - Foto 45
Pew With a View - Seafront Cottages - Foto 46
Pew With a View - Seafront Cottages - Foto 47
Pew With a View - Seafront Cottages - Foto 48
Pew With a View - Seafront Cottages - Foto 49
Pew With a View - Seafront Cottages - Foto 50
Pew With a View - Seafront Cottages - Foto 51
Pew With a View - Seafront Cottages - Foto 52
Pew With a View - Seafront Cottages - Foto 53
Pew With a View - Seafront Cottages - Foto 54
Pew With a View - Seafront Cottages - Foto 55
Pew With a View - Seafront Cottages - Foto 56
Pew With a View - Seafront Cottages - Foto 57
Pew With a View - Seafront Cottages - Foto 58
Pew With a View - Seafront Cottages - Foto 59
Pew With a View - Seafront Cottages - Foto 60
Pew With a View - Seafront Cottages - Foto 61
Pew With a View - Seafront Cottages - Foto 62
Pew With a View - Seafront Cottages - Foto 63
Pew With a View - Seafront Cottages - Foto 64
Pew With a View - Seafront Cottages - Foto 65
Pew With a View - Seafront Cottages - Foto 66
Pew With a View - Seafront Cottages - Foto 67
Pew With a View - Seafront Cottages - Foto 68
Pew With a View - Seafront Cottages - Foto 69
Pew With a View - Seafront Cottages - Foto 70
Pew With a View - Seafront Cottages - Foto 71
Pew With a View - Seafront Cottages - Foto 72
Pew With a View - Seafront Cottages - Foto 73
Pew With a View - Seafront Cottages - Foto 74
Pew With a View - Seafront Cottages - Foto 75
Pew With a View - Seafront Cottages - Foto 76
Pew With a View - Seafront Cottages - Foto 77
Pew With a View - Seafront Cottages - Foto 78
Pew With a View - Seafront Cottages - Foto 79
Pew With a View - Seafront Cottages - Foto 80
Pew With a View - Seafront Cottages - Foto 81
Pew With a View - Seafront Cottages - Foto 82
Pew With a View - Seafront Cottages - Foto 83
Pew With a View - Seafront Cottages - Foto 84
Pew With a View - Seafront Cottages - Foto 85
Pew With a View - Seafront Cottages - Foto 86
Pew With a View - Seafront Cottages - Foto 87
Pew With a View - Seafront Cottages - Foto 88
Pew With a View - Seafront Cottages - Foto 89
Pew With a View - Seafront Cottages - Foto 90
Pew With a View - Seafront Cottages - Foto 91
Pew With a View - Seafront Cottages - Foto 92
Pew With a View - Seafront Cottages - Foto 93
Pew With a View - Seafront Cottages - Foto 94
Pew With a View - Seafront Cottages - Foto 95
Pew With a View - Seafront Cottages - Foto 96
Pew With a View - Seafront Cottages - Foto 97
Pew With a View - Seafront Cottages - Foto 98
Pew With a View - Seafront Cottages - Foto 99
Pew With a View - Seafront Cottages - Foto 100
Pew With a View - Seafront Cottages - Foto 101
Pew With a View - Seafront Cottages - Foto 102
Pew With a View - Seafront Cottages - Foto 103

Pew With a View - Seafront Cottages

Fraserburgh - Sandhaven

  • 48 M2
  • 1 Schlafzimmer
  • 4 Personen
  • Heizung
  • Terrasse
  • Parkplatz
  • Balkon
  • Garten
  • Tv
  • Waschmaschine
  • Barbecue
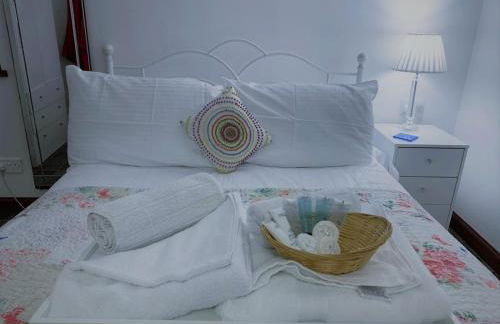
  • Handtücher
  • Bettlaken
10Hervorragend | 14 Bewertungen
Modern City Center 2 Bedroom Apartment - Foto 1
Modern City Center 2 Bedroom Apartment - Foto 2
Modern City Center 2 Bedroom Apartment - Foto 3
Modern City Center 2 Bedroom Apartment - Foto 4
Modern City Center 2 Bedroom Apartment - Foto 5
Modern City Center 2 Bedroom Apartment - Foto 6
Modern City Center 2 Bedroom Apartment - Foto 7
Modern City Center 2 Bedroom Apartment - Foto 8
Modern City Center 2 Bedroom Apartment - Foto 9
Modern City Center 2 Bedroom Apartment - Foto 10
Modern City Center 2 Bedroom Apartment - Foto 11
Modern City Center 2 Bedroom Apartment - Foto 12
Modern City Center 2 Bedroom Apartment - Foto 13
Modern City Center 2 Bedroom Apartment - Foto 14
Modern City Center 2 Bedroom Apartment - Foto 15
Modern City Center 2 Bedroom Apartment - Foto 16
Modern City Center 2 Bedroom Apartment - Foto 17
Modern City Center 2 Bedroom Apartment - Foto 18
Modern City Center 2 Bedroom Apartment - Foto 19
Modern City Center 2 Bedroom Apartment - Foto 20
Modern City Center 2 Bedroom Apartment - Foto 21
Modern City Center 2 Bedroom Apartment - Foto 22
Modern City Center 2 Bedroom Apartment - Foto 23
Modern City Center 2 Bedroom Apartment - Foto 24
Modern City Center 2 Bedroom Apartment - Foto 25
Modern City Center 2 Bedroom Apartment - Foto 26
Modern City Center 2 Bedroom Apartment - Foto 27
Modern City Center 2 Bedroom Apartment - Foto 28
Modern City Center 2 Bedroom Apartment - Foto 29
Modern City Center 2 Bedroom Apartment - Foto 30
Modern City Center 2 Bedroom Apartment - Foto 31
Modern City Center 2 Bedroom Apartment - Foto 32
Modern City Center 2 Bedroom Apartment - Foto 33
Modern City Center 2 Bedroom Apartment - Foto 34
Modern City Center 2 Bedroom Apartment - Foto 35
Modern City Center 2 Bedroom Apartment - Foto 36
Modern City Center 2 Bedroom Apartment - Foto 37
Modern City Center 2 Bedroom Apartment - Foto 38
Modern City Center 2 Bedroom Apartment - Foto 39
Modern City Center 2 Bedroom Apartment - Foto 40
Modern City Center 2 Bedroom Apartment - Foto 41
Modern City Center 2 Bedroom Apartment - Foto 42
Modern City Center 2 Bedroom Apartment - Foto 43
Modern City Center 2 Bedroom Apartment - Foto 44
Modern City Center 2 Bedroom Apartment - Foto 45
Modern City Center 2 Bedroom Apartment - Foto 46

Modern City Center 2 Bedroom Apartment

Aberdeen - Aberdeen

  • 60 M2
  • 2 Schlafzimmer
  • 4 Personen
  • Heizung
  • Parkplatz
9.4Außergewöhnlich | 39 Bewertungen
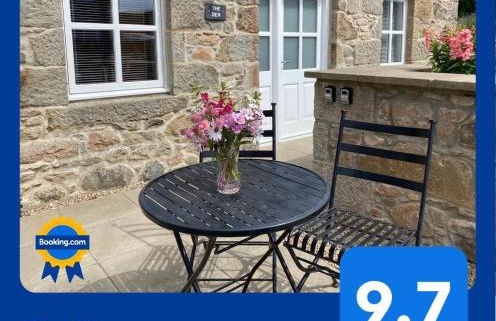
The Den - Foto 1
The Den - Foto 2
The Den - Foto 3
The Den - Foto 4
The Den - Foto 5
The Den - Foto 6
The Den - Foto 7
The Den - Foto 8
The Den - Foto 9
The Den - Foto 10
The Den - Foto 11
The Den - Foto 12
The Den - Foto 13
The Den - Foto 14
The Den - Foto 15
The Den - Foto 16
The Den - Foto 17

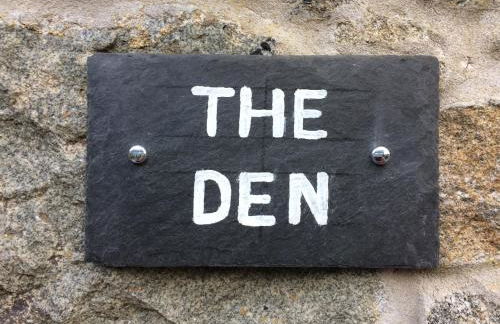
The Den

Peterhead - Peterhead

  • 35 M2
  • 1 Schlafzimmer
  • 2 Personen
  • Terrasse
  • Parkplatz
  • Garten
10Hervorragend | 19 Bewertungen
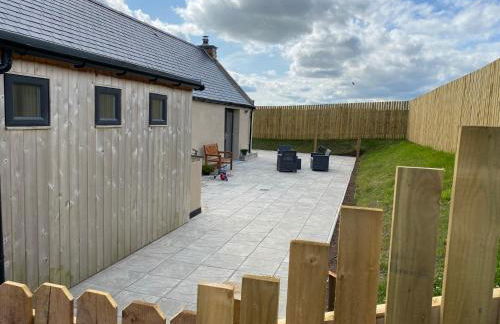
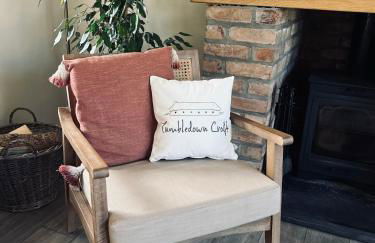
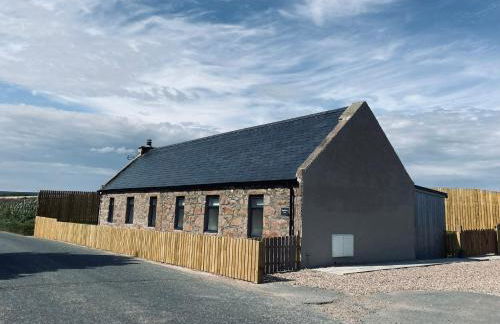
Tumbledown Croft, rural cottage near Cruden Bay - Foto 1
Tumbledown Croft, rural cottage near Cruden Bay - Foto 2
Tumbledown Croft, rural cottage near Cruden Bay - Foto 3
Tumbledown Croft, rural cottage near Cruden Bay - Foto 4
Tumbledown Croft, rural cottage near Cruden Bay - Foto 5
Tumbledown Croft, rural cottage near Cruden Bay - Foto 6
Tumbledown Croft, rural cottage near Cruden Bay - Foto 7
Tumbledown Croft, rural cottage near Cruden Bay - Foto 8
Tumbledown Croft, rural cottage near Cruden Bay - Foto 9
Tumbledown Croft, rural cottage near Cruden Bay - Foto 10
Tumbledown Croft, rural cottage near Cruden Bay - Foto 11
Tumbledown Croft, rural cottage near Cruden Bay - Foto 12
Tumbledown Croft, rural cottage near Cruden Bay - Foto 13
Tumbledown Croft, rural cottage near Cruden Bay - Foto 14
Tumbledown Croft, rural cottage near Cruden Bay - Foto 15
Tumbledown Croft, rural cottage near Cruden Bay - Foto 16
Tumbledown Croft, rural cottage near Cruden Bay - Foto 17
Tumbledown Croft, rural cottage near Cruden Bay - Foto 18
Tumbledown Croft, rural cottage near Cruden Bay - Foto 19
Tumbledown Croft, rural cottage near Cruden Bay - Foto 20
Tumbledown Croft, rural cottage near Cruden Bay - Foto 21
Tumbledown Croft, rural cottage near Cruden Bay - Foto 22
Tumbledown Croft, rural cottage near Cruden Bay - Foto 23
Tumbledown Croft, rural cottage near Cruden Bay - Foto 24
Tumbledown Croft, rural cottage near Cruden Bay - Foto 25
Tumbledown Croft, rural cottage near Cruden Bay - Foto 26
Tumbledown Croft, rural cottage near Cruden Bay - Foto 27
Tumbledown Croft, rural cottage near Cruden Bay - Foto 28
Tumbledown Croft, rural cottage near Cruden Bay - Foto 29

Tumbledown Croft, rural cottage near Cruden Bay

Peterhead - Cruden Bay

  • 60 M2
  • 2 Schlafzimmer
  • 4 Personen
  • Heizung
  • Terrasse
  • Parkplatz
  • Garten
  • Barbecue
9.8Außergewöhnlich | 20 Bewertungen
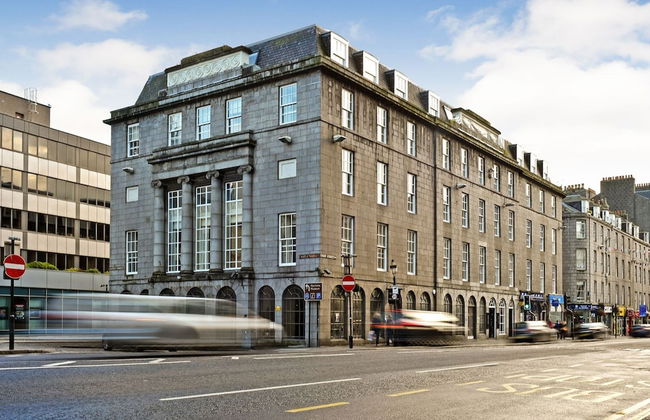
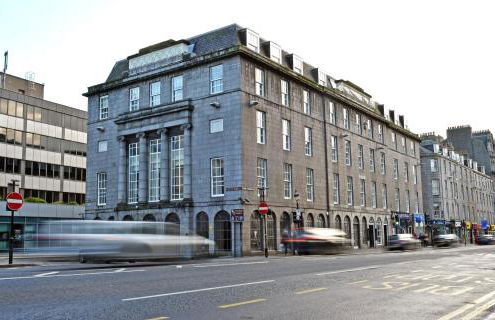
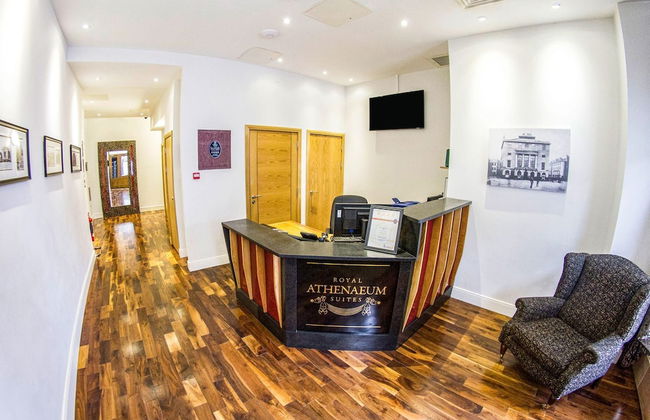
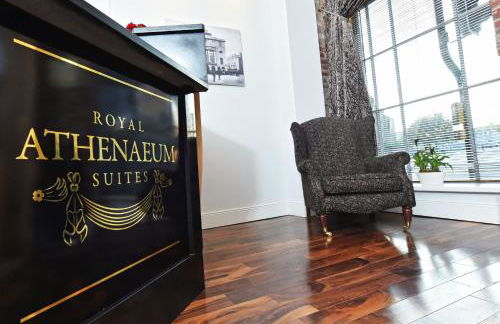
Royal Athenaeum Suites - Foto 1
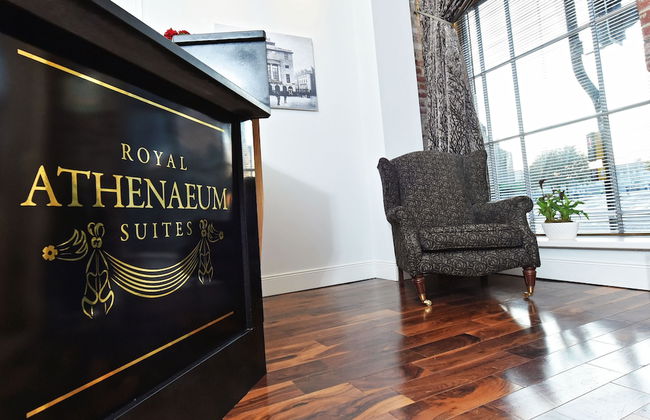
Royal Athenaeum Suites - Foto 2
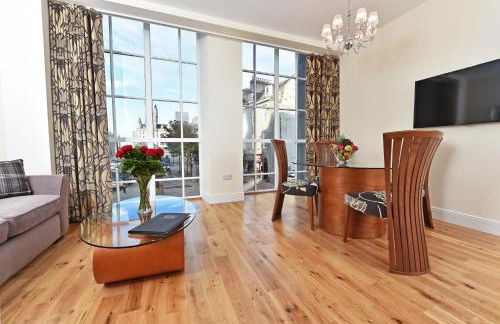
Royal Athenaeum Suites - Foto 3
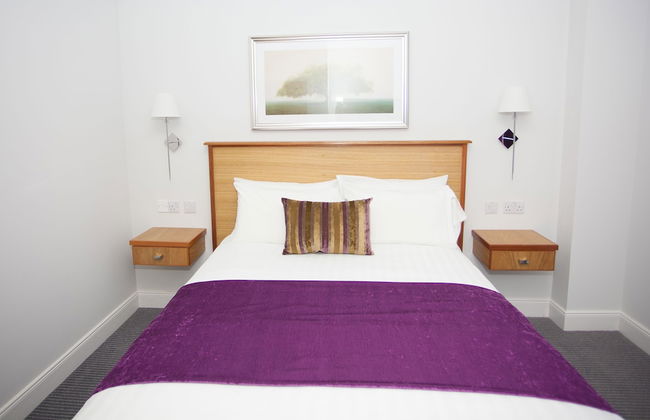
Royal Athenaeum Suites - Foto 4
Royal Athenaeum Suites - Foto 5
Royal Athenaeum Suites - Foto 6
Royal Athenaeum Suites - Foto 7
Royal Athenaeum Suites - Foto 8
Royal Athenaeum Suites - Foto 9
Royal Athenaeum Suites - Foto 10
Royal Athenaeum Suites - Foto 11
Royal Athenaeum Suites - Foto 12
Royal Athenaeum Suites - Foto 13
Royal Athenaeum Suites - Foto 14
Royal Athenaeum Suites - Foto 15
Royal Athenaeum Suites - Foto 16
Royal Athenaeum Suites - Foto 17
Royal Athenaeum Suites - Foto 18
Royal Athenaeum Suites - Foto 19
Royal Athenaeum Suites - Foto 20
Royal Athenaeum Suites - Foto 21
Royal Athenaeum Suites - Foto 22
Royal Athenaeum Suites - Foto 23
Royal Athenaeum Suites - Foto 24
Royal Athenaeum Suites - Foto 25
Royal Athenaeum Suites - Foto 26
Royal Athenaeum Suites - Foto 27
Royal Athenaeum Suites - Foto 28
Royal Athenaeum Suites - Foto 29
Royal Athenaeum Suites - Foto 30
Royal Athenaeum Suites - Foto 31
Royal Athenaeum Suites - Foto 32
Royal Athenaeum Suites - Foto 33
Royal Athenaeum Suites - Foto 34
Royal Athenaeum Suites - Foto 35
Royal Athenaeum Suites - Foto 36
Royal Athenaeum Suites - Foto 37
Royal Athenaeum Suites - Foto 38
Royal Athenaeum Suites - Foto 39
Royal Athenaeum Suites - Foto 40
Royal Athenaeum Suites - Foto 41
Royal Athenaeum Suites - Foto 42
Royal Athenaeum Suites - Foto 43
Royal Athenaeum Suites - Foto 44
Royal Athenaeum Suites - Foto 45
Royal Athenaeum Suites - Foto 46
Royal Athenaeum Suites - Foto 47
Royal Athenaeum Suites - Foto 48
Royal Athenaeum Suites - Foto 49
Royal Athenaeum Suites - Foto 50
Royal Athenaeum Suites - Foto 51
Royal Athenaeum Suites - Foto 52
Royal Athenaeum Suites - Foto 53
Royal Athenaeum Suites - Foto 54
Royal Athenaeum Suites - Foto 55
Royal Athenaeum Suites - Foto 56
Royal Athenaeum Suites - Foto 57
Royal Athenaeum Suites - Foto 58
Royal Athenaeum Suites - Foto 59
Royal Athenaeum Suites - Foto 60
Royal Athenaeum Suites - Foto 61
Royal Athenaeum Suites - Foto 62
Royal Athenaeum Suites - Foto 63

Royal Athenaeum Suites

Aberdeen - Aberdeen

  • 45 M2
  • 2 Schlafzimmer
  • 4 Personen
  • Kochnische
  • Klimaanlage
  • Heizung
  • Fahrstuhl
  • Tv
  • Waschmaschine
  • Handtücher
  • Bettlaken
8.8Sehr gut | 277 Bewertungen
Orange Apartments Polmuir Gardens Only 7 minutes to City Centre - Foto 1
Orange Apartments Polmuir Gardens Only 7 minutes to City Centre - Foto 2
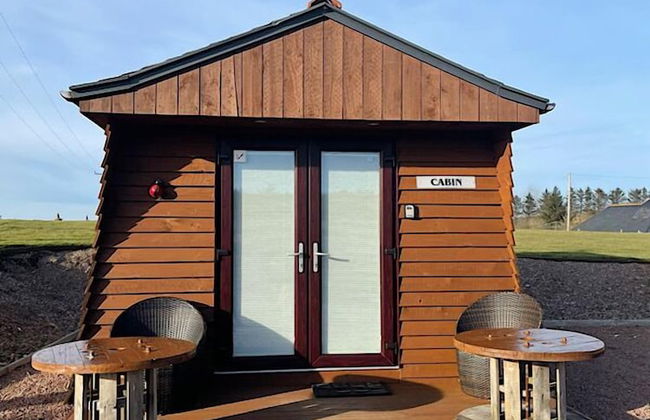
Orange Apartments Polmuir Gardens Only 7 minutes to City Centre - Foto 3
Orange Apartments Polmuir Gardens Only 7 minutes to City Centre - Foto 4
Orange Apartments Polmuir Gardens Only 7 minutes to City Centre - Foto 5
Orange Apartments Polmuir Gardens Only 7 minutes to City Centre - Foto 6
Orange Apartments Polmuir Gardens Only 7 minutes to City Centre - Foto 7
Orange Apartments Polmuir Gardens Only 7 minutes to City Centre - Foto 8
Orange Apartments Polmuir Gardens Only 7 minutes to City Centre - Foto 9
Orange Apartments Polmuir Gardens Only 7 minutes to City Centre - Foto 10
Orange Apartments Polmuir Gardens Only 7 minutes to City Centre - Foto 11
Orange Apartments Polmuir Gardens Only 7 minutes to City Centre - Foto 12
Orange Apartments Polmuir Gardens Only 7 minutes to City Centre - Foto 13
Orange Apartments Polmuir Gardens Only 7 minutes to City Centre - Foto 14
Orange Apartments Polmuir Gardens Only 7 minutes to City Centre - Foto 15
Orange Apartments Polmuir Gardens Only 7 minutes to City Centre - Foto 16
Orange Apartments Polmuir Gardens Only 7 minutes to City Centre - Foto 17
Orange Apartments Polmuir Gardens Only 7 minutes to City Centre - Foto 18
Orange Apartments Polmuir Gardens Only 7 minutes to City Centre - Foto 19
Orange Apartments Polmuir Gardens Only 7 minutes to City Centre - Foto 20

Orange Apartments Polmuir Gardens Only 7 minutes to City Centre

Aberdeen - Aberdeen

  • 100 M2
  • 3 Schlafzimmer
  • 6 Personen
  • Heizung
  • Parkplatz
  • Fahrstuhl
  • Tv
  • Waschmaschine
  • Handtücher
  • Bettlaken
8.8Sehr gut | 65 Bewertungen
Lighthouse Cottage With Hottub - Foto 1
Lighthouse Cottage With Hottub - Foto 2
Lighthouse Cottage With Hottub - Foto 3
Lighthouse Cottage With Hottub - Foto 4
Lighthouse Cottage With Hottub - Foto 5
Lighthouse Cottage With Hottub - Foto 6
Lighthouse Cottage With Hottub - Foto 7
Lighthouse Cottage With Hottub - Foto 8
Lighthouse Cottage With Hottub - Foto 9
Lighthouse Cottage With Hottub - Foto 10
Lighthouse Cottage With Hottub - Foto 11
Lighthouse Cottage With Hottub - Foto 12
Lighthouse Cottage With Hottub - Foto 13
Lighthouse Cottage With Hottub - Foto 14
Lighthouse Cottage With Hottub - Foto 15
Lighthouse Cottage With Hottub - Foto 16
Lighthouse Cottage With Hottub - Foto 17
Lighthouse Cottage With Hottub - Foto 18
Lighthouse Cottage With Hottub - Foto 19

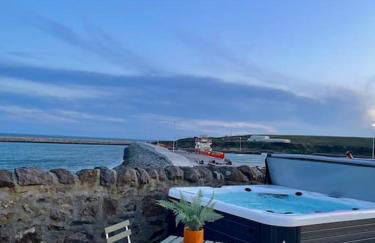
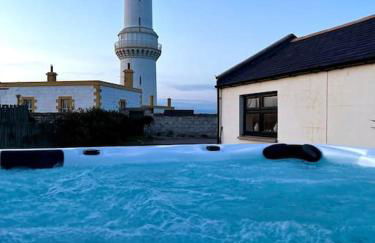
Lighthouse Cottage With Hottub

Aberdeen - Aberdeen

  • 67 M2
  • 2 Personen
  • Heizung
  • Terrasse
  • Parkplatz
  • Garten
9.6Außergewöhnlich | 80 Bewertungen
Trinity apartments n56 - Foto 1
Trinity apartments n56 - Foto 2
Trinity apartments n56 - Foto 3
Trinity apartments n56 - Foto 4
Trinity apartments n56 - Foto 5
Trinity apartments n56 - Foto 6
Trinity apartments n56 - Foto 7
Trinity apartments n56 - Foto 8
Trinity apartments n56 - Foto 9
Trinity apartments n56 - Foto 10
Trinity apartments n56 - Foto 11
Trinity apartments n56 - Foto 12

Trinity apartments n56

Peterhead - Peterhead

  • 50 M2
  • 1 Schlafzimmer
  • 2 Personen
  • Terrasse
  • Parkplatz
9.7Außergewöhnlich | 14 Bewertungen
Eastwood Cottage - Foto 1
Eastwood Cottage - Foto 2
Eastwood Cottage - Foto 3
Eastwood Cottage - Foto 4
Eastwood Cottage - Foto 5
Eastwood Cottage - Foto 6
Eastwood Cottage - Foto 7
Eastwood Cottage - Foto 8
Eastwood Cottage - Foto 9
Eastwood Cottage - Foto 10
Eastwood Cottage - Foto 11
Eastwood Cottage - Foto 12
Eastwood Cottage - Foto 13
Eastwood Cottage - Foto 14
Eastwood Cottage - Foto 15
Eastwood Cottage - Foto 16

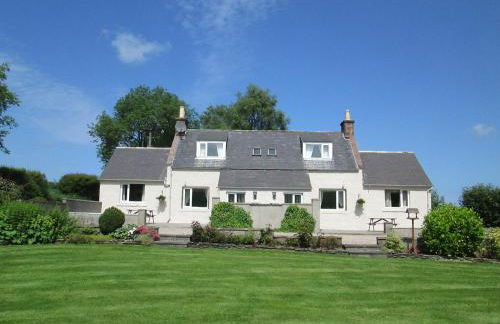
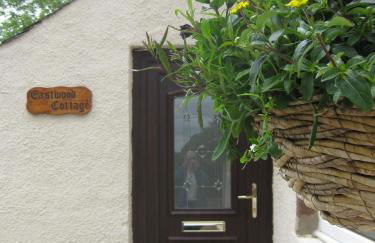
Eastwood Cottage

Turriff - Turriff

  • 6 M2
  • 2 Schlafzimmer
  • 4 Personen
  • Heizung
  • Terrasse
  • Parkplatz
  • Garten
9.5Außergewöhnlich | 38 Bewertungen
Aberdeen Serviced Apartments - Bloomfield - Foto 1
Aberdeen Serviced Apartments - Bloomfield - Foto 2
Aberdeen Serviced Apartments - Bloomfield - Foto 3
Aberdeen Serviced Apartments - Bloomfield - Foto 4
Aberdeen Serviced Apartments - Bloomfield - Foto 5
Aberdeen Serviced Apartments - Bloomfield - Foto 6
Aberdeen Serviced Apartments - Bloomfield - Foto 7
Aberdeen Serviced Apartments - Bloomfield - Foto 8
Aberdeen Serviced Apartments - Bloomfield - Foto 9
Aberdeen Serviced Apartments - Bloomfield - Foto 10
Aberdeen Serviced Apartments - Bloomfield - Foto 11
Aberdeen Serviced Apartments - Bloomfield - Foto 12
Aberdeen Serviced Apartments - Bloomfield - Foto 13
Aberdeen Serviced Apartments - Bloomfield - Foto 14
Aberdeen Serviced Apartments - Bloomfield - Foto 15
Aberdeen Serviced Apartments - Bloomfield - Foto 16
Aberdeen Serviced Apartments - Bloomfield - Foto 17
Aberdeen Serviced Apartments - Bloomfield - Foto 18
Aberdeen Serviced Apartments - Bloomfield - Foto 19
Aberdeen Serviced Apartments - Bloomfield - Foto 20
Aberdeen Serviced Apartments - Bloomfield - Foto 21
Aberdeen Serviced Apartments - Bloomfield - Foto 22
Aberdeen Serviced Apartments - Bloomfield - Foto 23
Aberdeen Serviced Apartments - Bloomfield - Foto 24
Aberdeen Serviced Apartments - Bloomfield - Foto 25
Aberdeen Serviced Apartments - Bloomfield - Foto 26
Aberdeen Serviced Apartments - Bloomfield - Foto 27
Aberdeen Serviced Apartments - Bloomfield - Foto 28
Aberdeen Serviced Apartments - Bloomfield - Foto 29
Aberdeen Serviced Apartments - Bloomfield - Foto 30
Aberdeen Serviced Apartments - Bloomfield - Foto 31
Aberdeen Serviced Apartments - Bloomfield - Foto 32
Aberdeen Serviced Apartments - Bloomfield - Foto 33
Aberdeen Serviced Apartments - Bloomfield - Foto 34
Aberdeen Serviced Apartments - Bloomfield - Foto 35
Aberdeen Serviced Apartments - Bloomfield - Foto 36
Aberdeen Serviced Apartments - Bloomfield - Foto 37
Aberdeen Serviced Apartments - Bloomfield - Foto 38
Aberdeen Serviced Apartments - Bloomfield - Foto 39
Aberdeen Serviced Apartments - Bloomfield - Foto 40
Aberdeen Serviced Apartments - Bloomfield - Foto 41
Aberdeen Serviced Apartments - Bloomfield - Foto 42
Aberdeen Serviced Apartments - Bloomfield - Foto 43
Aberdeen Serviced Apartments - Bloomfield - Foto 44
Aberdeen Serviced Apartments - Bloomfield - Foto 45
Aberdeen Serviced Apartments - Bloomfield - Foto 46
Aberdeen Serviced Apartments - Bloomfield - Foto 47
Aberdeen Serviced Apartments - Bloomfield - Foto 48
Aberdeen Serviced Apartments - Bloomfield - Foto 49
Aberdeen Serviced Apartments - Bloomfield - Foto 50
Aberdeen Serviced Apartments - Bloomfield - Foto 51

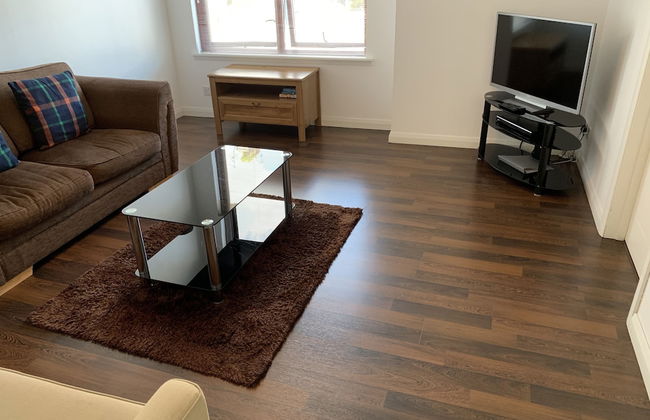
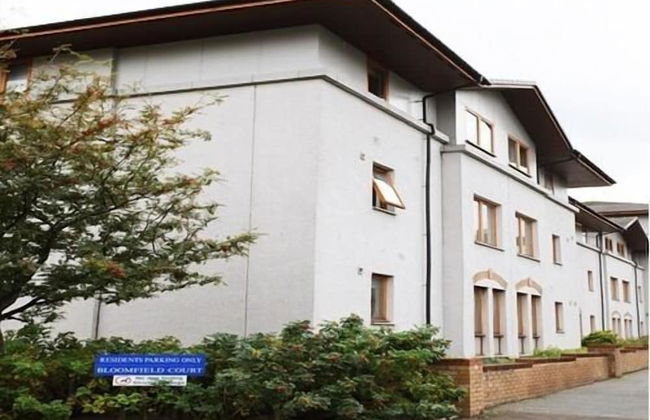
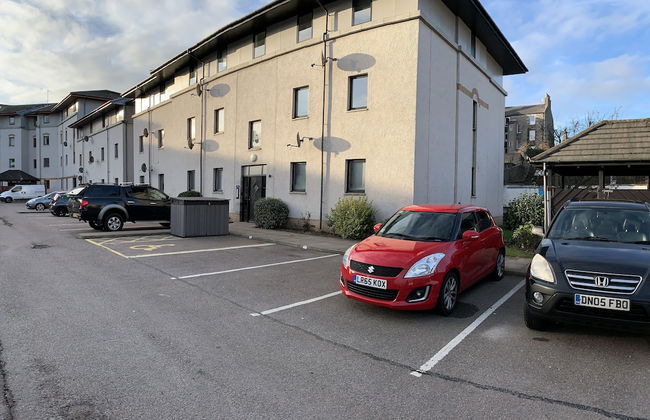
Aberdeen Serviced Apartments - Bloomfield

Aberdeen - Aberdeen - 1.7 km von Aberdeen (geolocation.placetype.port)

  • 65 M2
  • 2 Schlafzimmer
  • 4 Personen
  • Heizung
  • Parkplatz
  • Tv
9Außergewöhnlich | 35 Bewertungen
Central, Modern Apartment - Private Terrace - Dog Friendly - Foto 1
Central, Modern Apartment - Private Terrace - Dog Friendly - Foto 2
Central, Modern Apartment - Private Terrace - Dog Friendly - Foto 3
Central, Modern Apartment - Private Terrace - Dog Friendly - Foto 4
Central, Modern Apartment - Private Terrace - Dog Friendly - Foto 5
Central, Modern Apartment - Private Terrace - Dog Friendly - Foto 6
Central, Modern Apartment - Private Terrace - Dog Friendly - Foto 7
Central, Modern Apartment - Private Terrace - Dog Friendly - Foto 8
Central, Modern Apartment - Private Terrace - Dog Friendly - Foto 9
Central, Modern Apartment - Private Terrace - Dog Friendly - Foto 10
Central, Modern Apartment - Private Terrace - Dog Friendly - Foto 11
Central, Modern Apartment - Private Terrace - Dog Friendly - Foto 12
Central, Modern Apartment - Private Terrace - Dog Friendly - Foto 13
Central, Modern Apartment - Private Terrace - Dog Friendly - Foto 14
Central, Modern Apartment - Private Terrace - Dog Friendly - Foto 15
Central, Modern Apartment - Private Terrace - Dog Friendly - Foto 16
Central, Modern Apartment - Private Terrace - Dog Friendly - Foto 17
Central, Modern Apartment - Private Terrace - Dog Friendly - Foto 18
Central, Modern Apartment - Private Terrace - Dog Friendly - Foto 19
Central, Modern Apartment - Private Terrace - Dog Friendly - Foto 20

Central, Modern Apartment - Private Terrace - Dog Friendly

Aberdeen - Aberdeen - 1.1 km von Aberdeen (geolocation.placetype.port)

  • 72 M2
  • 2 Schlafzimmer
  • 4 Personen
  • Heizung
  • Terrasse
  • Parkplatz
  • Garten
9.5Außergewöhnlich | 10 Bewertungen
Lewis Lodge - Stunning & Exclusive Luxury Home in the Heart of Ballater, Royal Deeside - Foto 1
Lewis Lodge - Stunning & Exclusive Luxury Home in the Heart of Ballater, Royal Deeside - Foto 2
Lewis Lodge - Stunning & Exclusive Luxury Home in the Heart of Ballater, Royal Deeside - Foto 3
Lewis Lodge - Stunning & Exclusive Luxury Home in the Heart of Ballater, Royal Deeside - Foto 4
Lewis Lodge - Stunning & Exclusive Luxury Home in the Heart of Ballater, Royal Deeside - Foto 5
Lewis Lodge - Stunning & Exclusive Luxury Home in the Heart of Ballater, Royal Deeside - Foto 6
Lewis Lodge - Stunning & Exclusive Luxury Home in the Heart of Ballater, Royal Deeside - Foto 7
Lewis Lodge - Stunning & Exclusive Luxury Home in the Heart of Ballater, Royal Deeside - Foto 8
Lewis Lodge - Stunning & Exclusive Luxury Home in the Heart of Ballater, Royal Deeside - Foto 9
Lewis Lodge - Stunning & Exclusive Luxury Home in the Heart of Ballater, Royal Deeside - Foto 10
Lewis Lodge - Stunning & Exclusive Luxury Home in the Heart of Ballater, Royal Deeside - Foto 11
Lewis Lodge - Stunning & Exclusive Luxury Home in the Heart of Ballater, Royal Deeside - Foto 12
Lewis Lodge - Stunning & Exclusive Luxury Home in the Heart of Ballater, Royal Deeside - Foto 13
Lewis Lodge - Stunning & Exclusive Luxury Home in the Heart of Ballater, Royal Deeside - Foto 14
Lewis Lodge - Stunning & Exclusive Luxury Home in the Heart of Ballater, Royal Deeside - Foto 15
Lewis Lodge - Stunning & Exclusive Luxury Home in the Heart of Ballater, Royal Deeside - Foto 16
Lewis Lodge - Stunning & Exclusive Luxury Home in the Heart of Ballater, Royal Deeside - Foto 17
Lewis Lodge - Stunning & Exclusive Luxury Home in the Heart of Ballater, Royal Deeside - Foto 18
Lewis Lodge - Stunning & Exclusive Luxury Home in the Heart of Ballater, Royal Deeside - Foto 19
Lewis Lodge - Stunning & Exclusive Luxury Home in the Heart of Ballater, Royal Deeside - Foto 20
Lewis Lodge - Stunning & Exclusive Luxury Home in the Heart of Ballater, Royal Deeside - Foto 21
Lewis Lodge - Stunning & Exclusive Luxury Home in the Heart of Ballater, Royal Deeside - Foto 22
Lewis Lodge - Stunning & Exclusive Luxury Home in the Heart of Ballater, Royal Deeside - Foto 23
Lewis Lodge - Stunning & Exclusive Luxury Home in the Heart of Ballater, Royal Deeside - Foto 24
Lewis Lodge - Stunning & Exclusive Luxury Home in the Heart of Ballater, Royal Deeside - Foto 25
Lewis Lodge - Stunning & Exclusive Luxury Home in the Heart of Ballater, Royal Deeside - Foto 26
Lewis Lodge - Stunning & Exclusive Luxury Home in the Heart of Ballater, Royal Deeside - Foto 27
Lewis Lodge - Stunning & Exclusive Luxury Home in the Heart of Ballater, Royal Deeside - Foto 28
Lewis Lodge - Stunning & Exclusive Luxury Home in the Heart of Ballater, Royal Deeside - Foto 29
Lewis Lodge - Stunning & Exclusive Luxury Home in the Heart of Ballater, Royal Deeside - Foto 30
Lewis Lodge - Stunning & Exclusive Luxury Home in the Heart of Ballater, Royal Deeside - Foto 31
Lewis Lodge - Stunning & Exclusive Luxury Home in the Heart of Ballater, Royal Deeside - Foto 32
Lewis Lodge - Stunning & Exclusive Luxury Home in the Heart of Ballater, Royal Deeside - Foto 33
Lewis Lodge - Stunning & Exclusive Luxury Home in the Heart of Ballater, Royal Deeside - Foto 34
Lewis Lodge - Stunning & Exclusive Luxury Home in the Heart of Ballater, Royal Deeside - Foto 35
Lewis Lodge - Stunning & Exclusive Luxury Home in the Heart of Ballater, Royal Deeside - Foto 36
Lewis Lodge - Stunning & Exclusive Luxury Home in the Heart of Ballater, Royal Deeside - Foto 37
Lewis Lodge - Stunning & Exclusive Luxury Home in the Heart of Ballater, Royal Deeside - Foto 38
Lewis Lodge - Stunning & Exclusive Luxury Home in the Heart of Ballater, Royal Deeside - Foto 39
Lewis Lodge - Stunning & Exclusive Luxury Home in the Heart of Ballater, Royal Deeside - Foto 40
Lewis Lodge - Stunning & Exclusive Luxury Home in the Heart of Ballater, Royal Deeside - Foto 41
Lewis Lodge - Stunning & Exclusive Luxury Home in the Heart of Ballater, Royal Deeside - Foto 42
Lewis Lodge - Stunning & Exclusive Luxury Home in the Heart of Ballater, Royal Deeside - Foto 43
Lewis Lodge - Stunning & Exclusive Luxury Home in the Heart of Ballater, Royal Deeside - Foto 44
Lewis Lodge - Stunning & Exclusive Luxury Home in the Heart of Ballater, Royal Deeside - Foto 45
Lewis Lodge - Stunning & Exclusive Luxury Home in the Heart of Ballater, Royal Deeside - Foto 46
Lewis Lodge - Stunning & Exclusive Luxury Home in the Heart of Ballater, Royal Deeside - Foto 47
Lewis Lodge - Stunning & Exclusive Luxury Home in the Heart of Ballater, Royal Deeside - Foto 48
Lewis Lodge - Stunning & Exclusive Luxury Home in the Heart of Ballater, Royal Deeside - Foto 49
Lewis Lodge - Stunning & Exclusive Luxury Home in the Heart of Ballater, Royal Deeside - Foto 50
Lewis Lodge - Stunning & Exclusive Luxury Home in the Heart of Ballater, Royal Deeside - Foto 51
Lewis Lodge - Stunning & Exclusive Luxury Home in the Heart of Ballater, Royal Deeside - Foto 52
Lewis Lodge - Stunning & Exclusive Luxury Home in the Heart of Ballater, Royal Deeside - Foto 53
Lewis Lodge - Stunning & Exclusive Luxury Home in the Heart of Ballater, Royal Deeside - Foto 54
Lewis Lodge - Stunning & Exclusive Luxury Home in the Heart of Ballater, Royal Deeside - Foto 55
Lewis Lodge - Stunning & Exclusive Luxury Home in the Heart of Ballater, Royal Deeside - Foto 56
Lewis Lodge - Stunning & Exclusive Luxury Home in the Heart of Ballater, Royal Deeside - Foto 57
Lewis Lodge - Stunning & Exclusive Luxury Home in the Heart of Ballater, Royal Deeside - Foto 58
Lewis Lodge - Stunning & Exclusive Luxury Home in the Heart of Ballater, Royal Deeside - Foto 59
Lewis Lodge - Stunning & Exclusive Luxury Home in the Heart of Ballater, Royal Deeside - Foto 60
Lewis Lodge - Stunning & Exclusive Luxury Home in the Heart of Ballater, Royal Deeside - Foto 61
Lewis Lodge - Stunning & Exclusive Luxury Home in the Heart of Ballater, Royal Deeside - Foto 62
Lewis Lodge - Stunning & Exclusive Luxury Home in the Heart of Ballater, Royal Deeside - Foto 63
Lewis Lodge - Stunning & Exclusive Luxury Home in the Heart of Ballater, Royal Deeside - Foto 64
Lewis Lodge - Stunning & Exclusive Luxury Home in the Heart of Ballater, Royal Deeside - Foto 65
Lewis Lodge - Stunning & Exclusive Luxury Home in the Heart of Ballater, Royal Deeside - Foto 66
Lewis Lodge - Stunning & Exclusive Luxury Home in the Heart of Ballater, Royal Deeside - Foto 67
Lewis Lodge - Stunning & Exclusive Luxury Home in the Heart of Ballater, Royal Deeside - Foto 68
Lewis Lodge - Stunning & Exclusive Luxury Home in the Heart of Ballater, Royal Deeside - Foto 69
Lewis Lodge - Stunning & Exclusive Luxury Home in the Heart of Ballater, Royal Deeside - Foto 70
Lewis Lodge - Stunning & Exclusive Luxury Home in the Heart of Ballater, Royal Deeside - Foto 71
Lewis Lodge - Stunning & Exclusive Luxury Home in the Heart of Ballater, Royal Deeside - Foto 72
Lewis Lodge - Stunning & Exclusive Luxury Home in the Heart of Ballater, Royal Deeside - Foto 73
Lewis Lodge - Stunning & Exclusive Luxury Home in the Heart of Ballater, Royal Deeside - Foto 74
Lewis Lodge - Stunning & Exclusive Luxury Home in the Heart of Ballater, Royal Deeside - Foto 75
Lewis Lodge - Stunning & Exclusive Luxury Home in the Heart of Ballater, Royal Deeside - Foto 76
Lewis Lodge - Stunning & Exclusive Luxury Home in the Heart of Ballater, Royal Deeside - Foto 77
Lewis Lodge - Stunning & Exclusive Luxury Home in the Heart of Ballater, Royal Deeside - Foto 78
Lewis Lodge - Stunning & Exclusive Luxury Home in the Heart of Ballater, Royal Deeside - Foto 79
Lewis Lodge - Stunning & Exclusive Luxury Home in the Heart of Ballater, Royal Deeside - Foto 80

Lewis Lodge - Stunning & Exclusive Luxury Home in the Heart of Ballater, Royal Deeside

Ballater - Ballater

  • 2010 M2
  • 4 Schlafzimmer
  • 8 Personen
  • Heizung
  • Terrasse
  • Parkplatz
  • Garten
9.5Außergewöhnlich | 21 Bewertungen
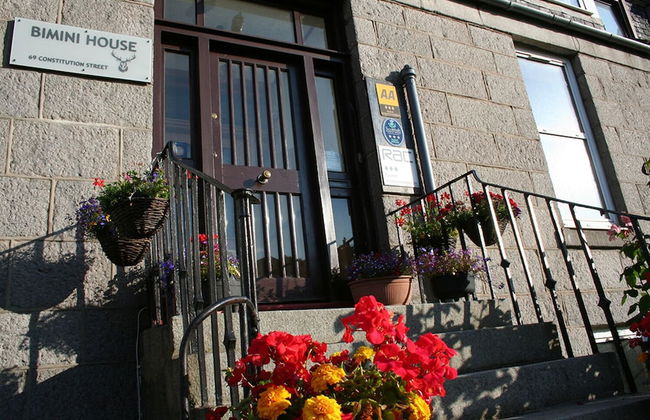
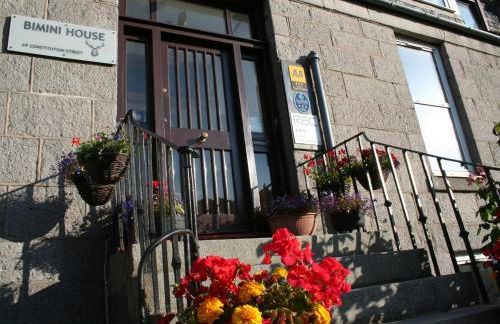
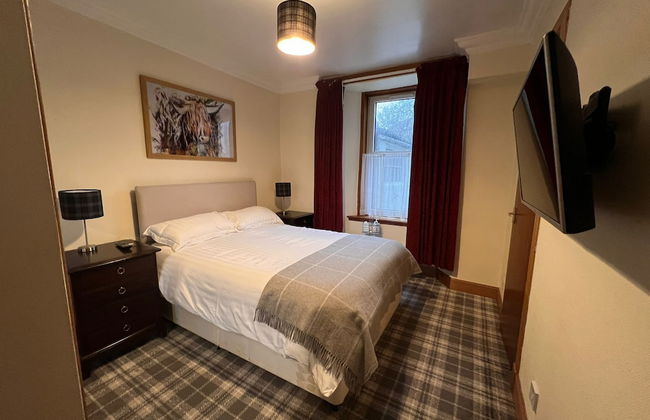
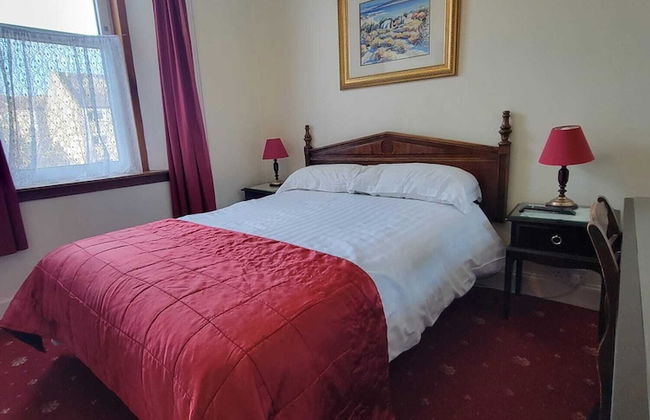
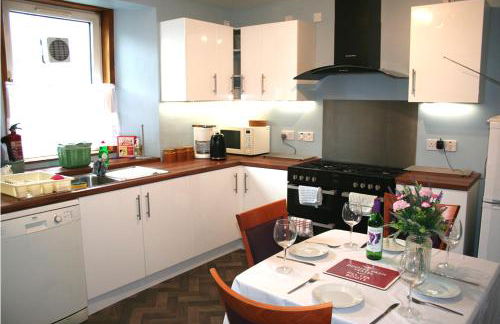
Bimini Aberdeen - Foto 1
Bimini Aberdeen - Foto 2
Bimini Aberdeen - Foto 3
Bimini Aberdeen - Foto 4
Bimini Aberdeen - Foto 5
Bimini Aberdeen - Foto 6
Bimini Aberdeen - Foto 7
Bimini Aberdeen - Foto 8
Bimini Aberdeen - Foto 9
Bimini Aberdeen - Foto 10
Bimini Aberdeen - Foto 11
Bimini Aberdeen - Foto 12
Bimini Aberdeen - Foto 13
Bimini Aberdeen - Foto 14
Bimini Aberdeen - Foto 15
Bimini Aberdeen - Foto 16
Bimini Aberdeen - Foto 17
Bimini Aberdeen - Foto 18
Bimini Aberdeen - Foto 19
Bimini Aberdeen - Foto 20
Bimini Aberdeen - Foto 21
Bimini Aberdeen - Foto 22
Bimini Aberdeen - Foto 23
Bimini Aberdeen - Foto 24
Bimini Aberdeen - Foto 25
Bimini Aberdeen - Foto 26
Bimini Aberdeen - Foto 27
Bimini Aberdeen - Foto 28
Bimini Aberdeen - Foto 29
Bimini Aberdeen - Foto 30
Bimini Aberdeen - Foto 31
Bimini Aberdeen - Foto 32
Bimini Aberdeen - Foto 33
Bimini Aberdeen - Foto 34
Bimini Aberdeen - Foto 35
Bimini Aberdeen - Foto 36
Bimini Aberdeen - Foto 37
Bimini Aberdeen - Foto 38
Bimini Aberdeen - Foto 39
Bimini Aberdeen - Foto 40
Bimini Aberdeen - Foto 41
Bimini Aberdeen - Foto 42
Bimini Aberdeen - Foto 43
Bimini Aberdeen - Foto 44
Bimini Aberdeen - Foto 45
Bimini Aberdeen - Foto 46
Bimini Aberdeen - Foto 47
Bimini Aberdeen - Foto 48
Bimini Aberdeen - Foto 49

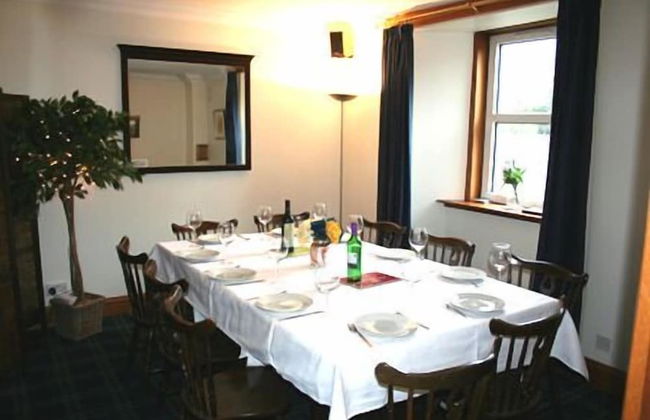
Bimini Aberdeen

Aberdeen - Aberdeen

  • 230 M2
  • 9 Schlafzimmer
  • 10 Personen
  • Heizung
  • Parkplatz
  • Garten
  • Tv
  • Waschmaschine
  • Handtücher
9Außergewöhnlich | 33 Bewertungen
Deeside Snugs Apartments - Foto 1
Deeside Snugs Apartments - Foto 2
Deeside Snugs Apartments - Foto 3
Deeside Snugs Apartments - Foto 4
Deeside Snugs Apartments - Foto 5
Deeside Snugs Apartments - Foto 6
Deeside Snugs Apartments - Foto 7
Deeside Snugs Apartments - Foto 8
Deeside Snugs Apartments - Foto 9
Deeside Snugs Apartments - Foto 10
Deeside Snugs Apartments - Foto 11
Deeside Snugs Apartments - Foto 12
Deeside Snugs Apartments - Foto 13
Deeside Snugs Apartments - Foto 14
Deeside Snugs Apartments - Foto 15
Deeside Snugs Apartments - Foto 16
Deeside Snugs Apartments - Foto 17
Deeside Snugs Apartments - Foto 18
Deeside Snugs Apartments - Foto 19
Deeside Snugs Apartments - Foto 20
Deeside Snugs Apartments - Foto 21
Deeside Snugs Apartments - Foto 22
Deeside Snugs Apartments - Foto 23
Deeside Snugs Apartments - Foto 24
Deeside Snugs Apartments - Foto 25
Deeside Snugs Apartments - Foto 26
Deeside Snugs Apartments - Foto 27
Deeside Snugs Apartments - Foto 28
Deeside Snugs Apartments - Foto 29
Deeside Snugs Apartments - Foto 30
Deeside Snugs Apartments - Foto 31
Deeside Snugs Apartments - Foto 32
Deeside Snugs Apartments - Foto 33
Deeside Snugs Apartments - Foto 34
Deeside Snugs Apartments - Foto 35
Deeside Snugs Apartments - Foto 36
Deeside Snugs Apartments - Foto 37
Deeside Snugs Apartments - Foto 38
Deeside Snugs Apartments - Foto 39
Deeside Snugs Apartments - Foto 40
Deeside Snugs Apartments - Foto 41
Deeside Snugs Apartments - Foto 42
Deeside Snugs Apartments - Foto 43
Deeside Snugs Apartments - Foto 44
Deeside Snugs Apartments - Foto 45
Deeside Snugs Apartments - Foto 46
Deeside Snugs Apartments - Foto 47
Deeside Snugs Apartments - Foto 48
Deeside Snugs Apartments - Foto 49
Deeside Snugs Apartments - Foto 50
Deeside Snugs Apartments - Foto 51
Deeside Snugs Apartments - Foto 52
Deeside Snugs Apartments - Foto 53
Deeside Snugs Apartments - Foto 54
Deeside Snugs Apartments - Foto 55
Deeside Snugs Apartments - Foto 56
Deeside Snugs Apartments - Foto 57
Deeside Snugs Apartments - Foto 58
Deeside Snugs Apartments - Foto 59
Deeside Snugs Apartments - Foto 60
Deeside Snugs Apartments - Foto 61
Deeside Snugs Apartments - Foto 62
Deeside Snugs Apartments - Foto 63
Deeside Snugs Apartments - Foto 64
Deeside Snugs Apartments - Foto 65
Deeside Snugs Apartments - Foto 66
Deeside Snugs Apartments - Foto 67
Deeside Snugs Apartments - Foto 68
Deeside Snugs Apartments - Foto 69
Deeside Snugs Apartments - Foto 70
Deeside Snugs Apartments - Foto 71
Deeside Snugs Apartments - Foto 72
Deeside Snugs Apartments - Foto 73
Deeside Snugs Apartments - Foto 74
Deeside Snugs Apartments - Foto 75
Deeside Snugs Apartments - Foto 76
Deeside Snugs Apartments - Foto 77
Deeside Snugs Apartments - Foto 78
Deeside Snugs Apartments - Foto 79
Deeside Snugs Apartments - Foto 80
Deeside Snugs Apartments - Foto 81
Deeside Snugs Apartments - Foto 82
Deeside Snugs Apartments - Foto 83
Deeside Snugs Apartments - Foto 84
Deeside Snugs Apartments - Foto 85
Deeside Snugs Apartments - Foto 86
Deeside Snugs Apartments - Foto 87
Deeside Snugs Apartments - Foto 88
Deeside Snugs Apartments - Foto 89
Deeside Snugs Apartments - Foto 90
Deeside Snugs Apartments - Foto 91
Deeside Snugs Apartments - Foto 92
Deeside Snugs Apartments - Foto 93
Deeside Snugs Apartments - Foto 94
Deeside Snugs Apartments - Foto 95
Deeside Snugs Apartments - Foto 96
Deeside Snugs Apartments - Foto 97
Deeside Snugs Apartments - Foto 98
Deeside Snugs Apartments - Foto 99
Deeside Snugs Apartments - Foto 100
Deeside Snugs Apartments - Foto 101
Deeside Snugs Apartments - Foto 102
Deeside Snugs Apartments - Foto 103
Deeside Snugs Apartments - Foto 104
Deeside Snugs Apartments - Foto 105
Deeside Snugs Apartments - Foto 106
Deeside Snugs Apartments - Foto 107
Deeside Snugs Apartments - Foto 108
Deeside Snugs Apartments - Foto 109
Deeside Snugs Apartments - Foto 110
Deeside Snugs Apartments - Foto 111
Deeside Snugs Apartments - Foto 112
Deeside Snugs Apartments - Foto 113
Deeside Snugs Apartments - Foto 114
Deeside Snugs Apartments - Foto 115
Deeside Snugs Apartments - Foto 116
Deeside Snugs Apartments - Foto 117
Deeside Snugs Apartments - Foto 118
Deeside Snugs Apartments - Foto 119
Deeside Snugs Apartments - Foto 120
Deeside Snugs Apartments - Foto 121
Deeside Snugs Apartments - Foto 122
Deeside Snugs Apartments - Foto 123
Deeside Snugs Apartments - Foto 124

Deeside Snugs Apartments

Aboyne - Kincardine O'Neil

  • 68 M2
  • 2 Schlafzimmer
  • 4 Personen
  • Klimaanlage
  • Heizung
  • Terrasse
  • Parkplatz
  • Garten
  • Tv
  • Waschmaschine
  • Schornstein
  • Handtücher
  • Bettlaken
10Hervorragend | 3 Bewertungen
Harbour View, Buchanhaven, Peterhead - Foto 1
Harbour View, Buchanhaven, Peterhead - Foto 2
Harbour View, Buchanhaven, Peterhead - Foto 3
Harbour View, Buchanhaven, Peterhead - Foto 4
Harbour View, Buchanhaven, Peterhead - Foto 5
Harbour View, Buchanhaven, Peterhead - Foto 6
Harbour View, Buchanhaven, Peterhead - Foto 7
Harbour View, Buchanhaven, Peterhead - Foto 8
Harbour View, Buchanhaven, Peterhead - Foto 9
Harbour View, Buchanhaven, Peterhead - Foto 10
Harbour View, Buchanhaven, Peterhead - Foto 11
Harbour View, Buchanhaven, Peterhead - Foto 12
Harbour View, Buchanhaven, Peterhead - Foto 13
Harbour View, Buchanhaven, Peterhead - Foto 14
Harbour View, Buchanhaven, Peterhead - Foto 15
Harbour View, Buchanhaven, Peterhead - Foto 16
Harbour View, Buchanhaven, Peterhead - Foto 17
Harbour View, Buchanhaven, Peterhead - Foto 18
Harbour View, Buchanhaven, Peterhead - Foto 19
Harbour View, Buchanhaven, Peterhead - Foto 20
Harbour View, Buchanhaven, Peterhead - Foto 21
Harbour View, Buchanhaven, Peterhead - Foto 22
Harbour View, Buchanhaven, Peterhead - Foto 23
Harbour View, Buchanhaven, Peterhead - Foto 24
Harbour View, Buchanhaven, Peterhead - Foto 25

Harbour View, Buchanhaven, Peterhead

Peterhead

  • 3 Schlafzimmer
  • 6 Personen
  • Heizung
  • Parkplatz
  • Garten
9.8Außergewöhnlich | 15 Bewertungen
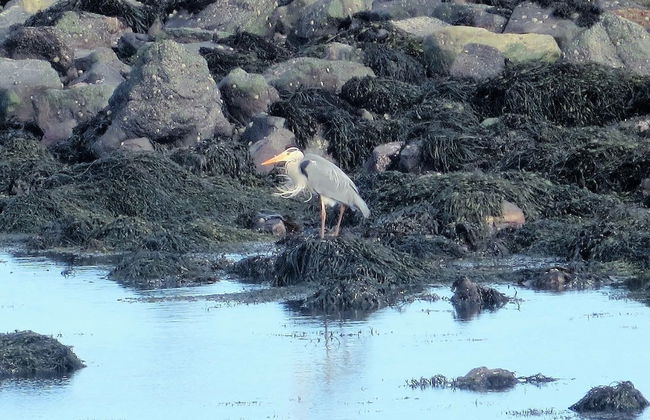
Braemar Lodge Cabins Not for profit - Foto 1
Braemar Lodge Cabins Not for profit - Foto 2
Braemar Lodge Cabins Not for profit - Foto 3
Braemar Lodge Cabins Not for profit - Foto 4
Braemar Lodge Cabins Not for profit - Foto 5
Braemar Lodge Cabins Not for profit - Foto 6
Braemar Lodge Cabins Not for profit - Foto 7
Braemar Lodge Cabins Not for profit - Foto 8
Braemar Lodge Cabins Not for profit - Foto 9
Braemar Lodge Cabins Not for profit - Foto 10
Braemar Lodge Cabins Not for profit - Foto 11
Braemar Lodge Cabins Not for profit - Foto 12
Braemar Lodge Cabins Not for profit - Foto 13
Braemar Lodge Cabins Not for profit - Foto 14
Braemar Lodge Cabins Not for profit - Foto 15
Braemar Lodge Cabins Not for profit - Foto 16
Braemar Lodge Cabins Not for profit - Foto 17
Braemar Lodge Cabins Not for profit - Foto 18
Braemar Lodge Cabins Not for profit - Foto 19
Braemar Lodge Cabins Not for profit - Foto 20
Braemar Lodge Cabins Not for profit - Foto 21
Braemar Lodge Cabins Not for profit - Foto 22
Braemar Lodge Cabins Not for profit - Foto 23
Braemar Lodge Cabins Not for profit - Foto 24
Braemar Lodge Cabins Not for profit - Foto 25
Braemar Lodge Cabins Not for profit - Foto 26
Braemar Lodge Cabins Not for profit - Foto 27
Braemar Lodge Cabins Not for profit - Foto 28
Braemar Lodge Cabins Not for profit - Foto 29
Braemar Lodge Cabins Not for profit - Foto 30
Braemar Lodge Cabins Not for profit - Foto 31
Braemar Lodge Cabins Not for profit - Foto 32
Braemar Lodge Cabins Not for profit - Foto 33
Braemar Lodge Cabins Not for profit - Foto 34

Braemar Lodge Cabins Not for profit

Ballater - Braemar

  • 60 M2
  • 3 Schlafzimmer
  • 6 Personen
  • Heizung
  • Parkplatz
  • Tv
  • Handtücher
  • Bettlaken
9.8Außergewöhnlich | 19 Bewertungen
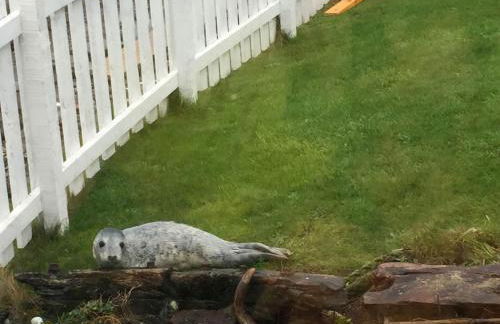
Westwood Cottage - Foto 1
Westwood Cottage - Foto 2
Westwood Cottage - Foto 3
Westwood Cottage - Foto 4
Westwood Cottage - Foto 5
Westwood Cottage - Foto 6
Westwood Cottage - Foto 7
Westwood Cottage - Foto 8
Westwood Cottage - Foto 9
Westwood Cottage - Foto 10
Westwood Cottage - Foto 11
Westwood Cottage - Foto 12
Westwood Cottage - Foto 13
Westwood Cottage - Foto 14
Westwood Cottage - Foto 15
Westwood Cottage - Foto 16
Westwood Cottage - Foto 17
Westwood Cottage - Foto 18
Westwood Cottage - Foto 19
Westwood Cottage - Foto 20
Westwood Cottage - Foto 21
Westwood Cottage - Foto 22
Westwood Cottage - Foto 23
Westwood Cottage - Foto 24

Westwood Cottage

Aboyne - Aboyne

  • 114 M2
  • 2 Schlafzimmer
  • 4 Personen
  • Heizung
  • Parkplatz
  • Garten
  • Barbecue
9.8Außergewöhnlich | 48 Bewertungen

Springbank Cabin - Foto 1
Springbank Cabin - Foto 2
Springbank Cabin - Foto 3
Springbank Cabin - Foto 4
Springbank Cabin - Foto 5
Springbank Cabin - Foto 6
Springbank Cabin - Foto 7
Springbank Cabin - Foto 8
Springbank Cabin - Foto 9
Springbank Cabin - Foto 10
Springbank Cabin - Foto 11
Springbank Cabin - Foto 12
Springbank Cabin - Foto 13
Springbank Cabin - Foto 14
Springbank Cabin - Foto 15
Springbank Cabin - Foto 16
Springbank Cabin - Foto 17
Springbank Cabin - Foto 18
Springbank Cabin - Foto 19
Springbank Cabin - Foto 20
Springbank Cabin - Foto 21
Springbank Cabin - Foto 22
Springbank Cabin - Foto 23
Springbank Cabin - Foto 24
Springbank Cabin - Foto 25
Springbank Cabin - Foto 26
Springbank Cabin - Foto 27
Springbank Cabin - Foto 28
Springbank Cabin - Foto 29
Springbank Cabin - Foto 30
Springbank Cabin - Foto 31

Springbank Cabin

Inverurie - Inverurie

  • 1 Schlafzimmer
  • 4 Personen
  • Heizung
  • Parkplatz
  • Garten
  • Barbecue
9.8Außergewöhnlich | 32 Bewertungen
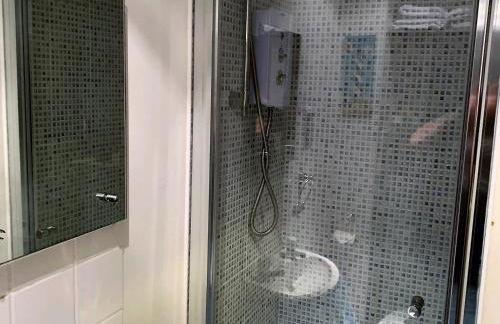
The Craibstone Suites - Foto 1
The Craibstone Suites - Foto 2
The Craibstone Suites - Foto 3
The Craibstone Suites - Foto 4
The Craibstone Suites - Foto 5
The Craibstone Suites - Foto 6
The Craibstone Suites - Foto 7
The Craibstone Suites - Foto 8
The Craibstone Suites - Foto 9
The Craibstone Suites - Foto 10
The Craibstone Suites - Foto 11
The Craibstone Suites - Foto 12
The Craibstone Suites - Foto 13
The Craibstone Suites - Foto 14
The Craibstone Suites - Foto 15
The Craibstone Suites - Foto 16
The Craibstone Suites - Foto 17
The Craibstone Suites - Foto 18
The Craibstone Suites - Foto 19
The Craibstone Suites - Foto 20
The Craibstone Suites - Foto 21
The Craibstone Suites - Foto 22
The Craibstone Suites - Foto 23
The Craibstone Suites - Foto 24
The Craibstone Suites - Foto 25
The Craibstone Suites - Foto 26
The Craibstone Suites - Foto 27
The Craibstone Suites - Foto 28
The Craibstone Suites - Foto 29
The Craibstone Suites - Foto 30
The Craibstone Suites - Foto 31
The Craibstone Suites - Foto 32
The Craibstone Suites - Foto 33
The Craibstone Suites - Foto 34
The Craibstone Suites - Foto 35
The Craibstone Suites - Foto 36
The Craibstone Suites - Foto 37
The Craibstone Suites - Foto 38
The Craibstone Suites - Foto 39
The Craibstone Suites - Foto 40
The Craibstone Suites - Foto 41
The Craibstone Suites - Foto 42
The Craibstone Suites - Foto 43
The Craibstone Suites - Foto 44
The Craibstone Suites - Foto 45
The Craibstone Suites - Foto 46
The Craibstone Suites - Foto 47
The Craibstone Suites - Foto 48
The Craibstone Suites - Foto 49
The Craibstone Suites - Foto 50
The Craibstone Suites - Foto 51
The Craibstone Suites - Foto 52
The Craibstone Suites - Foto 53
The Craibstone Suites - Foto 54
The Craibstone Suites - Foto 55
The Craibstone Suites - Foto 56
The Craibstone Suites - Foto 57
The Craibstone Suites - Foto 58
The Craibstone Suites - Foto 59
The Craibstone Suites - Foto 60
The Craibstone Suites - Foto 61
The Craibstone Suites - Foto 62
The Craibstone Suites - Foto 63
The Craibstone Suites - Foto 64
The Craibstone Suites - Foto 65
The Craibstone Suites - Foto 66
The Craibstone Suites - Foto 67

The Craibstone Suites

Aberdeen - Aberdeen

  • 1 Schlafzimmer
  • 3 Personen
  • Kochnische
  • Heizung
  • Terrasse
  • Parkplatz
  • Balkon
  • Garten
  • Tv
  • Handtücher
  • Bettlaken
8.6Sehr gut | 166 Bewertungen
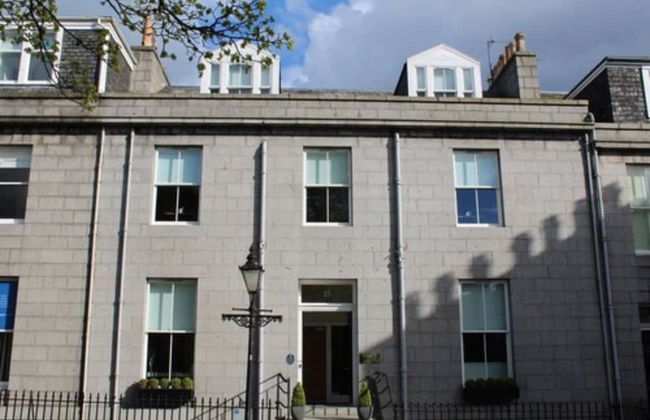
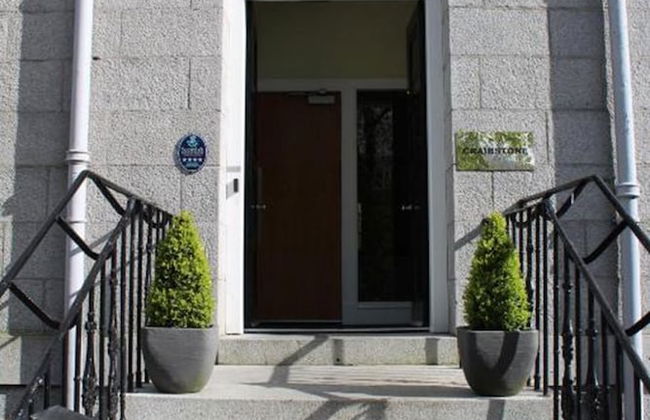
Verwandte Reiseziele