


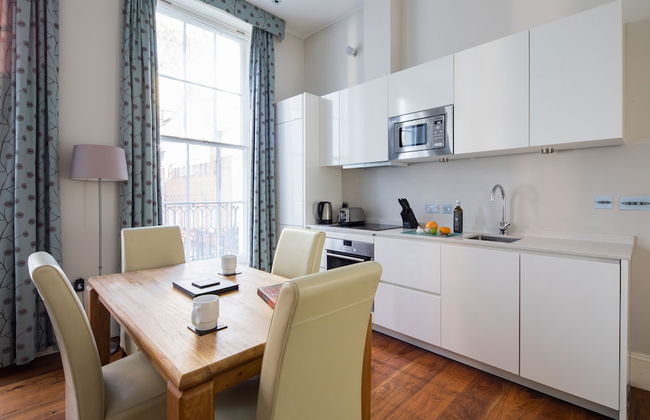
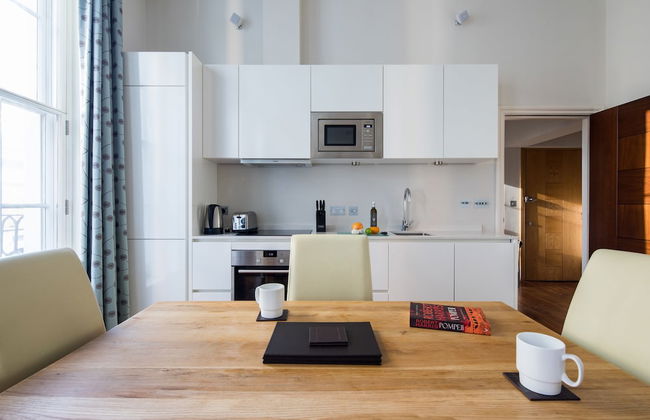


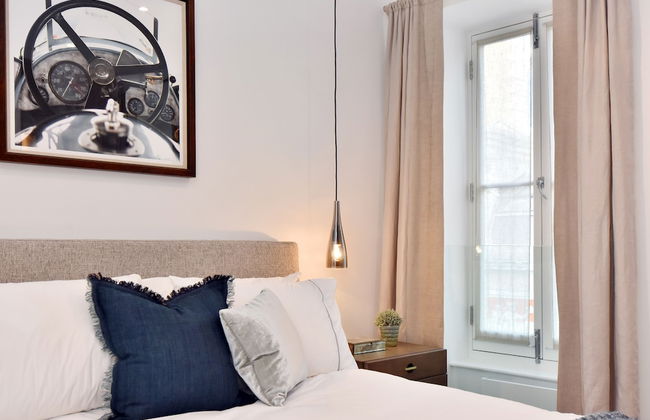
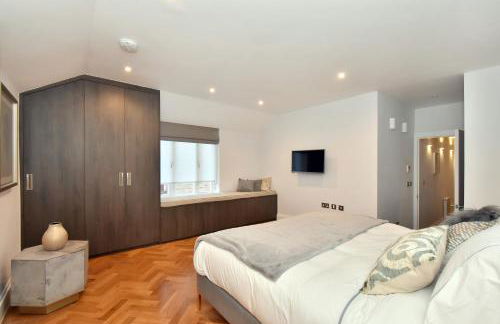
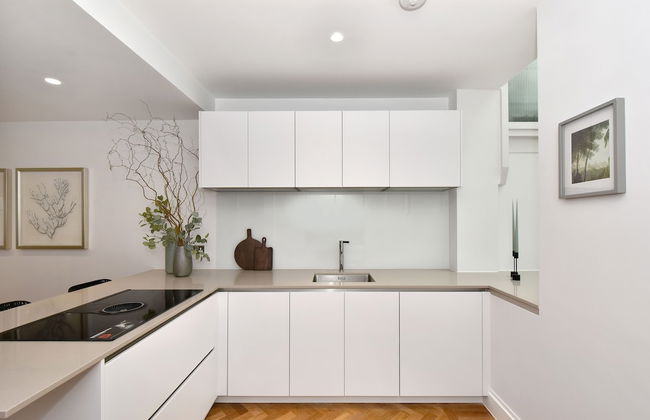
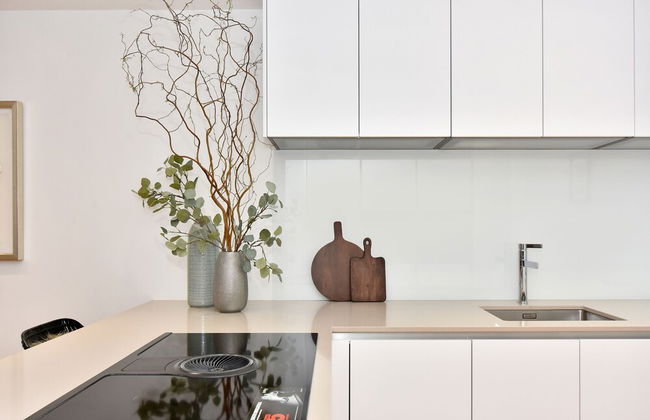
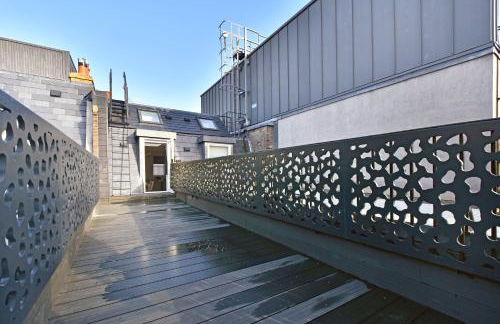
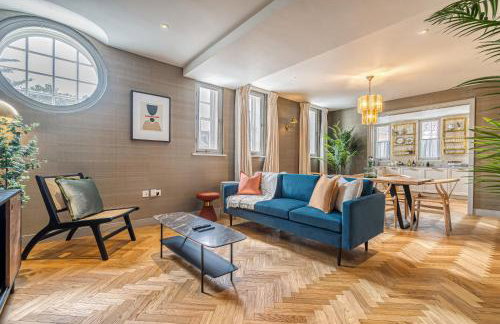
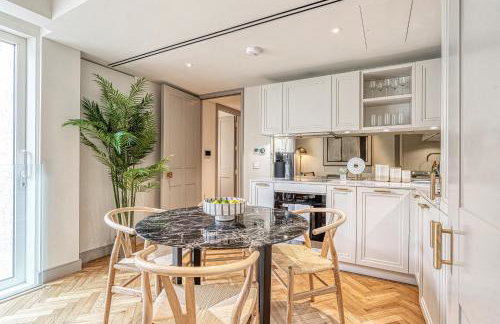
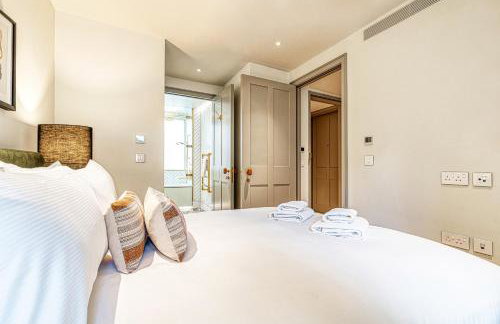
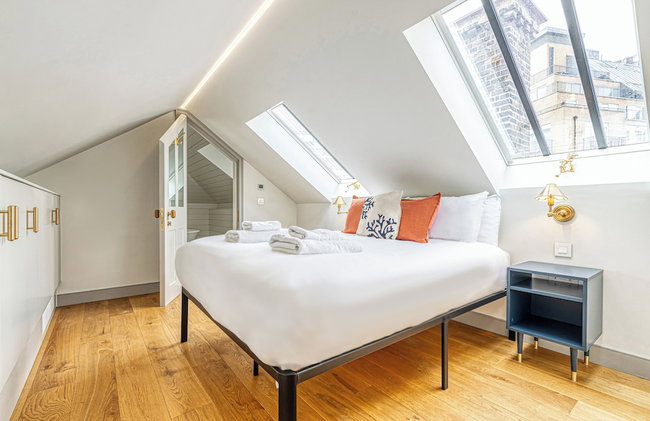
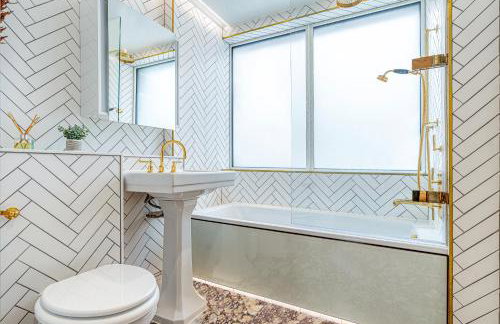
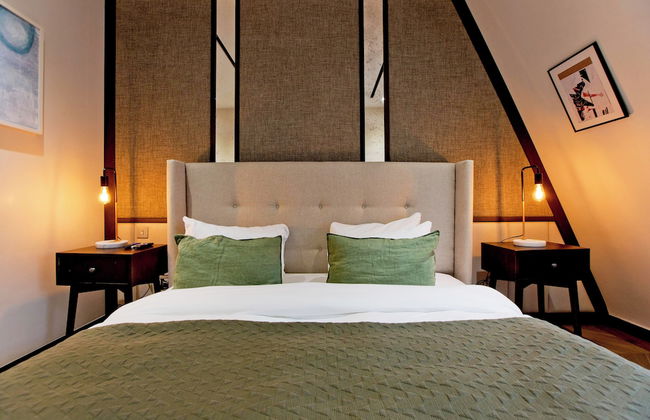
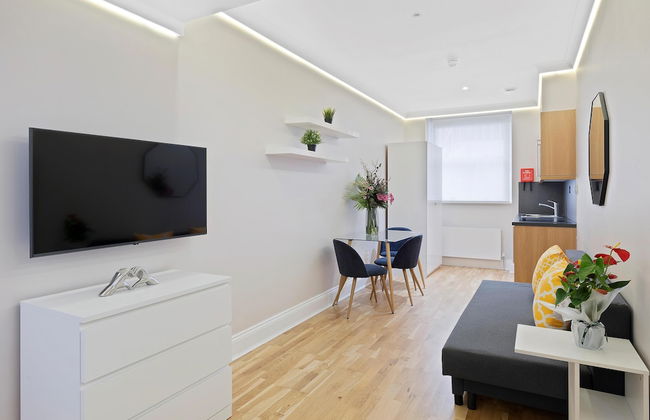
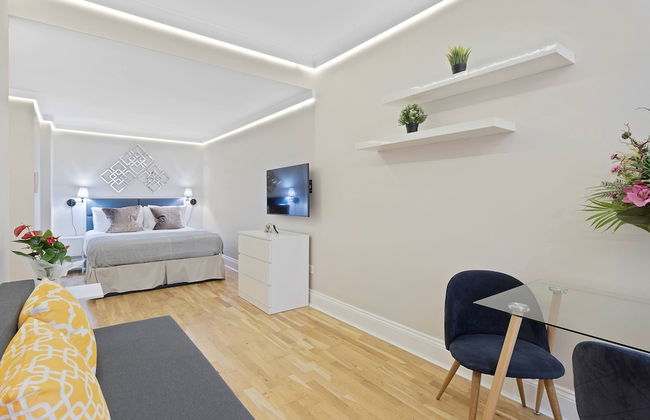
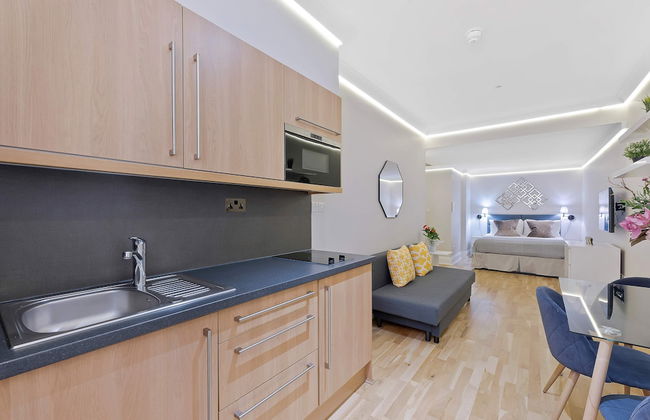
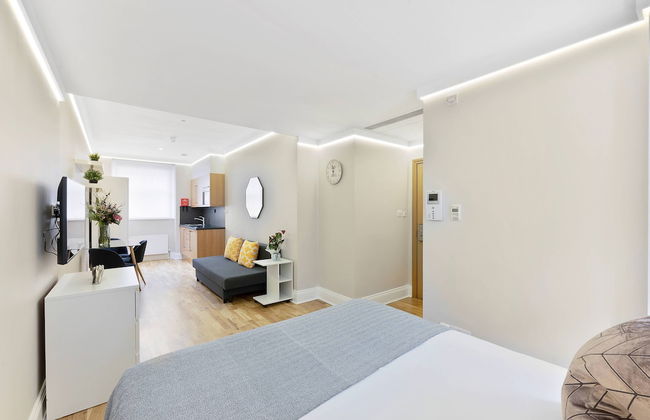
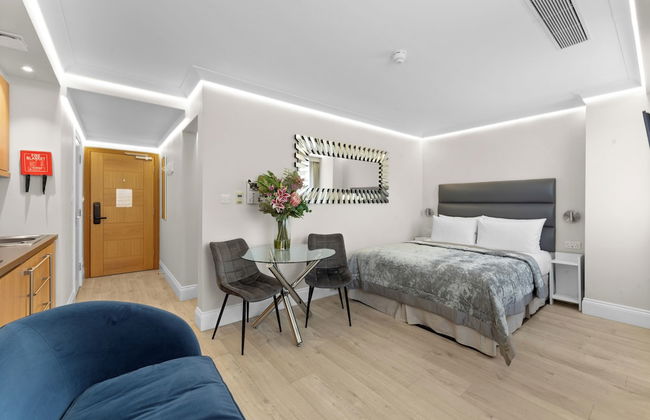
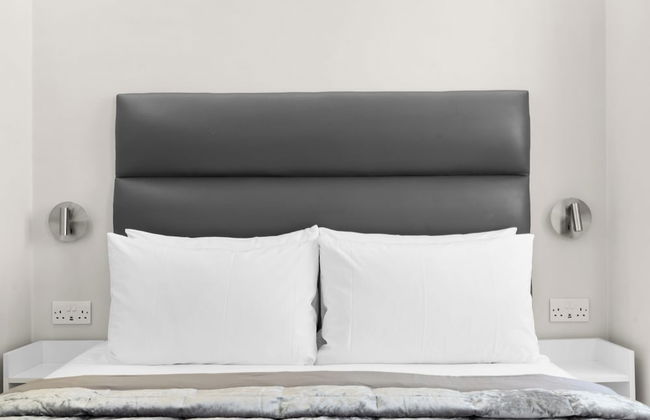
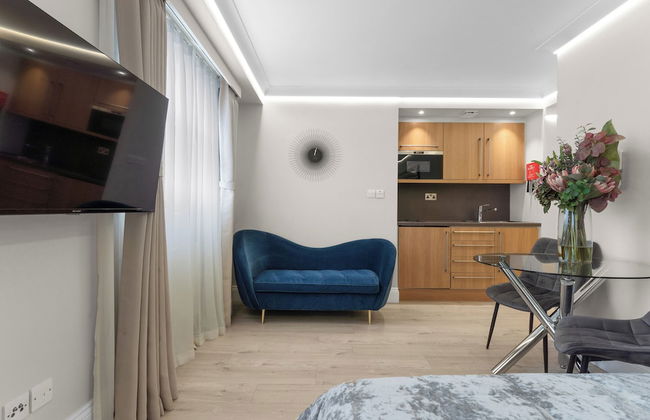
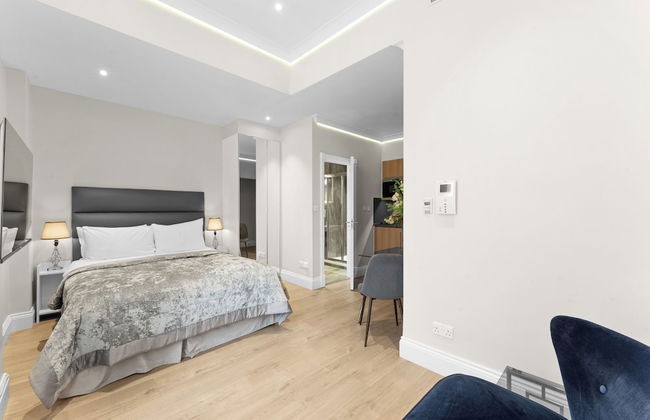
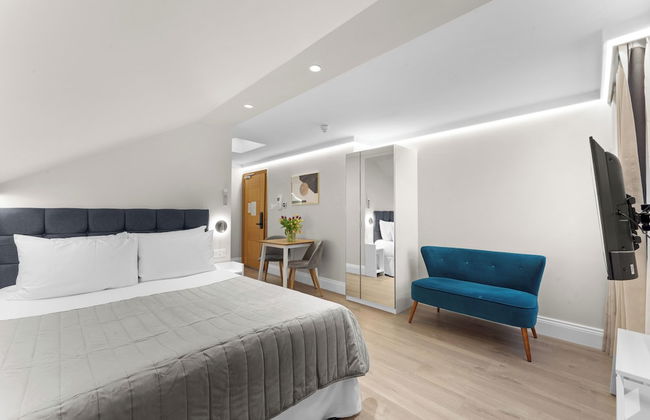
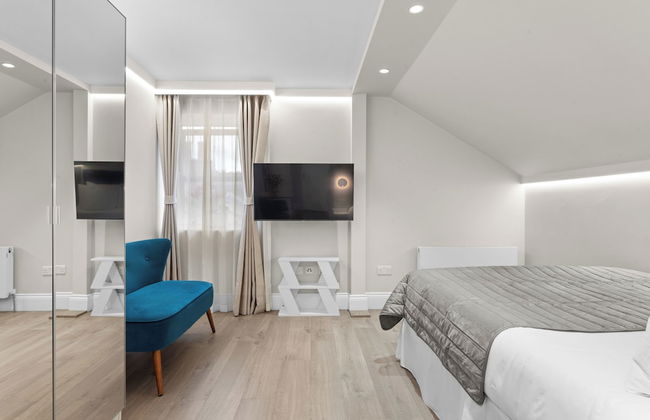
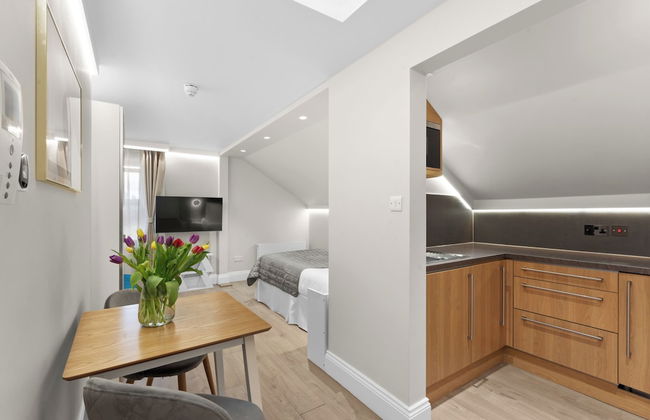
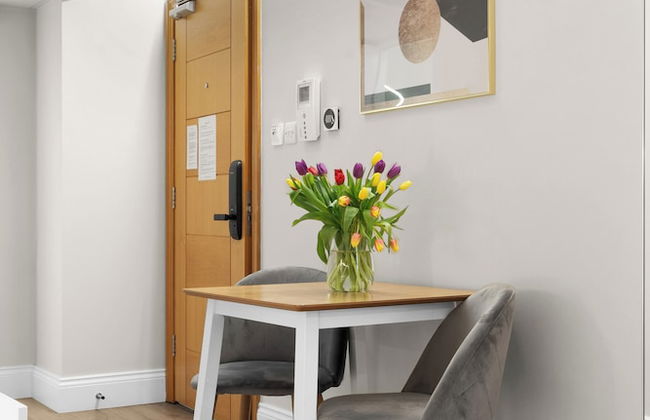
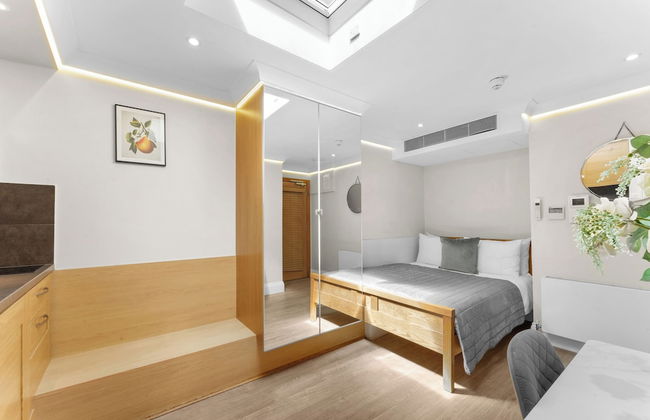
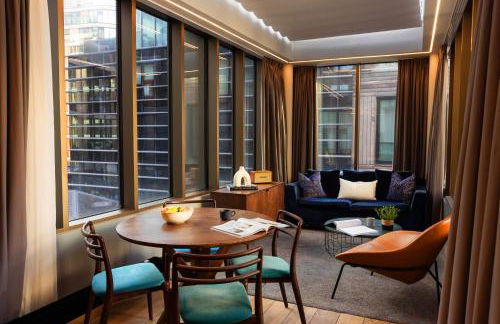
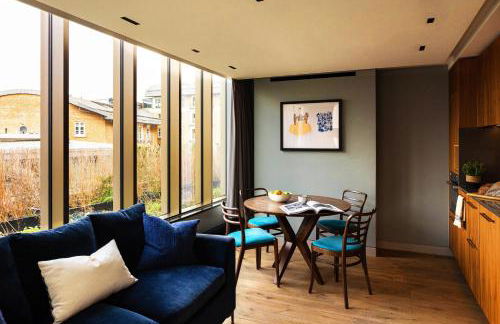
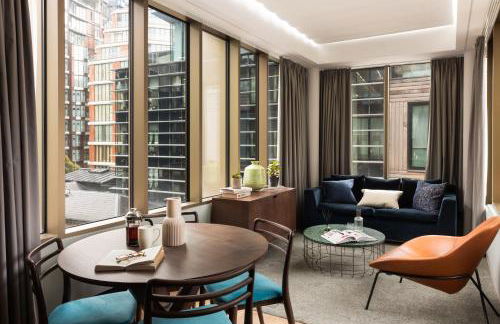
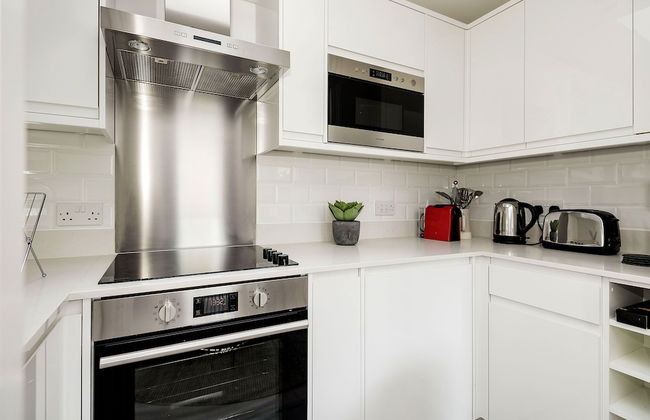
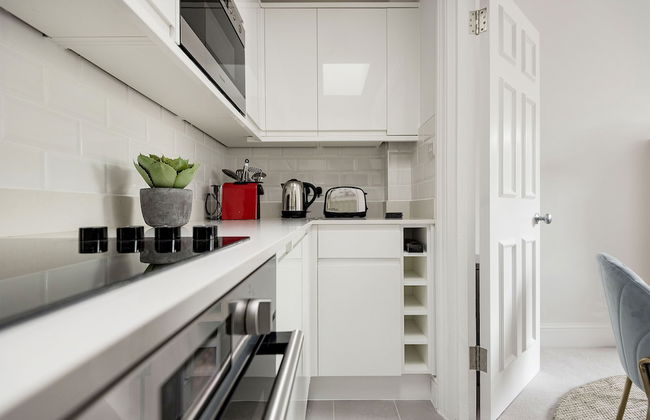
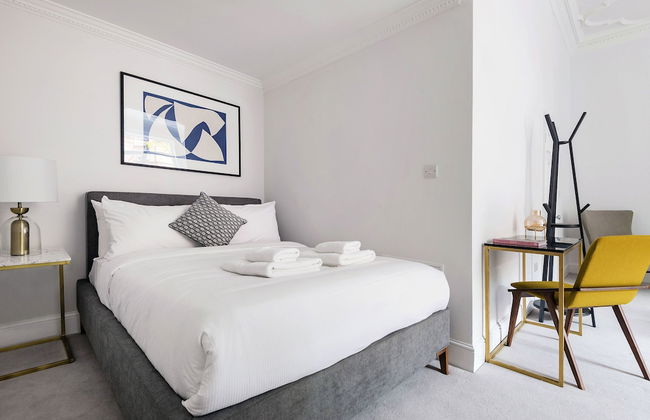
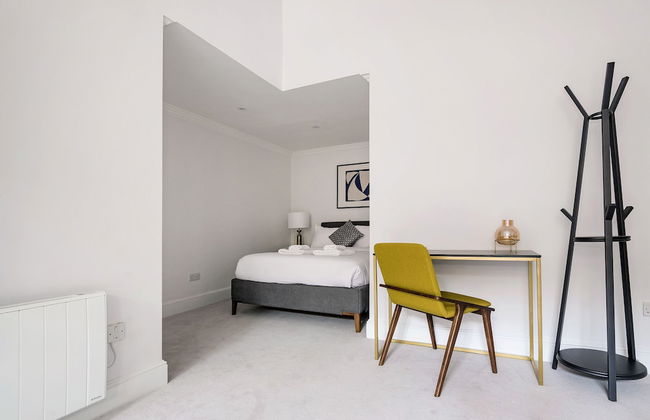
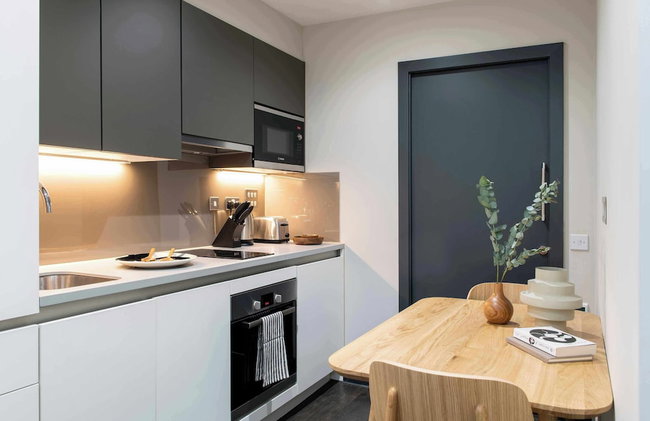
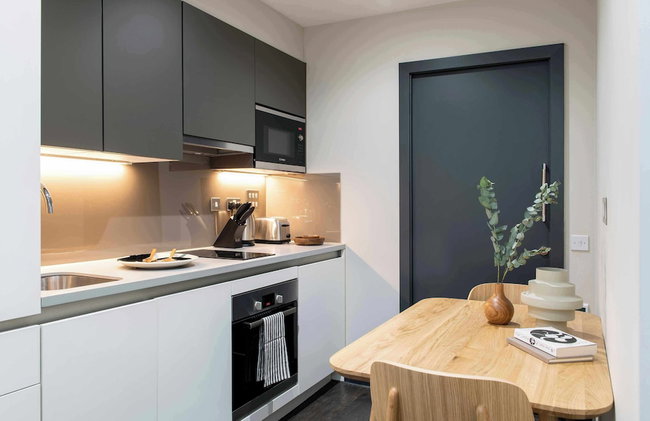
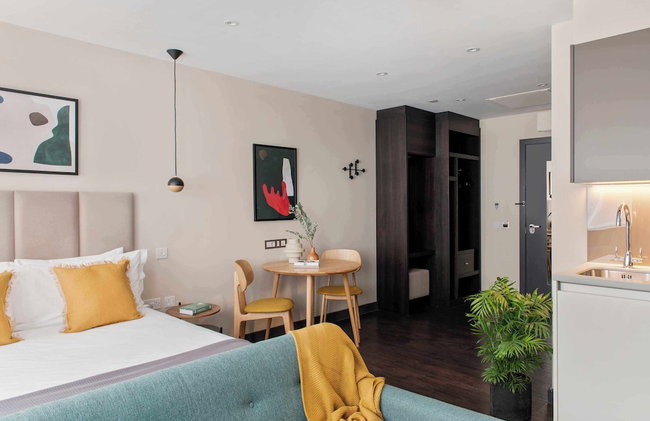
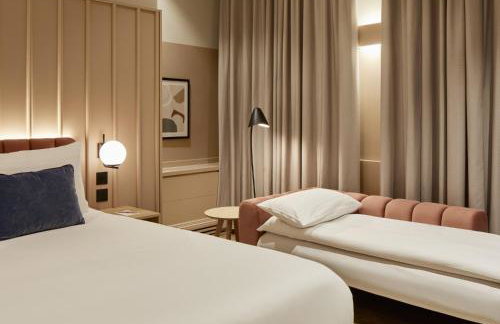
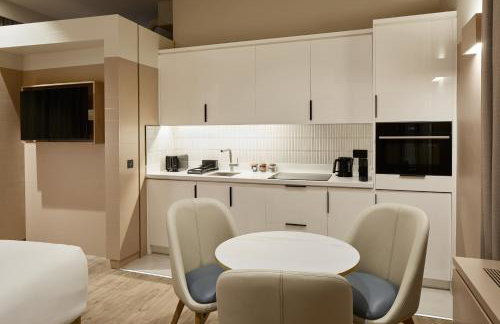
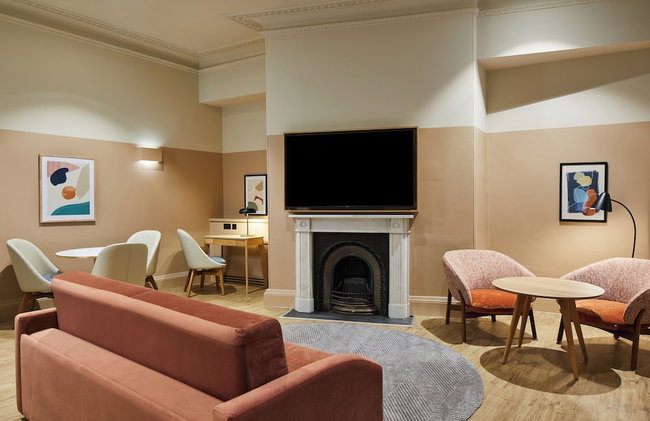
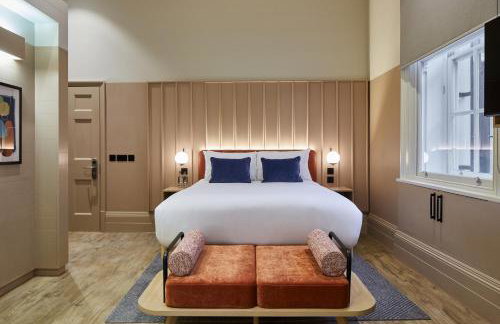
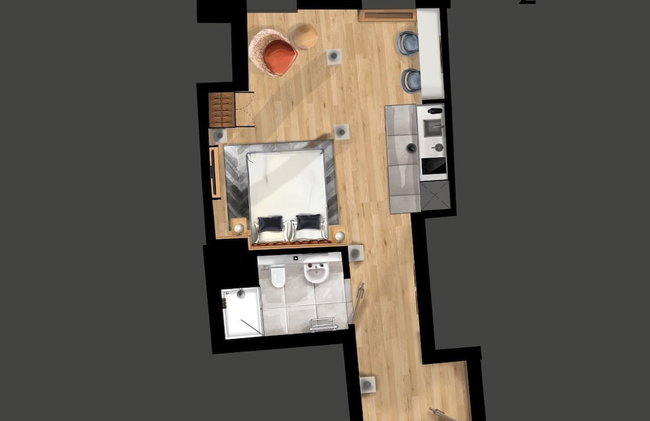
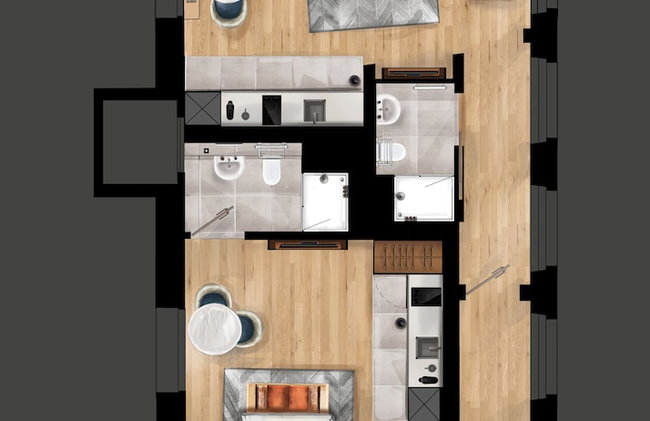
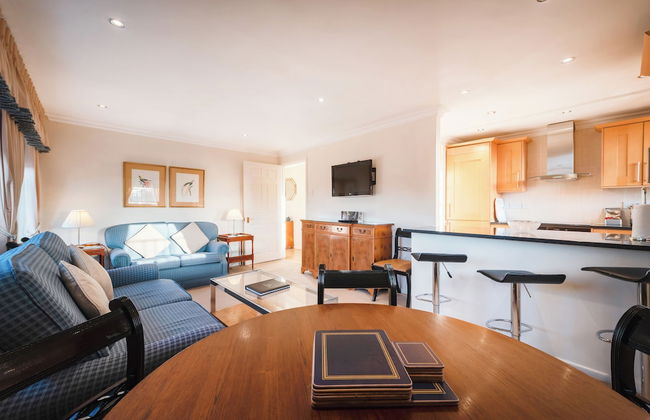
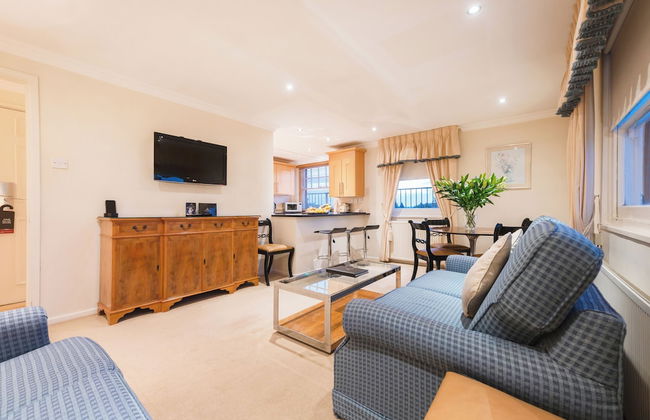
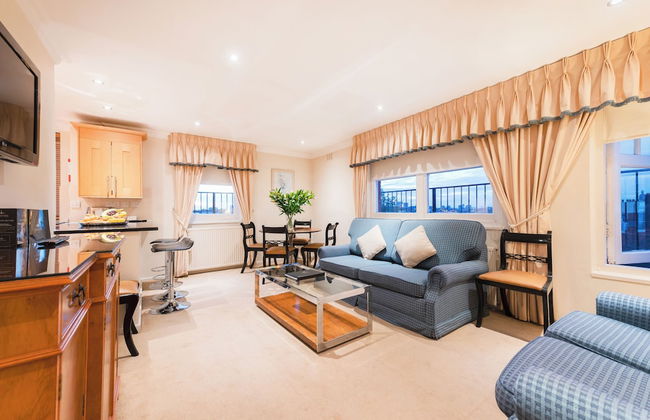
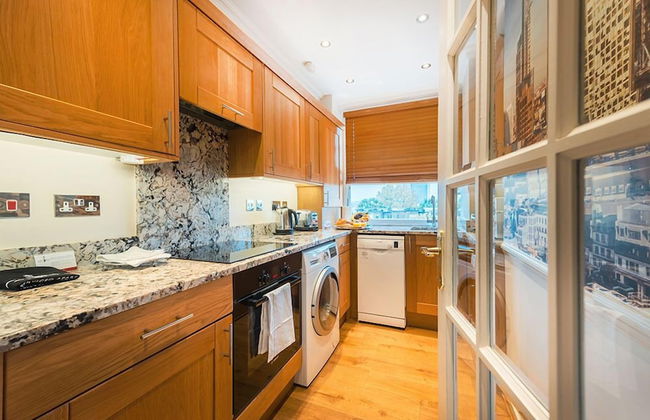
Tavistock Place Apartments
London - St Pancras - 1.5 km vom Zentrum
- 105 M2
- 7 Personen
- Heizung
- Terrasse
- Fahrstuhl
- Balkon
- Tv
- Waschmaschine
- Schornstein
- Handtücher
- Bettlaken
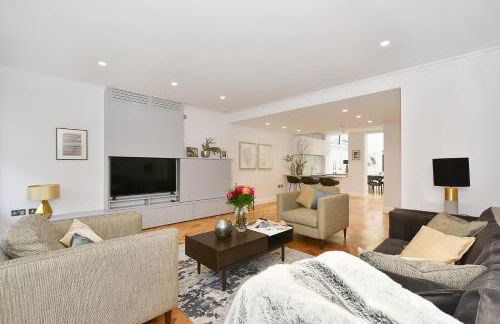
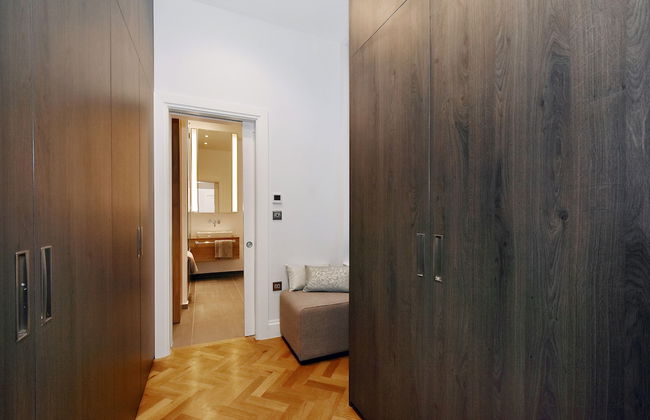


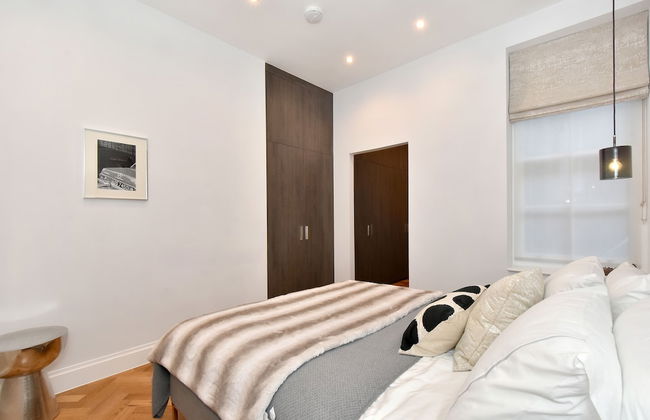
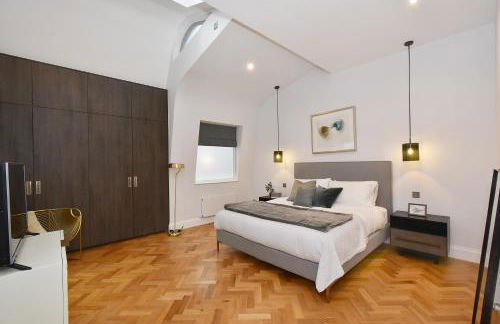
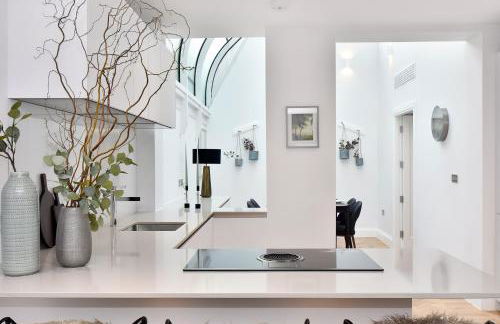


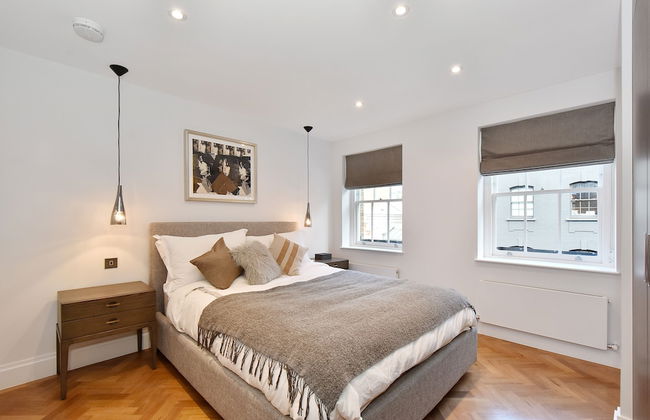
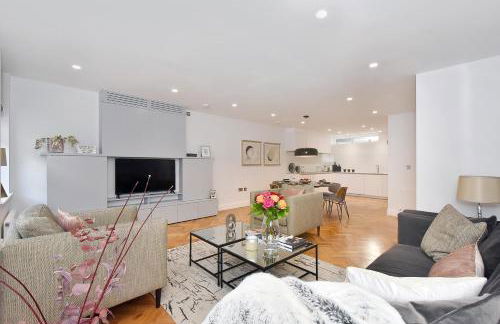
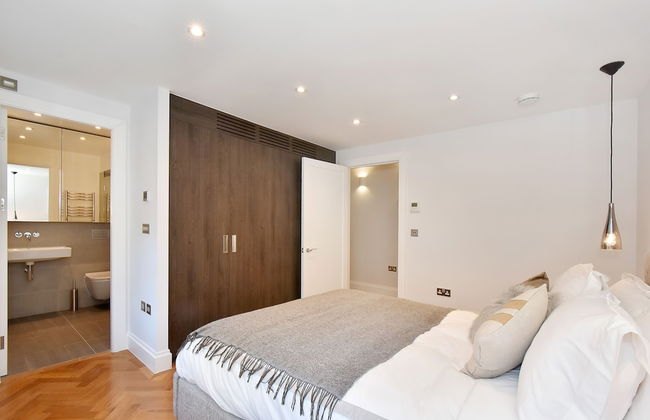
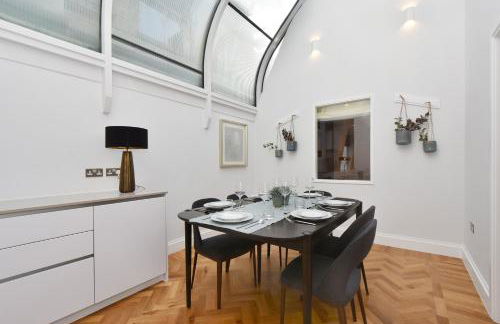

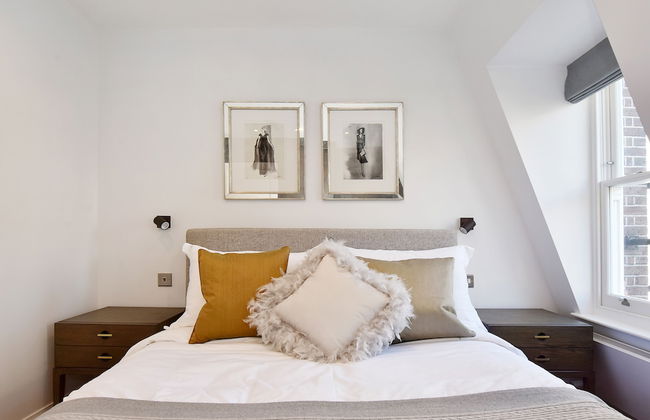


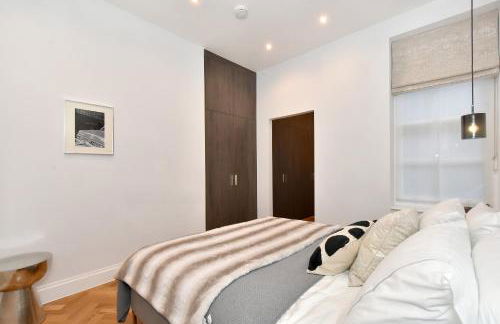


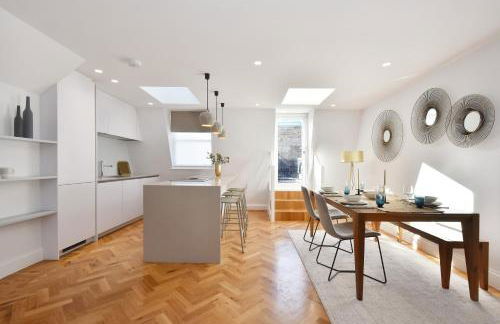
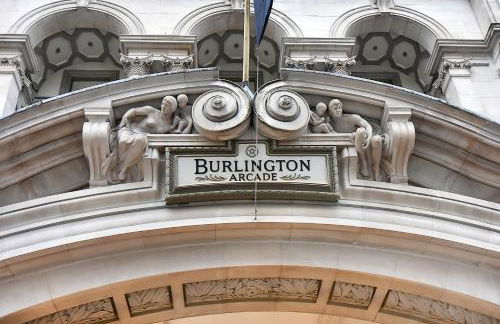
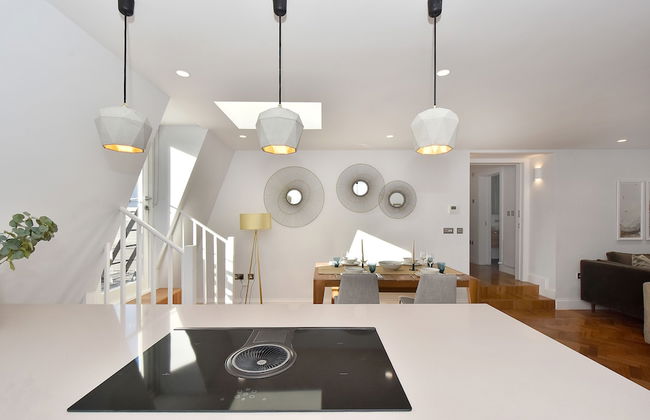
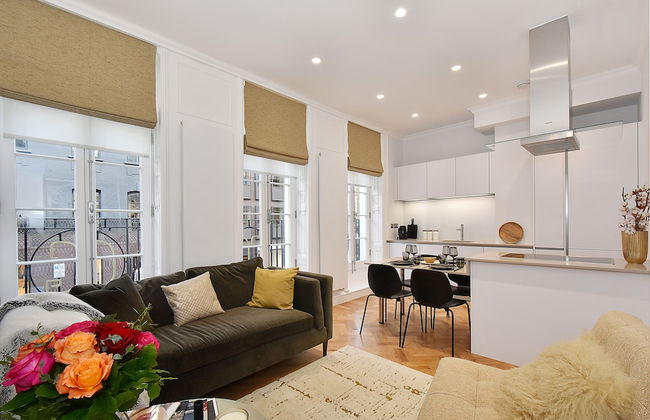
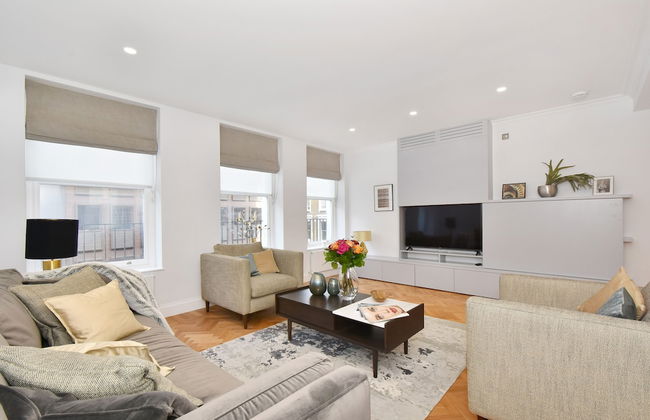
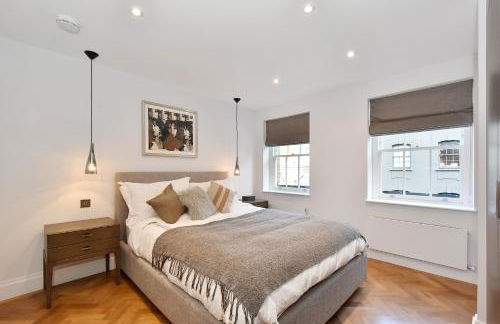
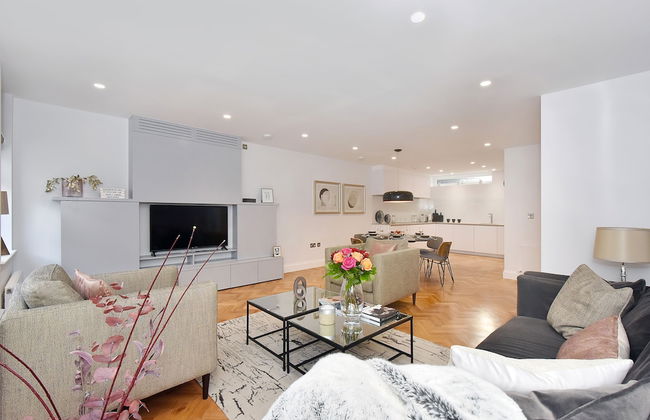

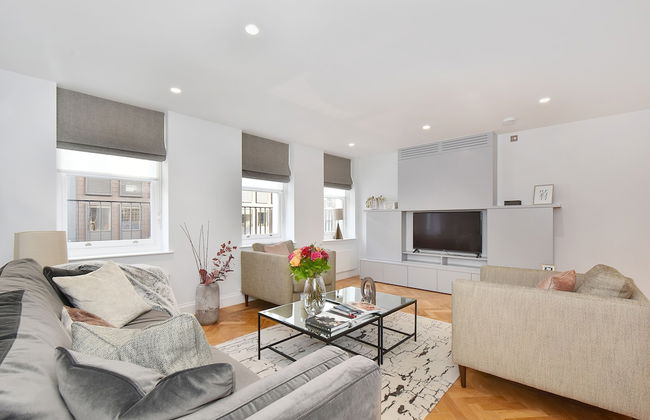

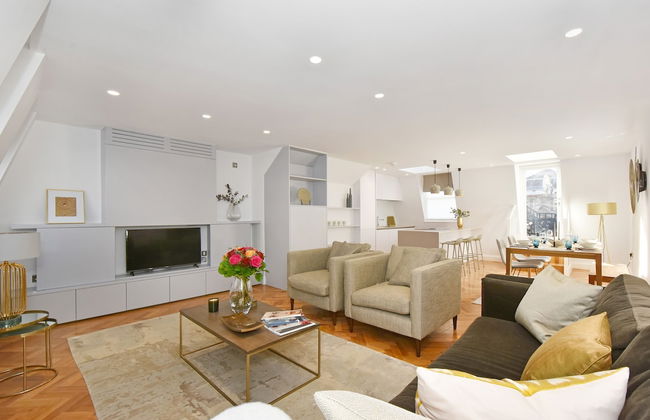
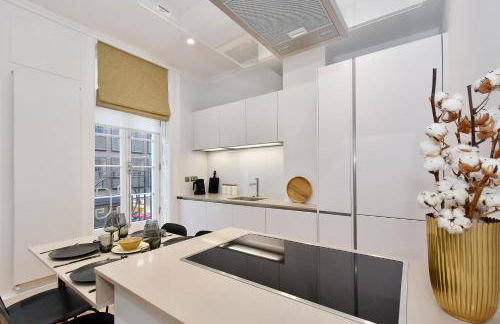
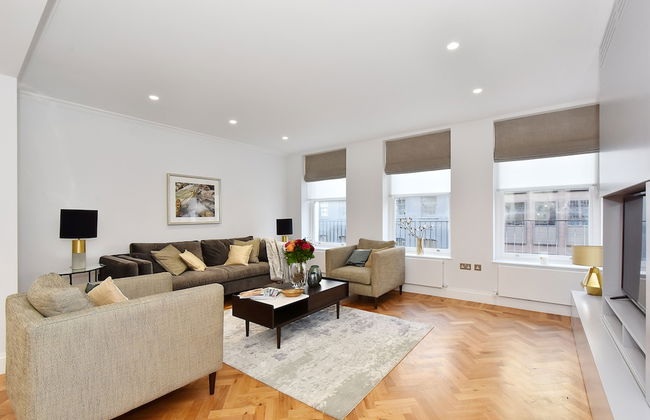

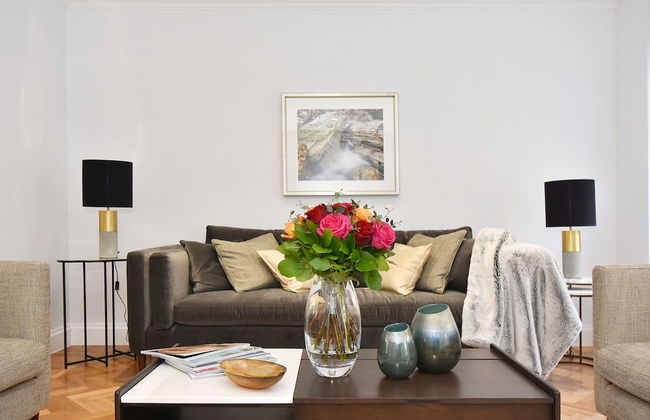
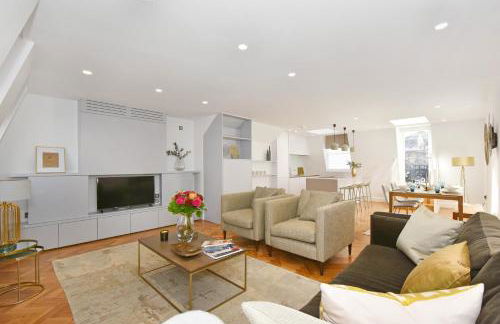
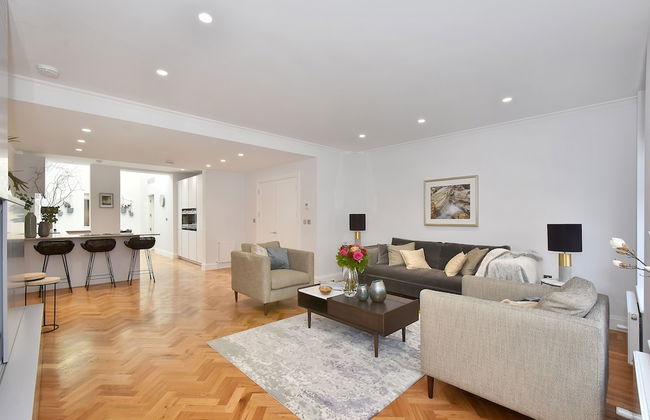

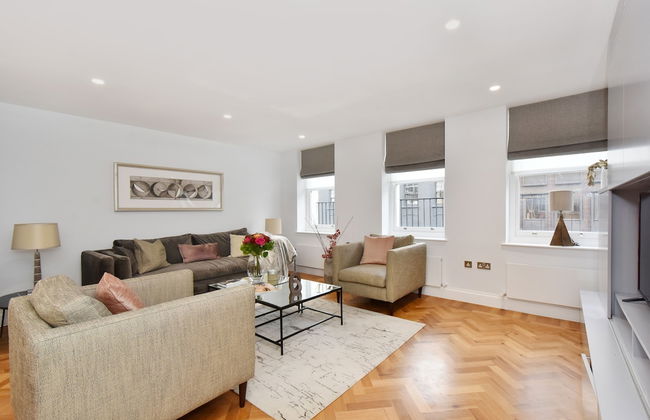
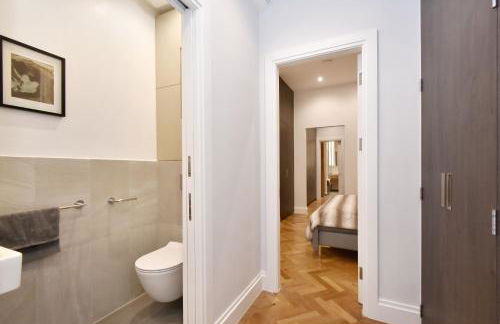
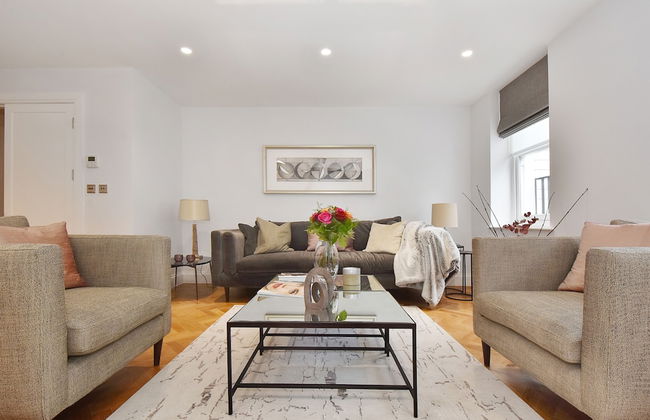


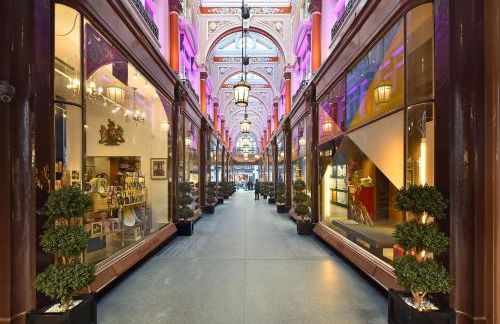


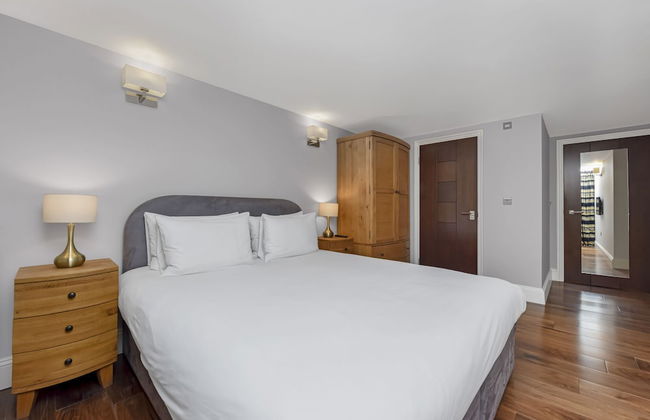
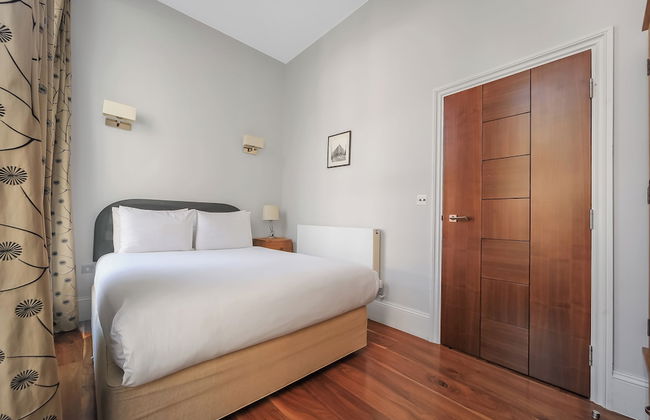
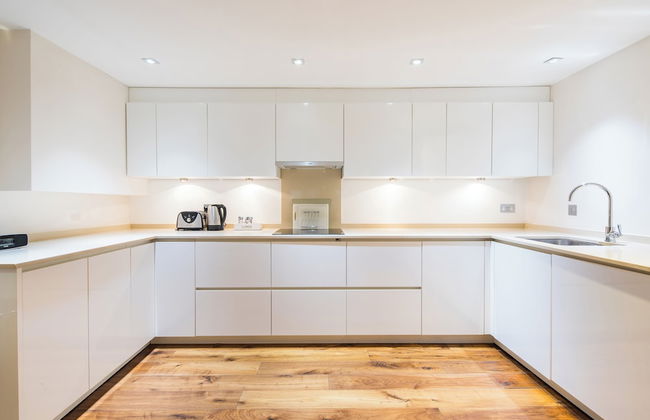
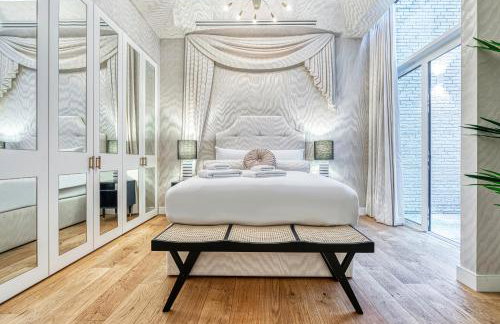
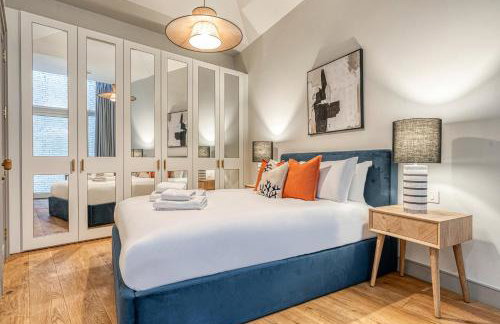
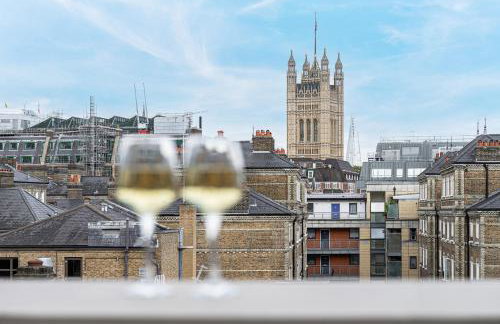
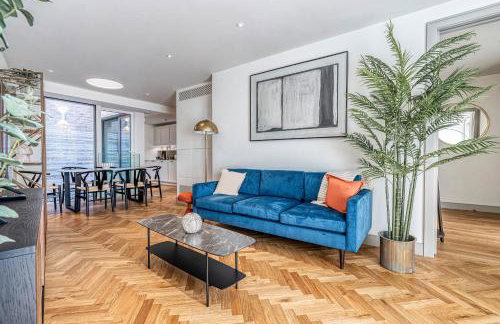
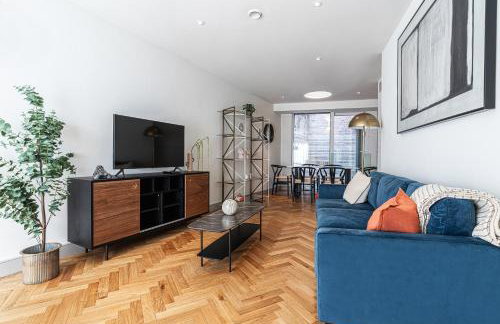
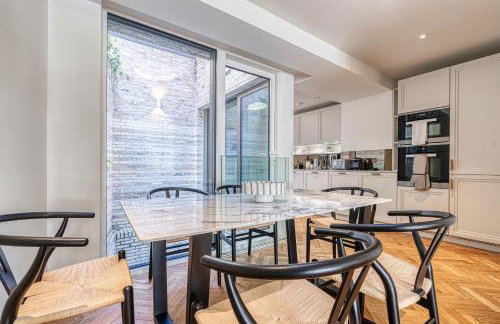
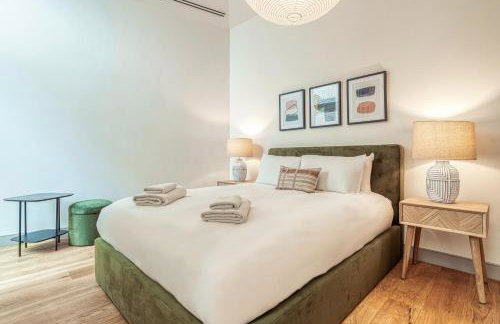
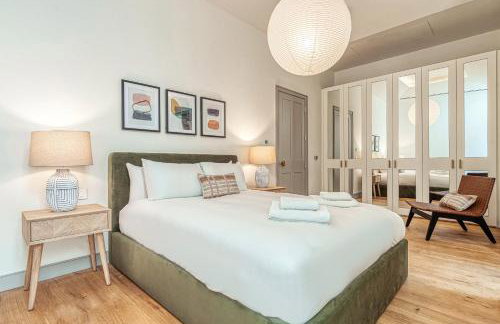
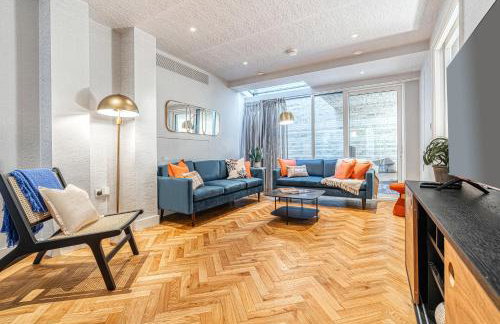
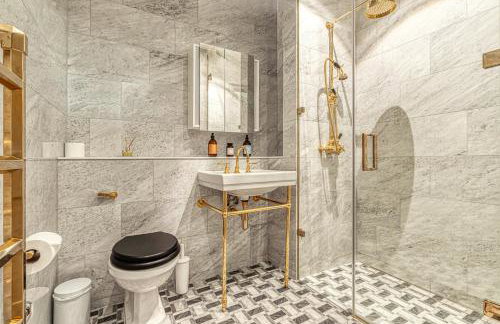
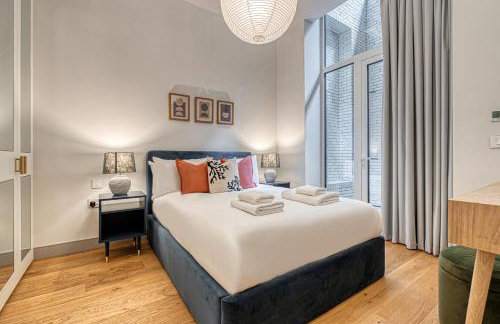
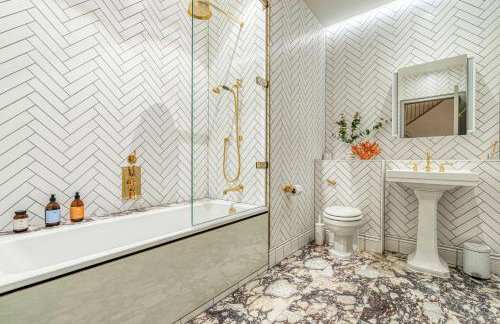
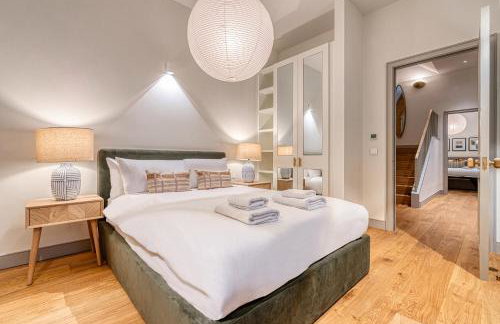
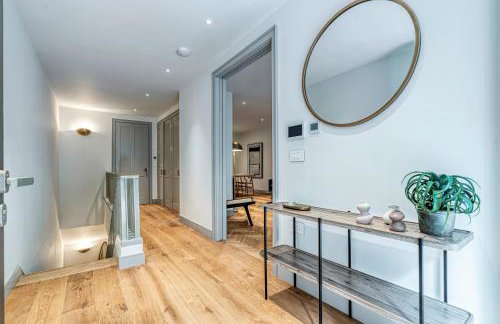
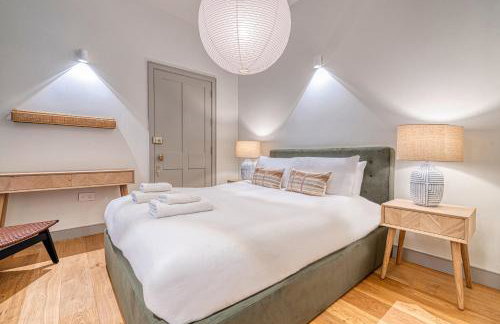
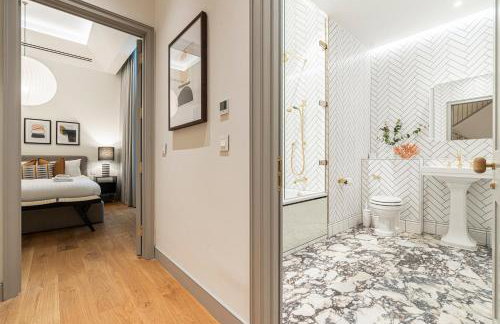
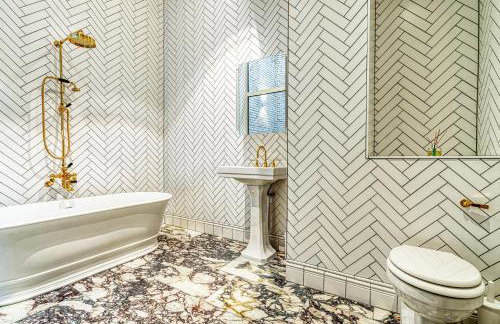
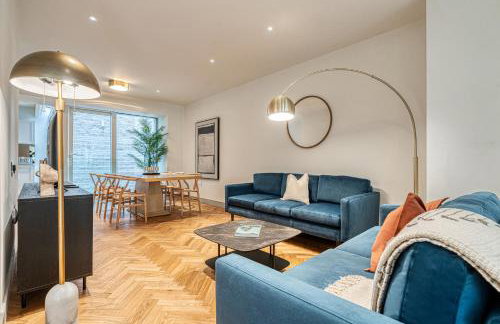
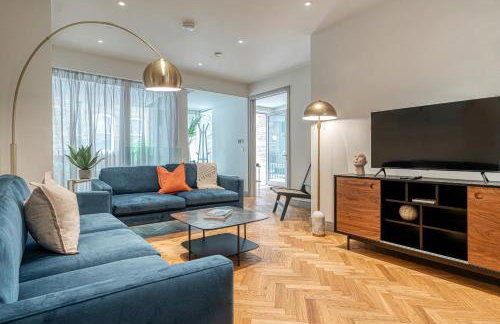
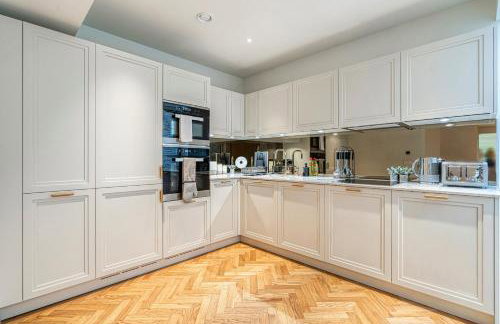
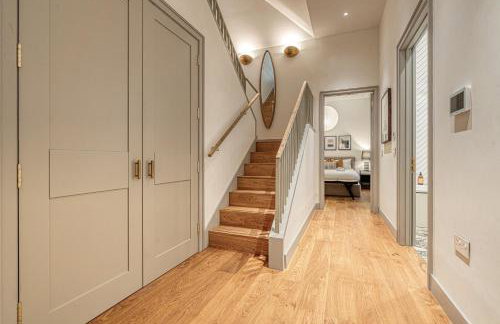
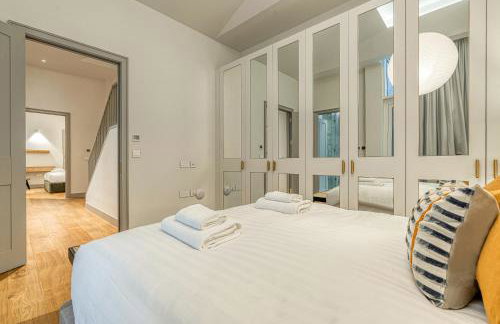
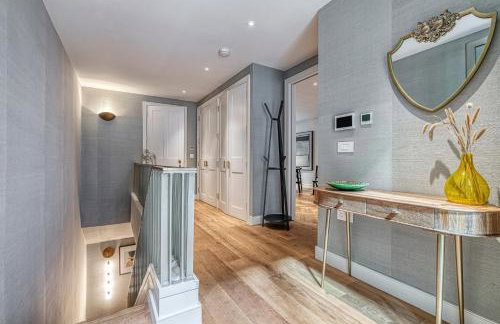
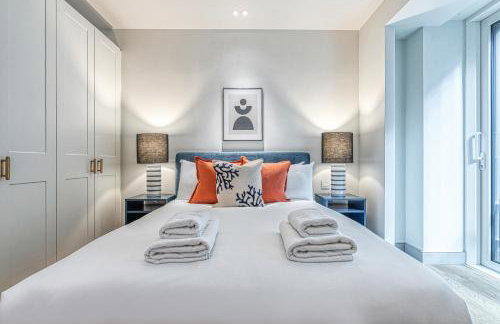
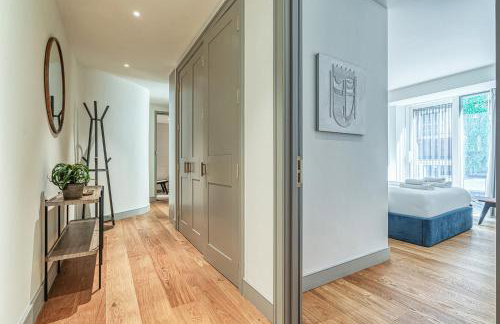
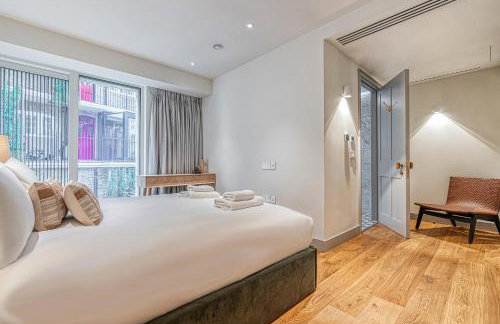
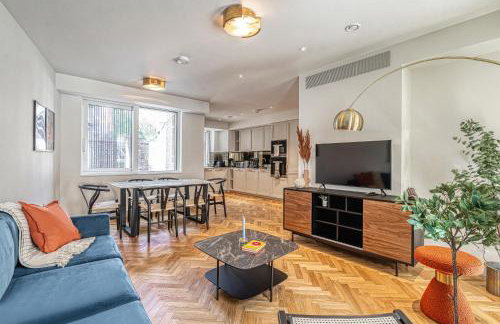
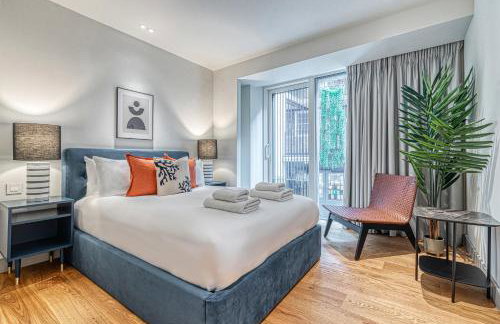
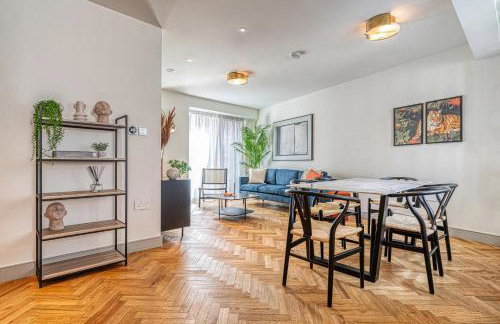
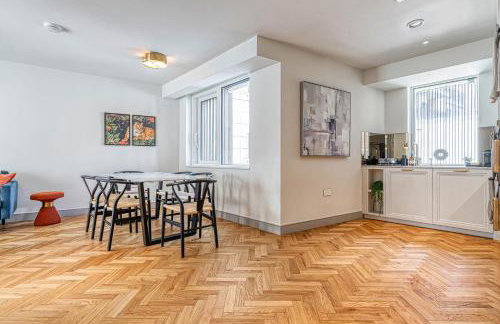
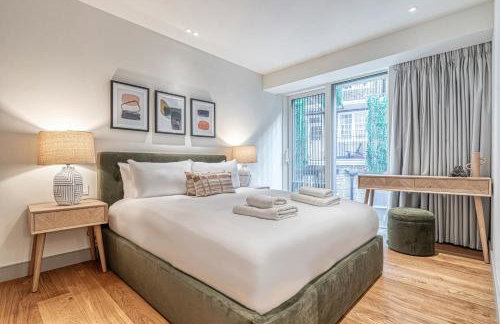
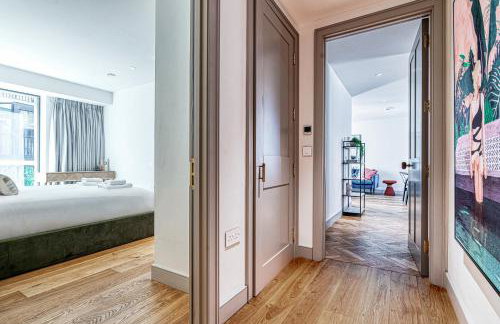
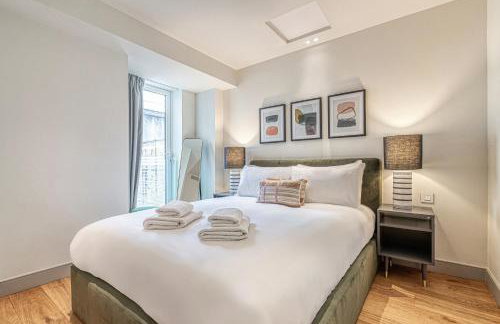
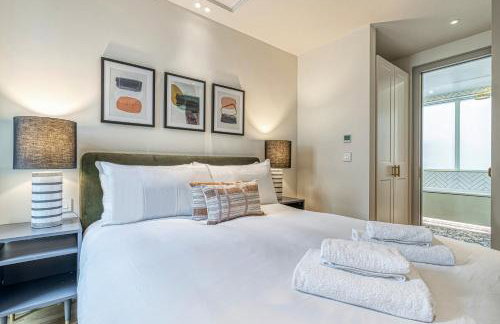
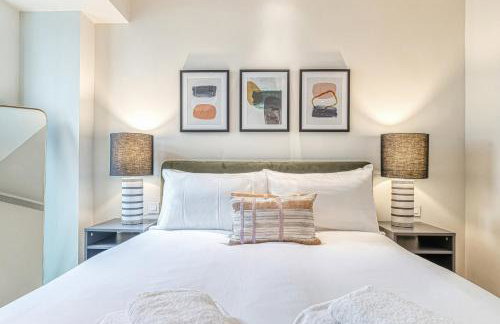
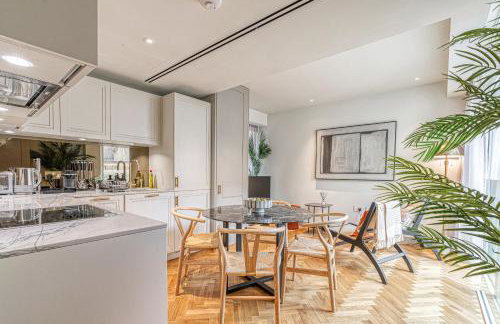
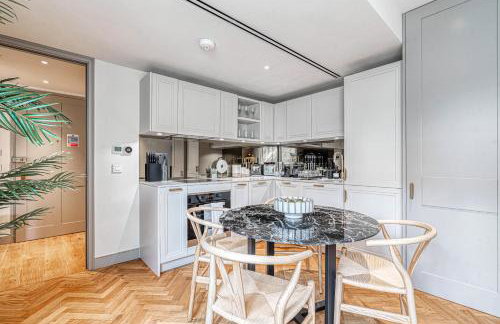
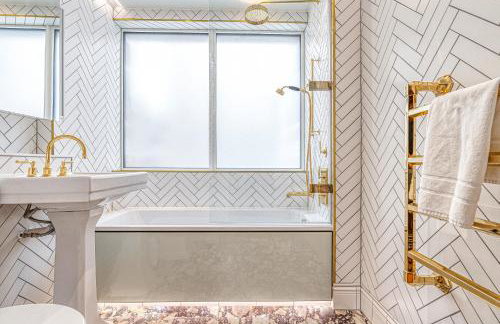
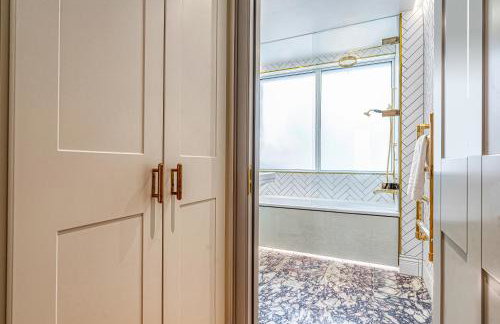
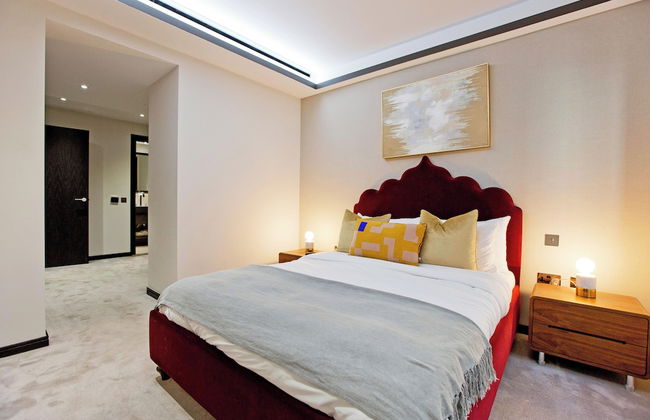
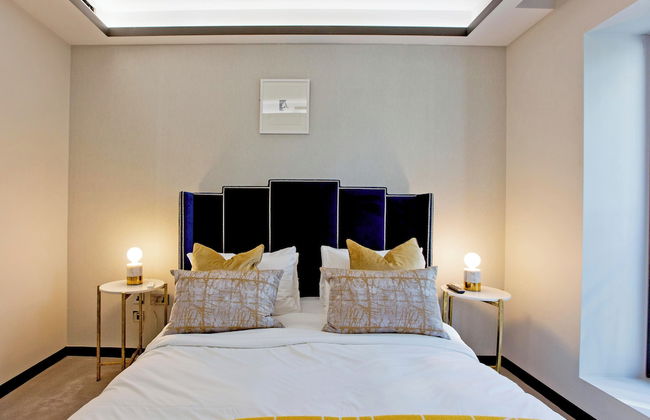
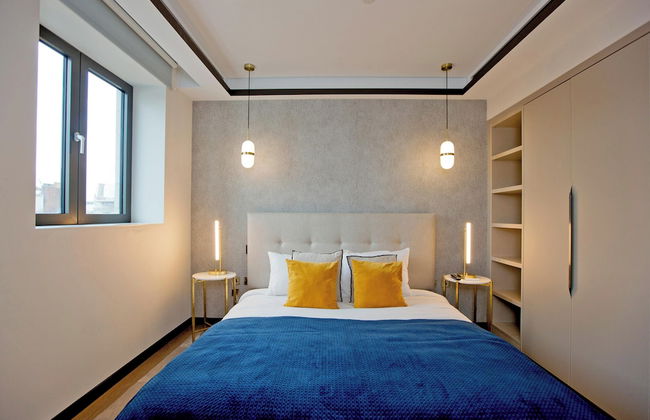
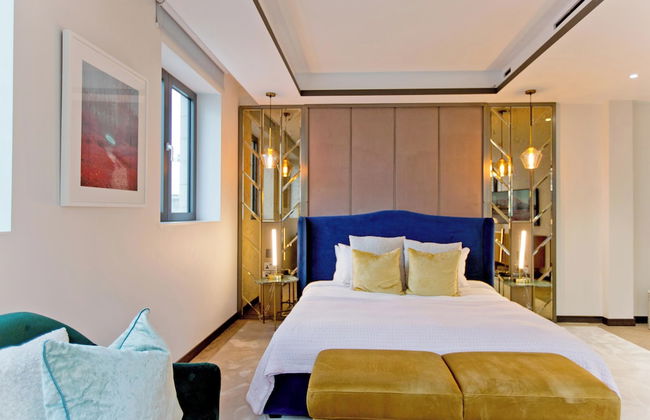
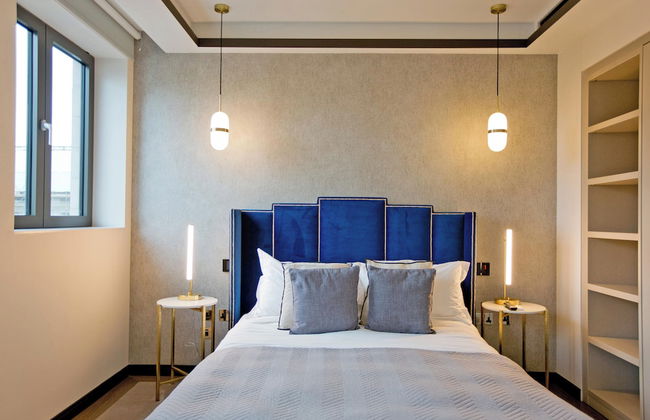
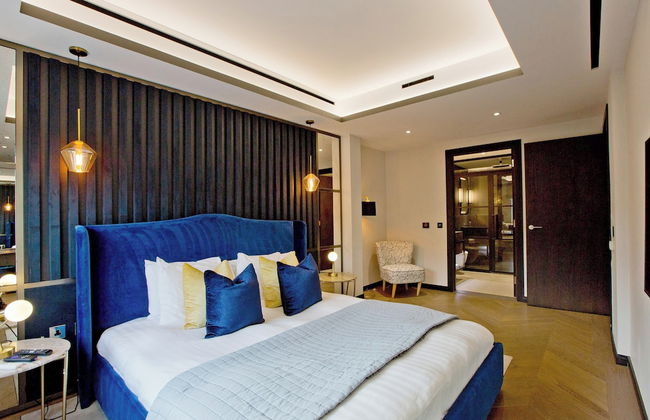
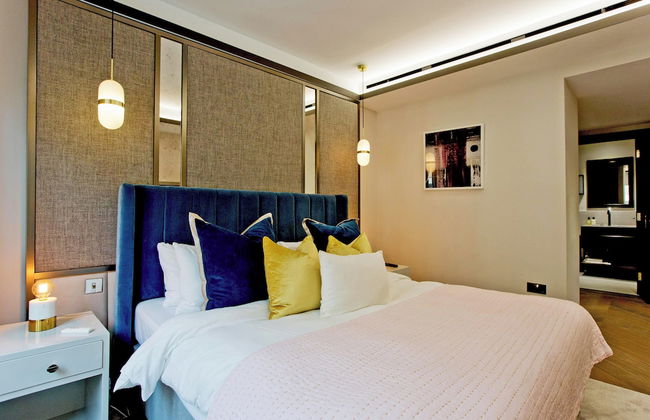
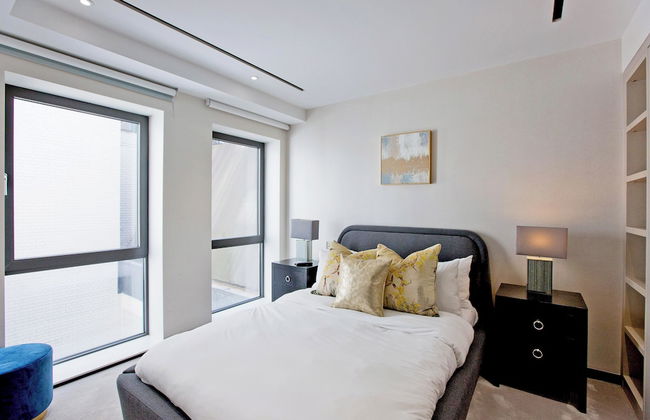
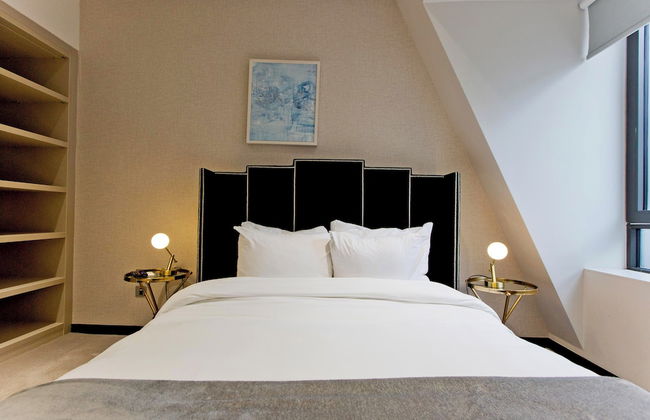
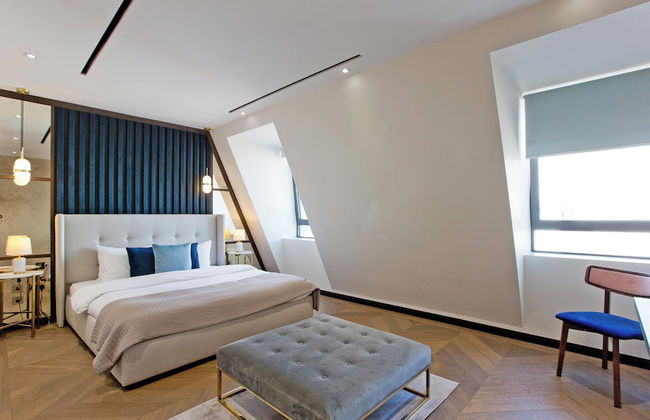
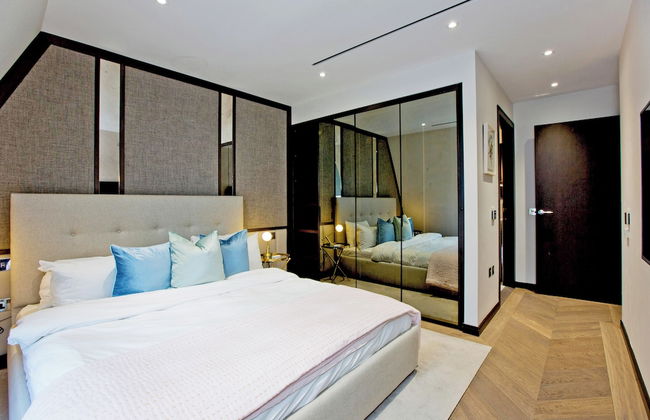
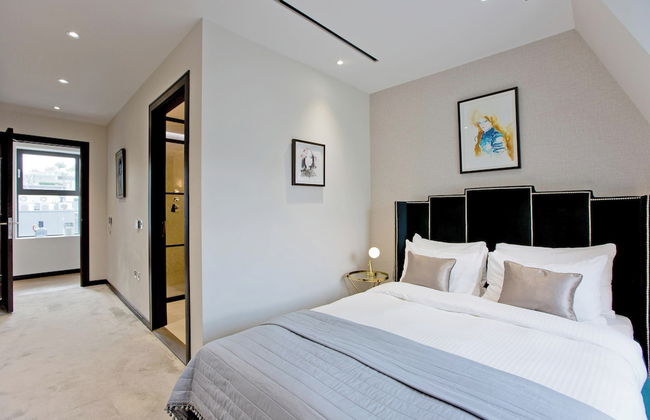
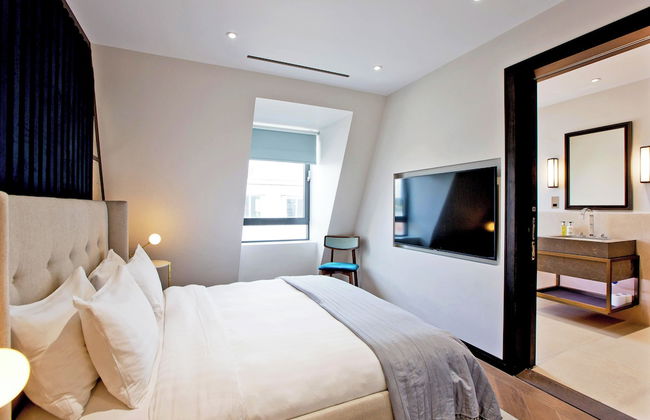
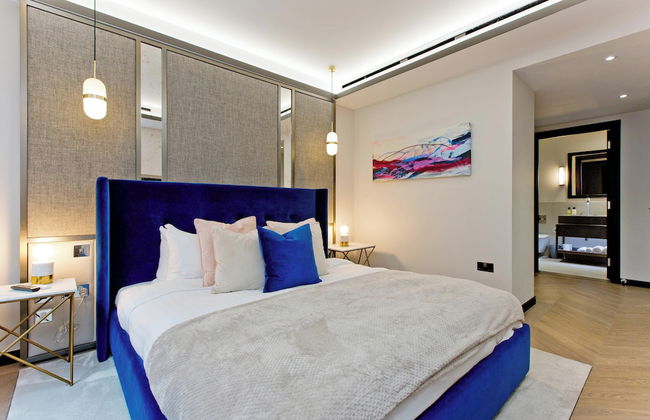
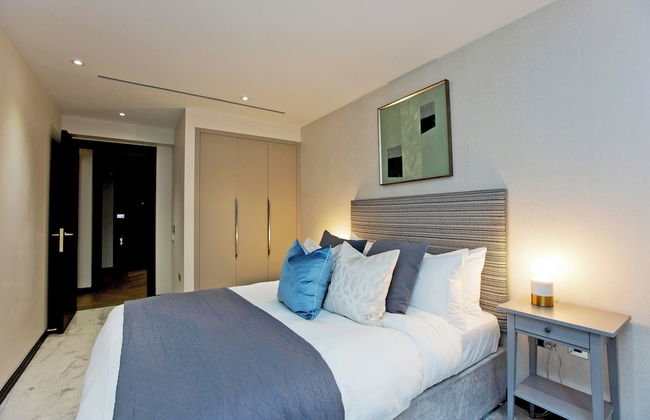
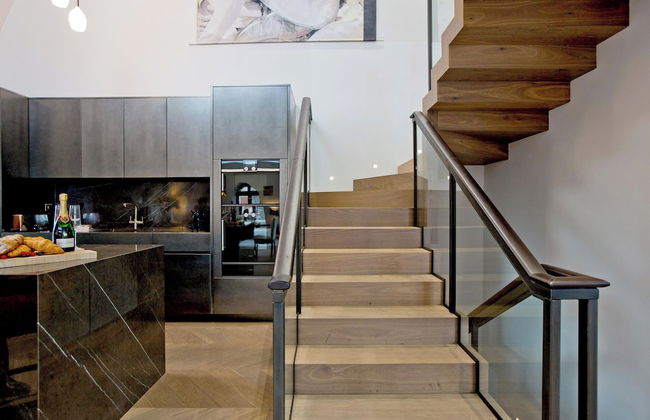
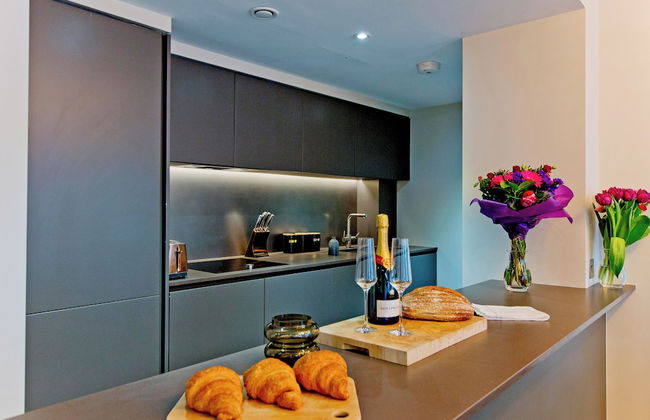
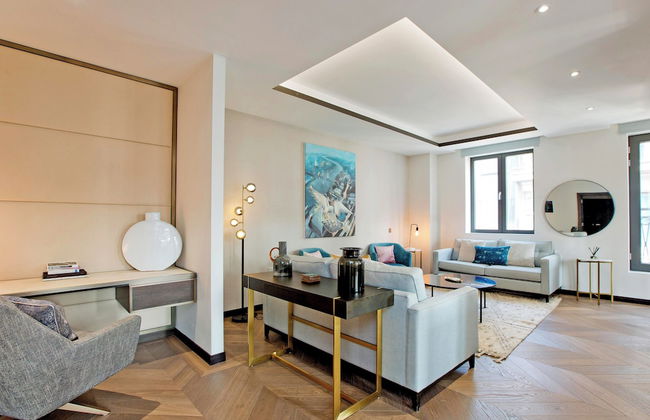
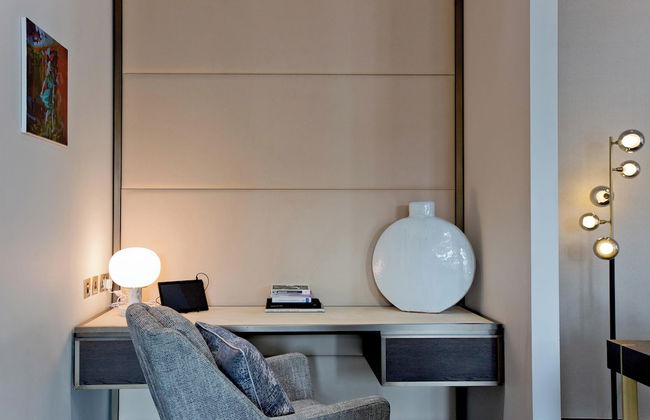
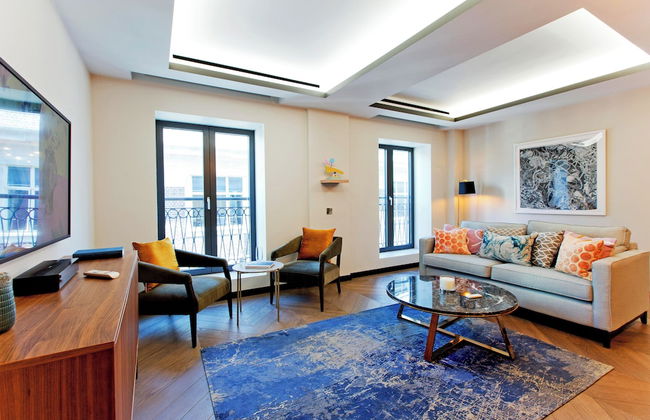
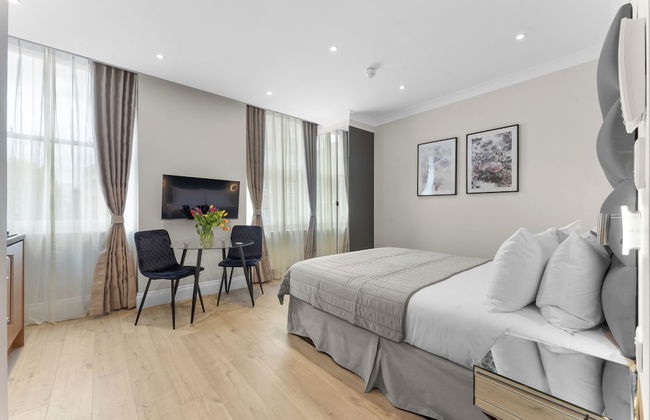
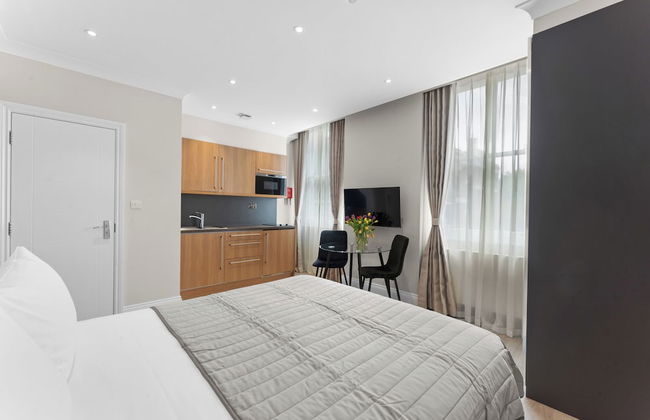
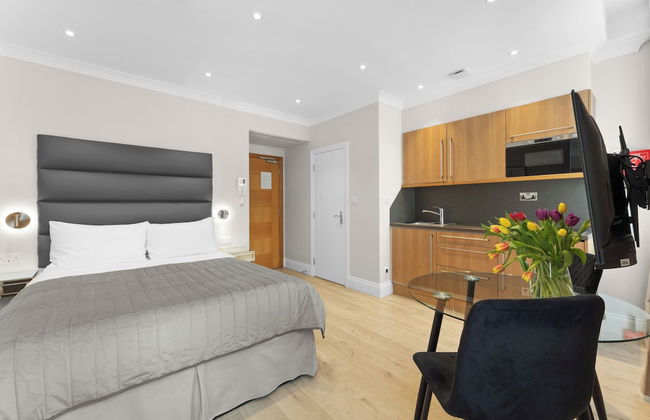
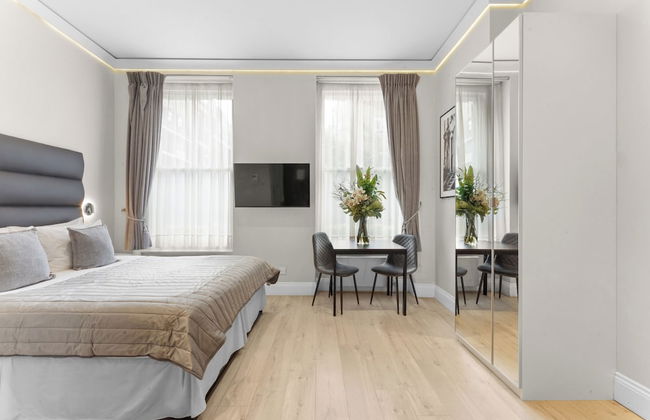
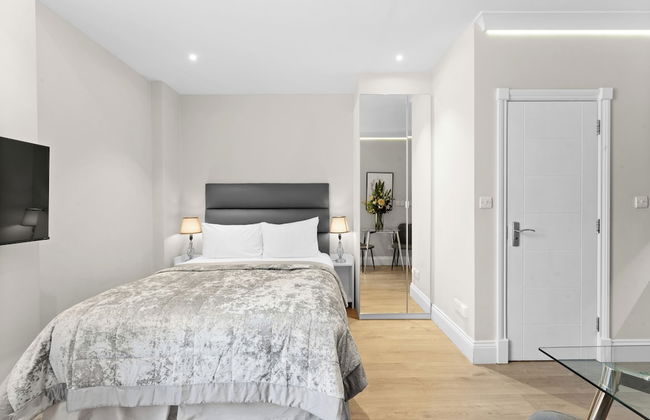
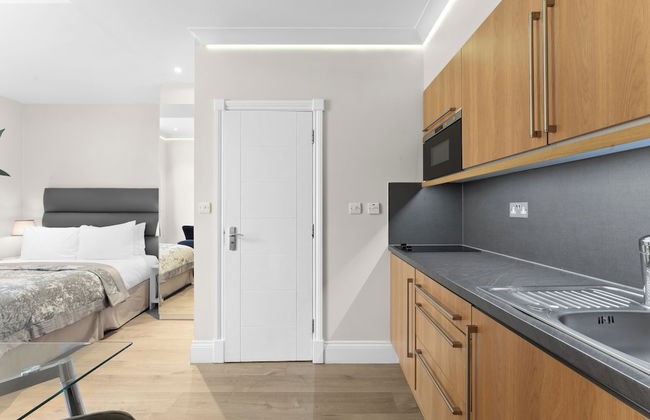
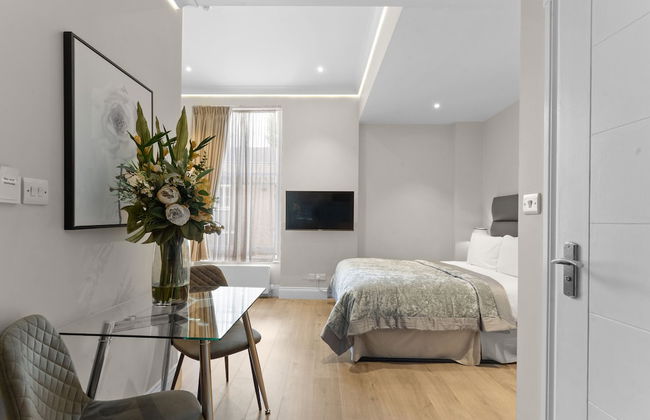
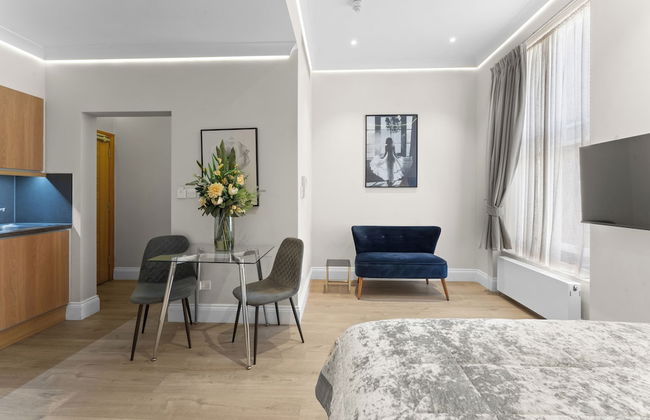
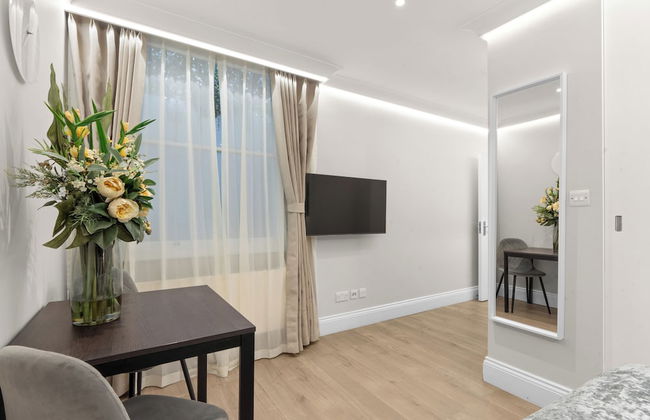
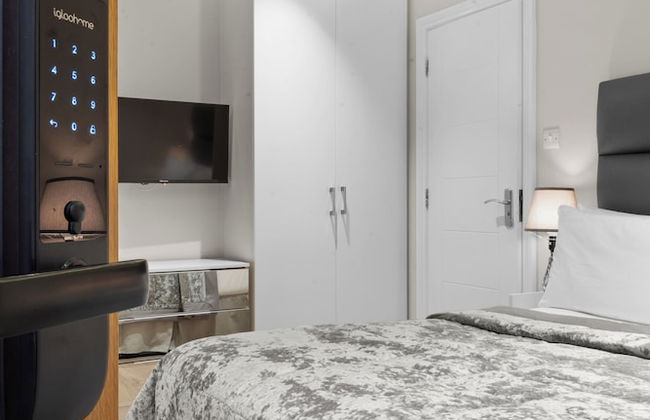
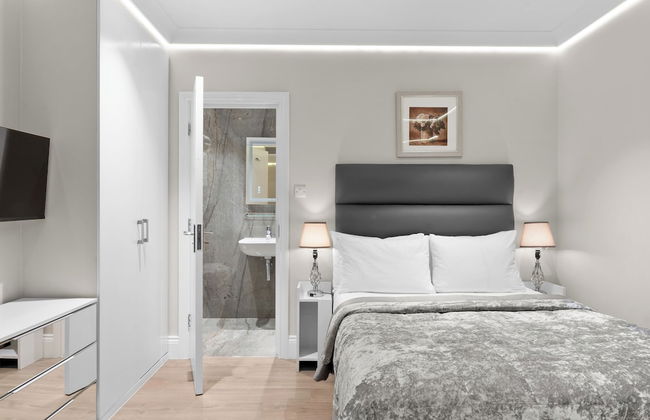
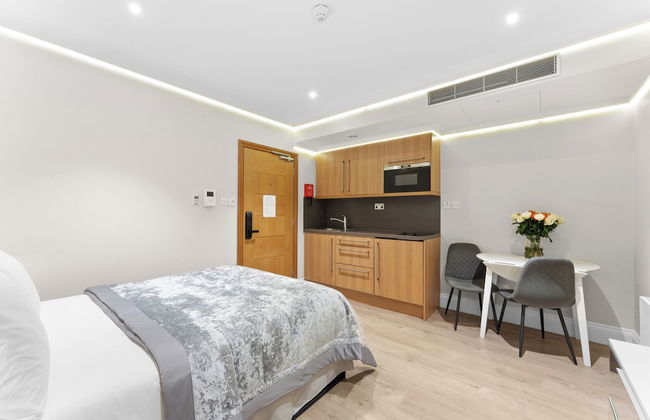
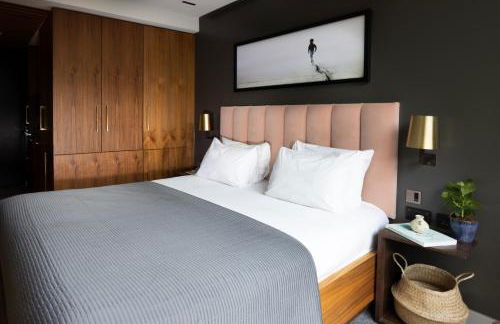
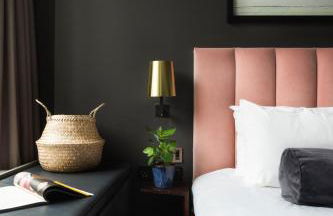
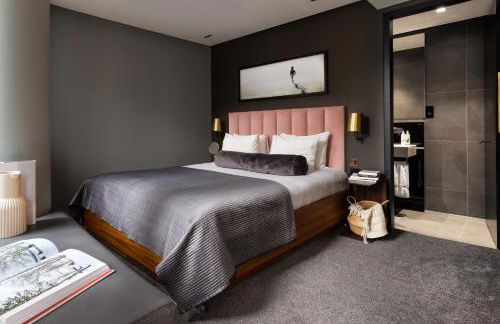
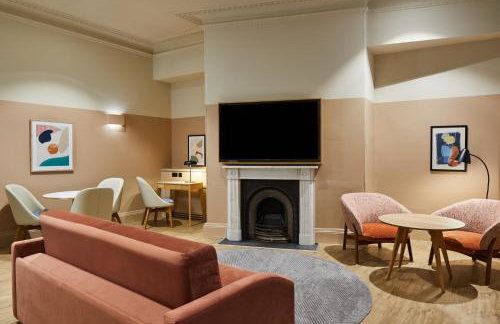
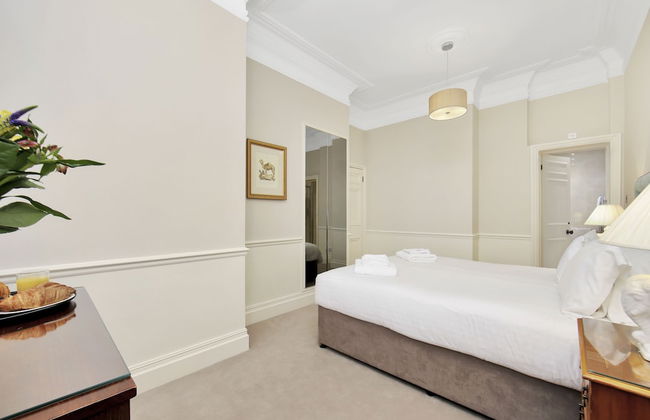
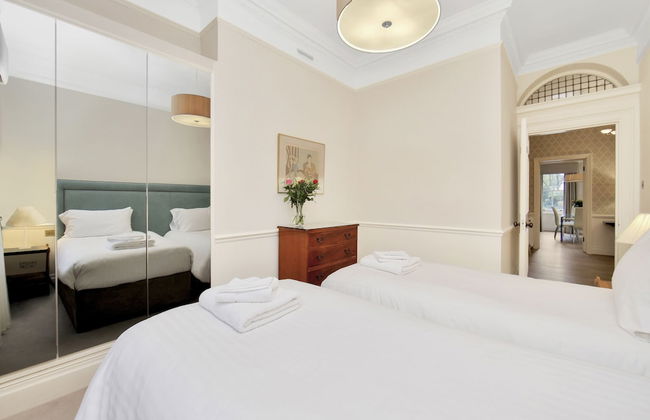
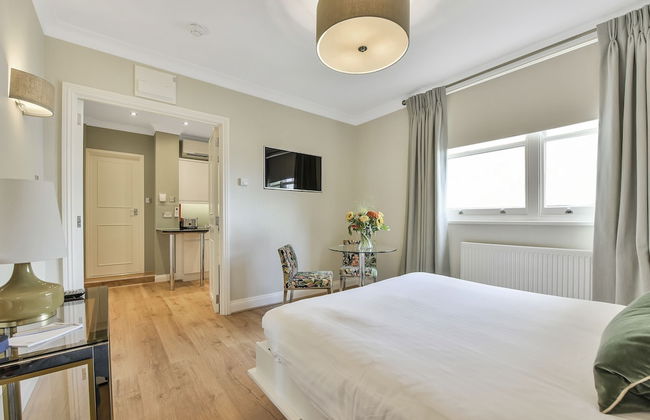
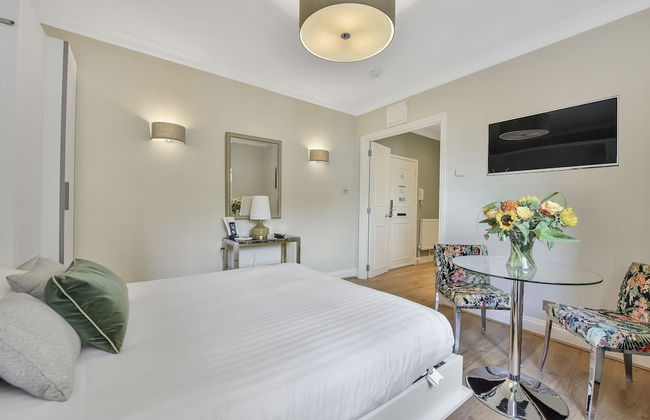
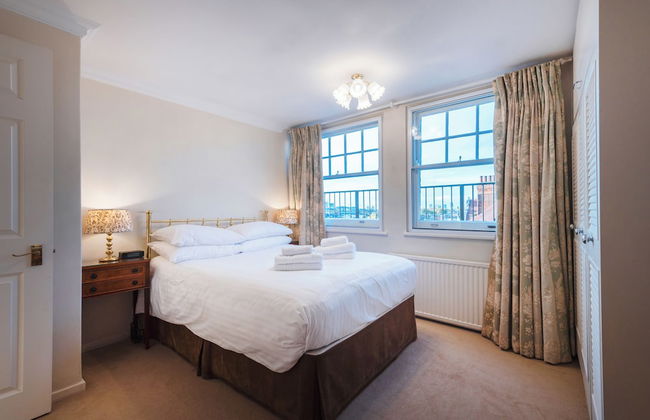
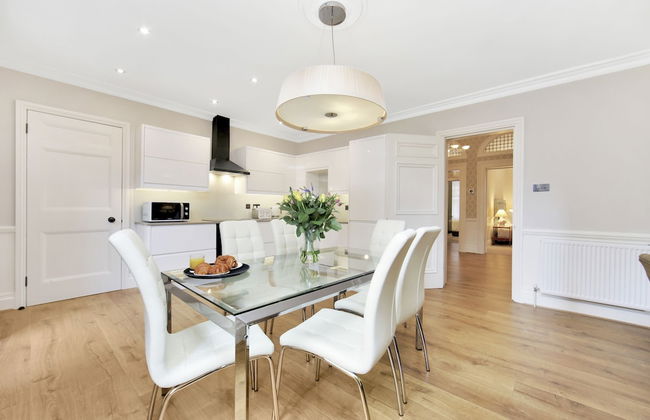
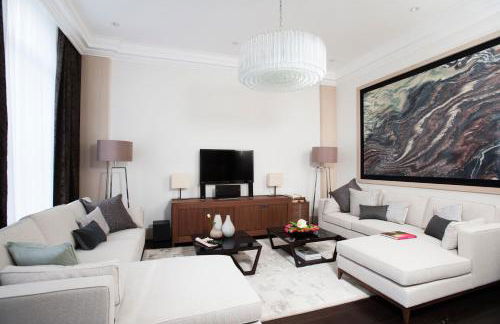
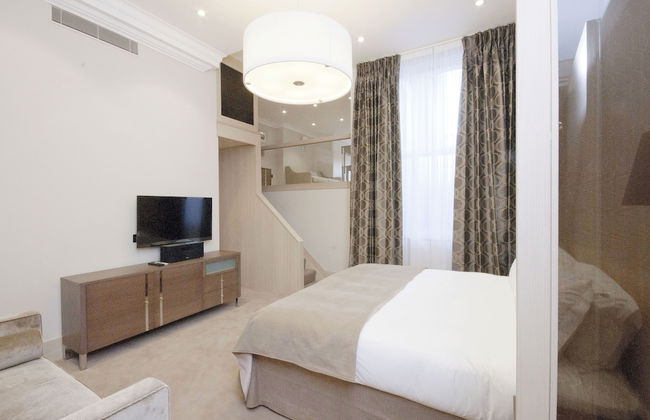
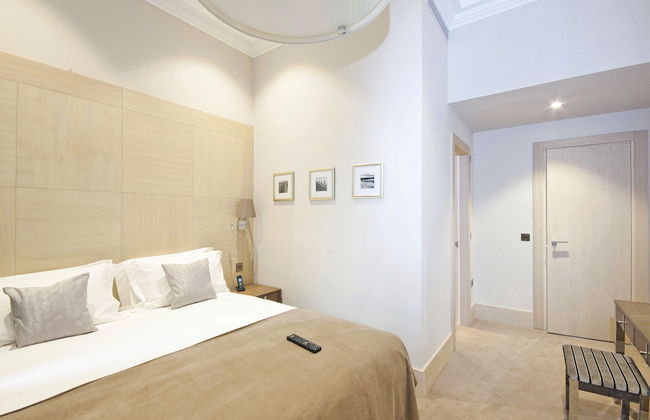
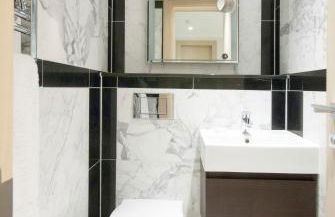
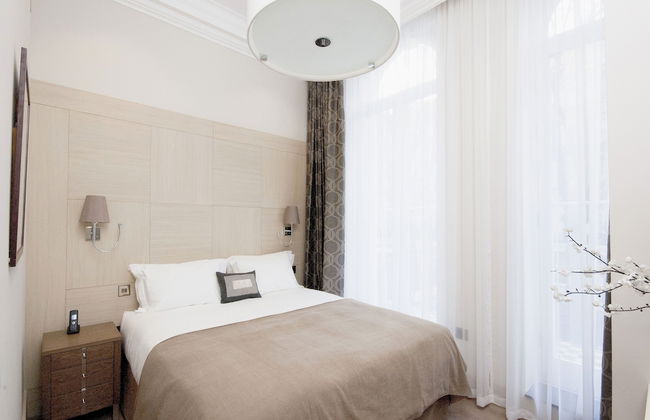
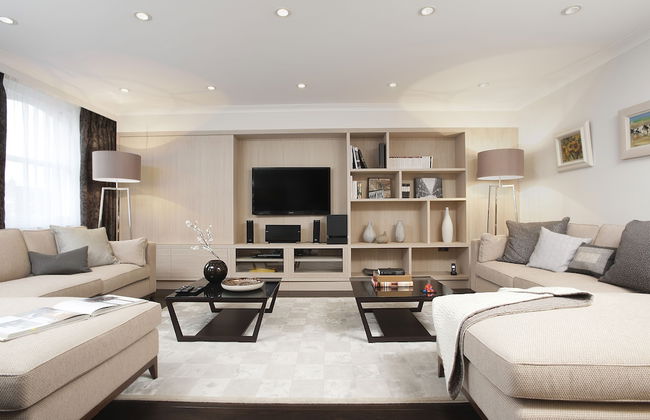
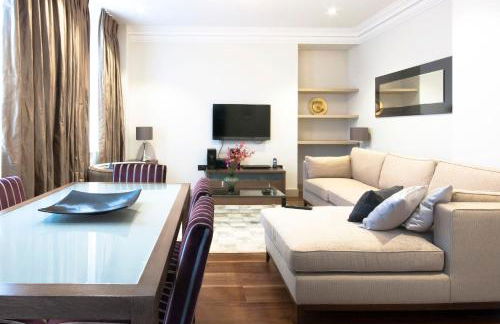
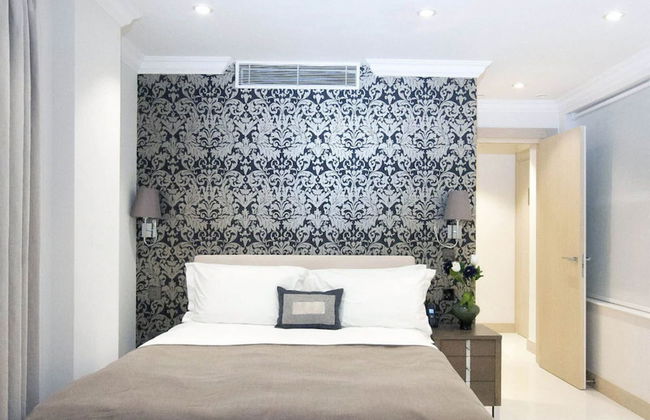
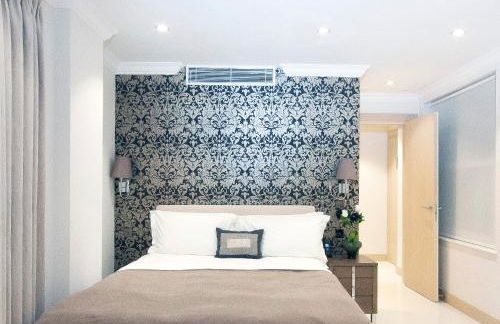
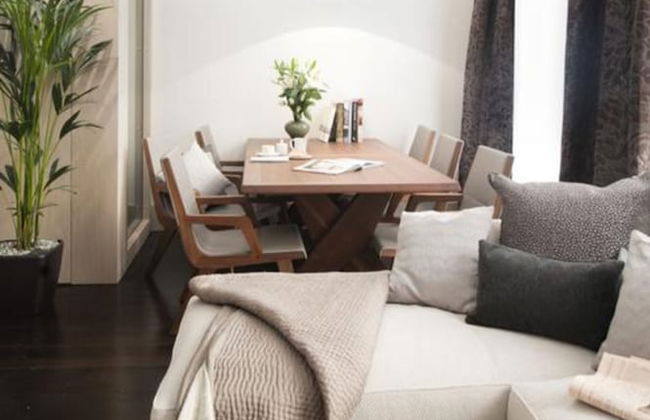
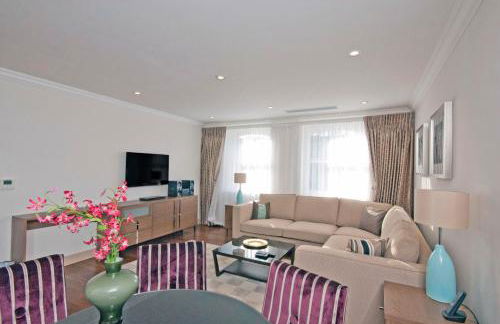
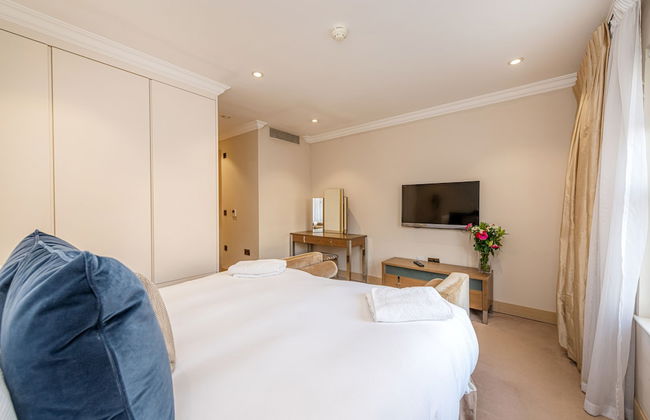
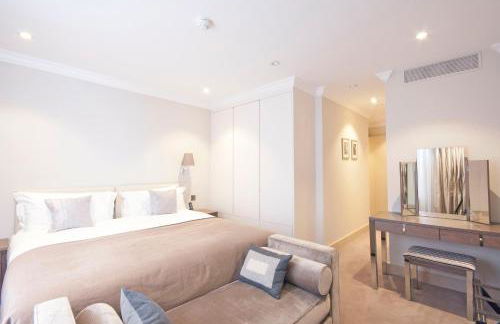
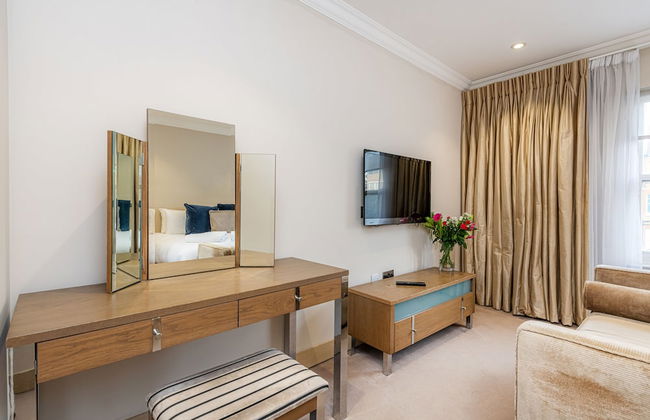
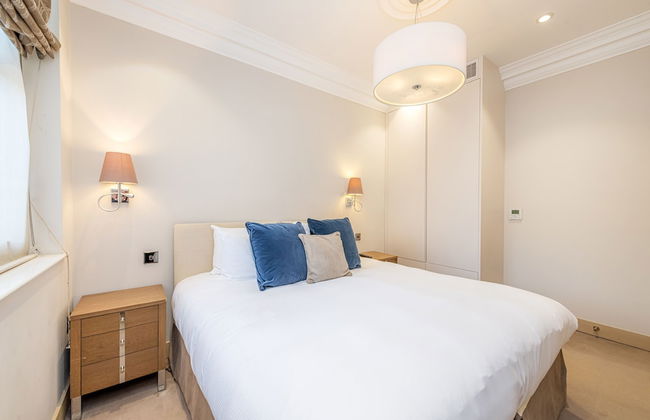
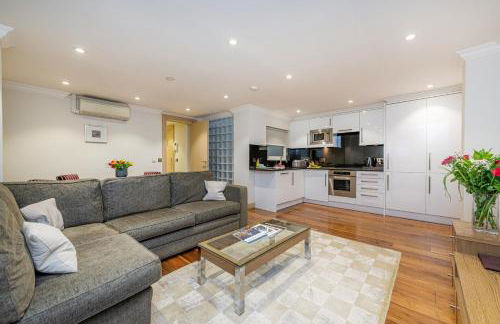
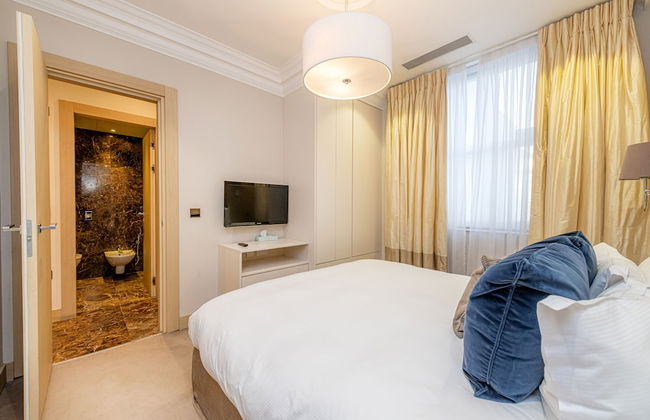
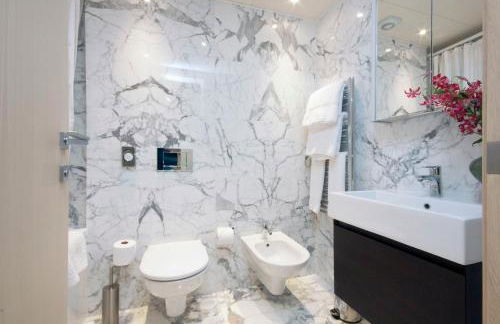
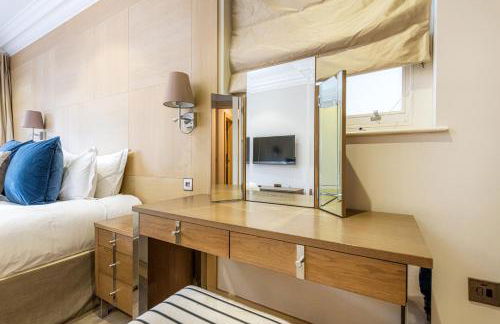
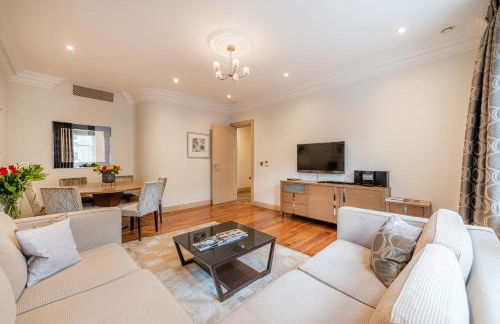
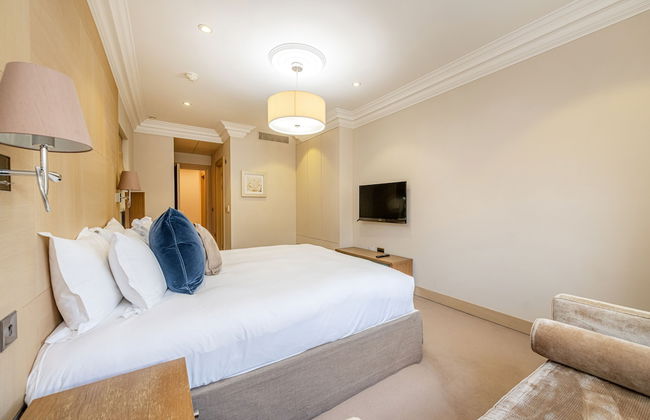
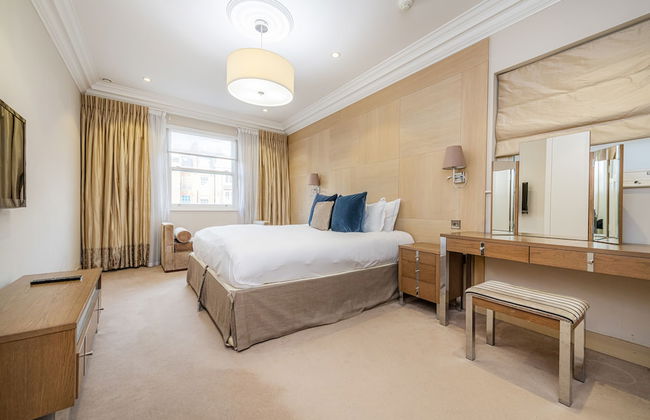
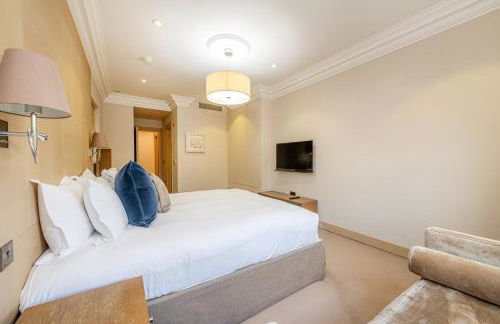
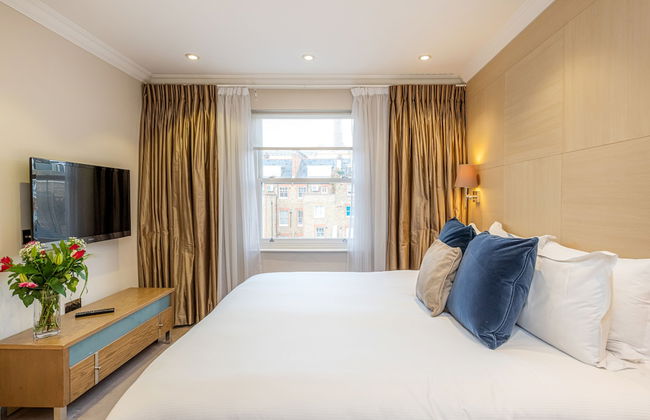
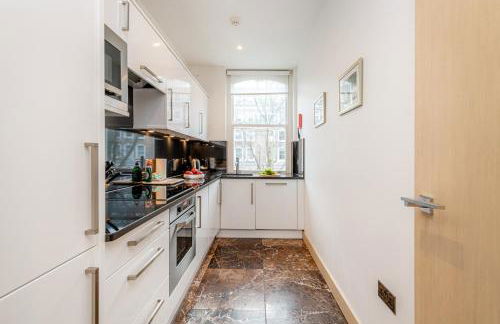
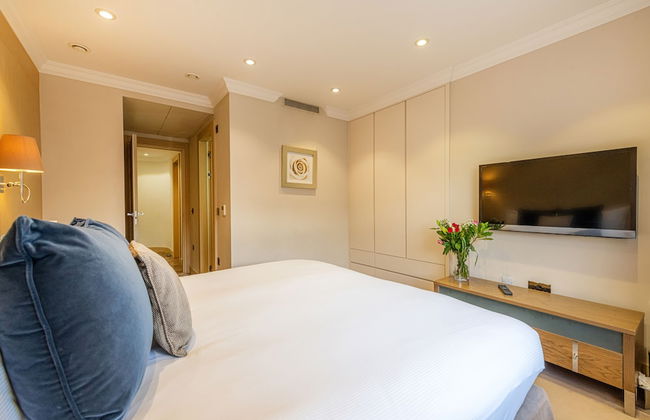
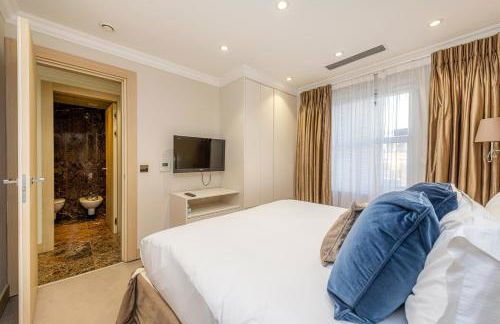
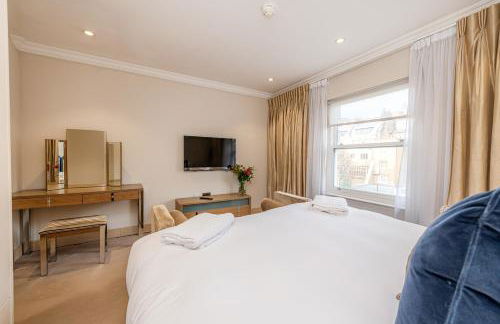
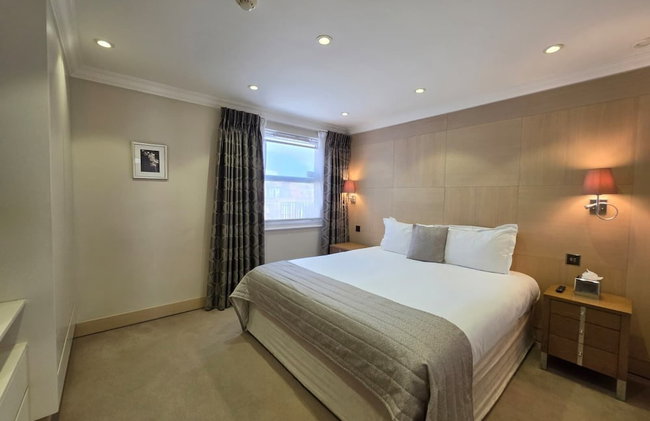
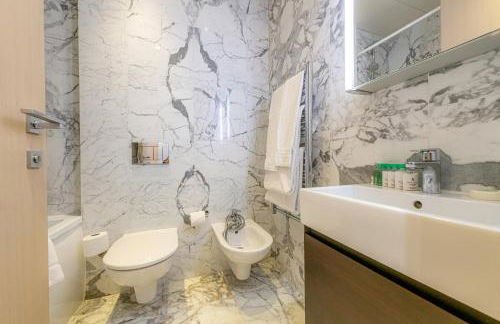
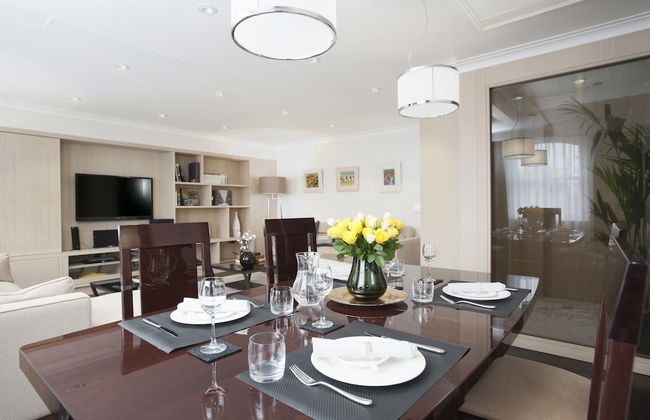
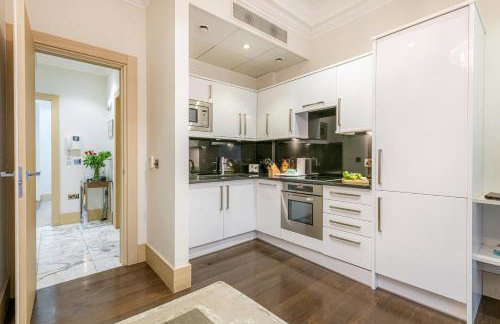
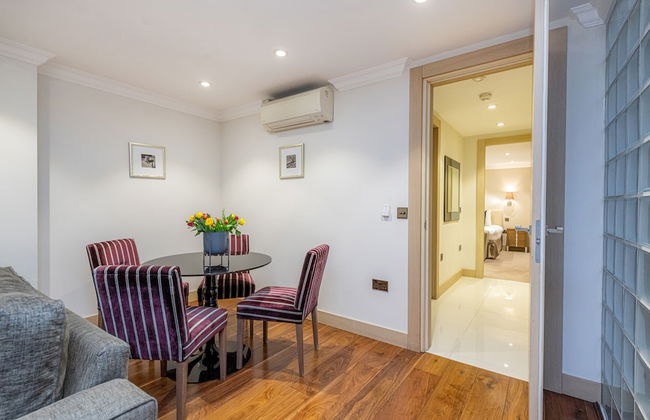
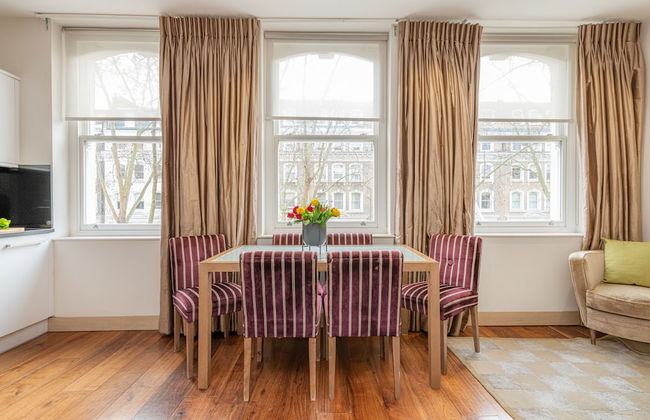
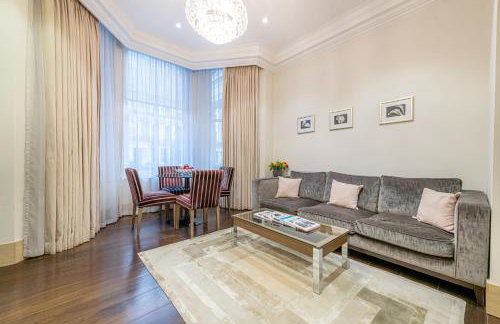
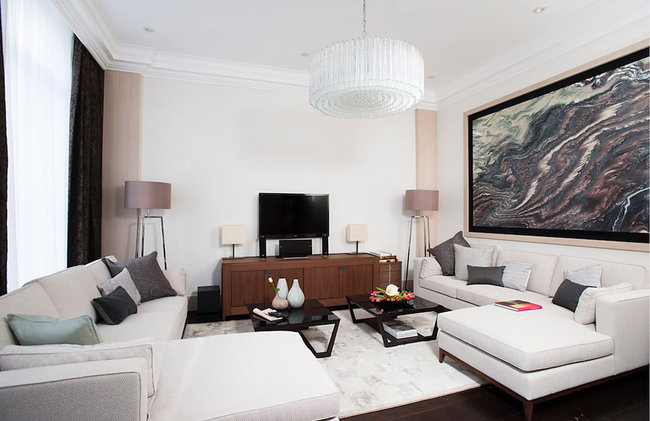
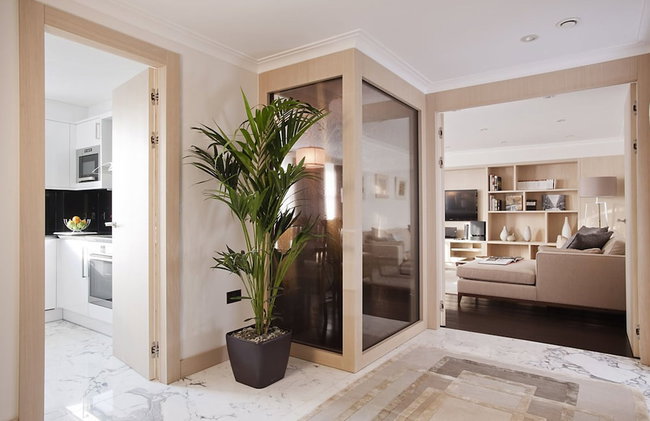
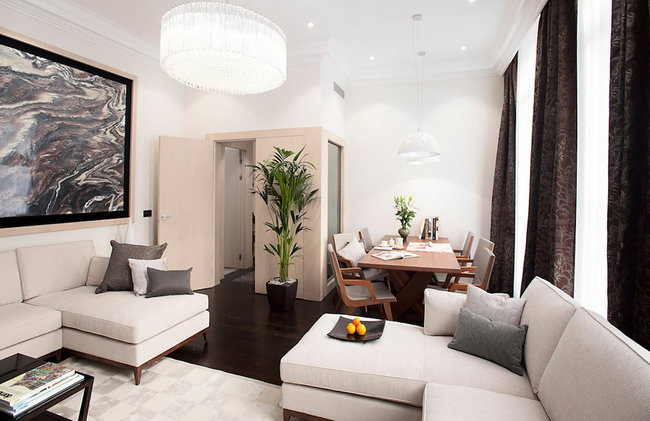
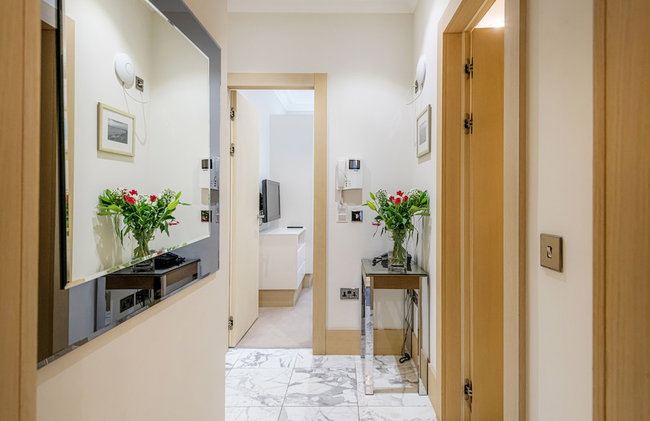
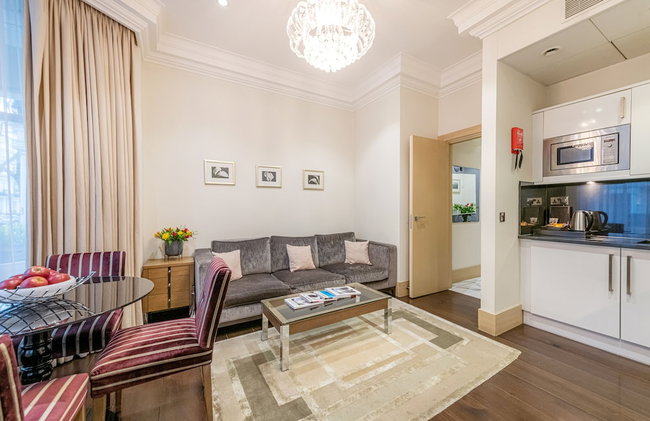
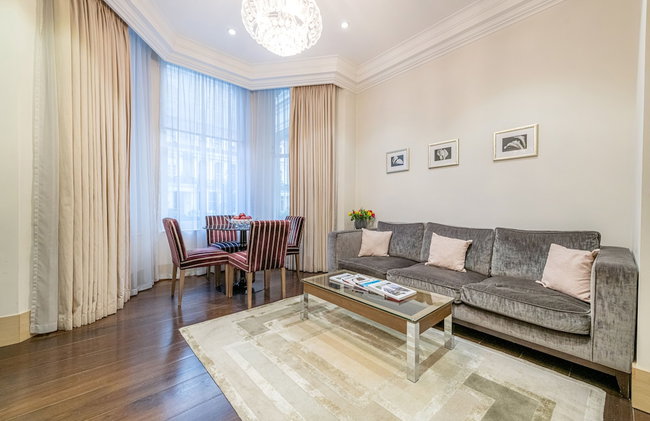
London Choice Apartments - Mayfair - Piccadilly
London - Mayfair - 540 m vom Zentrum
- 150 M2
- 3 Schlafzimmer
- 7 Personen
- Klimaanlage
- Heizung
- Terrasse
- Parkplatz
- Fahrstuhl
- Tv
- Waschmaschine
- Bettlaken


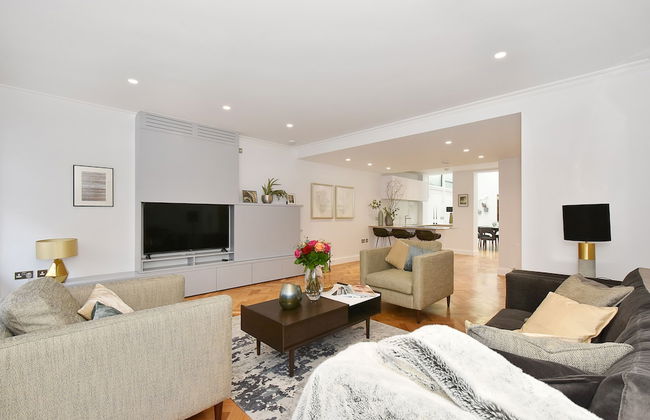
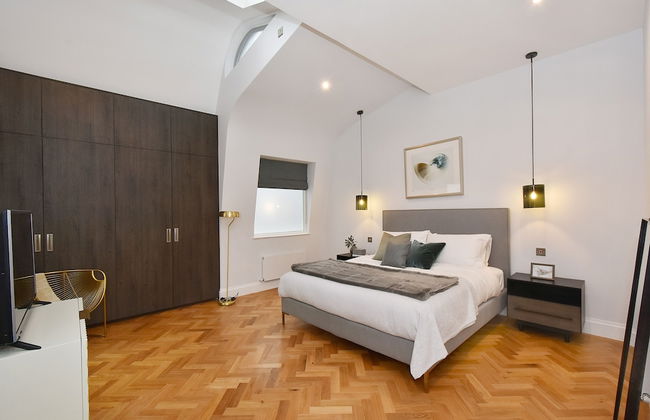
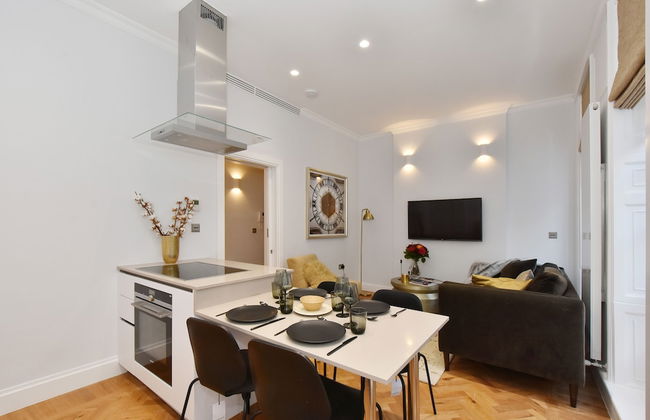
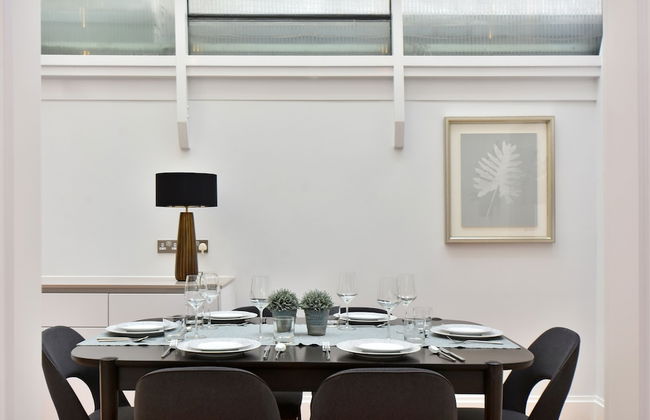
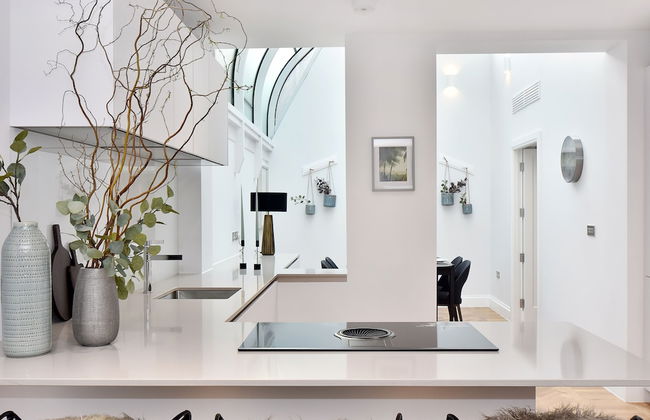
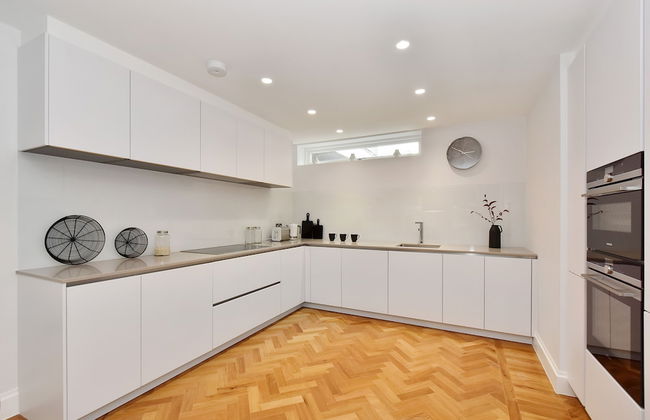
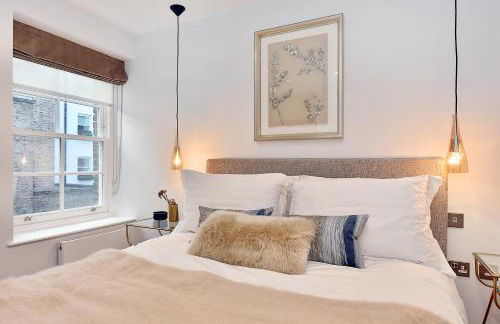
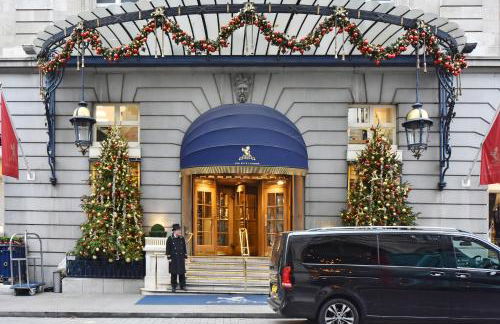
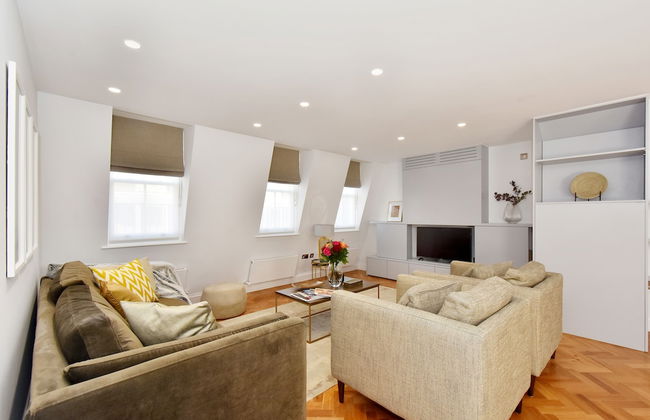
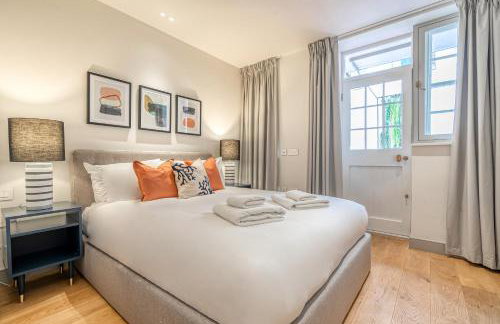
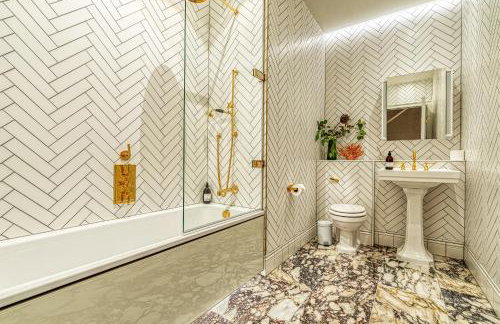
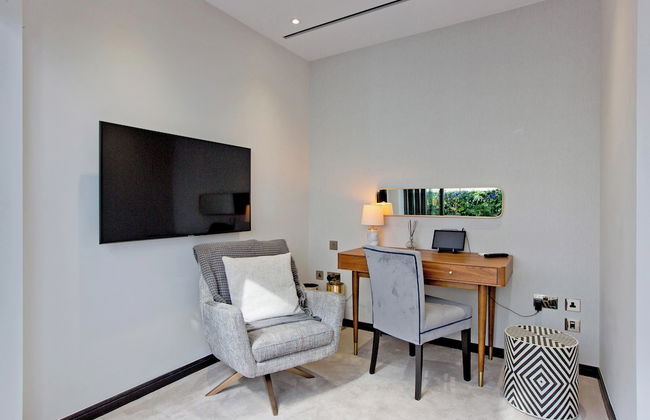
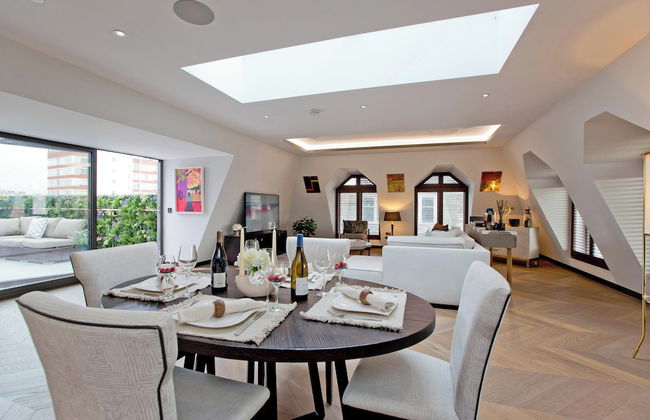
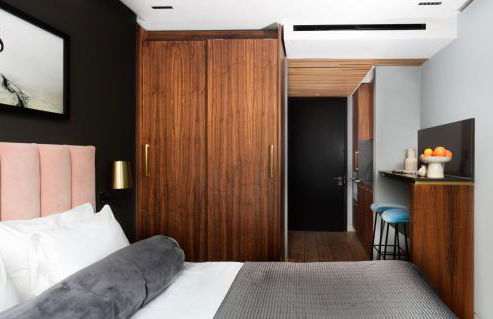
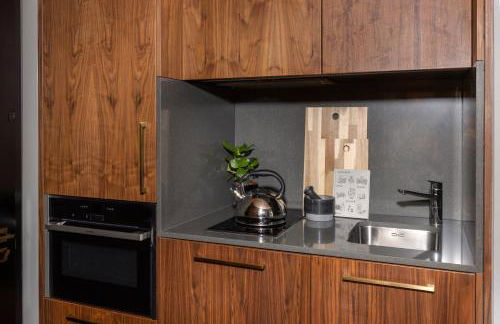
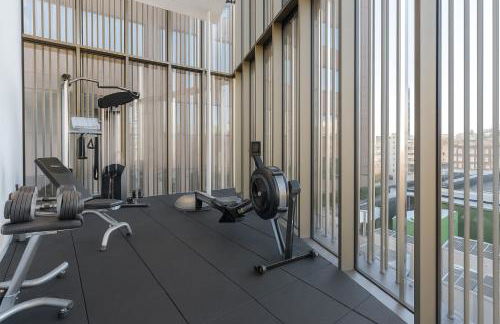
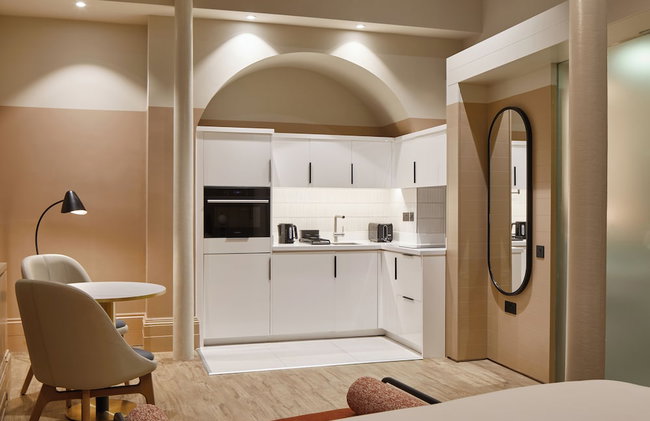
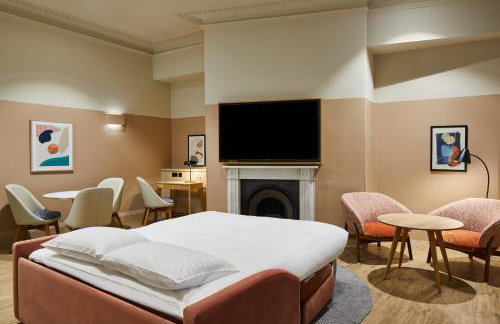
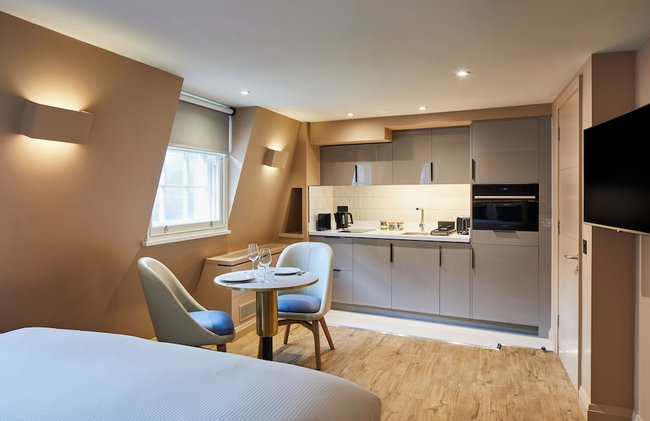
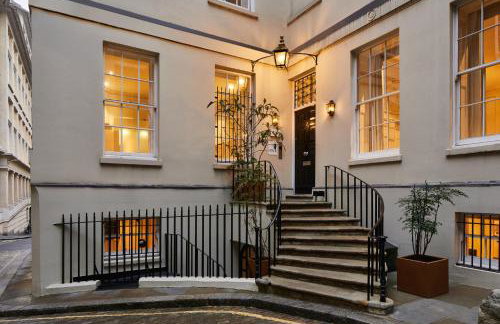
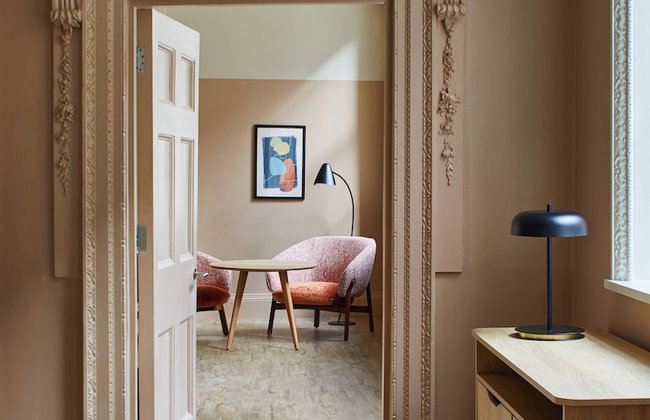
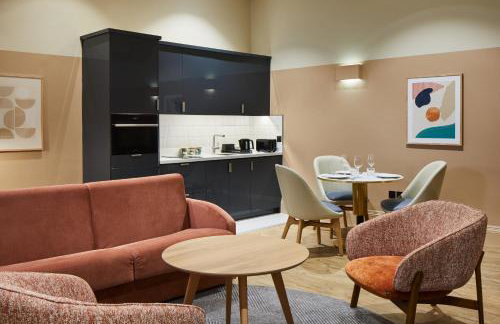
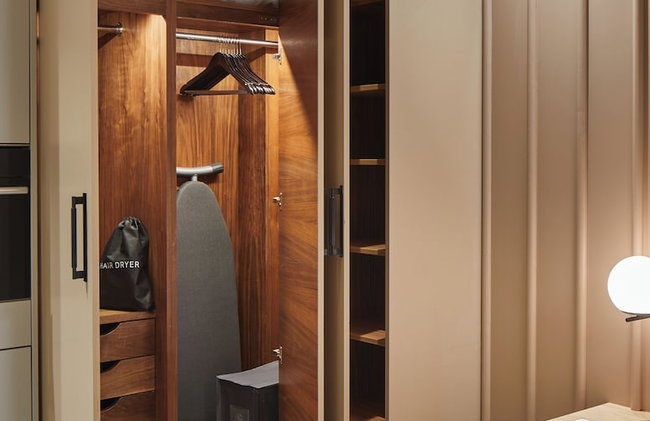
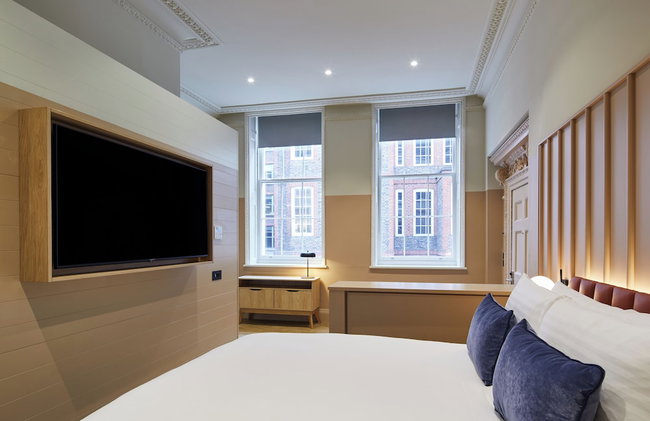
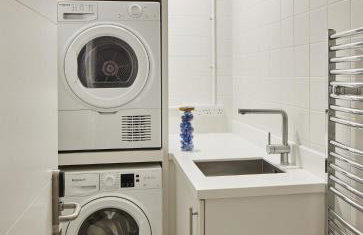
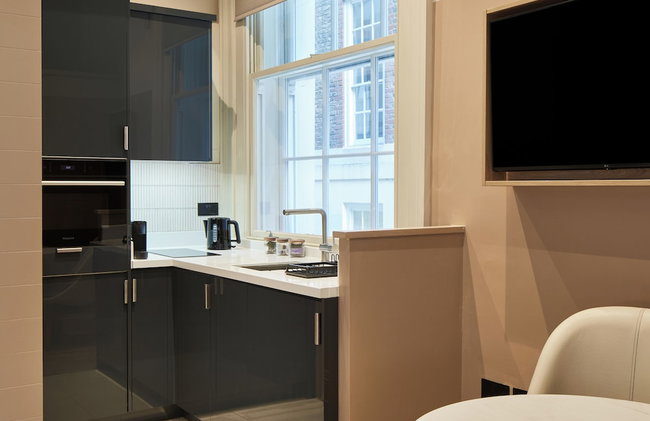
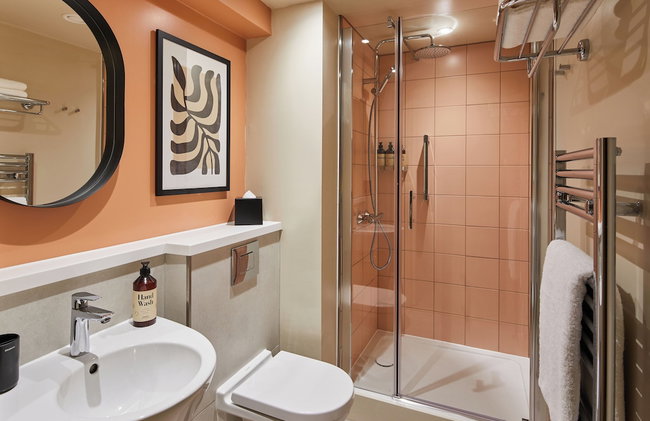
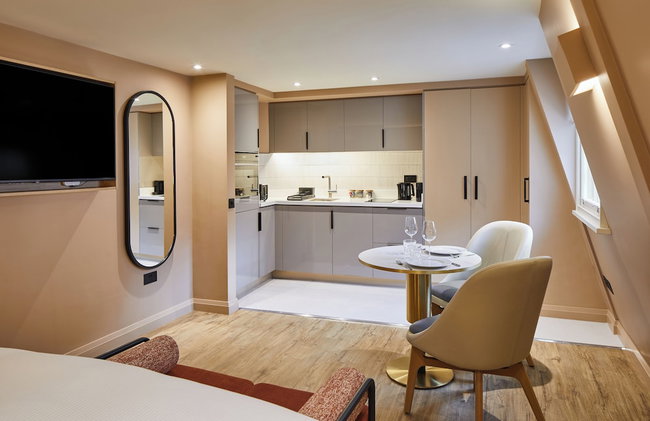
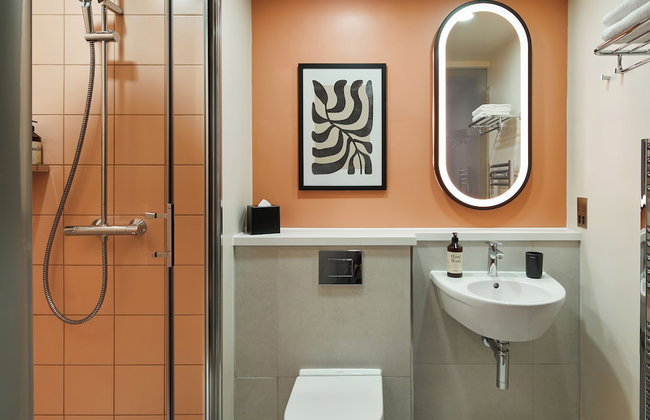
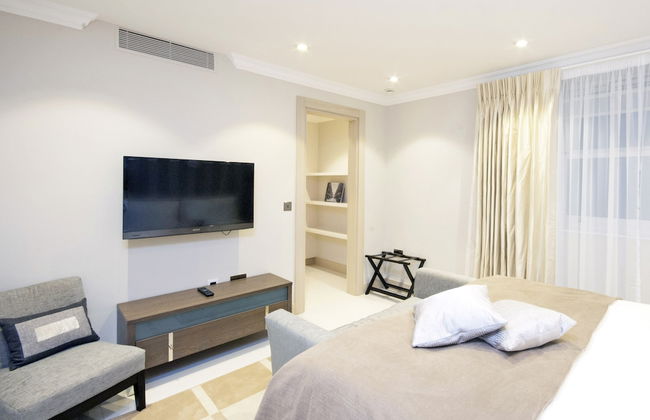
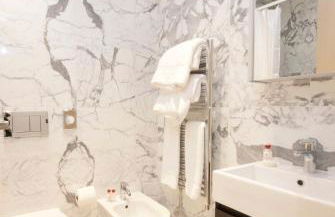
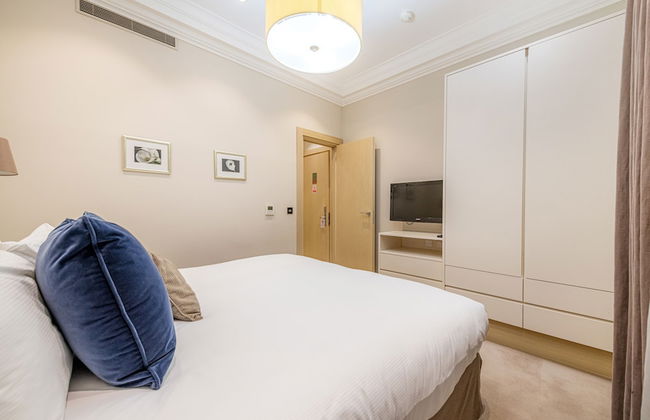
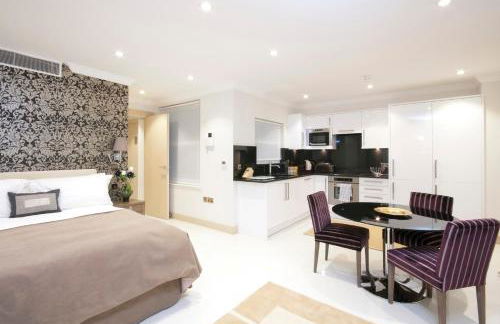
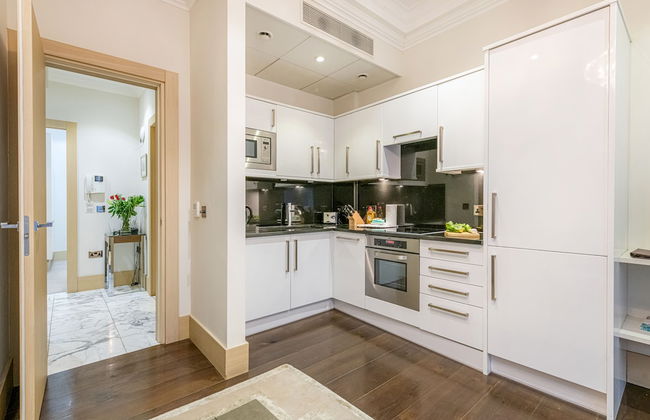
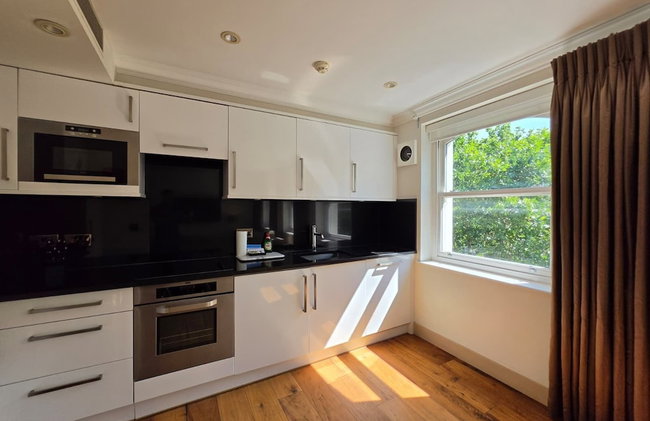
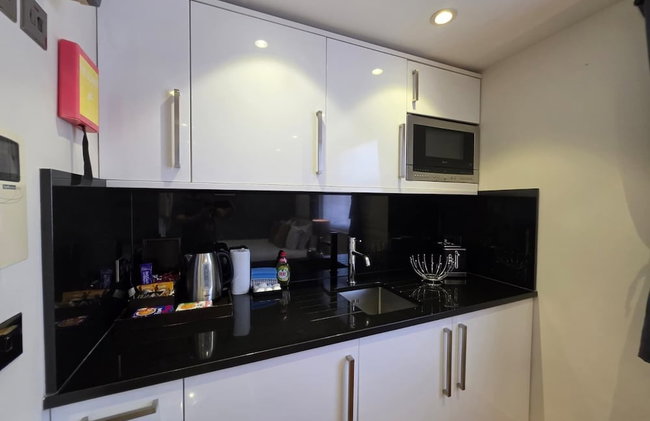
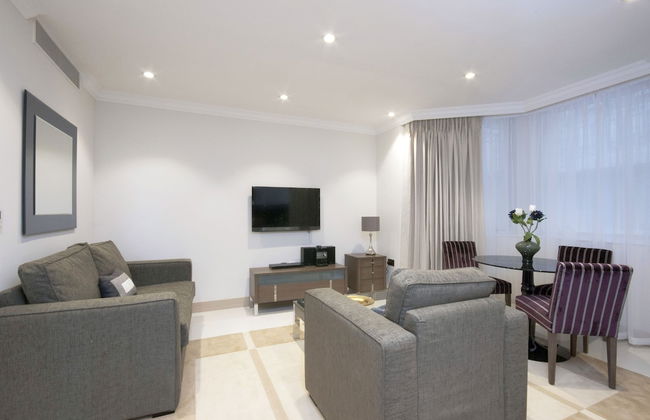
47 Park Street - Grand Residences by Marriott
London - Mayfair - 1.5 km vom Zentrum
- 89 M2
- 6 Personen
- Kochnische
- Klimaanlage
- Heizung
- Parkplatz
- Fahrstuhl
- Tv
- Handtücher
- Bettlaken


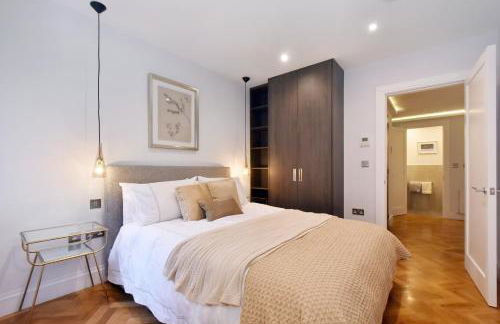
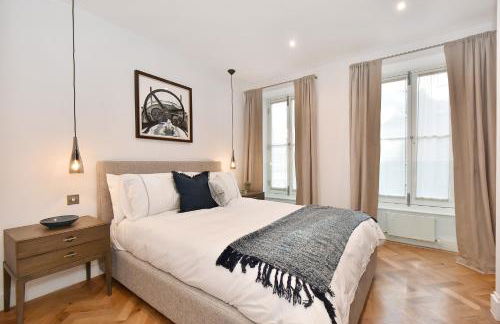
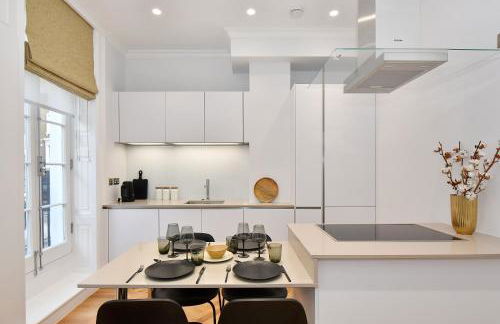
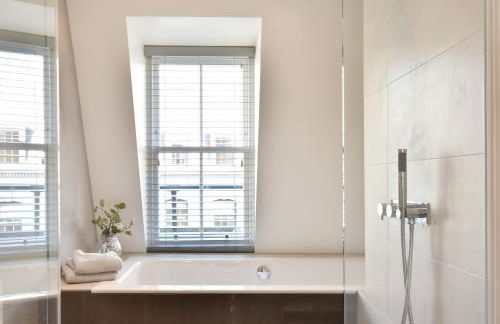
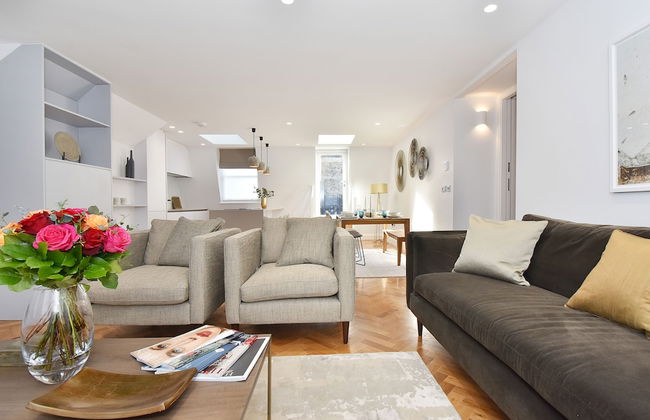
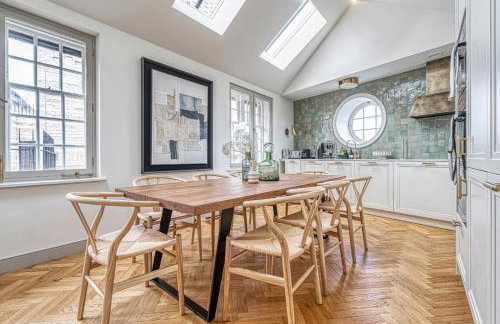
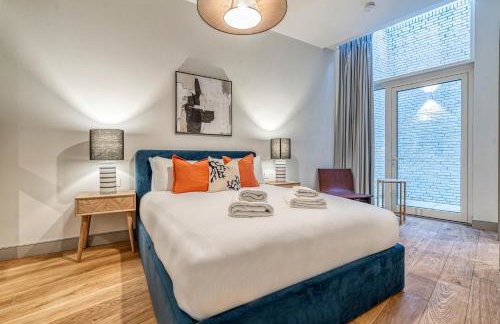
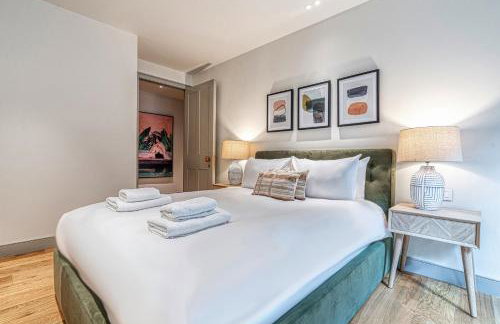
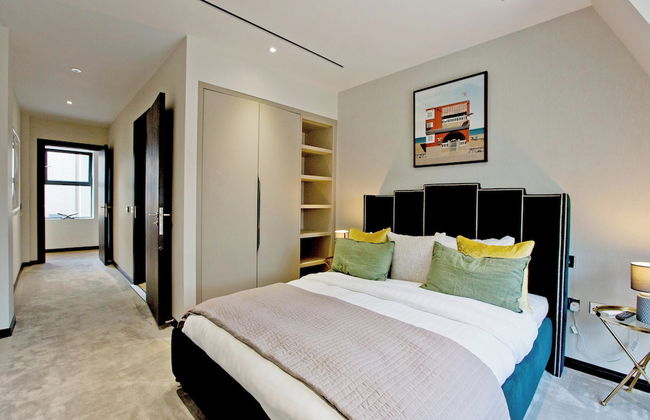
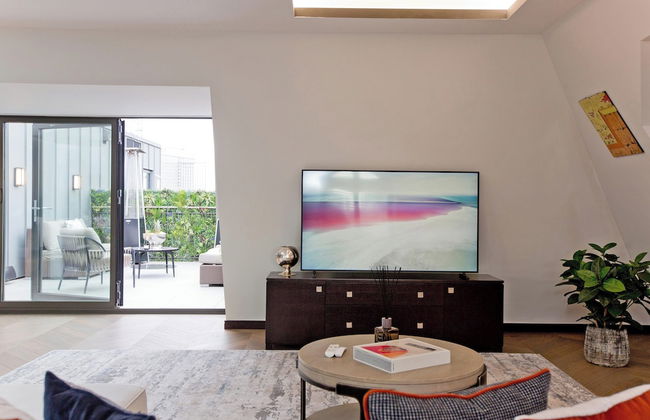
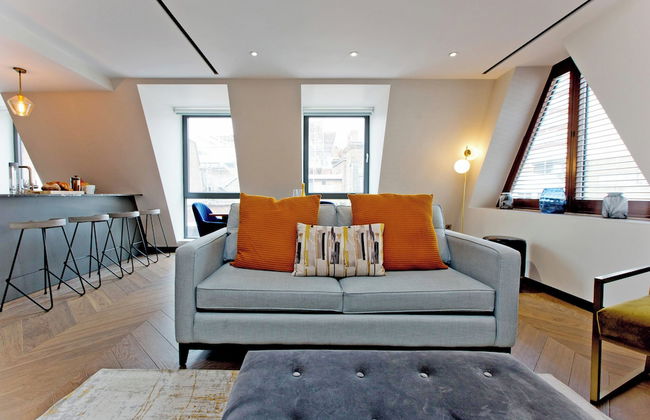
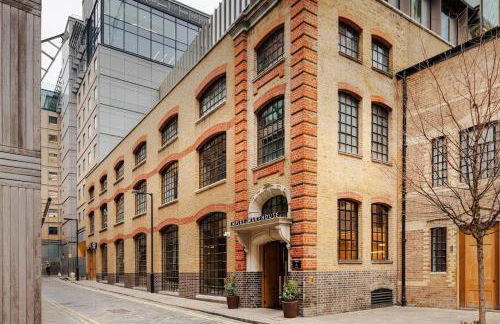
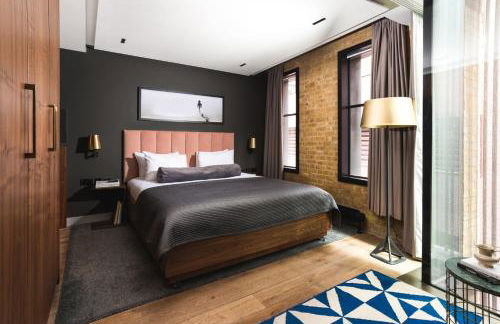
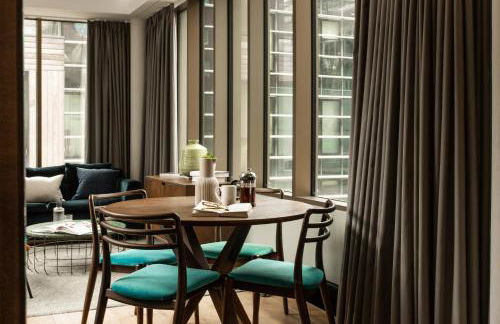
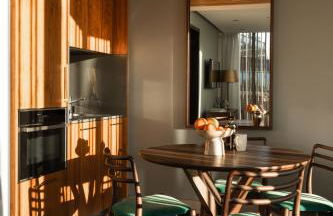
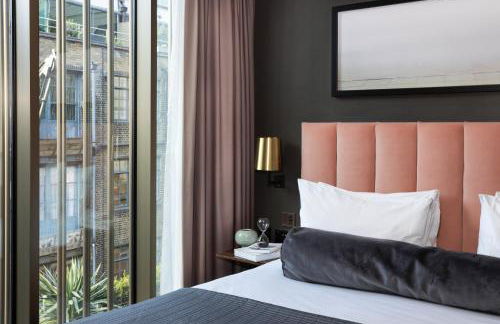
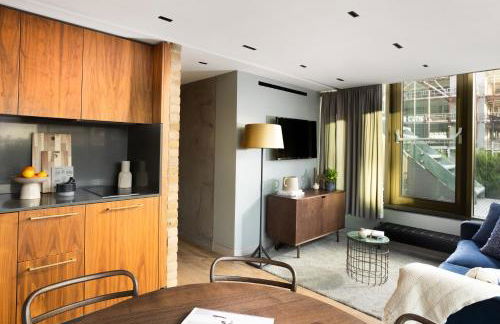
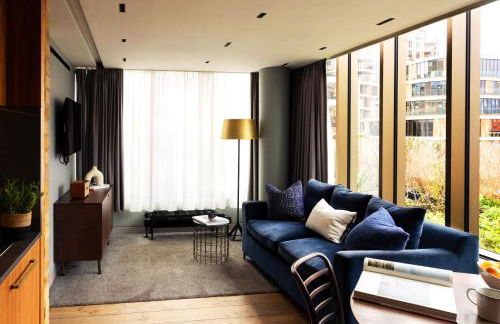
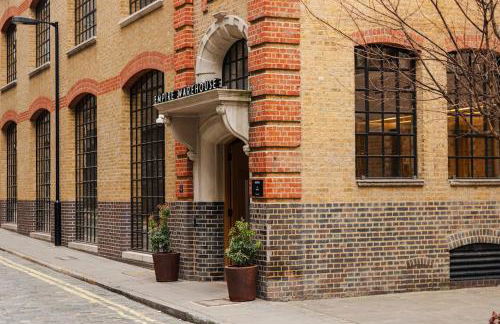
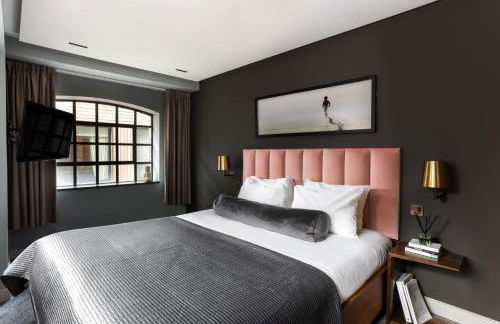
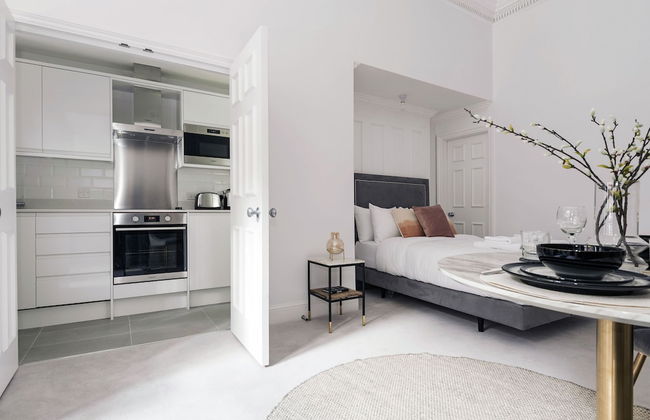
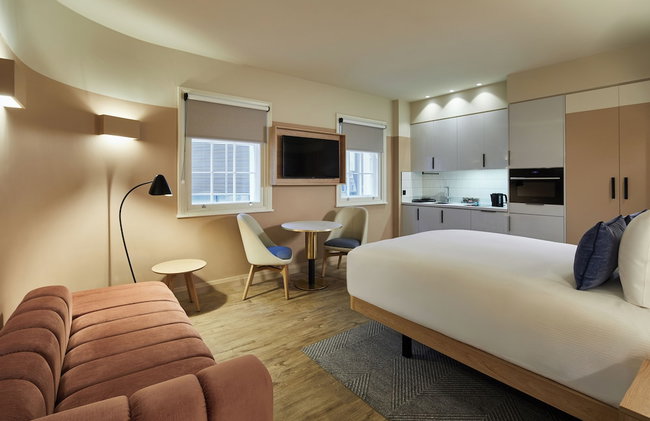
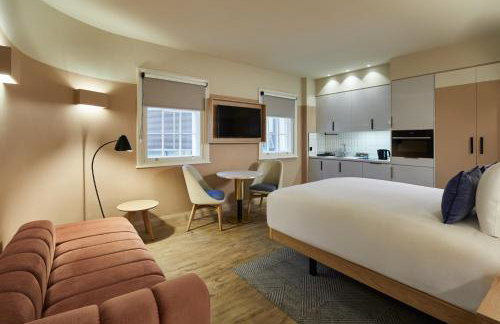
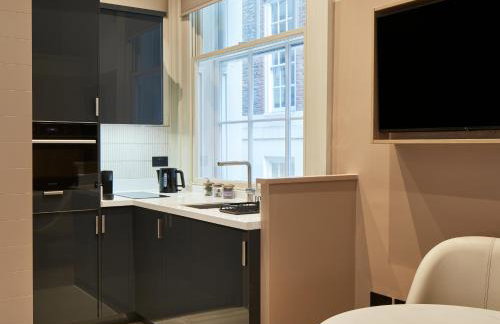
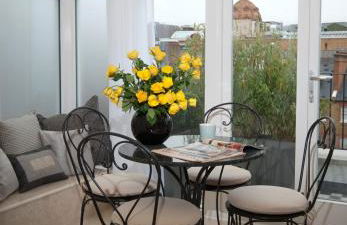
The Eight Apartments Shoreditch
London - Shoreditch - 3.4 km vom Zentrum
- 112 M2
- 3 Schlafzimmer
- 6 Personen
- Klimaanlage
- Heizung
- Fahrstuhl
- Tv
- Waschmaschine
- Handtücher


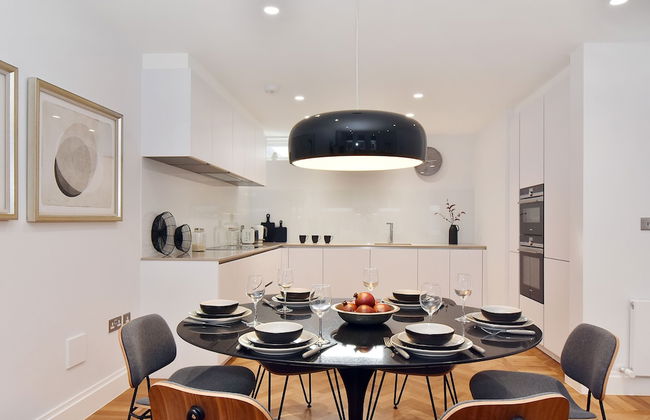
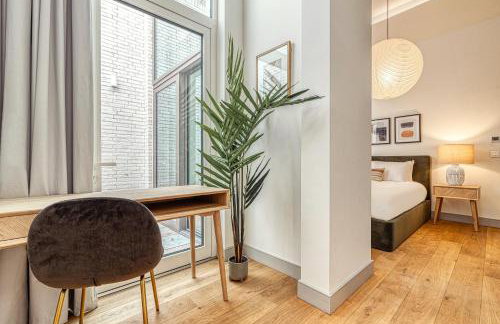
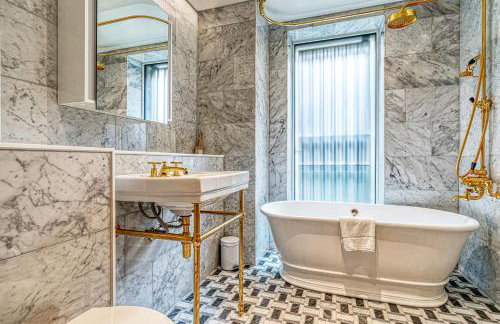
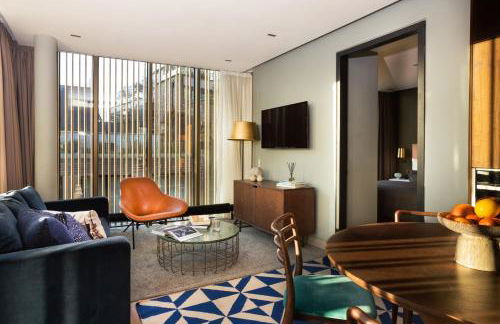
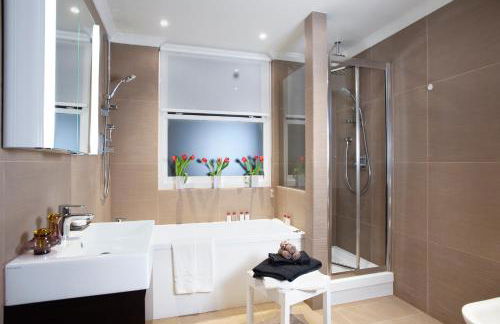
Cheval Thorney Court at Hyde Park
London - Kensington - 3.5 km vom Zentrum
- 269 M2
- 4 Schlafzimmer
- 8 Personen
- Klimaanlage
- Heizung
- Parkplatz
- Fahrstuhl
- Tv
- Waschmaschine
- Handtücher
- Bettlaken


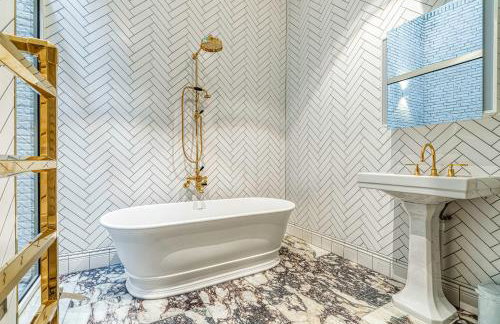
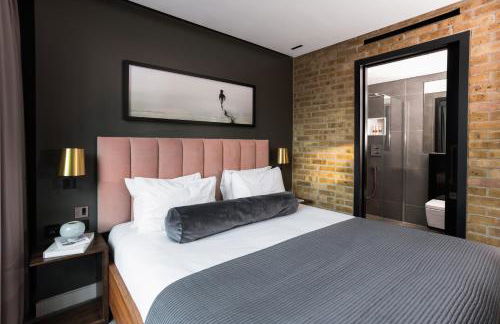
master St. Paul's
London - City of London - 170 m von Saint Paul's Cathedral
- 50 M2
- 2 Schlafzimmer
- 5 Personen
- Klimaanlage
- Heizung
- Schwimmbad
- Fahrstuhl
- Tv
- Waschmaschine
- Handtücher
- Bettlaken


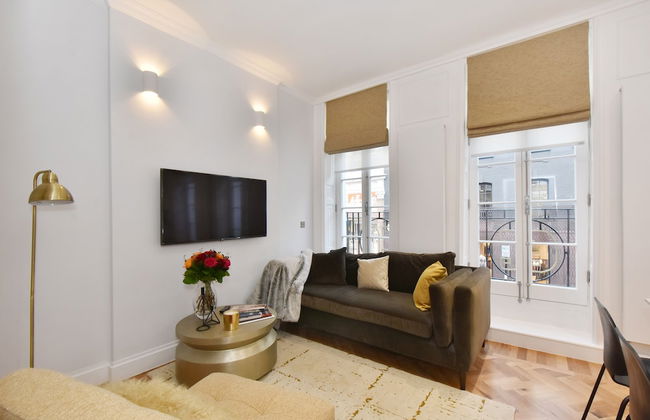
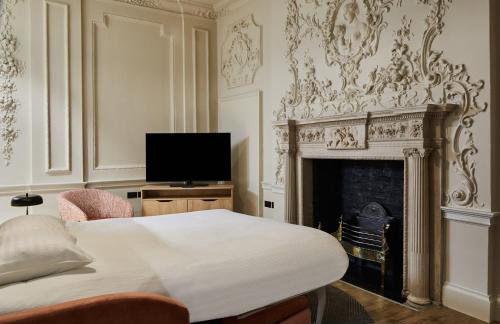
9 Hertford Street – 4 Stars VisitEngland
London - Mayfair - 930 m vom Zentrum
- 75 M2
- 1 Schlafzimmer
- 4 Personen
- Klimaanlage
- Heizung
- Terrasse
- Parkplatz
- Fahrstuhl
- Tv
- Waschmaschine
- Schornstein
- Handtücher
- Bettlaken


Cheval Knightsbridge
London - South Kensington - 2.3 km vom Zentrum
- 109 M2
- 3 Schlafzimmer
- 6 Personen
- Klimaanlage
- Heizung
- Parkplatz
- Fahrstuhl
- Balkon
- Tv
- Waschmaschine
- Handtücher
- Bettlaken


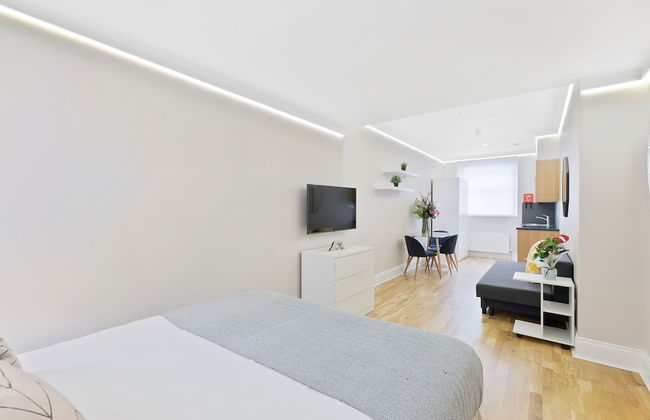
Citadines Islington London
London - Islington - 3.5 km vom Zentrum
- 40 M2
- 1 Schlafzimmer
- 4 Personen
- Klimaanlage
- Heizung
- Fahrstuhl
- Tv
- Handtücher
- Bettlaken
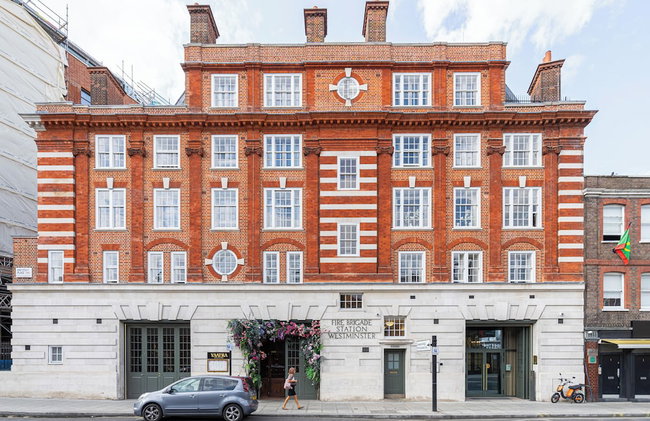


Westminster Fire Station Luxury Apartments
London - Victoria - 710 m vom Zentrum
- 120 M2
- 3 Schlafzimmer
- 6 Personen
- Klimaanlage
- Heizung
- Terrasse
- Fahrstuhl
- Garten
- Tv
- Waschmaschine
- Handtücher
- Bettlaken


Vertus Edit Canary Wharf
London - Isle - 7.6 km vom Zentrum
- 27 M2
- 2 Personen
- Heizung
- Terrasse
- Parkplatz
- Fahrstuhl
- Garten
- Tv
- Handtücher
- Bettlaken


37GS Residences
London - Soho - 440 m vom Zentrum
- 228 M2
- 3 Schlafzimmer
- 6 Personen
- Klimaanlage
- Heizung
- Terrasse
- Parkplatz
- Fahrstuhl
- Balkon
- Garten
- Tv
- Waschmaschine
- Handtücher
- Bettlaken


Be London - The Russell Square Residences
London - Bloomsbury - 480 m von British Museum
- 52 M2
- 3 Personen
- Kochnische
- Klimaanlage
- Heizung
- Fahrstuhl
- Tv
- Handtücher
- Bettlaken


Native Bankside
London - Southwark - 270 m von Tate Modern
- 81 M2
- 2 Schlafzimmer
- 6 Personen
- Klimaanlage
- Heizung
- Fahrstuhl
- Tv
- Waschmaschine
- Handtücher
- Bettlaken


3 Sloane Gardens by UnderTheDoormat
London - Chelsea - 2.1 km vom Zentrum
- 51 M2
- 4 Personen
- Klimaanlage
- Heizung
- Fahrstuhl
- Garten
- Tv
- Waschmaschine
- Handtücher
- Bettlaken


The Rosebery by Supercity Aparthotels
London - City of London - 1.7 km vom Zentrum
- 53 M2
- 2 Schlafzimmer
- 4 Personen
- Klimaanlage
- Heizung
- Fahrstuhl
- Tv
- Waschmaschine
- Handtücher
- Bettlaken


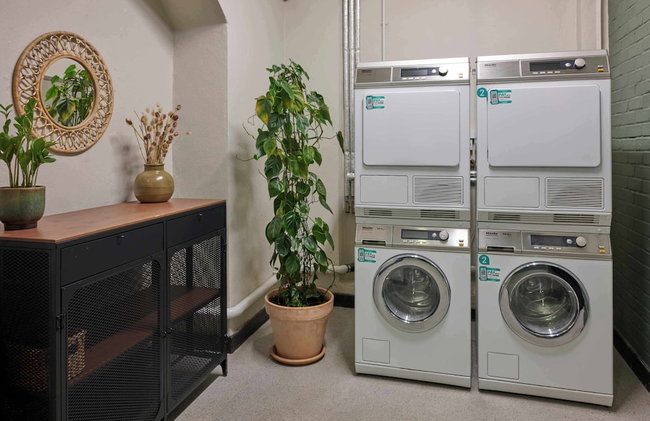
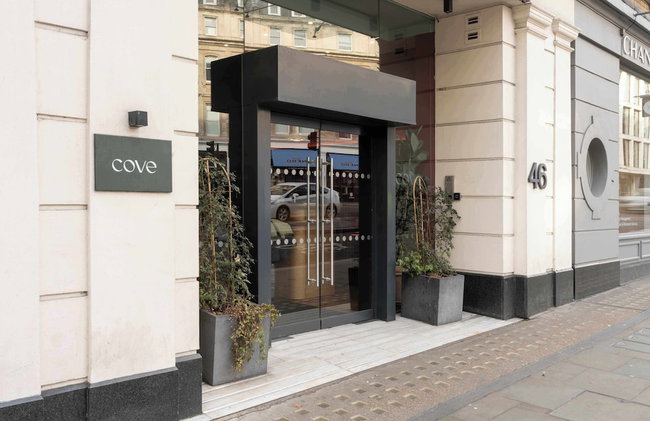

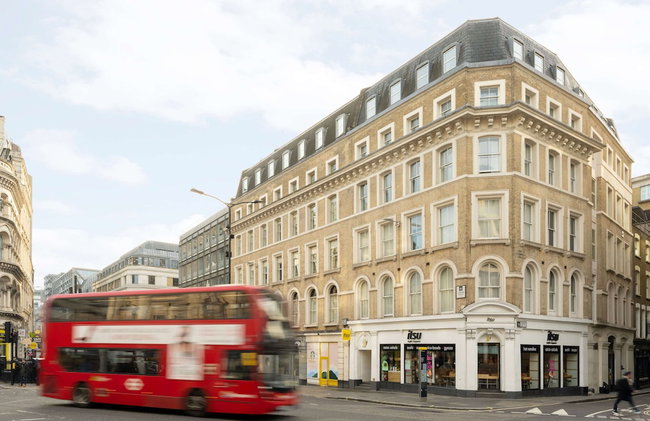
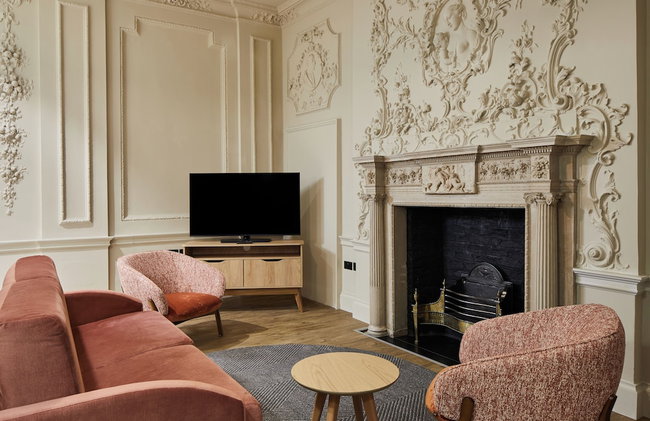
Cove Cannon Street
London - City of London - 410 m von Saint Paul's Cathedral
- 43 M2
- 3 Personen
- Klimaanlage
- Heizung
- Fahrstuhl
- Tv
- Waschmaschine
- Handtücher
- Bettlaken


master Cannon
London - City of London - 2.2 km vom Zentrum
- 78 M2
- 3 Schlafzimmer
- 6 Personen
- Klimaanlage
- Heizung
- Fahrstuhl
- Tv
- Waschmaschine
- Handtücher
- Bettlaken


No 1 The Mansion Apartments by Mansley
London - South Kensington - 4.3 km vom Zentrum
- 170 M2
- 4 Schlafzimmer
- 8 Personen
- Heizung
- Terrasse
- Fahrstuhl
- Balkon
- Tv
- Waschmaschine
- Handtücher
- Bettlaken
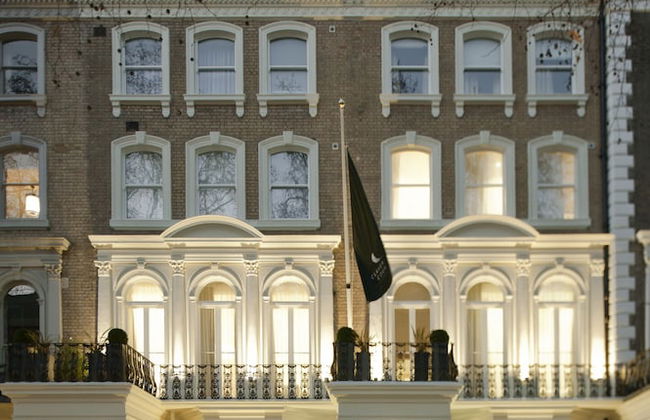


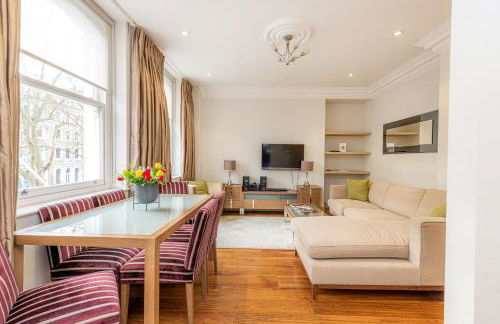

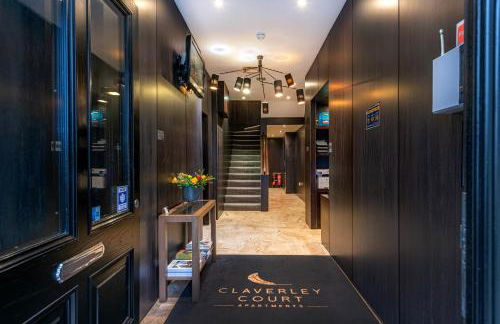


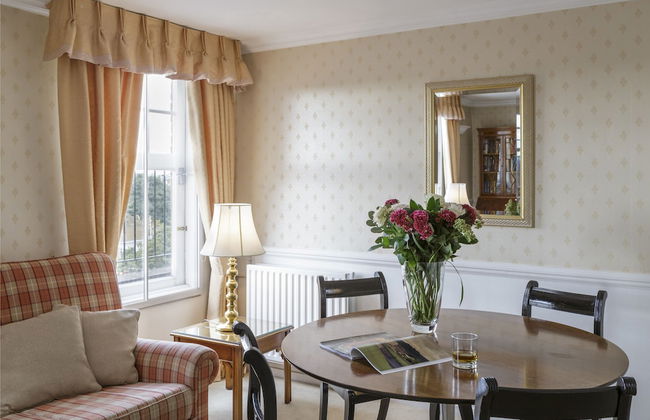
Claverley Court Apartments Knightsbridge
London - Chelsea - 2.2 km vom Zentrum
- 116 M2
- 3 Schlafzimmer
- 6 Personen
- Klimaanlage
- Heizung
- Terrasse
- Parkplatz
- Fahrstuhl
- Balkon
- Tv
- Waschmaschine
- Handtücher
- Bettlaken
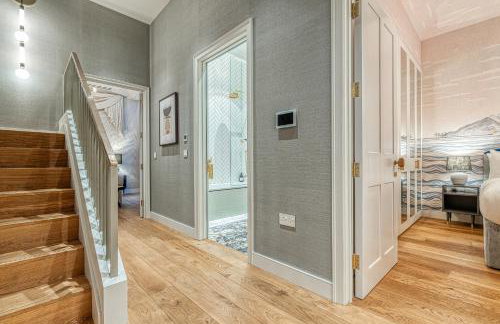
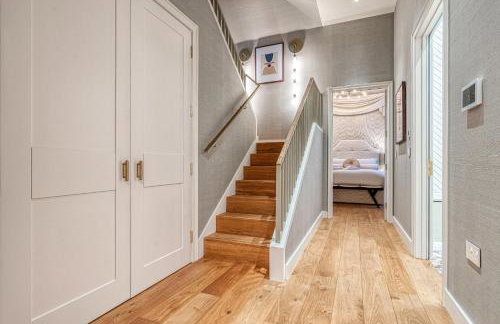
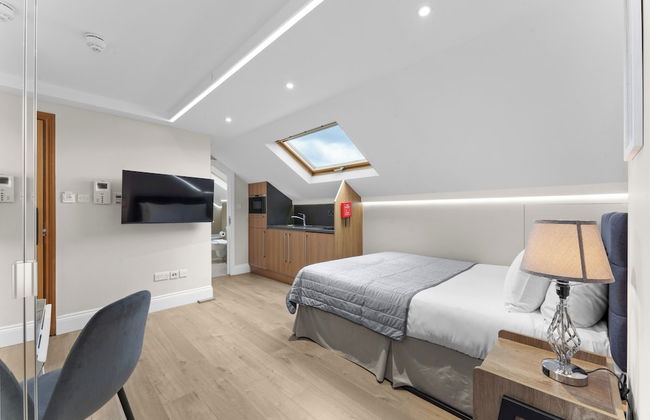
Apartments in London -- preiswerte Unterkünfte in der Stadt
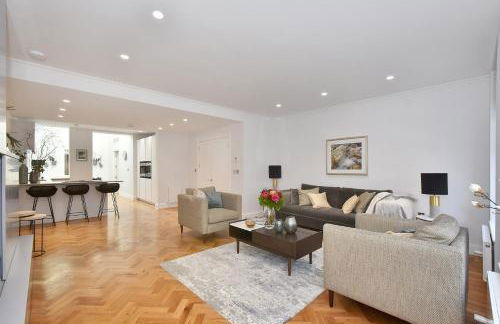
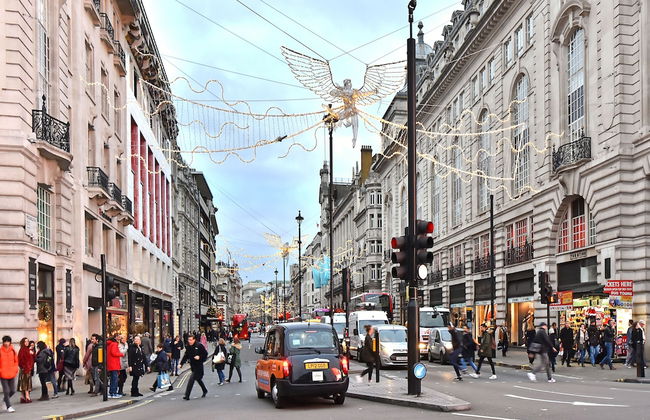
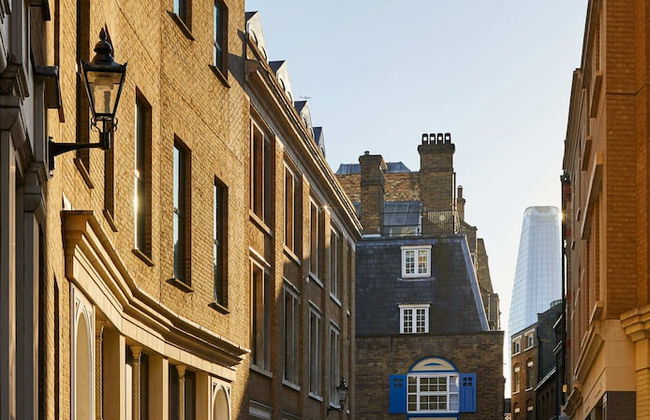
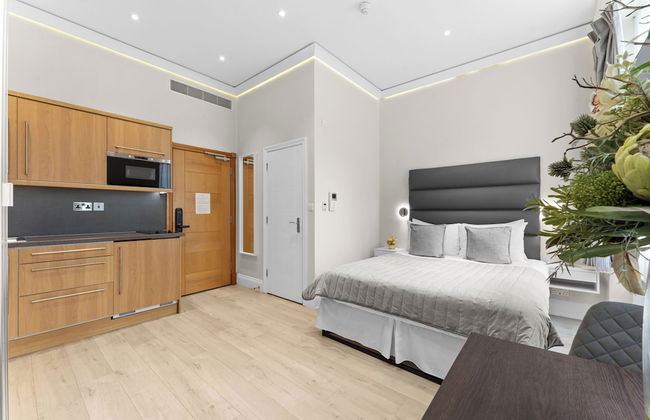
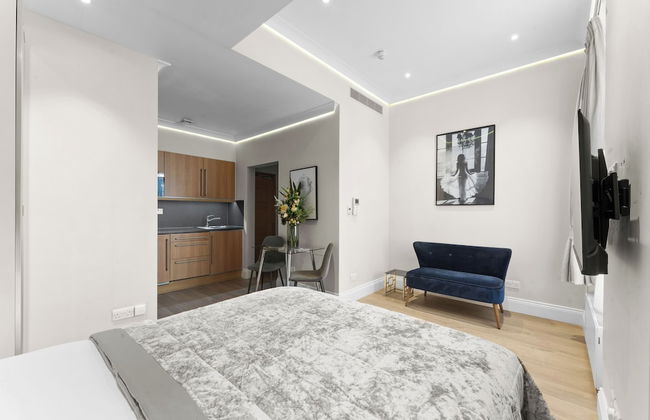
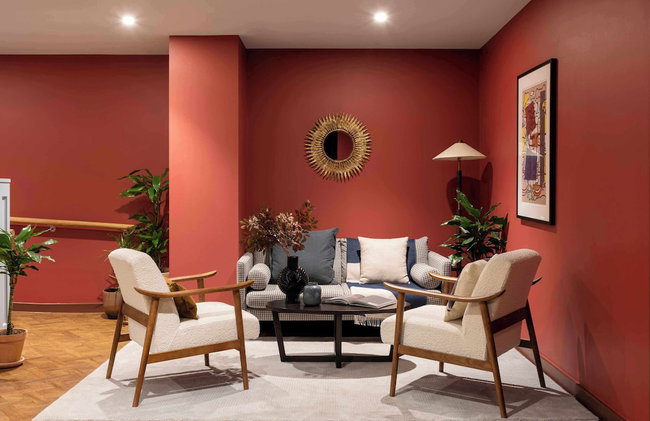
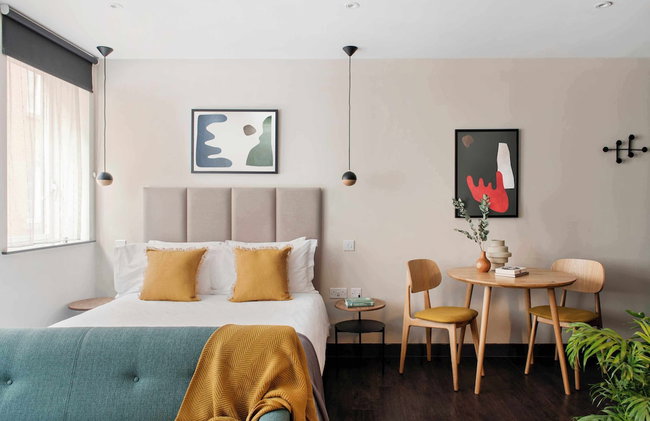
London ist vielleicht die bekannteste und meistgeliebte Stadt der Welt. Seine kosmopolitische Atmosphäre ist durchtränkt mit einem ständigen Summen, das die großen Sehenswürdigkeiten, die unglaubliche Architektur und das reiche Erbe reflektieren. Es gibt so viele verschiedene Facetten Londons, von luxuriösen Stadtteilen zu städtischen Brennpunkten und skurrilen alten Straßen. Eine Reise hierher wird Sie in eine majestätischere, romantischere Zeit zurückversetzen, aber mit den zusätzlichen Vorteilen der großen Vielfalt, die diese Stadt in der heutigen Moderne hat. Um die perfekte Unterkunft in Englands Hauptstadt zu finden, suchen Sie in unserer großen Auswahl von Apartments in London, die in der ganzen Stadt verteilt sind und preiswerte Studios mit einer fantastischen Aussicht ebenso wie exklusive Mietwohnungen in Fußentfernung zu den wichtigsten Sehenswürdigkeiten einschließen.
Die vielen Gesichter Londons -- die besten Stadtviertel
London ist ein Flickenteppich von verschiedenen Stadtvierteln, jedes mit seiner eigenen ausgeprägten Persönlichkeit und Auswahl von Sehenswürdigkeiten. Der Bezirk South Bank ist ein beliebter Teil von London, der sich entlang der Themse von Westminster Bridge bis London Bridge erstreckt und mit Museen, Galerien und einer Anzahl von Theatern gefüllt ist. Entlang des Ufers gibt es zahlreiche Straßenkünstler und eine eklektische Anzahl von Einheimischen, die diese Gegend zu ihrem Treffpunkt wählen. Dann gibt es Covent Garden, einer der beliebtesten Londoner Bezirke. Hier können sie durch eine skurrile Auswahl von exklusiven Ständen und Läden wandern und in den unabhängigen Cafés ein- und ausgehen, die eine experimentelle Auswahl von Cupcakes und Kaffee servieren. Diese Gegend ist auch die Heimat des Royal Opera House und der richtige Platz, den man für die Abendunterhaltung aufsuchen sollte.
Camden ist eine rauhere Gegend mit einer Menge junger Leute, die ihre Tage damit verbringen, durch die vielen Straßenmärkte zu spazieren und draußen vor den Cafés zu sitzen und die kreative Atmosphäre aufzusaugen. Südkensington ist eine andere beliebte Nachbarschaft und verfügt über Reihen luxuriöser Stadthäuser sowie die Exhibition Road, die einige der berühmtesten Galerien und Museen der Stadt beherbergt. Dann gibt es Shoreditch, ein aufstrebender Bezirk von London, der beim jungen, modischen Publikum beliebt ist. Er hat einen Schwerpunkt auf den schönen Künsten und beheimatet auch die Curry Mile, die köstliche Gerüche und Farben aus Indien verströmt.
Wir haben Apartments in London in allen diesen und weiteren Stadtvierteln.
Ferienwohnung in London
Diese majestätische Stadt bietet viele verschiedene Ferienwohnungen sowie weltberühmte Sehenswürdigkeiten zugleich. In den historischen Gassen gibt es unendlich viele international bekannte Hotels, die durch ihren traditionellen englischen Charme und hohen Servicestandart bekannt geworden sind. Aber es gibt auch viele ruhige Herbergen und Gasthäuser. Wie seine vielen Stadtteile, bieten auch die Ferienwohnungen in London eine wechselnde Auswahl an Übernachtungsmöglichkeiten. Von viktorianischen Reihenhäusern in Chelsea und Fünf-Sterne Hotels in Kensington, bis hin zu stilvollen Hotels in Shoreditch und preiswerten Wohnungen in Covent Garden.
Zeitreise entlang der Themse -- Dinge, die man in London tun sollte
- London Eye -- Das Eye ist ein gewaltiges Riesenrad an der Themse, eine ziemlich neue Ergänzung der Londoner Skyline, das eindrucksvolle Blicke über die Stadt gewährt.
- Tower of London -- Dieses historische Schloß umarmt die Themse und verfügt über einen beeindruckenden architektonischen Stil.
- Buckingham Palace -- Die Residenz der Königin ist eine wichtige Sehenswürdigkeit für Touristen in einem großartigen Bauwerk mit wunderschön gepflegtem Grundstück.
- Pauls Kathedrale -- Diese atemberaubende Kathedrale, auf dem höchsten Punkt der Stadt gelegen, wacht über die Stadt wie ein uralter Wächter. Ihr Äußeres ist beeindruckend, aber ihr Inneres ist ebenso schön, mit hochgewölbten Decken, geschmückten Fresken und goldverzierten Details.
- Naturhistorisches Museum, London -- Eines der meistgeliebten Museen der Welt. Es birgt eine auserwählte Mischung von Exponaten und Funden, die Naturgeschichte in den UK und darüber hinaus erklären.
- Tate Modern, London -- Diese zeitgenössische Kunstgalerie ist eine Bastion moderner Kultur in London und stellt eine internationale Auswahl von Kunstwerken einiger der berühmtesten Künstler der Welt aus.
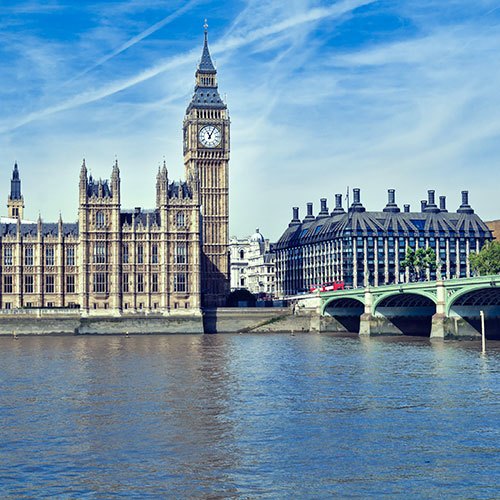
- Palace of Westminster -- Dieses architektonisch inspirierende Bauwerk, die Heimat des House of Commons und Lords, erstreckt sich entlang der Themse.
- Victoria und Albert Museum -- In einem komplexen, schönen Gebäude untergebracht ist dies das größte Museum für dekorative Kunst in der Welt und stellt eine Vielzahl von Stoffen, Skulpturen und Mixed-Media Werken aus aller Welt aus.
- Nationalgalerie, London -- Am beliebten Mittelpunkt, dem Trafalgar Square, angesiedelt, verfügt die Nationalgalerie über eine umfangreiche Sammlung, die bis ins 13. Jahrhundert zurückreicht.
- Madame Tussauds, London -- Dieses Museum, eine beliebte Touristenattraktion in London, ist für seine Ausstellung von Wachsfiguren von Berühmtheiten bekannt.
- Tower Bridge -- Dieses Wahrzeichen ist nahe dem Tower von London gelegen und vielleicht eine der am sichersten wiederzuerkennenden Ansichten in London.
- Britisches Museum -- Dieses weltbekannte Museum, der Geschichte und Kultur des menschlichen Lebens gewidmet, beherbergt alle Arten von Dingen von überall aus der Welt.
- Big Ben -- Vermutlich die bekannteste Uhr der Welt, steht Big Ben stolz am Ende des Palastes von Westminister.
- Hyde Park -- Dieser ausladende Park erstreckt sich in einem der luxuriöseren Bezirke Londons und ist der Standort für zahlreiche Events und Konzerte während des ganzen Jahres.
- London Dungeon -- Dieses Museum, am Ufer der Themse gelegen, zeigt die dunklen Ereignisse der Geschichte der Stadt in einer familienfreundlichen Darstellung.
- Westminster Abbey -- Diese große gotische Kirche steht im Westen des Palastes von Westminster.
- Trafalgar Square -- Dieser wichtige touristische Mittelpunkt verfügt über einen großen Springbrunnen und ist von einigen der beeindruckendsten Gebäude Londons umringt, einschließlich der Nationalgalerie.
- Zoo von London -- Vom Regent's Park umgeben, ist dieser beliebte Zoo das Heim einer großen Sammlung von exotischen und einheimischen Tieren.
- Globe Theater, London -- Dieses wohlbekannte Theater, das mit Shakespeare in Verbindung gebracht wird, führt das ganze Jahr hindurch eine Reihe erstklassiger Schauspiele und Vorführungen auf.
- Wissenschaftsmuseum, London -- Dieses Museum, an der Exhibition Road im anspruchsvollen South Kensington Bezirk gelegen, verfügt über eine Reihe interaktiver Ausstellungsstücke, die wissenschaftliche Wunderwerke darstellen.
Finden Sie den perfekten Platz für Ihren Aufenthalt, indem Sie sich in unserer riesigen Sammlung von Apartments in London umsehen, die in der Nähe all der bekannten, oben aufgeführten Orte angesiedelt sind.
Blumen und Schnickschnack -- Londons beste Märkte
London ist ein Sammelplatz von Märkten, die alles, von Blumen und Kleidung aus zweiter Hand bis zu kunstvollen Schmuckstücken und exotischen Köstlichkeiten verkaufen. Camden Market ist perfekt für Liebhaber von Antiquitäten und verfügt über Reihen von Ständen, die mit skurrilen Kleidern und altem Schnickschnack überhäuft sind, der Blumenmarkt in der Columbia Road macht genau das, was auf dem Schild steht und serviert ein Übermaß an Farbe, und Borough Markt ist der perfekte Platz, um dort einen Happen essen zu gehen. Die überdachte Anlage neben der London Bridge verfügt über frische Produkte von überall in der Welt, einschließlich Wild-Burger und exotischen Smoothies.