

1710 Wohnungen in Kanada
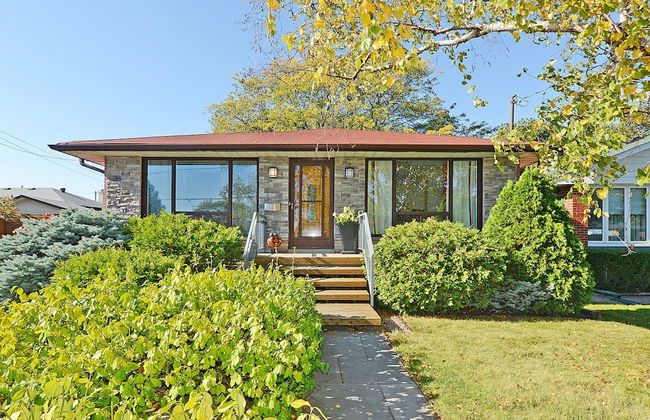
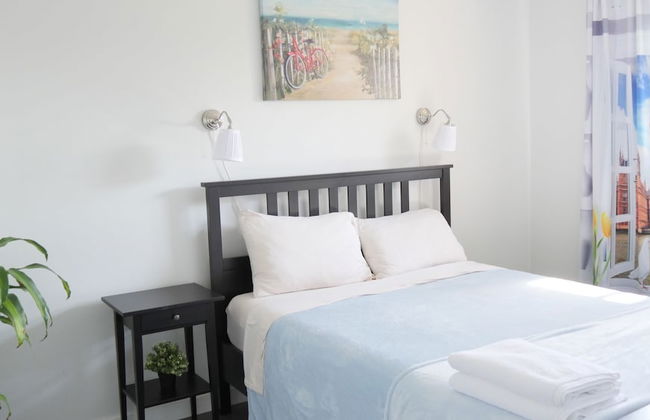
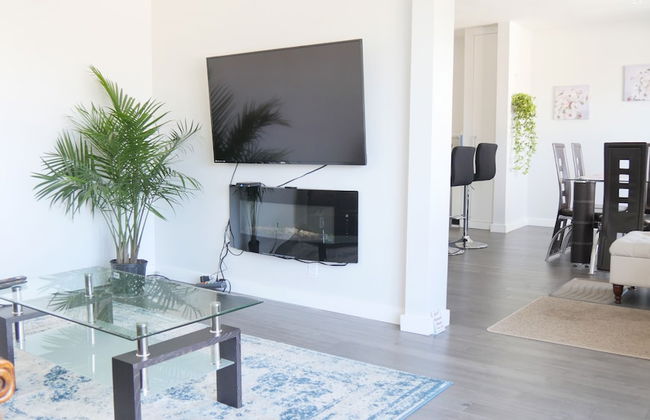
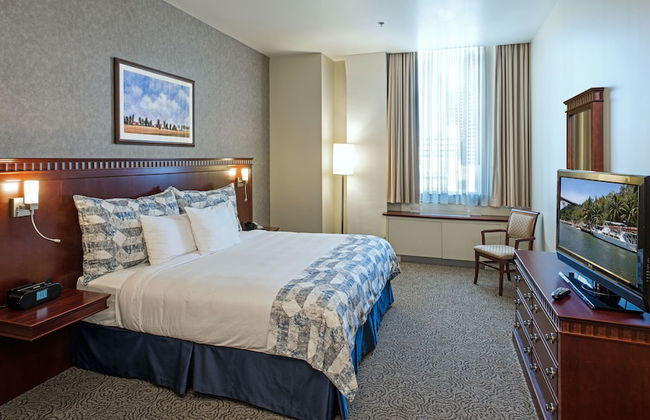
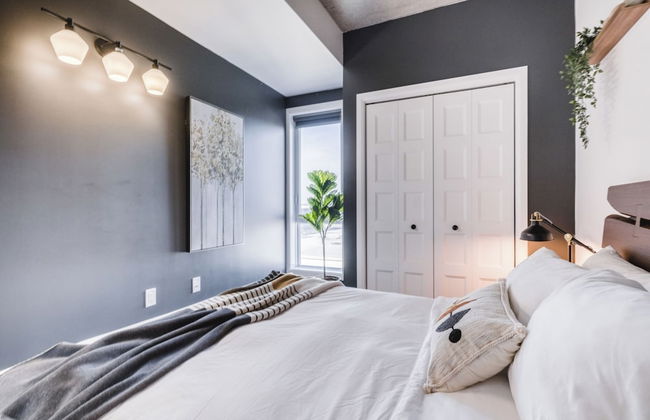
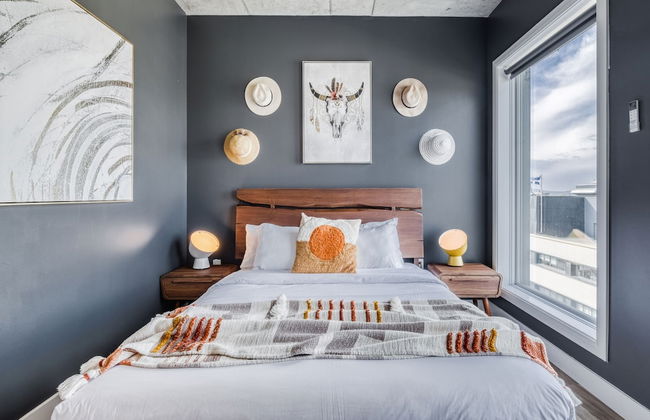
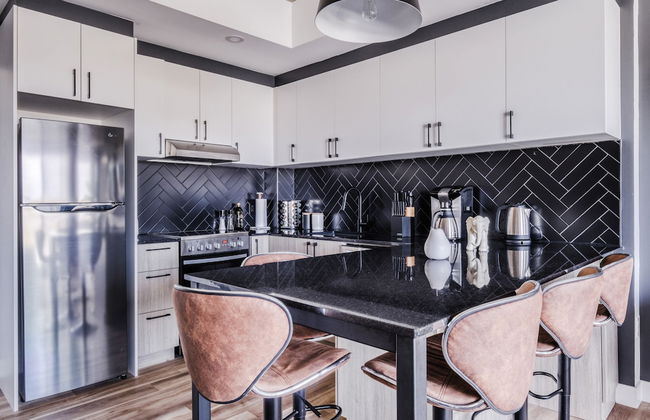
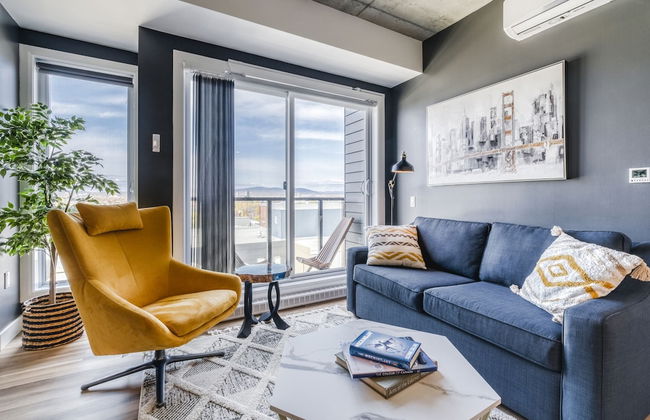
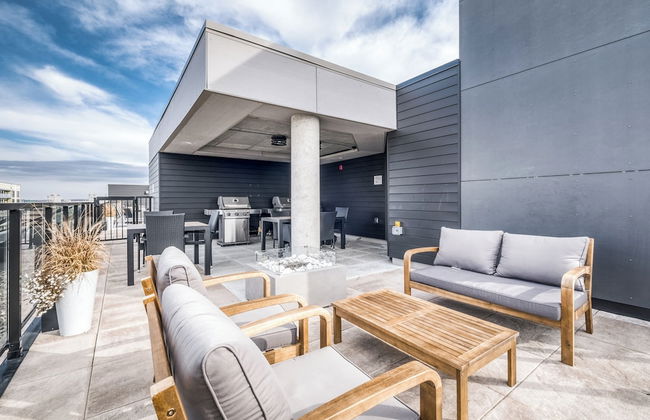
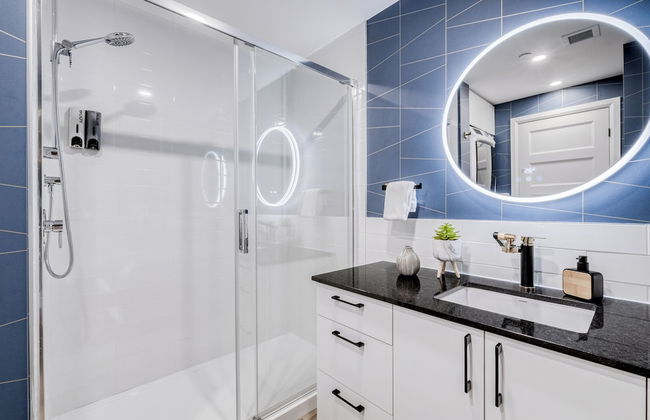
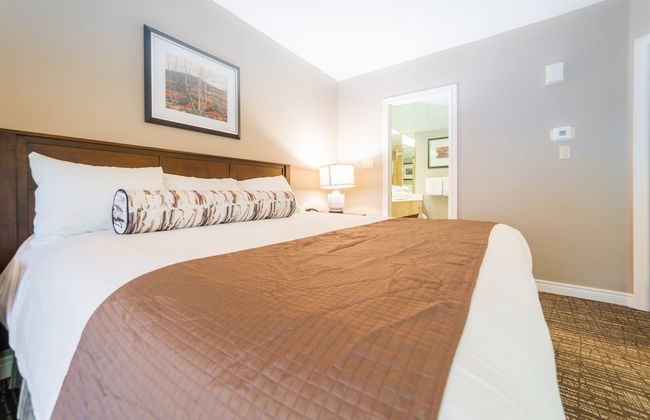
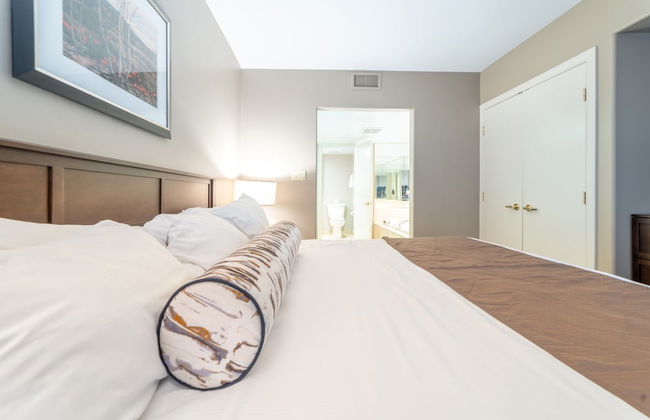
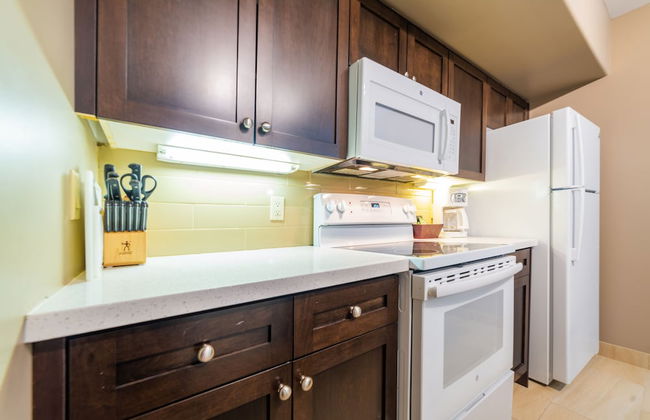
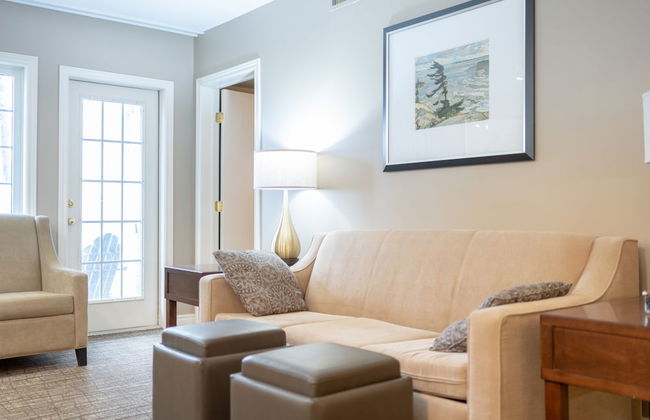
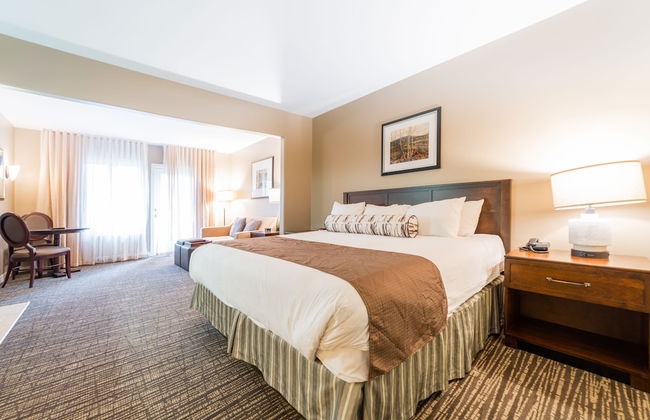
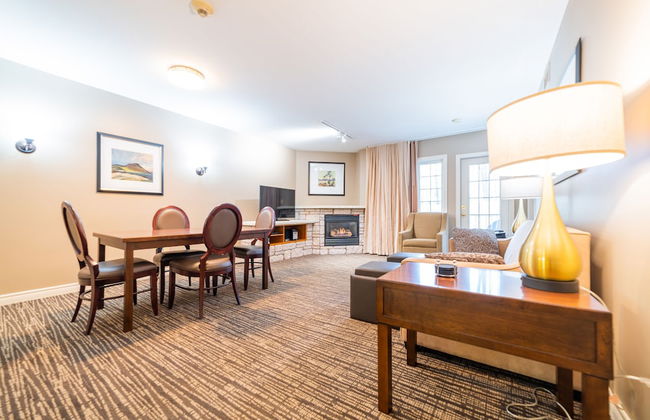
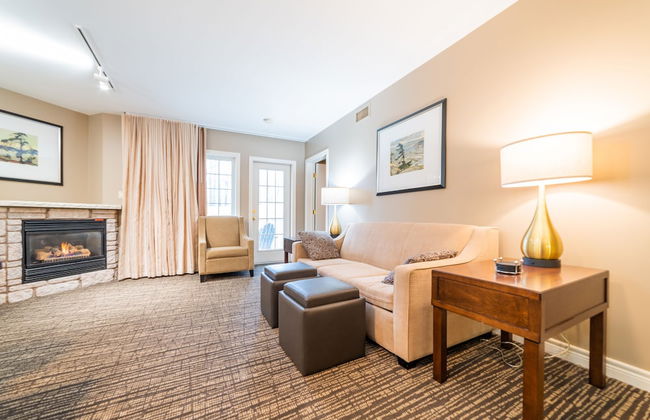
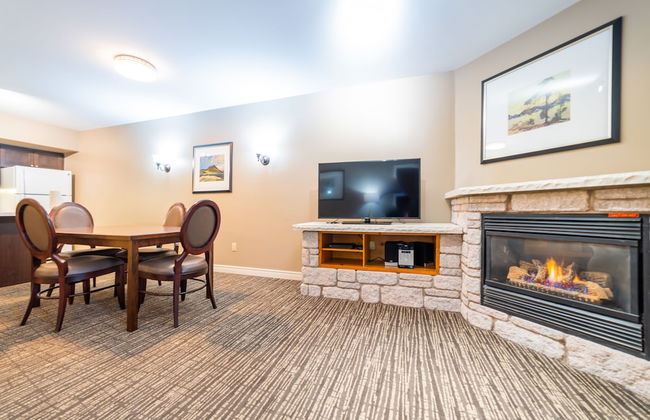
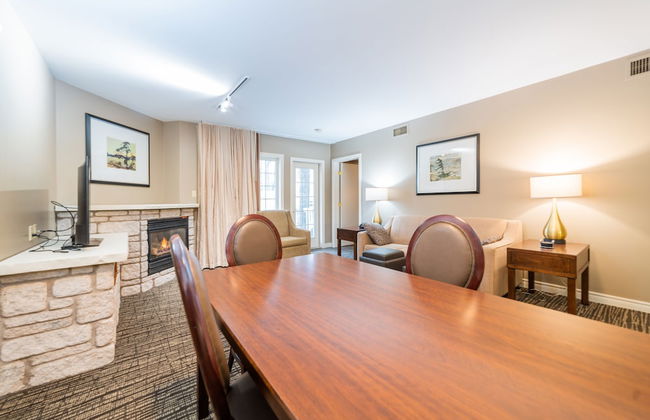
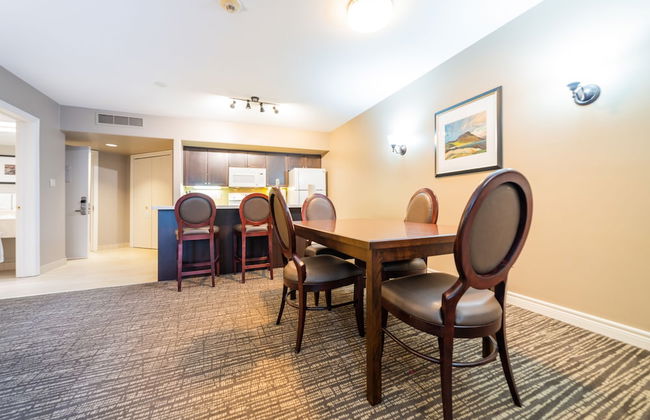
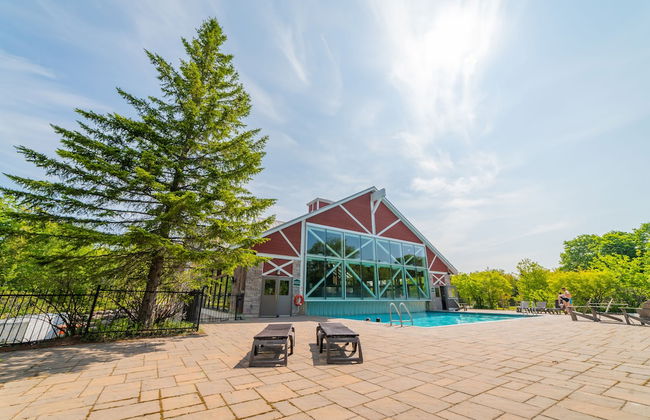
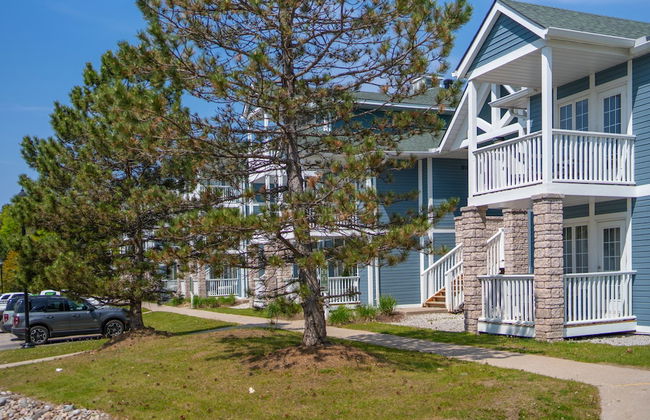
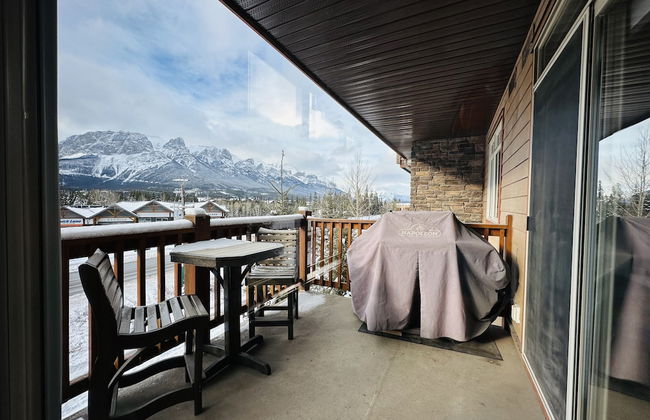
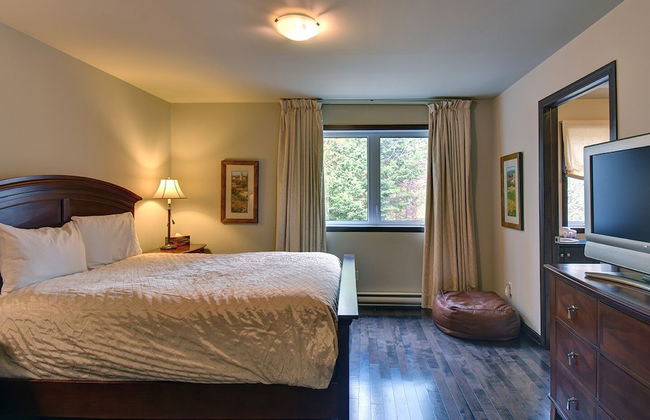
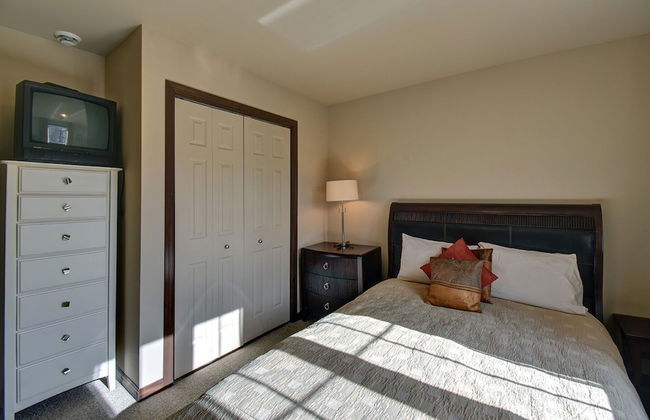
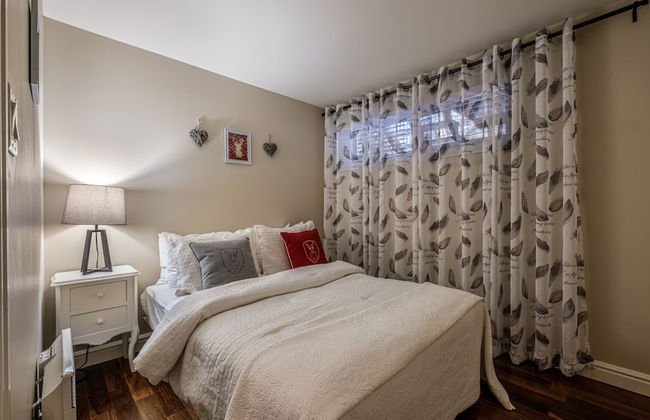
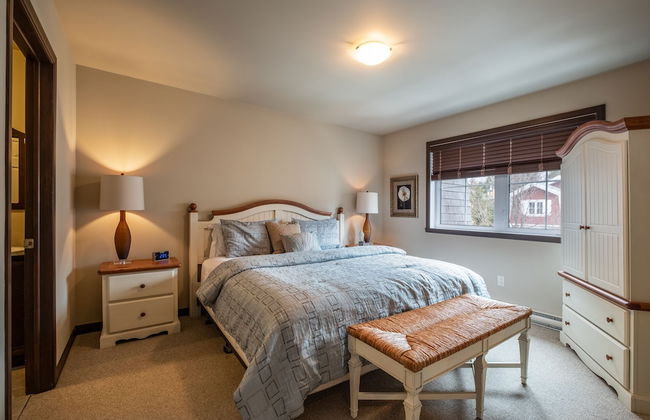
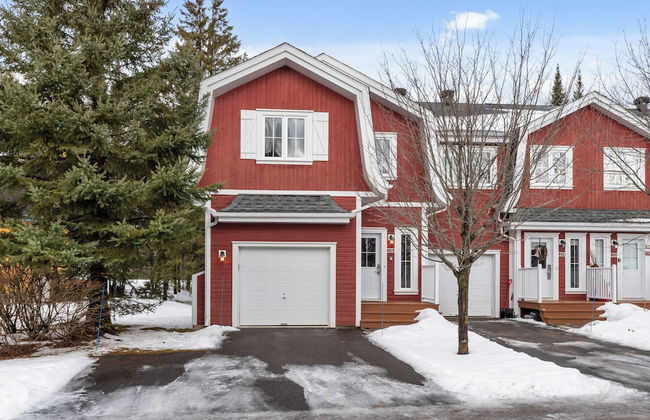
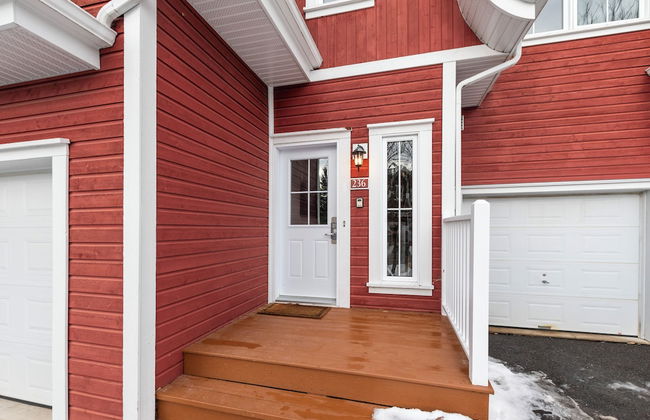
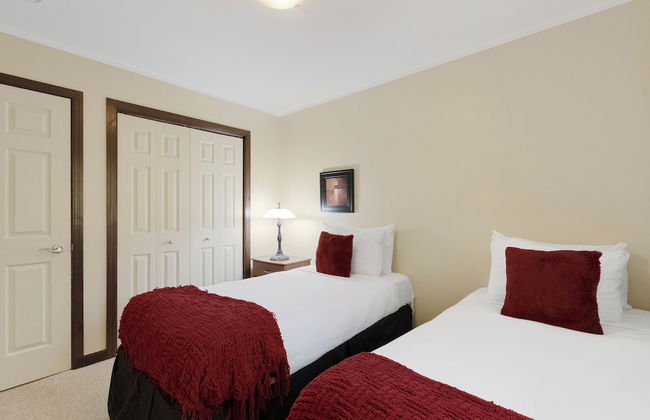
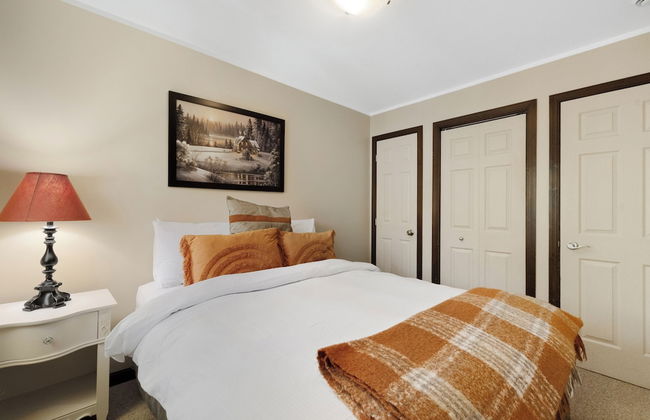
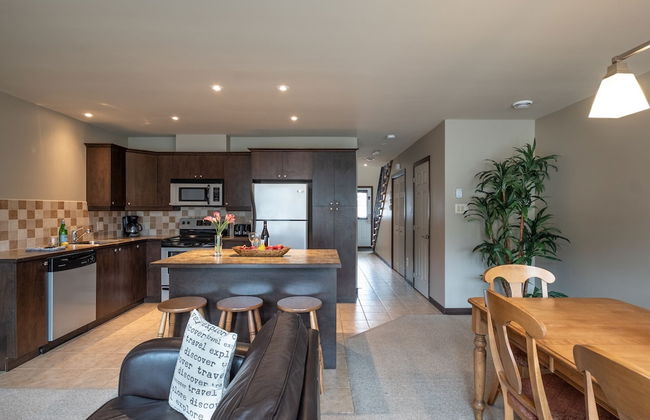
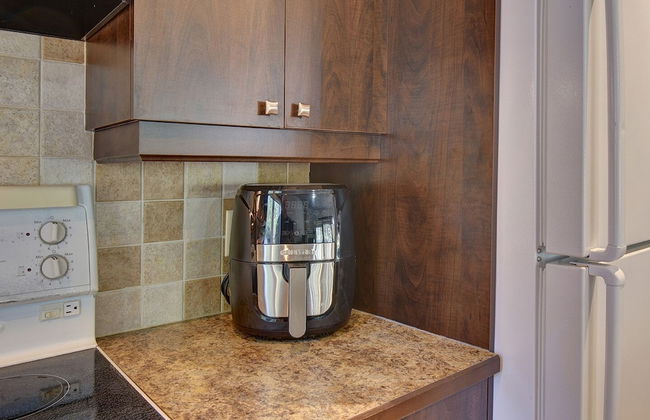
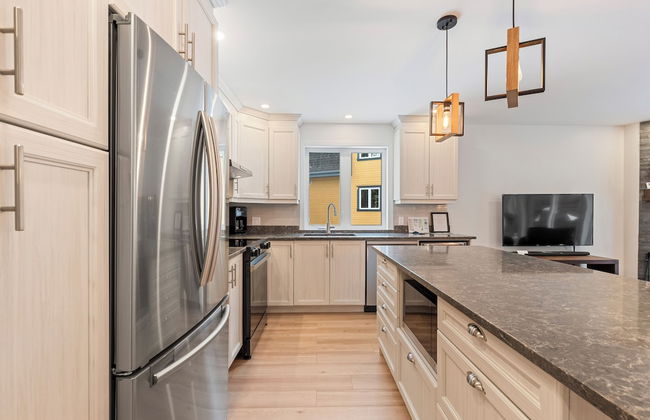
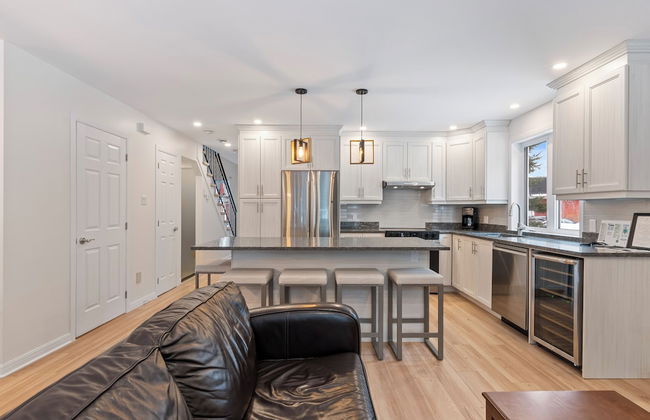
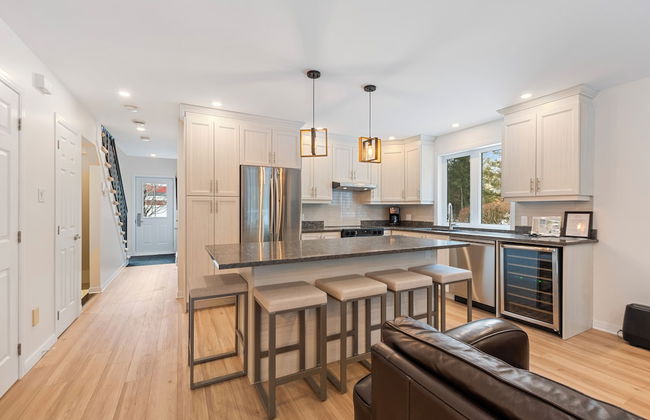
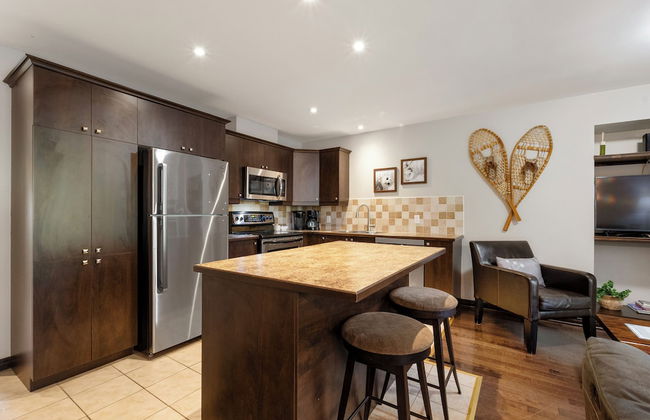
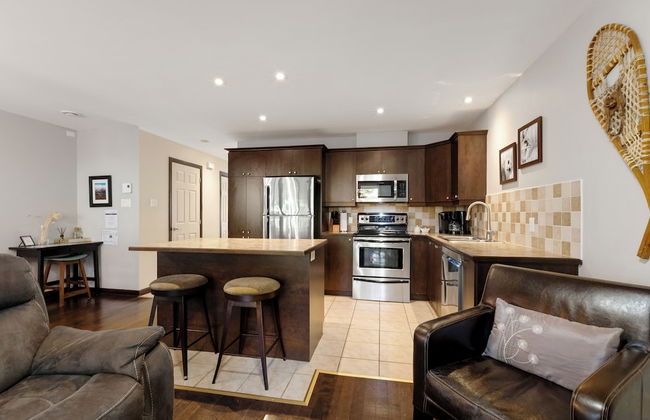
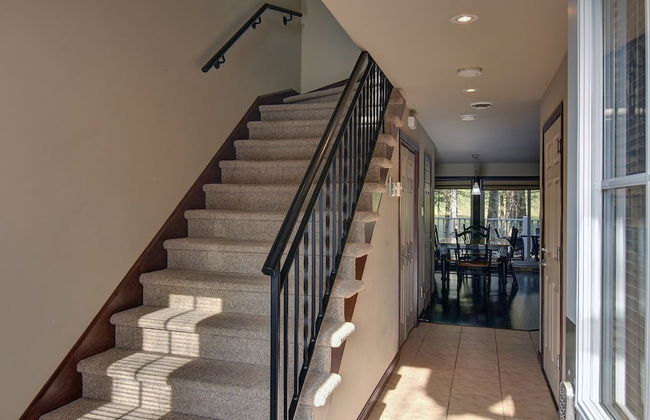
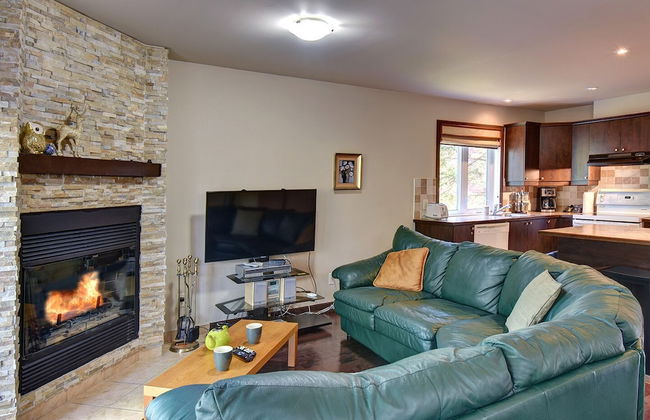
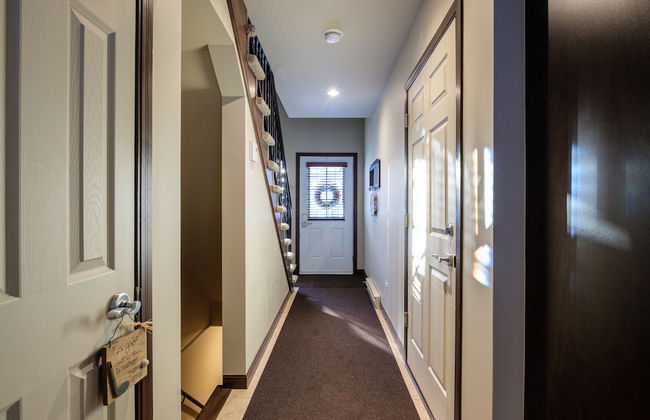
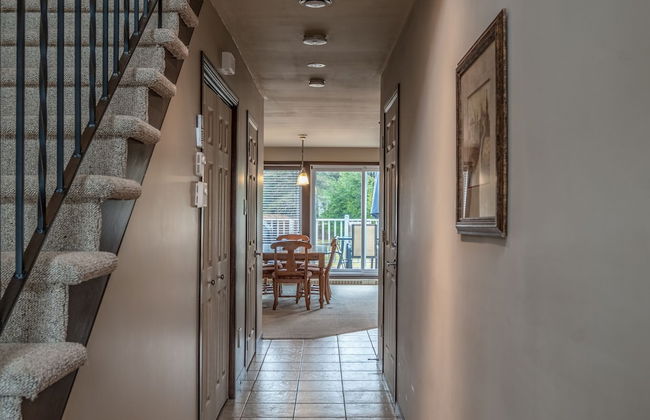
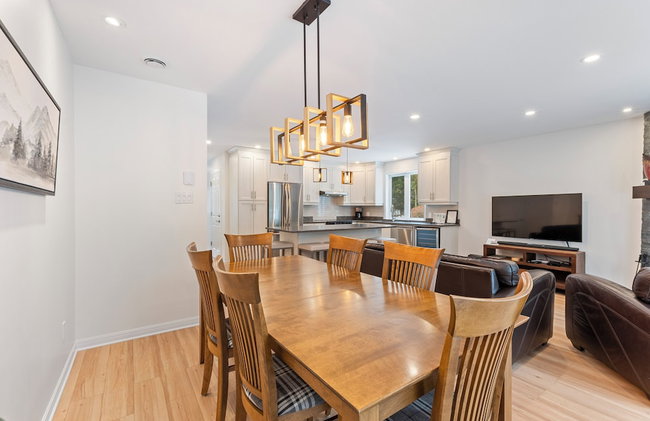
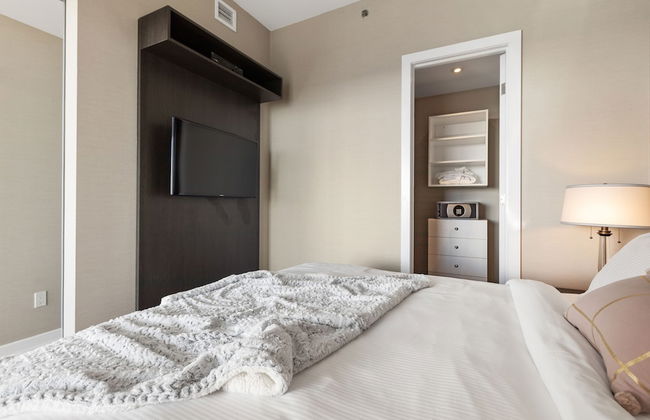
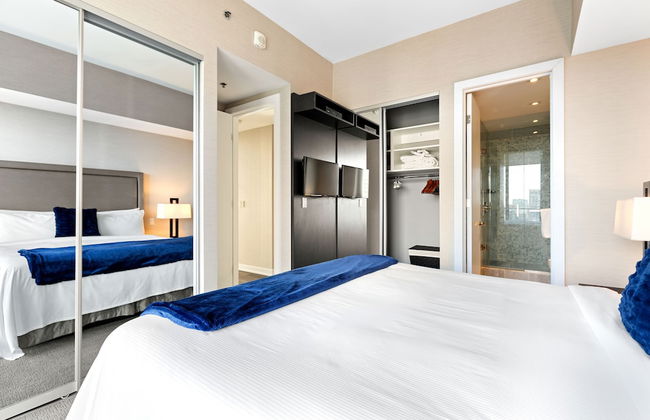
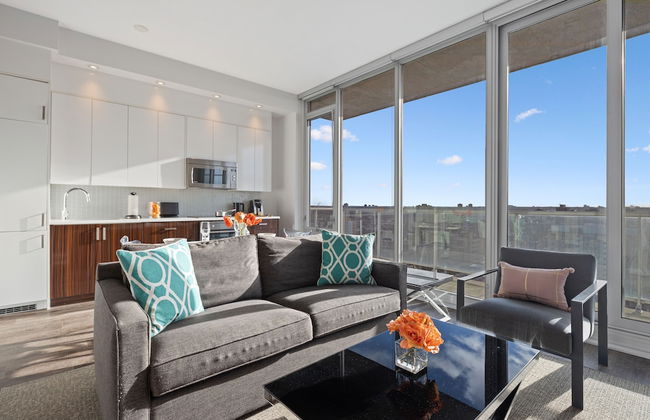
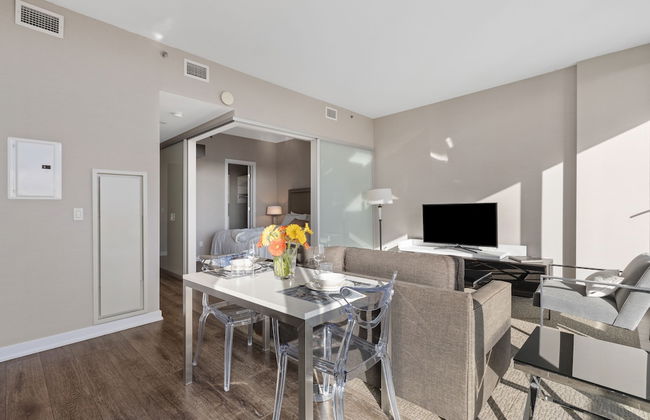
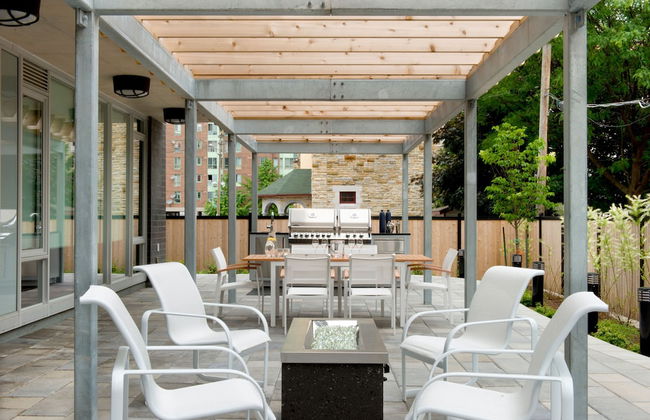
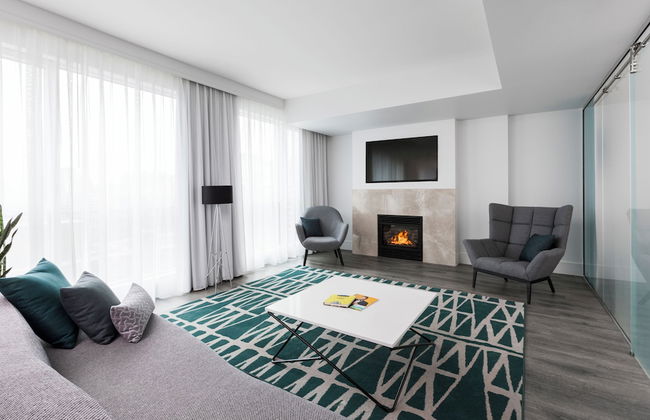
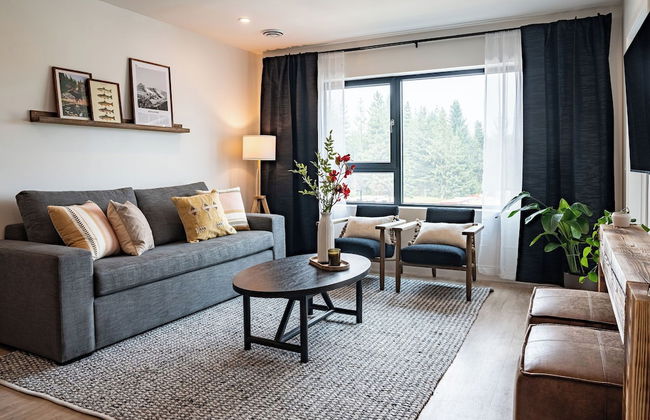
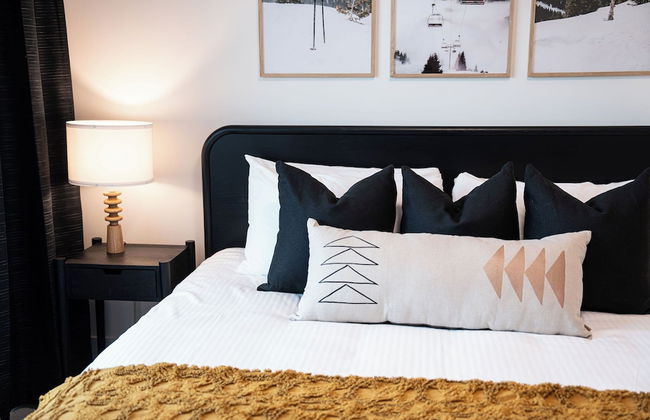
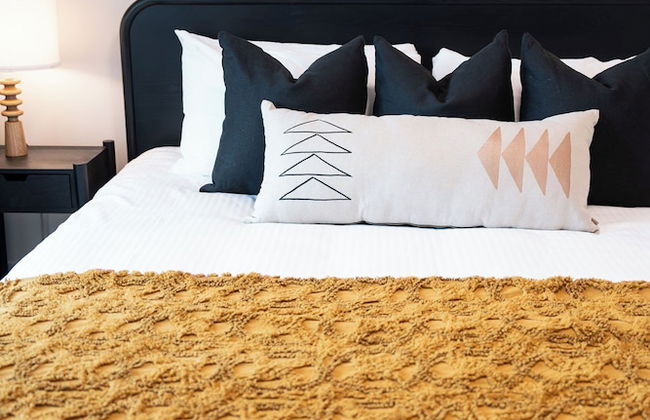
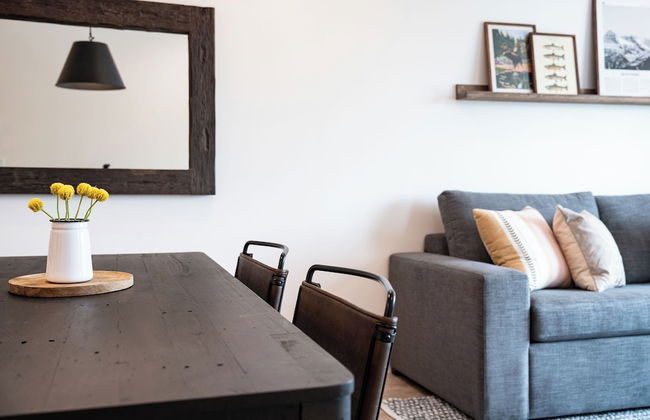
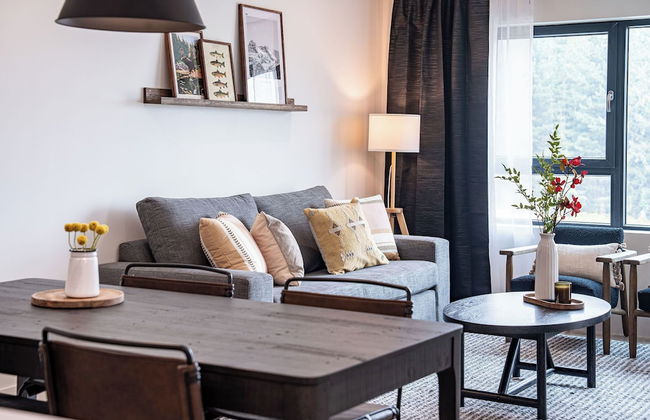
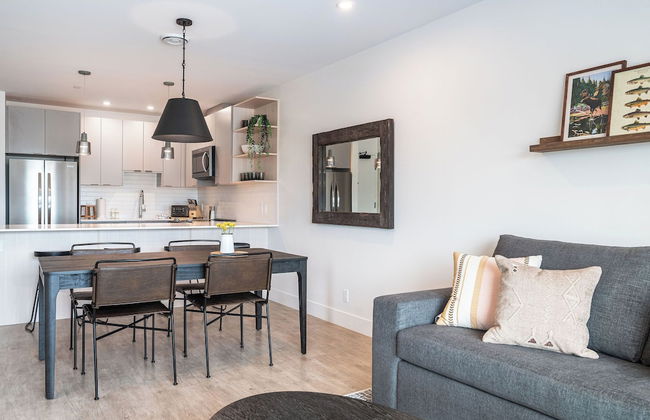
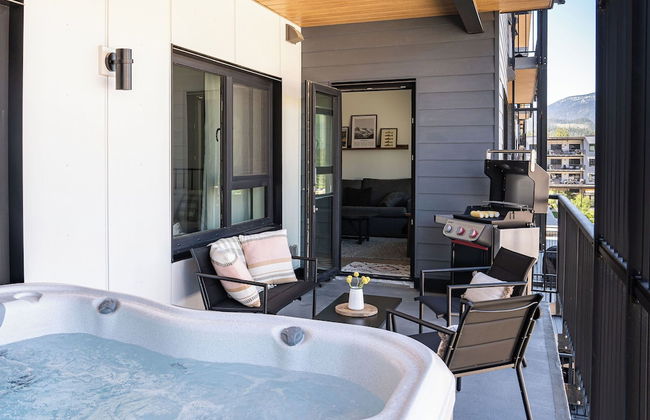
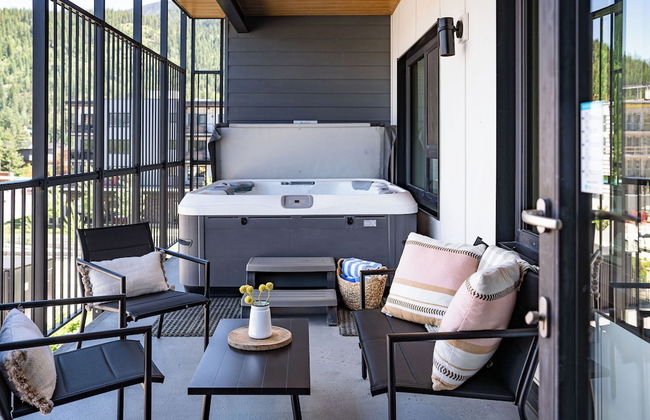
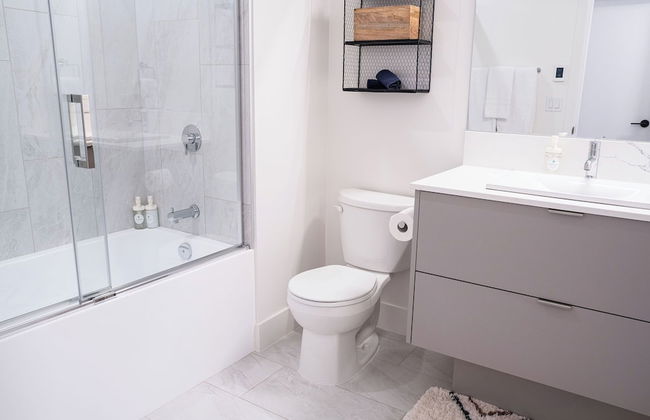
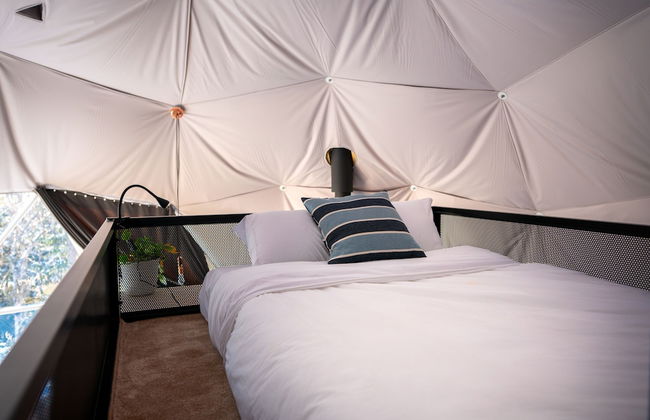
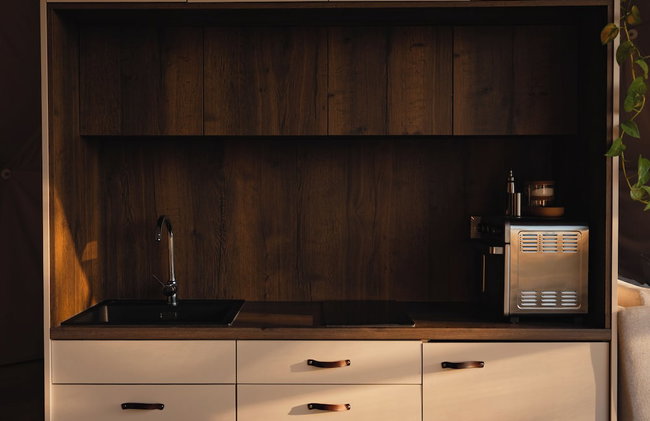
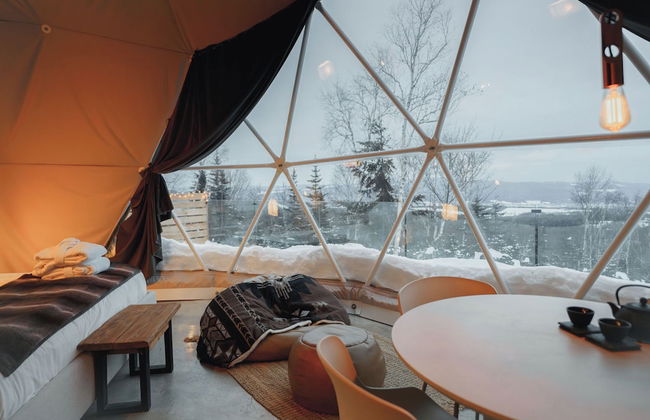
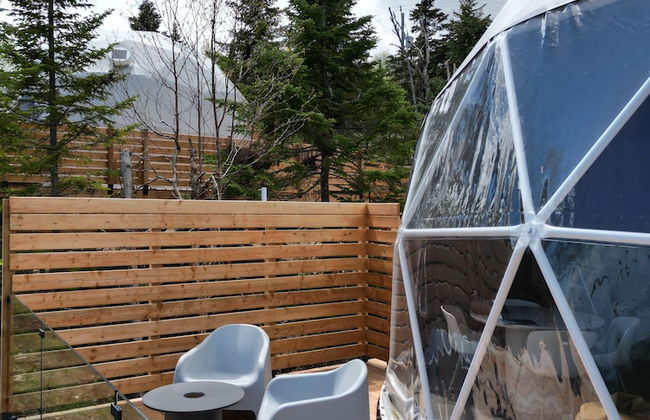
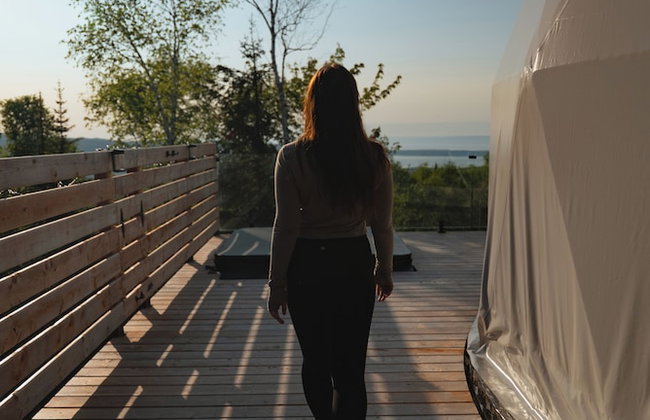
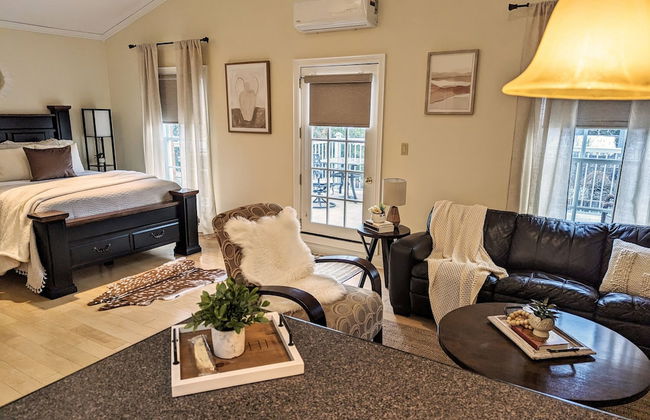
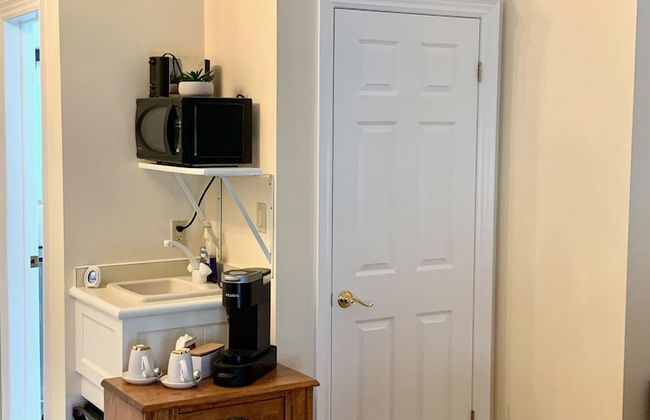
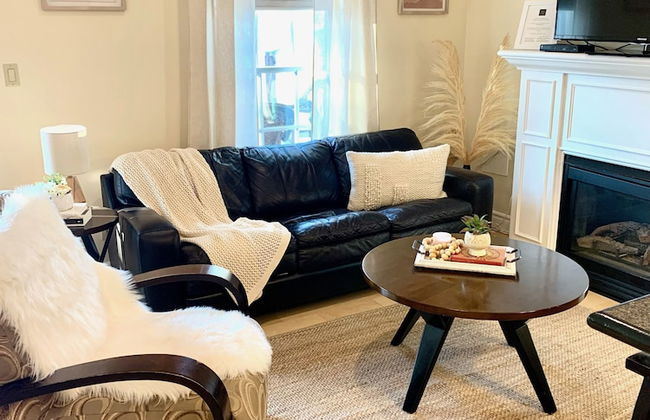
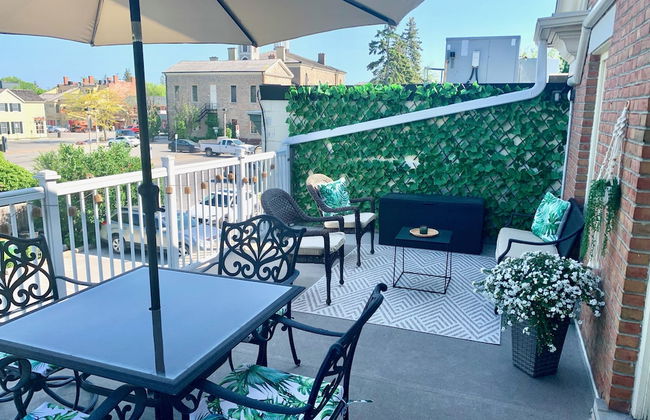
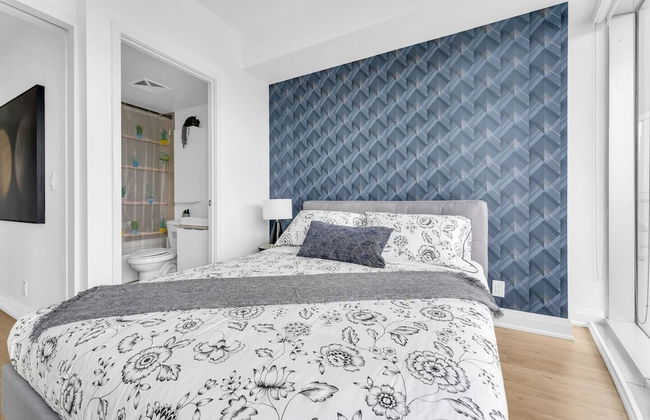
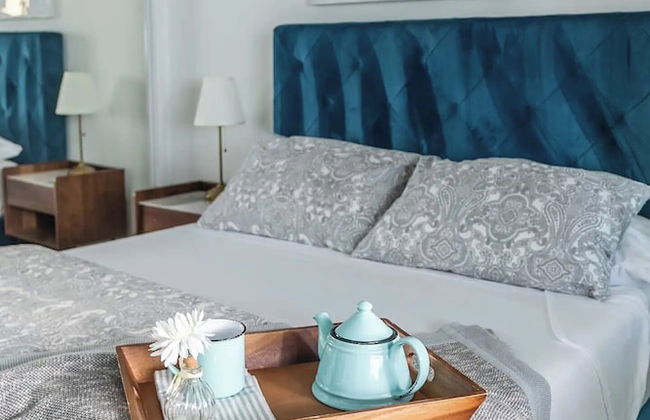
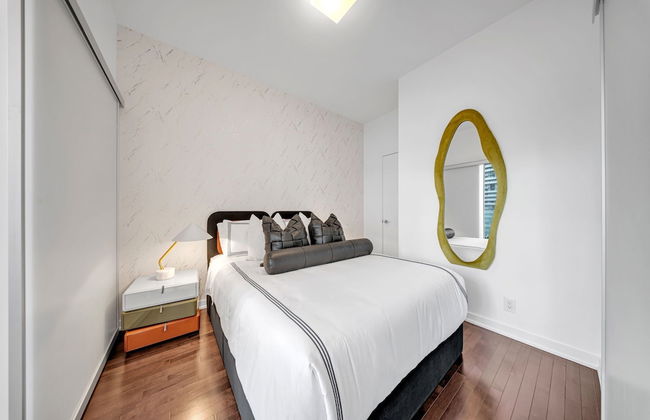
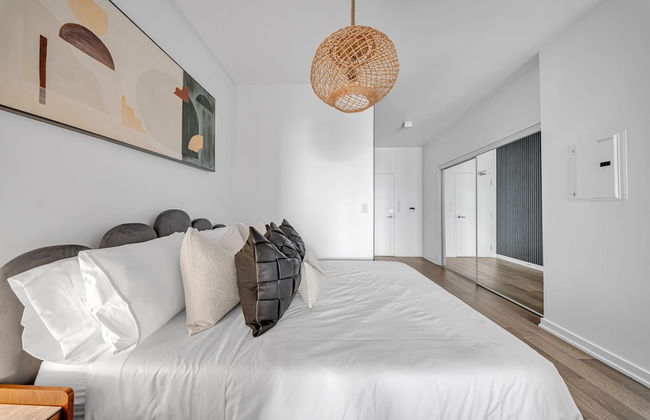
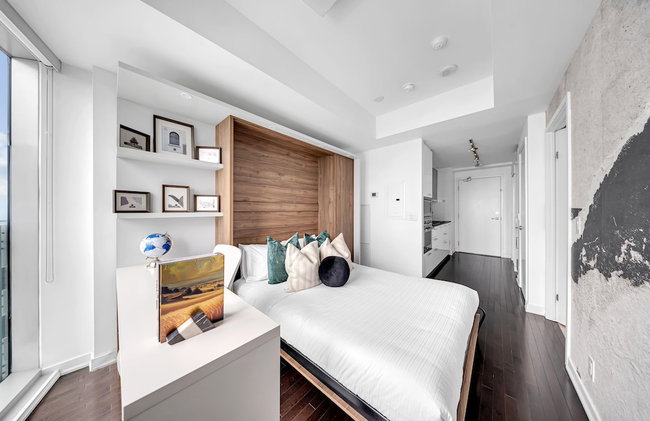
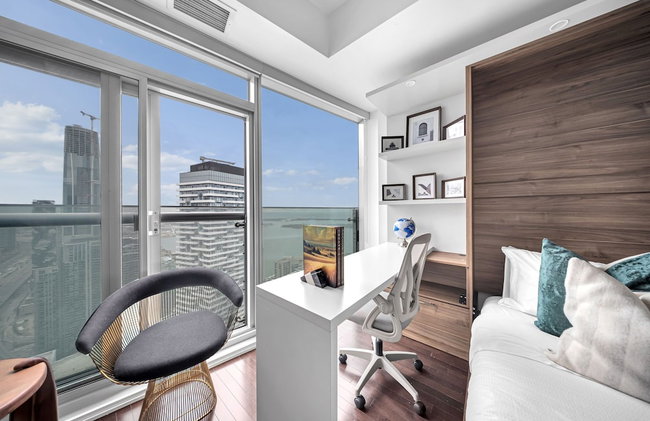
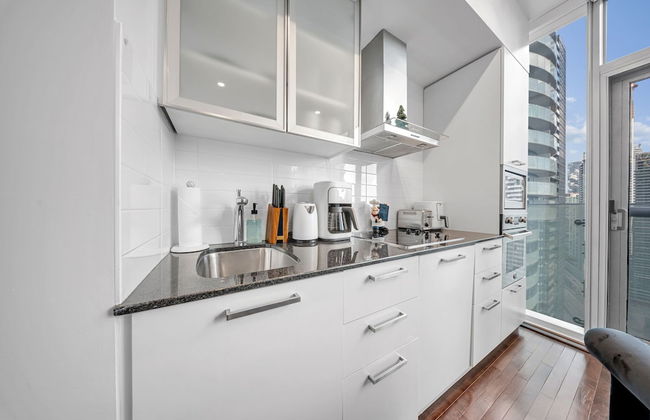
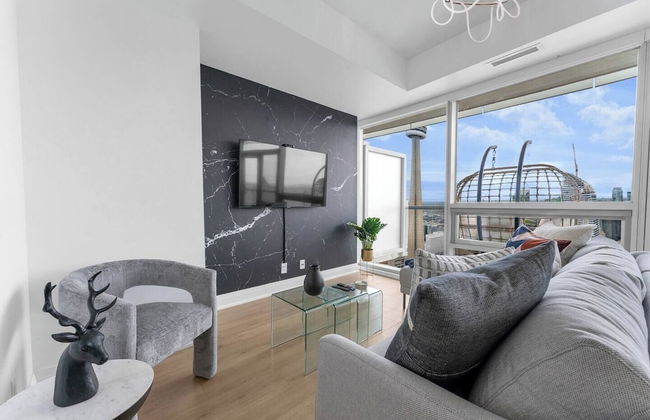
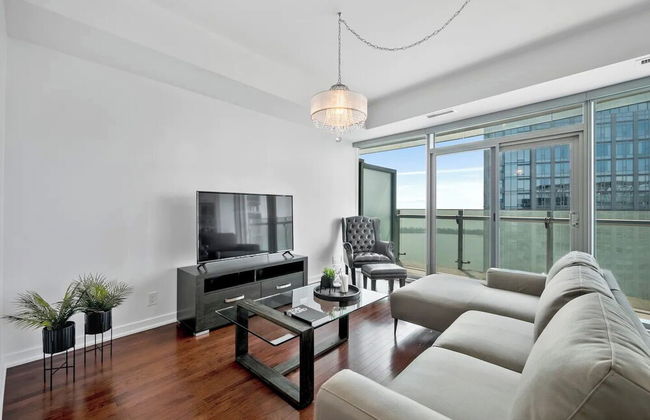
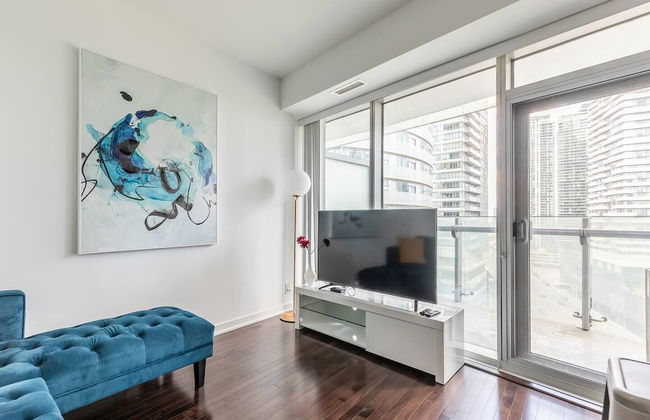
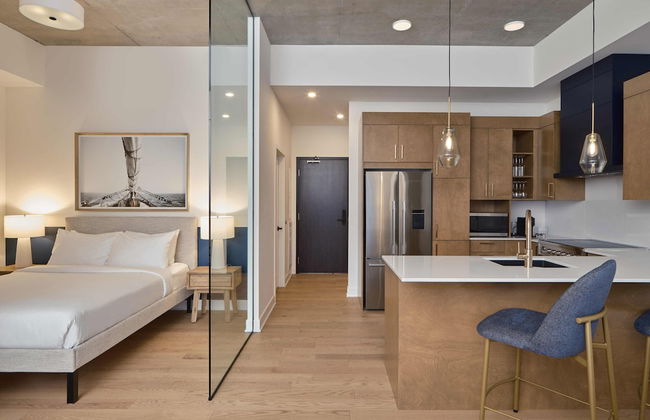
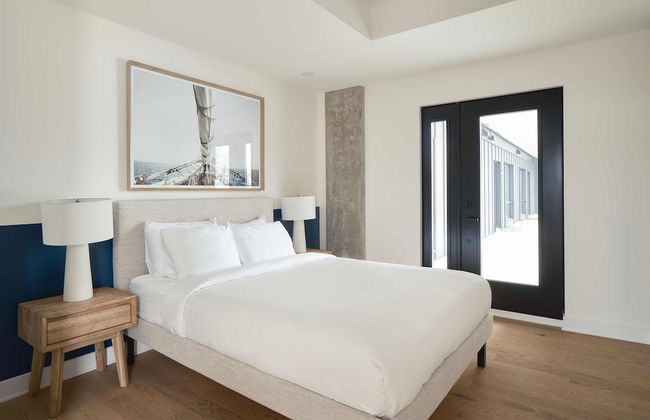
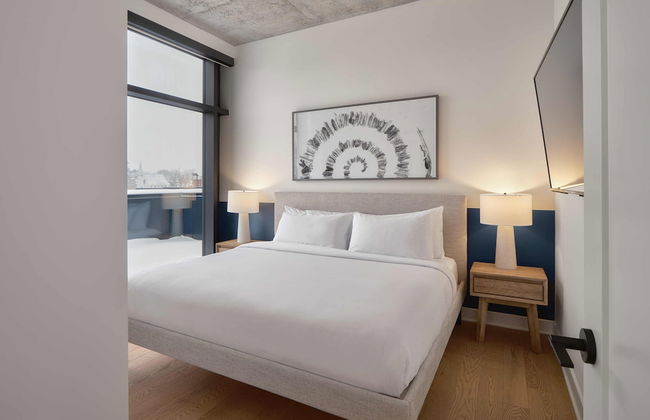
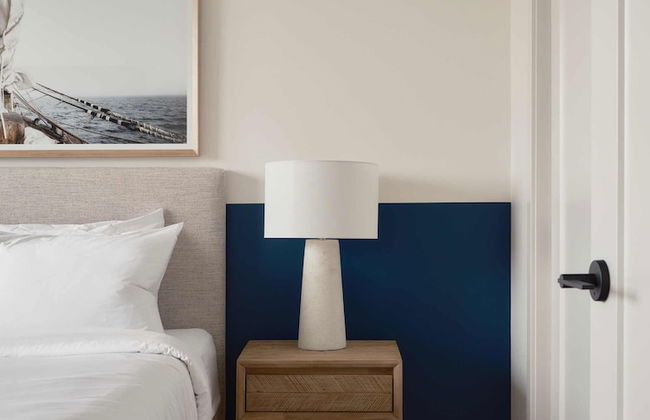
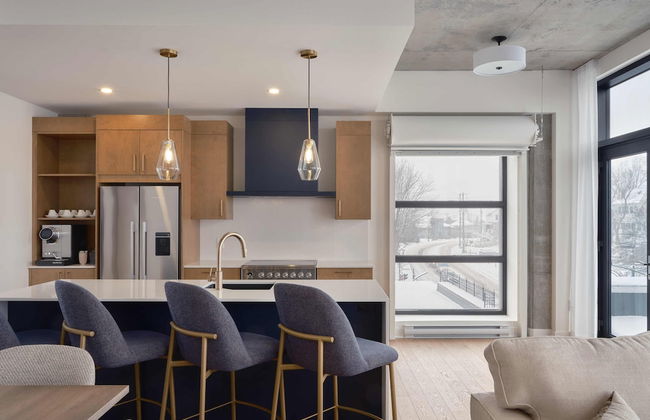
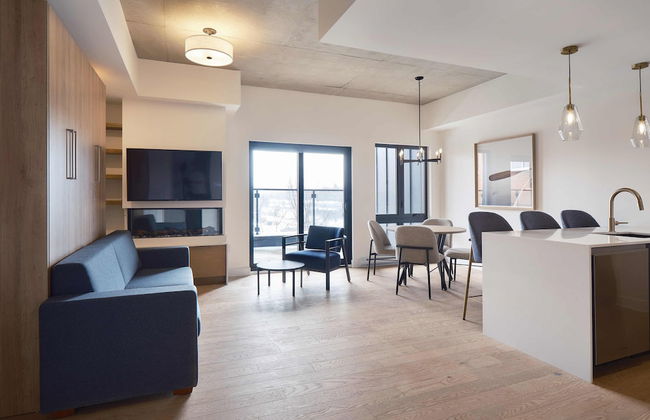
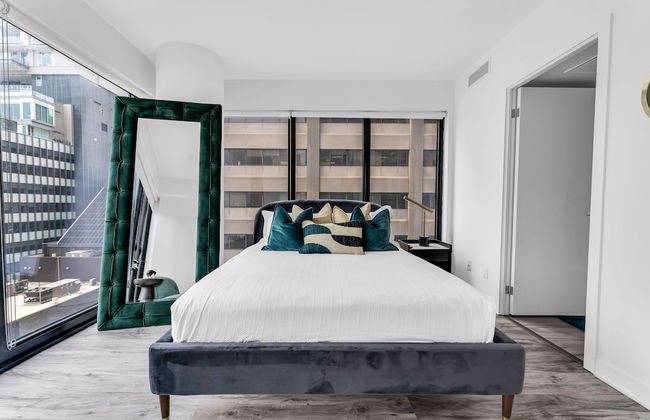
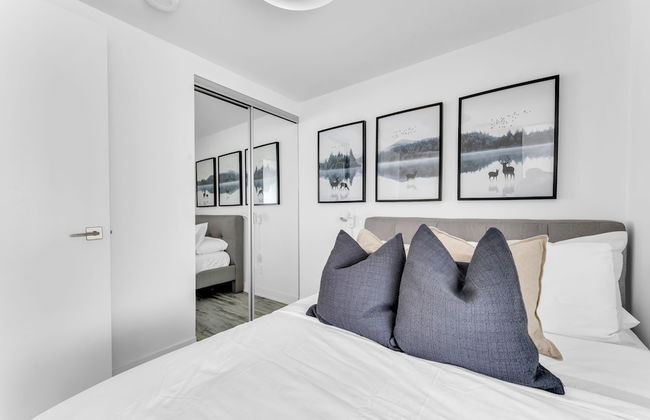
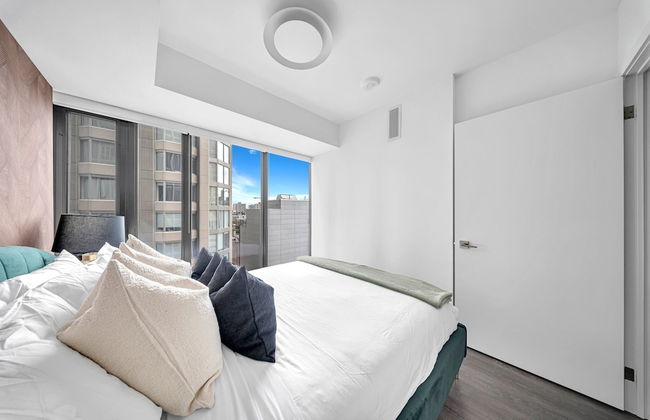
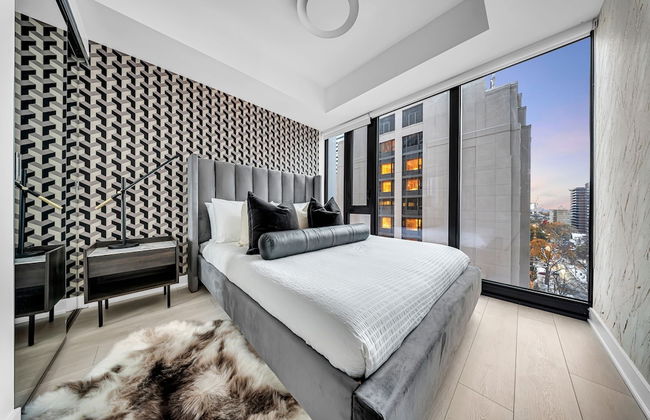
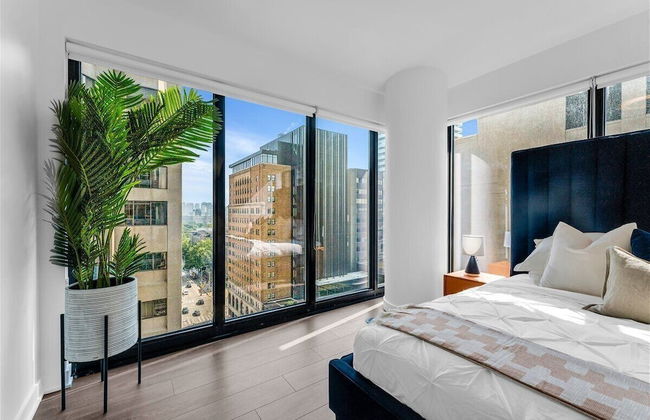
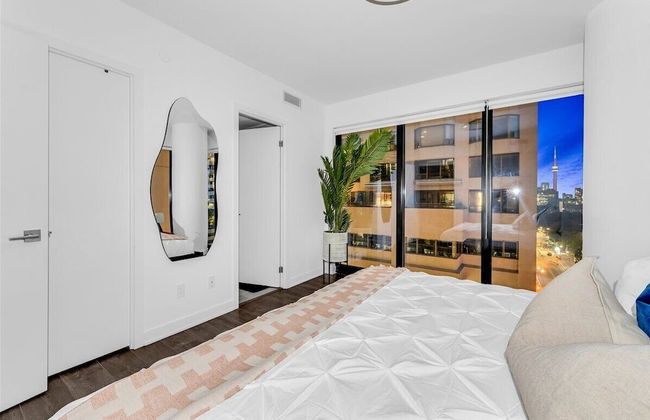
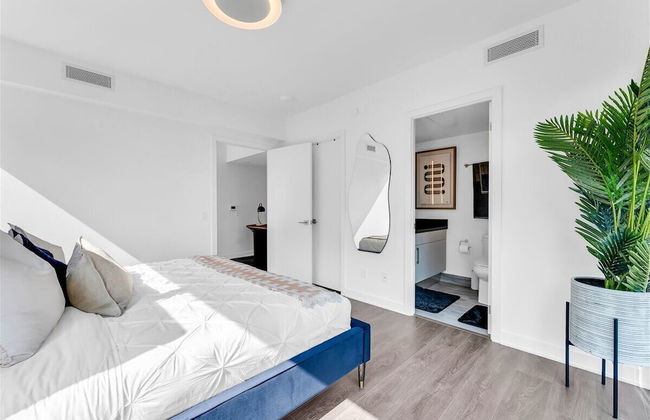
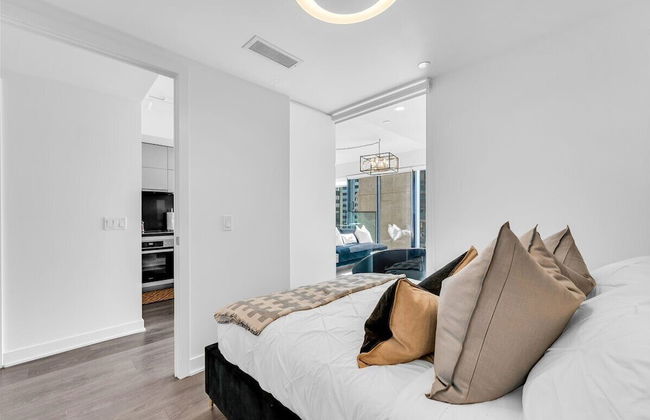
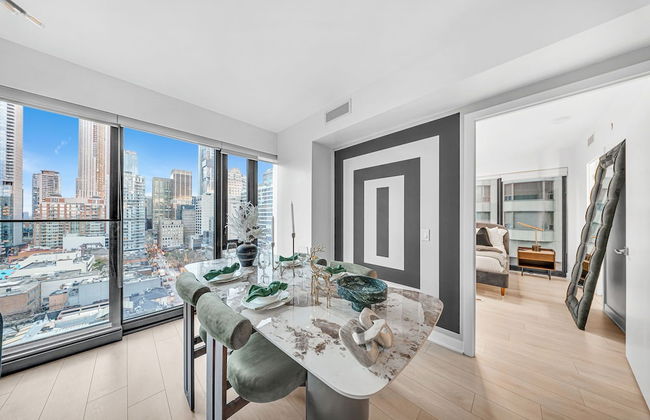
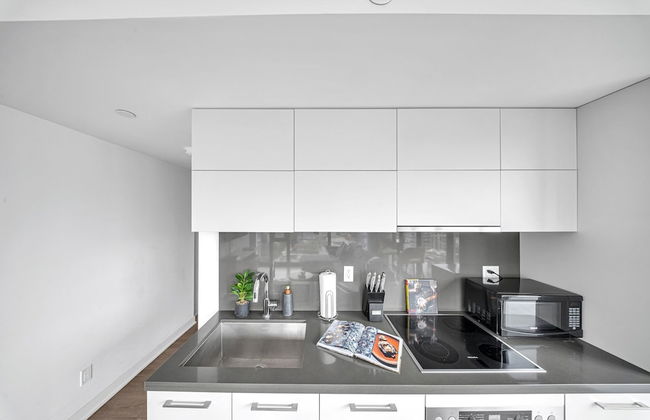
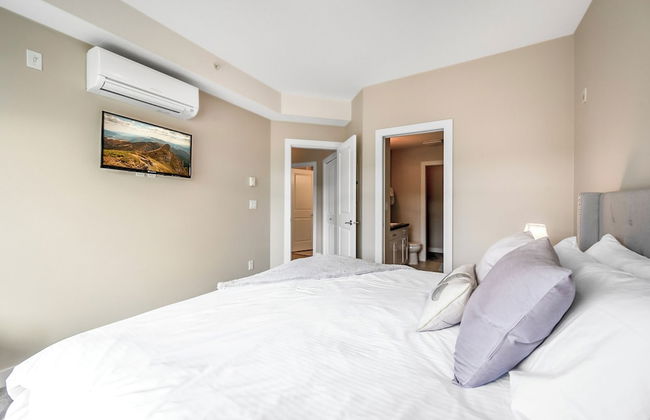
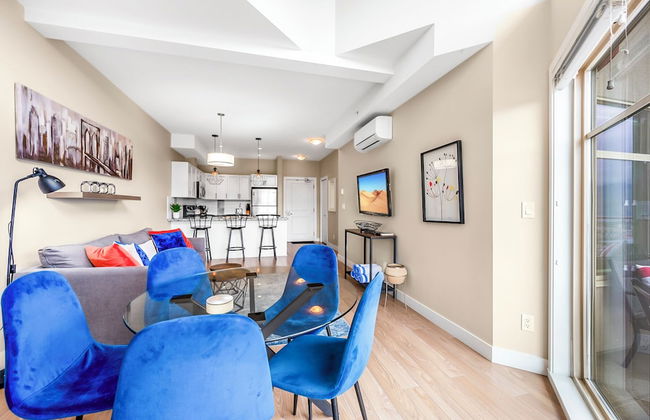
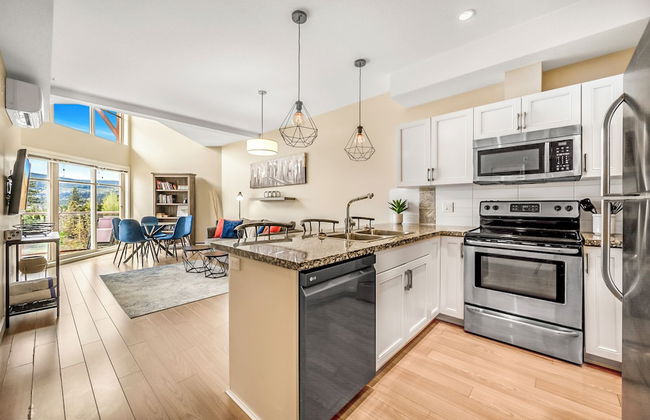
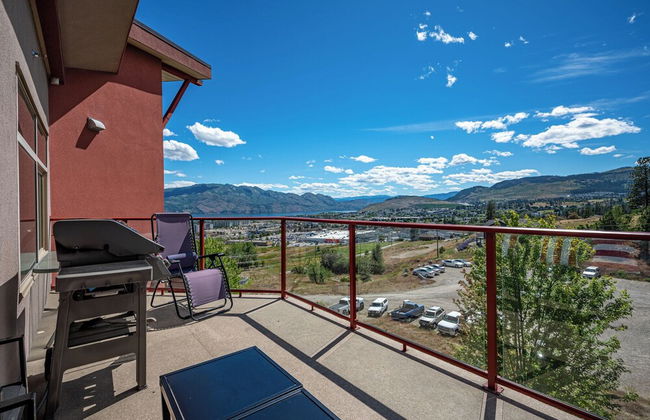
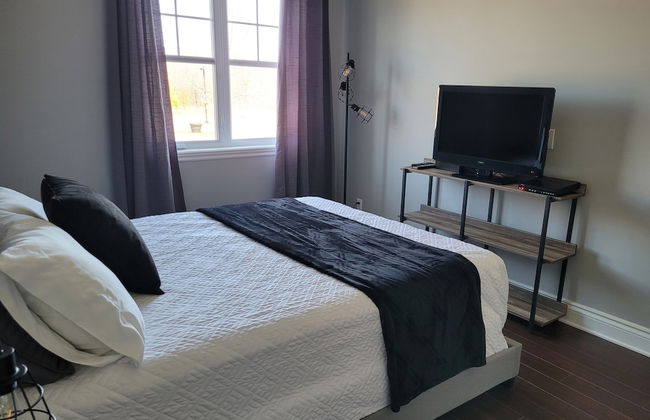
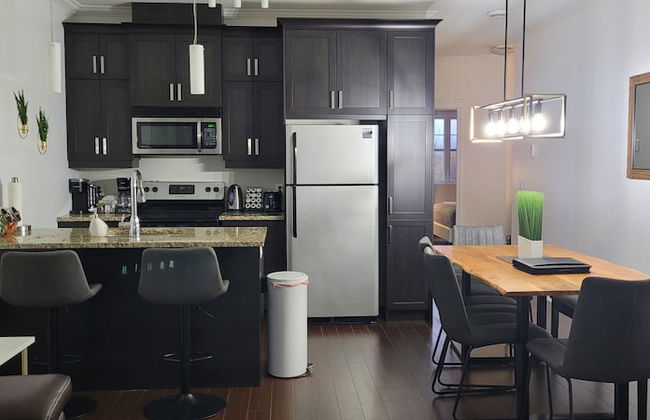
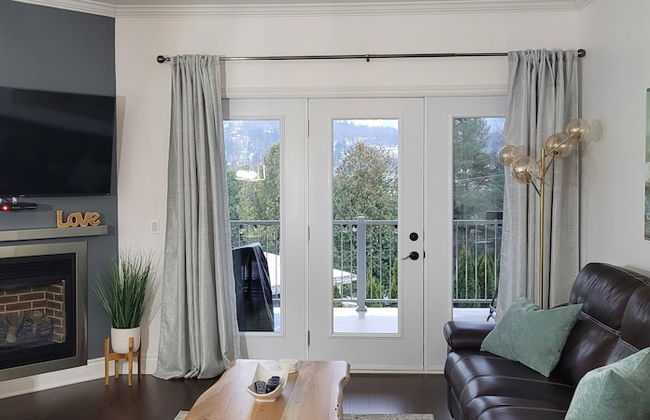
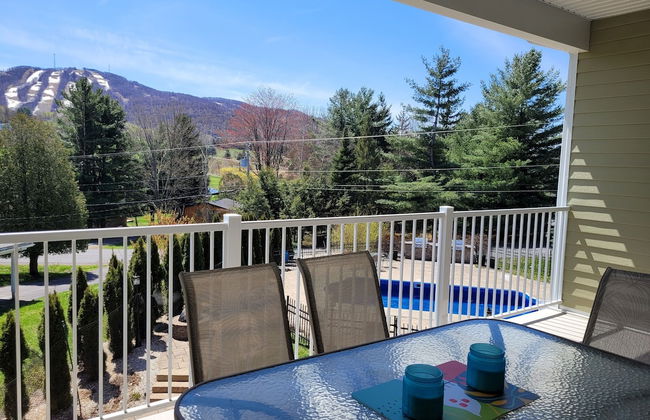
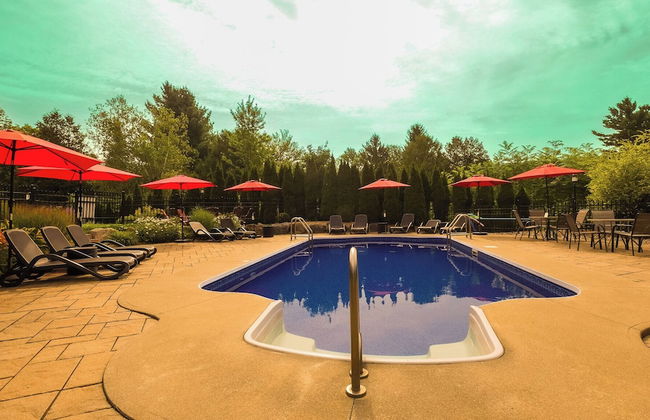
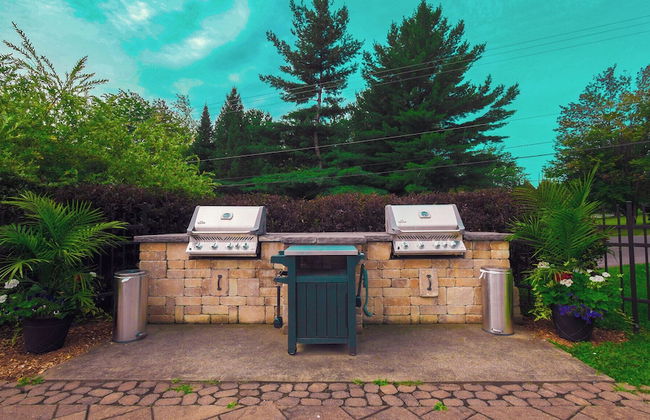
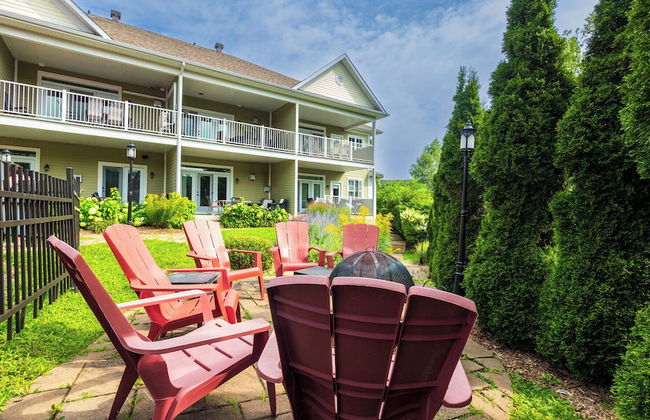
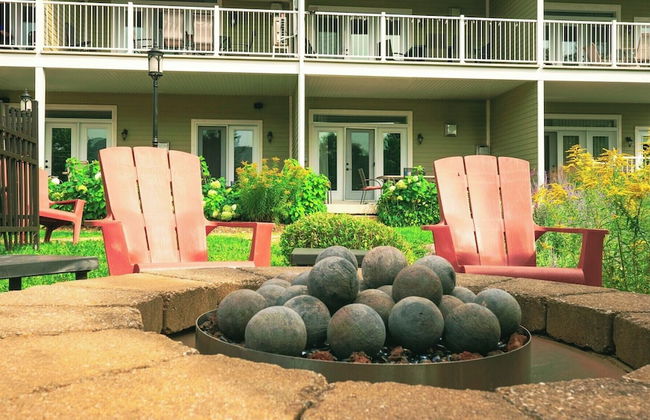
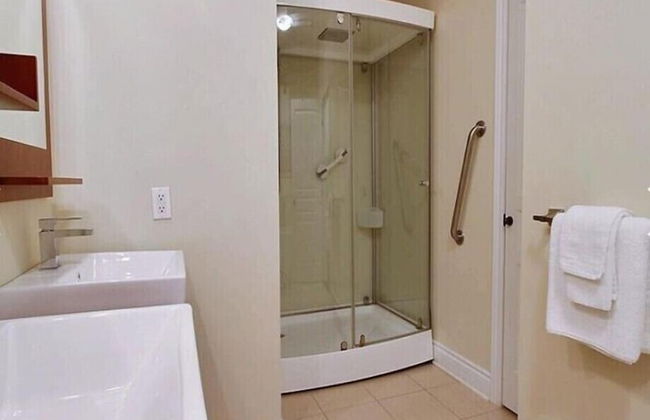
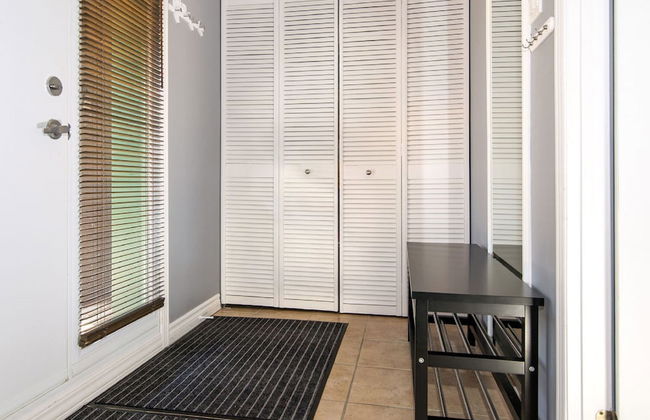
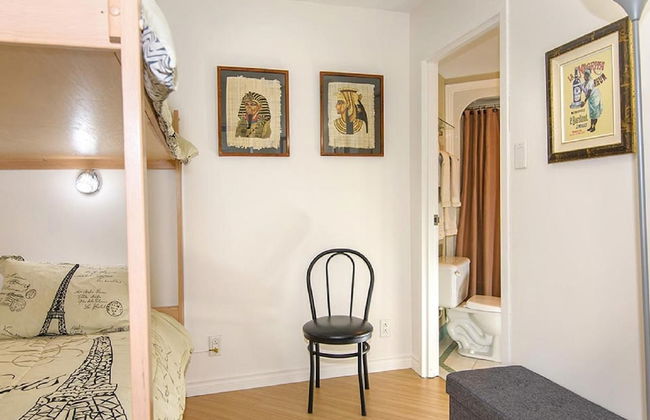
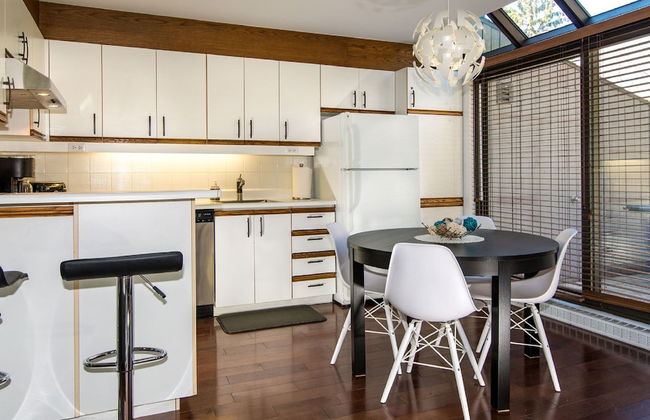
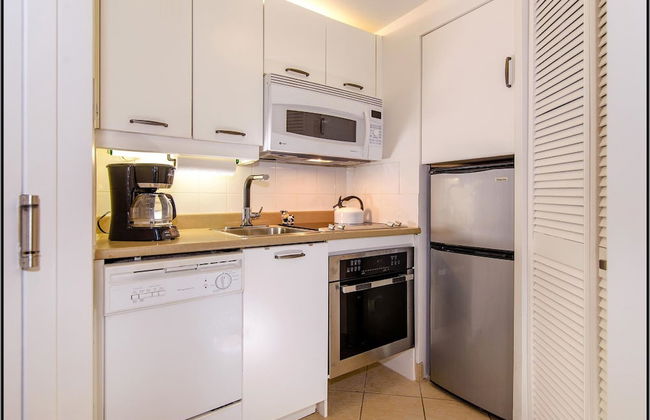
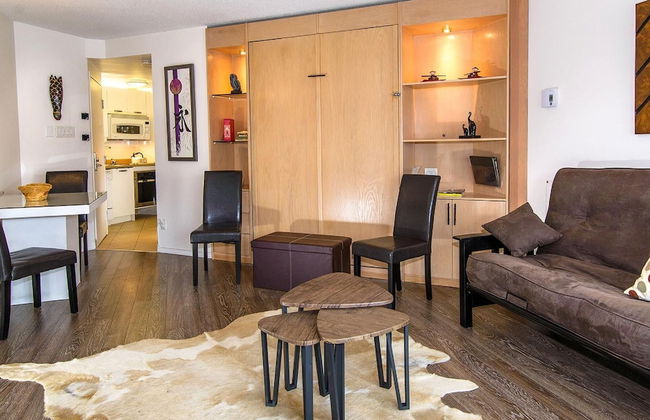
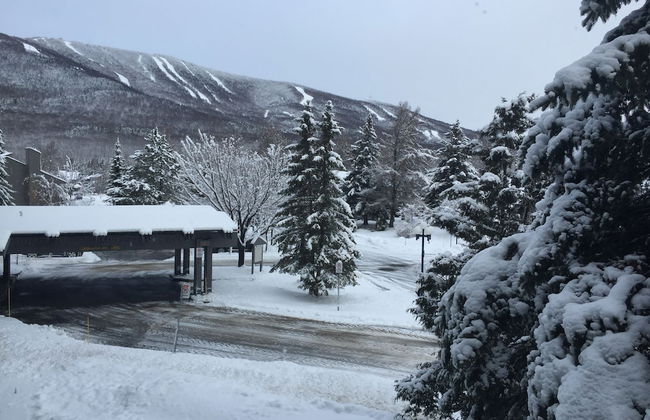
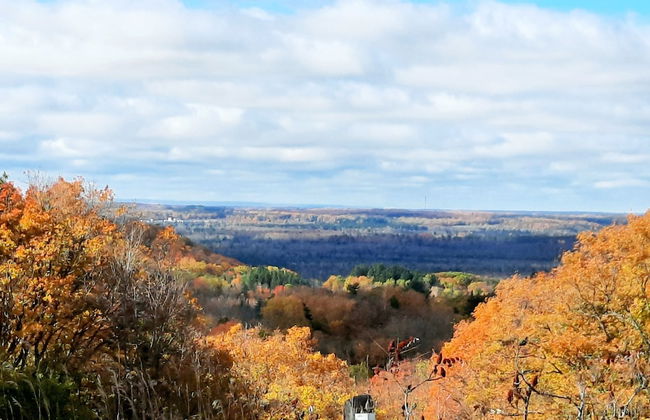
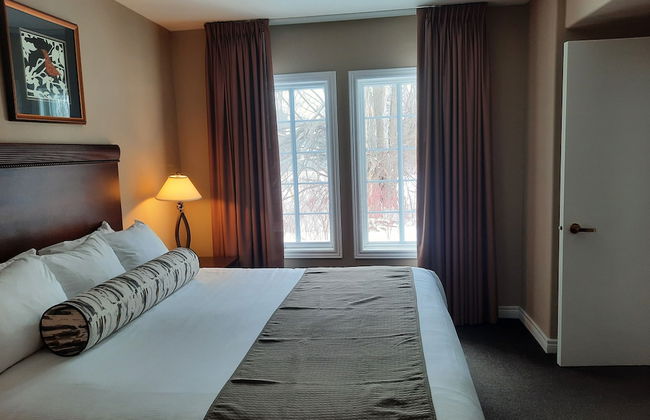
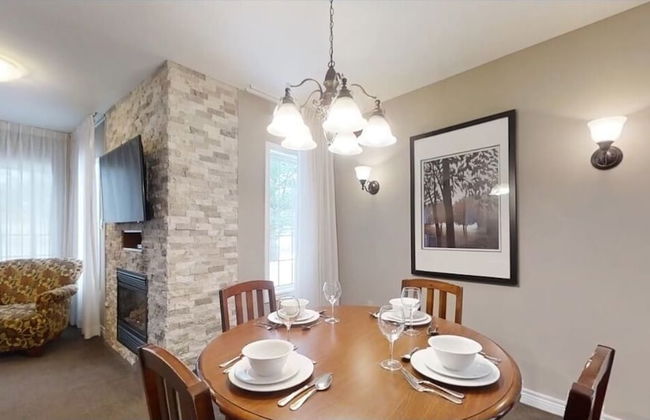
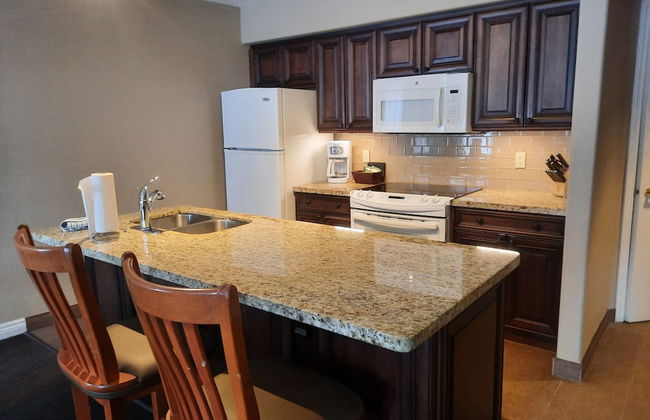
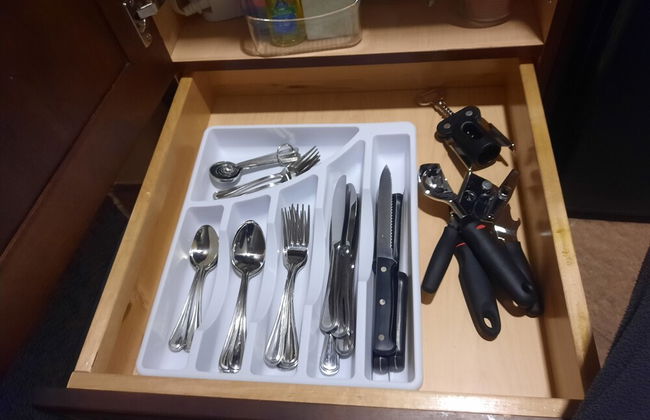
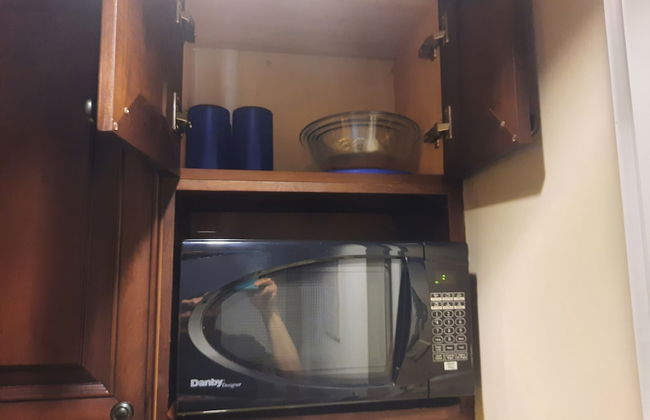
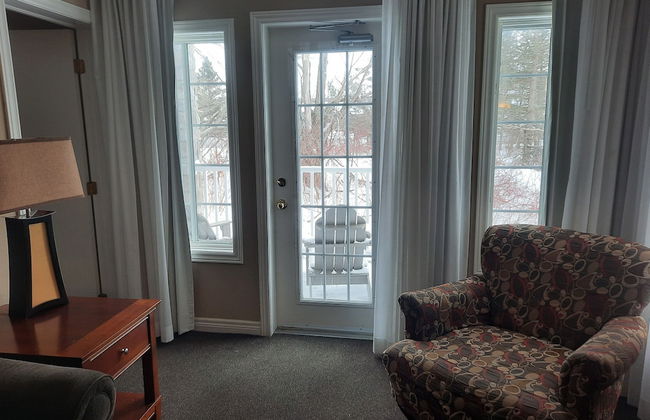
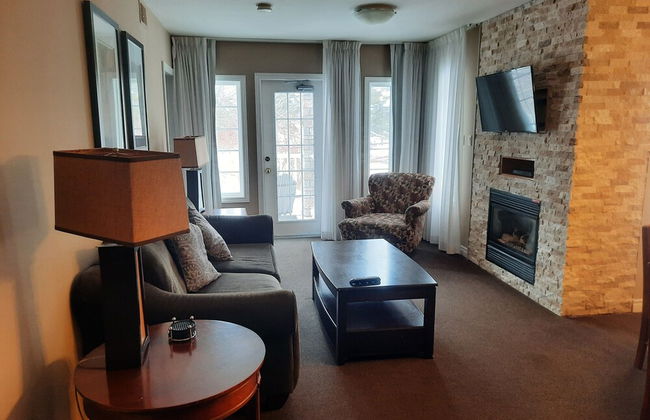
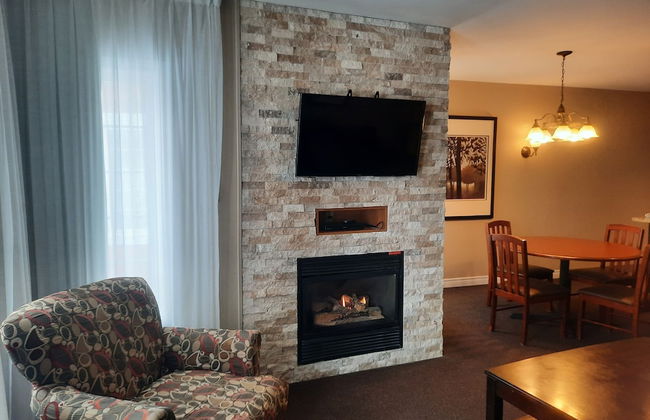
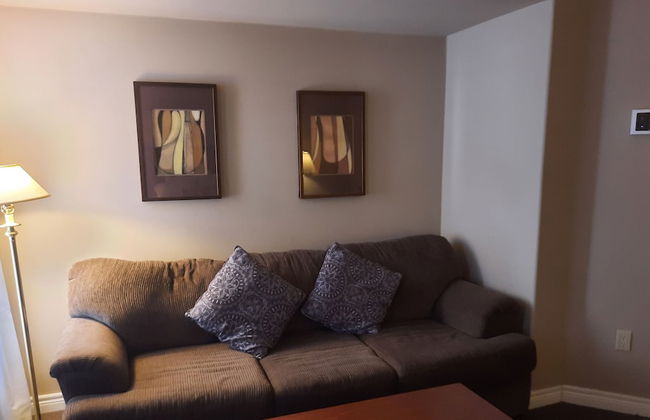
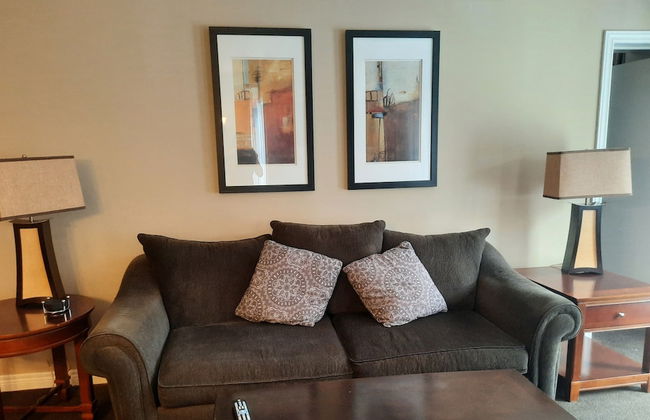
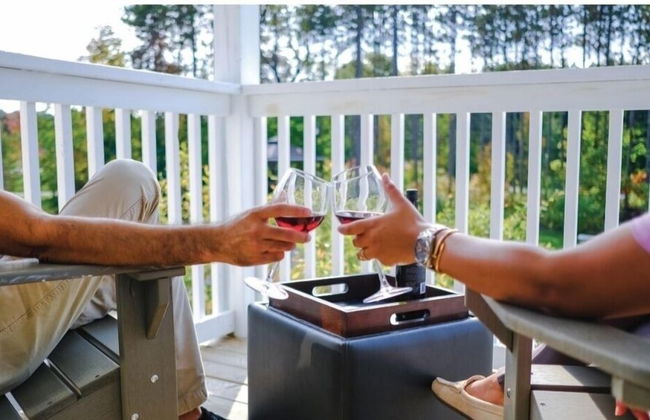
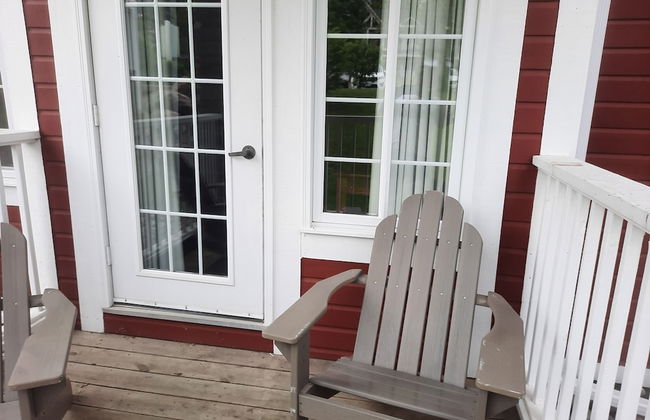
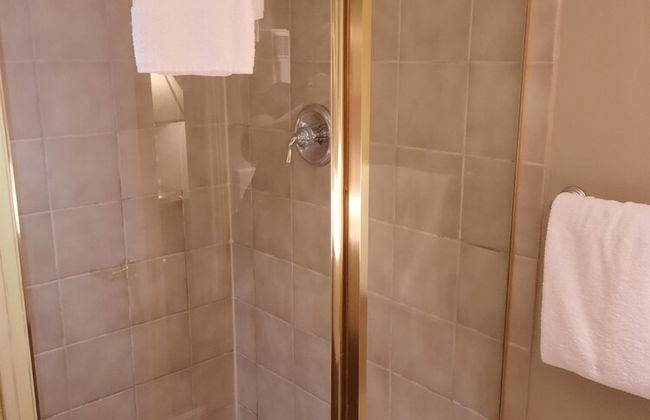
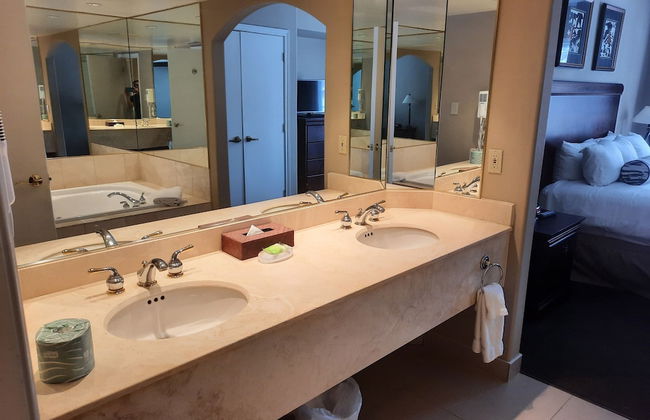
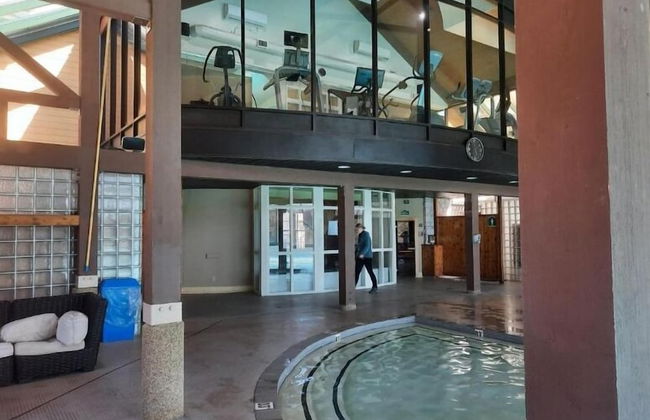
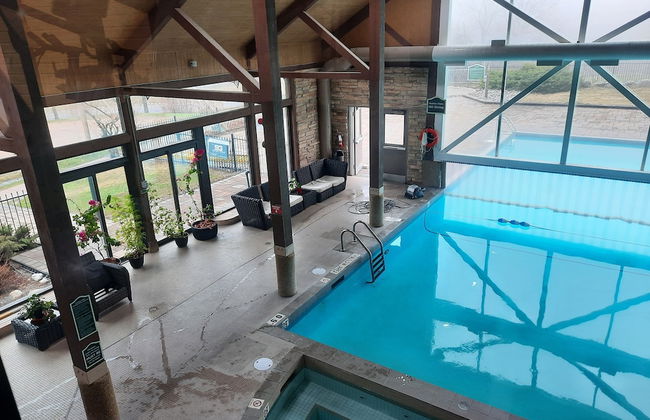
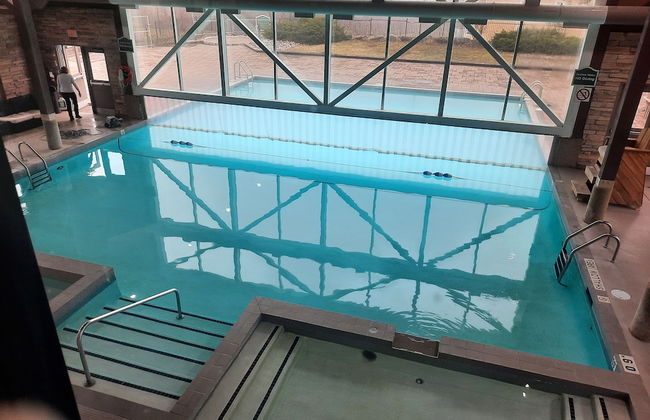
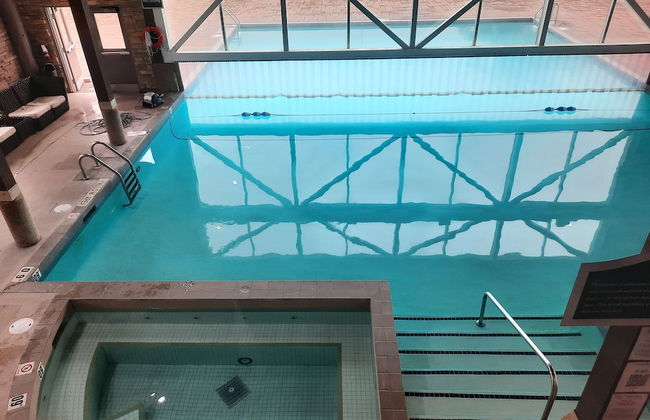
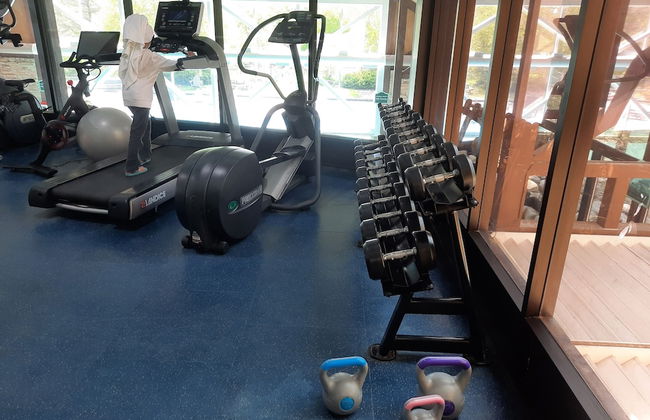
Margarita Vacation Getaway - Foto 1
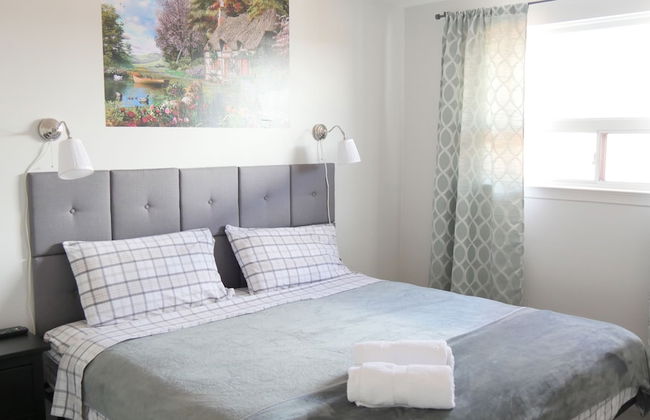
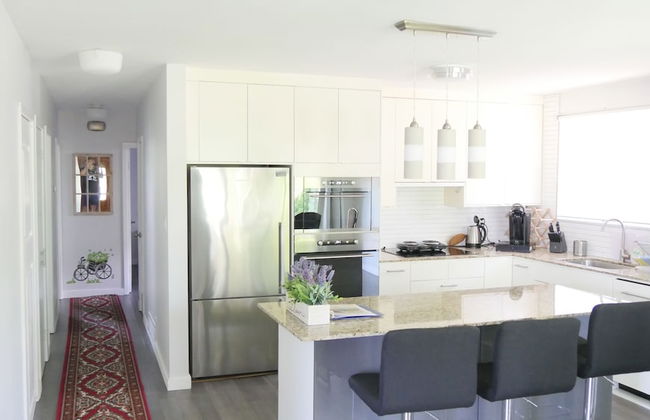
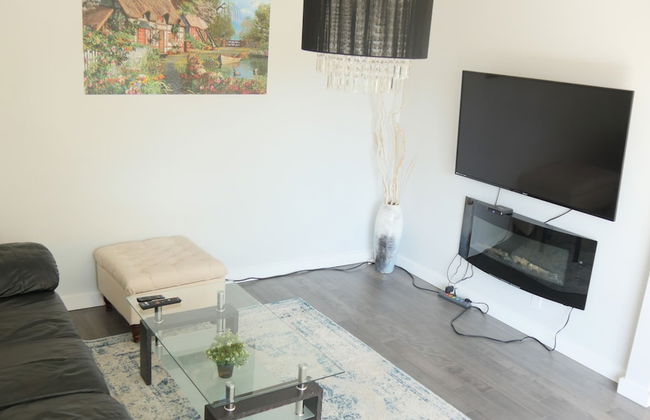
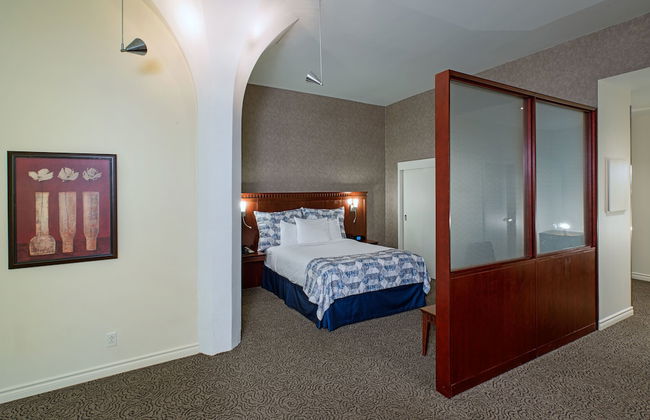
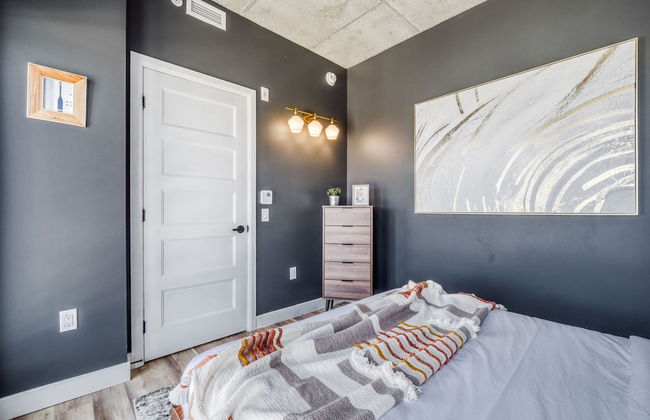
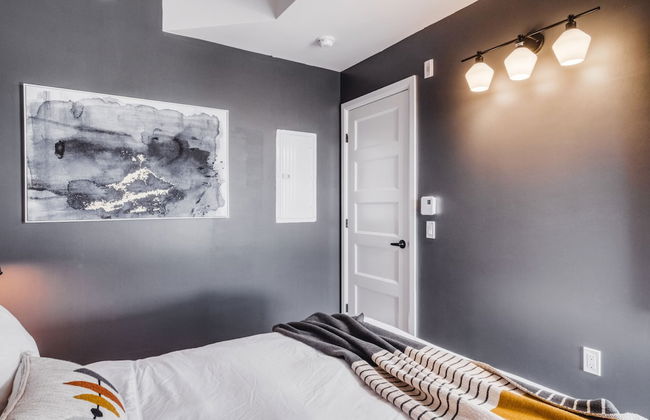
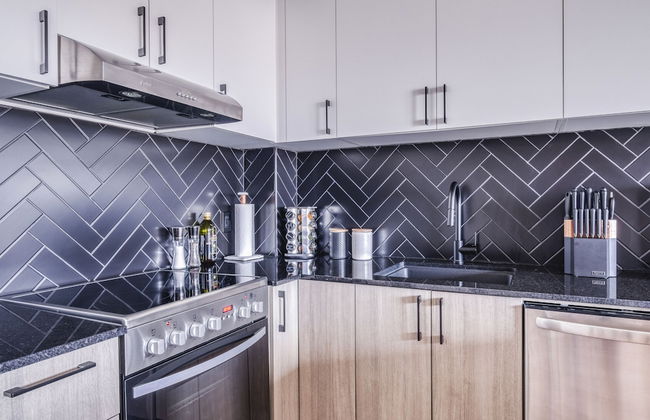
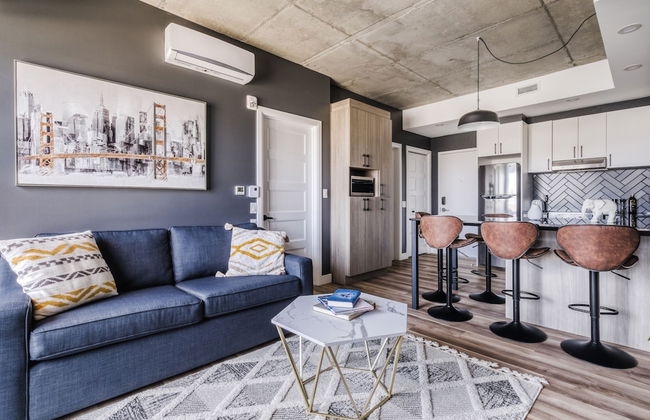
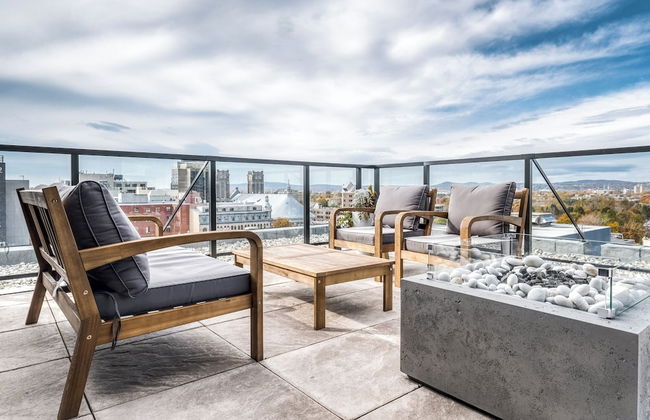
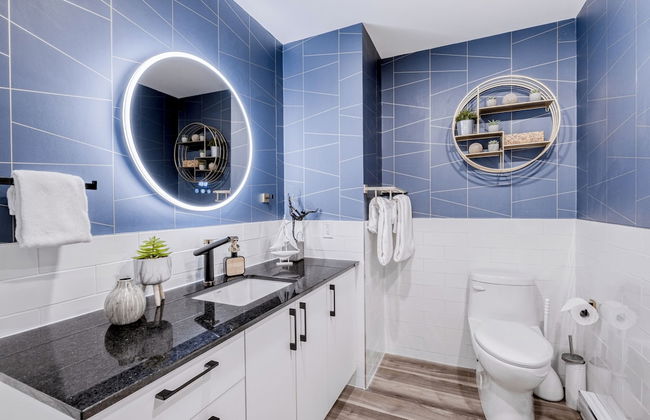
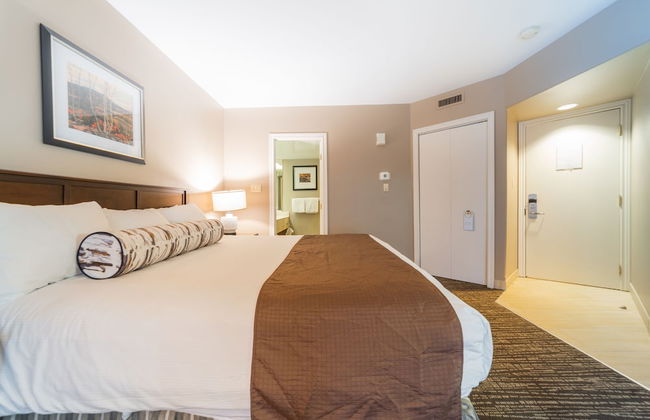
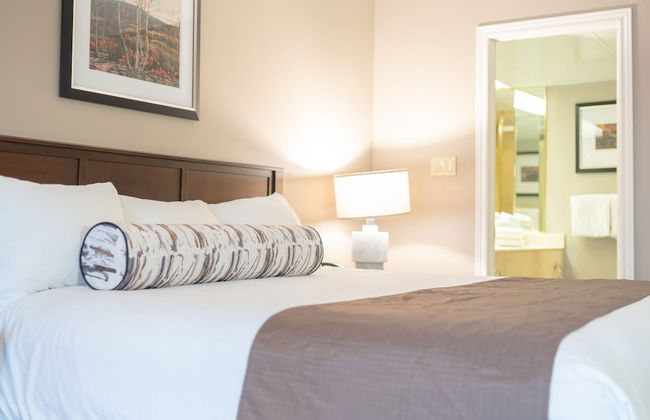
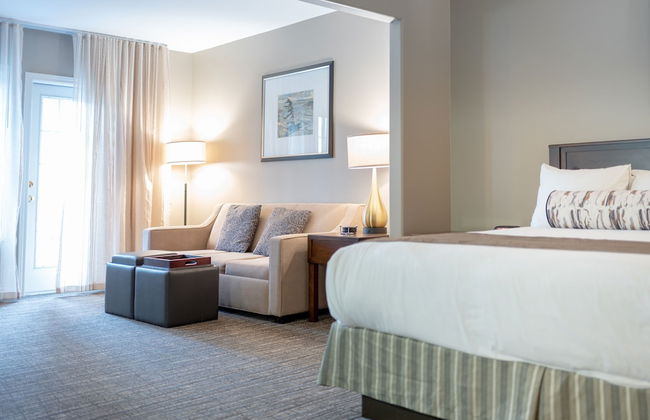
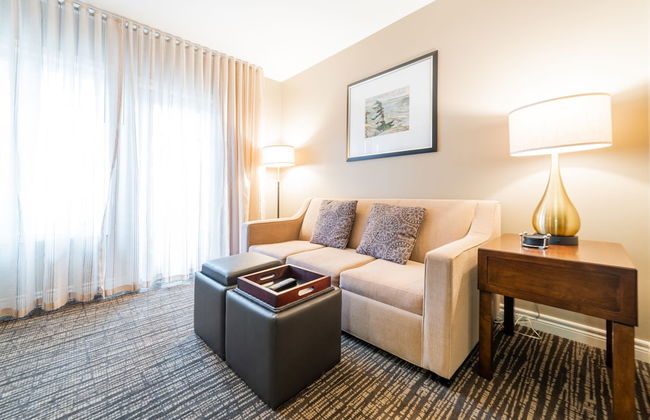
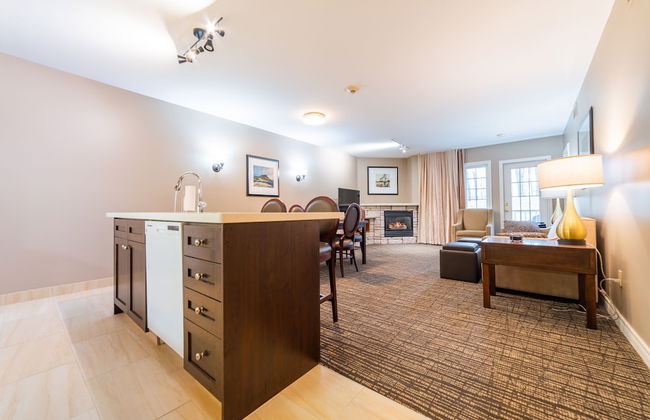
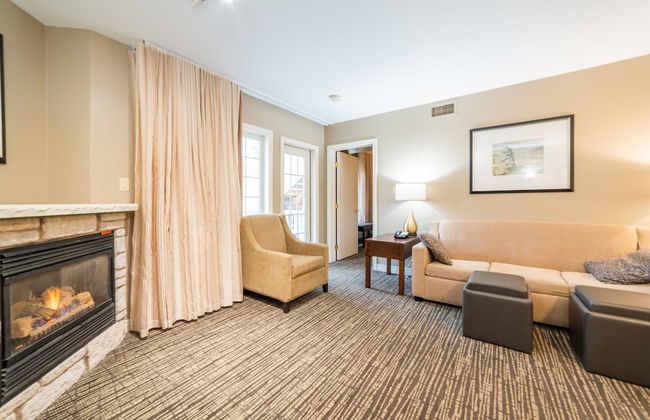
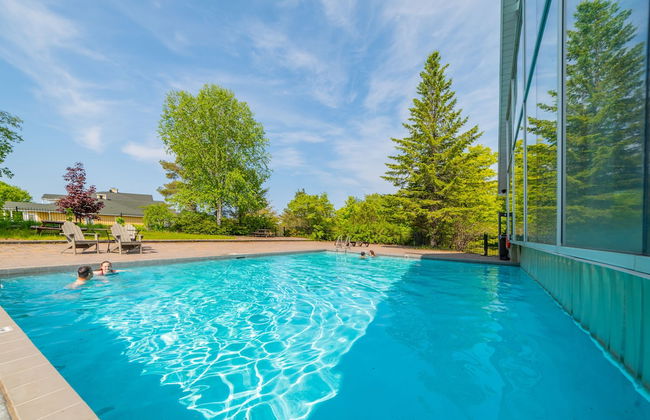
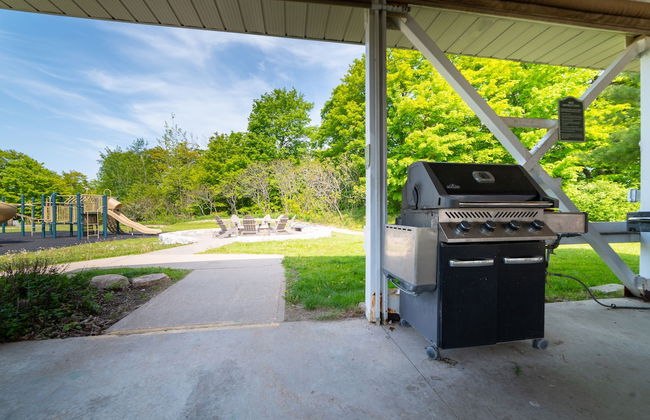
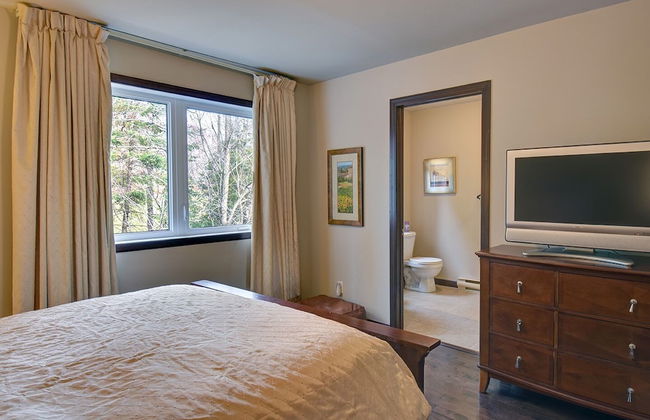
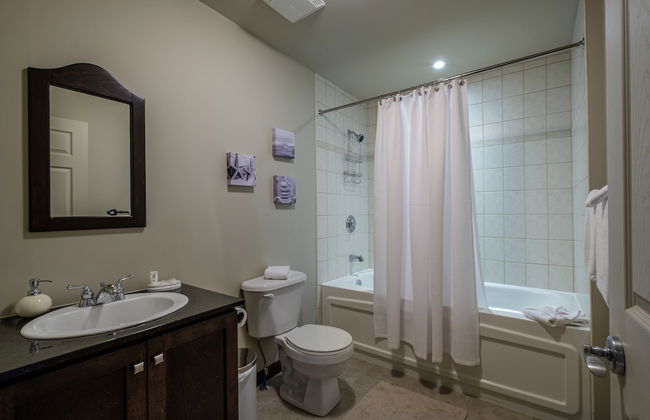
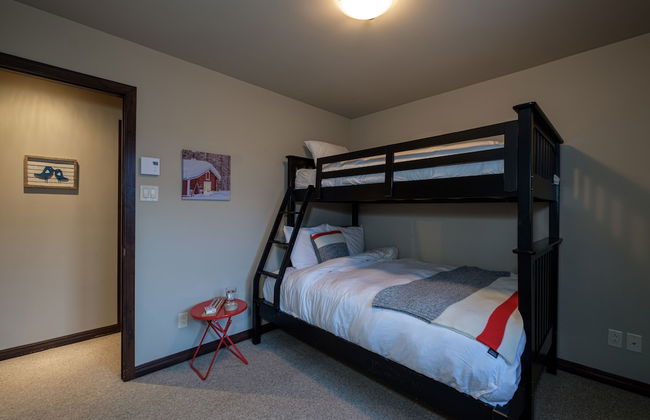
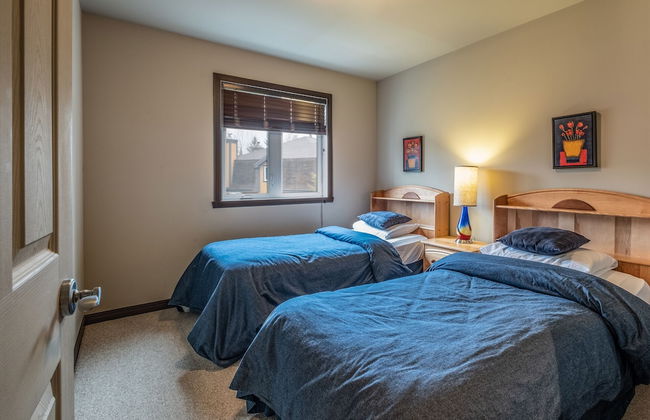
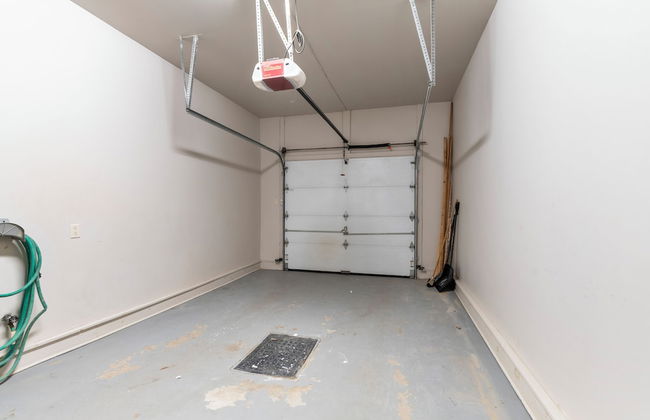
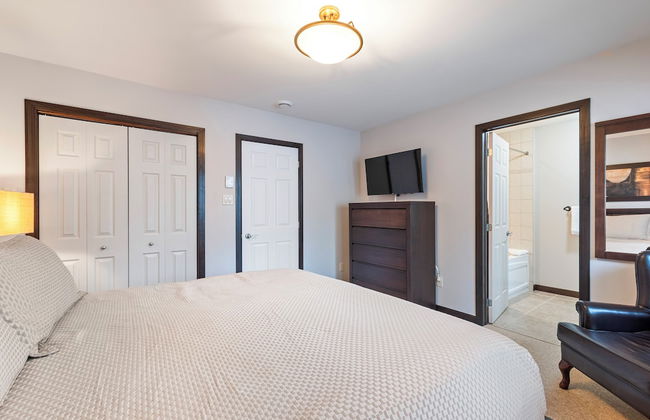
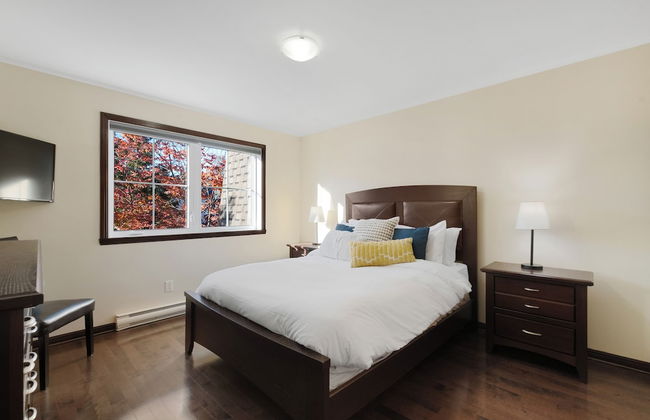
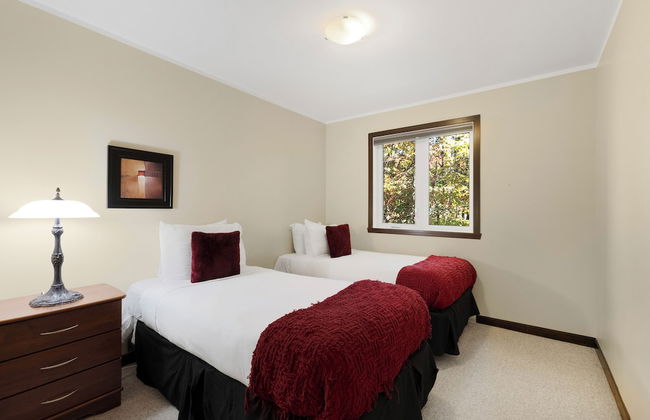
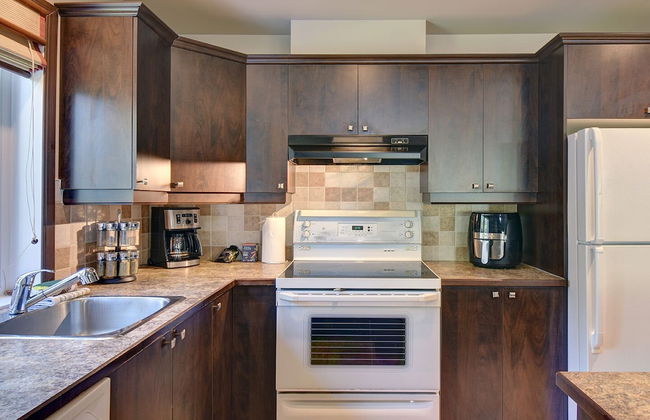
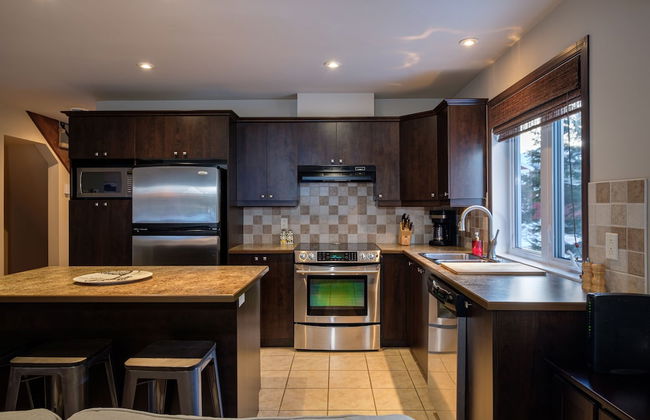
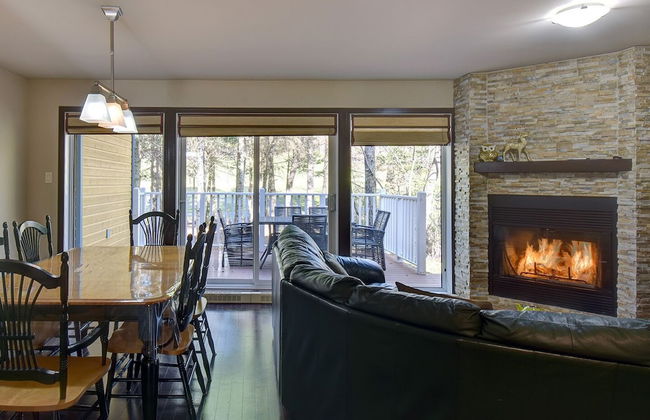
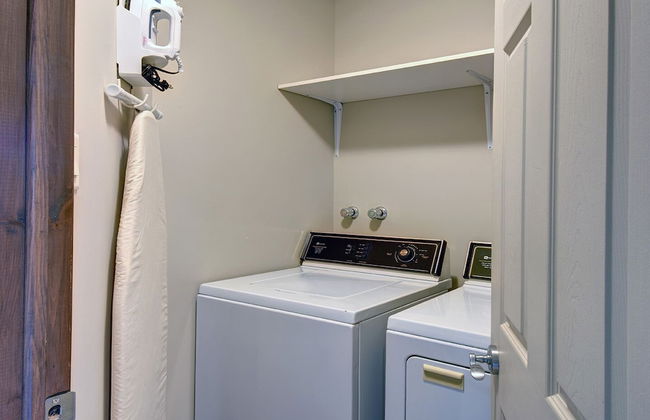
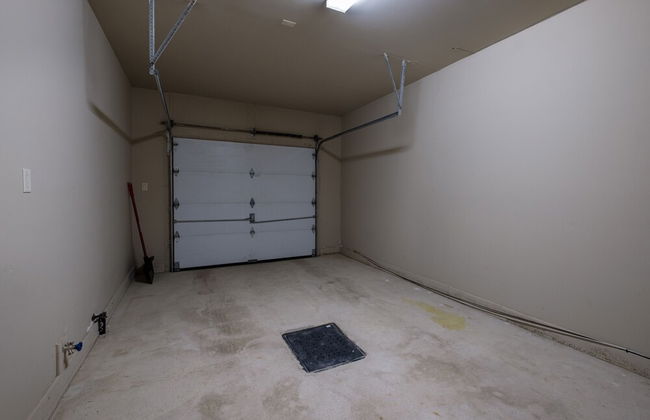
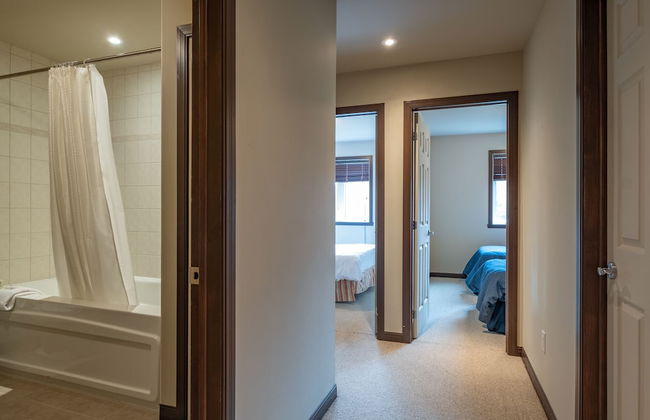
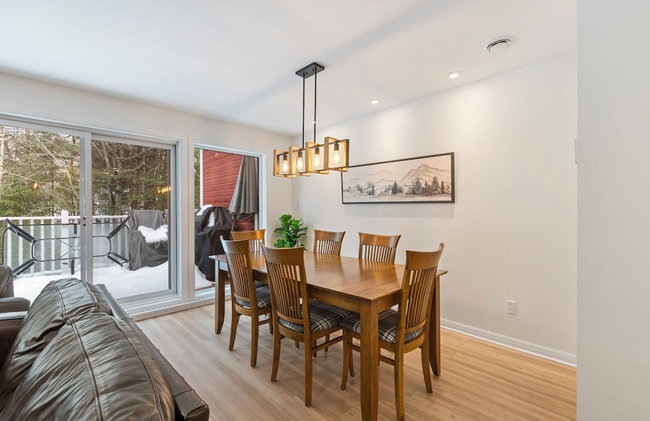
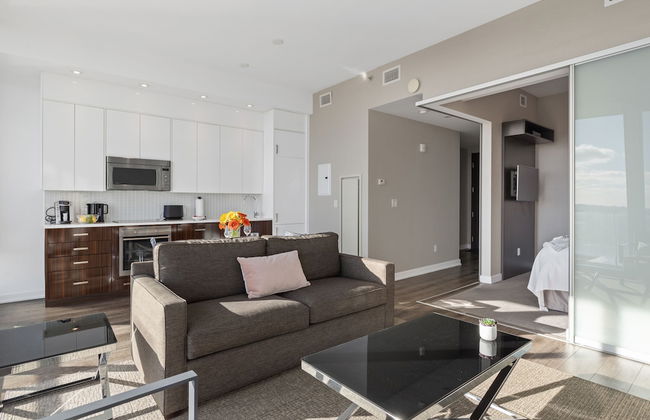
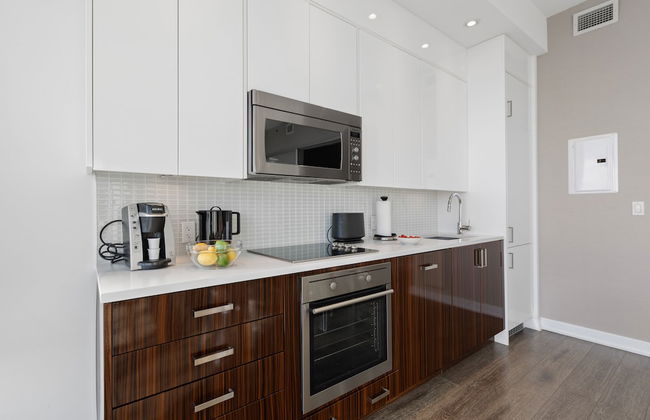
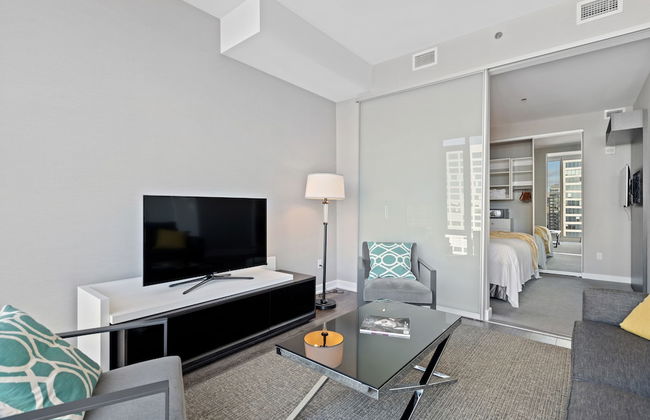
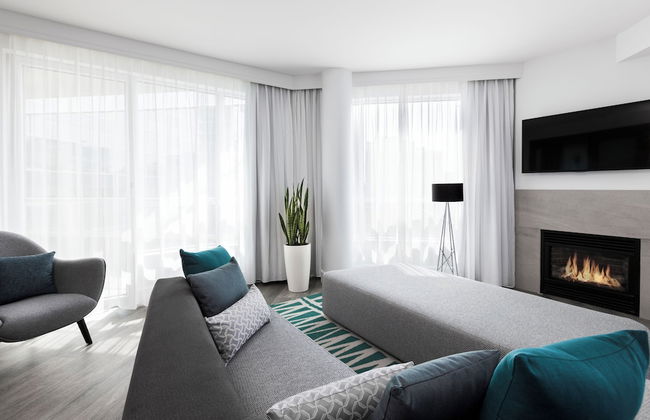
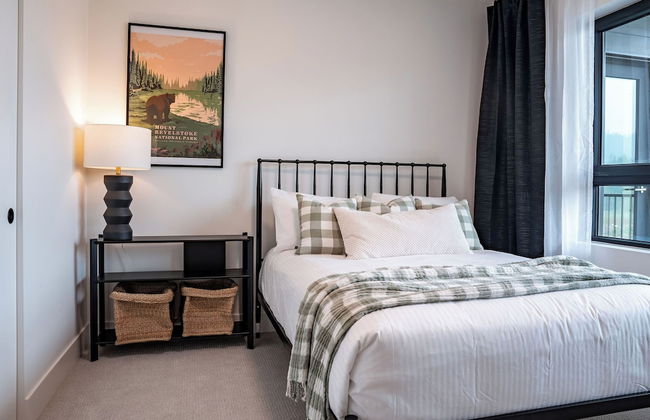
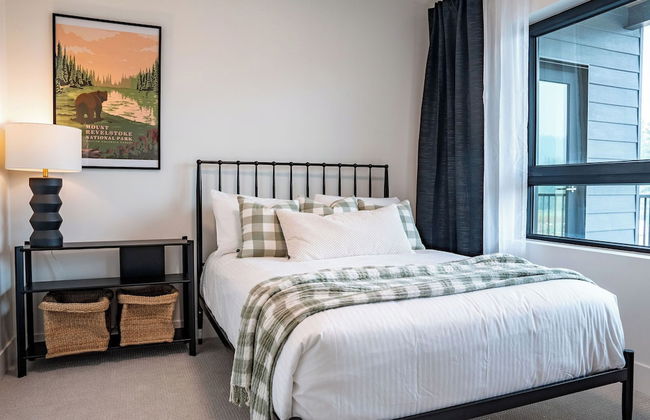
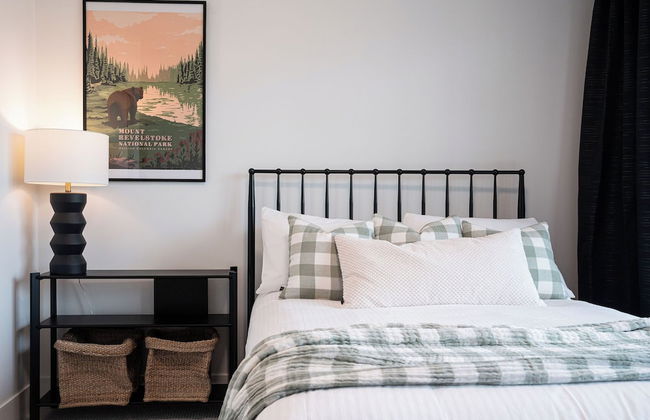
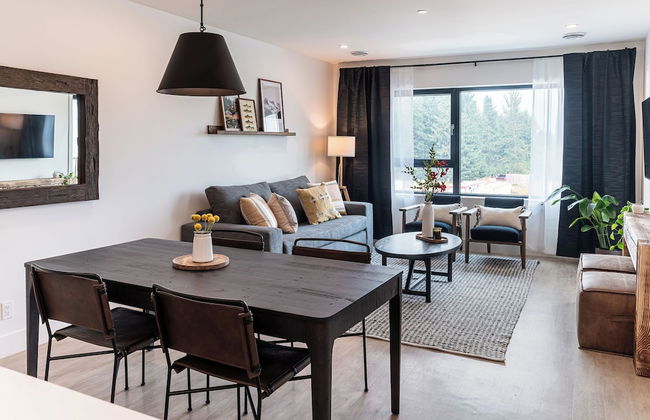
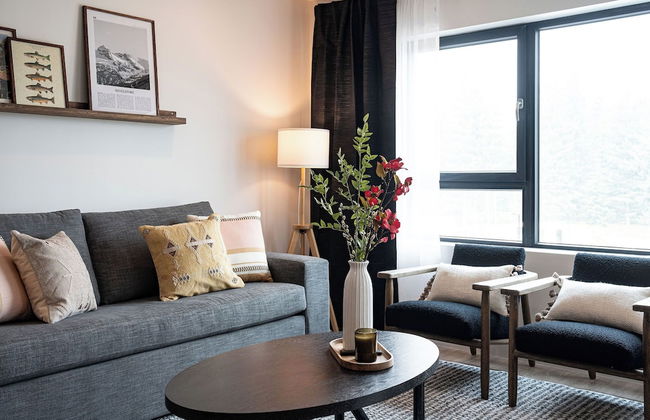
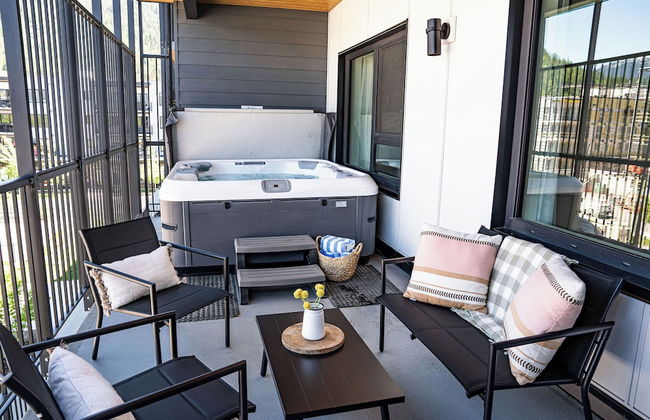
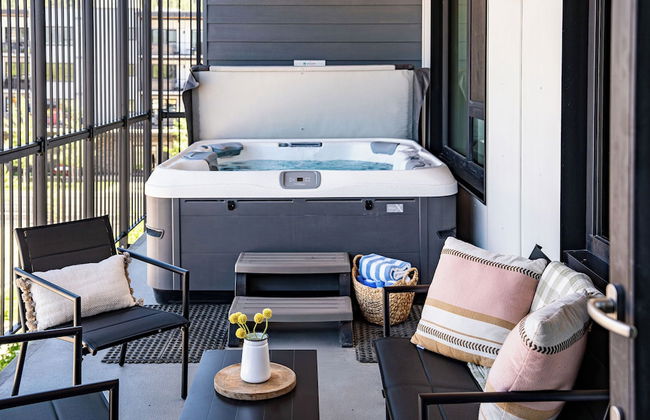
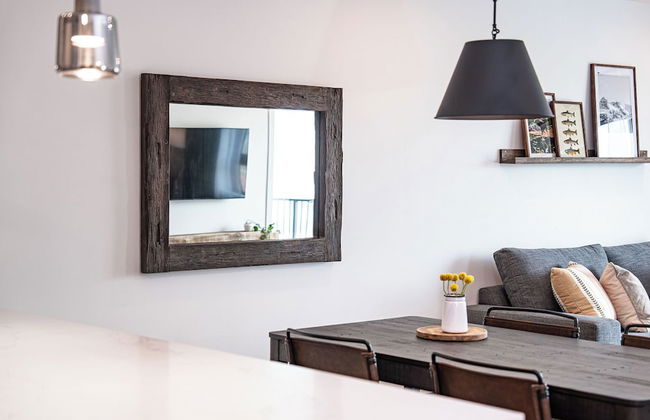
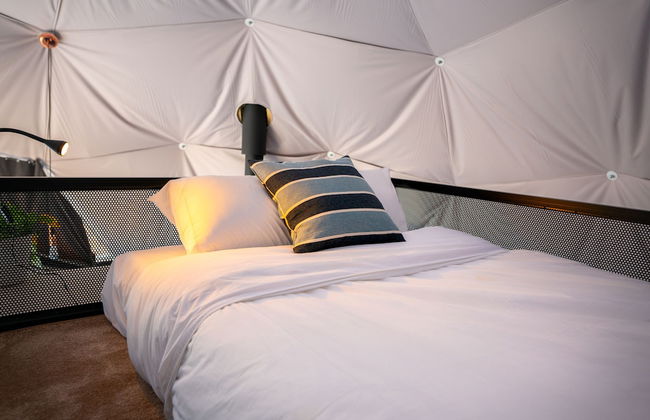
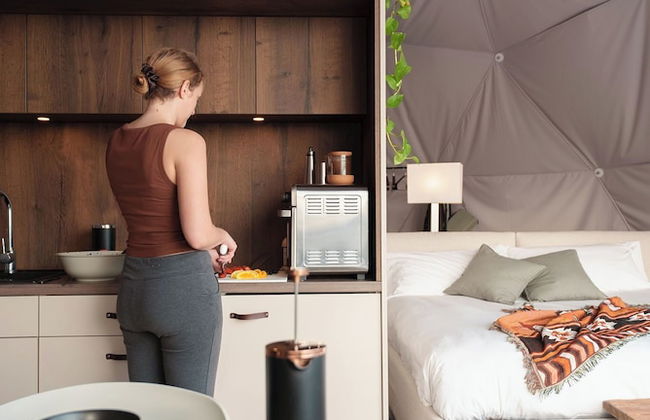
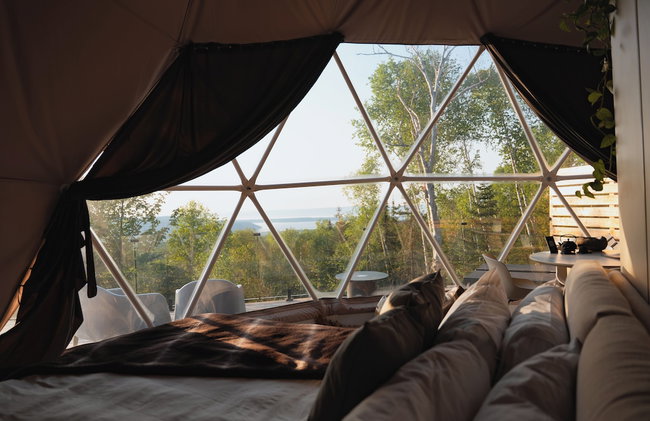
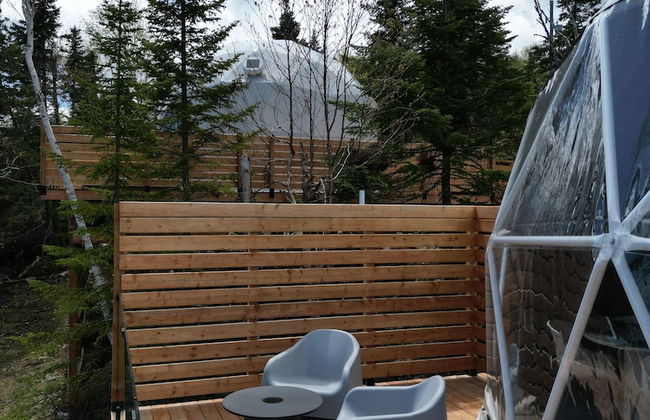
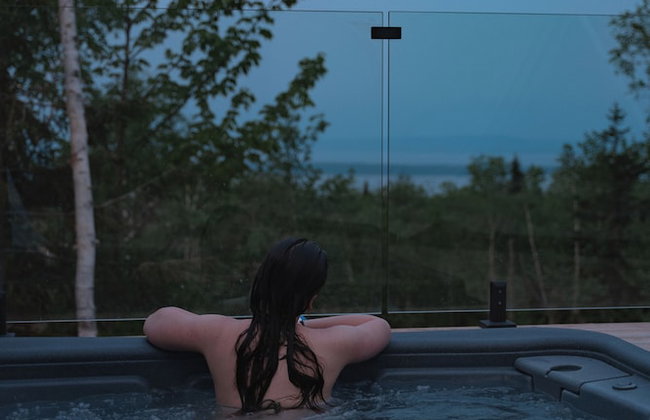
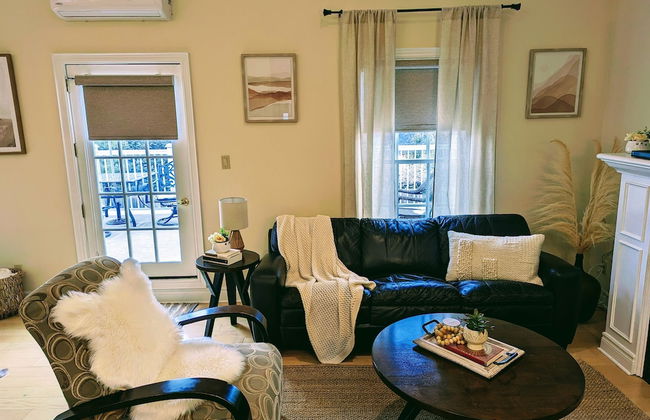
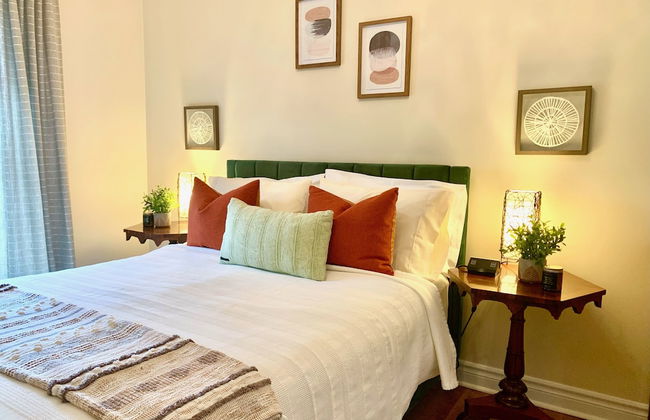
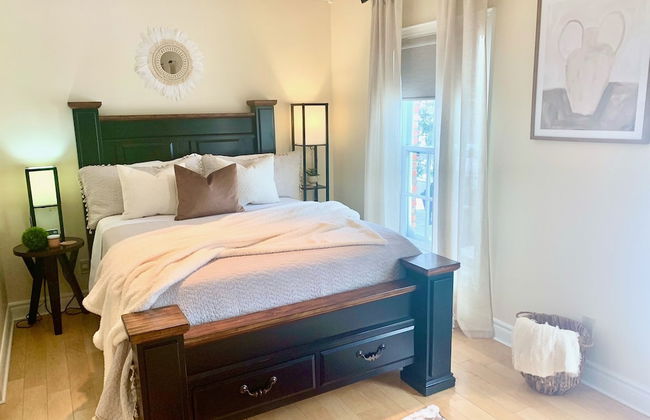
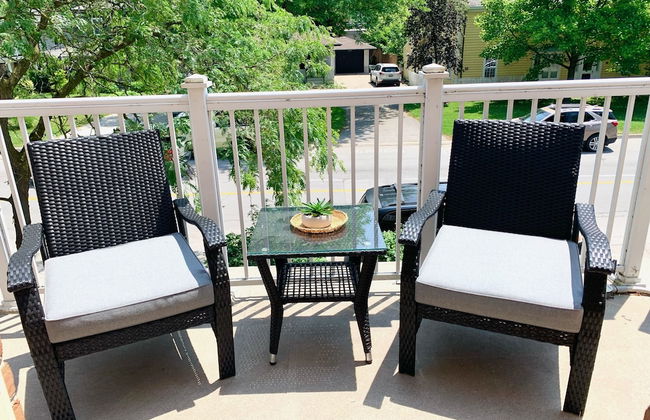
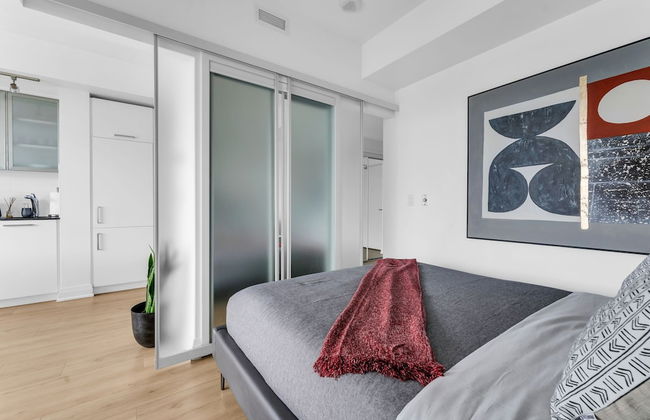
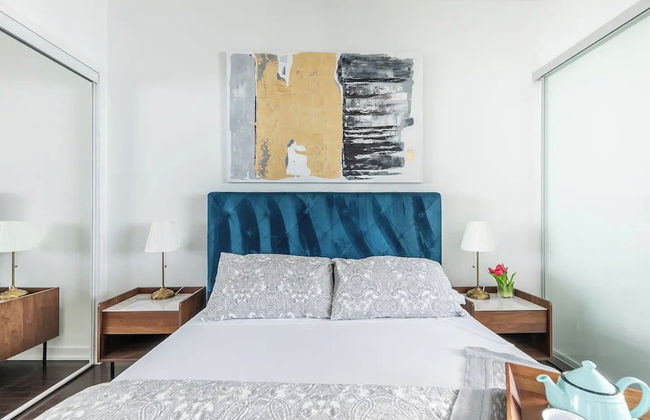
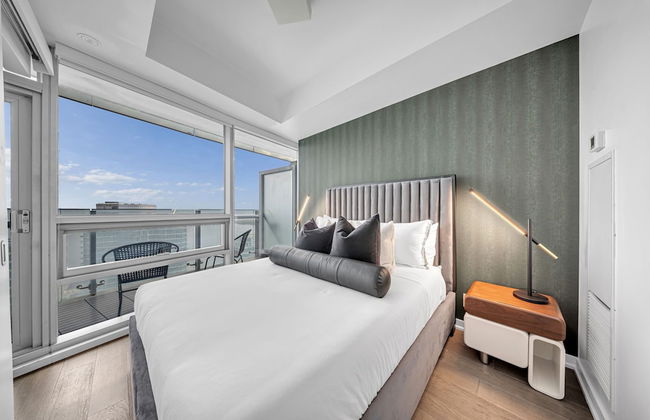
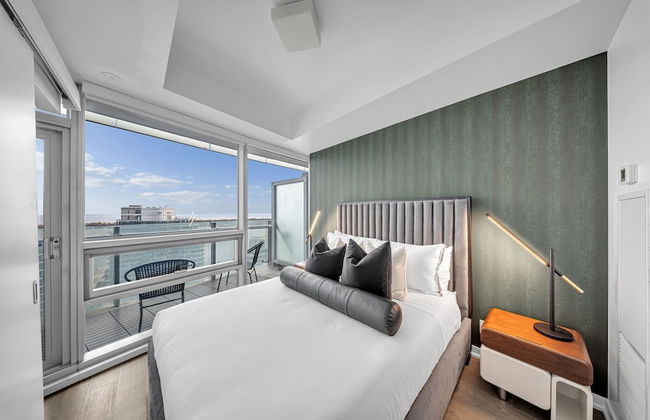
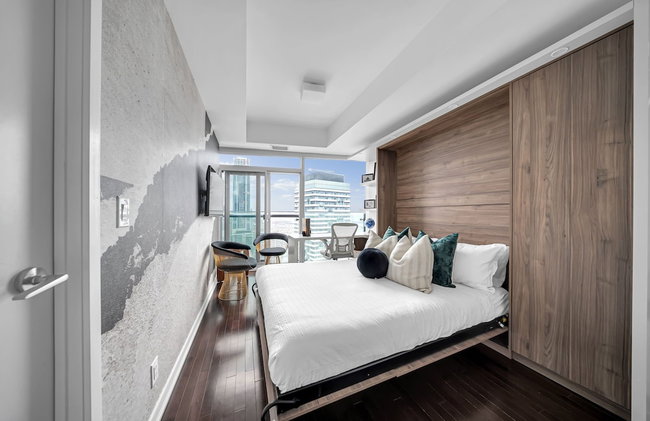
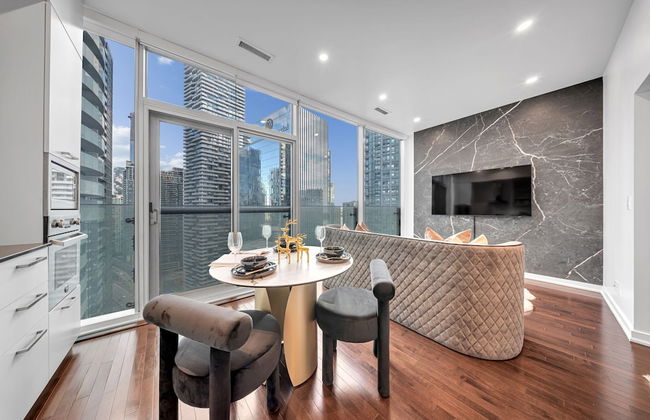
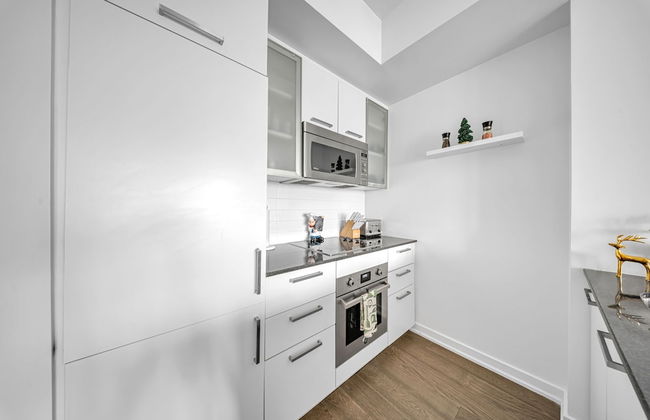
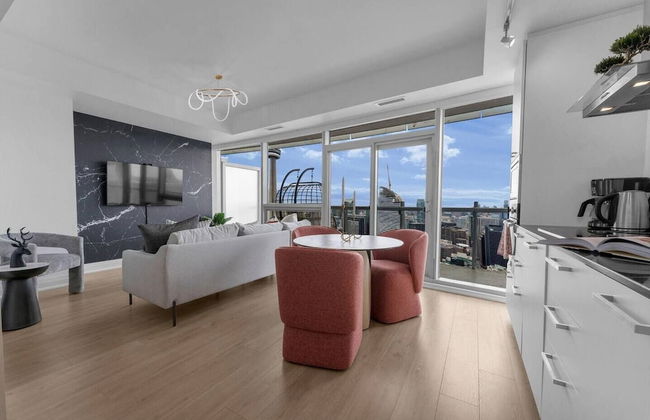
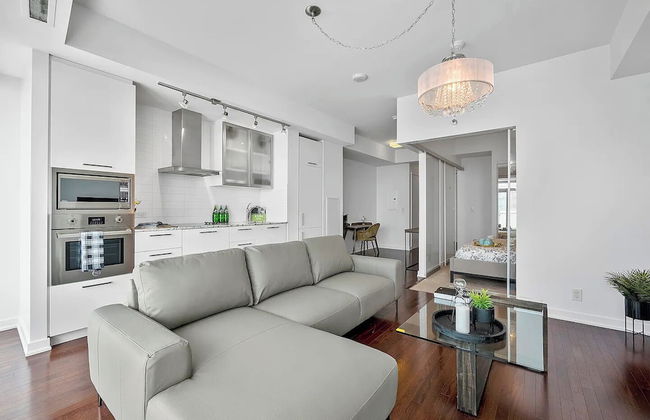
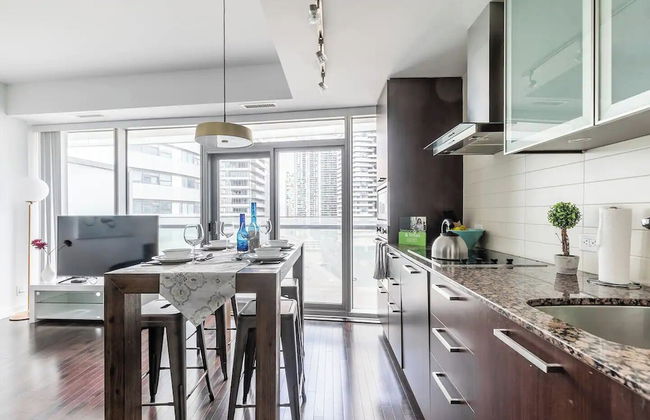
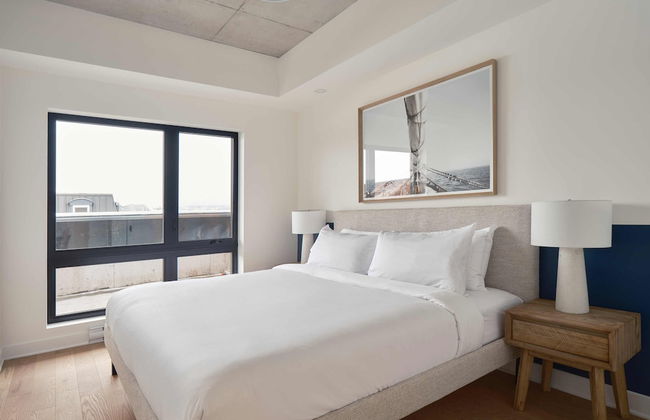
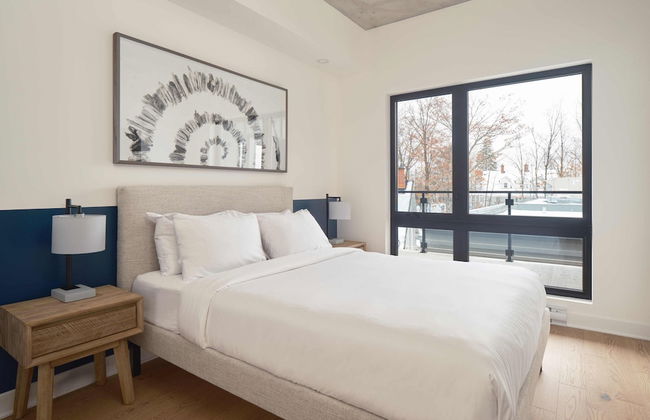
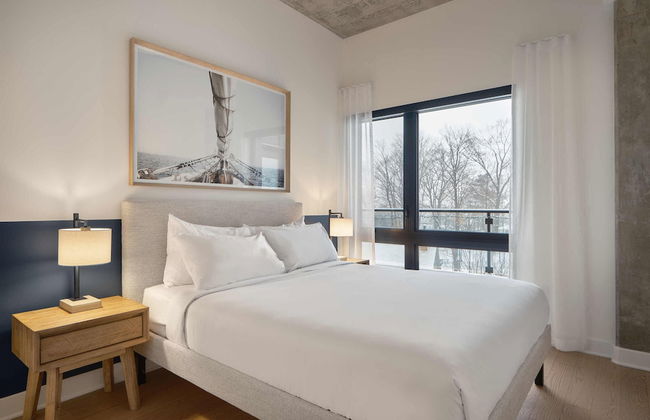
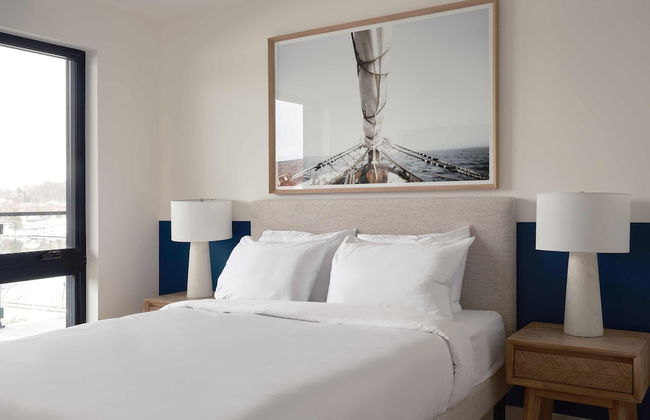
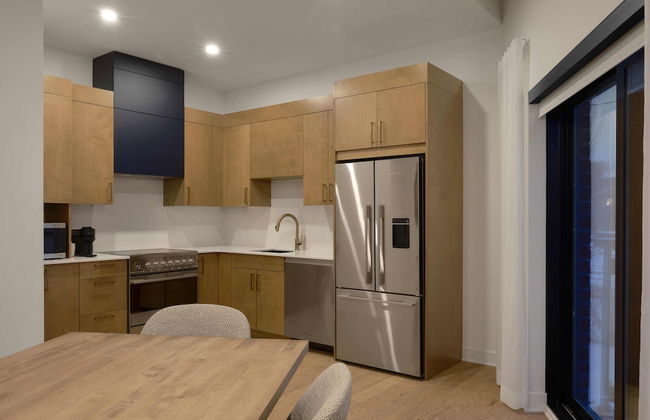
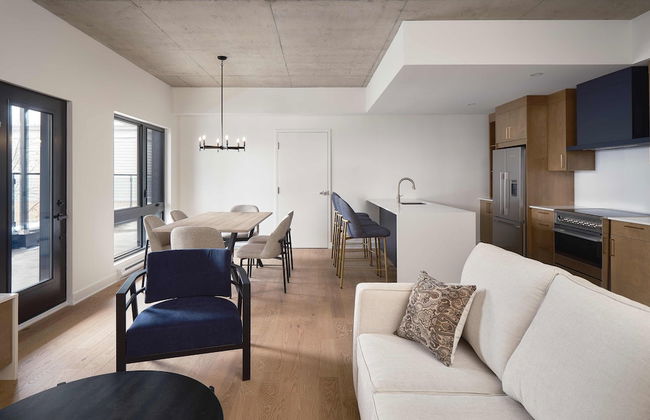
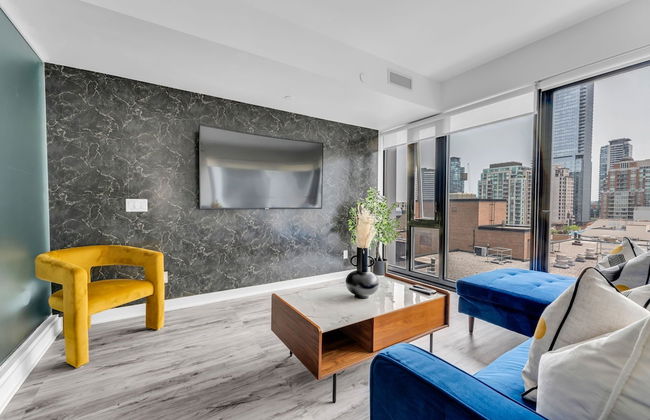
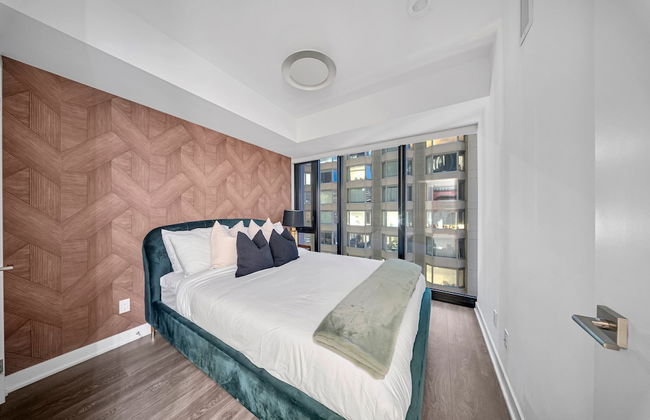
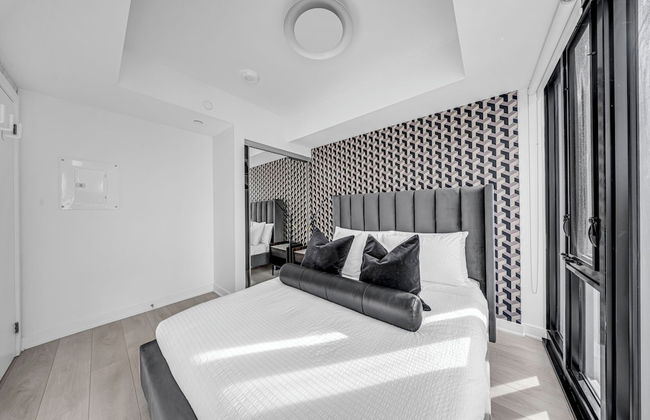
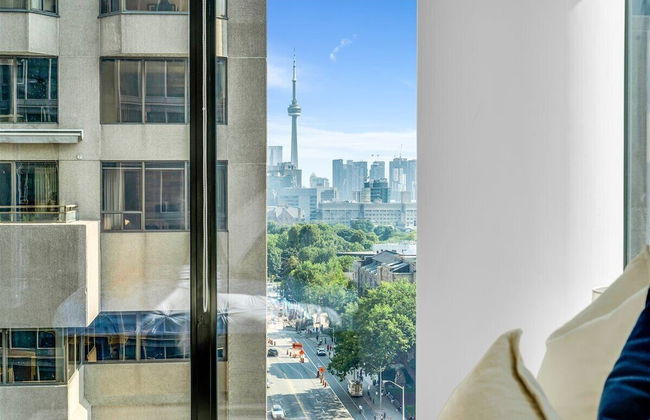
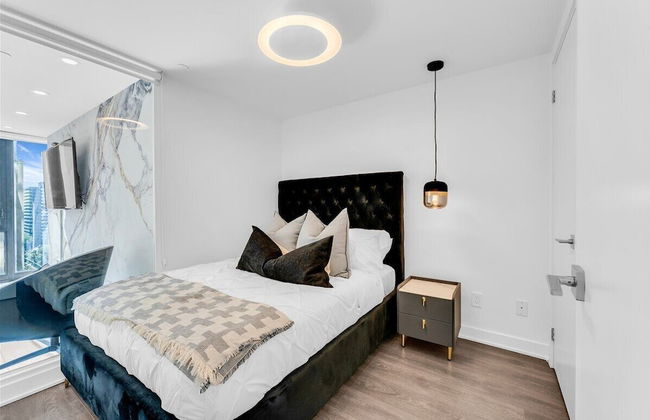
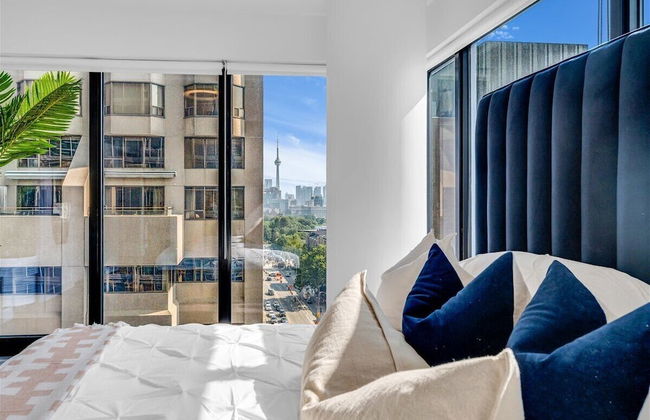
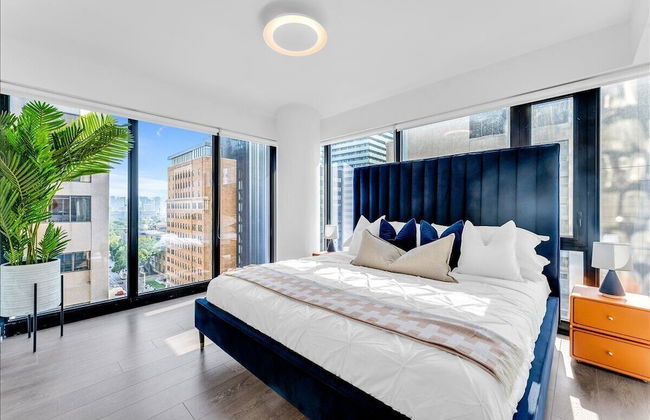
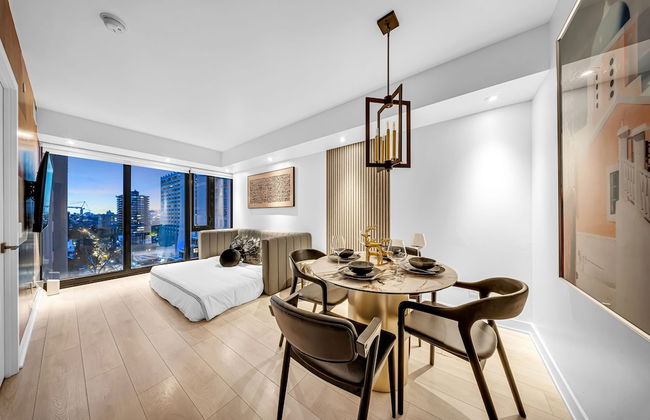
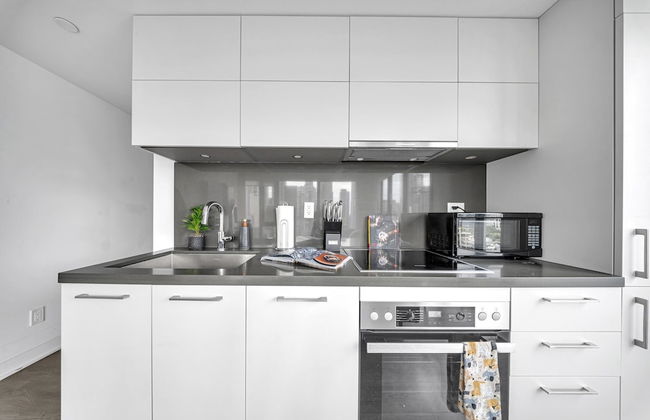
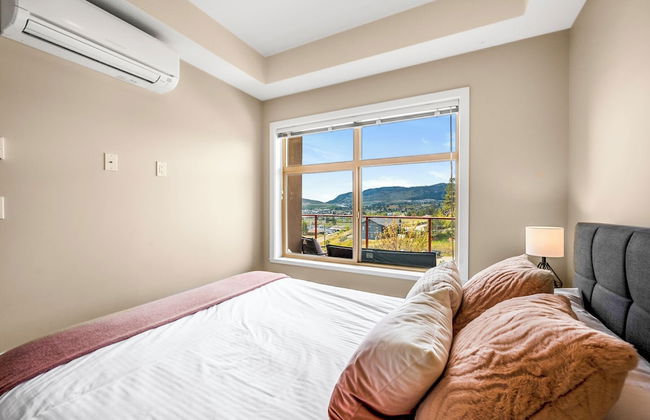
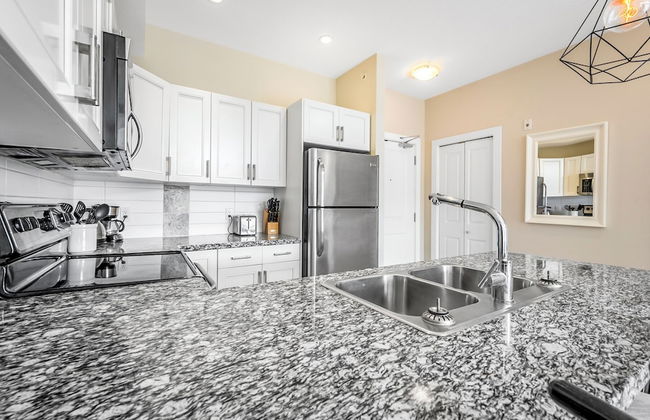
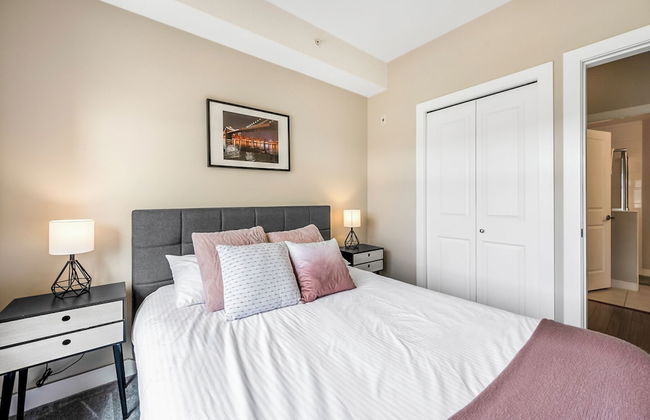
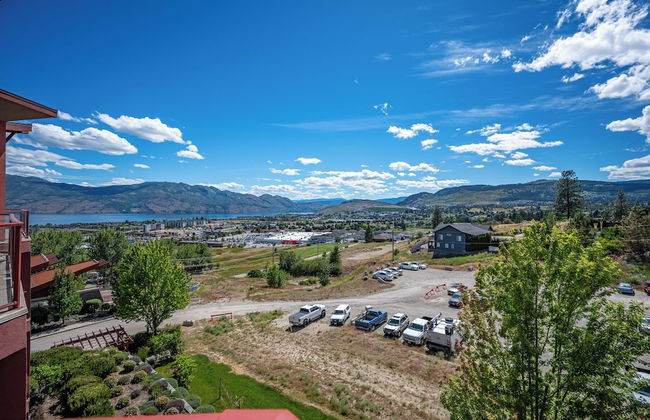
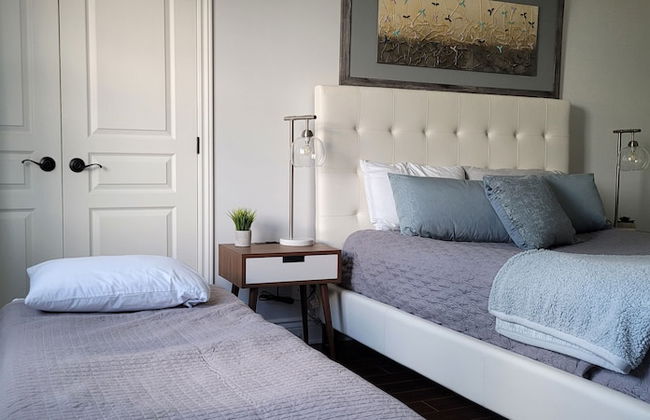
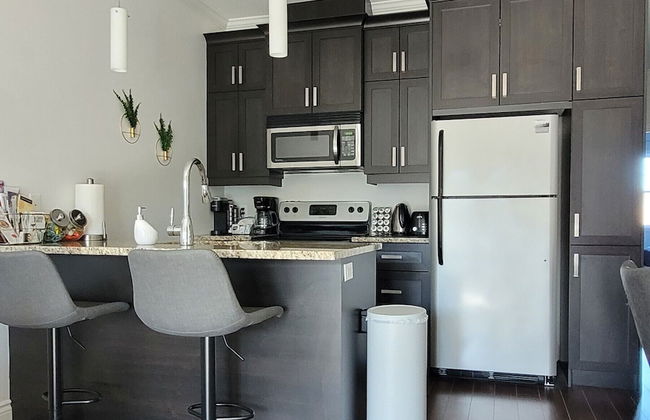
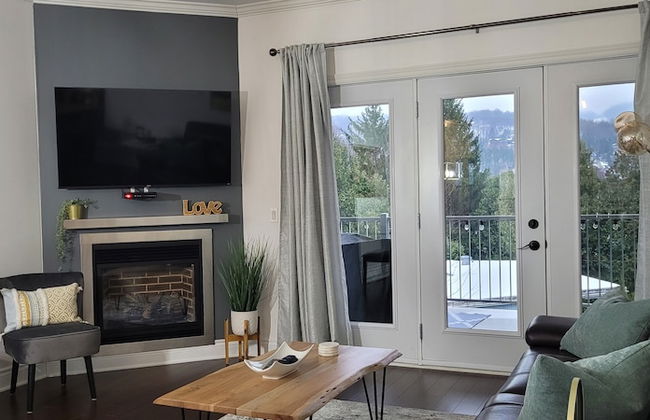
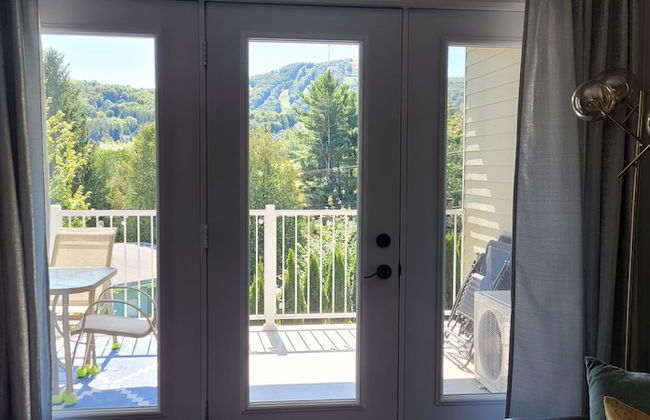
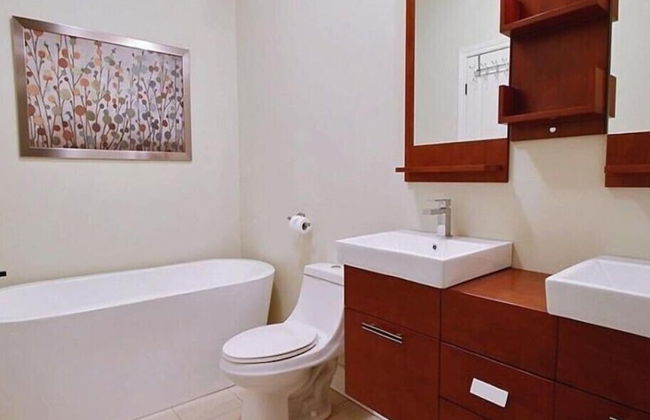
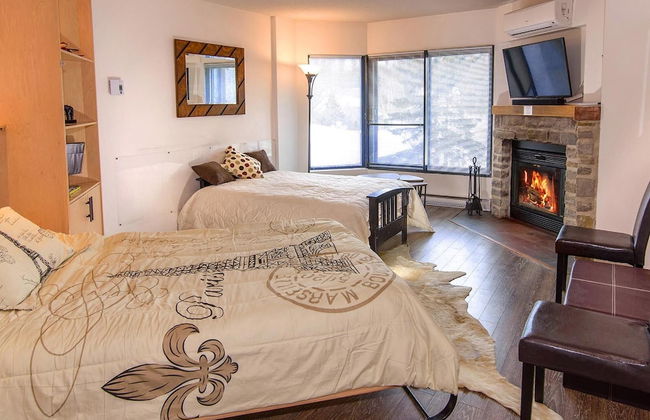
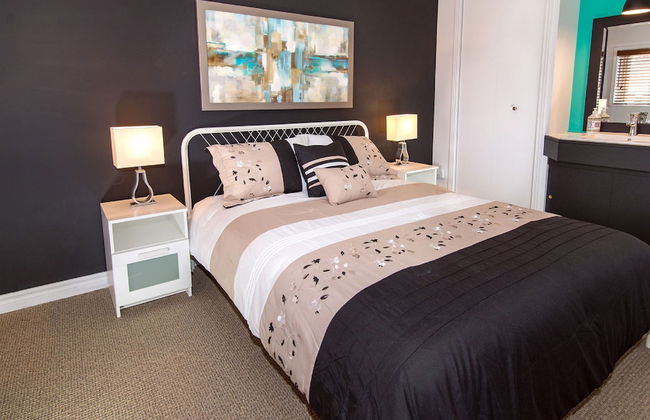
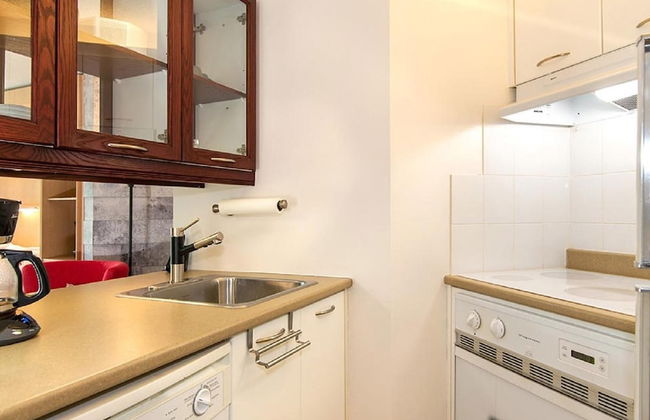
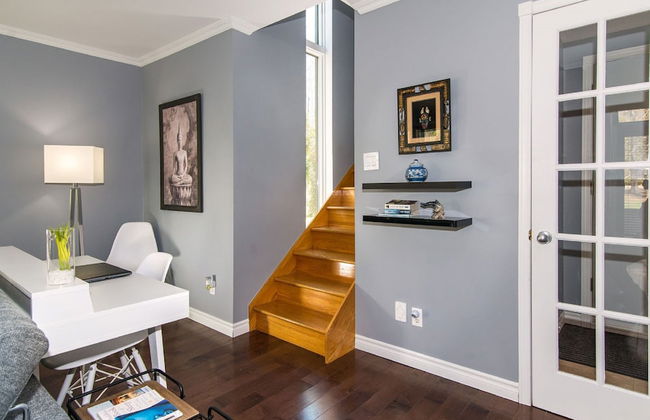
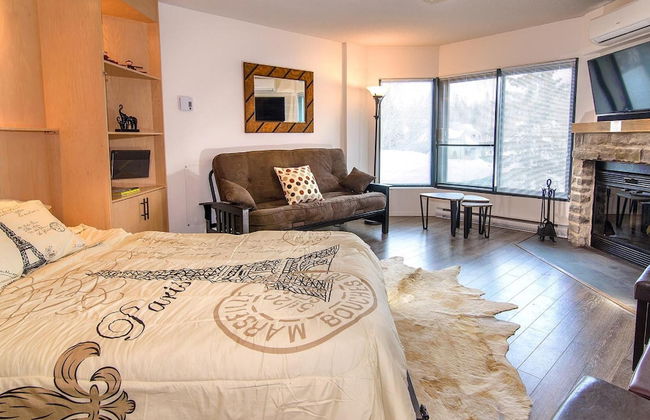
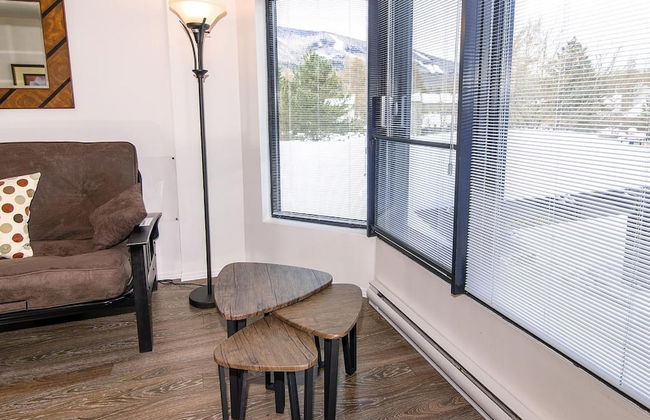
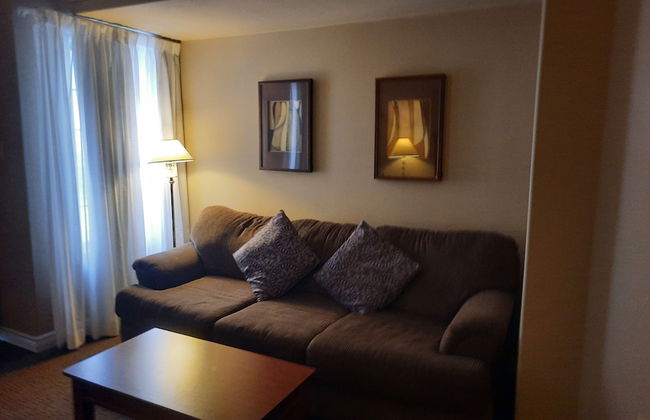
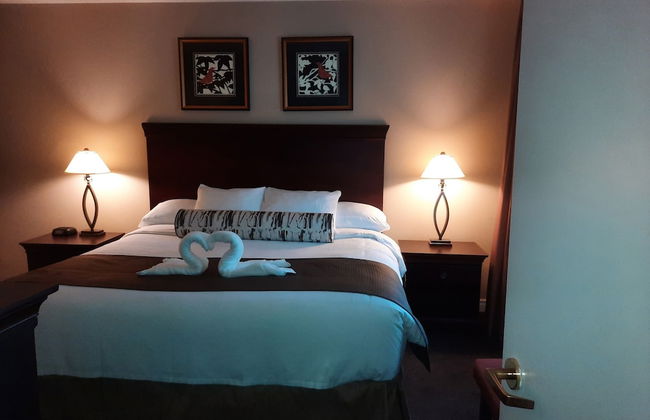
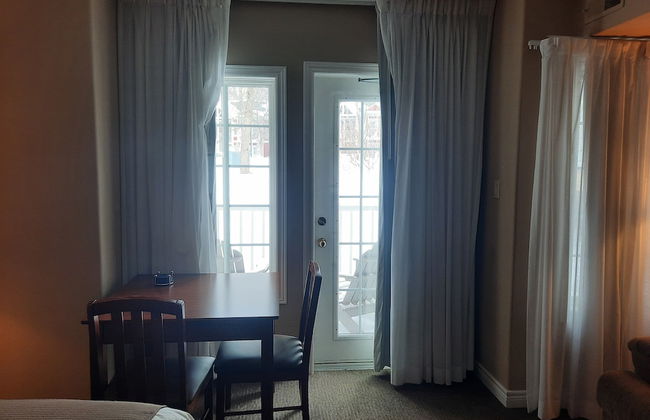
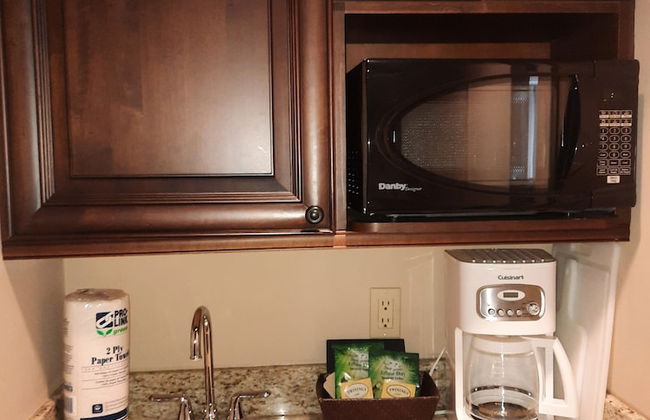
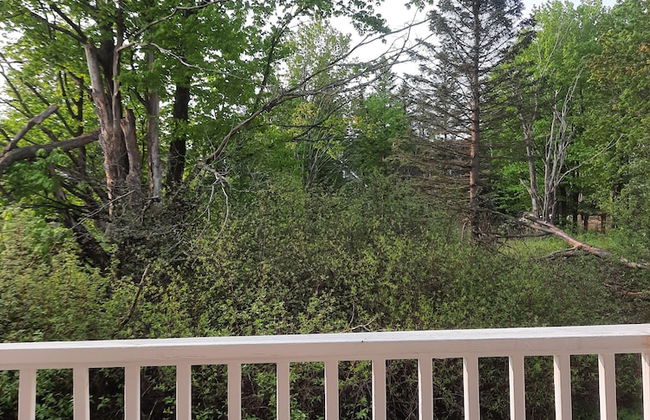
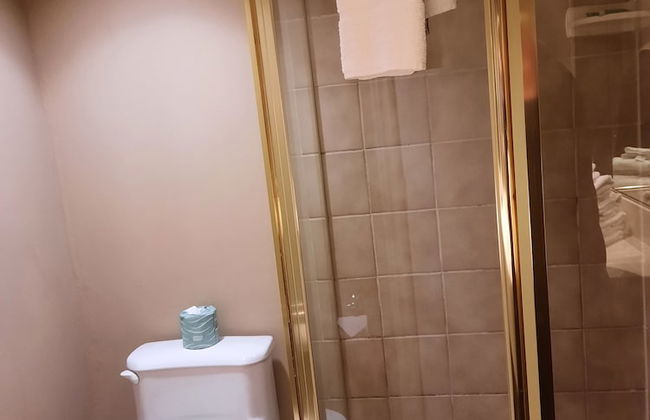
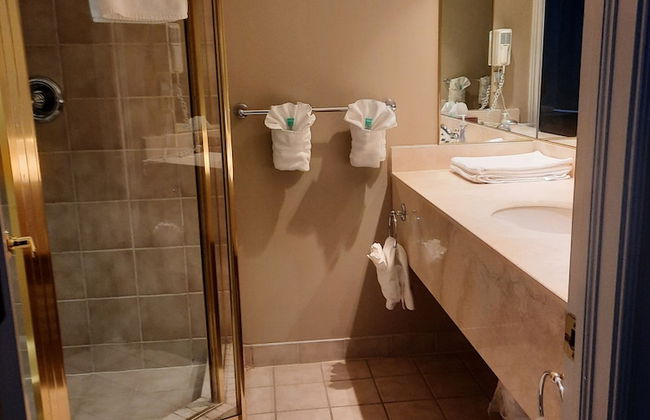
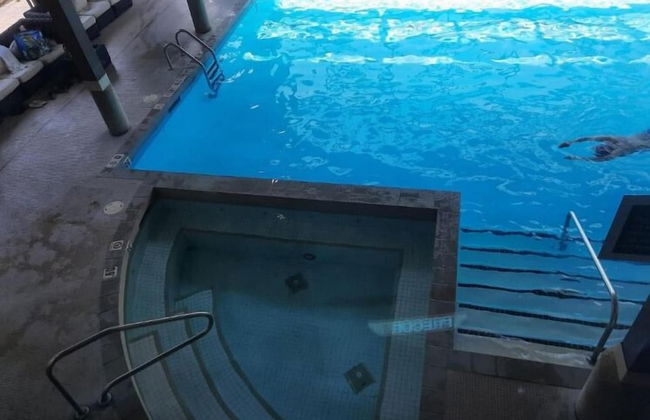
Margarita Vacation Getaway - Foto 2
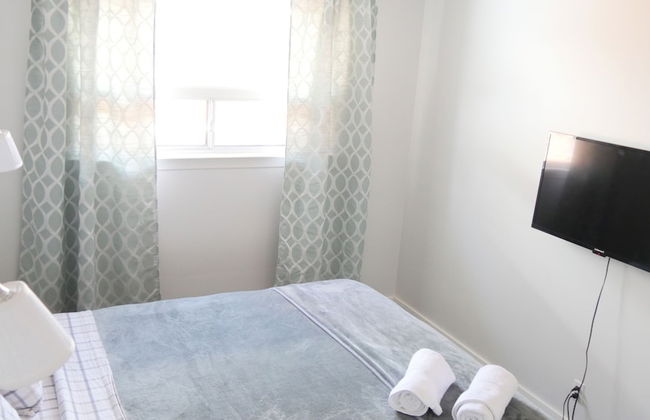
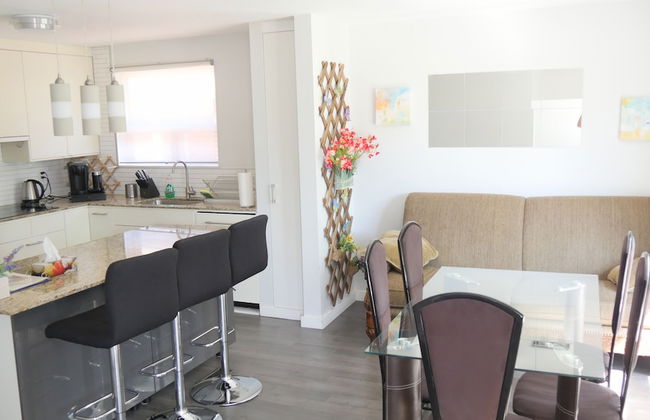
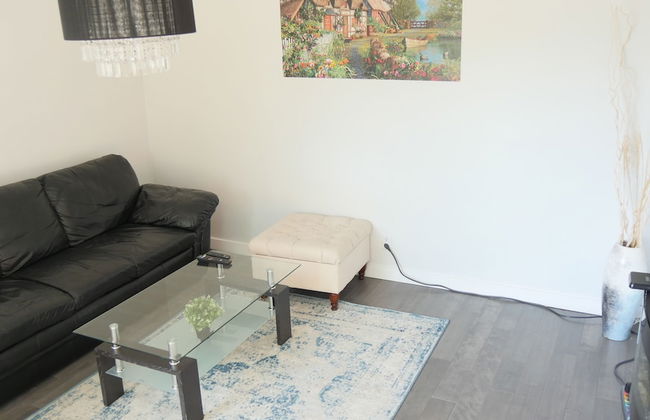
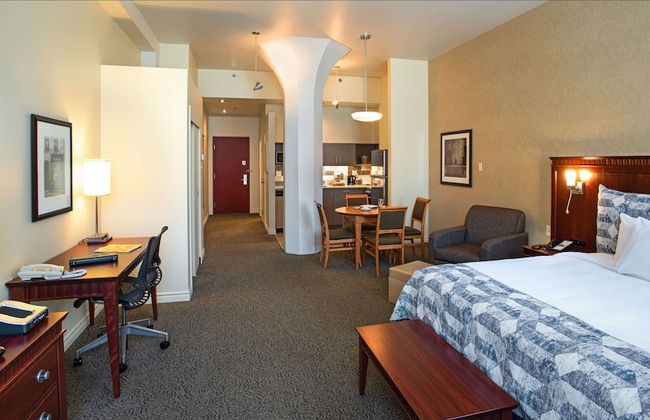
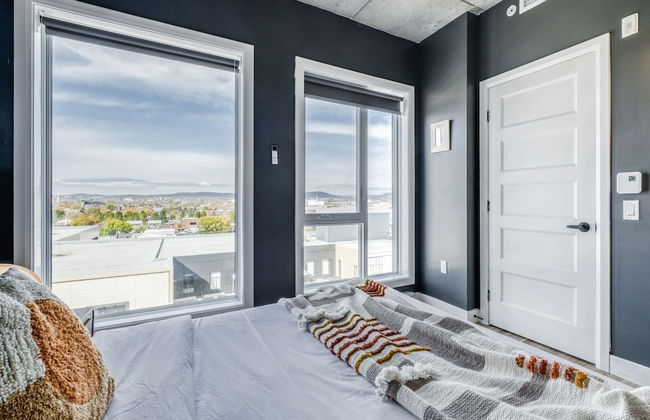
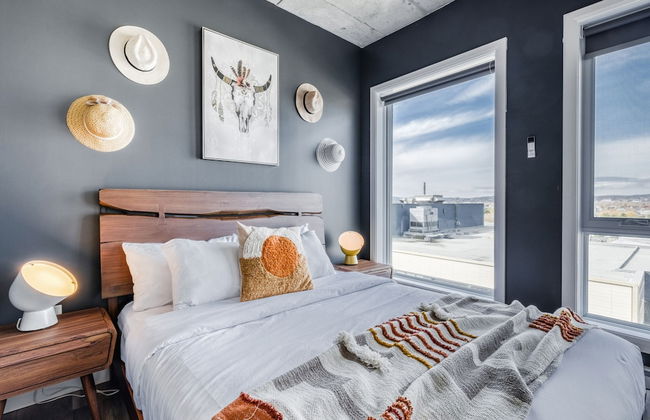
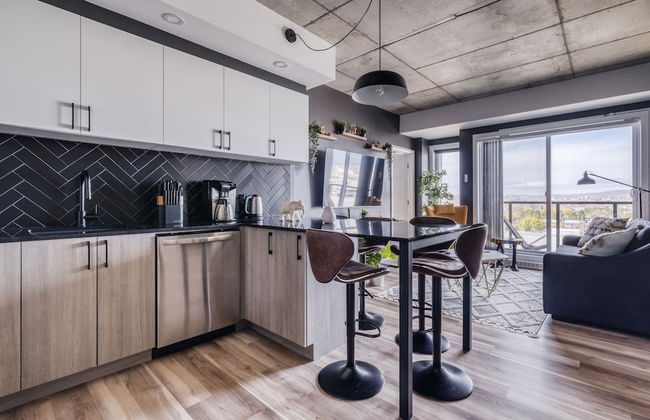
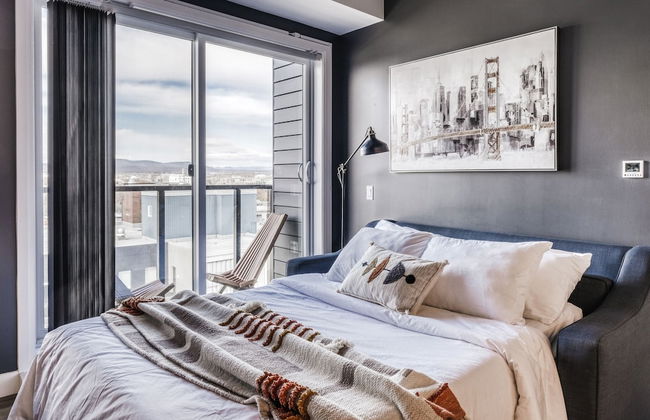
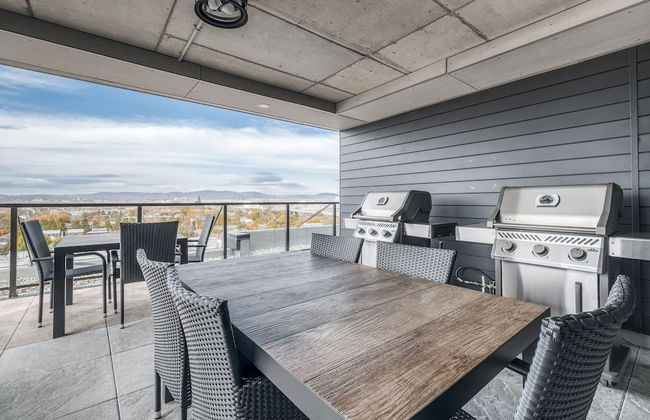
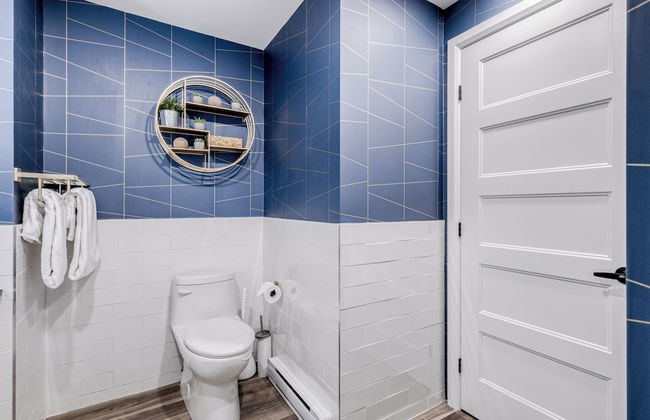
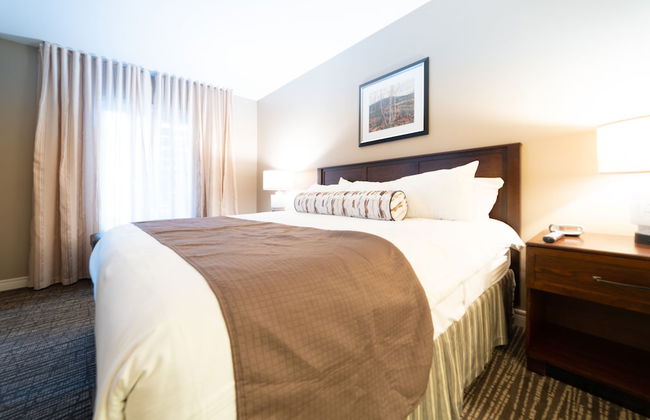
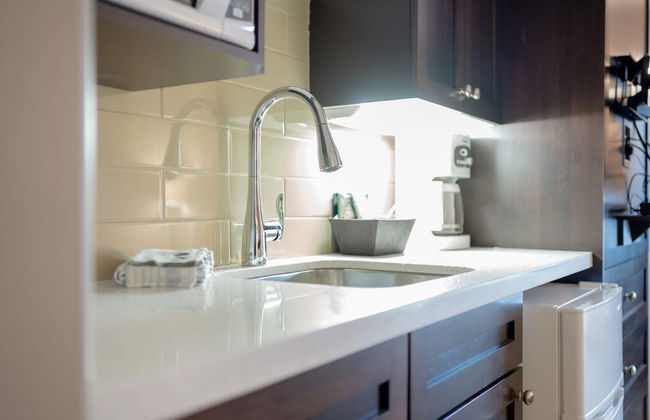
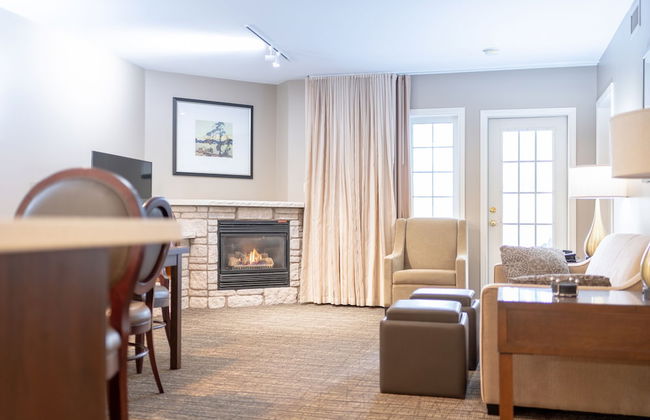
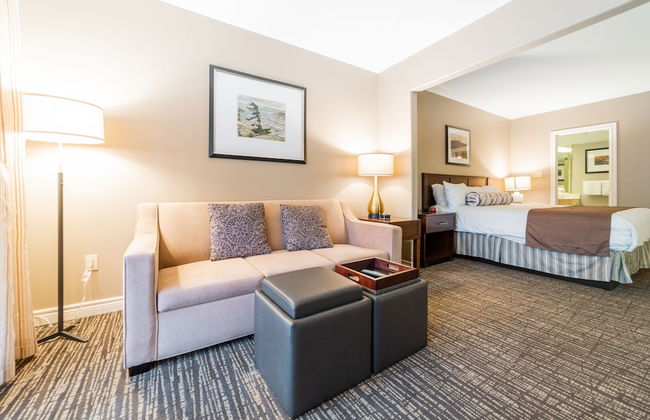
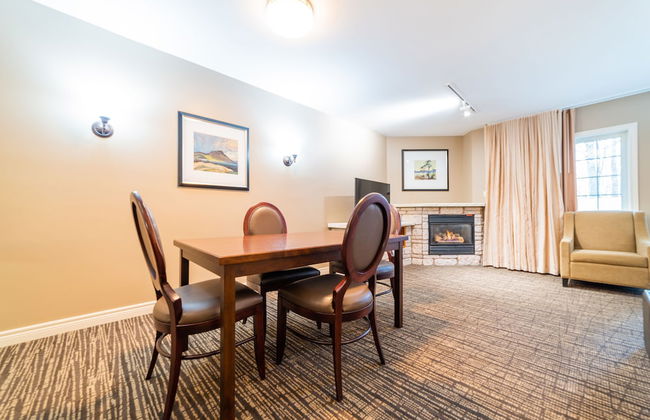
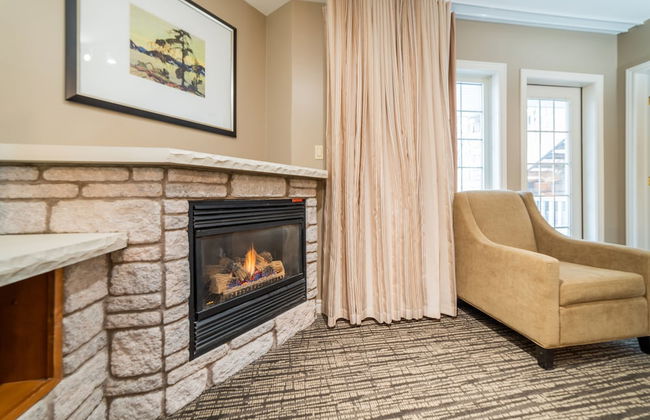
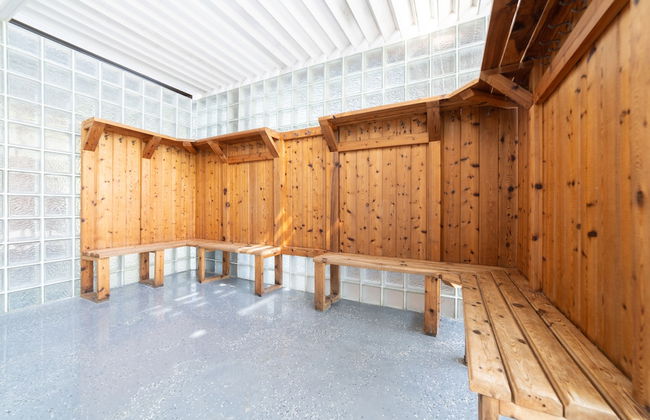
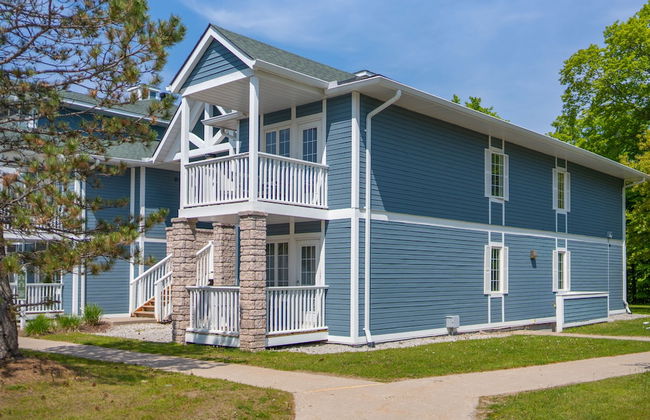
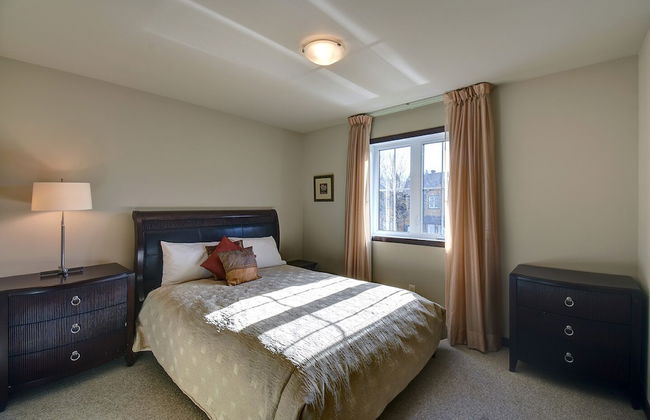
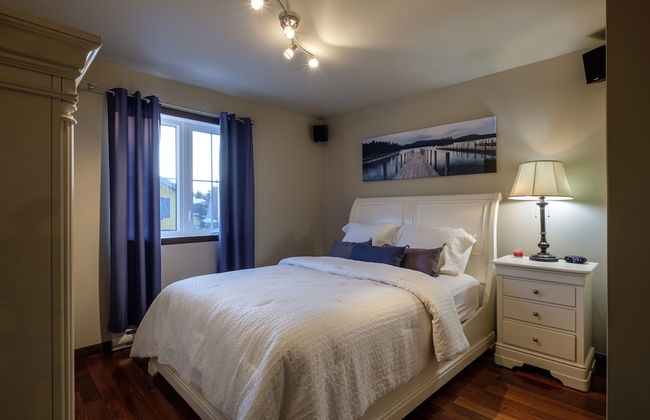
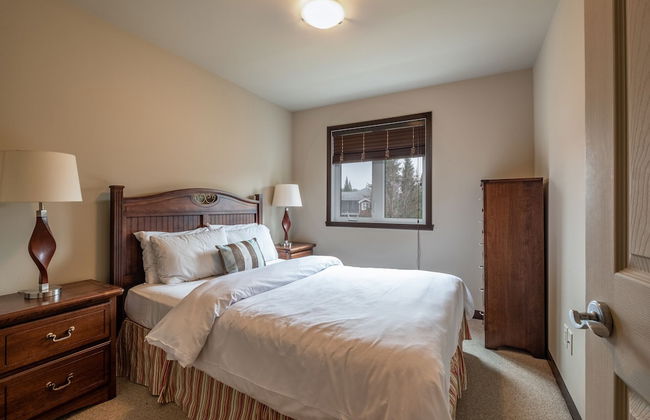
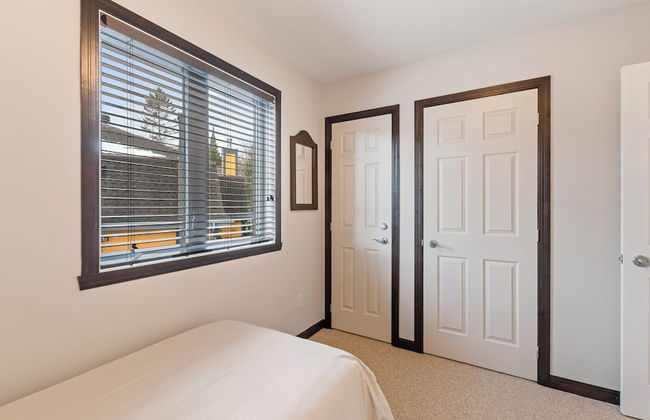
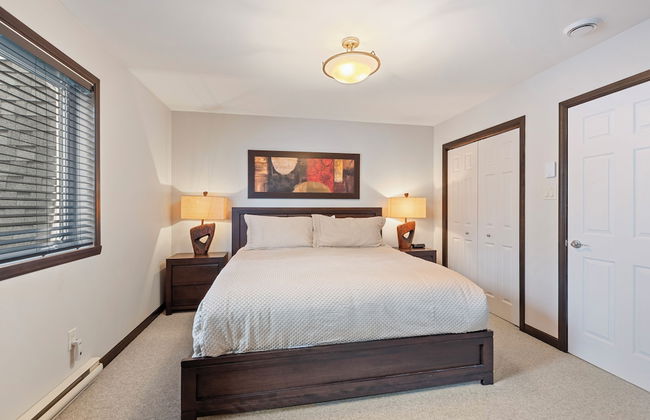
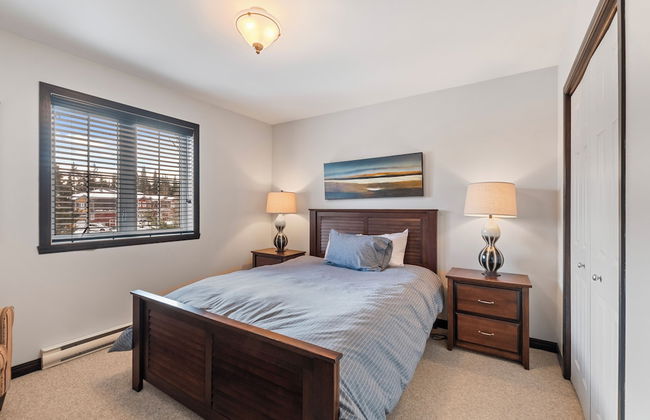
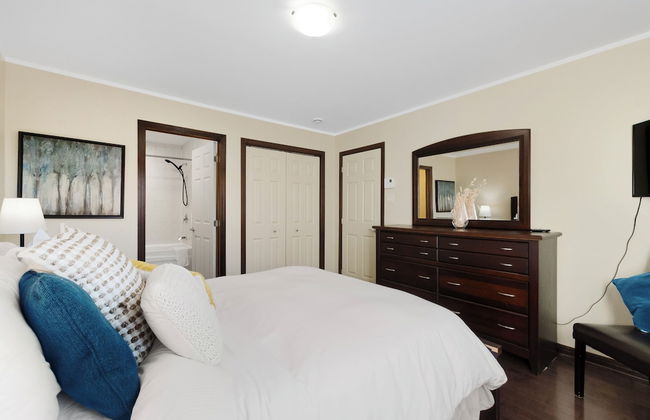
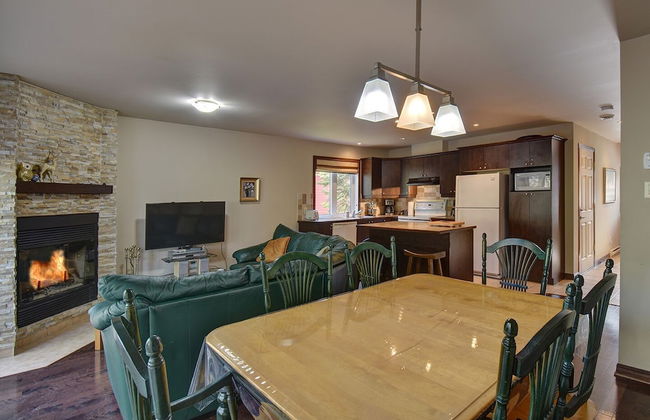
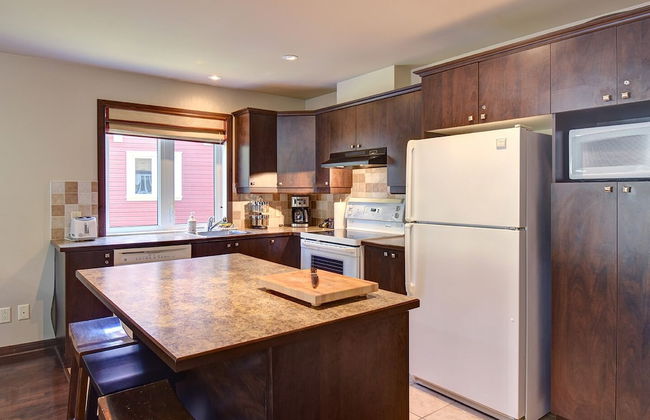
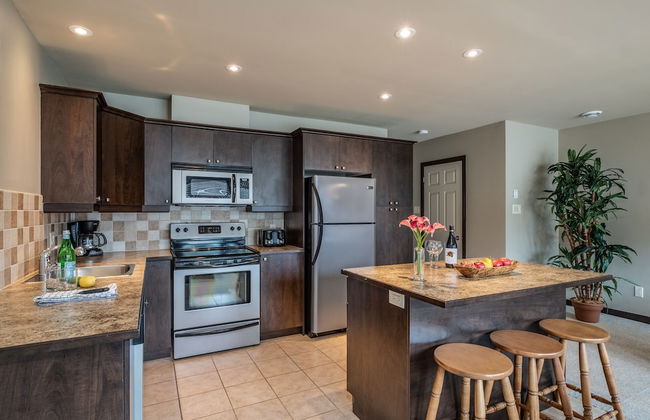
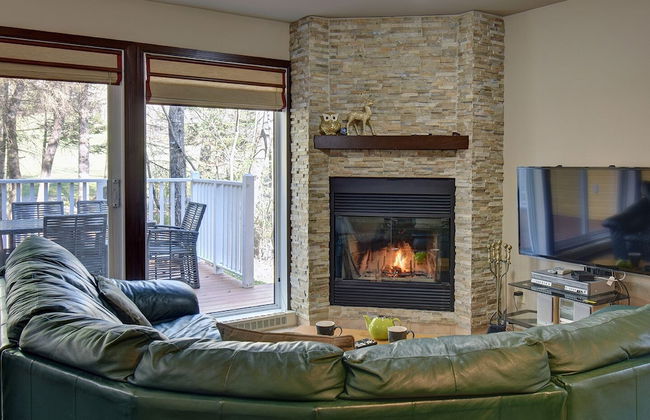
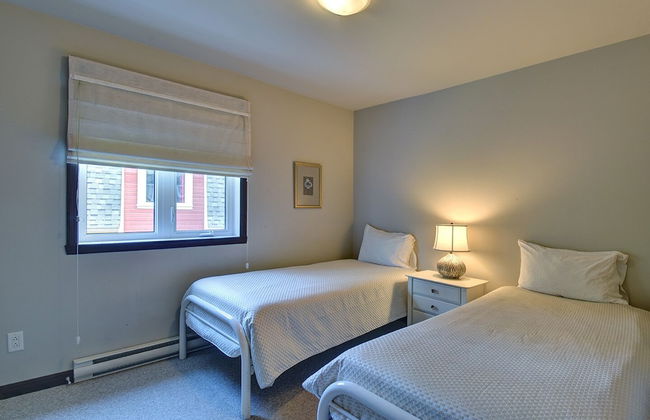
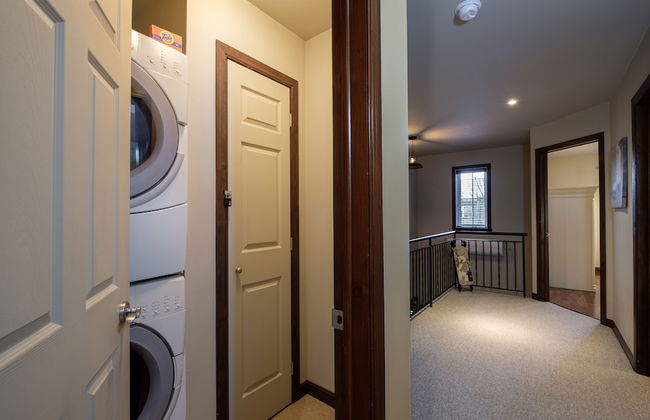
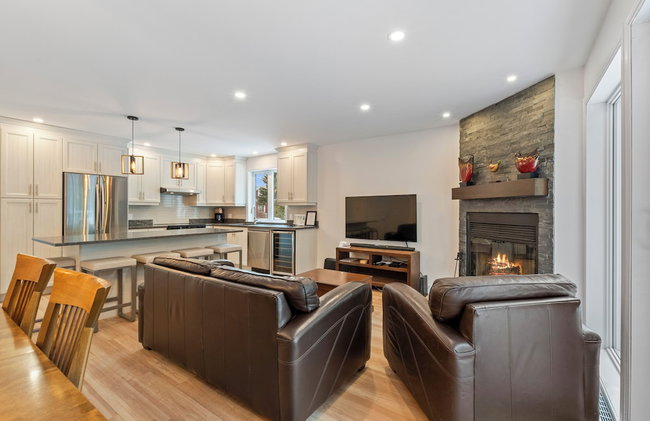
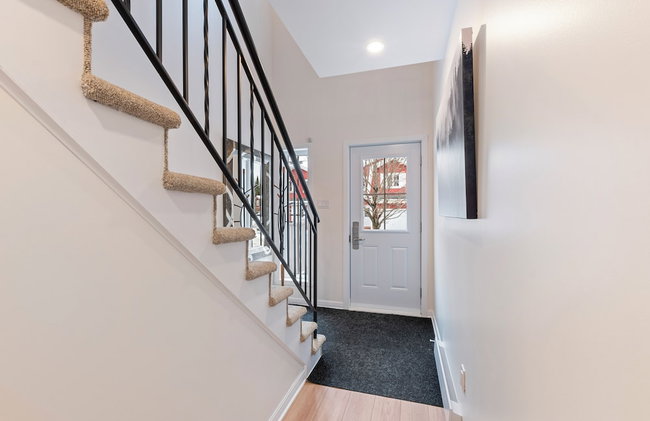
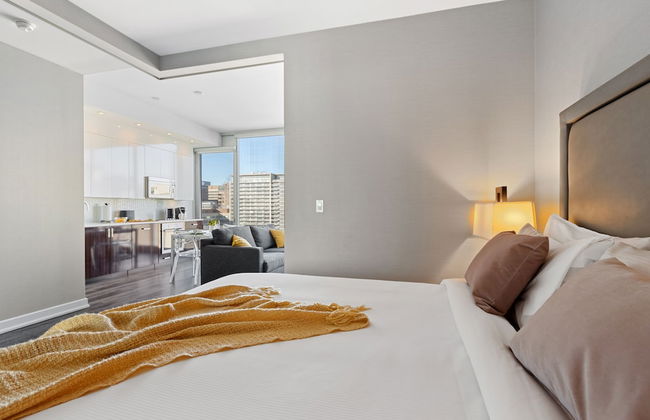
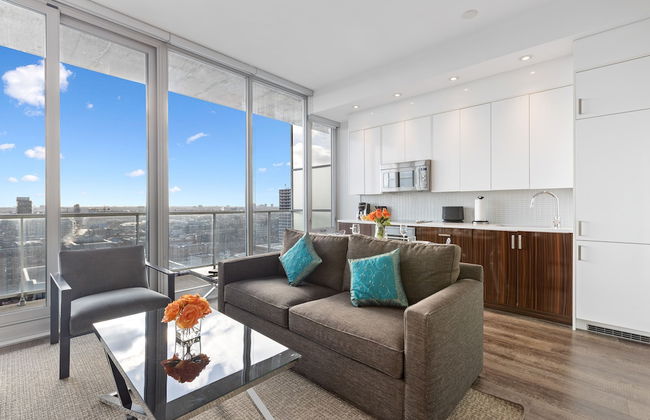
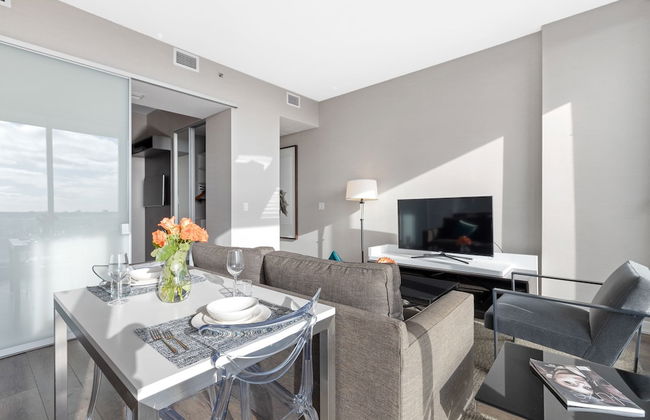
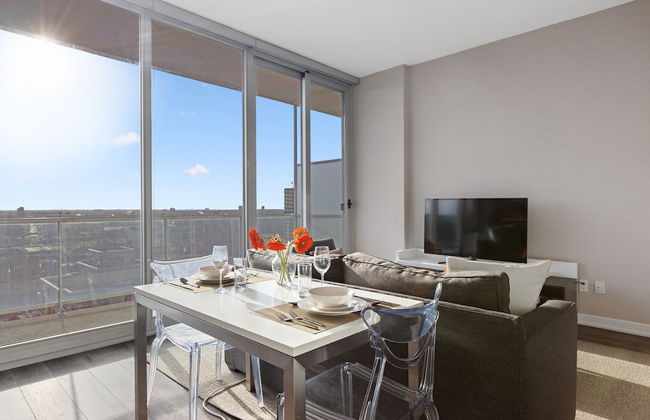
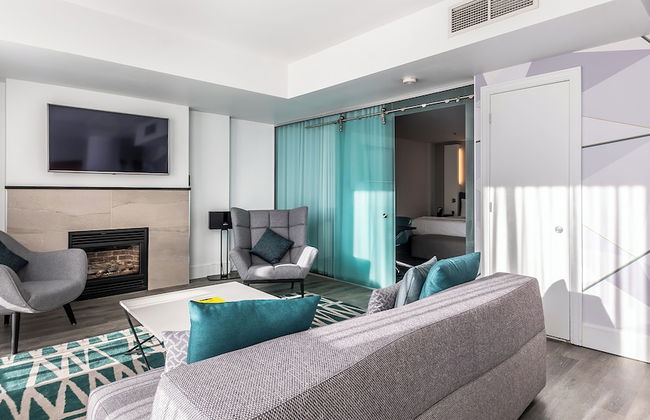
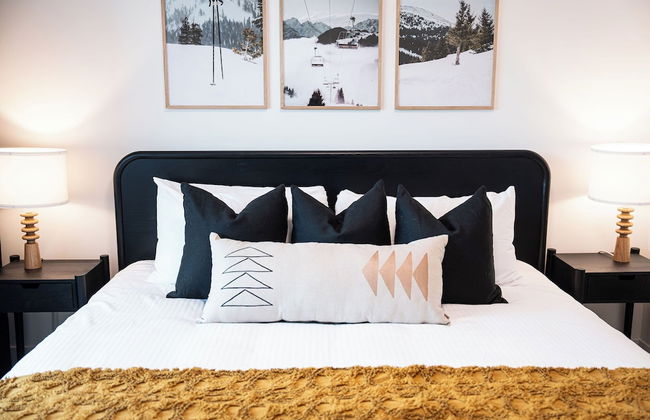
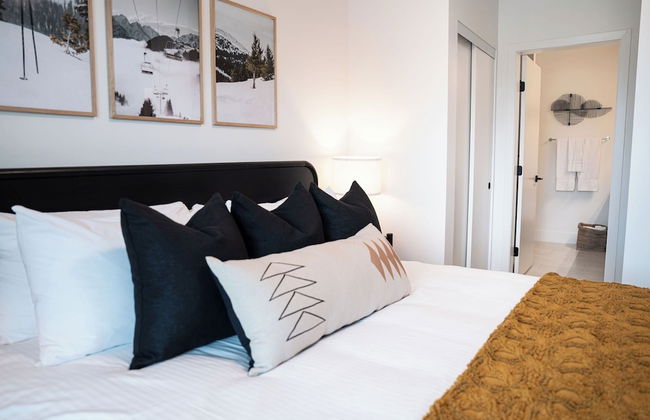
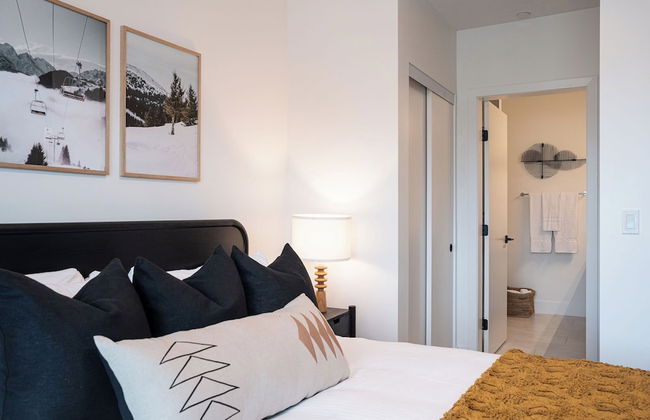
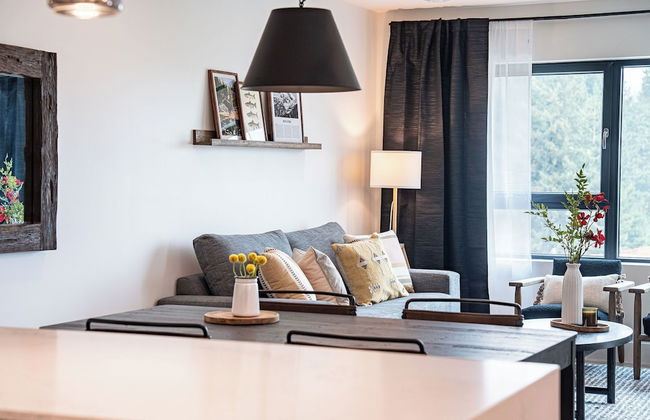
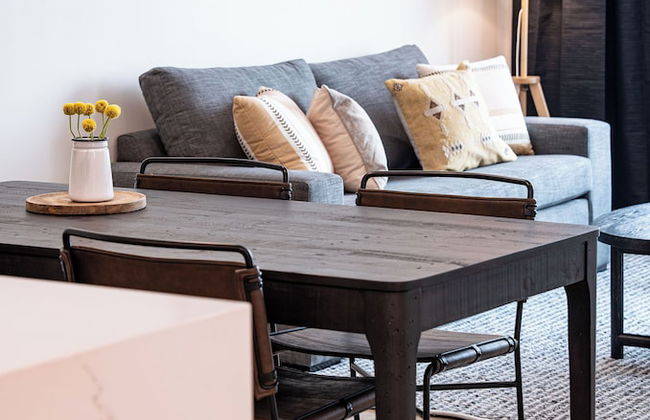
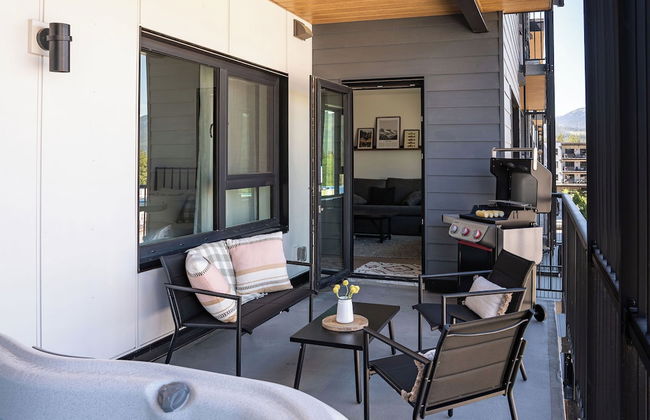
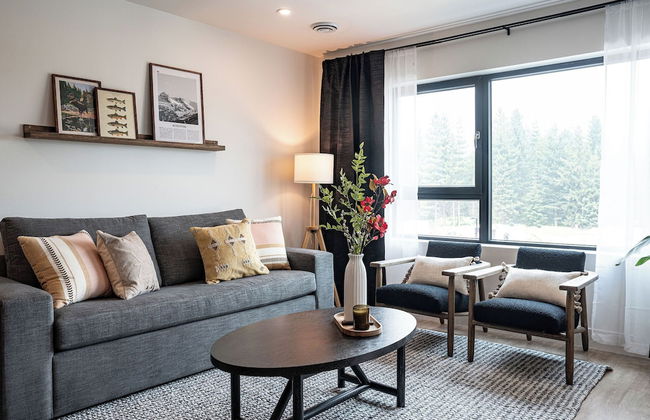
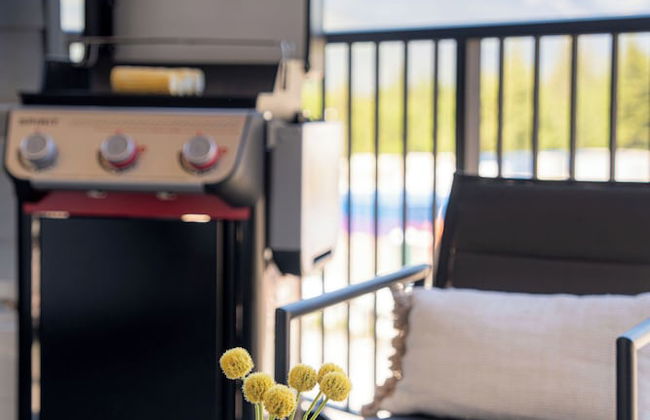
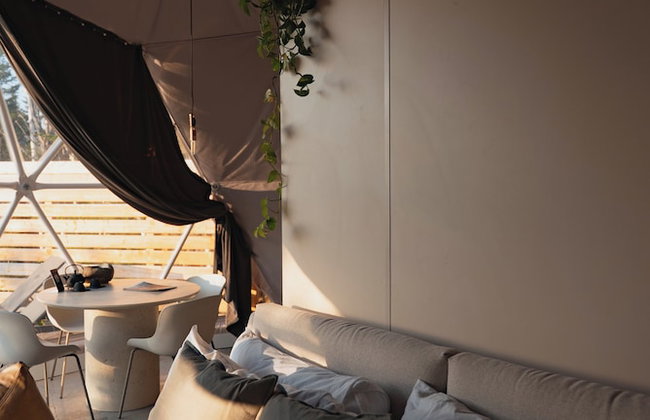
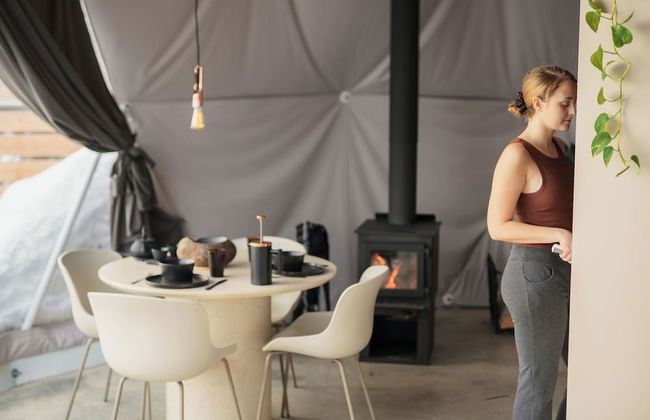
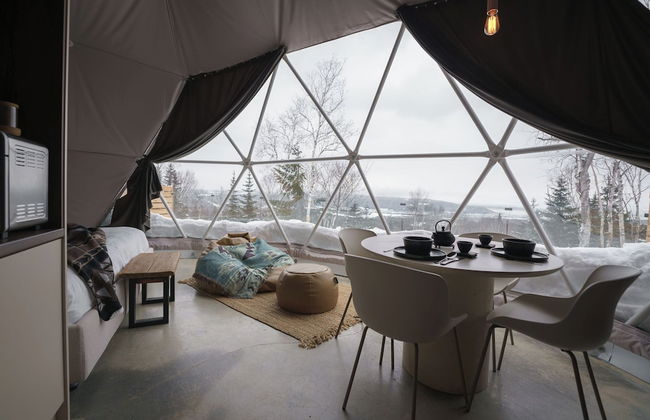
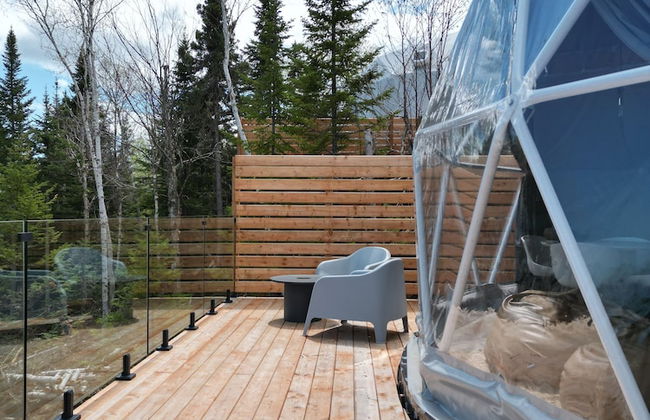
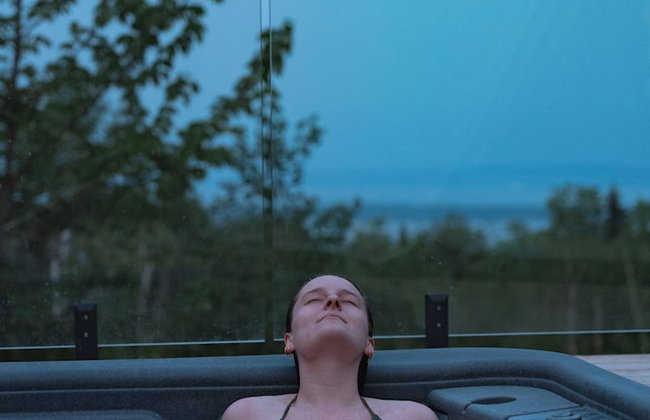
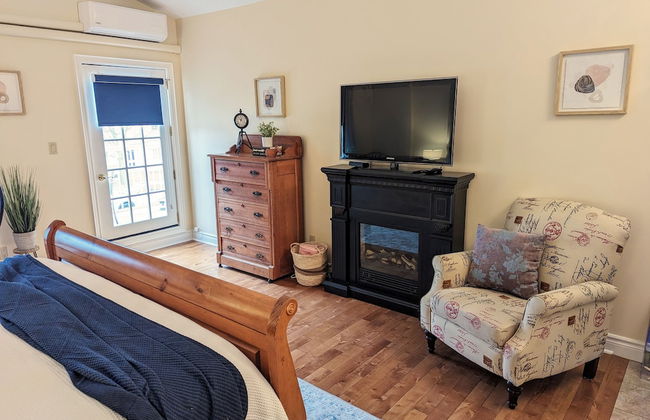
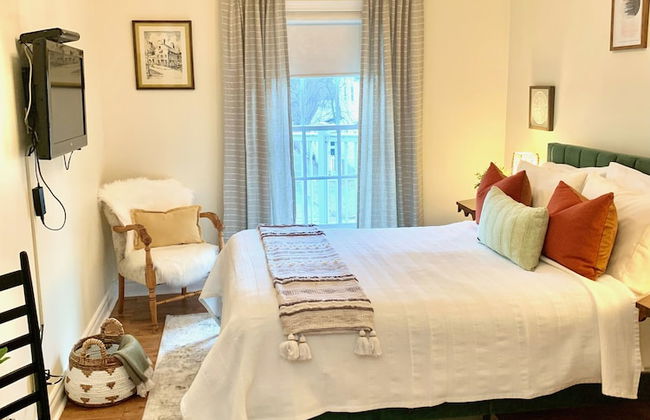
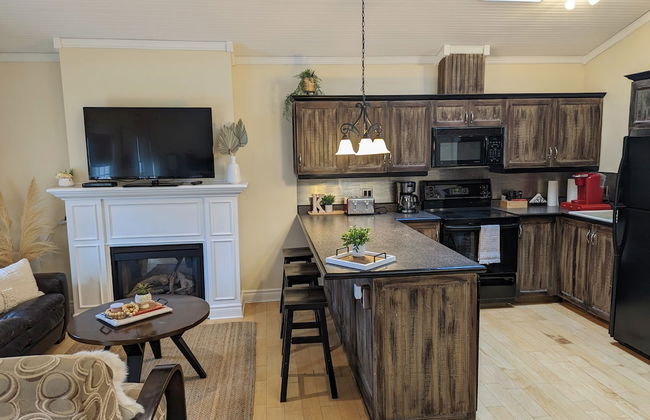
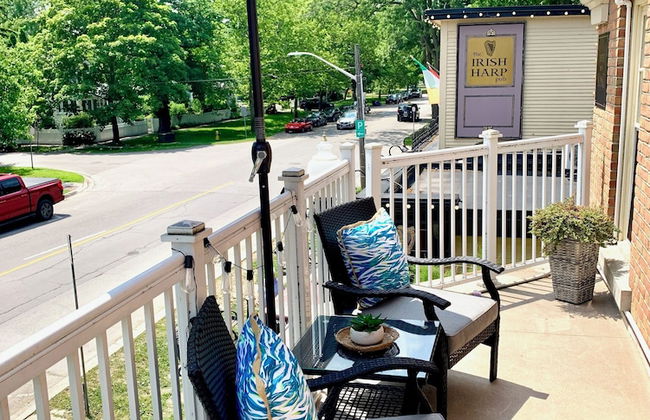
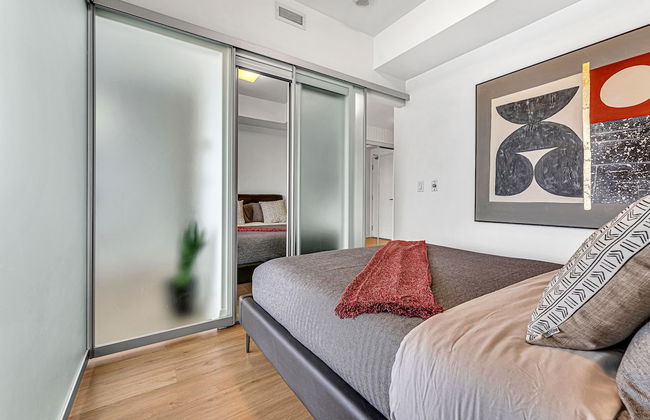
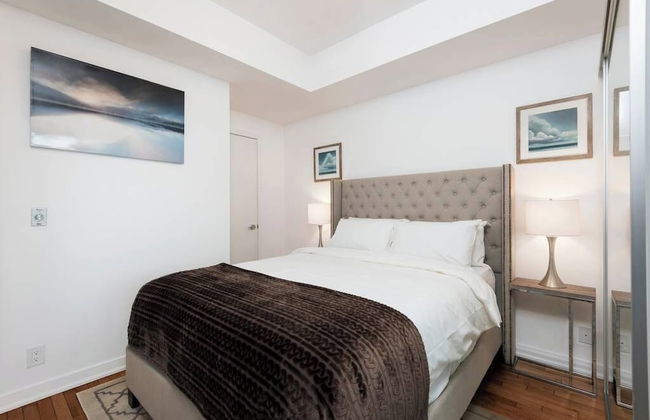
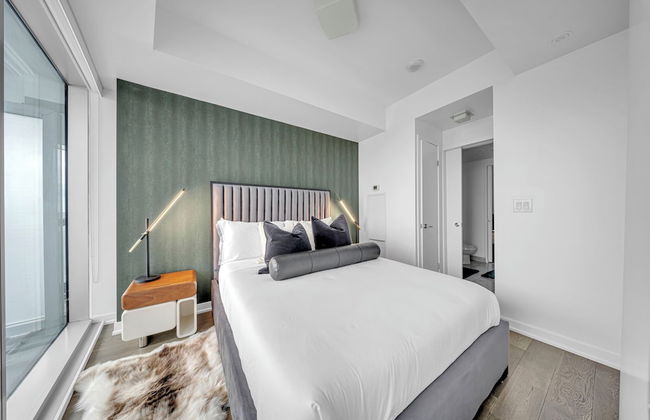
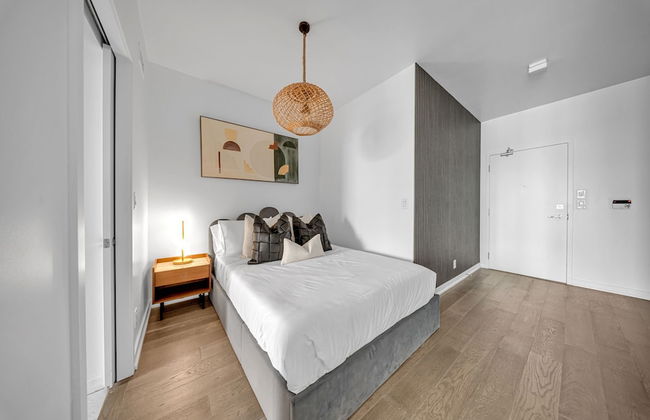
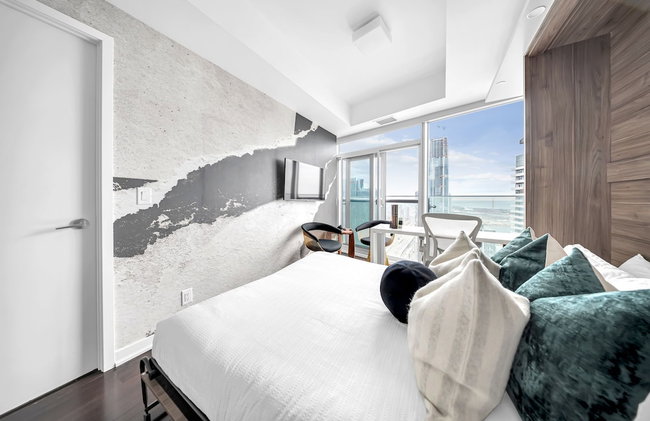
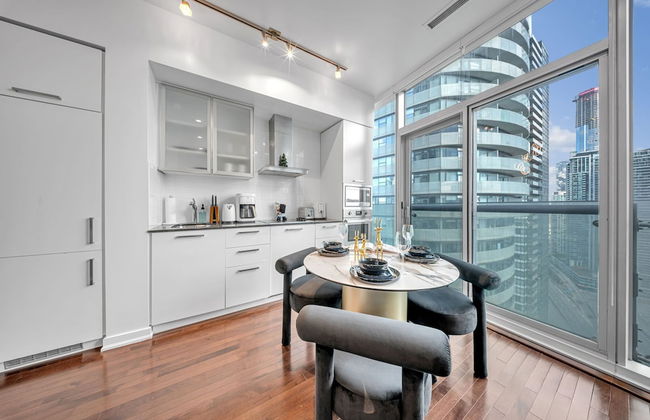
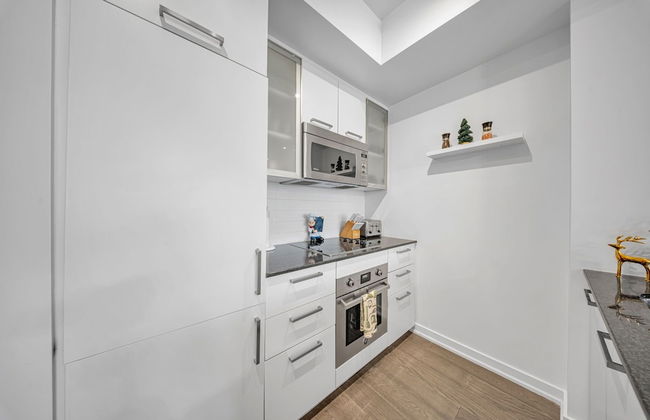
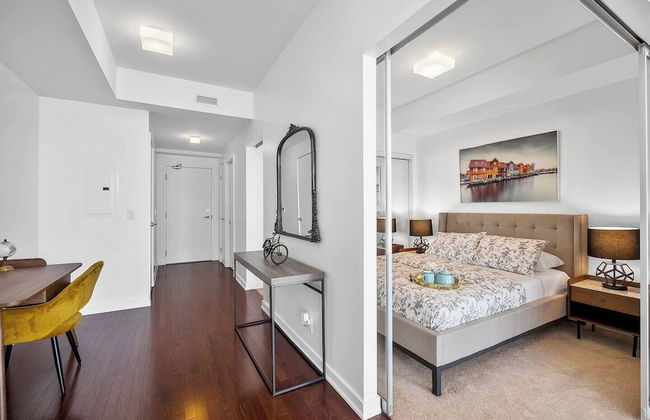
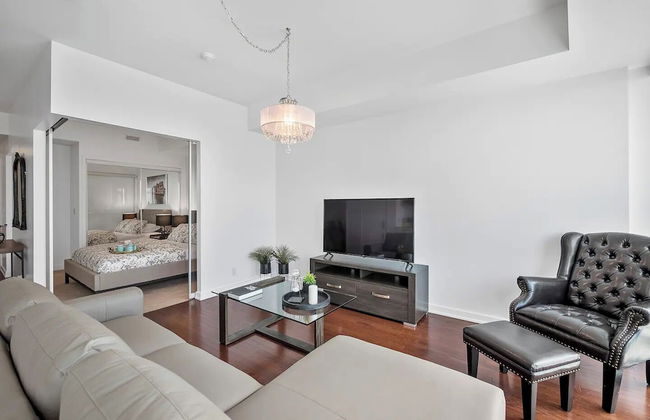
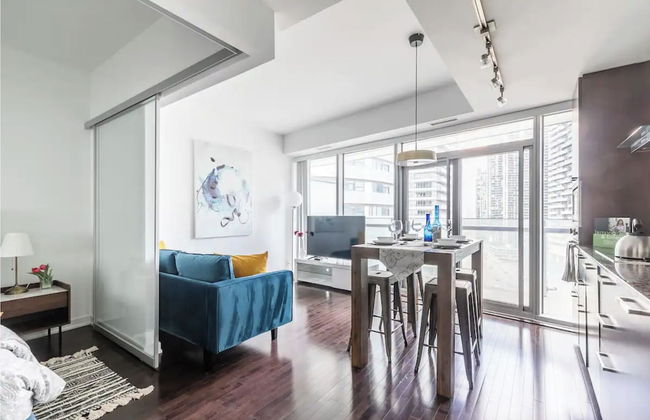
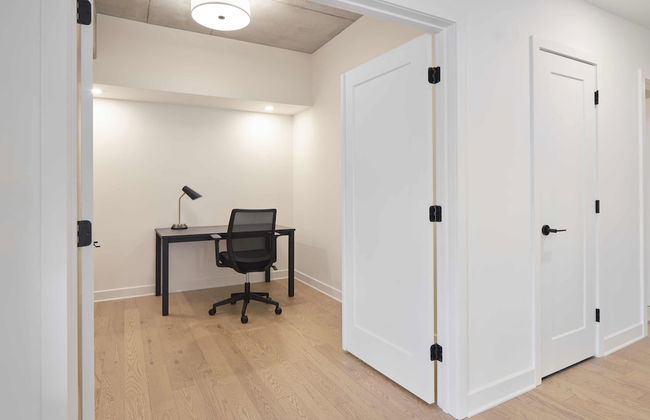
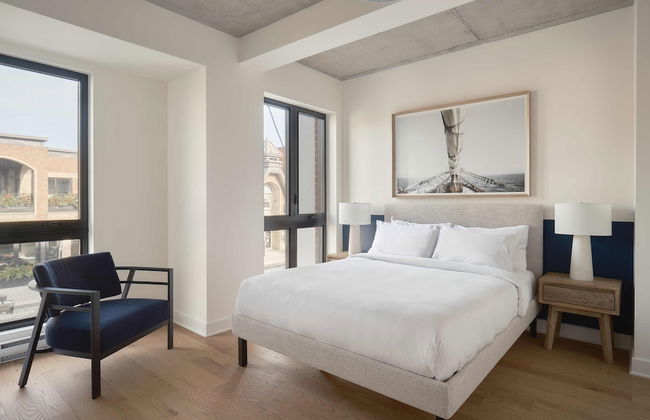
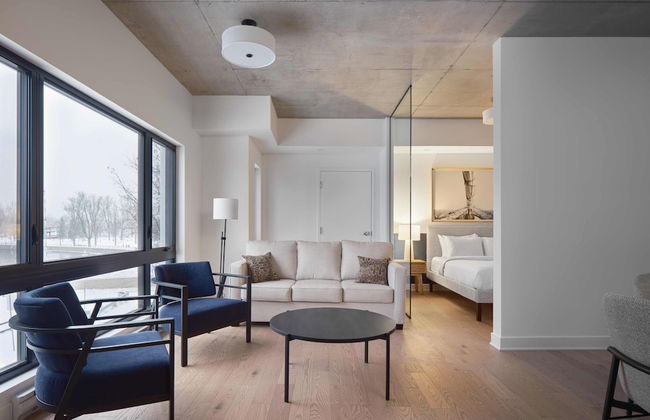
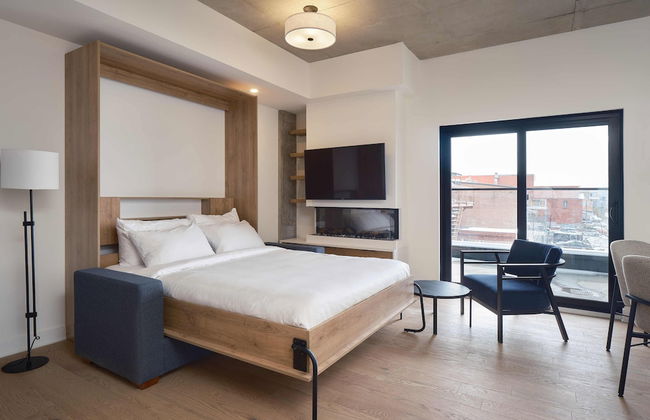
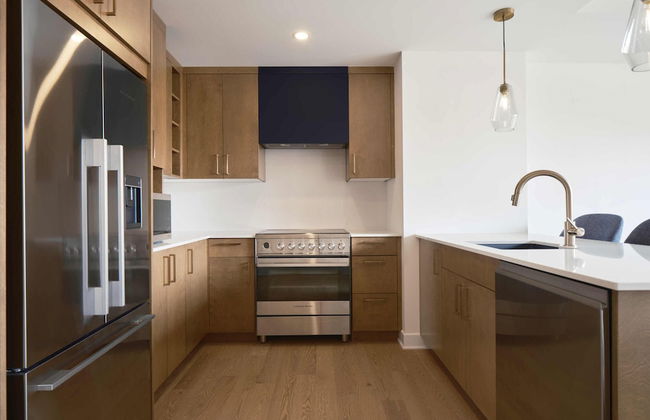
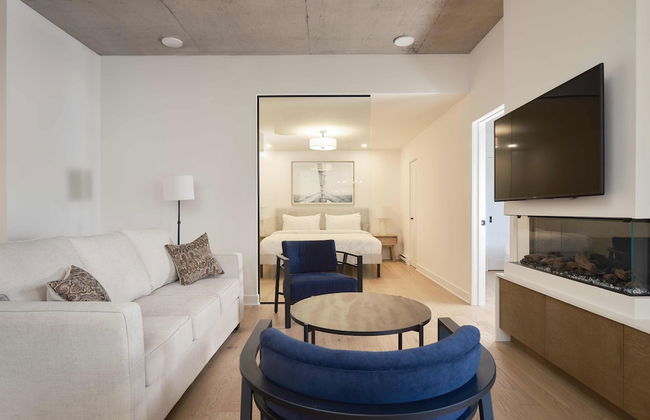
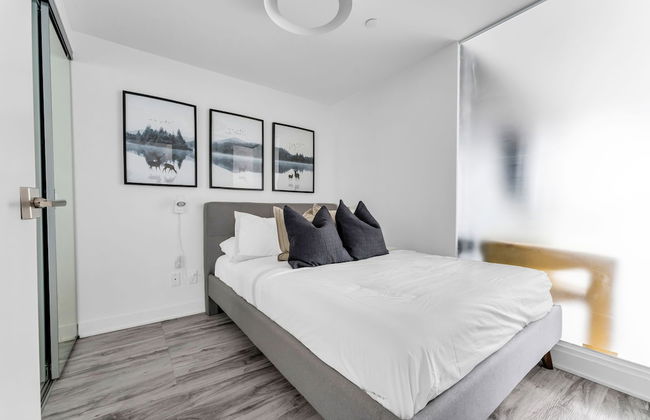
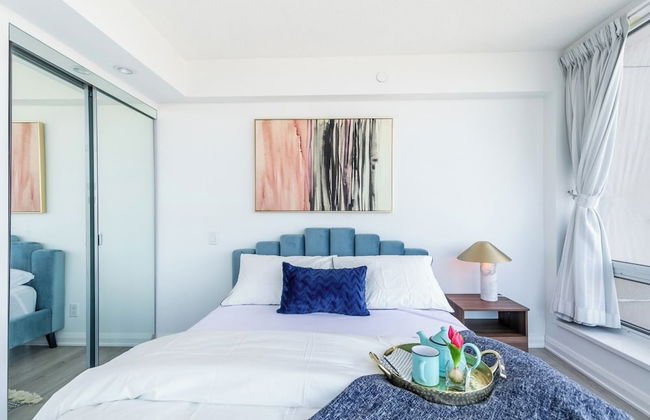
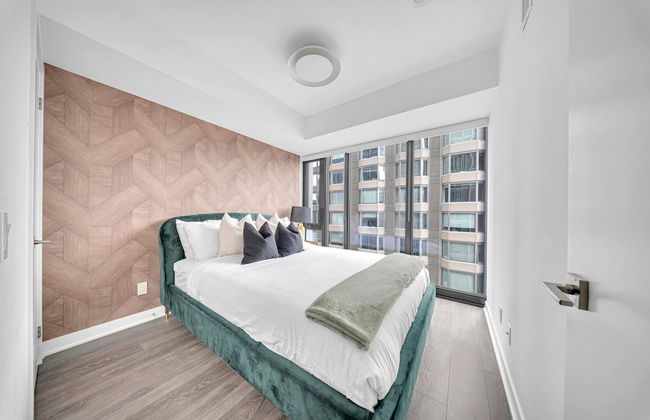
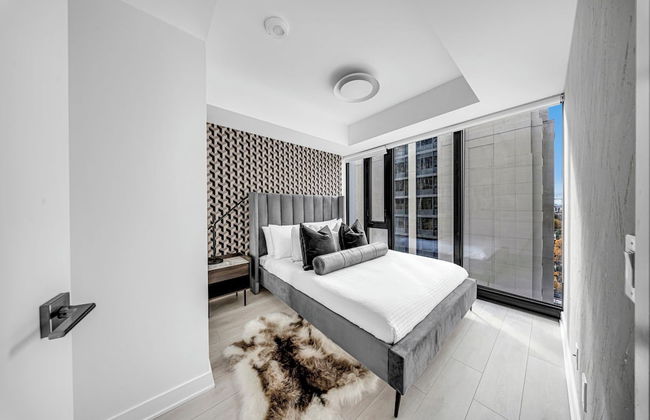
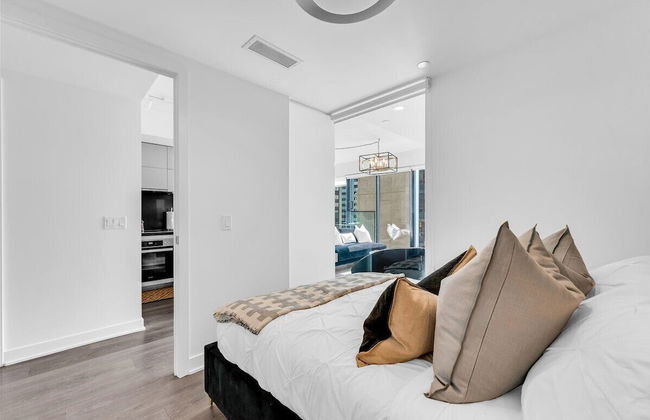
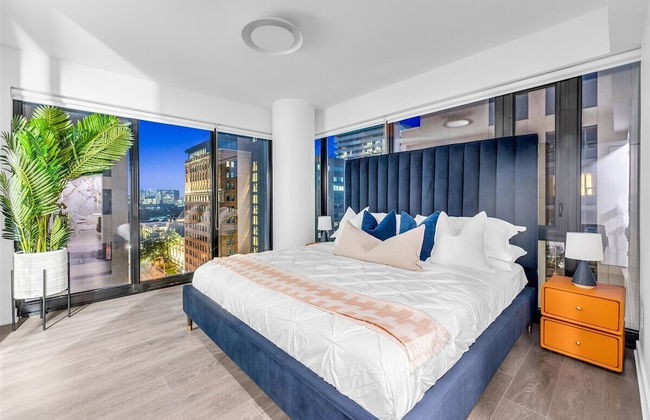
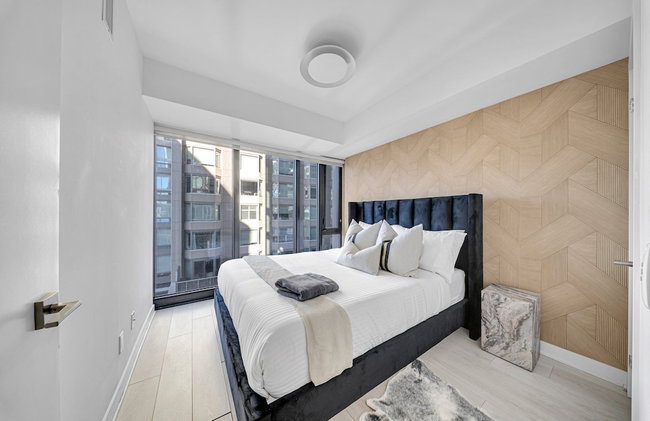
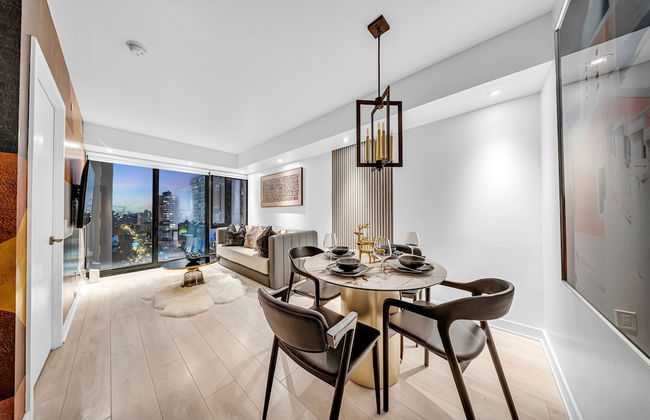
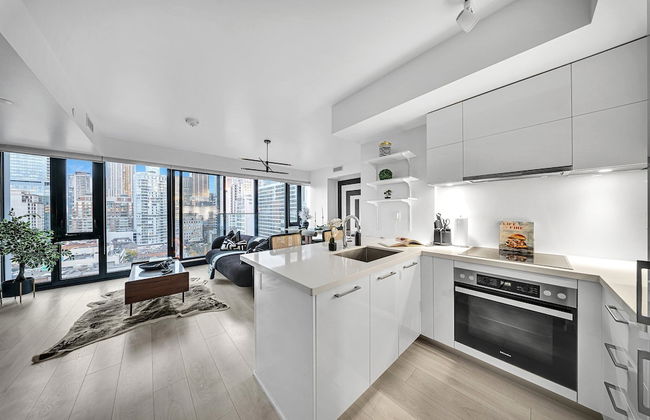
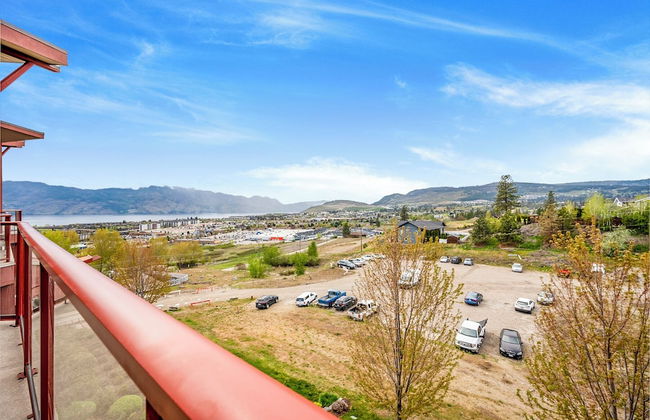
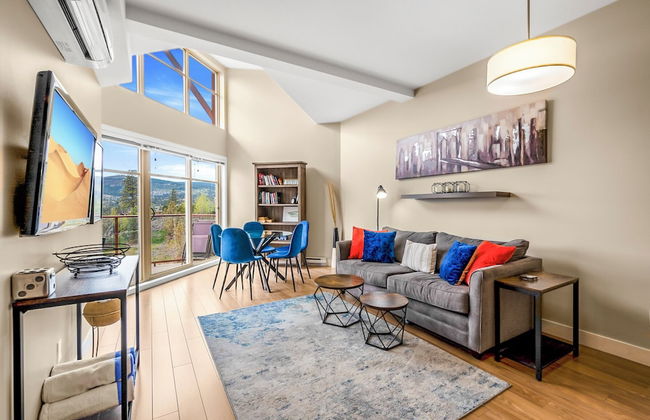
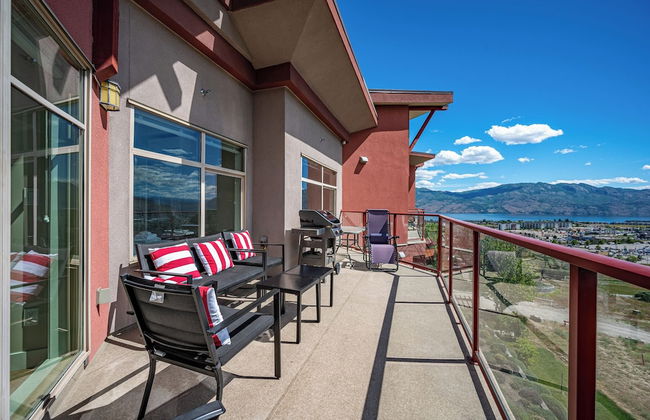
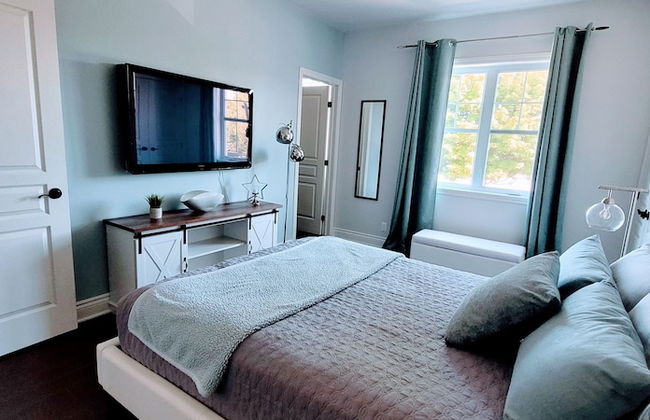
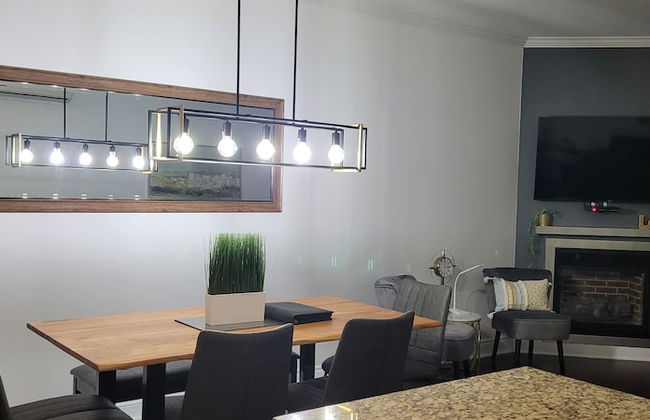
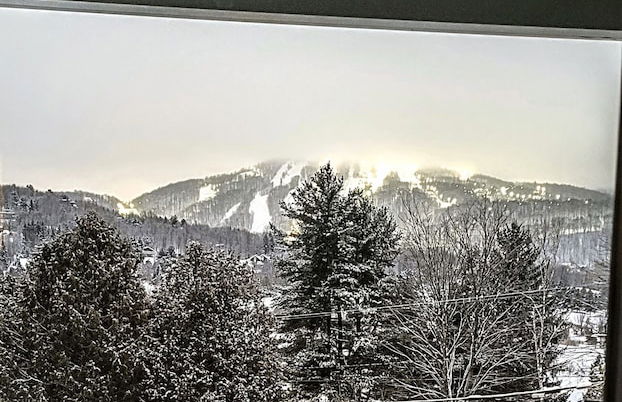
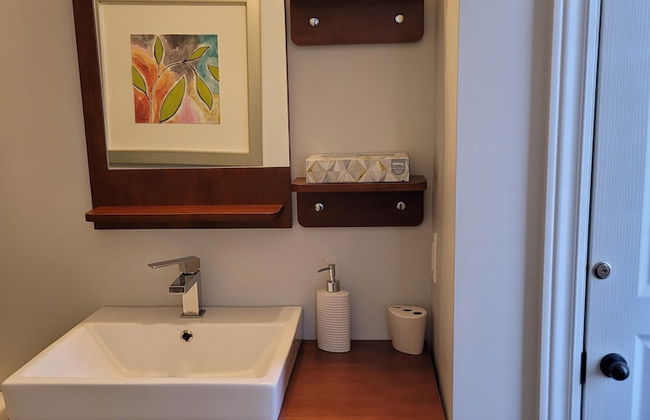
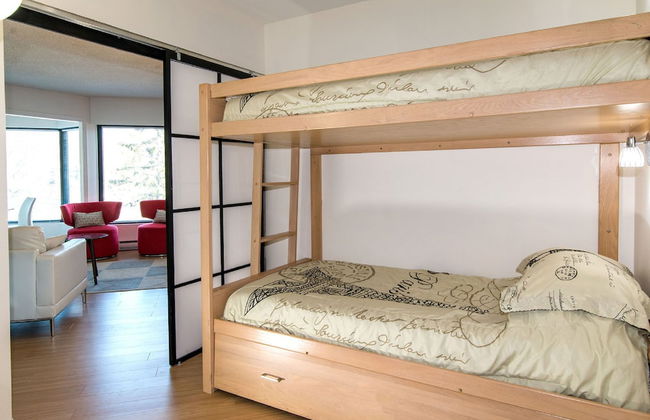
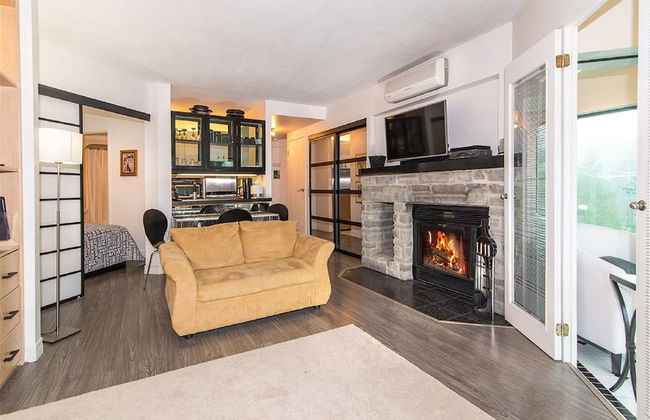
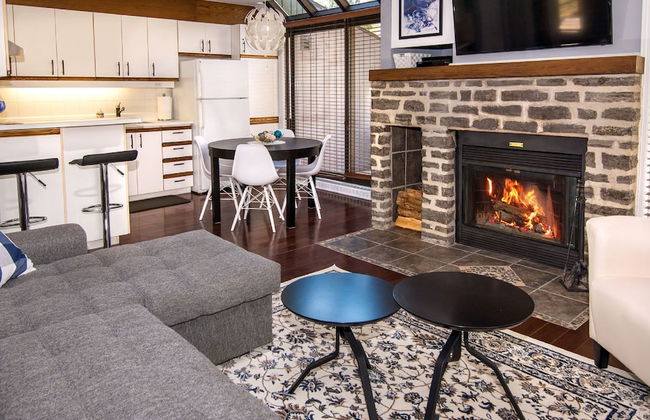
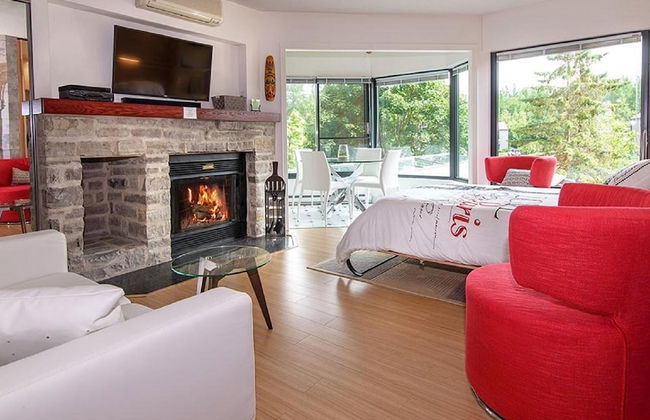
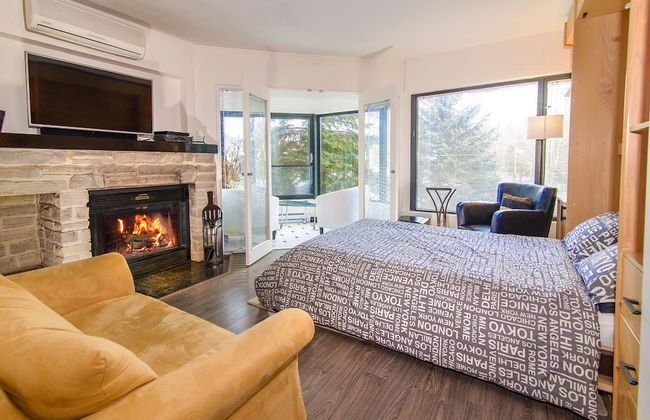
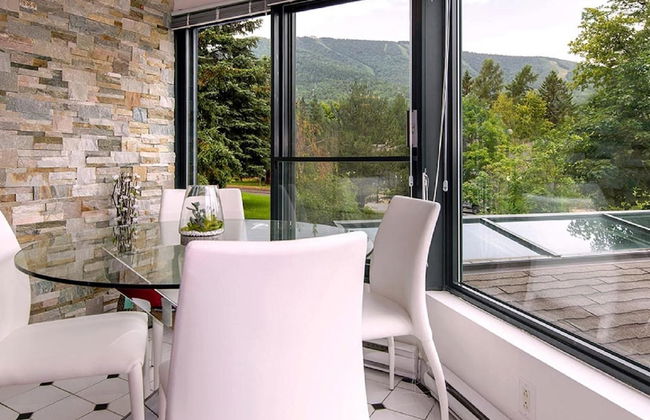
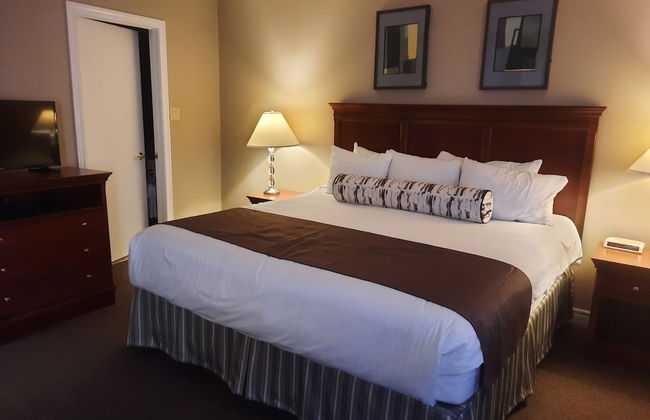
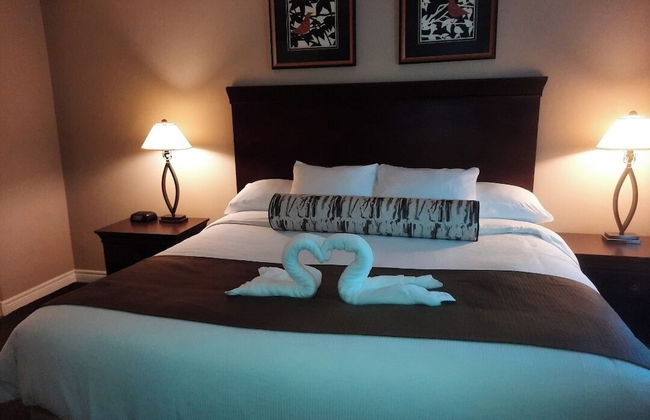
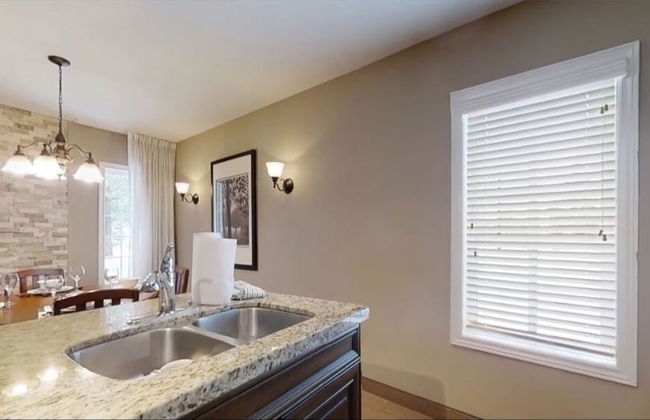
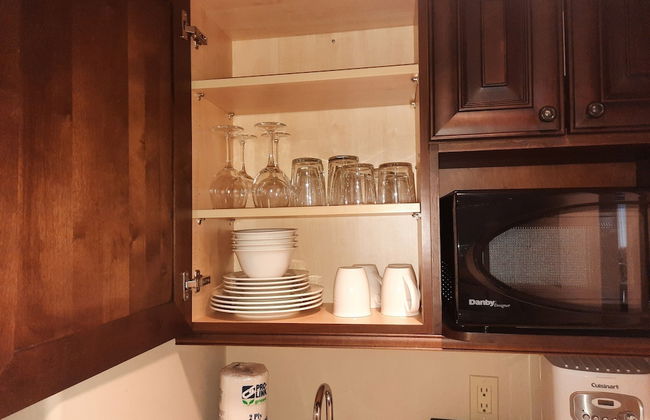
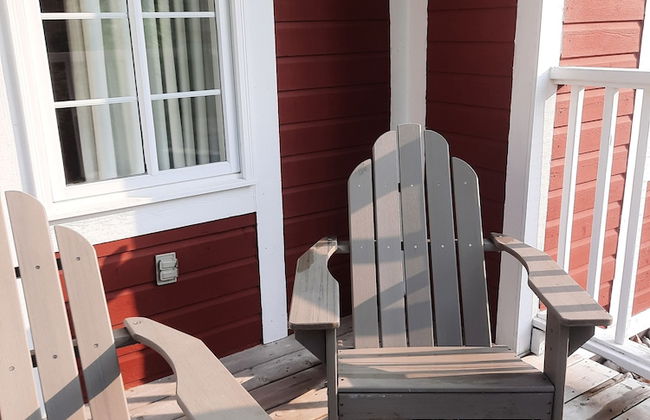
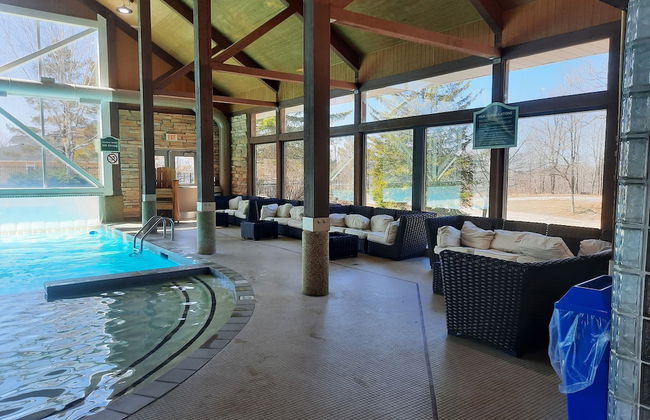
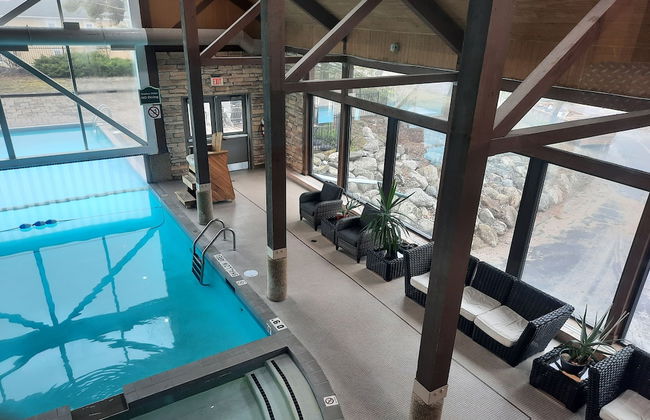
Margarita Vacation Getaway - Foto 3
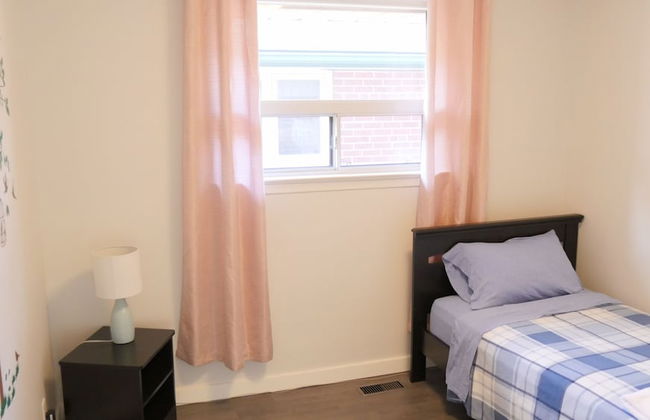
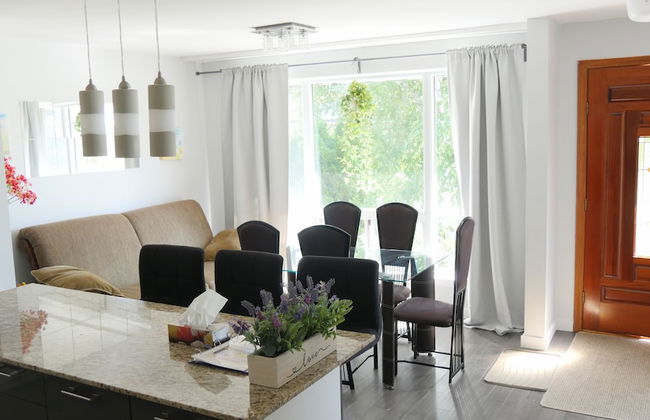
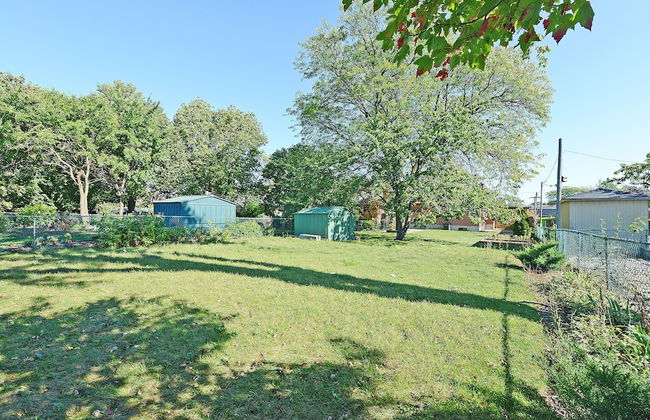
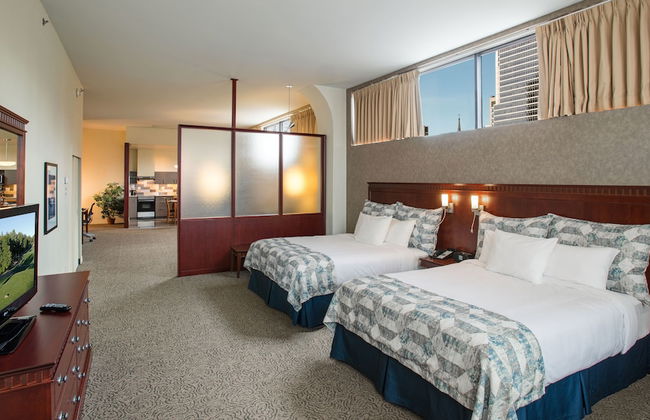
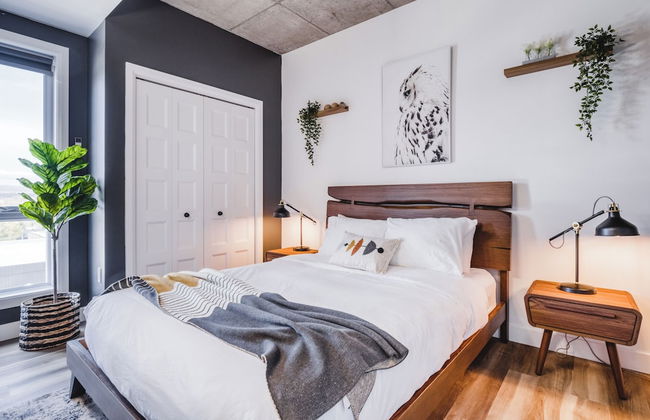
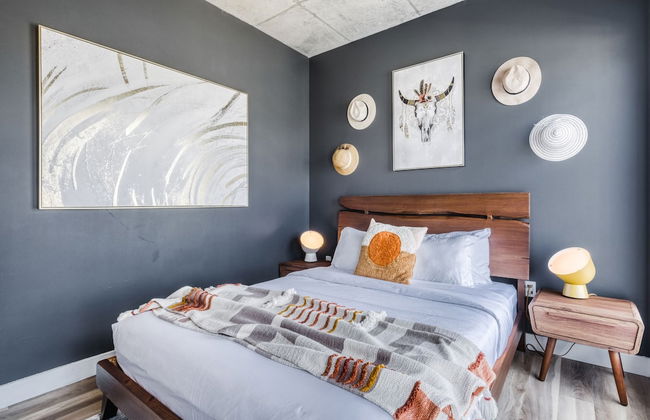
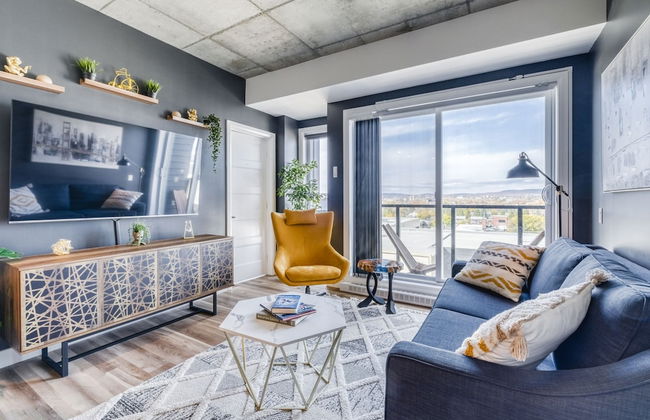
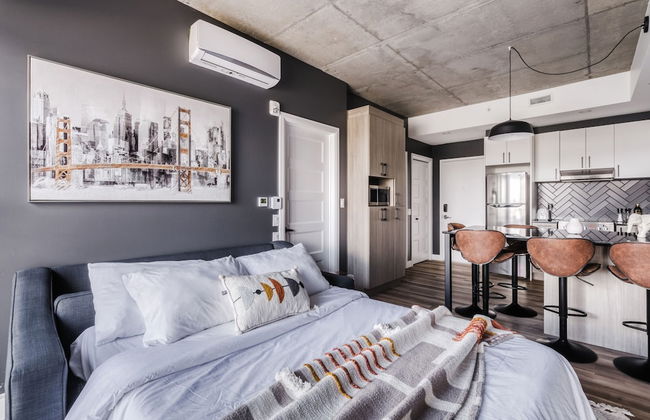
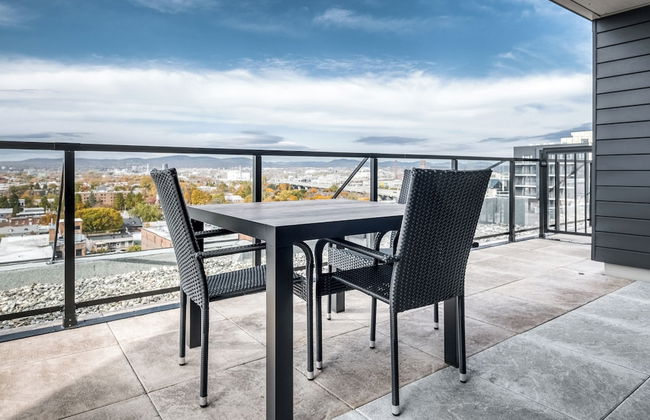
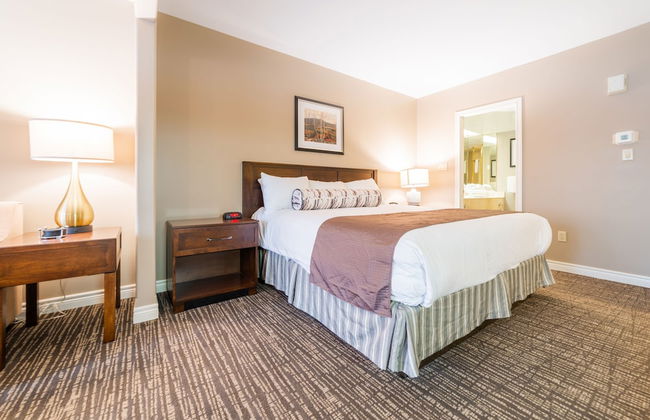
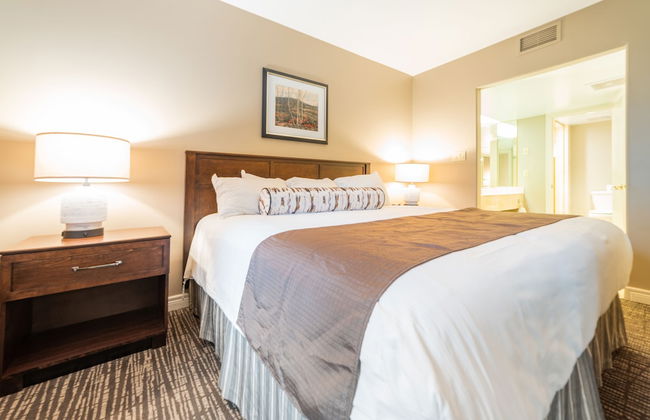
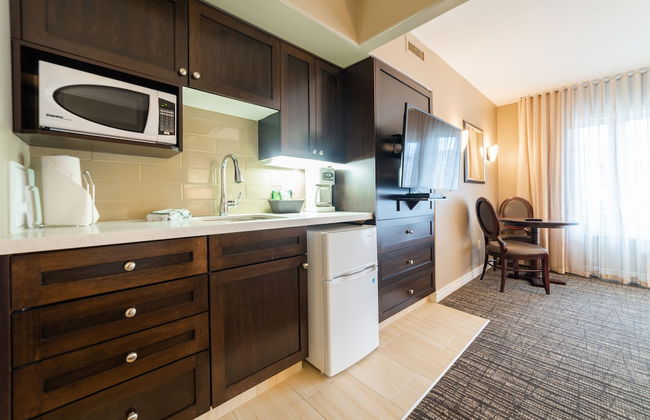
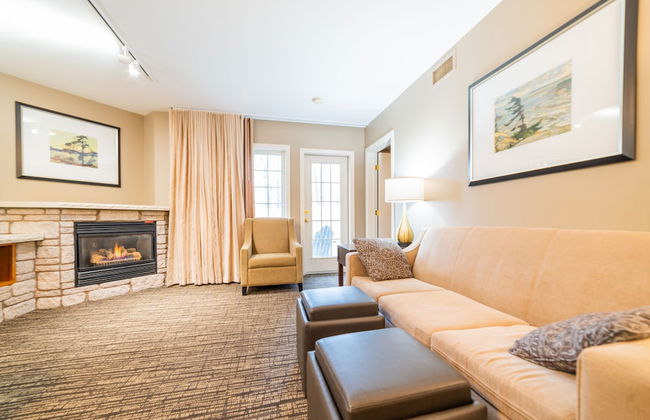
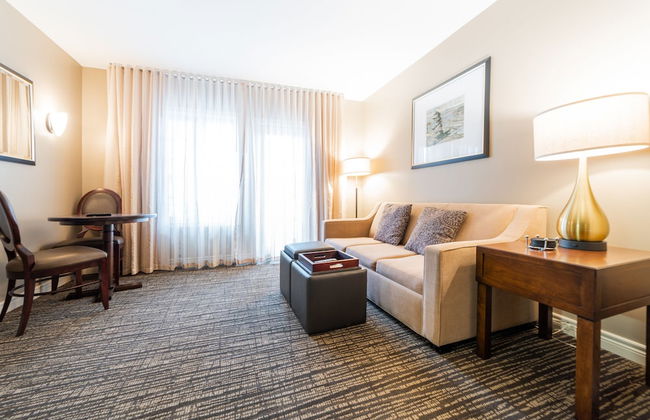
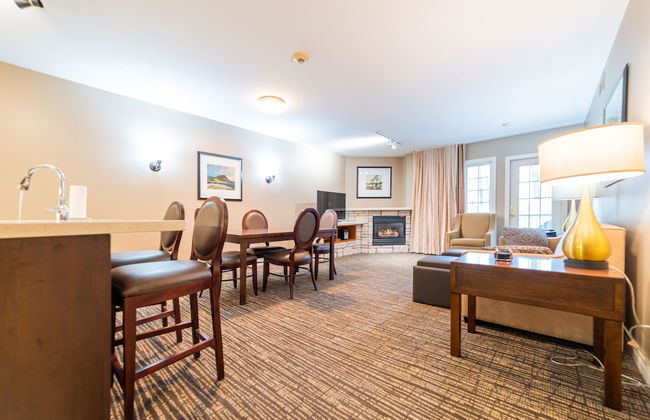
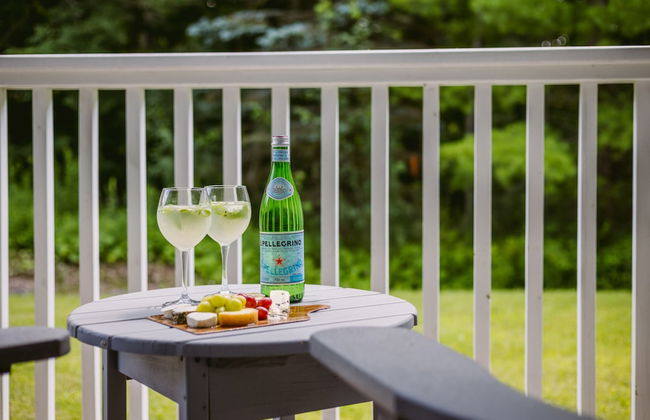
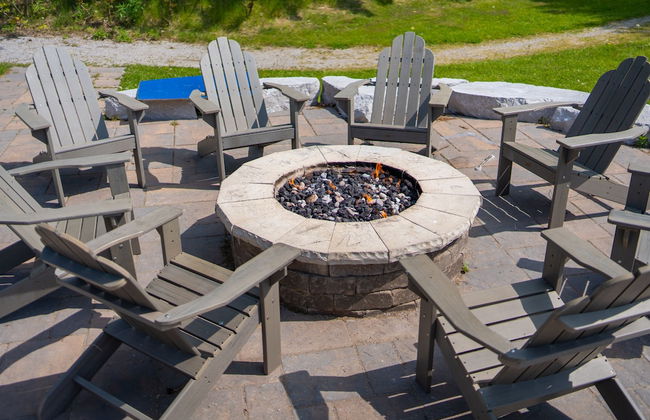
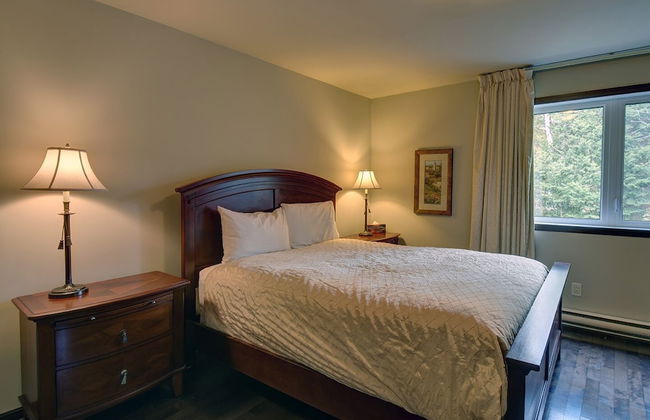
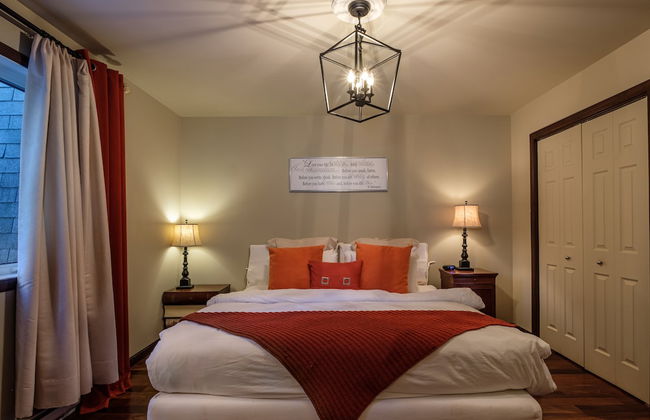
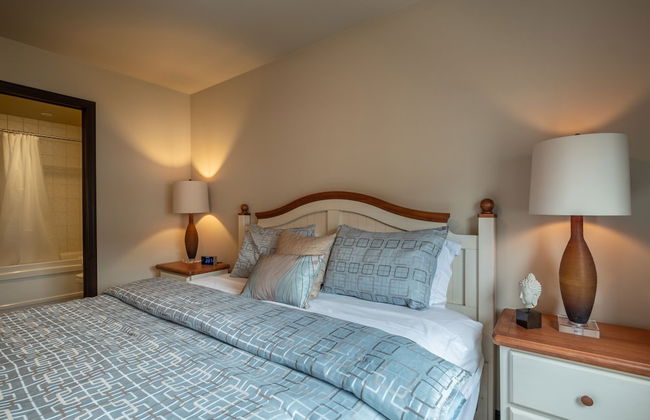
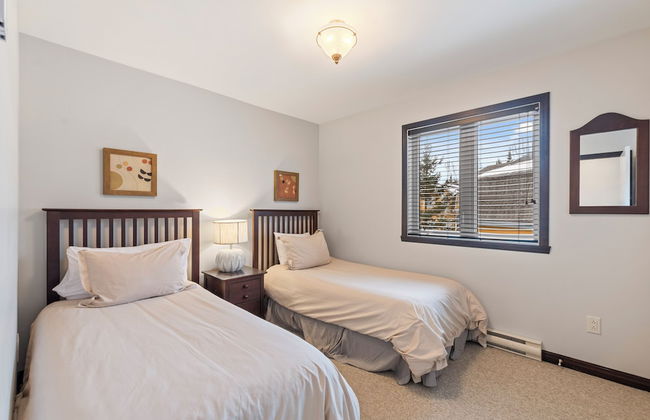
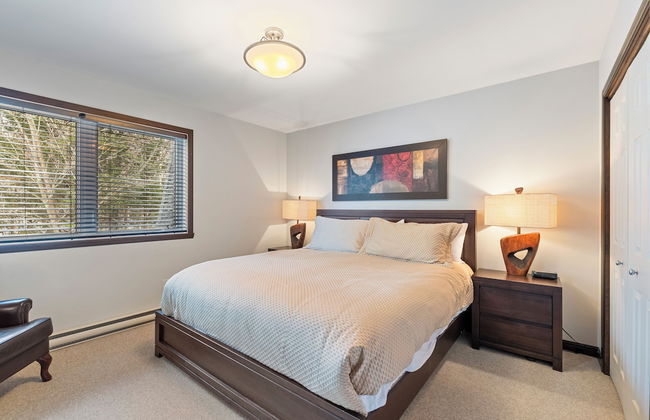
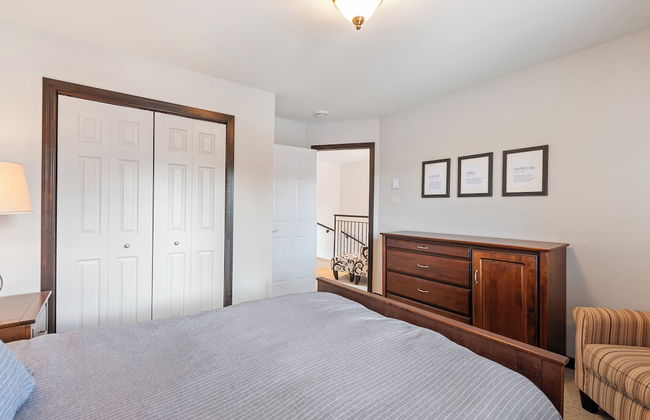
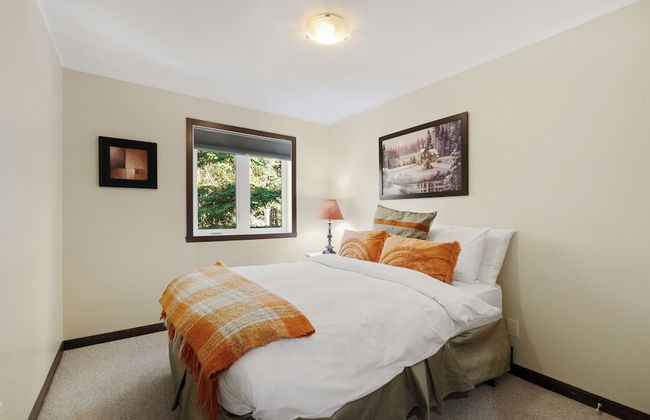
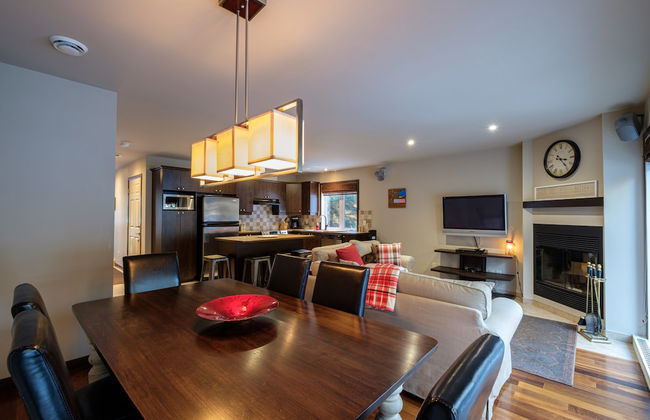
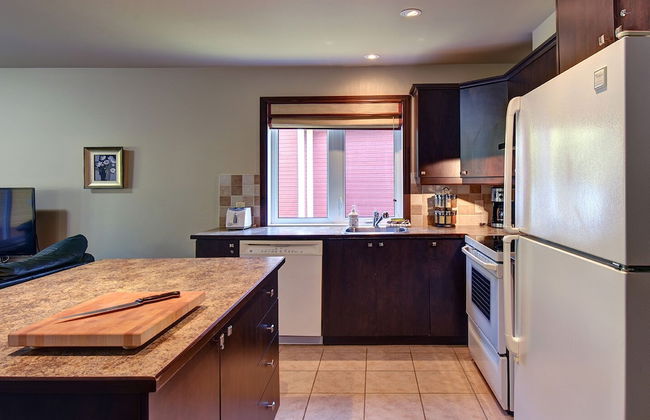
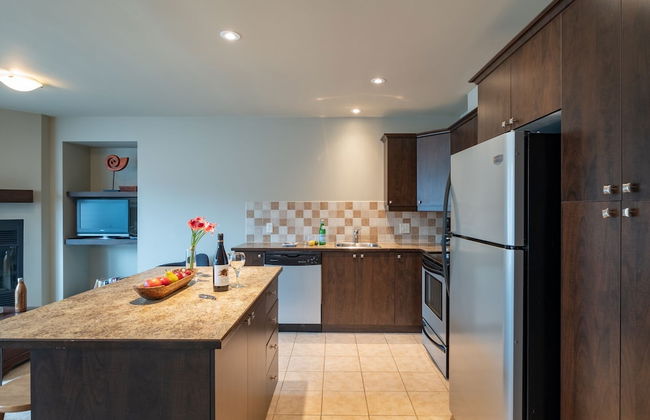
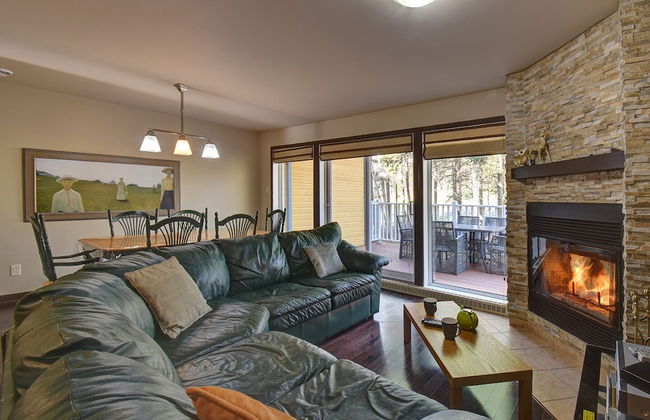
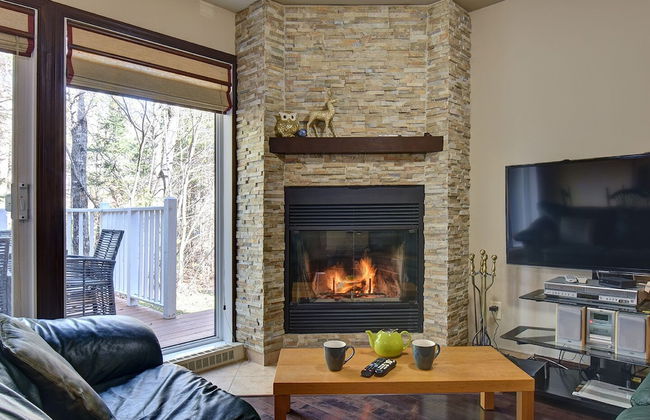
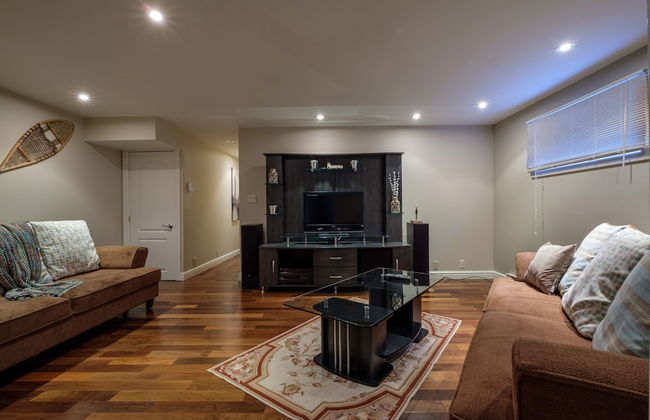
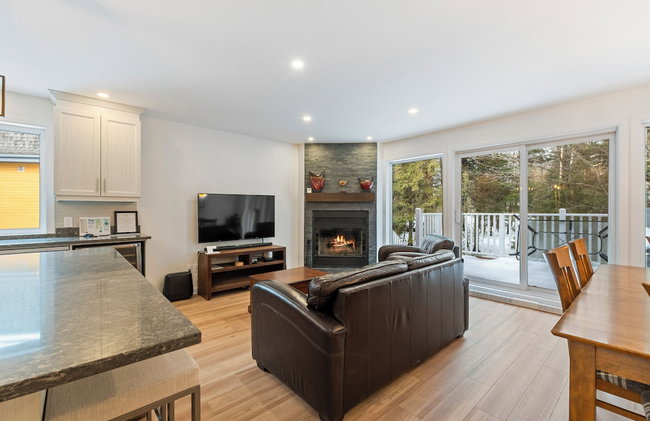
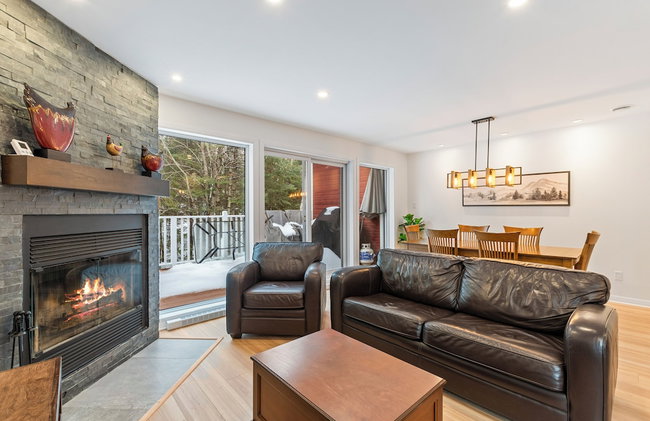
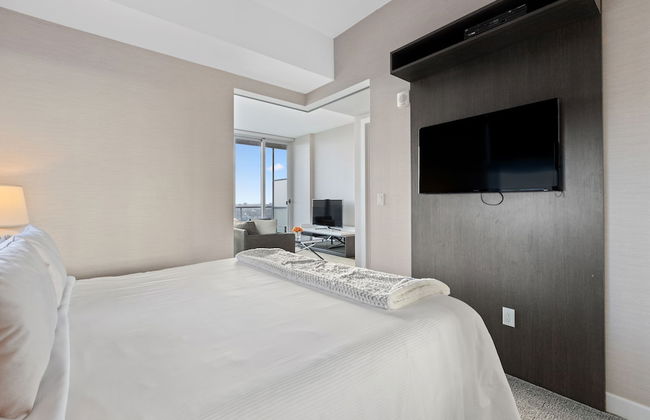
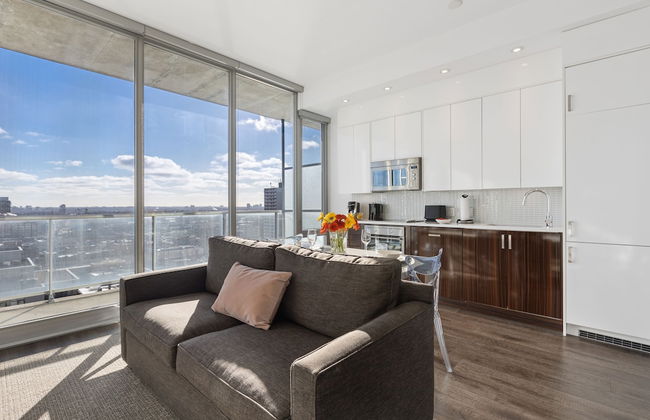
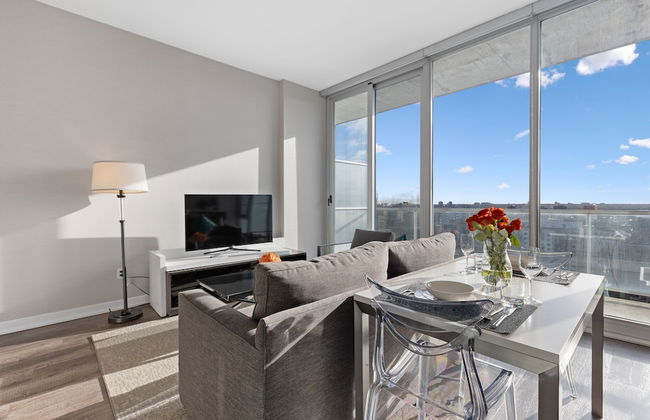
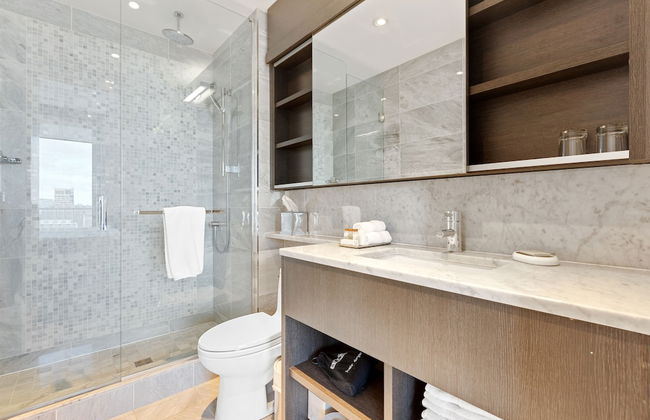
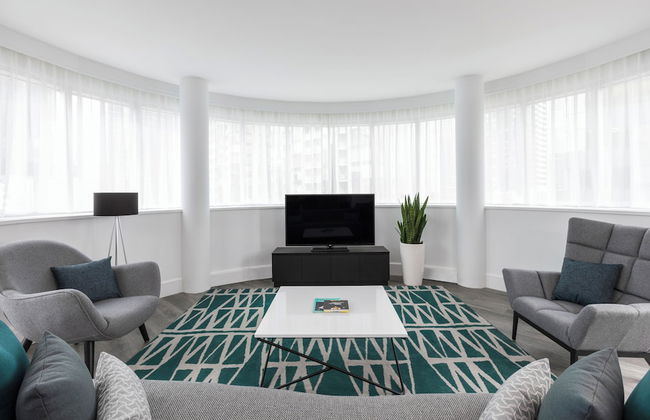
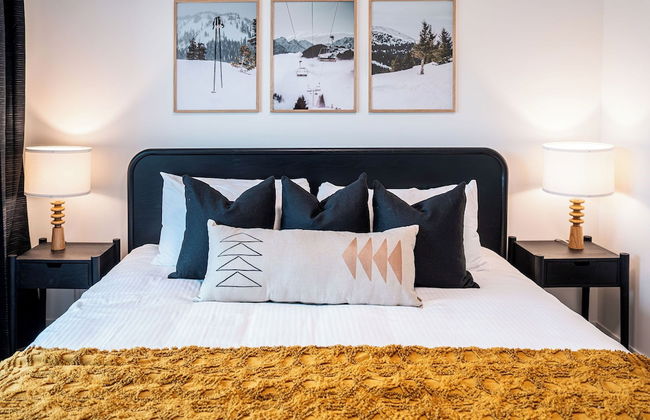
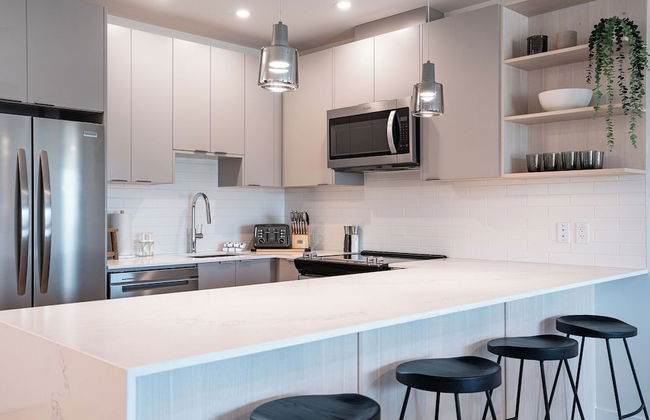
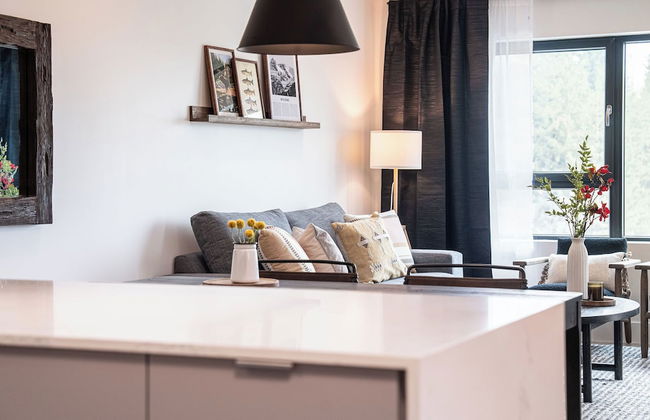
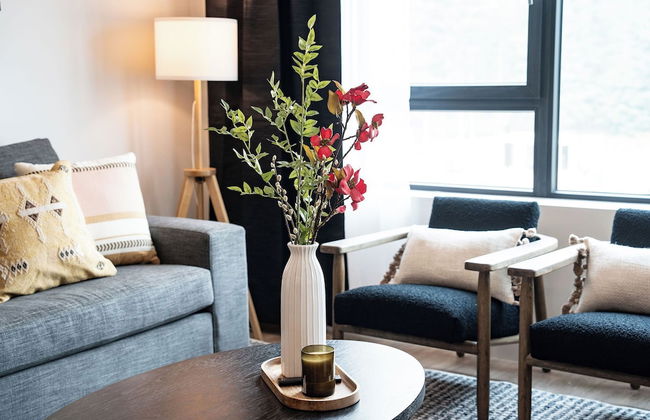
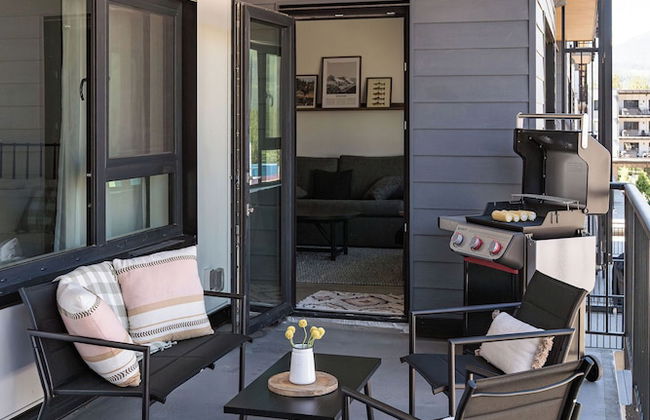
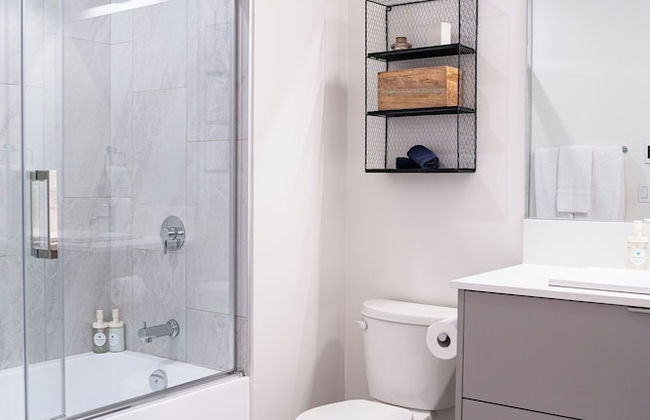
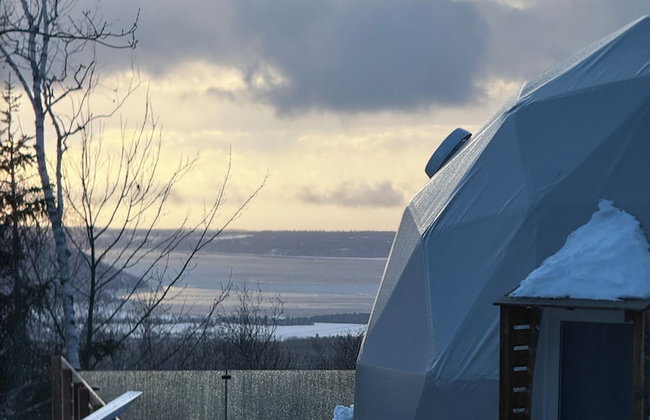
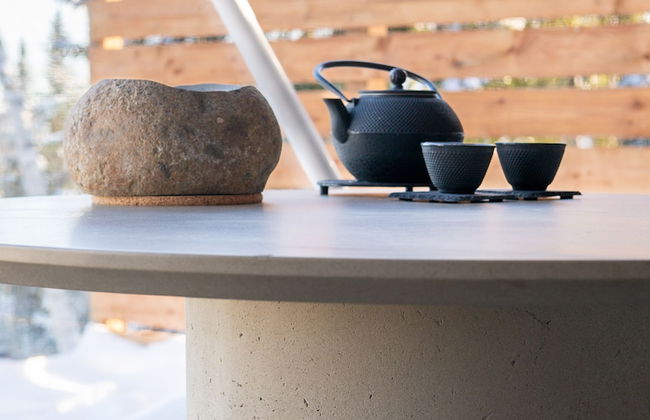
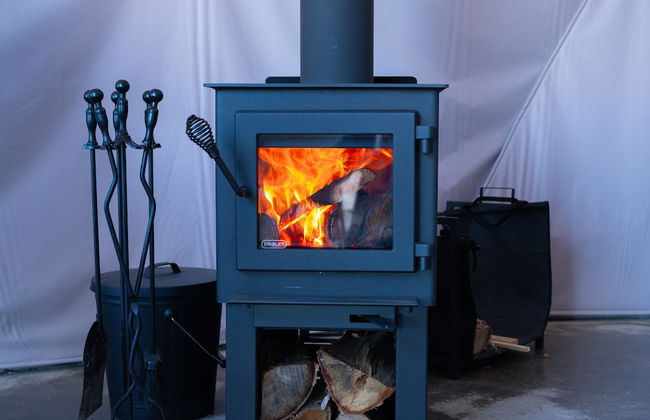
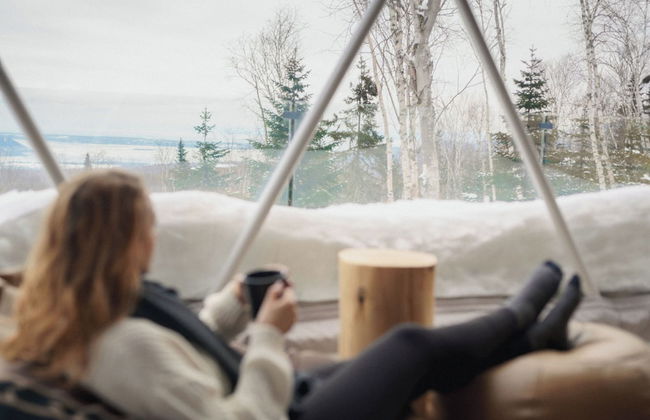
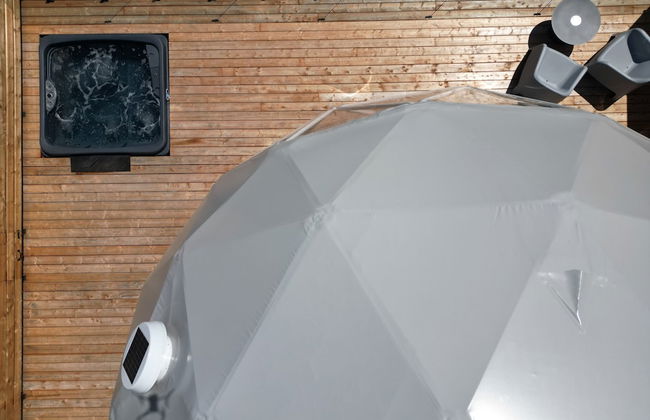
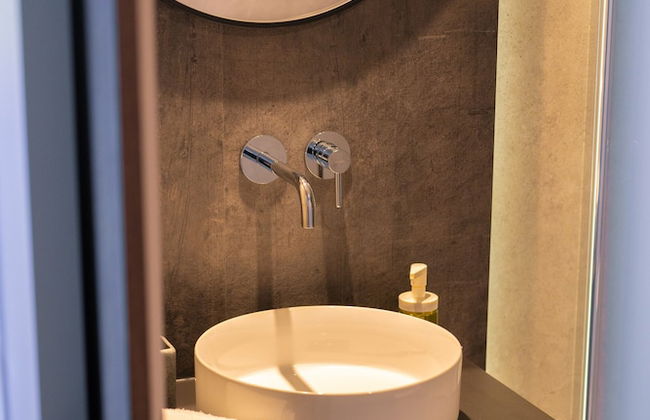
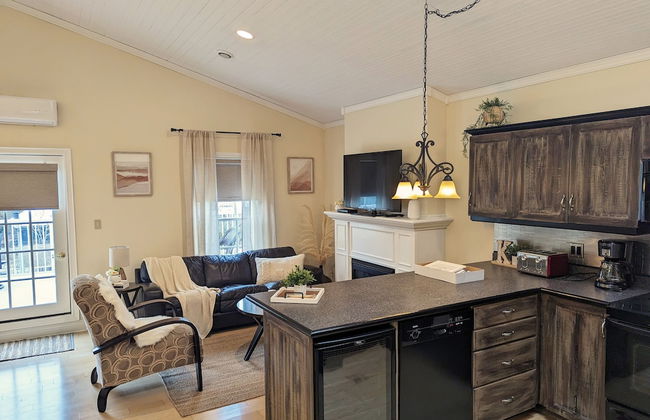
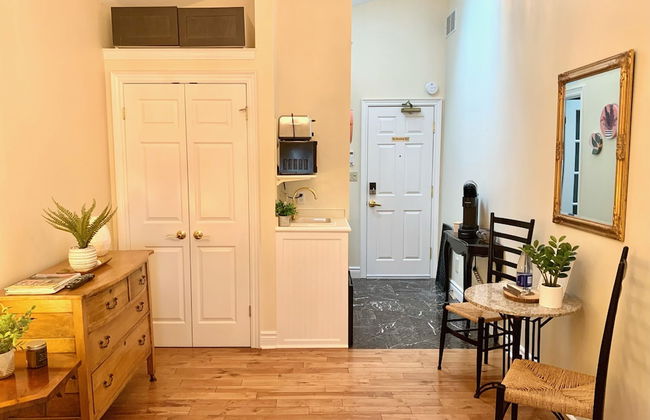
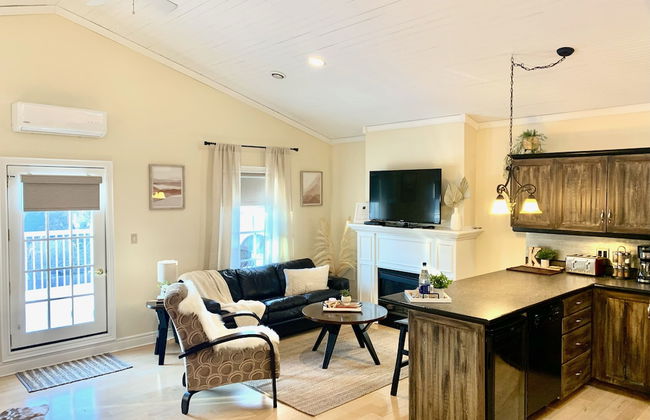
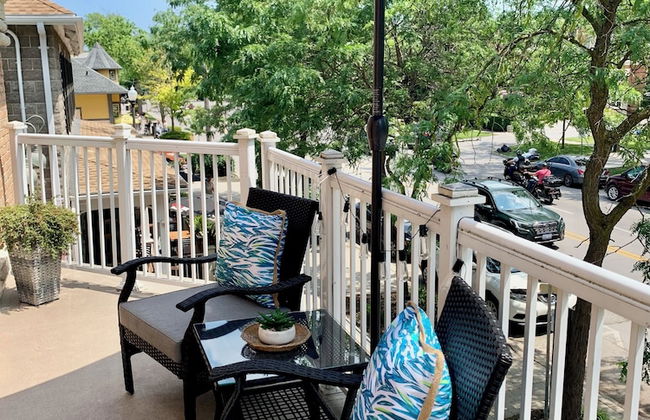
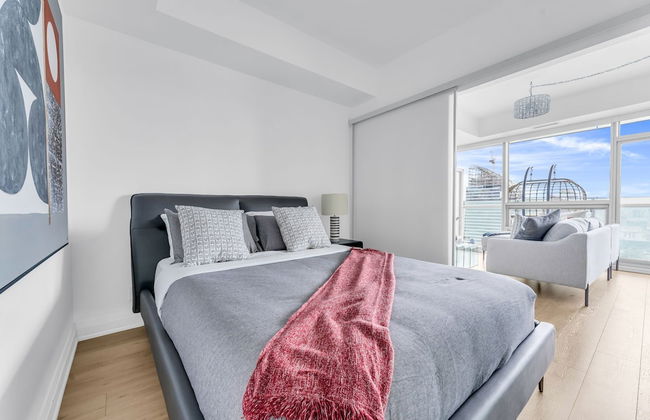
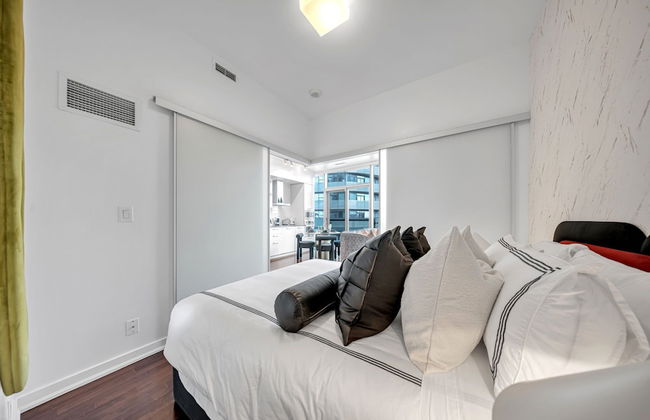
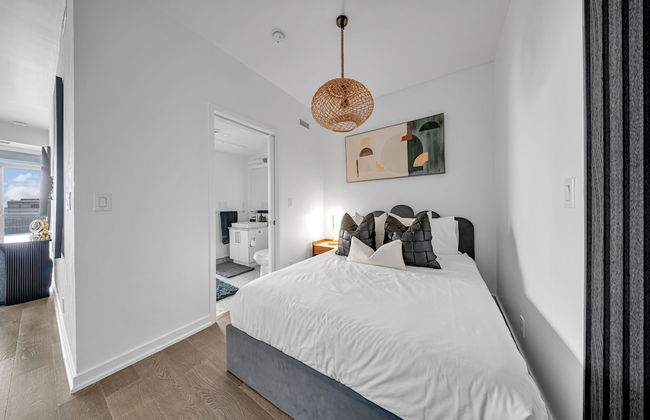
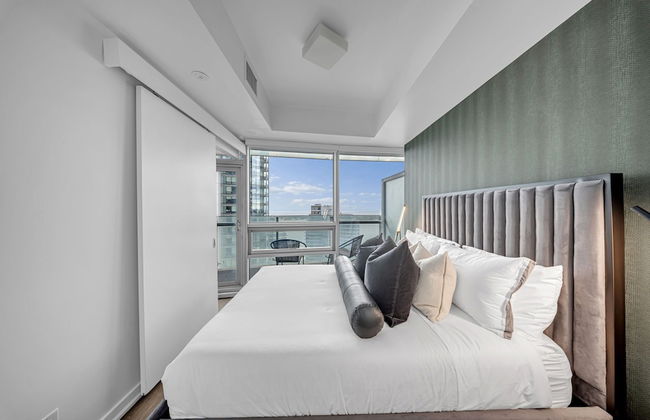
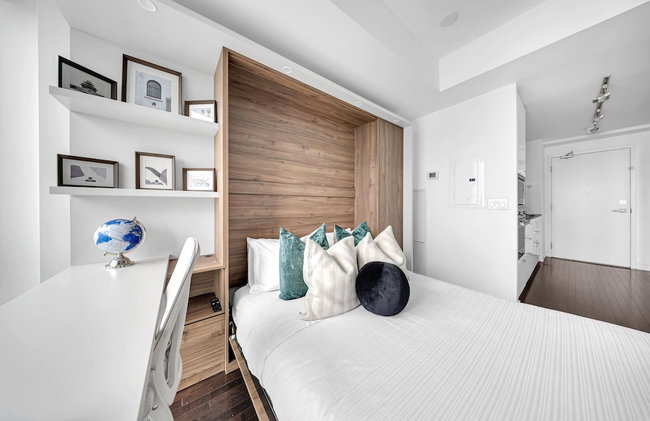
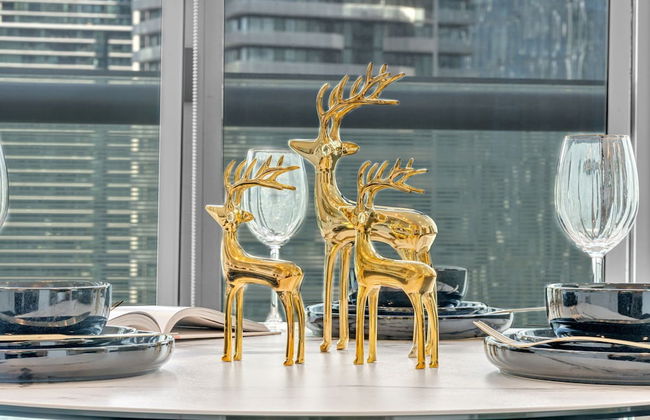
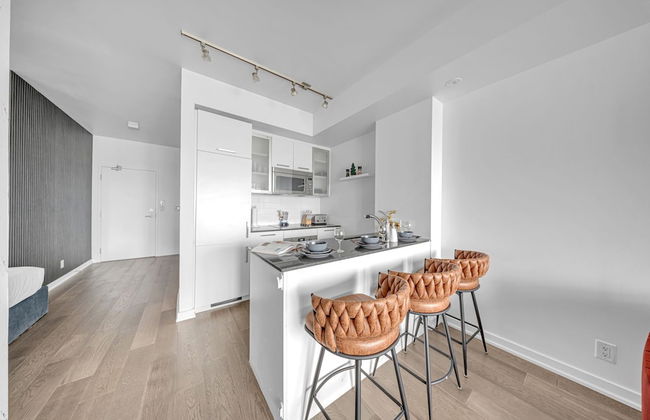
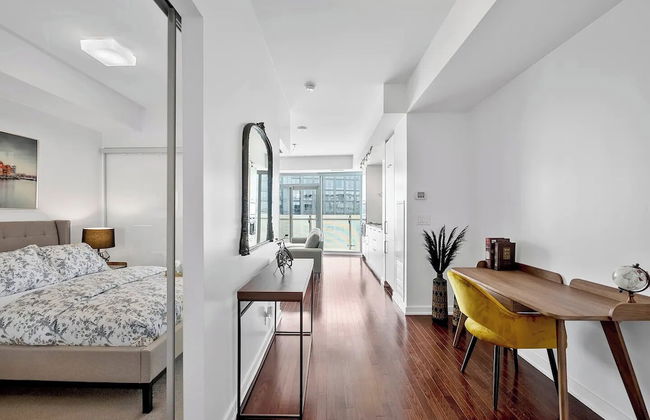
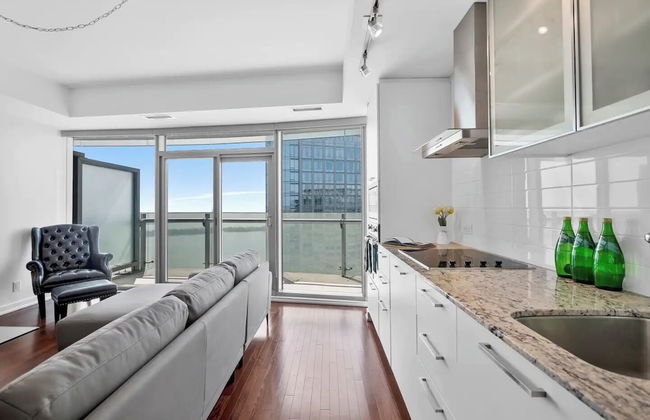
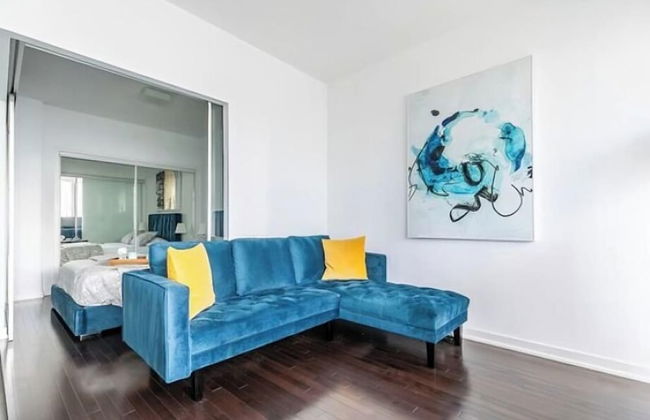
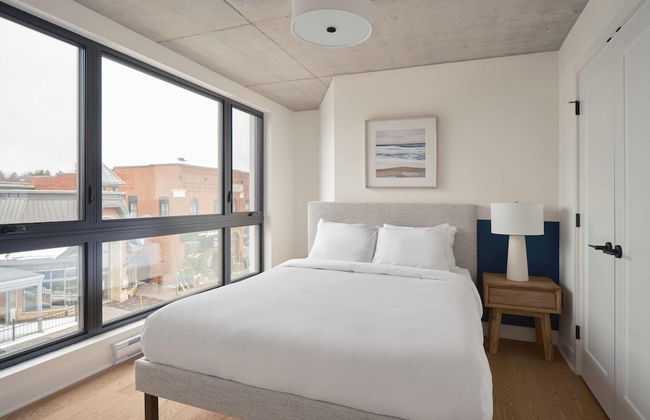
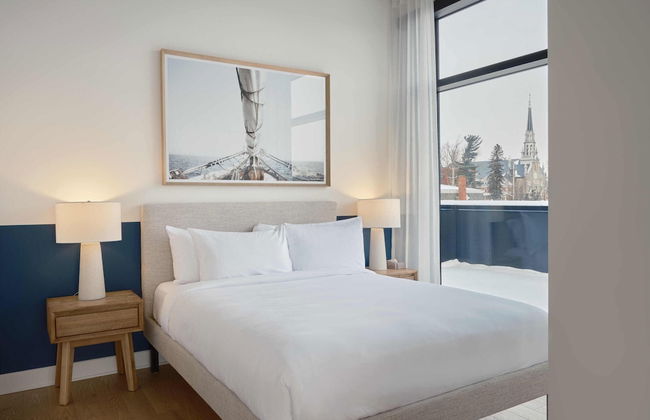
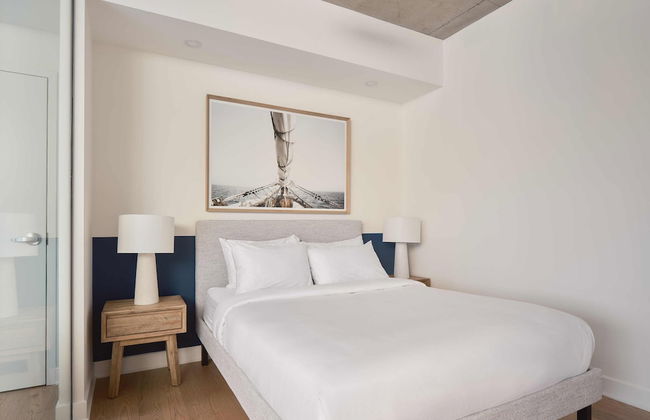
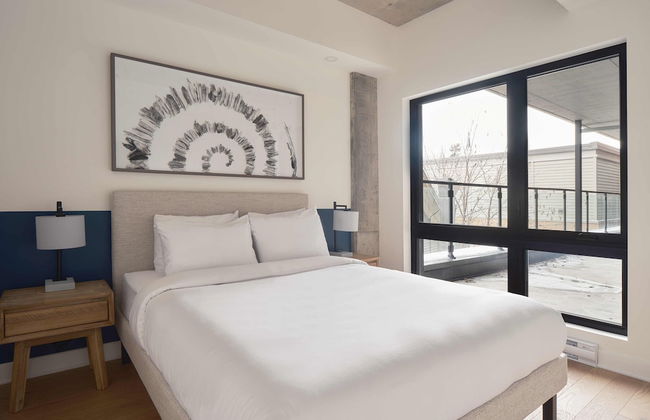
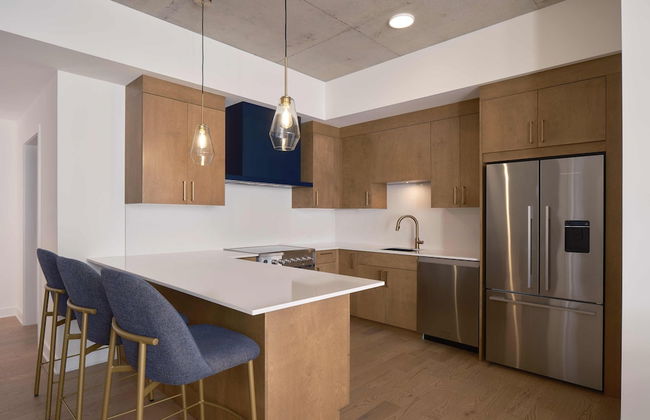
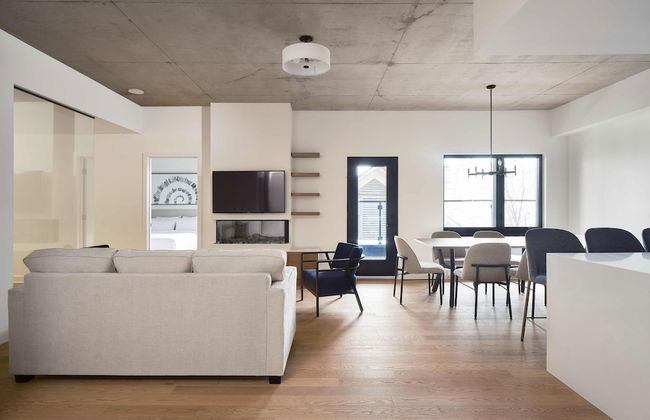
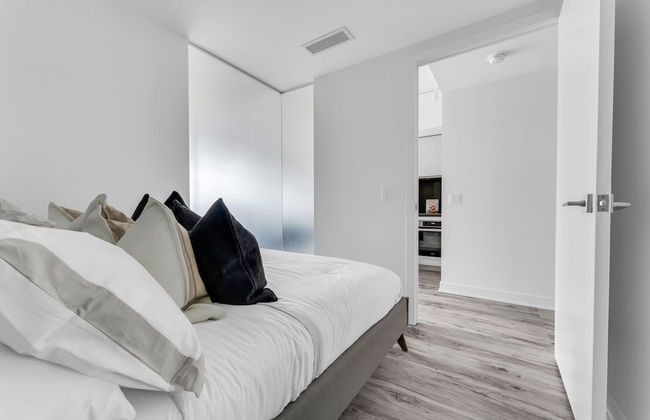
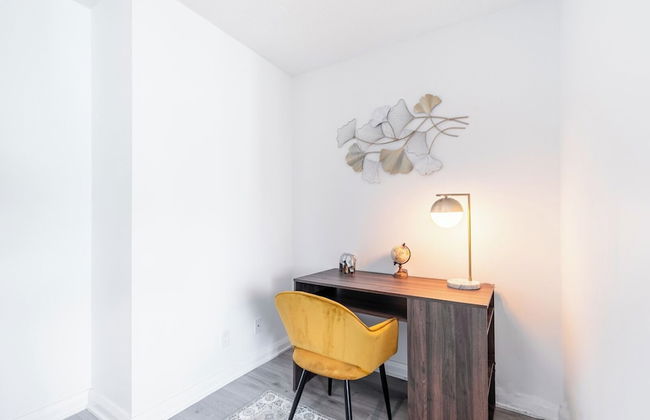
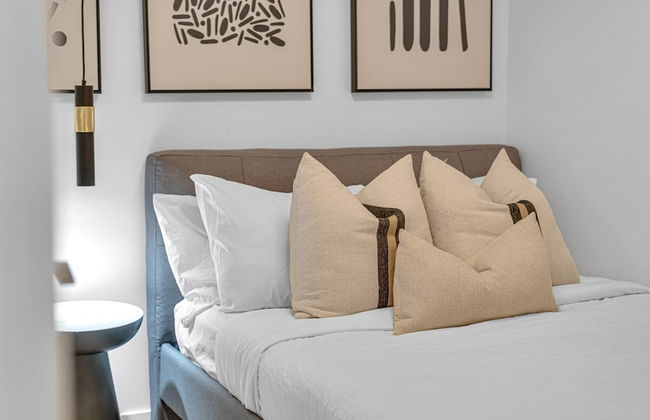
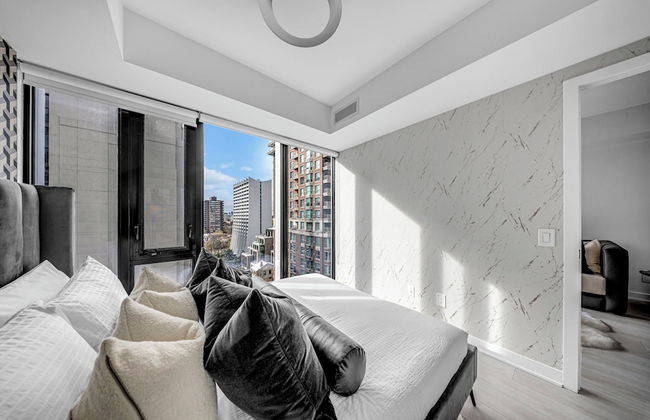
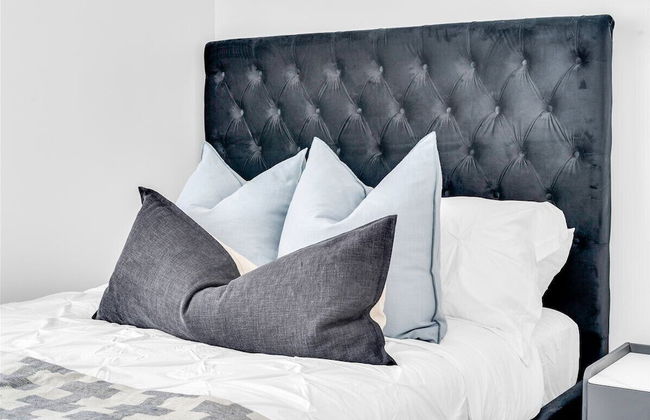
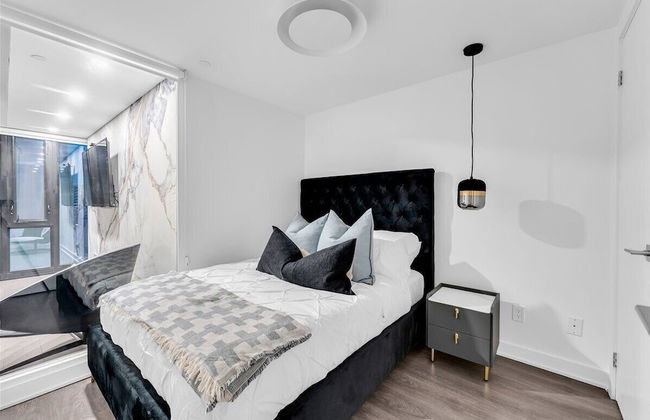
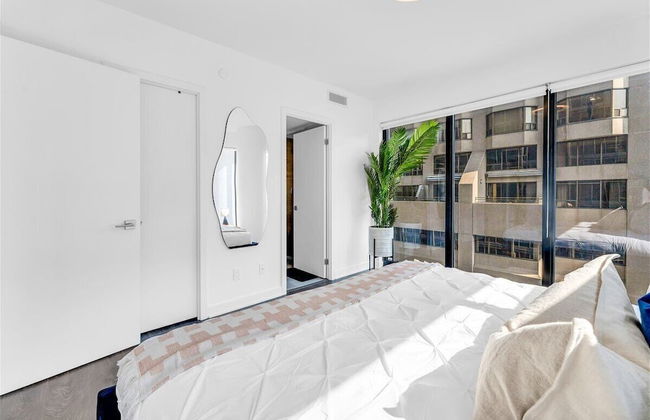
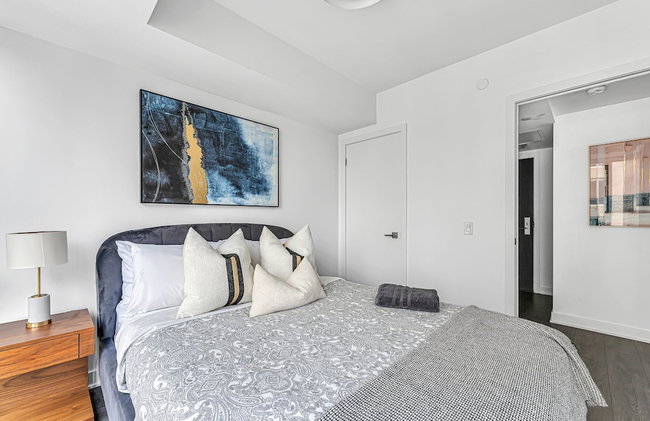
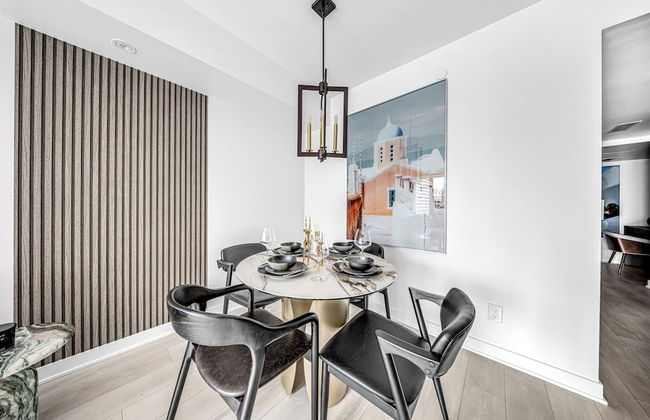
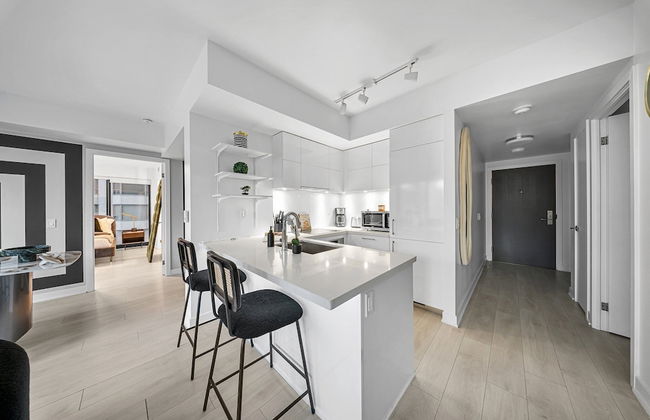
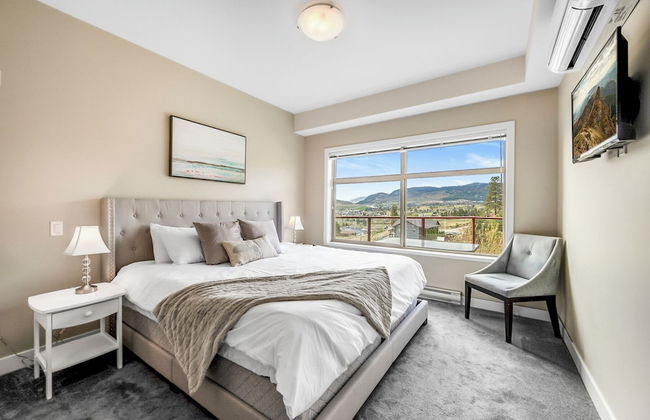
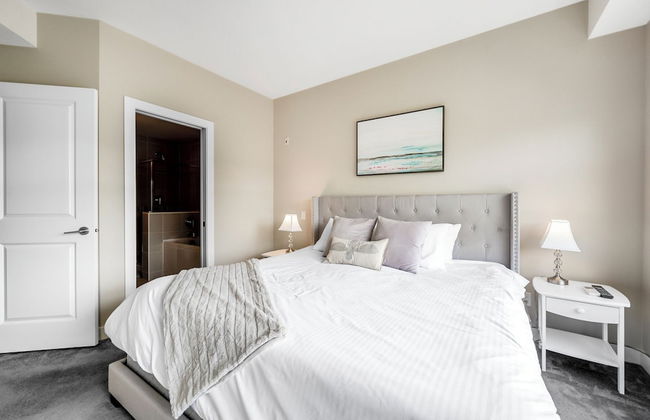
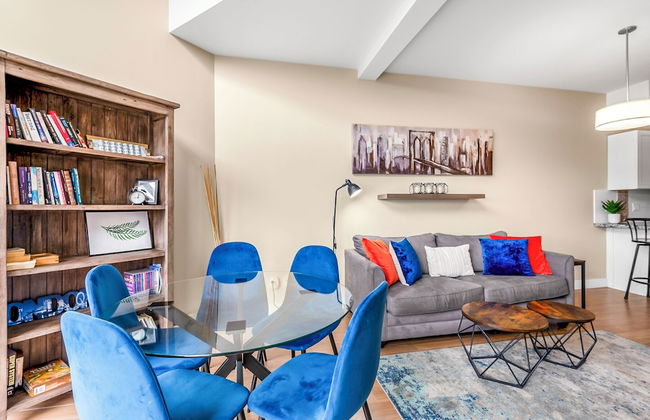
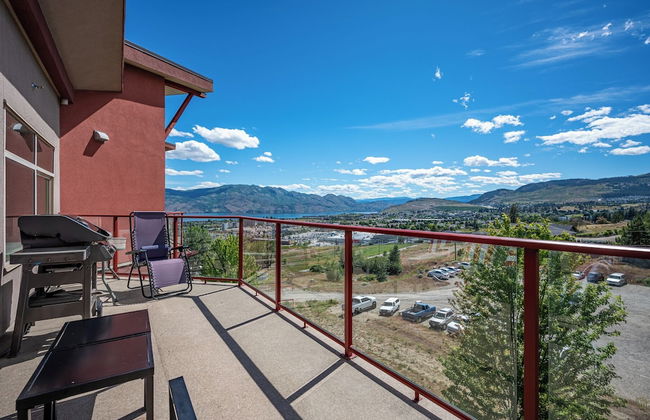
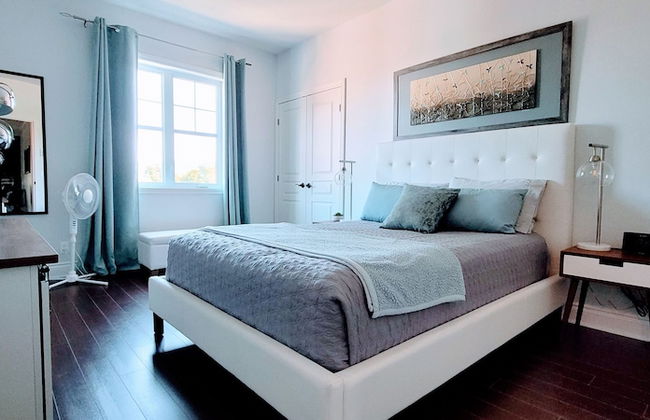
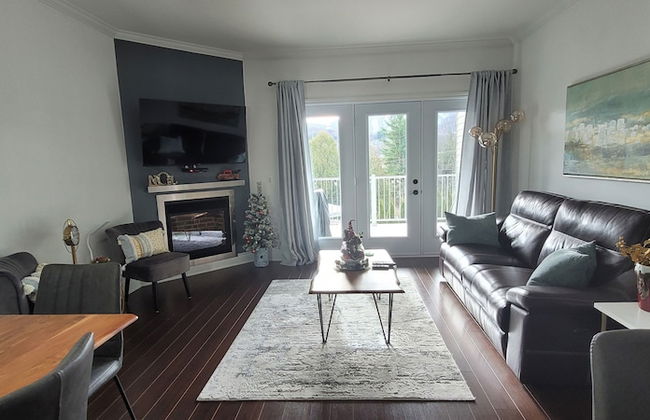
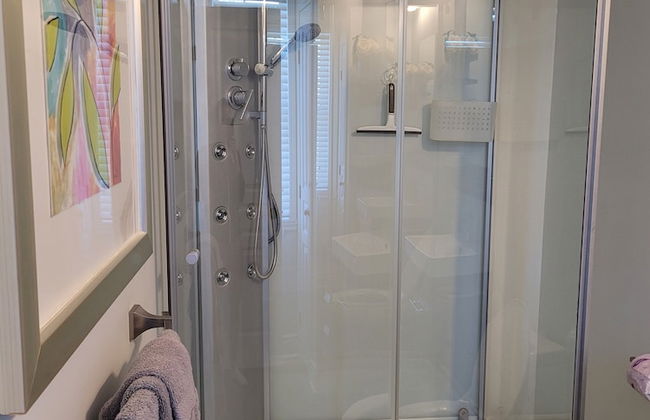
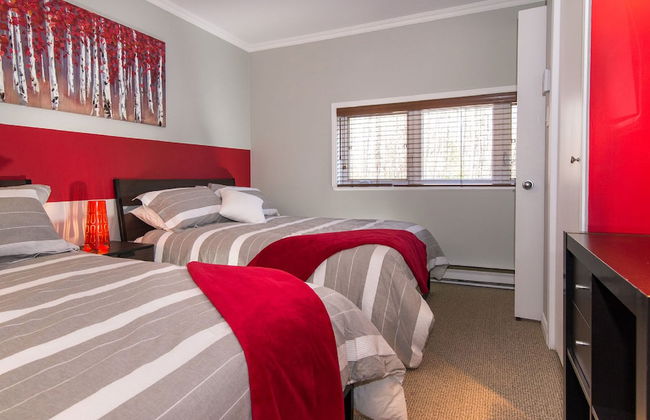
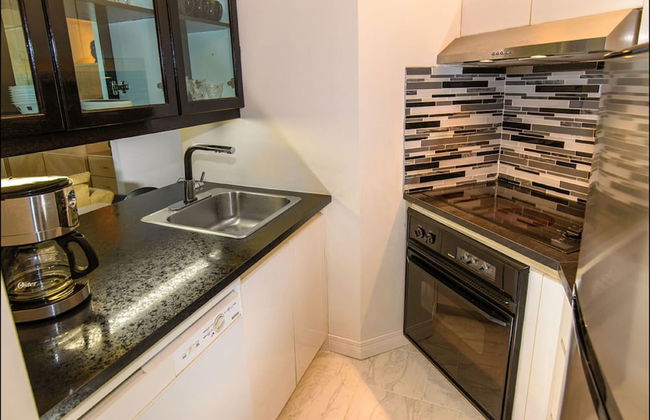
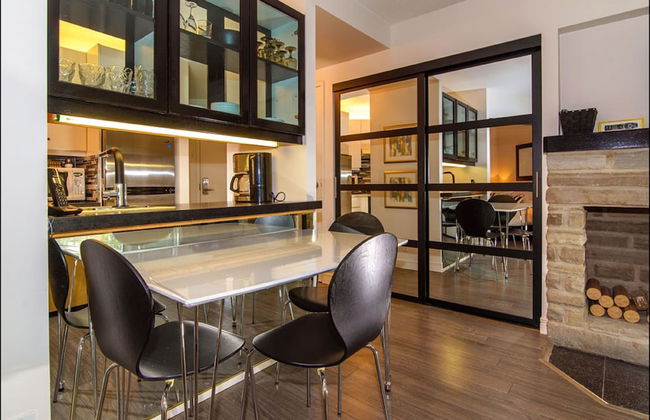
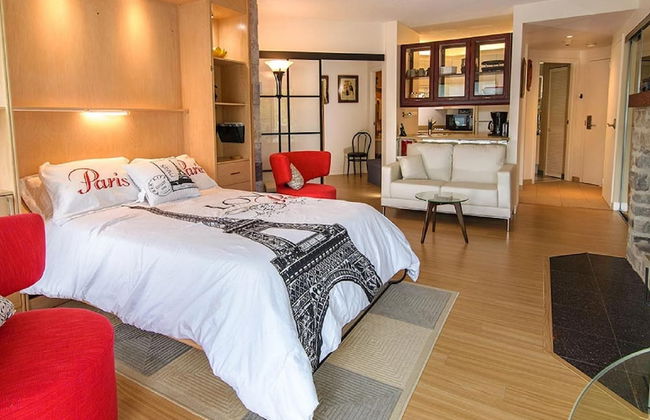
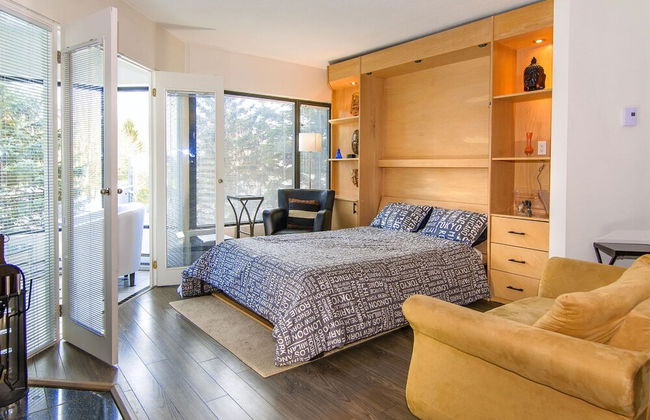
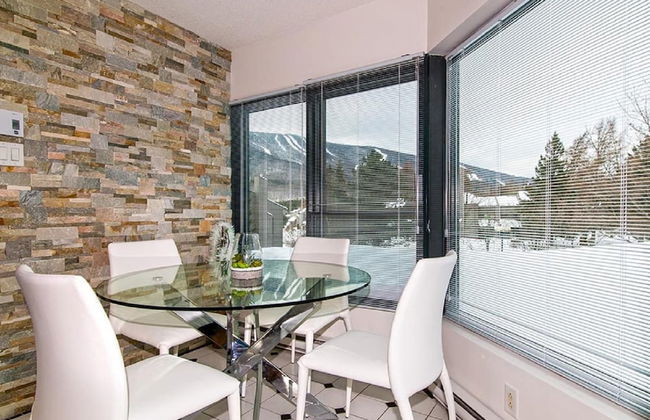
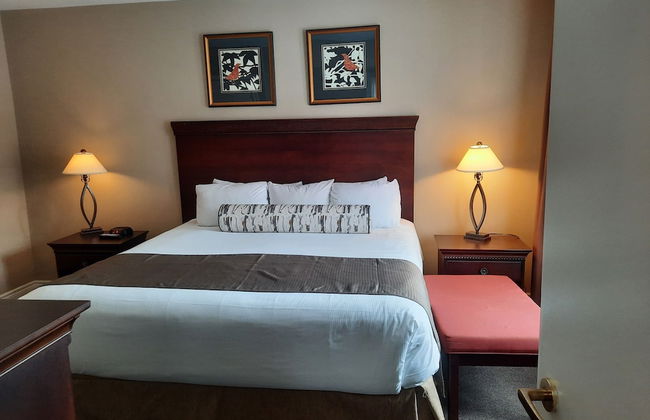
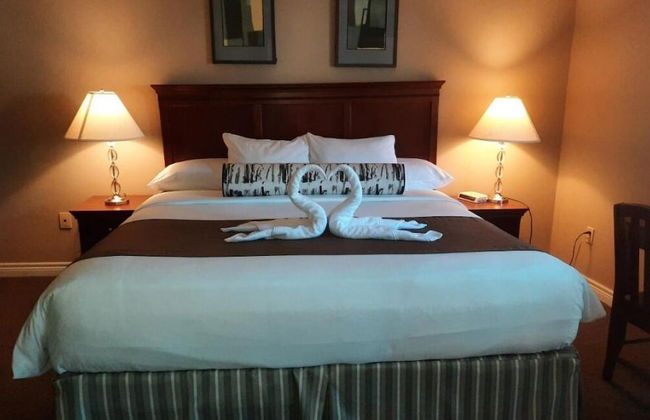
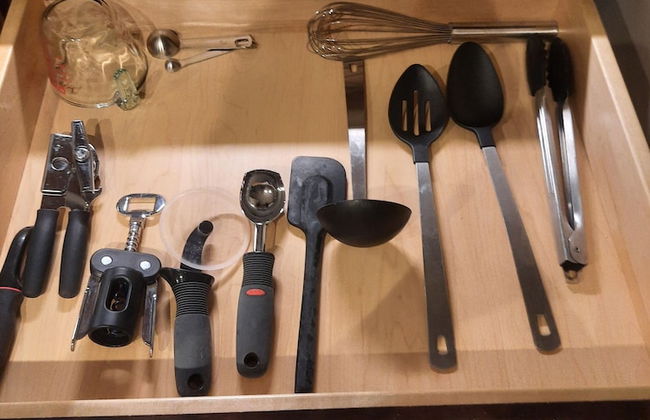
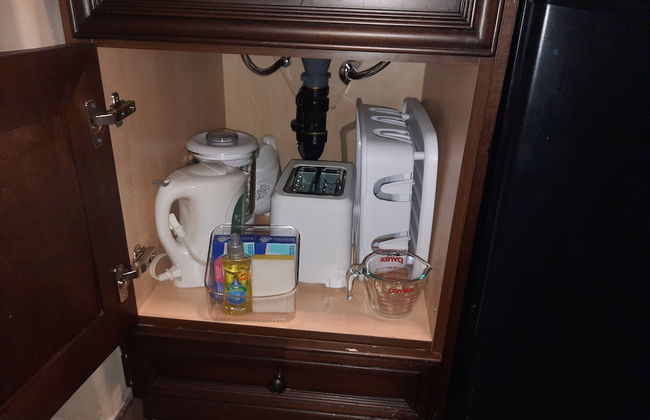
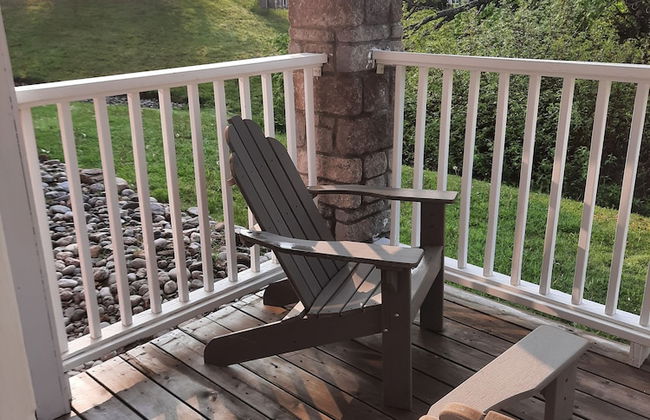
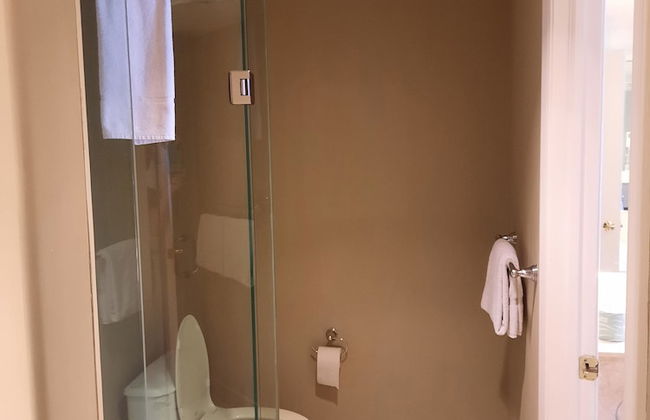
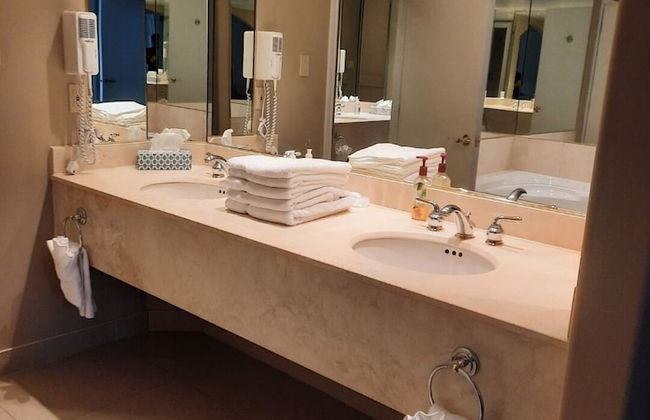
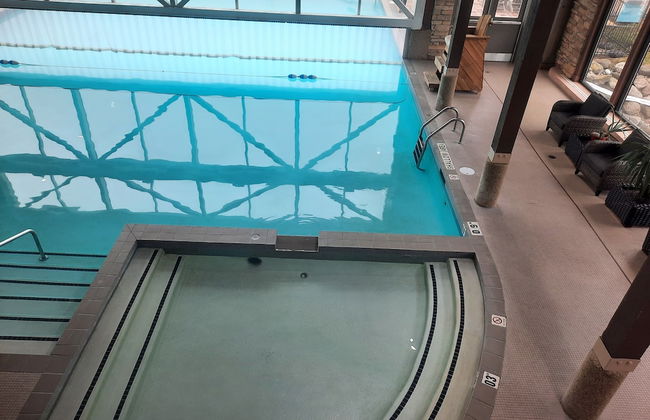
Margarita Vacation Getaway - Foto 4
Margarita Vacation Getaway - Foto 5
Margarita Vacation Getaway - Foto 6
Margarita Vacation Getaway - Foto 7
Margarita Vacation Getaway - Foto 8
Margarita Vacation Getaway - Foto 9
Margarita Vacation Getaway - Foto 10
Margarita Vacation Getaway - Foto 11
Margarita Vacation Getaway - Foto 12
Margarita Vacation Getaway - Foto 13
Margarita Vacation Getaway - Foto 14
Margarita Vacation Getaway - Foto 15
Margarita Vacation Getaway - Foto 16
Margarita Vacation Getaway - Foto 17
Margarita Vacation Getaway - Foto 18
Margarita Vacation Getaway - Foto 19
Margarita Vacation Getaway - Foto 20
Margarita Vacation Getaway - Foto 21
Margarita Vacation Getaway - Foto 22
Margarita Vacation Getaway - Foto 23
Margarita Vacation Getaway - Foto 24
Margarita Vacation Getaway - Foto 25
Margarita Vacation Getaway - Foto 26
Margarita Vacation Getaway - Foto 27
Margarita Vacation Getaway - Foto 28
Margarita Vacation Getaway - Foto 29
Margarita Vacation Getaway - Foto 30
Margarita Vacation Getaway - Foto 31
Margarita Vacation Getaway - Foto 32
Margarita Vacation Getaway - Foto 33
Margarita Vacation Getaway - Foto 34
Margarita Vacation Getaway - Foto 35
Margarita Vacation Getaway - Foto 36
Margarita Vacation Getaway - Foto 37
Margarita Vacation Getaway - Foto 38
Margarita Vacation Getaway - Foto 39
Margarita Vacation Getaway - Foto 40
Margarita Vacation Getaway - Foto 41
Margarita Vacation Getaway - Foto 42
Margarita Vacation Getaway - Foto 43
Margarita Vacation Getaway - Foto 44
Margarita Vacation Getaway - Foto 45
Margarita Vacation Getaway - Foto 46
Margarita Vacation Getaway - Foto 47
Margarita Vacation Getaway - Foto 48
Margarita Vacation Getaway - Foto 49
Margarita Vacation Getaway - Foto 50
Margarita Vacation Getaway - Foto 51
Margarita Vacation Getaway - Foto 52
Margarita Vacation Getaway - Foto 53
Margarita Vacation Getaway - Foto 54
Margarita Vacation Getaway - Foto 55
Margarita Vacation Getaway - Foto 56
Margarita Vacation Getaway - Foto 57
Margarita Vacation Getaway - Foto 58
Margarita Vacation Getaway - Foto 59
Margarita Vacation Getaway - Foto 60
Margarita Vacation Getaway - Foto 61
Margarita Vacation Getaway - Foto 62
Margarita Vacation Getaway - Foto 63
Margarita Vacation Getaway - Foto 64
Margarita Vacation Getaway - Foto 65
Margarita Vacation Getaway - Foto 66
Margarita Vacation Getaway - Foto 67
Margarita Vacation Getaway - Foto 68
Margarita Vacation Getaway - Foto 69
Margarita Vacation Getaway - Foto 70
Margarita Vacation Getaway - Foto 71
Margarita Vacation Getaway - Foto 72
Margarita Vacation Getaway - Foto 73
Margarita Vacation Getaway - Foto 74
Margarita Vacation Getaway - Foto 75
Margarita Vacation Getaway - Foto 76
Margarita Vacation Getaway - Foto 77
Margarita Vacation Getaway - Foto 78
Margarita Vacation Getaway - Foto 79
Margarita Vacation Getaway - Foto 80

Margarita Vacation Getaway

Oro-Medonte - 13.1 km vom Zentrum

  • 51 M2
  • 4 Personen
  • Kochnische
  • Klimaanlage
  • Heizung
  • Terrasse
  • Schwimmbad
  • Parkplatz
  • Balkon
  • Garten
  • Tv
  • Schornstein
  • Barbecue
  • Handtücher
  • Bettlaken
10Hervorragend | 23 Bewertungen
Richview Gardens Suite - Foto 1
Richview Gardens Suite - Foto 2
Richview Gardens Suite - Foto 3
Richview Gardens Suite - Foto 4
Richview Gardens Suite - Foto 5
Richview Gardens Suite - Foto 6
Richview Gardens Suite - Foto 7
Richview Gardens Suite - Foto 8
Richview Gardens Suite - Foto 9
Richview Gardens Suite - Foto 10
Richview Gardens Suite - Foto 11
Richview Gardens Suite - Foto 12
Richview Gardens Suite - Foto 13
Richview Gardens Suite - Foto 14
Richview Gardens Suite - Foto 15
Richview Gardens Suite - Foto 16
Richview Gardens Suite - Foto 17

Richview Gardens Suite

Toronto - The Westway - 13.7 km vom Zentrum

  • 101 M2
  • 6 Personen
  • Klimaanlage
  • Heizung
  • Terrasse
  • Parkplatz
  • Fahrstuhl
  • Garten
  • Tv
  • Barbecue
  • Handtücher
  • Bettlaken
10Hervorragend | 14 Bewertungen
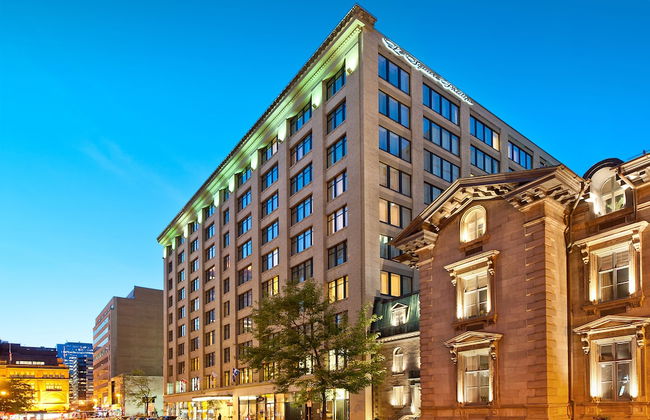
Le Square Phillips Hotel And Suites - Foto 1
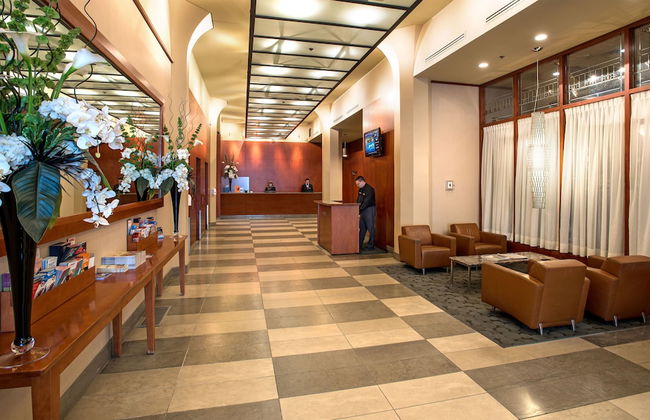
Le Square Phillips Hotel And Suites - Foto 2
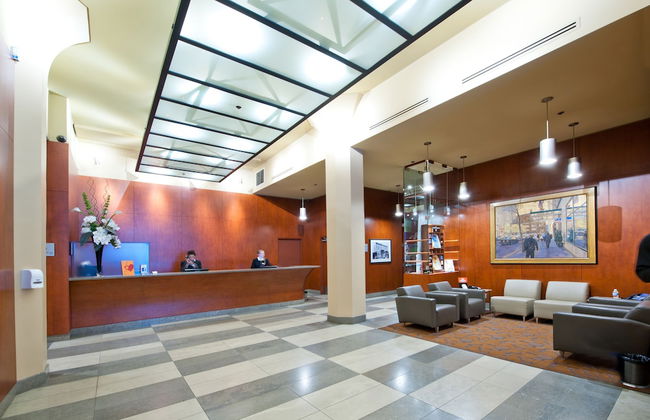
Le Square Phillips Hotel And Suites - Foto 3
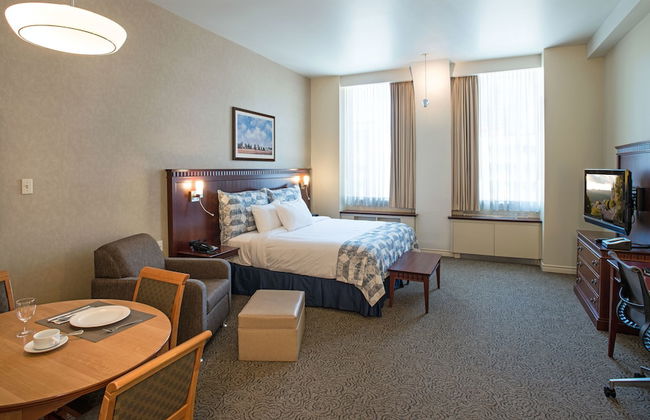
Le Square Phillips Hotel And Suites - Foto 4
Le Square Phillips Hotel And Suites - Foto 5
Le Square Phillips Hotel And Suites - Foto 6
Le Square Phillips Hotel And Suites - Foto 7
Le Square Phillips Hotel And Suites - Foto 8
Le Square Phillips Hotel And Suites - Foto 9
Le Square Phillips Hotel And Suites - Foto 10
Le Square Phillips Hotel And Suites - Foto 11
Le Square Phillips Hotel And Suites - Foto 12
Le Square Phillips Hotel And Suites - Foto 13
Le Square Phillips Hotel And Suites - Foto 14
Le Square Phillips Hotel And Suites - Foto 15
Le Square Phillips Hotel And Suites - Foto 16
Le Square Phillips Hotel And Suites - Foto 17
Le Square Phillips Hotel And Suites - Foto 18
Le Square Phillips Hotel And Suites - Foto 19
Le Square Phillips Hotel And Suites - Foto 20
Le Square Phillips Hotel And Suites - Foto 21
Le Square Phillips Hotel And Suites - Foto 22
Le Square Phillips Hotel And Suites - Foto 23
Le Square Phillips Hotel And Suites - Foto 24
Le Square Phillips Hotel And Suites - Foto 25
Le Square Phillips Hotel And Suites - Foto 26
Le Square Phillips Hotel And Suites - Foto 27
Le Square Phillips Hotel And Suites - Foto 28
Le Square Phillips Hotel And Suites - Foto 29
Le Square Phillips Hotel And Suites - Foto 30
Le Square Phillips Hotel And Suites - Foto 31
Le Square Phillips Hotel And Suites - Foto 32
Le Square Phillips Hotel And Suites - Foto 33
Le Square Phillips Hotel And Suites - Foto 34
Le Square Phillips Hotel And Suites - Foto 35
Le Square Phillips Hotel And Suites - Foto 36
Le Square Phillips Hotel And Suites - Foto 37
Le Square Phillips Hotel And Suites - Foto 38
Le Square Phillips Hotel And Suites - Foto 39
Le Square Phillips Hotel And Suites - Foto 40
Le Square Phillips Hotel And Suites - Foto 41

Le Square Phillips Hotel And Suites

Montreal - Centre-Ville - 910 m vom Zentrum

  • 104 M2
  • 6 Personen
  • Klimaanlage
  • Heizung
  • Terrasse
  • Schwimmbad
  • Parkplatz
  • Fahrstuhl
  • Tv
  • Handtücher
  • Bettlaken
9.6Außergewöhnlich | 6142 Bewertungen
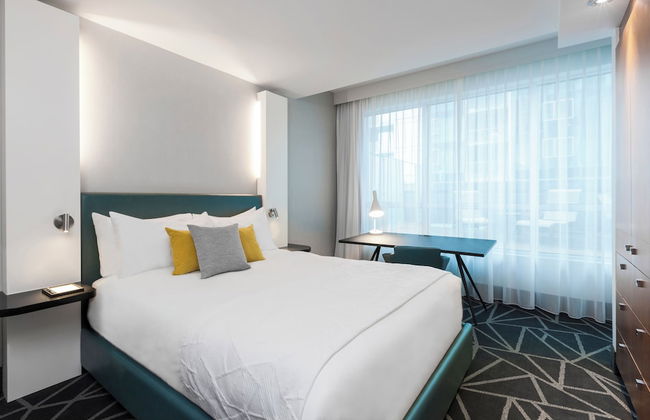
Appartement Luxe | Incredible Sunset View - Pool - Parking - Near Old Québec - Foto 1
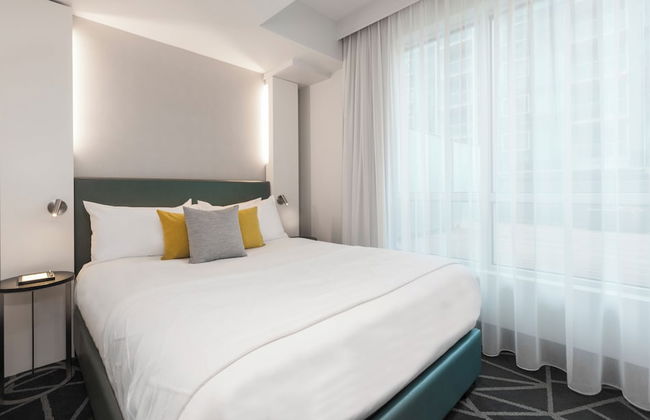
Appartement Luxe | Incredible Sunset View - Pool - Parking - Near Old Québec - Foto 2
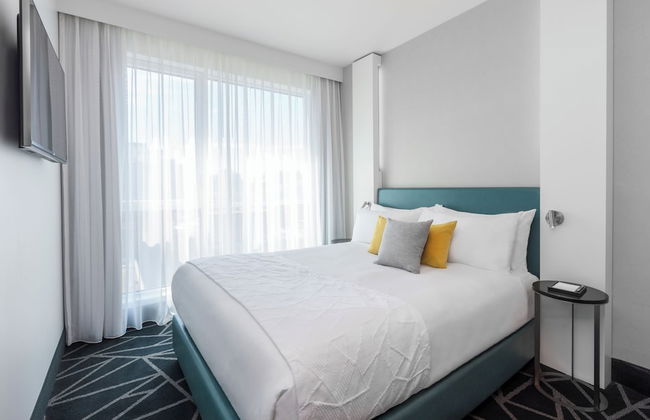
Appartement Luxe | Incredible Sunset View - Pool - Parking - Near Old Québec - Foto 3
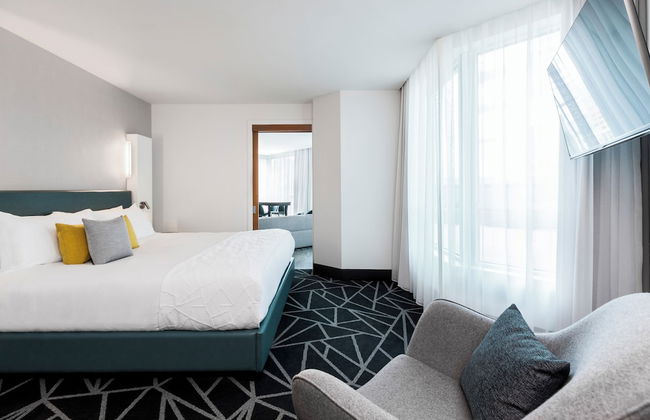
Appartement Luxe | Incredible Sunset View - Pool - Parking - Near Old Québec - Foto 4
Appartement Luxe | Incredible Sunset View - Pool - Parking - Near Old Québec - Foto 5
Appartement Luxe | Incredible Sunset View - Pool - Parking - Near Old Québec - Foto 6
Appartement Luxe | Incredible Sunset View - Pool - Parking - Near Old Québec - Foto 7
Appartement Luxe | Incredible Sunset View - Pool - Parking - Near Old Québec - Foto 8
Appartement Luxe | Incredible Sunset View - Pool - Parking - Near Old Québec - Foto 9
Appartement Luxe | Incredible Sunset View - Pool - Parking - Near Old Québec - Foto 10
Appartement Luxe | Incredible Sunset View - Pool - Parking - Near Old Québec - Foto 11
Appartement Luxe | Incredible Sunset View - Pool - Parking - Near Old Québec - Foto 12
Appartement Luxe | Incredible Sunset View - Pool - Parking - Near Old Québec - Foto 13
Appartement Luxe | Incredible Sunset View - Pool - Parking - Near Old Québec - Foto 14
Appartement Luxe | Incredible Sunset View - Pool - Parking - Near Old Québec - Foto 15
Appartement Luxe | Incredible Sunset View - Pool - Parking - Near Old Québec - Foto 16
Appartement Luxe | Incredible Sunset View - Pool - Parking - Near Old Québec - Foto 17
Appartement Luxe | Incredible Sunset View - Pool - Parking - Near Old Québec - Foto 18
Appartement Luxe | Incredible Sunset View - Pool - Parking - Near Old Québec - Foto 19
Appartement Luxe | Incredible Sunset View - Pool - Parking - Near Old Québec - Foto 20
Appartement Luxe | Incredible Sunset View - Pool - Parking - Near Old Québec - Foto 21
Appartement Luxe | Incredible Sunset View - Pool - Parking - Near Old Québec - Foto 22
Appartement Luxe | Incredible Sunset View - Pool - Parking - Near Old Québec - Foto 23
Appartement Luxe | Incredible Sunset View - Pool - Parking - Near Old Québec - Foto 24
Appartement Luxe | Incredible Sunset View - Pool - Parking - Near Old Québec - Foto 25
Appartement Luxe | Incredible Sunset View - Pool - Parking - Near Old Québec - Foto 26
Appartement Luxe | Incredible Sunset View - Pool - Parking - Near Old Québec - Foto 27
Appartement Luxe | Incredible Sunset View - Pool - Parking - Near Old Québec - Foto 28
Appartement Luxe | Incredible Sunset View - Pool - Parking - Near Old Québec - Foto 29
Appartement Luxe | Incredible Sunset View - Pool - Parking - Near Old Québec - Foto 30
Appartement Luxe | Incredible Sunset View - Pool - Parking - Near Old Québec - Foto 31
Appartement Luxe | Incredible Sunset View - Pool - Parking - Near Old Québec - Foto 32
Appartement Luxe | Incredible Sunset View - Pool - Parking - Near Old Québec - Foto 33
Appartement Luxe | Incredible Sunset View - Pool - Parking - Near Old Québec - Foto 34

Appartement Luxe | Incredible Sunset View - Pool - Parking - Near Old Québec

Quebec City - Faubourgs - Im Zentrum

  • 54 M2
  • 6 Personen
  • Klimaanlage
  • Heizung
  • Schwimmbad
  • Parkplatz
  • Fahrstuhl
  • Tv
  • Waschmaschine
  • Handtücher
  • Bettlaken
9.8Außergewöhnlich | 13 Bewertungen
Horseshoe Valley Suites - The Azure - Foto 1
Horseshoe Valley Suites - The Azure - Foto 2
Horseshoe Valley Suites - The Azure - Foto 3
Horseshoe Valley Suites - The Azure - Foto 4
Horseshoe Valley Suites - The Azure - Foto 5
Horseshoe Valley Suites - The Azure - Foto 6
Horseshoe Valley Suites - The Azure - Foto 7
Horseshoe Valley Suites - The Azure - Foto 8
Horseshoe Valley Suites - The Azure - Foto 9
Horseshoe Valley Suites - The Azure - Foto 10
Horseshoe Valley Suites - The Azure - Foto 11
Horseshoe Valley Suites - The Azure - Foto 12
Horseshoe Valley Suites - The Azure - Foto 13
Horseshoe Valley Suites - The Azure - Foto 14
Horseshoe Valley Suites - The Azure - Foto 15
Horseshoe Valley Suites - The Azure - Foto 16
Horseshoe Valley Suites - The Azure - Foto 17
Horseshoe Valley Suites - The Azure - Foto 18
Horseshoe Valley Suites - The Azure - Foto 19
Horseshoe Valley Suites - The Azure - Foto 20
Horseshoe Valley Suites - The Azure - Foto 21
Horseshoe Valley Suites - The Azure - Foto 22
Horseshoe Valley Suites - The Azure - Foto 23
Horseshoe Valley Suites - The Azure - Foto 24
Horseshoe Valley Suites - The Azure - Foto 25
Horseshoe Valley Suites - The Azure - Foto 26
Horseshoe Valley Suites - The Azure - Foto 27
Horseshoe Valley Suites - The Azure - Foto 28
Horseshoe Valley Suites - The Azure - Foto 29
Horseshoe Valley Suites - The Azure - Foto 30
Horseshoe Valley Suites - The Azure - Foto 31
Horseshoe Valley Suites - The Azure - Foto 32
Horseshoe Valley Suites - The Azure - Foto 33
Horseshoe Valley Suites - The Azure - Foto 34
Horseshoe Valley Suites - The Azure - Foto 35
Horseshoe Valley Suites - The Azure - Foto 36
Horseshoe Valley Suites - The Azure - Foto 37
Horseshoe Valley Suites - The Azure - Foto 38
Horseshoe Valley Suites - The Azure - Foto 39
Horseshoe Valley Suites - The Azure - Foto 40
Horseshoe Valley Suites - The Azure - Foto 41
Horseshoe Valley Suites - The Azure - Foto 42
Horseshoe Valley Suites - The Azure - Foto 43
Horseshoe Valley Suites - The Azure - Foto 44

Horseshoe Valley Suites - The Azure

Oro-Medonte - 13.1 km vom Zentrum

  • 8 Personen
  • Klimaanlage
  • Heizung
  • Terrasse
  • Schwimmbad
  • Parkplatz
  • Garten
  • Tv
  • Waschmaschine
  • Schornstein
  • Handtücher
  • Bettlaken
9.8Außergewöhnlich | 15 Bewertungen
Mountain Retreat - Heated Pool & Hot-tub & Sauna - Foto 1
Mountain Retreat - Heated Pool & Hot-tub & Sauna - Foto 2
Mountain Retreat - Heated Pool & Hot-tub & Sauna - Foto 3
Mountain Retreat - Heated Pool & Hot-tub & Sauna - Foto 4
Mountain Retreat - Heated Pool & Hot-tub & Sauna - Foto 5
Mountain Retreat - Heated Pool & Hot-tub & Sauna - Foto 6
Mountain Retreat - Heated Pool & Hot-tub & Sauna - Foto 7
Mountain Retreat - Heated Pool & Hot-tub & Sauna - Foto 8
Mountain Retreat - Heated Pool & Hot-tub & Sauna - Foto 9
Mountain Retreat - Heated Pool & Hot-tub & Sauna - Foto 10
Mountain Retreat - Heated Pool & Hot-tub & Sauna - Foto 11
Mountain Retreat - Heated Pool & Hot-tub & Sauna - Foto 12
Mountain Retreat - Heated Pool & Hot-tub & Sauna - Foto 13
Mountain Retreat - Heated Pool & Hot-tub & Sauna - Foto 14
Mountain Retreat - Heated Pool & Hot-tub & Sauna - Foto 15
Mountain Retreat - Heated Pool & Hot-tub & Sauna - Foto 16
Mountain Retreat - Heated Pool & Hot-tub & Sauna - Foto 17
Mountain Retreat - Heated Pool & Hot-tub & Sauna - Foto 18
Mountain Retreat - Heated Pool & Hot-tub & Sauna - Foto 19
Mountain Retreat - Heated Pool & Hot-tub & Sauna - Foto 20
Mountain Retreat - Heated Pool & Hot-tub & Sauna - Foto 21
Mountain Retreat - Heated Pool & Hot-tub & Sauna - Foto 22
Mountain Retreat - Heated Pool & Hot-tub & Sauna - Foto 23
Mountain Retreat - Heated Pool & Hot-tub & Sauna - Foto 24
Mountain Retreat - Heated Pool & Hot-tub & Sauna - Foto 25
Mountain Retreat - Heated Pool & Hot-tub & Sauna - Foto 26
Mountain Retreat - Heated Pool & Hot-tub & Sauna - Foto 27
Mountain Retreat - Heated Pool & Hot-tub & Sauna - Foto 28
Mountain Retreat - Heated Pool & Hot-tub & Sauna - Foto 29
Mountain Retreat - Heated Pool & Hot-tub & Sauna - Foto 30
Mountain Retreat - Heated Pool & Hot-tub & Sauna - Foto 31
Mountain Retreat - Heated Pool & Hot-tub & Sauna - Foto 32
Mountain Retreat - Heated Pool & Hot-tub & Sauna - Foto 33
Mountain Retreat - Heated Pool & Hot-tub & Sauna - Foto 34
Mountain Retreat - Heated Pool & Hot-tub & Sauna - Foto 35
Mountain Retreat - Heated Pool & Hot-tub & Sauna - Foto 36
Mountain Retreat - Heated Pool & Hot-tub & Sauna - Foto 37
Mountain Retreat - Heated Pool & Hot-tub & Sauna - Foto 38
Mountain Retreat - Heated Pool & Hot-tub & Sauna - Foto 39

Mountain Retreat - Heated Pool & Hot-tub & Sauna

Canmore - 1.1 km vom Zentrum

  • 63 M2
  • 4 Personen
  • Klimaanlage
  • Heizung
  • Schwimmbad
  • Parkplatz
  • Fahrstuhl
  • Balkon
  • Tv
  • Waschmaschine
  • Schornstein
  • Barbecue
  • Handtücher
  • Bettlaken
9.8Außergewöhnlich | 19 Bewertungen
Borealis - RVMT - Foto 1
Borealis - RVMT - Foto 2
Borealis - RVMT - Foto 3
Borealis - RVMT - Foto 4
Borealis - RVMT - Foto 5
Borealis - RVMT - Foto 6
Borealis - RVMT - Foto 7
Borealis - RVMT - Foto 8
Borealis - RVMT - Foto 9
Borealis - RVMT - Foto 10
Borealis - RVMT - Foto 11
Borealis - RVMT - Foto 12
Borealis - RVMT - Foto 13
Borealis - RVMT - Foto 14
Borealis - RVMT - Foto 15
Borealis - RVMT - Foto 16
Borealis - RVMT - Foto 17
Borealis - RVMT - Foto 18
Borealis - RVMT - Foto 19
Borealis - RVMT - Foto 20
Borealis - RVMT - Foto 21
Borealis - RVMT - Foto 22
Borealis - RVMT - Foto 23
Borealis - RVMT - Foto 24
Borealis - RVMT - Foto 25
Borealis - RVMT - Foto 26
Borealis - RVMT - Foto 27
Borealis - RVMT - Foto 28
Borealis - RVMT - Foto 29
Borealis - RVMT - Foto 30
Borealis - RVMT - Foto 31
Borealis - RVMT - Foto 32
Borealis - RVMT - Foto 33
Borealis - RVMT - Foto 34
Borealis - RVMT - Foto 35
Borealis - RVMT - Foto 36
Borealis - RVMT - Foto 37
Borealis - RVMT - Foto 38
Borealis - RVMT - Foto 39
Borealis - RVMT - Foto 40
Borealis - RVMT - Foto 41
Borealis - RVMT - Foto 42
Borealis - RVMT - Foto 43
Borealis - RVMT - Foto 44
Borealis - RVMT - Foto 45
Borealis - RVMT - Foto 46
Borealis - RVMT - Foto 47
Borealis - RVMT - Foto 48
Borealis - RVMT - Foto 49
Borealis - RVMT - Foto 50
Borealis - RVMT - Foto 51
Borealis - RVMT - Foto 52
Borealis - RVMT - Foto 53
Borealis - RVMT - Foto 54
Borealis - RVMT - Foto 55
Borealis - RVMT - Foto 56
Borealis - RVMT - Foto 57
Borealis - RVMT - Foto 58
Borealis - RVMT - Foto 59
Borealis - RVMT - Foto 60
Borealis - RVMT - Foto 61
Borealis - RVMT - Foto 62
Borealis - RVMT - Foto 63
Borealis - RVMT - Foto 64
Borealis - RVMT - Foto 65
Borealis - RVMT - Foto 66
Borealis - RVMT - Foto 67
Borealis - RVMT - Foto 68
Borealis - RVMT - Foto 69
Borealis - RVMT - Foto 70
Borealis - RVMT - Foto 71
Borealis - RVMT - Foto 72
Borealis - RVMT - Foto 73
Borealis - RVMT - Foto 74
Borealis - RVMT - Foto 75
Borealis - RVMT - Foto 76
Borealis - RVMT - Foto 77
Borealis - RVMT - Foto 78
Borealis - RVMT - Foto 79
Borealis - RVMT - Foto 80

Borealis - RVMT

Mont-Tremblant - 7 km vom Zentrum

  • 153 M2
  • 9 Personen
  • Klimaanlage
  • Heizung
  • Terrasse
  • Schwimmbad
  • Parkplatz
  • Balkon
  • Garten
  • Tv
  • Waschmaschine
  • Schornstein
  • Barbecue
  • Handtücher
  • Bettlaken
9.8Außergewöhnlich | 15 Bewertungen
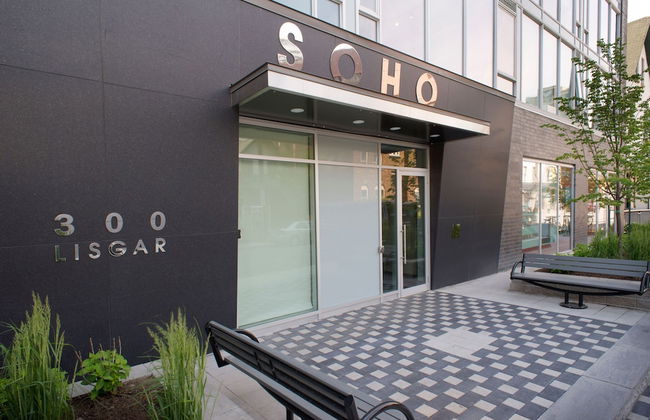
SOHO Residences Lisgar - Foto 1
SOHO Residences Lisgar - Foto 2
SOHO Residences Lisgar - Foto 3
SOHO Residences Lisgar - Foto 4
SOHO Residences Lisgar - Foto 5
SOHO Residences Lisgar - Foto 6
SOHO Residences Lisgar - Foto 7
SOHO Residences Lisgar - Foto 8
SOHO Residences Lisgar - Foto 9
SOHO Residences Lisgar - Foto 10
SOHO Residences Lisgar - Foto 11
SOHO Residences Lisgar - Foto 12
SOHO Residences Lisgar - Foto 13
SOHO Residences Lisgar - Foto 14
SOHO Residences Lisgar - Foto 15
SOHO Residences Lisgar - Foto 16
SOHO Residences Lisgar - Foto 17
SOHO Residences Lisgar - Foto 18
SOHO Residences Lisgar - Foto 19
SOHO Residences Lisgar - Foto 20
SOHO Residences Lisgar - Foto 21
SOHO Residences Lisgar - Foto 22
SOHO Residences Lisgar - Foto 23
SOHO Residences Lisgar - Foto 24
SOHO Residences Lisgar - Foto 25
SOHO Residences Lisgar - Foto 26
SOHO Residences Lisgar - Foto 27
SOHO Residences Lisgar - Foto 28

SOHO Residences Lisgar

Ottawa - Centretown-Downtown - Im Zentrum

  • 81 M2
  • 4 Personen
  • Klimaanlage
  • Heizung
  • Terrasse
  • Schwimmbad
  • Parkplatz
  • Fahrstuhl
  • Garten
  • Tv
  • Waschmaschine
  • Barbecue
  • Handtücher
  • Bettlaken
9.4Außergewöhnlich | 518 Bewertungen
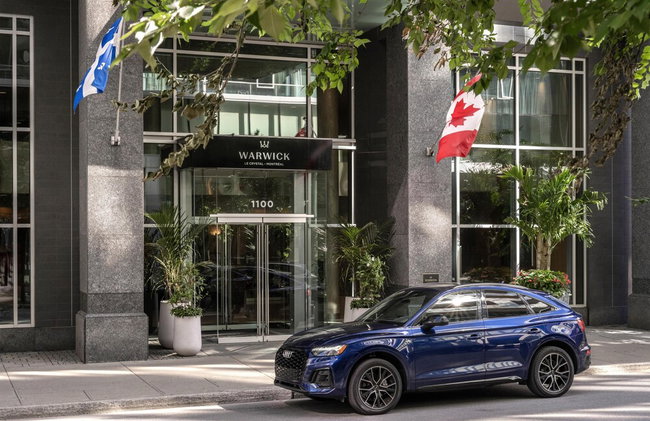
Warwick Le Crystal - Montréal - Foto 1
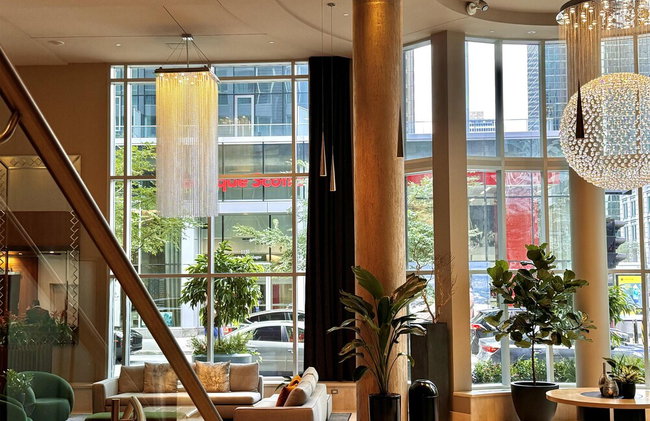
Warwick Le Crystal - Montréal - Foto 2
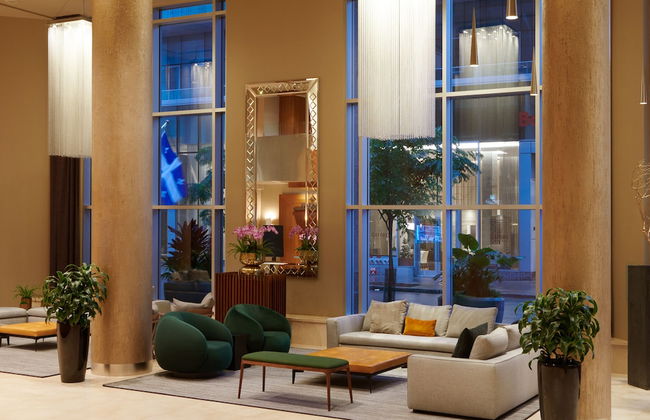
Warwick Le Crystal - Montréal - Foto 3
Warwick Le Crystal - Montréal - Foto 4
Warwick Le Crystal - Montréal - Foto 5
Warwick Le Crystal - Montréal - Foto 6
Warwick Le Crystal - Montréal - Foto 7
Warwick Le Crystal - Montréal - Foto 8
Warwick Le Crystal - Montréal - Foto 9
Warwick Le Crystal - Montréal - Foto 10
Warwick Le Crystal - Montréal - Foto 11
Warwick Le Crystal - Montréal - Foto 12
Warwick Le Crystal - Montréal - Foto 13
Warwick Le Crystal - Montréal - Foto 14
Warwick Le Crystal - Montréal - Foto 15
Warwick Le Crystal - Montréal - Foto 16
Warwick Le Crystal - Montréal - Foto 17
Warwick Le Crystal - Montréal - Foto 18
Warwick Le Crystal - Montréal - Foto 19
Warwick Le Crystal - Montréal - Foto 20
Warwick Le Crystal - Montréal - Foto 21
Warwick Le Crystal - Montréal - Foto 22
Warwick Le Crystal - Montréal - Foto 23
Warwick Le Crystal - Montréal - Foto 24
Warwick Le Crystal - Montréal - Foto 25
Warwick Le Crystal - Montréal - Foto 26
Warwick Le Crystal - Montréal - Foto 27
Warwick Le Crystal - Montréal - Foto 28
Warwick Le Crystal - Montréal - Foto 29
Warwick Le Crystal - Montréal - Foto 30
Warwick Le Crystal - Montréal - Foto 31
Warwick Le Crystal - Montréal - Foto 32
Warwick Le Crystal - Montréal - Foto 33
Warwick Le Crystal - Montréal - Foto 34
Warwick Le Crystal - Montréal - Foto 35
Warwick Le Crystal - Montréal - Foto 36
Warwick Le Crystal - Montréal - Foto 37
Warwick Le Crystal - Montréal - Foto 38
Warwick Le Crystal - Montréal - Foto 39
Warwick Le Crystal - Montréal - Foto 40
Warwick Le Crystal - Montréal - Foto 41
Warwick Le Crystal - Montréal - Foto 42
Warwick Le Crystal - Montréal - Foto 43
Warwick Le Crystal - Montréal - Foto 44
Warwick Le Crystal - Montréal - Foto 45
Warwick Le Crystal - Montréal - Foto 46
Warwick Le Crystal - Montréal - Foto 47
Warwick Le Crystal - Montréal - Foto 48
Warwick Le Crystal - Montréal - Foto 49
Warwick Le Crystal - Montréal - Foto 50
Warwick Le Crystal - Montréal - Foto 51
Warwick Le Crystal - Montréal - Foto 52
Warwick Le Crystal - Montréal - Foto 53
Warwick Le Crystal - Montréal - Foto 54
Warwick Le Crystal - Montréal - Foto 55
Warwick Le Crystal - Montréal - Foto 56
Warwick Le Crystal - Montréal - Foto 57
Warwick Le Crystal - Montréal - Foto 58
Warwick Le Crystal - Montréal - Foto 59
Warwick Le Crystal - Montréal - Foto 60
Warwick Le Crystal - Montréal - Foto 61
Warwick Le Crystal - Montréal - Foto 62
Warwick Le Crystal - Montréal - Foto 63
Warwick Le Crystal - Montréal - Foto 64
Warwick Le Crystal - Montréal - Foto 65
Warwick Le Crystal - Montréal - Foto 66
Warwick Le Crystal - Montréal - Foto 67
Warwick Le Crystal - Montréal - Foto 68
Warwick Le Crystal - Montréal - Foto 69
Warwick Le Crystal - Montréal - Foto 70
Warwick Le Crystal - Montréal - Foto 71
Warwick Le Crystal - Montréal - Foto 72
Warwick Le Crystal - Montréal - Foto 73
Warwick Le Crystal - Montréal - Foto 74
Warwick Le Crystal - Montréal - Foto 75
Warwick Le Crystal - Montréal - Foto 76
Warwick Le Crystal - Montréal - Foto 77
Warwick Le Crystal - Montréal - Foto 78
Warwick Le Crystal - Montréal - Foto 79
Warwick Le Crystal - Montréal - Foto 80

Warwick Le Crystal - Montréal

Montreal - Centre-Ville - 1.8 km vom Zentrum

  • 51 M2
  • 4 Personen
  • Kochnische
  • Klimaanlage
  • Heizung
  • Terrasse
  • Schwimmbad
  • Parkplatz
  • Fahrstuhl
  • Tv
  • Handtücher
  • Bettlaken
9.4Außergewöhnlich | 2152 Bewertungen
The Selkirk House by Revelstoke Vacations - Foto 1
The Selkirk House by Revelstoke Vacations - Foto 2
The Selkirk House by Revelstoke Vacations - Foto 3
The Selkirk House by Revelstoke Vacations - Foto 4
The Selkirk House by Revelstoke Vacations - Foto 5
The Selkirk House by Revelstoke Vacations - Foto 6
The Selkirk House by Revelstoke Vacations - Foto 7
The Selkirk House by Revelstoke Vacations - Foto 8
The Selkirk House by Revelstoke Vacations - Foto 9
The Selkirk House by Revelstoke Vacations - Foto 10
The Selkirk House by Revelstoke Vacations - Foto 11
The Selkirk House by Revelstoke Vacations - Foto 12
The Selkirk House by Revelstoke Vacations - Foto 13
The Selkirk House by Revelstoke Vacations - Foto 14
The Selkirk House by Revelstoke Vacations - Foto 15
The Selkirk House by Revelstoke Vacations - Foto 16
The Selkirk House by Revelstoke Vacations - Foto 17
The Selkirk House by Revelstoke Vacations - Foto 18
The Selkirk House by Revelstoke Vacations - Foto 19
The Selkirk House by Revelstoke Vacations - Foto 20
The Selkirk House by Revelstoke Vacations - Foto 21
The Selkirk House by Revelstoke Vacations - Foto 22
The Selkirk House by Revelstoke Vacations - Foto 23
The Selkirk House by Revelstoke Vacations - Foto 24
The Selkirk House by Revelstoke Vacations - Foto 25
The Selkirk House by Revelstoke Vacations - Foto 26
The Selkirk House by Revelstoke Vacations - Foto 27
The Selkirk House by Revelstoke Vacations - Foto 28
The Selkirk House by Revelstoke Vacations - Foto 29
The Selkirk House by Revelstoke Vacations - Foto 30
The Selkirk House by Revelstoke Vacations - Foto 31
The Selkirk House by Revelstoke Vacations - Foto 32
The Selkirk House by Revelstoke Vacations - Foto 33
The Selkirk House by Revelstoke Vacations - Foto 34
The Selkirk House by Revelstoke Vacations - Foto 35

The Selkirk House by Revelstoke Vacations

Revelstoke - 4.2 km vom Zentrum

  • 102 M2
  • 6 Personen
  • Klimaanlage
  • Heizung
  • Parkplatz
  • Fahrstuhl
  • Tv
  • Waschmaschine
  • Barbecue
  • Handtücher
  • Bettlaken
10Hervorragend | 20 Bewertungen
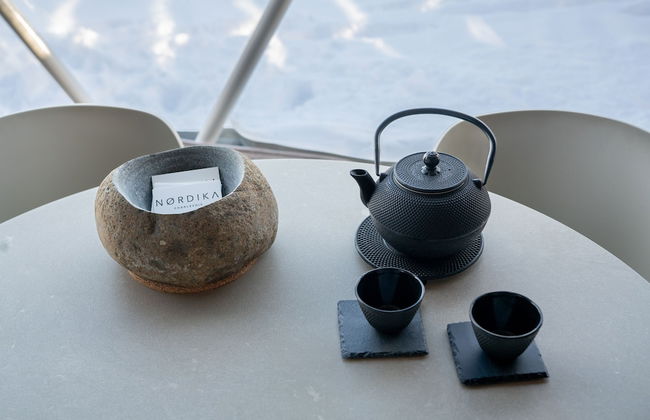
Nørdika Charlevoix - Foto 1
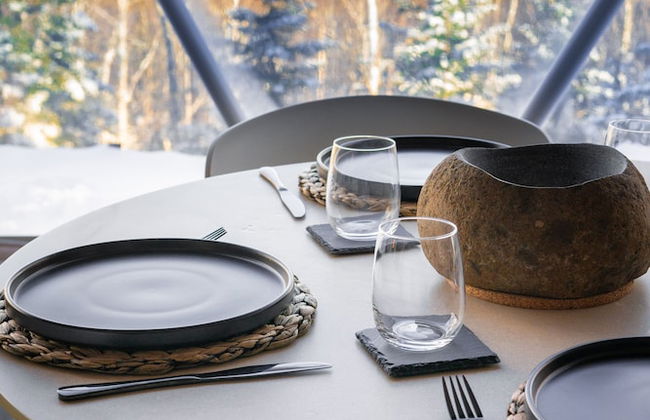
Nørdika Charlevoix - Foto 2
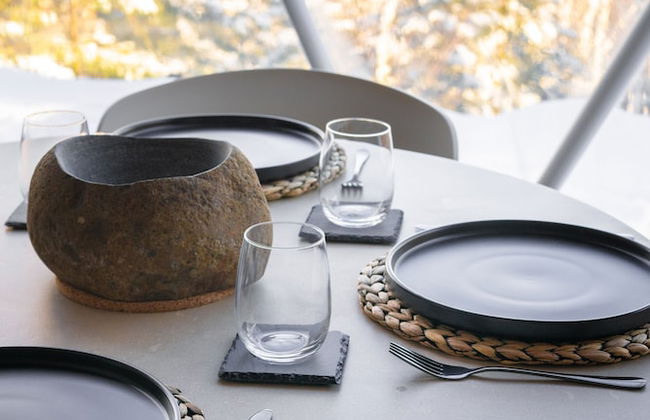
Nørdika Charlevoix - Foto 3
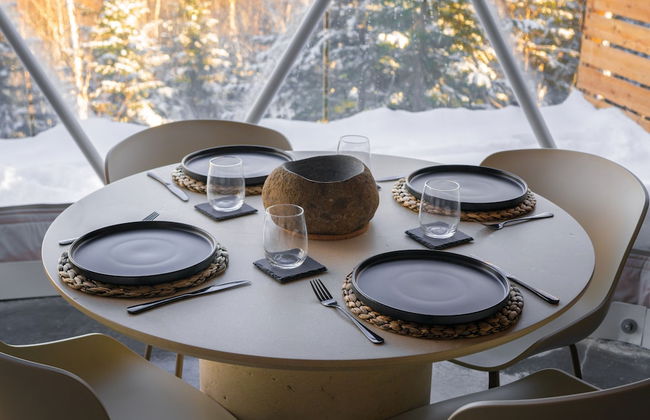
Nørdika Charlevoix - Foto 4
Nørdika Charlevoix - Foto 5
Nørdika Charlevoix - Foto 6
Nørdika Charlevoix - Foto 7
Nørdika Charlevoix - Foto 8
Nørdika Charlevoix - Foto 9
Nørdika Charlevoix - Foto 10
Nørdika Charlevoix - Foto 11
Nørdika Charlevoix - Foto 12
Nørdika Charlevoix - Foto 13
Nørdika Charlevoix - Foto 14
Nørdika Charlevoix - Foto 15
Nørdika Charlevoix - Foto 16
Nørdika Charlevoix - Foto 17
Nørdika Charlevoix - Foto 18
Nørdika Charlevoix - Foto 19
Nørdika Charlevoix - Foto 20
Nørdika Charlevoix - Foto 21
Nørdika Charlevoix - Foto 22
Nørdika Charlevoix - Foto 23
Nørdika Charlevoix - Foto 24
Nørdika Charlevoix - Foto 25
Nørdika Charlevoix - Foto 26
Nørdika Charlevoix - Foto 27
Nørdika Charlevoix - Foto 28
Nørdika Charlevoix - Foto 29
Nørdika Charlevoix - Foto 30
Nørdika Charlevoix - Foto 31
Nørdika Charlevoix - Foto 32
Nørdika Charlevoix - Foto 33
Nørdika Charlevoix - Foto 34
Nørdika Charlevoix - Foto 35
Nørdika Charlevoix - Foto 36
Nørdika Charlevoix - Foto 37
Nørdika Charlevoix - Foto 38
Nørdika Charlevoix - Foto 39
Nørdika Charlevoix - Foto 40
Nørdika Charlevoix - Foto 41
Nørdika Charlevoix - Foto 42
Nørdika Charlevoix - Foto 43
Nørdika Charlevoix - Foto 44
Nørdika Charlevoix - Foto 45
Nørdika Charlevoix - Foto 46
Nørdika Charlevoix - Foto 47
Nørdika Charlevoix - Foto 48
Nørdika Charlevoix - Foto 49
Nørdika Charlevoix - Foto 50
Nørdika Charlevoix - Foto 51
Nørdika Charlevoix - Foto 52
Nørdika Charlevoix - Foto 53
Nørdika Charlevoix - Foto 54
Nørdika Charlevoix - Foto 55
Nørdika Charlevoix - Foto 56
Nørdika Charlevoix - Foto 57
Nørdika Charlevoix - Foto 58
Nørdika Charlevoix - Foto 59
Nørdika Charlevoix - Foto 60
Nørdika Charlevoix - Foto 61
Nørdika Charlevoix - Foto 62
Nørdika Charlevoix - Foto 63
Nørdika Charlevoix - Foto 64
Nørdika Charlevoix - Foto 65
Nørdika Charlevoix - Foto 66
Nørdika Charlevoix - Foto 67
Nørdika Charlevoix - Foto 68
Nørdika Charlevoix - Foto 69
Nørdika Charlevoix - Foto 70
Nørdika Charlevoix - Foto 71
Nørdika Charlevoix - Foto 72
Nørdika Charlevoix - Foto 73
Nørdika Charlevoix - Foto 74
Nørdika Charlevoix - Foto 75
Nørdika Charlevoix - Foto 76
Nørdika Charlevoix - Foto 77
Nørdika Charlevoix - Foto 78
Nørdika Charlevoix - Foto 79
Nørdika Charlevoix - Foto 80

Nørdika Charlevoix

Baie-St-Paul - 5.5 km vom Zentrum

  • 49 M2
  • 4 Personen
  • Kochnische
  • Klimaanlage
  • Heizung
  • Terrasse
  • Parkplatz
  • Balkon
  • Garten
  • Schornstein
  • Handtücher
10Hervorragend | 28 Bewertungen
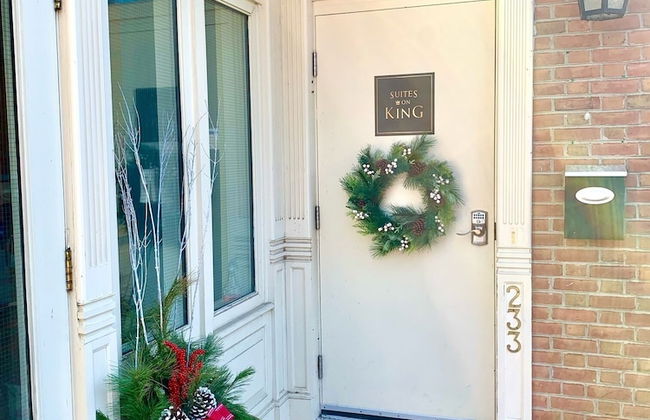
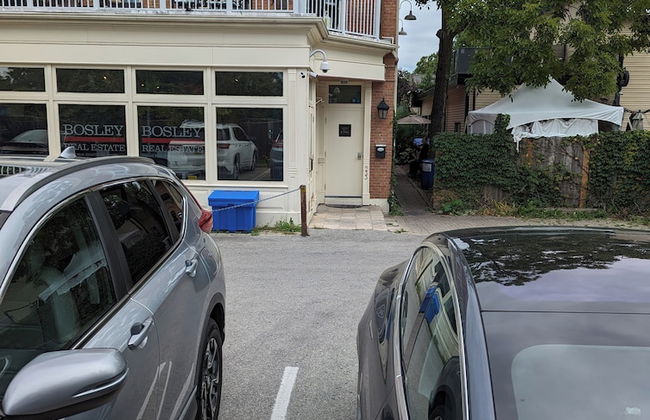
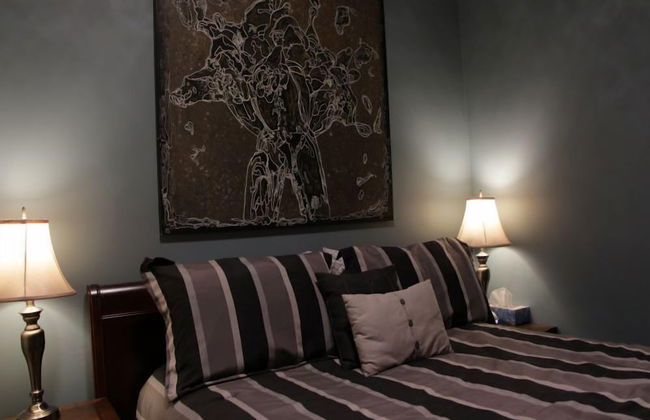
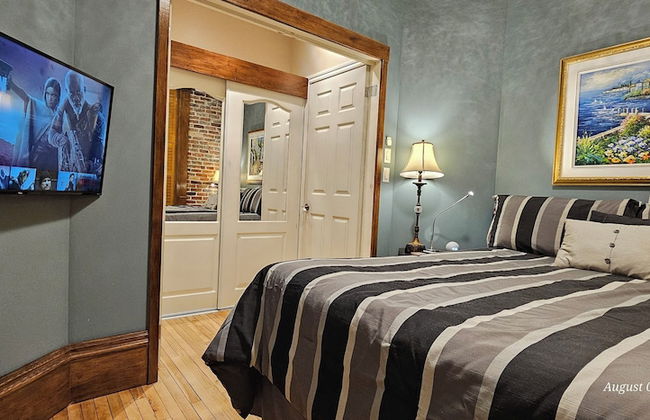
Suites On King - Foto 1
Suites On King - Foto 2
Suites On King - Foto 3
Suites On King - Foto 4
Suites On King - Foto 5
Suites On King - Foto 6
Suites On King - Foto 7
Suites On King - Foto 8
Suites On King - Foto 9
Suites On King - Foto 10
Suites On King - Foto 11
Suites On King - Foto 12
Suites On King - Foto 13
Suites On King - Foto 14
Suites On King - Foto 15
Suites On King - Foto 16
Suites On King - Foto 17
Suites On King - Foto 18
Suites On King - Foto 19
Suites On King - Foto 20
Suites On King - Foto 21
Suites On King - Foto 22
Suites On King - Foto 23
Suites On King - Foto 24
Suites On King - Foto 25
Suites On King - Foto 26
Suites On King - Foto 27
Suites On King - Foto 28
Suites On King - Foto 29
Suites On King - Foto 30

Suites On King

Niagara-on-the-Lake - Im Zentrum

  • 74 M2
  • 4 Personen
  • Kochnische
  • Klimaanlage
  • Heizung
  • Terrasse
  • Parkplatz
  • Balkon
  • Tv
  • Waschmaschine
  • Schornstein
  • Handtücher
  • Bettlaken
10Hervorragend | 255 Bewertungen
Vieux-Old Farnham Appart Condotel1 - Foto 1
Vieux-Old Farnham Appart Condotel1 - Foto 2
Vieux-Old Farnham Appart Condotel1 - Foto 3
Vieux-Old Farnham Appart Condotel1 - Foto 4
Vieux-Old Farnham Appart Condotel1 - Foto 5
Vieux-Old Farnham Appart Condotel1 - Foto 6
Vieux-Old Farnham Appart Condotel1 - Foto 7
Vieux-Old Farnham Appart Condotel1 - Foto 8
Vieux-Old Farnham Appart Condotel1 - Foto 9
Vieux-Old Farnham Appart Condotel1 - Foto 10

Vieux-Old Farnham Appart Condotel1

Farnham - Im Zentrum

  • 37 M2
  • 4 Personen
  • Klimaanlage
  • Heizung
  • Terrasse
  • Parkplatz
  • Balkon
  • Tv
  • Waschmaschine
  • Schornstein
  • Handtücher
  • Bettlaken
10Hervorragend | 108 Bewertungen
The Harbour Toronto - Foto 1
The Harbour Toronto - Foto 2
The Harbour Toronto - Foto 3
The Harbour Toronto - Foto 4
The Harbour Toronto - Foto 5
The Harbour Toronto - Foto 6
The Harbour Toronto - Foto 7
The Harbour Toronto - Foto 8
The Harbour Toronto - Foto 9
The Harbour Toronto - Foto 10
The Harbour Toronto - Foto 11
The Harbour Toronto - Foto 12
The Harbour Toronto - Foto 13
The Harbour Toronto - Foto 14
The Harbour Toronto - Foto 15
The Harbour Toronto - Foto 16
The Harbour Toronto - Foto 17
The Harbour Toronto - Foto 18
The Harbour Toronto - Foto 19
The Harbour Toronto - Foto 20
The Harbour Toronto - Foto 21
The Harbour Toronto - Foto 22
The Harbour Toronto - Foto 23
The Harbour Toronto - Foto 24
The Harbour Toronto - Foto 25
The Harbour Toronto - Foto 26
The Harbour Toronto - Foto 27
The Harbour Toronto - Foto 28
The Harbour Toronto - Foto 29
The Harbour Toronto - Foto 30
The Harbour Toronto - Foto 31
The Harbour Toronto - Foto 32
The Harbour Toronto - Foto 33
The Harbour Toronto - Foto 34
The Harbour Toronto - Foto 35
The Harbour Toronto - Foto 36
The Harbour Toronto - Foto 37
The Harbour Toronto - Foto 38
The Harbour Toronto - Foto 39
The Harbour Toronto - Foto 40
The Harbour Toronto - Foto 41
The Harbour Toronto - Foto 42
The Harbour Toronto - Foto 43
The Harbour Toronto - Foto 44
The Harbour Toronto - Foto 45
The Harbour Toronto - Foto 46
The Harbour Toronto - Foto 47
The Harbour Toronto - Foto 48
The Harbour Toronto - Foto 49
The Harbour Toronto - Foto 50
The Harbour Toronto - Foto 51
The Harbour Toronto - Foto 52
The Harbour Toronto - Foto 53
The Harbour Toronto - Foto 54
The Harbour Toronto - Foto 55
The Harbour Toronto - Foto 56
The Harbour Toronto - Foto 57
The Harbour Toronto - Foto 58
The Harbour Toronto - Foto 59
The Harbour Toronto - Foto 60
The Harbour Toronto - Foto 61
The Harbour Toronto - Foto 62
The Harbour Toronto - Foto 63
The Harbour Toronto - Foto 64
The Harbour Toronto - Foto 65
The Harbour Toronto - Foto 66
The Harbour Toronto - Foto 67
The Harbour Toronto - Foto 68
The Harbour Toronto - Foto 69
The Harbour Toronto - Foto 70
The Harbour Toronto - Foto 71
The Harbour Toronto - Foto 72
The Harbour Toronto - Foto 73
The Harbour Toronto - Foto 74
The Harbour Toronto - Foto 75
The Harbour Toronto - Foto 76
The Harbour Toronto - Foto 77
The Harbour Toronto - Foto 78
The Harbour Toronto - Foto 79
The Harbour Toronto - Foto 80

The Harbour Toronto

Toronto - Waterfront Communities-the Island - 310 m vom Zentrum

  • 4 Personen
  • Klimaanlage
  • Heizung
  • Schwimmbad
  • Parkplatz
  • Fahrstuhl
  • Tv
  • Waschmaschine
  • Handtücher
  • Bettlaken
9.6Außergewöhnlich | 41 Bewertungen
Quartier des Marinas - Hôtel Expérience - Foto 1
Quartier des Marinas - Hôtel Expérience - Foto 2
Quartier des Marinas - Hôtel Expérience - Foto 3
Quartier des Marinas - Hôtel Expérience - Foto 4
Quartier des Marinas - Hôtel Expérience - Foto 5
Quartier des Marinas - Hôtel Expérience - Foto 6
Quartier des Marinas - Hôtel Expérience - Foto 7
Quartier des Marinas - Hôtel Expérience - Foto 8
Quartier des Marinas - Hôtel Expérience - Foto 9
Quartier des Marinas - Hôtel Expérience - Foto 10
Quartier des Marinas - Hôtel Expérience - Foto 11
Quartier des Marinas - Hôtel Expérience - Foto 12
Quartier des Marinas - Hôtel Expérience - Foto 13
Quartier des Marinas - Hôtel Expérience - Foto 14
Quartier des Marinas - Hôtel Expérience - Foto 15
Quartier des Marinas - Hôtel Expérience - Foto 16
Quartier des Marinas - Hôtel Expérience - Foto 17
Quartier des Marinas - Hôtel Expérience - Foto 18
Quartier des Marinas - Hôtel Expérience - Foto 19
Quartier des Marinas - Hôtel Expérience - Foto 20
Quartier des Marinas - Hôtel Expérience - Foto 21
Quartier des Marinas - Hôtel Expérience - Foto 22
Quartier des Marinas - Hôtel Expérience - Foto 23
Quartier des Marinas - Hôtel Expérience - Foto 24
Quartier des Marinas - Hôtel Expérience - Foto 25
Quartier des Marinas - Hôtel Expérience - Foto 26
Quartier des Marinas - Hôtel Expérience - Foto 27
Quartier des Marinas - Hôtel Expérience - Foto 28
Quartier des Marinas - Hôtel Expérience - Foto 29
Quartier des Marinas - Hôtel Expérience - Foto 30
Quartier des Marinas - Hôtel Expérience - Foto 31
Quartier des Marinas - Hôtel Expérience - Foto 32
Quartier des Marinas - Hôtel Expérience - Foto 33
Quartier des Marinas - Hôtel Expérience - Foto 34
Quartier des Marinas - Hôtel Expérience - Foto 35
Quartier des Marinas - Hôtel Expérience - Foto 36
Quartier des Marinas - Hôtel Expérience - Foto 37
Quartier des Marinas - Hôtel Expérience - Foto 38
Quartier des Marinas - Hôtel Expérience - Foto 39
Quartier des Marinas - Hôtel Expérience - Foto 40
Quartier des Marinas - Hôtel Expérience - Foto 41
Quartier des Marinas - Hôtel Expérience - Foto 42
Quartier des Marinas - Hôtel Expérience - Foto 43
Quartier des Marinas - Hôtel Expérience - Foto 44
Quartier des Marinas - Hôtel Expérience - Foto 45
Quartier des Marinas - Hôtel Expérience - Foto 46
Quartier des Marinas - Hôtel Expérience - Foto 47
Quartier des Marinas - Hôtel Expérience - Foto 48
Quartier des Marinas - Hôtel Expérience - Foto 49
Quartier des Marinas - Hôtel Expérience - Foto 50
Quartier des Marinas - Hôtel Expérience - Foto 51
Quartier des Marinas - Hôtel Expérience - Foto 52
Quartier des Marinas - Hôtel Expérience - Foto 53
Quartier des Marinas - Hôtel Expérience - Foto 54
Quartier des Marinas - Hôtel Expérience - Foto 55
Quartier des Marinas - Hôtel Expérience - Foto 56
Quartier des Marinas - Hôtel Expérience - Foto 57
Quartier des Marinas - Hôtel Expérience - Foto 58
Quartier des Marinas - Hôtel Expérience - Foto 59
Quartier des Marinas - Hôtel Expérience - Foto 60
Quartier des Marinas - Hôtel Expérience - Foto 61
Quartier des Marinas - Hôtel Expérience - Foto 62
Quartier des Marinas - Hôtel Expérience - Foto 63
Quartier des Marinas - Hôtel Expérience - Foto 64
Quartier des Marinas - Hôtel Expérience - Foto 65
Quartier des Marinas - Hôtel Expérience - Foto 66
Quartier des Marinas - Hôtel Expérience - Foto 67
Quartier des Marinas - Hôtel Expérience - Foto 68
Quartier des Marinas - Hôtel Expérience - Foto 69
Quartier des Marinas - Hôtel Expérience - Foto 70
Quartier des Marinas - Hôtel Expérience - Foto 71
Quartier des Marinas - Hôtel Expérience - Foto 72
Quartier des Marinas - Hôtel Expérience - Foto 73
Quartier des Marinas - Hôtel Expérience - Foto 74
Quartier des Marinas - Hôtel Expérience - Foto 75
Quartier des Marinas - Hôtel Expérience - Foto 76
Quartier des Marinas - Hôtel Expérience - Foto 77
Quartier des Marinas - Hôtel Expérience - Foto 78
Quartier des Marinas - Hôtel Expérience - Foto 79
Quartier des Marinas - Hôtel Expérience - Foto 80

Quartier des Marinas - Hôtel Expérience

Magog - Im Zentrum

  • 6 Personen
  • Klimaanlage
  • Heizung
  • Terrasse
  • Parkplatz
  • Fahrstuhl
  • Balkon
  • Tv
  • Waschmaschine
  • Schornstein
  • Handtücher
  • Bettlaken
9.6Außergewöhnlich | 499 Bewertungen
Bellair Yorkville - Foto 1
Bellair Yorkville - Foto 2
Bellair Yorkville - Foto 3
Bellair Yorkville - Foto 4
Bellair Yorkville - Foto 5
Bellair Yorkville - Foto 6
Bellair Yorkville - Foto 7
Bellair Yorkville - Foto 8
Bellair Yorkville - Foto 9
Bellair Yorkville - Foto 10
Bellair Yorkville - Foto 11
Bellair Yorkville - Foto 12
Bellair Yorkville - Foto 13
Bellair Yorkville - Foto 14
Bellair Yorkville - Foto 15
Bellair Yorkville - Foto 16
Bellair Yorkville - Foto 17
Bellair Yorkville - Foto 18
Bellair Yorkville - Foto 19
Bellair Yorkville - Foto 20
Bellair Yorkville - Foto 21
Bellair Yorkville - Foto 22
Bellair Yorkville - Foto 23
Bellair Yorkville - Foto 24
Bellair Yorkville - Foto 25
Bellair Yorkville - Foto 26
Bellair Yorkville - Foto 27
Bellair Yorkville - Foto 28
Bellair Yorkville - Foto 29
Bellair Yorkville - Foto 30
Bellair Yorkville - Foto 31
Bellair Yorkville - Foto 32
Bellair Yorkville - Foto 33
Bellair Yorkville - Foto 34
Bellair Yorkville - Foto 35
Bellair Yorkville - Foto 36
Bellair Yorkville - Foto 37
Bellair Yorkville - Foto 38
Bellair Yorkville - Foto 39
Bellair Yorkville - Foto 40
Bellair Yorkville - Foto 41
Bellair Yorkville - Foto 42
Bellair Yorkville - Foto 43
Bellair Yorkville - Foto 44
Bellair Yorkville - Foto 45
Bellair Yorkville - Foto 46
Bellair Yorkville - Foto 47
Bellair Yorkville - Foto 48
Bellair Yorkville - Foto 49
Bellair Yorkville - Foto 50
Bellair Yorkville - Foto 51
Bellair Yorkville - Foto 52
Bellair Yorkville - Foto 53
Bellair Yorkville - Foto 54
Bellair Yorkville - Foto 55
Bellair Yorkville - Foto 56
Bellair Yorkville - Foto 57
Bellair Yorkville - Foto 58
Bellair Yorkville - Foto 59
Bellair Yorkville - Foto 60
Bellair Yorkville - Foto 61
Bellair Yorkville - Foto 62
Bellair Yorkville - Foto 63
Bellair Yorkville - Foto 64
Bellair Yorkville - Foto 65
Bellair Yorkville - Foto 66
Bellair Yorkville - Foto 67
Bellair Yorkville - Foto 68
Bellair Yorkville - Foto 69
Bellair Yorkville - Foto 70
Bellair Yorkville - Foto 71
Bellair Yorkville - Foto 72
Bellair Yorkville - Foto 73
Bellair Yorkville - Foto 74
Bellair Yorkville - Foto 75
Bellair Yorkville - Foto 76
Bellair Yorkville - Foto 77
Bellair Yorkville - Foto 78
Bellair Yorkville - Foto 79
Bellair Yorkville - Foto 80

Bellair Yorkville

Toronto - Annex - 2 km vom Zentrum

  • 93 M2
  • 5 Personen
  • Klimaanlage
  • Heizung
  • Schwimmbad
  • Parkplatz
  • Fahrstuhl
  • Tv
  • Waschmaschine
  • Handtücher
  • Bettlaken
9.6Außergewöhnlich | 110 Bewertungen
Top Floor Condo at Amenity Rich Resort - Foto 1
Top Floor Condo at Amenity Rich Resort - Foto 2
Top Floor Condo at Amenity Rich Resort - Foto 3
Top Floor Condo at Amenity Rich Resort - Foto 4
Top Floor Condo at Amenity Rich Resort - Foto 5
Top Floor Condo at Amenity Rich Resort - Foto 6
Top Floor Condo at Amenity Rich Resort - Foto 7
Top Floor Condo at Amenity Rich Resort - Foto 8
Top Floor Condo at Amenity Rich Resort - Foto 9
Top Floor Condo at Amenity Rich Resort - Foto 10
Top Floor Condo at Amenity Rich Resort - Foto 11
Top Floor Condo at Amenity Rich Resort - Foto 12
Top Floor Condo at Amenity Rich Resort - Foto 13
Top Floor Condo at Amenity Rich Resort - Foto 14
Top Floor Condo at Amenity Rich Resort - Foto 15
Top Floor Condo at Amenity Rich Resort - Foto 16
Top Floor Condo at Amenity Rich Resort - Foto 17
Top Floor Condo at Amenity Rich Resort - Foto 18
Top Floor Condo at Amenity Rich Resort - Foto 19
Top Floor Condo at Amenity Rich Resort - Foto 20
Top Floor Condo at Amenity Rich Resort - Foto 21
Top Floor Condo at Amenity Rich Resort - Foto 22
Top Floor Condo at Amenity Rich Resort - Foto 23
Top Floor Condo at Amenity Rich Resort - Foto 24
Top Floor Condo at Amenity Rich Resort - Foto 25
Top Floor Condo at Amenity Rich Resort - Foto 26
Top Floor Condo at Amenity Rich Resort - Foto 27
Top Floor Condo at Amenity Rich Resort - Foto 28
Top Floor Condo at Amenity Rich Resort - Foto 29
Top Floor Condo at Amenity Rich Resort - Foto 30
Top Floor Condo at Amenity Rich Resort - Foto 31
Top Floor Condo at Amenity Rich Resort - Foto 32
Top Floor Condo at Amenity Rich Resort - Foto 33
Top Floor Condo at Amenity Rich Resort - Foto 34
Top Floor Condo at Amenity Rich Resort - Foto 35
Top Floor Condo at Amenity Rich Resort - Foto 36
Top Floor Condo at Amenity Rich Resort - Foto 37
Top Floor Condo at Amenity Rich Resort - Foto 38
Top Floor Condo at Amenity Rich Resort - Foto 39
Top Floor Condo at Amenity Rich Resort - Foto 40
Top Floor Condo at Amenity Rich Resort - Foto 41
Top Floor Condo at Amenity Rich Resort - Foto 42
Top Floor Condo at Amenity Rich Resort - Foto 43
Top Floor Condo at Amenity Rich Resort - Foto 44
Top Floor Condo at Amenity Rich Resort - Foto 45
Top Floor Condo at Amenity Rich Resort - Foto 46
Top Floor Condo at Amenity Rich Resort - Foto 47
Top Floor Condo at Amenity Rich Resort - Foto 48
Top Floor Condo at Amenity Rich Resort - Foto 49
Top Floor Condo at Amenity Rich Resort - Foto 50
Top Floor Condo at Amenity Rich Resort - Foto 51
Top Floor Condo at Amenity Rich Resort - Foto 52
Top Floor Condo at Amenity Rich Resort - Foto 53

Top Floor Condo at Amenity Rich Resort

West Kelowna - Westbank - 1.9 km vom Zentrum

  • 5 Personen
  • Klimaanlage
  • Heizung
  • Schwimmbad
  • Parkplatz
  • Fahrstuhl
  • Tv
  • Waschmaschine
  • Schornstein
  • Barbecue
  • Handtücher
  • Bettlaken
9.6Außergewöhnlich | 14 Bewertungen
Champlain Condo 202 - Foto 1
Champlain Condo 202 - Foto 2
Champlain Condo 202 - Foto 3
Champlain Condo 202 - Foto 4
Champlain Condo 202 - Foto 5
Champlain Condo 202 - Foto 6
Champlain Condo 202 - Foto 7
Champlain Condo 202 - Foto 8
Champlain Condo 202 - Foto 9
Champlain Condo 202 - Foto 10
Champlain Condo 202 - Foto 11
Champlain Condo 202 - Foto 12
Champlain Condo 202 - Foto 13
Champlain Condo 202 - Foto 14
Champlain Condo 202 - Foto 15
Champlain Condo 202 - Foto 16
Champlain Condo 202 - Foto 17
Champlain Condo 202 - Foto 18
Champlain Condo 202 - Foto 19
Champlain Condo 202 - Foto 20
Champlain Condo 202 - Foto 21
Champlain Condo 202 - Foto 22
Champlain Condo 202 - Foto 23
Champlain Condo 202 - Foto 24
Champlain Condo 202 - Foto 25
Champlain Condo 202 - Foto 26
Champlain Condo 202 - Foto 27
Champlain Condo 202 - Foto 28
Champlain Condo 202 - Foto 29
Champlain Condo 202 - Foto 30
Champlain Condo 202 - Foto 31
Champlain Condo 202 - Foto 32
Champlain Condo 202 - Foto 33
Champlain Condo 202 - Foto 34
Champlain Condo 202 - Foto 35
Champlain Condo 202 - Foto 36
Champlain Condo 202 - Foto 37
Champlain Condo 202 - Foto 38
Champlain Condo 202 - Foto 39
Champlain Condo 202 - Foto 40
Champlain Condo 202 - Foto 41
Champlain Condo 202 - Foto 42
Champlain Condo 202 - Foto 43

Champlain Condo 202

Bromont - 1.4 km vom Zentrum

  • 6 Personen
  • Klimaanlage
  • Heizung
  • Terrasse
  • Schwimmbad
  • Parkplatz
  • Tv
  • Waschmaschine
  • Schornstein
  • Barbecue
  • Handtücher
  • Bettlaken
9.6Außergewöhnlich | 20 Bewertungen
Chalet et condos Mont Sainte-Anne - Foto 1
Chalet et condos Mont Sainte-Anne - Foto 2
Chalet et condos Mont Sainte-Anne - Foto 3
Chalet et condos Mont Sainte-Anne - Foto 4
Chalet et condos Mont Sainte-Anne - Foto 5
Chalet et condos Mont Sainte-Anne - Foto 6
Chalet et condos Mont Sainte-Anne - Foto 7
Chalet et condos Mont Sainte-Anne - Foto 8
Chalet et condos Mont Sainte-Anne - Foto 9
Chalet et condos Mont Sainte-Anne - Foto 10
Chalet et condos Mont Sainte-Anne - Foto 11
Chalet et condos Mont Sainte-Anne - Foto 12
Chalet et condos Mont Sainte-Anne - Foto 13
Chalet et condos Mont Sainte-Anne - Foto 14
Chalet et condos Mont Sainte-Anne - Foto 15
Chalet et condos Mont Sainte-Anne - Foto 16
Chalet et condos Mont Sainte-Anne - Foto 17
Chalet et condos Mont Sainte-Anne - Foto 18
Chalet et condos Mont Sainte-Anne - Foto 19
Chalet et condos Mont Sainte-Anne - Foto 20
Chalet et condos Mont Sainte-Anne - Foto 21
Chalet et condos Mont Sainte-Anne - Foto 22
Chalet et condos Mont Sainte-Anne - Foto 23
Chalet et condos Mont Sainte-Anne - Foto 24
Chalet et condos Mont Sainte-Anne - Foto 25
Chalet et condos Mont Sainte-Anne - Foto 26
Chalet et condos Mont Sainte-Anne - Foto 27
Chalet et condos Mont Sainte-Anne - Foto 28
Chalet et condos Mont Sainte-Anne - Foto 29
Chalet et condos Mont Sainte-Anne - Foto 30
Chalet et condos Mont Sainte-Anne - Foto 31
Chalet et condos Mont Sainte-Anne - Foto 32
Chalet et condos Mont Sainte-Anne - Foto 33
Chalet et condos Mont Sainte-Anne - Foto 34
Chalet et condos Mont Sainte-Anne - Foto 35
Chalet et condos Mont Sainte-Anne - Foto 36
Chalet et condos Mont Sainte-Anne - Foto 37
Chalet et condos Mont Sainte-Anne - Foto 38
Chalet et condos Mont Sainte-Anne - Foto 39
Chalet et condos Mont Sainte-Anne - Foto 40
Chalet et condos Mont Sainte-Anne - Foto 41
Chalet et condos Mont Sainte-Anne - Foto 42
Chalet et condos Mont Sainte-Anne - Foto 43
Chalet et condos Mont Sainte-Anne - Foto 44
Chalet et condos Mont Sainte-Anne - Foto 45
Chalet et condos Mont Sainte-Anne - Foto 46
Chalet et condos Mont Sainte-Anne - Foto 47
Chalet et condos Mont Sainte-Anne - Foto 48
Chalet et condos Mont Sainte-Anne - Foto 49
Chalet et condos Mont Sainte-Anne - Foto 50
Chalet et condos Mont Sainte-Anne - Foto 51
Chalet et condos Mont Sainte-Anne - Foto 52
Chalet et condos Mont Sainte-Anne - Foto 53
Chalet et condos Mont Sainte-Anne - Foto 54
Chalet et condos Mont Sainte-Anne - Foto 55
Chalet et condos Mont Sainte-Anne - Foto 56
Chalet et condos Mont Sainte-Anne - Foto 57
Chalet et condos Mont Sainte-Anne - Foto 58
Chalet et condos Mont Sainte-Anne - Foto 59
Chalet et condos Mont Sainte-Anne - Foto 60
Chalet et condos Mont Sainte-Anne - Foto 61
Chalet et condos Mont Sainte-Anne - Foto 62
Chalet et condos Mont Sainte-Anne - Foto 63

Chalet et condos Mont Sainte-Anne

Beaupré - 1.7 km vom Zentrum

  • 102 M2
  • 6 Personen
  • Klimaanlage
  • Heizung
  • Terrasse
  • Schwimmbad
  • Fahrstuhl
  • Tv
  • Waschmaschine
  • Schornstein
  • Handtücher
  • Bettlaken
9.6Außergewöhnlich | 19 Bewertungen
Villa's At Eldorado Resort - Foto 1
Villa's At Eldorado Resort - Foto 2
Villa's At Eldorado Resort - Foto 3
Villa's At Eldorado Resort - Foto 4
Villa's At Eldorado Resort - Foto 5
Villa's At Eldorado Resort - Foto 6
Villa's At Eldorado Resort - Foto 7
Villa's At Eldorado Resort - Foto 8
Villa's At Eldorado Resort - Foto 9
Villa's At Eldorado Resort - Foto 10
Villa's At Eldorado Resort - Foto 11
Villa's At Eldorado Resort - Foto 12
Villa's At Eldorado Resort - Foto 13
Villa's At Eldorado Resort - Foto 14
Villa's At Eldorado Resort - Foto 15
Villa's At Eldorado Resort - Foto 16
Villa's At Eldorado Resort - Foto 17
Villa's At Eldorado Resort - Foto 18
Villa's At Eldorado Resort - Foto 19
Villa's At Eldorado Resort - Foto 20
Villa's At Eldorado Resort - Foto 21
Villa's At Eldorado Resort - Foto 22
Villa's At Eldorado Resort - Foto 23
Villa's At Eldorado Resort - Foto 24
Villa's At Eldorado Resort - Foto 25
Villa's At Eldorado Resort - Foto 26
Villa's At Eldorado Resort - Foto 27
Villa's At Eldorado Resort - Foto 28
Villa's At Eldorado Resort - Foto 29
Villa's At Eldorado Resort - Foto 30
Villa's At Eldorado Resort - Foto 31
Villa's At Eldorado Resort - Foto 32
Villa's At Eldorado Resort - Foto 33
Villa's At Eldorado Resort - Foto 34
Villa's At Eldorado Resort - Foto 35
Villa's At Eldorado Resort - Foto 36
Villa's At Eldorado Resort - Foto 37
Villa's At Eldorado Resort - Foto 38
Villa's At Eldorado Resort - Foto 39
Villa's At Eldorado Resort - Foto 40
Villa's At Eldorado Resort - Foto 41
Villa's At Eldorado Resort - Foto 42
Villa's At Eldorado Resort - Foto 43
Villa's At Eldorado Resort - Foto 44
Villa's At Eldorado Resort - Foto 45
Villa's At Eldorado Resort - Foto 46
Villa's At Eldorado Resort - Foto 47
Villa's At Eldorado Resort - Foto 48
Villa's At Eldorado Resort - Foto 49
Villa's At Eldorado Resort - Foto 50
Villa's At Eldorado Resort - Foto 51
Villa's At Eldorado Resort - Foto 52
Villa's At Eldorado Resort - Foto 53
Villa's At Eldorado Resort - Foto 54
Villa's At Eldorado Resort - Foto 55
Villa's At Eldorado Resort - Foto 56
Villa's At Eldorado Resort - Foto 57
Villa's At Eldorado Resort - Foto 58
Villa's At Eldorado Resort - Foto 59
Villa's At Eldorado Resort - Foto 60
Villa's At Eldorado Resort - Foto 61
Villa's At Eldorado Resort - Foto 62
Villa's At Eldorado Resort - Foto 63
Villa's At Eldorado Resort - Foto 64
Villa's At Eldorado Resort - Foto 65
Villa's At Eldorado Resort - Foto 66
Villa's At Eldorado Resort - Foto 67

Villa's At Eldorado Resort

Kelowna - South Pandosy-KLO - 4 km vom Zentrum

  • 121 M2
  • 10 Personen
  • Klimaanlage
  • Heizung
  • Terrasse
  • Schwimmbad
  • Parkplatz
  • Balkon
  • Tv
  • Waschmaschine
  • Schornstein
  • Handtücher
  • Bettlaken
9.6Außergewöhnlich | 14 Bewertungen

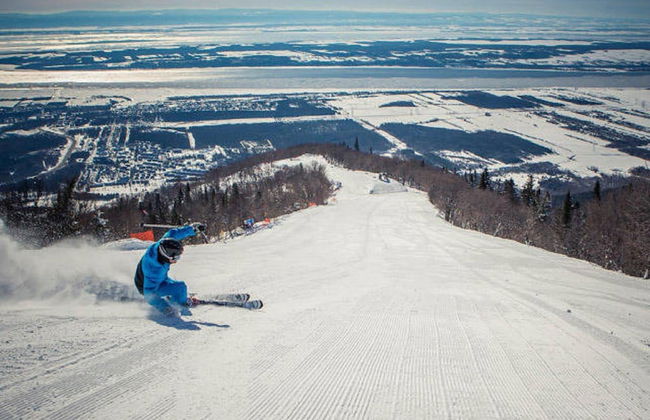
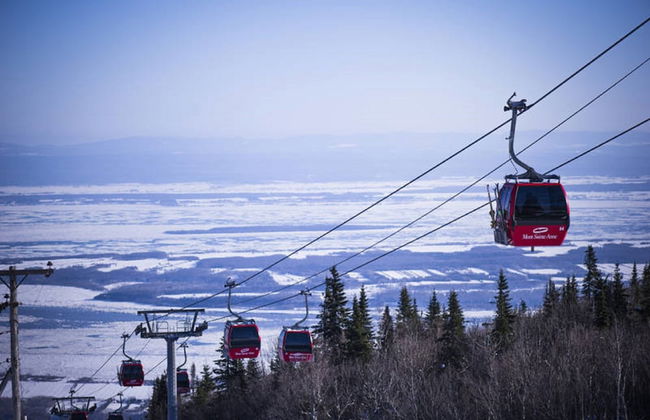
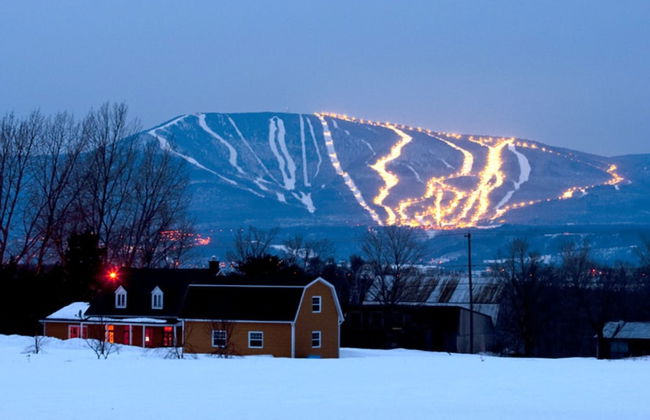
Kanada ist das zweitgrößte Land auf der Welt, das fast die Hälfte der gesamten Fläche Nordamerikas bedeckt. Die Hauptattraktionen sind die zahlreichen Weltnaturerben: Hunderte von Parken, Millionen von Seen, spektakuläre Berge und Gebirge, Tausende Kilometer von unberührter Natur...Kanada ist das perfekte Land für jeden Sportliebhaber, besonders für die Wintersportler. Städte wie Alberta, Quebec und Ontario sind im Winter weiße Paradiese. Diejenigen, die das städtische Leben bevorzugen, sollten nach Ottawa, Vancouver oder Toronto reisen, denn diese Städte sind eine Art Mischung aus New York mit europäischem Flair.
Verwandte Reiseziele