


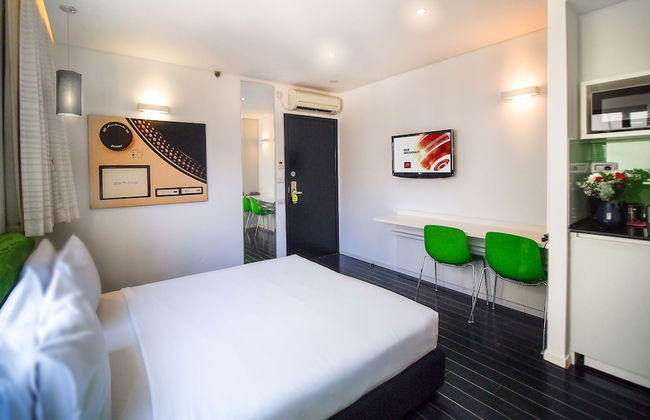

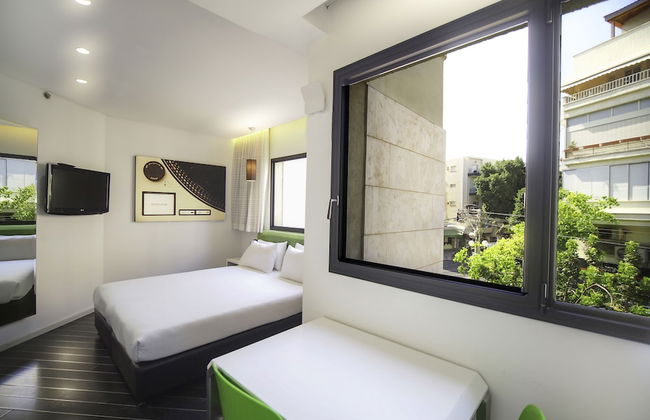
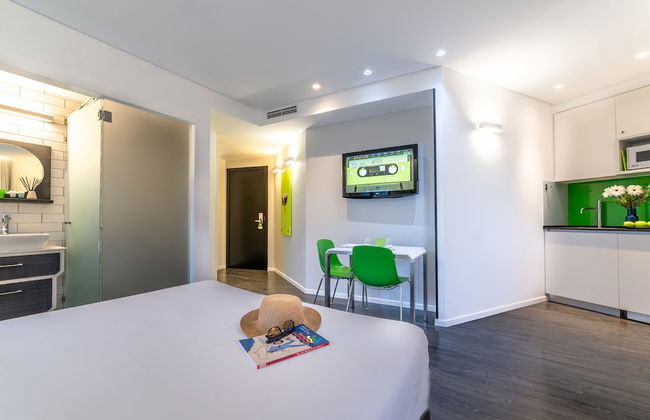
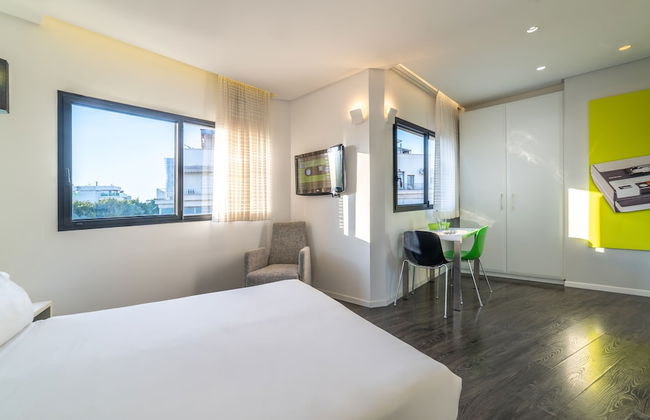
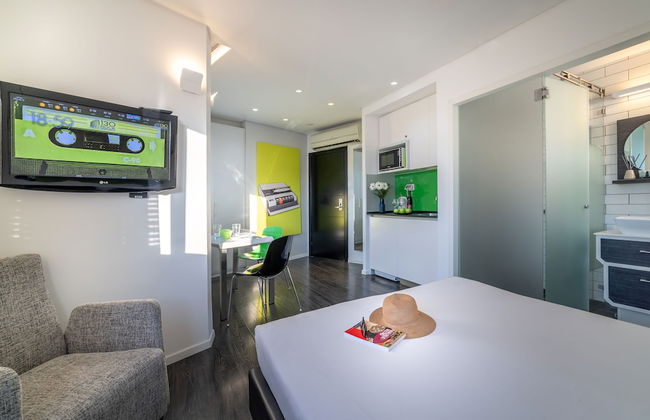
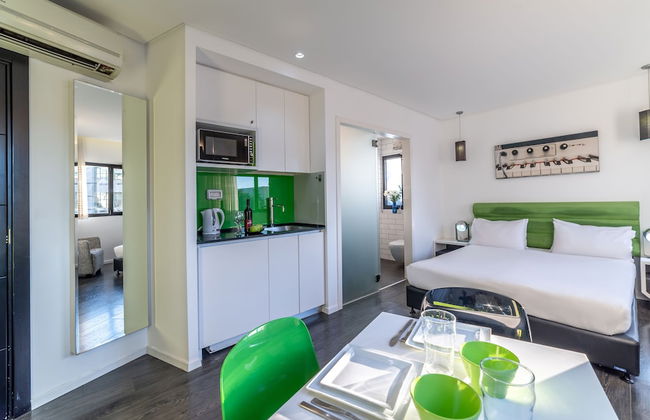
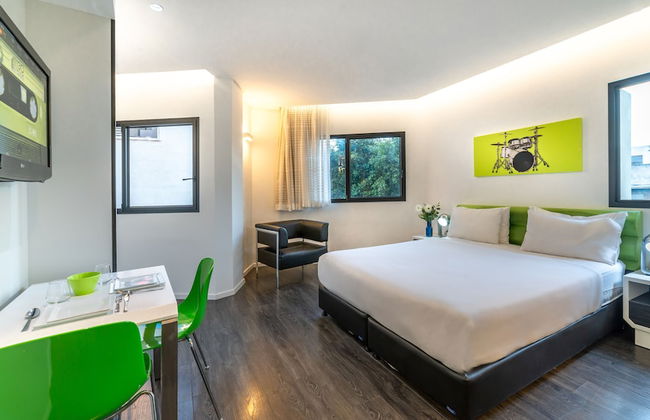
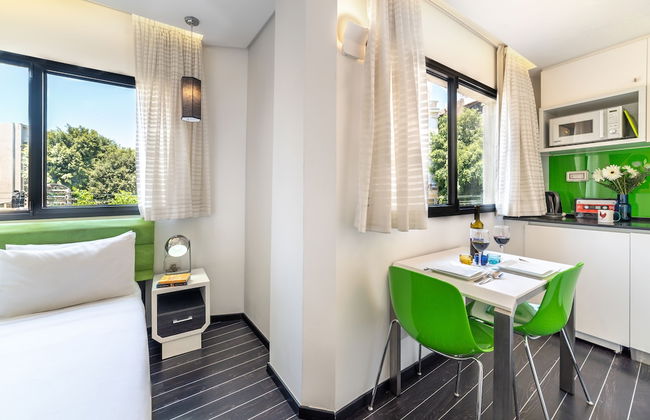
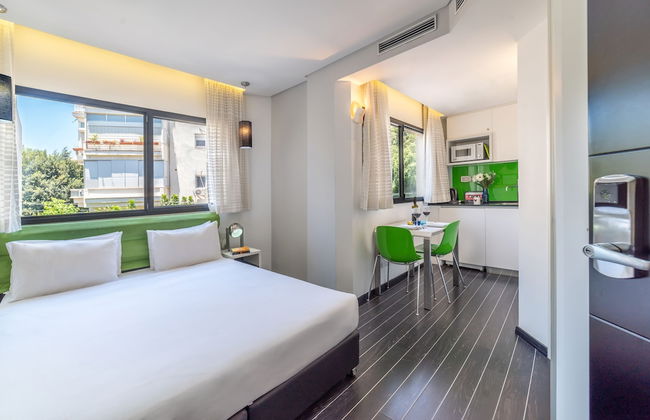
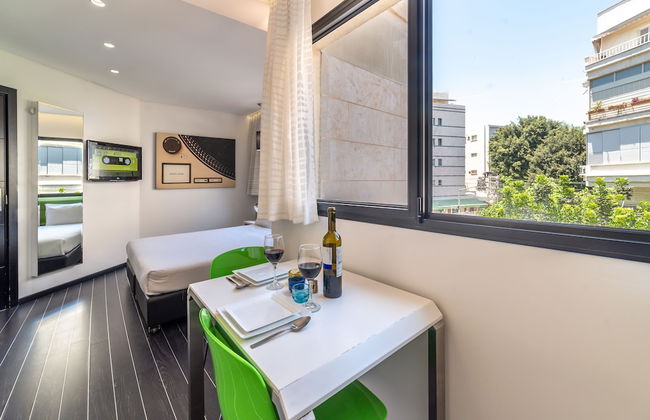

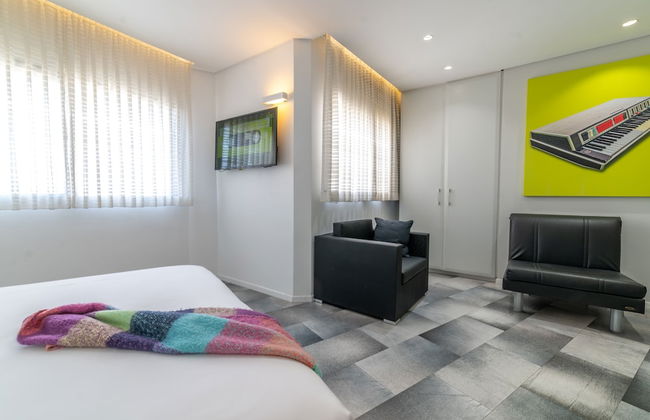
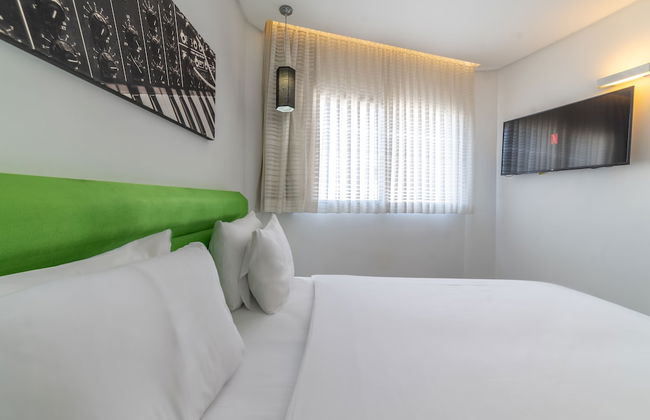
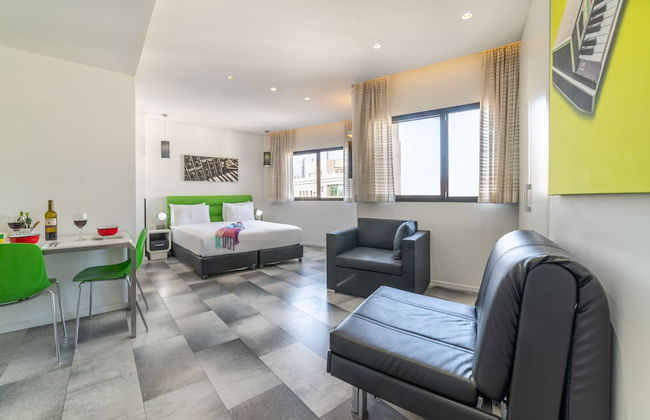
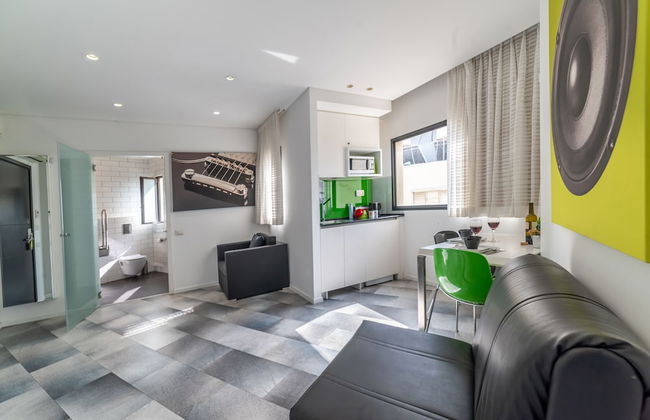


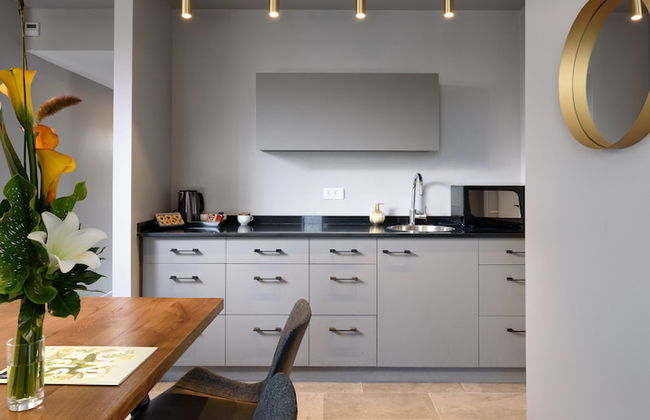
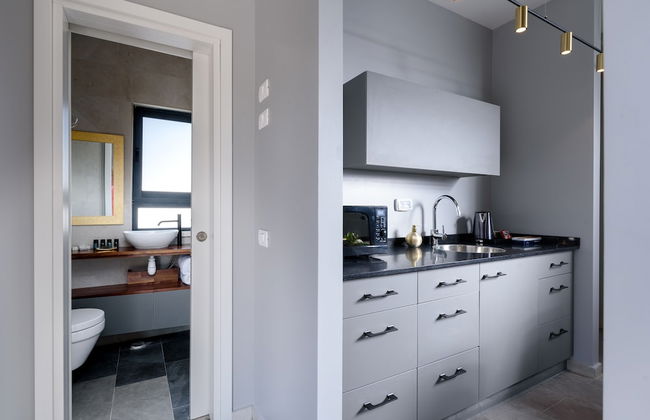
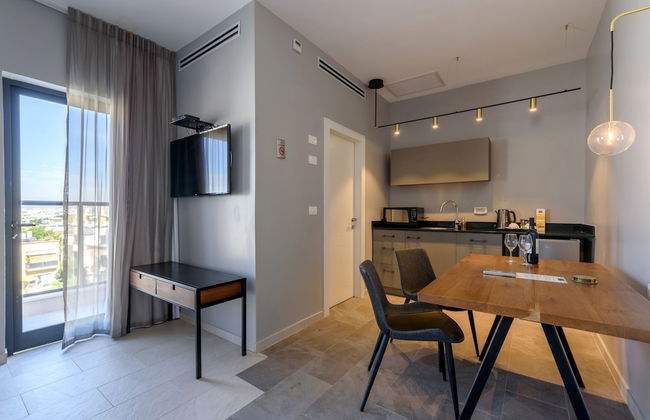
130 Rock Apartments
Tel Aviv - The Old North-Southern Area - 1 km vom Zentrum
- 22 M2
- 3 Personen
- Kochnische
- Klimaanlage
- Heizung
- Terrasse
- Fahrstuhl
- Tv
- Handtücher
- Bettlaken

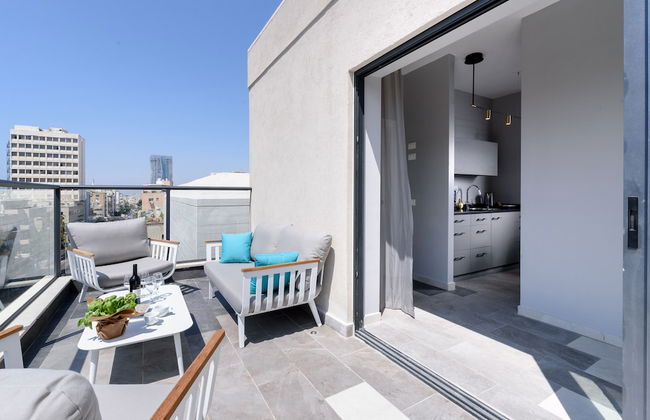
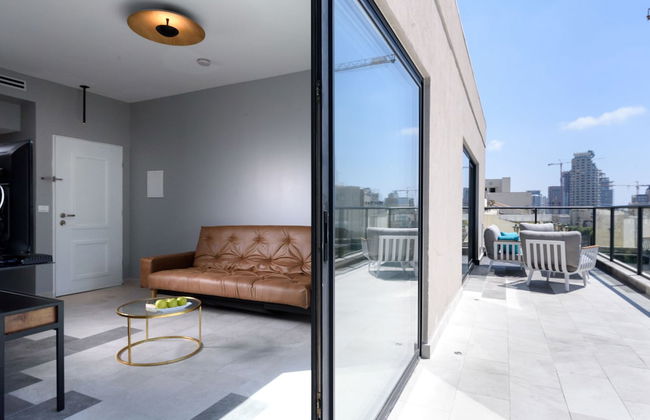
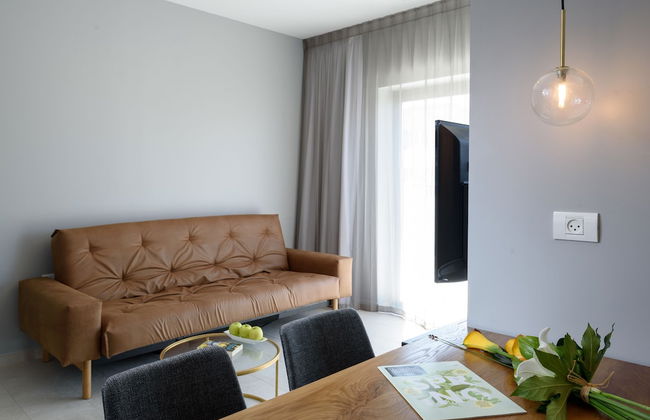
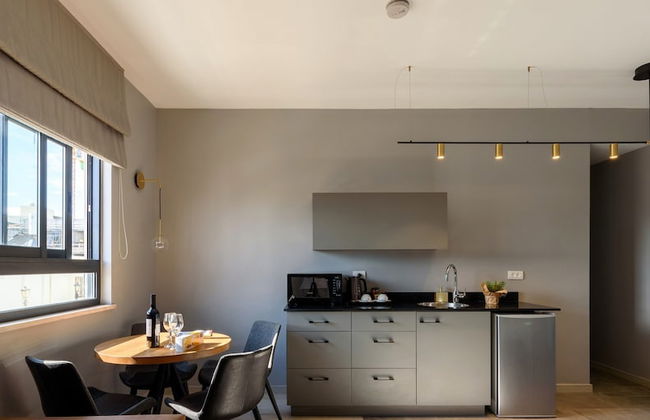
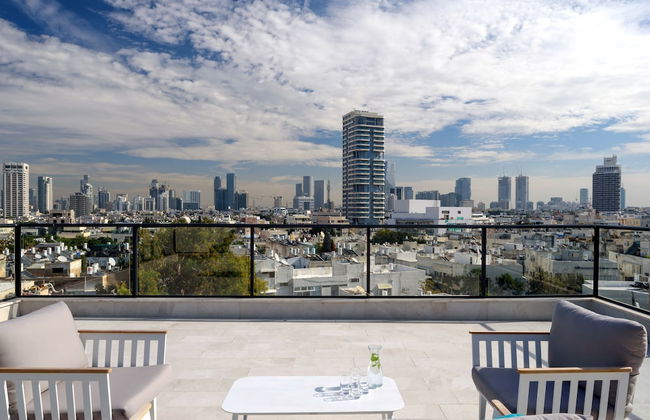
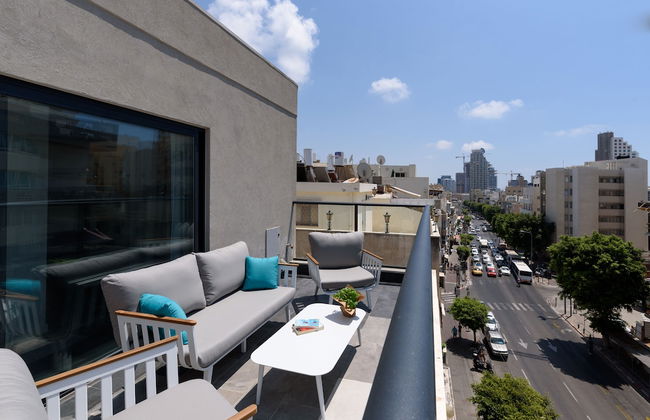

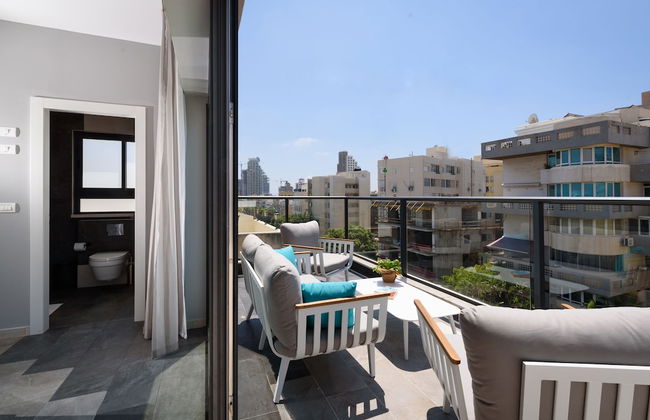
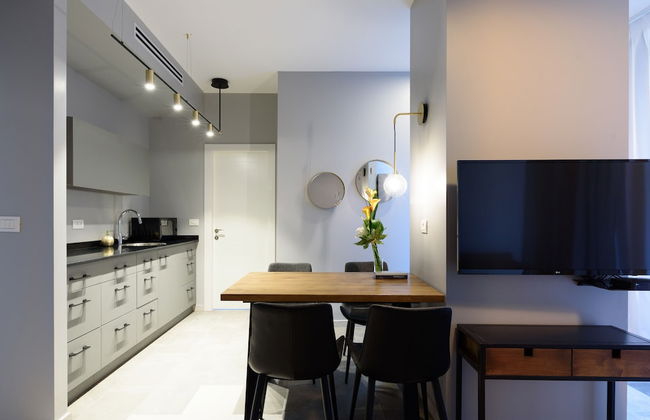
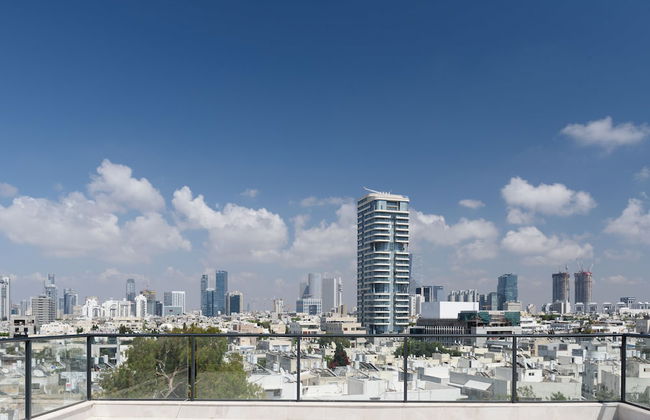

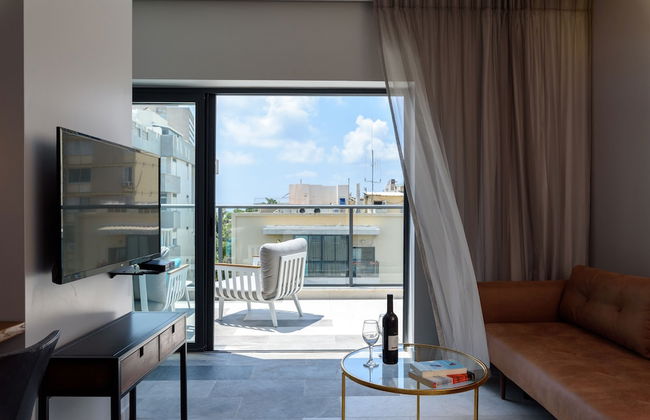
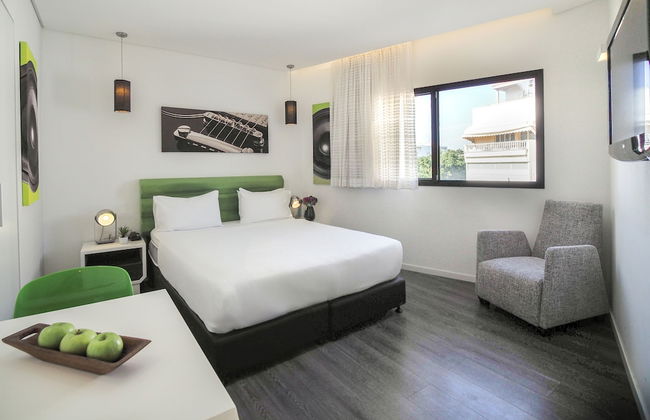
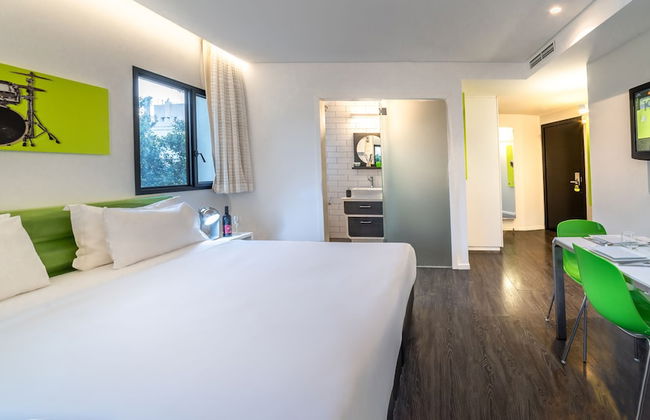
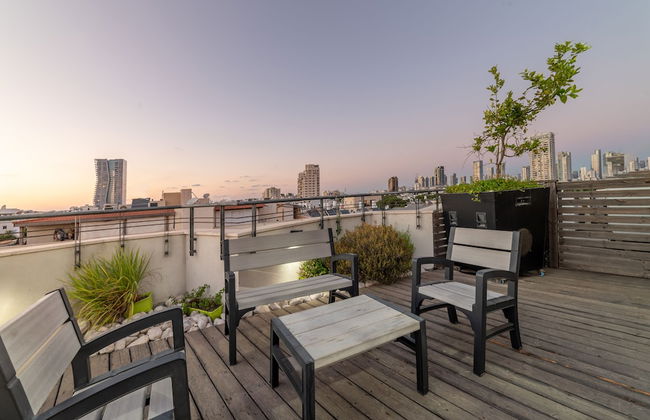
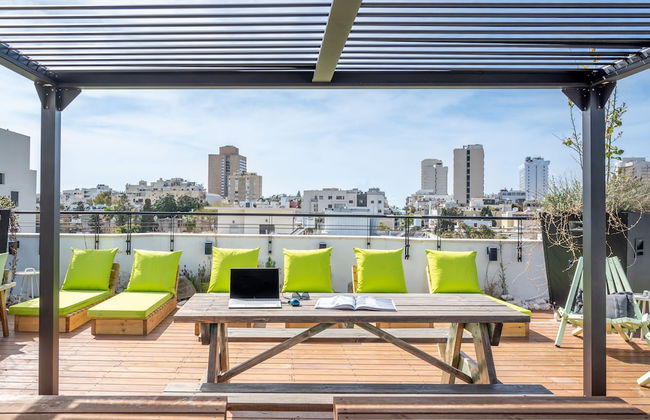
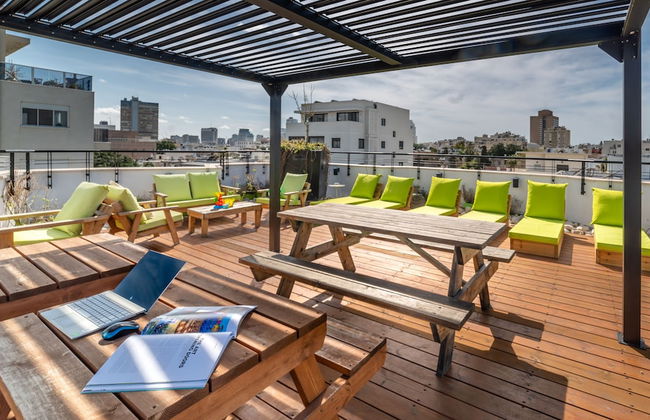
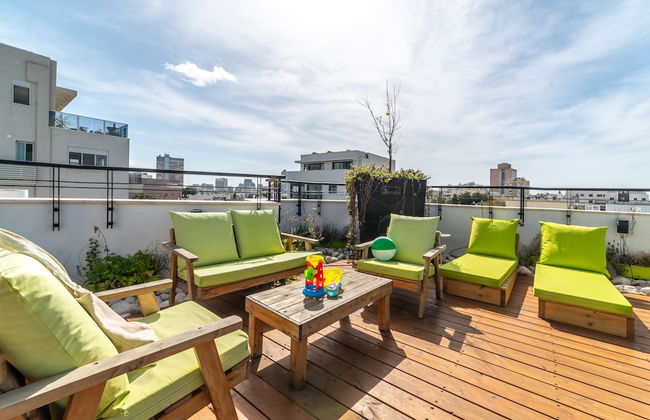
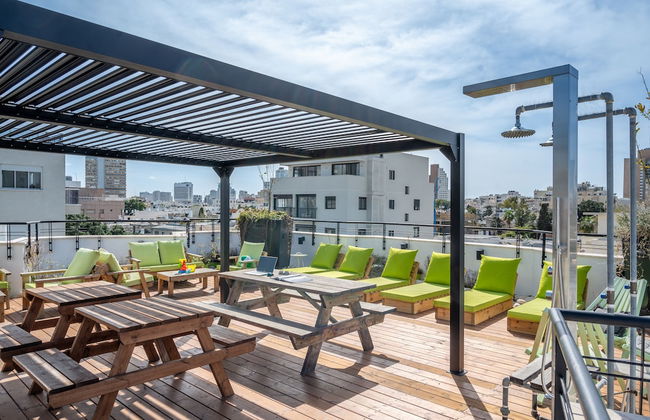
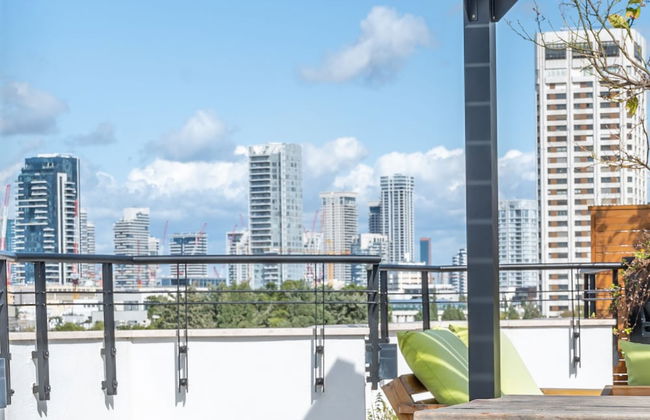
The Roof - By Sea Land Suites
Tel Aviv - The Old North-Southern Area - 1.3 km vom Zentrum
- 30 M2
- 4 Personen
- Klimaanlage
- Terrasse
- Fahrstuhl
- Balkon
- Tv
- Handtücher
- Bettlaken

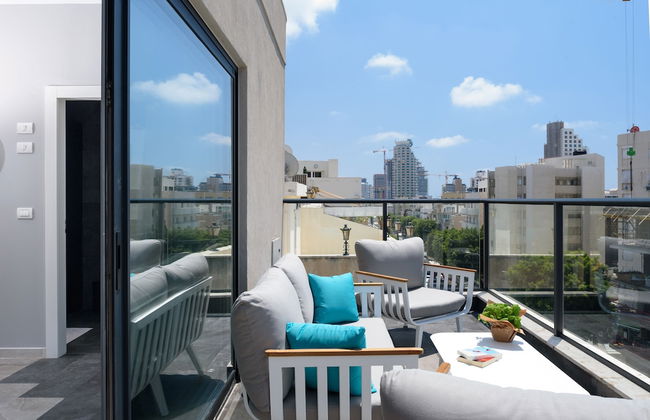
Amazing Duplex Penthouse with 2 Terraces by FeelHome
Tel Aviv - The Old North-Southern Area - 1.1 km vom Zentrum
- 200 M2
- 8 Personen
- Klimaanlage
- Heizung
- Fahrstuhl
- Balkon
- Tv
- Waschmaschine
- Handtücher
- Bettlaken


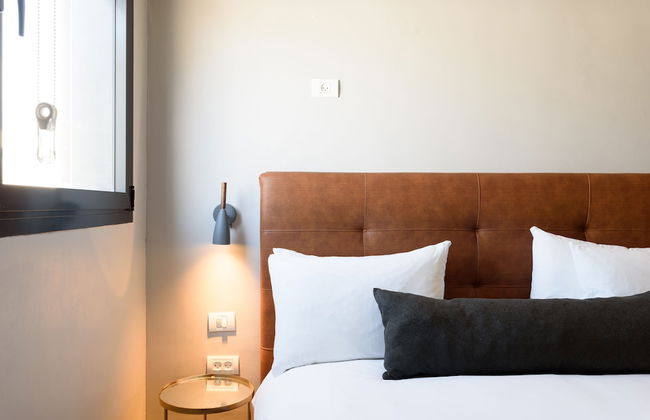
Mate GEORGE - By HOMY
Tel Aviv - The Old North-Southern Area - 1.1 km vom Zentrum
- 6 Personen
- Klimaanlage
- Heizung
- Tv
- Waschmaschine
- Handtücher
- Bettlaken


Full Comfort near Beach by FeelHome
Tel Aviv - The Old North-Southern Area - 1.4 km vom Zentrum
- 60 M2
- 3 Personen
- Klimaanlage
- Parkplatz
- Fahrstuhl
- Tv
- Waschmaschine
- Handtücher
- Bettlaken


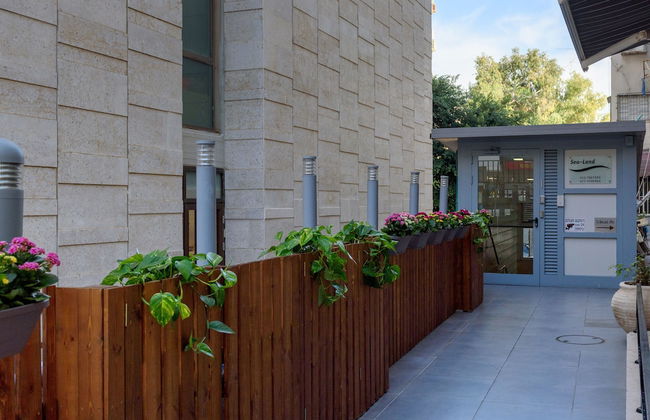
Sea Land Suites
Tel Aviv - The Old North-Southern Area - 1.4 km vom Zentrum
- 67 M2
- 6 Personen
- Klimaanlage
- Terrasse
- Tv
- Handtücher


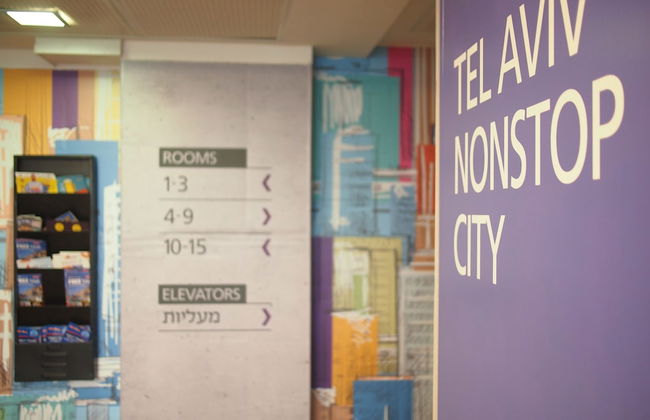
Gordon Inn & Suites
Tel Aviv - The Old North-Southern Area - 1.3 km vom Zentrum
- Fahrstuhl


Mr. Montana - By TLV2GO
Tel Aviv - The Old North-Southern Area - 1.1 km vom Zentrum
- 60 M2
- 6 Personen
- Klimaanlage
- Heizung
- Fahrstuhl
- Balkon
- Tv
- Waschmaschine
- Handtücher
- Bettlaken


Colorbox Ben Yehuda - Smart Hotel by Loginn Tel Aviv
Tel Aviv - The Old North-Southern Area - 1.5 km vom Zentrum
- 13 M2
- 2 Personen
- Kochnische
- Klimaanlage
- Heizung
- Terrasse
- Fahrstuhl
- Tv
- Handtücher
- Bettlaken


Relax & Sunny near Beach by FeelHome
Tel Aviv - The Old North-Southern Area - 1.3 km vom Zentrum
- 70 M2
- 4 Personen
- Klimaanlage
- Heizung
- Terrasse
- Balkon
- Tv
- Waschmaschine
- Handtücher
- Bettlaken


Beach & City Center by FeelHome
Tel Aviv - The Old North-Southern Area - 1.6 km vom Zentrum
- 79 M2
- 4 Personen
- Klimaanlage
- Fahrstuhl
- Balkon
- Tv
- Waschmaschine
- Handtücher
- Bettlaken


HAYARKON - Superior Collection - By HOMY
Tel Aviv - The Old North-Southern Area - 1.5 km vom Zentrum
- 120 M2
- 8 Personen
- Klimaanlage
- Waschmaschine
- Handtücher
- Bettlaken


TLV Suites by the sea 3 Rooms
Tel Aviv - The Old North-Southern Area - 1.5 km vom Zentrum
- 85 M2
- 6 Personen
- Klimaanlage
- Heizung
- Balkon
- Tv
- Handtücher
- Bettlaken


Quiet Hideaway & Terrace near Beach by FeelHome
Tel Aviv - The Old North-Southern Area - 1.5 km vom Zentrum
- 54 M2
- 4 Personen
- Klimaanlage
- Heizung
- Parkplatz
- Fahrstuhl
- Balkon
- Tv
- Waschmaschine
- Handtücher
- Bettlaken


Gordon Beach 2 BR 3rd floor elevator
Tel Aviv - The Old North-Southern Area - 1.2 km vom Zentrum
- 55 M2
- 4 Personen
- Klimaanlage
- Heizung
- Terrasse
- Fahrstuhl
- Balkon
- Tv
- Waschmaschine
- Handtücher
- Bettlaken


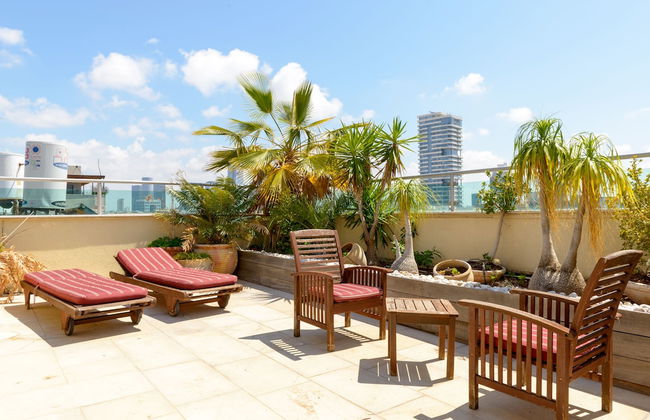
Top TLV Grand Suites
Tel Aviv - The Old North-Southern Area - 870 m vom Zentrum
- 130 M2
- 8 Personen
- Klimaanlage
- Heizung
- Parkplatz
- Fahrstuhl
- Tv
- Waschmaschine
- Schornstein
- Handtücher
- Bettlaken


Sunny Studio Near the Beach by Sea N Rent
Tel Aviv - The Old North-Southern Area - 1.6 km vom Zentrum
- Parkplatz


Bugrashov Beach Studios
Tel Aviv - The Old North-Southern Area - 1.7 km vom Zentrum
- Handtücher
- Bettlaken


Tel Aviv Home
Tel Aviv - The Old North-Southern Area - 1 km vom Zentrum
- 75 M2
- 6 Personen
- Klimaanlage
- Heizung
- Balkon
- Tv
- Waschmaschine
- Handtücher


Premium suites on Beach Ben Yehuda 43
Tel Aviv - The Old North-Southern Area - 1.7 km vom Zentrum
- 6 Personen
- Kochnische
- Klimaanlage
- Tv
- Handtücher
- Bettlaken