49 Wohnungen in Templeton


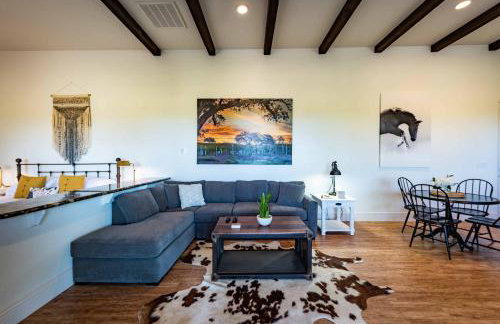
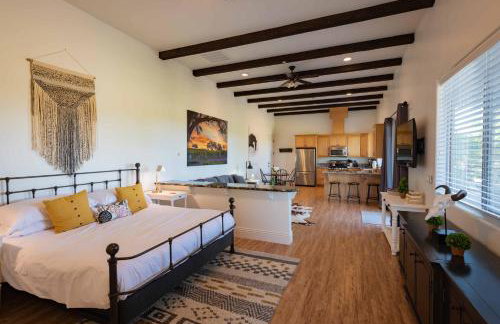
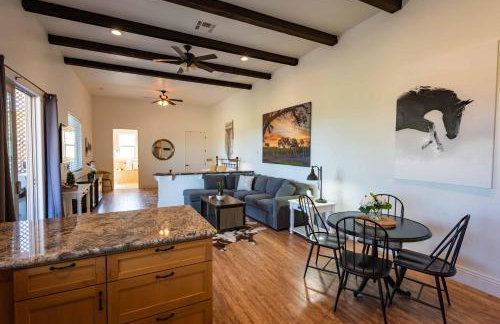
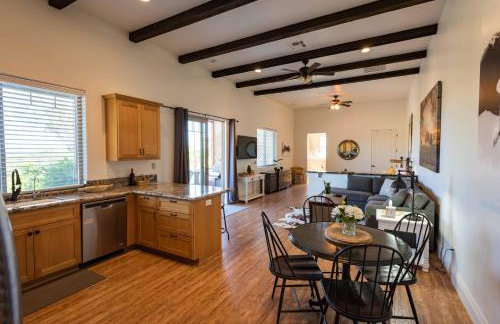
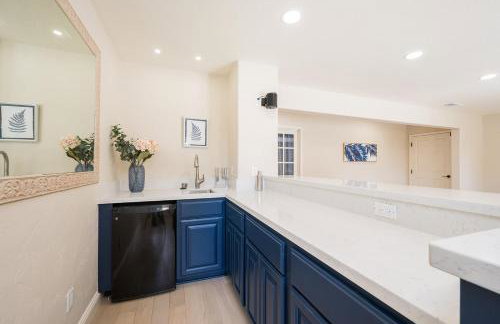
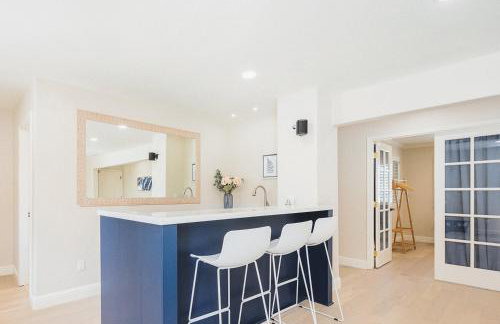
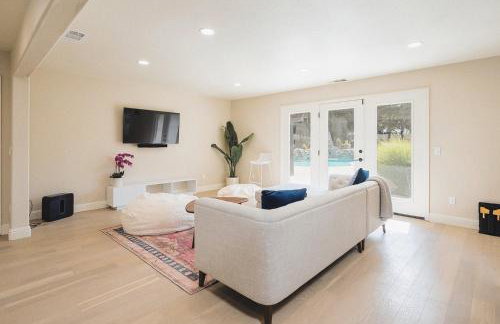
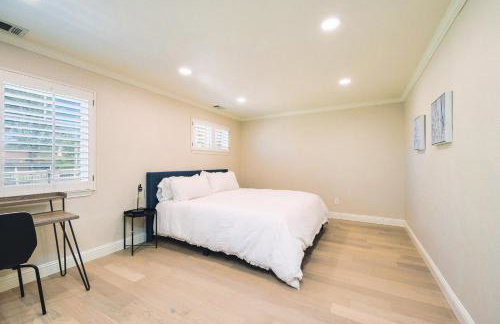
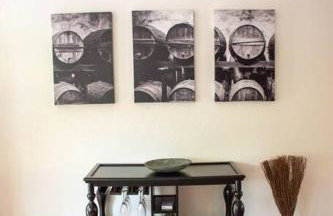
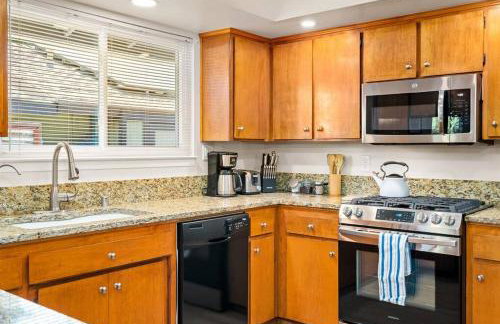
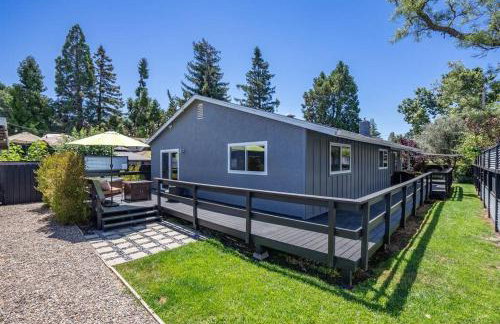
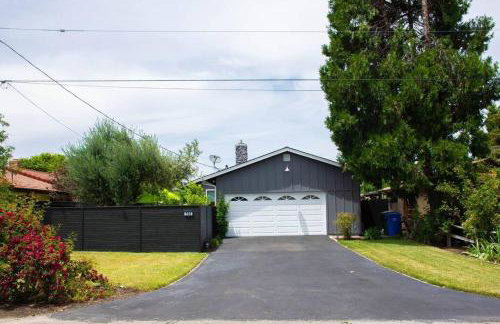
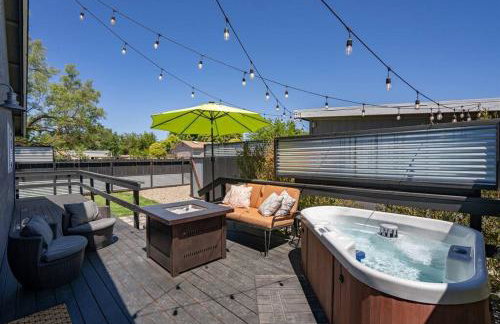
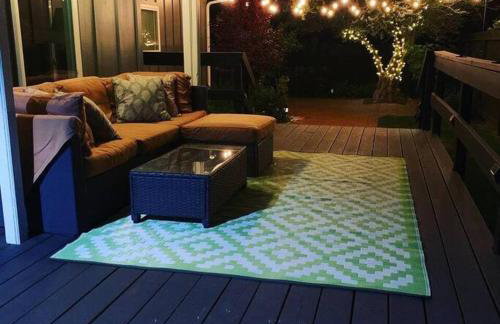
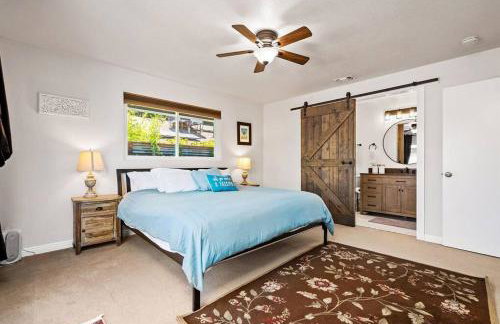
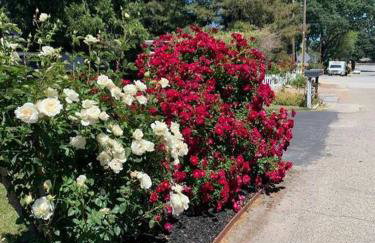
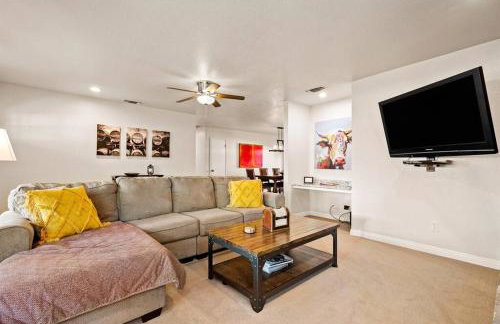
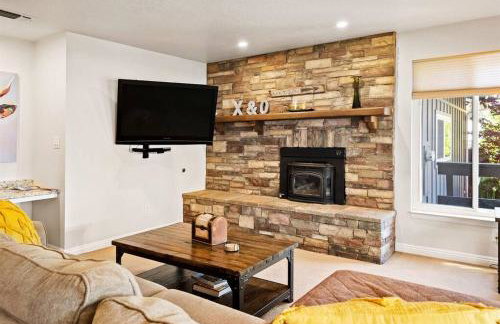
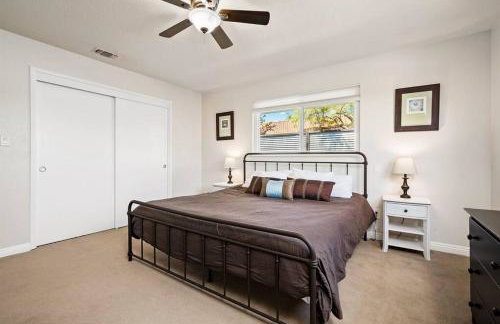
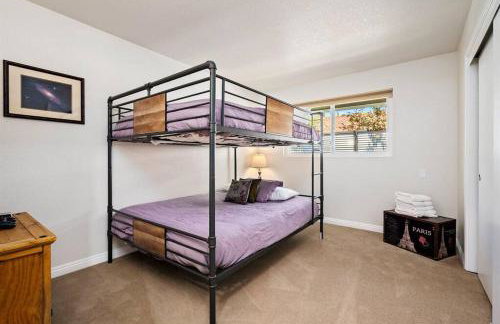
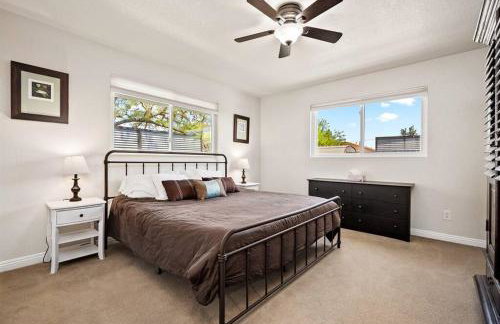
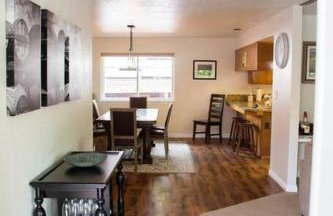
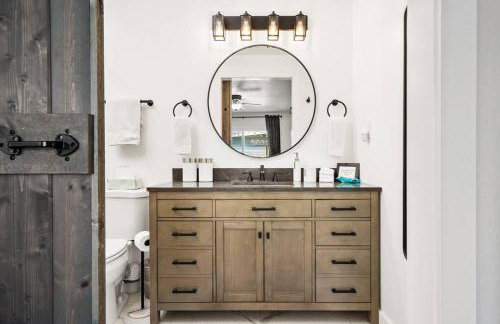
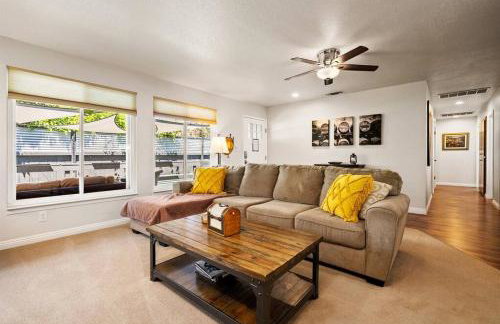
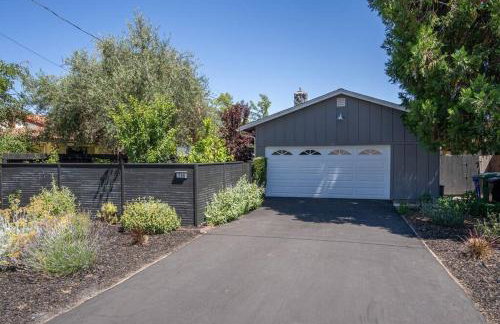
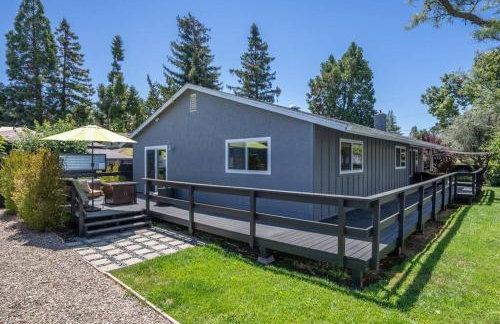
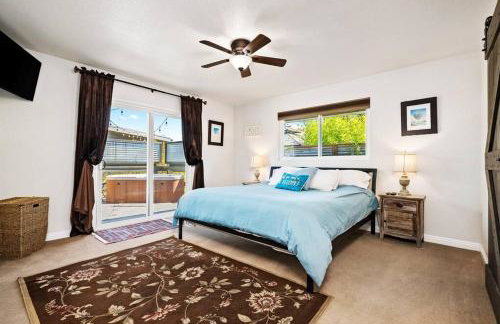
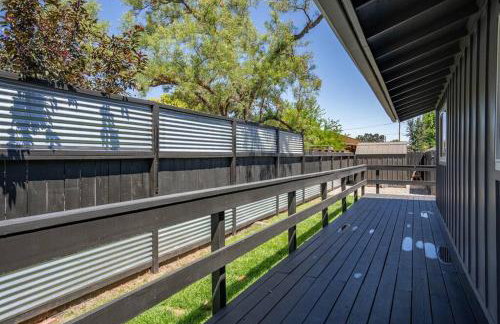
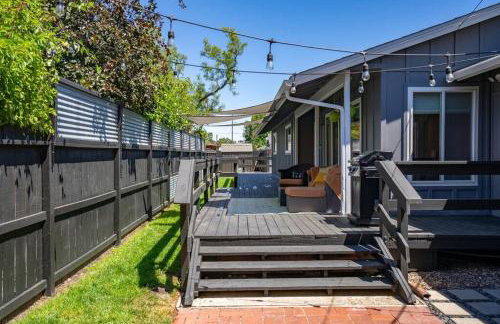
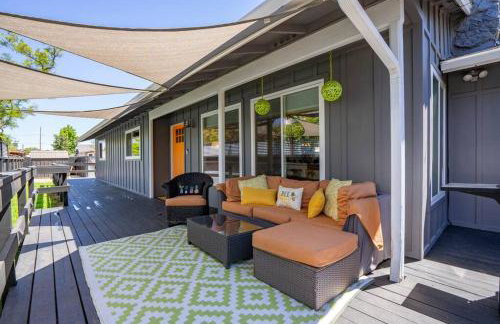
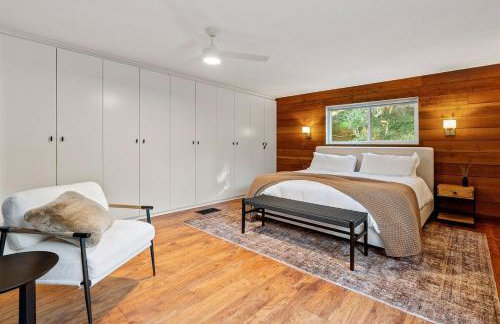
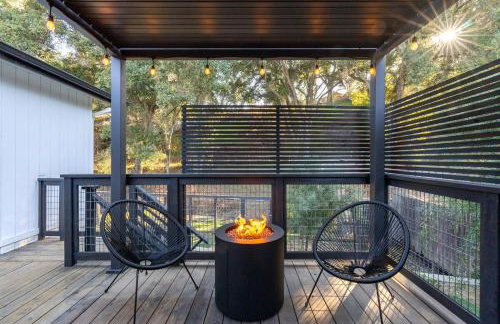
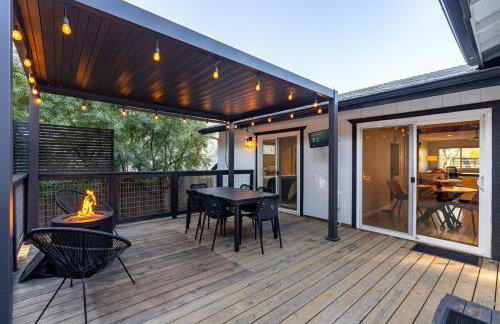
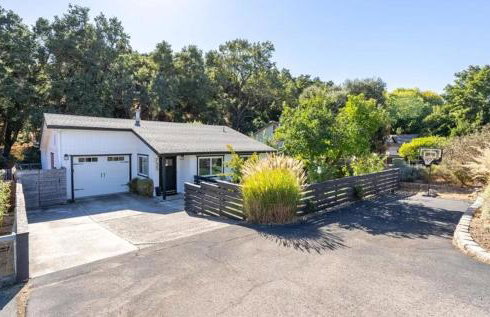
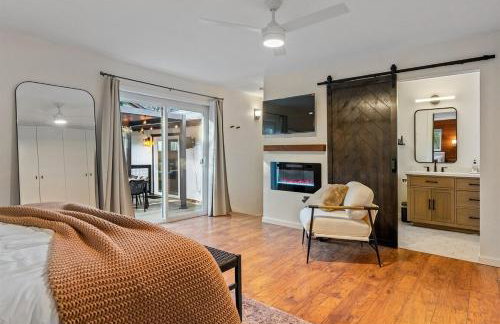
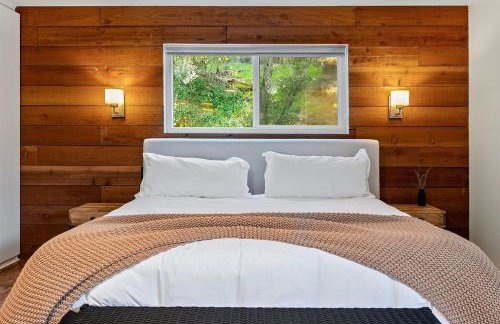
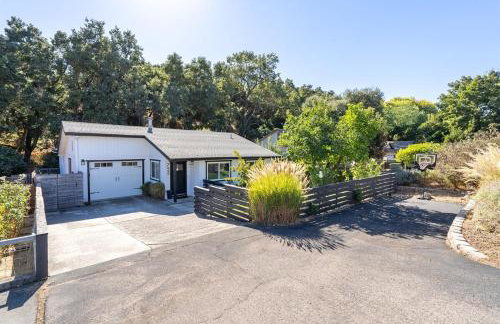
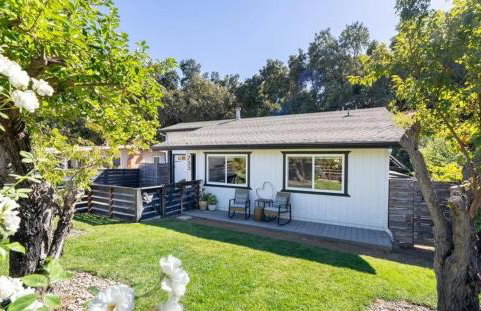
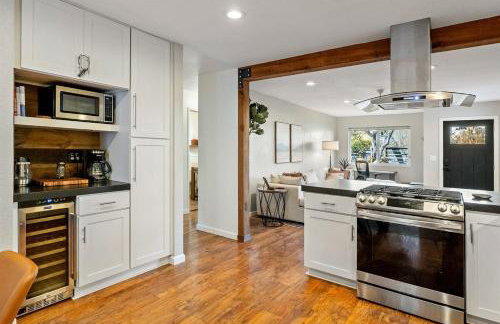
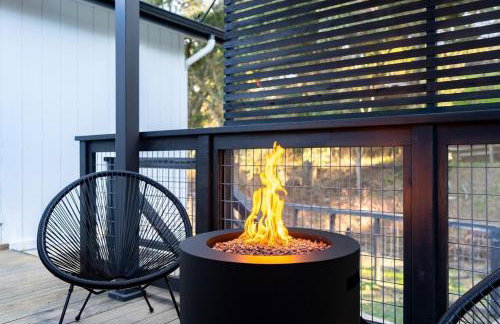
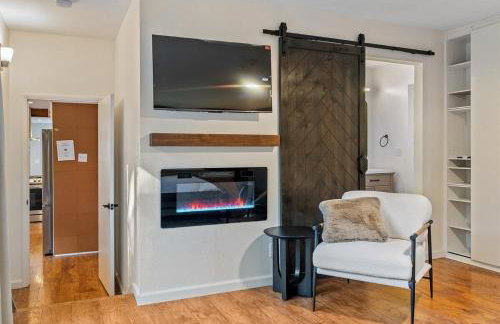
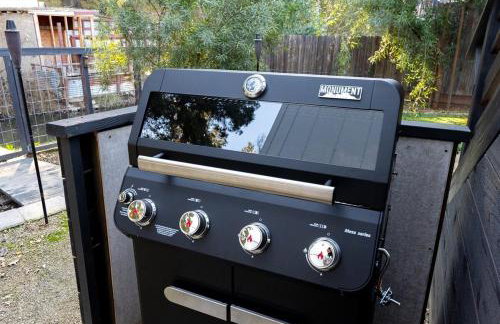
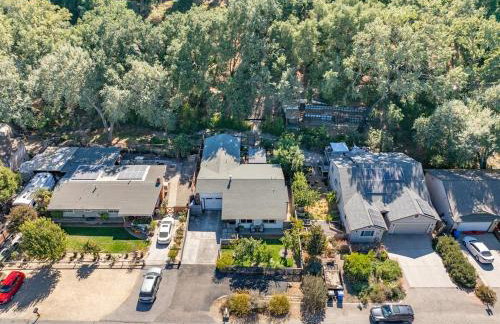
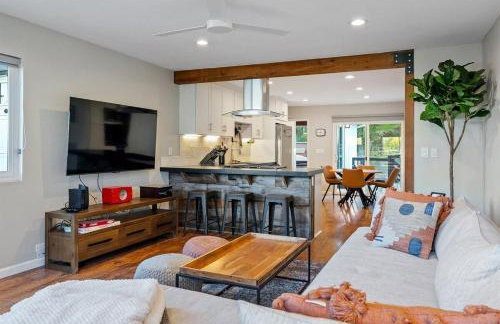
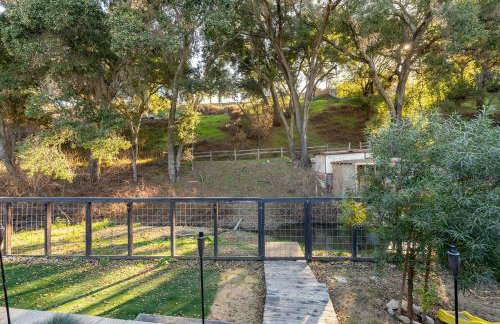
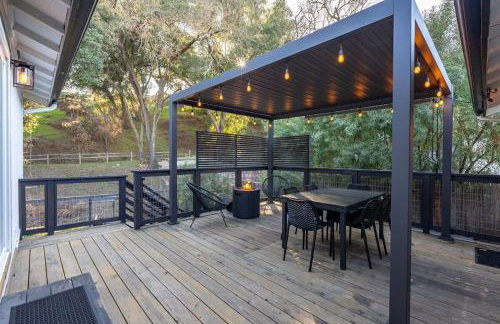
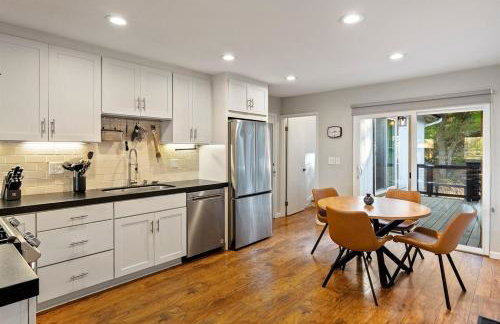
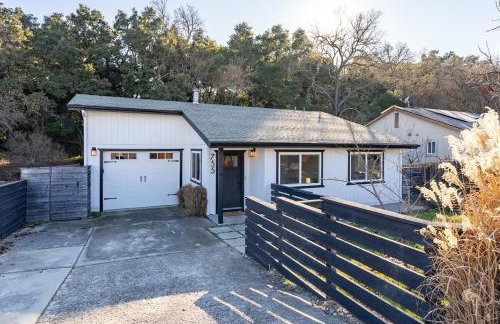
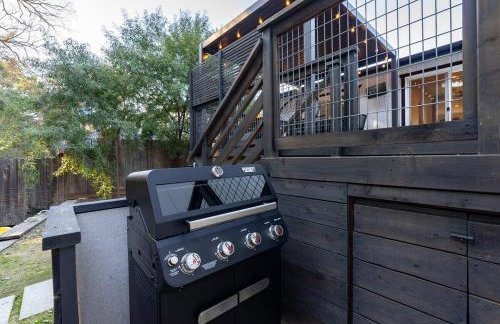
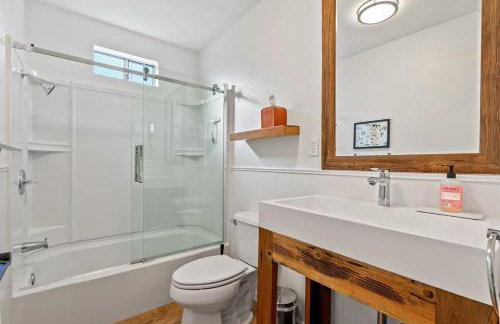
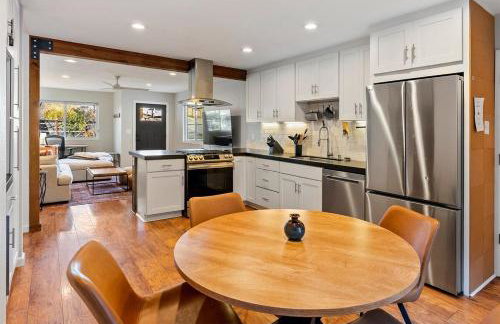
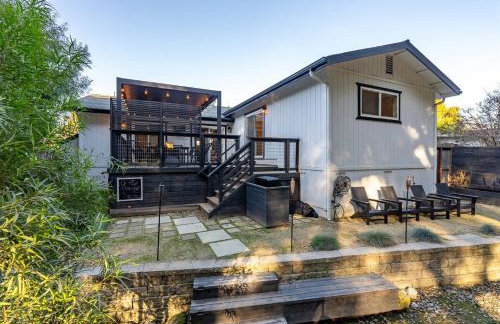
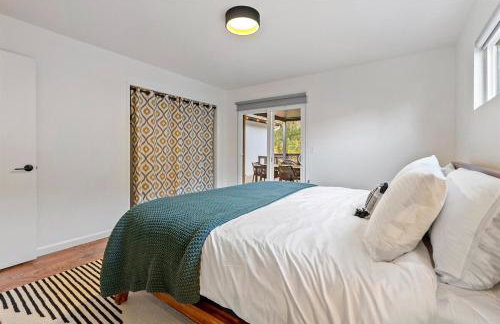
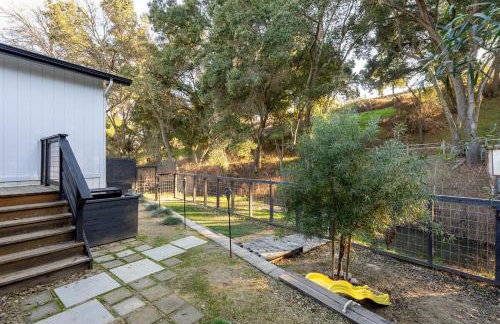
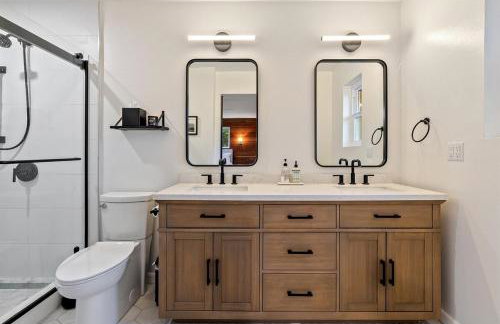
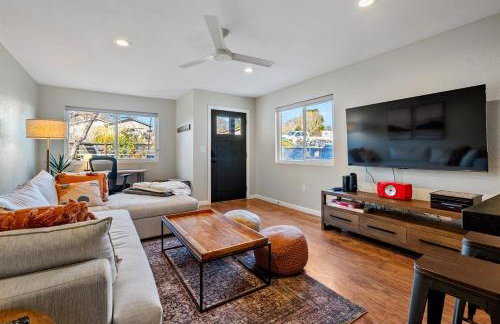
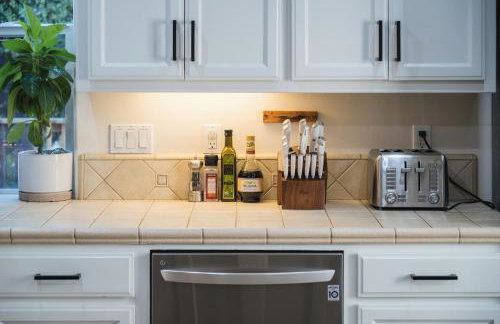
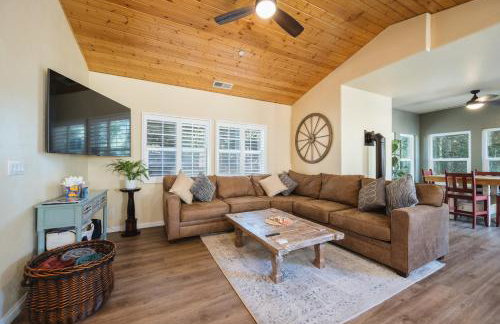
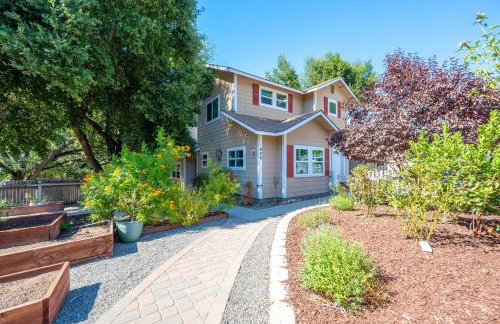
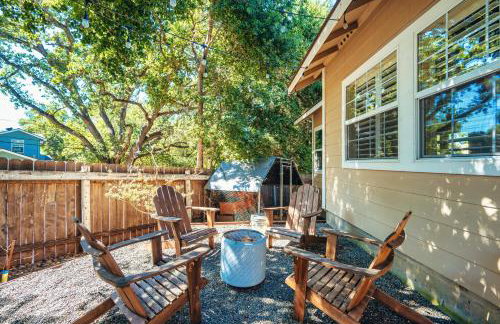
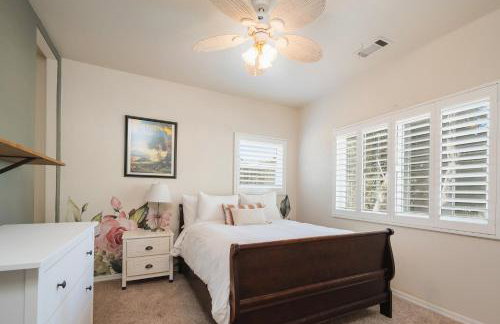
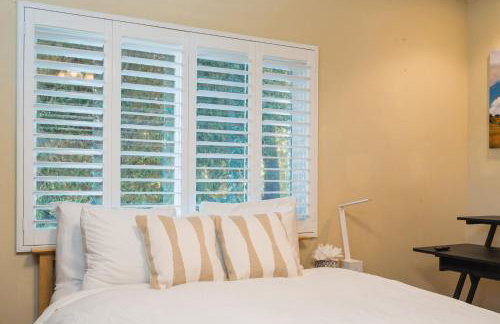
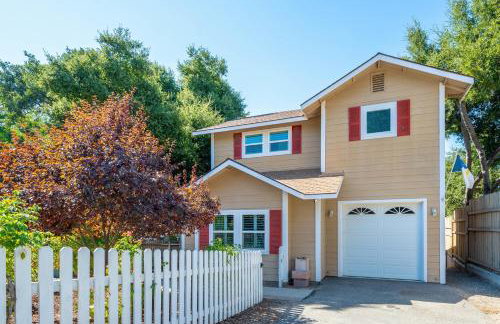
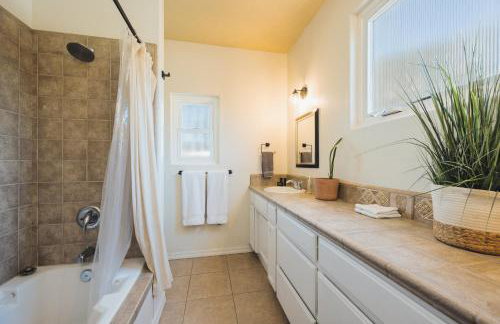
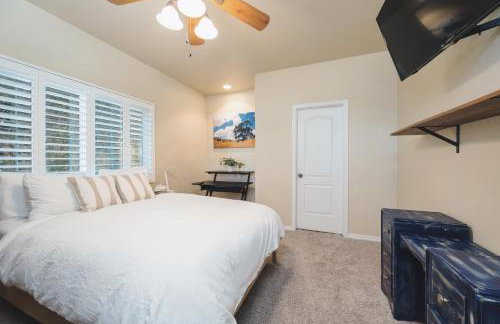
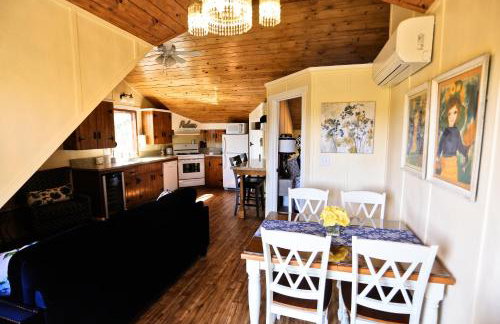
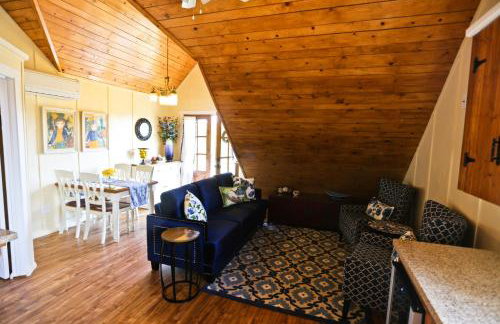
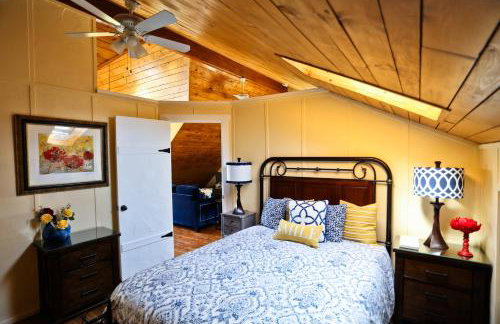
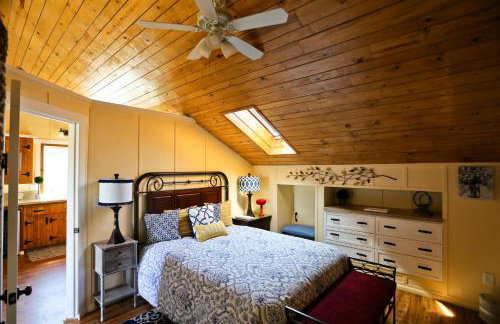
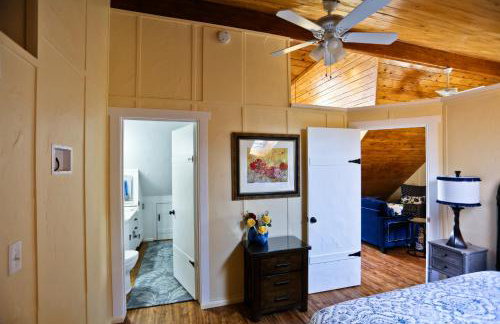
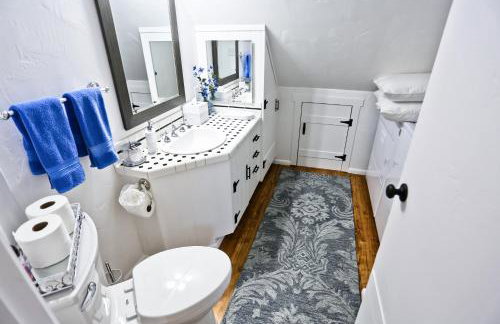
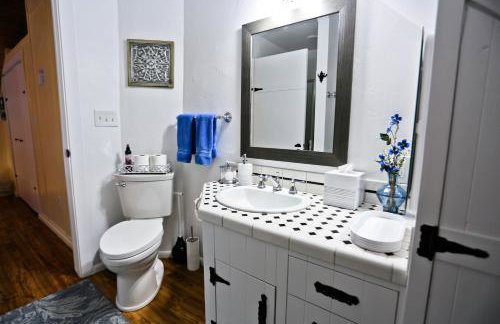
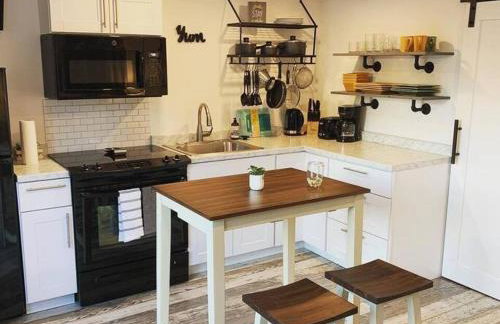
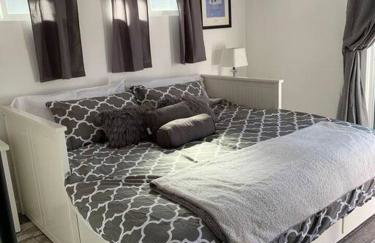
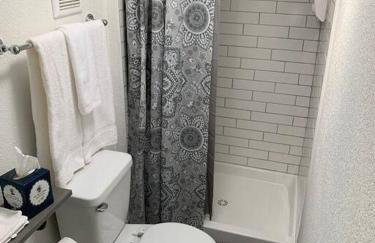
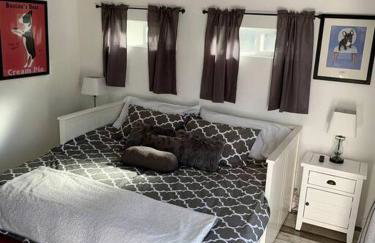
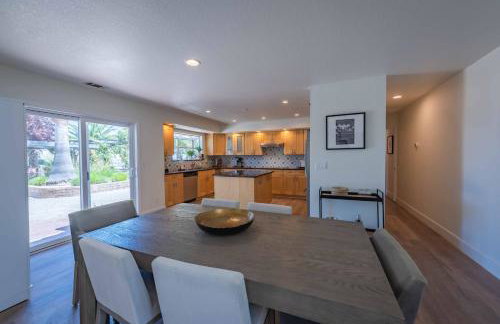
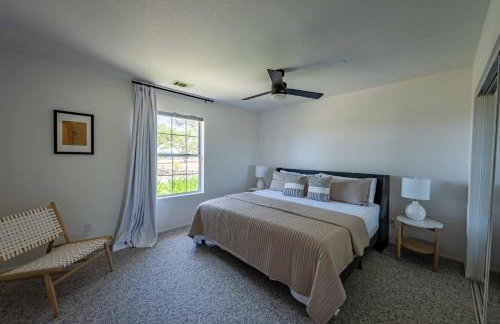
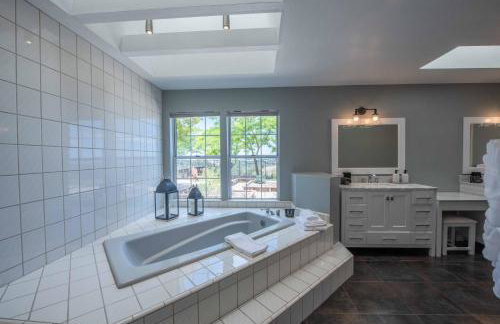
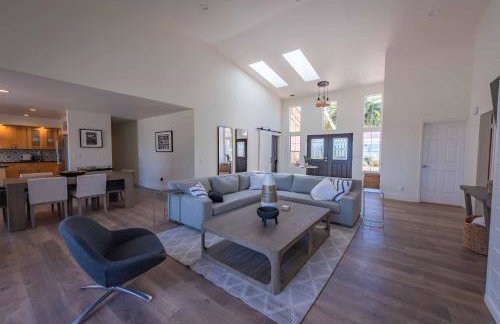
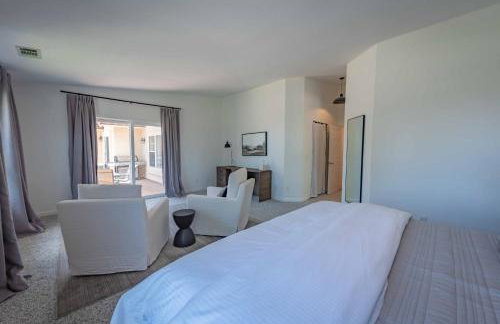
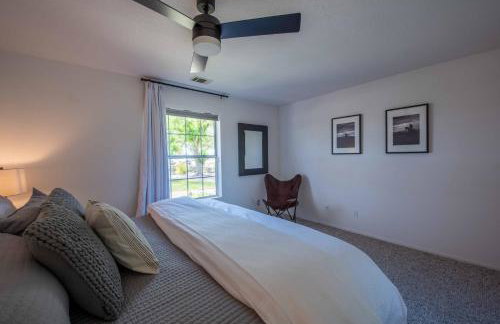
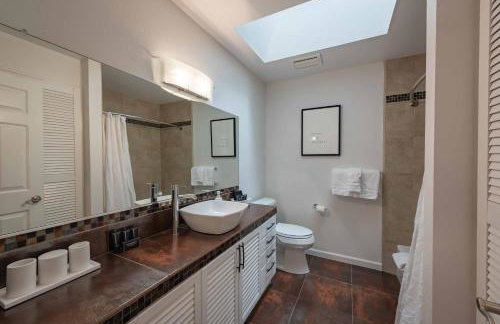
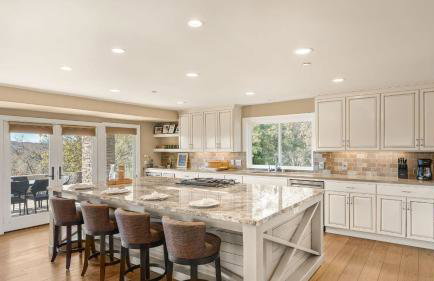
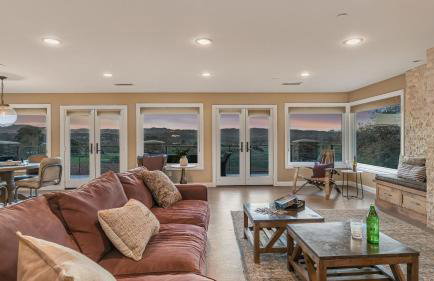
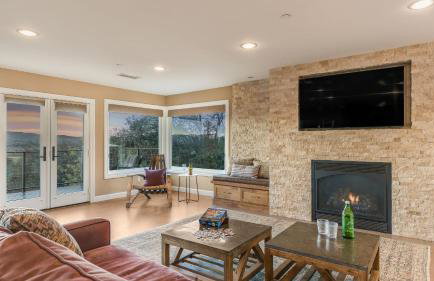
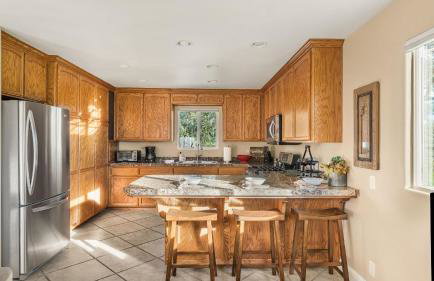
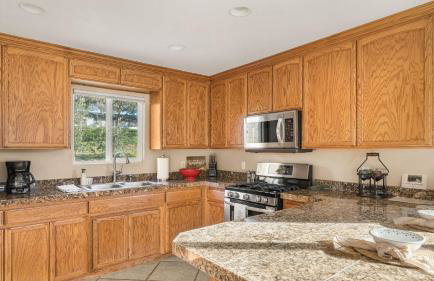
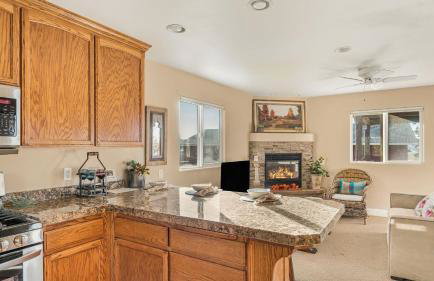
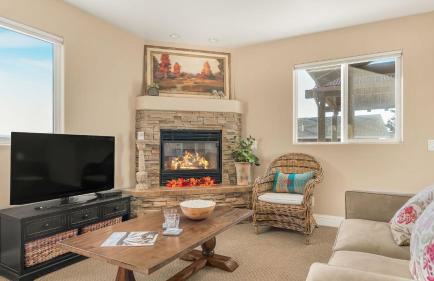
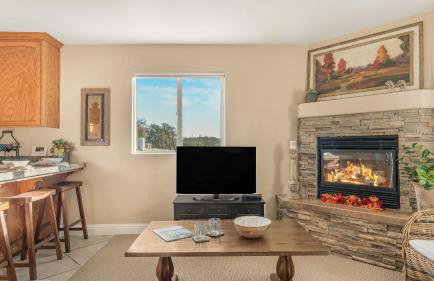
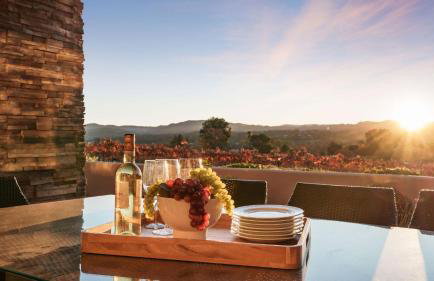
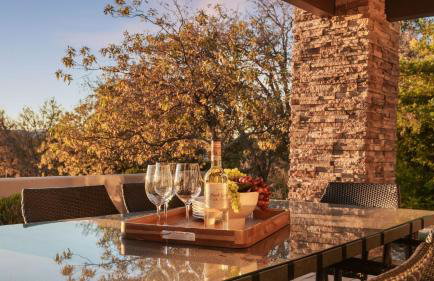
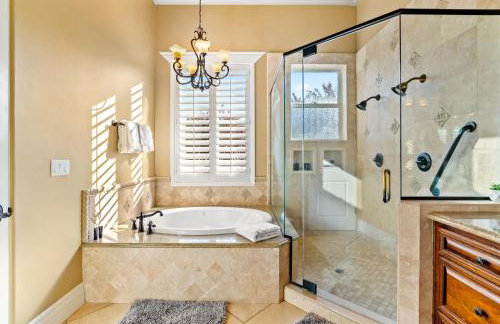
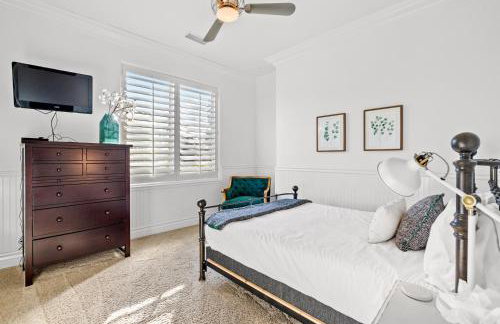
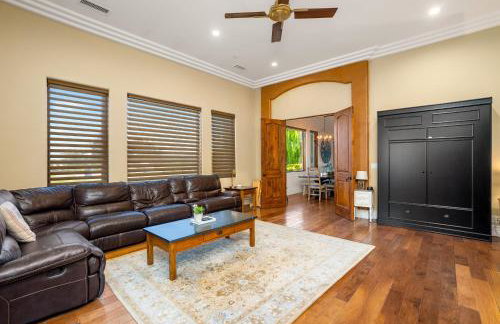
A Cozy Loft in Templeton
Templeton
- 102 M2
- 2 Schlafzimmer
- 4 Personen
- Klimaanlage
- Heizung
- Parkplatz
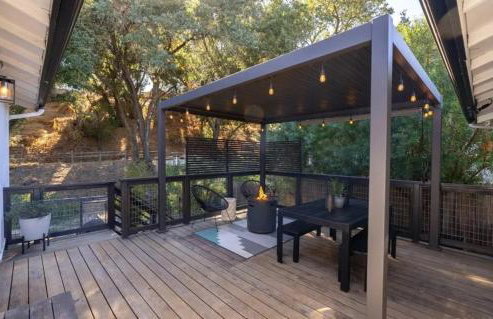
- Garten
- Barbecue
59 Bewertungen
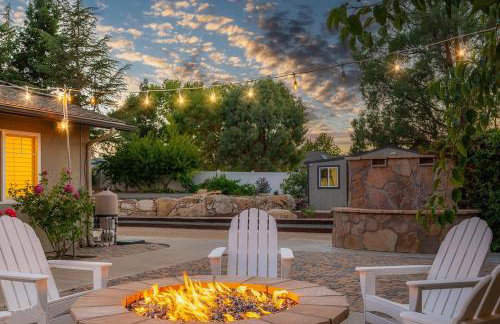
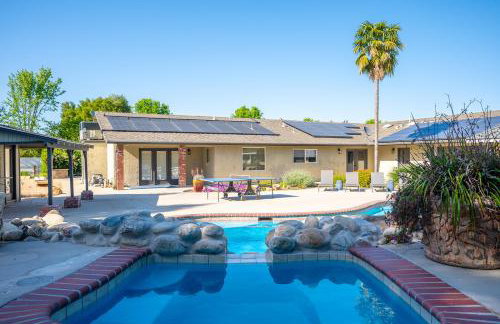
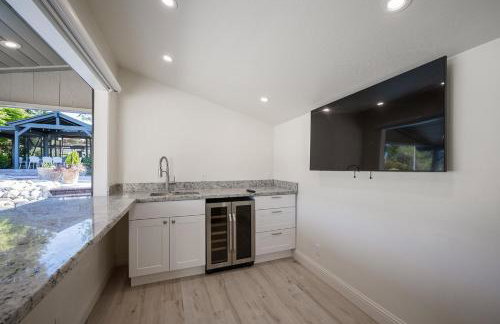
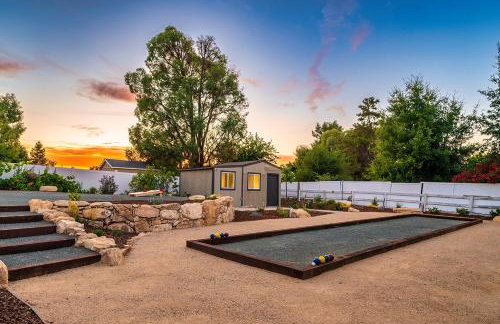
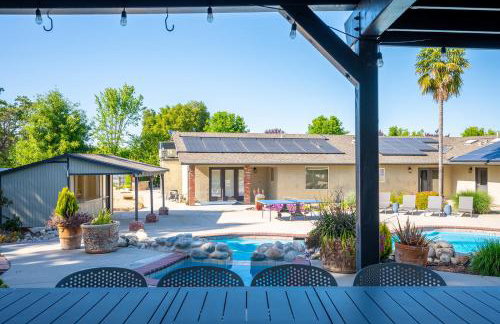
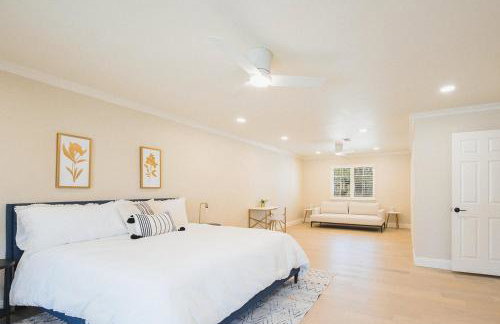
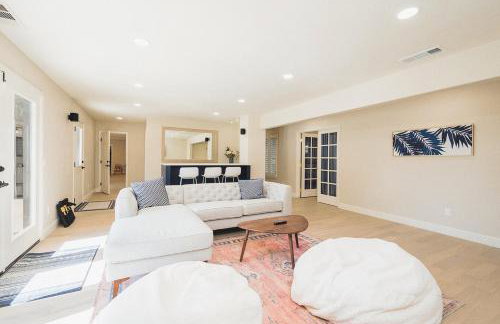

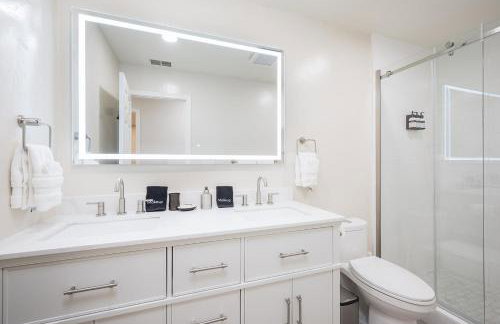
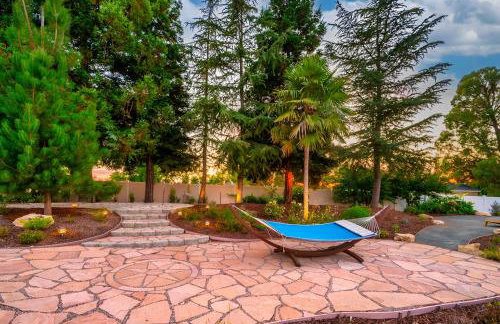
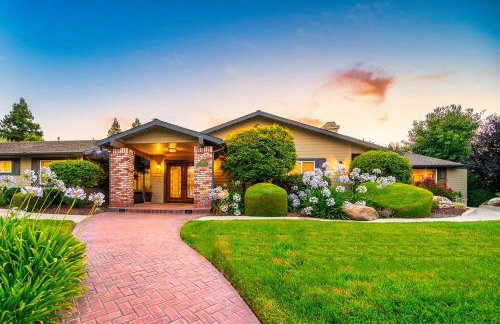
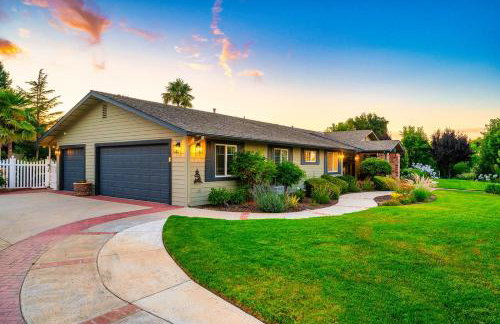
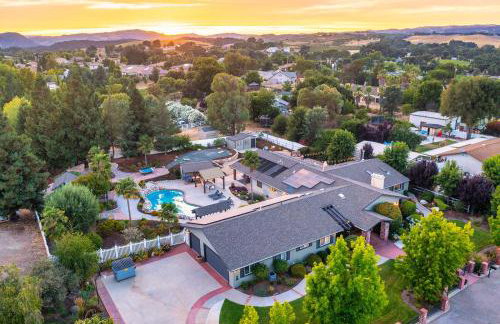
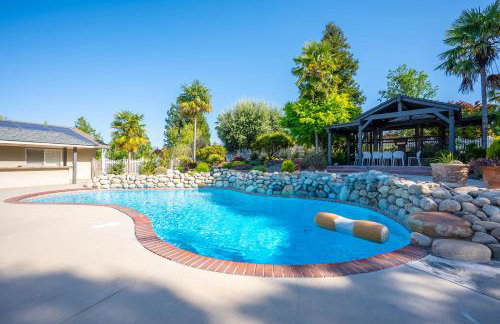
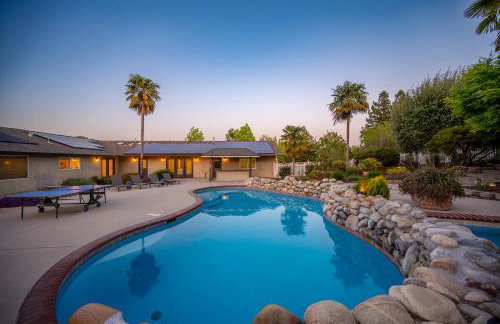

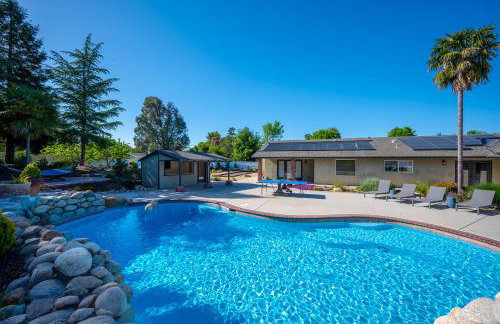
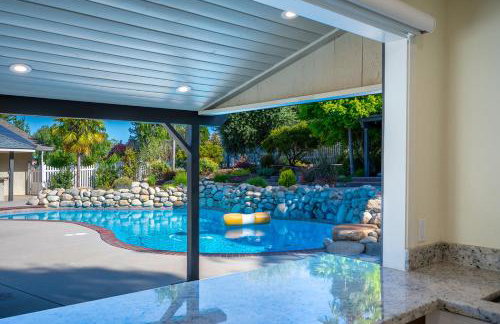
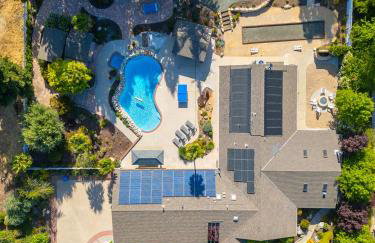
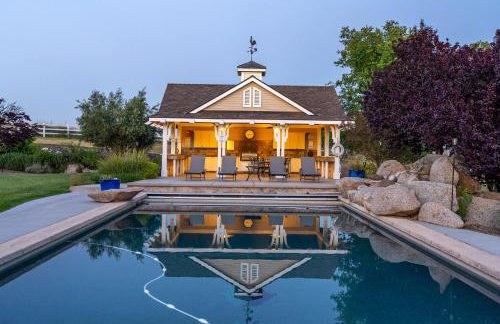
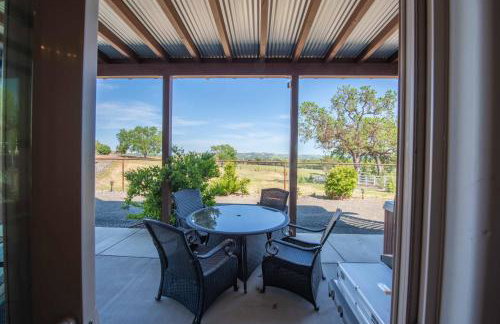
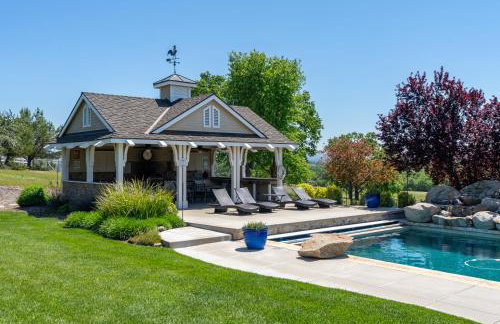
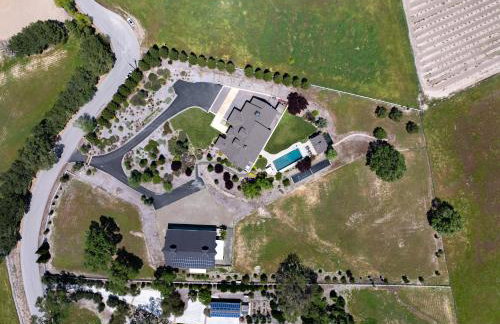
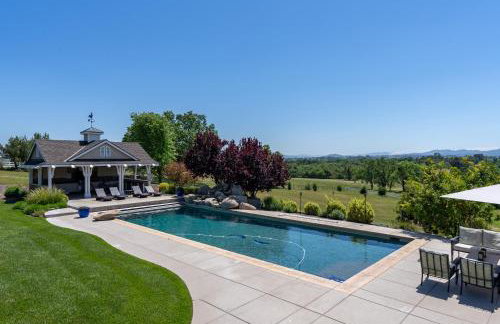
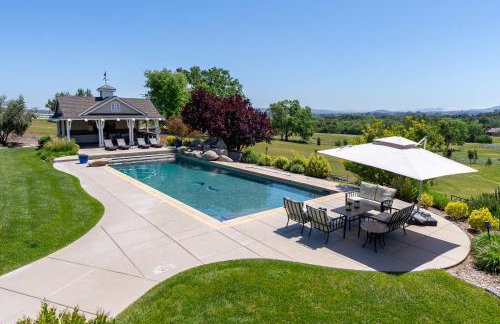
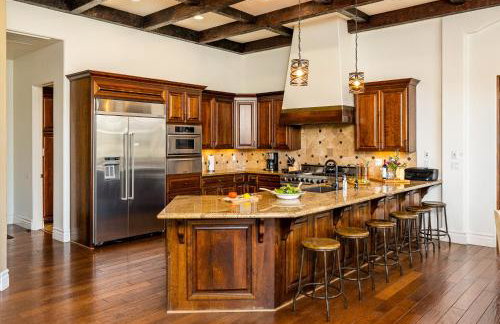
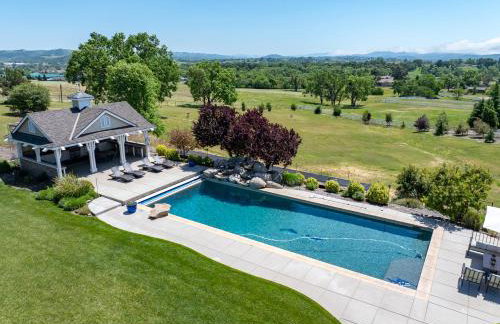
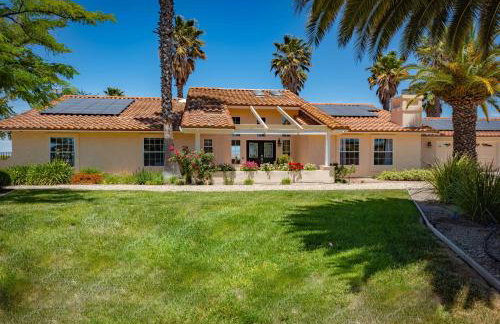
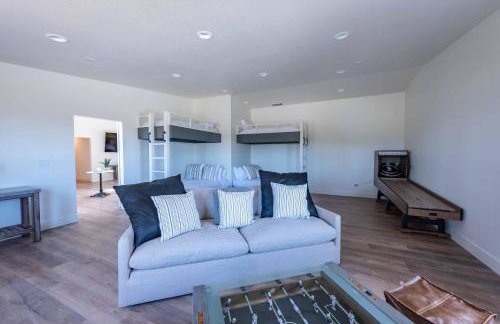
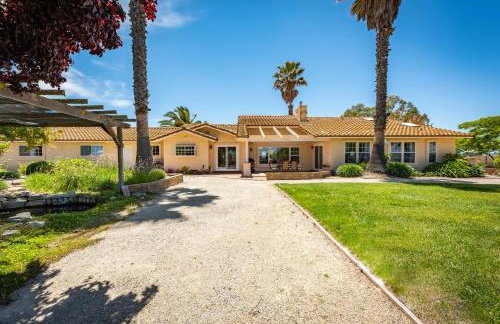
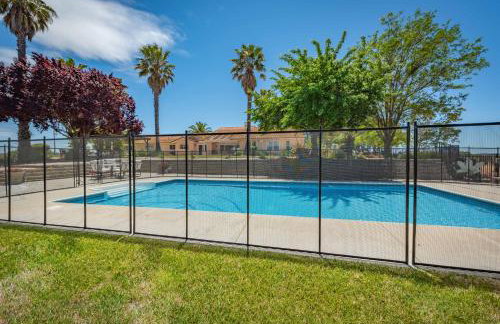
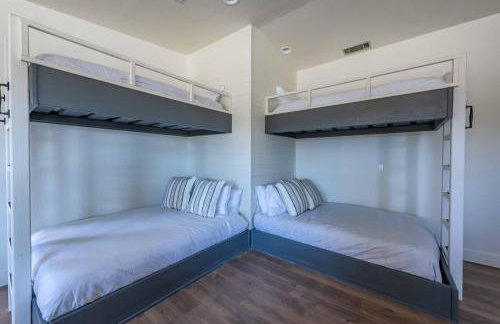
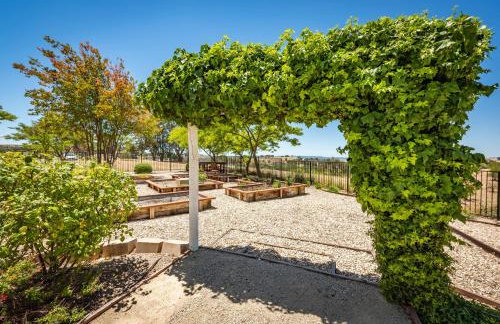
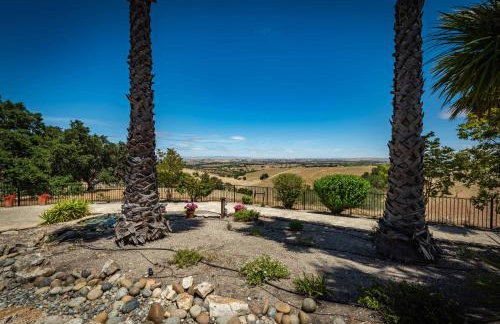
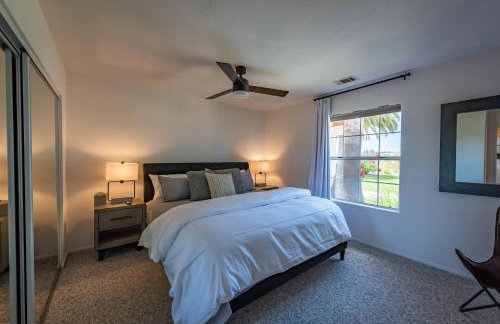
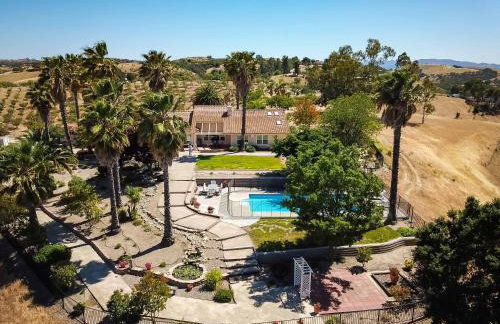
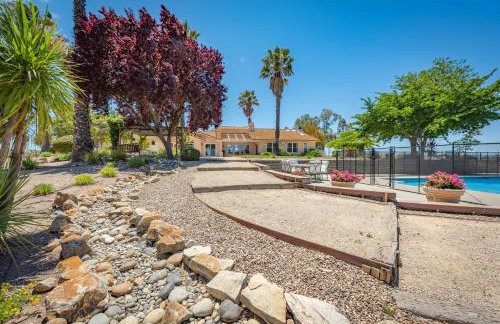
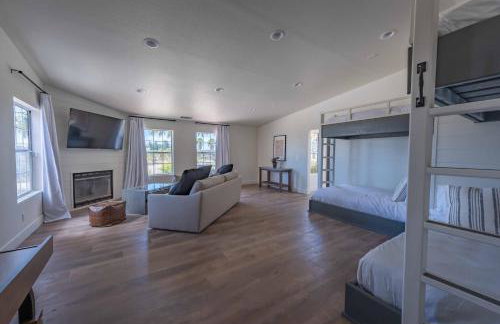
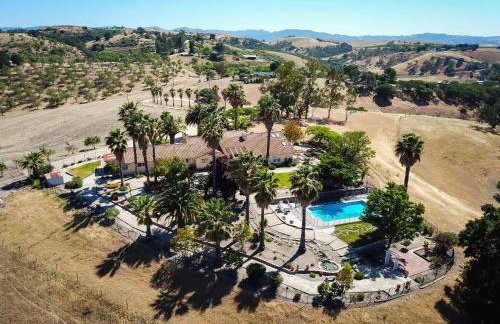
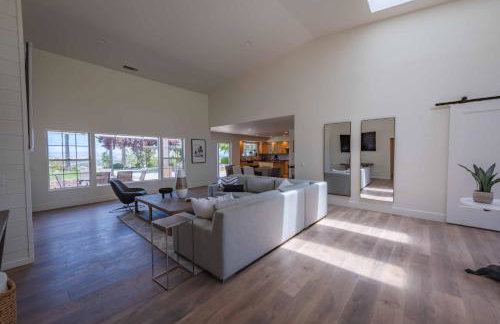
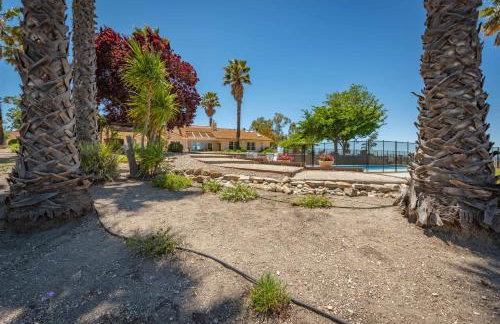
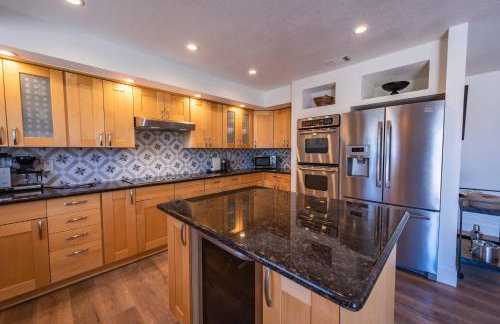
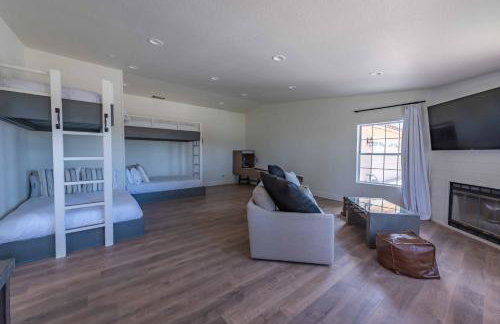
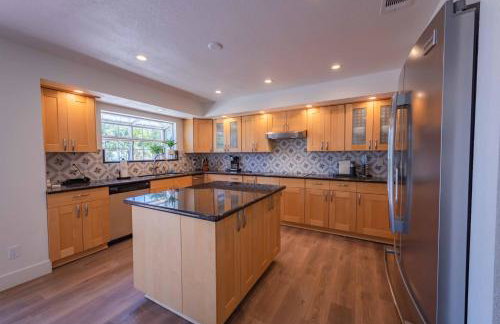
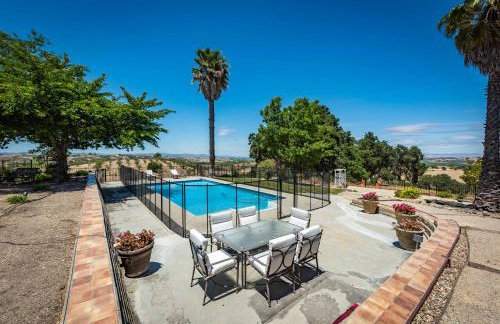
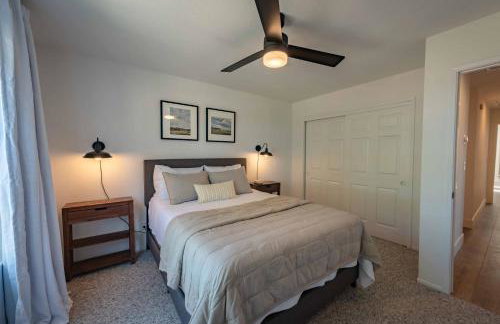
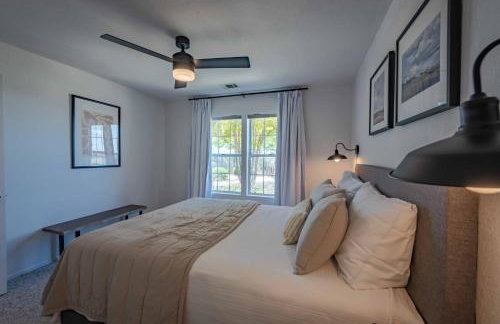
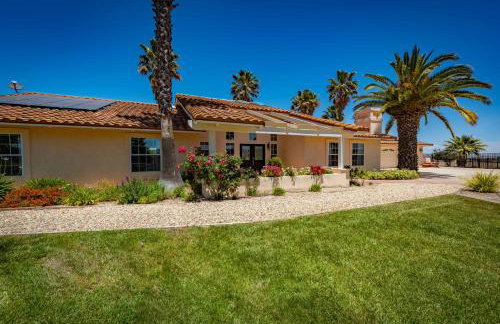
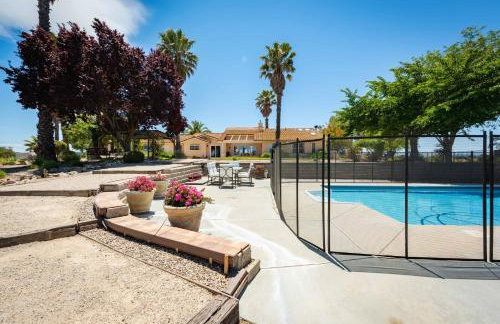
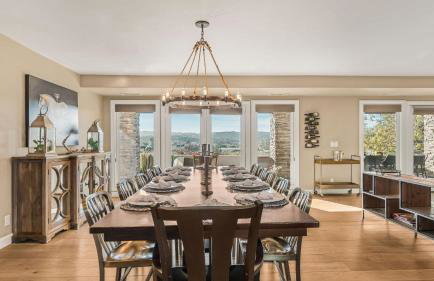
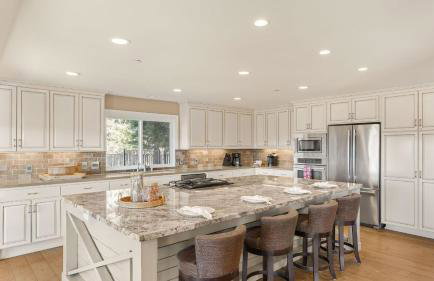
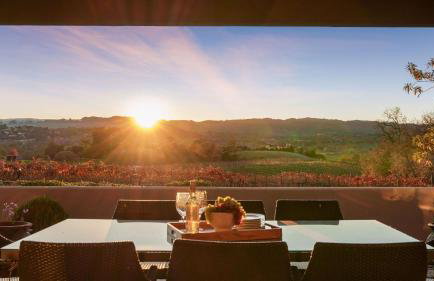
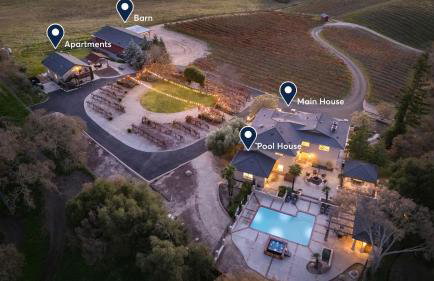
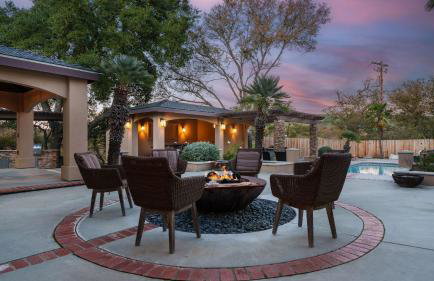
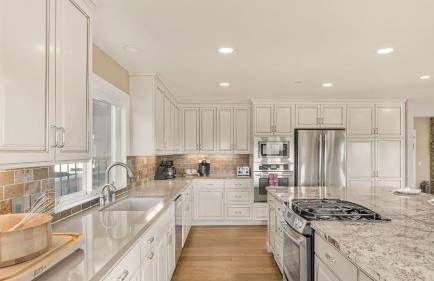
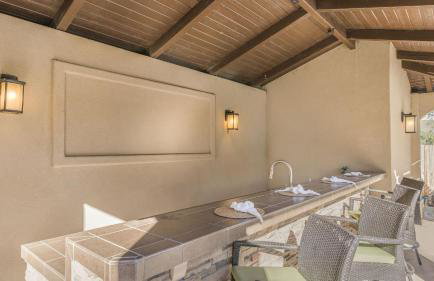
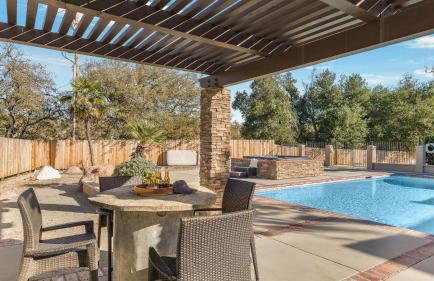
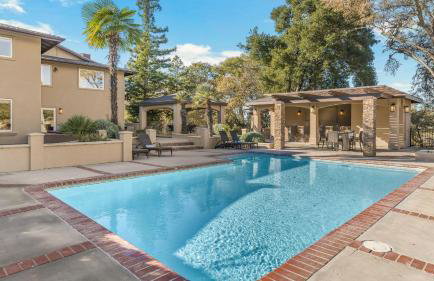
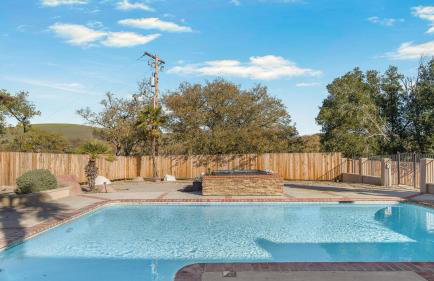
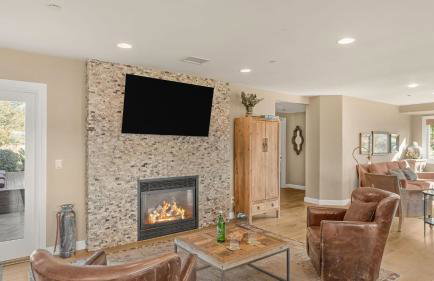
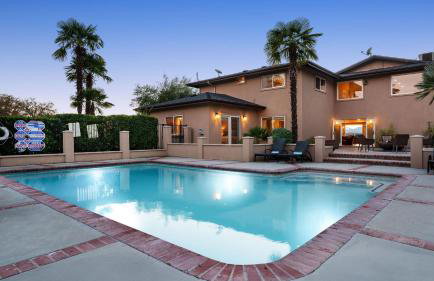
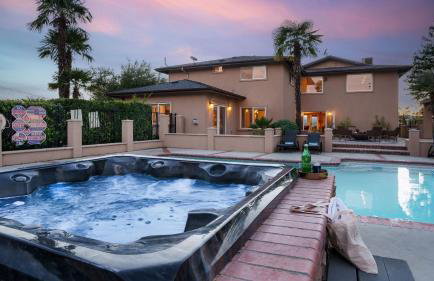
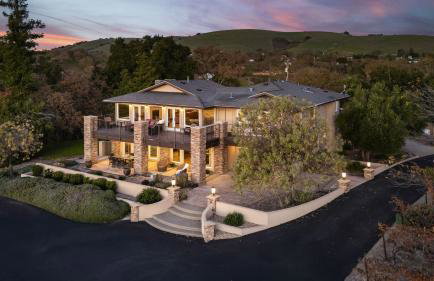
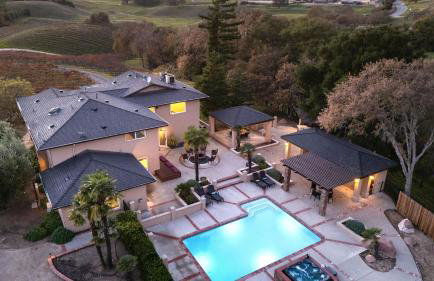
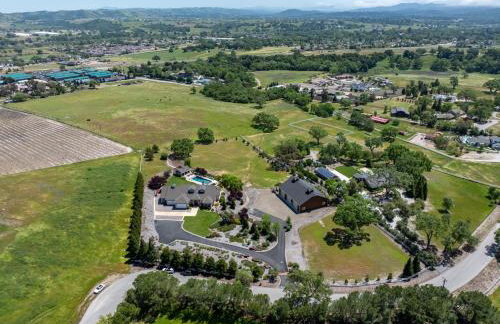
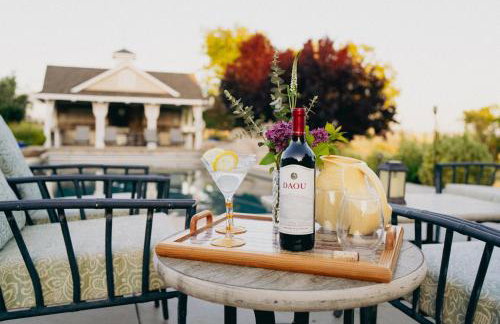
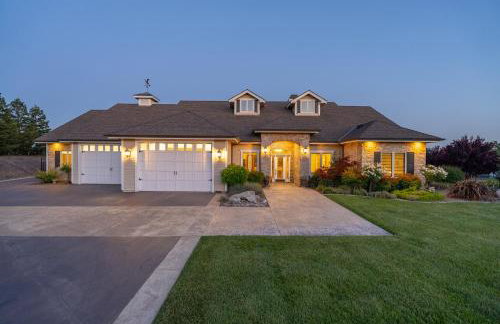
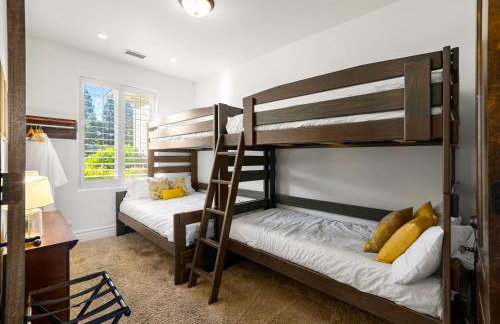
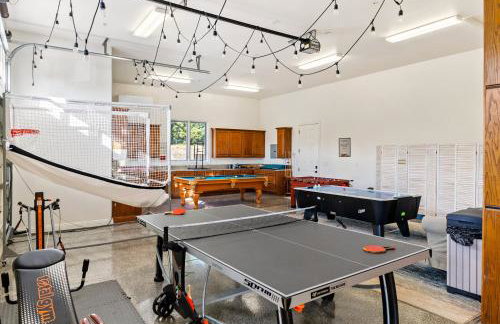
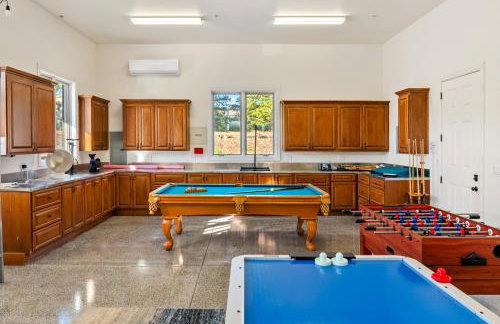
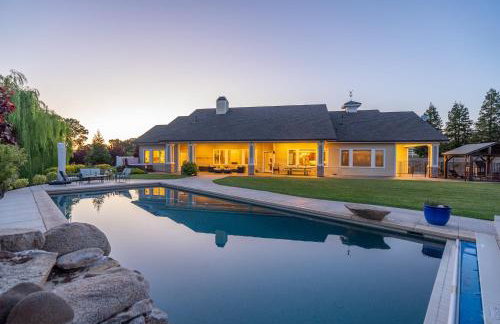
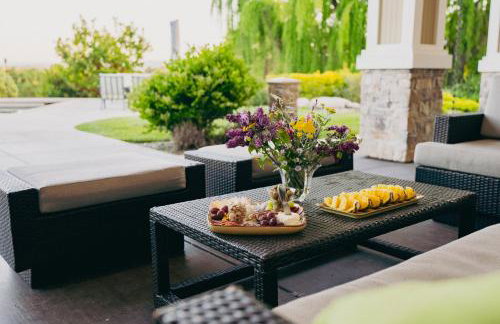
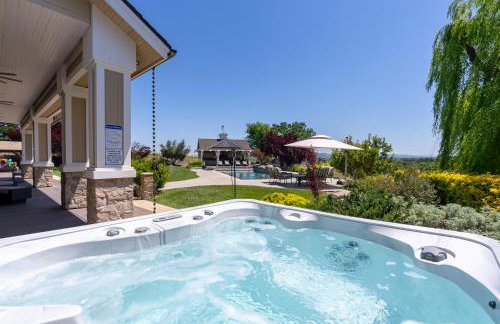
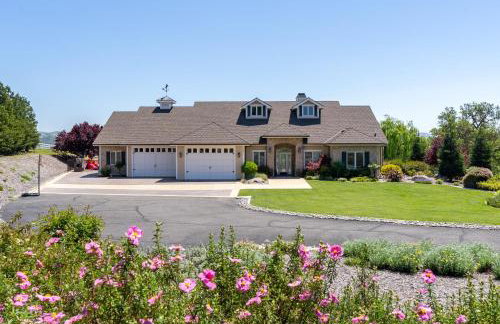
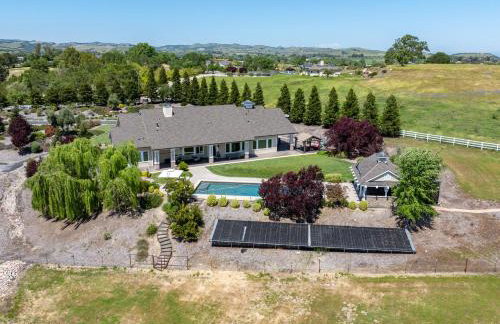
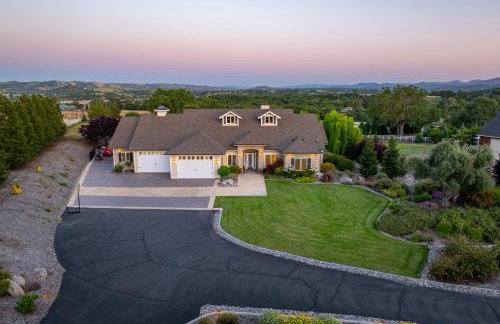
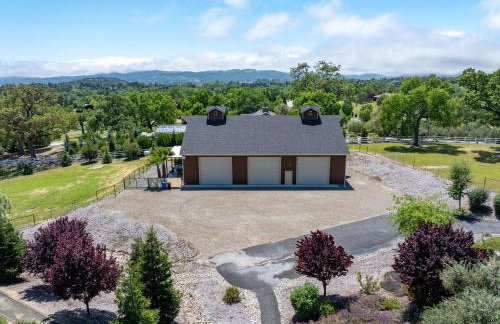
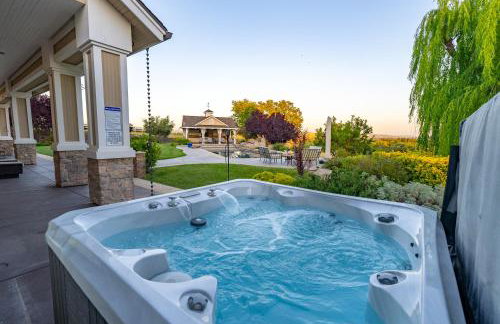
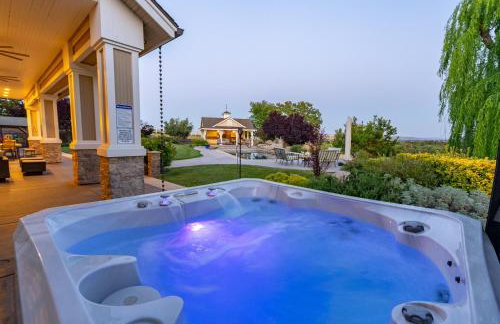
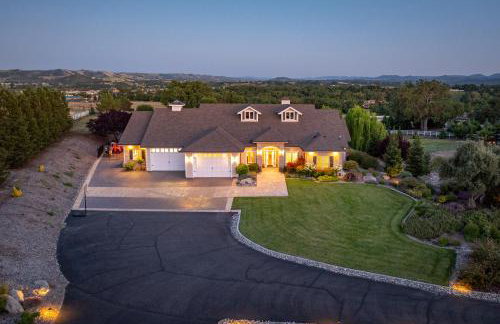
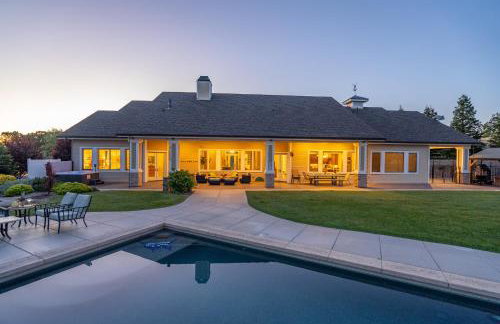
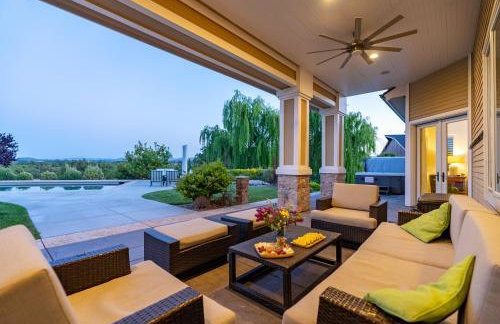
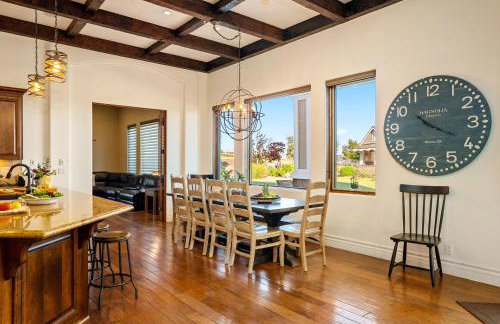
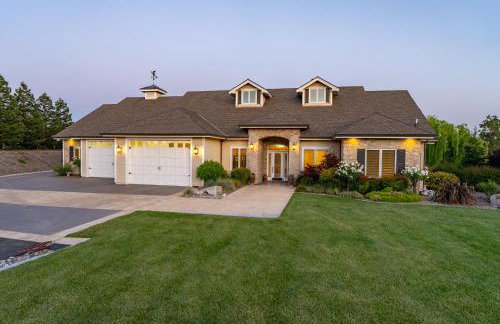
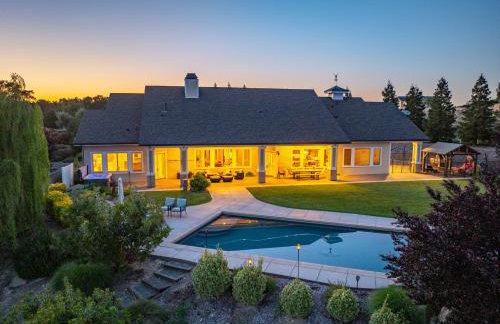
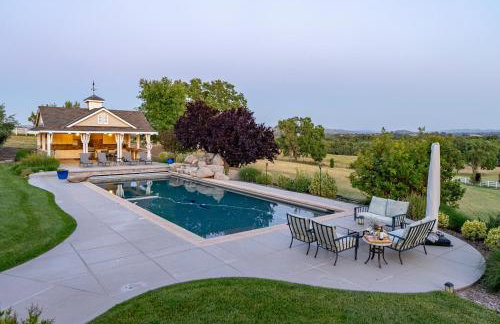
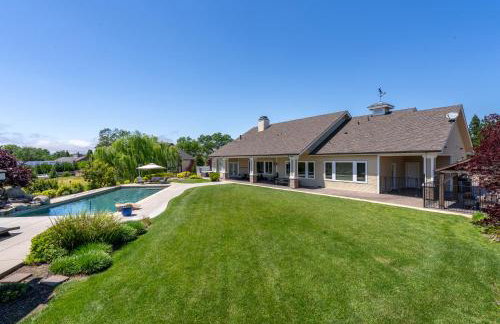
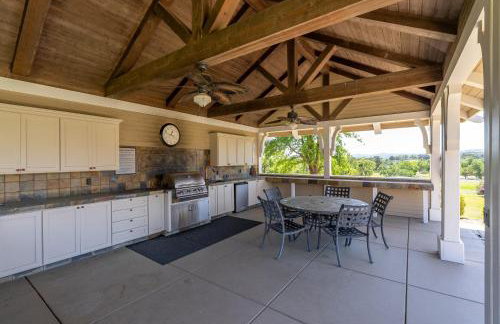
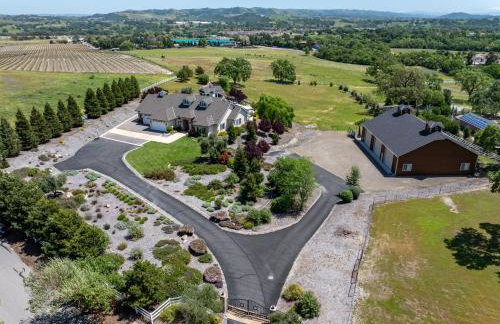
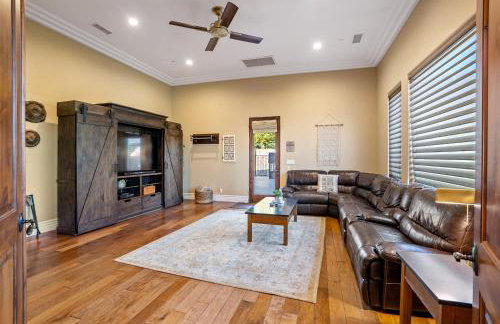
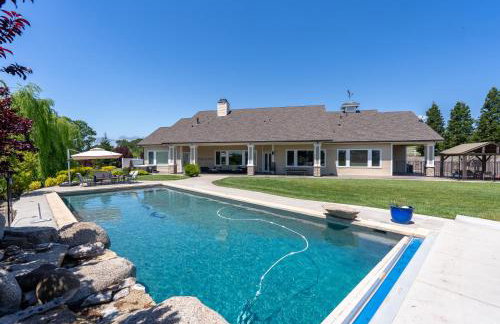
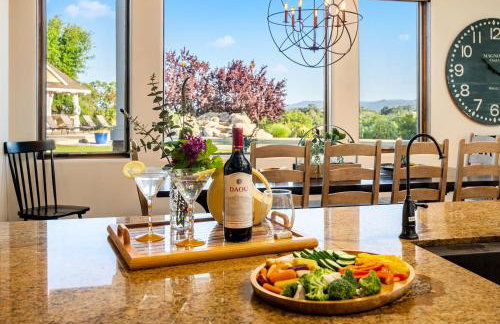
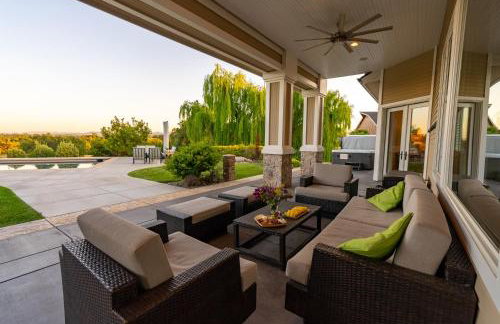
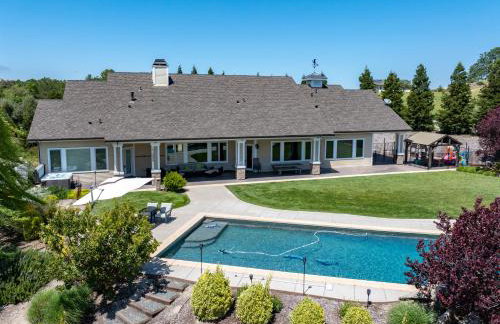
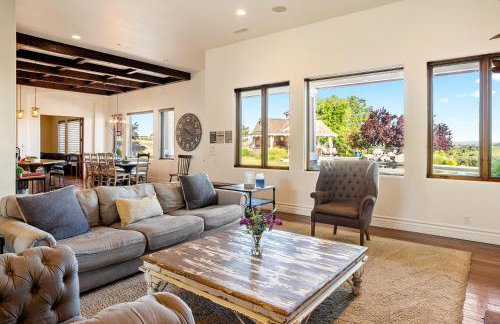
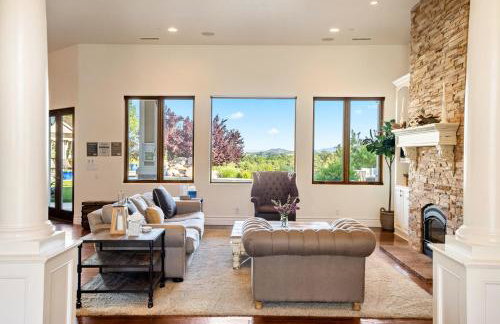
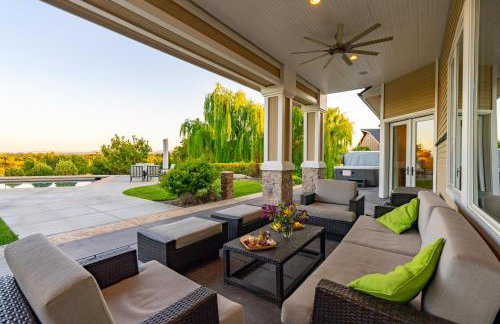
Casteel - 4,500 sq-ft retreat with a pool and hot tub in the middle of wine country!
Templeton
- 425 M2
- 5 Schlafzimmer
- 13 Personen
- Klimaanlage
- Schwimmbad
- Parkplatz
- Garten
- Barbecue
5 Bewertungen

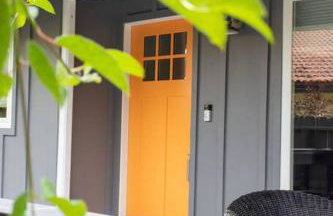
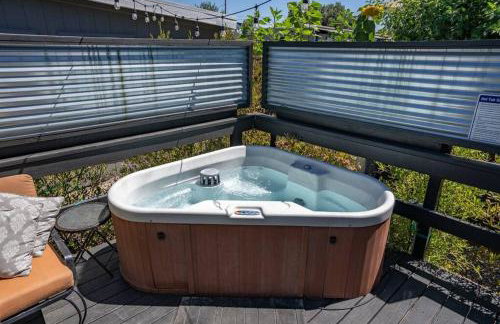


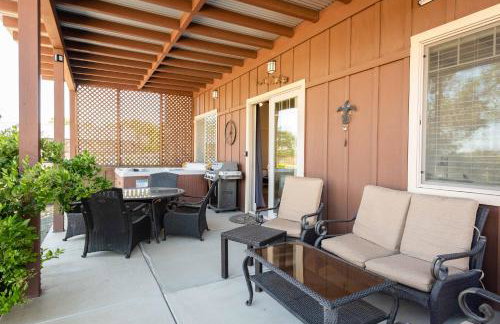
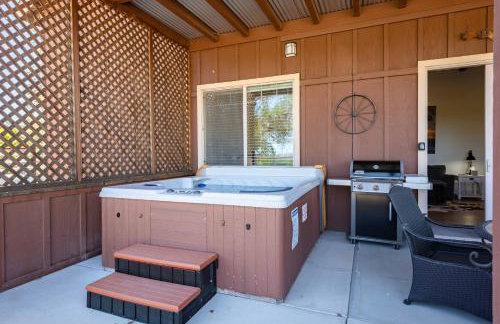
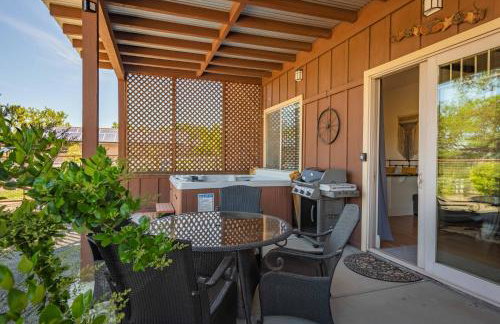
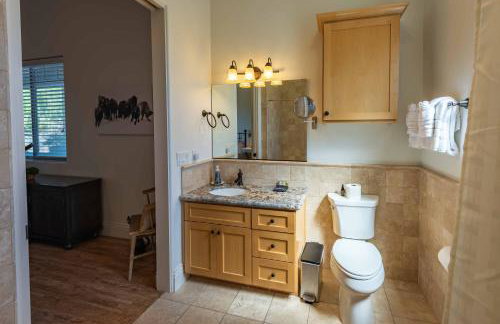
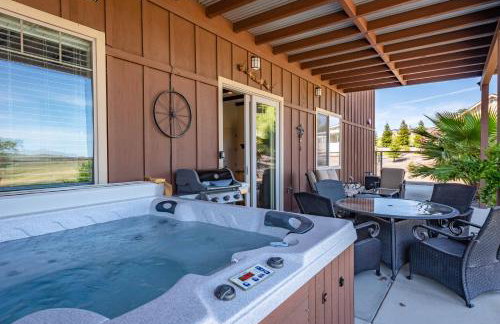
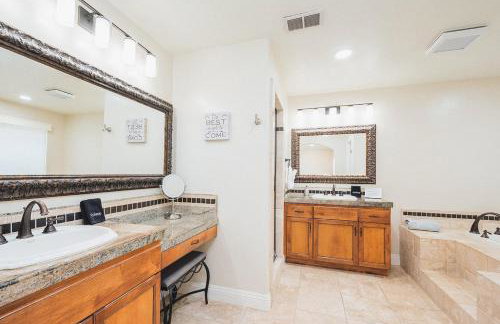
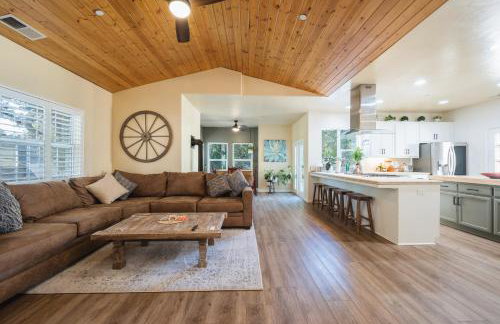
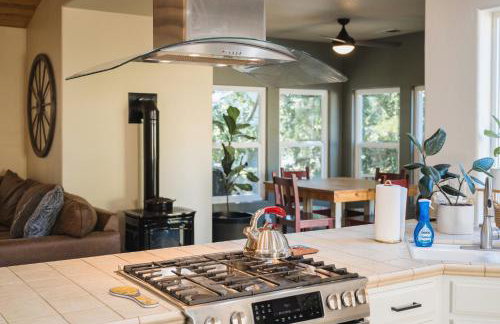
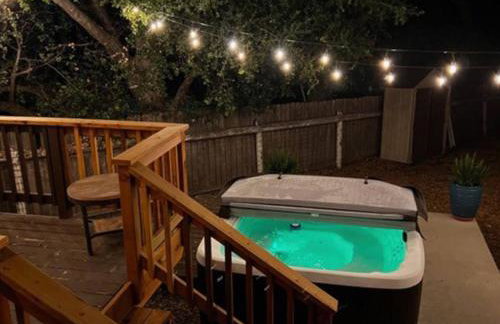
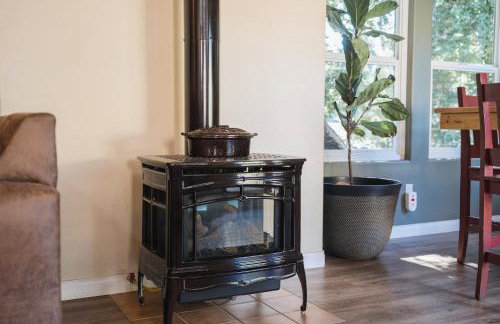
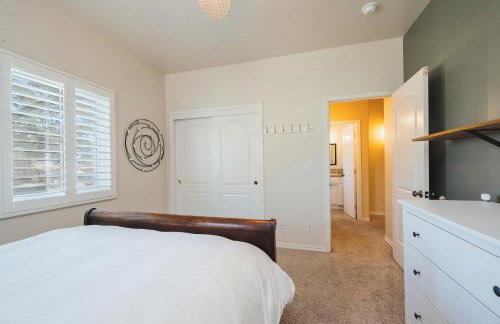
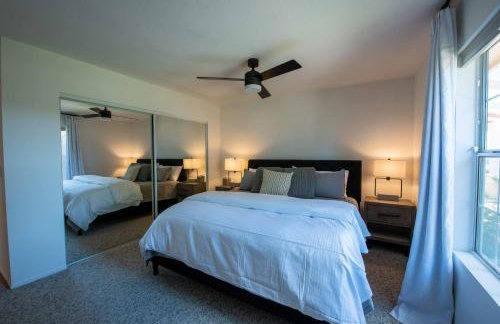
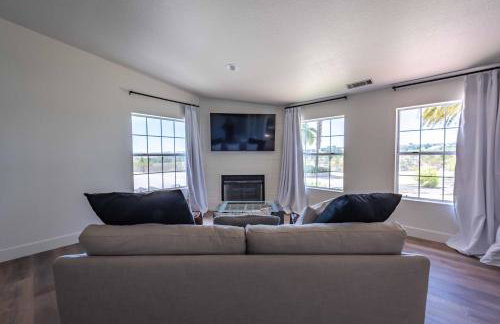
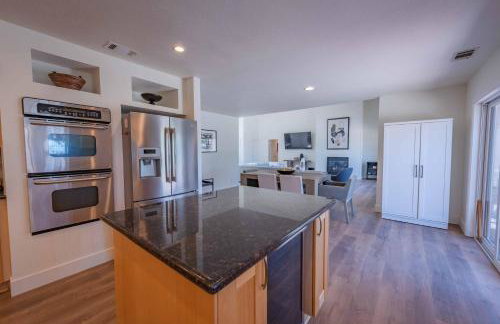
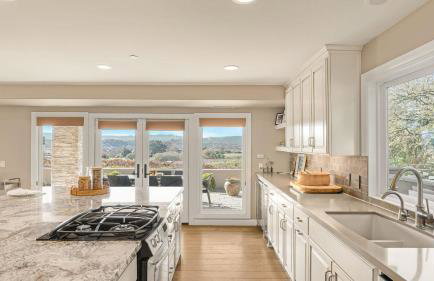
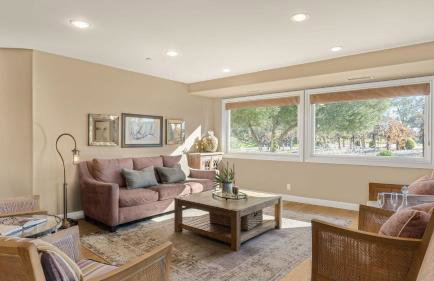
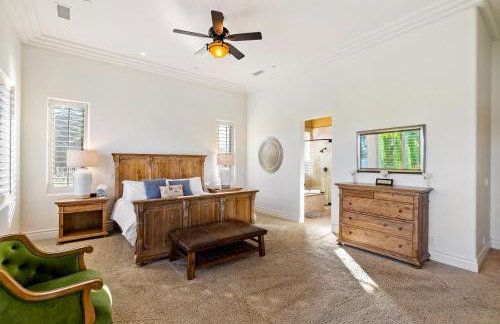
Casa de Forest- Hot tub and Pet Friendly!
Templeton
- 167 M2
- 3 Schlafzimmer
- 8 Personen
- Parkplatz
8 Bewertungen


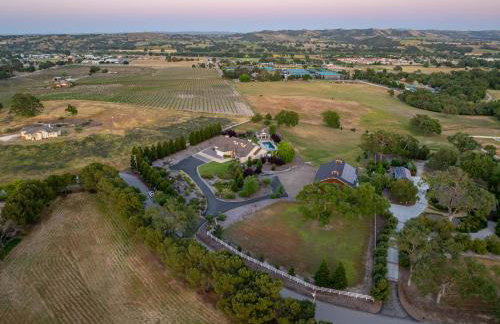
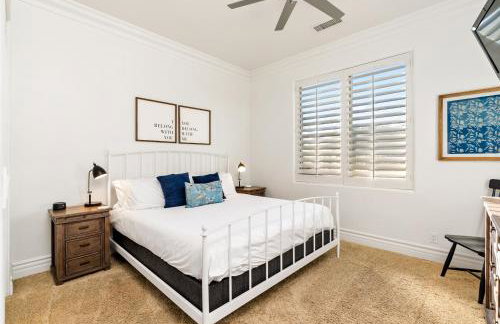
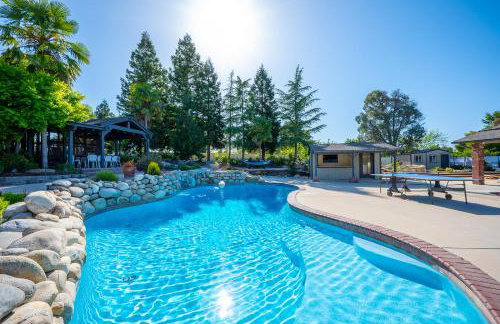
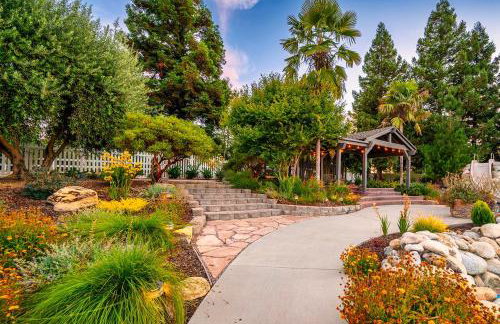
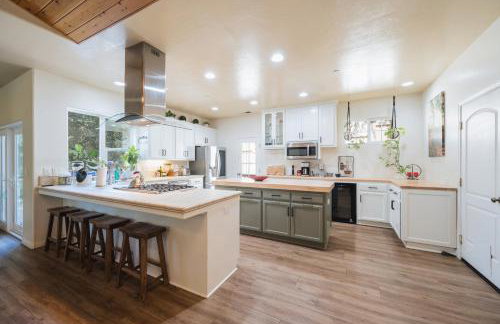
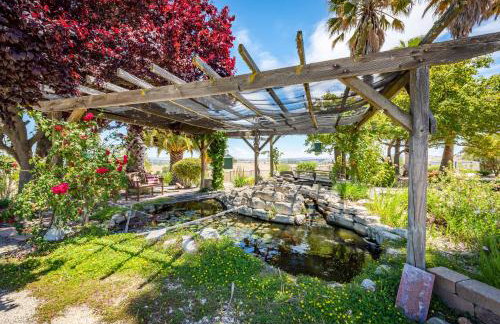
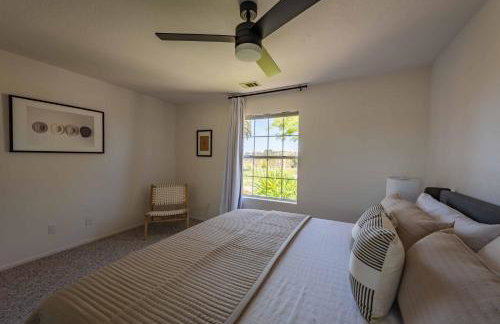
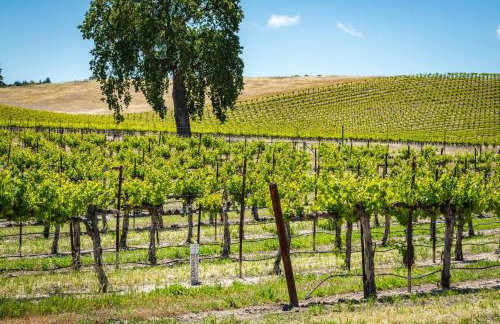
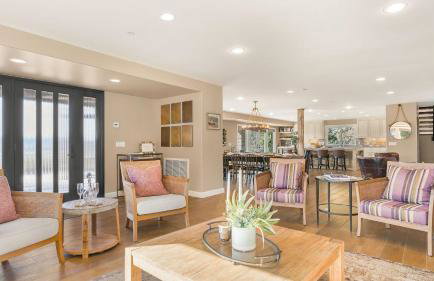
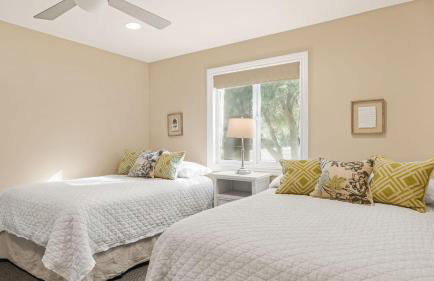
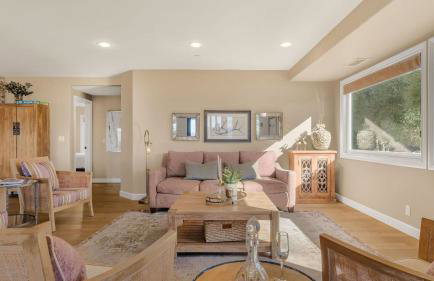
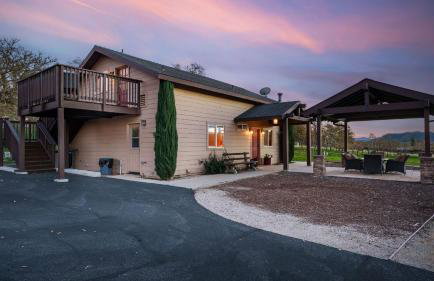
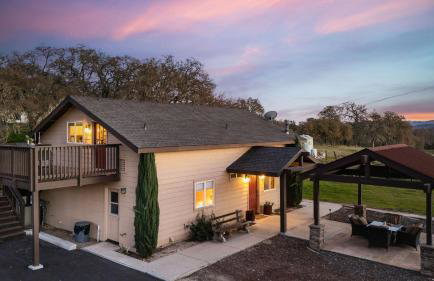
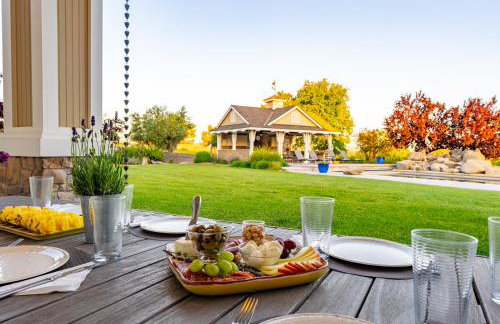
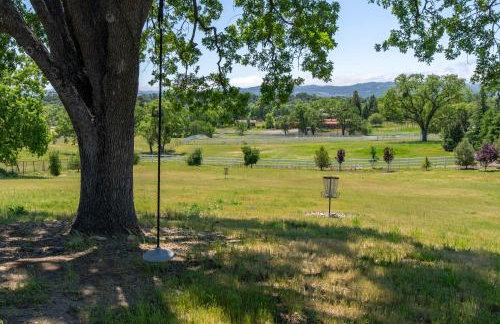
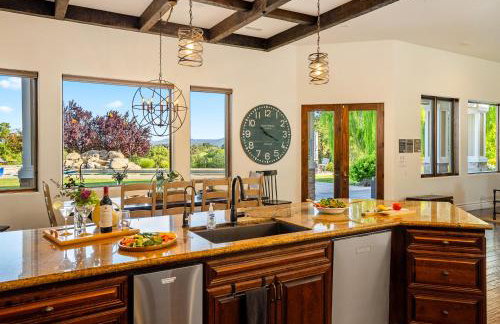
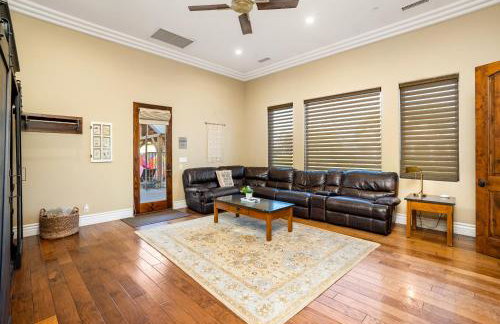
Lovely Templeton Home Near 200 Wineries!
Templeton
- 151 M2
- 3 Schlafzimmer
- 6 Personen
- Heizung
- Parkplatz
5 Bewertungen


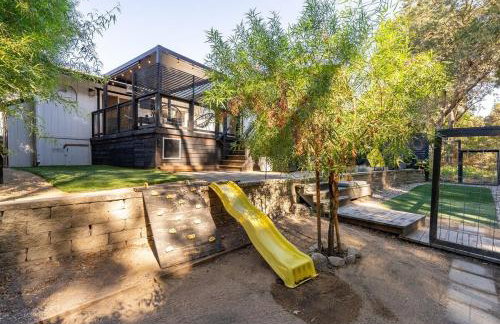
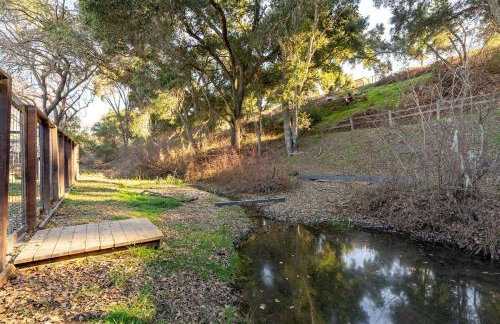
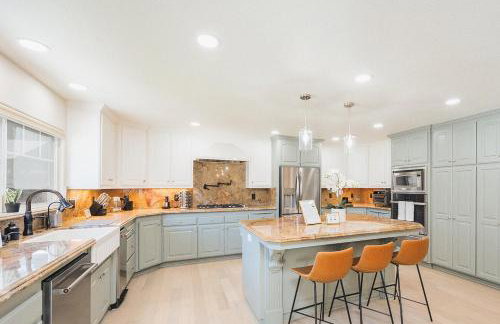
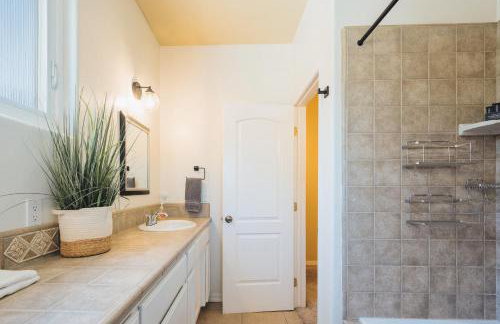
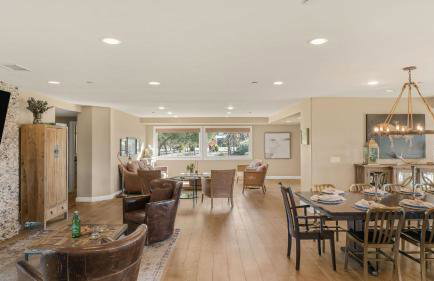
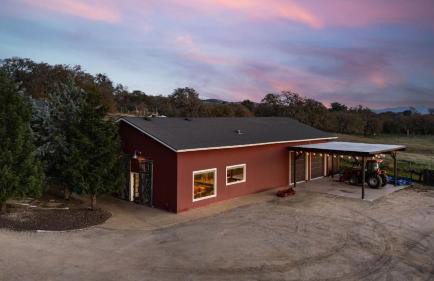
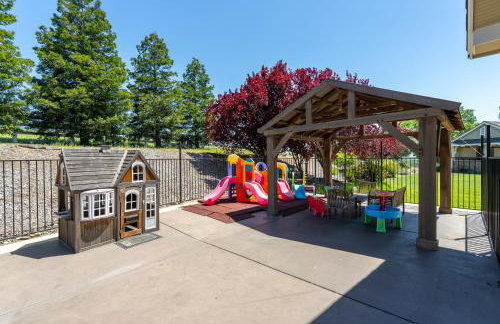
Templeton Creekside Cottage
Templeton
- 130 M2
- 3 Schlafzimmer
- 8 Personen
- Klimaanlage
- Parkplatz
- Barbecue
2 Bewertungen


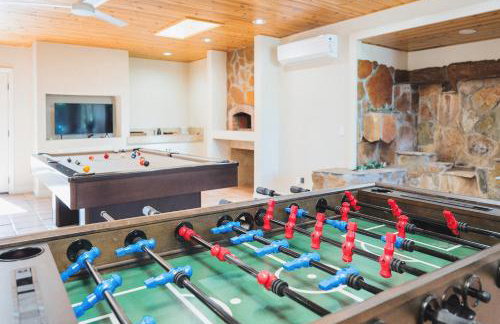
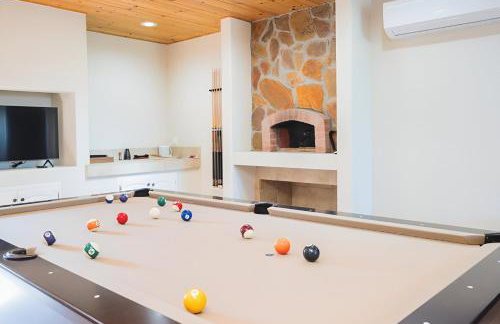
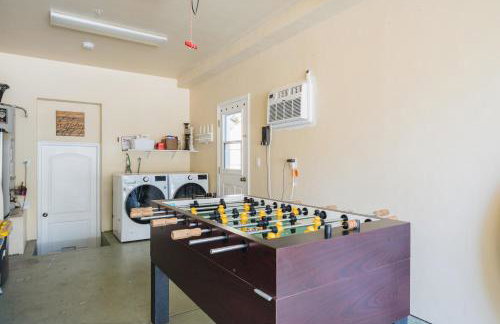
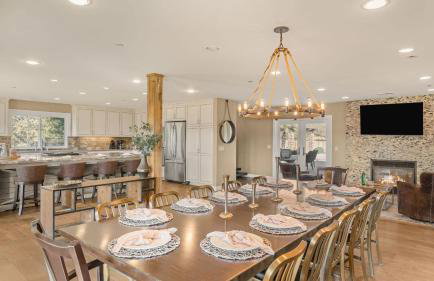
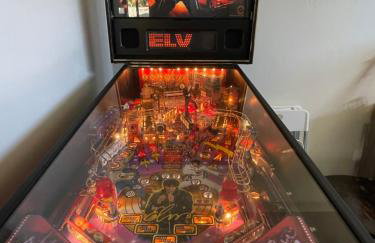
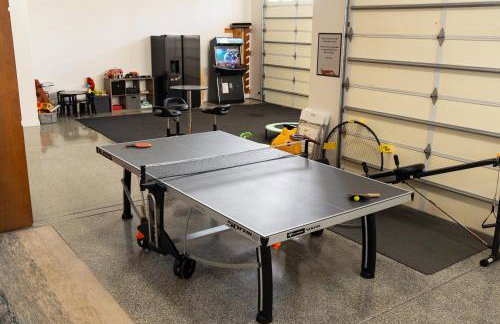
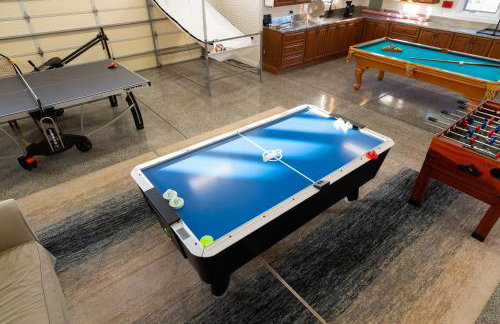
Cathedral by AvantStay Charming Secluded Estate w Sauna Pool Table Views of the Rolling Hills
Templeton
- 475 M2
- 7 Schlafzimmer
- 28 Personen
- Klimaanlage
- Heizung
- Schwimmbad
- Parkplatz
- Barbecue
2 Bewertungen


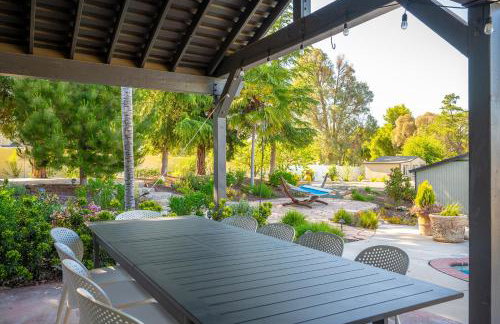
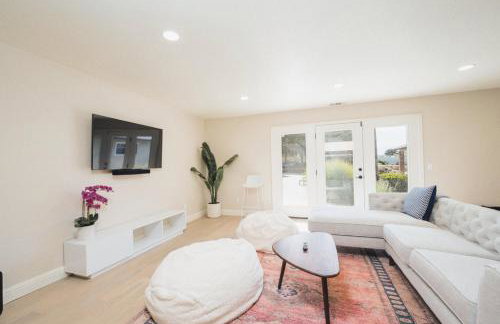
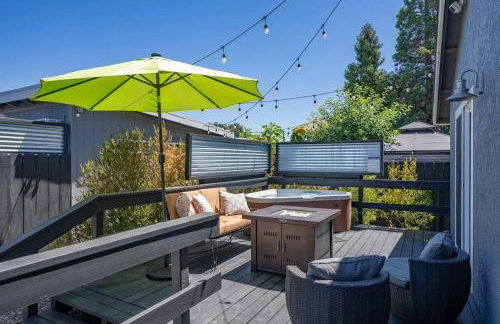
Lavender & Vine - Downtown Retreat with Hot Tub and Fire Pit!
Templeton
- 156 M2
- 2 Schlafzimmer
- 8 Personen
- Klimaanlage
- Parkplatz
- Garten
- Barbecue
1 Bewertung


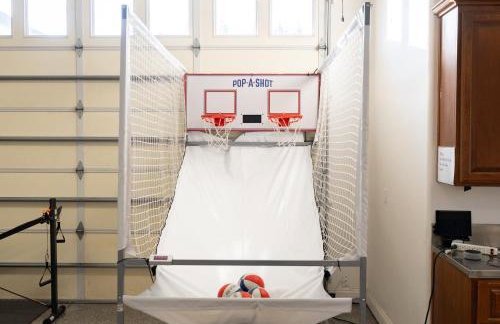
Cathedral by Avantstay Charming Secluded Estate w/ Sauna, Pool Table & Views of the Rolling Hills
Templeton
- 475 M2
- 28 Personen
- Klimaanlage
- Heizung
- Schwimmbad
- Parkplatz
- Tv
- Waschmaschine
- Schornstein
- Barbecue
- Handtücher
- Bettlaken


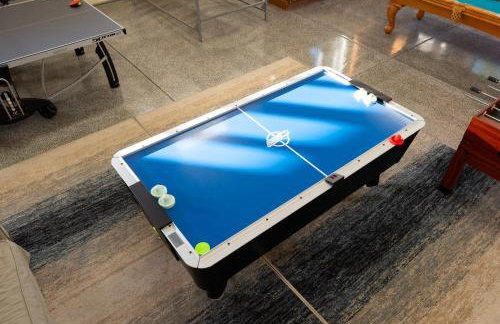
Cathedral by Avantstay Charming Secluded Estate w Sauna Pool Table Views of the Rolling Hills
Templeton
- 475 M2
- 28 Personen
- Klimaanlage
- Heizung
- Parkplatz
- Tv
- Waschmaschine
- Schornstein
- Barbecue
- Handtücher
- Bettlaken


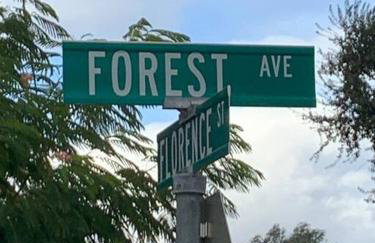
Forest and Vine - Hot tub and Pet Friendly!
Templeton
- 158 M2
- 1 Schlafzimmer
- 10 Personen
- Klimaanlage
- Parkplatz
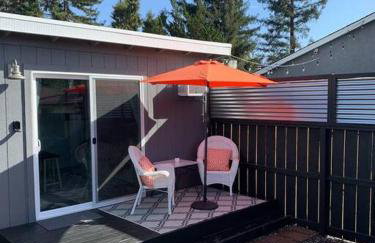


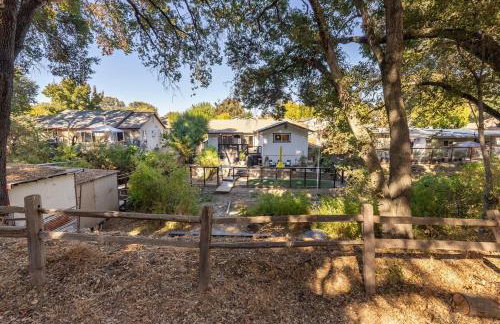
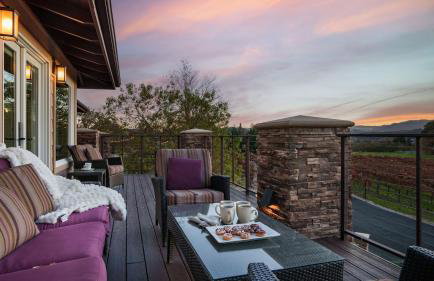
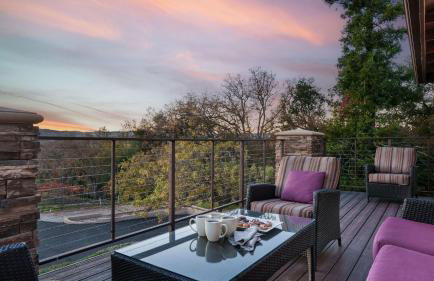
Serene Vineyard•Deck, Pickleball, Views~ Near Town
Templeton
- 79 M2
- 1 Schlafzimmer
- 2 Personen
- Klimaanlage
- Heizung
- Terrasse
- Parkplatz
- Garten
- Barbecue


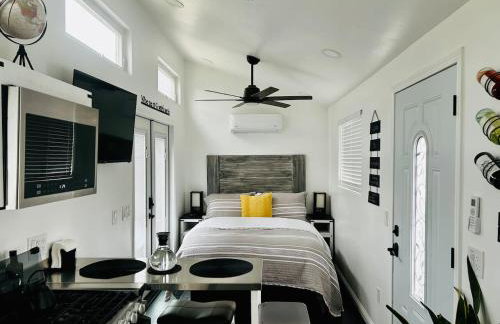
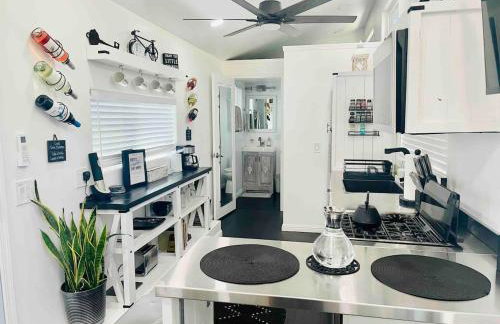

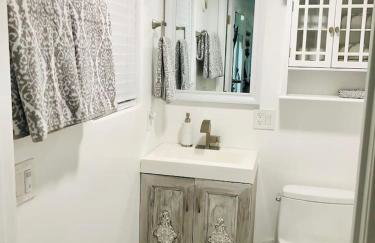
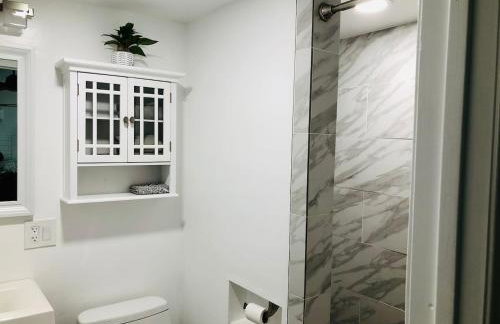
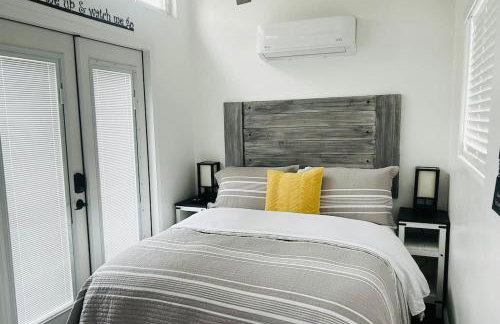
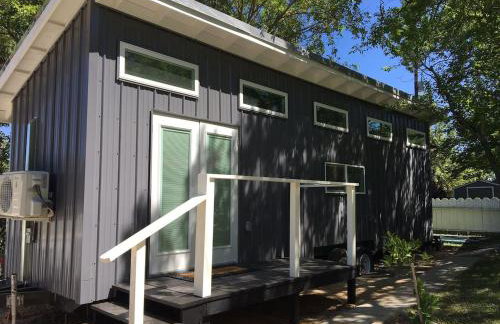
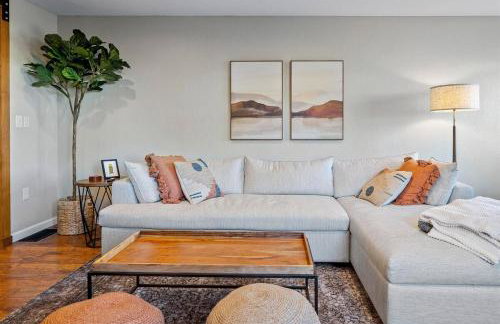
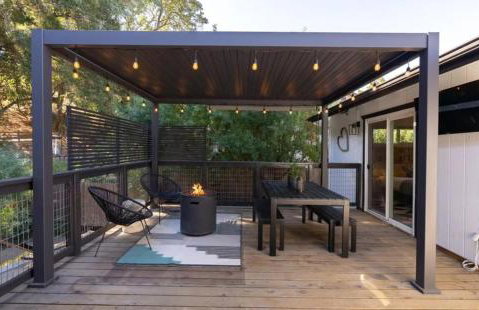
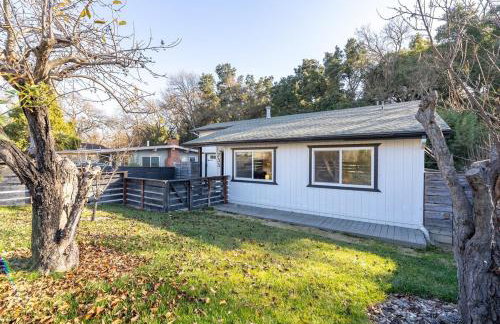
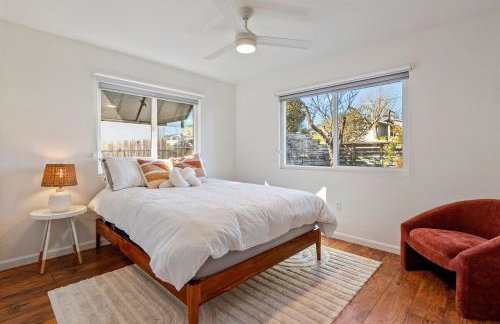
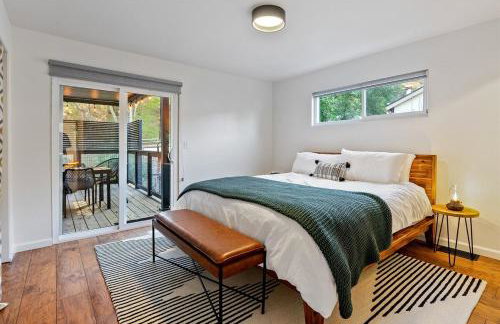
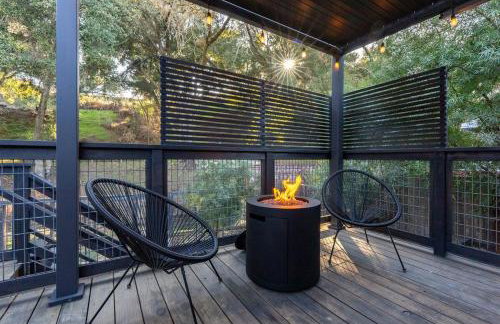
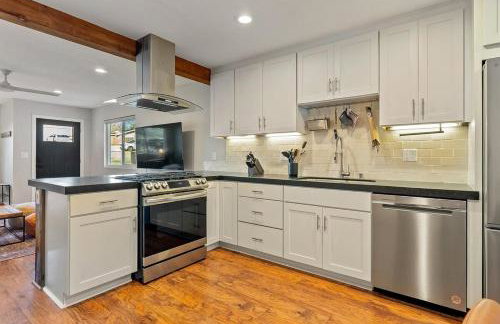
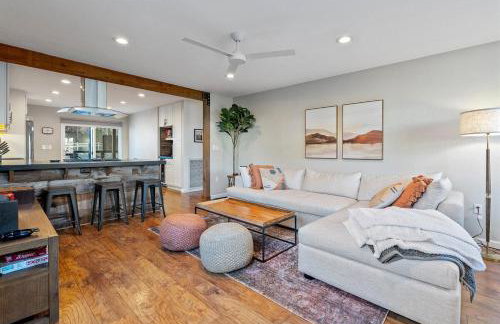
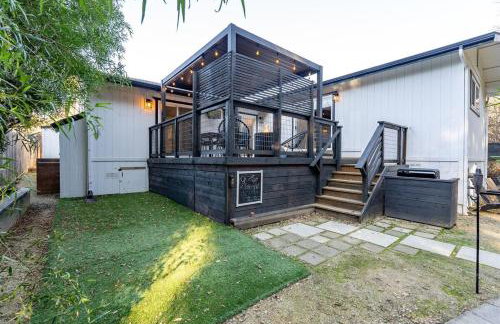
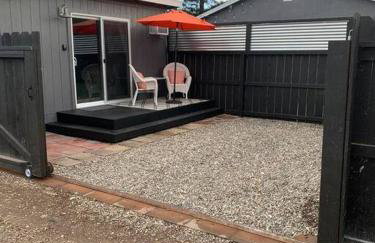
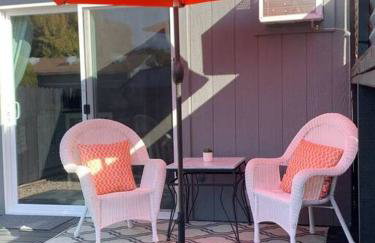
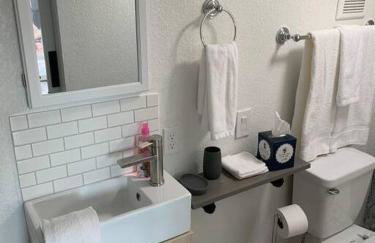
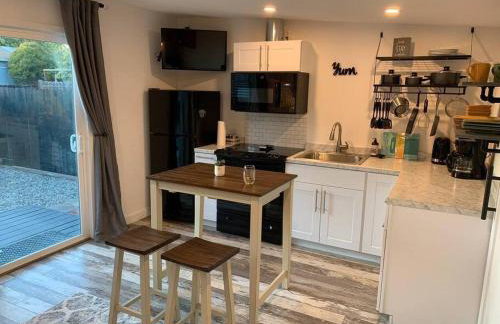
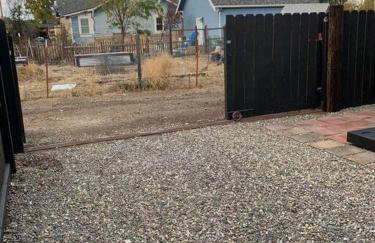
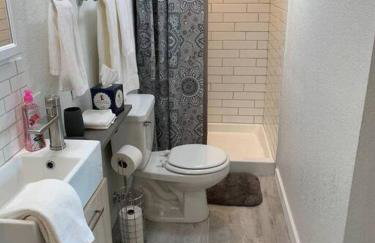
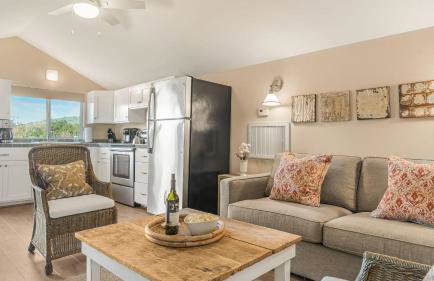
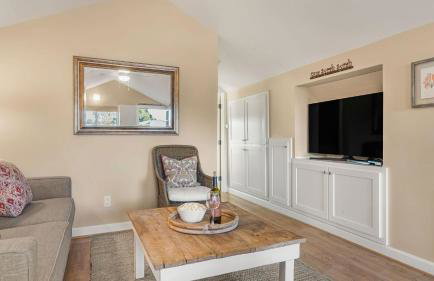
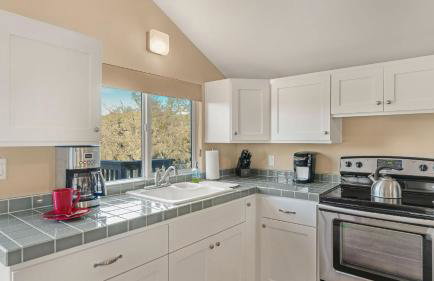
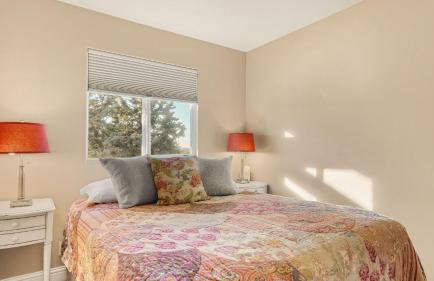
Boutique Tiny in Templeton Modern Wine Country
Templeton
- 33 M2
- 1 Schlafzimmer
- 2 Personen
- Klimaanlage
- Heizung
- Terrasse
- Parkplatz
- Barbecue


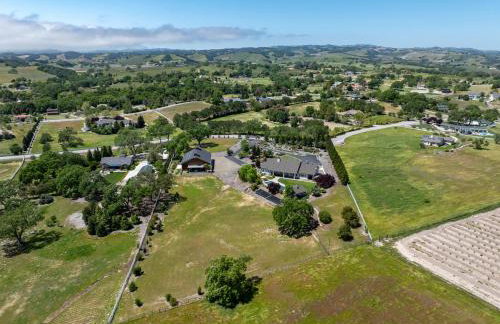
Ten-Acre Wine Country Estate Near Paso Robles w Pool Views El Pomar Estate by AvantStay
Templeton
- 707 M2
- 9 Schlafzimmer
- 22 Personen
- Klimaanlage
- Heizung
- Schwimmbad
- Parkplatz
- Barbecue
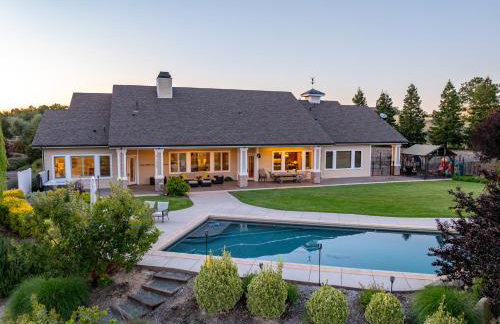


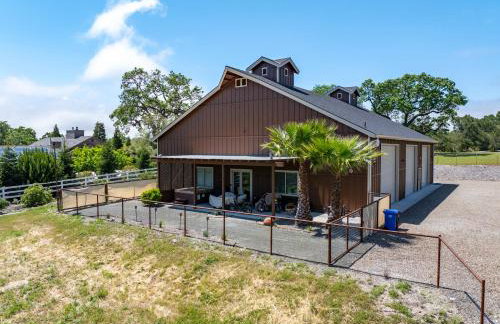
Frontier Farmhouse
Templeton
- 465 M2
- 6 Schlafzimmer
- 15 Personen
- Klimaanlage
- Heizung
- Schwimmbad
- Parkplatz
- Garten