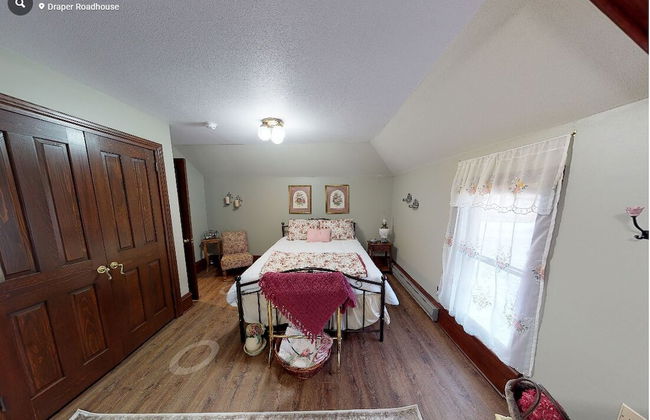
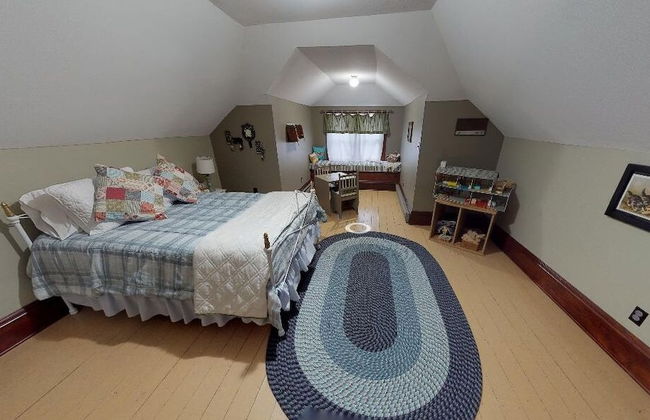
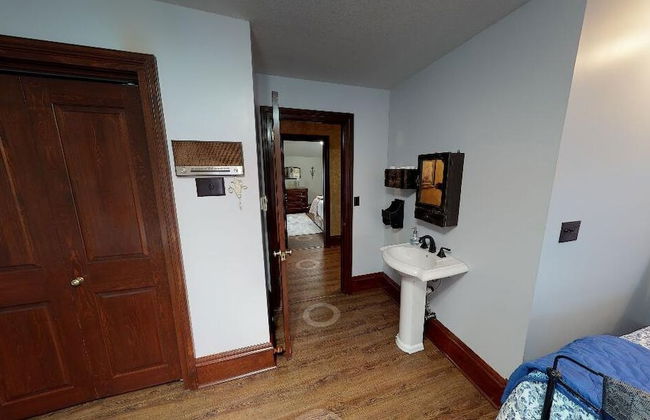
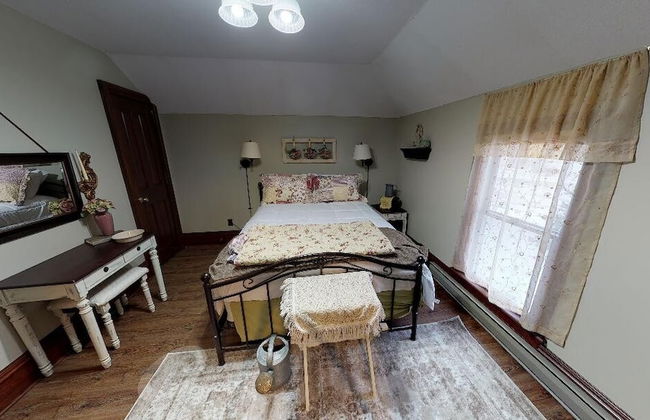
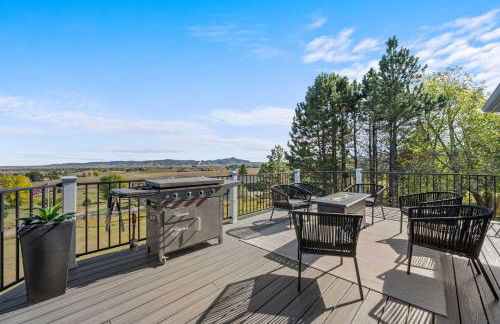
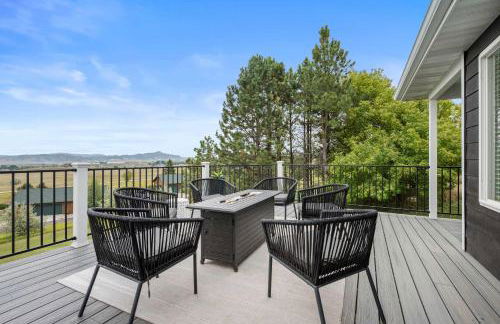
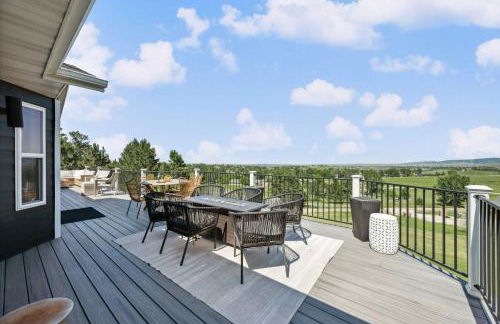
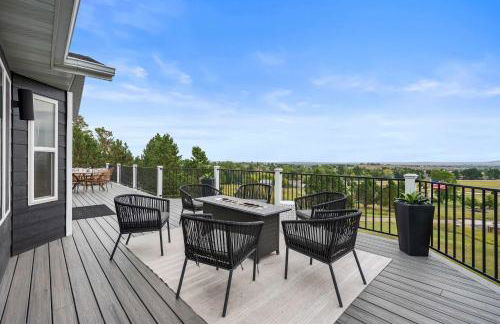
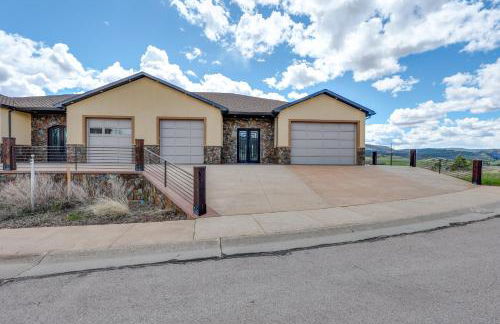
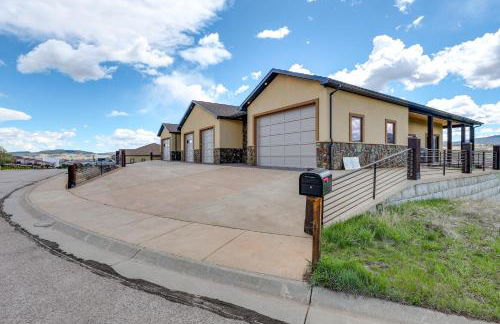
21 Wohnungen in Spearfish
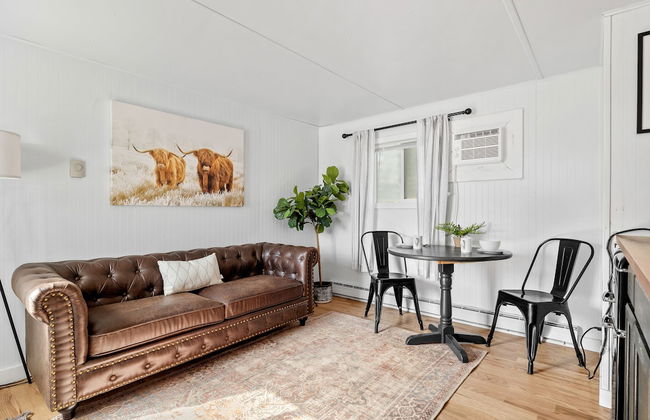
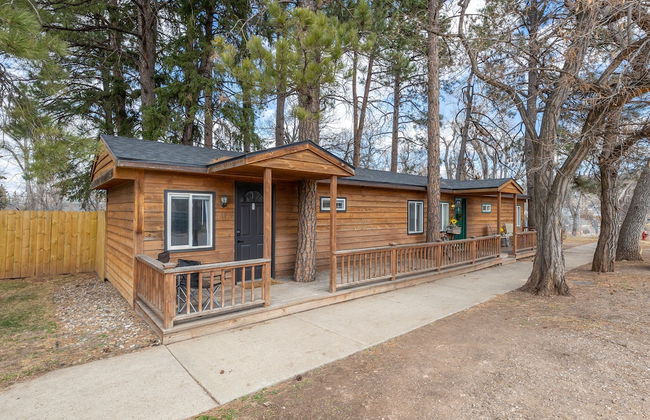
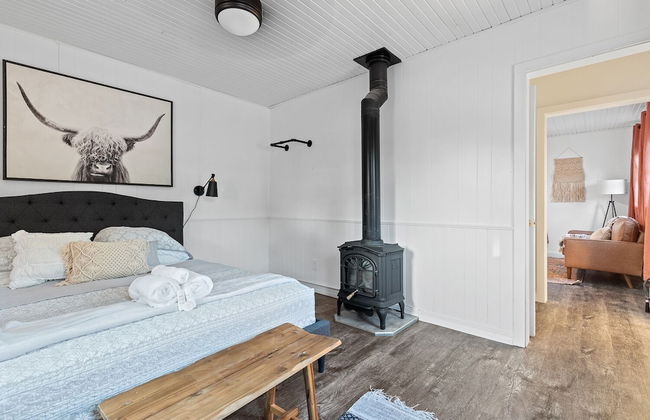
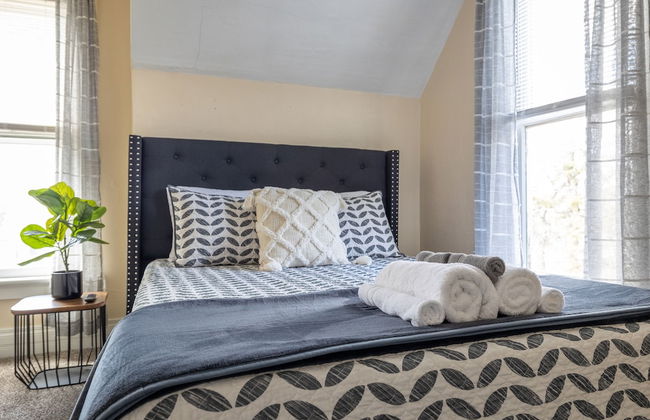
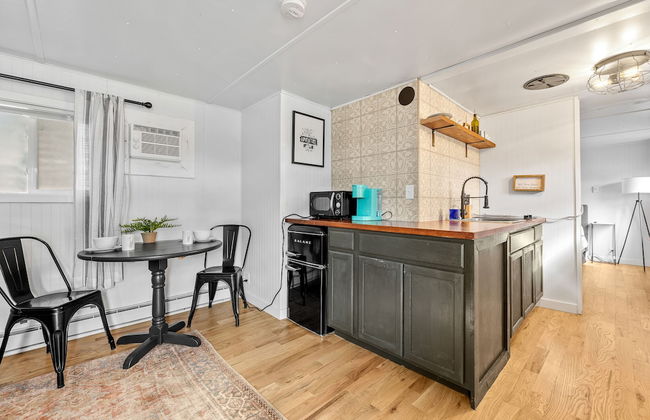
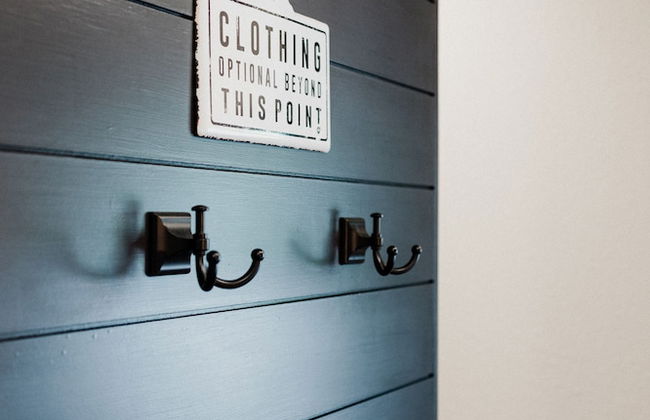
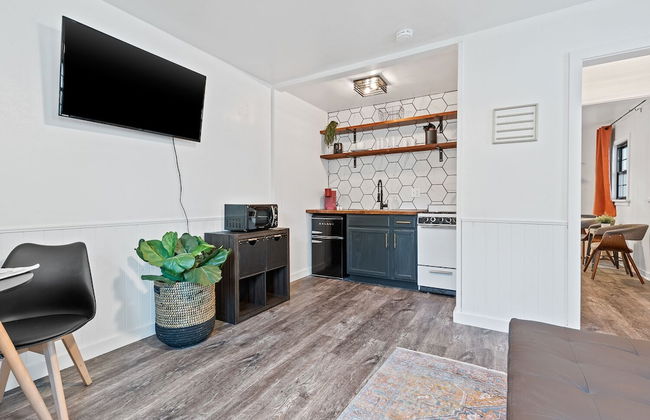
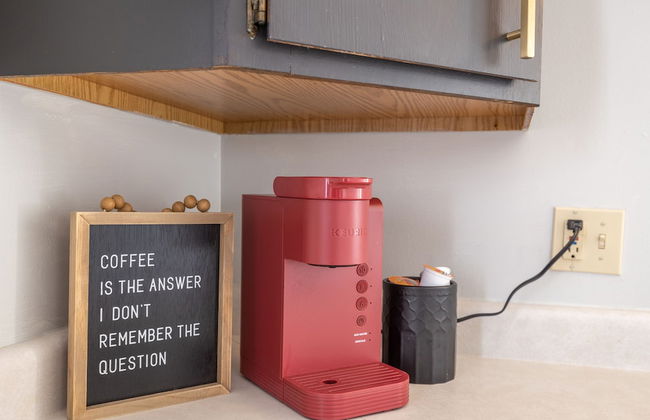
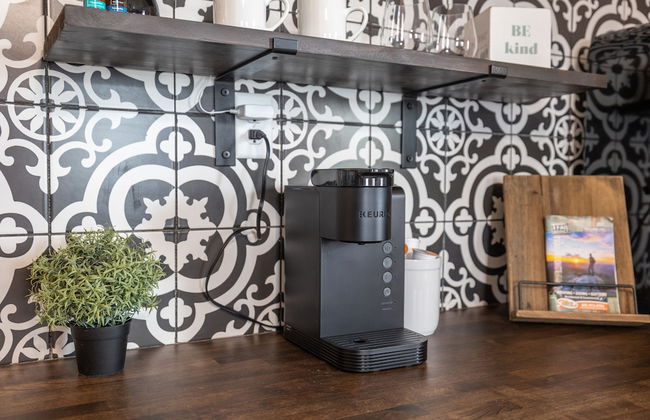
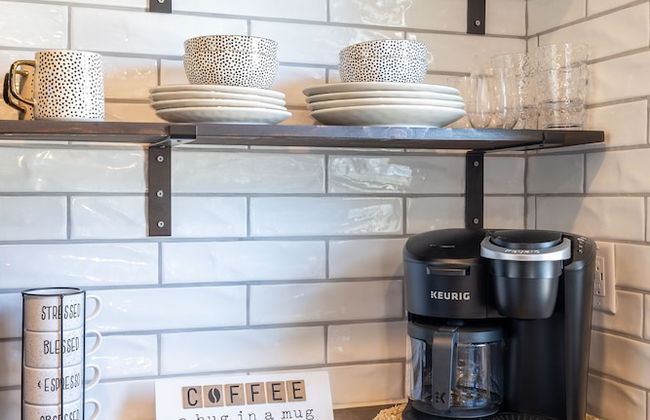
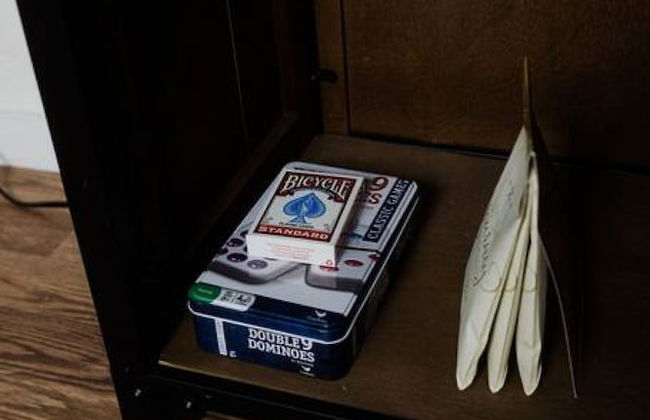
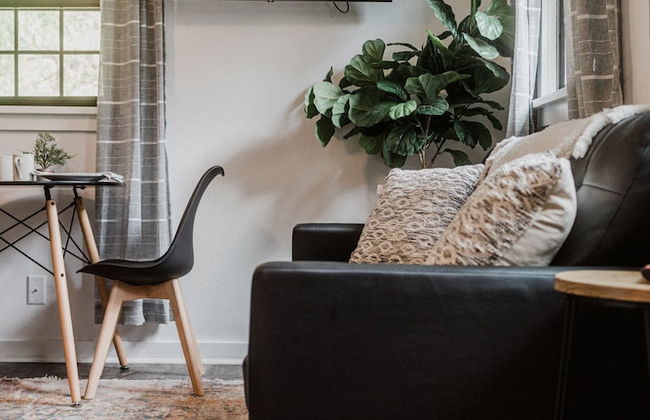
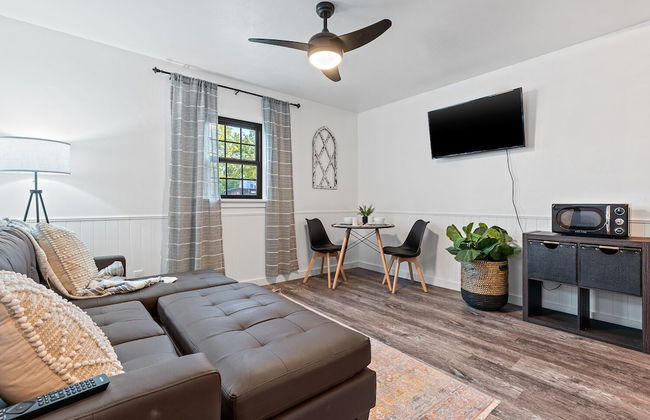
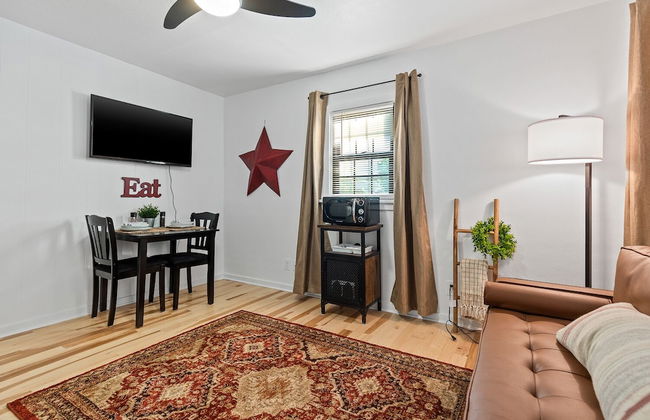
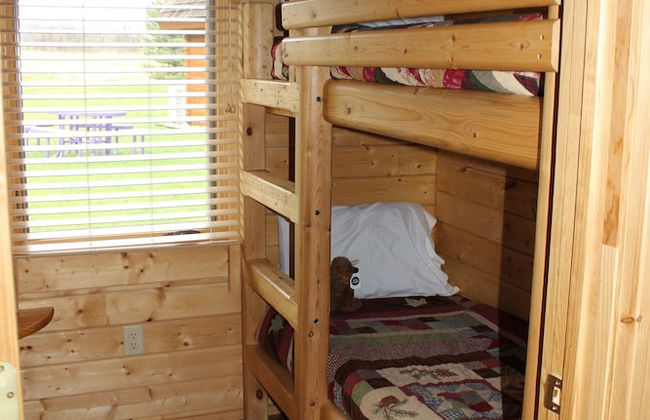
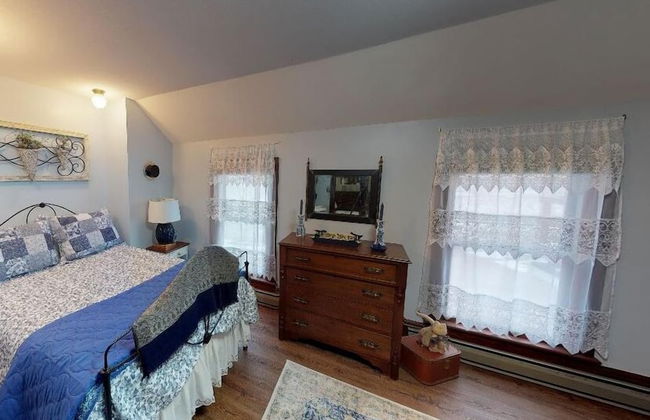
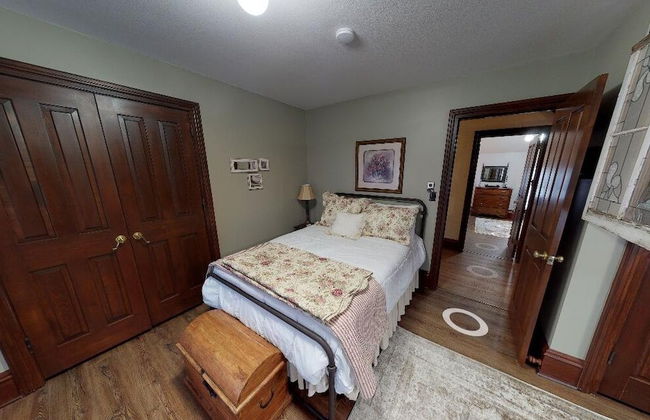
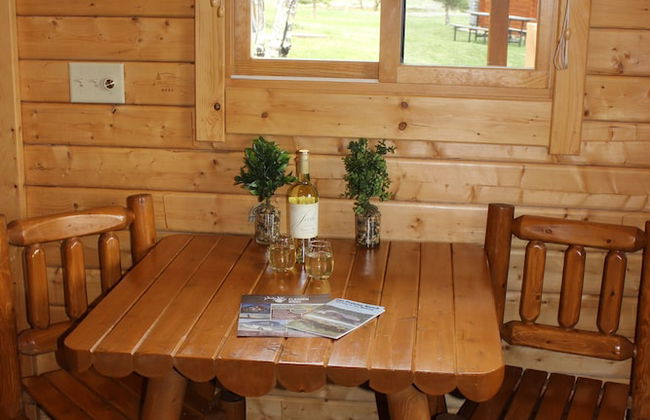
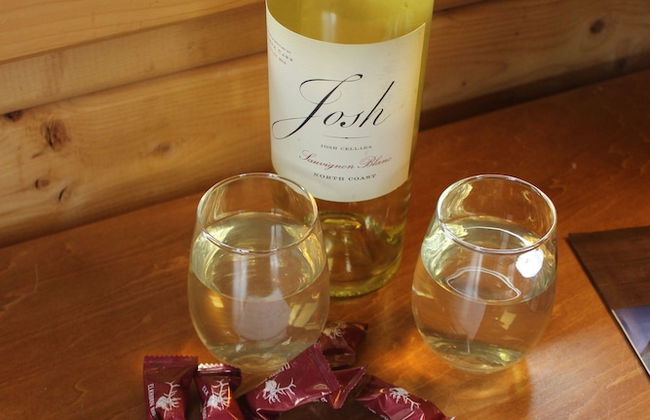
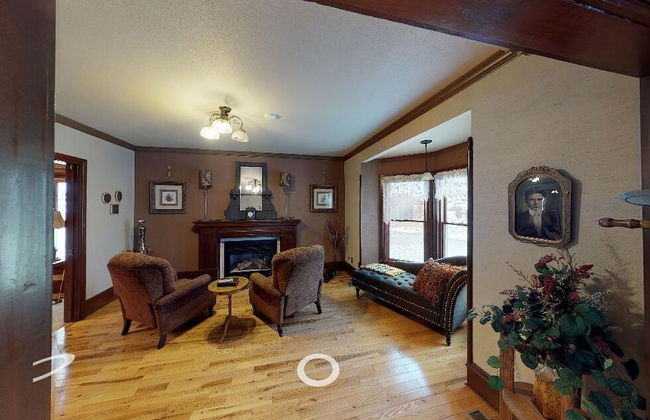
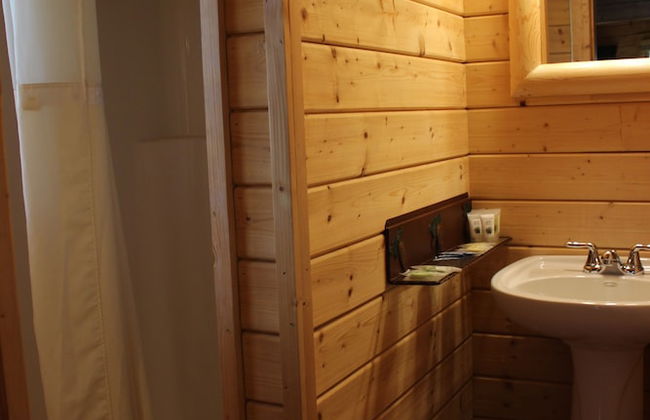
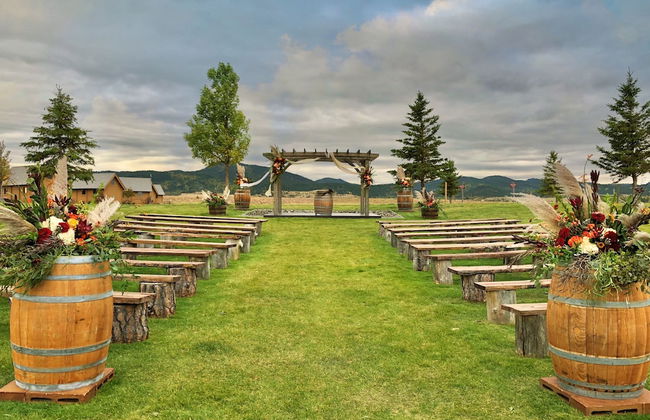
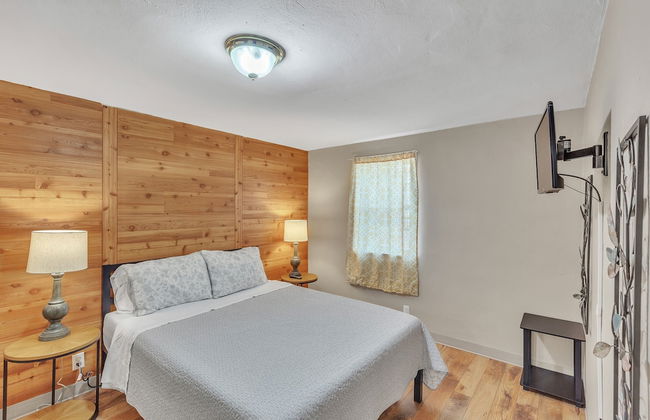
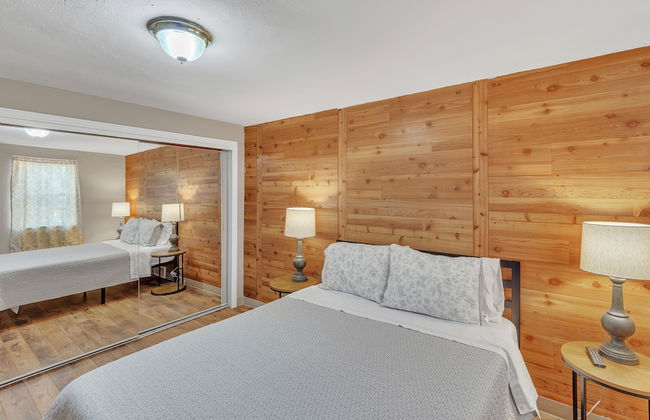
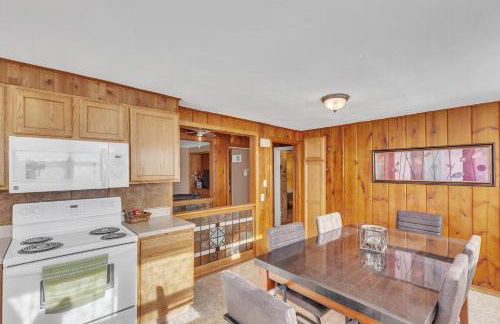
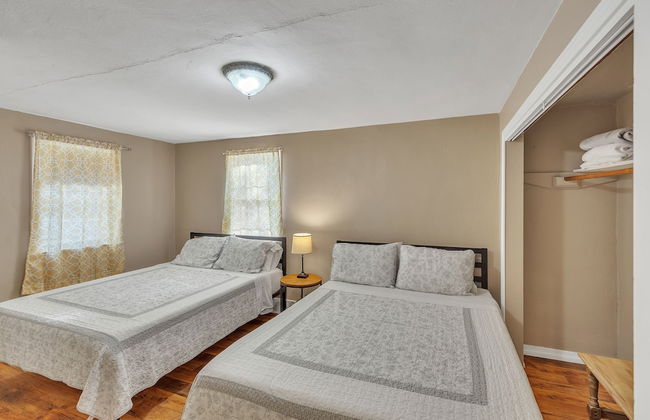
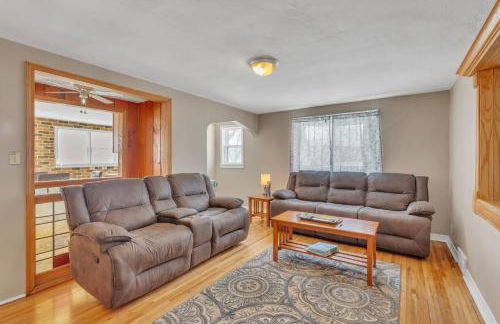
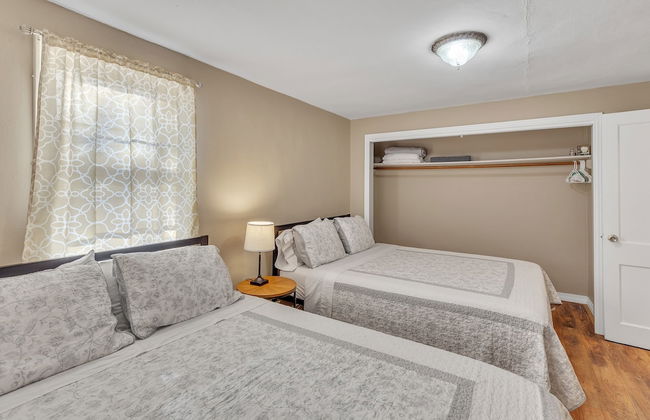
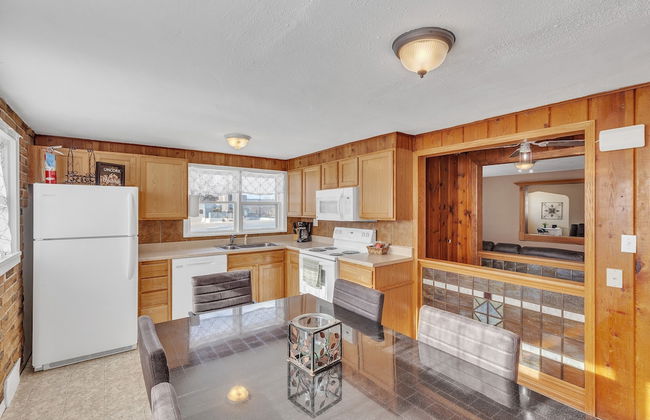
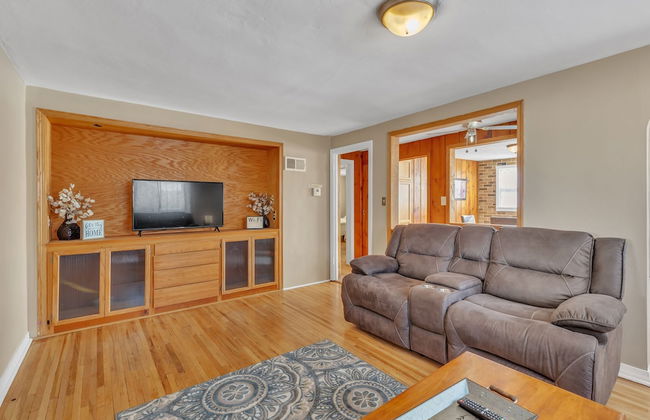
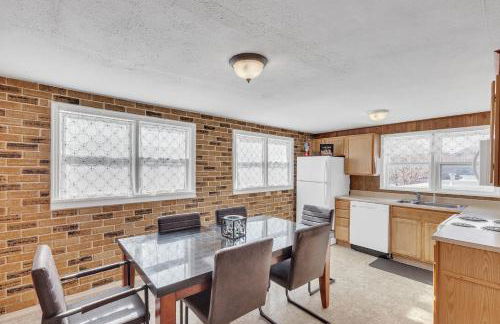
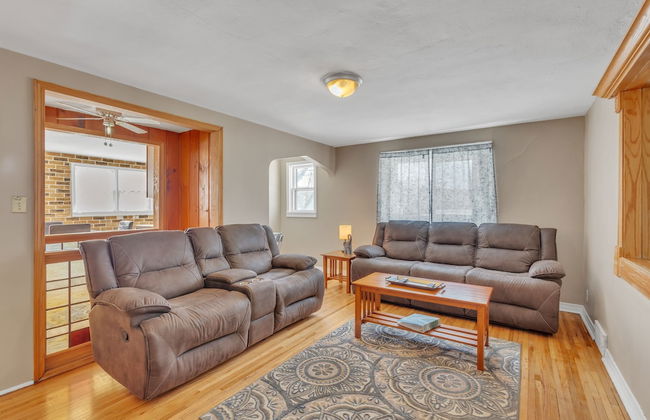
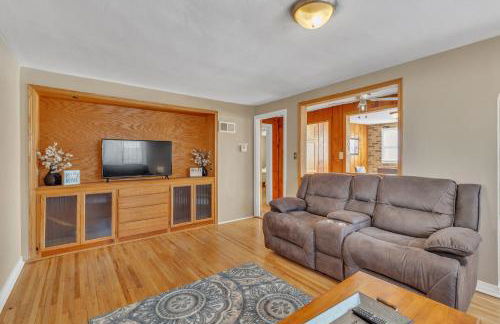
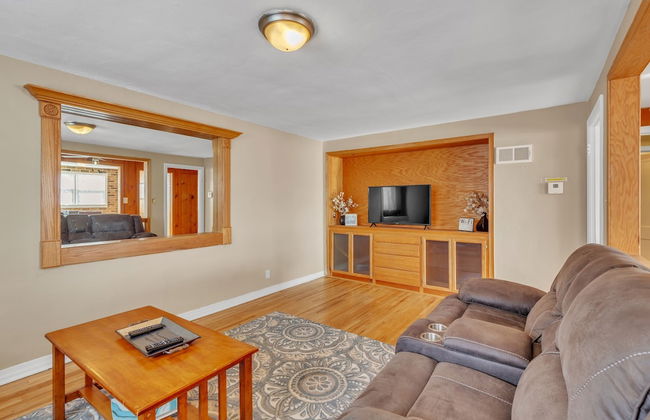
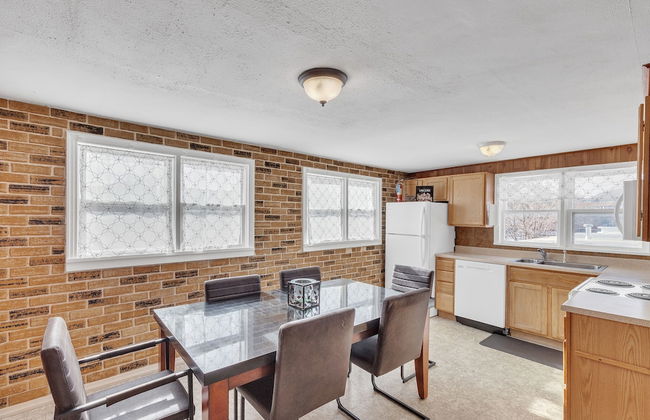
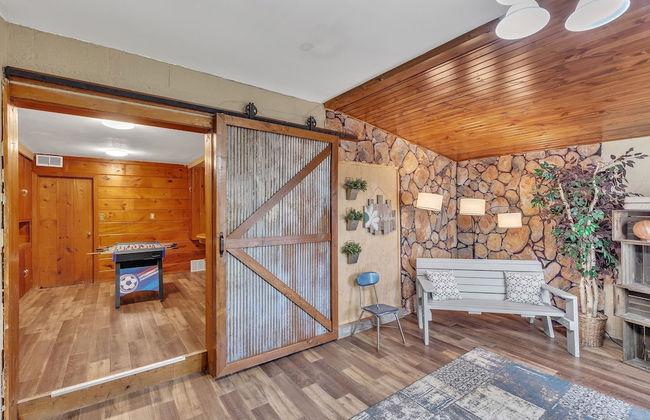
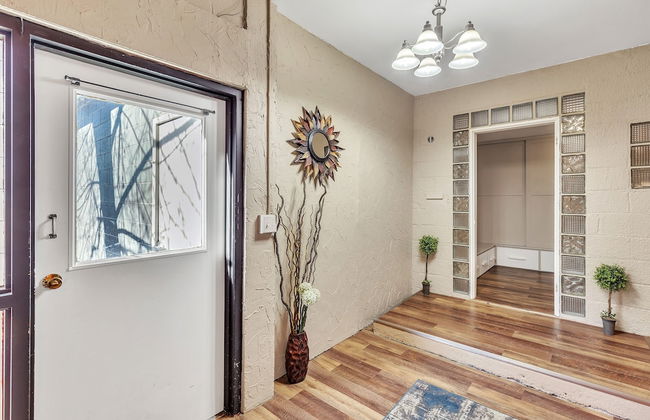
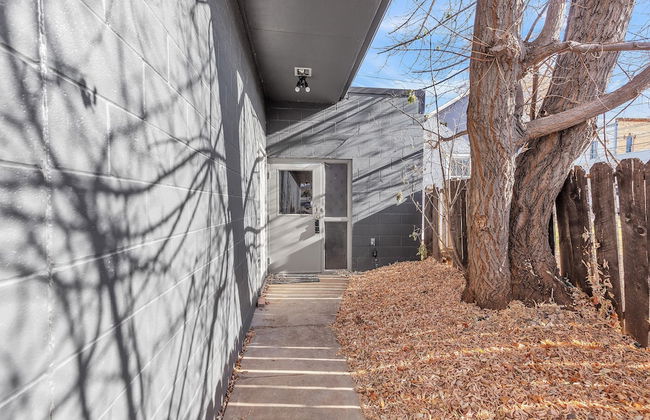
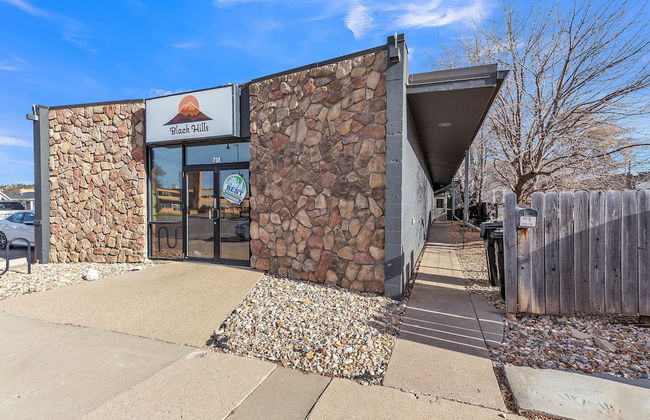
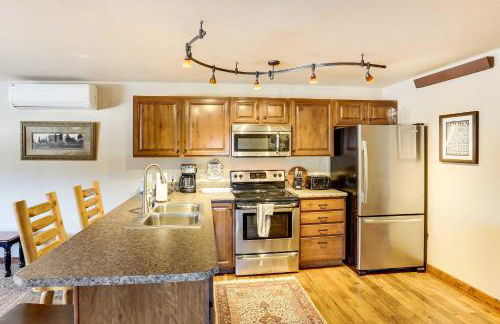
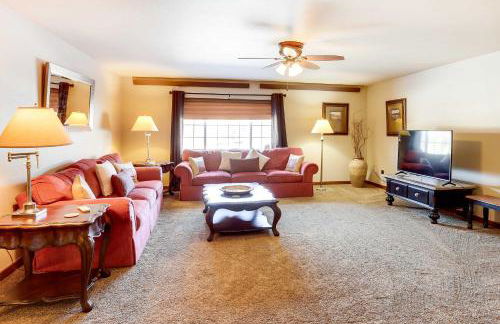
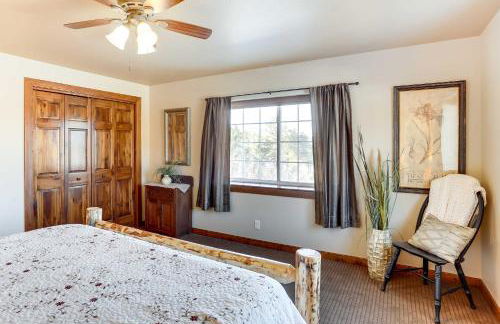
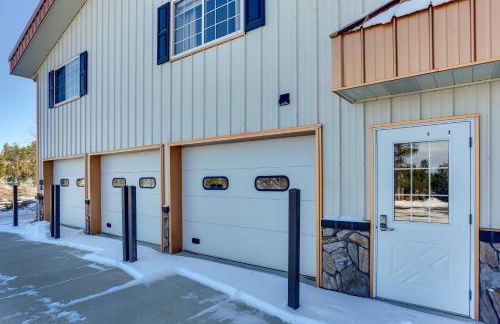
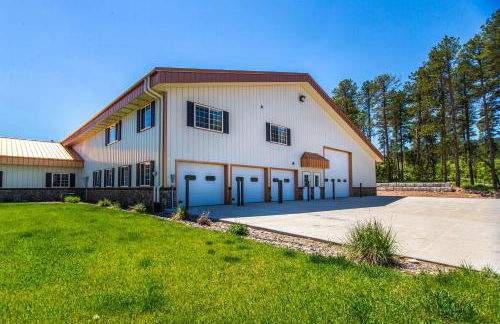
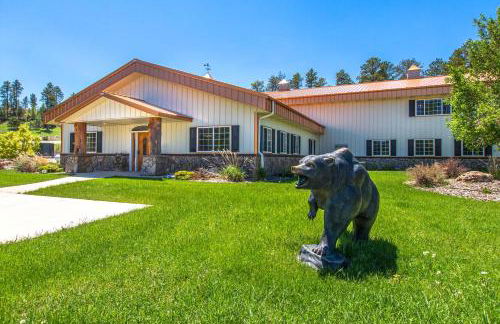
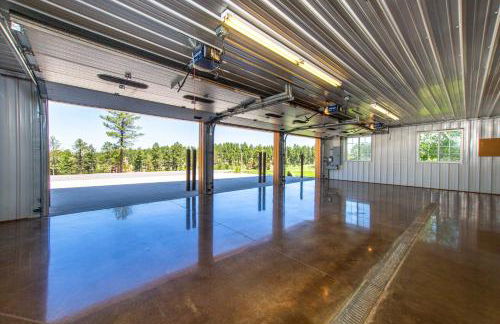
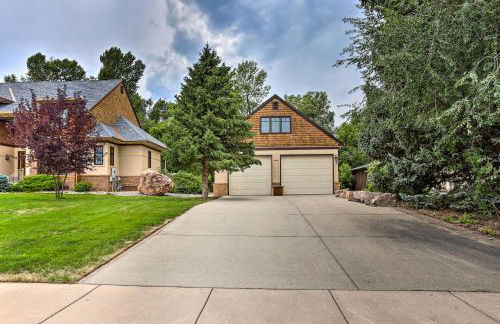
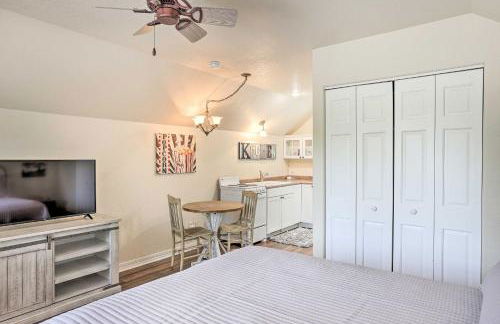
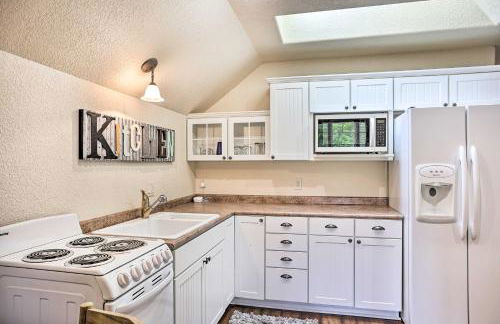
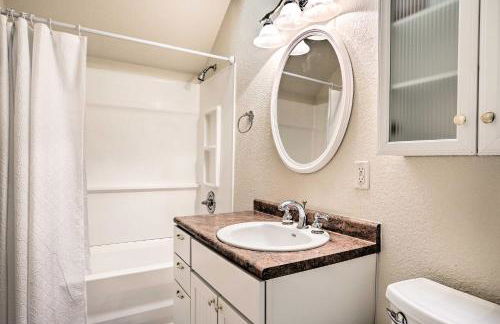
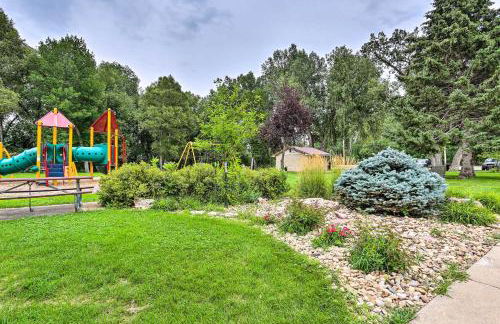
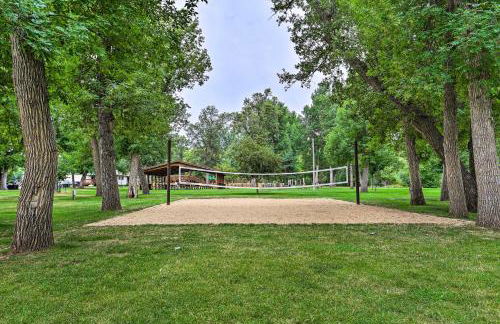
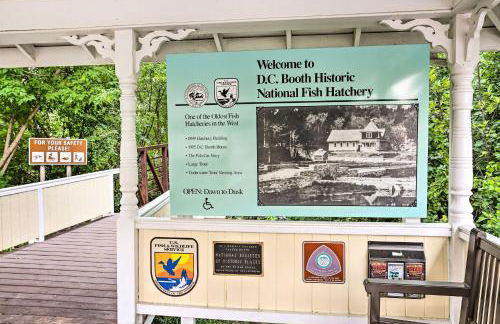
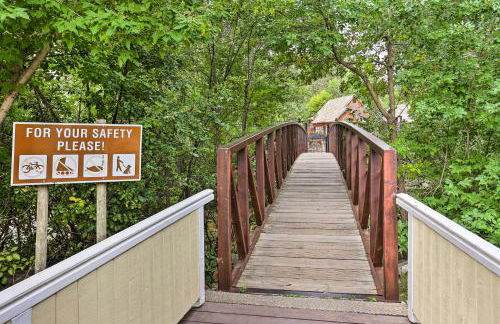
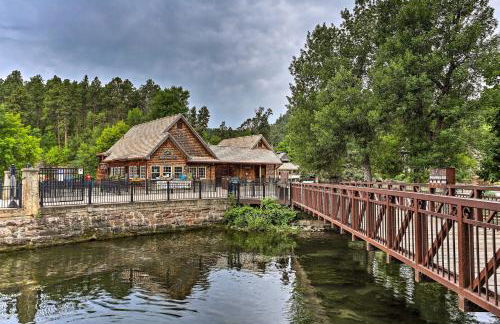
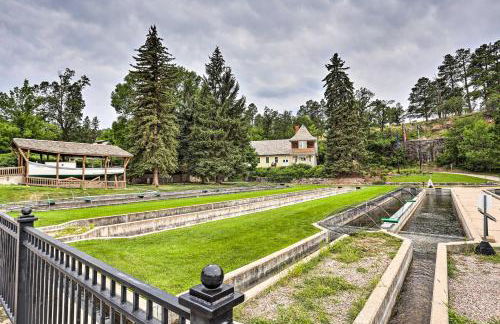
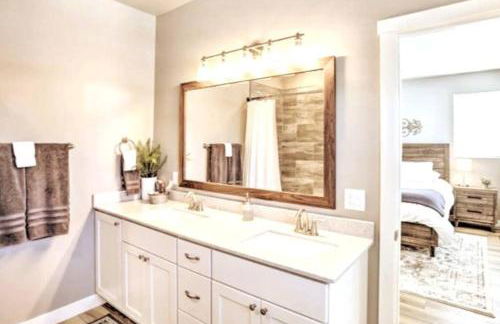
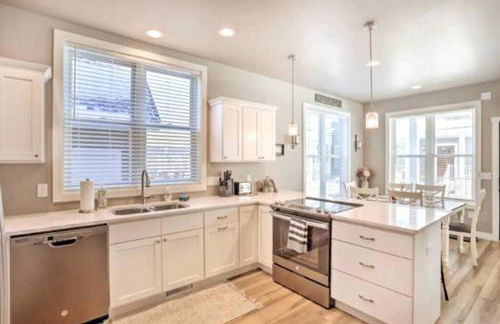
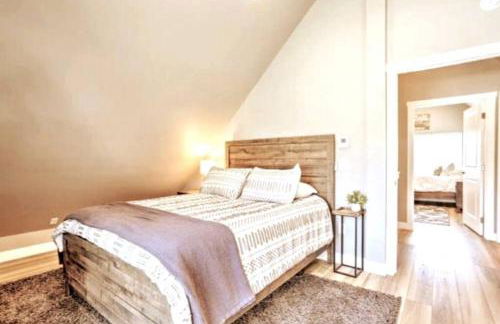
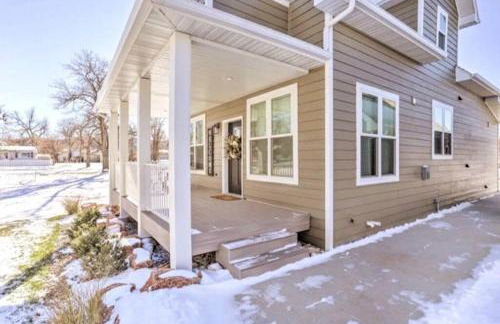
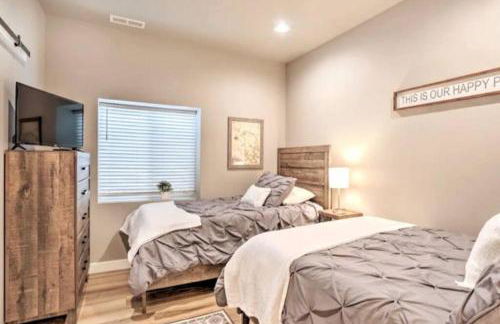
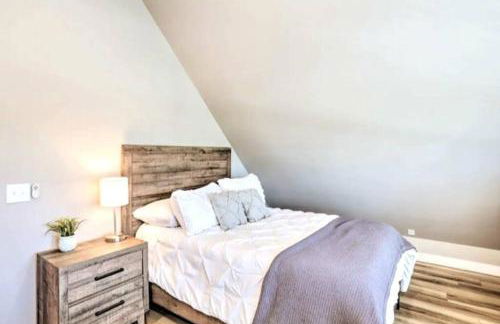
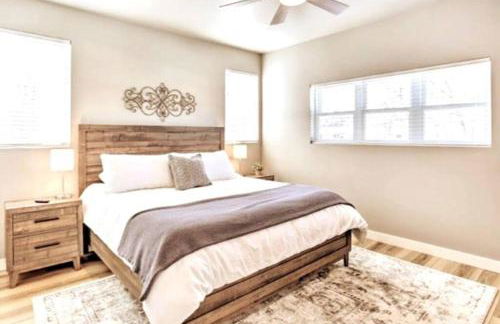
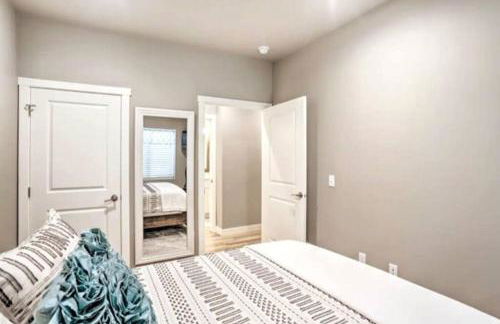
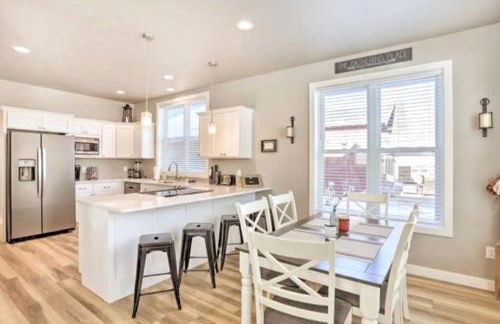
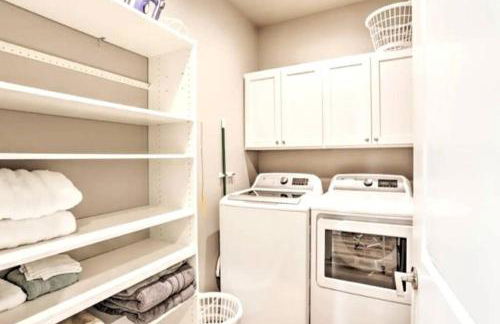
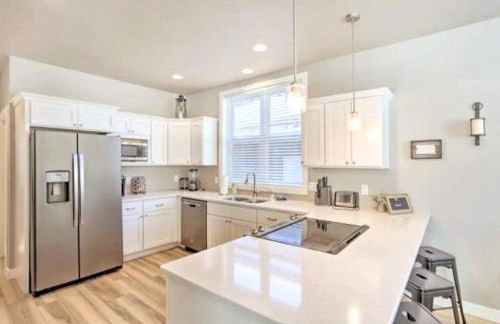
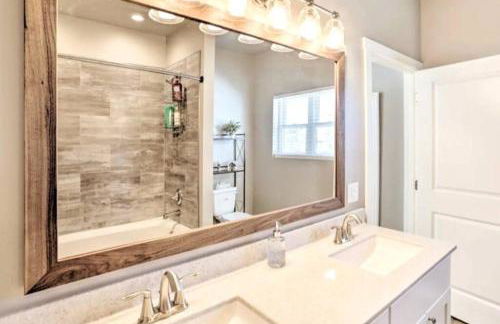
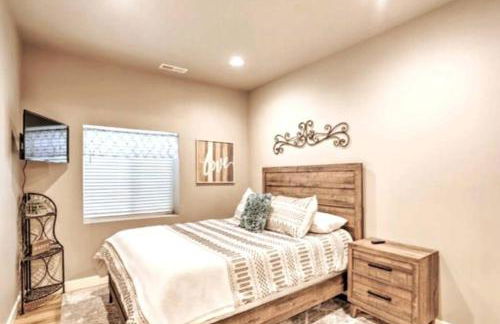
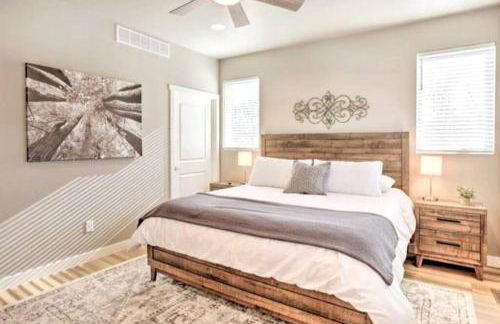
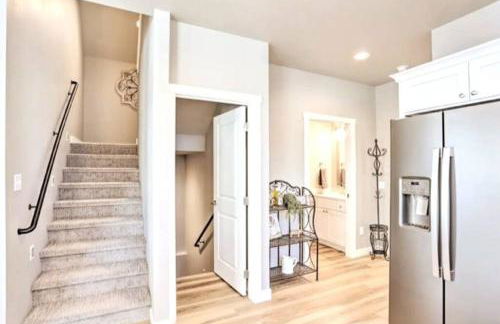
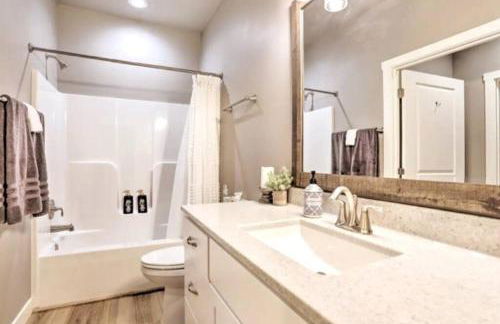
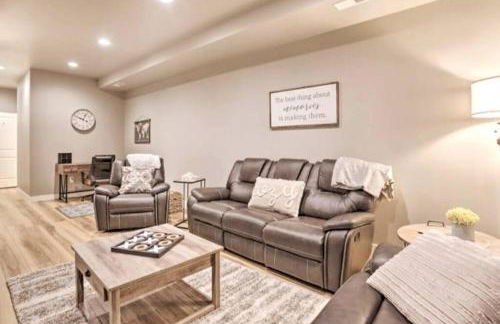
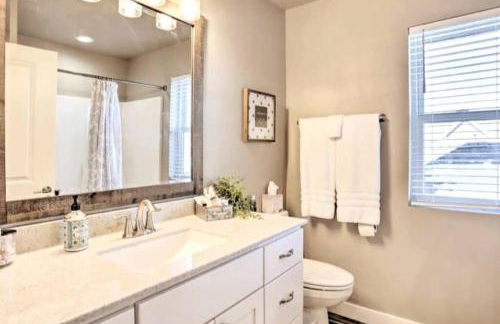
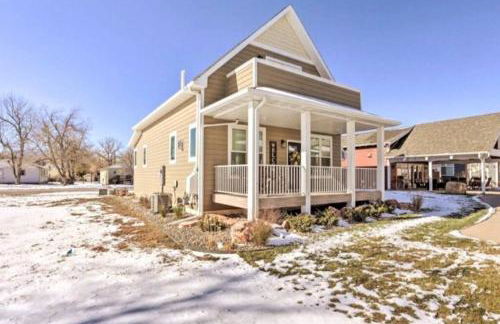
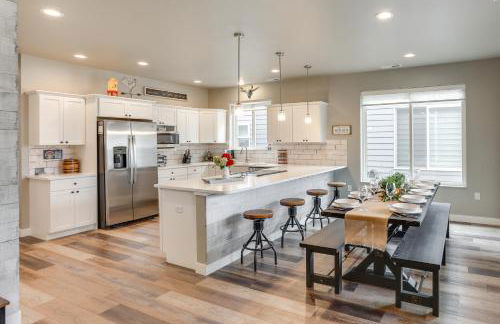
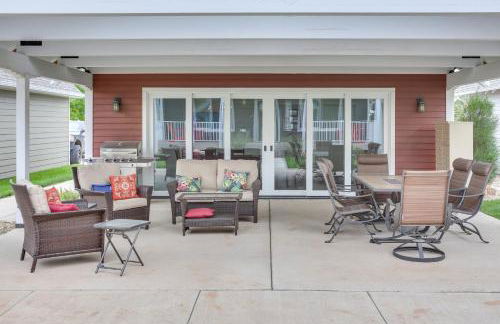
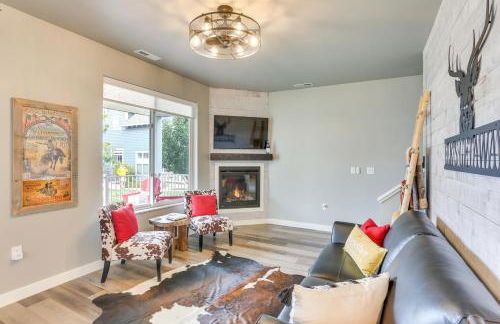
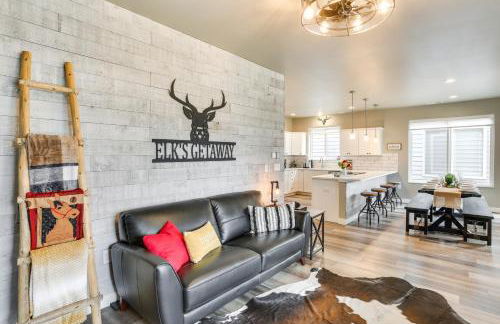
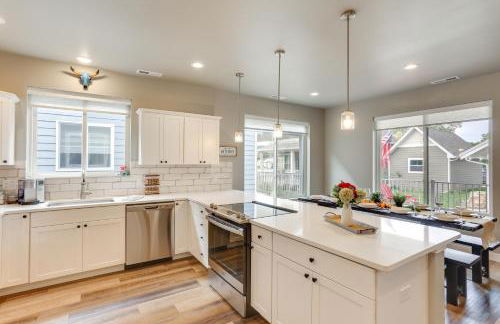
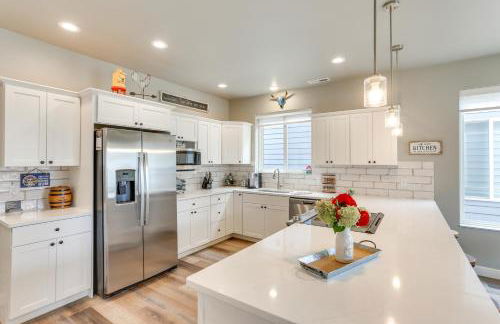
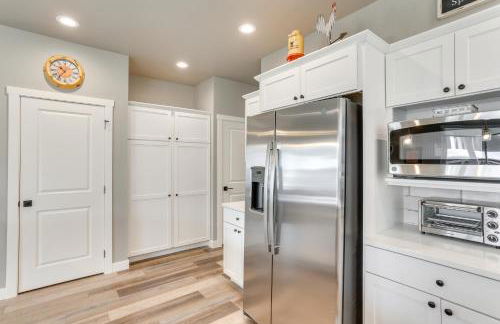
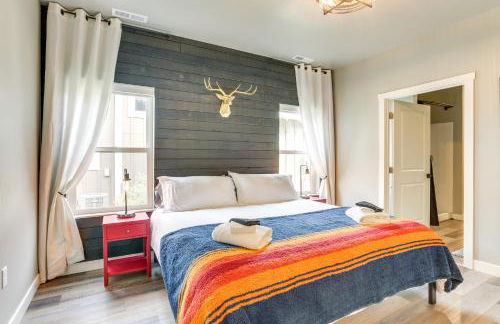
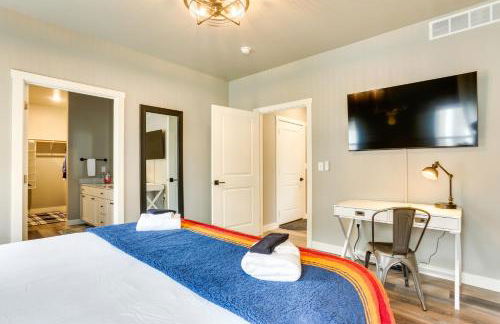
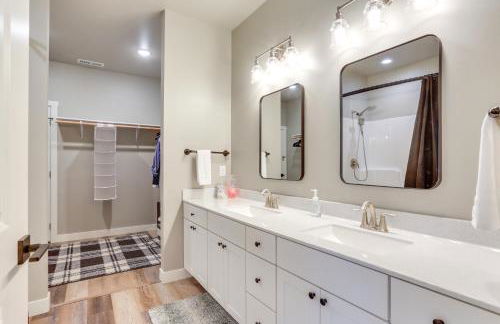
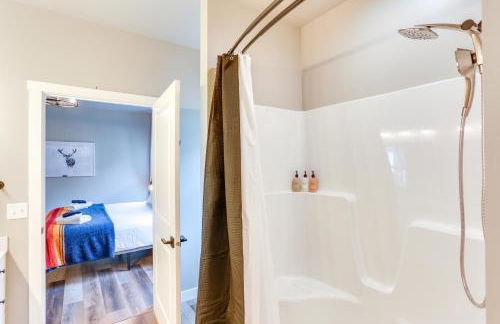
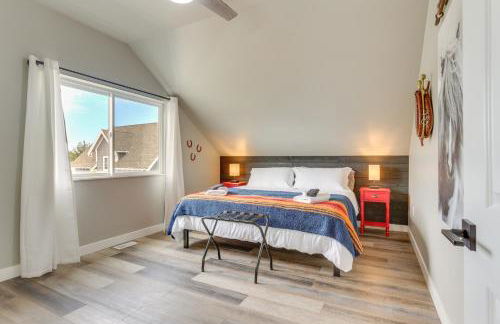
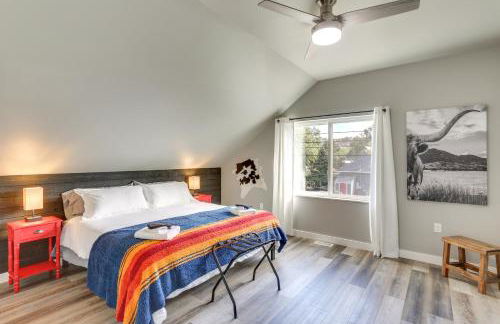
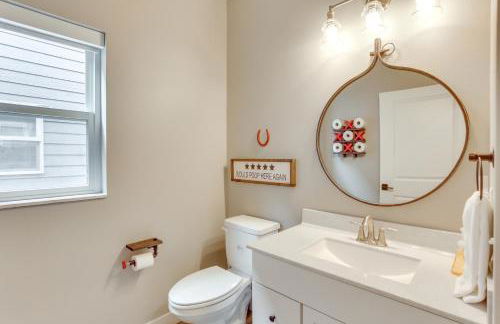
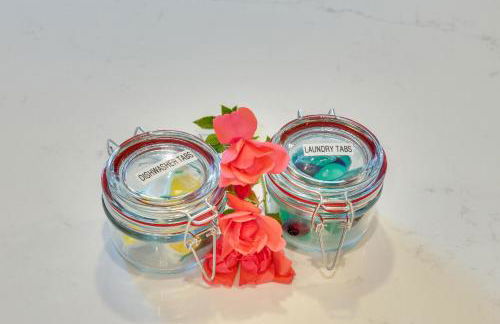
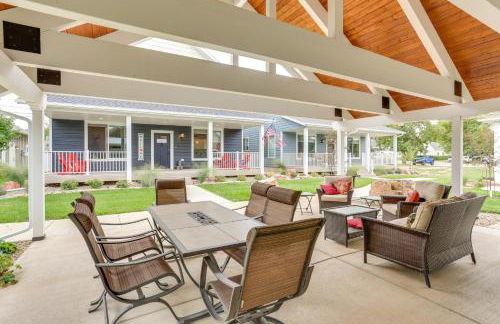
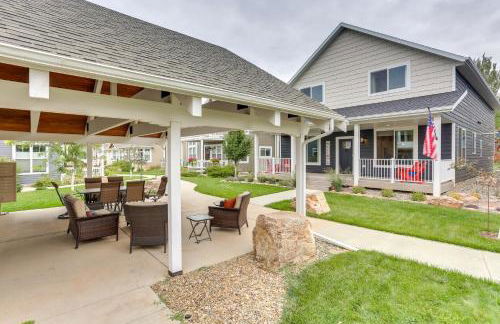
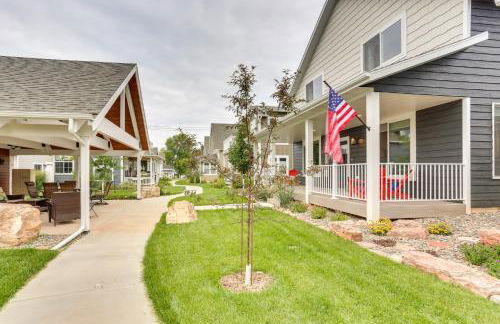
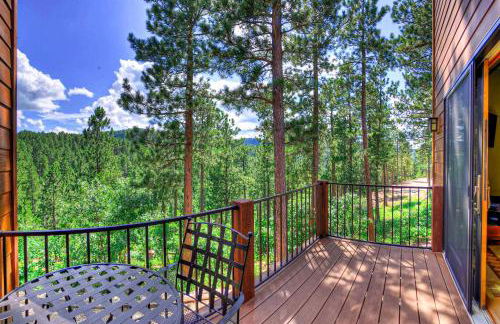
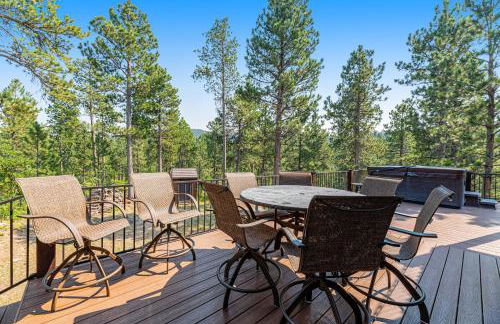
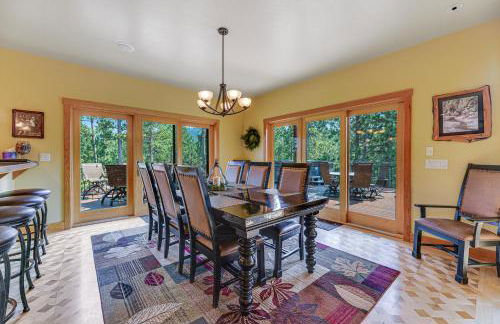
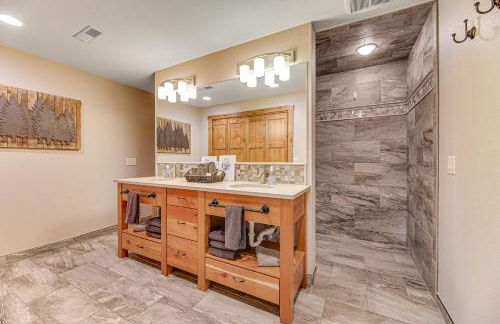
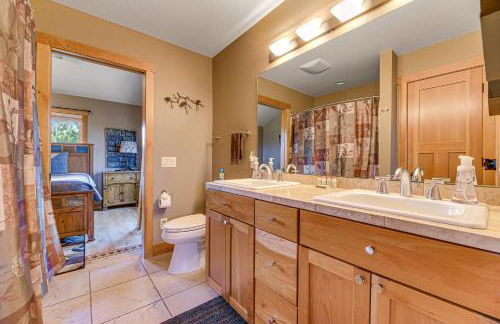
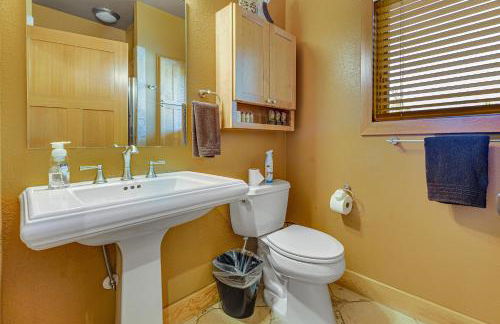
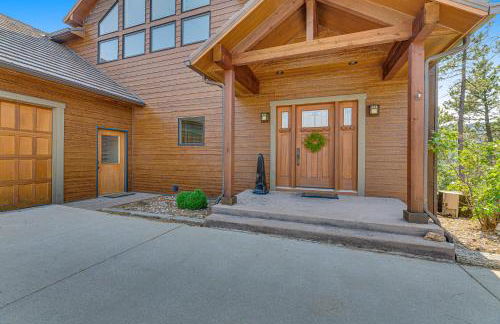
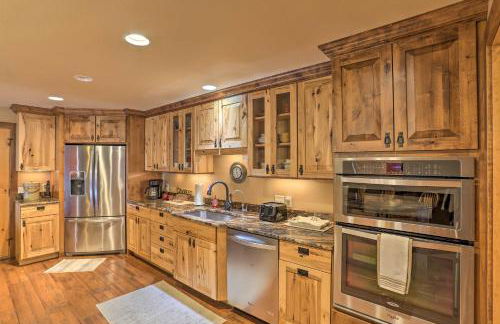
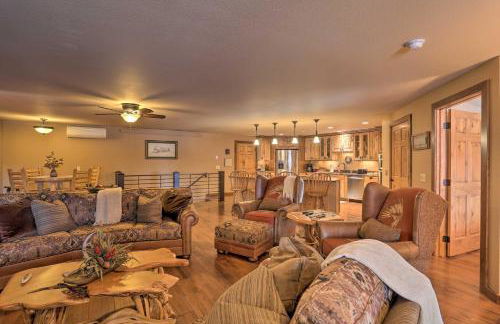
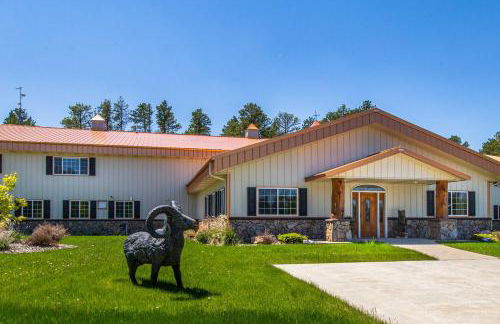
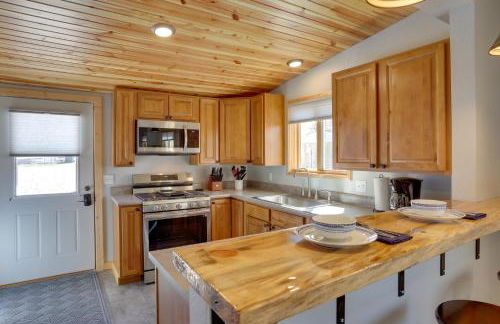
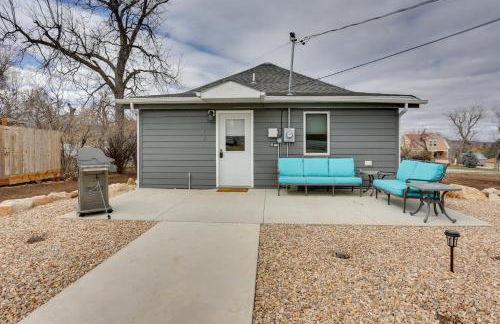
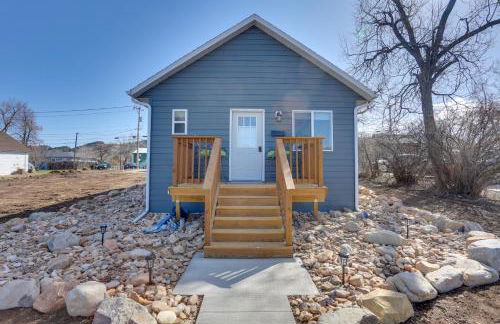
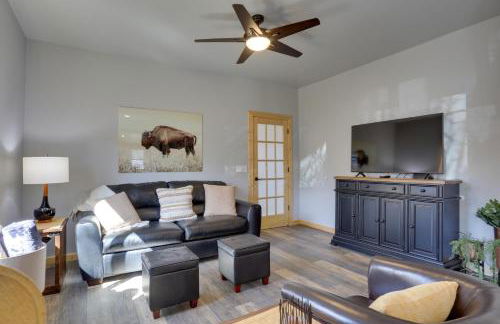
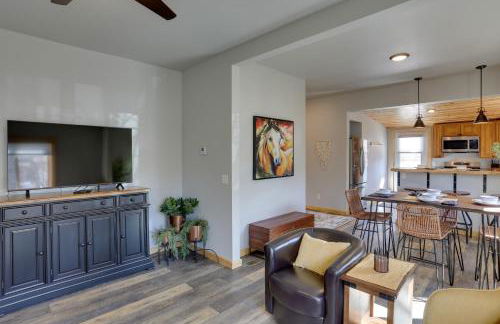
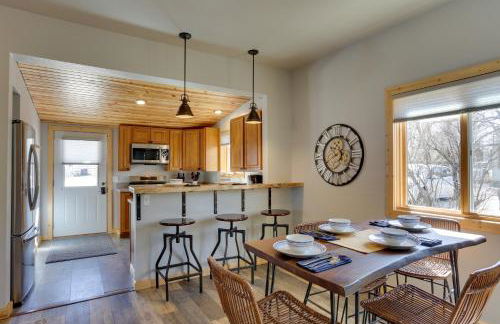
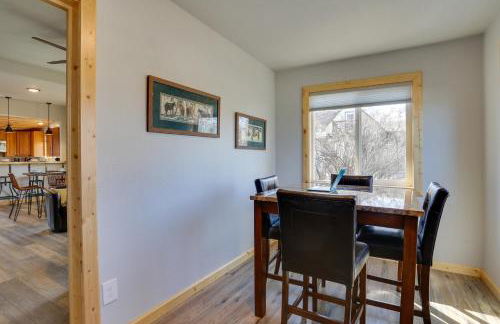
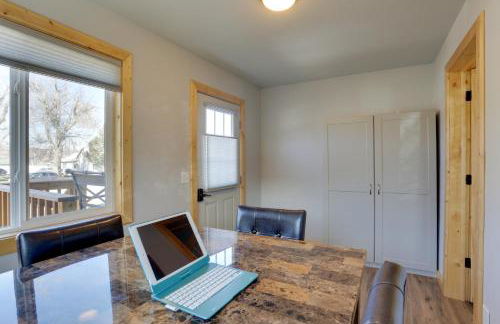
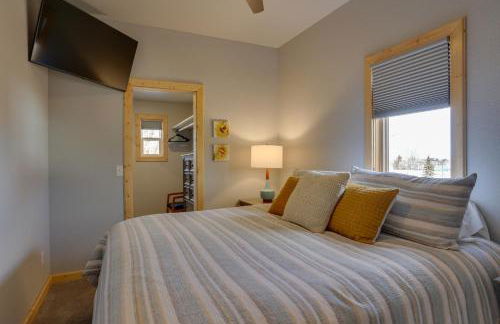
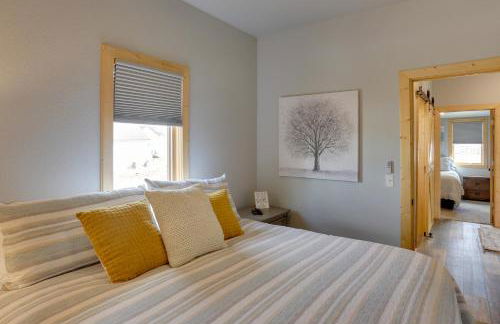
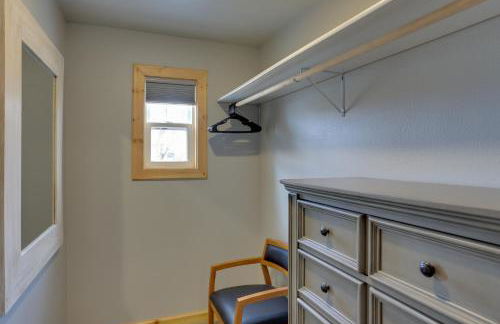
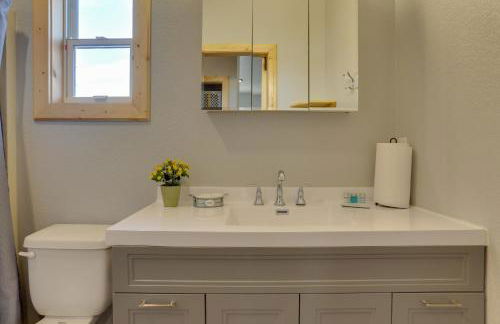
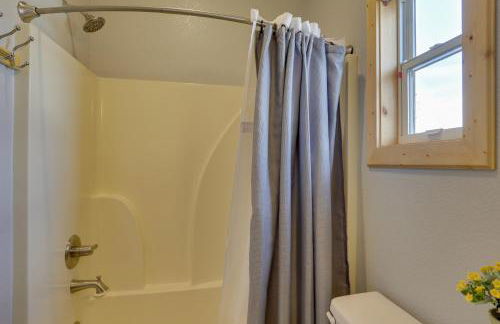
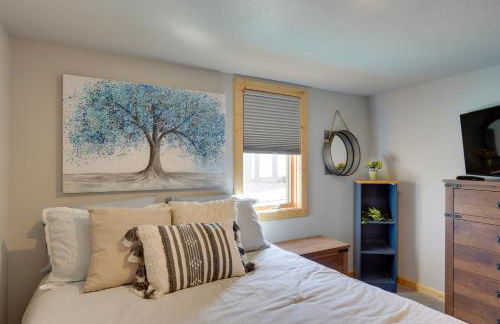
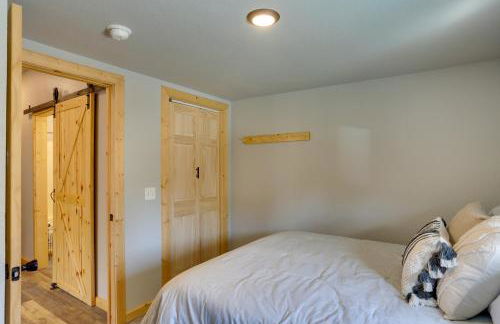
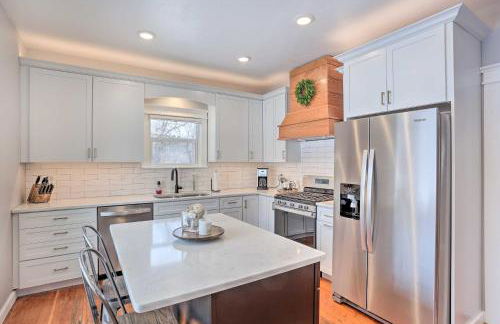
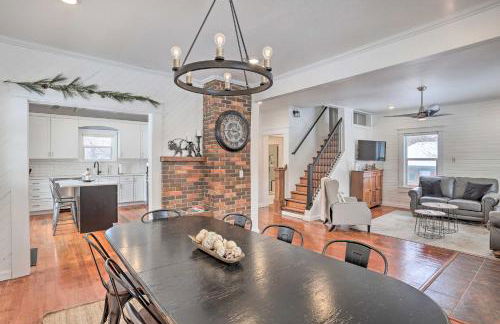
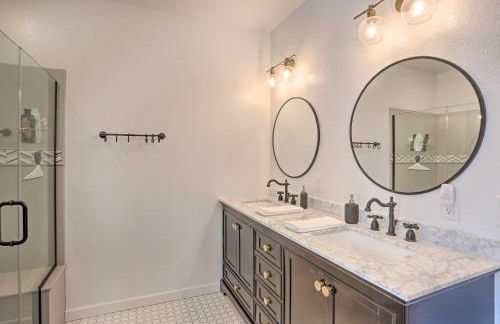
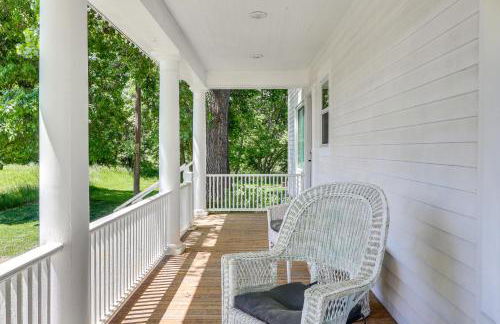
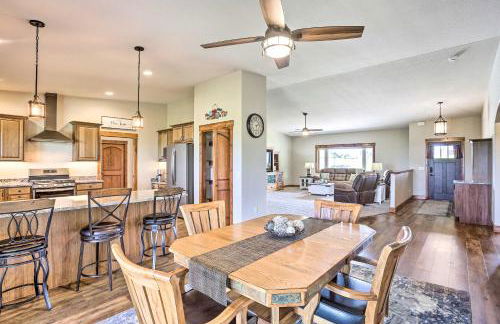
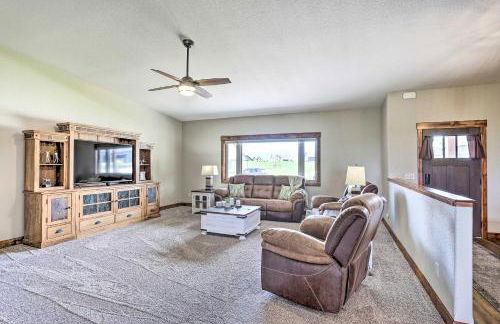
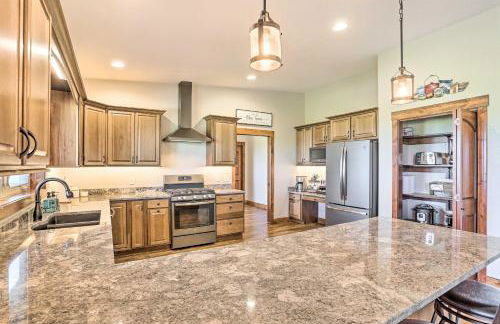
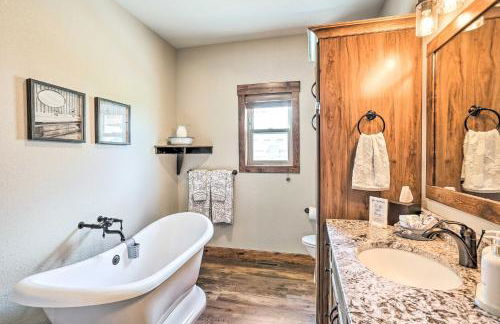
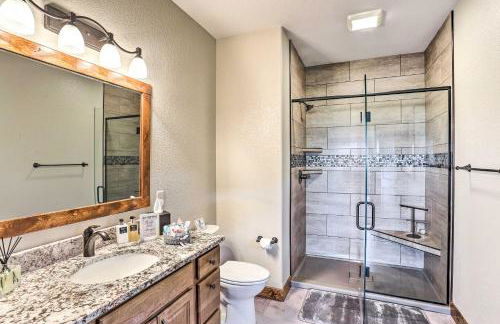
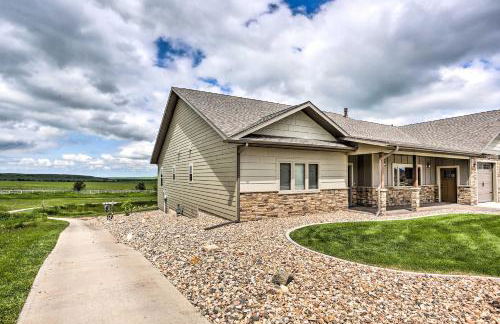
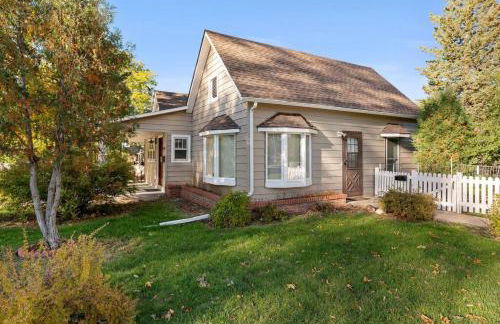
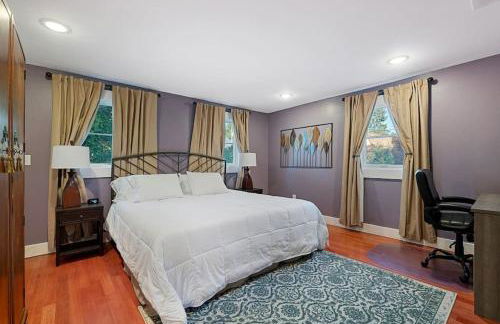
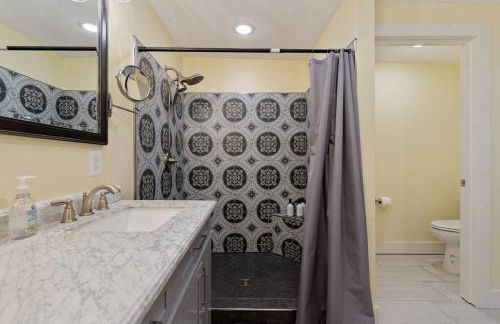
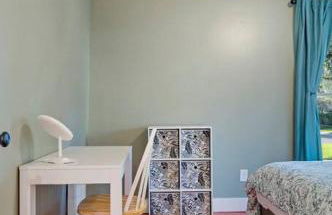
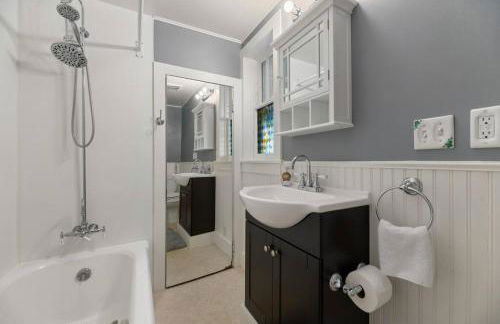
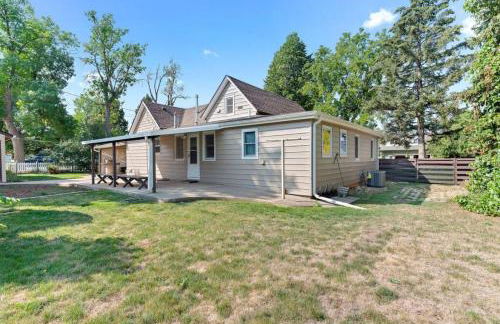
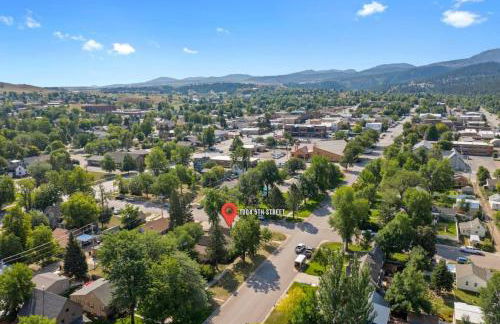
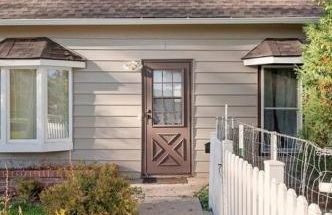
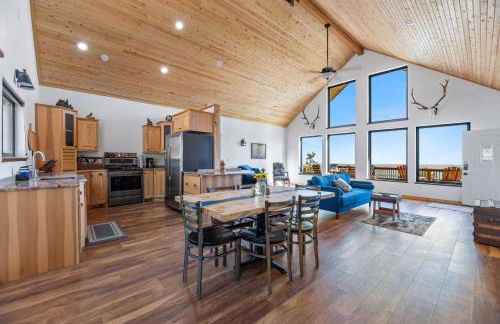
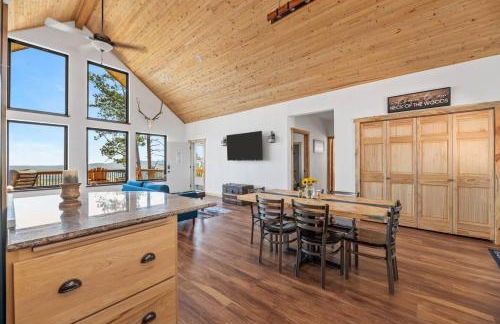
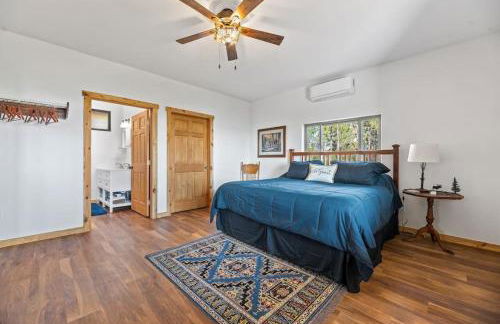
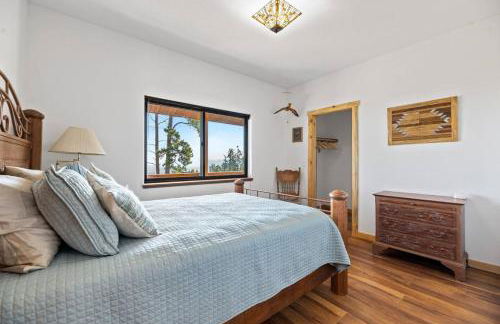
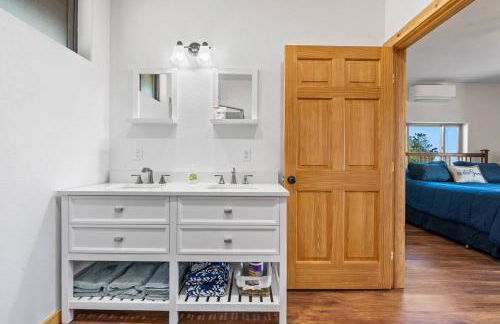
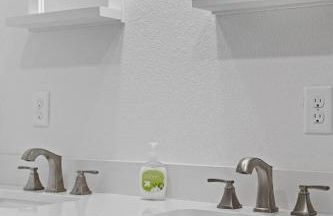
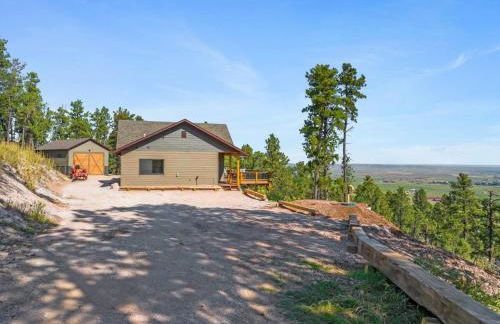
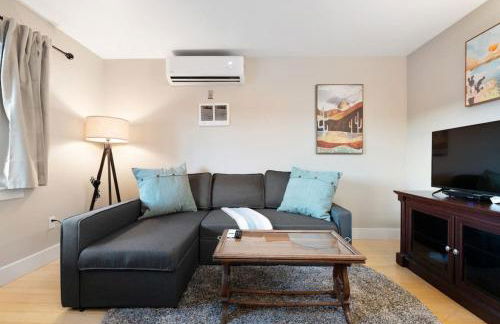
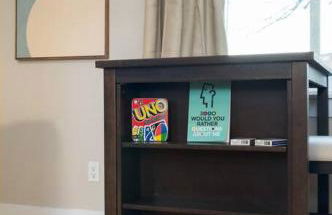
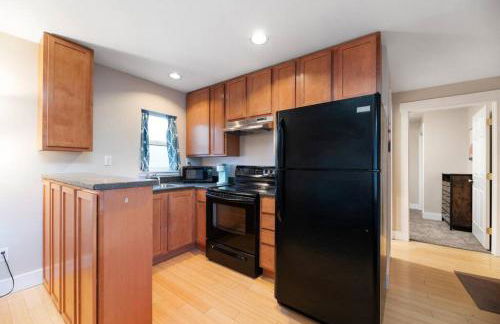
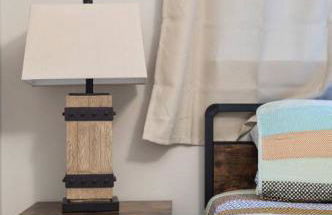
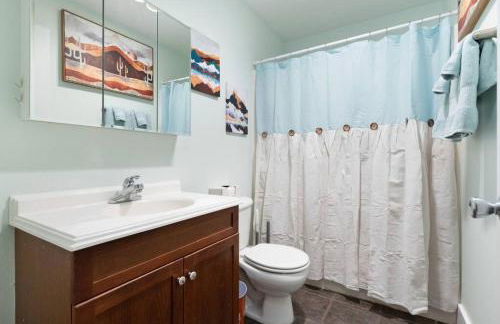
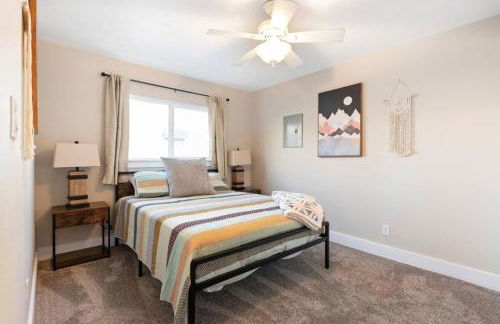
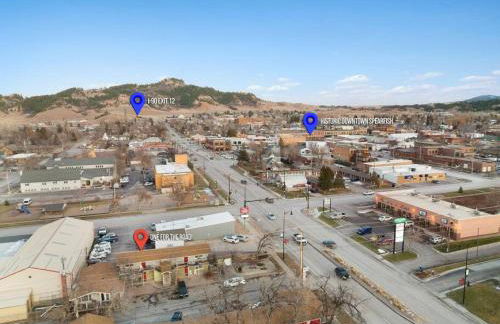
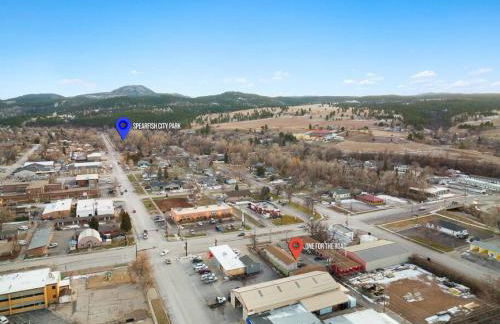
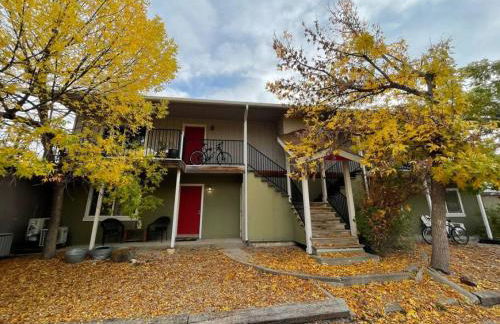
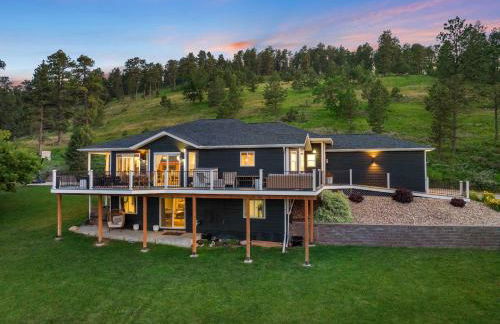
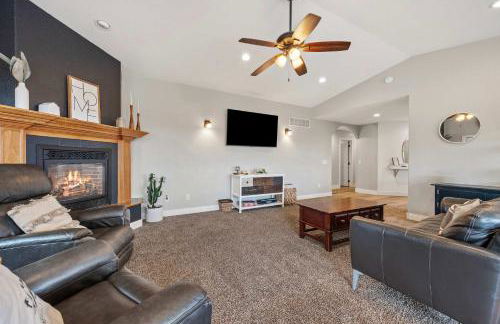
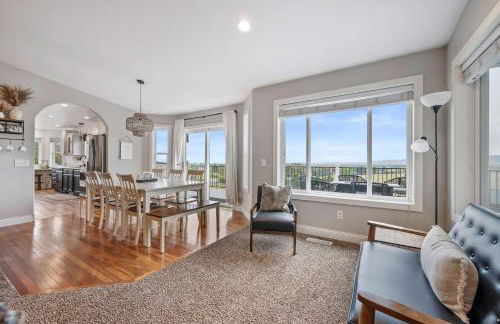
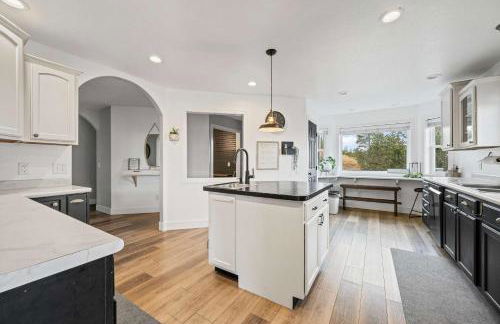
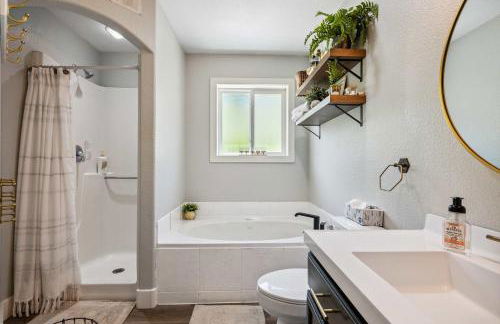
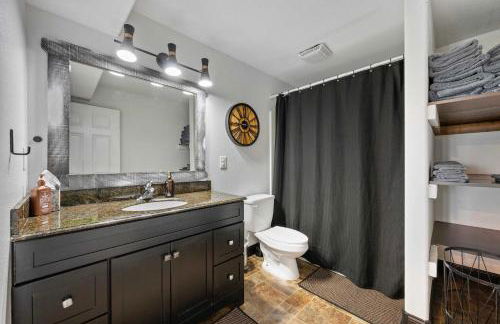
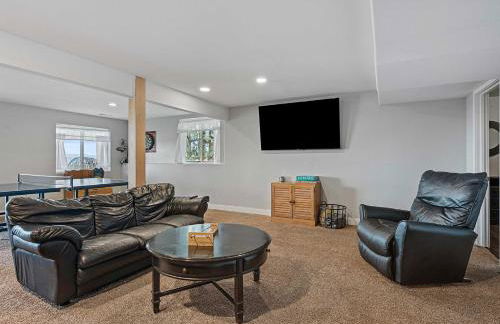
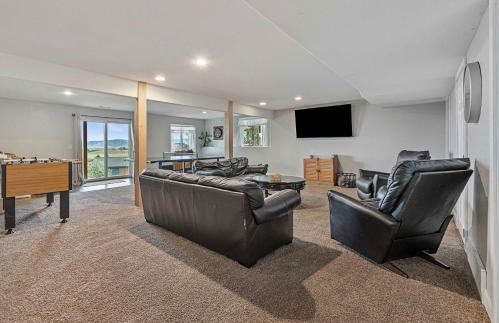
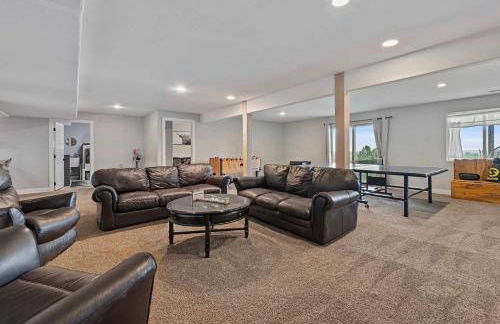
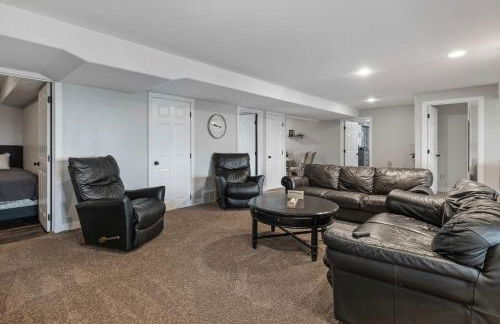
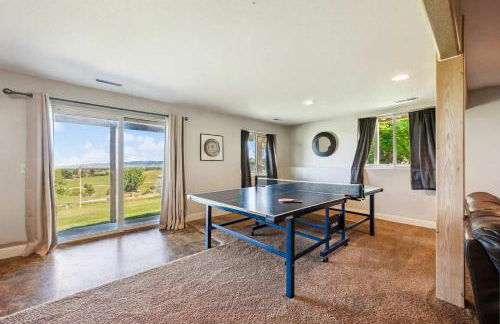
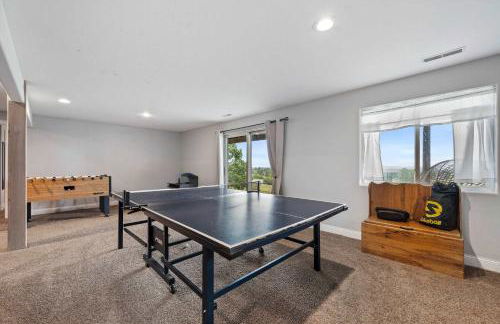
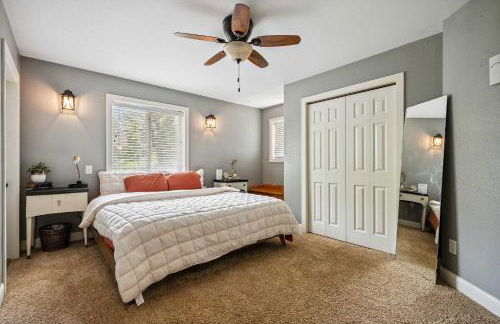
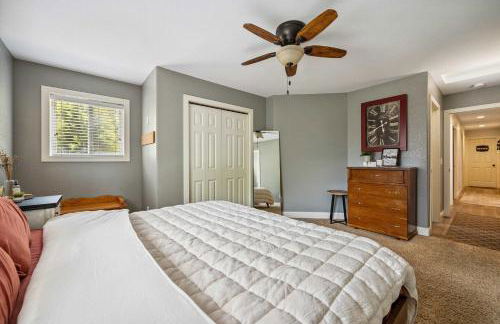
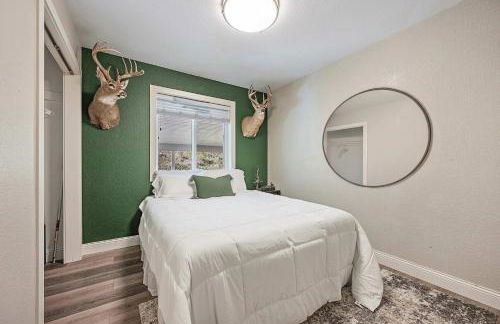
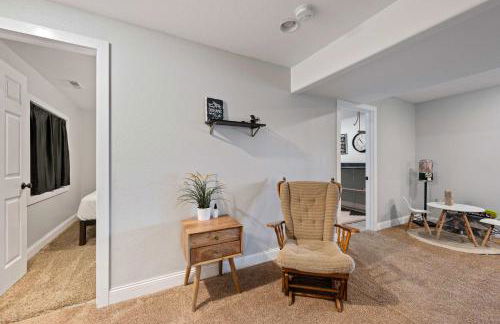
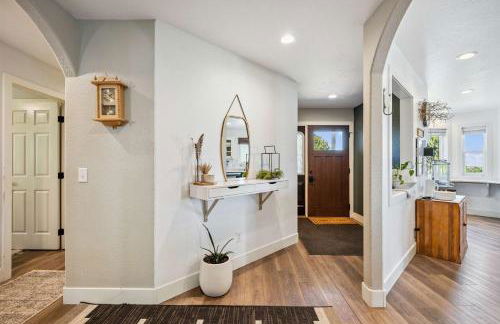
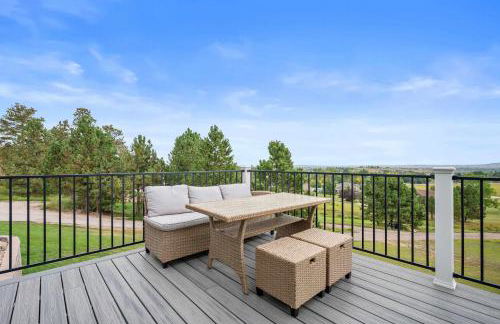
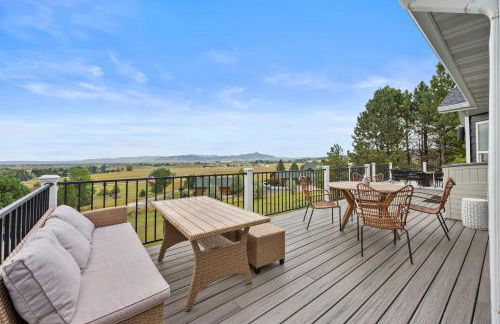
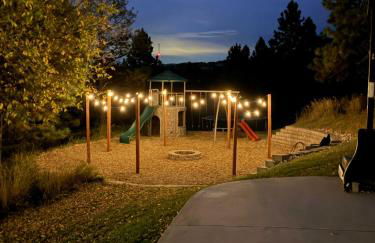
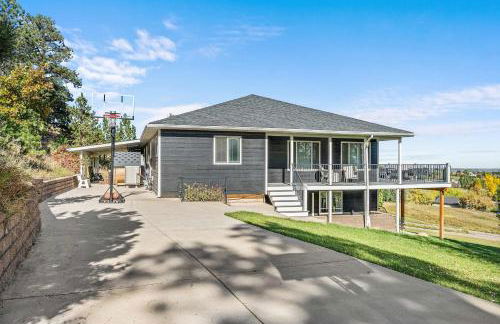
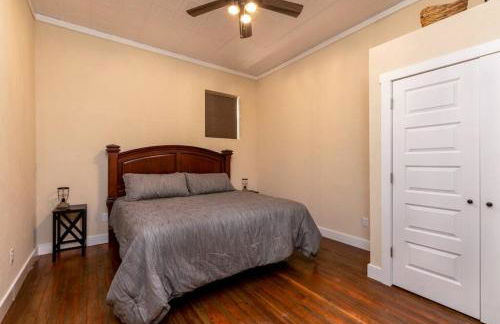
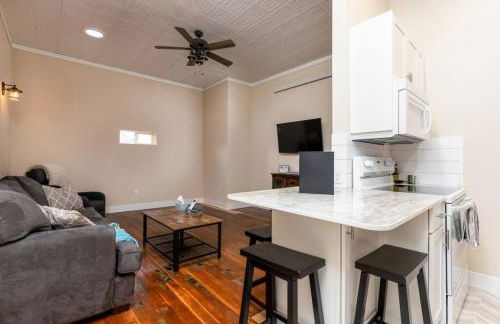
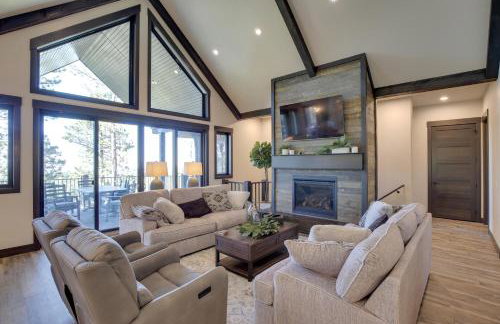
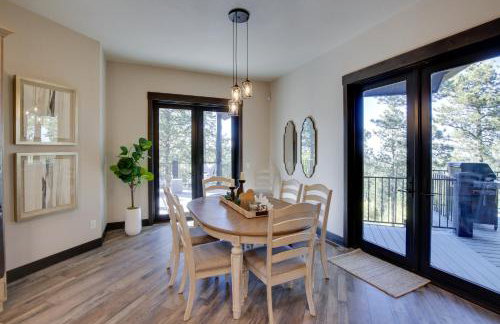
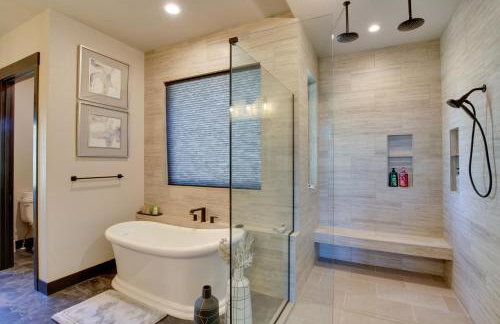
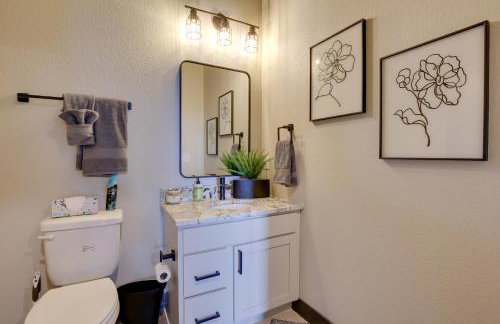
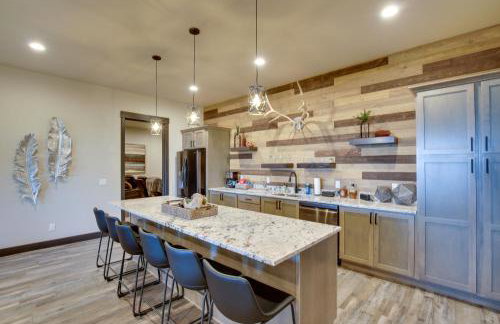
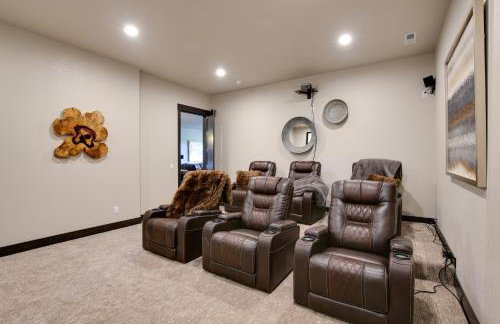
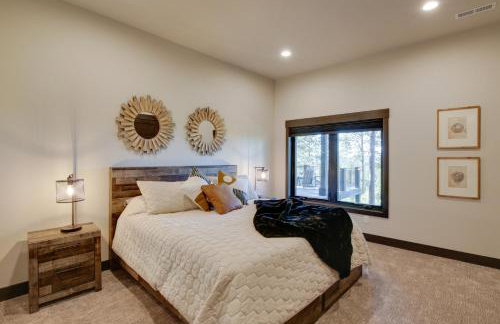
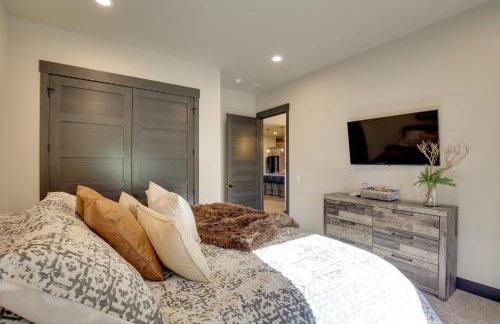
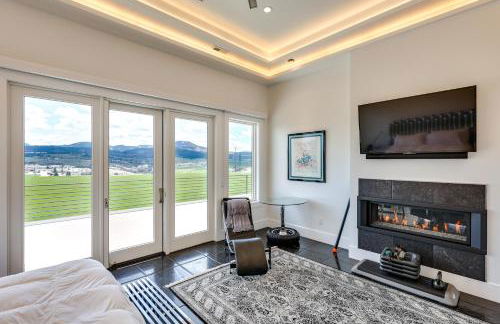
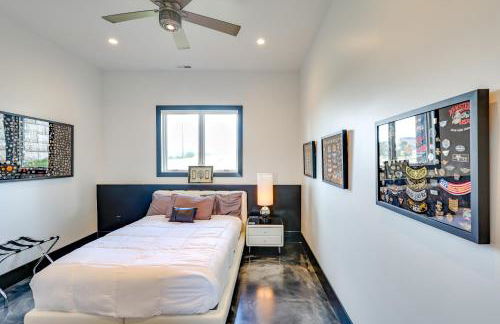
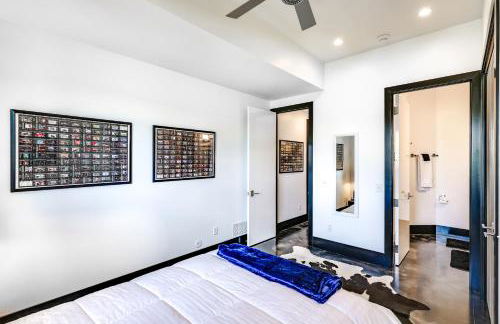
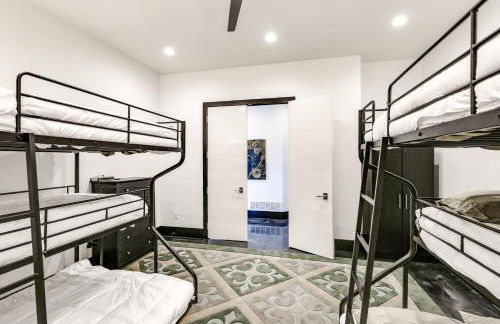
Spearfish Cottages - Foto 1
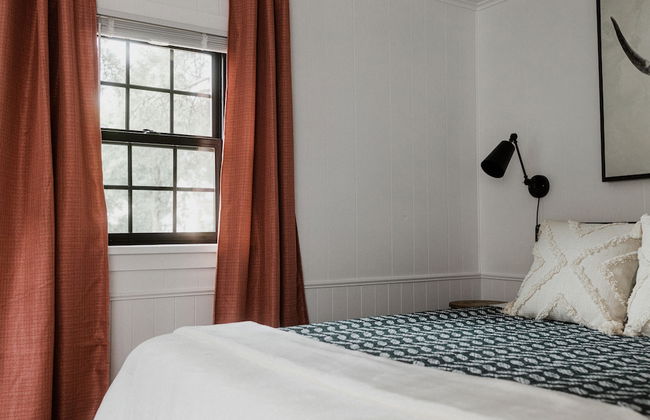
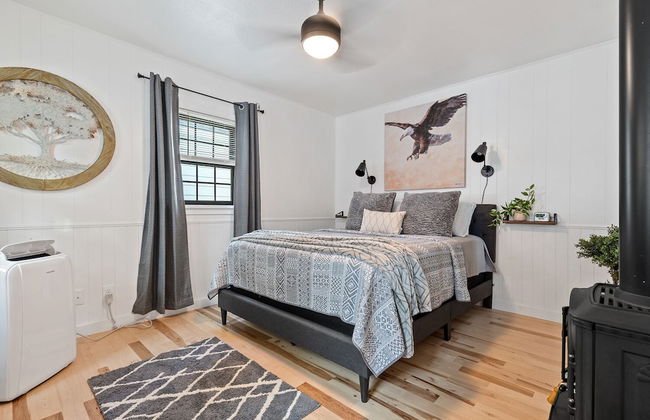
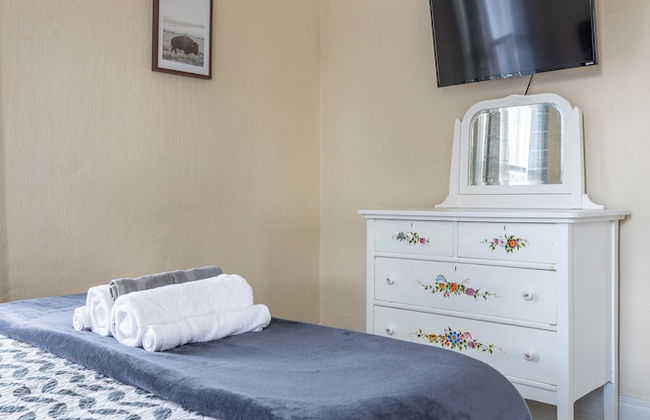
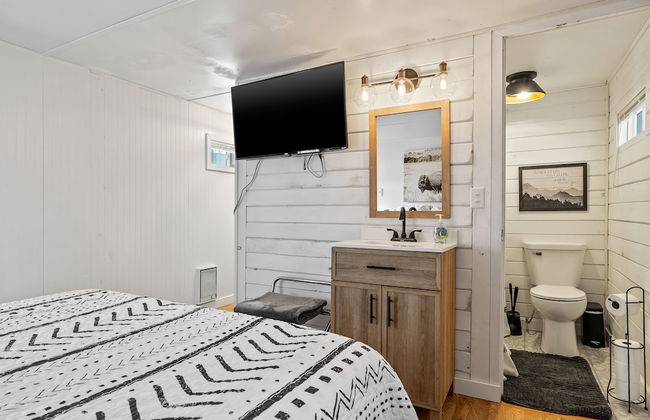
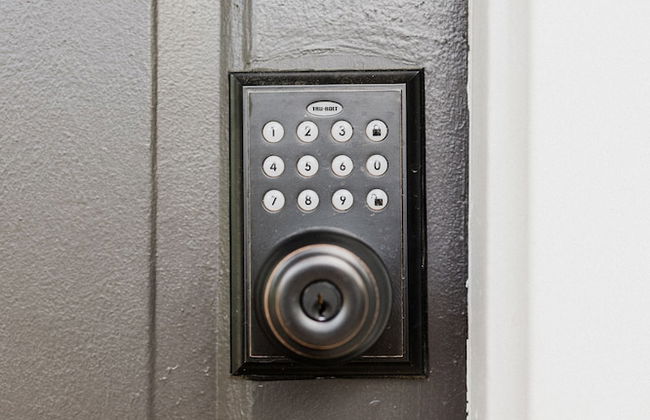
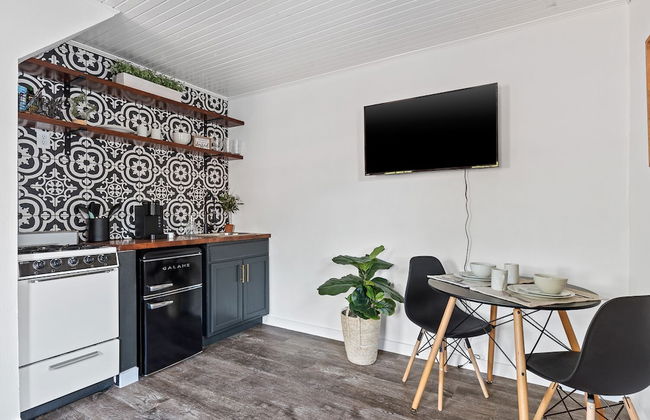
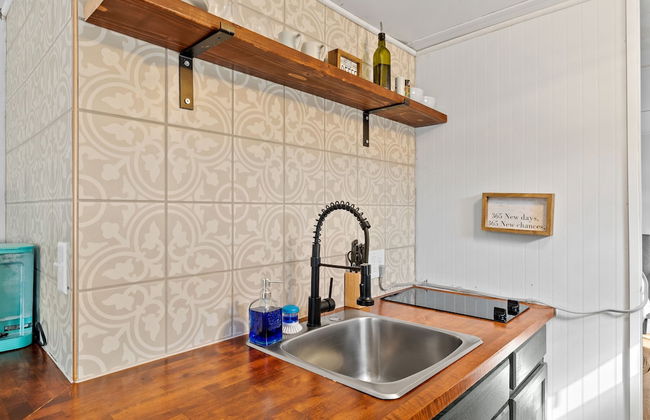
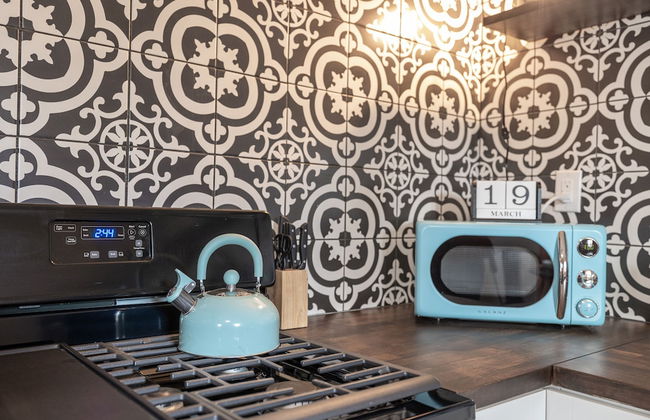
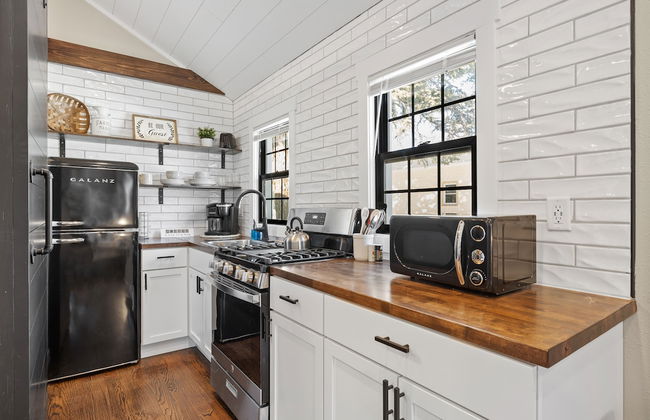
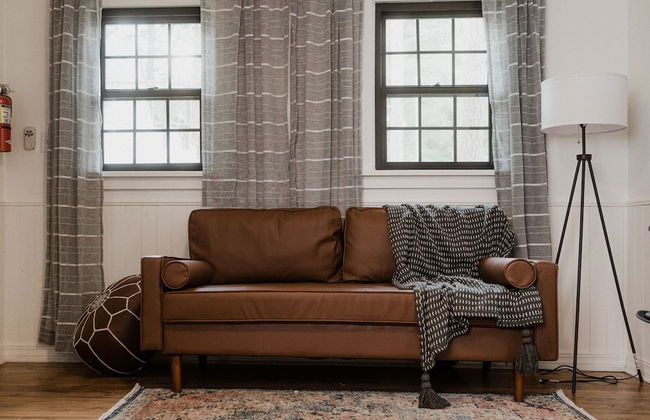
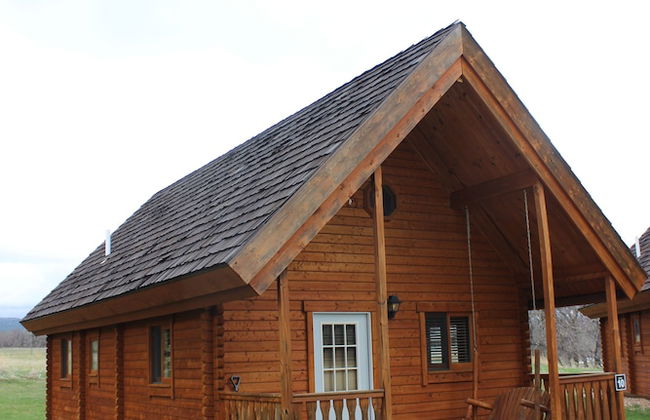
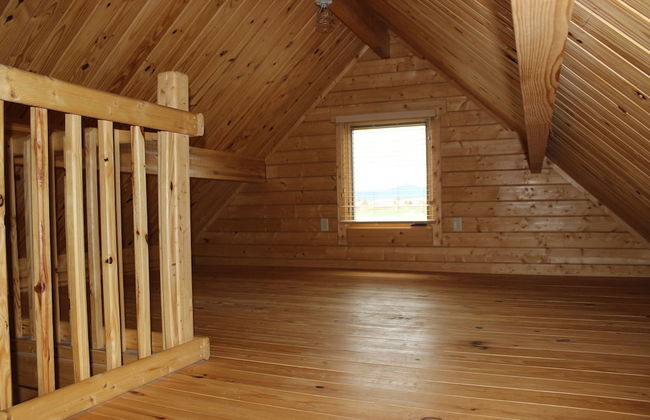
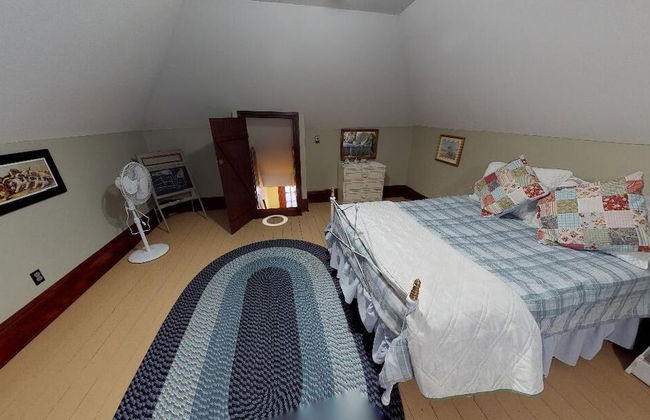
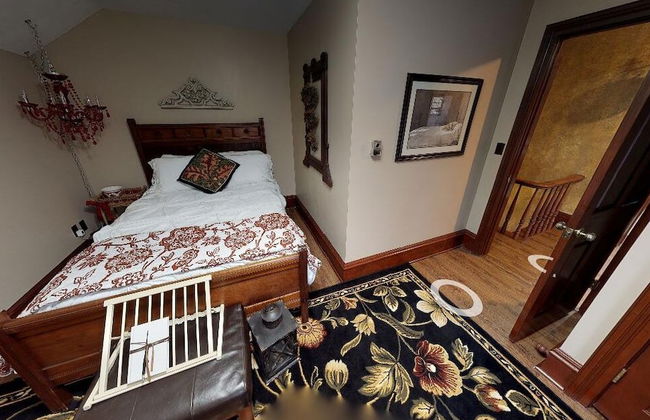
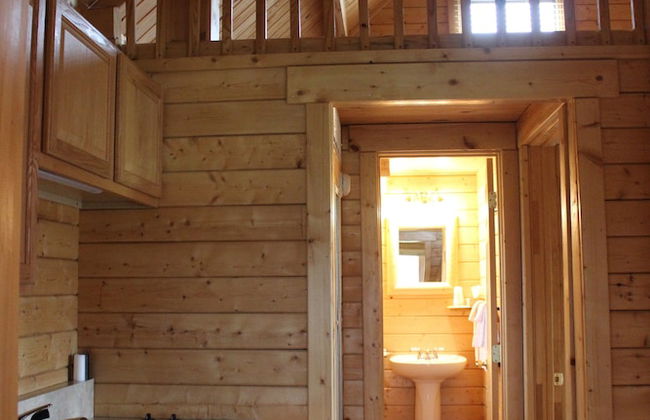
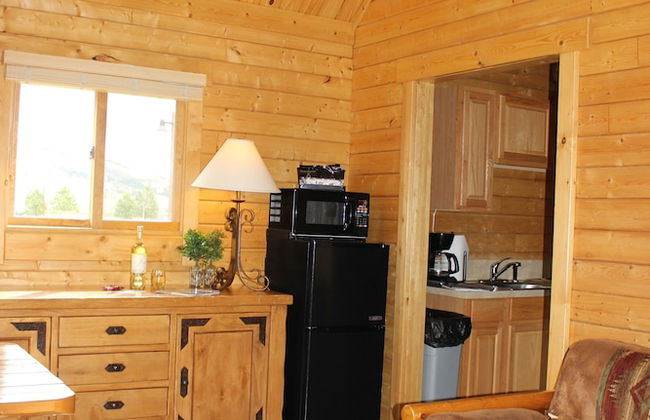
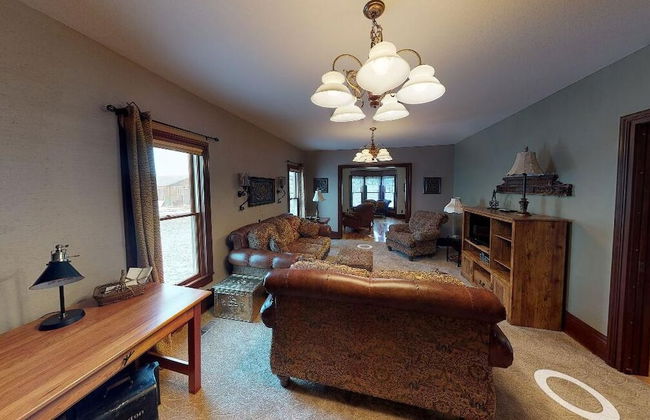
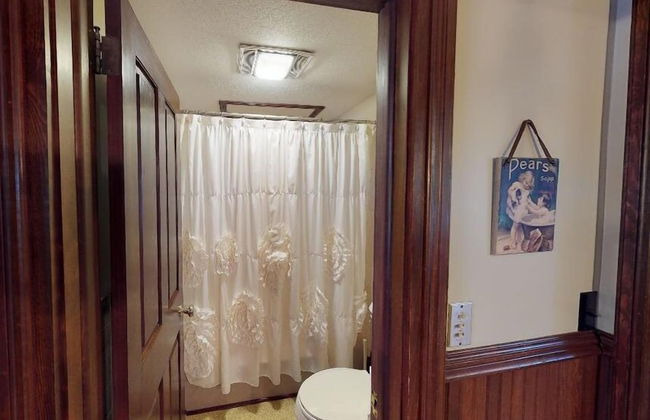
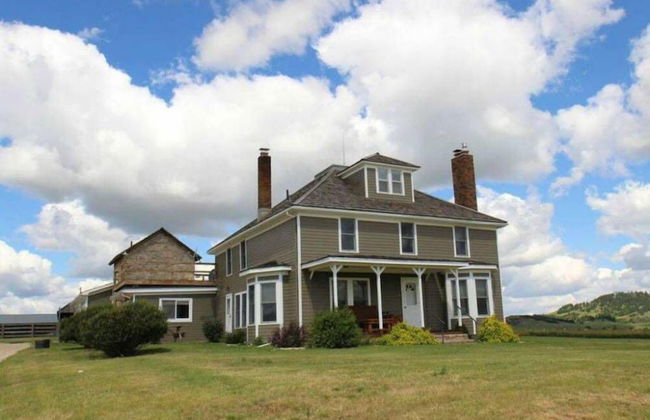
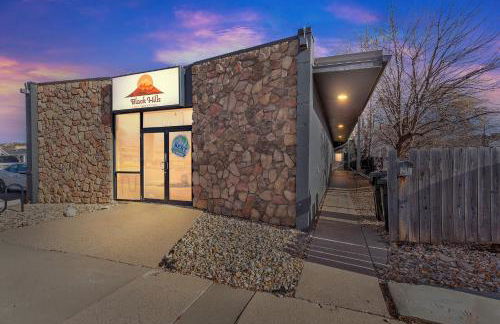
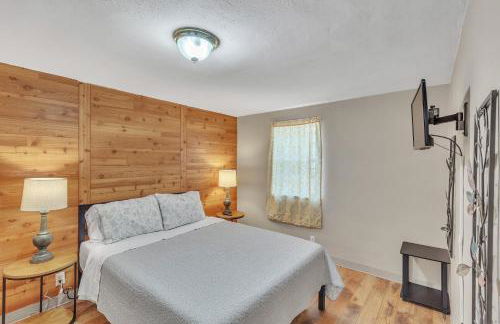
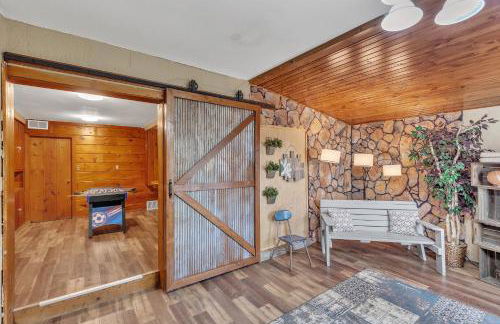
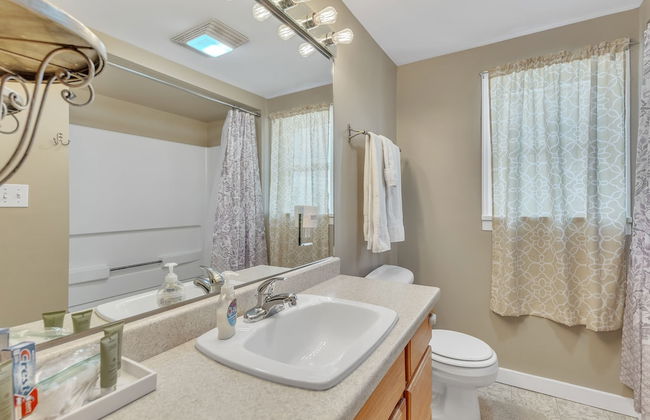
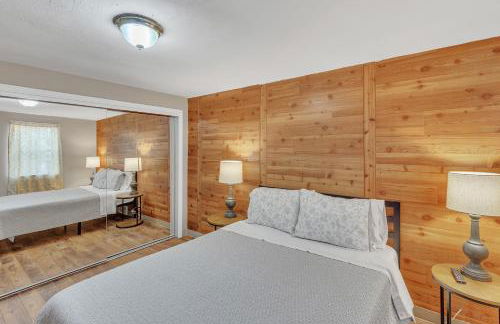
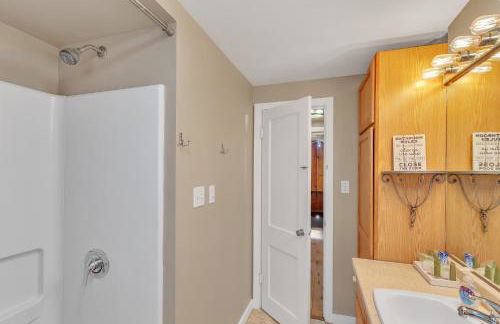
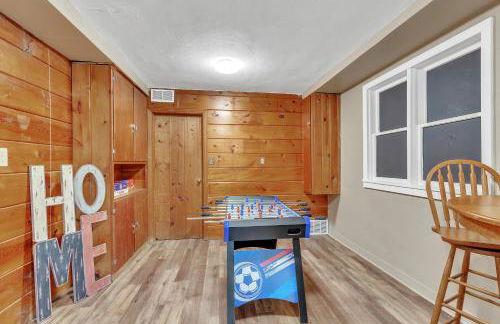
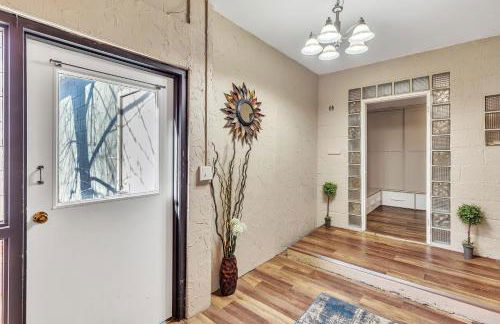
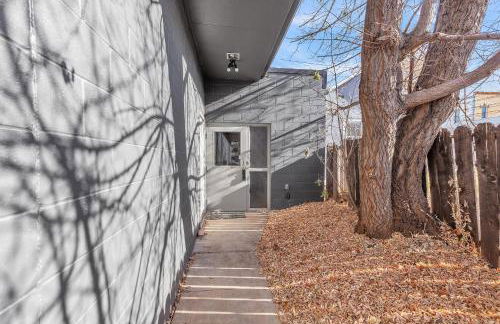
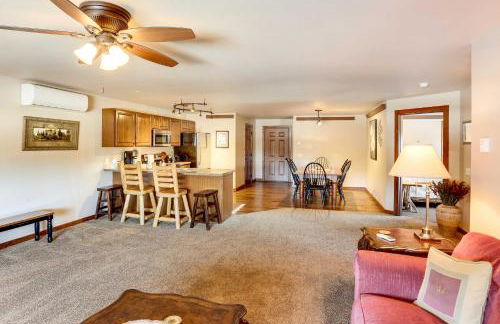
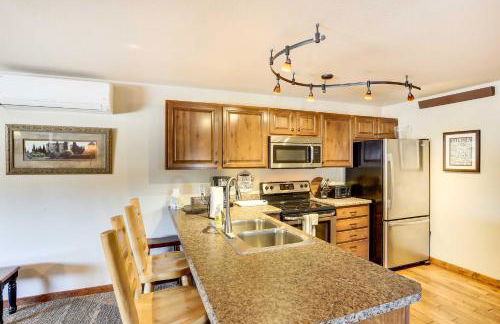
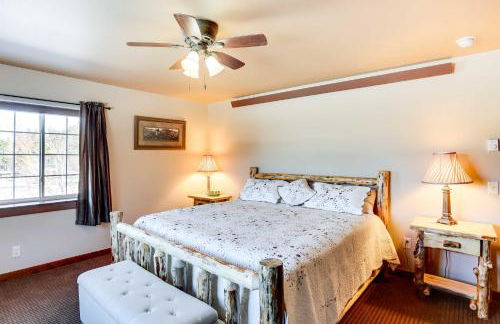
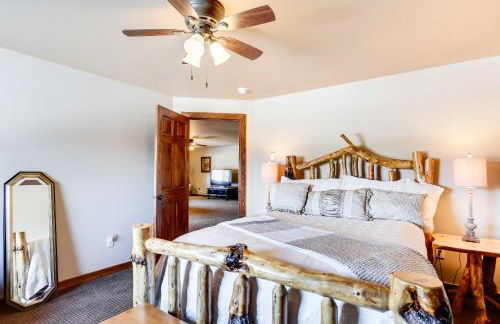
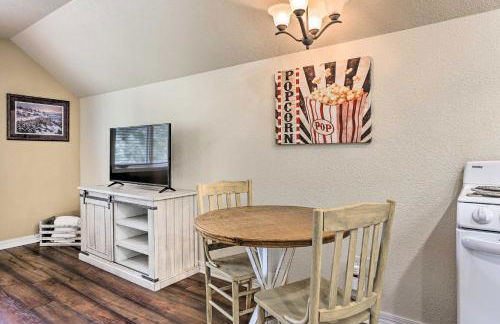
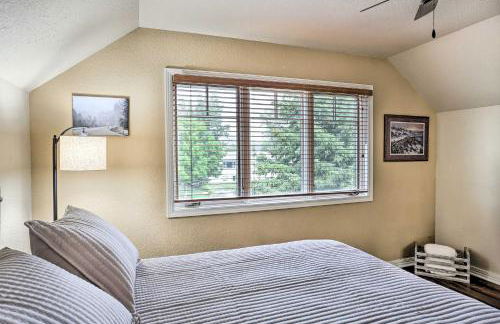
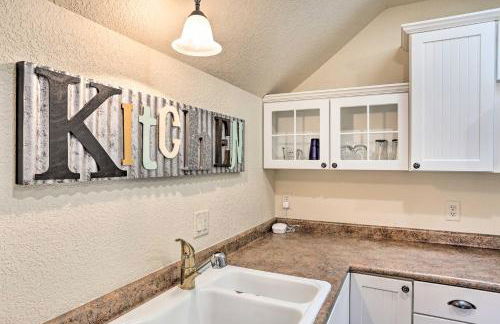
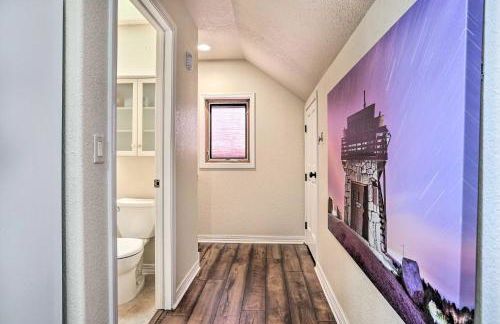
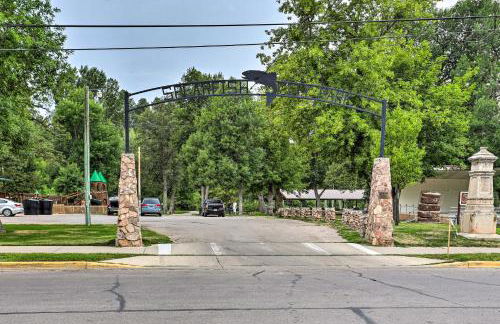
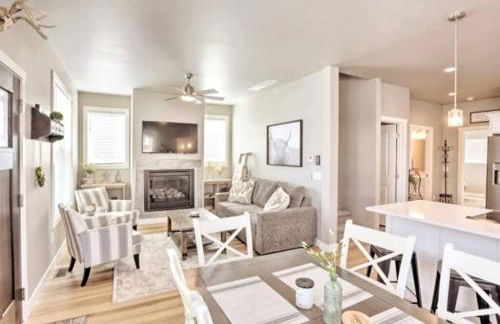
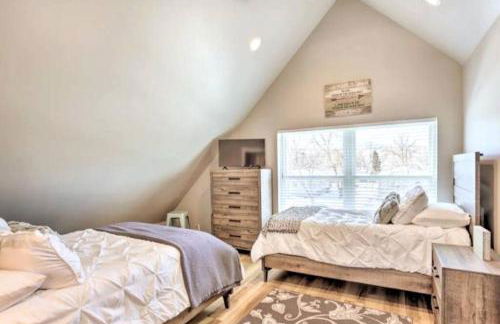
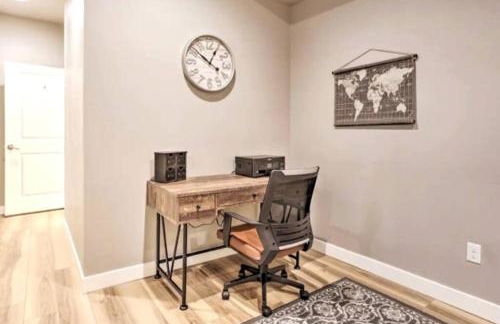
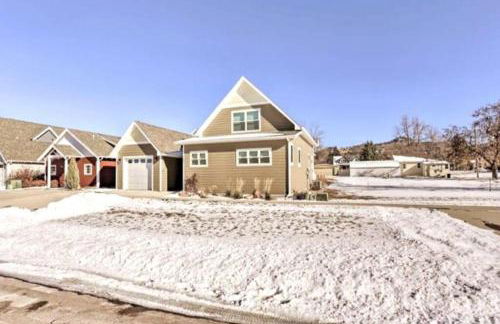
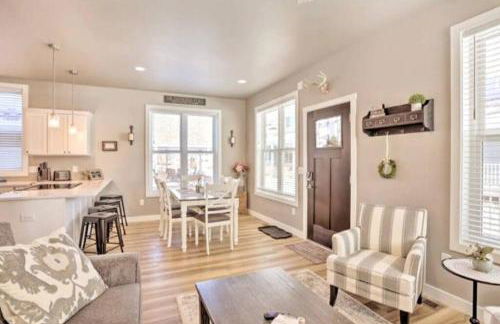
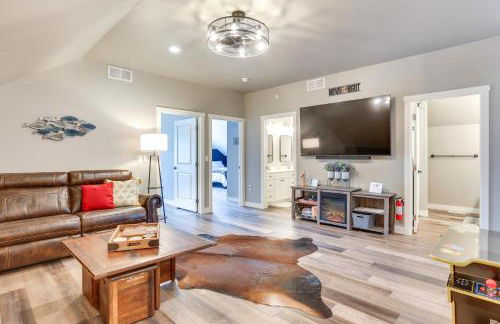
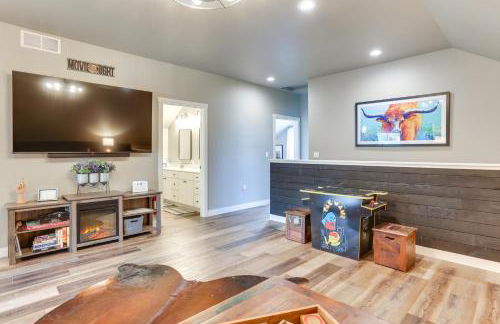
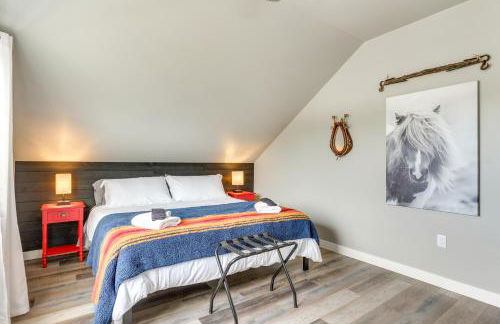
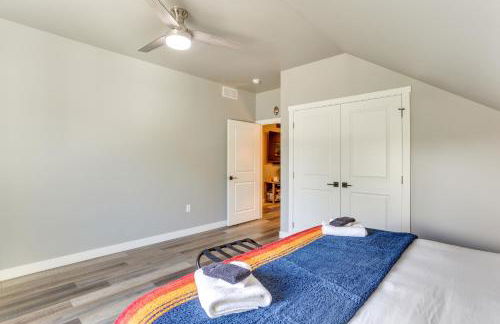
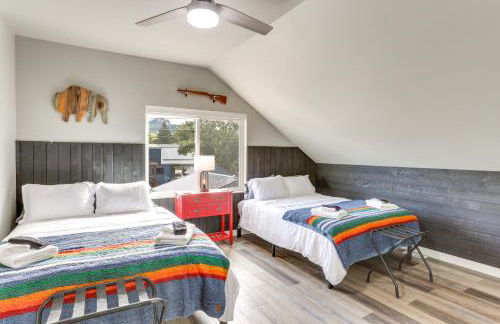
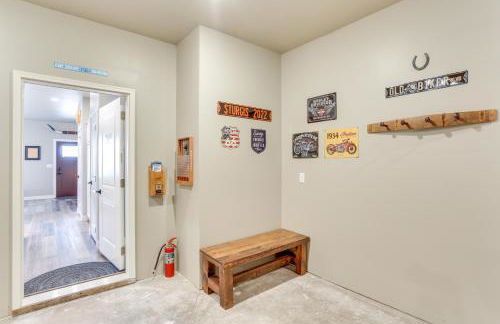
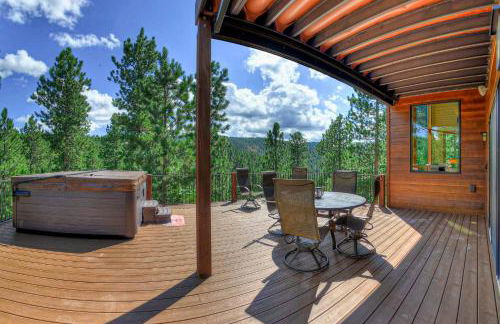
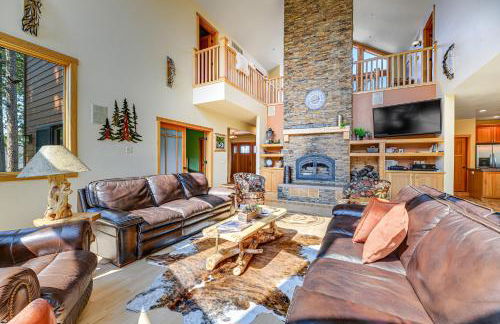
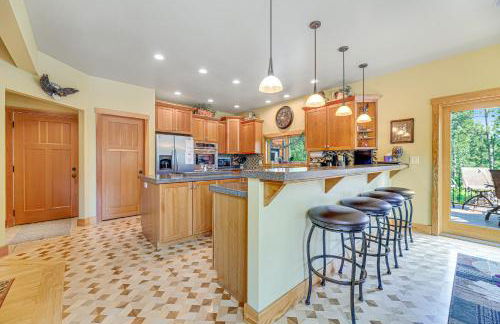
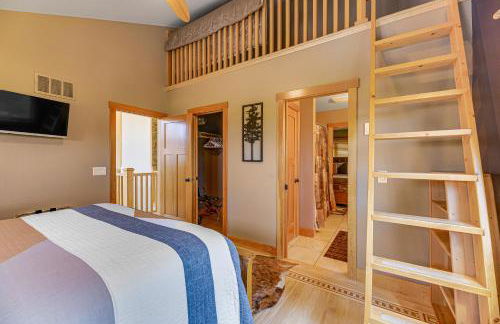
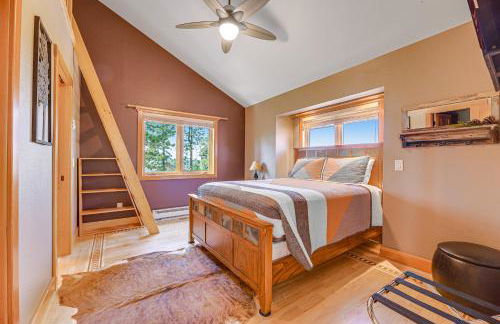
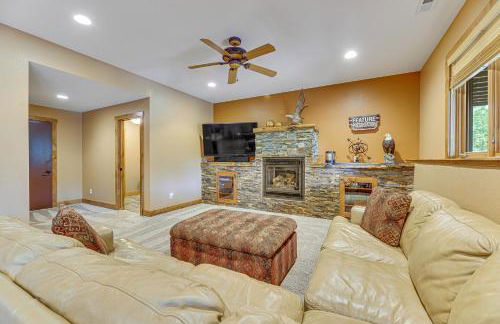
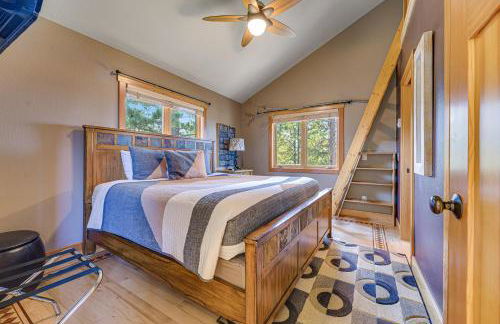
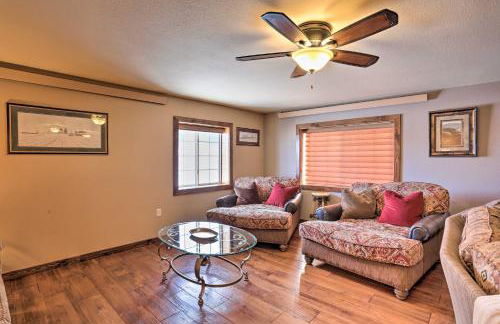
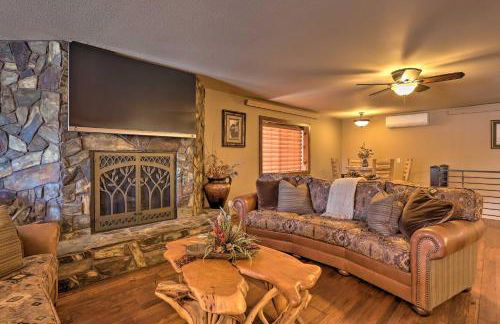
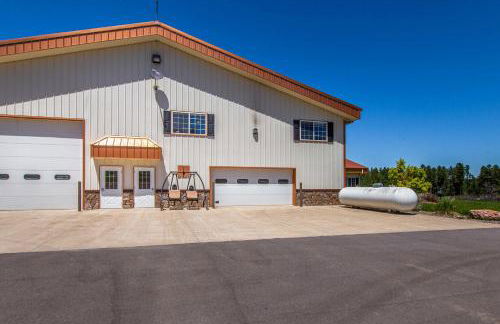
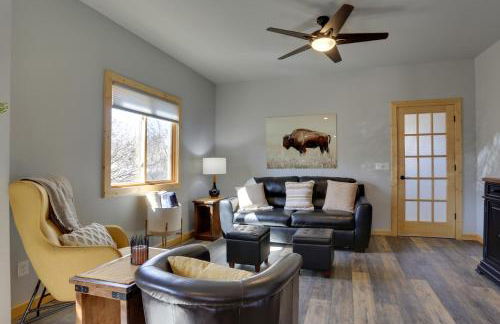
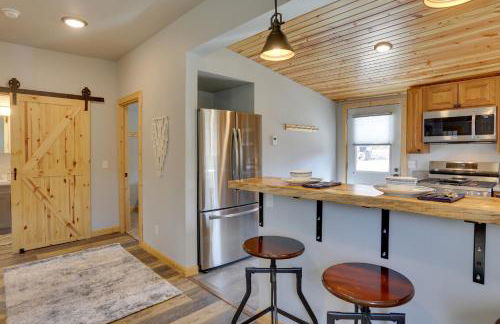
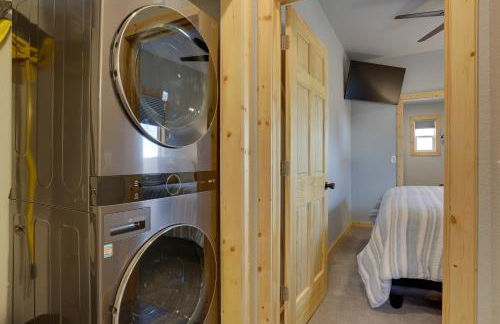
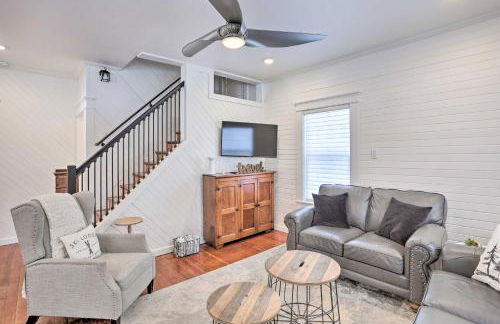
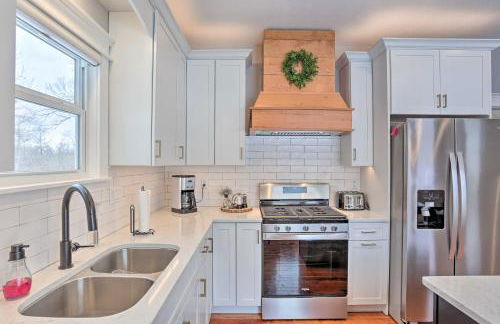
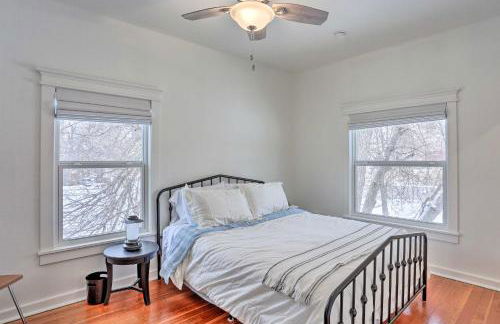
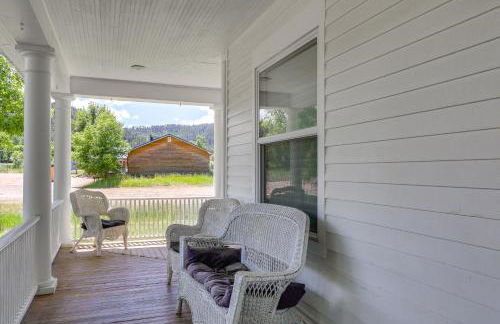
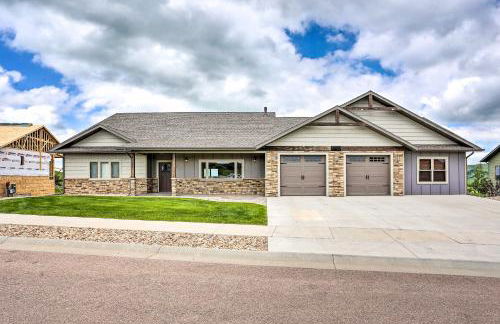
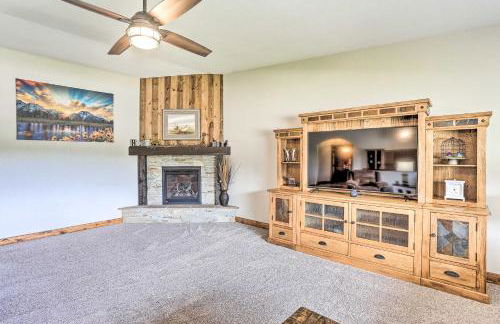
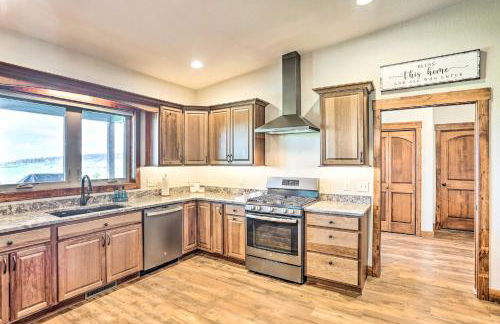
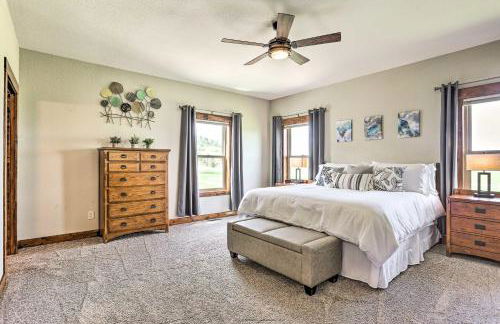
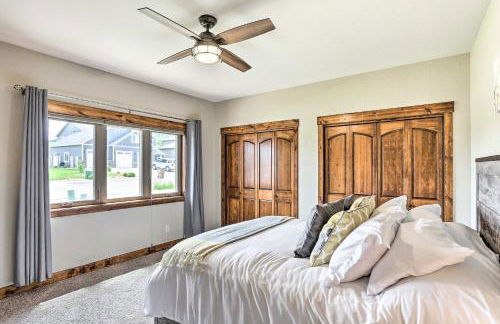
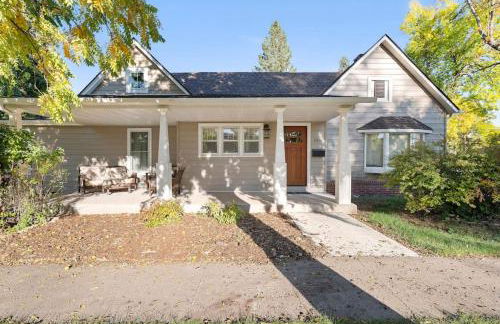
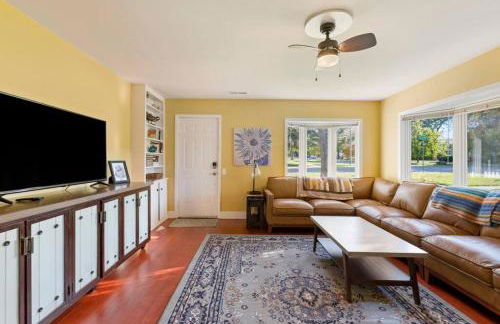
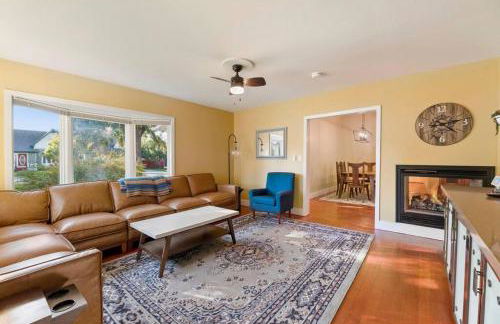
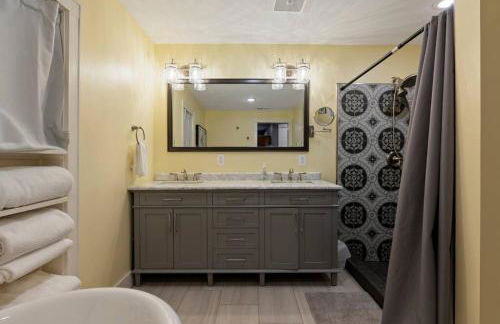
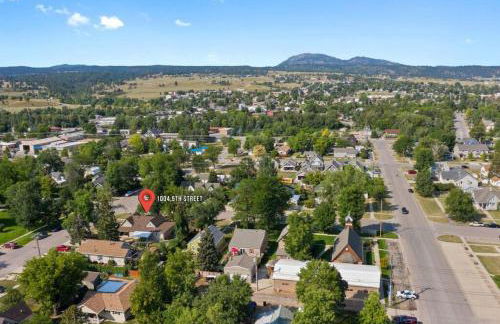
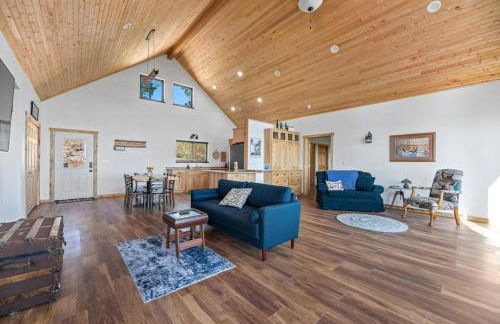
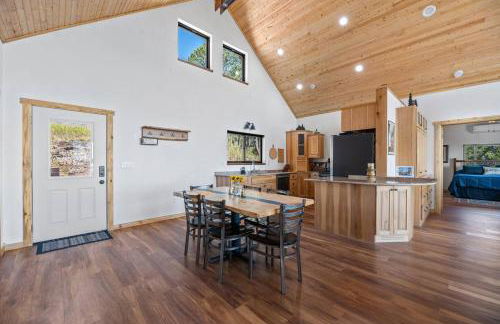
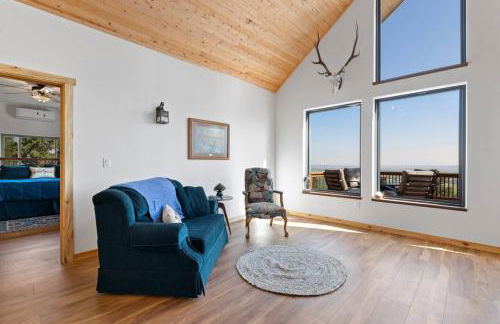
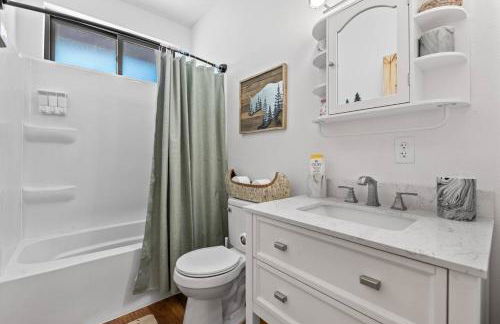
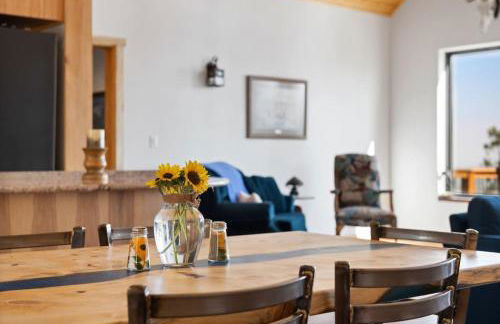
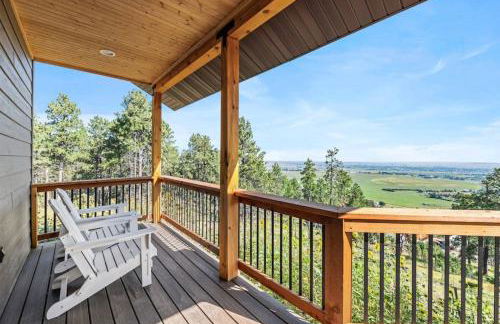
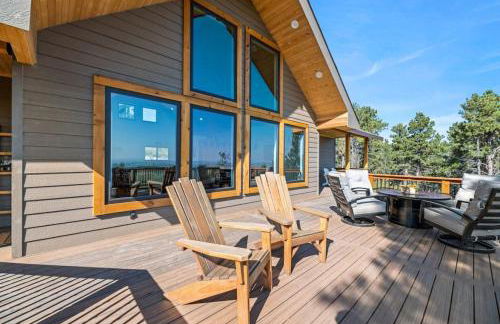
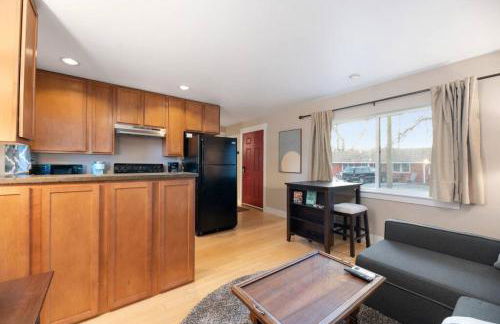
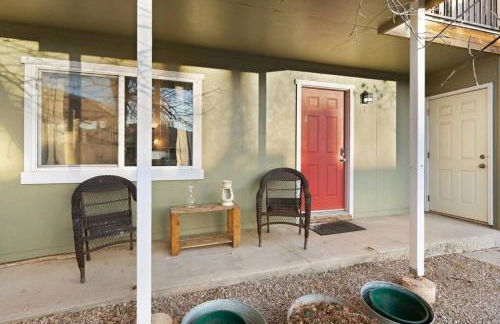
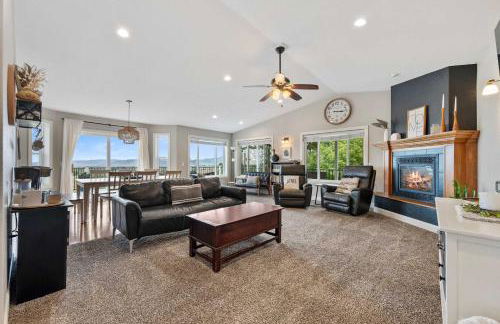
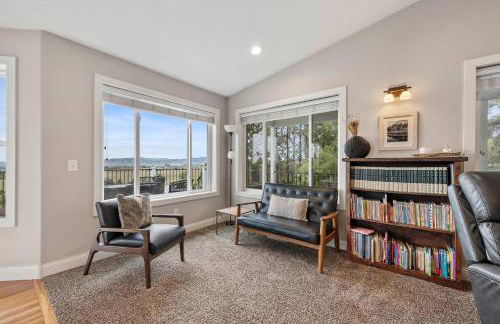
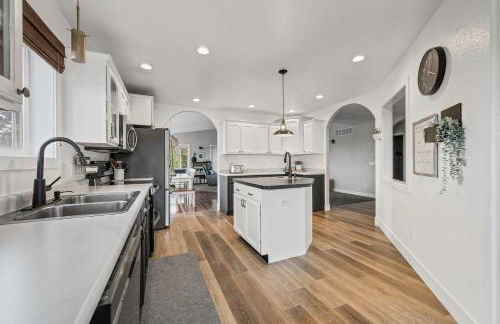
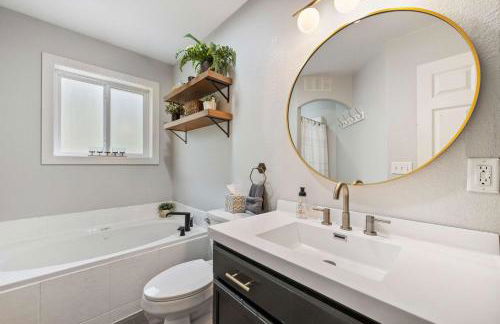
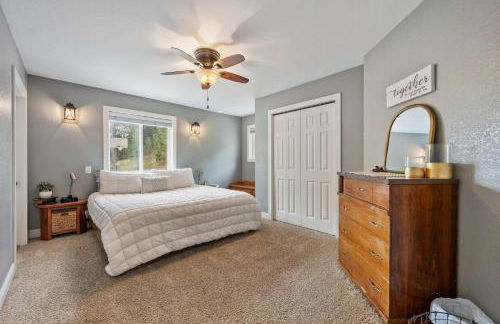
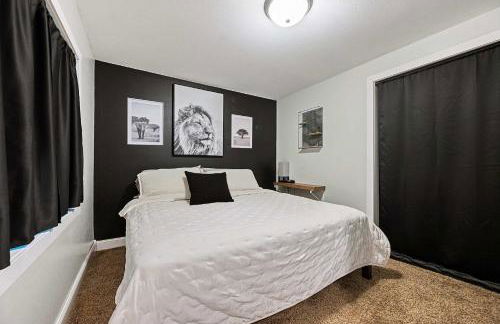
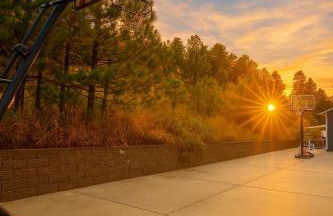
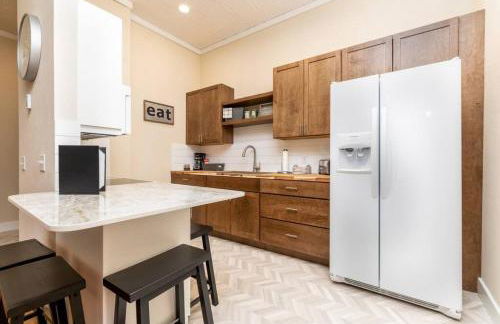
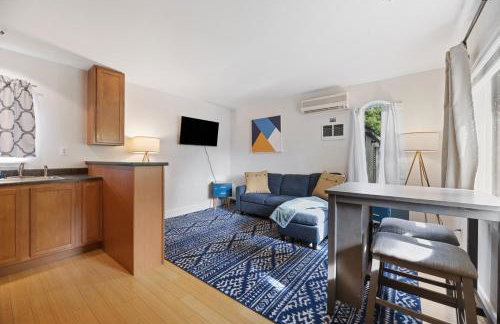
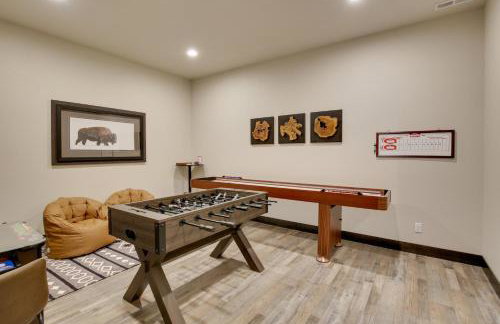
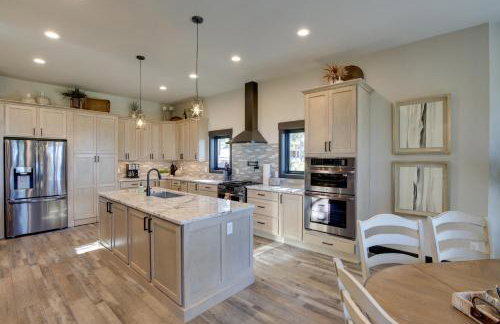
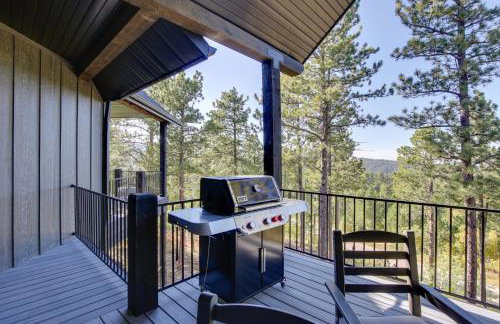
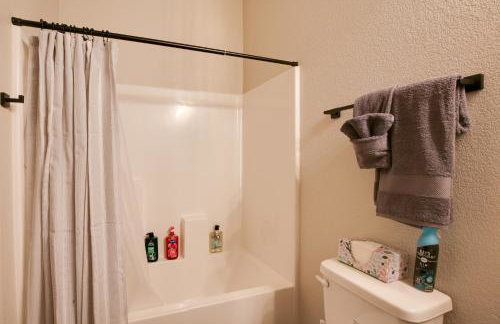
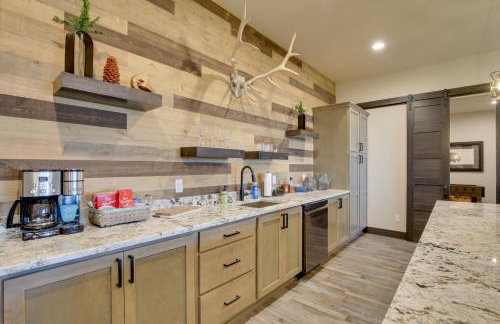
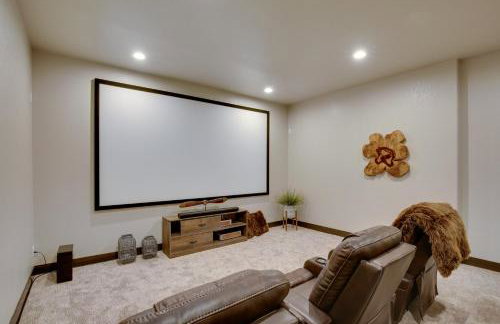
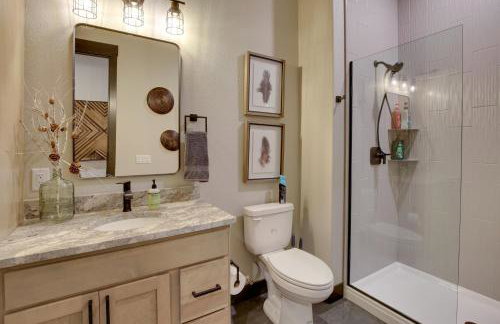
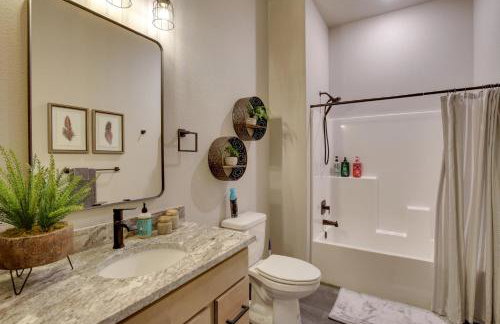
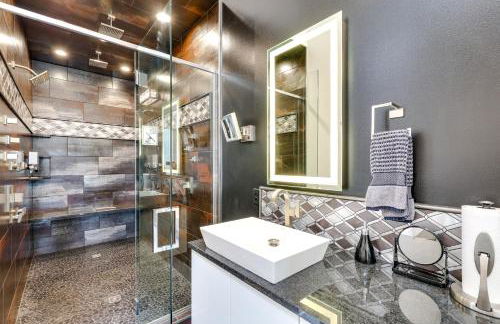
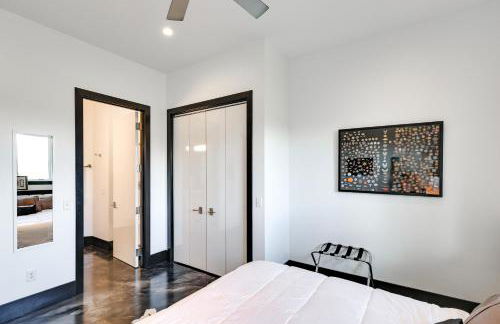
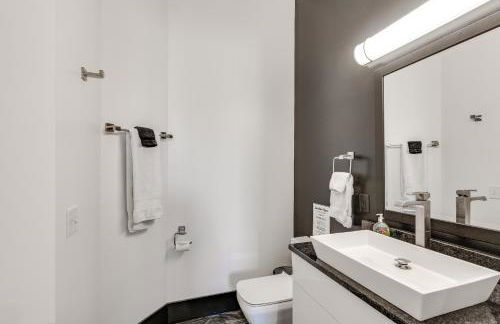
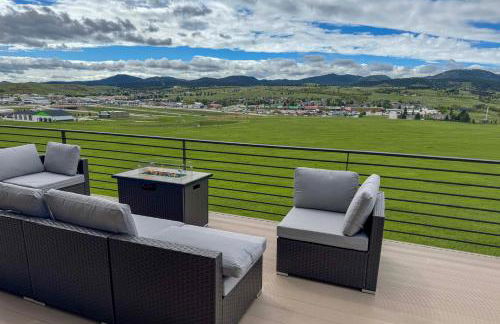
Spearfish Cottages - Foto 2
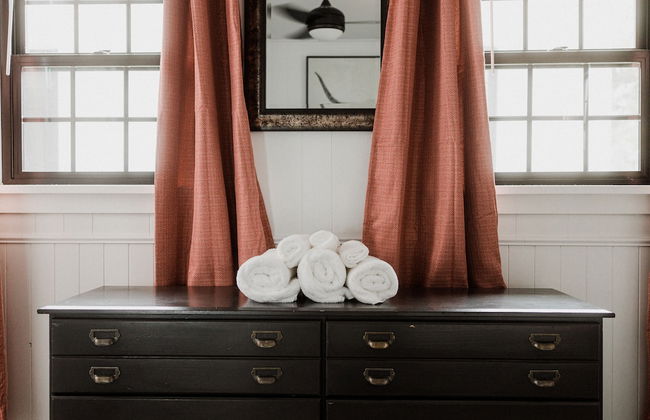
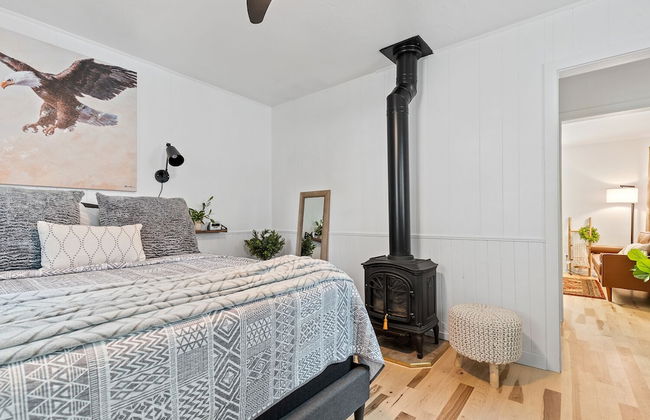
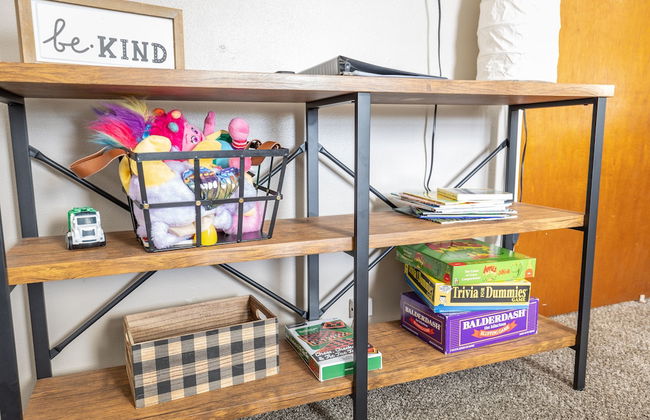
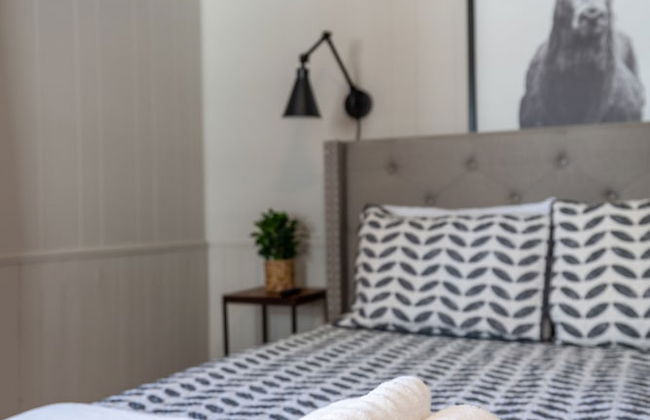
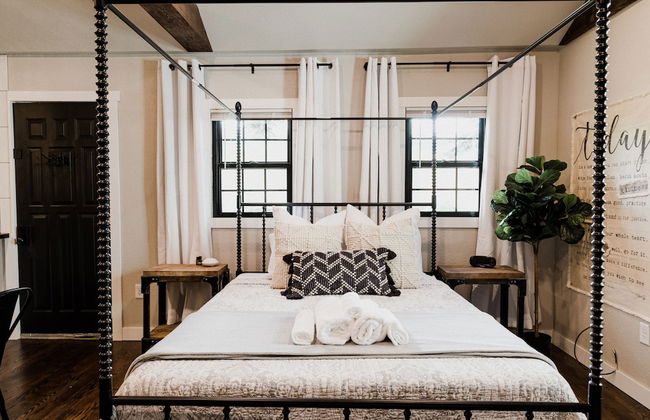
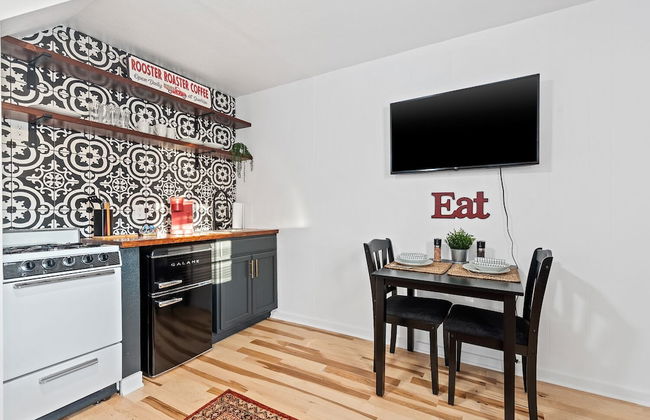
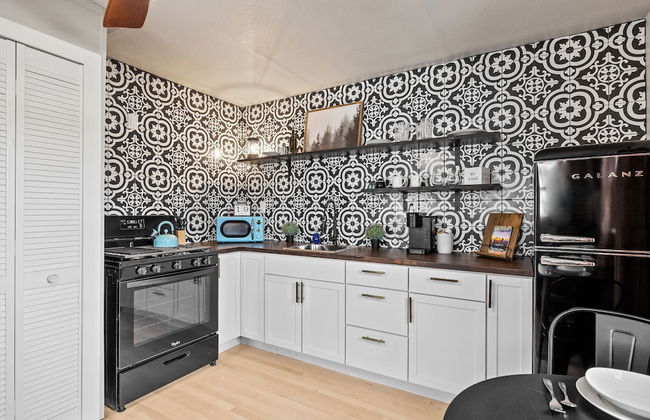
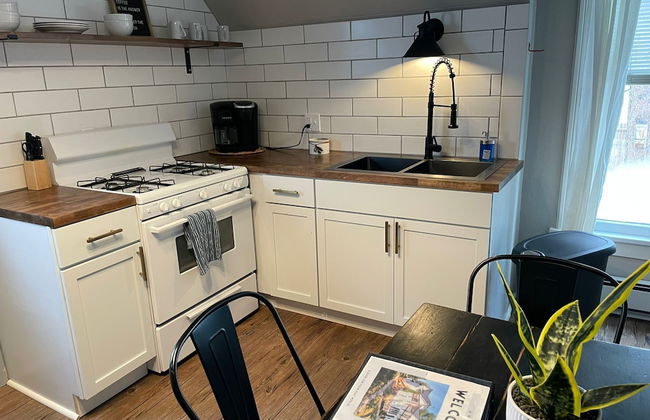
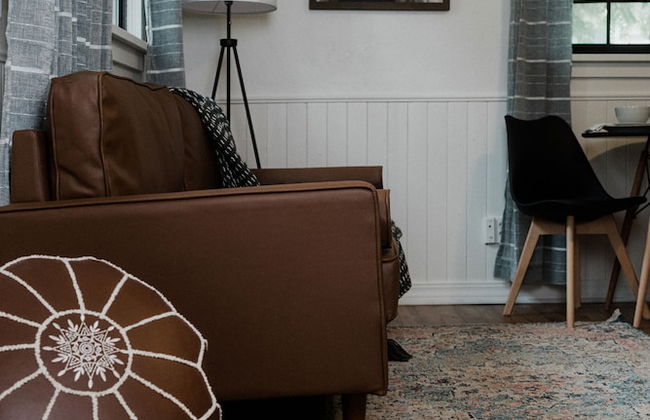
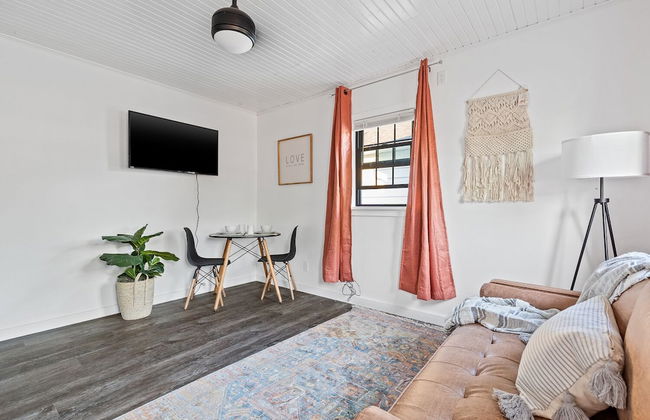
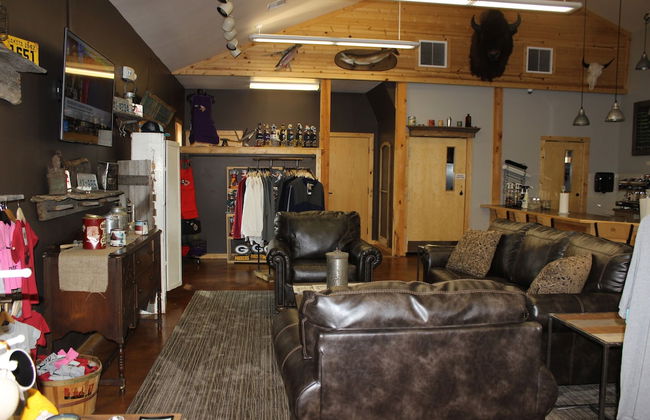
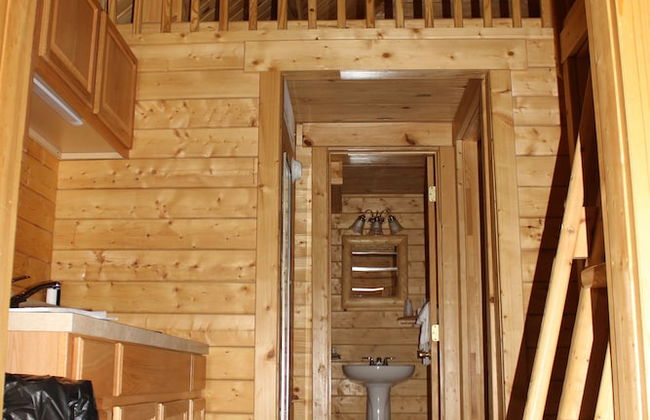
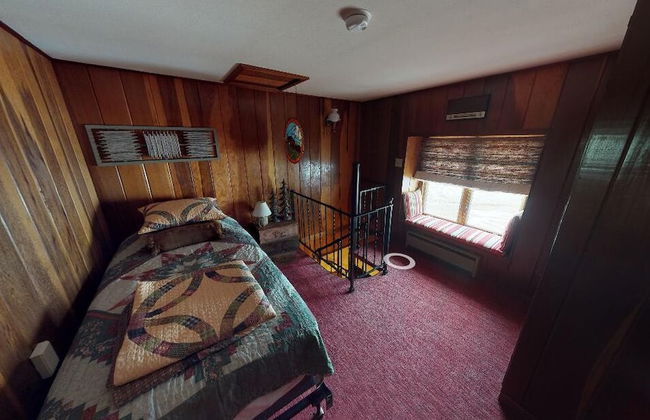
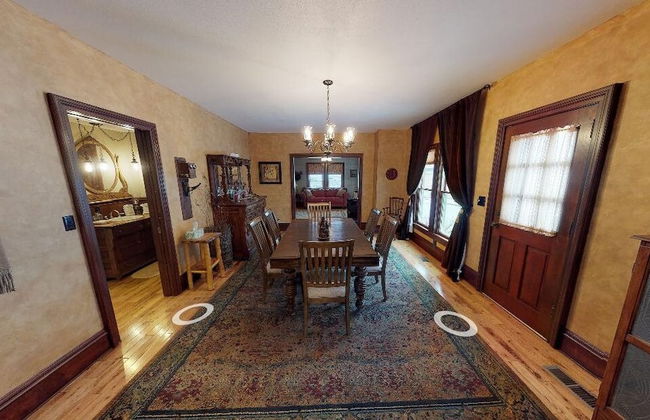
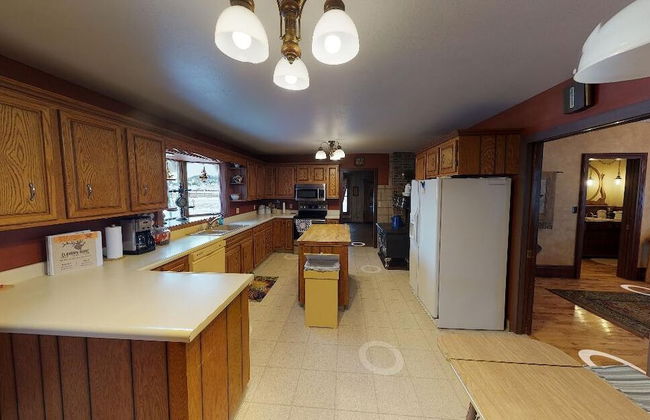
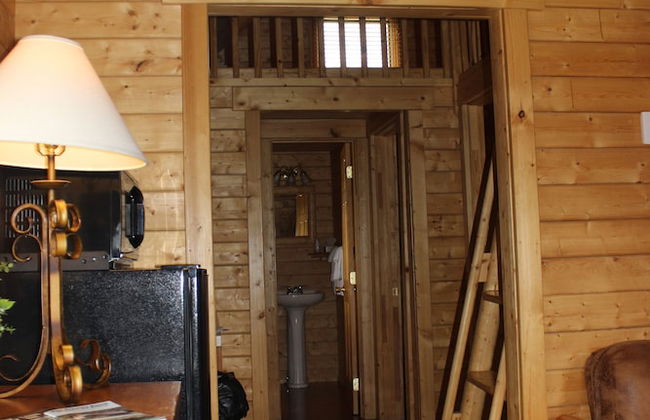
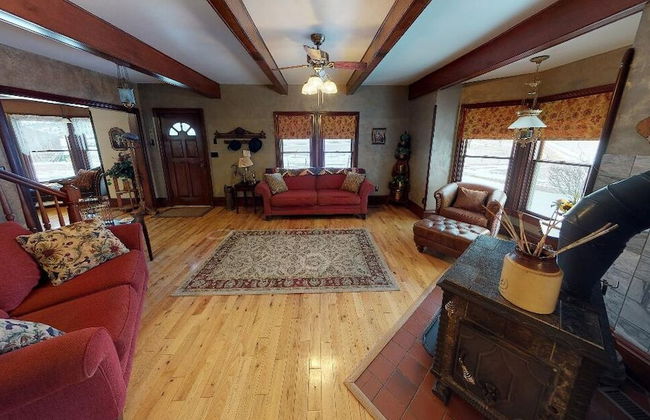
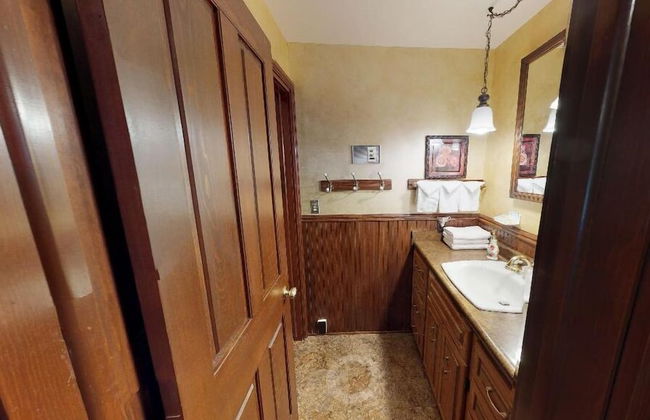
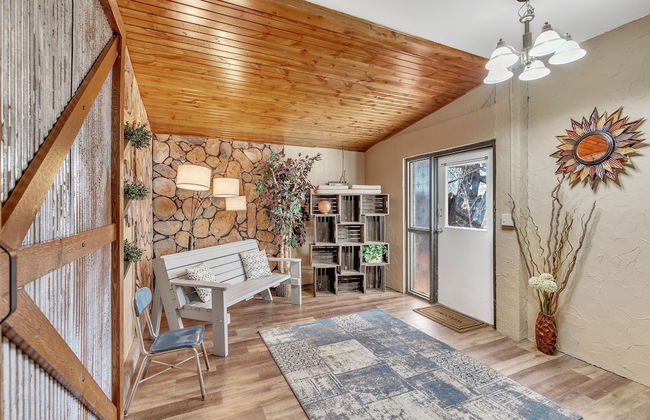
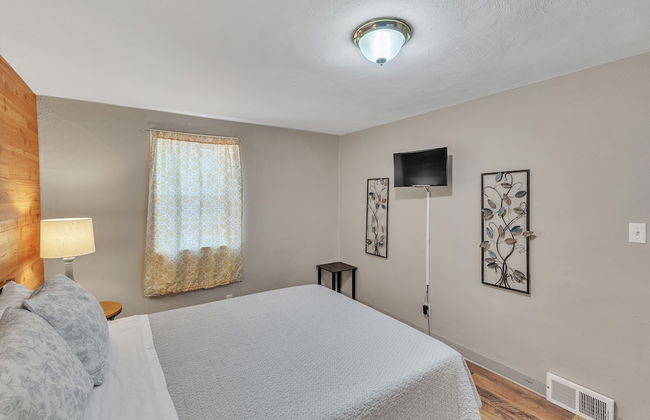
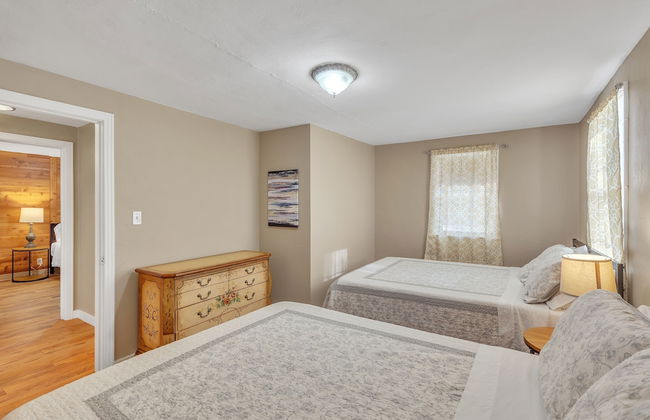
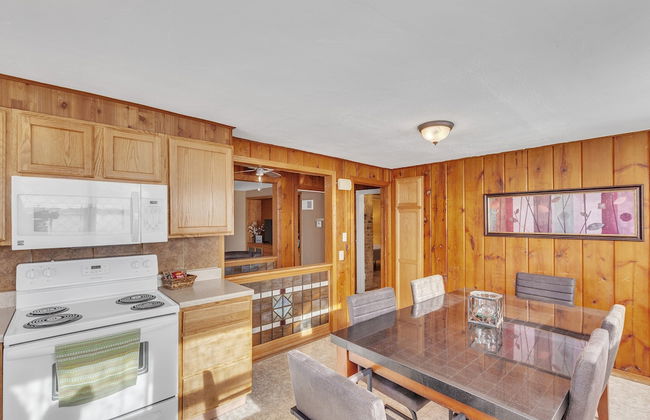
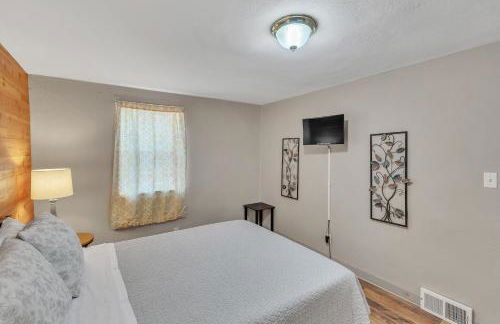
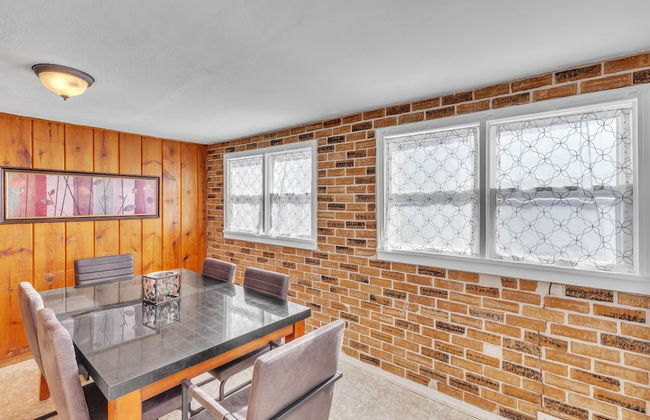
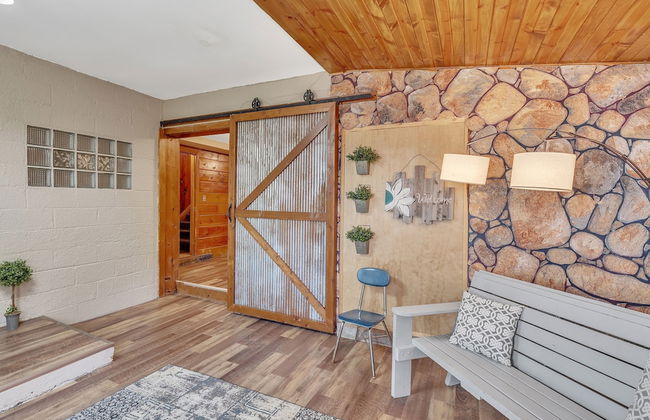
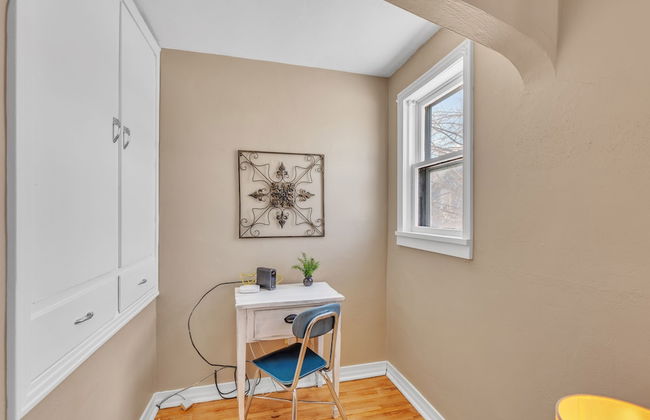
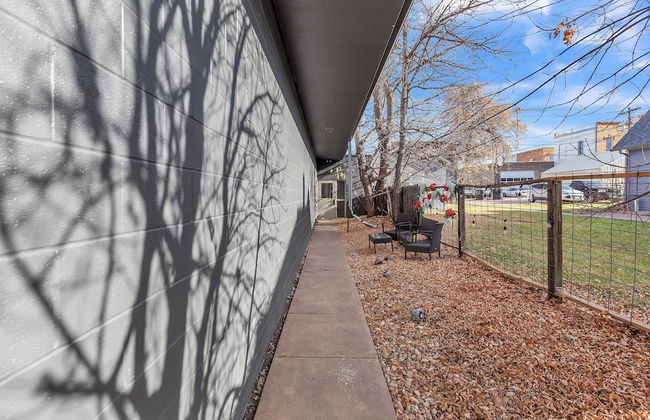
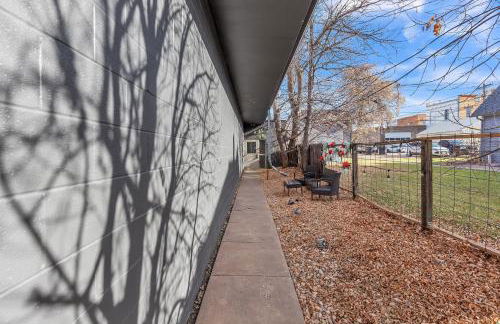
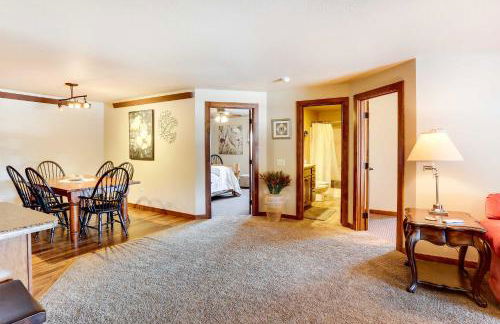
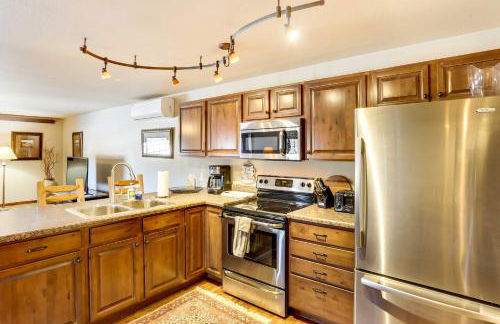
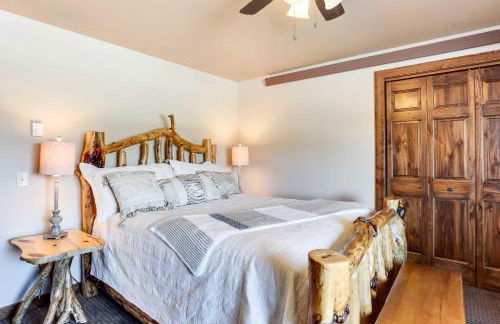
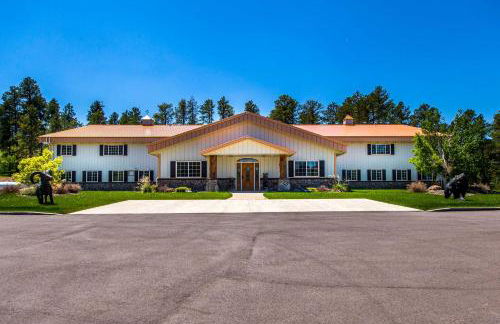
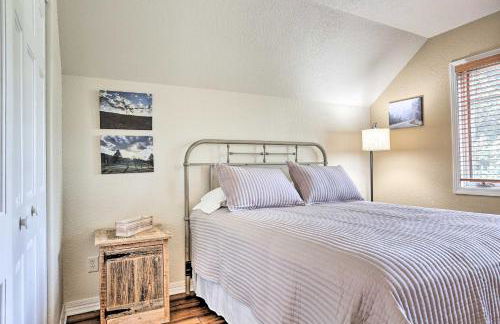
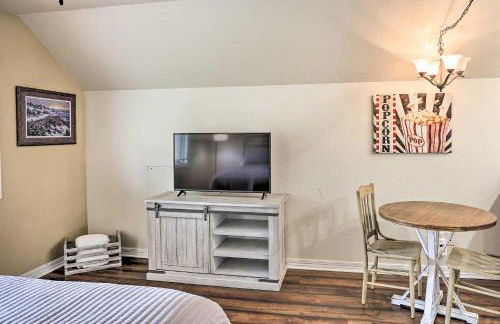
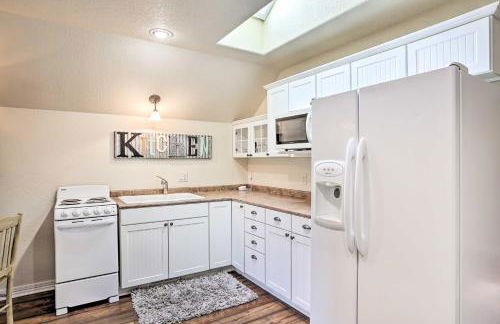
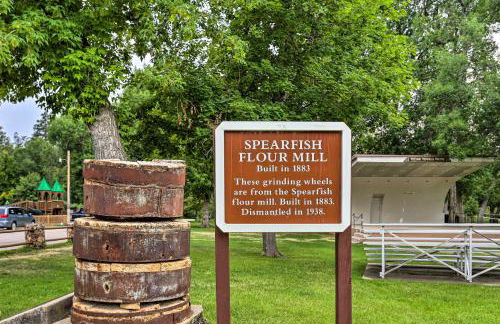
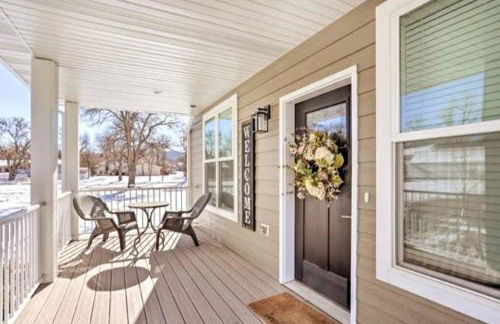
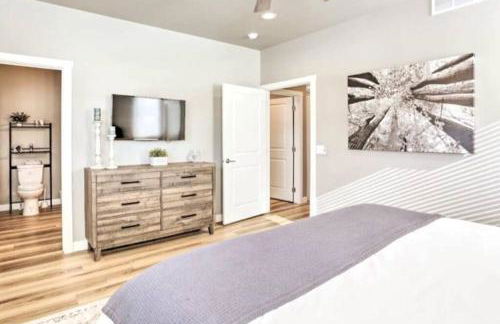
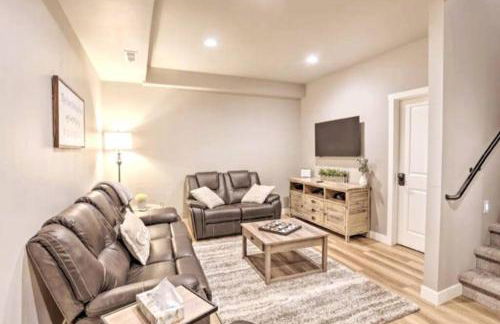
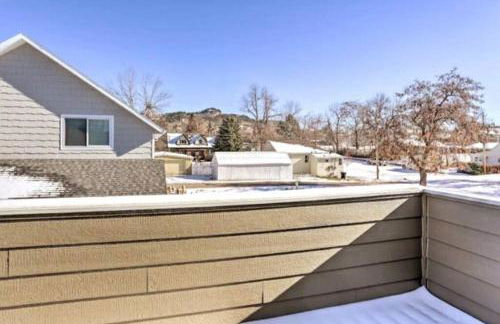
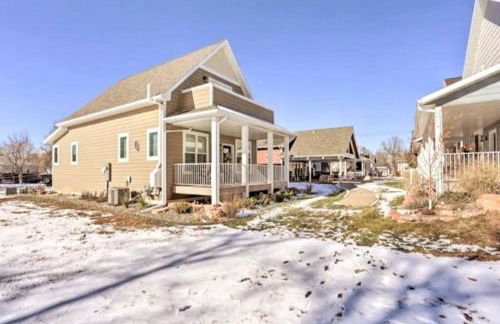
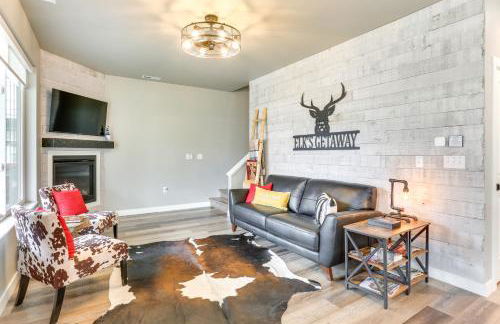
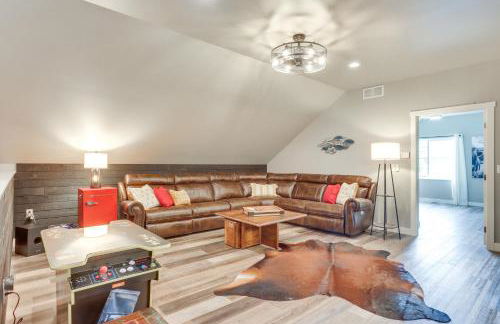
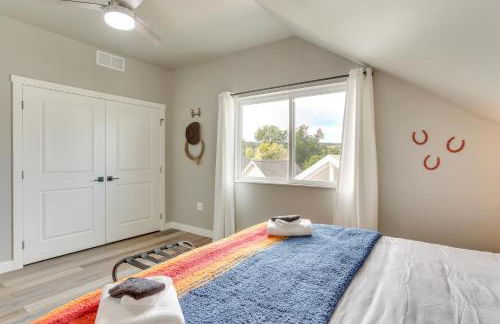
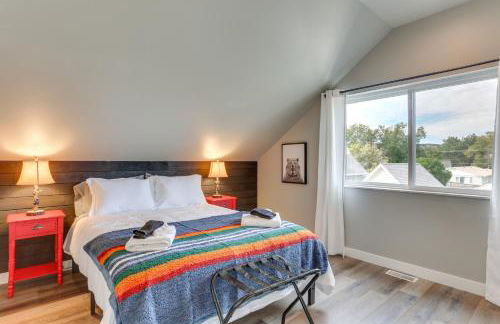
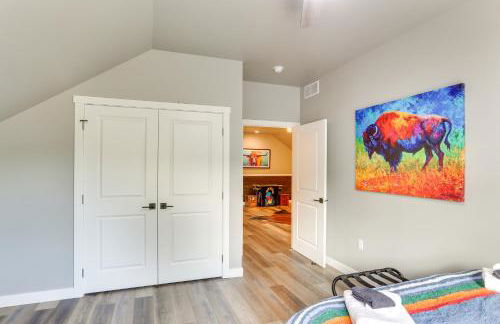
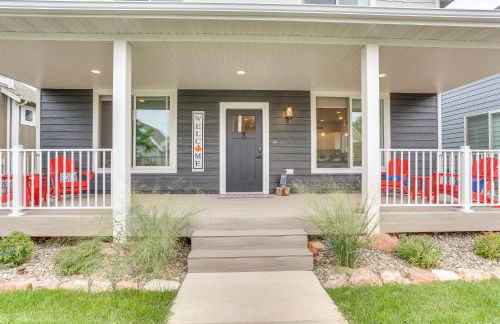
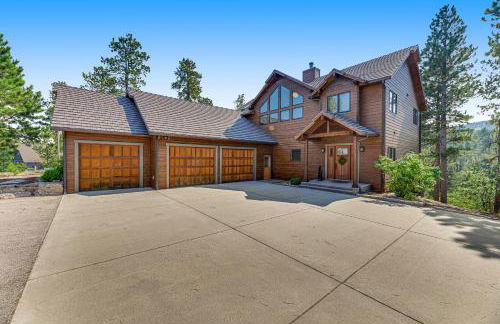
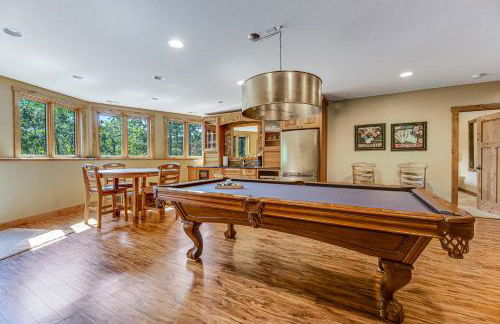
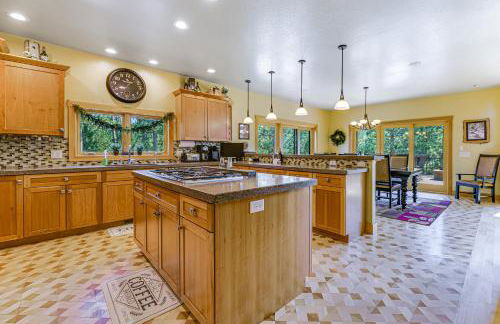
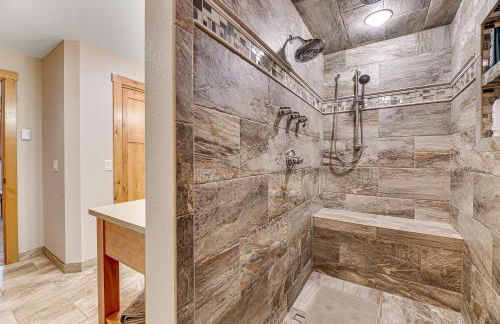
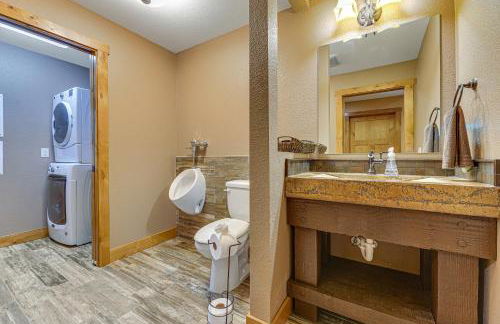
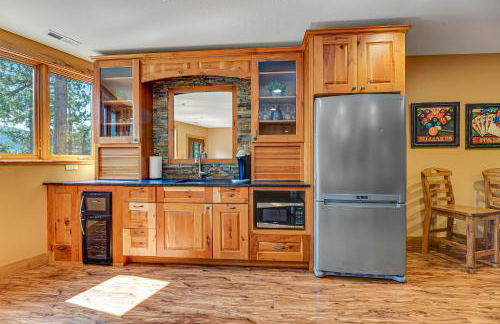
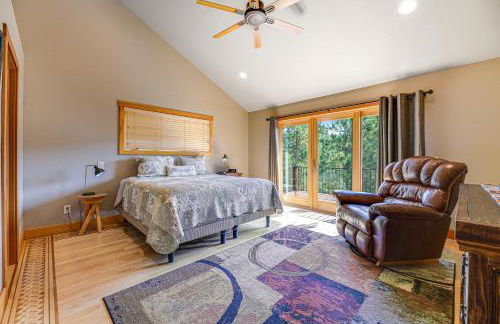
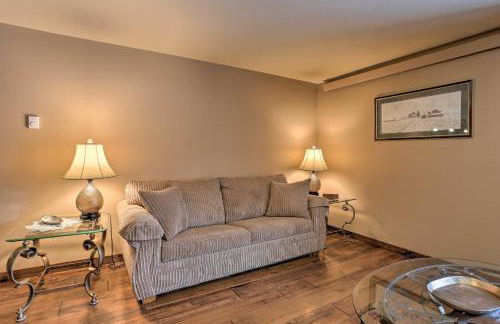
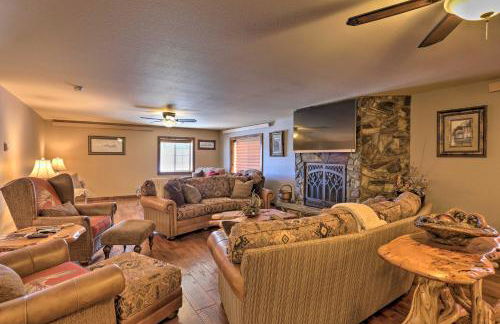
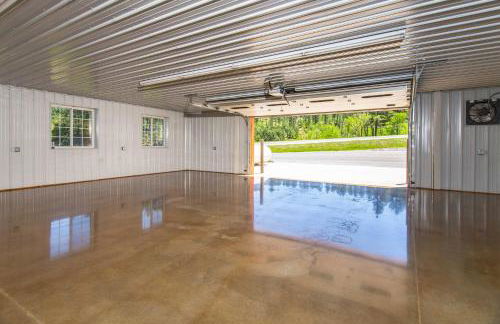
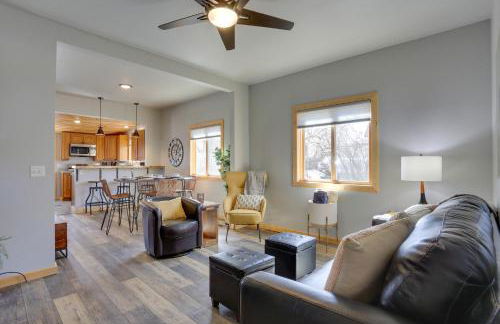
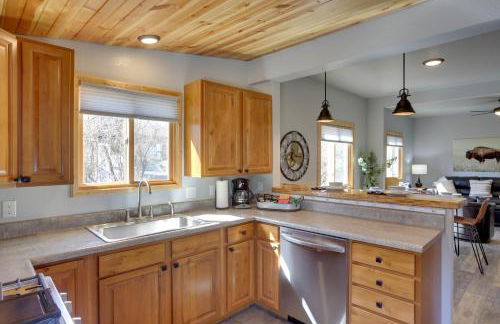
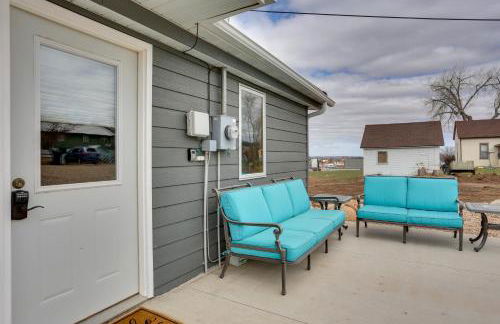
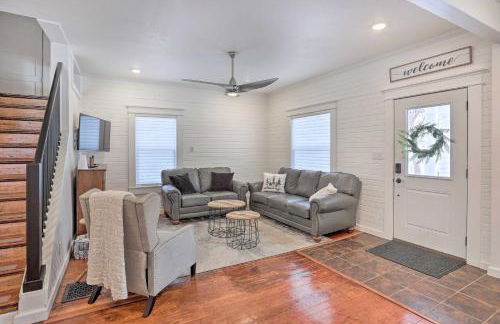
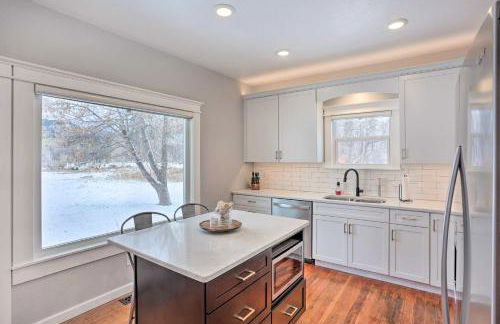
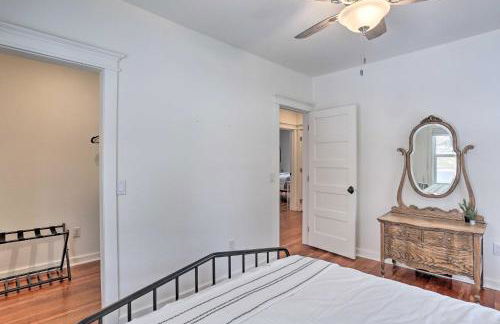
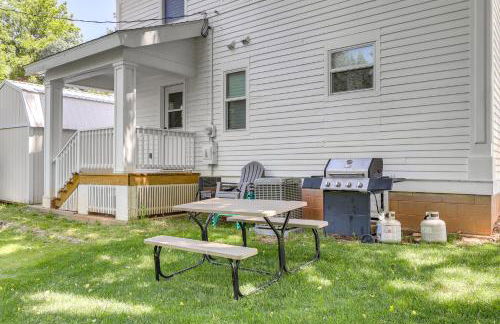
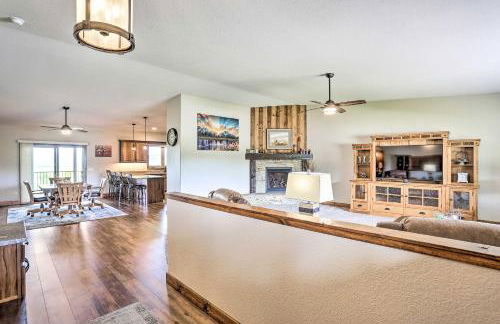
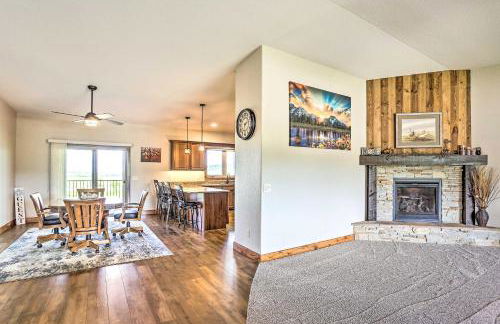
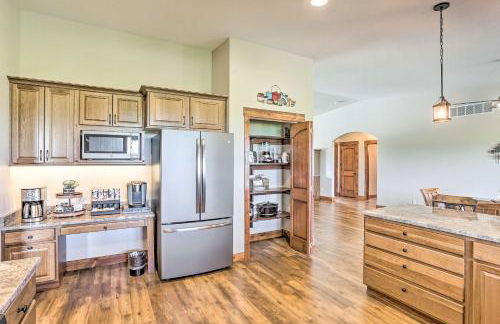
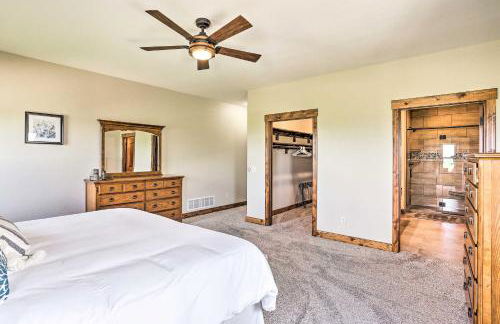
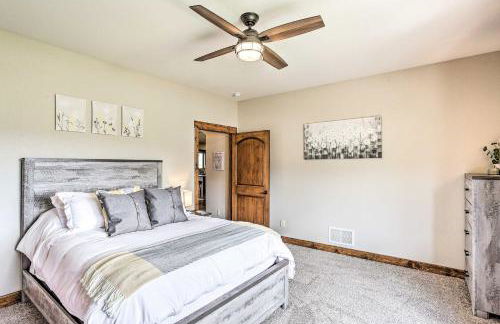
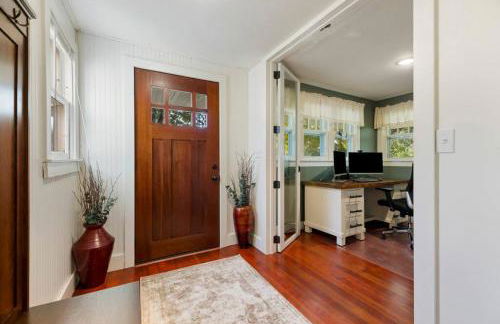
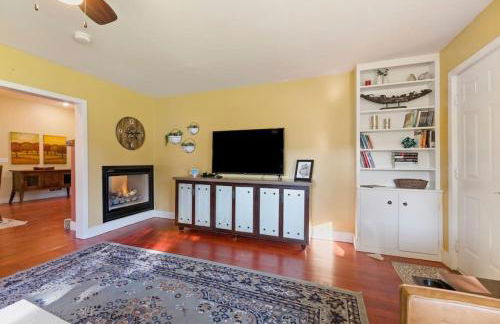
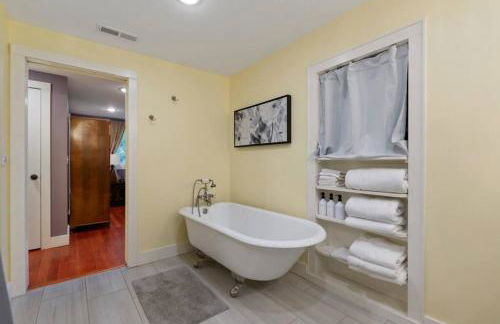
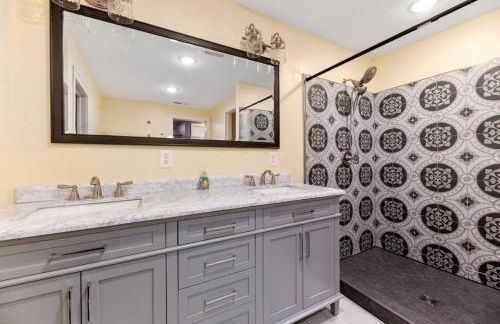
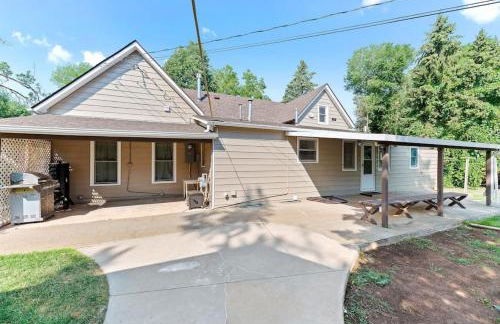
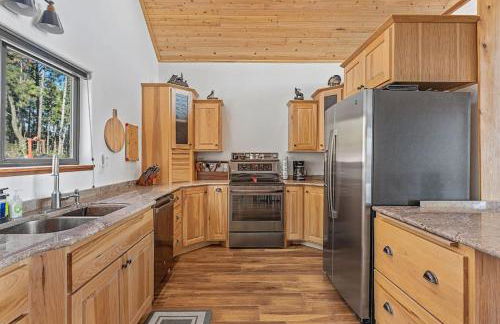
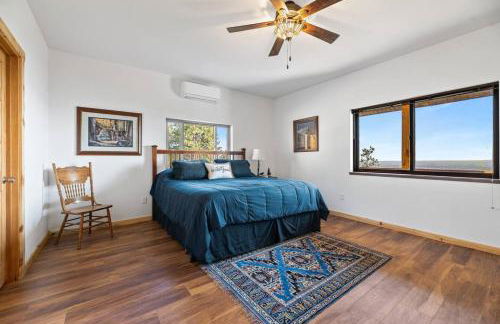
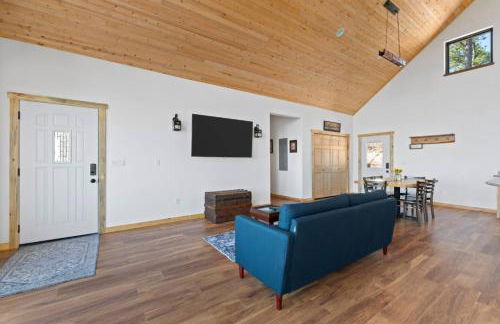
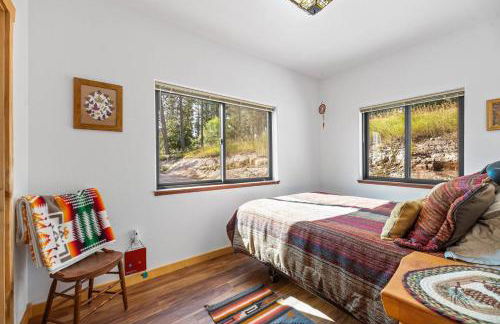
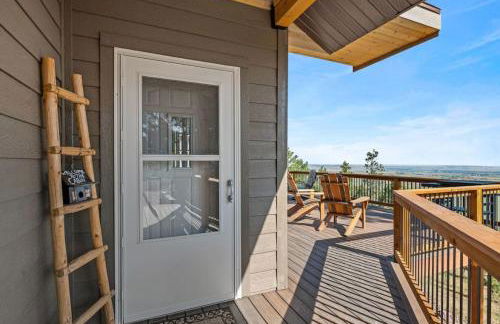
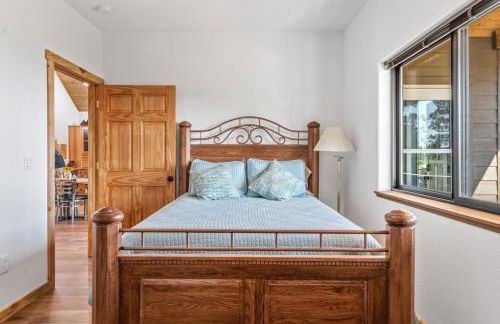
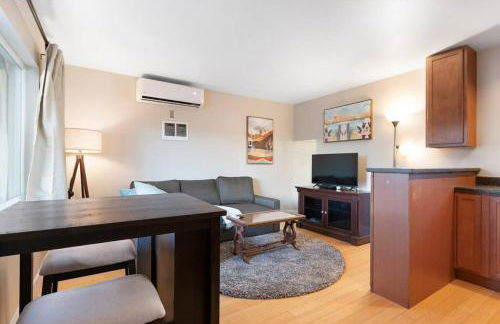
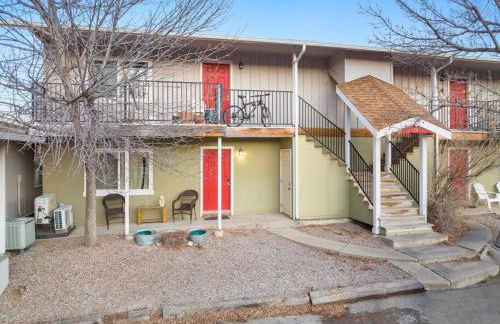
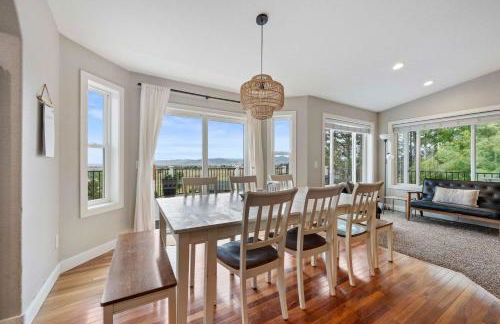
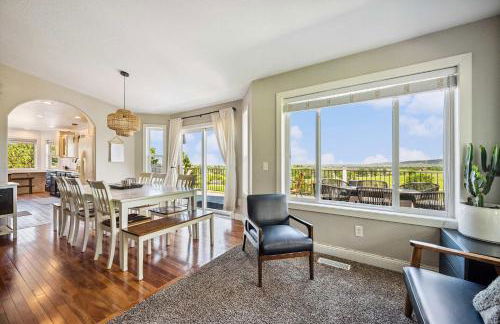
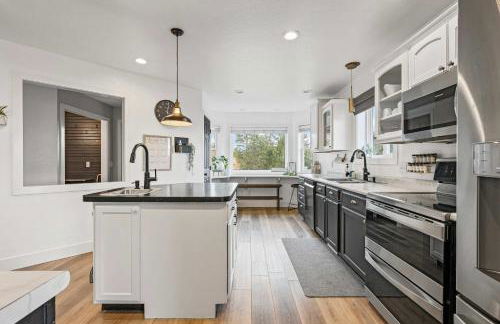
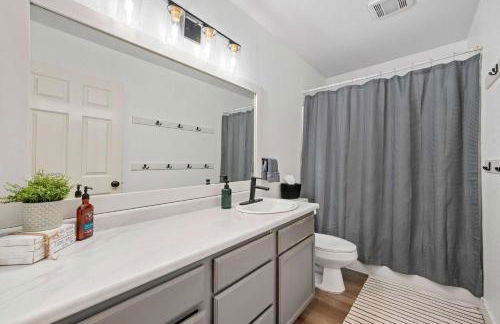
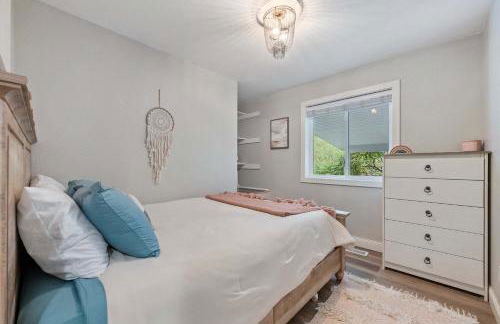
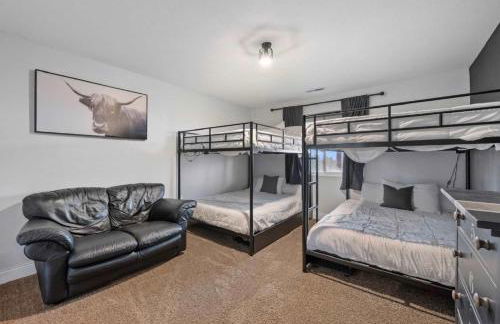
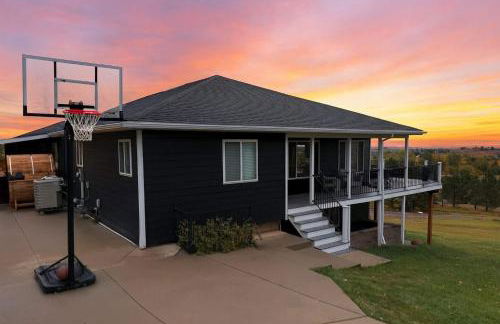
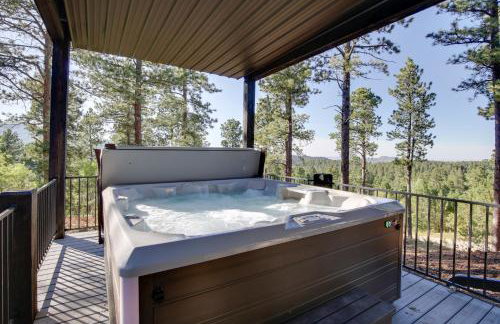
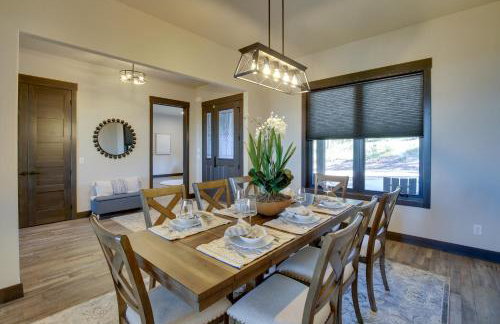
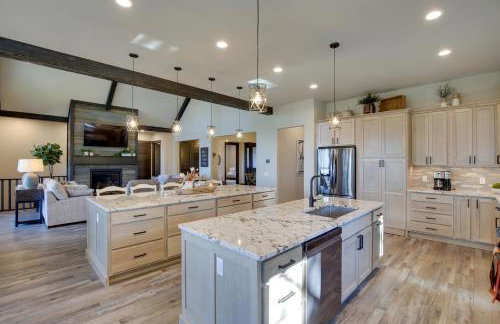
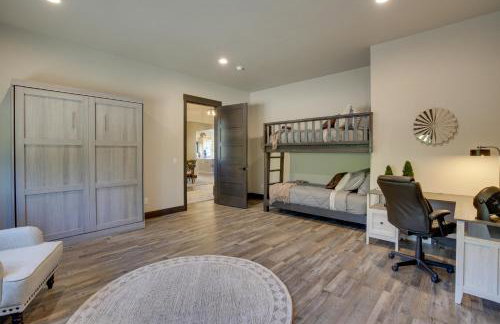
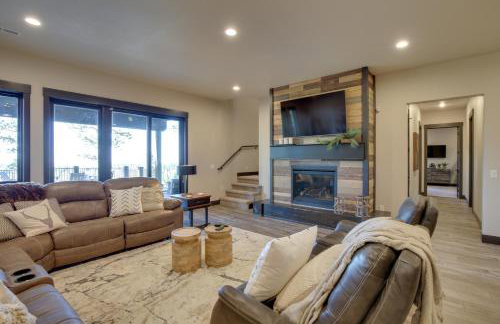
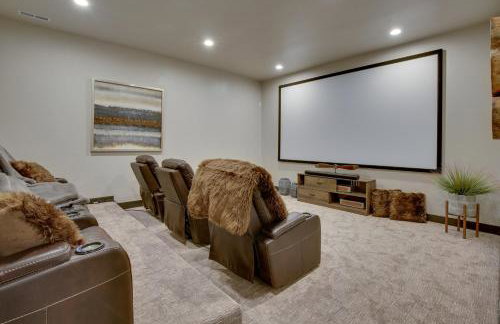
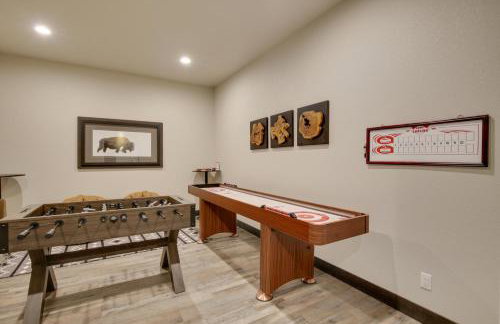
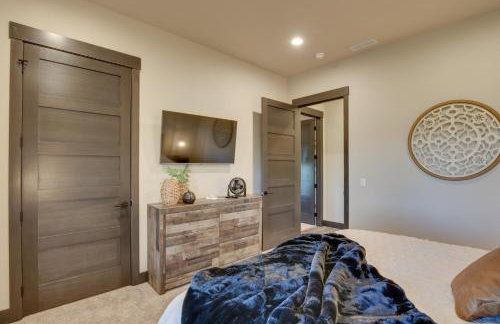
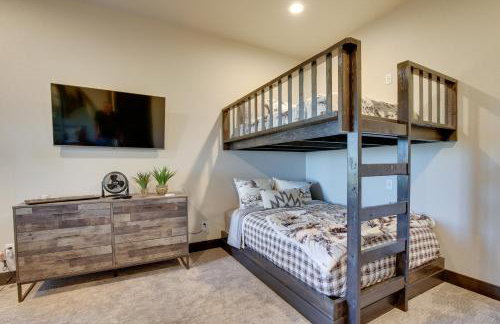
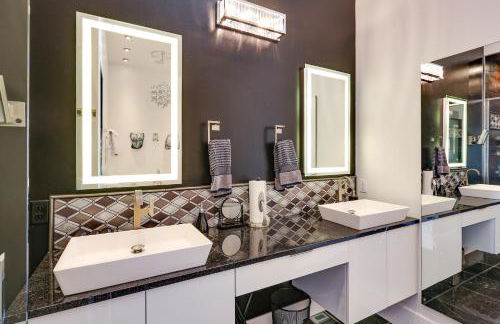
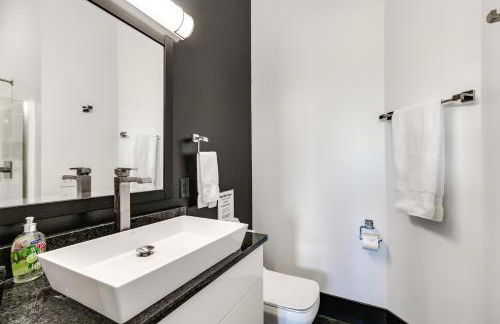
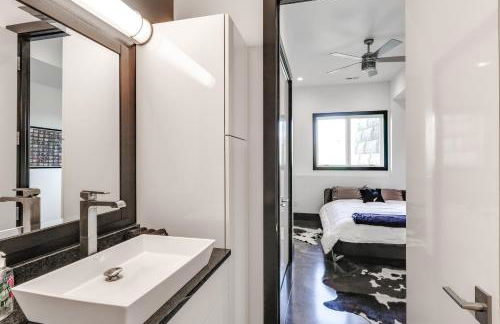
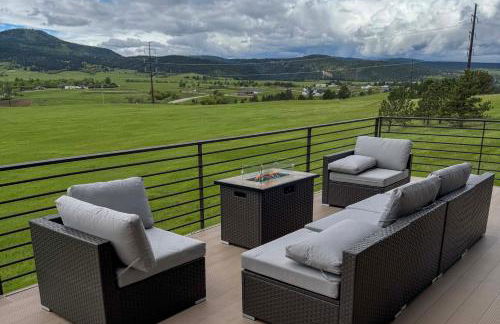
Spearfish Cottages - Foto 3
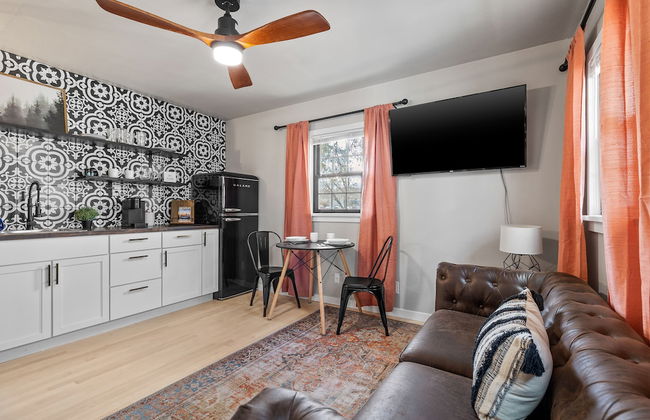
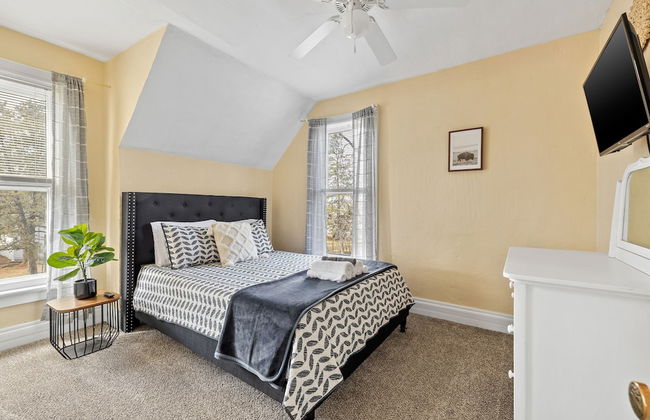
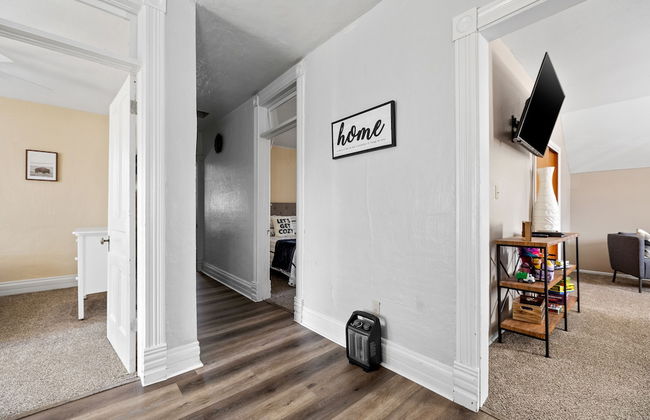
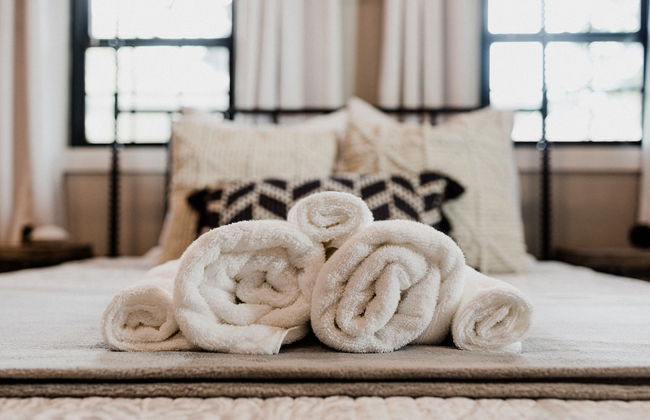
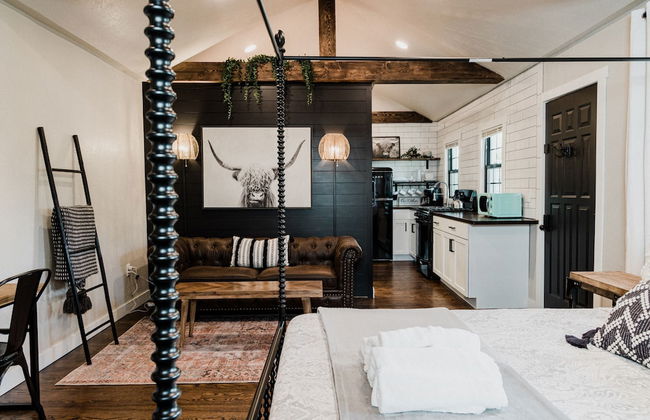
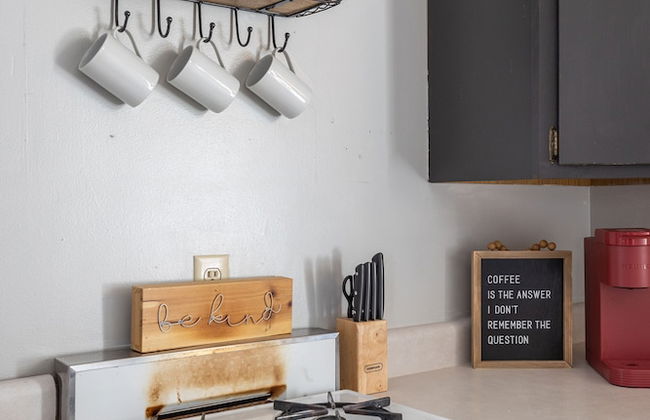
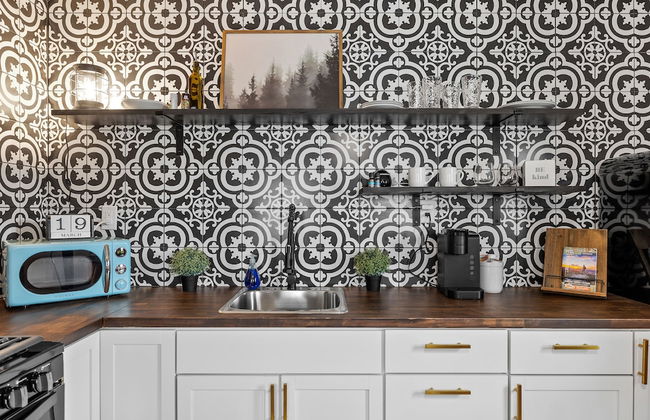
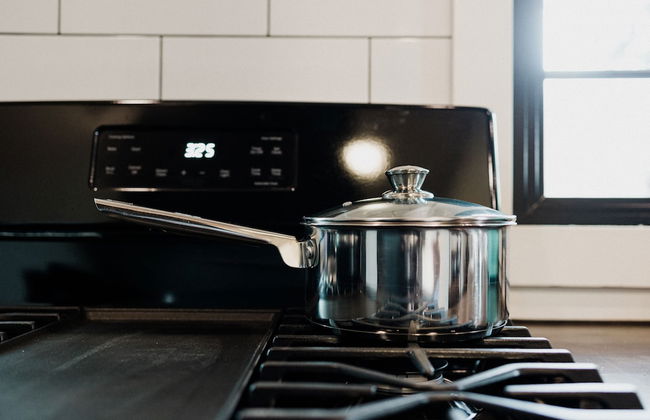
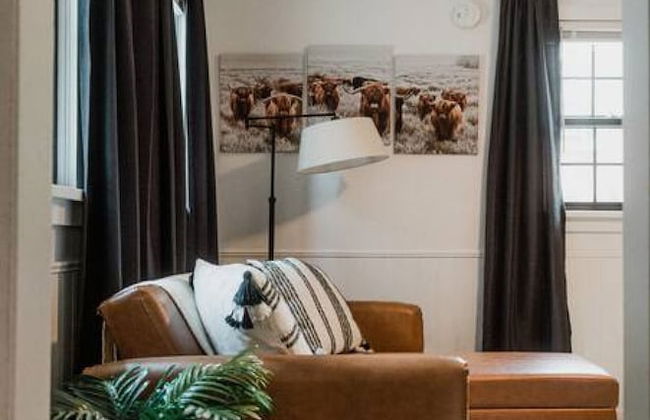
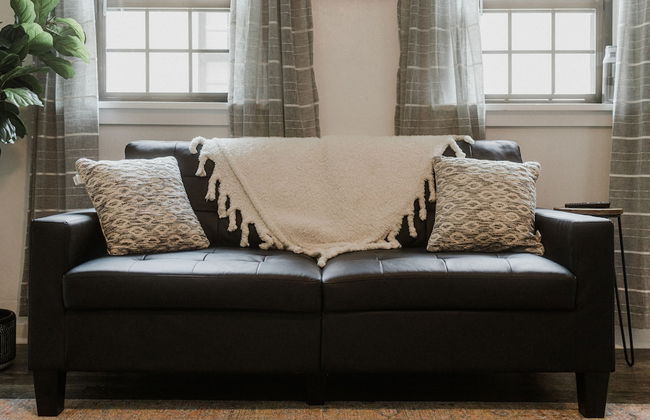
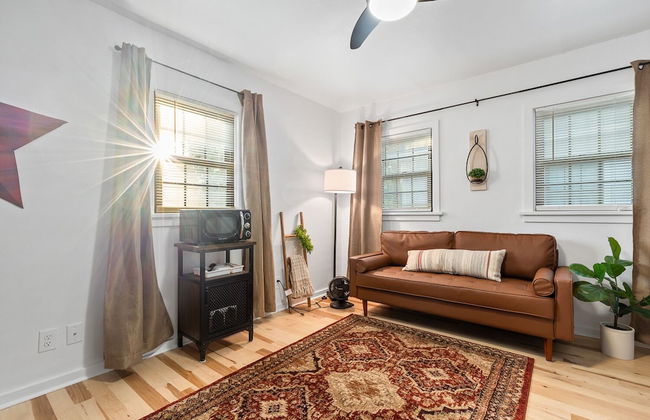
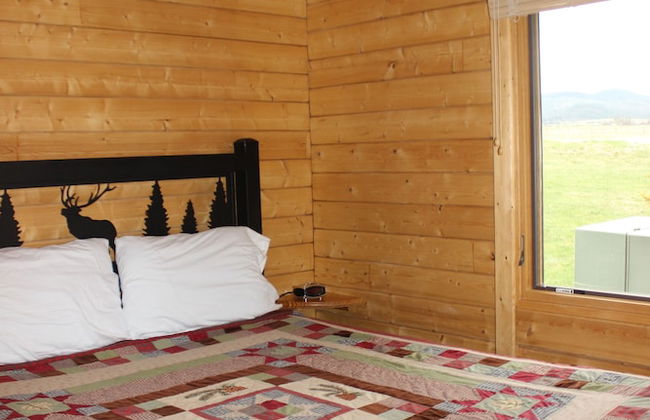
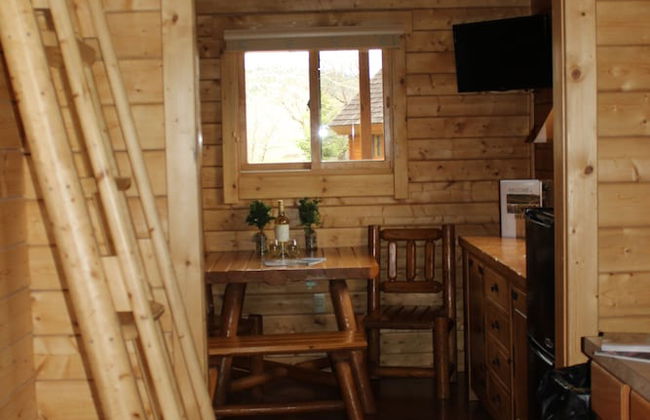
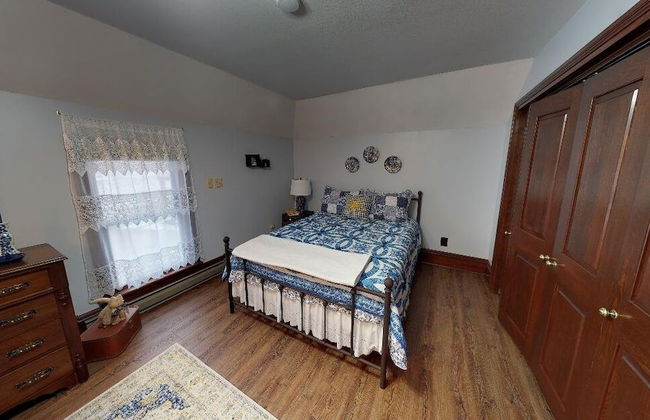
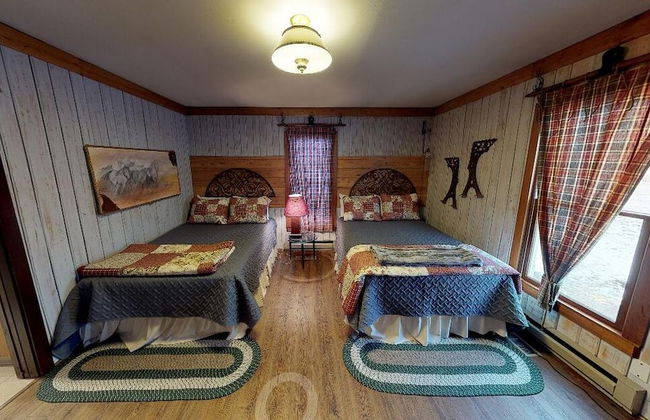
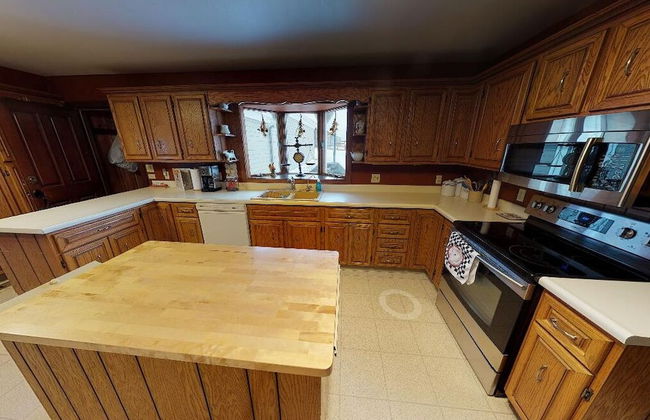
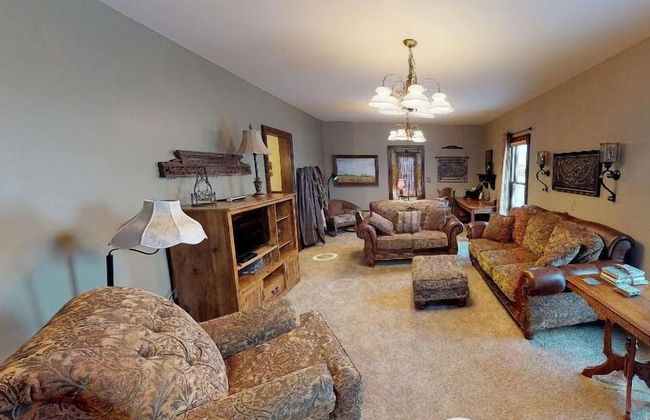
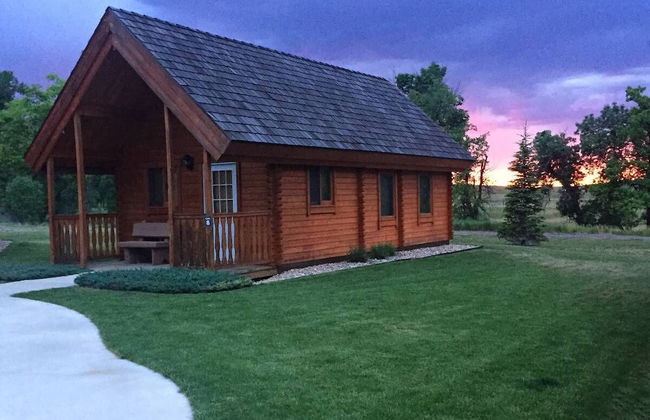
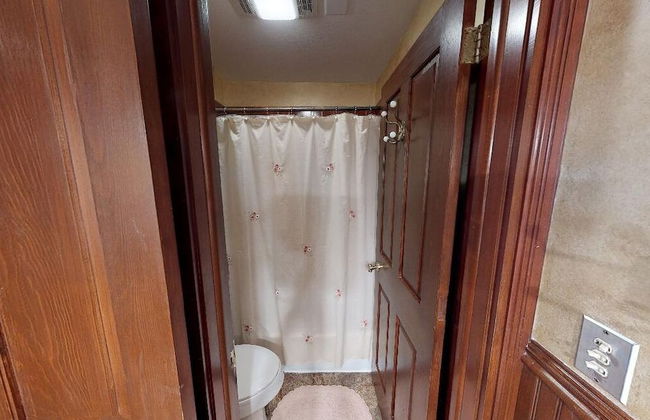
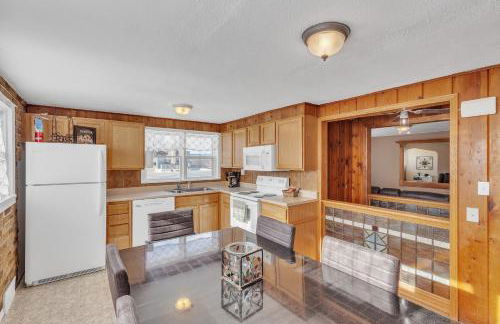
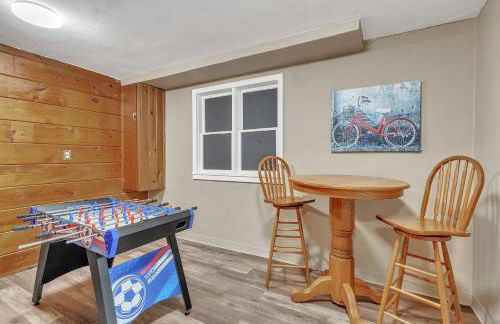
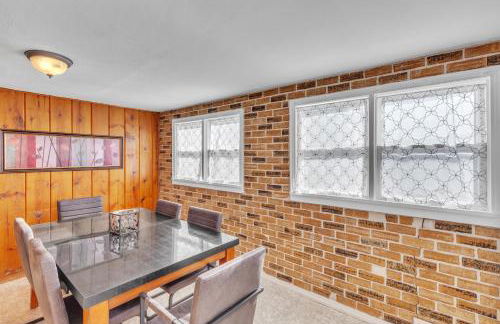
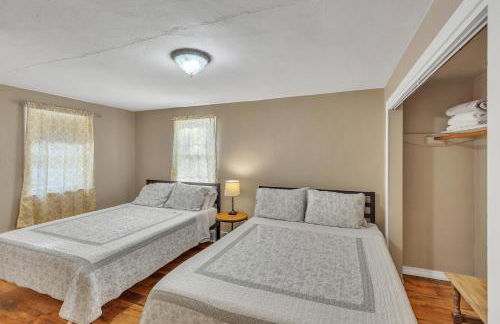
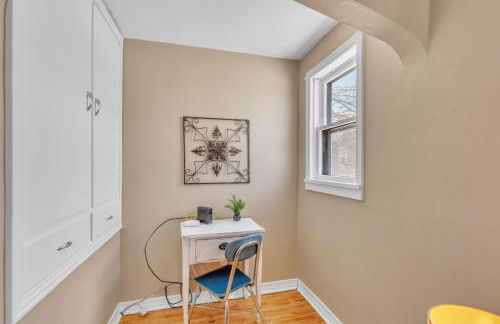
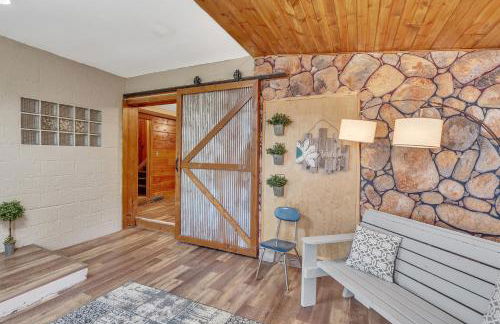
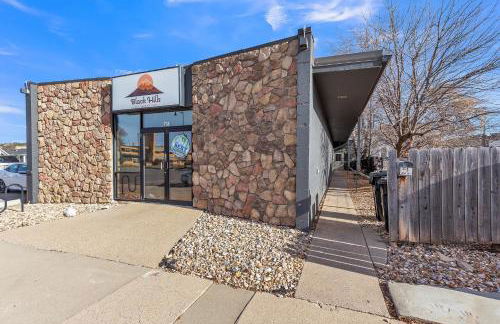
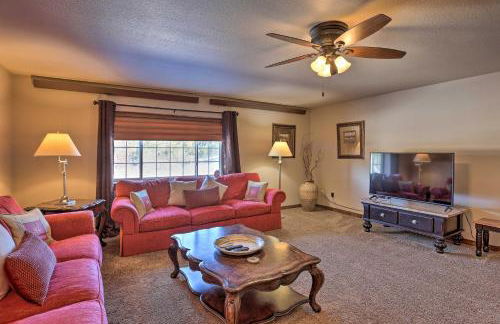
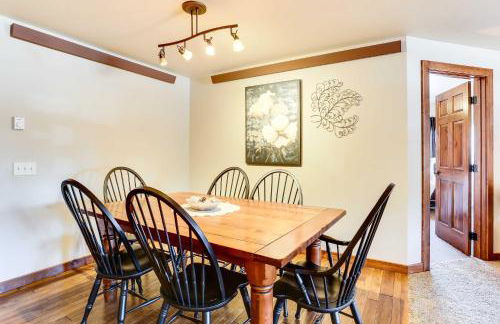
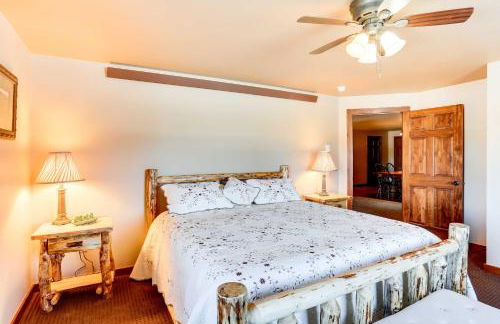
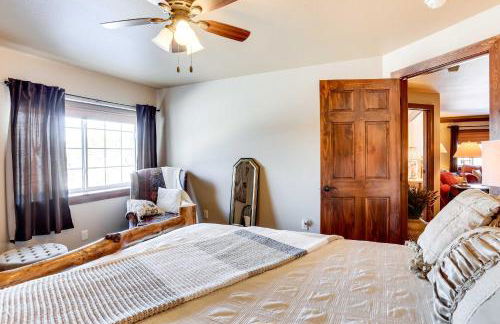
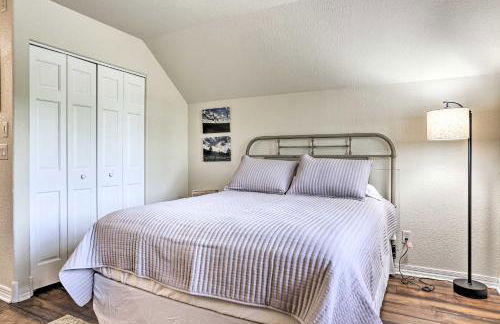
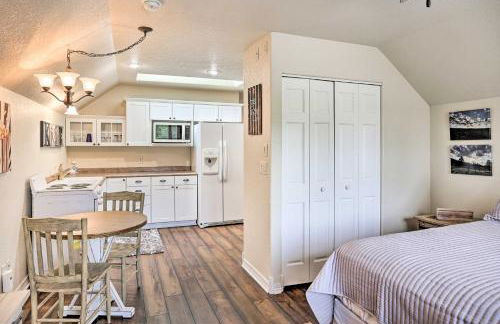
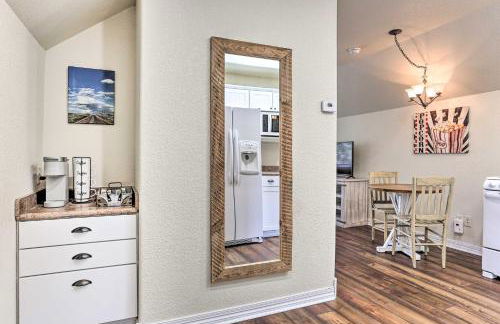
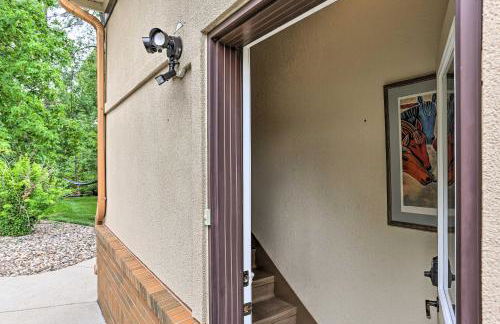
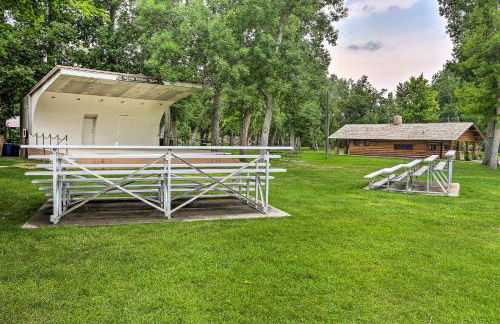
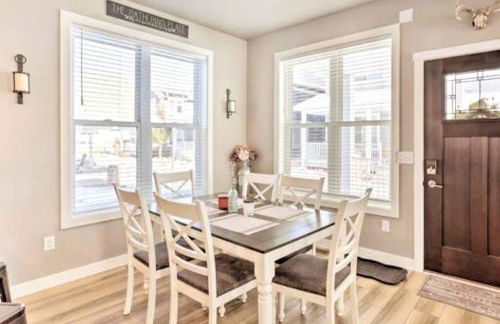
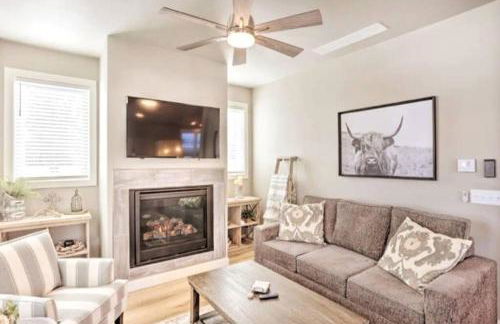
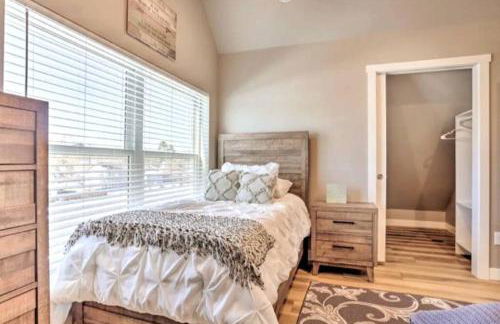
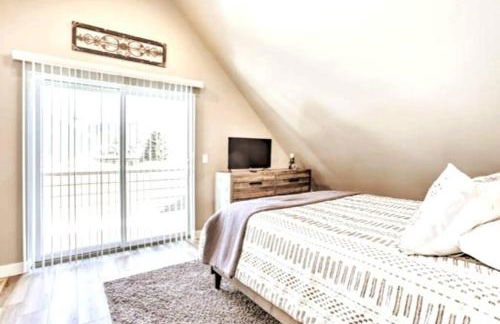
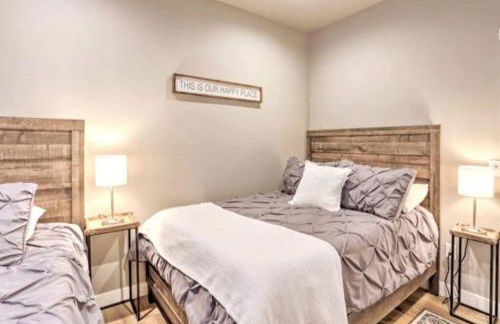
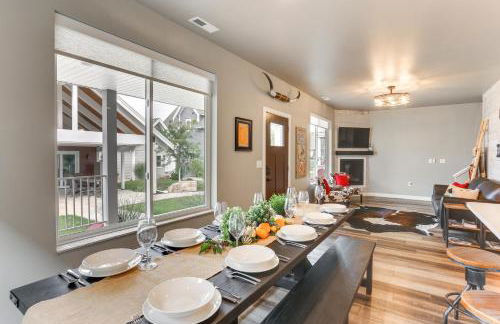
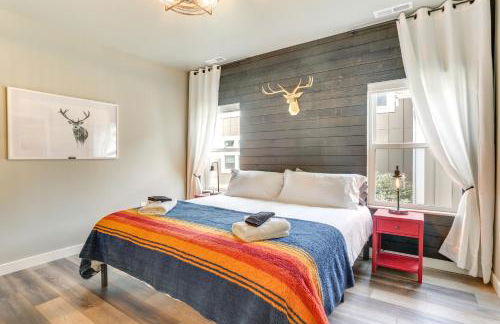
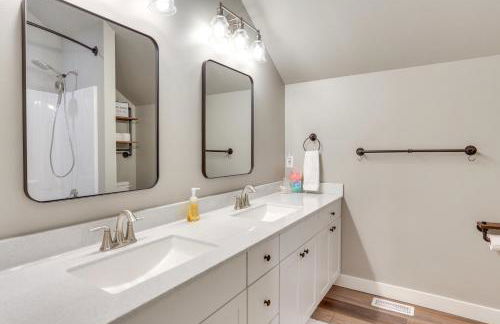
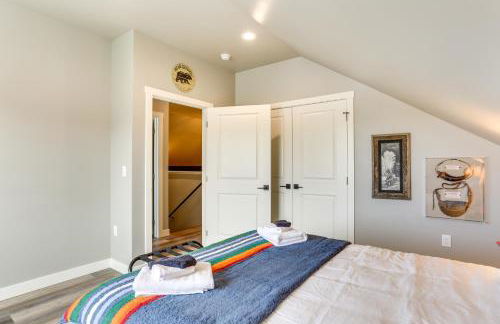
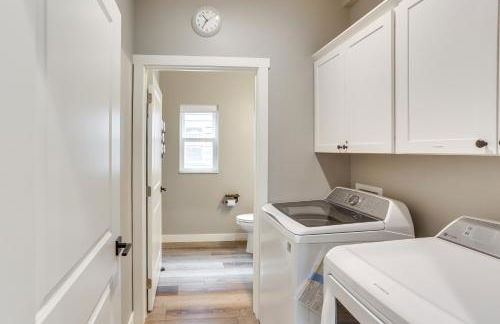
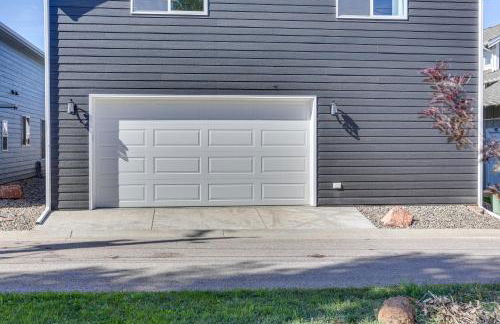
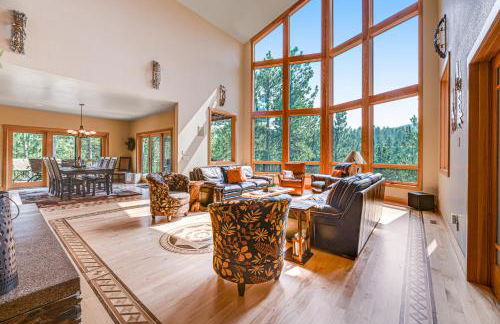
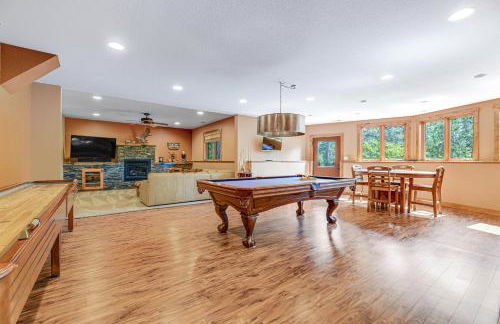
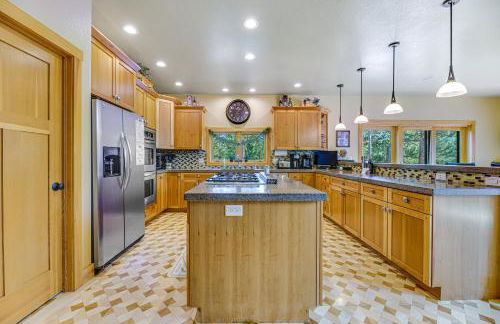
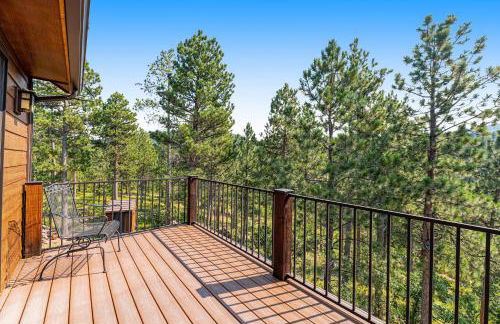
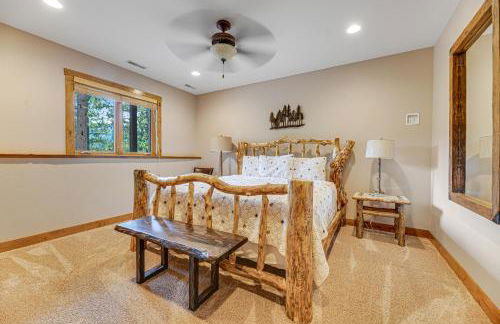
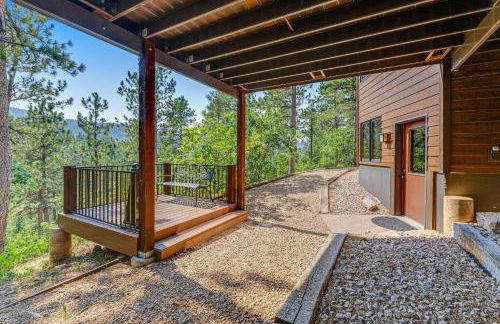
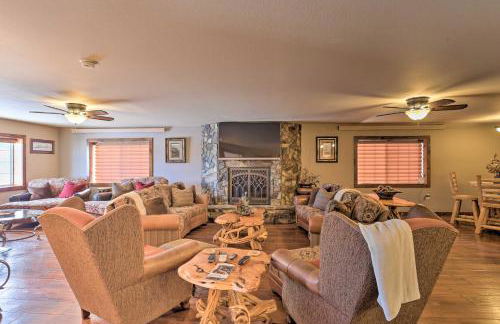
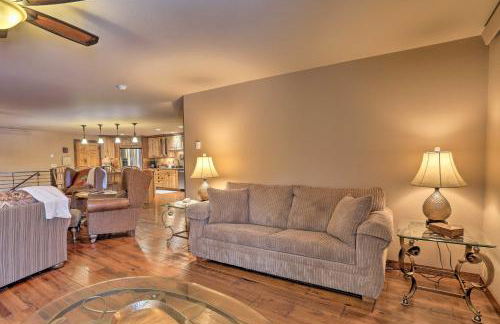
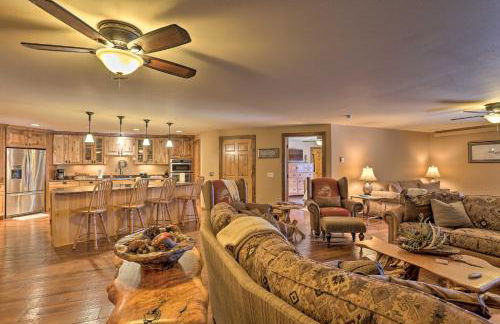
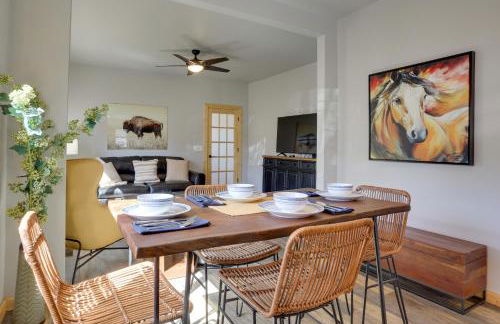
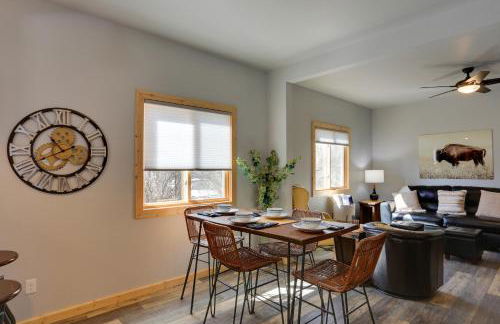
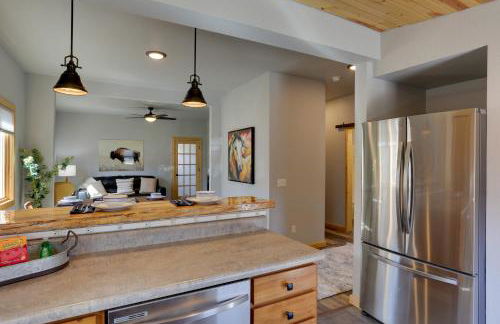
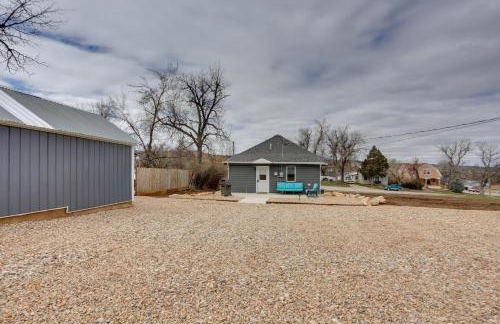
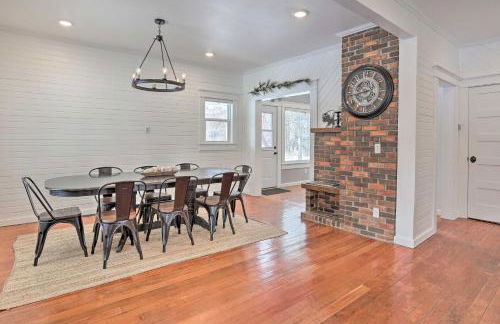
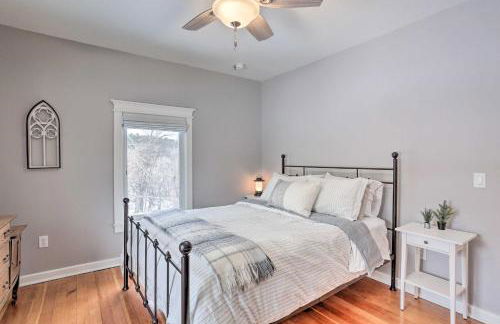
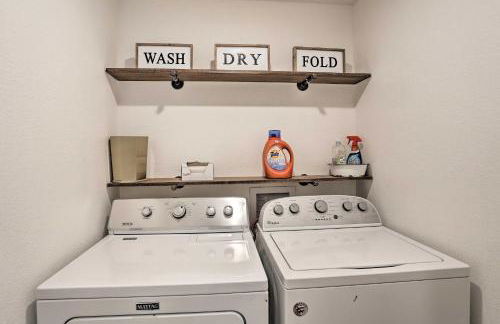
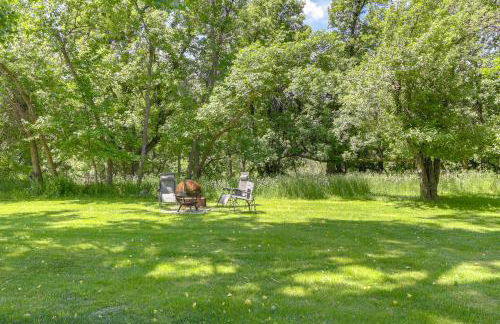
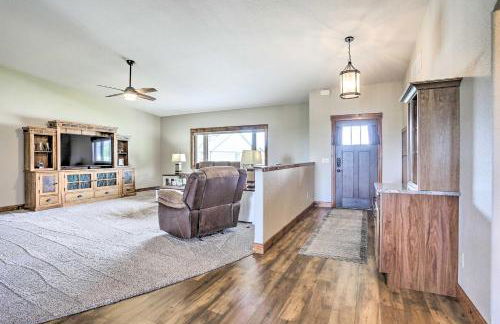
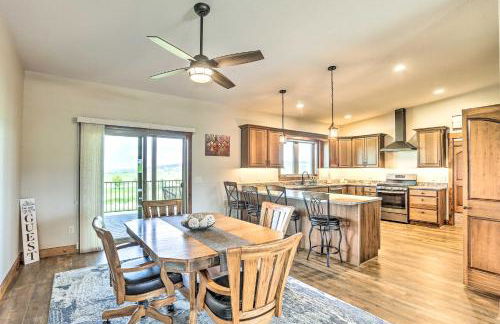
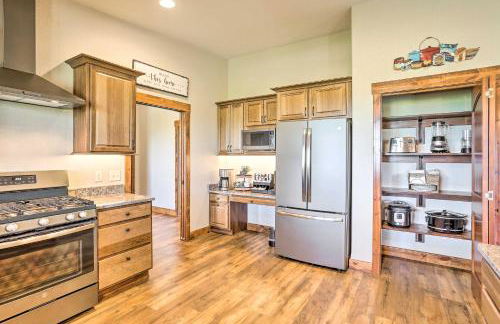
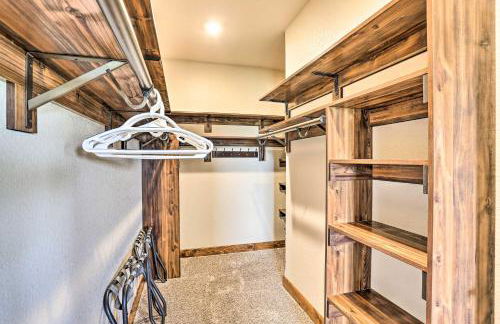
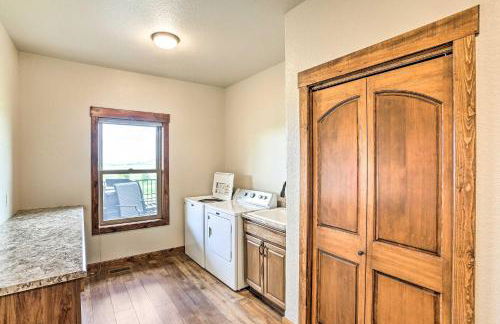
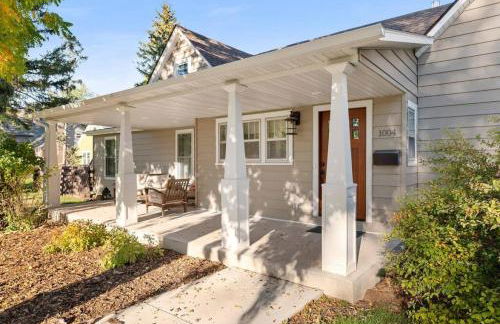
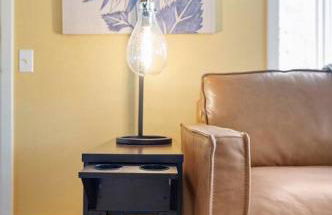
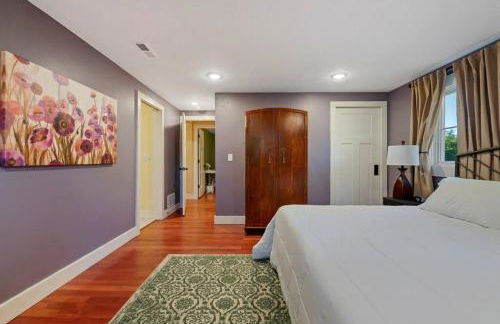
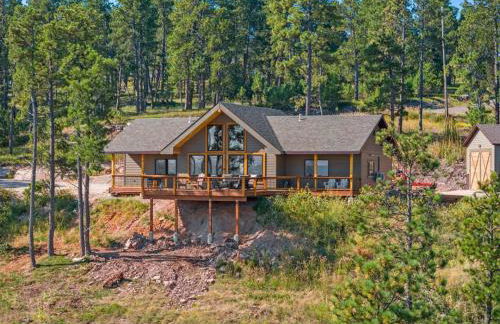
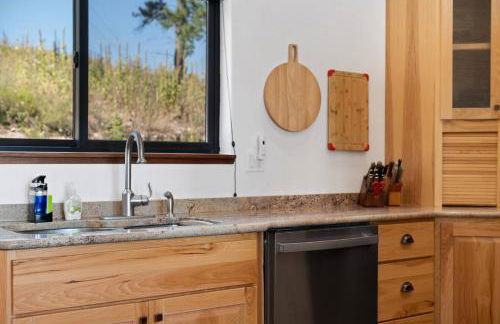
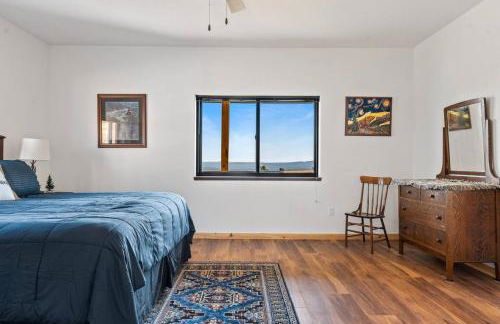
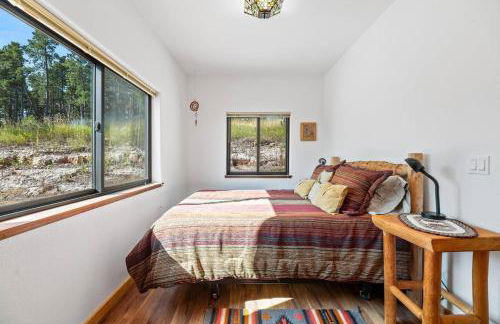
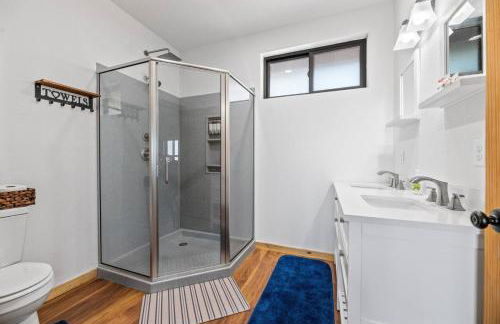
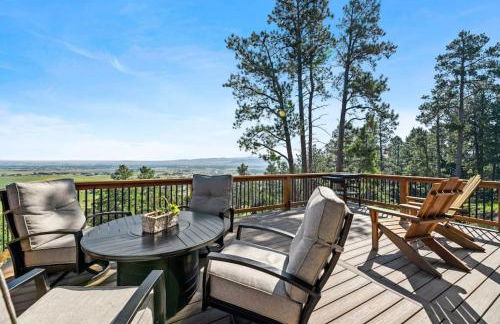
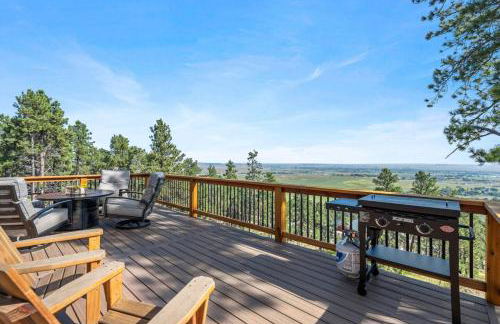
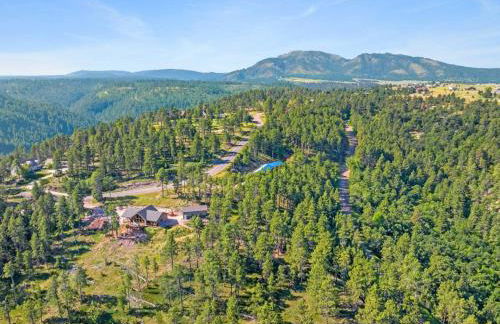
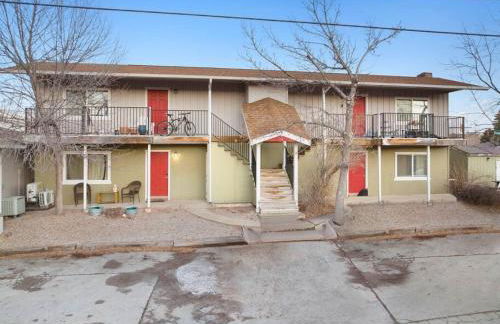
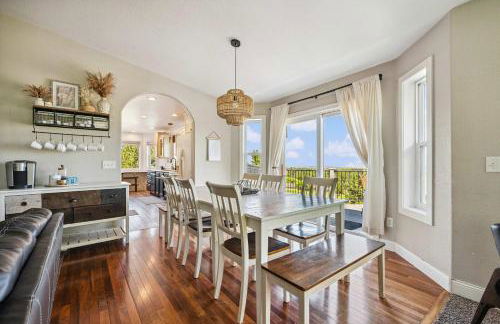
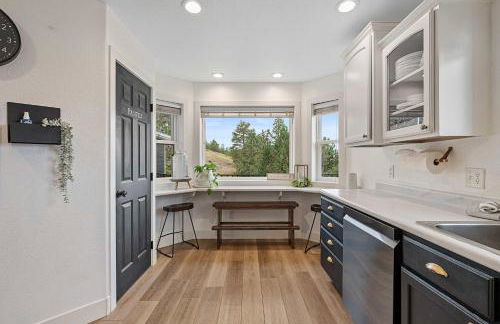
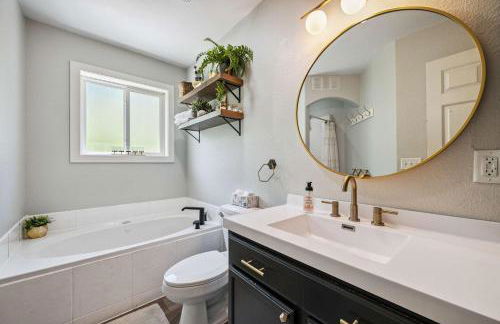
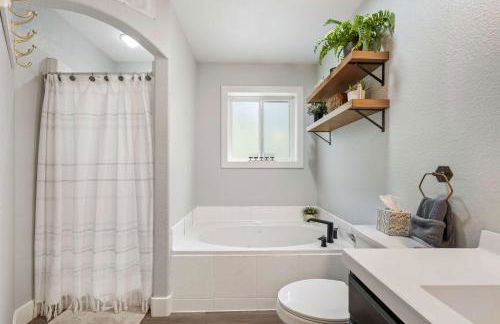
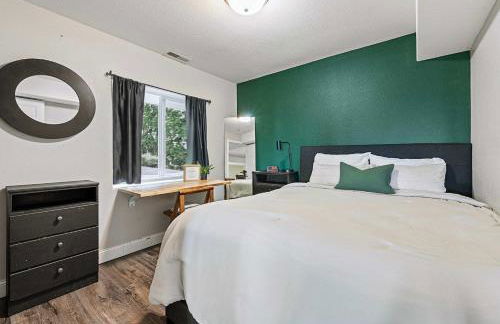
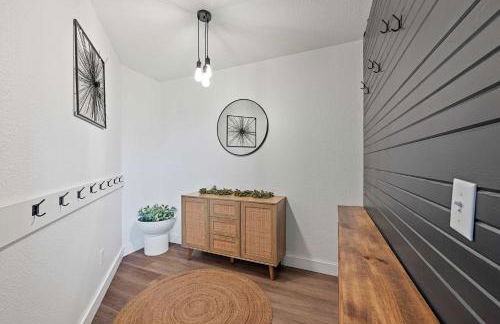
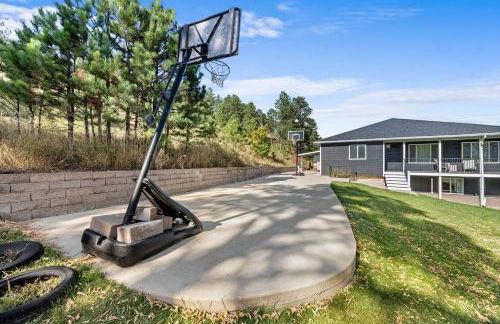
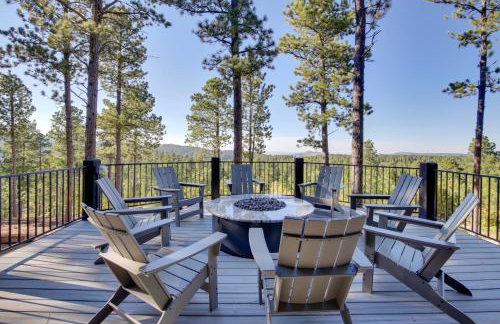
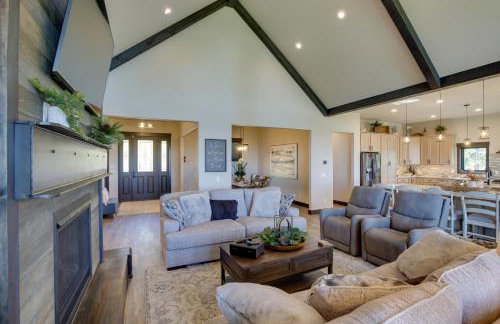
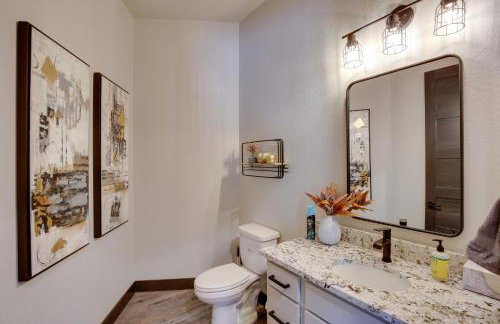
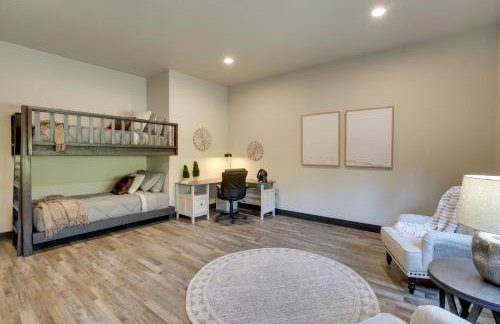
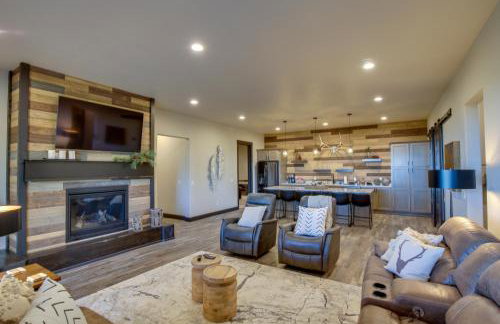
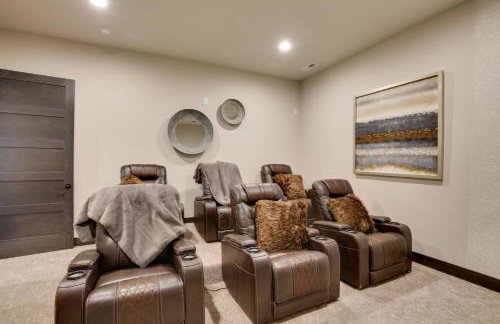
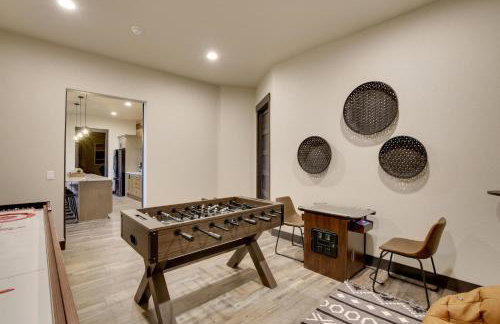
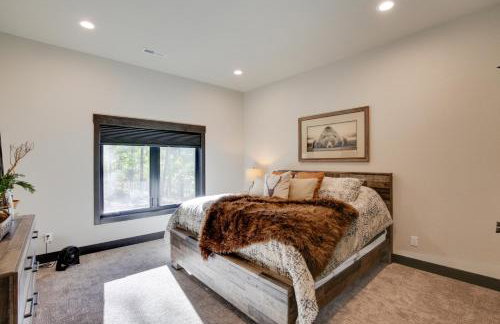
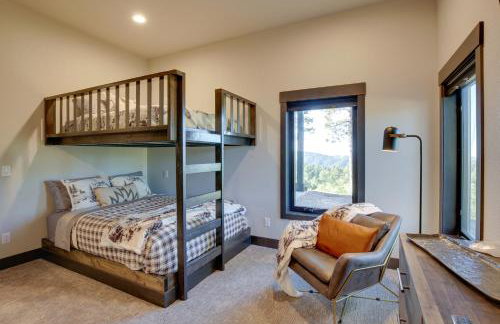
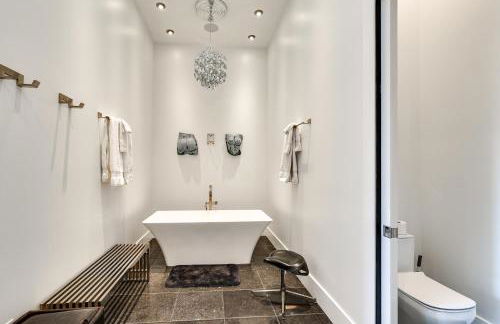
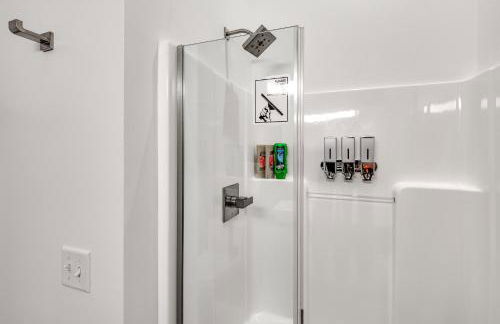
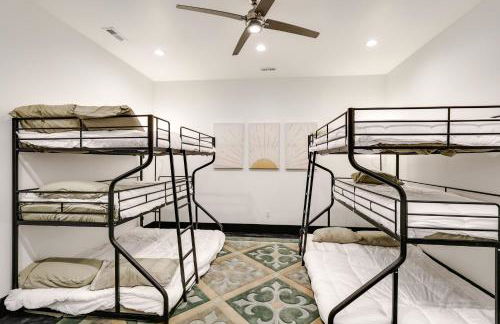
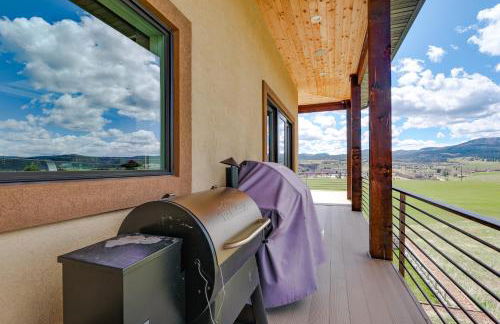
Spearfish Cottages - Foto 4
Spearfish Cottages - Foto 5
Spearfish Cottages - Foto 6
Spearfish Cottages - Foto 7
Spearfish Cottages - Foto 8
Spearfish Cottages - Foto 9
Spearfish Cottages - Foto 10
Spearfish Cottages - Foto 11
Spearfish Cottages - Foto 12
Spearfish Cottages - Foto 13
Spearfish Cottages - Foto 14
Spearfish Cottages - Foto 15
Spearfish Cottages - Foto 16
Spearfish Cottages - Foto 17
Spearfish Cottages - Foto 18
Spearfish Cottages - Foto 19
Spearfish Cottages - Foto 20
Spearfish Cottages - Foto 21
Spearfish Cottages - Foto 22
Spearfish Cottages - Foto 23
Spearfish Cottages - Foto 24
Spearfish Cottages - Foto 25
Spearfish Cottages - Foto 26
Spearfish Cottages - Foto 27
Spearfish Cottages - Foto 28
Spearfish Cottages - Foto 29
Spearfish Cottages - Foto 30
Spearfish Cottages - Foto 31
Spearfish Cottages - Foto 32
Spearfish Cottages - Foto 33
Spearfish Cottages - Foto 34
Spearfish Cottages - Foto 35
Spearfish Cottages - Foto 36
Spearfish Cottages - Foto 37
Spearfish Cottages - Foto 38
Spearfish Cottages - Foto 39
Spearfish Cottages - Foto 40
Spearfish Cottages - Foto 41
Spearfish Cottages - Foto 42
Spearfish Cottages - Foto 43
Spearfish Cottages - Foto 44
Spearfish Cottages - Foto 45
Spearfish Cottages - Foto 46
Spearfish Cottages - Foto 47
Spearfish Cottages - Foto 48
Spearfish Cottages - Foto 49
Spearfish Cottages - Foto 50
Spearfish Cottages - Foto 51
Spearfish Cottages - Foto 52
Spearfish Cottages - Foto 53
Spearfish Cottages - Foto 54
Spearfish Cottages - Foto 55
Spearfish Cottages - Foto 56
Spearfish Cottages - Foto 57
Spearfish Cottages - Foto 58
Spearfish Cottages - Foto 59
Spearfish Cottages - Foto 60
Spearfish Cottages - Foto 61
Spearfish Cottages - Foto 62
Spearfish Cottages - Foto 63
Spearfish Cottages - Foto 64
Spearfish Cottages - Foto 65
Spearfish Cottages - Foto 66
Spearfish Cottages - Foto 67
Spearfish Cottages - Foto 68
Spearfish Cottages - Foto 69
Spearfish Cottages - Foto 70
Spearfish Cottages - Foto 71
Spearfish Cottages - Foto 72
Spearfish Cottages - Foto 73
Spearfish Cottages - Foto 74
Spearfish Cottages - Foto 75
Spearfish Cottages - Foto 76
Spearfish Cottages - Foto 77
Spearfish Cottages - Foto 78
Spearfish Cottages - Foto 79
Spearfish Cottages - Foto 80

Spearfish Cottages

Spearfish

  • 6 Personen
  • Klimaanlage
  • Heizung
  • Parkplatz
  • Tv
  • Handtücher
  • Bettlaken
9.8Außergewöhnlich | 678 Bewertungen
Elkhorn Ridge Resort - Foto 1
Elkhorn Ridge Resort - Foto 2
Elkhorn Ridge Resort - Foto 3
Elkhorn Ridge Resort - Foto 4
Elkhorn Ridge Resort - Foto 5
Elkhorn Ridge Resort - Foto 6
Elkhorn Ridge Resort - Foto 7
Elkhorn Ridge Resort - Foto 8
Elkhorn Ridge Resort - Foto 9
Elkhorn Ridge Resort - Foto 10
Elkhorn Ridge Resort - Foto 11
Elkhorn Ridge Resort - Foto 12
Elkhorn Ridge Resort - Foto 13
Elkhorn Ridge Resort - Foto 14
Elkhorn Ridge Resort - Foto 15
Elkhorn Ridge Resort - Foto 16
Elkhorn Ridge Resort - Foto 17
Elkhorn Ridge Resort - Foto 18
Elkhorn Ridge Resort - Foto 19
Elkhorn Ridge Resort - Foto 20
Elkhorn Ridge Resort - Foto 21
Elkhorn Ridge Resort - Foto 22
Elkhorn Ridge Resort - Foto 23
Elkhorn Ridge Resort - Foto 24
Elkhorn Ridge Resort - Foto 25
Elkhorn Ridge Resort - Foto 26
Elkhorn Ridge Resort - Foto 27
Elkhorn Ridge Resort - Foto 28
Elkhorn Ridge Resort - Foto 29
Elkhorn Ridge Resort - Foto 30
Elkhorn Ridge Resort - Foto 31
Elkhorn Ridge Resort - Foto 32
Elkhorn Ridge Resort - Foto 33
Elkhorn Ridge Resort - Foto 34
Elkhorn Ridge Resort - Foto 35
Elkhorn Ridge Resort - Foto 36
Elkhorn Ridge Resort - Foto 37
Elkhorn Ridge Resort - Foto 38
Elkhorn Ridge Resort - Foto 39
Elkhorn Ridge Resort - Foto 40
Elkhorn Ridge Resort - Foto 41
Elkhorn Ridge Resort - Foto 42
Elkhorn Ridge Resort - Foto 43
Elkhorn Ridge Resort - Foto 44
Elkhorn Ridge Resort - Foto 45
Elkhorn Ridge Resort - Foto 46
Elkhorn Ridge Resort - Foto 47
Elkhorn Ridge Resort - Foto 48
Elkhorn Ridge Resort - Foto 49

Elkhorn Ridge Resort

Spearfish

  • 19 Personen
  • Heizung
  • Schwimmbad
  • Parkplatz
  • Tv
  • Schornstein
  • Handtücher
  • Bettlaken
9.6Außergewöhnlich | 109 Bewertungen
Downtown 2 Story Property 2 Bedroom Apts by RedAwning - Foto 1
Downtown 2 Story Property 2 Bedroom Apts by RedAwning - Foto 2
Downtown 2 Story Property 2 Bedroom Apts by RedAwning - Foto 3
Downtown 2 Story Property 2 Bedroom Apts by RedAwning - Foto 4
Downtown 2 Story Property 2 Bedroom Apts by RedAwning - Foto 5
Downtown 2 Story Property 2 Bedroom Apts by RedAwning - Foto 6
Downtown 2 Story Property 2 Bedroom Apts by RedAwning - Foto 7
Downtown 2 Story Property 2 Bedroom Apts by RedAwning - Foto 8
Downtown 2 Story Property 2 Bedroom Apts by RedAwning - Foto 9
Downtown 2 Story Property 2 Bedroom Apts by RedAwning - Foto 10
Downtown 2 Story Property 2 Bedroom Apts by RedAwning - Foto 11
Downtown 2 Story Property 2 Bedroom Apts by RedAwning - Foto 12
Downtown 2 Story Property 2 Bedroom Apts by RedAwning - Foto 13
Downtown 2 Story Property 2 Bedroom Apts by RedAwning - Foto 14
Downtown 2 Story Property 2 Bedroom Apts by RedAwning - Foto 15
Downtown 2 Story Property 2 Bedroom Apts by RedAwning - Foto 16
Downtown 2 Story Property 2 Bedroom Apts by RedAwning - Foto 17
Downtown 2 Story Property 2 Bedroom Apts by RedAwning - Foto 18
Downtown 2 Story Property 2 Bedroom Apts by RedAwning - Foto 19
Downtown 2 Story Property 2 Bedroom Apts by RedAwning - Foto 20
Downtown 2 Story Property 2 Bedroom Apts by RedAwning - Foto 21
Downtown 2 Story Property 2 Bedroom Apts by RedAwning - Foto 22
Downtown 2 Story Property 2 Bedroom Apts by RedAwning - Foto 23
Downtown 2 Story Property 2 Bedroom Apts by RedAwning - Foto 24
Downtown 2 Story Property 2 Bedroom Apts by RedAwning - Foto 25
Downtown 2 Story Property 2 Bedroom Apts by RedAwning - Foto 26
Downtown 2 Story Property 2 Bedroom Apts by RedAwning - Foto 27
Downtown 2 Story Property 2 Bedroom Apts by RedAwning - Foto 28
Downtown 2 Story Property 2 Bedroom Apts by RedAwning - Foto 29
Downtown 2 Story Property 2 Bedroom Apts by RedAwning - Foto 30
Downtown 2 Story Property 2 Bedroom Apts by RedAwning - Foto 31
Downtown 2 Story Property 2 Bedroom Apts by RedAwning - Foto 32
Downtown 2 Story Property 2 Bedroom Apts by RedAwning - Foto 33
Downtown 2 Story Property 2 Bedroom Apts by RedAwning - Foto 34
Downtown 2 Story Property 2 Bedroom Apts by RedAwning - Foto 35
Downtown 2 Story Property 2 Bedroom Apts by RedAwning - Foto 36
Downtown 2 Story Property 2 Bedroom Apts by RedAwning - Foto 37
Downtown 2 Story Property 2 Bedroom Apts by RedAwning - Foto 38
Downtown 2 Story Property 2 Bedroom Apts by RedAwning - Foto 39
Downtown 2 Story Property 2 Bedroom Apts by RedAwning - Foto 40
Downtown 2 Story Property 2 Bedroom Apts by RedAwning - Foto 41
Downtown 2 Story Property 2 Bedroom Apts by RedAwning - Foto 42
Downtown 2 Story Property 2 Bedroom Apts by RedAwning - Foto 43
Downtown 2 Story Property 2 Bedroom Apts by RedAwning - Foto 44
Downtown 2 Story Property 2 Bedroom Apts by RedAwning - Foto 45
Downtown 2 Story Property 2 Bedroom Apts by RedAwning - Foto 46
Downtown 2 Story Property 2 Bedroom Apts by RedAwning - Foto 47
Downtown 2 Story Property 2 Bedroom Apts by RedAwning - Foto 48
Downtown 2 Story Property 2 Bedroom Apts by RedAwning - Foto 49
Downtown 2 Story Property 2 Bedroom Apts by RedAwning - Foto 50
Downtown 2 Story Property 2 Bedroom Apts by RedAwning - Foto 51
Downtown 2 Story Property 2 Bedroom Apts by RedAwning - Foto 52

Downtown 2 Story Property 2 Bedroom Apts by RedAwning

Spearfish

  • 2 Schlafzimmer
  • 6 Personen
  • Klimaanlage
  • Heizung
  • Parkplatz
  • Tv
  • Handtücher
  • Bettlaken
10Hervorragend | 3 Bewertungen
Centrally-Located Deadwood Apt w/ Mountain Views! - Foto 1
Centrally-Located Deadwood Apt w/ Mountain Views! - Foto 2
Centrally-Located Deadwood Apt w/ Mountain Views! - Foto 3
Centrally-Located Deadwood Apt w/ Mountain Views! - Foto 4
Centrally-Located Deadwood Apt w/ Mountain Views! - Foto 5
Centrally-Located Deadwood Apt w/ Mountain Views! - Foto 6
Centrally-Located Deadwood Apt w/ Mountain Views! - Foto 7
Centrally-Located Deadwood Apt w/ Mountain Views! - Foto 8
Centrally-Located Deadwood Apt w/ Mountain Views! - Foto 9
Centrally-Located Deadwood Apt w/ Mountain Views! - Foto 10
Centrally-Located Deadwood Apt w/ Mountain Views! - Foto 11
Centrally-Located Deadwood Apt w/ Mountain Views! - Foto 12
Centrally-Located Deadwood Apt w/ Mountain Views! - Foto 13
Centrally-Located Deadwood Apt w/ Mountain Views! - Foto 14
Centrally-Located Deadwood Apt w/ Mountain Views! - Foto 15
Centrally-Located Deadwood Apt w/ Mountain Views! - Foto 16
Centrally-Located Deadwood Apt w/ Mountain Views! - Foto 17
Centrally-Located Deadwood Apt w/ Mountain Views! - Foto 18
Centrally-Located Deadwood Apt w/ Mountain Views! - Foto 19
Centrally-Located Deadwood Apt w/ Mountain Views! - Foto 20
Centrally-Located Deadwood Apt w/ Mountain Views! - Foto 21
Centrally-Located Deadwood Apt w/ Mountain Views! - Foto 22
Centrally-Located Deadwood Apt w/ Mountain Views! - Foto 23
Centrally-Located Deadwood Apt w/ Mountain Views! - Foto 24
Centrally-Located Deadwood Apt w/ Mountain Views! - Foto 25

Centrally-Located Deadwood Apt w/ Mountain Views!

Spearfish

  • 149 M2
  • 2 Schlafzimmer
  • 4 Personen
  • Parkplatz
10Hervorragend | 15 Bewertungen
Central Creekfront Spearfish Apt by City Park - Foto 1
Central Creekfront Spearfish Apt by City Park - Foto 2
Central Creekfront Spearfish Apt by City Park - Foto 3
Central Creekfront Spearfish Apt by City Park - Foto 4
Central Creekfront Spearfish Apt by City Park - Foto 5
Central Creekfront Spearfish Apt by City Park - Foto 6
Central Creekfront Spearfish Apt by City Park - Foto 7
Central Creekfront Spearfish Apt by City Park - Foto 8
Central Creekfront Spearfish Apt by City Park - Foto 9
Central Creekfront Spearfish Apt by City Park - Foto 10
Central Creekfront Spearfish Apt by City Park - Foto 11
Central Creekfront Spearfish Apt by City Park - Foto 12
Central Creekfront Spearfish Apt by City Park - Foto 13
Central Creekfront Spearfish Apt by City Park - Foto 14
Central Creekfront Spearfish Apt by City Park - Foto 15
Central Creekfront Spearfish Apt by City Park - Foto 16
Central Creekfront Spearfish Apt by City Park - Foto 17
Central Creekfront Spearfish Apt by City Park - Foto 18
Central Creekfront Spearfish Apt by City Park - Foto 19
Central Creekfront Spearfish Apt by City Park - Foto 20
Central Creekfront Spearfish Apt by City Park - Foto 21
Central Creekfront Spearfish Apt by City Park - Foto 22
Central Creekfront Spearfish Apt by City Park - Foto 23
Central Creekfront Spearfish Apt by City Park - Foto 24
Central Creekfront Spearfish Apt by City Park - Foto 25
Central Creekfront Spearfish Apt by City Park - Foto 26
Central Creekfront Spearfish Apt by City Park - Foto 27
Central Creekfront Spearfish Apt by City Park - Foto 28
Central Creekfront Spearfish Apt by City Park - Foto 29
Central Creekfront Spearfish Apt by City Park - Foto 30
Central Creekfront Spearfish Apt by City Park - Foto 31
Central Creekfront Spearfish Apt by City Park - Foto 32
Central Creekfront Spearfish Apt by City Park - Foto 33
Central Creekfront Spearfish Apt by City Park - Foto 34
Central Creekfront Spearfish Apt by City Park - Foto 35
Central Creekfront Spearfish Apt by City Park - Foto 36
Central Creekfront Spearfish Apt by City Park - Foto 37
Central Creekfront Spearfish Apt by City Park - Foto 38

Central Creekfront Spearfish Apt by City Park

Spearfish

  • 42 M2
  • 2 Personen
  • Heizung
  • Parkplatz
8.7Sehr gut | 12 Bewertungen
NEW! Cozy & Modern Spearfish Home Near Downtown! - Foto 1
NEW! Cozy & Modern Spearfish Home Near Downtown! - Foto 2
NEW! Cozy & Modern Spearfish Home Near Downtown! - Foto 3
NEW! Cozy & Modern Spearfish Home Near Downtown! - Foto 4
NEW! Cozy & Modern Spearfish Home Near Downtown! - Foto 5
NEW! Cozy & Modern Spearfish Home Near Downtown! - Foto 6
NEW! Cozy & Modern Spearfish Home Near Downtown! - Foto 7
NEW! Cozy & Modern Spearfish Home Near Downtown! - Foto 8
NEW! Cozy & Modern Spearfish Home Near Downtown! - Foto 9
NEW! Cozy & Modern Spearfish Home Near Downtown! - Foto 10
NEW! Cozy & Modern Spearfish Home Near Downtown! - Foto 11
NEW! Cozy & Modern Spearfish Home Near Downtown! - Foto 12
NEW! Cozy & Modern Spearfish Home Near Downtown! - Foto 13
NEW! Cozy & Modern Spearfish Home Near Downtown! - Foto 14
NEW! Cozy & Modern Spearfish Home Near Downtown! - Foto 15
NEW! Cozy & Modern Spearfish Home Near Downtown! - Foto 16
NEW! Cozy & Modern Spearfish Home Near Downtown! - Foto 17
NEW! Cozy & Modern Spearfish Home Near Downtown! - Foto 18
NEW! Cozy & Modern Spearfish Home Near Downtown! - Foto 19
NEW! Cozy & Modern Spearfish Home Near Downtown! - Foto 20
NEW! Cozy & Modern Spearfish Home Near Downtown! - Foto 21
NEW! Cozy & Modern Spearfish Home Near Downtown! - Foto 22
NEW! Cozy & Modern Spearfish Home Near Downtown! - Foto 23
NEW! Cozy & Modern Spearfish Home Near Downtown! - Foto 24
NEW! Cozy & Modern Spearfish Home Near Downtown! - Foto 25
NEW! Cozy & Modern Spearfish Home Near Downtown! - Foto 26
NEW! Cozy & Modern Spearfish Home Near Downtown! - Foto 27
NEW! Cozy & Modern Spearfish Home Near Downtown! - Foto 28
NEW! Cozy & Modern Spearfish Home Near Downtown! - Foto 29
NEW! Cozy & Modern Spearfish Home Near Downtown! - Foto 30
NEW! Cozy & Modern Spearfish Home Near Downtown! - Foto 31
NEW! Cozy & Modern Spearfish Home Near Downtown! - Foto 32
NEW! Cozy & Modern Spearfish Home Near Downtown! - Foto 33
NEW! Cozy & Modern Spearfish Home Near Downtown! - Foto 34

NEW! Cozy & Modern Spearfish Home Near Downtown!

Spearfish

  • 242 M2
  • 5 Schlafzimmer
  • 12 Personen
  • Klimaanlage
  • Heizung
  • Parkplatz
  • Garten
  • Barbecue
10Hervorragend | 3 Bewertungen
Home Base for Final Rally Weekend w/ Heated Garage - Foto 1
Home Base for Final Rally Weekend w/ Heated Garage - Foto 2
Home Base for Final Rally Weekend w/ Heated Garage - Foto 3
Home Base for Final Rally Weekend w/ Heated Garage - Foto 4
Home Base for Final Rally Weekend w/ Heated Garage - Foto 5
Home Base for Final Rally Weekend w/ Heated Garage - Foto 6
Home Base for Final Rally Weekend w/ Heated Garage - Foto 7
Home Base for Final Rally Weekend w/ Heated Garage - Foto 8
Home Base for Final Rally Weekend w/ Heated Garage - Foto 9
Home Base for Final Rally Weekend w/ Heated Garage - Foto 10
Home Base for Final Rally Weekend w/ Heated Garage - Foto 11
Home Base for Final Rally Weekend w/ Heated Garage - Foto 12
Home Base for Final Rally Weekend w/ Heated Garage - Foto 13
Home Base for Final Rally Weekend w/ Heated Garage - Foto 14
Home Base for Final Rally Weekend w/ Heated Garage - Foto 15
Home Base for Final Rally Weekend w/ Heated Garage - Foto 16
Home Base for Final Rally Weekend w/ Heated Garage - Foto 17
Home Base for Final Rally Weekend w/ Heated Garage - Foto 18
Home Base for Final Rally Weekend w/ Heated Garage - Foto 19
Home Base for Final Rally Weekend w/ Heated Garage - Foto 20
Home Base for Final Rally Weekend w/ Heated Garage - Foto 21
Home Base for Final Rally Weekend w/ Heated Garage - Foto 22
Home Base for Final Rally Weekend w/ Heated Garage - Foto 23
Home Base for Final Rally Weekend w/ Heated Garage - Foto 24
Home Base for Final Rally Weekend w/ Heated Garage - Foto 25
Home Base for Final Rally Weekend w/ Heated Garage - Foto 26
Home Base for Final Rally Weekend w/ Heated Garage - Foto 27
Home Base for Final Rally Weekend w/ Heated Garage - Foto 28
Home Base for Final Rally Weekend w/ Heated Garage - Foto 29
Home Base for Final Rally Weekend w/ Heated Garage - Foto 30
Home Base for Final Rally Weekend w/ Heated Garage - Foto 31
Home Base for Final Rally Weekend w/ Heated Garage - Foto 32
Home Base for Final Rally Weekend w/ Heated Garage - Foto 33
Home Base for Final Rally Weekend w/ Heated Garage - Foto 34
Home Base for Final Rally Weekend w/ Heated Garage - Foto 35
Home Base for Final Rally Weekend w/ Heated Garage - Foto 36
Home Base for Final Rally Weekend w/ Heated Garage - Foto 37
Home Base for Final Rally Weekend w/ Heated Garage - Foto 38

Home Base for Final Rally Weekend w/ Heated Garage

Spearfish

  • 252 M2
  • 5 Schlafzimmer
  • 12 Personen
  • Klimaanlage
  • Heizung
  • Parkplatz
10Hervorragend | 2 Bewertungen
Eagle Crest Nest - Foto 1
Eagle Crest Nest - Foto 2
Eagle Crest Nest - Foto 3
Eagle Crest Nest - Foto 4
Eagle Crest Nest - Foto 5
Eagle Crest Nest - Foto 6
Eagle Crest Nest - Foto 7
Eagle Crest Nest - Foto 8
Eagle Crest Nest - Foto 9
Eagle Crest Nest - Foto 10
Eagle Crest Nest - Foto 11
Eagle Crest Nest - Foto 12
Eagle Crest Nest - Foto 13
Eagle Crest Nest - Foto 14
Eagle Crest Nest - Foto 15
Eagle Crest Nest - Foto 16
Eagle Crest Nest - Foto 17
Eagle Crest Nest - Foto 18
Eagle Crest Nest - Foto 19
Eagle Crest Nest - Foto 20
Eagle Crest Nest - Foto 21
Eagle Crest Nest - Foto 22
Eagle Crest Nest - Foto 23
Eagle Crest Nest - Foto 24
Eagle Crest Nest - Foto 25
Eagle Crest Nest - Foto 26
Eagle Crest Nest - Foto 27
Eagle Crest Nest - Foto 28
Eagle Crest Nest - Foto 29
Eagle Crest Nest - Foto 30
Eagle Crest Nest - Foto 31
Eagle Crest Nest - Foto 32

Eagle Crest Nest

Spearfish

  • 427 M2
  • 5 Schlafzimmer
  • 12 Personen
  • Klimaanlage
  • Garten
  • Barbecue
10Hervorragend | 2 Bewertungen
Modern Deadwood Apt with Mountain Views & Grill! - Foto 1
Modern Deadwood Apt with Mountain Views & Grill! - Foto 2
Modern Deadwood Apt with Mountain Views & Grill! - Foto 3
Modern Deadwood Apt with Mountain Views & Grill! - Foto 4
Modern Deadwood Apt with Mountain Views & Grill! - Foto 5
Modern Deadwood Apt with Mountain Views & Grill! - Foto 6
Modern Deadwood Apt with Mountain Views & Grill! - Foto 7
Modern Deadwood Apt with Mountain Views & Grill! - Foto 8
Modern Deadwood Apt with Mountain Views & Grill! - Foto 9
Modern Deadwood Apt with Mountain Views & Grill! - Foto 10
Modern Deadwood Apt with Mountain Views & Grill! - Foto 11
Modern Deadwood Apt with Mountain Views & Grill! - Foto 12
Modern Deadwood Apt with Mountain Views & Grill! - Foto 13
Modern Deadwood Apt with Mountain Views & Grill! - Foto 14
Modern Deadwood Apt with Mountain Views & Grill! - Foto 15
Modern Deadwood Apt with Mountain Views & Grill! - Foto 16
Modern Deadwood Apt with Mountain Views & Grill! - Foto 17
Modern Deadwood Apt with Mountain Views & Grill! - Foto 18
Modern Deadwood Apt with Mountain Views & Grill! - Foto 19
Modern Deadwood Apt with Mountain Views & Grill! - Foto 20
Modern Deadwood Apt with Mountain Views & Grill! - Foto 21
Modern Deadwood Apt with Mountain Views & Grill! - Foto 22
Modern Deadwood Apt with Mountain Views & Grill! - Foto 23
Modern Deadwood Apt with Mountain Views & Grill! - Foto 24
Modern Deadwood Apt with Mountain Views & Grill! - Foto 25

Modern Deadwood Apt with Mountain Views & Grill!

Spearfish

  • 149 M2
  • 1 Schlafzimmer
  • 4 Personen
  • Parkplatz
9.8Außergewöhnlich | 5 Bewertungen
Spearfish, Sturgis Rally Cottage: Trailer Parking - Foto 1
Spearfish, Sturgis Rally Cottage: Trailer Parking - Foto 2
Spearfish, Sturgis Rally Cottage: Trailer Parking - Foto 3
Spearfish, Sturgis Rally Cottage: Trailer Parking - Foto 4
Spearfish, Sturgis Rally Cottage: Trailer Parking - Foto 5
Spearfish, Sturgis Rally Cottage: Trailer Parking - Foto 6
Spearfish, Sturgis Rally Cottage: Trailer Parking - Foto 7
Spearfish, Sturgis Rally Cottage: Trailer Parking - Foto 8
Spearfish, Sturgis Rally Cottage: Trailer Parking - Foto 9
Spearfish, Sturgis Rally Cottage: Trailer Parking - Foto 10
Spearfish, Sturgis Rally Cottage: Trailer Parking - Foto 11
Spearfish, Sturgis Rally Cottage: Trailer Parking - Foto 12
Spearfish, Sturgis Rally Cottage: Trailer Parking - Foto 13
Spearfish, Sturgis Rally Cottage: Trailer Parking - Foto 14
Spearfish, Sturgis Rally Cottage: Trailer Parking - Foto 15
Spearfish, Sturgis Rally Cottage: Trailer Parking - Foto 16
Spearfish, Sturgis Rally Cottage: Trailer Parking - Foto 17
Spearfish, Sturgis Rally Cottage: Trailer Parking - Foto 18
Spearfish, Sturgis Rally Cottage: Trailer Parking - Foto 19
Spearfish, Sturgis Rally Cottage: Trailer Parking - Foto 20
Spearfish, Sturgis Rally Cottage: Trailer Parking - Foto 21
Spearfish, Sturgis Rally Cottage: Trailer Parking - Foto 22
Spearfish, Sturgis Rally Cottage: Trailer Parking - Foto 23
Spearfish, Sturgis Rally Cottage: Trailer Parking - Foto 24
Spearfish, Sturgis Rally Cottage: Trailer Parking - Foto 25
Spearfish, Sturgis Rally Cottage: Trailer Parking - Foto 26
Spearfish, Sturgis Rally Cottage: Trailer Parking - Foto 27

Spearfish, Sturgis Rally Cottage: Trailer Parking

Spearfish

  • 93 M2
  • 2 Schlafzimmer
  • 6 Personen
  • Heizung
  • Terrasse
  • Parkplatz
9.3Außergewöhnlich | 3 Bewertungen
Home Near Downtown & Spearfish Canyon! - Foto 1
Home Near Downtown & Spearfish Canyon! - Foto 2
Home Near Downtown & Spearfish Canyon! - Foto 3
Home Near Downtown & Spearfish Canyon! - Foto 4
Home Near Downtown & Spearfish Canyon! - Foto 5
Home Near Downtown & Spearfish Canyon! - Foto 6
Home Near Downtown & Spearfish Canyon! - Foto 7
Home Near Downtown & Spearfish Canyon! - Foto 8
Home Near Downtown & Spearfish Canyon! - Foto 9
Home Near Downtown & Spearfish Canyon! - Foto 10
Home Near Downtown & Spearfish Canyon! - Foto 11
Home Near Downtown & Spearfish Canyon! - Foto 12
Home Near Downtown & Spearfish Canyon! - Foto 13
Home Near Downtown & Spearfish Canyon! - Foto 14
Home Near Downtown & Spearfish Canyon! - Foto 15
Home Near Downtown & Spearfish Canyon! - Foto 16
Home Near Downtown & Spearfish Canyon! - Foto 17
Home Near Downtown & Spearfish Canyon! - Foto 18
Home Near Downtown & Spearfish Canyon! - Foto 19
Home Near Downtown & Spearfish Canyon! - Foto 20
Home Near Downtown & Spearfish Canyon! - Foto 21
Home Near Downtown & Spearfish Canyon! - Foto 22
Home Near Downtown & Spearfish Canyon! - Foto 23
Home Near Downtown & Spearfish Canyon! - Foto 24
Home Near Downtown & Spearfish Canyon! - Foto 25
Home Near Downtown & Spearfish Canyon! - Foto 26
Home Near Downtown & Spearfish Canyon! - Foto 27
Home Near Downtown & Spearfish Canyon! - Foto 28
Home Near Downtown & Spearfish Canyon! - Foto 29

Home Near Downtown & Spearfish Canyon!

Spearfish

  • 201 M2
  • 3 Schlafzimmer
  • 12 Personen
  • Heizung
  • Parkplatz
8Sehr gut | 3 Bewertungen
Luxe Hideaway Near Sturgis: Golf, Hike, Explore! - Foto 1
Luxe Hideaway Near Sturgis: Golf, Hike, Explore! - Foto 2
Luxe Hideaway Near Sturgis: Golf, Hike, Explore! - Foto 3
Luxe Hideaway Near Sturgis: Golf, Hike, Explore! - Foto 4
Luxe Hideaway Near Sturgis: Golf, Hike, Explore! - Foto 5
Luxe Hideaway Near Sturgis: Golf, Hike, Explore! - Foto 6
Luxe Hideaway Near Sturgis: Golf, Hike, Explore! - Foto 7
Luxe Hideaway Near Sturgis: Golf, Hike, Explore! - Foto 8
Luxe Hideaway Near Sturgis: Golf, Hike, Explore! - Foto 9
Luxe Hideaway Near Sturgis: Golf, Hike, Explore! - Foto 10
Luxe Hideaway Near Sturgis: Golf, Hike, Explore! - Foto 11
Luxe Hideaway Near Sturgis: Golf, Hike, Explore! - Foto 12
Luxe Hideaway Near Sturgis: Golf, Hike, Explore! - Foto 13
Luxe Hideaway Near Sturgis: Golf, Hike, Explore! - Foto 14
Luxe Hideaway Near Sturgis: Golf, Hike, Explore! - Foto 15
Luxe Hideaway Near Sturgis: Golf, Hike, Explore! - Foto 16
Luxe Hideaway Near Sturgis: Golf, Hike, Explore! - Foto 17
Luxe Hideaway Near Sturgis: Golf, Hike, Explore! - Foto 18
Luxe Hideaway Near Sturgis: Golf, Hike, Explore! - Foto 19
Luxe Hideaway Near Sturgis: Golf, Hike, Explore! - Foto 20
Luxe Hideaway Near Sturgis: Golf, Hike, Explore! - Foto 21
Luxe Hideaway Near Sturgis: Golf, Hike, Explore! - Foto 22
Luxe Hideaway Near Sturgis: Golf, Hike, Explore! - Foto 23
Luxe Hideaway Near Sturgis: Golf, Hike, Explore! - Foto 24
Luxe Hideaway Near Sturgis: Golf, Hike, Explore! - Foto 25
Luxe Hideaway Near Sturgis: Golf, Hike, Explore! - Foto 26

Luxe Hideaway Near Sturgis: Golf, Hike, Explore!

Spearfish

  • 279 M2
  • 2 Schlafzimmer
  • 4 Personen
  • Heizung
  • Parkplatz
10Hervorragend | 1 Bewertung
Downtown Spearfish Historic Home - Foto 1
Downtown Spearfish Historic Home - Foto 2
Downtown Spearfish Historic Home - Foto 3
Downtown Spearfish Historic Home - Foto 4
Downtown Spearfish Historic Home - Foto 5
Downtown Spearfish Historic Home - Foto 6
Downtown Spearfish Historic Home - Foto 7
Downtown Spearfish Historic Home - Foto 8
Downtown Spearfish Historic Home - Foto 9
Downtown Spearfish Historic Home - Foto 10
Downtown Spearfish Historic Home - Foto 11
Downtown Spearfish Historic Home - Foto 12
Downtown Spearfish Historic Home - Foto 13
Downtown Spearfish Historic Home - Foto 14
Downtown Spearfish Historic Home - Foto 15
Downtown Spearfish Historic Home - Foto 16
Downtown Spearfish Historic Home - Foto 17
Downtown Spearfish Historic Home - Foto 18
Downtown Spearfish Historic Home - Foto 19
Downtown Spearfish Historic Home - Foto 20
Downtown Spearfish Historic Home - Foto 21
Downtown Spearfish Historic Home - Foto 22
Downtown Spearfish Historic Home - Foto 23
Downtown Spearfish Historic Home - Foto 24
Downtown Spearfish Historic Home - Foto 25
Downtown Spearfish Historic Home - Foto 26
Downtown Spearfish Historic Home - Foto 27
Downtown Spearfish Historic Home - Foto 28
Downtown Spearfish Historic Home - Foto 29
Downtown Spearfish Historic Home - Foto 30
Downtown Spearfish Historic Home - Foto 31
Downtown Spearfish Historic Home - Foto 32
Downtown Spearfish Historic Home - Foto 33
Downtown Spearfish Historic Home - Foto 34
Downtown Spearfish Historic Home - Foto 35
Downtown Spearfish Historic Home - Foto 36
Downtown Spearfish Historic Home - Foto 37

Downtown Spearfish Historic Home

Spearfish

  • 200 M2
  • 4 Schlafzimmer
  • 10 Personen
  • Klimaanlage
  • Heizung
  • Garten
7Gut | 1 Bewertung
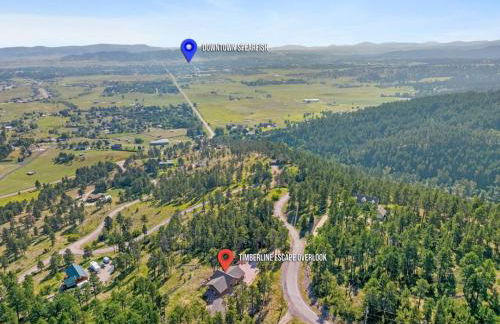
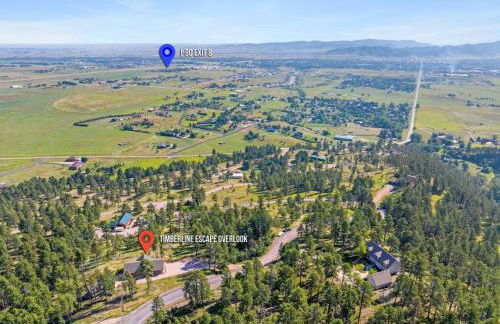
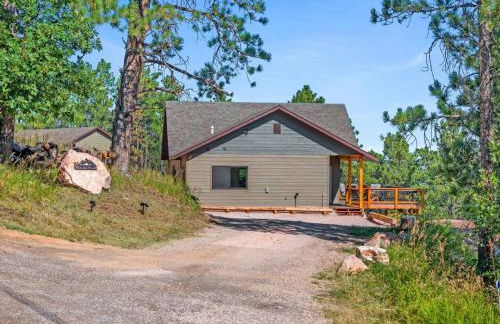
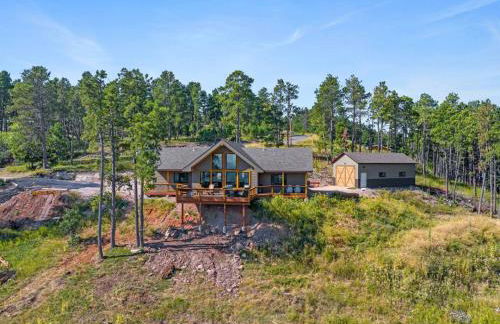
Timberline Escape Overlook - Foto 1
Timberline Escape Overlook - Foto 2
Timberline Escape Overlook - Foto 3
Timberline Escape Overlook - Foto 4
Timberline Escape Overlook - Foto 5
Timberline Escape Overlook - Foto 6
Timberline Escape Overlook - Foto 7
Timberline Escape Overlook - Foto 8
Timberline Escape Overlook - Foto 9
Timberline Escape Overlook - Foto 10
Timberline Escape Overlook - Foto 11
Timberline Escape Overlook - Foto 12
Timberline Escape Overlook - Foto 13
Timberline Escape Overlook - Foto 14
Timberline Escape Overlook - Foto 15
Timberline Escape Overlook - Foto 16
Timberline Escape Overlook - Foto 17
Timberline Escape Overlook - Foto 18
Timberline Escape Overlook - Foto 19
Timberline Escape Overlook - Foto 20
Timberline Escape Overlook - Foto 21
Timberline Escape Overlook - Foto 22
Timberline Escape Overlook - Foto 23
Timberline Escape Overlook - Foto 24
Timberline Escape Overlook - Foto 25
Timberline Escape Overlook - Foto 26
Timberline Escape Overlook - Foto 27
Timberline Escape Overlook - Foto 28
Timberline Escape Overlook - Foto 29
Timberline Escape Overlook - Foto 30
Timberline Escape Overlook - Foto 31
Timberline Escape Overlook - Foto 32
Timberline Escape Overlook - Foto 33

Timberline Escape Overlook

Spearfish

  • 153 M2
  • 3 Schlafzimmer
  • 6 Personen
  • Klimaanlage
  • Heizung
  • Garten
One For the Road at L Rancho Court - Foto 1
One For the Road at L Rancho Court - Foto 2
One For the Road at L Rancho Court - Foto 3
One For the Road at L Rancho Court - Foto 4
One For the Road at L Rancho Court - Foto 5
One For the Road at L Rancho Court - Foto 6
One For the Road at L Rancho Court - Foto 7
One For the Road at L Rancho Court - Foto 8
One For the Road at L Rancho Court - Foto 9
One For the Road at L Rancho Court - Foto 10
One For the Road at L Rancho Court - Foto 11
One For the Road at L Rancho Court - Foto 12
One For the Road at L Rancho Court - Foto 13
One For the Road at L Rancho Court - Foto 14
One For the Road at L Rancho Court - Foto 15

One For the Road at L Rancho Court

Spearfish

  • 38 M2
  • 1 Schlafzimmer
  • 4 Personen
  • Klimaanlage
  • Heizung
Black Hills Getaway with Hot Tub & Game Room for 18 - Foto 1
Black Hills Getaway with Hot Tub & Game Room for 18 - Foto 2
Black Hills Getaway with Hot Tub & Game Room for 18 - Foto 3
Black Hills Getaway with Hot Tub & Game Room for 18 - Foto 4
Black Hills Getaway with Hot Tub & Game Room for 18 - Foto 5
Black Hills Getaway with Hot Tub & Game Room for 18 - Foto 6
Black Hills Getaway with Hot Tub & Game Room for 18 - Foto 7
Black Hills Getaway with Hot Tub & Game Room for 18 - Foto 8
Black Hills Getaway with Hot Tub & Game Room for 18 - Foto 9
Black Hills Getaway with Hot Tub & Game Room for 18 - Foto 10
Black Hills Getaway with Hot Tub & Game Room for 18 - Foto 11
Black Hills Getaway with Hot Tub & Game Room for 18 - Foto 12
Black Hills Getaway with Hot Tub & Game Room for 18 - Foto 13
Black Hills Getaway with Hot Tub & Game Room for 18 - Foto 14
Black Hills Getaway with Hot Tub & Game Room for 18 - Foto 15
Black Hills Getaway with Hot Tub & Game Room for 18 - Foto 16
Black Hills Getaway with Hot Tub & Game Room for 18 - Foto 17
Black Hills Getaway with Hot Tub & Game Room for 18 - Foto 18
Black Hills Getaway with Hot Tub & Game Room for 18 - Foto 19
Black Hills Getaway with Hot Tub & Game Room for 18 - Foto 20
Black Hills Getaway with Hot Tub & Game Room for 18 - Foto 21
Black Hills Getaway with Hot Tub & Game Room for 18 - Foto 22
Black Hills Getaway with Hot Tub & Game Room for 18 - Foto 23
Black Hills Getaway with Hot Tub & Game Room for 18 - Foto 24
Black Hills Getaway with Hot Tub & Game Room for 18 - Foto 25
Black Hills Getaway with Hot Tub & Game Room for 18 - Foto 26
Black Hills Getaway with Hot Tub & Game Room for 18 - Foto 27
Black Hills Getaway with Hot Tub & Game Room for 18 - Foto 28
Black Hills Getaway with Hot Tub & Game Room for 18 - Foto 29
Black Hills Getaway with Hot Tub & Game Room for 18 - Foto 30
Black Hills Getaway with Hot Tub & Game Room for 18 - Foto 31
Black Hills Getaway with Hot Tub & Game Room for 18 - Foto 32
Black Hills Getaway with Hot Tub & Game Room for 18 - Foto 33
Black Hills Getaway with Hot Tub & Game Room for 18 - Foto 34
Black Hills Getaway with Hot Tub & Game Room for 18 - Foto 35
Black Hills Getaway with Hot Tub & Game Room for 18 - Foto 36
Black Hills Getaway with Hot Tub & Game Room for 18 - Foto 37
Black Hills Getaway with Hot Tub & Game Room for 18 - Foto 38
Black Hills Getaway with Hot Tub & Game Room for 18 - Foto 39
Black Hills Getaway with Hot Tub & Game Room for 18 - Foto 40
Black Hills Getaway with Hot Tub & Game Room for 18 - Foto 41
Black Hills Getaway with Hot Tub & Game Room for 18 - Foto 42
Black Hills Getaway with Hot Tub & Game Room for 18 - Foto 43
Black Hills Getaway with Hot Tub & Game Room for 18 - Foto 44
Black Hills Getaway with Hot Tub & Game Room for 18 - Foto 45
Black Hills Getaway with Hot Tub & Game Room for 18 - Foto 46
Black Hills Getaway with Hot Tub & Game Room for 18 - Foto 47
Black Hills Getaway with Hot Tub & Game Room for 18 - Foto 48
Black Hills Getaway with Hot Tub & Game Room for 18 - Foto 49
Black Hills Getaway with Hot Tub & Game Room for 18 - Foto 50
Black Hills Getaway with Hot Tub & Game Room for 18 - Foto 51
Black Hills Getaway with Hot Tub & Game Room for 18 - Foto 52
Black Hills Getaway with Hot Tub & Game Room for 18 - Foto 53
Black Hills Getaway with Hot Tub & Game Room for 18 - Foto 54
Black Hills Getaway with Hot Tub & Game Room for 18 - Foto 55
Black Hills Getaway with Hot Tub & Game Room for 18 - Foto 56
Black Hills Getaway with Hot Tub & Game Room for 18 - Foto 57
Black Hills Getaway with Hot Tub & Game Room for 18 - Foto 58
Black Hills Getaway with Hot Tub & Game Room for 18 - Foto 59
Black Hills Getaway with Hot Tub & Game Room for 18 - Foto 60
Black Hills Getaway with Hot Tub & Game Room for 18 - Foto 61
Black Hills Getaway with Hot Tub & Game Room for 18 - Foto 62
Black Hills Getaway with Hot Tub & Game Room for 18 - Foto 63
Black Hills Getaway with Hot Tub & Game Room for 18 - Foto 64
Black Hills Getaway with Hot Tub & Game Room for 18 - Foto 65
Black Hills Getaway with Hot Tub & Game Room for 18 - Foto 66
Black Hills Getaway with Hot Tub & Game Room for 18 - Foto 67
Black Hills Getaway with Hot Tub & Game Room for 18 - Foto 68
Black Hills Getaway with Hot Tub & Game Room for 18 - Foto 69
Black Hills Getaway with Hot Tub & Game Room for 18 - Foto 70
Black Hills Getaway with Hot Tub & Game Room for 18 - Foto 71

Black Hills Getaway with Hot Tub & Game Room for 18

Spearfish

  • 279 M2
  • 6 Schlafzimmer
  • 20 Personen
  • Klimaanlage
  • Heizung
  • Parkplatz
  • Garten
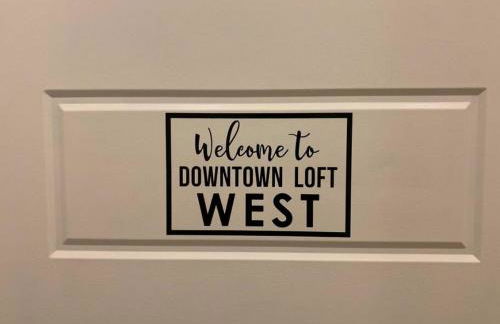
Downtown Spearfish Loft West - Foto 1
Downtown Spearfish Loft West - Foto 2
Downtown Spearfish Loft West - Foto 3
Downtown Spearfish Loft West - Foto 4
Downtown Spearfish Loft West - Foto 5
Downtown Spearfish Loft West - Foto 6
Downtown Spearfish Loft West - Foto 7
Downtown Spearfish Loft West - Foto 8
Downtown Spearfish Loft West - Foto 9
Downtown Spearfish Loft West - Foto 10
Downtown Spearfish Loft West - Foto 11

Downtown Spearfish Loft West

Spearfish

  • 42 M2
  • 1 Schlafzimmer
  • 4 Personen
  • Klimaanlage
  • Heizung
Good 2 Go at L Rancho Court - Foto 1

Good 2 Go at L Rancho Court

Spearfish

  • 39 M2
  • 2 Personen
  • Klimaanlage
South Dakota Retreat w/ Hot Tub, Fire Pit & Grill! - Foto 1
South Dakota Retreat w/ Hot Tub, Fire Pit & Grill! - Foto 2
South Dakota Retreat w/ Hot Tub, Fire Pit & Grill! - Foto 3
South Dakota Retreat w/ Hot Tub, Fire Pit & Grill! - Foto 4
South Dakota Retreat w/ Hot Tub, Fire Pit & Grill! - Foto 5
South Dakota Retreat w/ Hot Tub, Fire Pit & Grill! - Foto 6
South Dakota Retreat w/ Hot Tub, Fire Pit & Grill! - Foto 7
South Dakota Retreat w/ Hot Tub, Fire Pit & Grill! - Foto 8
South Dakota Retreat w/ Hot Tub, Fire Pit & Grill! - Foto 9
South Dakota Retreat w/ Hot Tub, Fire Pit & Grill! - Foto 10
South Dakota Retreat w/ Hot Tub, Fire Pit & Grill! - Foto 11
South Dakota Retreat w/ Hot Tub, Fire Pit & Grill! - Foto 12
South Dakota Retreat w/ Hot Tub, Fire Pit & Grill! - Foto 13
South Dakota Retreat w/ Hot Tub, Fire Pit & Grill! - Foto 14
South Dakota Retreat w/ Hot Tub, Fire Pit & Grill! - Foto 15
South Dakota Retreat w/ Hot Tub, Fire Pit & Grill! - Foto 16
South Dakota Retreat w/ Hot Tub, Fire Pit & Grill! - Foto 17
South Dakota Retreat w/ Hot Tub, Fire Pit & Grill! - Foto 18
South Dakota Retreat w/ Hot Tub, Fire Pit & Grill! - Foto 19
South Dakota Retreat w/ Hot Tub, Fire Pit & Grill! - Foto 20
South Dakota Retreat w/ Hot Tub, Fire Pit & Grill! - Foto 21
South Dakota Retreat w/ Hot Tub, Fire Pit & Grill! - Foto 22
South Dakota Retreat w/ Hot Tub, Fire Pit & Grill! - Foto 23
South Dakota Retreat w/ Hot Tub, Fire Pit & Grill! - Foto 24
South Dakota Retreat w/ Hot Tub, Fire Pit & Grill! - Foto 25
South Dakota Retreat w/ Hot Tub, Fire Pit & Grill! - Foto 26
South Dakota Retreat w/ Hot Tub, Fire Pit & Grill! - Foto 27
South Dakota Retreat w/ Hot Tub, Fire Pit & Grill! - Foto 28
South Dakota Retreat w/ Hot Tub, Fire Pit & Grill! - Foto 29
South Dakota Retreat w/ Hot Tub, Fire Pit & Grill! - Foto 30
South Dakota Retreat w/ Hot Tub, Fire Pit & Grill! - Foto 31
South Dakota Retreat w/ Hot Tub, Fire Pit & Grill! - Foto 32
South Dakota Retreat w/ Hot Tub, Fire Pit & Grill! - Foto 33
South Dakota Retreat w/ Hot Tub, Fire Pit & Grill! - Foto 34
South Dakota Retreat w/ Hot Tub, Fire Pit & Grill! - Foto 35
South Dakota Retreat w/ Hot Tub, Fire Pit & Grill! - Foto 36
South Dakota Retreat w/ Hot Tub, Fire Pit & Grill! - Foto 37
South Dakota Retreat w/ Hot Tub, Fire Pit & Grill! - Foto 38
South Dakota Retreat w/ Hot Tub, Fire Pit & Grill! - Foto 39
South Dakota Retreat w/ Hot Tub, Fire Pit & Grill! - Foto 40
South Dakota Retreat w/ Hot Tub, Fire Pit & Grill! - Foto 41

South Dakota Retreat w/ Hot Tub, Fire Pit & Grill!

Spearfish

  • 513 M2
  • 5 Schlafzimmer
  • 12 Personen
  • Heizung
  • Parkplatz
Motorcycle-Themed Home in Spearfish w/ Hot Tub! - Foto 1
Motorcycle-Themed Home in Spearfish w/ Hot Tub! - Foto 2
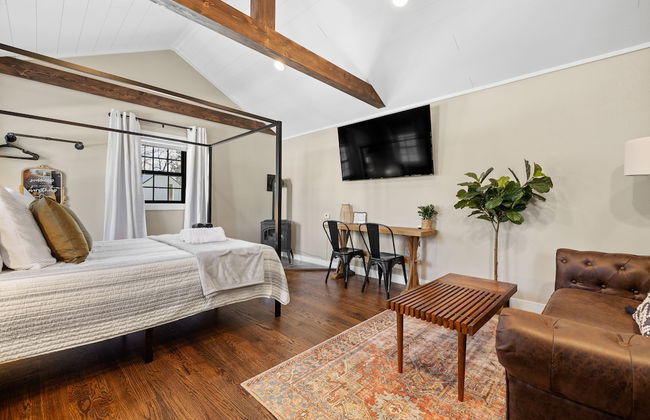
Motorcycle-Themed Home in Spearfish w/ Hot Tub! - Foto 3
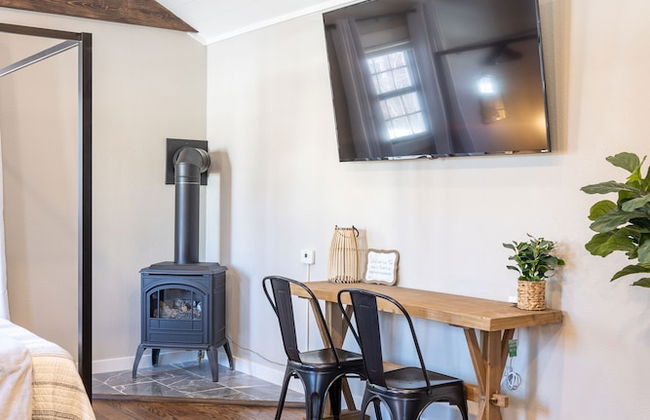
Motorcycle-Themed Home in Spearfish w/ Hot Tub! - Foto 4
Motorcycle-Themed Home in Spearfish w/ Hot Tub! - Foto 5
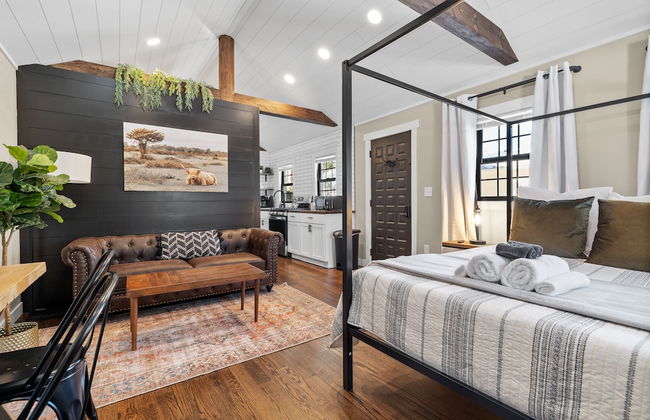
Motorcycle-Themed Home in Spearfish w/ Hot Tub! - Foto 6
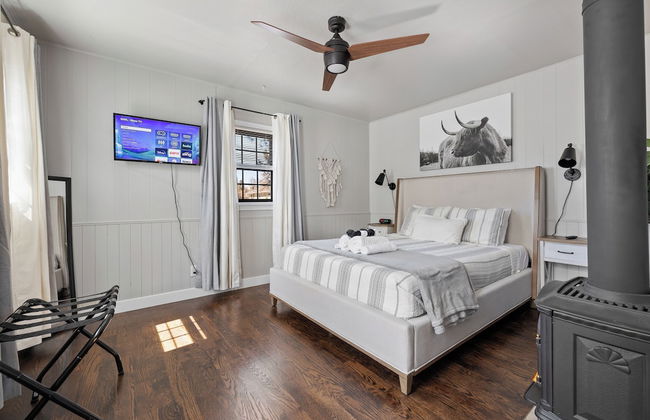
Motorcycle-Themed Home in Spearfish w/ Hot Tub! - Foto 7
Motorcycle-Themed Home in Spearfish w/ Hot Tub! - Foto 8
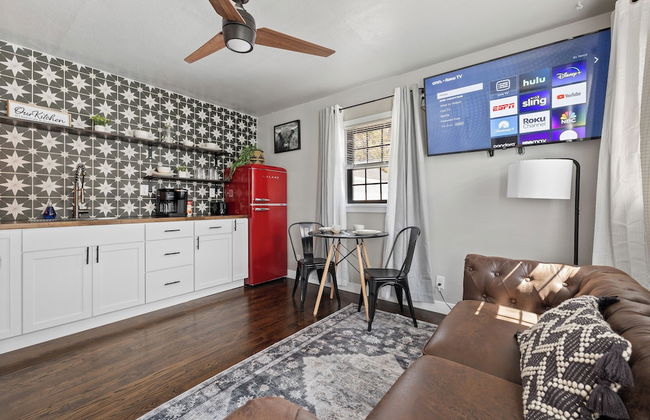
Motorcycle-Themed Home in Spearfish w/ Hot Tub! - Foto 9
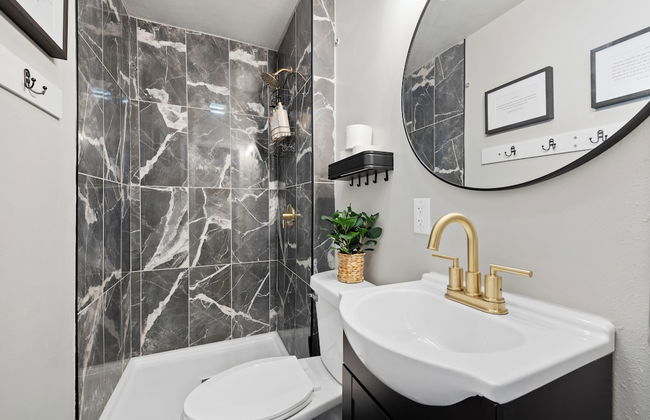
Motorcycle-Themed Home in Spearfish w/ Hot Tub! - Foto 10
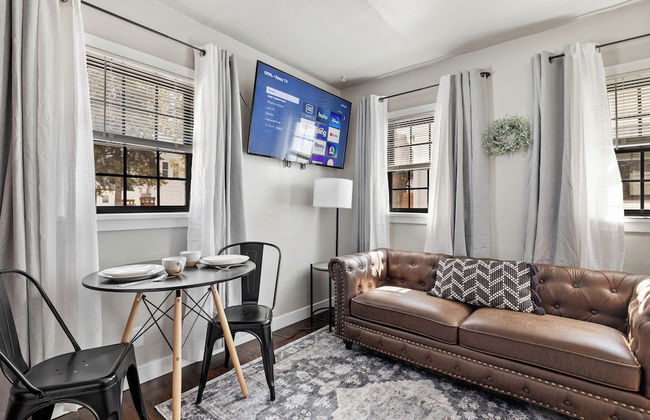
Motorcycle-Themed Home in Spearfish w/ Hot Tub! - Foto 11
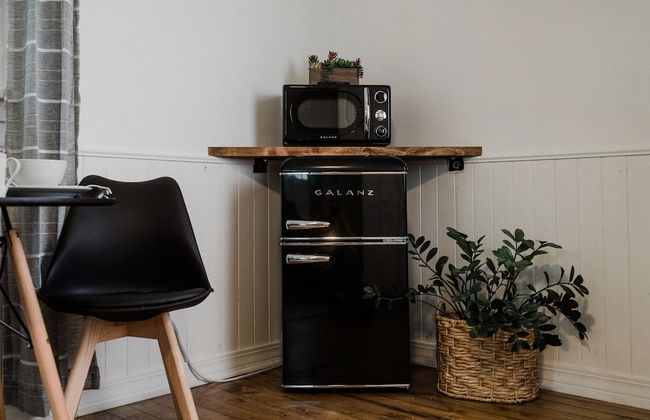
Motorcycle-Themed Home in Spearfish w/ Hot Tub! - Foto 12
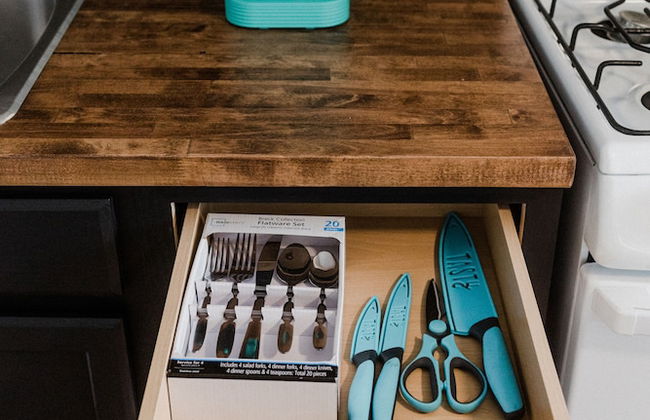
Motorcycle-Themed Home in Spearfish w/ Hot Tub! - Foto 13
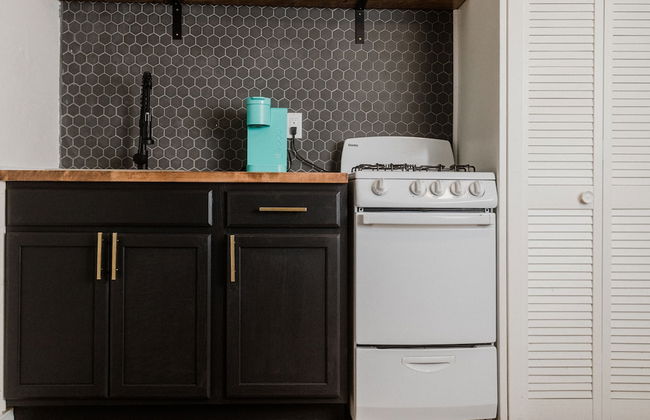
Motorcycle-Themed Home in Spearfish w/ Hot Tub! - Foto 14
Motorcycle-Themed Home in Spearfish w/ Hot Tub! - Foto 15
Motorcycle-Themed Home in Spearfish w/ Hot Tub! - Foto 16
Motorcycle-Themed Home in Spearfish w/ Hot Tub! - Foto 17
Motorcycle-Themed Home in Spearfish w/ Hot Tub! - Foto 18
Motorcycle-Themed Home in Spearfish w/ Hot Tub! - Foto 19
Motorcycle-Themed Home in Spearfish w/ Hot Tub! - Foto 20
Motorcycle-Themed Home in Spearfish w/ Hot Tub! - Foto 21
Motorcycle-Themed Home in Spearfish w/ Hot Tub! - Foto 22
Motorcycle-Themed Home in Spearfish w/ Hot Tub! - Foto 23
Motorcycle-Themed Home in Spearfish w/ Hot Tub! - Foto 24
Motorcycle-Themed Home in Spearfish w/ Hot Tub! - Foto 25
Motorcycle-Themed Home in Spearfish w/ Hot Tub! - Foto 26
Motorcycle-Themed Home in Spearfish w/ Hot Tub! - Foto 27
Motorcycle-Themed Home in Spearfish w/ Hot Tub! - Foto 28
Motorcycle-Themed Home in Spearfish w/ Hot Tub! - Foto 29
Motorcycle-Themed Home in Spearfish w/ Hot Tub! - Foto 30
Motorcycle-Themed Home in Spearfish w/ Hot Tub! - Foto 31
Motorcycle-Themed Home in Spearfish w/ Hot Tub! - Foto 32
Motorcycle-Themed Home in Spearfish w/ Hot Tub! - Foto 33
Motorcycle-Themed Home in Spearfish w/ Hot Tub! - Foto 34
Motorcycle-Themed Home in Spearfish w/ Hot Tub! - Foto 35
Motorcycle-Themed Home in Spearfish w/ Hot Tub! - Foto 36
Motorcycle-Themed Home in Spearfish w/ Hot Tub! - Foto 37
Motorcycle-Themed Home in Spearfish w/ Hot Tub! - Foto 38
Motorcycle-Themed Home in Spearfish w/ Hot Tub! - Foto 39

Motorcycle-Themed Home in Spearfish w/ Hot Tub!

Spearfish

  • 400 M2
  • 5 Schlafzimmer
  • 16 Personen
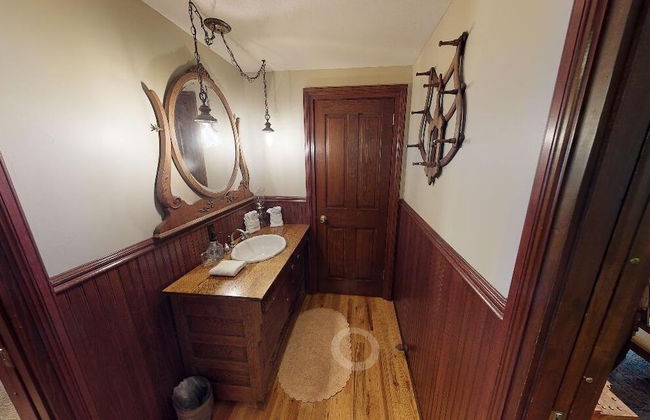
  • Heizung
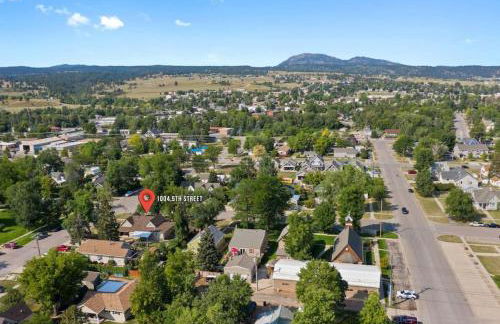
  • Parkplatz