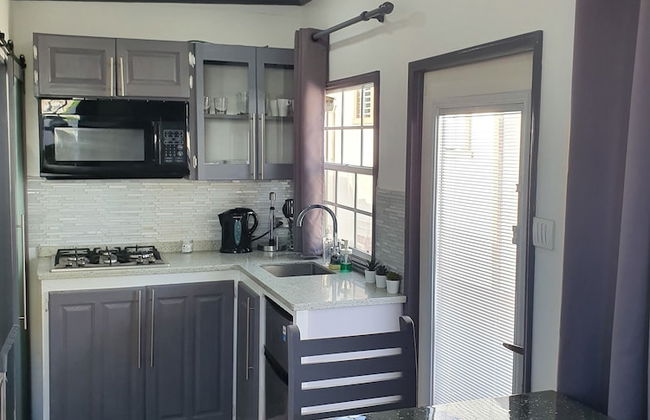
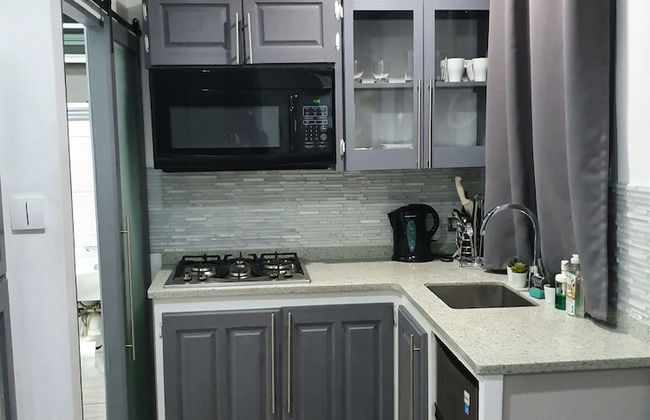
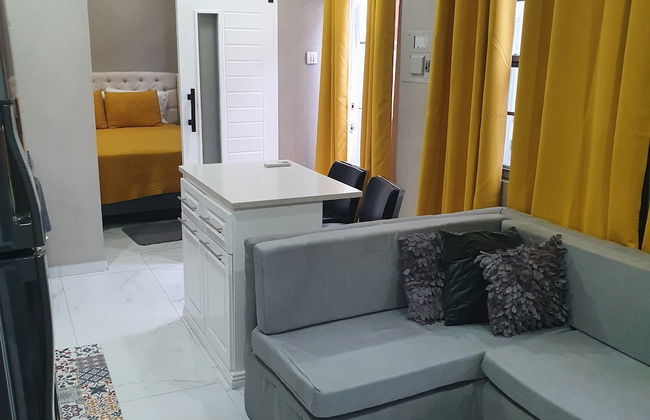
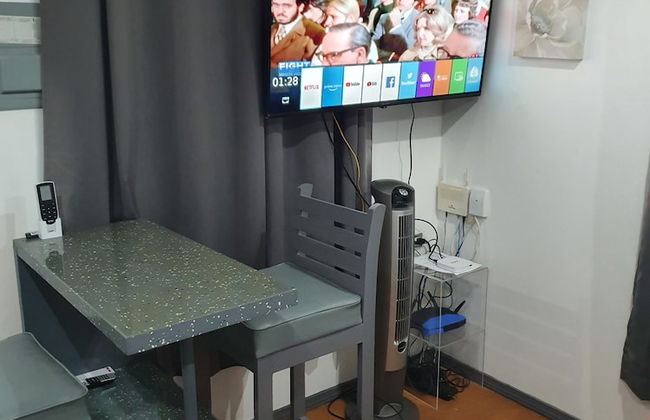
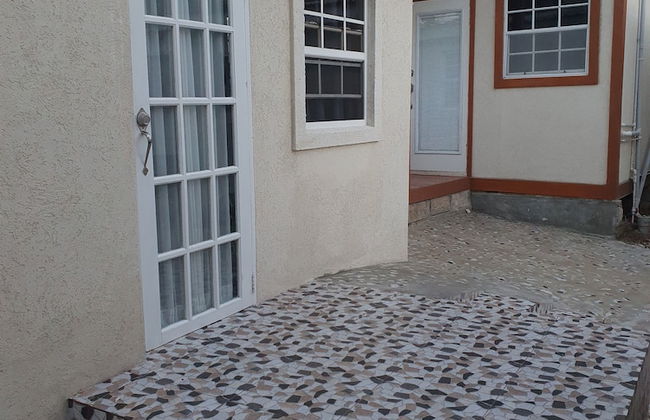
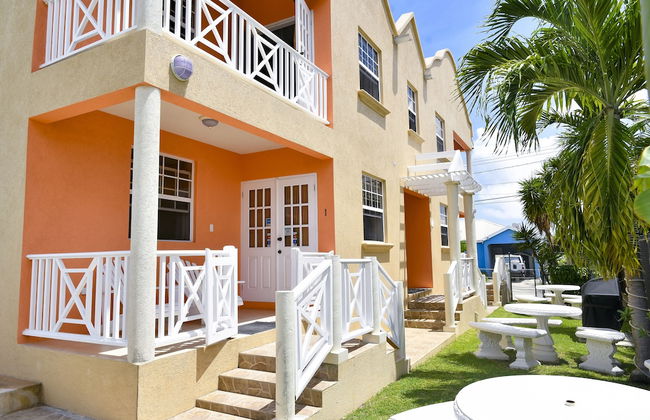
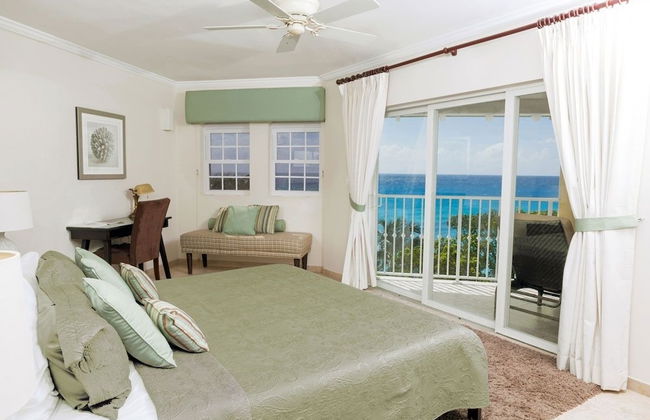
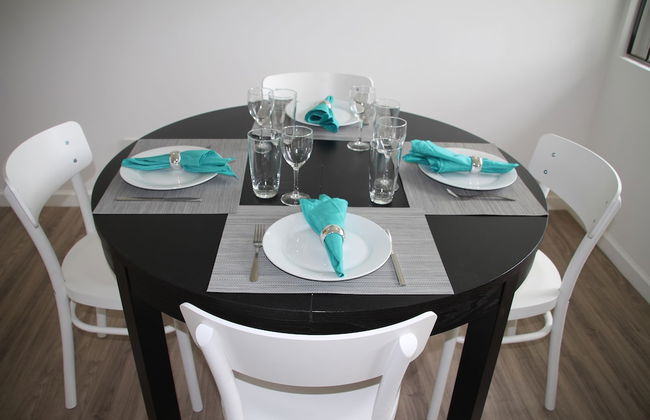
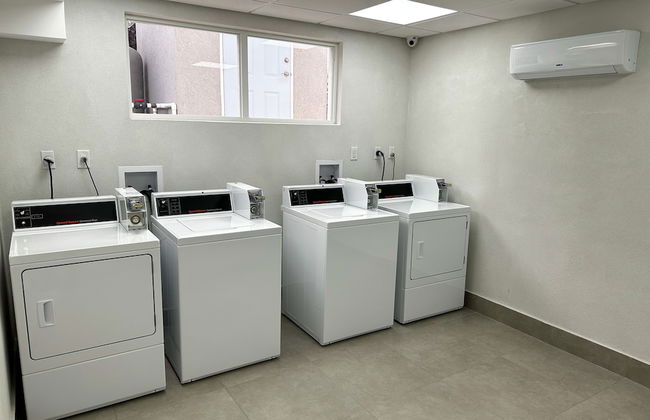
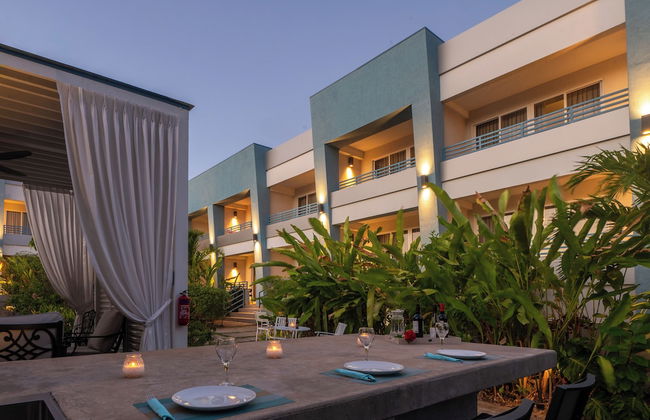
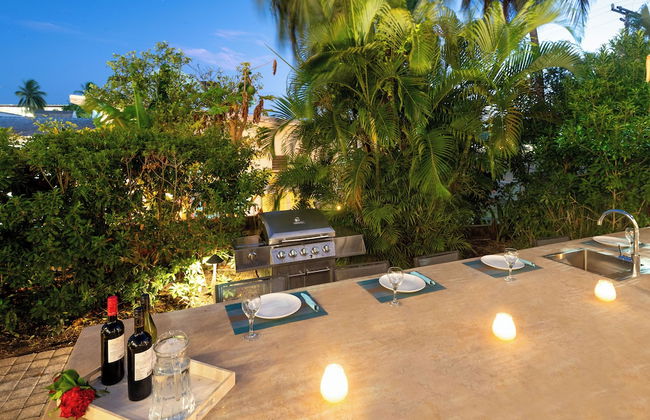
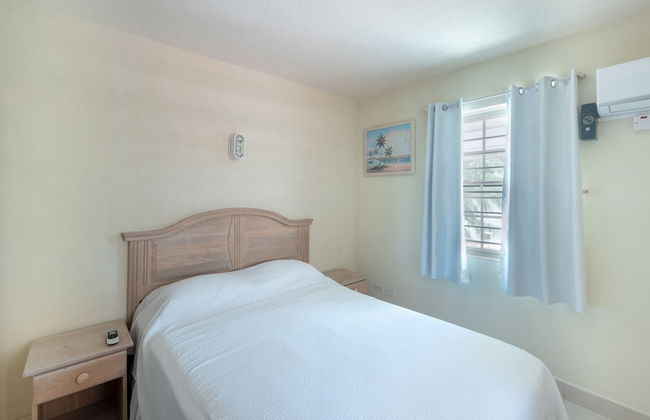
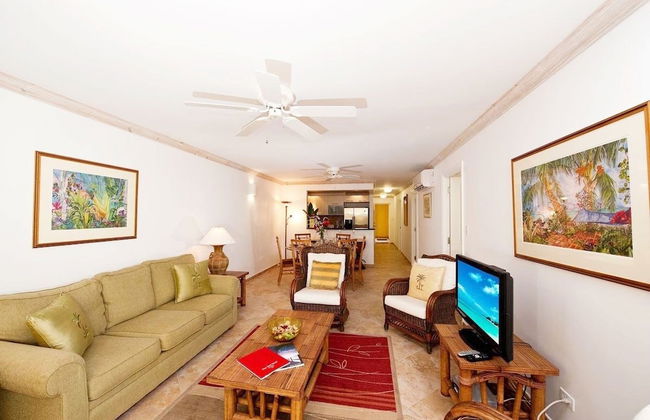
63 Wohnungen in Southern District


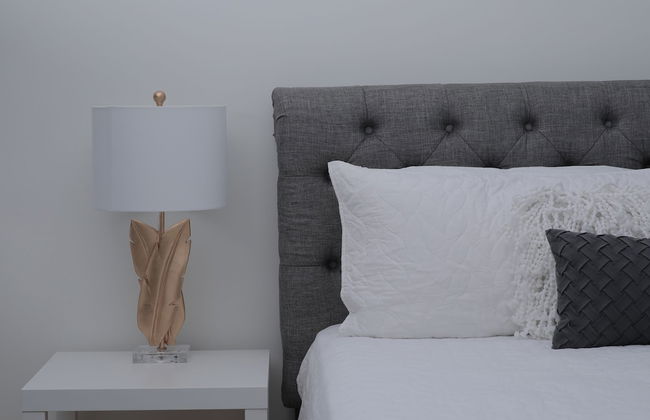


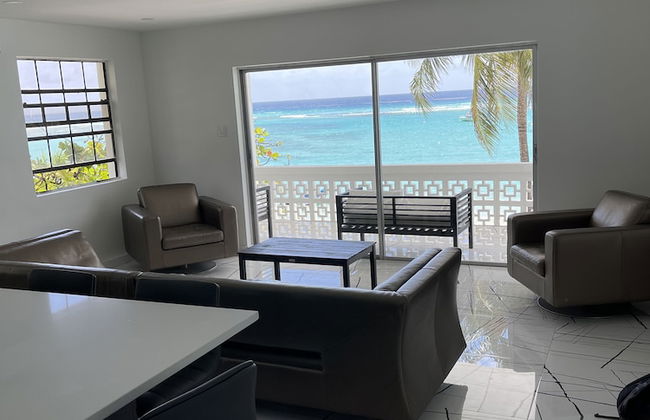


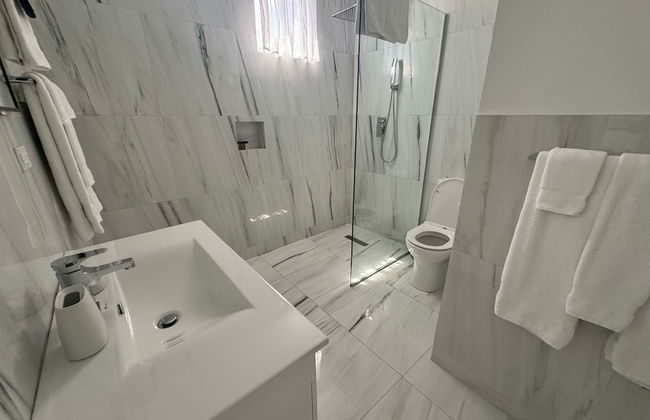


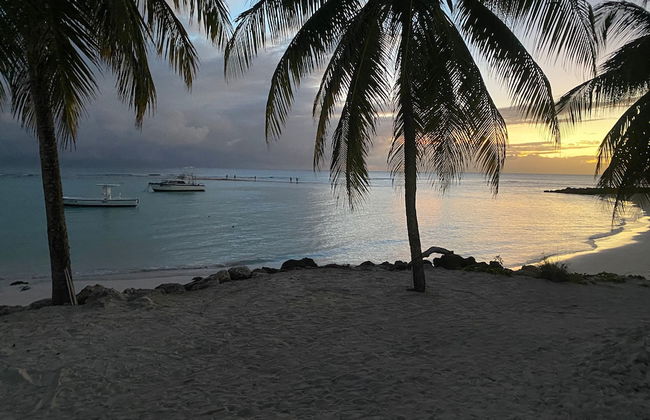
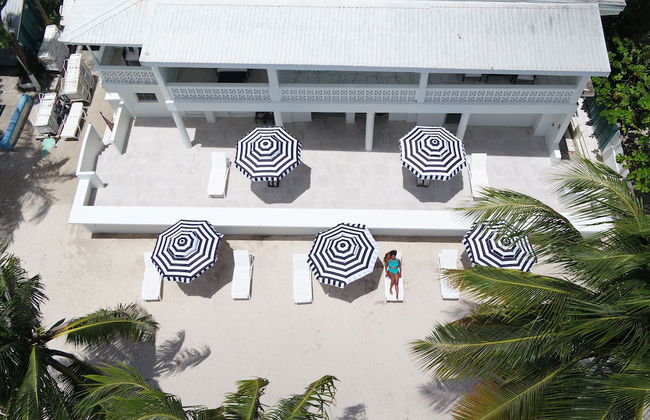


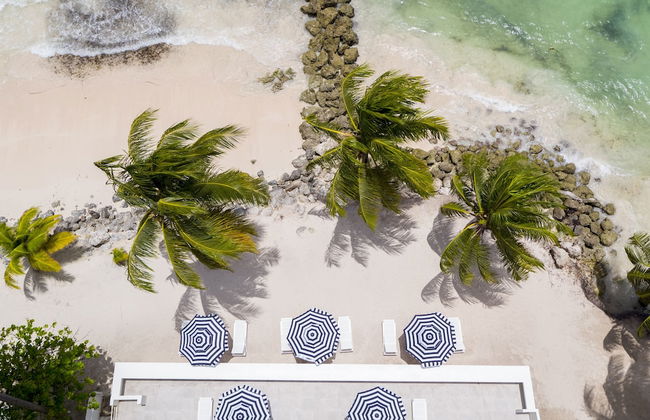
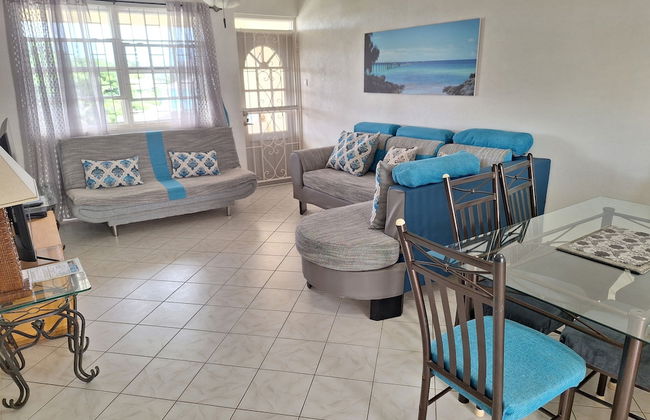
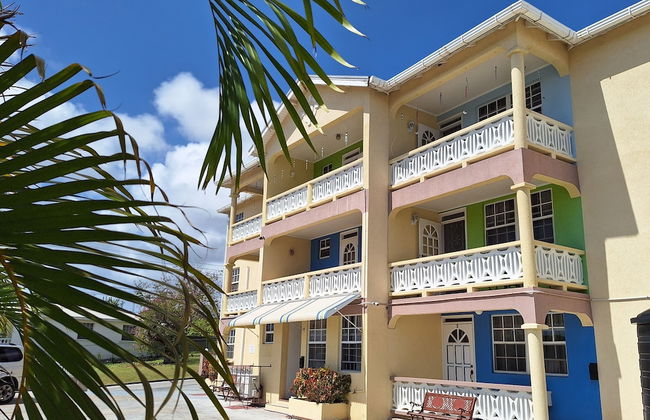
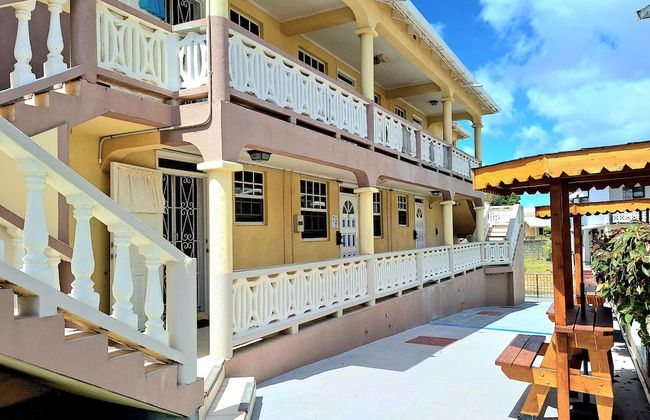
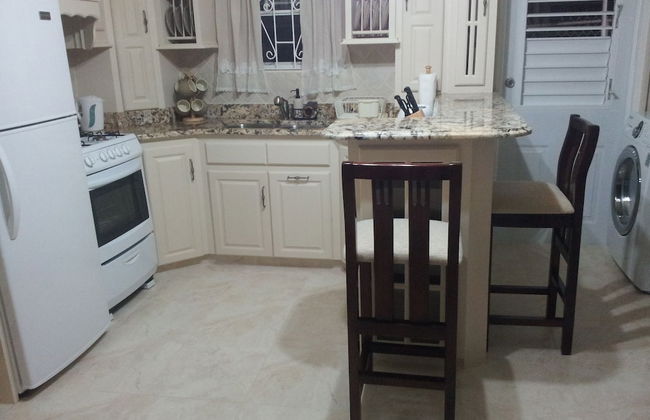
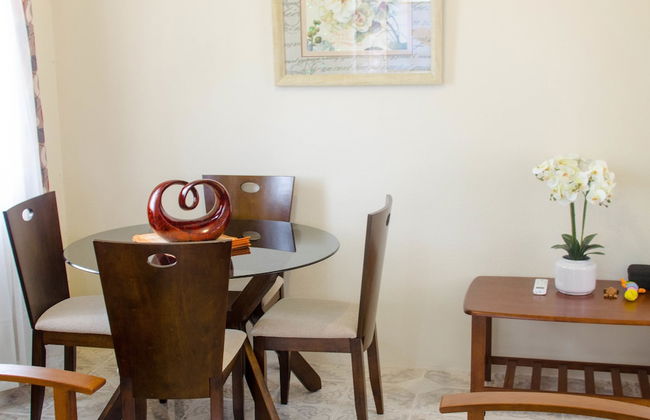
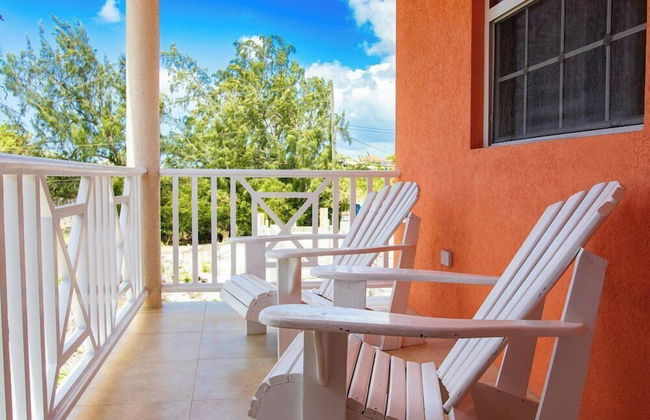
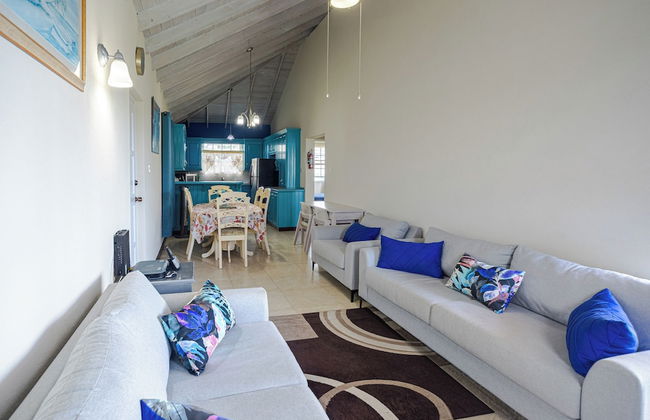
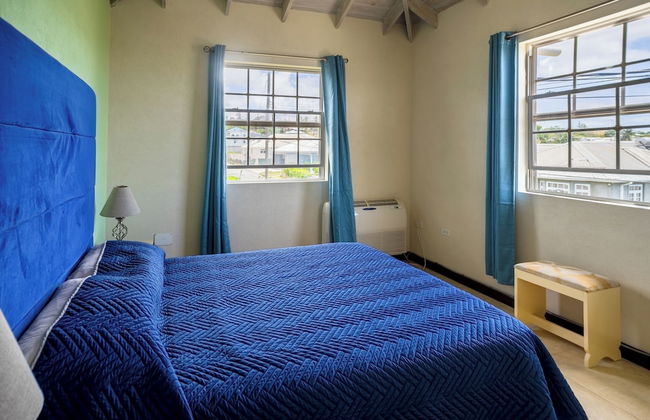
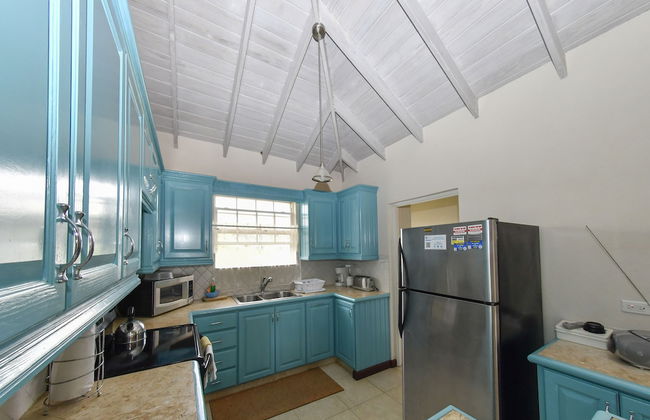
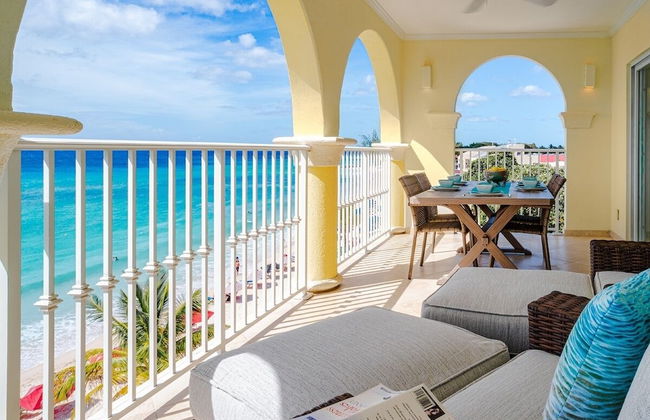
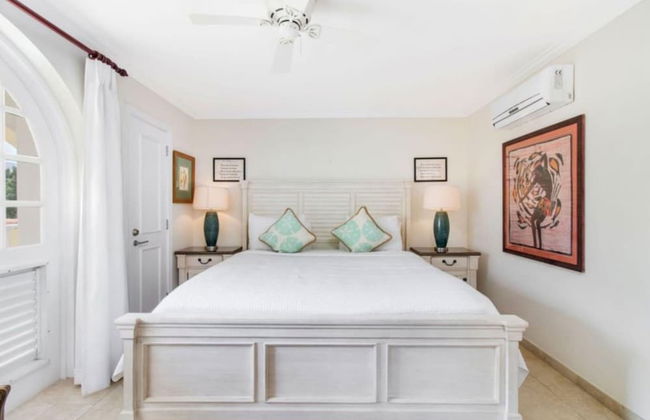
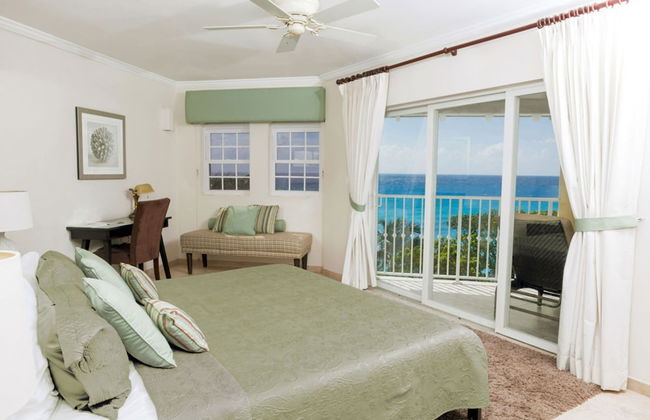
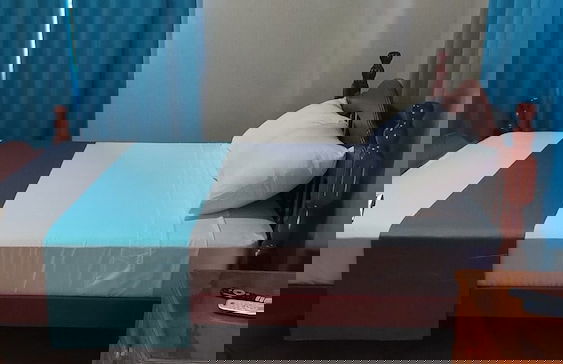
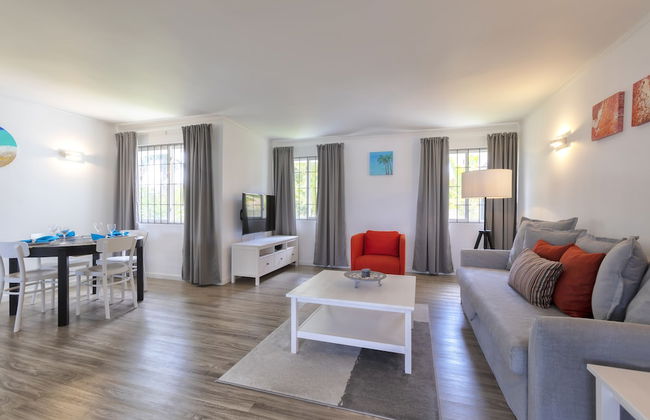
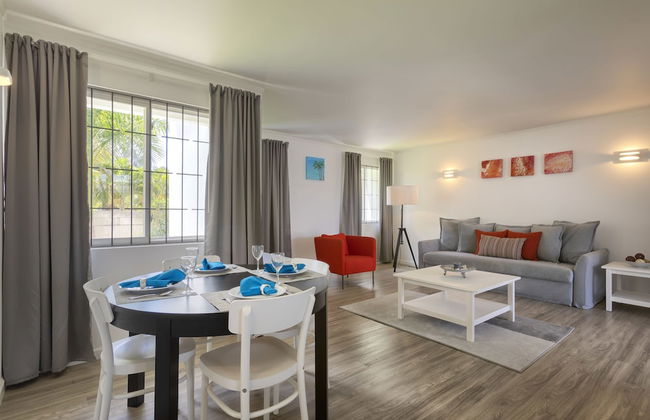
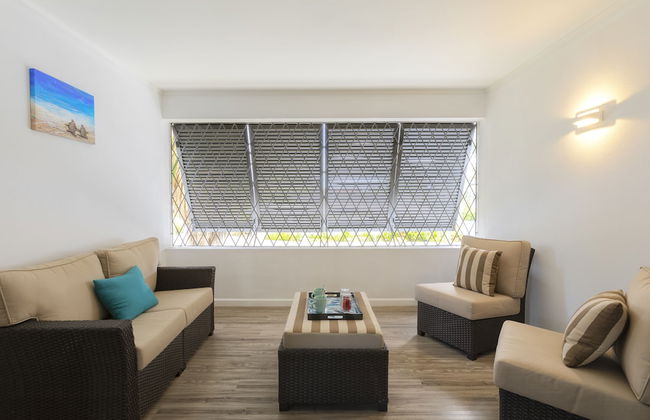
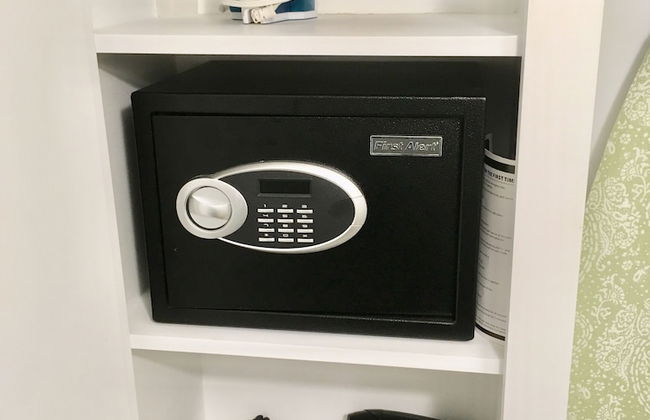
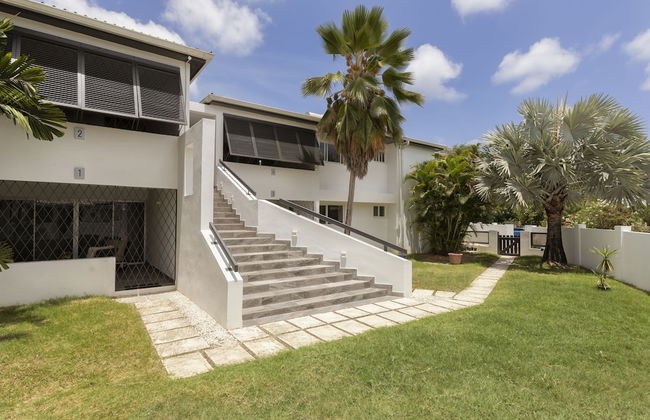
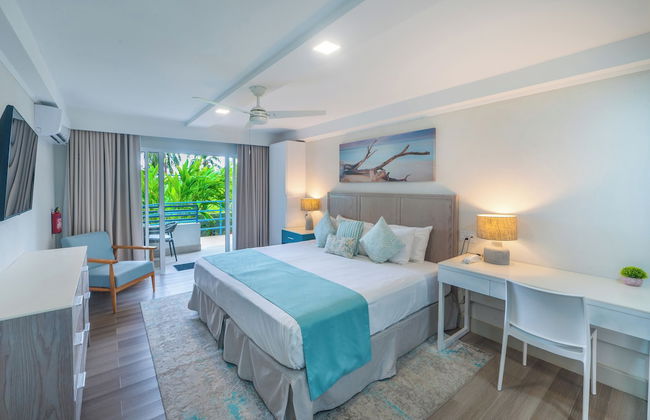
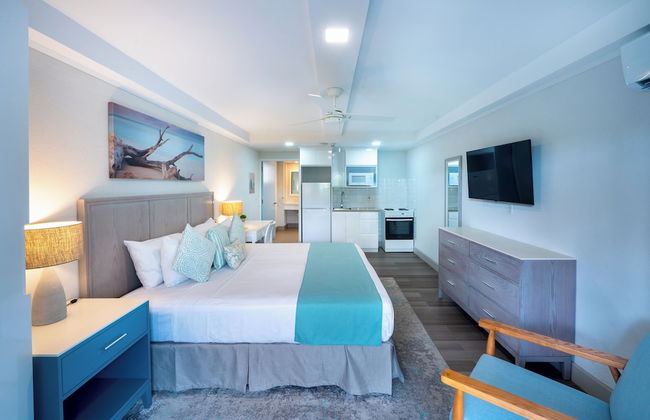
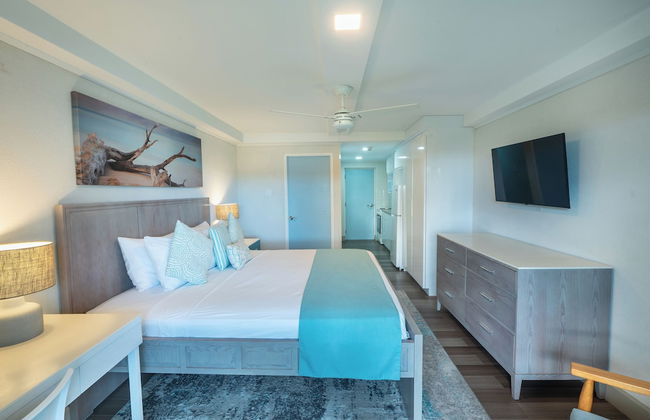
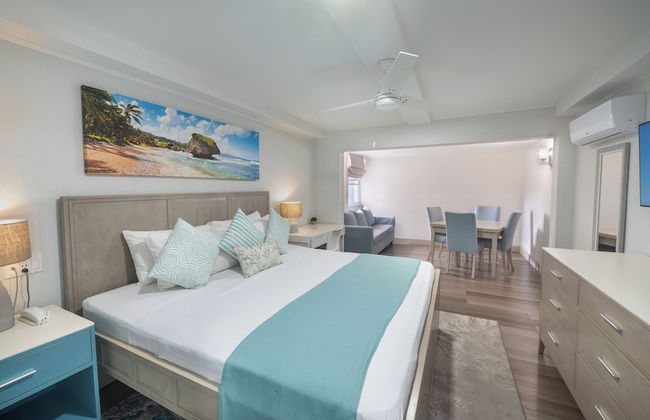
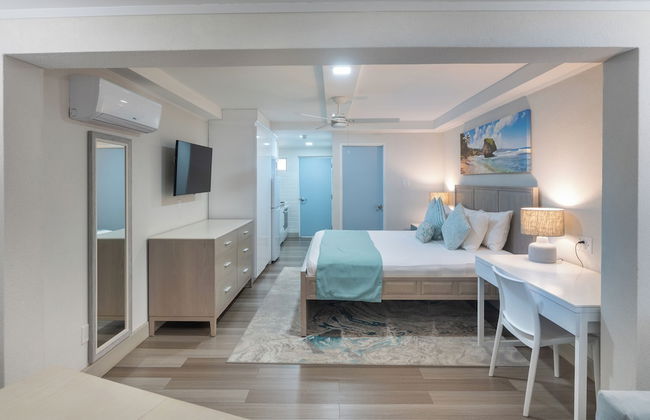
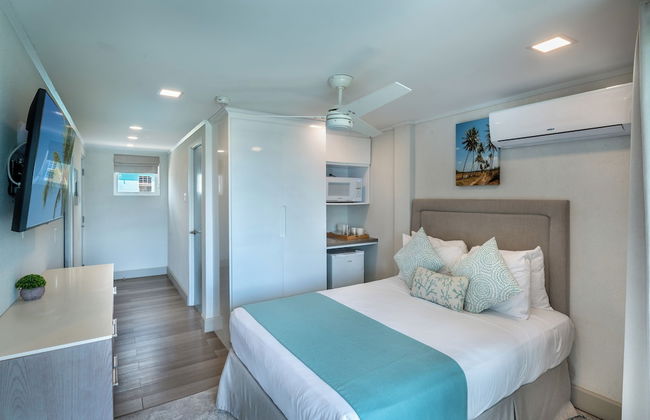
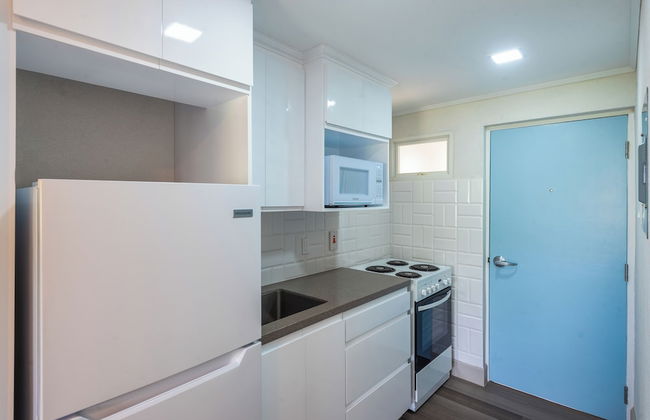
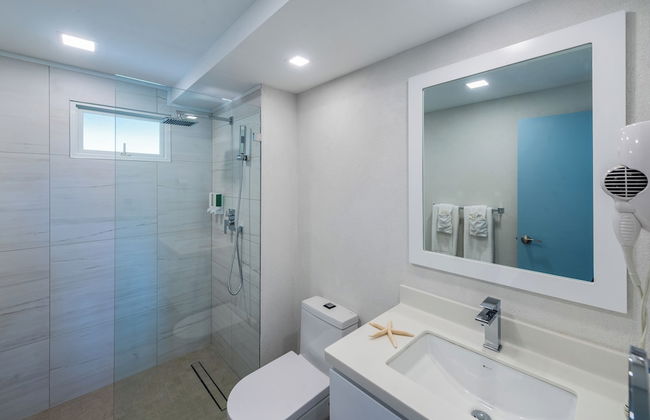
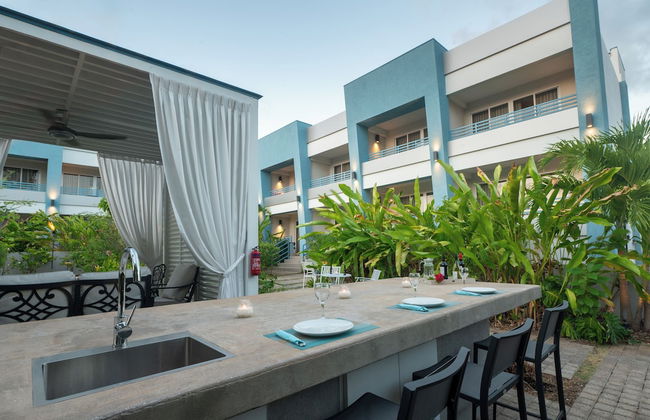
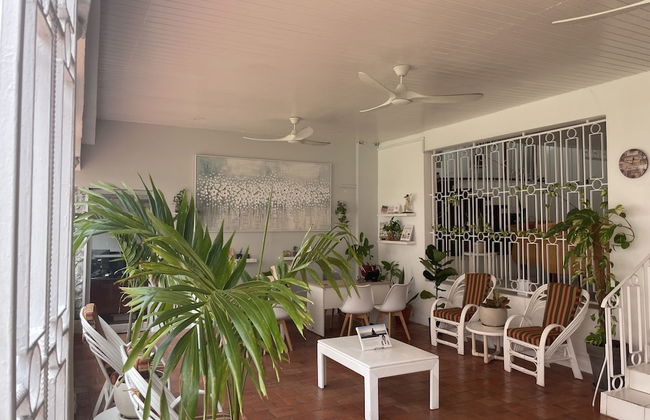
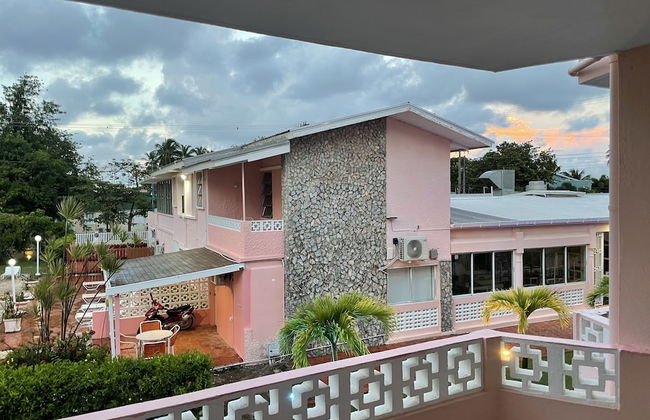
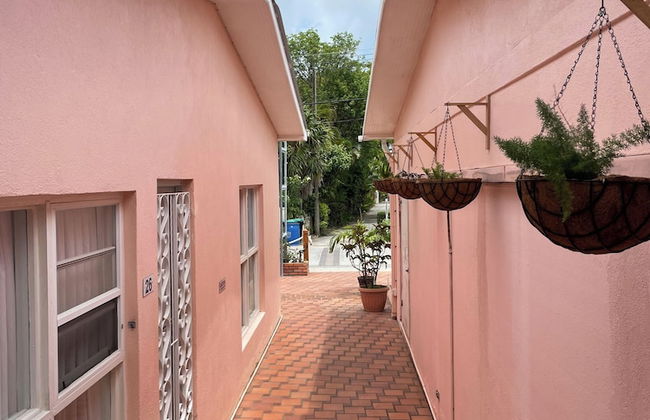
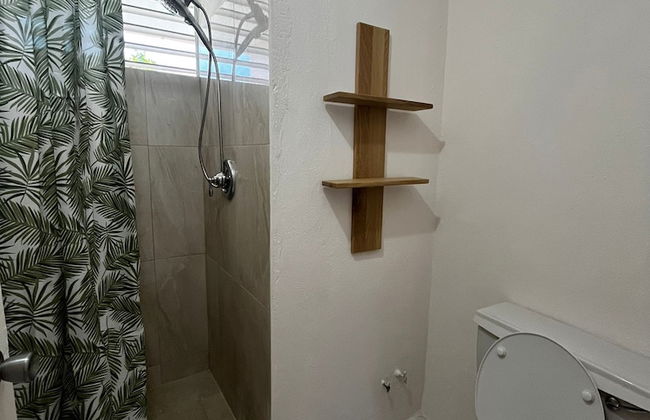
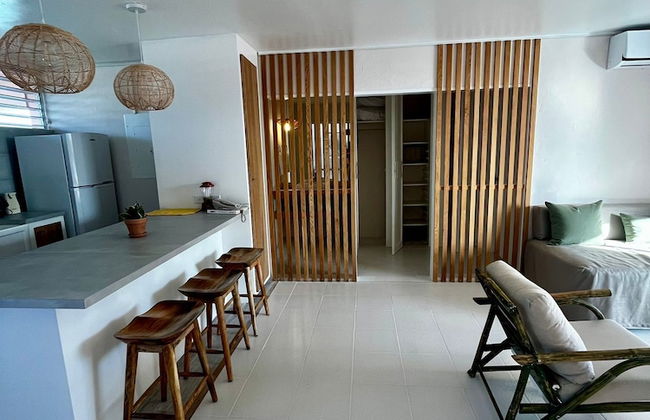
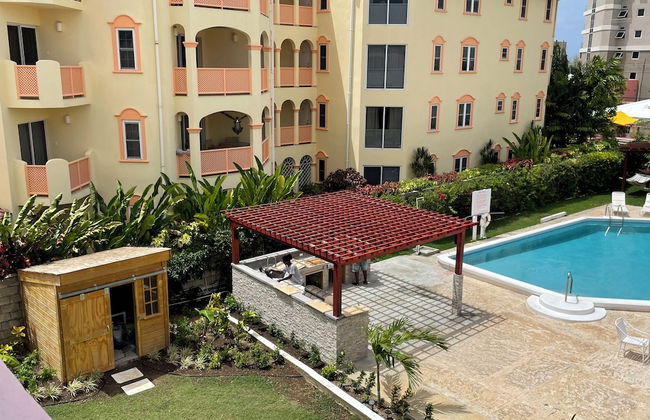
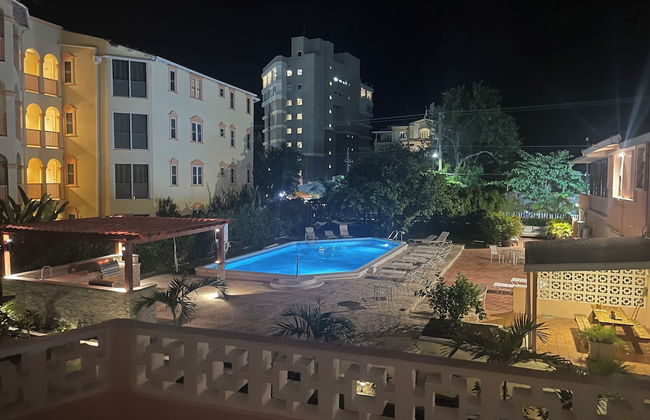
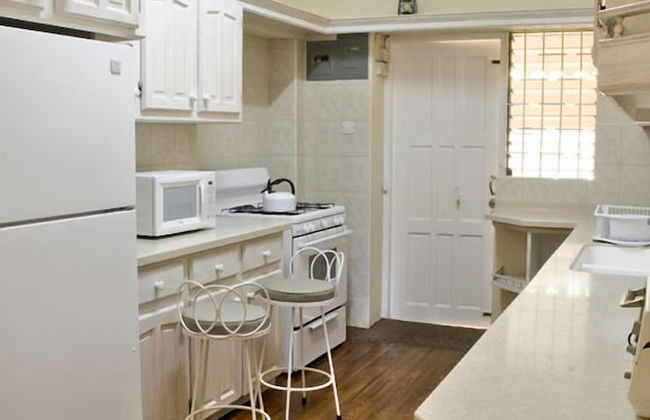
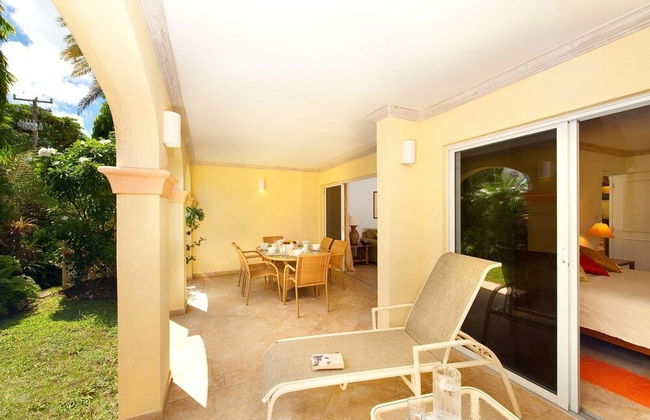
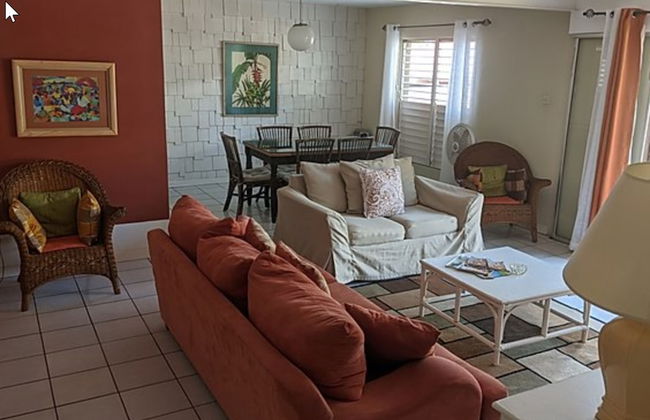
The Royal Bliss Barbados
Christ Church
- 71 M2
- 4 Personen
- Kochnische
- Klimaanlage
- Terrasse
- Parkplatz
- Balkon
- Tv
- Waschmaschine
- Barbecue
- Handtücher
- Bettlaken
129 Bewertungen
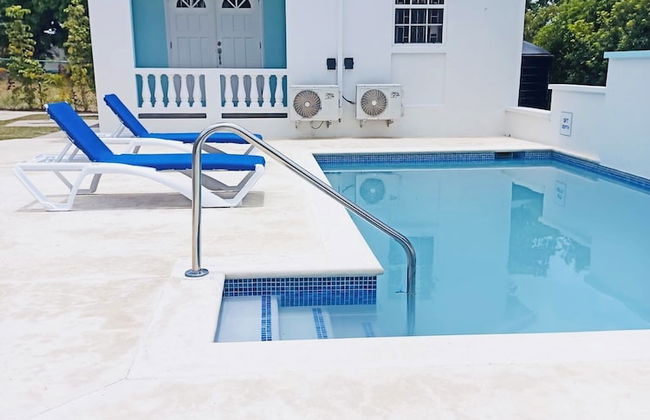

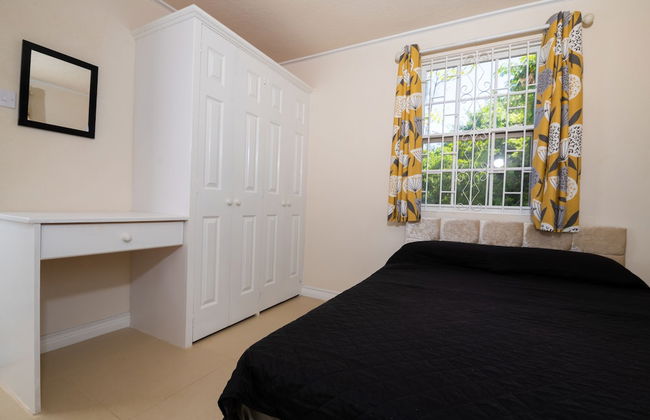


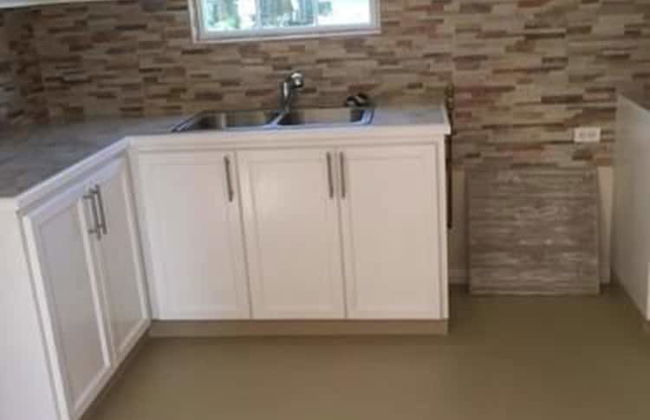

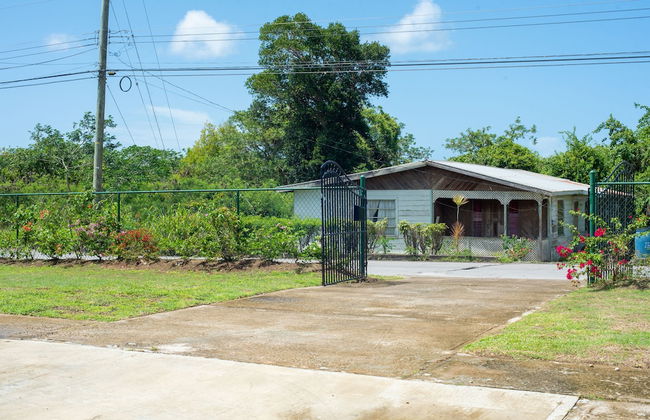
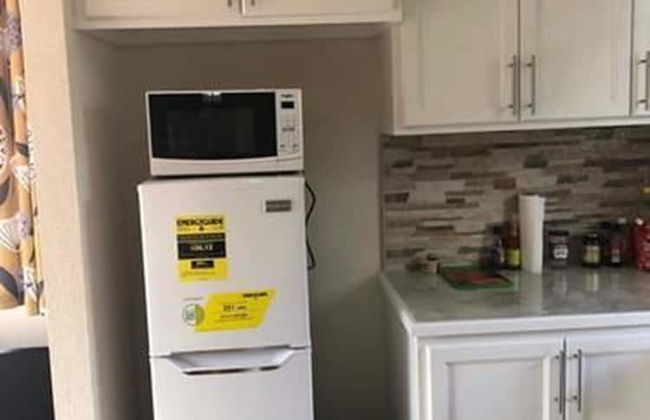
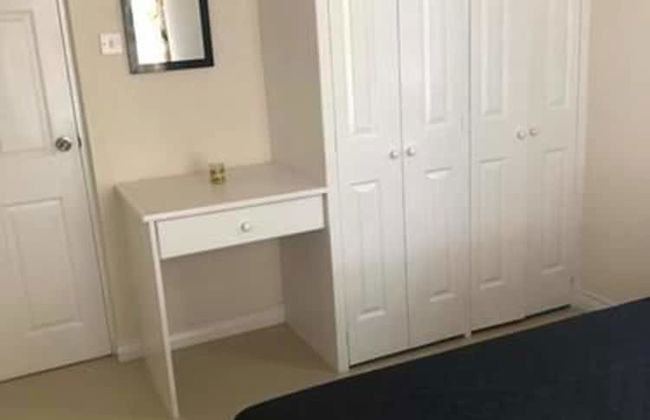
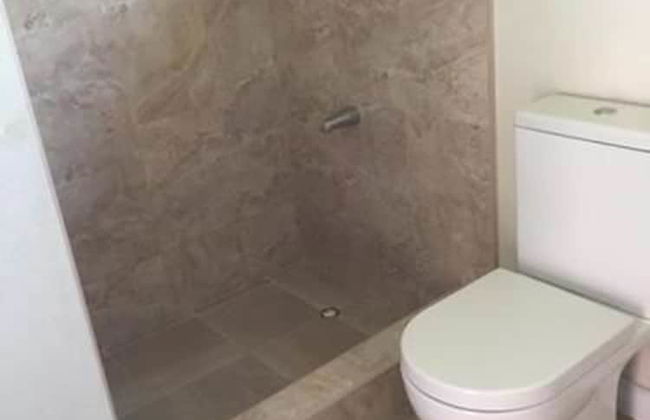


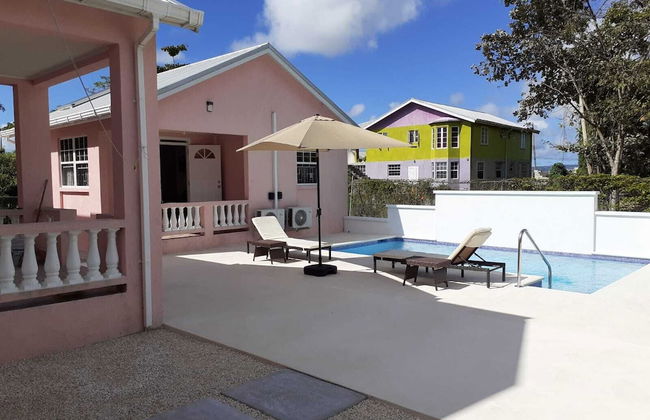
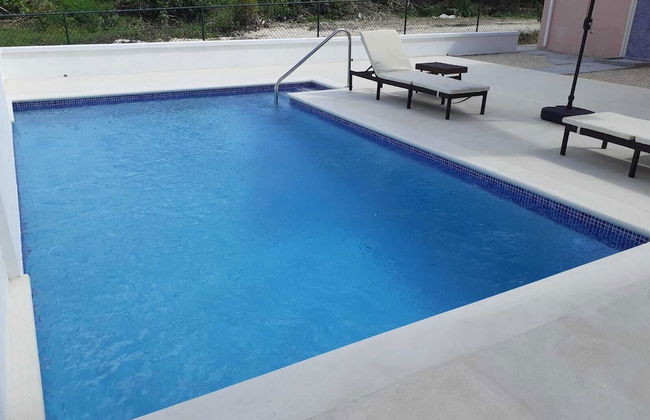
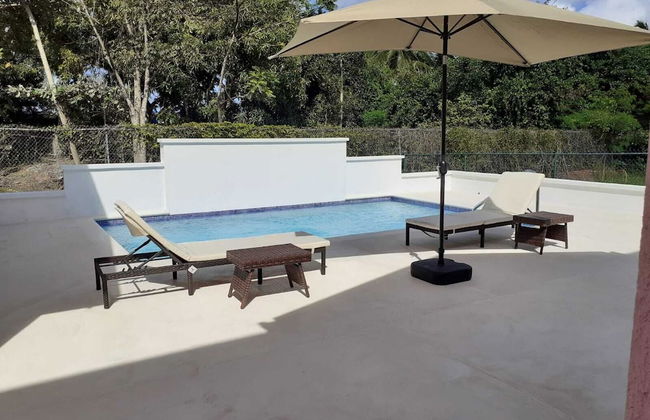
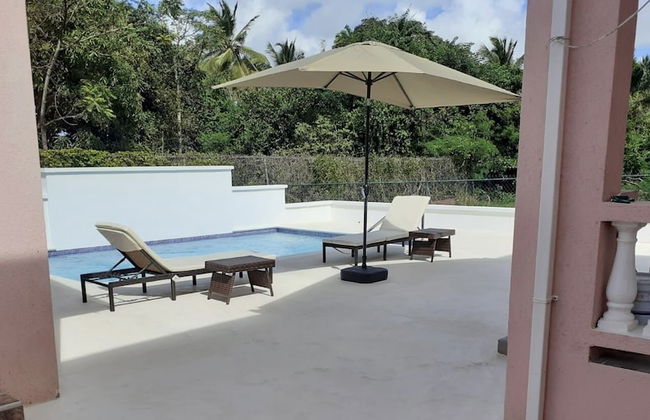


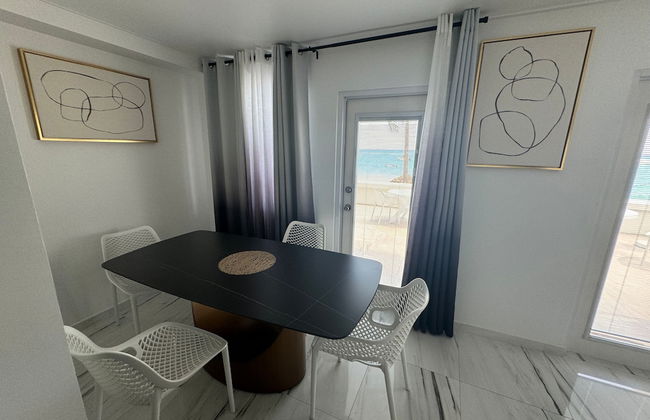
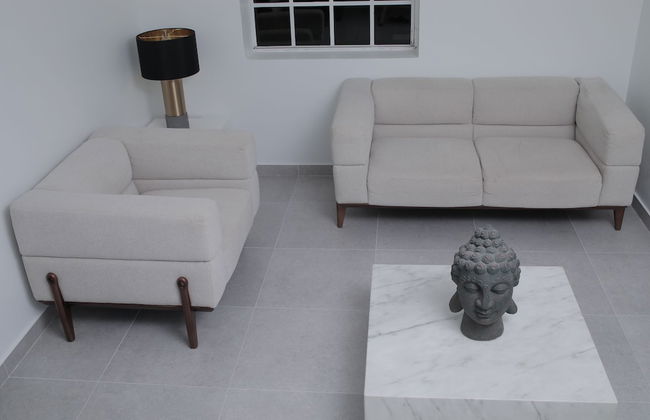
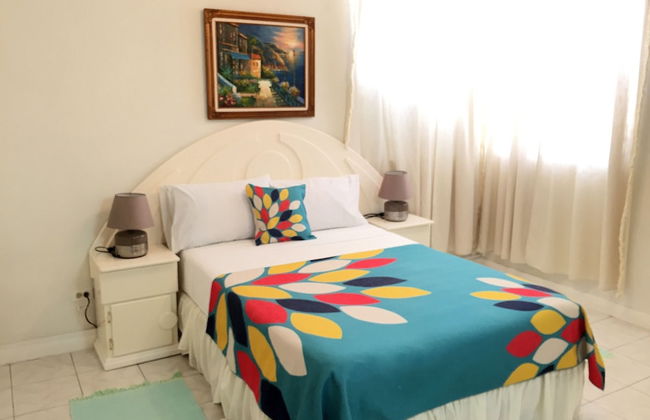
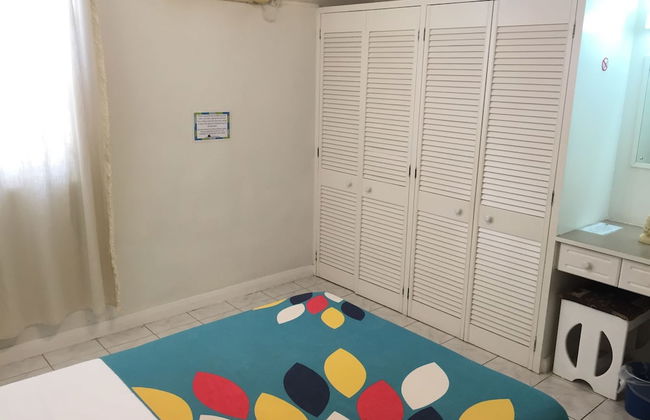
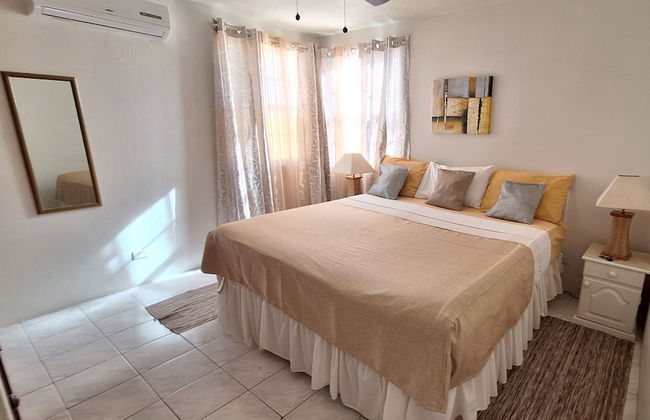
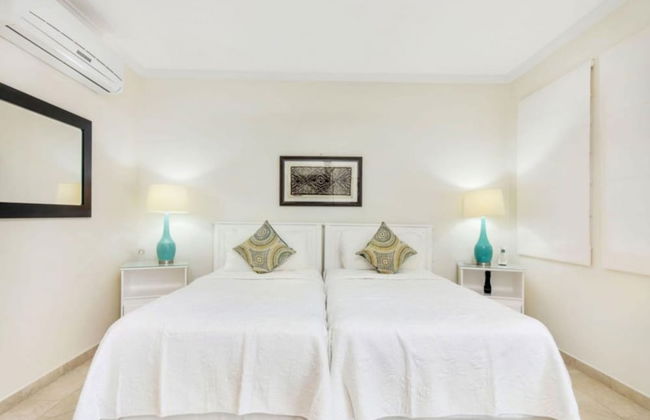
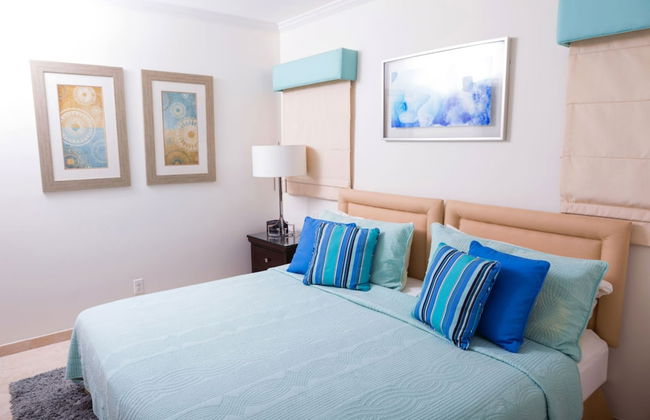
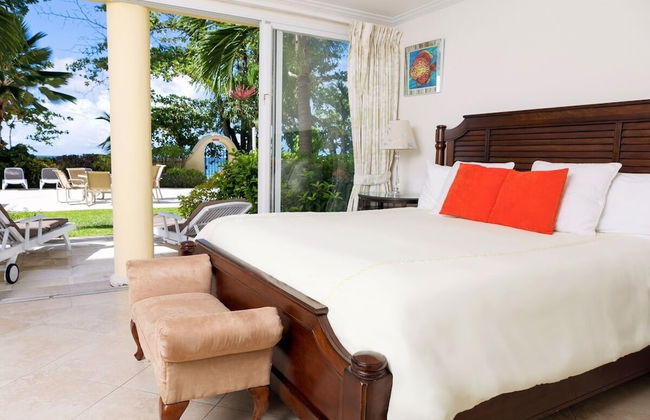
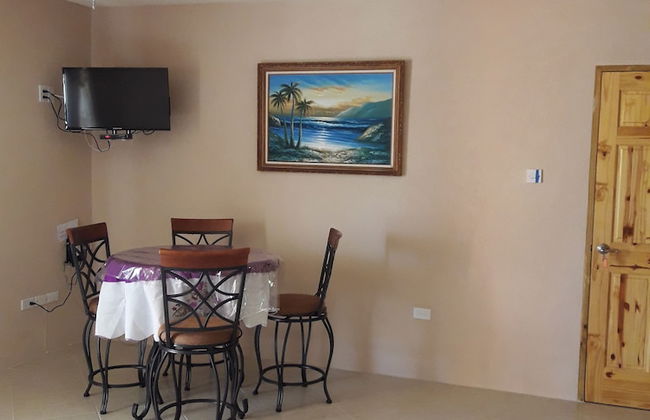
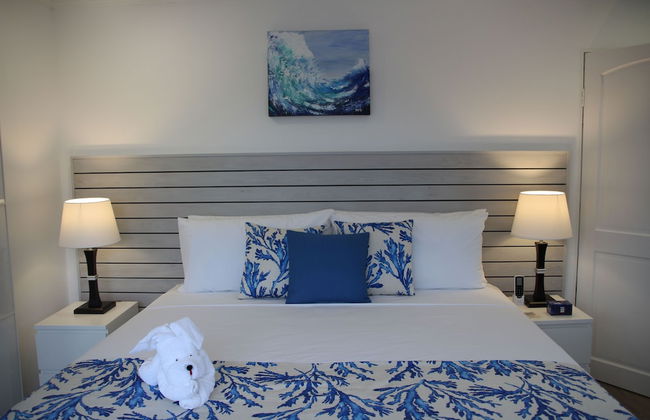
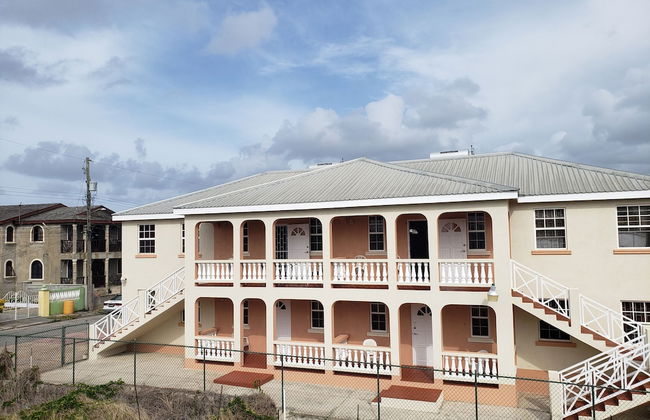
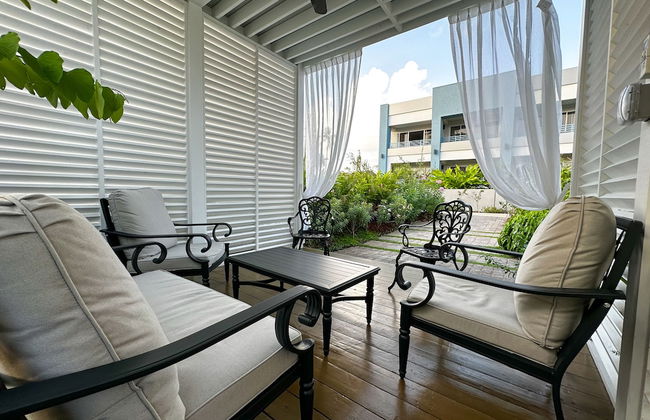
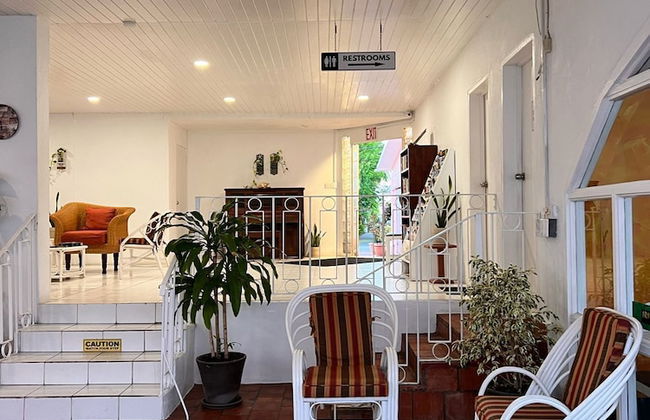
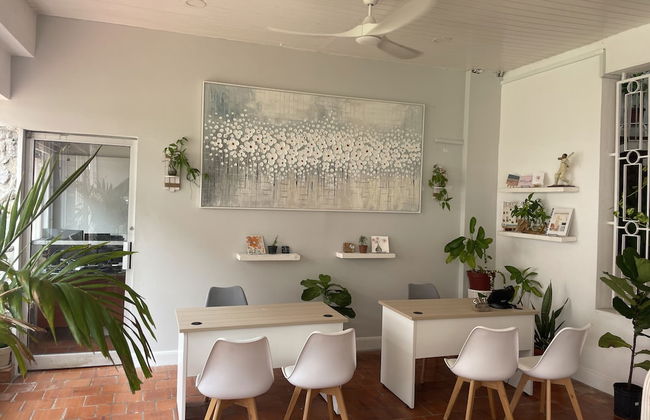
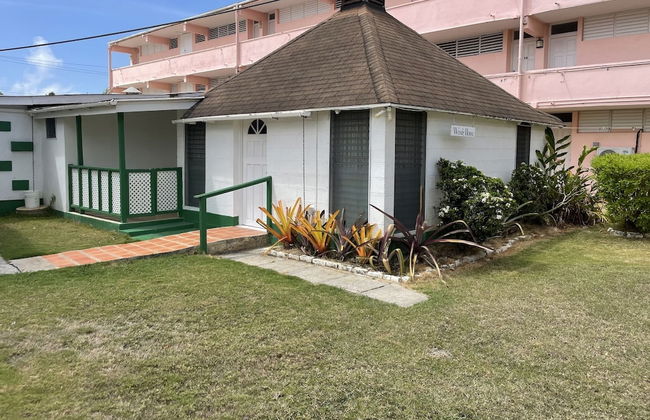
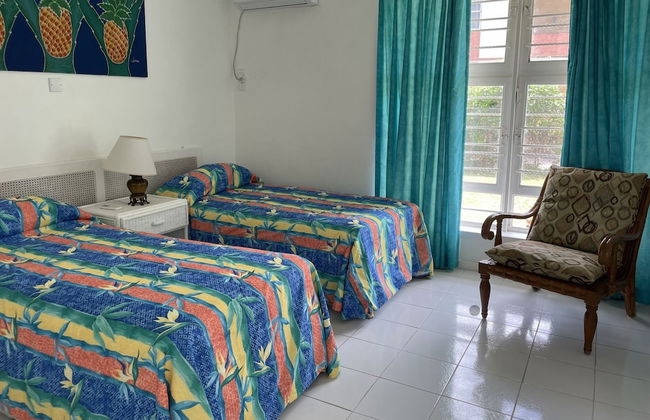
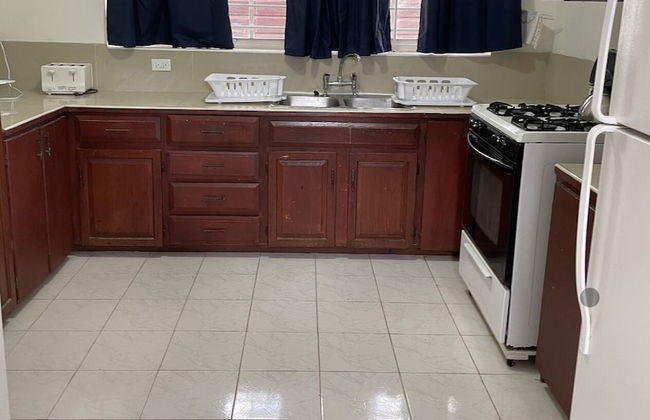
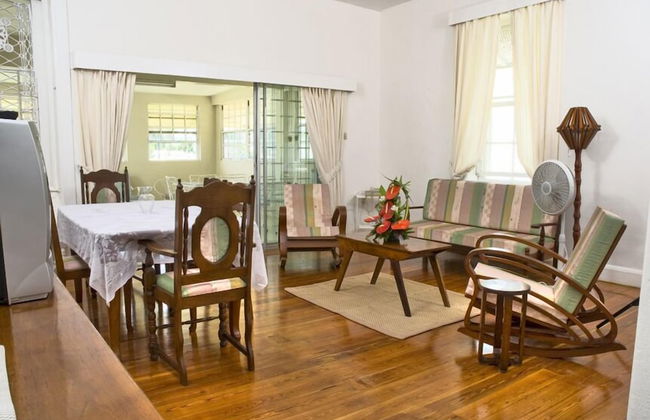
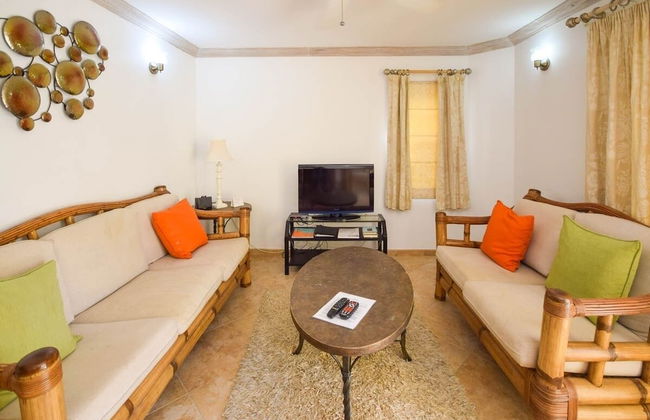
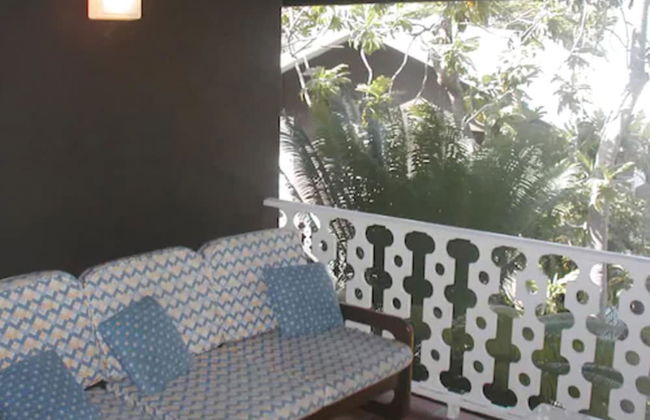
THE Cottage, Saint Davids, Christ Church, Barbados
Christ Church - St Davids
- 4 Personen
- Klimaanlage
- Terrasse
- Schwimmbad
- Parkplatz
- Garten
- Tv
- Waschmaschine
- Handtücher
- Bettlaken
13 Bewertungen


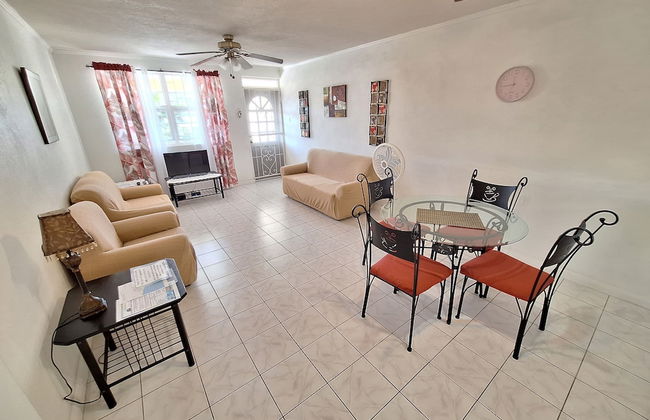


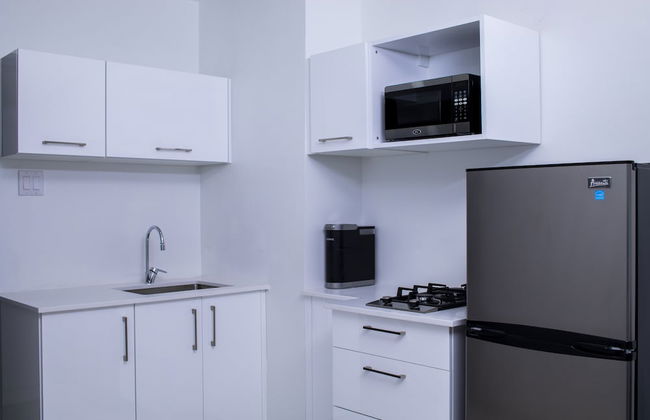
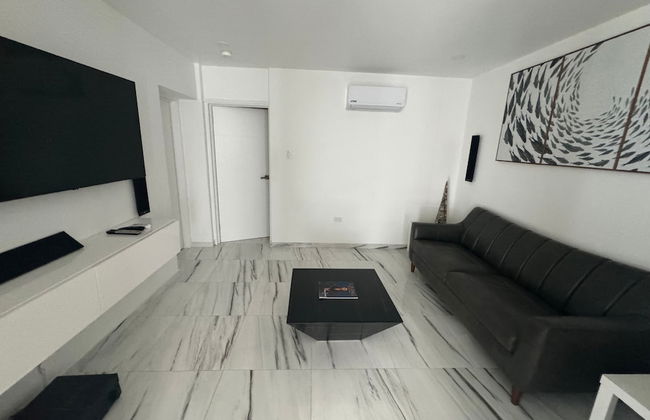
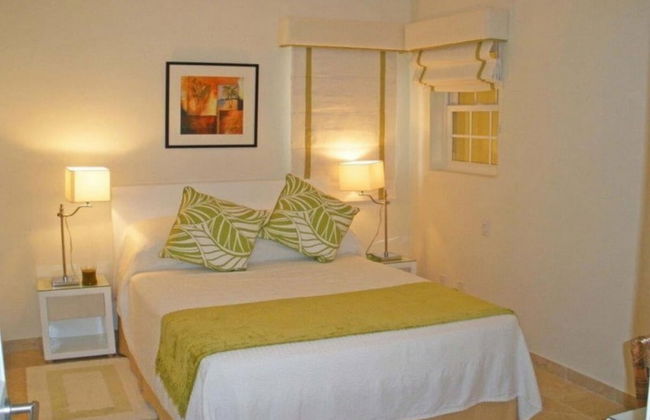
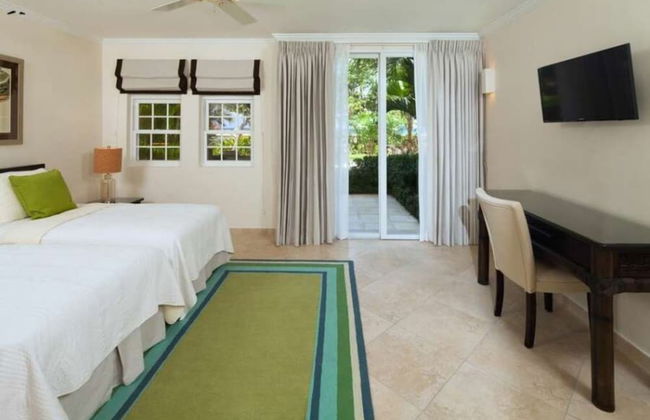
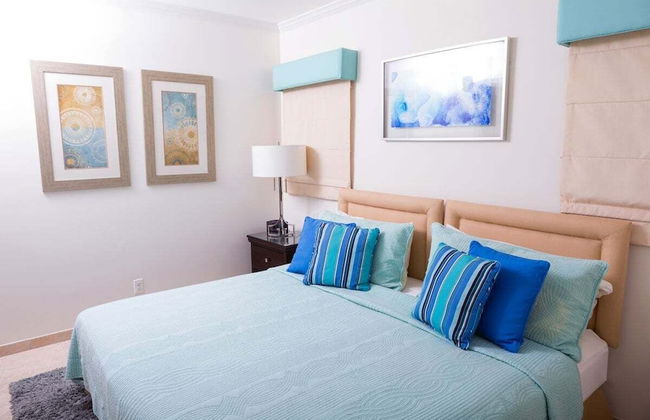
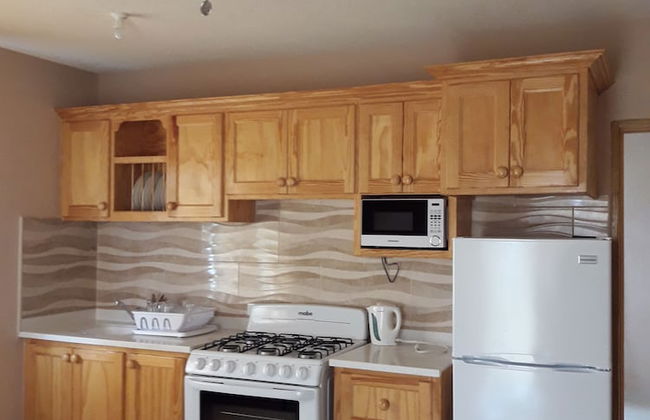
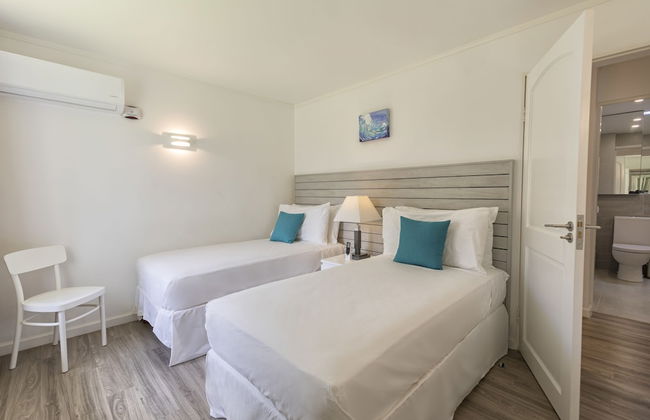
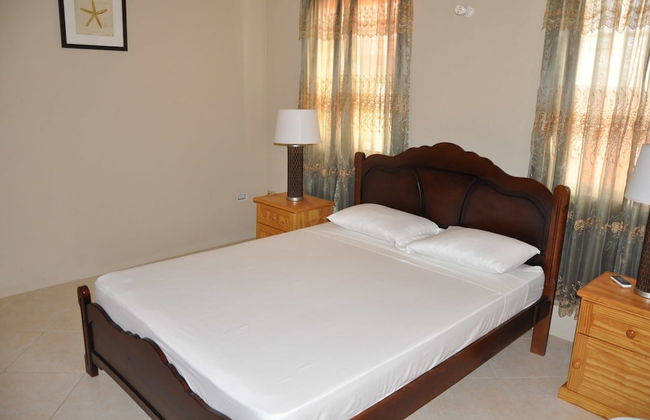
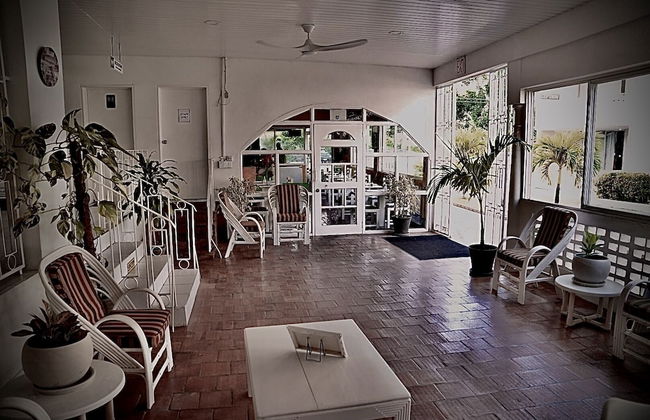
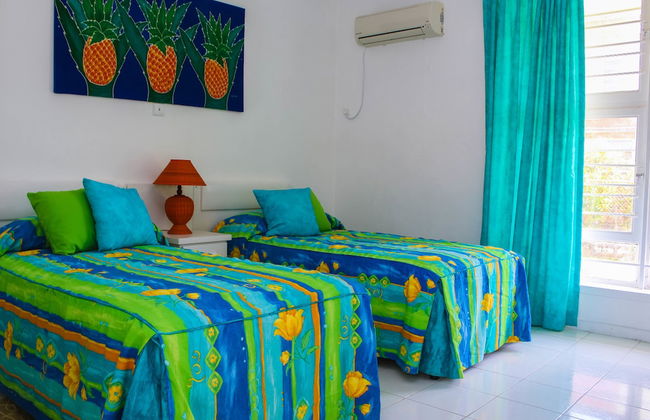
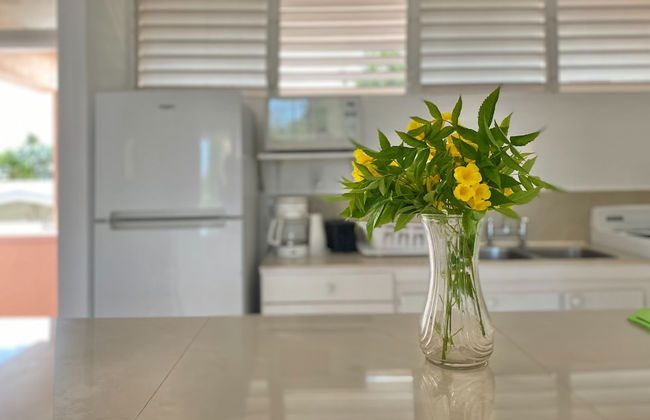
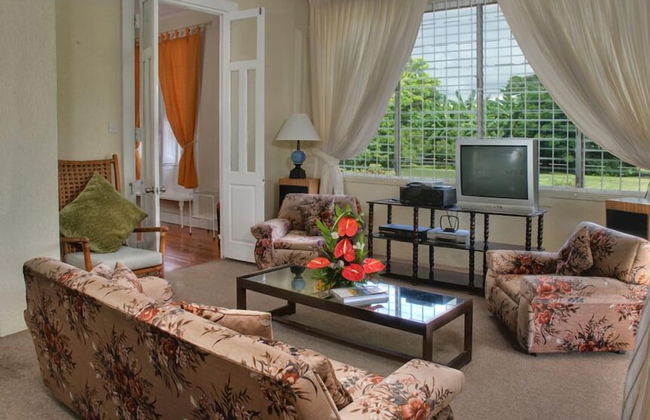
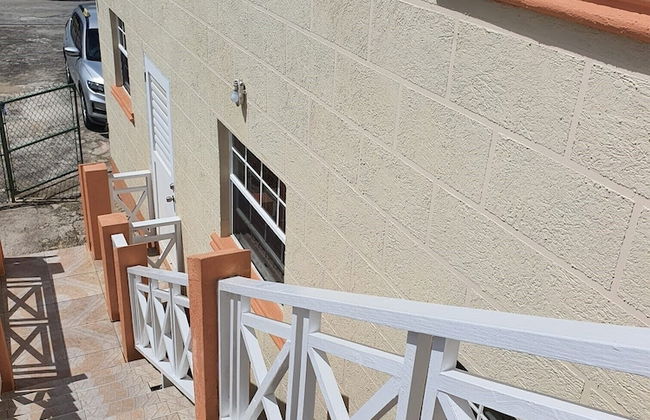
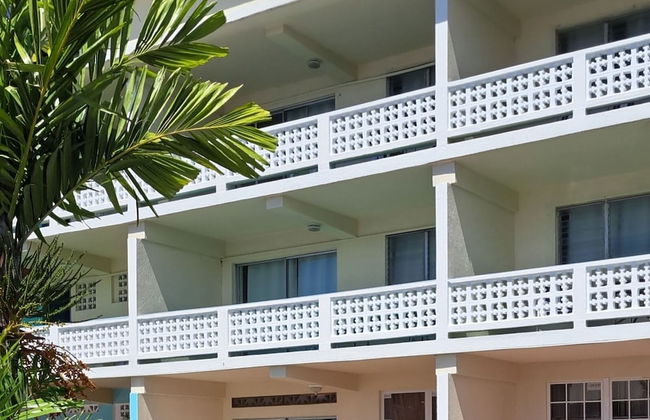
Cumber's Tropical Apartments
Christ Church
- 4 Personen
- Klimaanlage
- Terrasse
- Parkplatz
- Balkon
- Tv
- Handtücher
- Bettlaken
34 Bewertungen


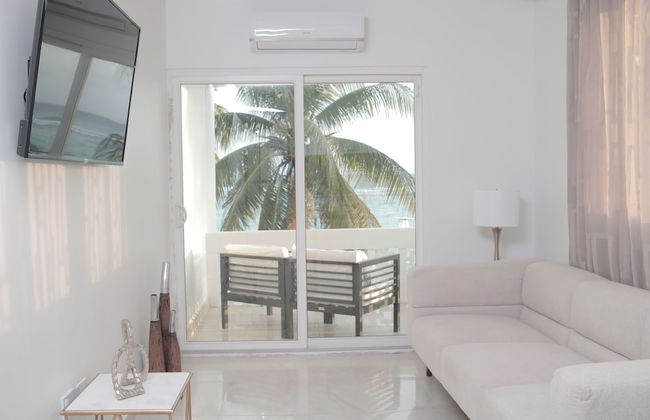
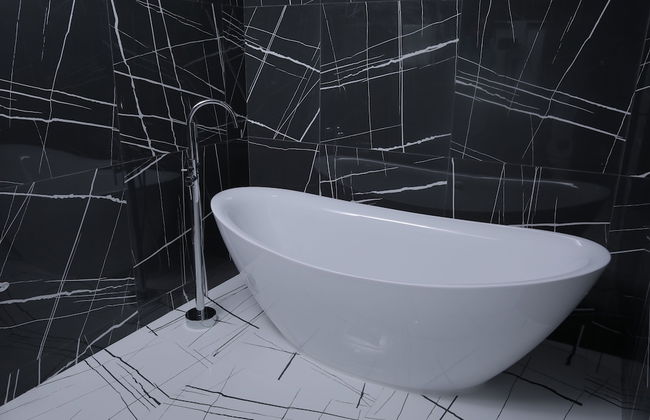
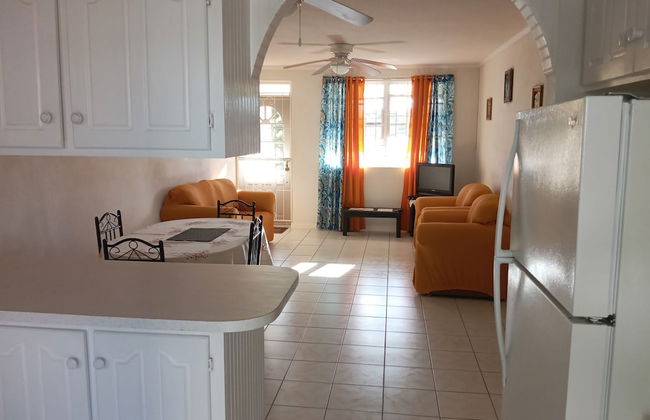
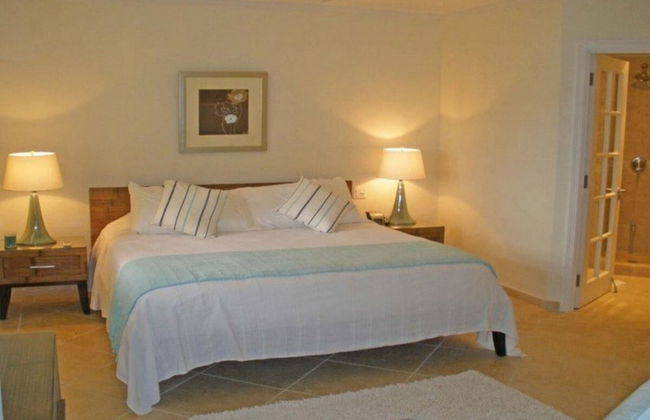
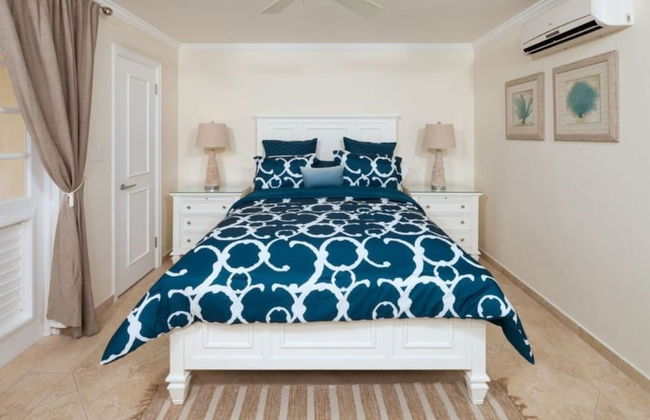
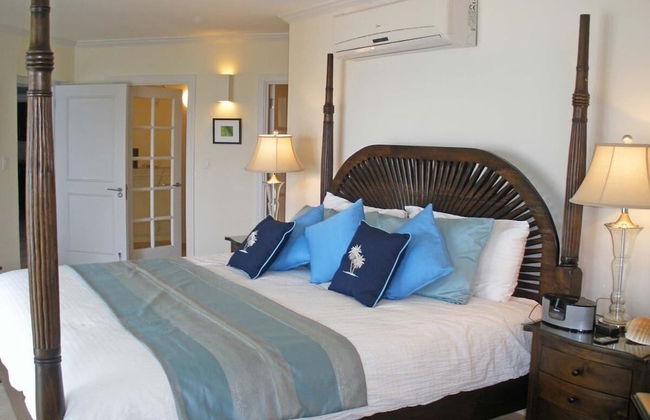
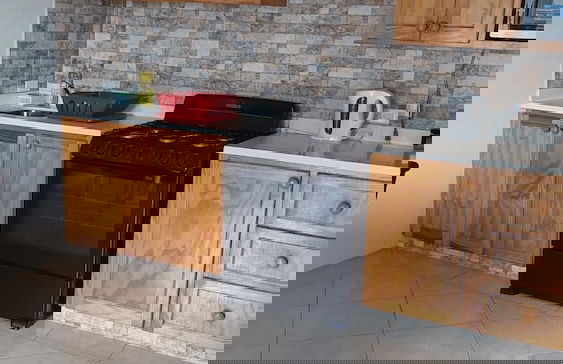
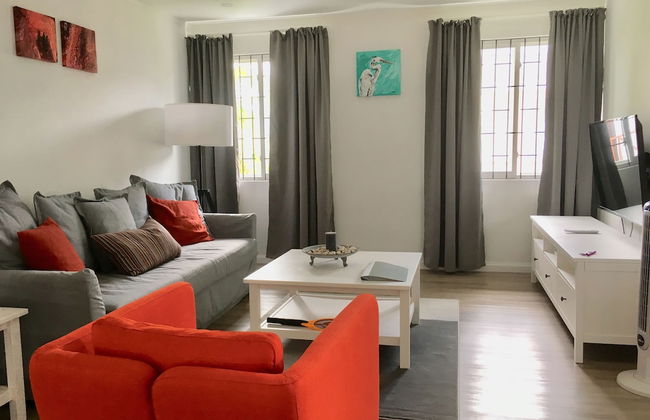
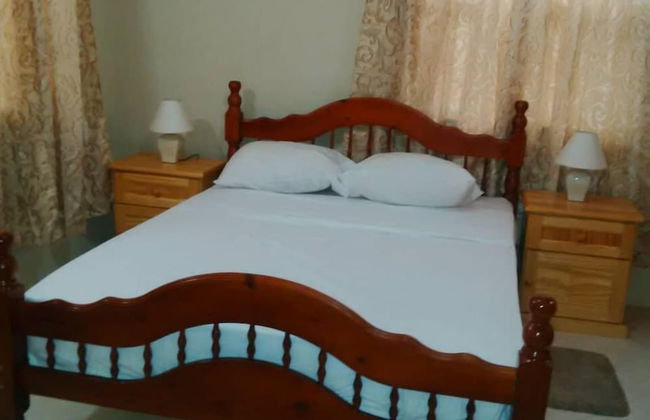
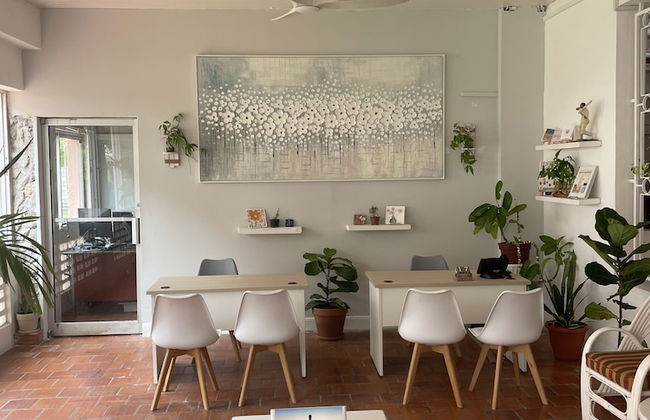
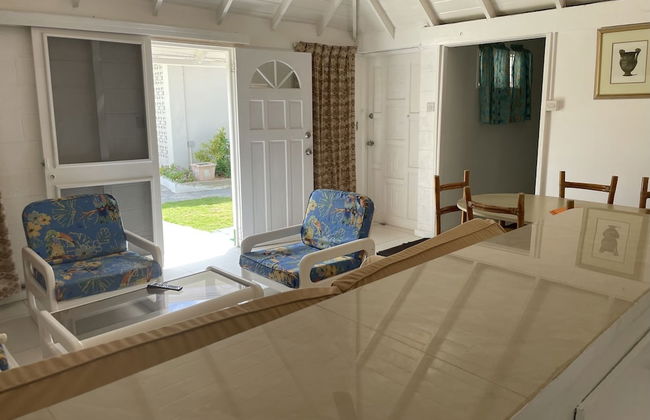
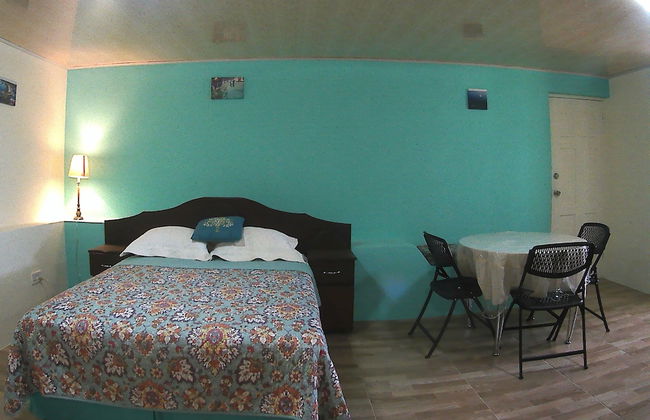
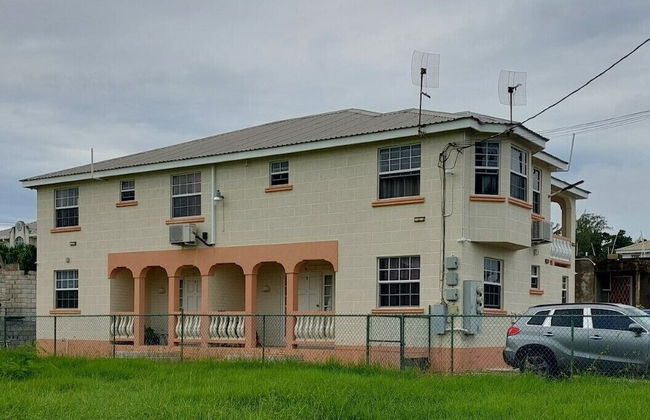
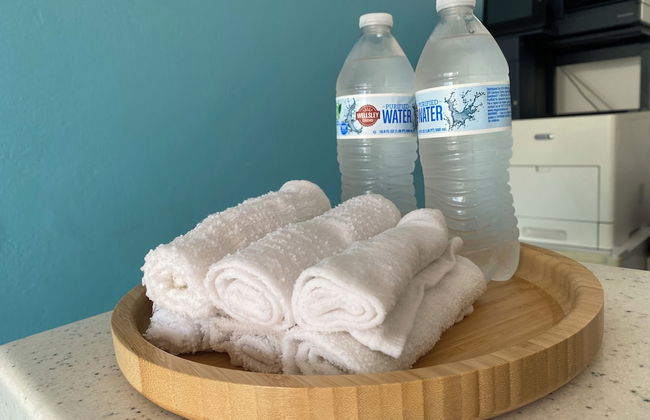
Hopeville Apartments
Christ Church
- 4 Personen
- Klimaanlage
- Terrasse
- Parkplatz
- Garten
- Tv
- Waschmaschine
- Handtücher
- Bettlaken
55 Bewertungen


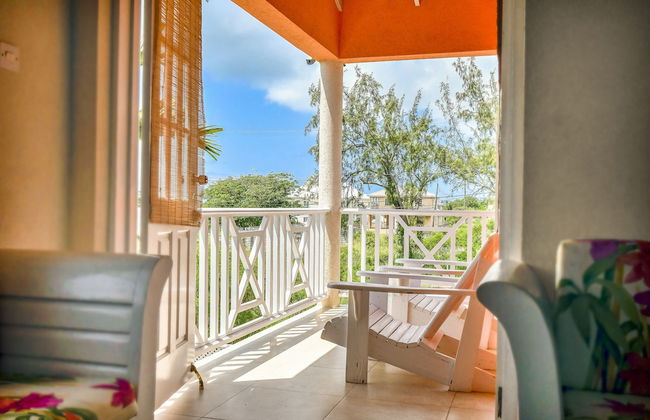


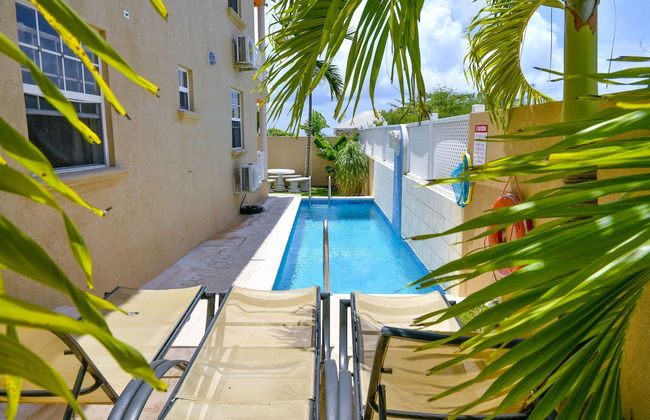


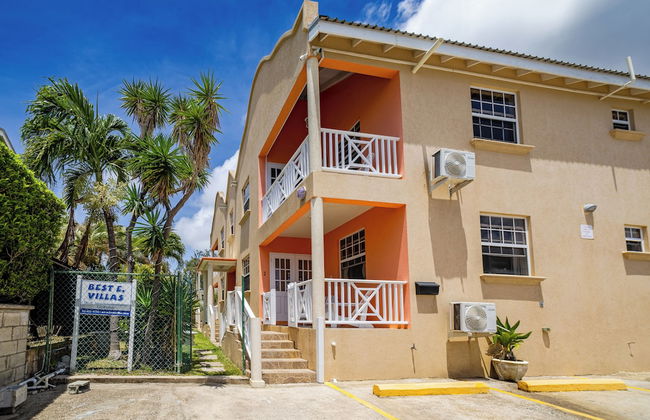
Best E Villas Providence
Christ Church
- 149 M2
- 4 Personen
- Klimaanlage
- Terrasse
- Schwimmbad
- Parkplatz
- Garten
- Tv
- Waschmaschine
- Barbecue
- Handtücher
- Bettlaken
15 Bewertungen


Sapphire Beach Condominiums by Blue Sky Luxury
Christ Church
- 169 M2
- 6 Personen
- Klimaanlage
- Schwimmbad
- Parkplatz
- Fahrstuhl
- Balkon
- Tv
- Waschmaschine
- Handtücher
- Bettlaken
71 Bewertungen
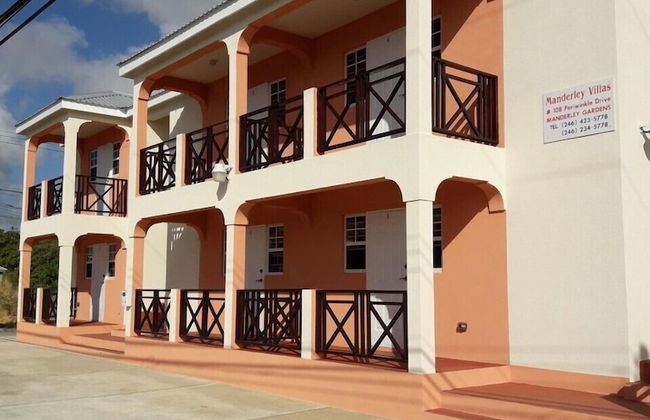


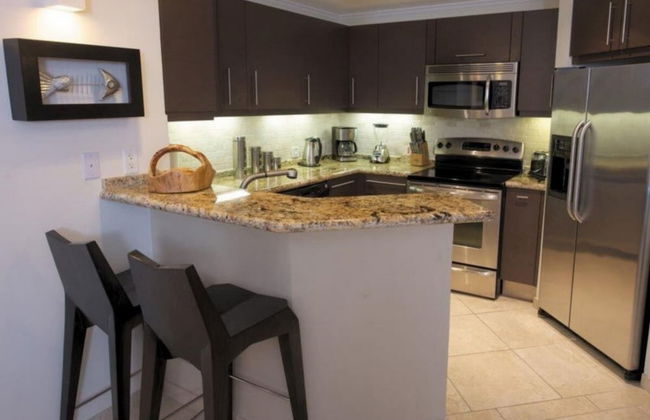
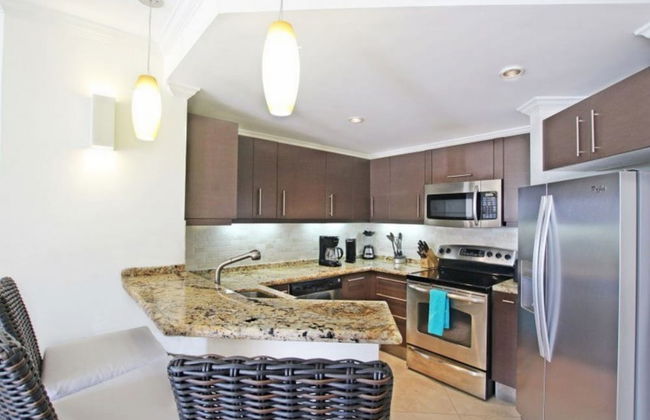
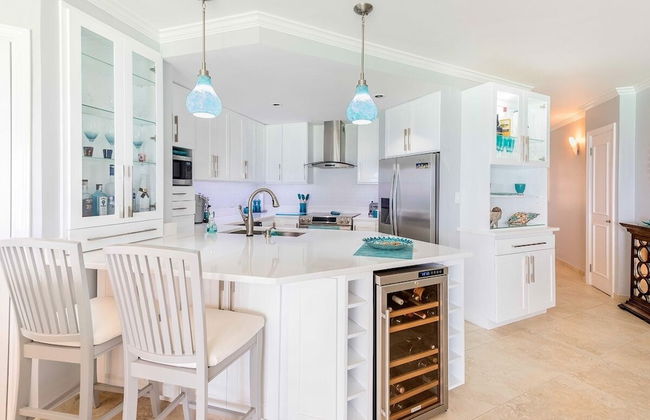
Manderley Villas
Saint Philip
- 2 Personen
- Klimaanlage
- Terrasse
- Parkplatz
- Tv
- Waschmaschine
- Handtücher
- Bettlaken
78 Bewertungen


Dover Woods Apartments
Christ Church
- 92 M2
- 6 Personen
- Klimaanlage
- Terrasse
- Parkplatz
- Balkon
- Garten
- Tv
- Waschmaschine
- Handtücher
- Bettlaken
22 Bewertungen


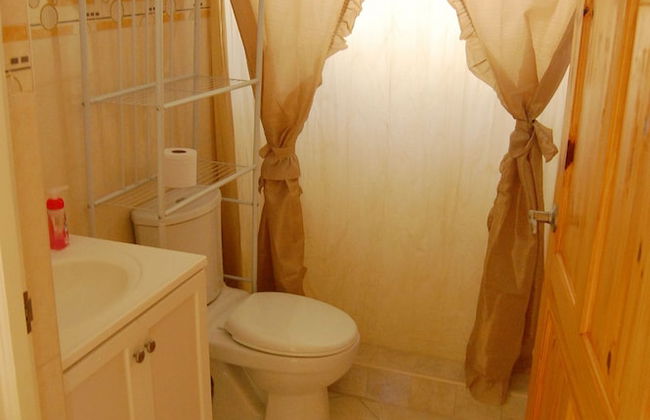


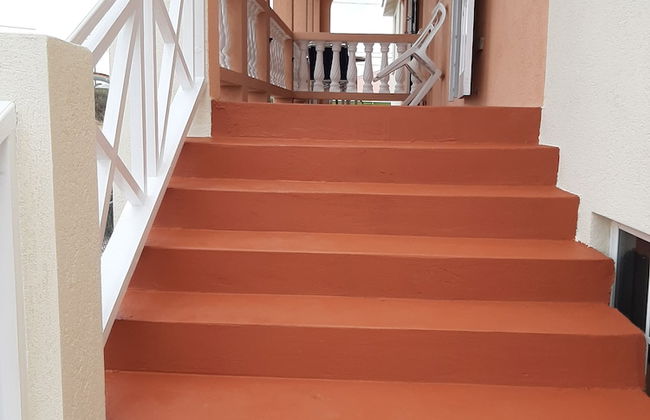
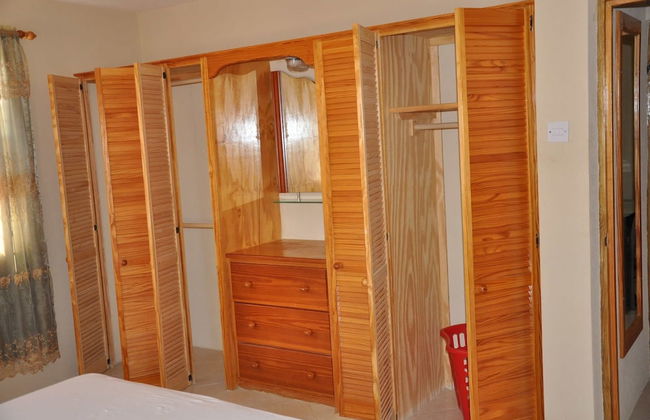
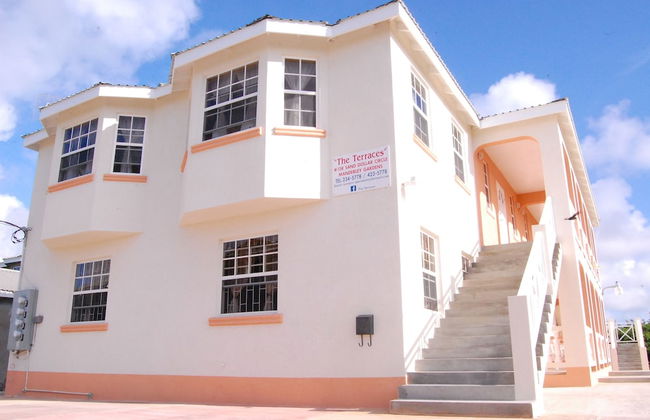
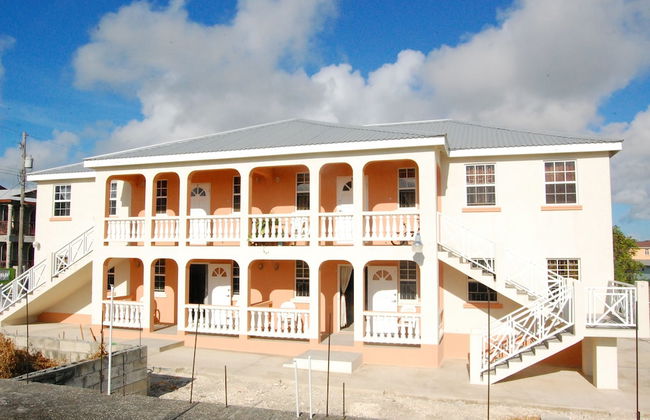
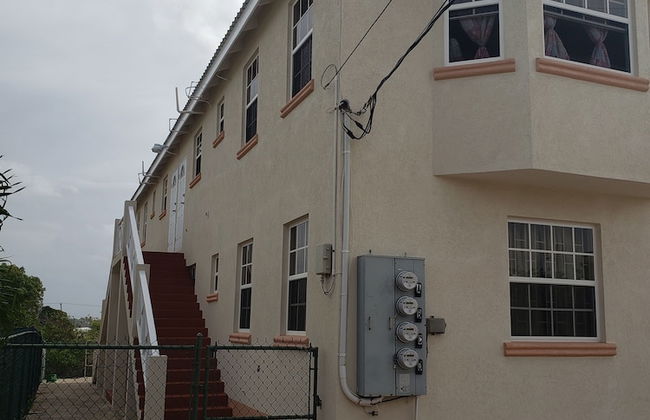
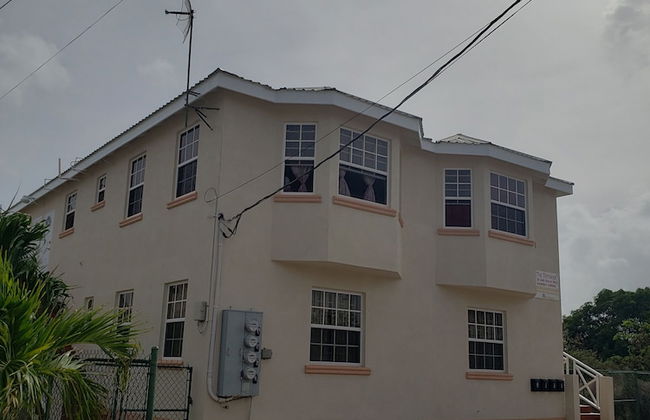

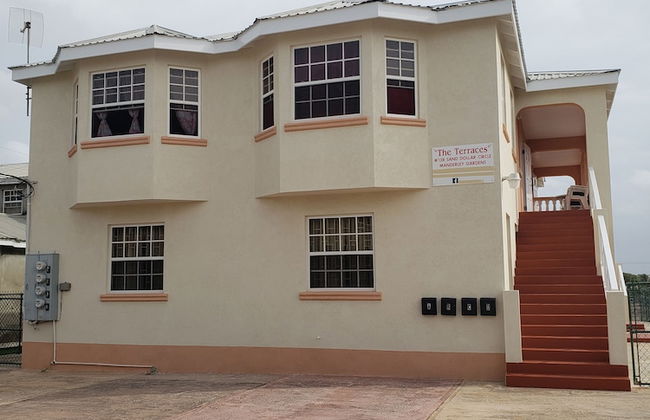


The Terraces at Mangrove
Saint Philip
- 5 Personen
- Klimaanlage
- Terrasse
- Parkplatz
- Balkon
- Tv
- Waschmaschine
- Handtücher
85 Bewertungen


Blue Haven Holiday Apartments
Christ Church
- 3 Personen
- Kochnische
- Klimaanlage
- Parkplatz
- Garten
- Tv
- Handtücher
- Bettlaken
208 Bewertungen


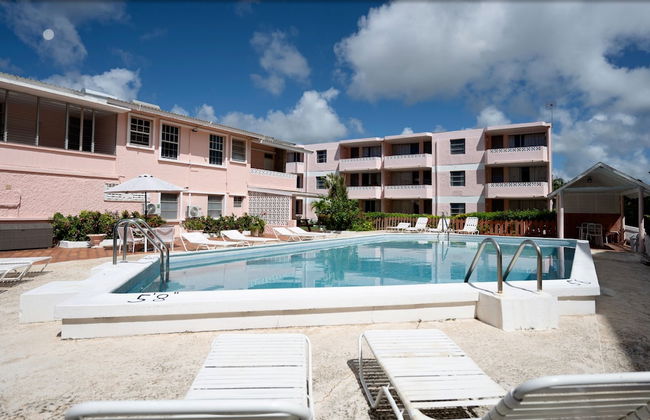
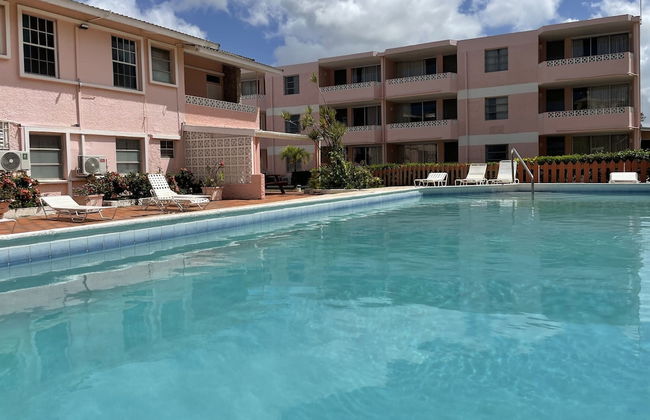


The Monteray Hotel
Christ Church
- 193 M2
- 6 Personen
- Kochnische
- Klimaanlage
- Terrasse
- Schwimmbad
- Parkplatz
- Balkon
- Garten
- Tv
- Handtücher
- Bettlaken
141 Bewertungen


Beverley Apartments
Christ Church
- 6 Personen
- Klimaanlage
- Parkplatz
- Fahrstuhl
- Garten
- Tv
- Handtücher
- Bettlaken
8 Bewertungen


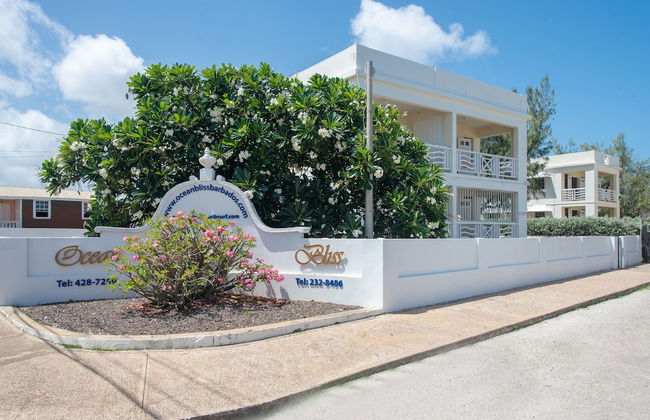


Ocean Bliss Apartments
Christ Church
- 4 Personen
- Klimaanlage
- Terrasse
- Parkplatz
- Fahrstuhl
- Garten
- Tv
- Waschmaschine
- Handtücher
34 Bewertungen


Modern 2-bed Apt Near Beach In St. Lawrence Gap 2 Bedroom Apts by Bluescape
Christ Church
- 6 Personen
- Klimaanlage
- Fahrstuhl
- Balkon
- Tv
- Waschmaschine
- Handtücher
- Bettlaken
5 Bewertungen


Paradise Villas
Saint Michael - 3.9 km vom Zentrum
- 4 Personen
- Klimaanlage
- Terrasse
- Parkplatz
- Balkon
- Garten
- Tv
- Barbecue
- Handtücher
58 Bewertungen


Stay Awhile Apartment
Saint Philip
- 25 M2
- 2 Personen
- Kochnische
- Klimaanlage
- Parkplatz
- Garten
- Tv
- Handtücher
- Bettlaken
7 Bewertungen


Melrose Beach Apartments
Christ Church
- 4 Personen
- Kochnische
- Klimaanlage
- Terrasse
- Parkplatz
- Balkon
- Tv
- Handtücher
- Bettlaken
103 Bewertungen