101 Wohnungen in Shaver
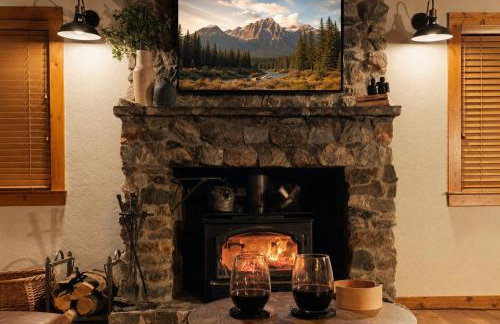
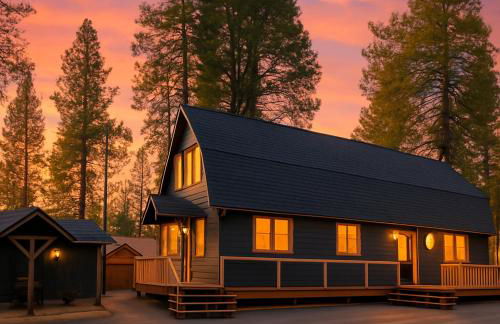
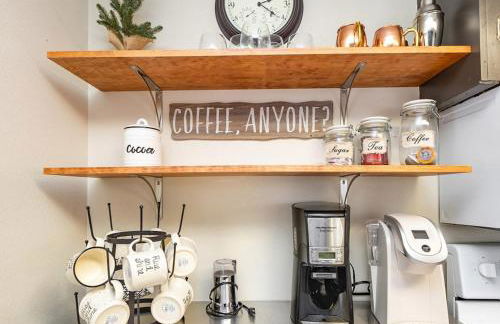
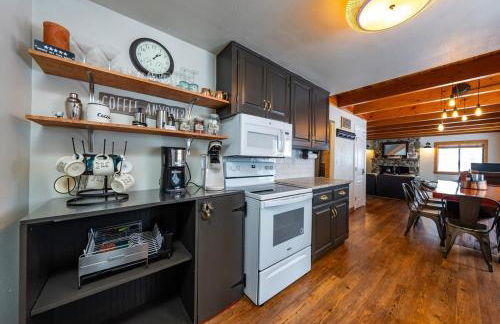
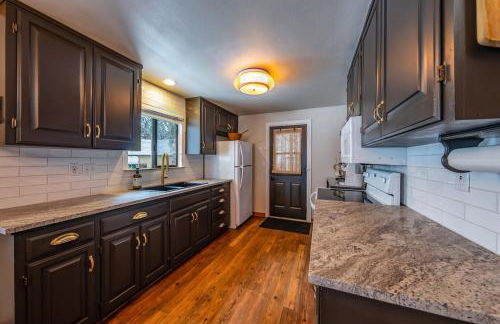
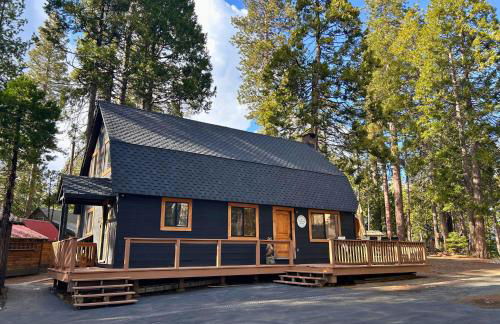
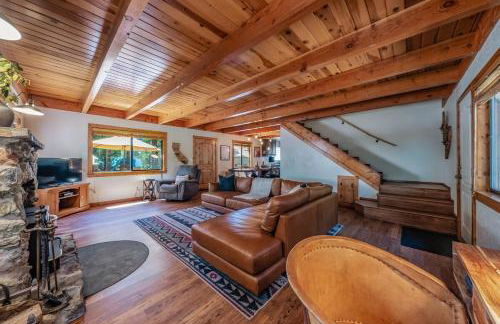
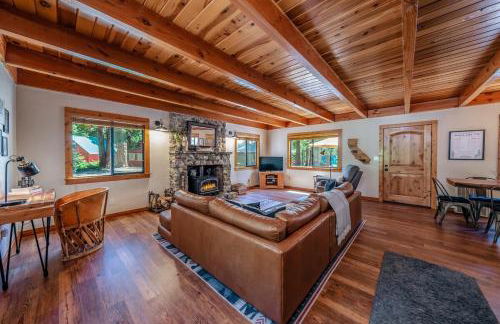
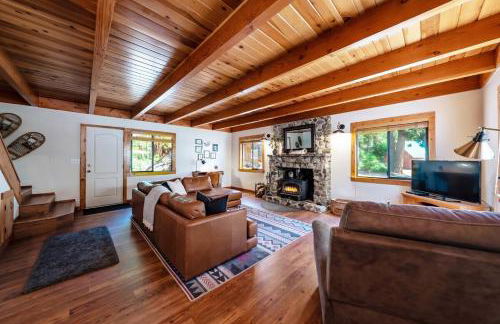
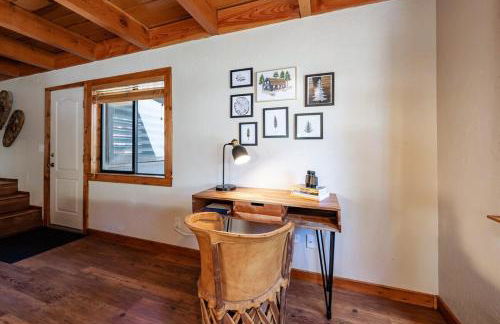
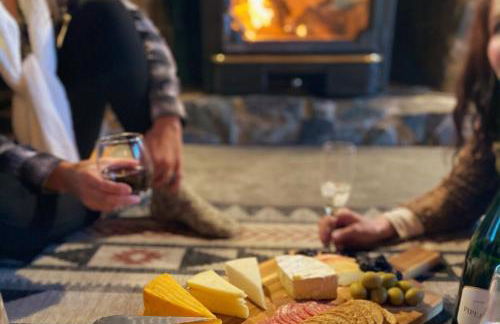
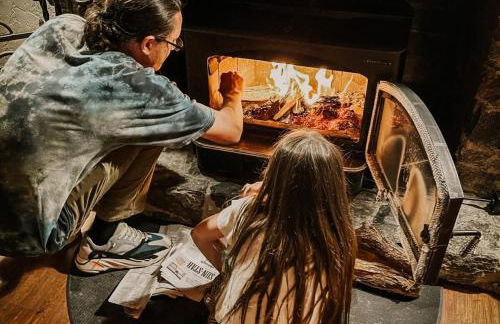
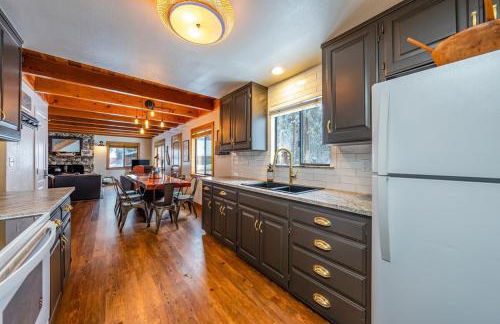
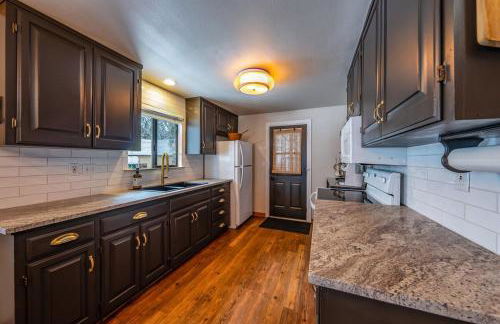
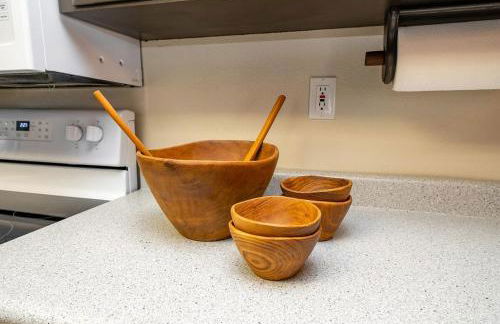
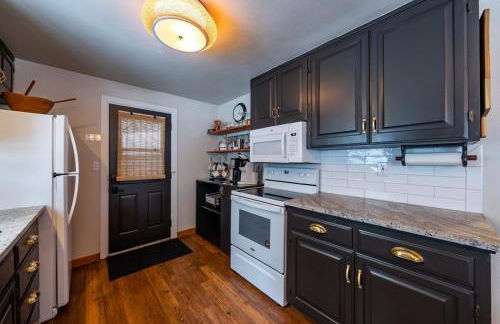
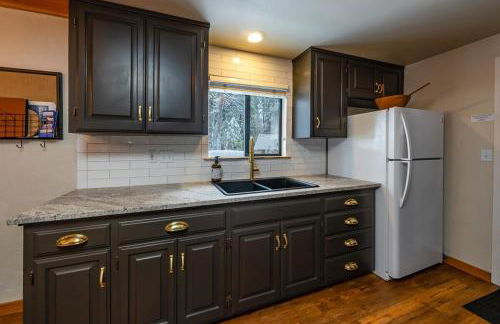
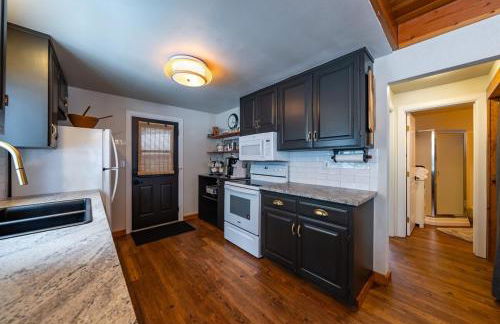
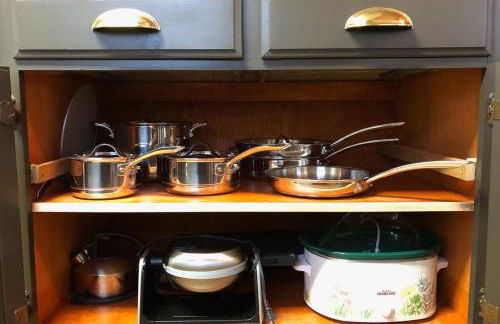
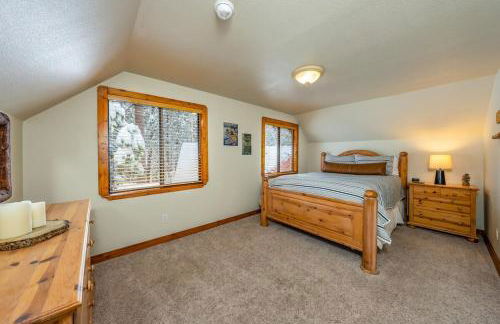
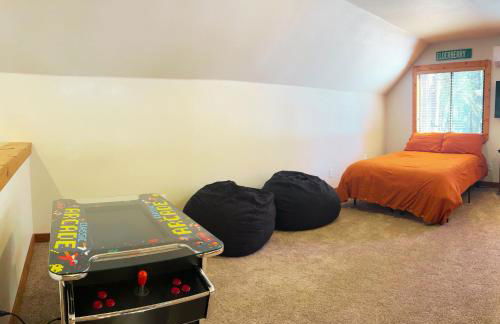
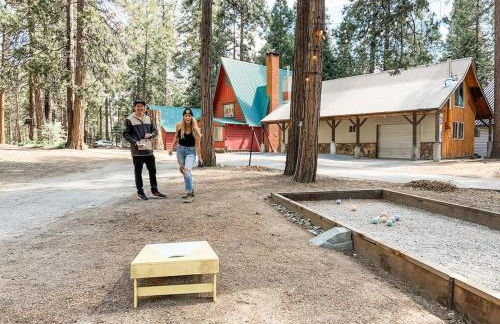
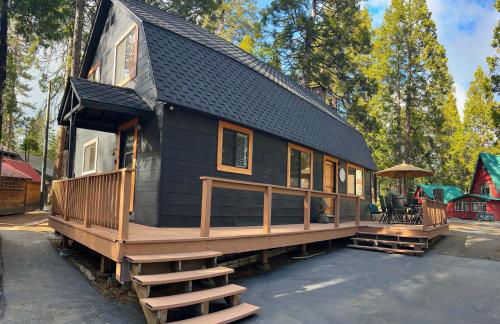
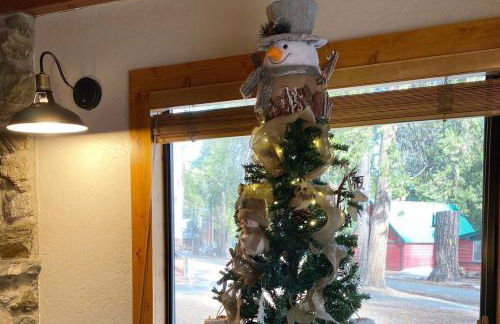
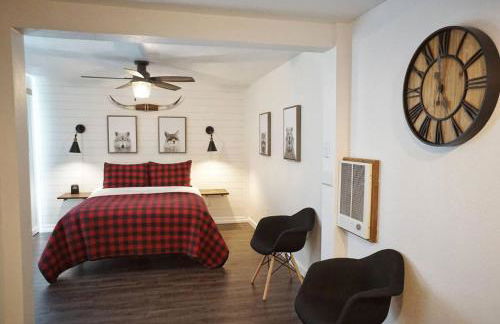
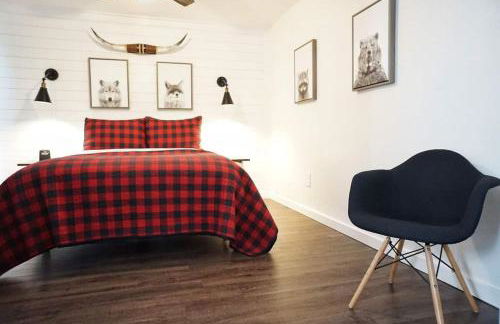
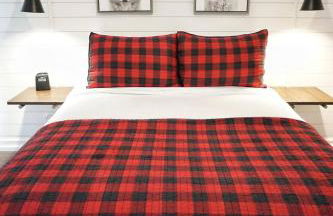
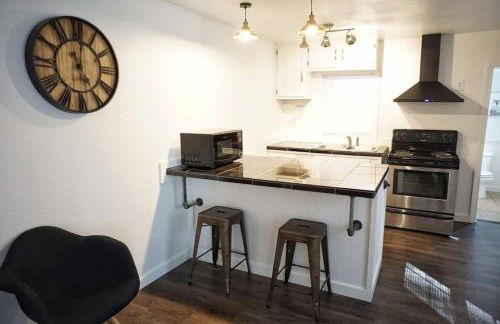
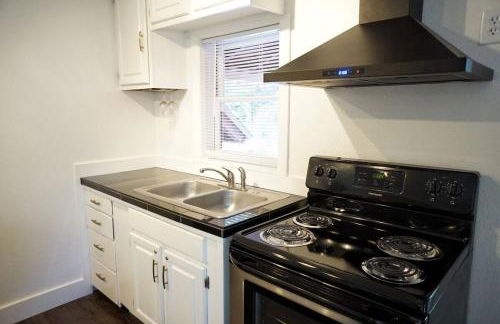
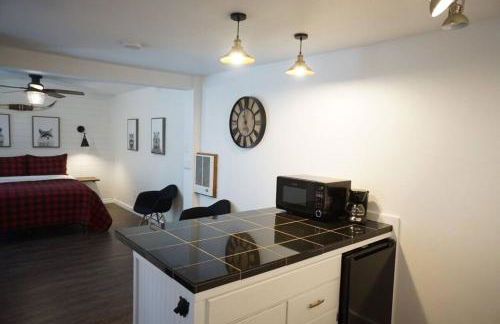
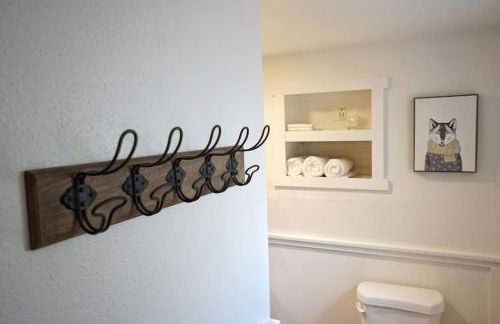
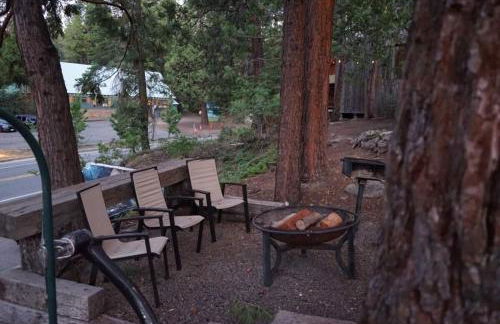
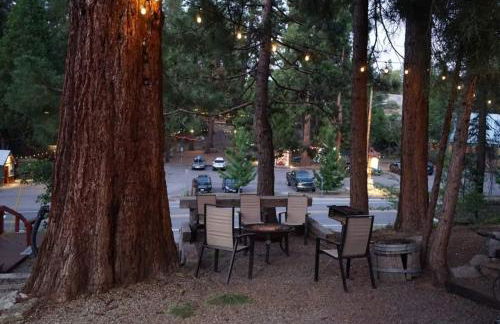
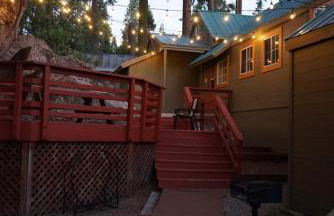
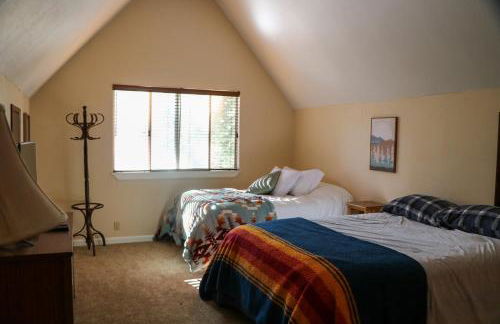
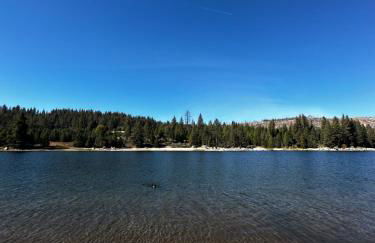
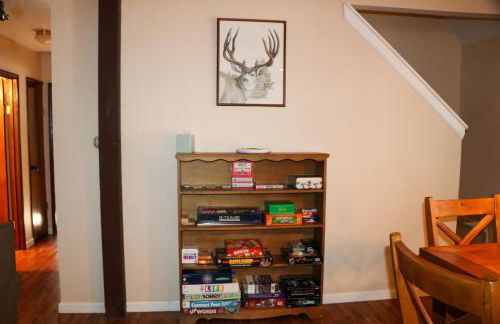
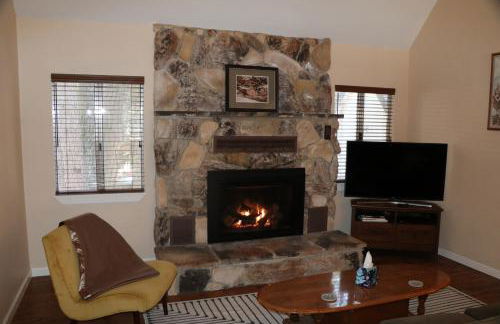
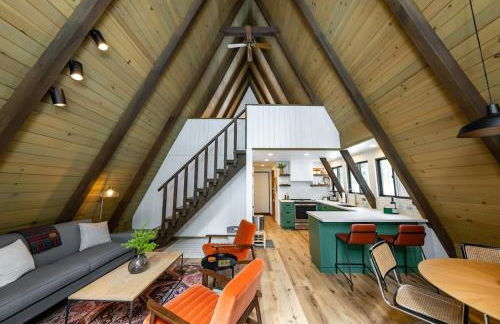
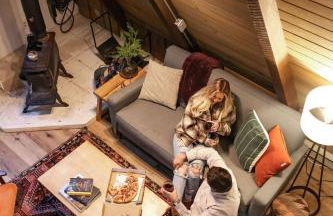
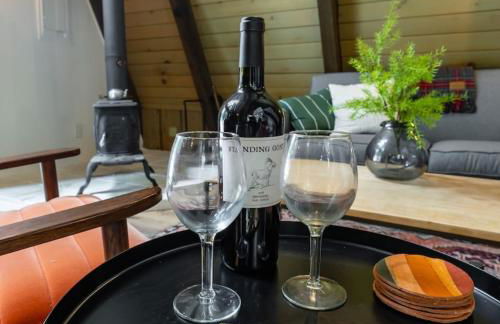
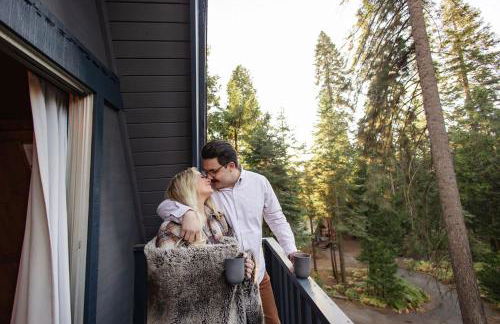
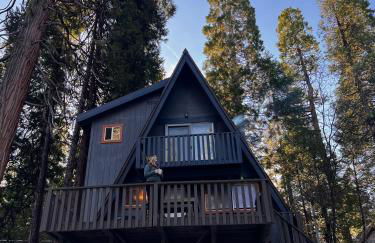
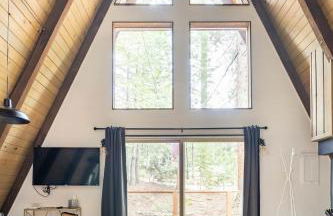
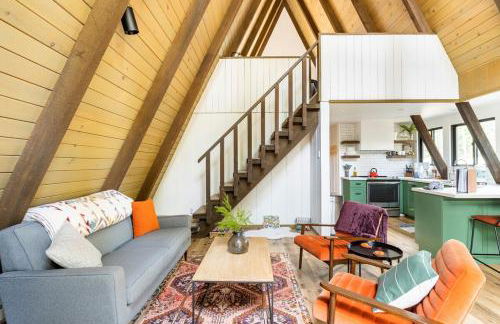
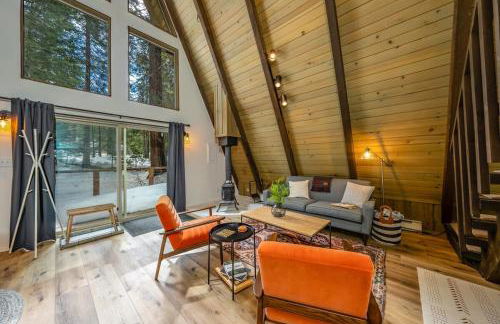
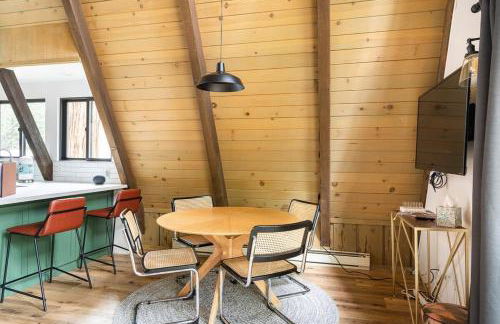
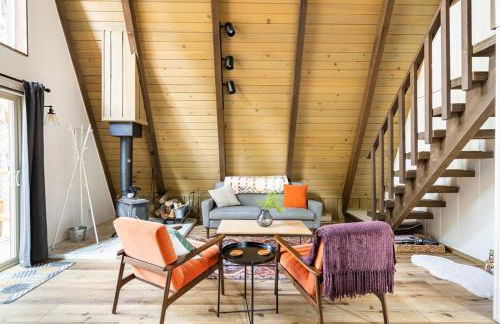
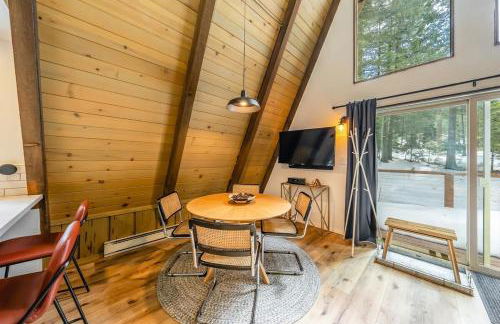
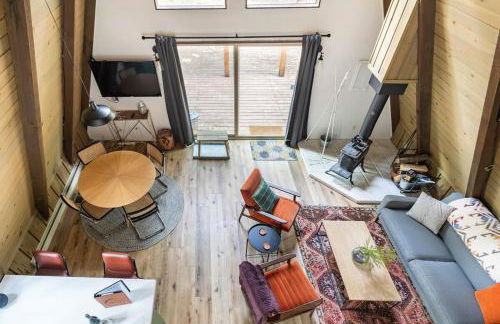
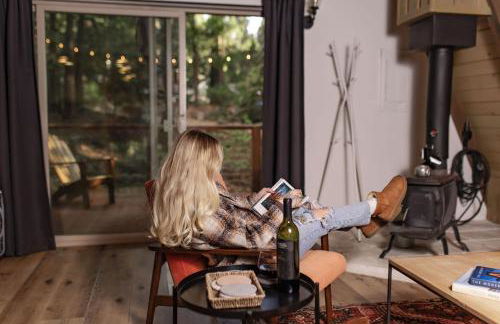
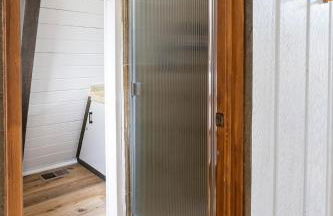
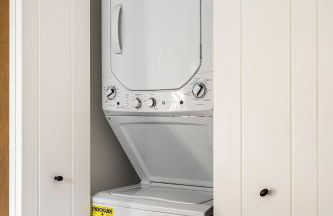
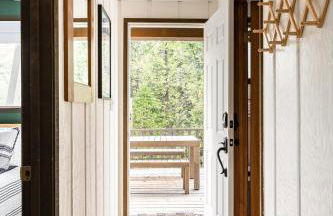
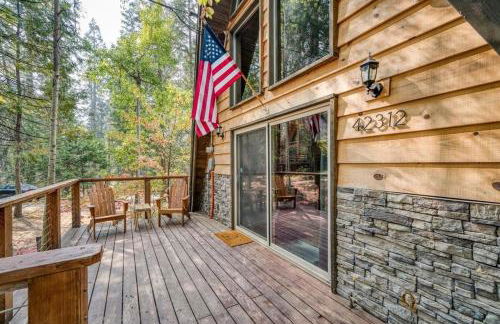
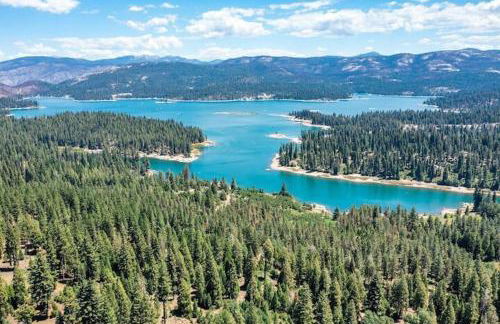
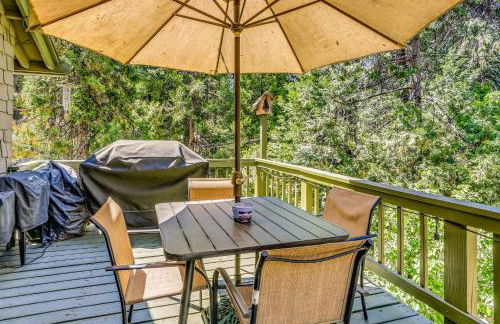
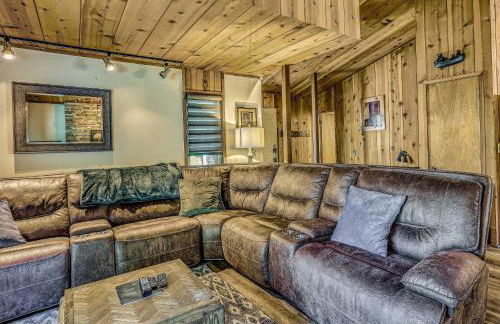
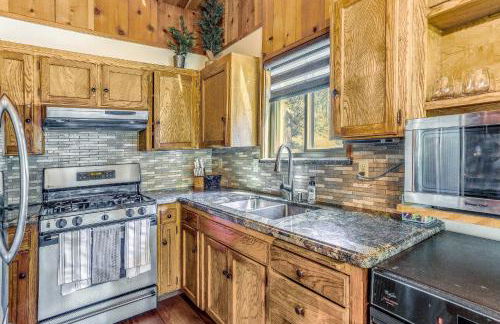
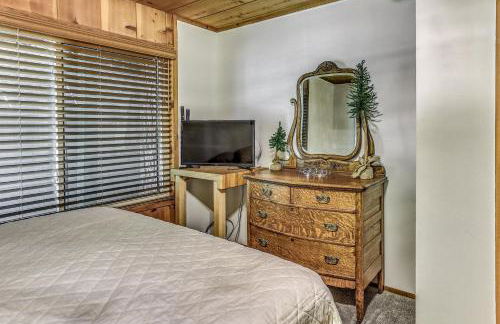
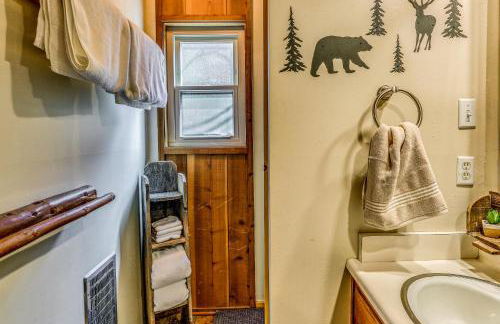
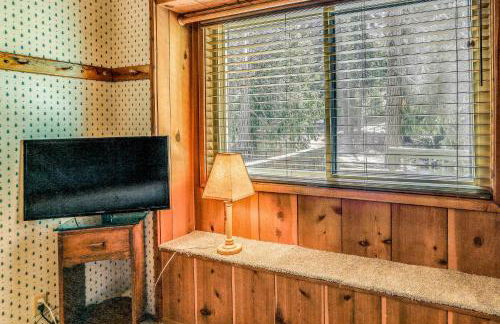
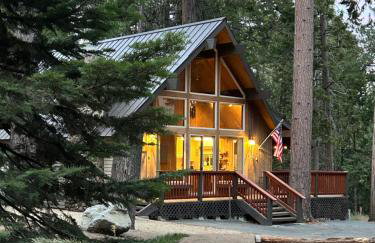
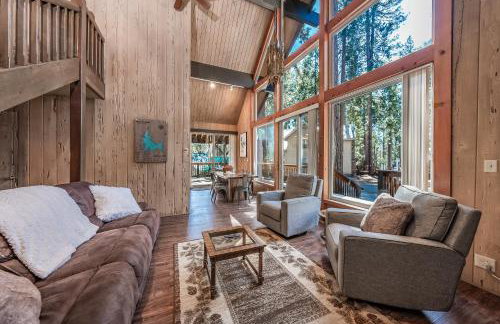
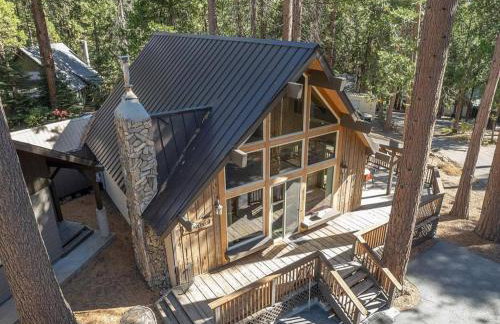
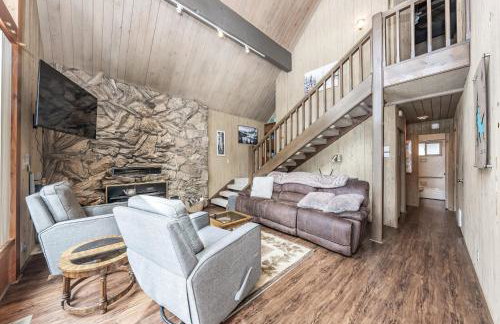
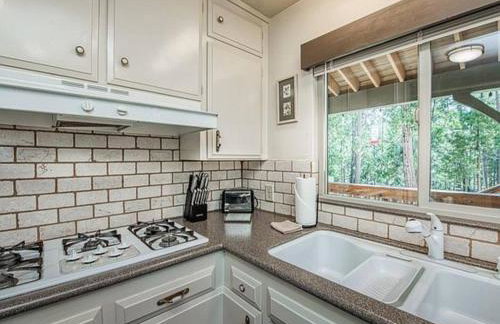
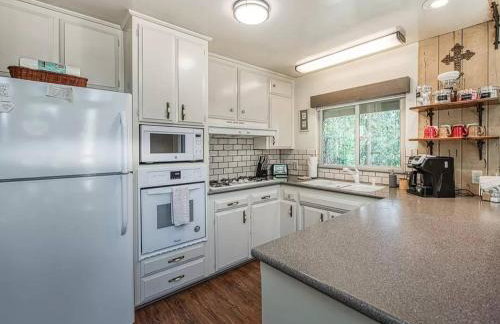
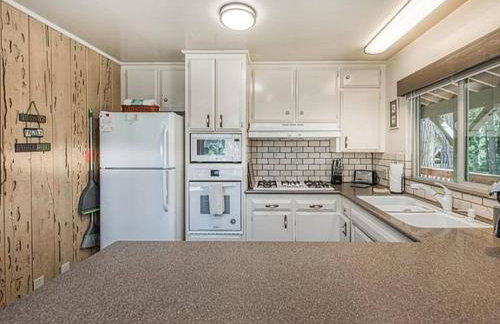
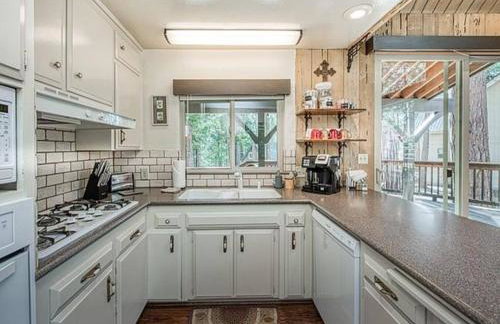
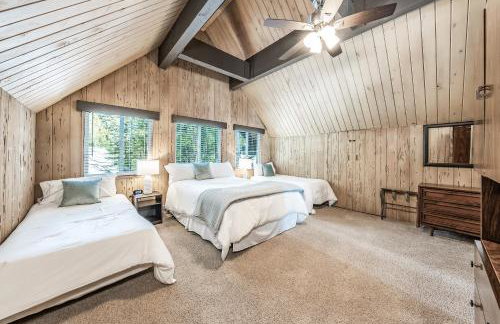
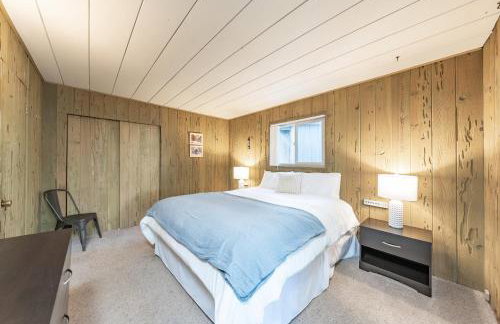
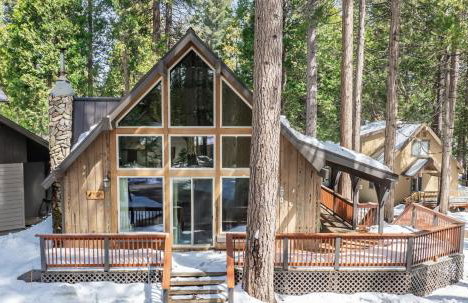
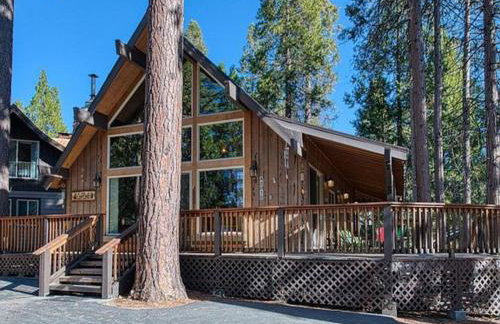
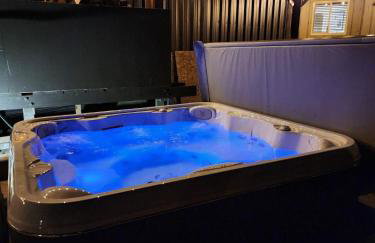
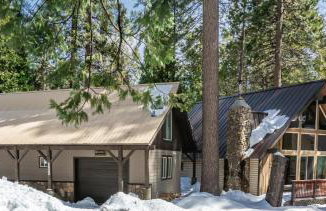
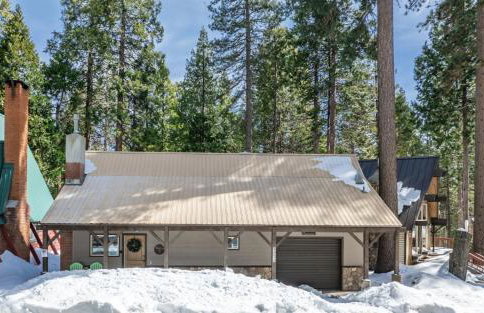
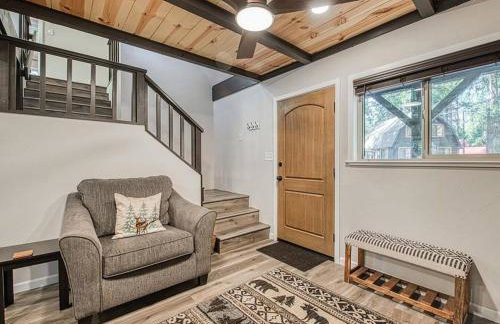
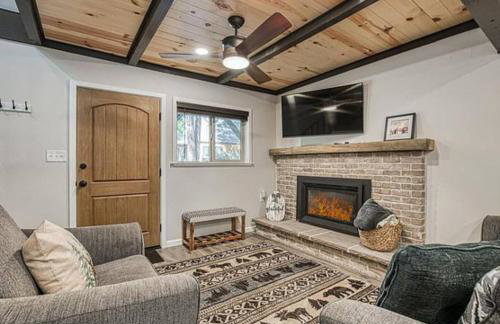
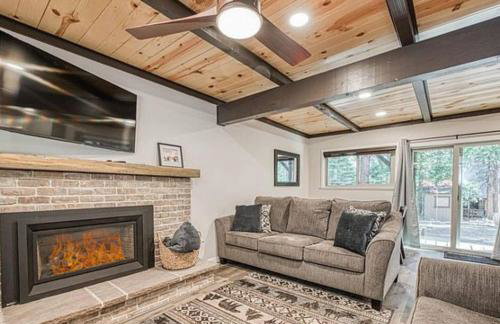
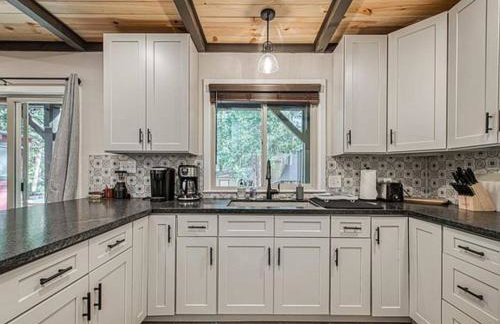
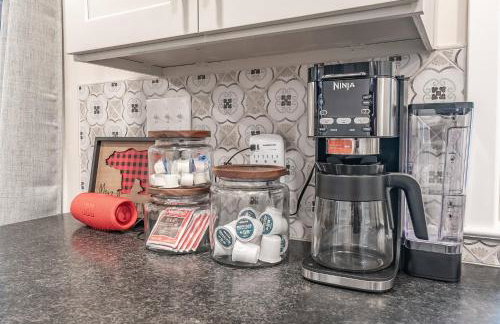
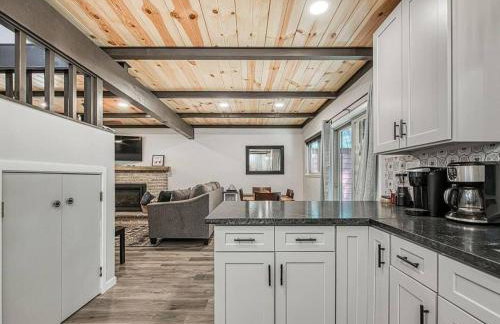
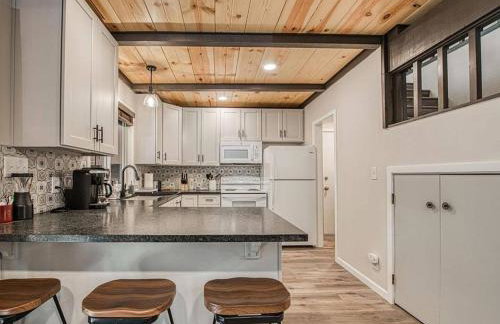
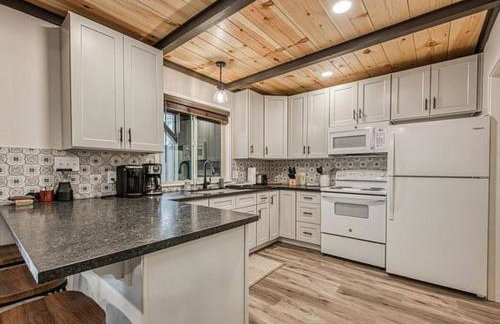
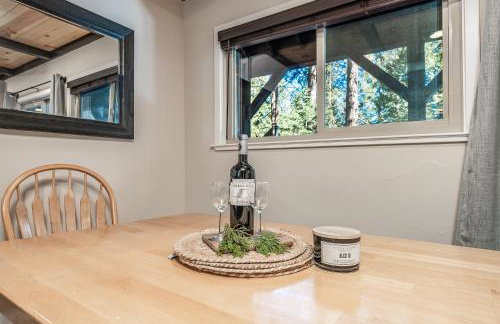
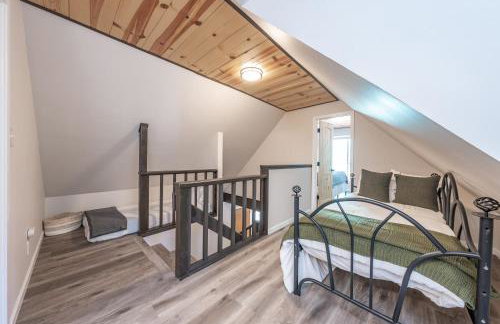
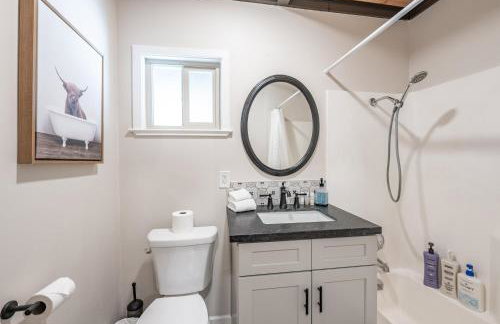
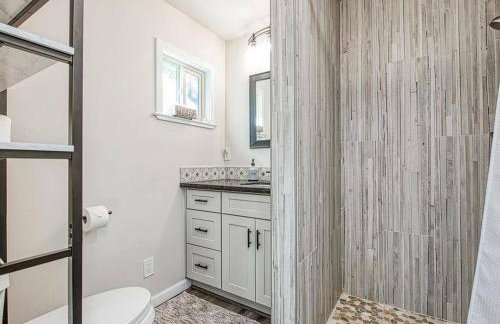
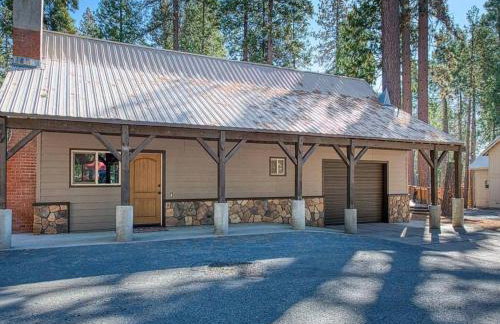
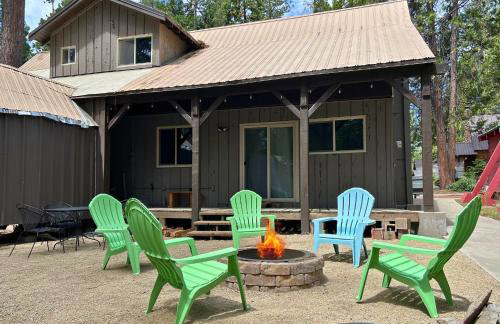
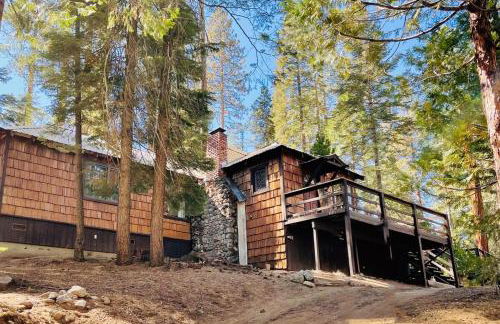
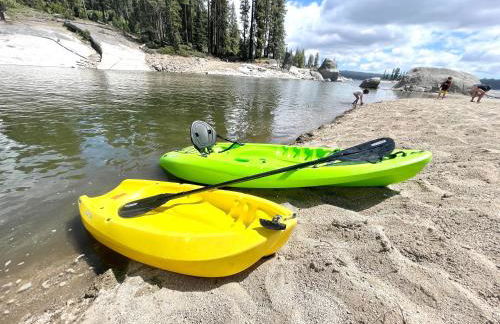
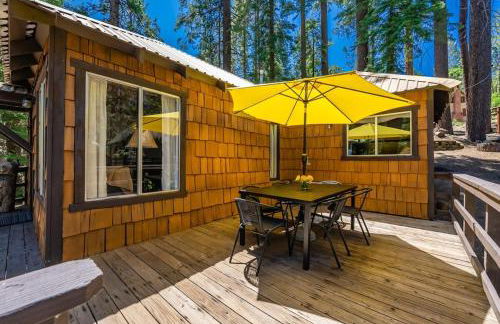
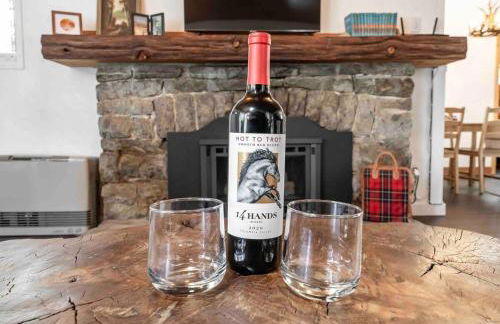
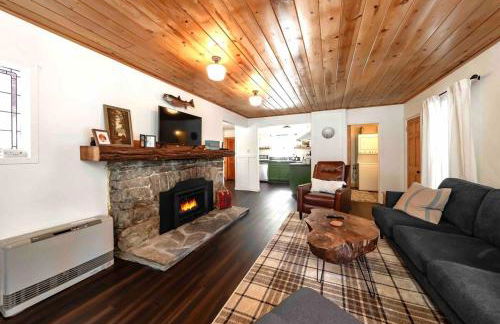
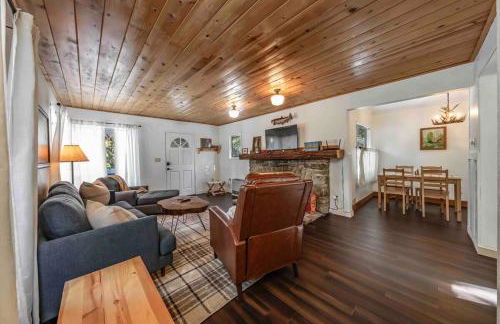
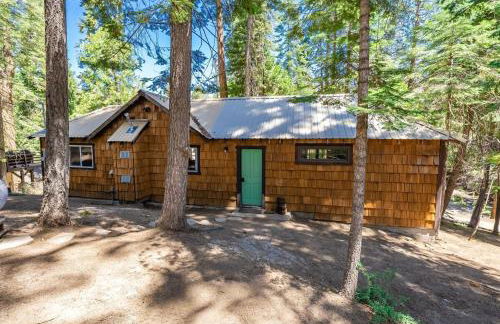
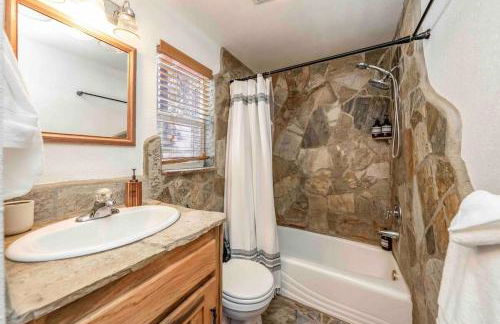
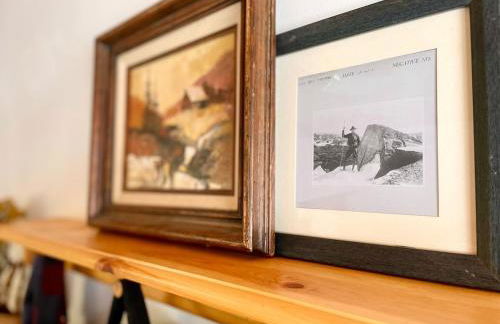
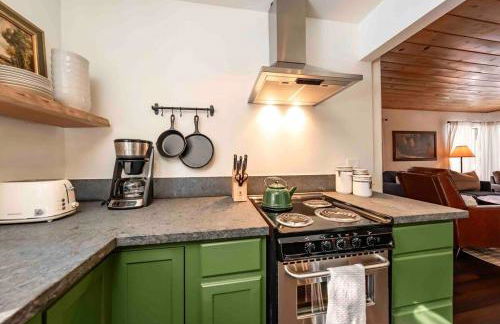
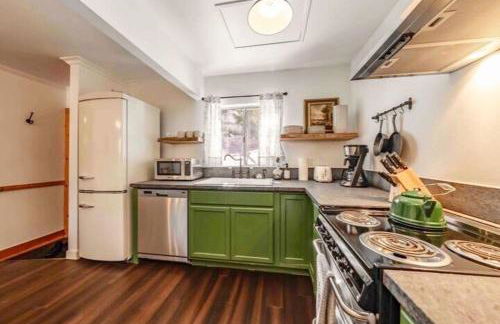
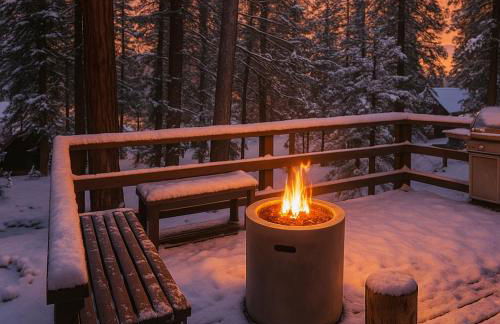
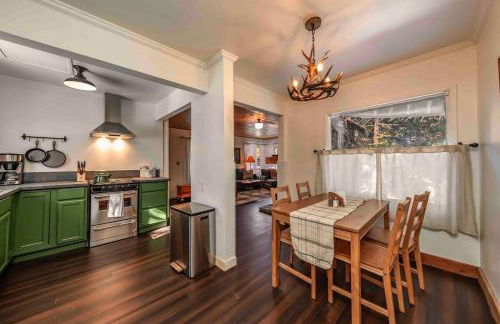
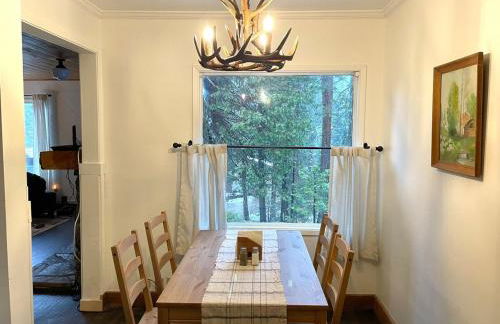
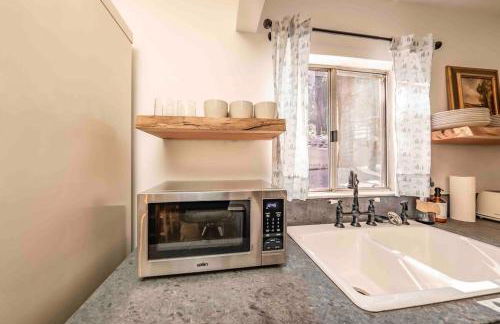
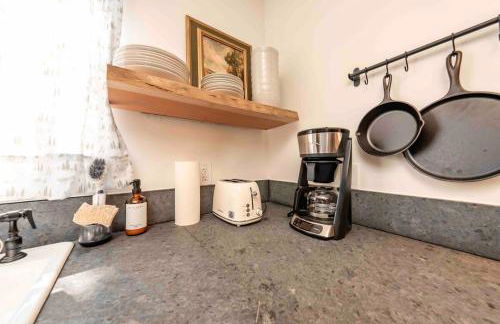
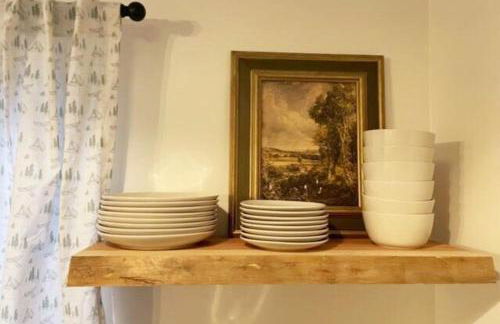
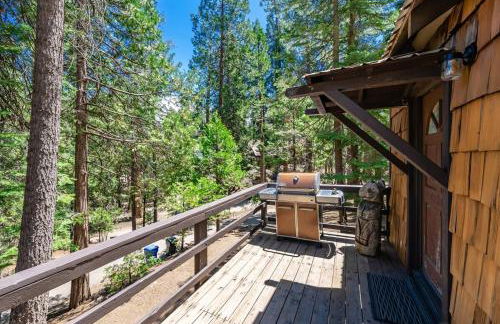
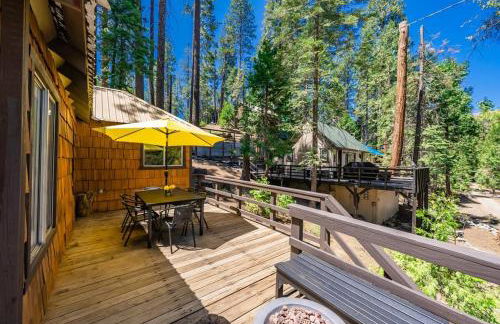
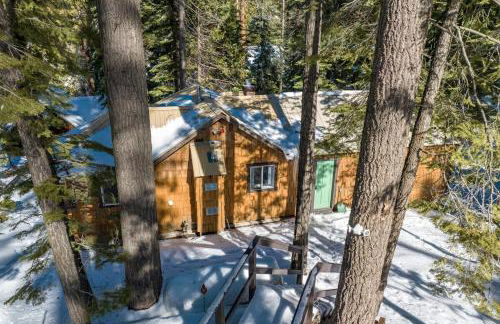
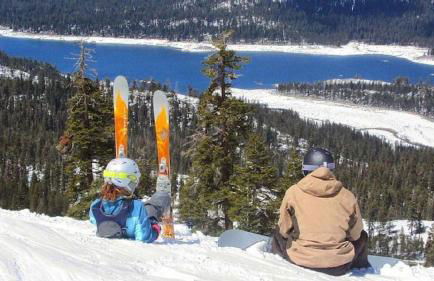
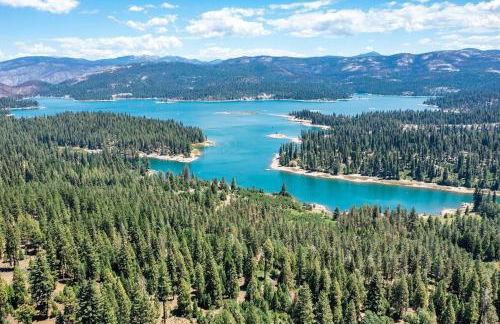
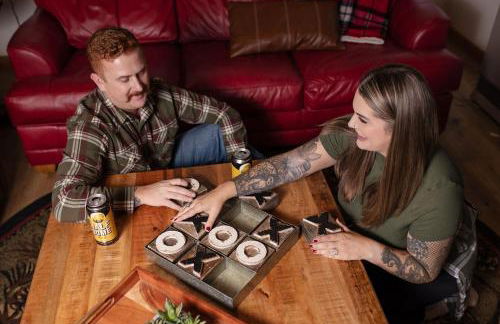
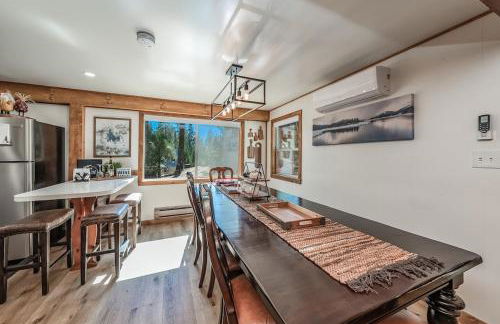
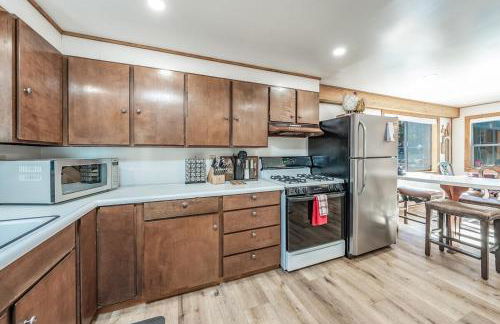
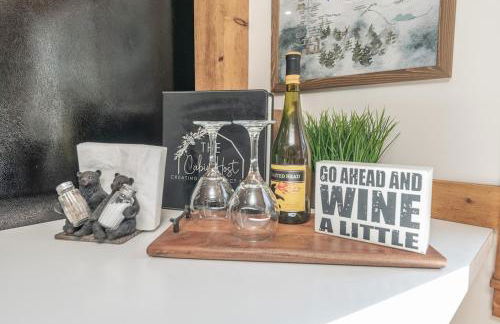
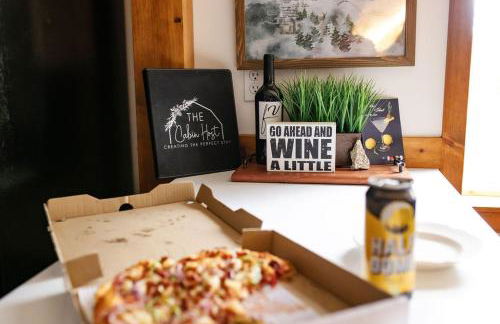
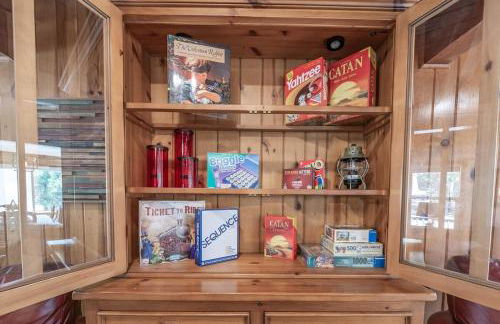
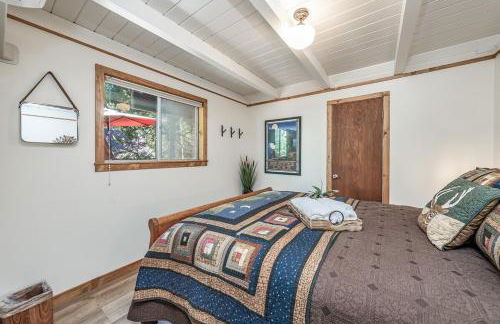
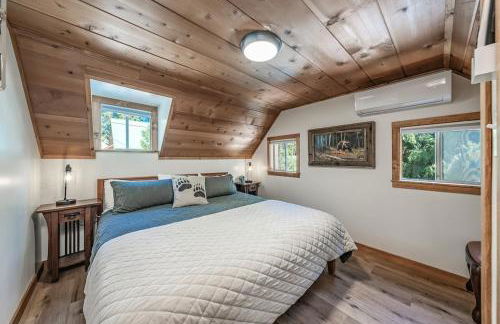
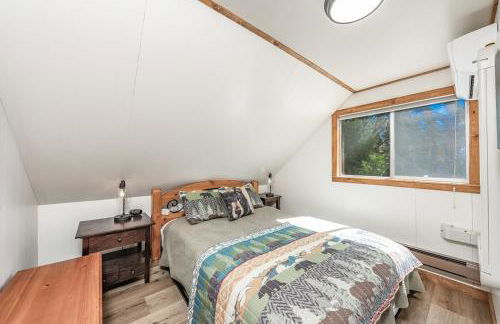
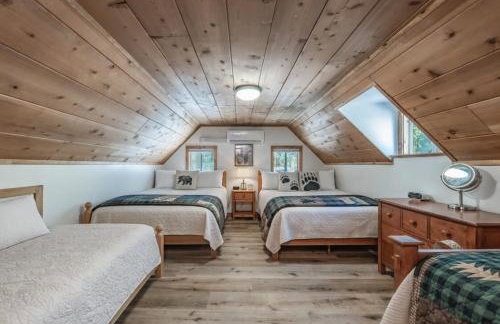
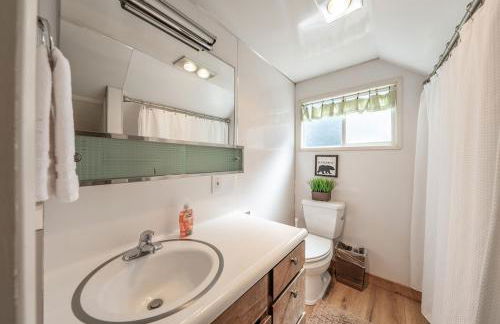
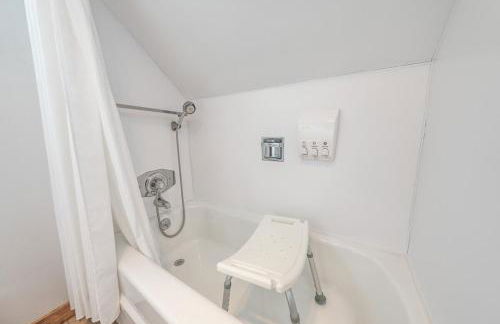
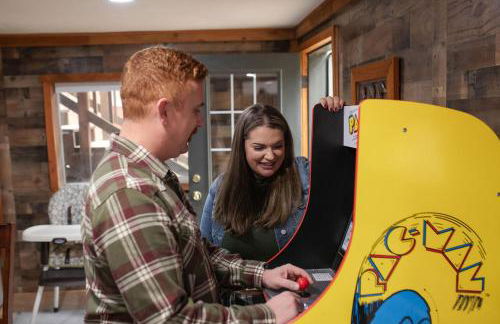
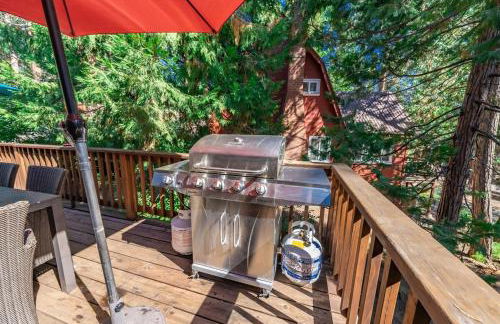
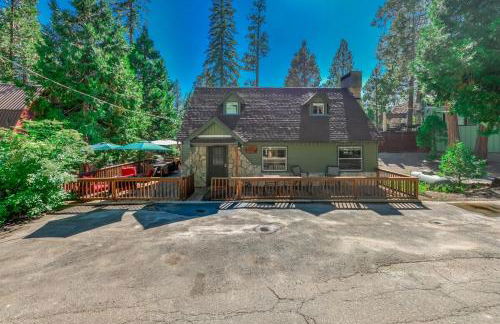
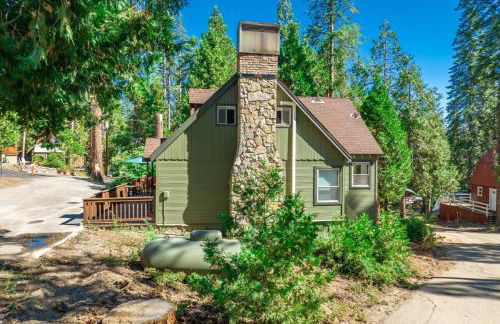
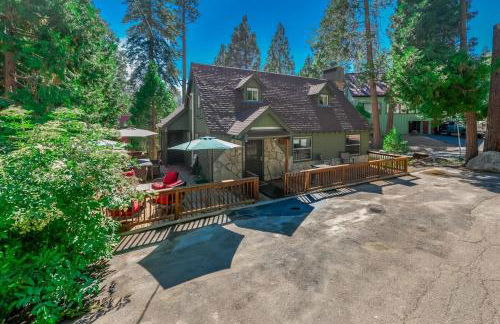
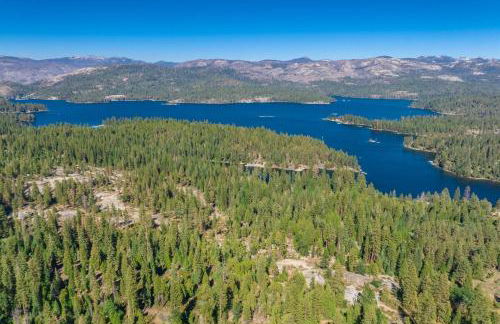
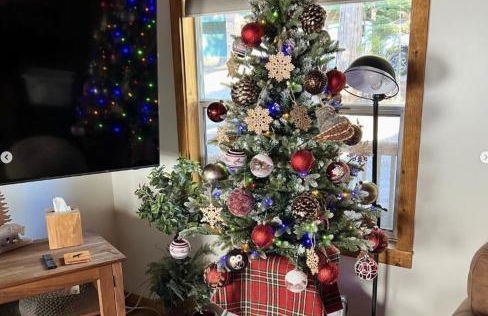
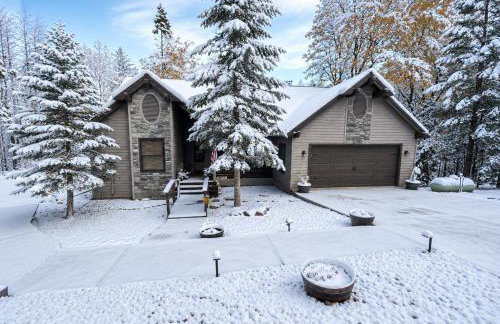
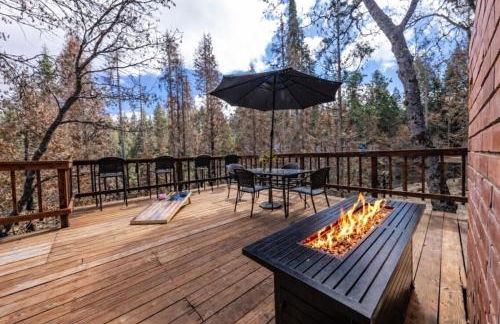
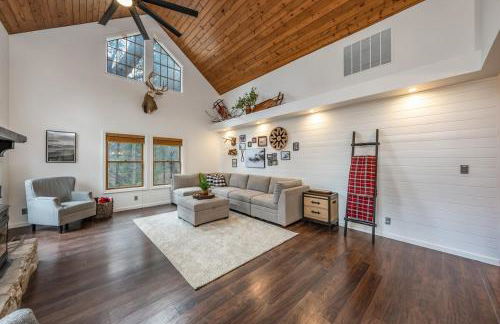
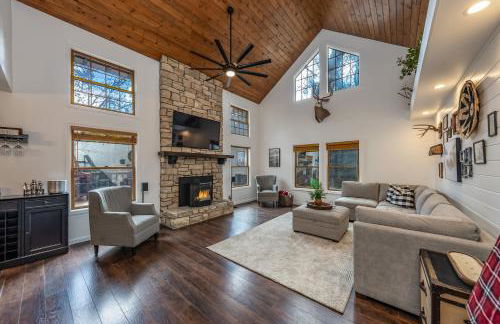
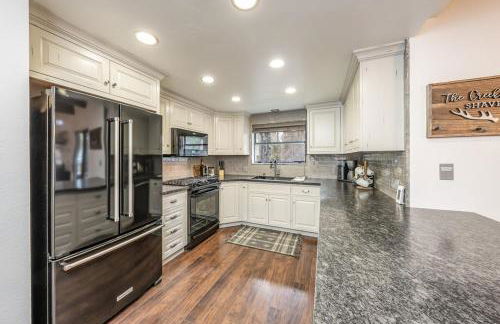
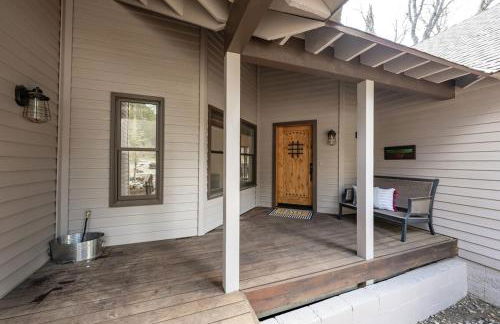
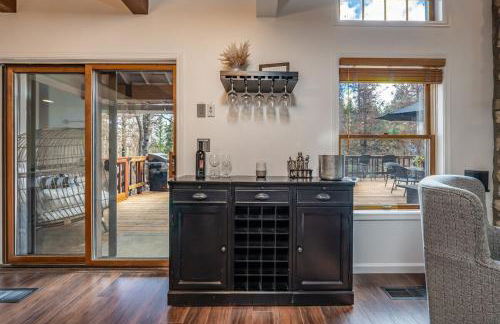
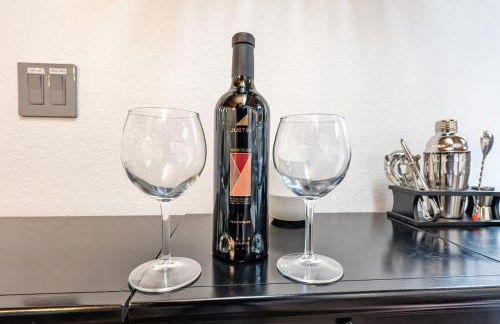
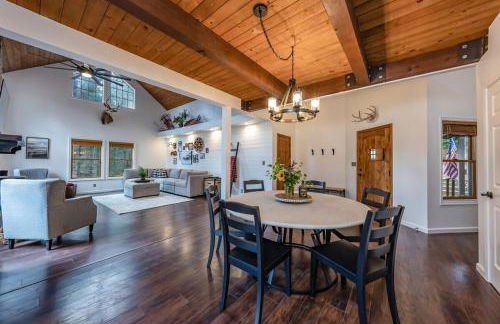
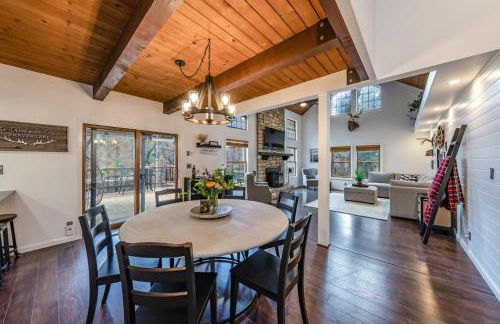
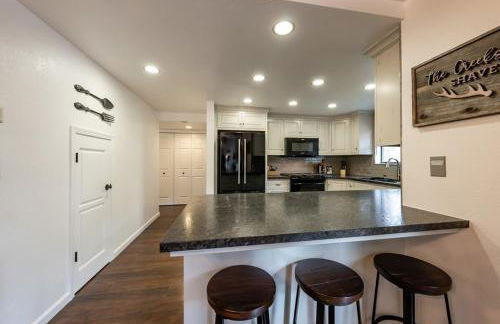
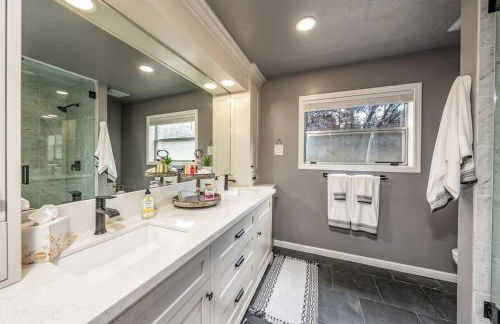
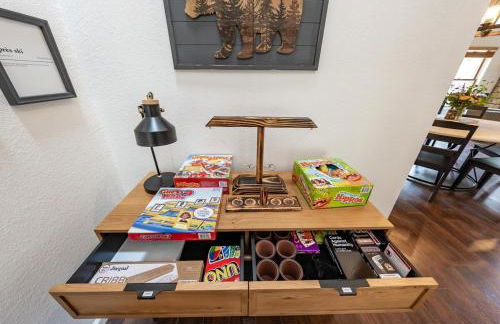
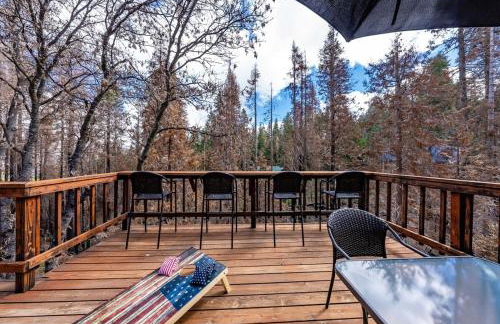
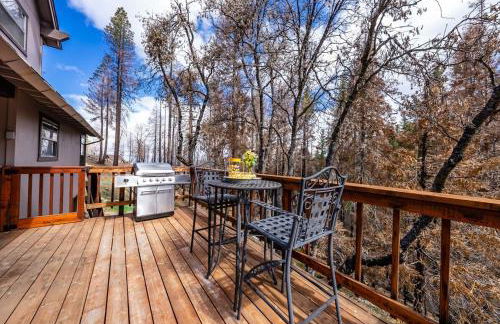
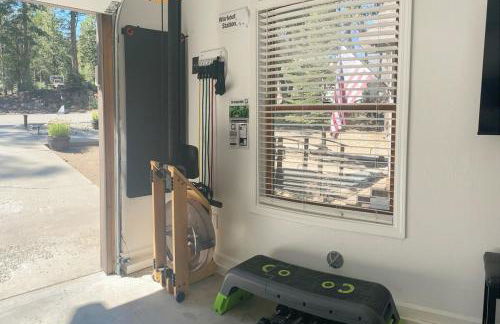
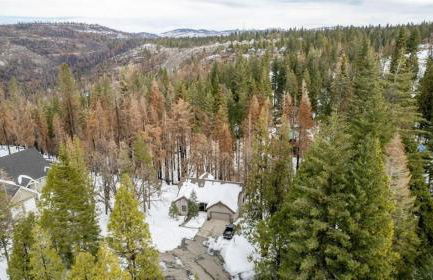
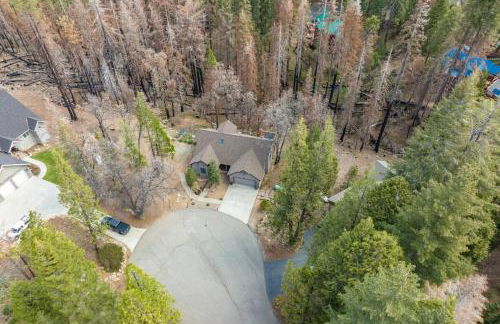
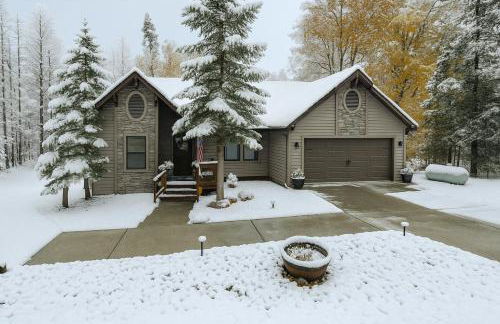
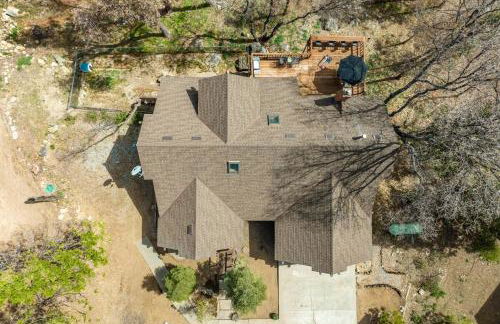
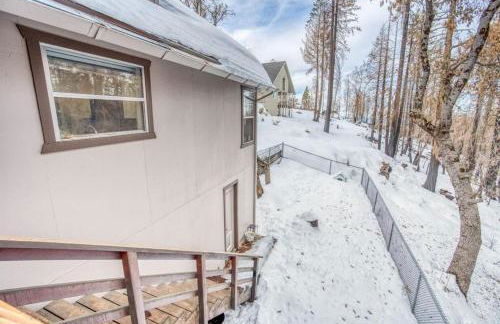
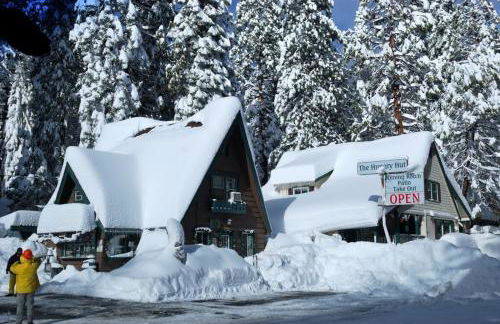
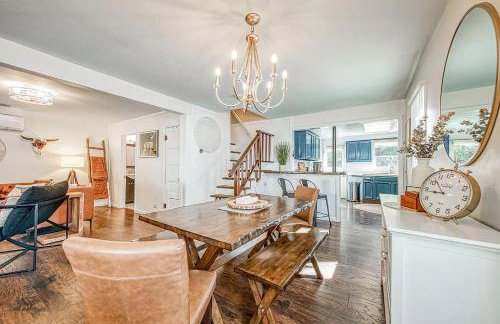
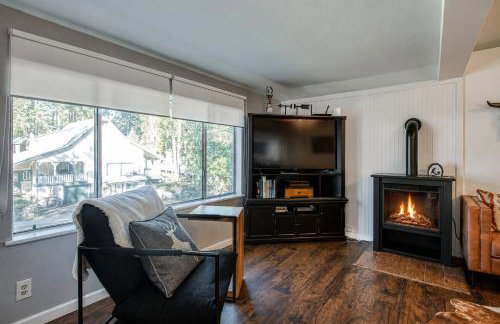
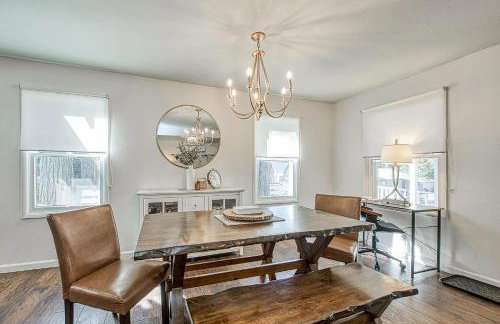
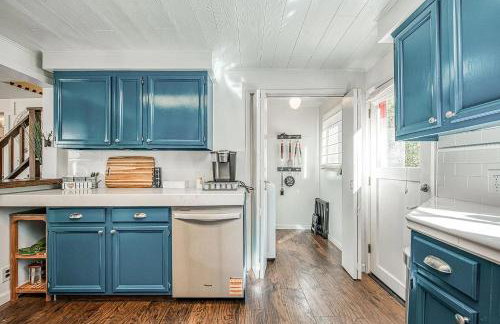
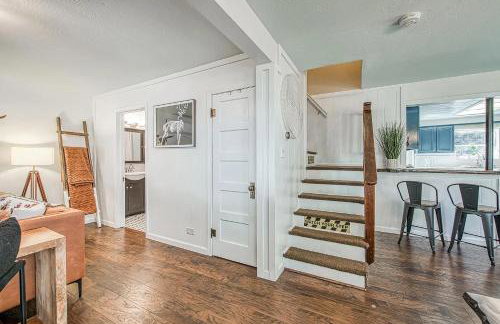
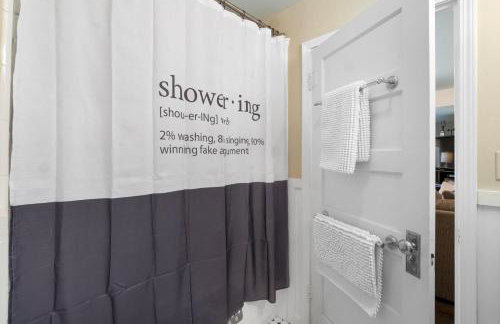
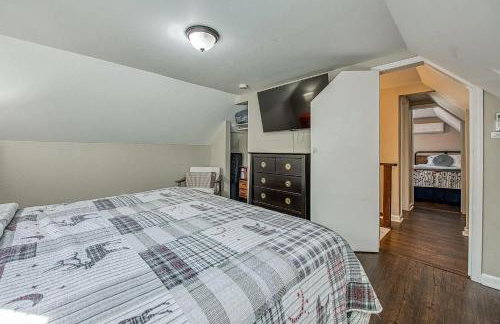
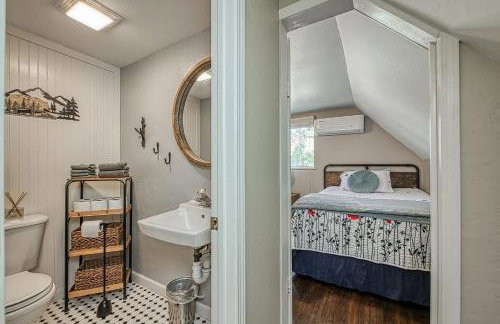
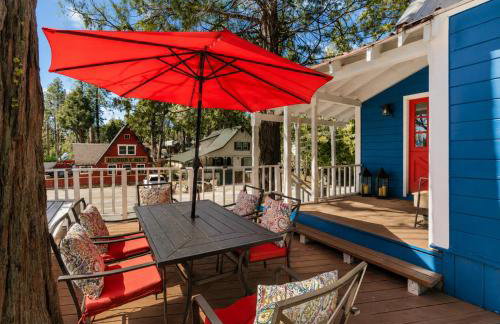
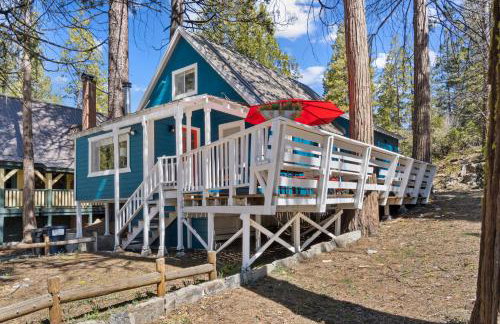
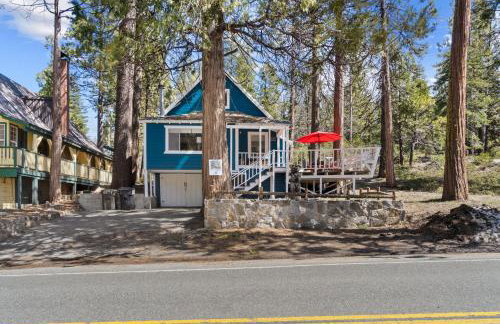
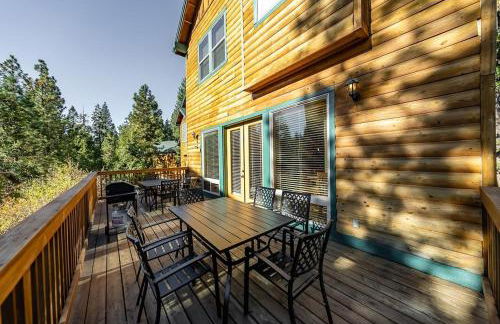
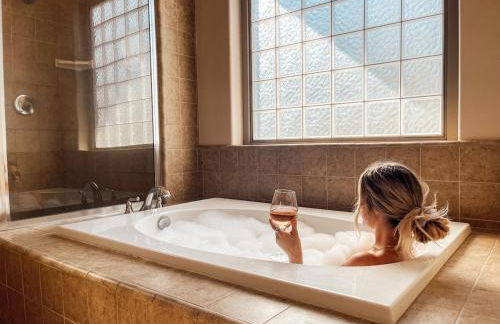
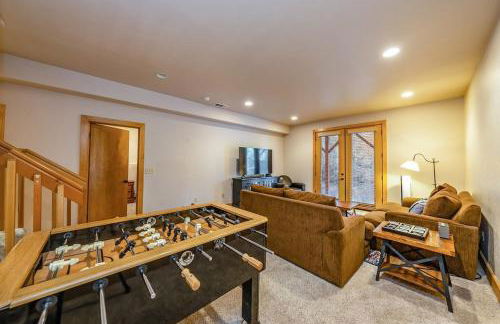
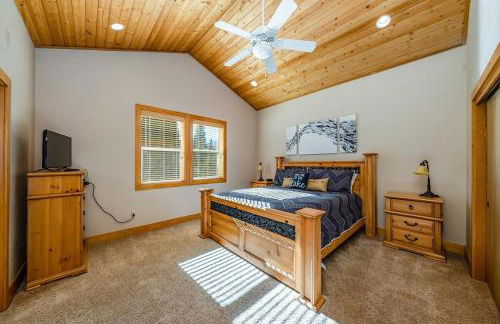
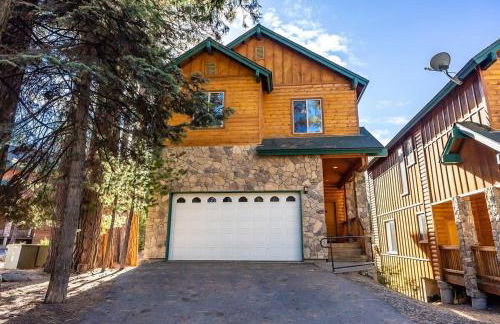
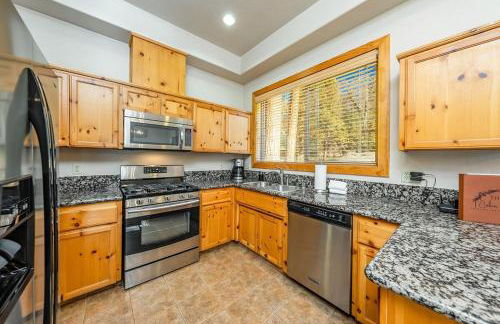
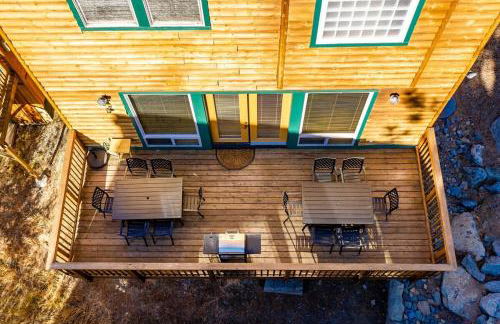
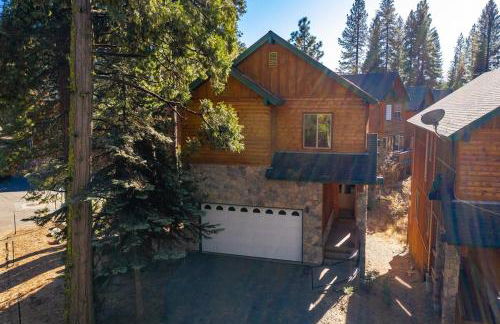
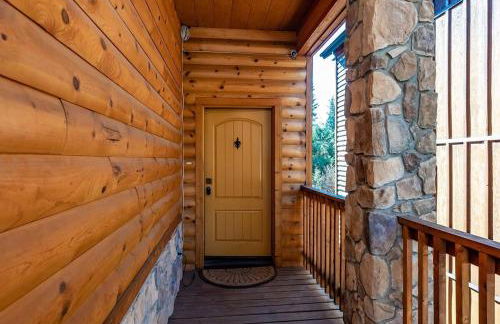
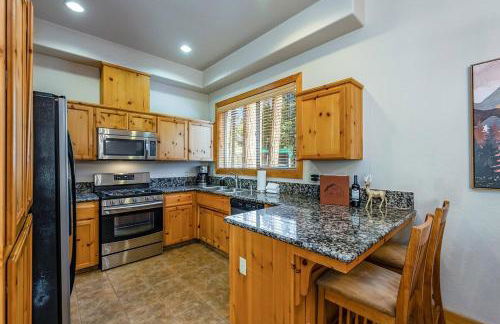
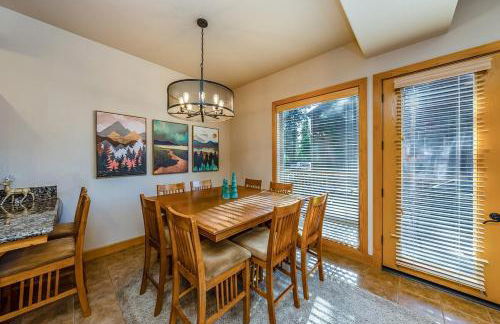
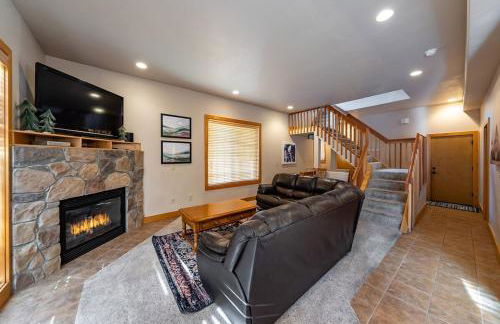
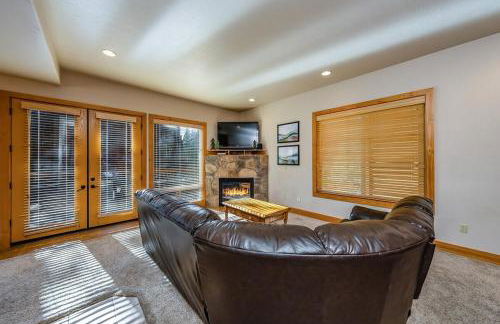
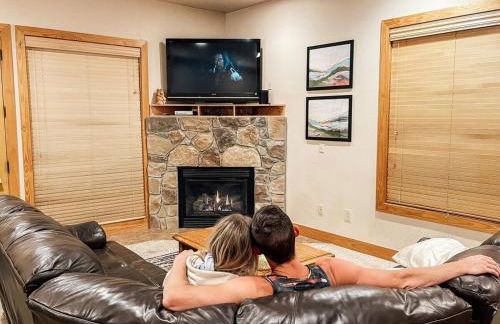
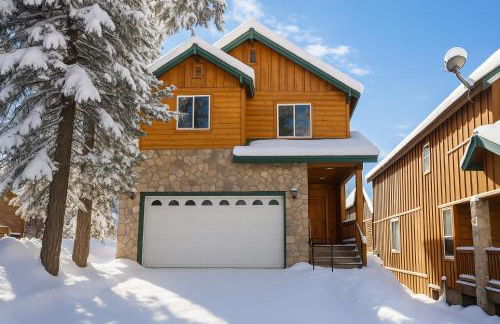
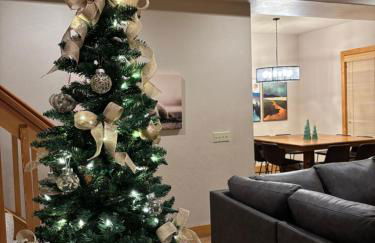
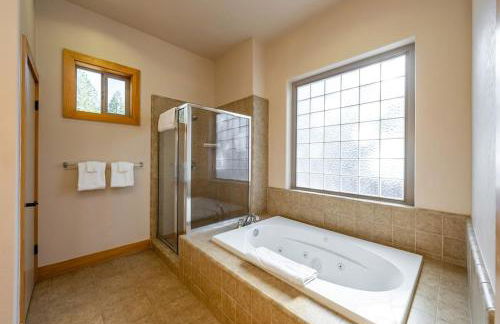
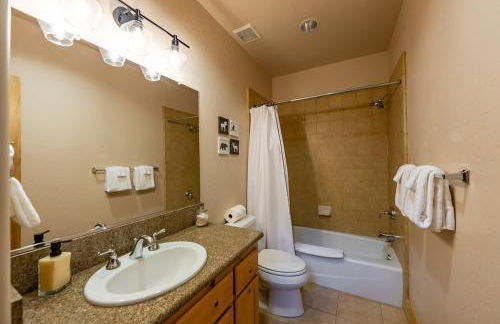
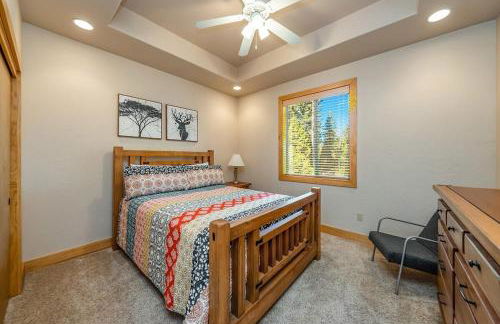
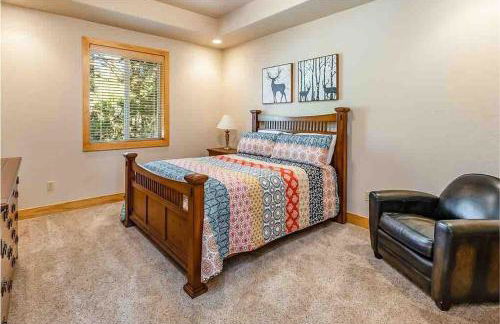
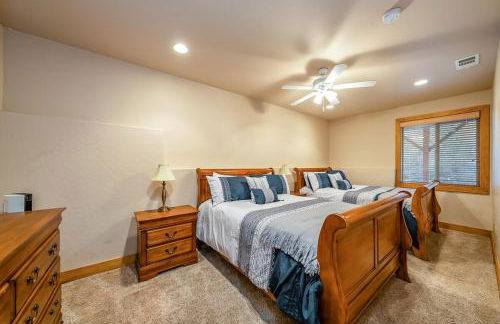
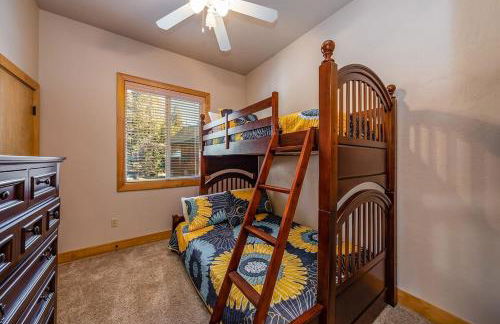
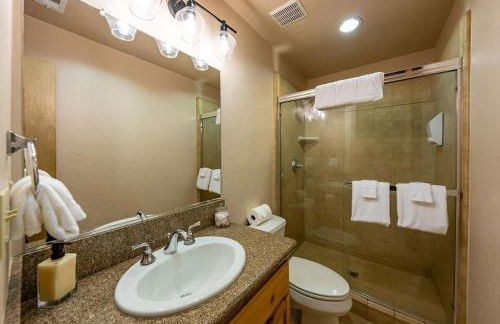
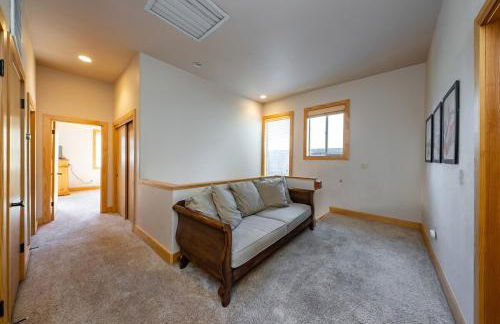
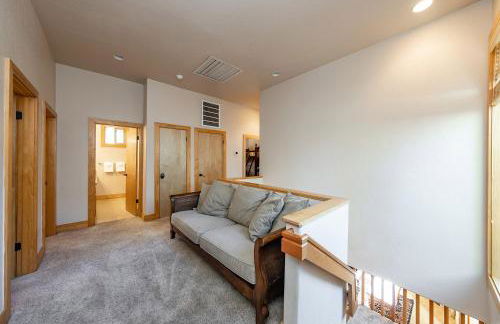
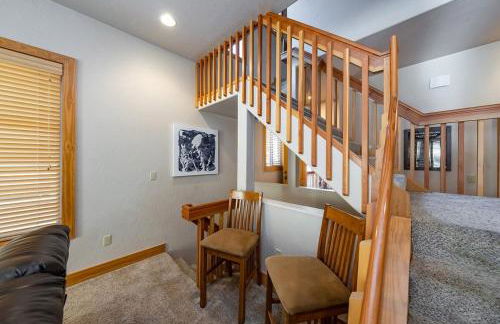
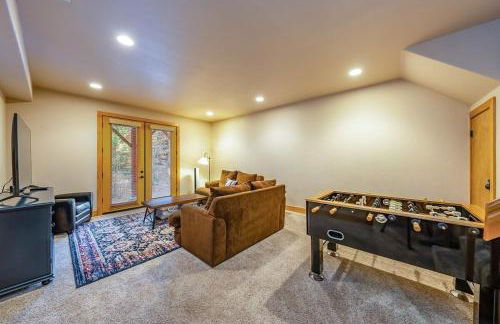
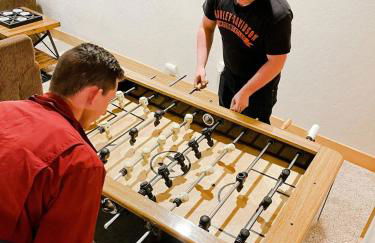
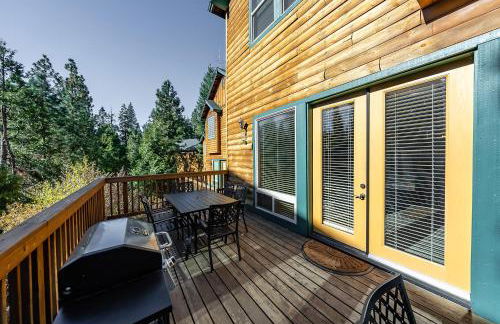
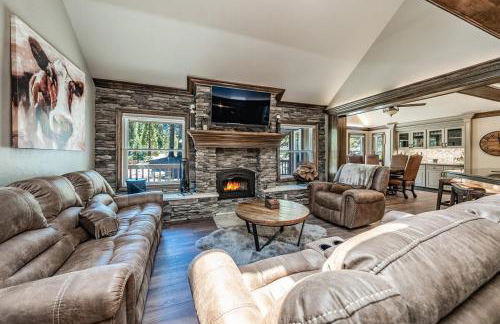
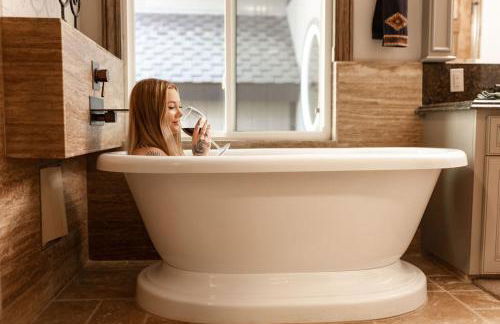
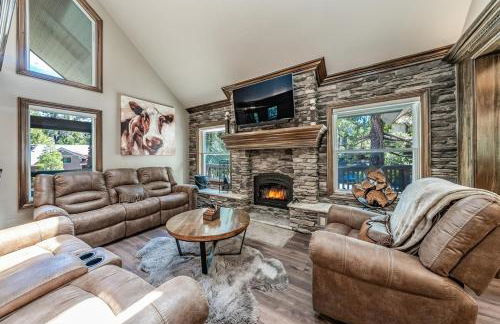
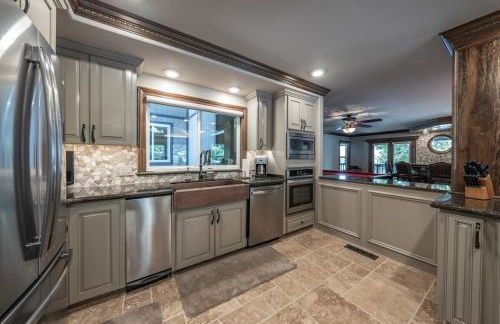
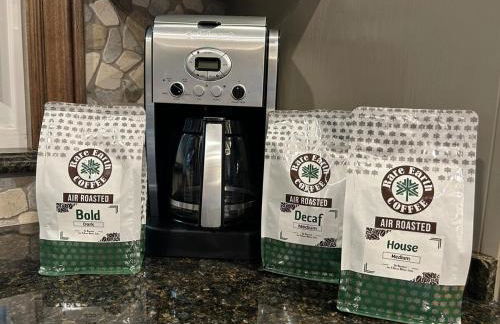
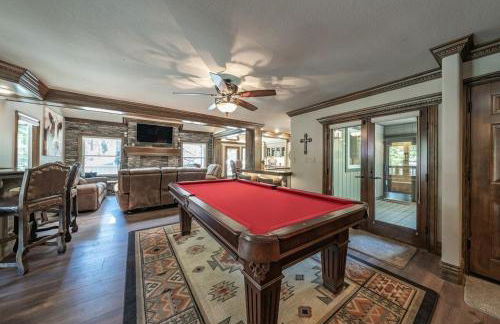
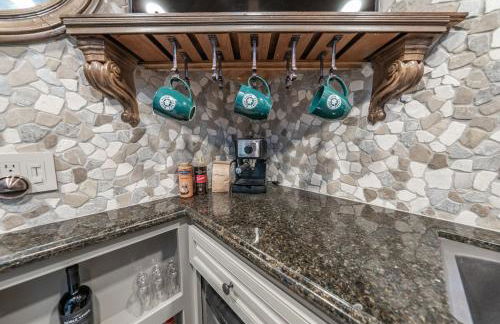
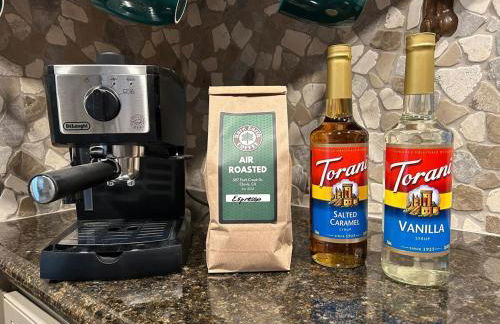
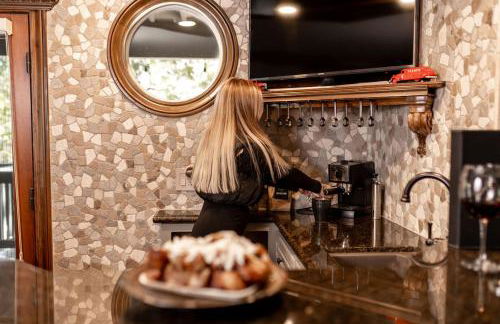
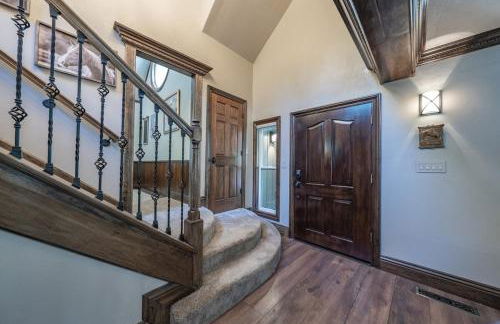
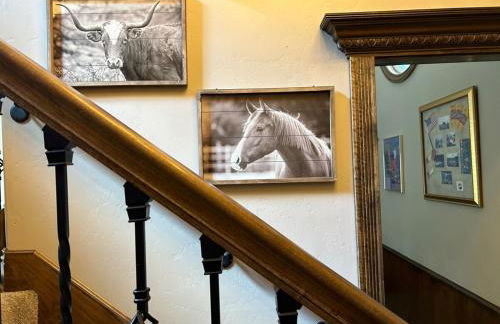
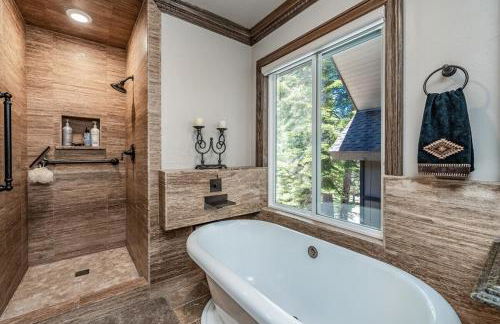
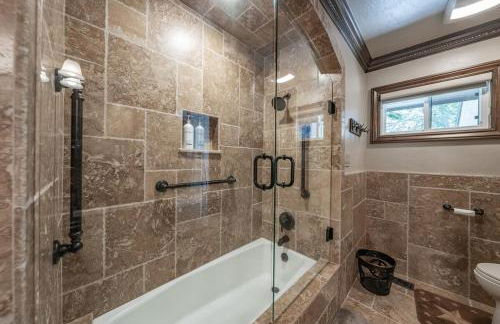
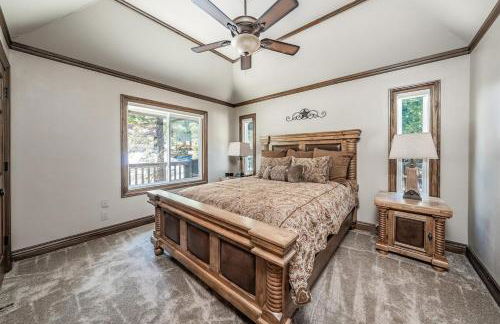
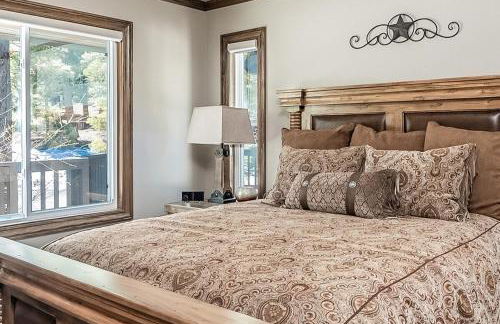
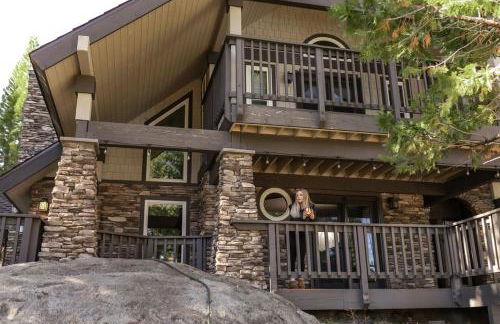
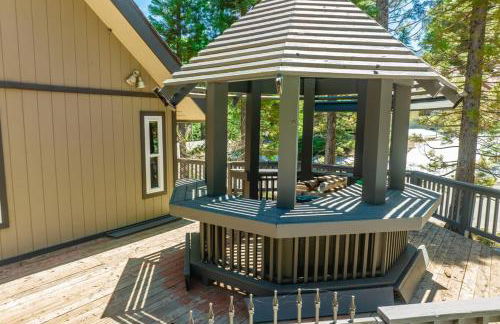
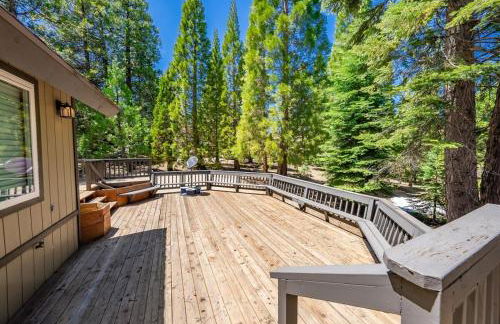
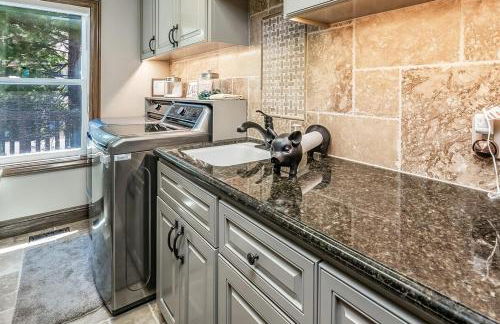
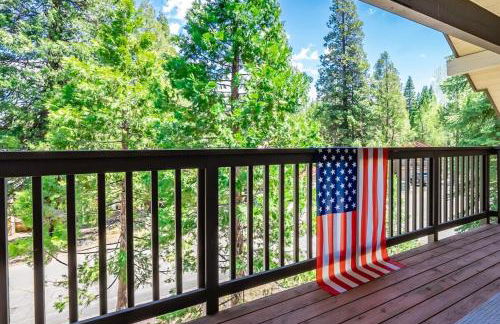
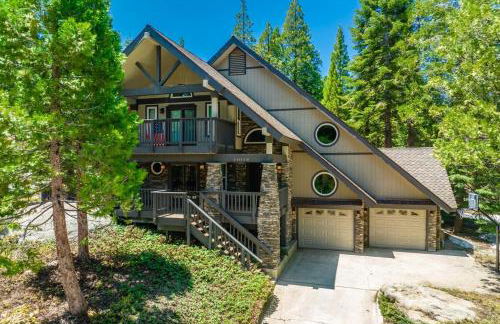
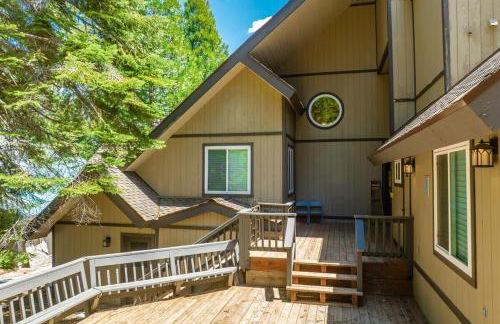
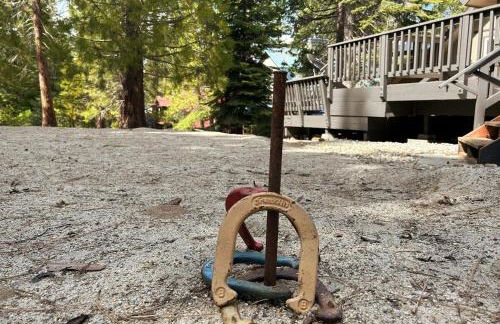
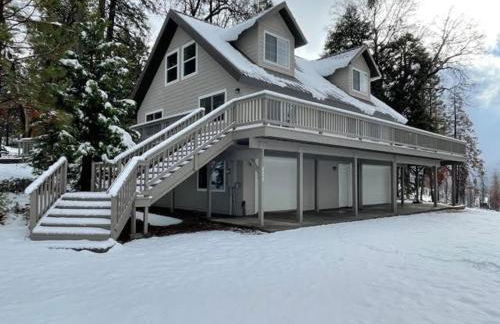
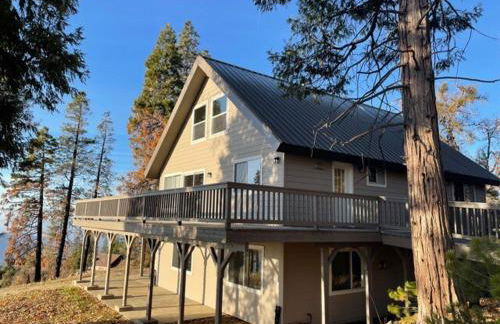
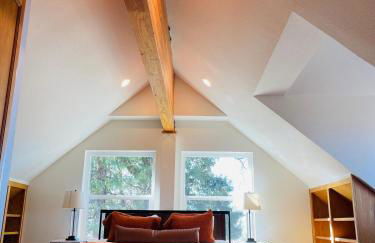
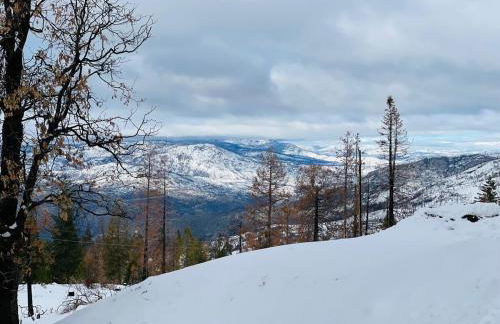
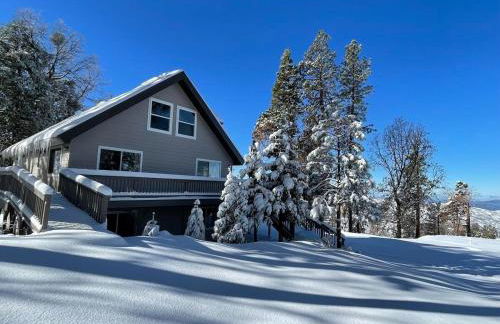
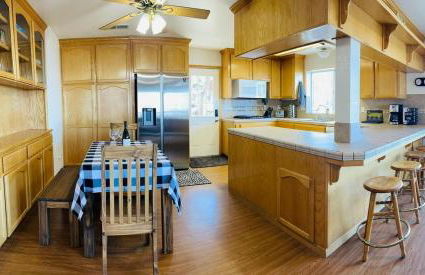
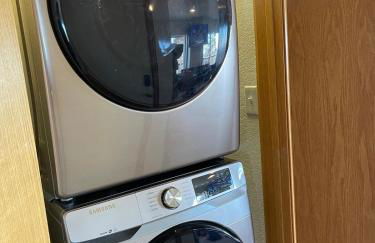
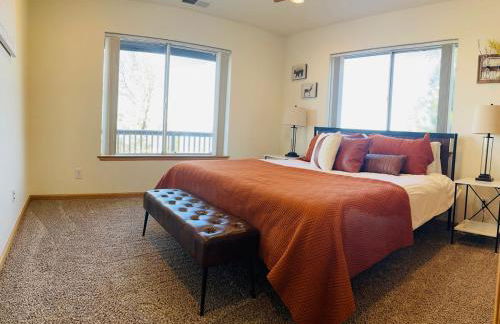
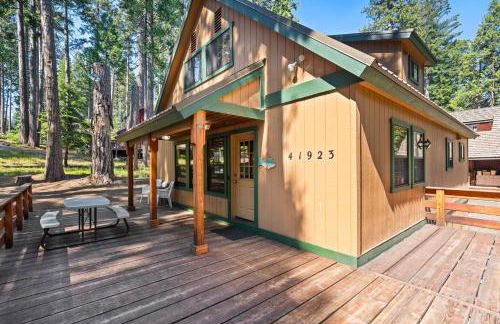
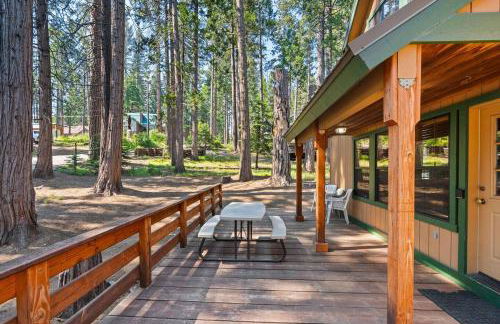
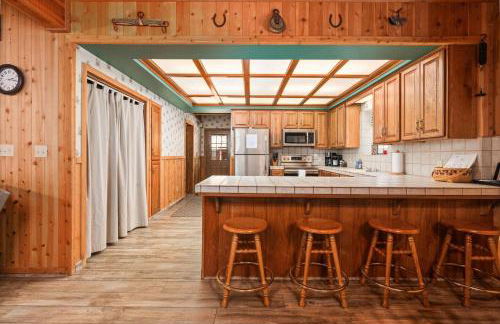
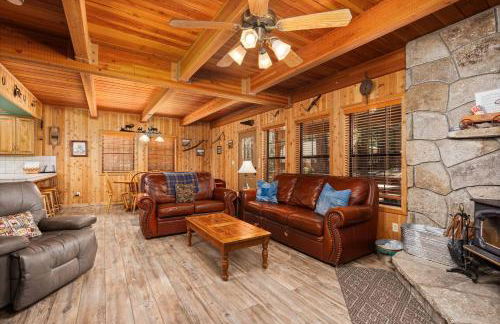
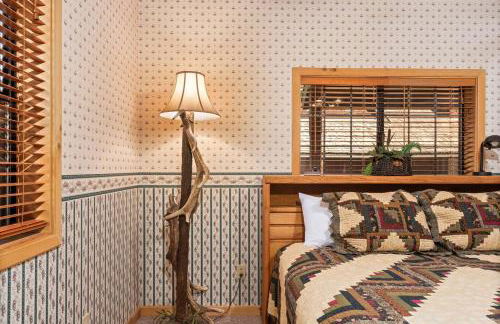
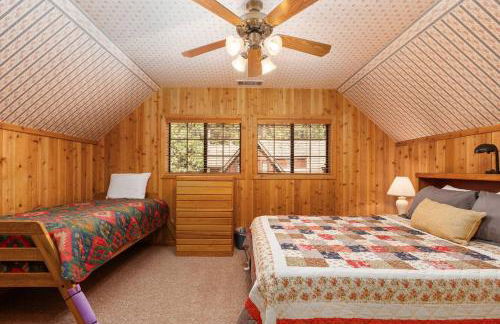
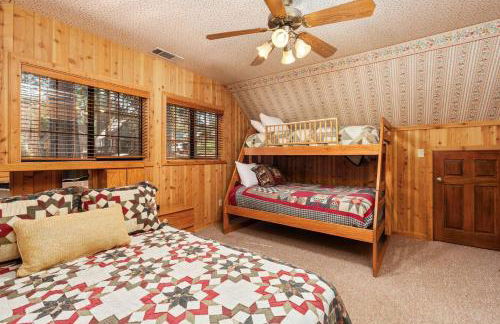
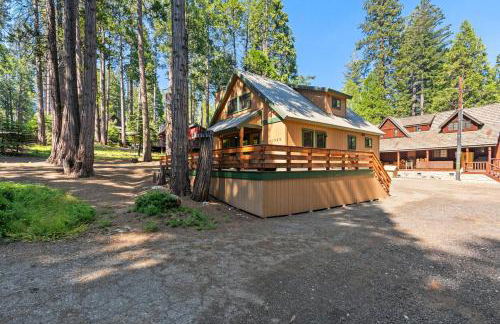
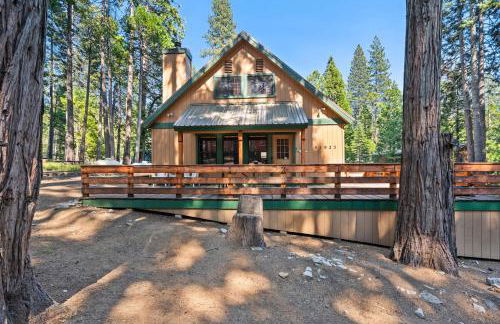
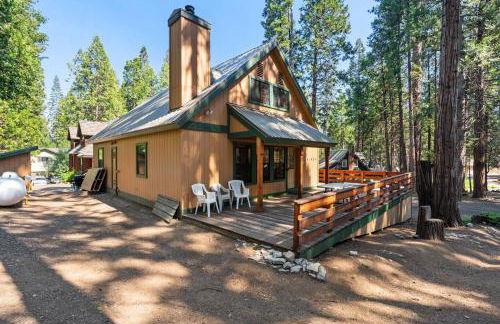
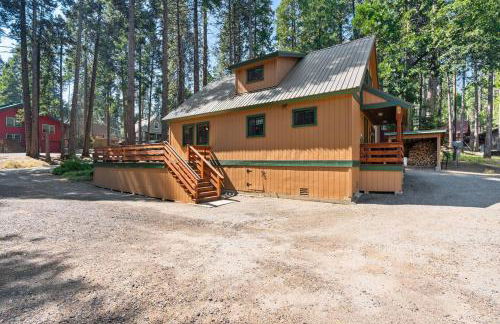
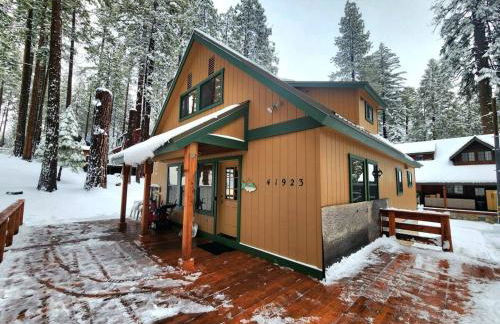
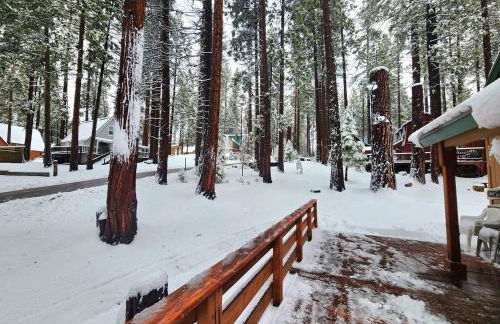
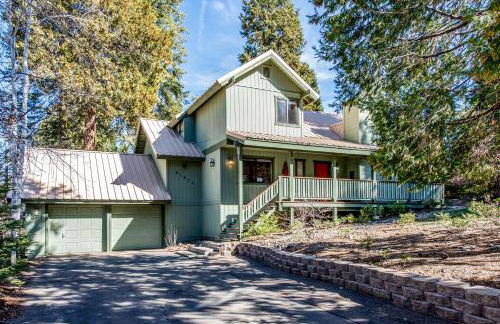
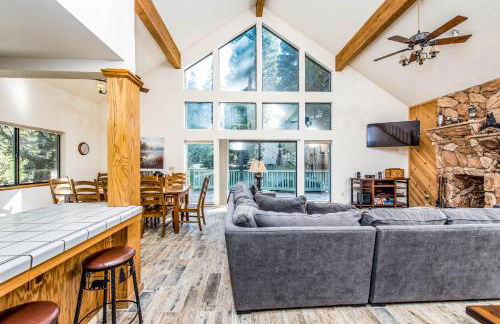
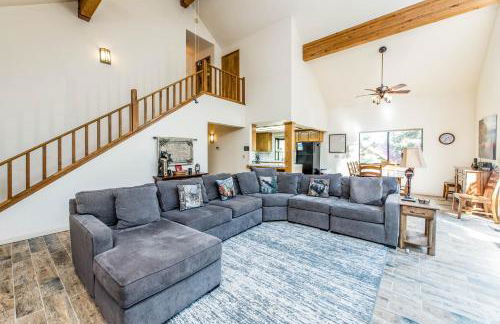
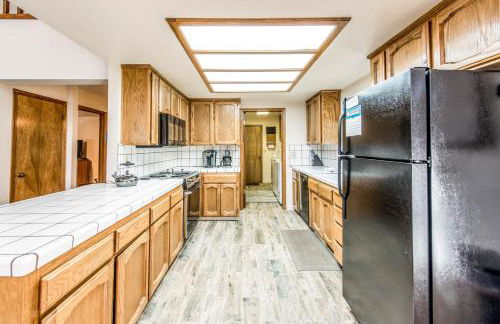
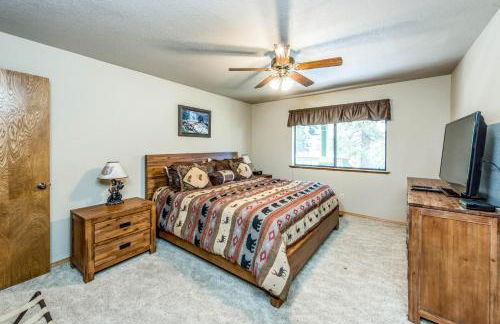
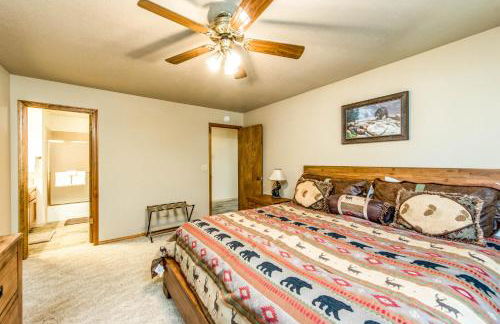
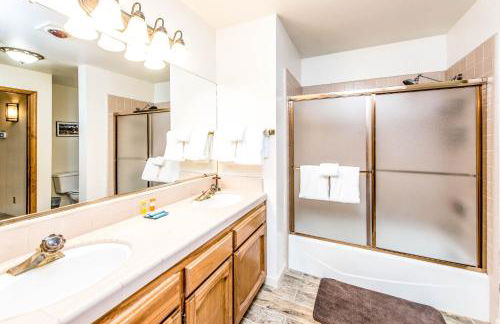
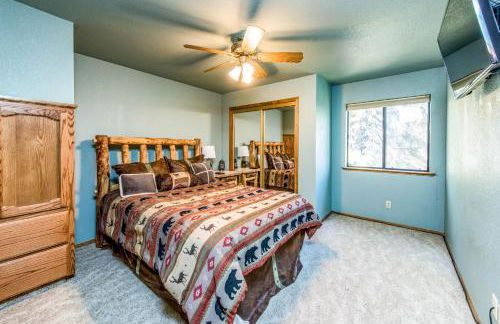
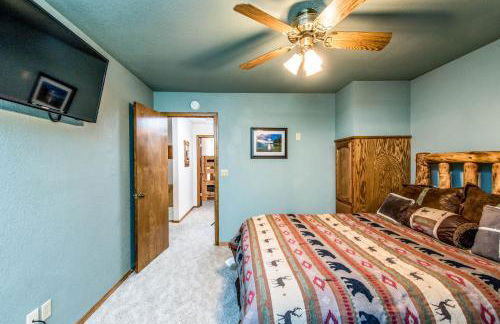
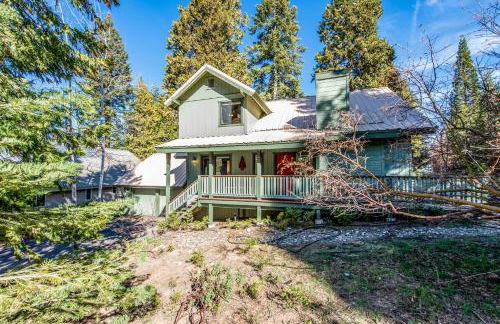
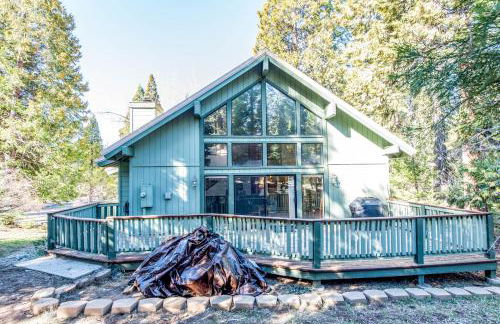
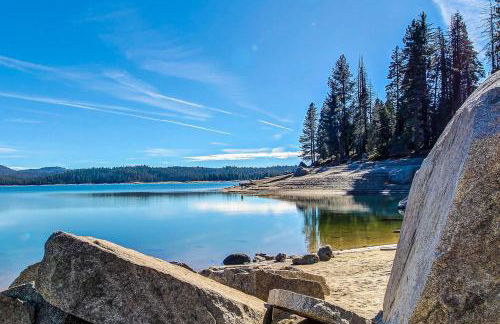
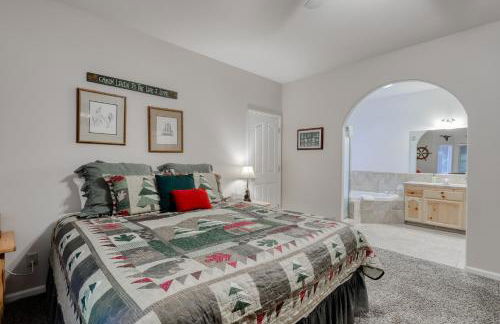
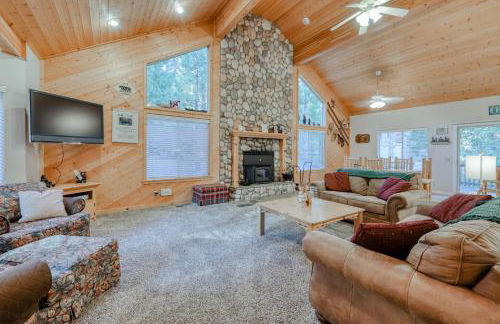
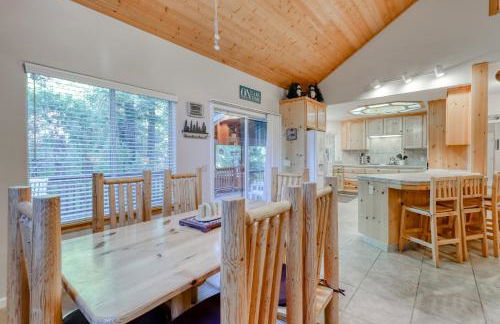
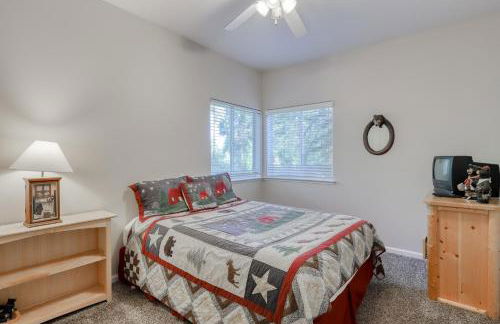
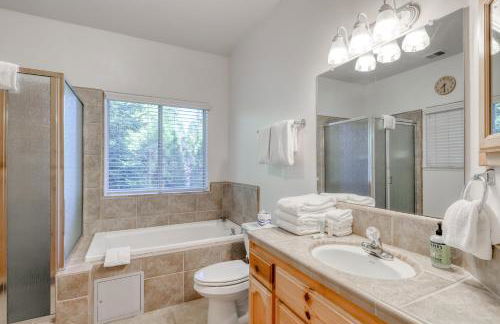
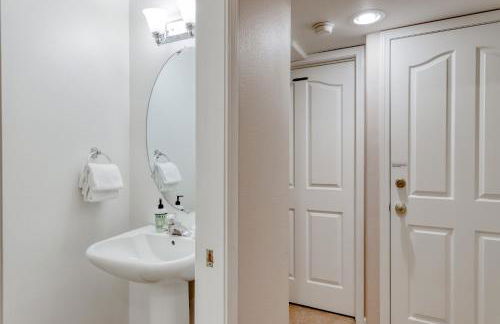
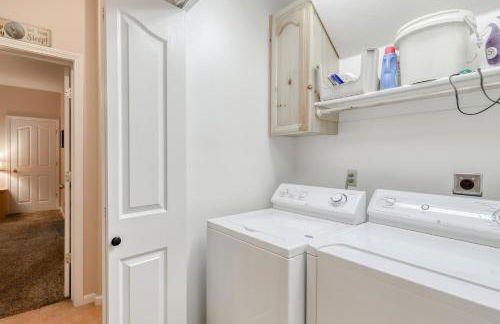
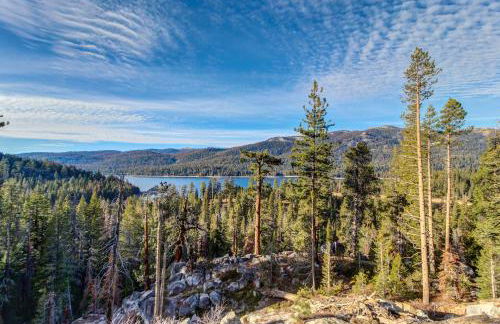
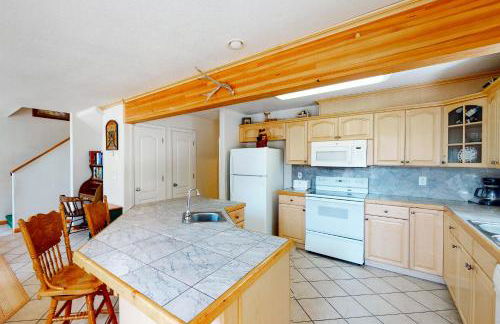
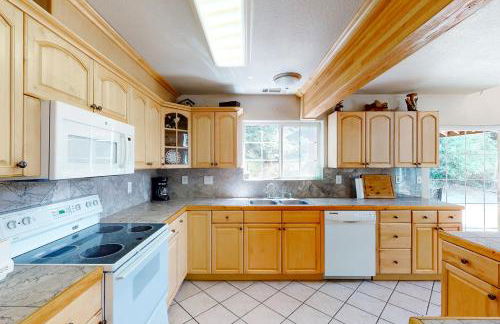
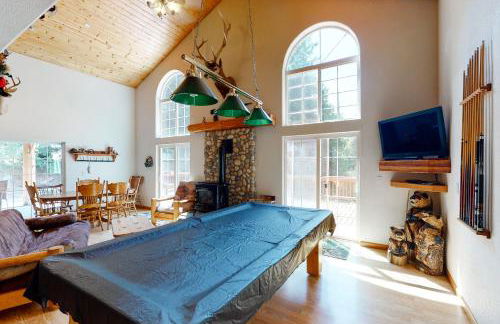
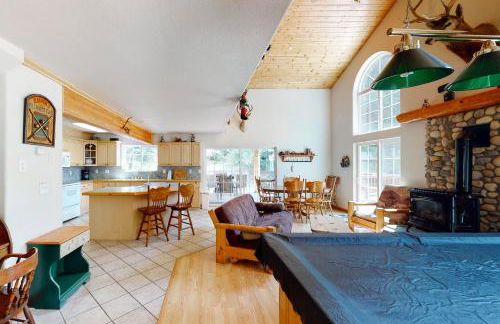
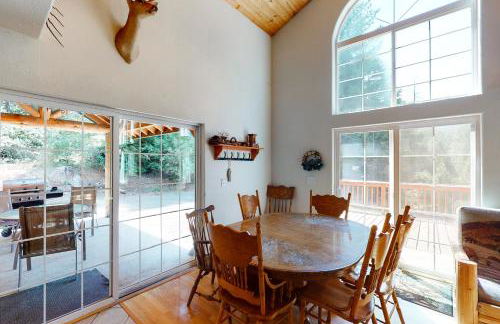
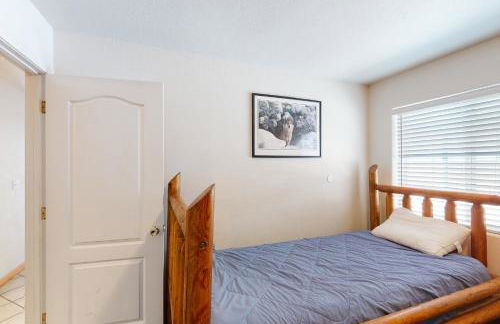
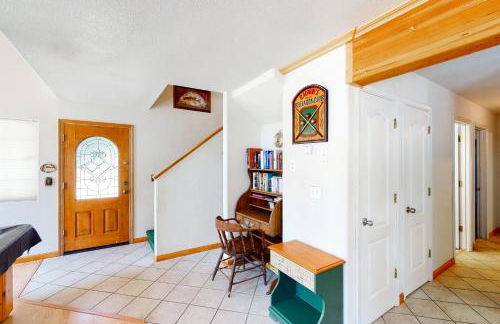
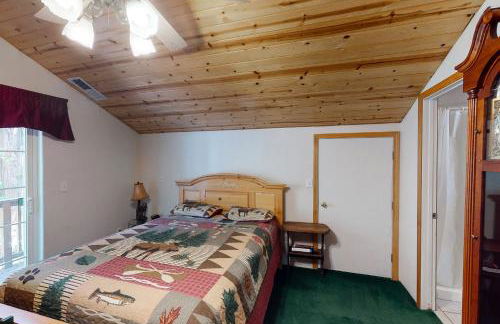
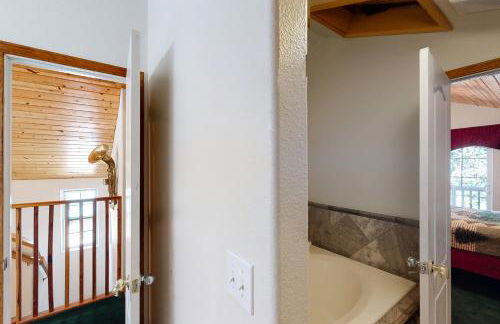
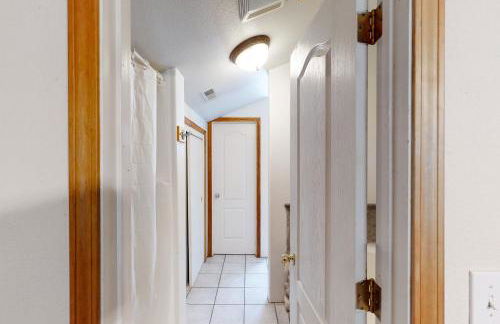
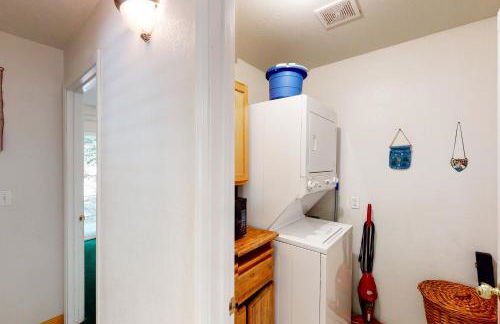
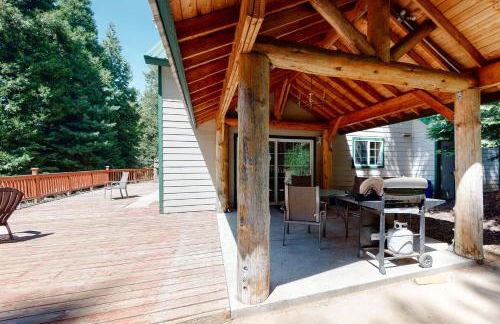
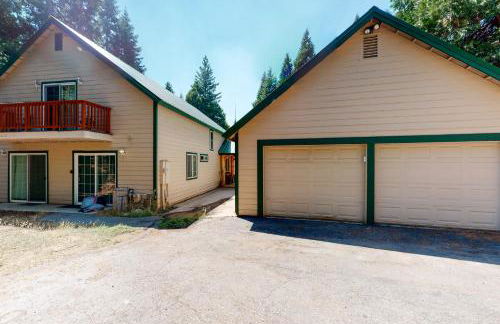
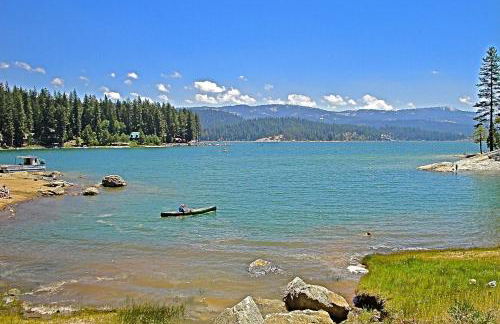
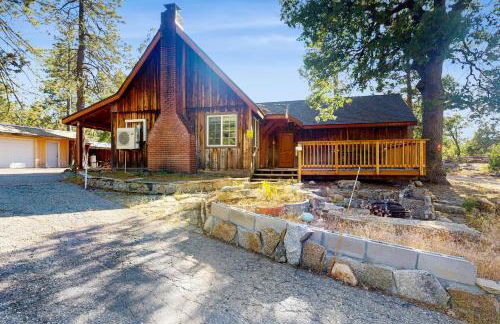
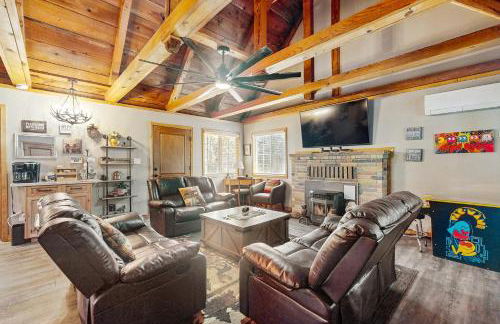
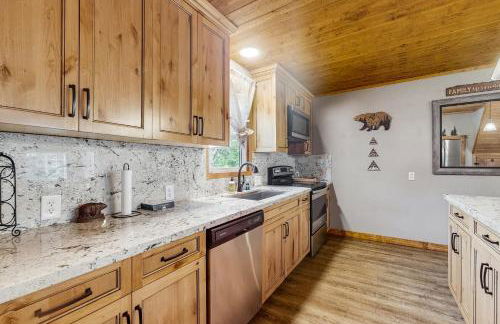
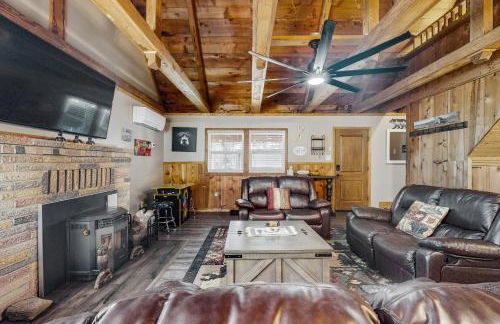
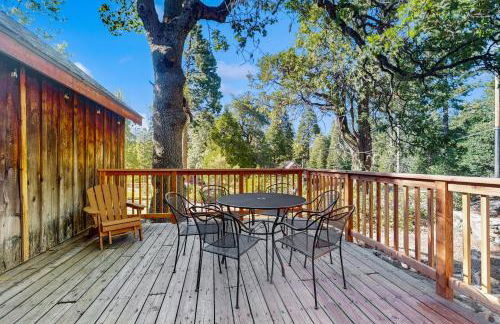
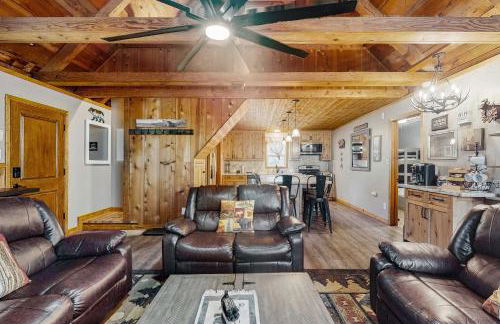
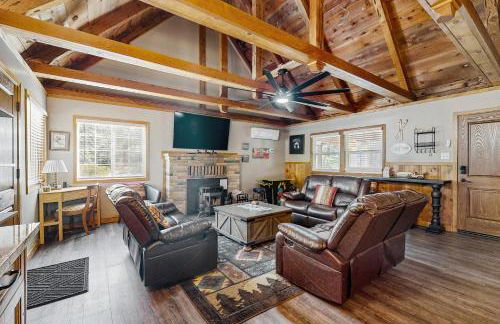
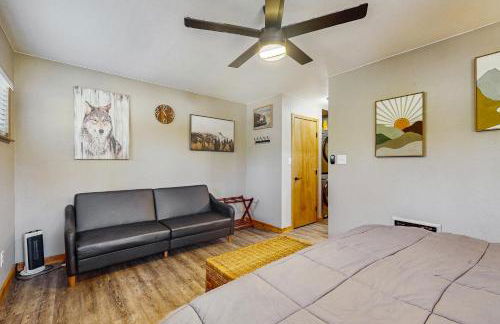
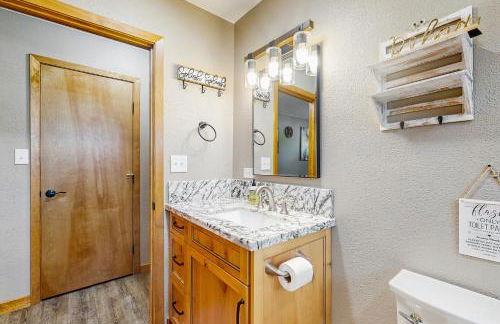
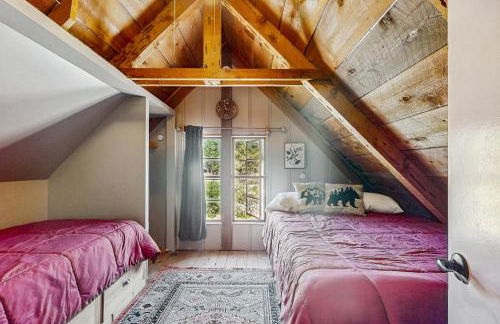
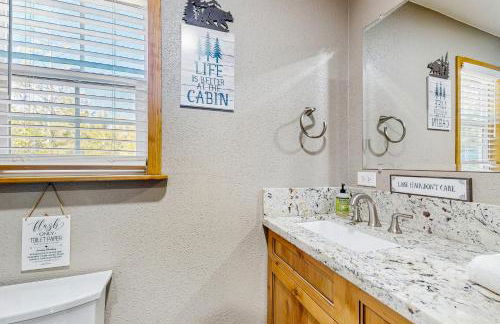
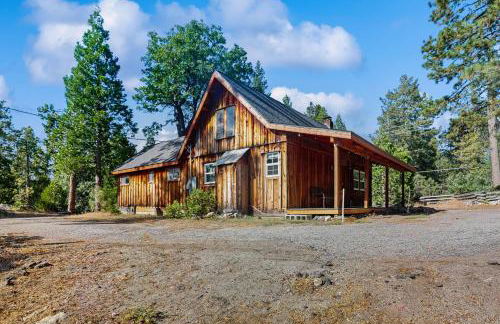
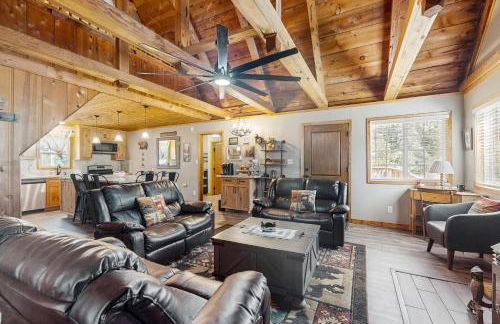
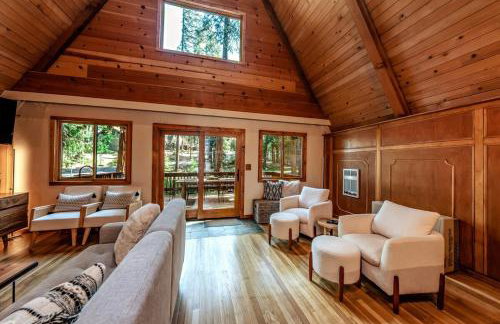
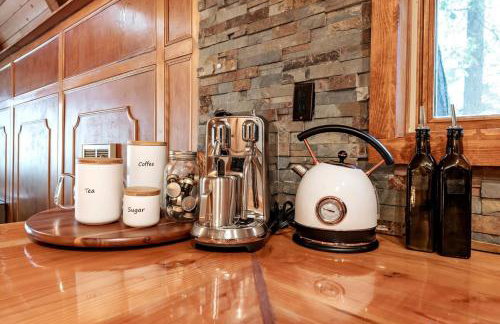
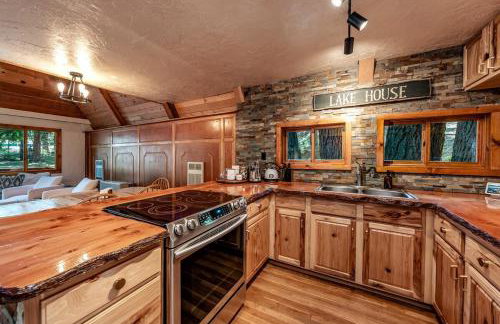
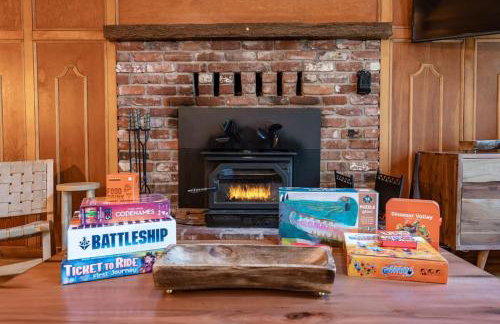
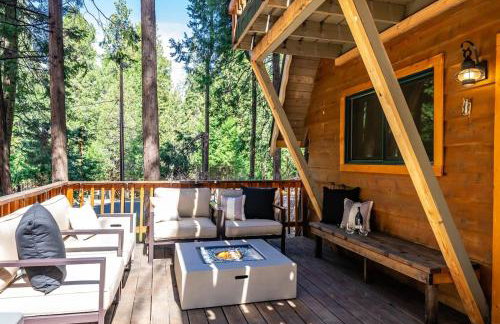
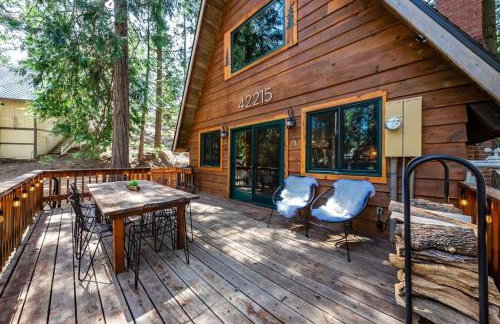
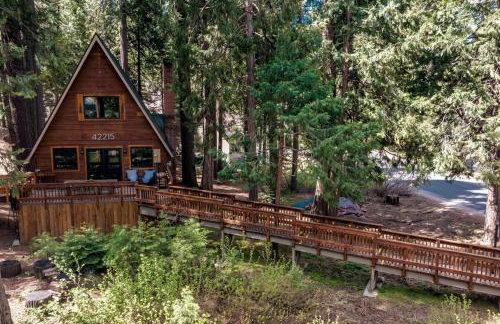
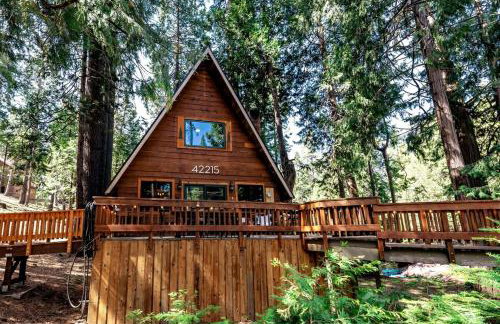
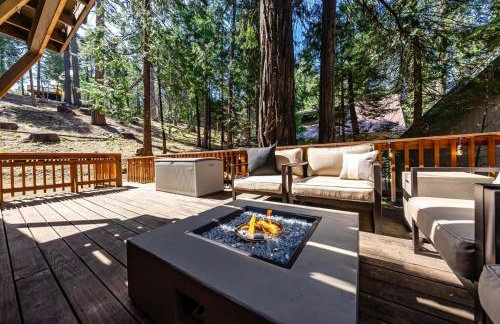
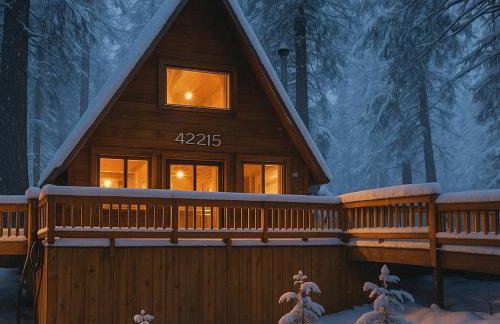
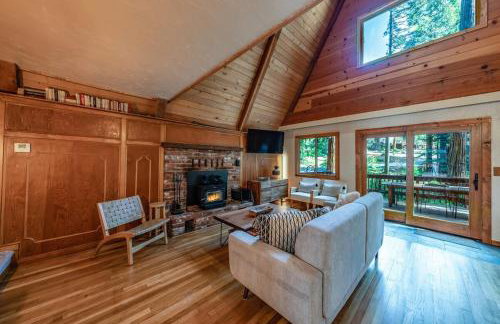
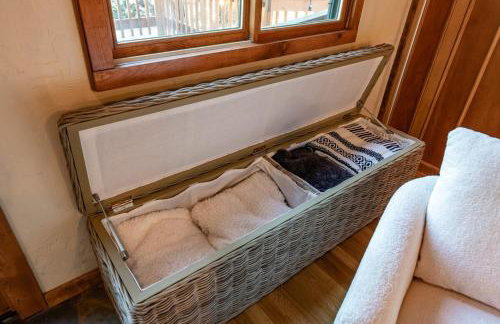
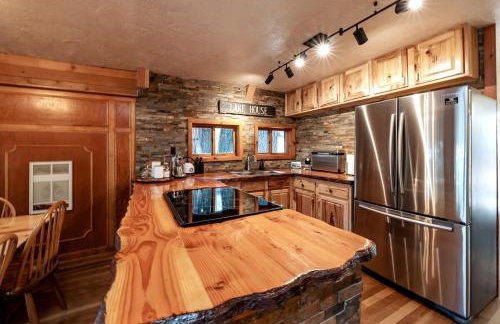
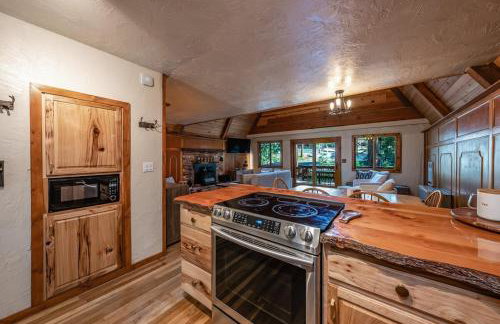
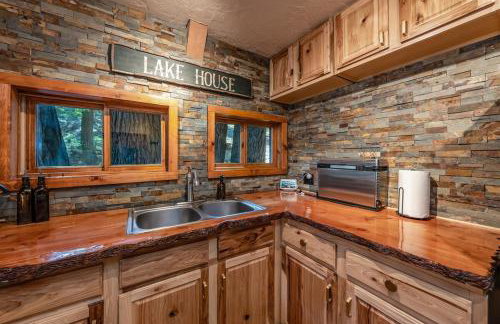
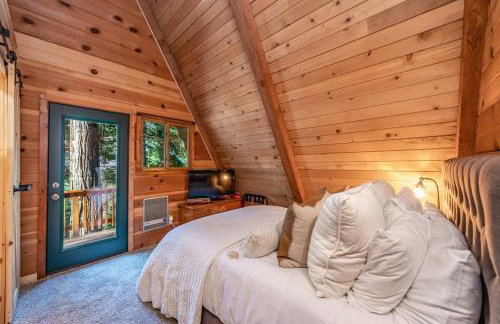
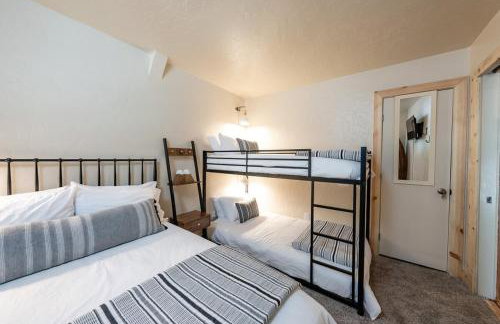
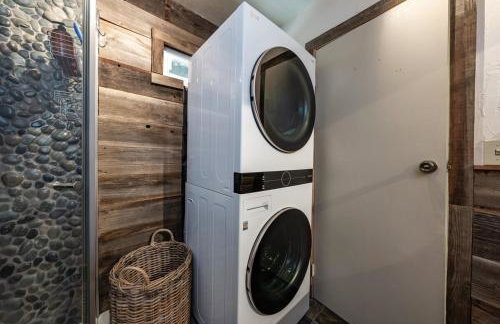
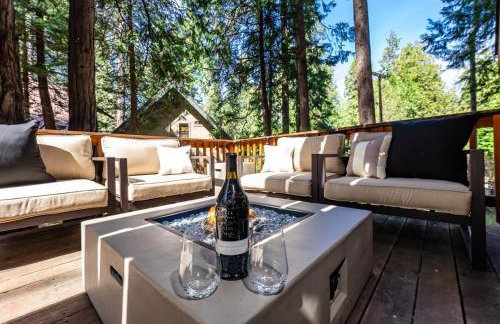
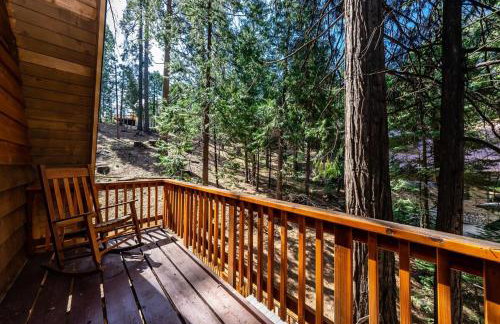
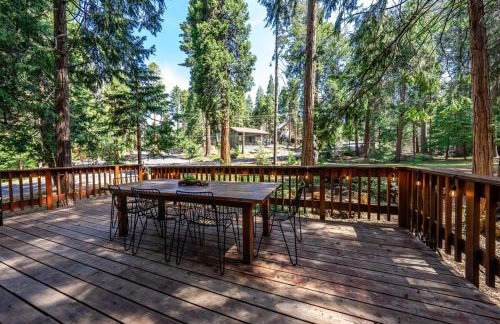
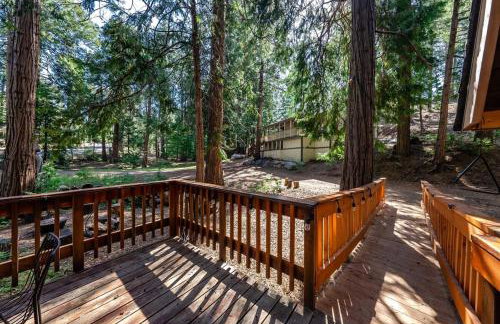
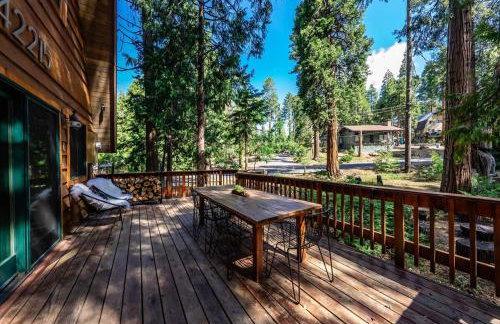
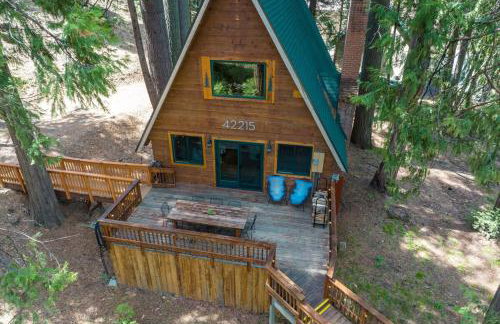
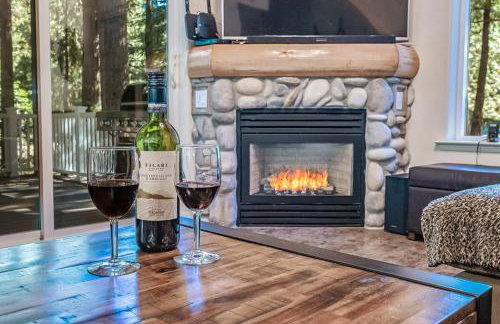
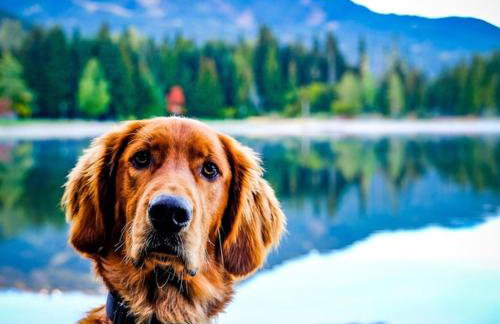
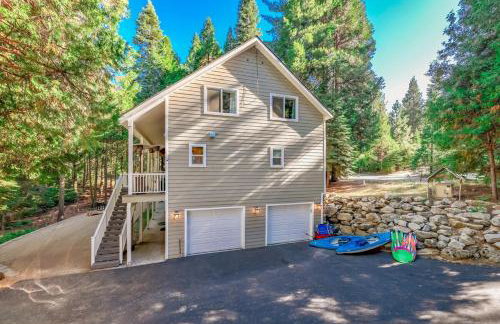
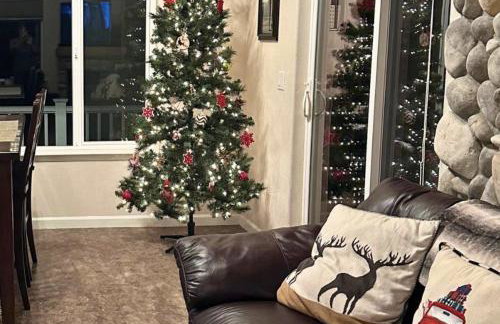
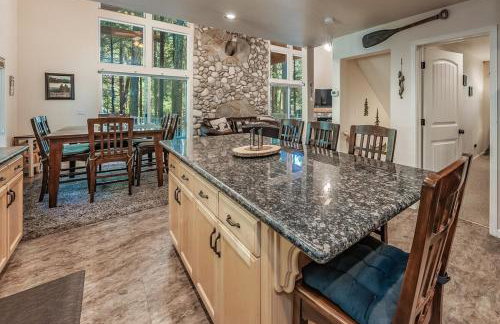
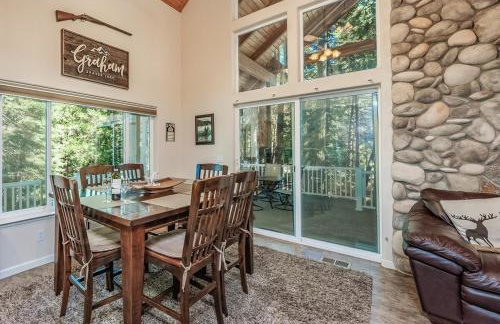
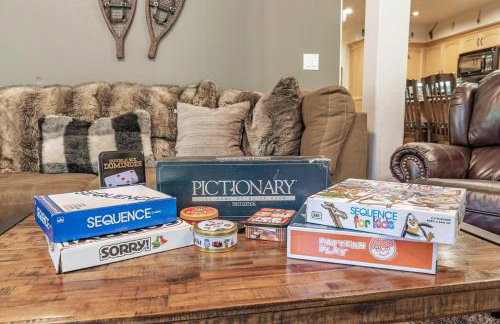
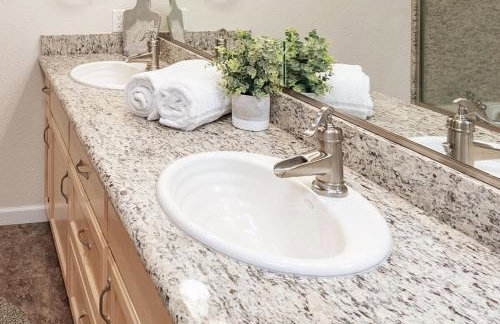
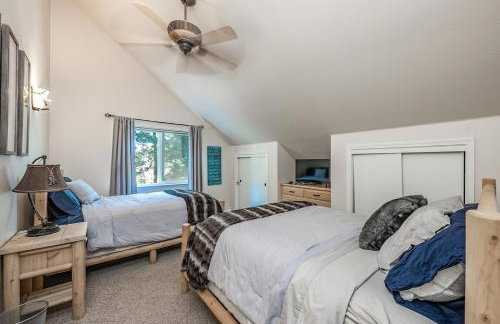
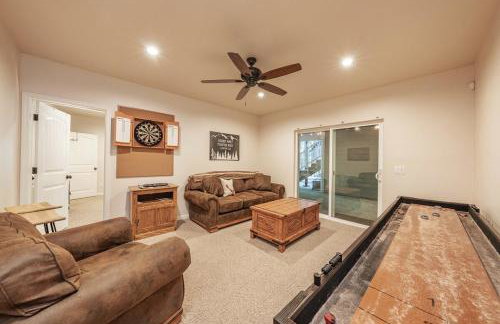
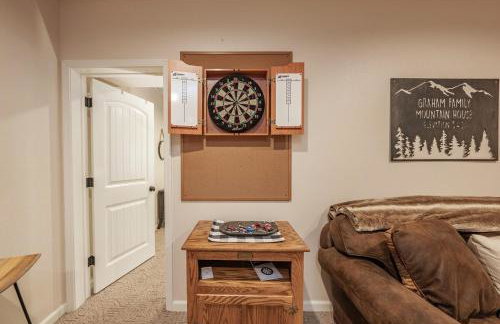
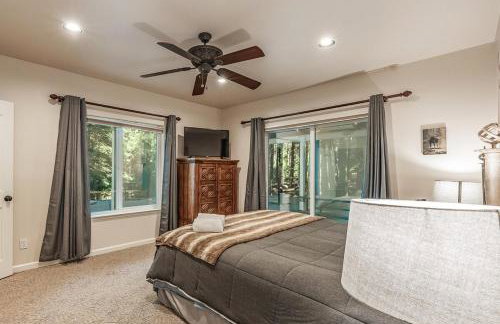
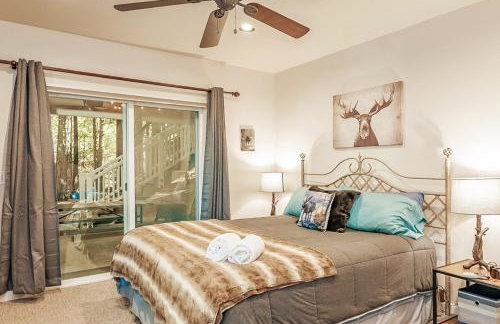
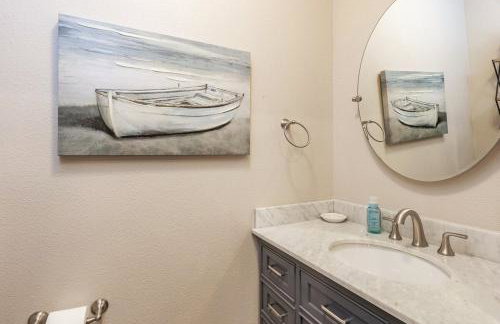
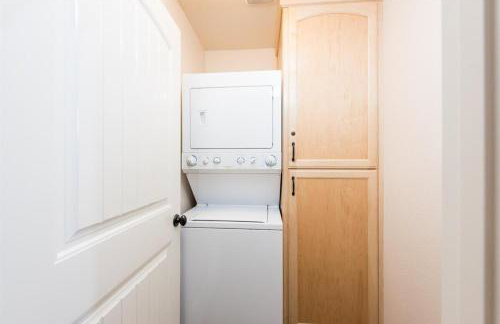
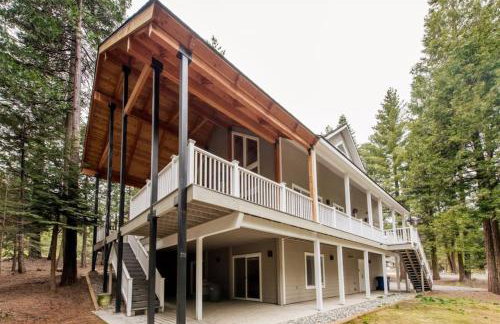
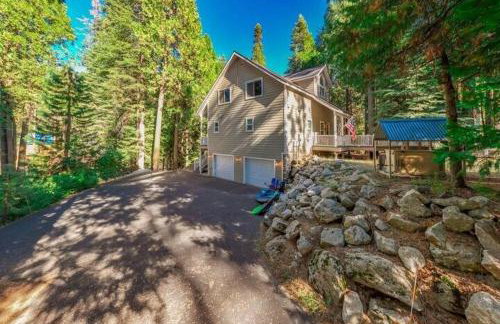
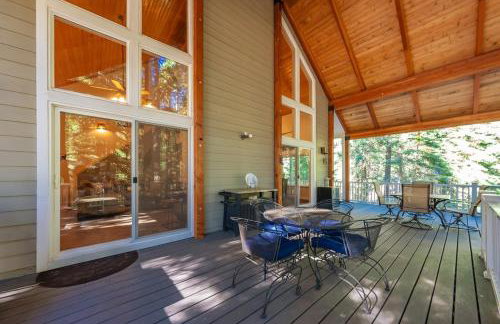
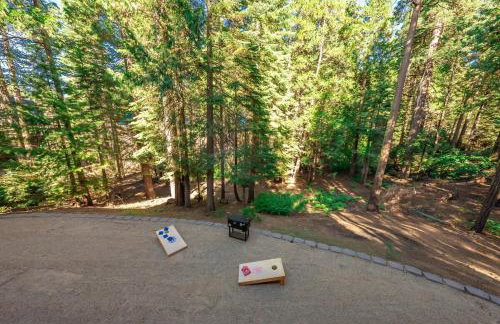
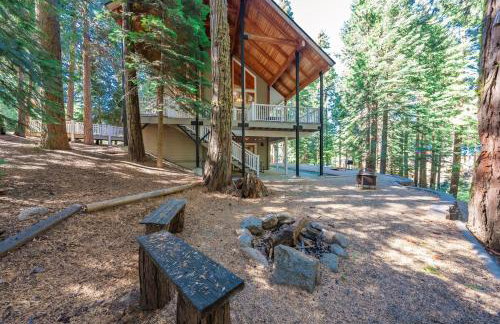
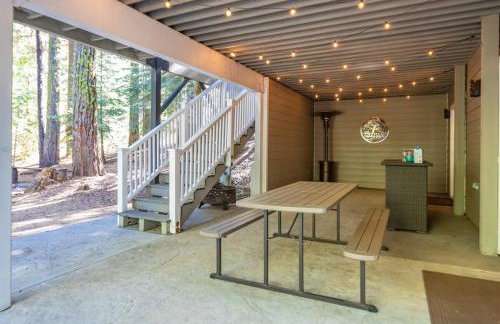
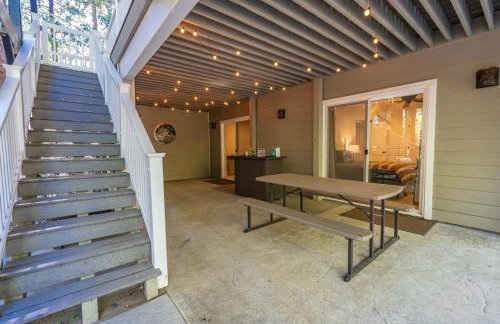
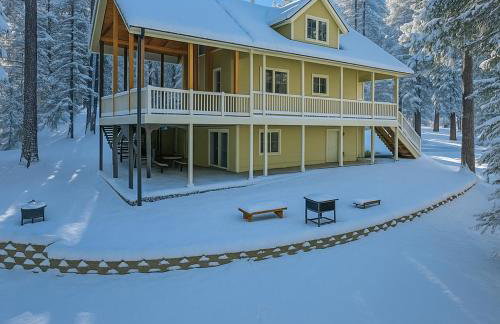
The Elderberry Retreat - It's a Dream Location! - Foto 1
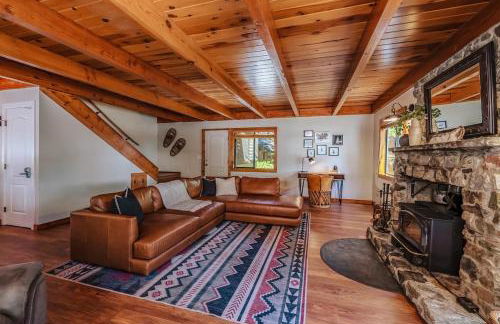
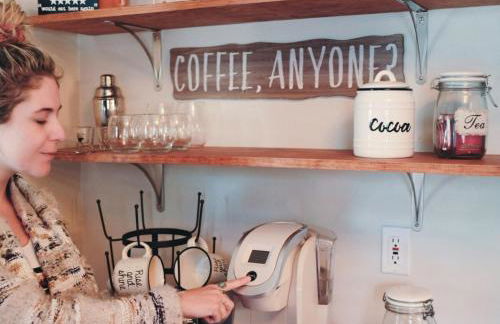
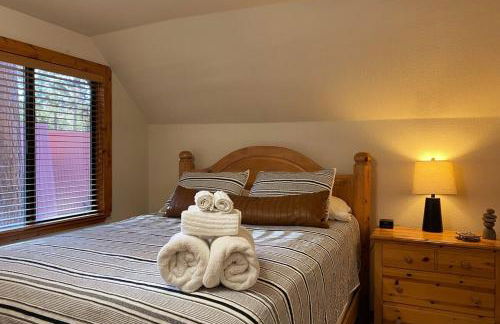
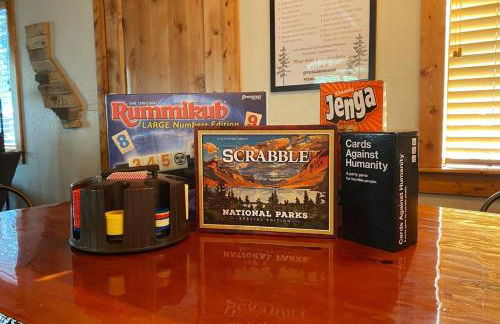
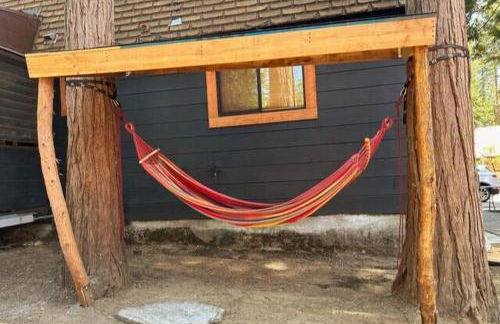
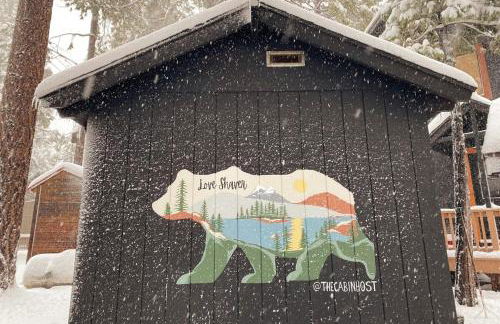
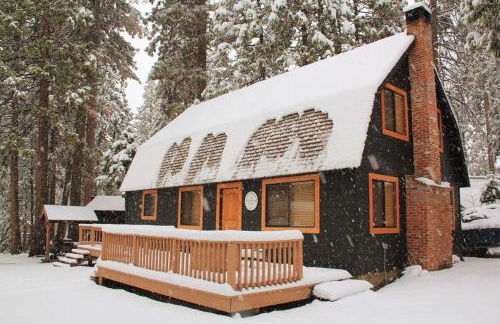
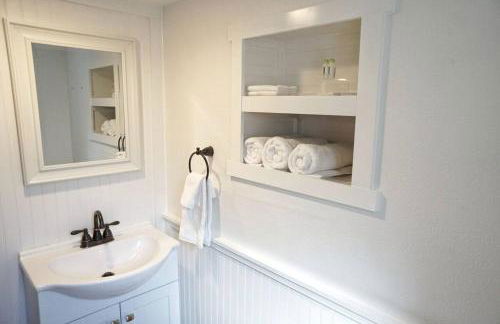
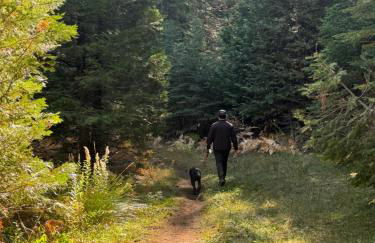
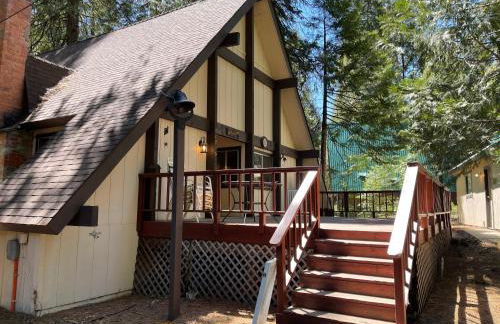
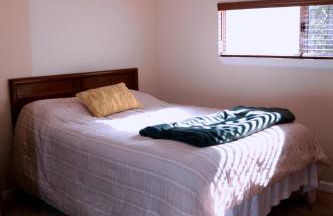
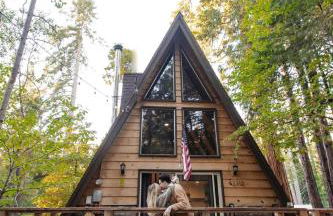
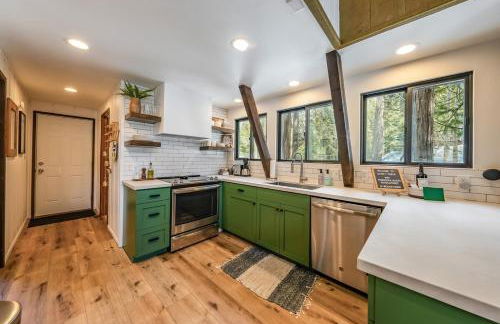
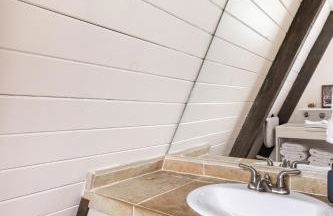
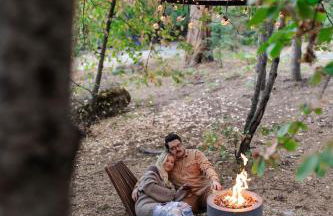
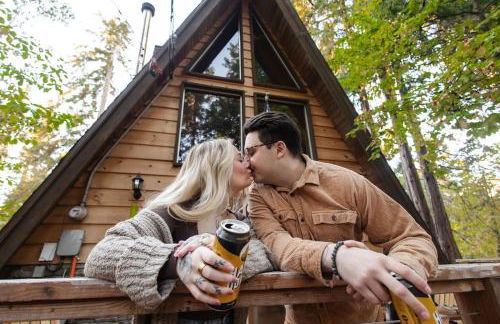
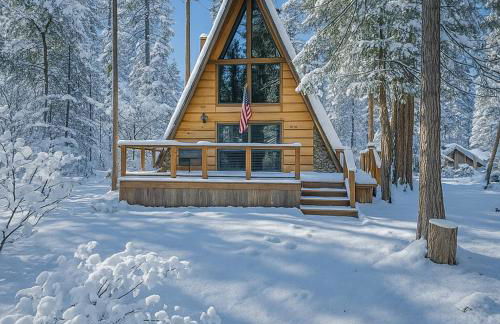
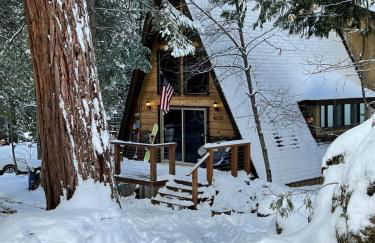
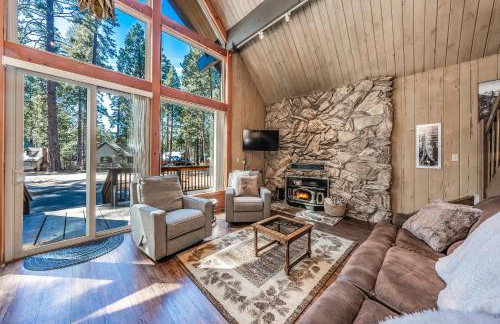
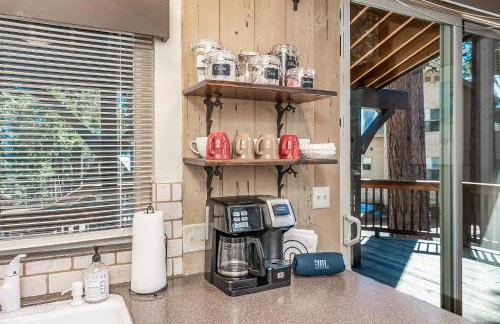
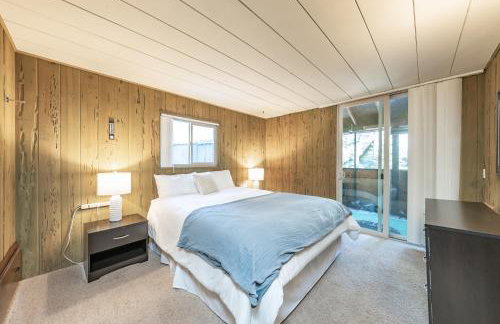
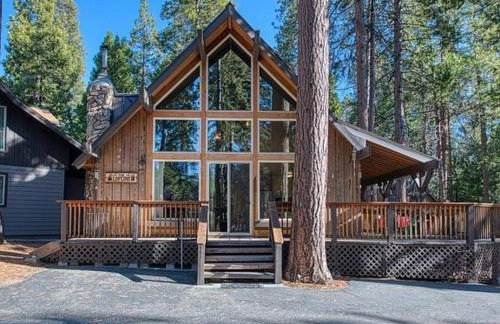
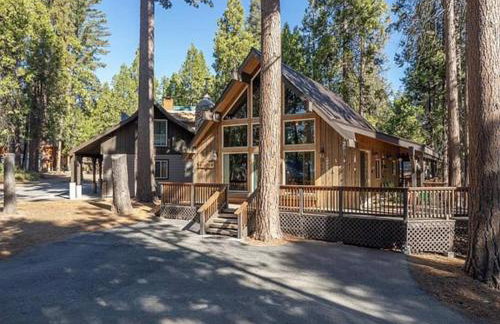
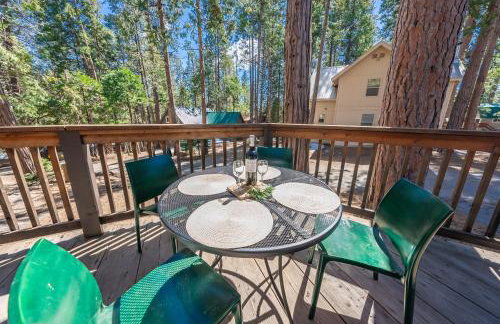
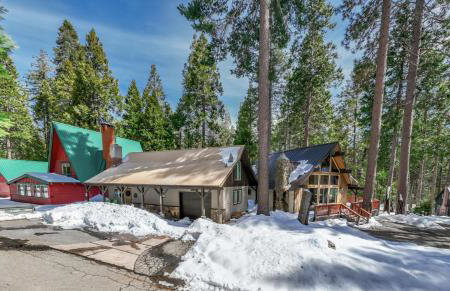
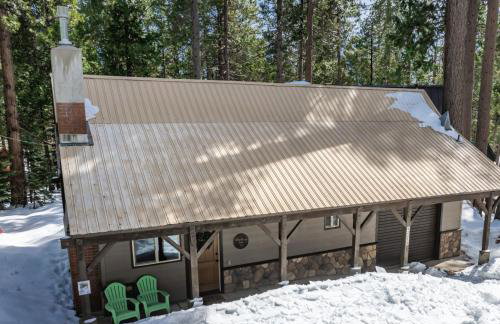
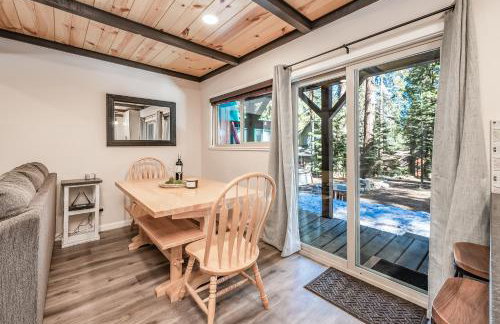
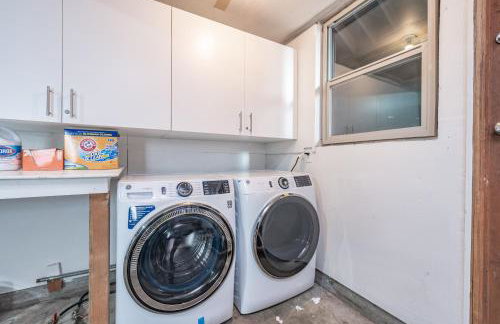
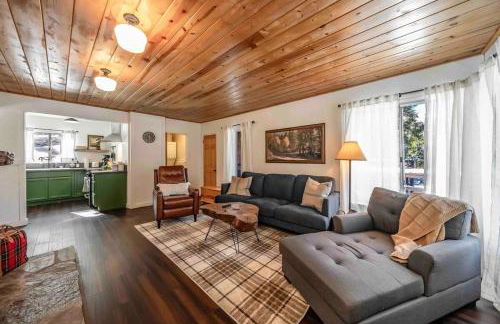
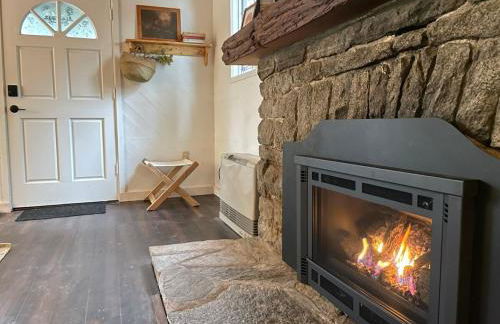
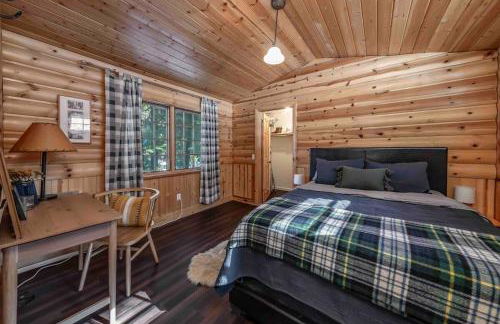
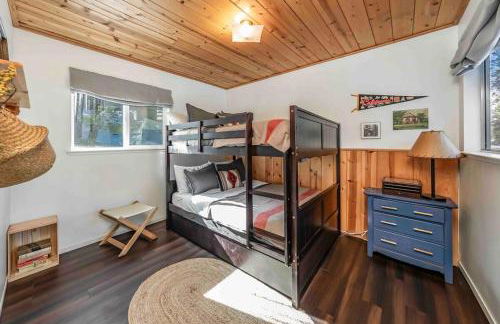
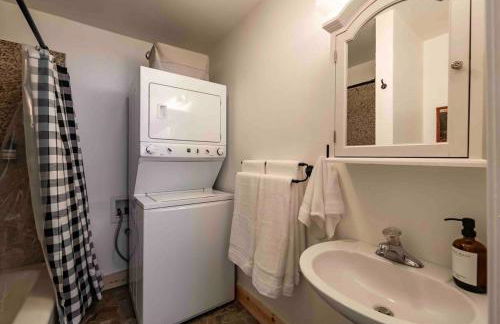
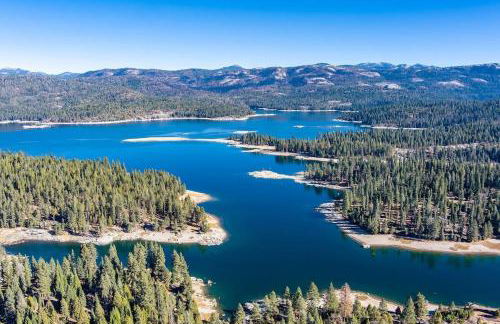
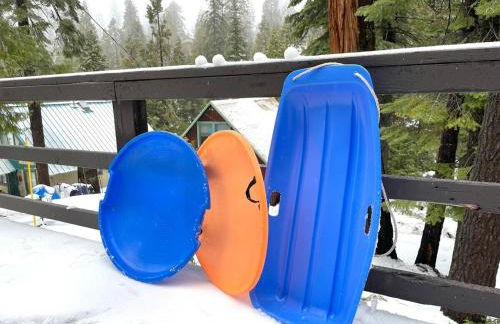
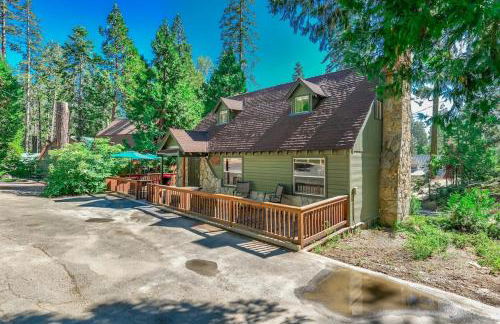
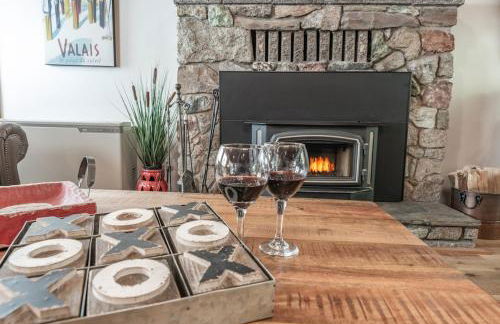
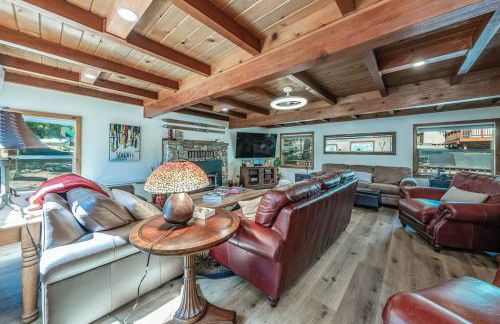
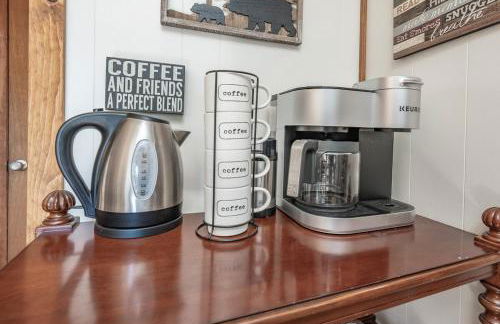
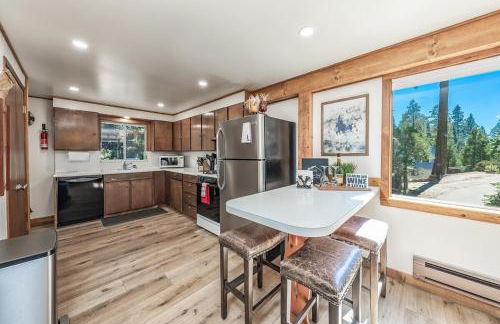
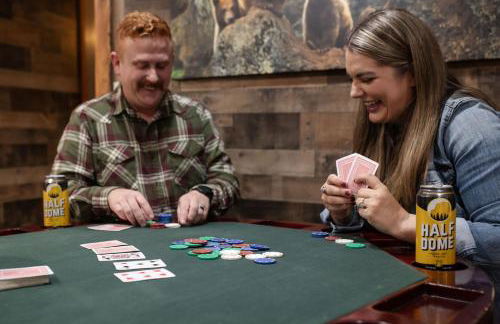
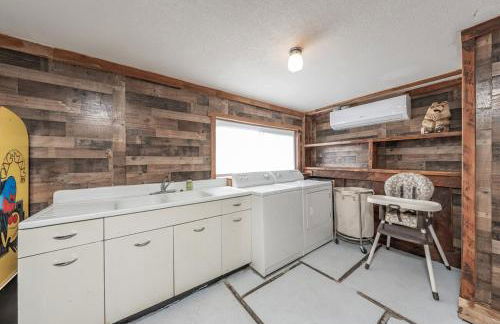
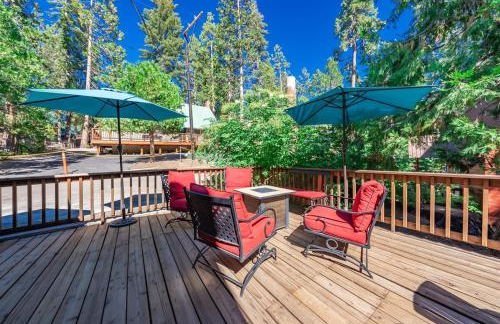
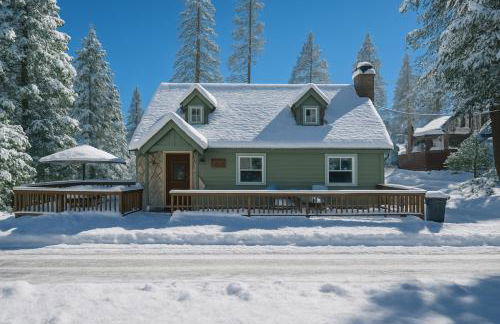
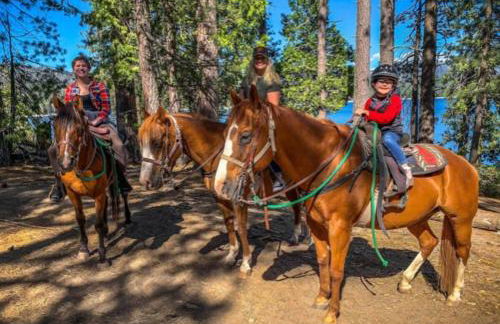
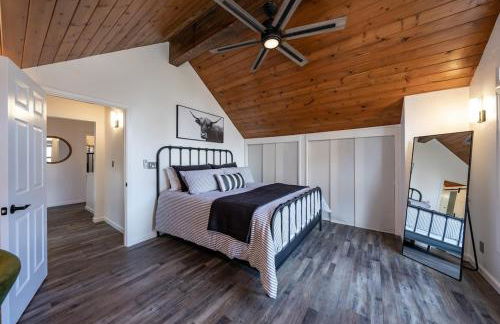
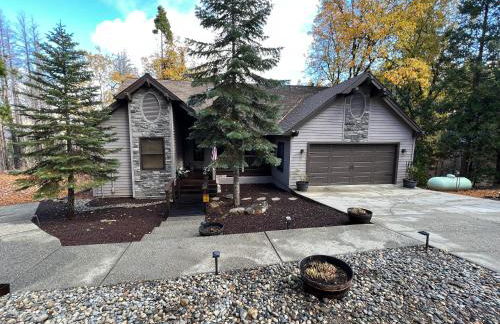
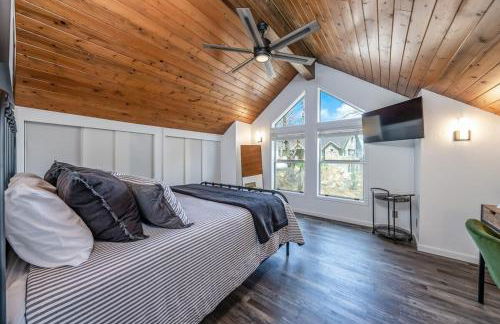
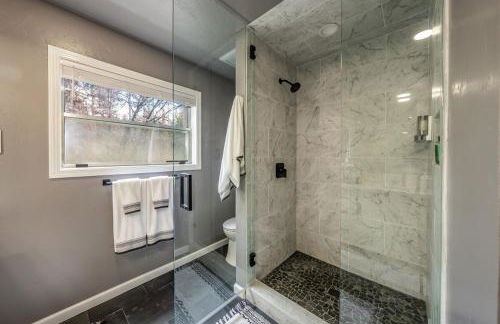
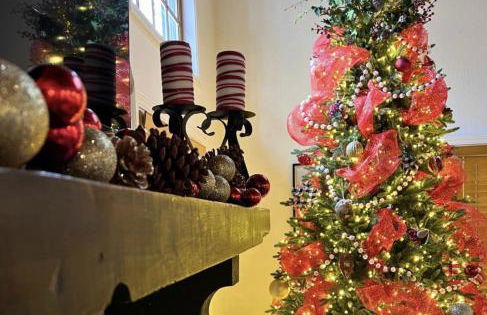
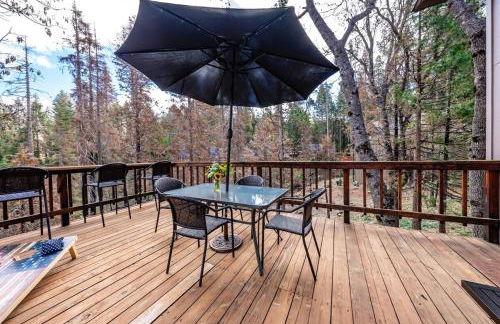
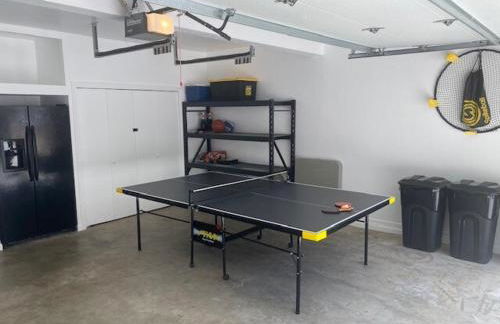
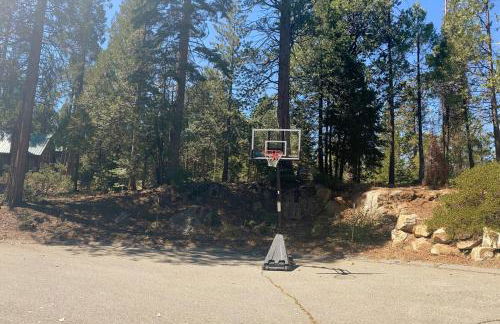
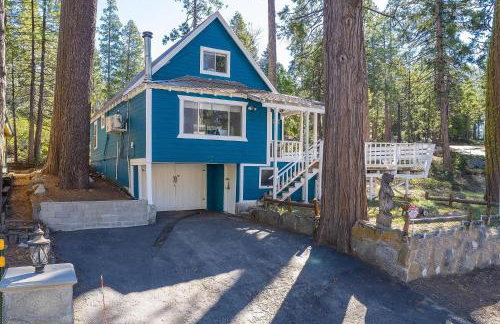
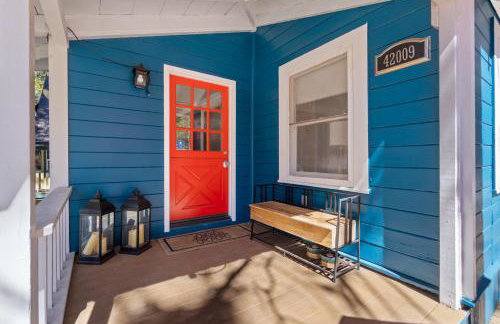
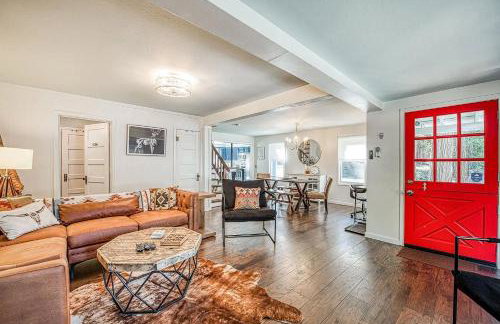
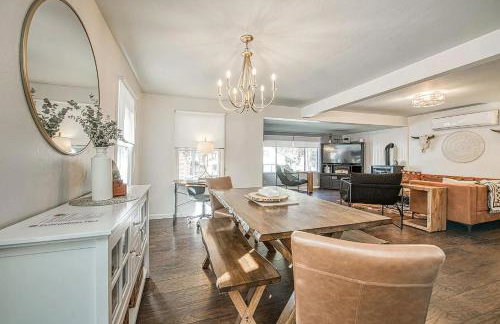
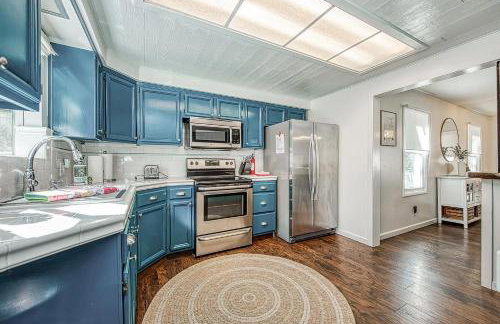
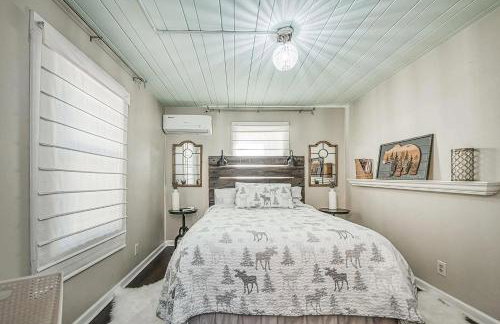
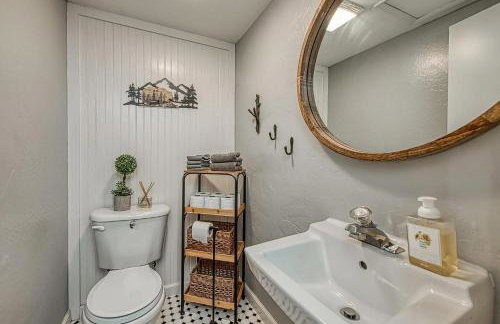
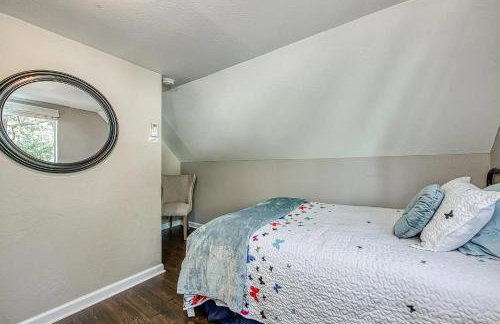
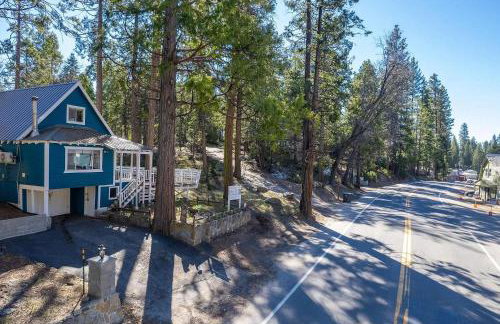
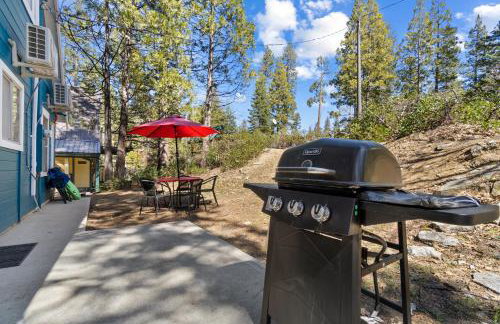
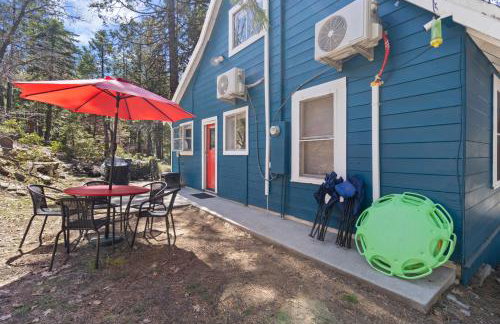
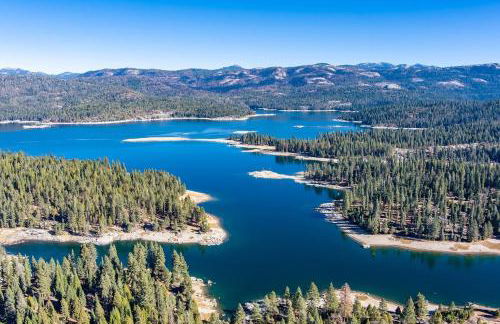
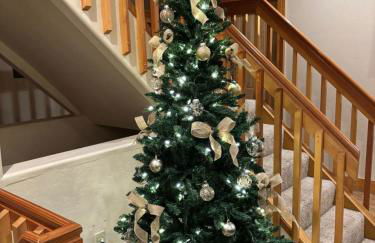
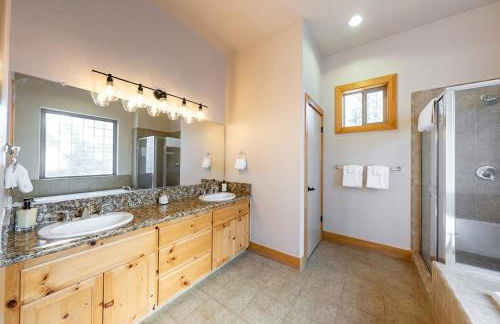
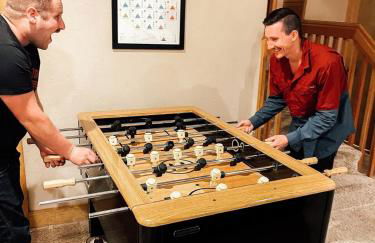
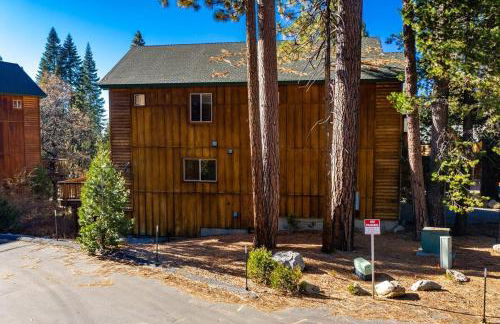
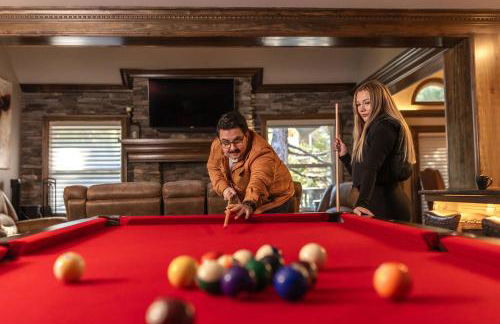
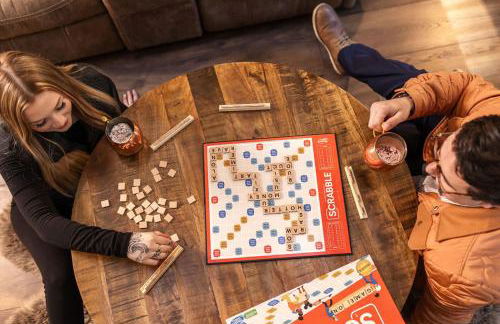
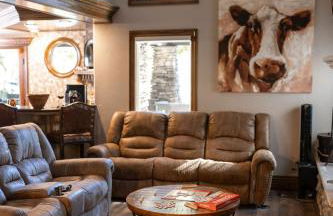
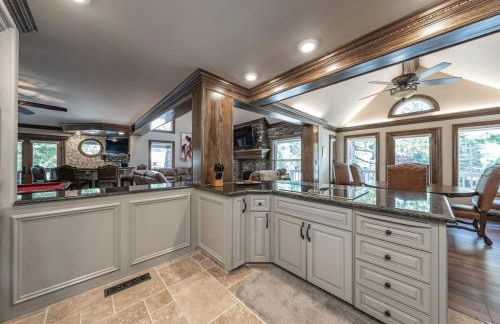
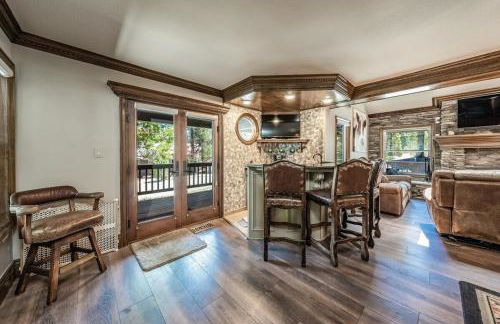
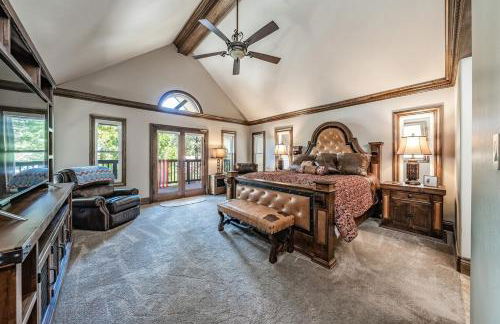
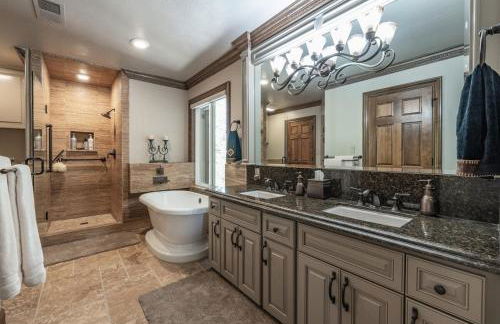
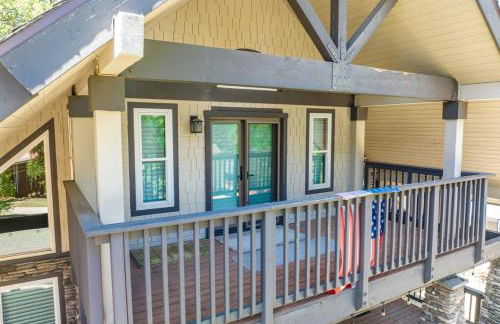
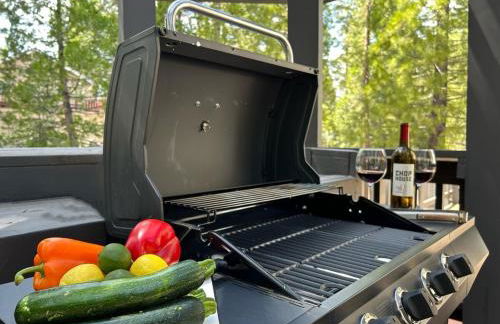
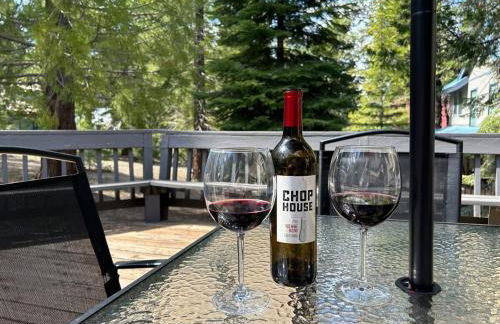
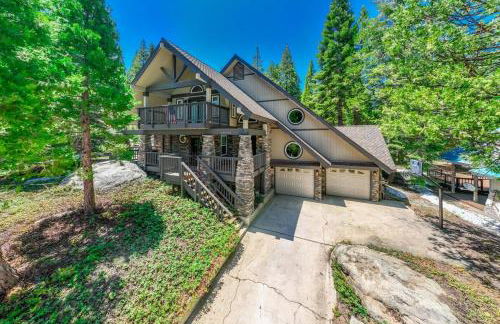
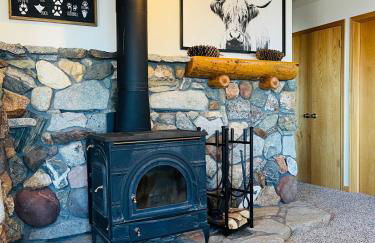
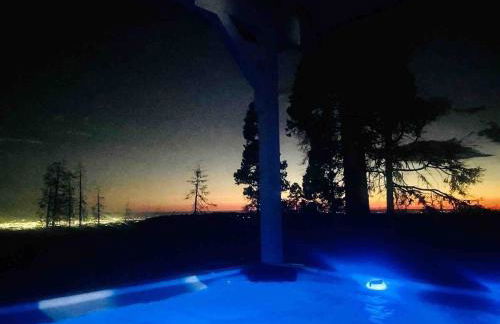
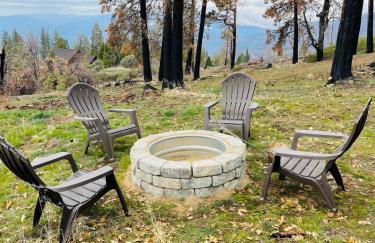
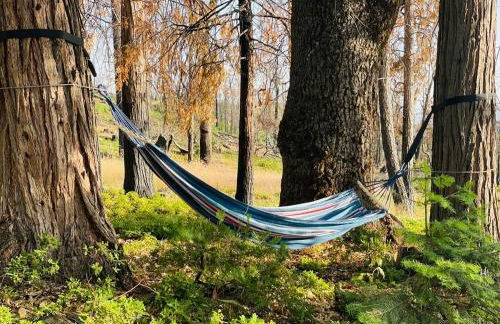
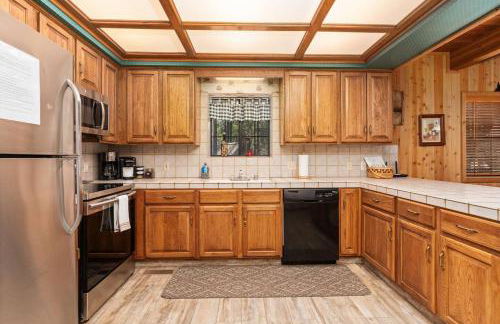
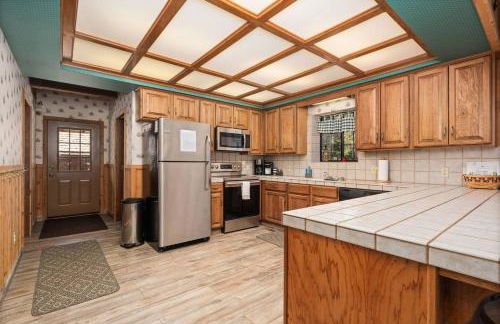
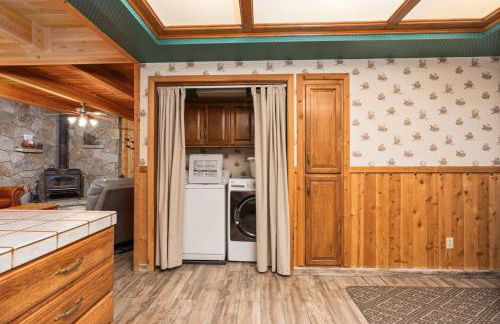
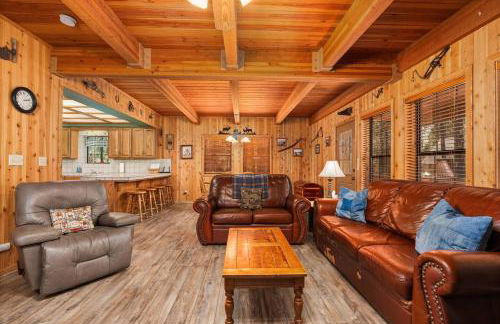
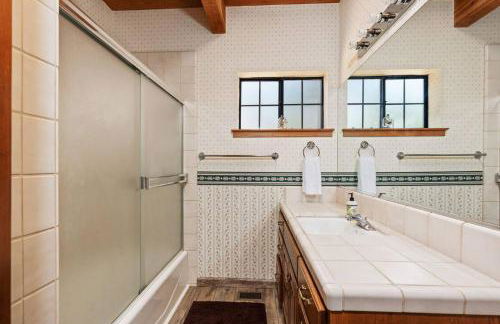
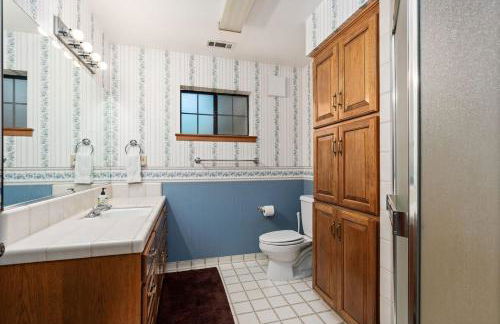
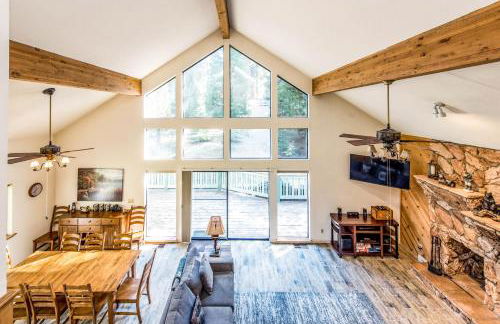
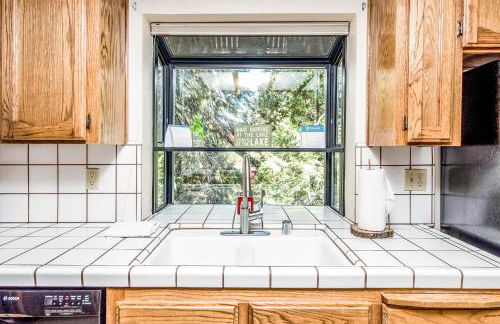
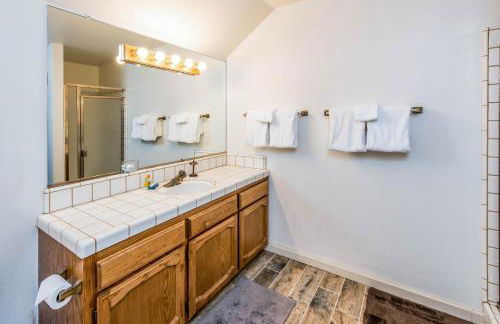
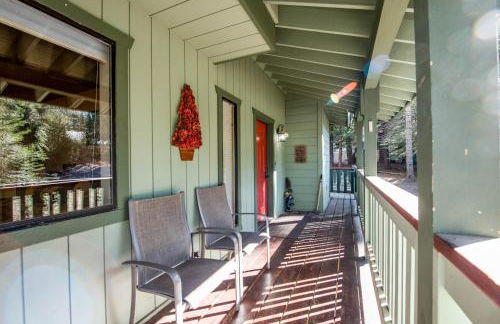
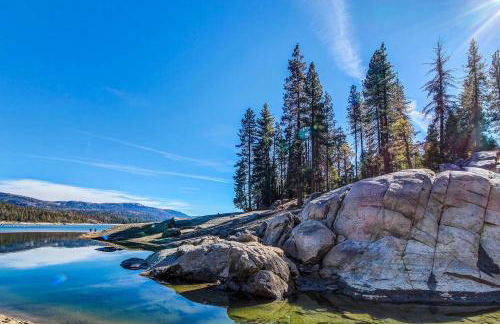
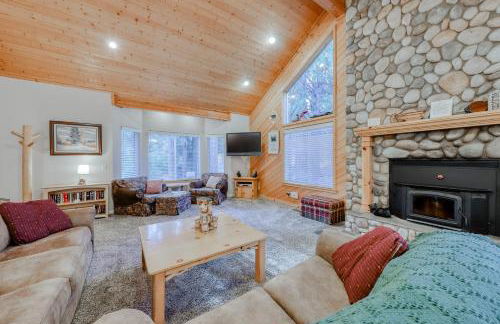
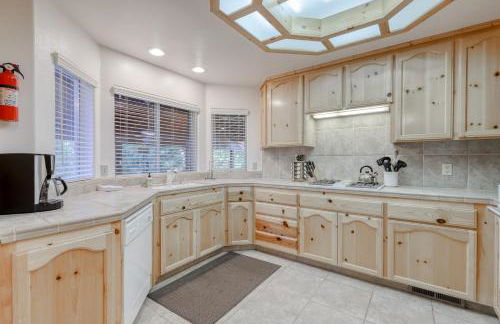
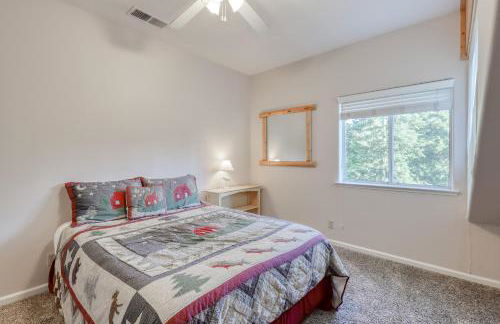
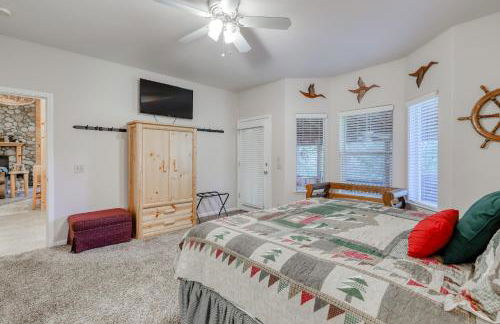
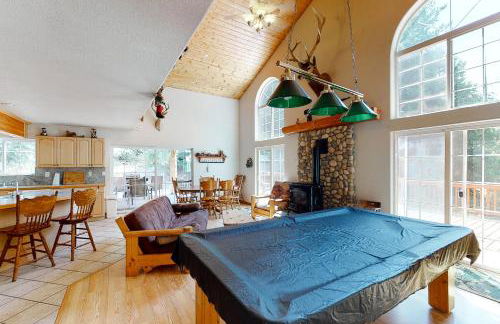
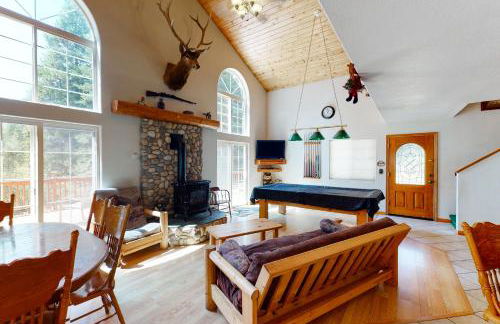
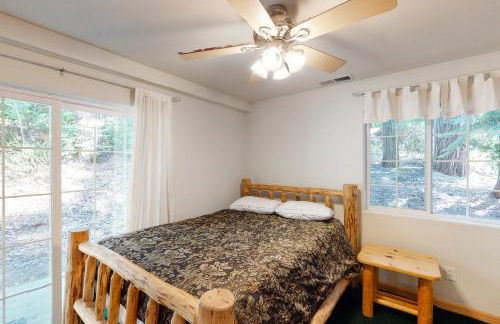
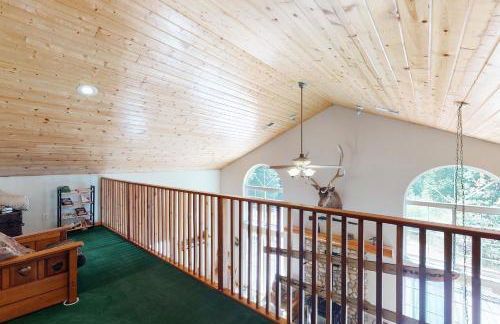
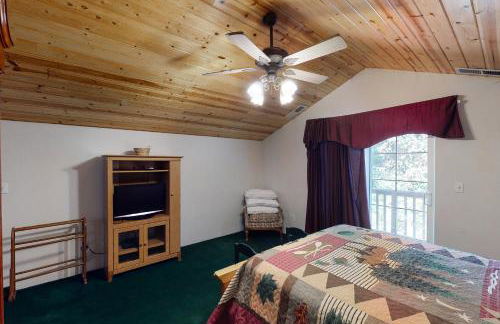
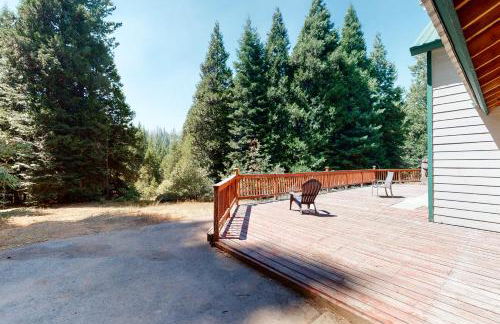
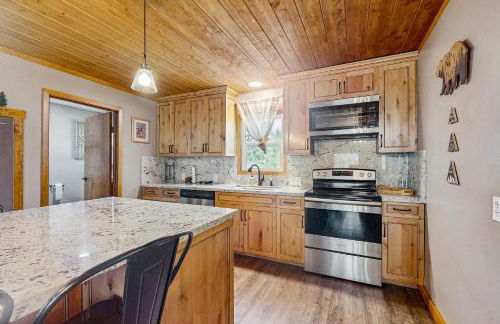
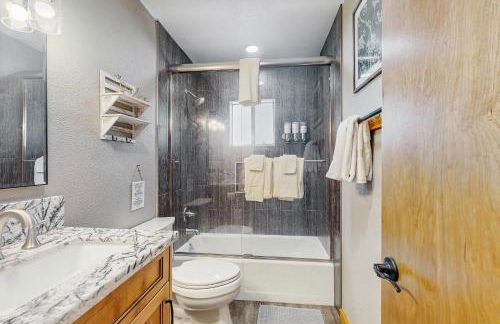
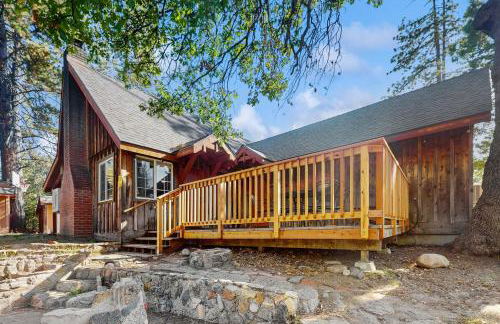
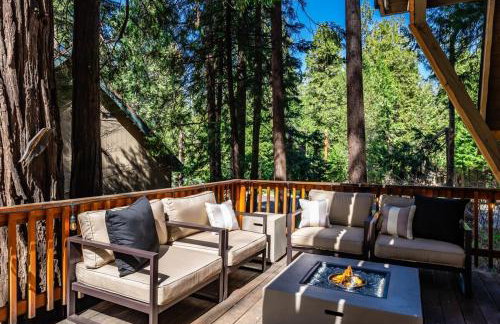
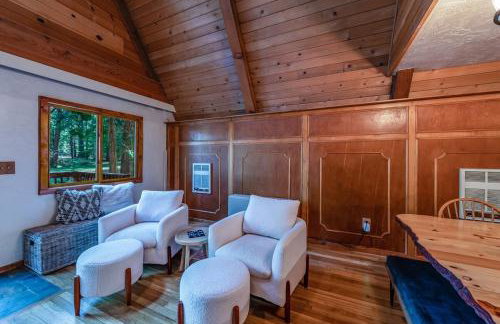
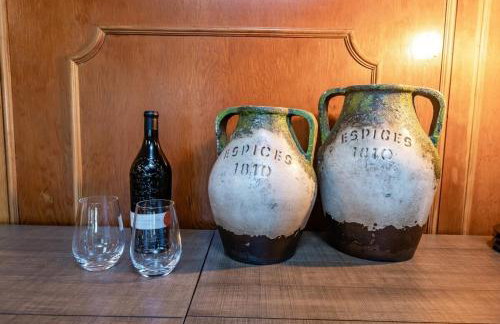
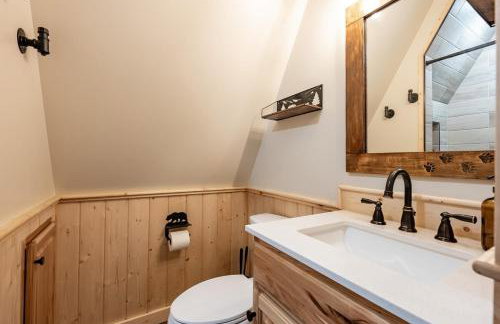
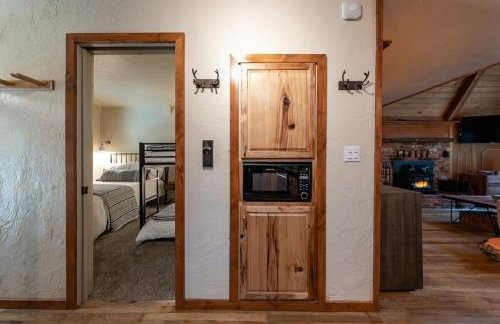
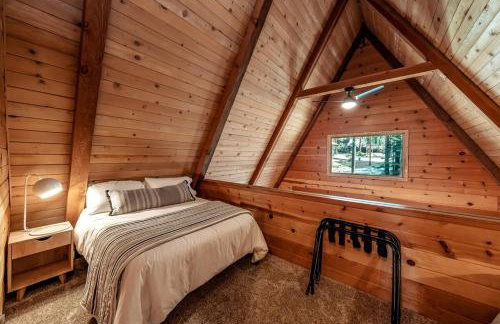
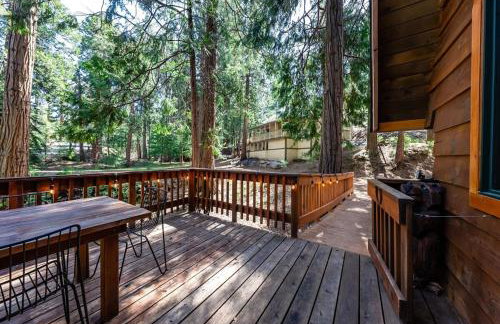
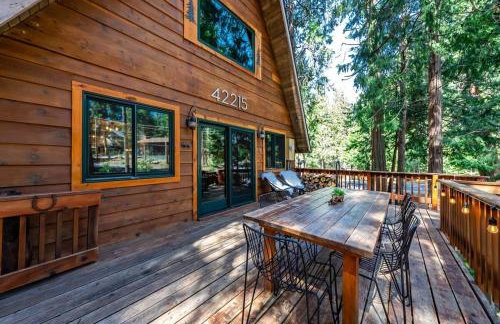
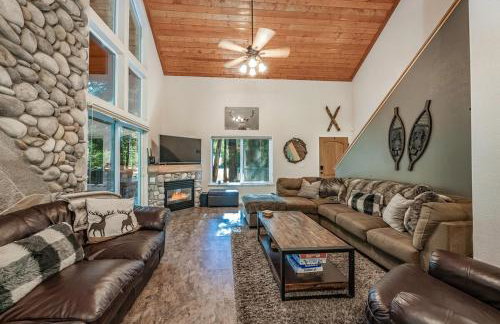
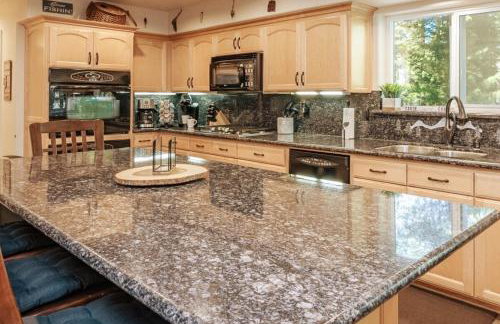
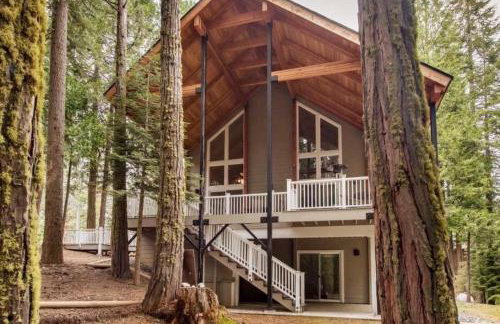
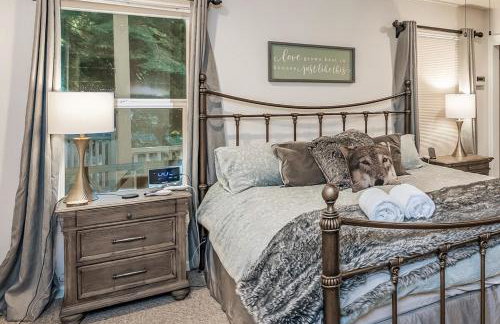
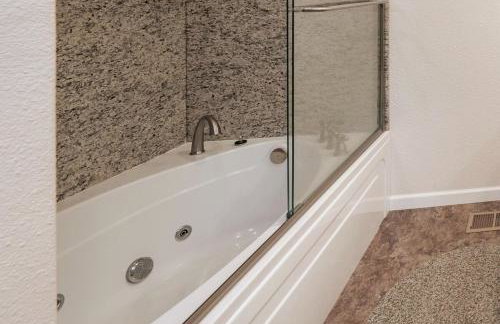
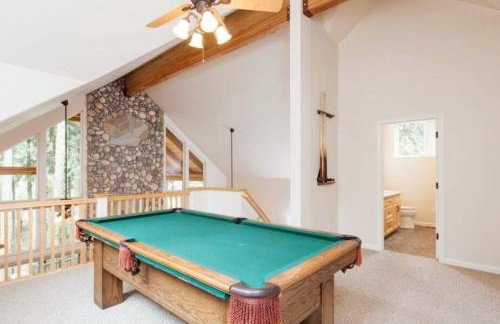
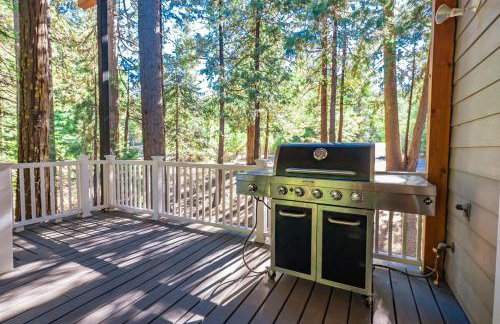
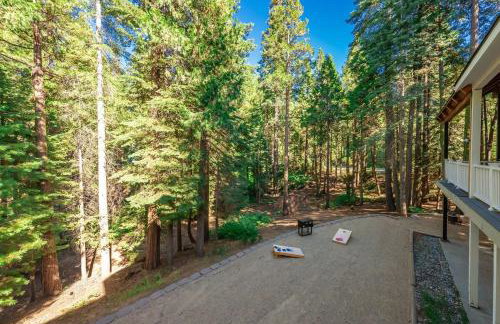
The Elderberry Retreat - It's a Dream Location! - Foto 2
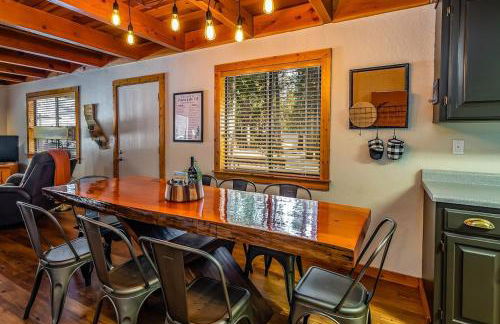
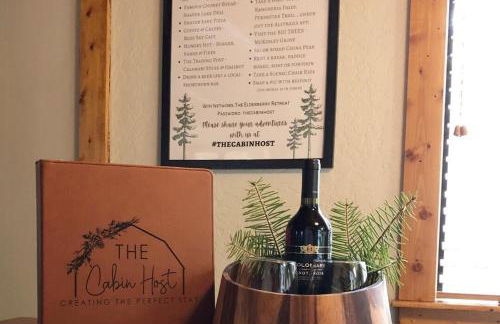
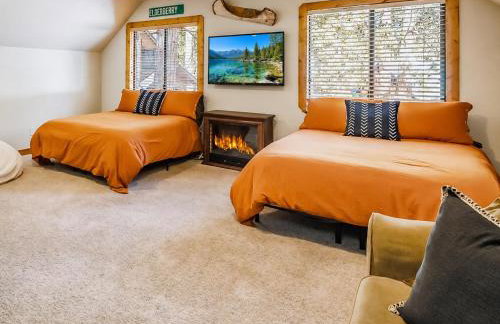
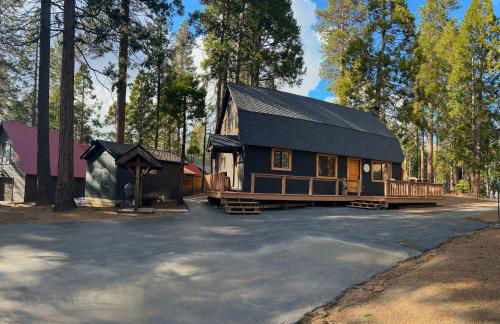
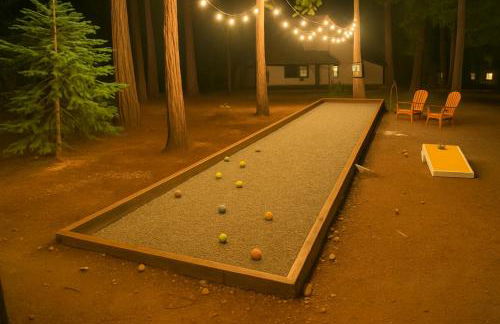
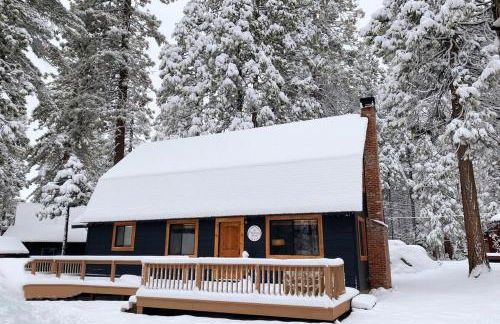
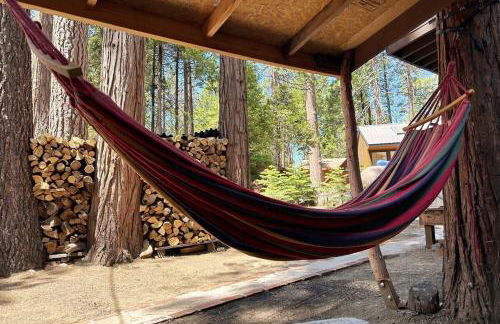
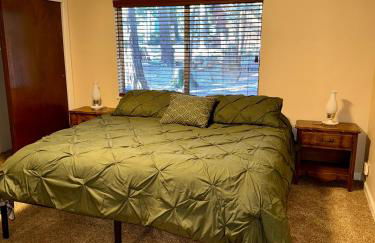
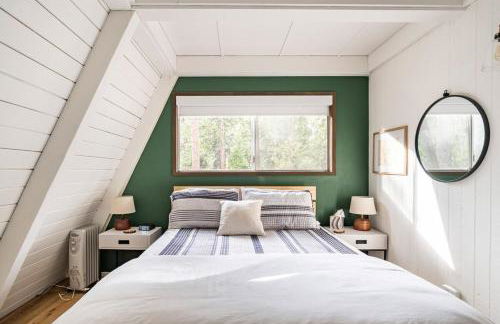
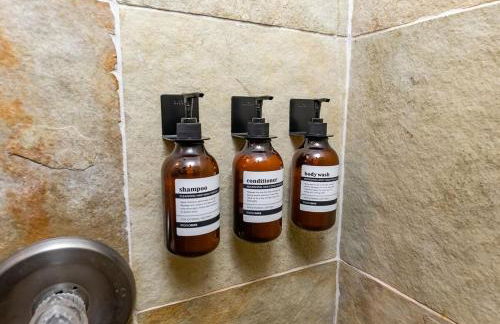
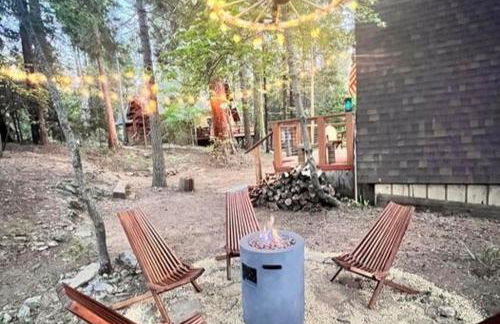
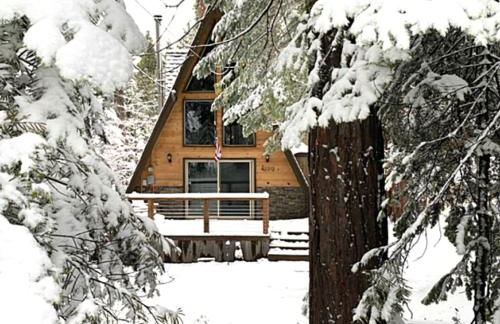
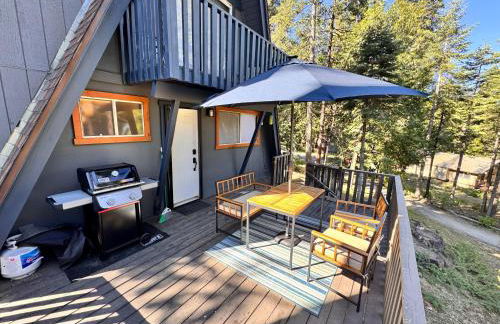
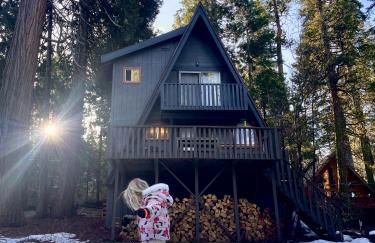
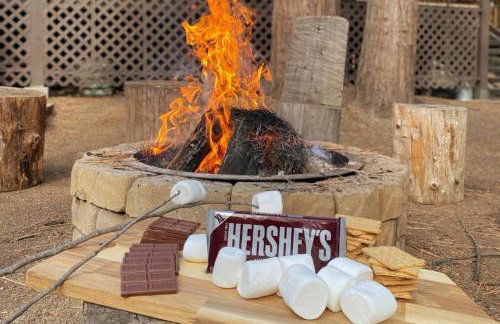
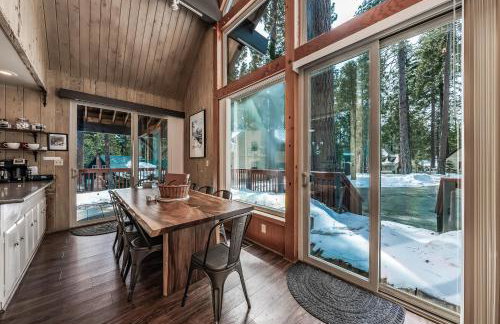
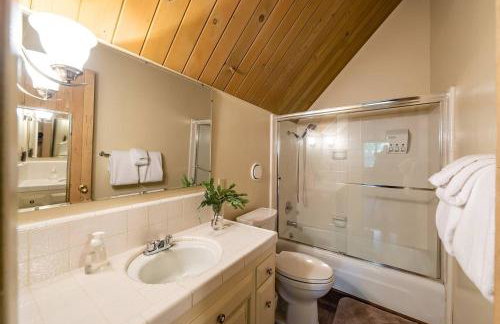
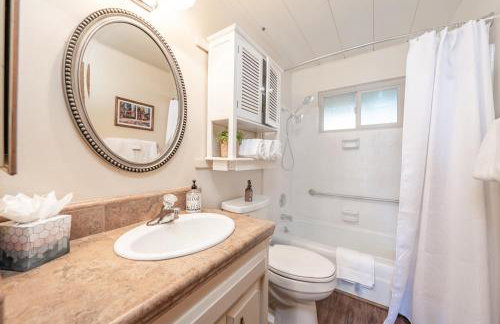
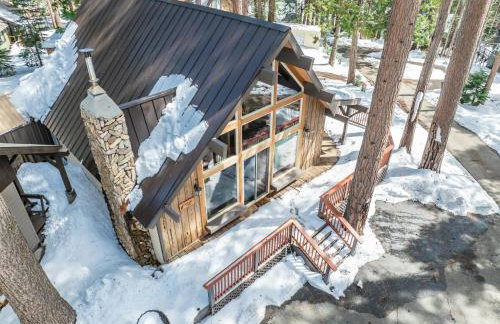
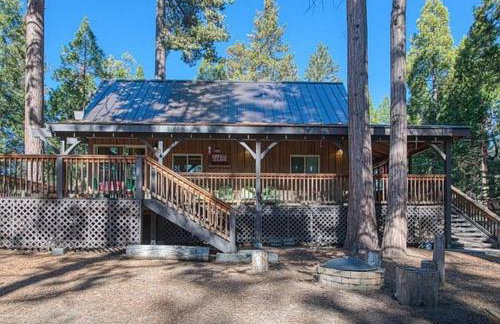
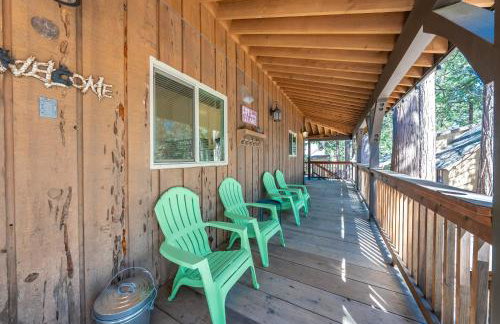
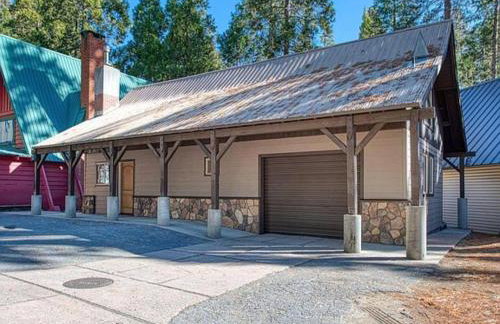
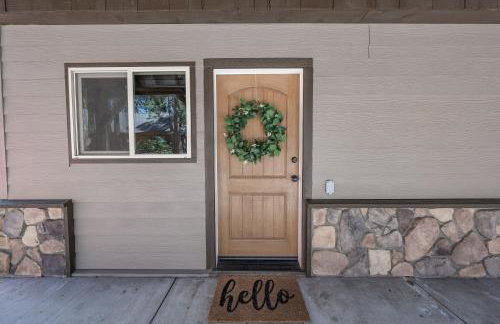
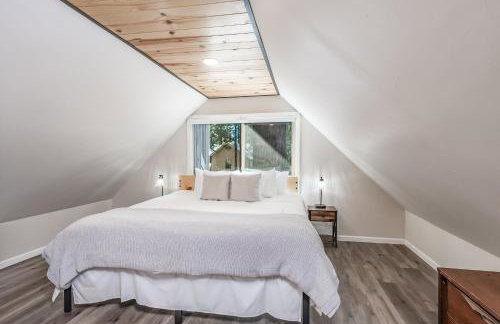
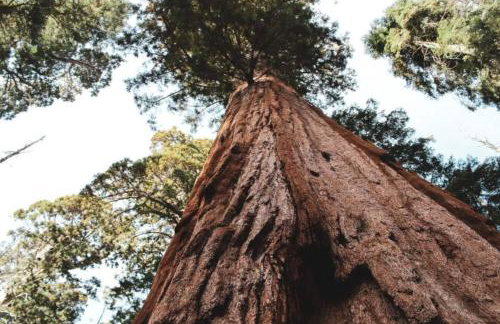
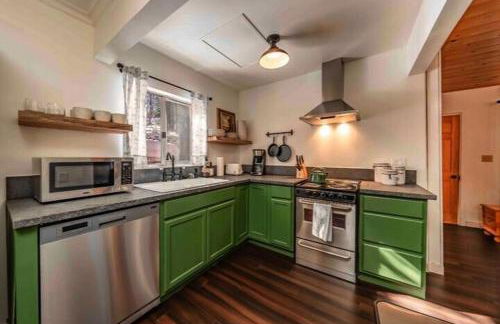
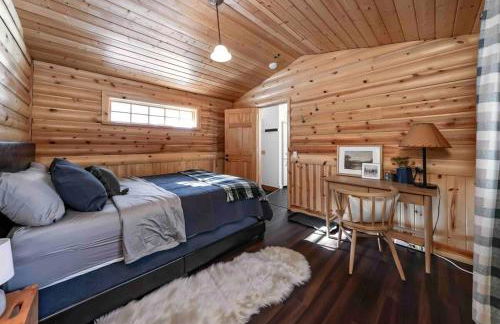
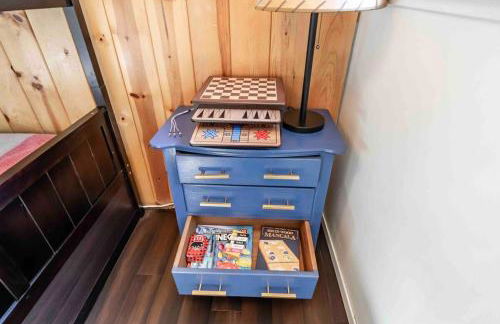
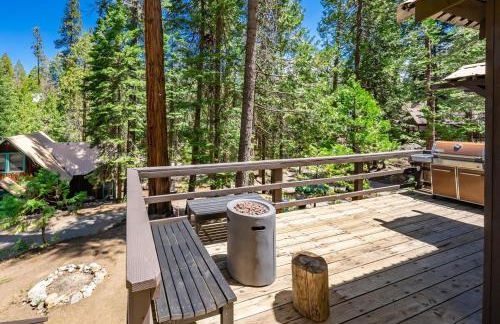
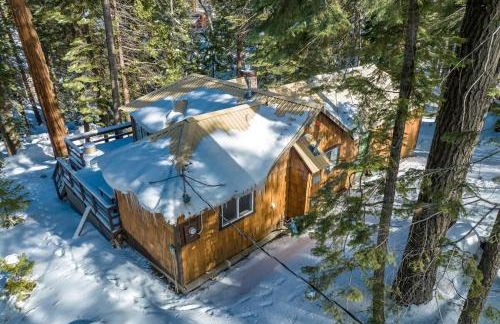
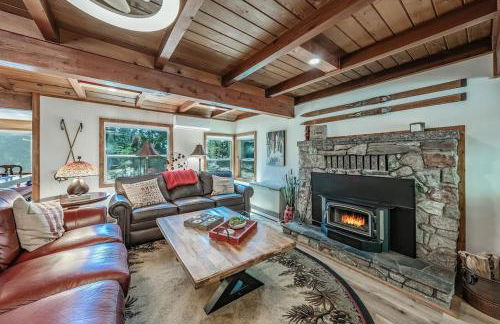
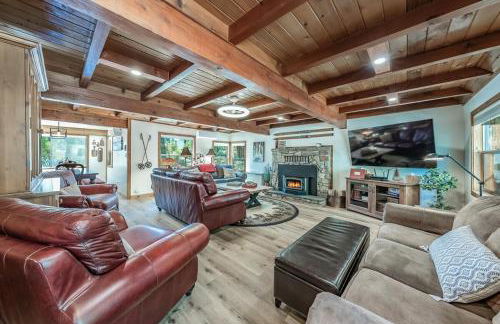
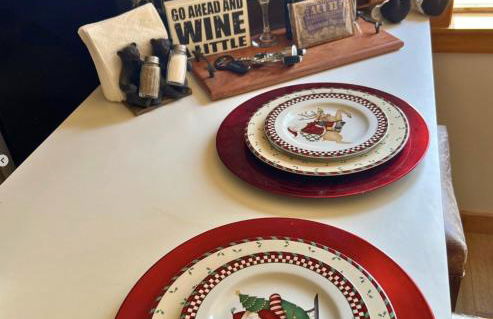
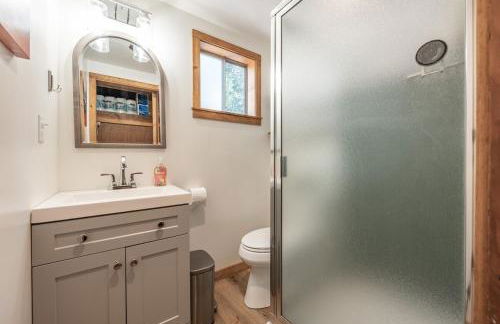
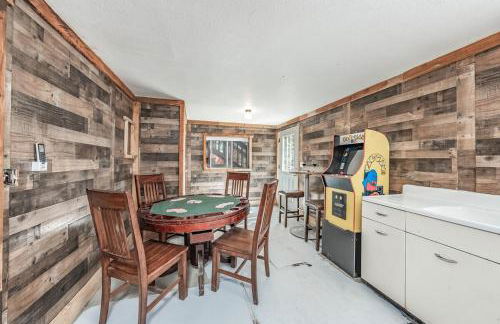
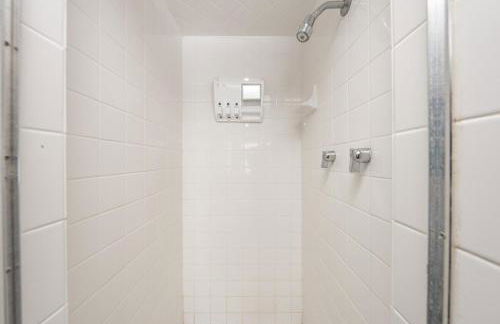
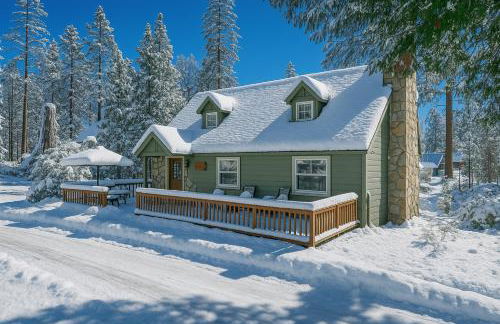
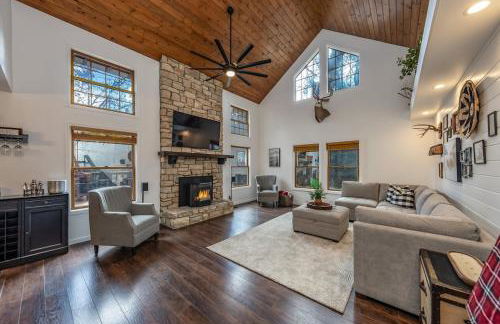
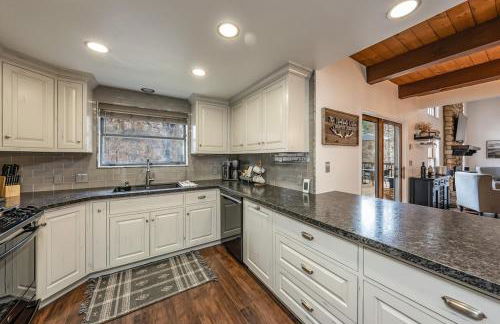
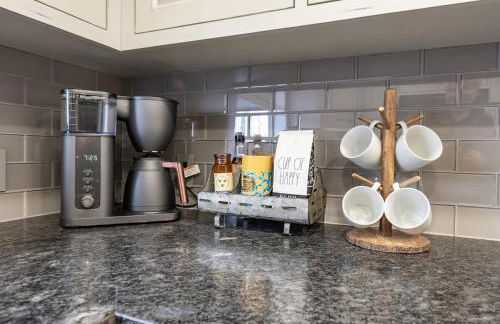
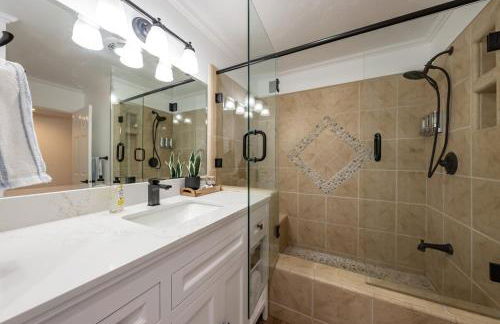
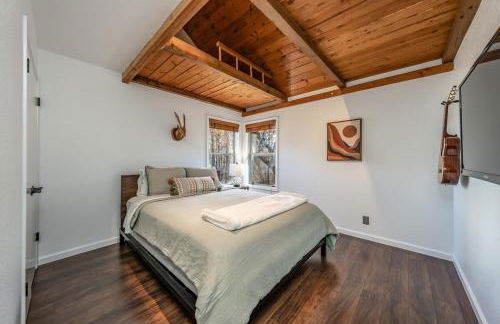
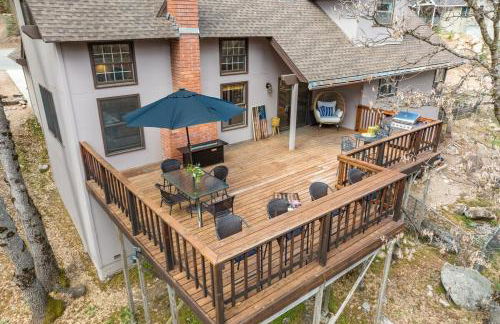
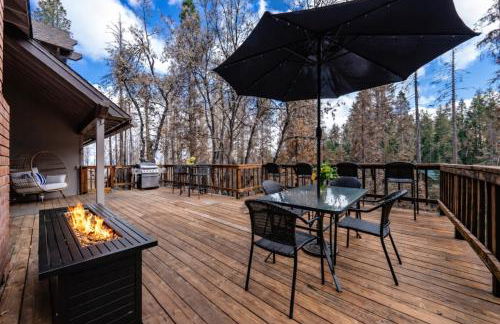
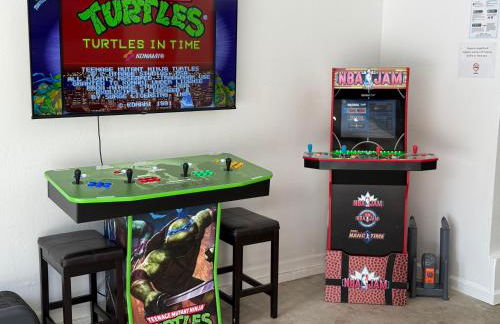
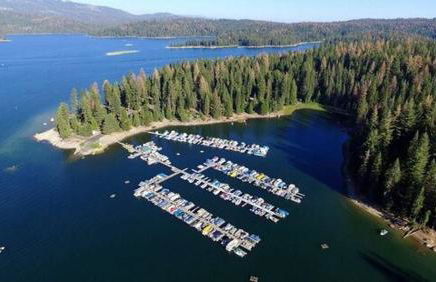
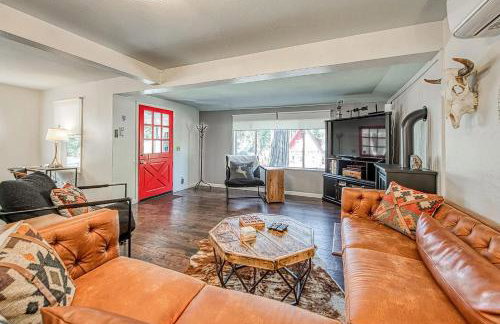
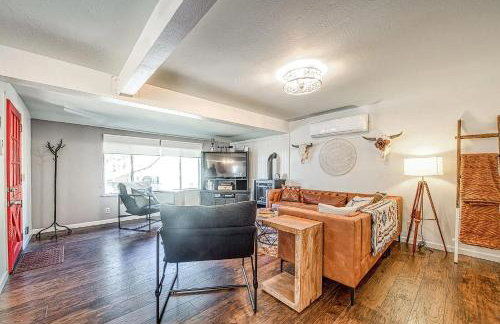
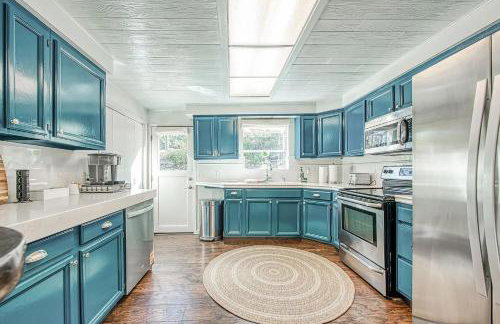
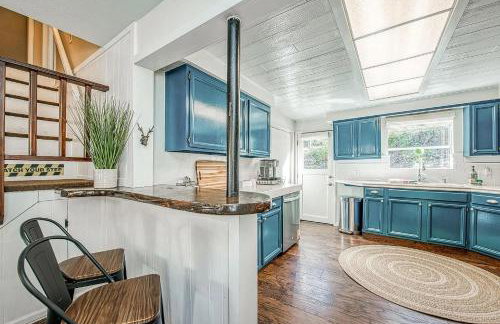
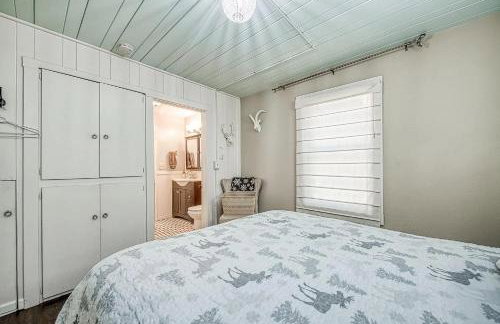
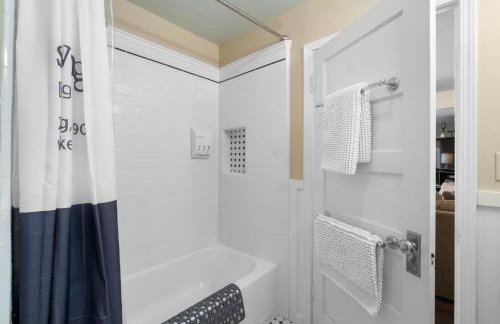
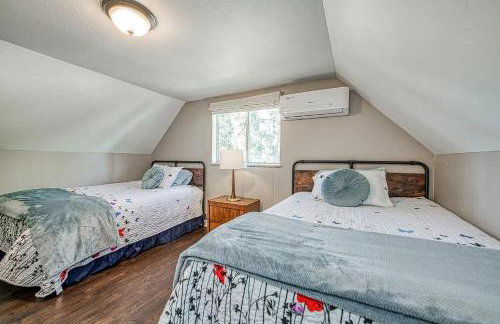
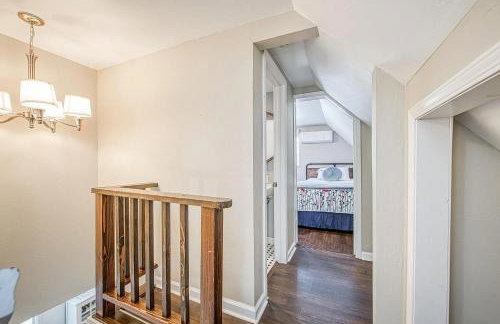
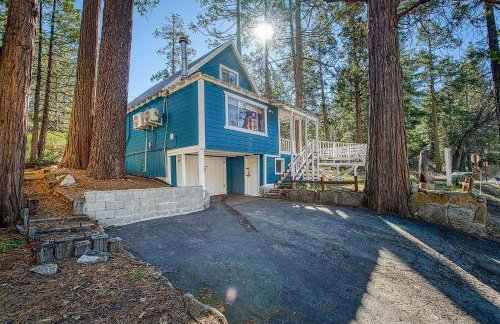
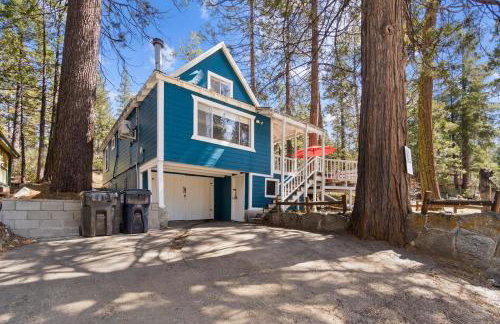
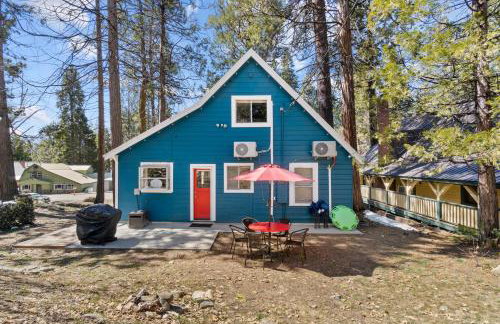
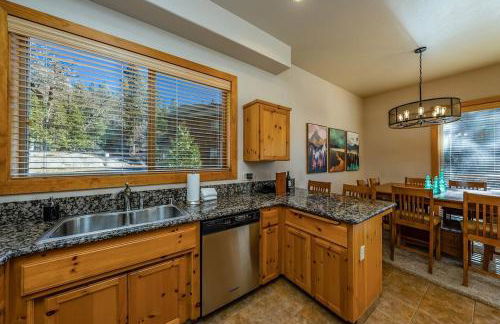
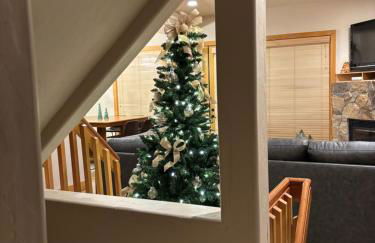
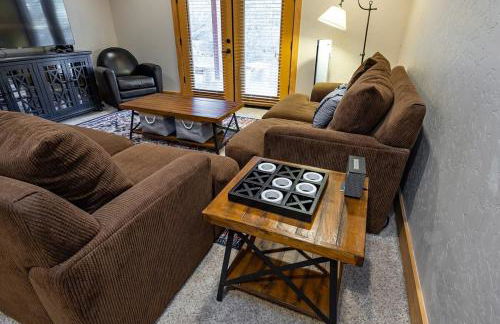
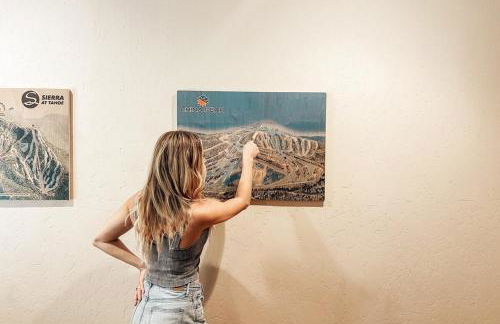
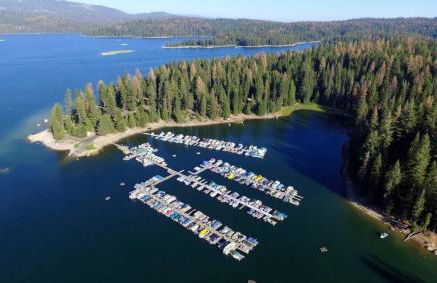
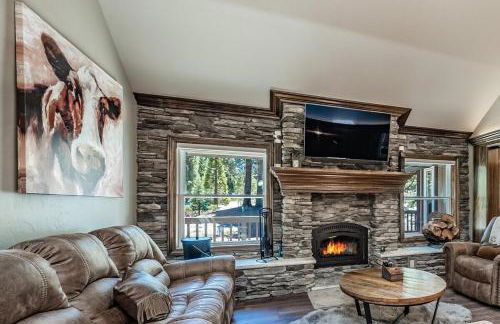
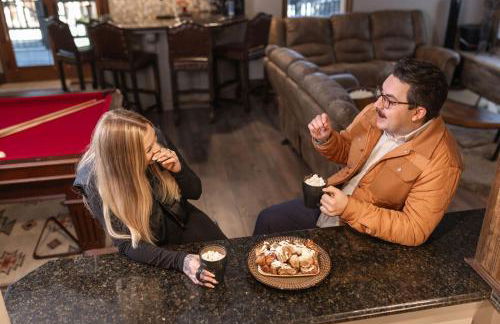
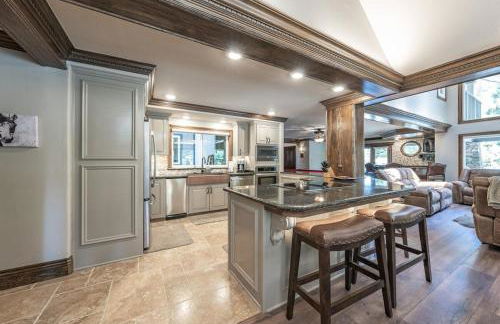
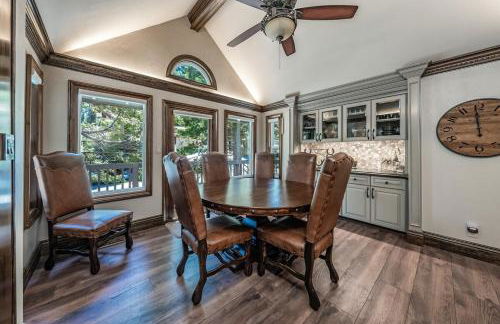
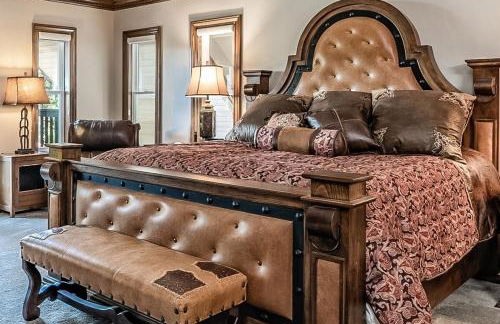
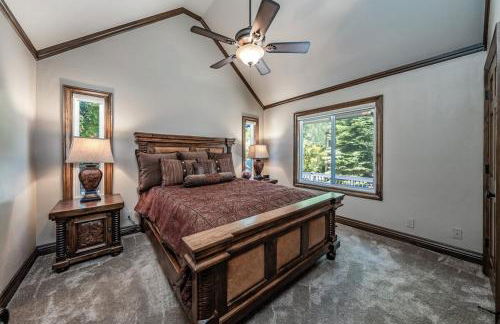
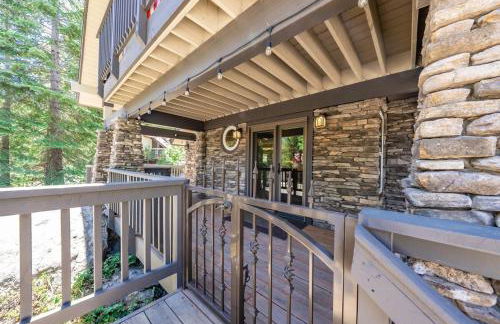
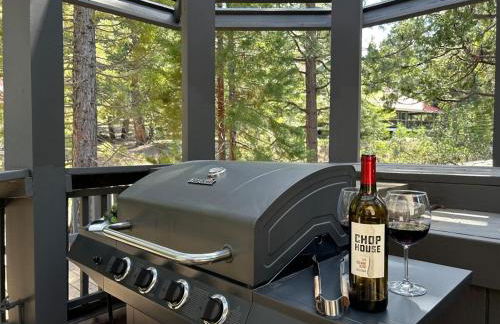
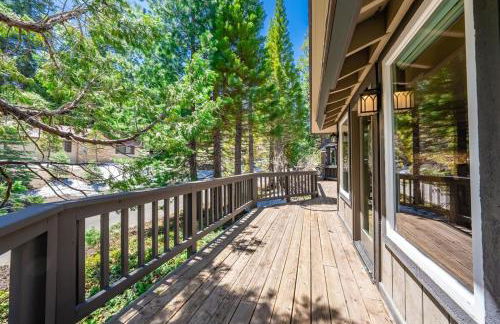
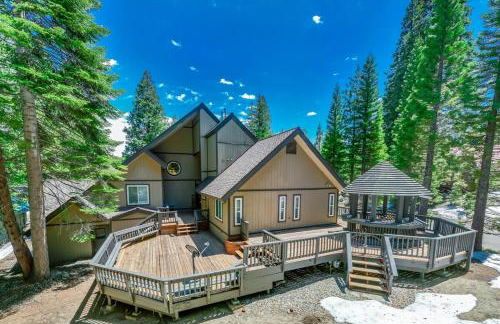
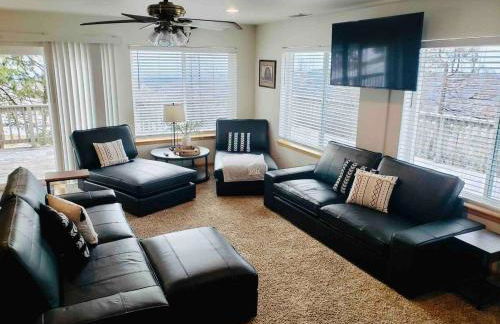
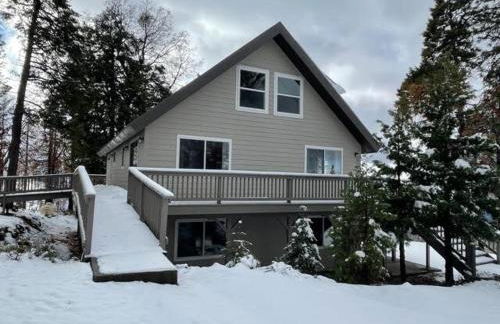
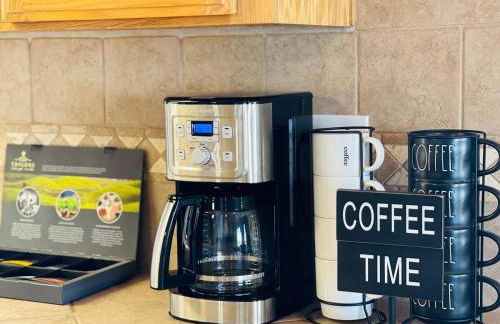
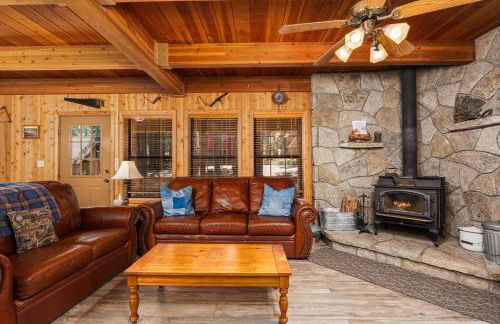
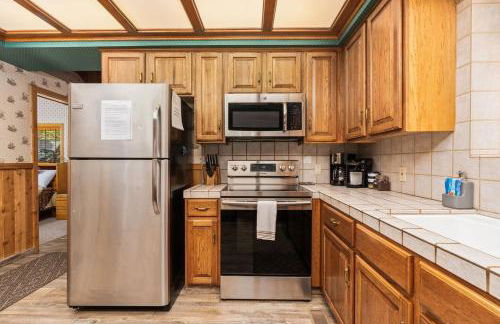
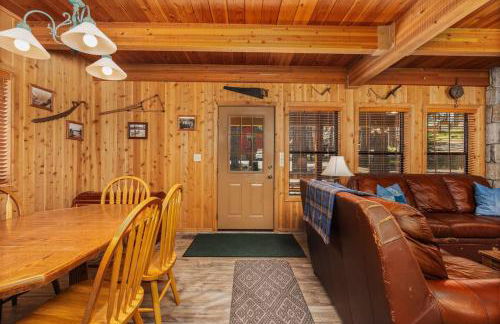
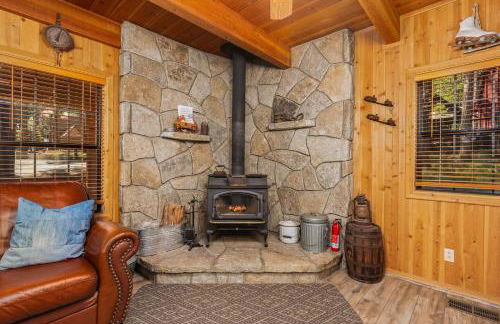
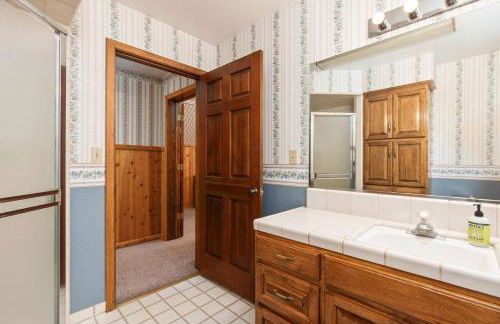
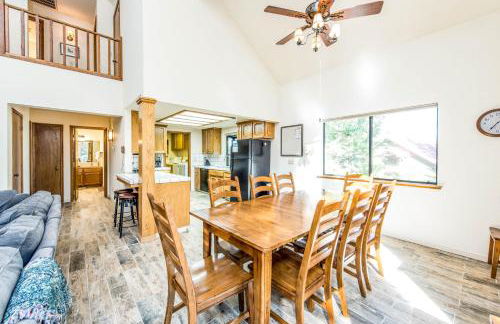
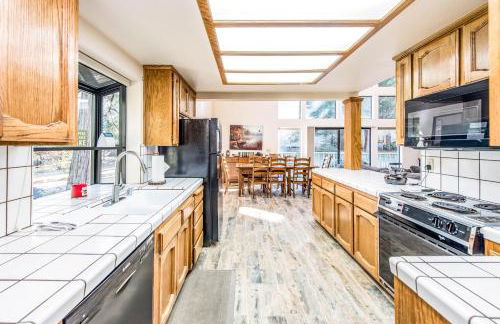
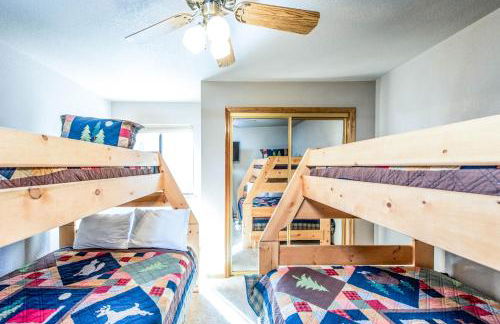
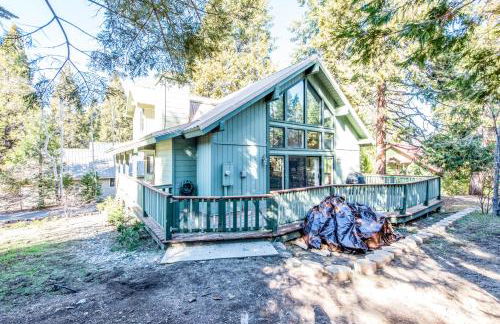
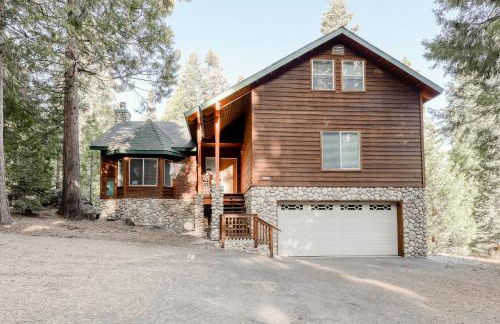
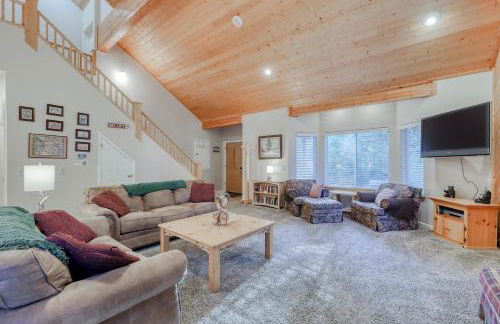
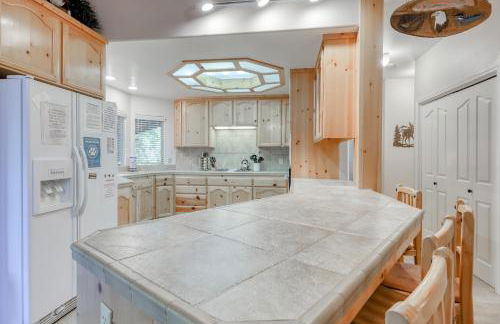
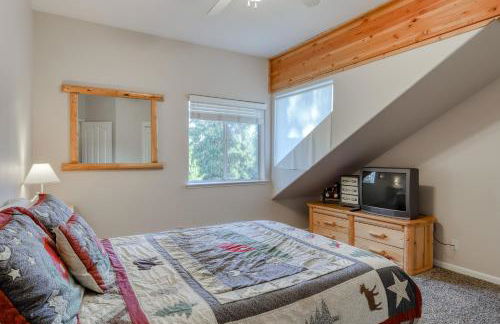
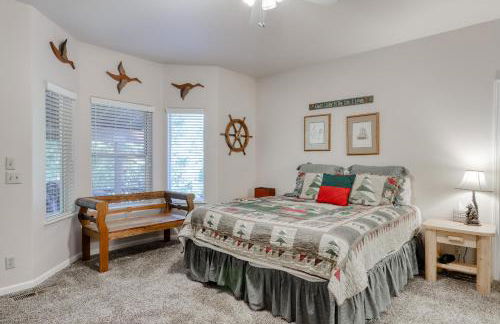
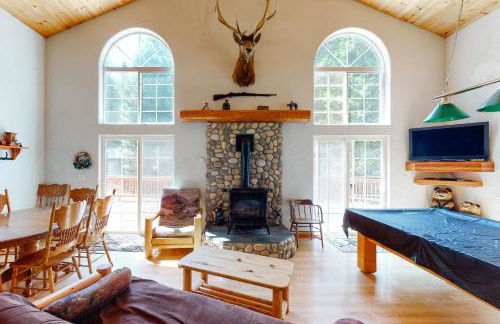
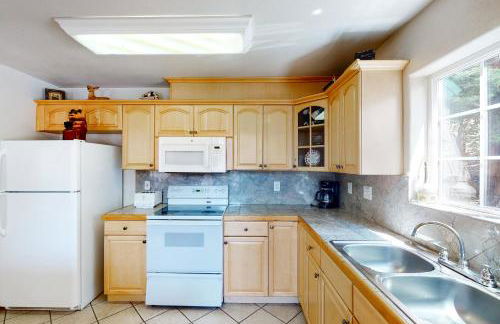
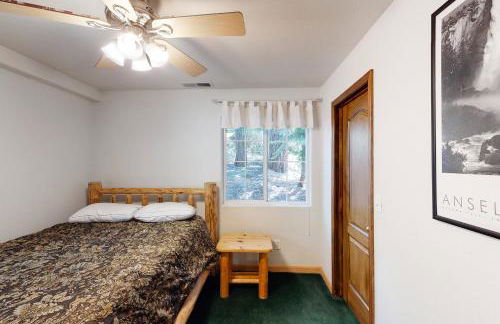
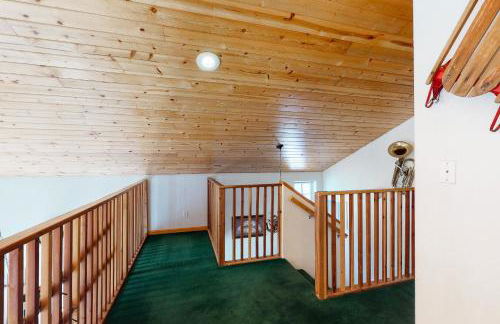
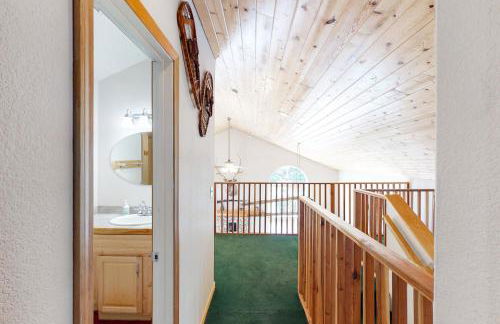
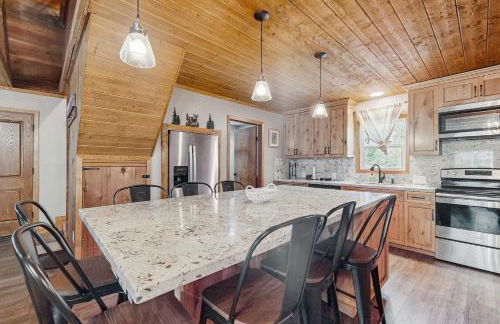
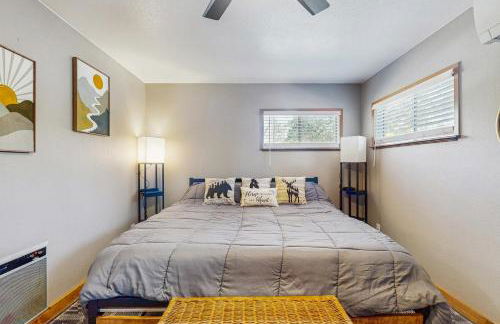
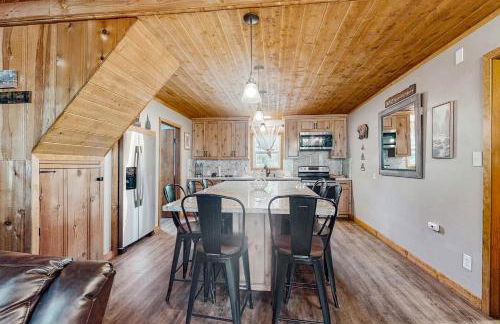
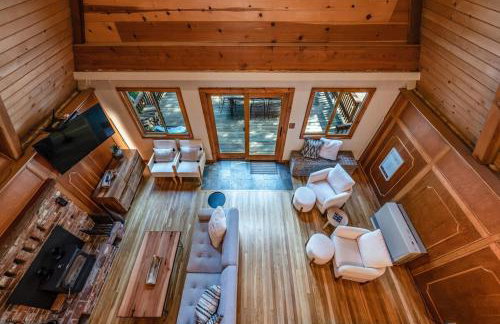
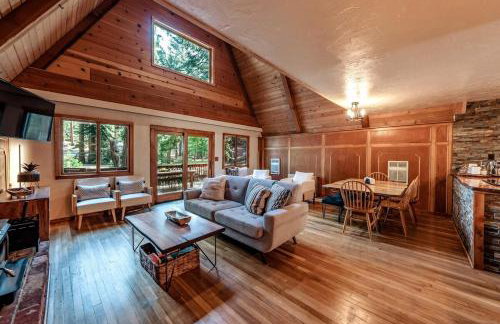
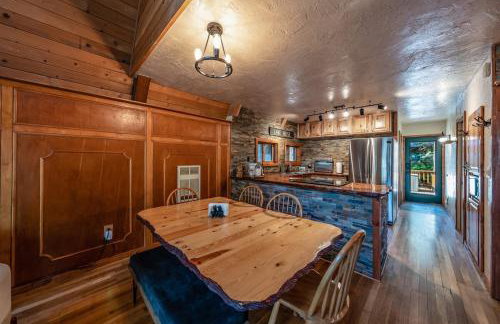
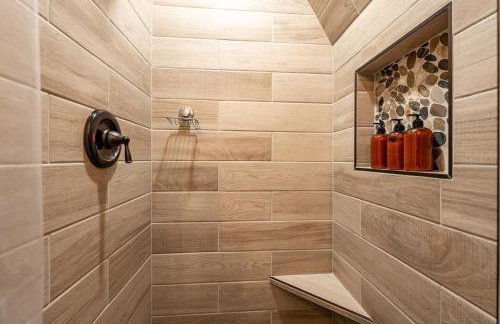
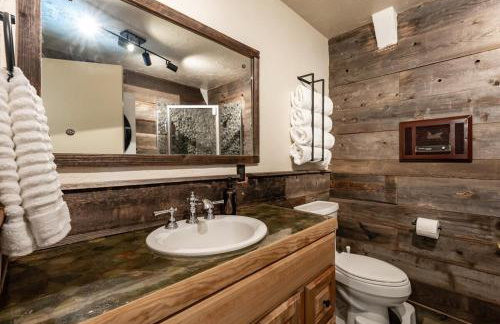
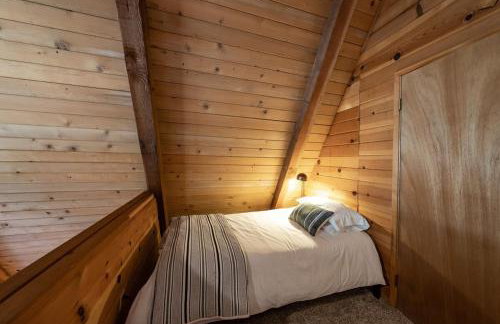
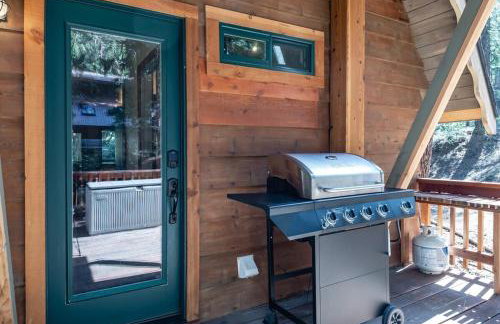
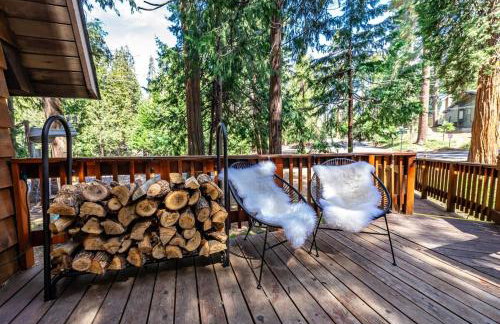
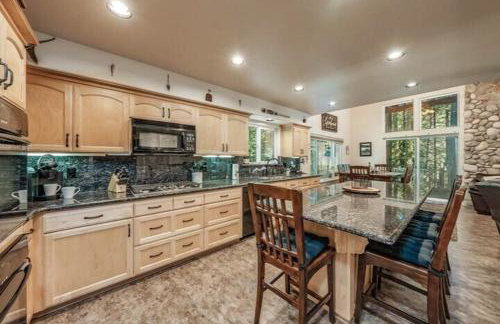
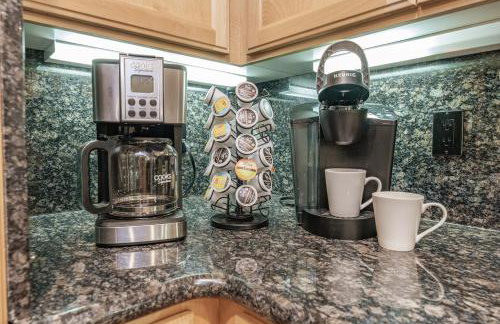
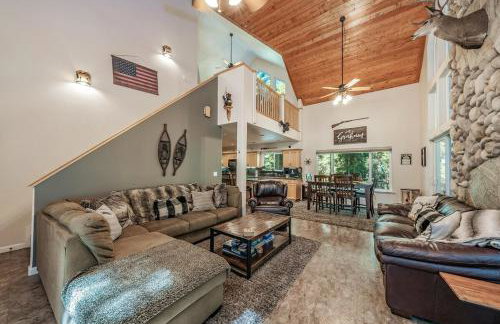
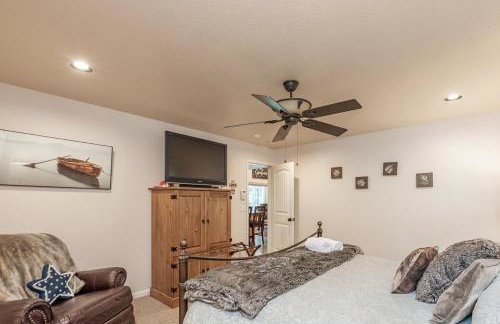
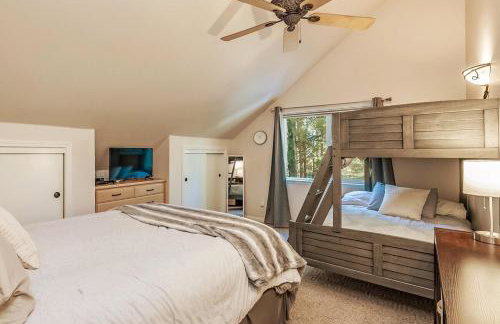
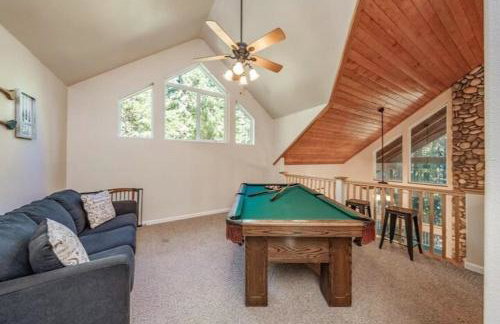
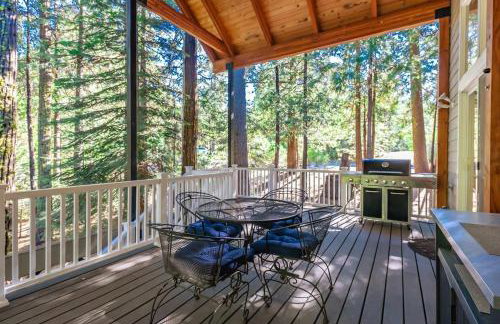
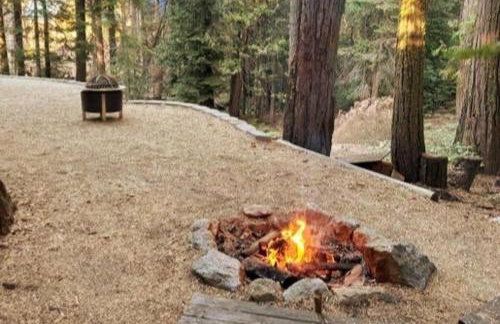
The Elderberry Retreat - It's a Dream Location! - Foto 3
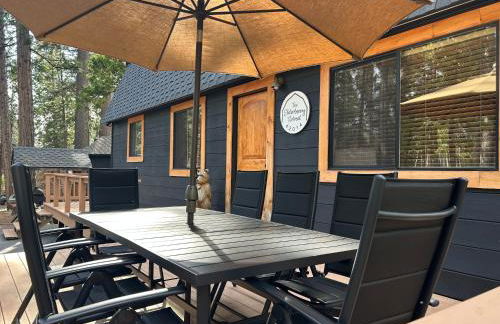
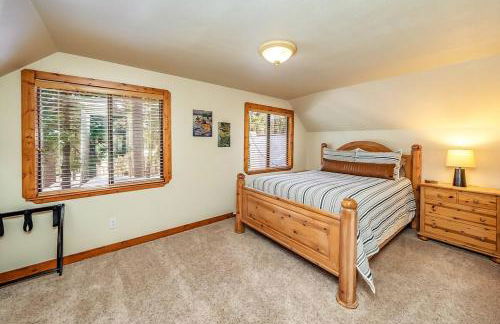
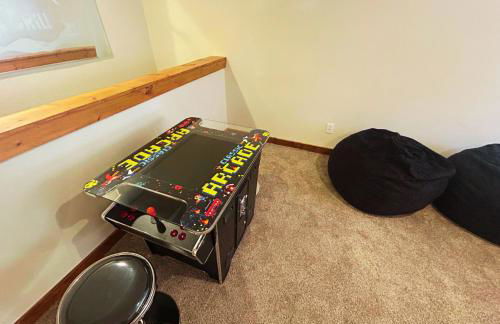
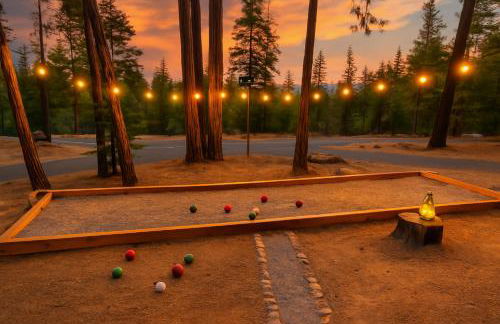
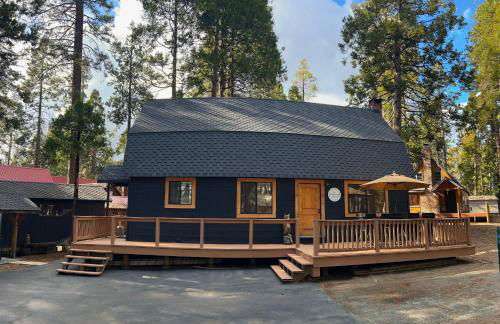
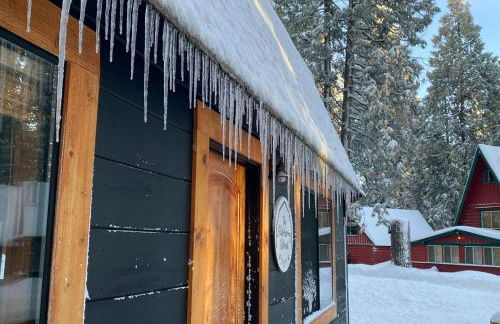
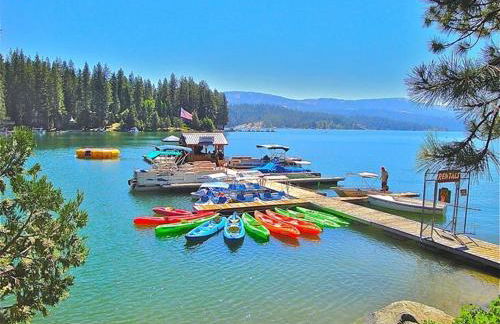
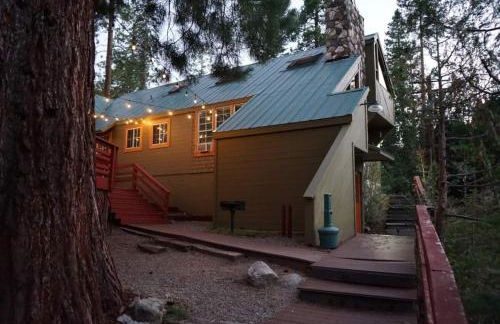
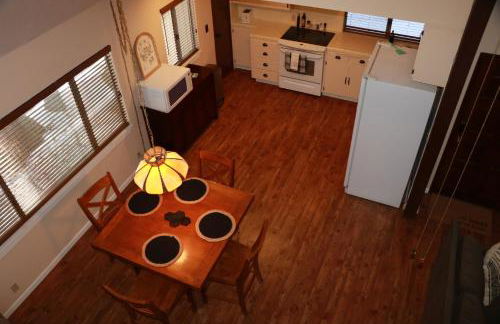
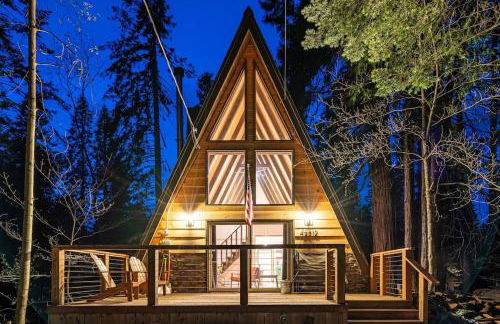
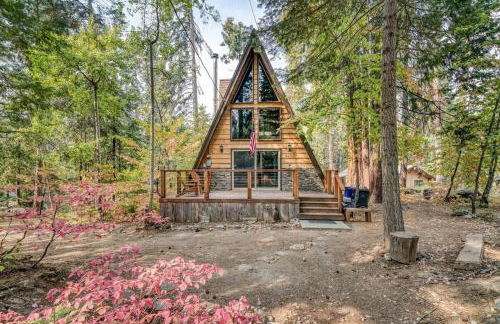
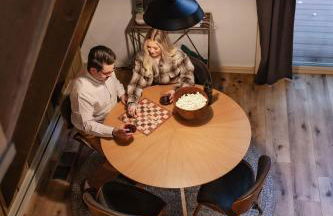
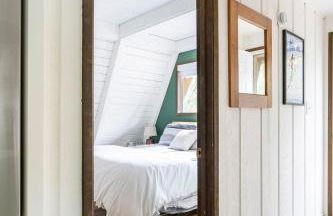
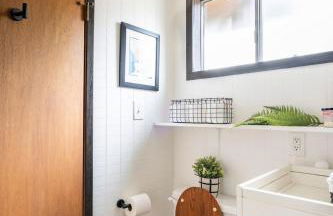
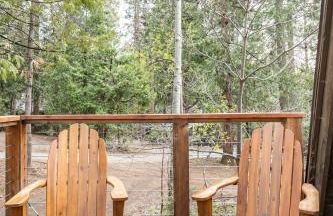
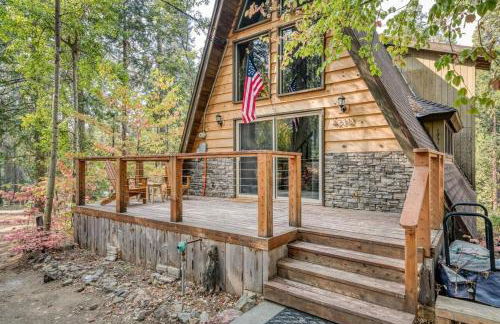
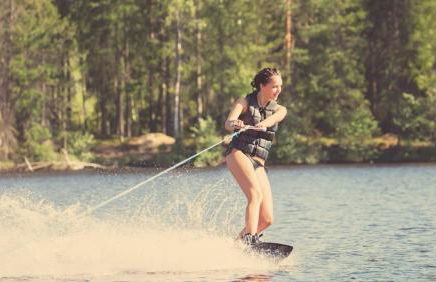
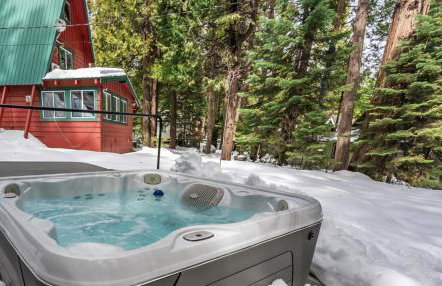
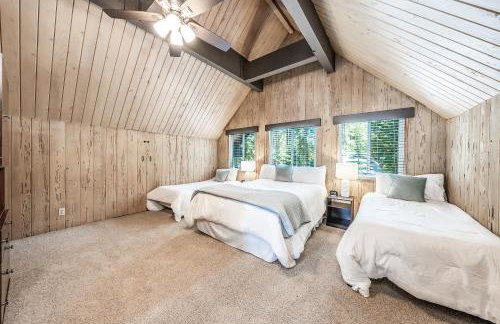
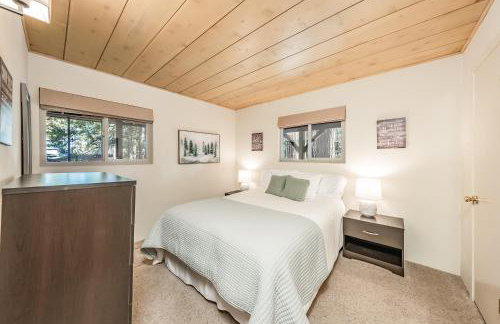
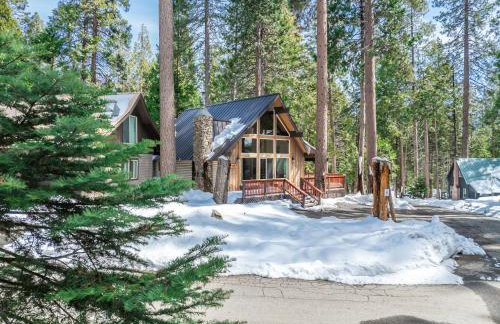
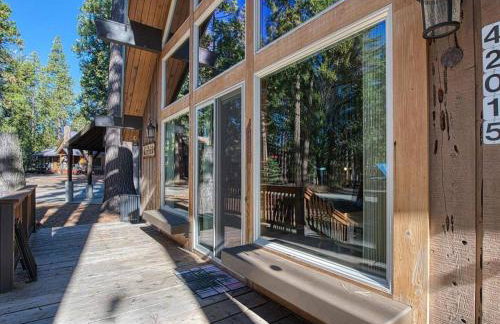
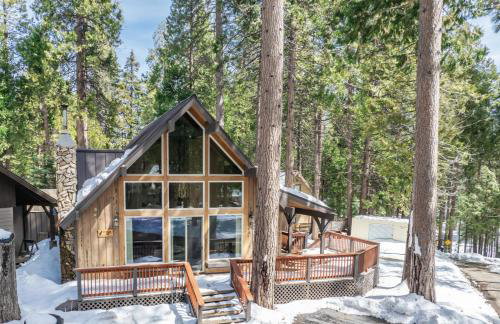
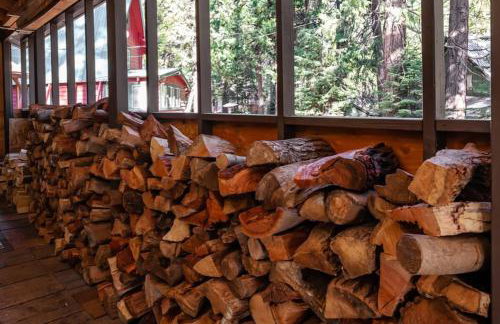
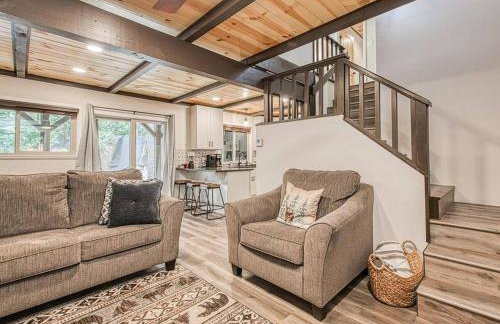
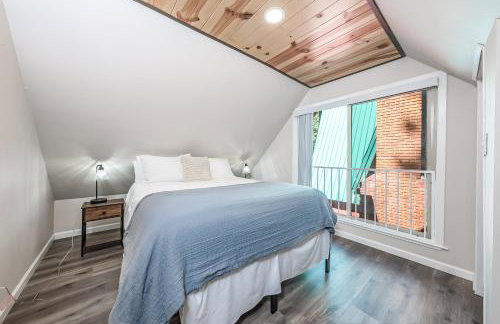
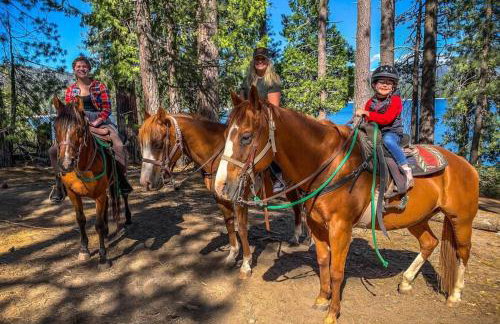
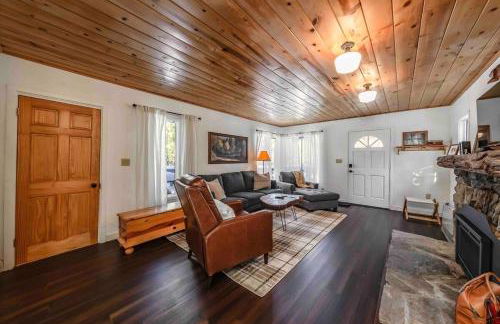
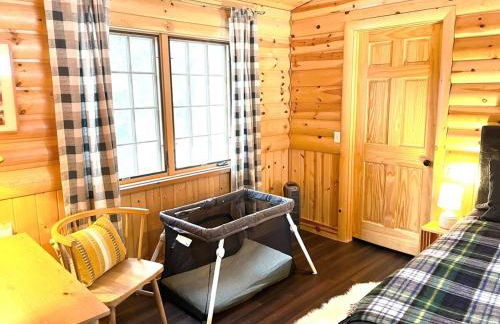
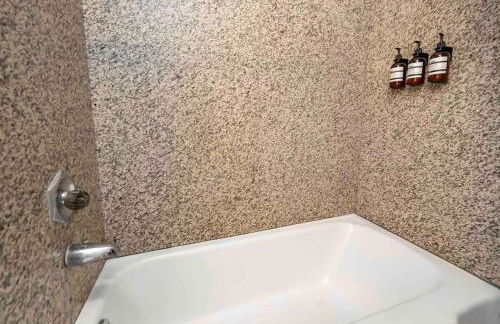
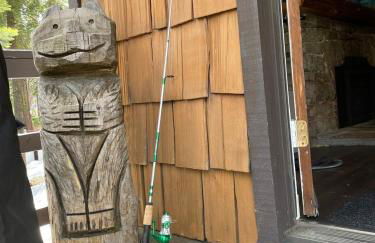
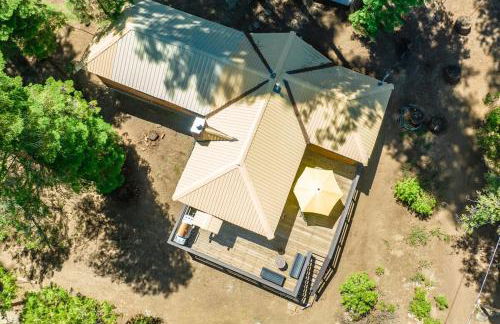
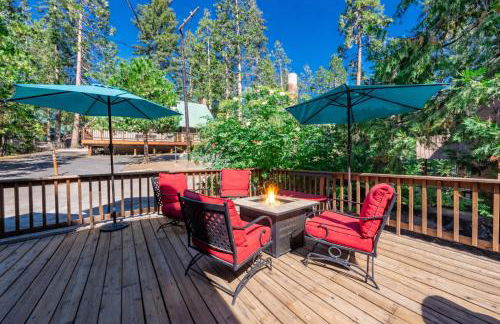
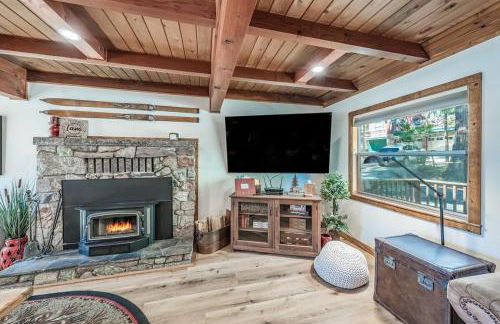
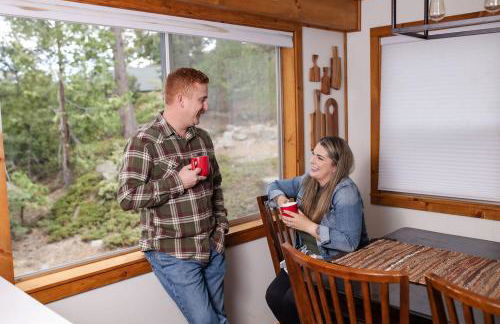
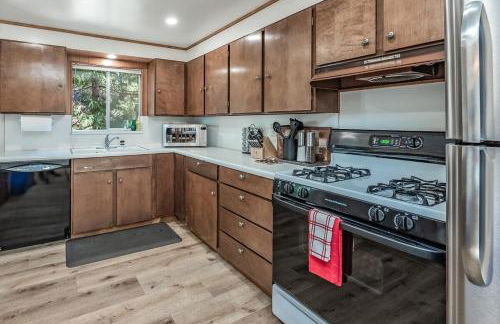
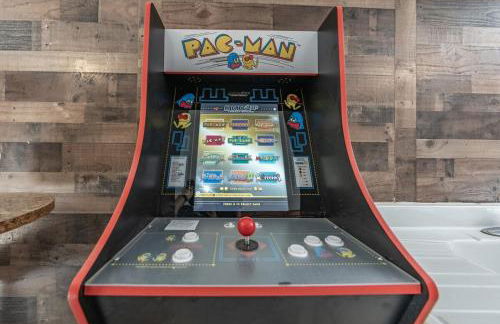
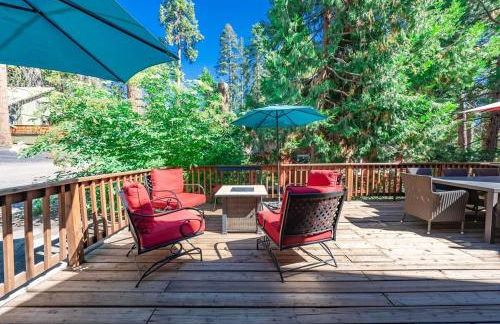
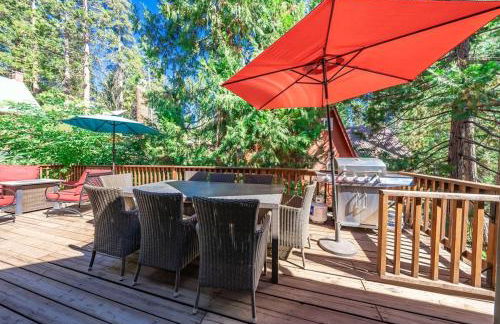
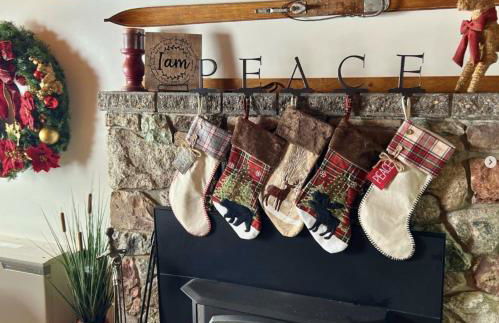
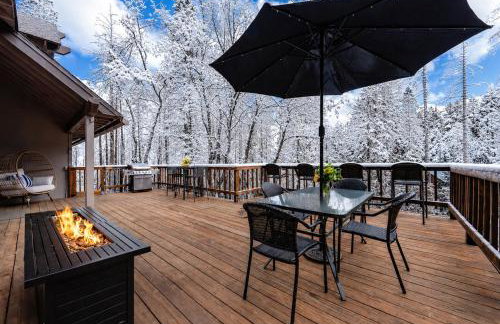
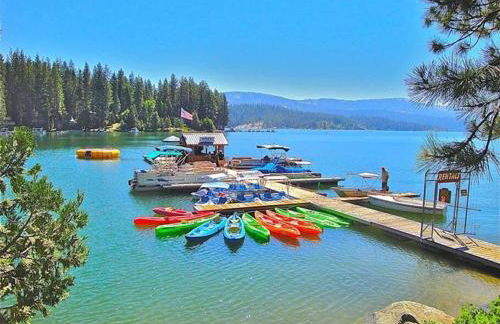
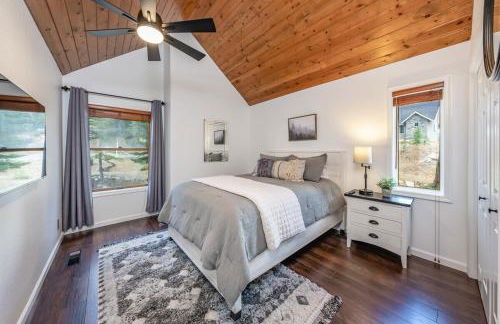
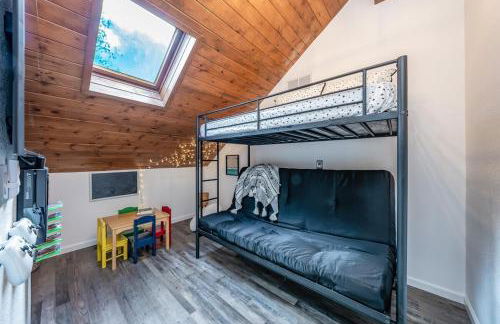
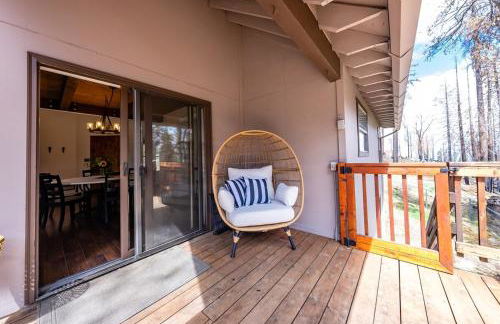
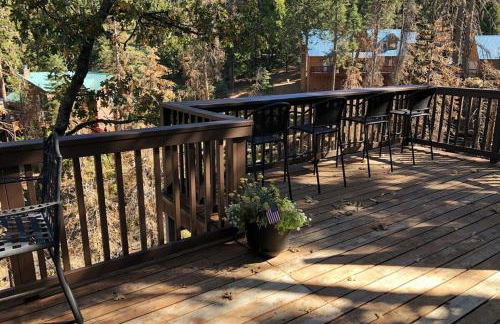
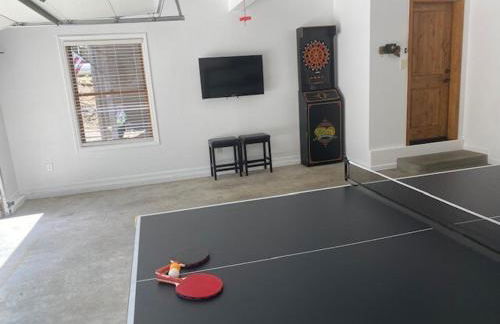
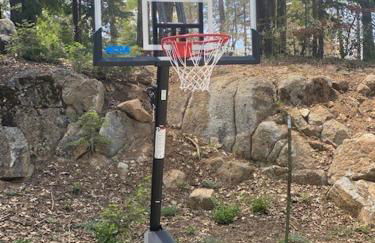
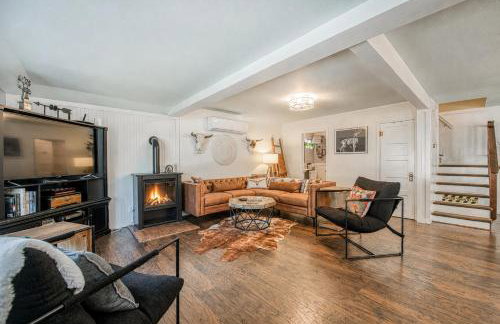
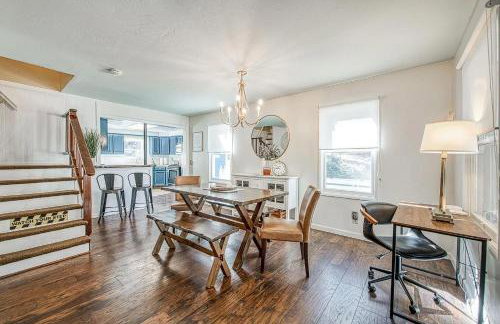
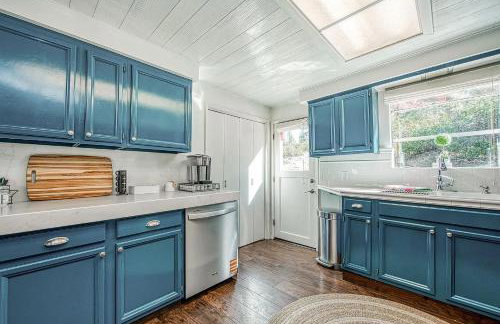
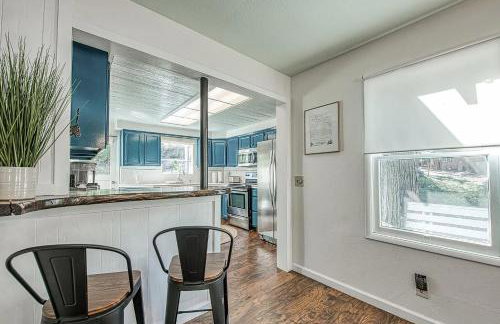
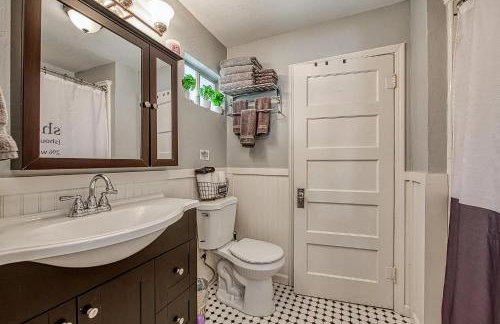
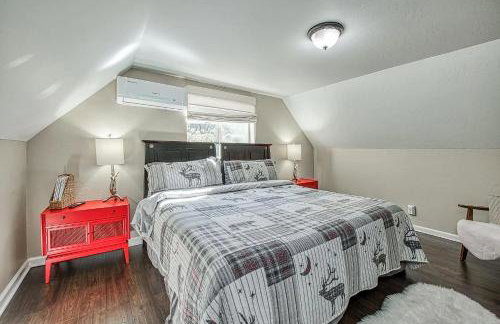
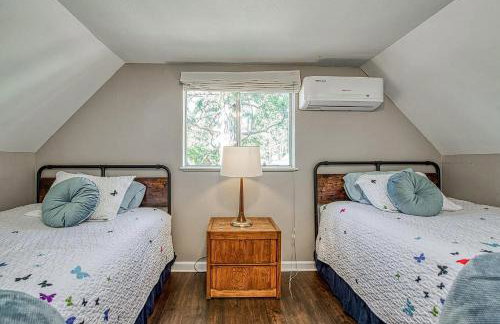
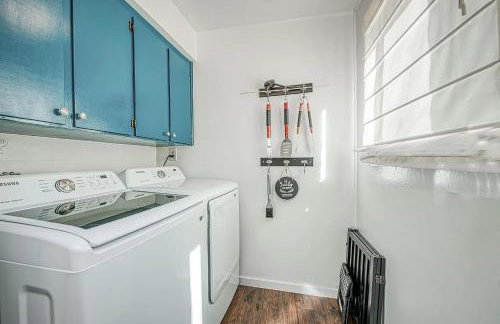
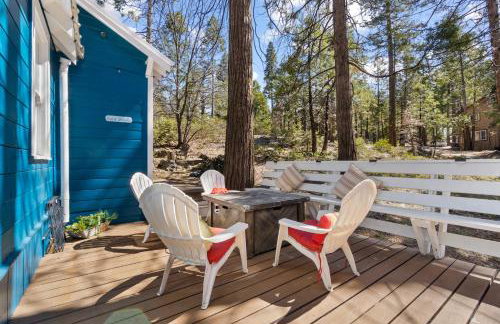
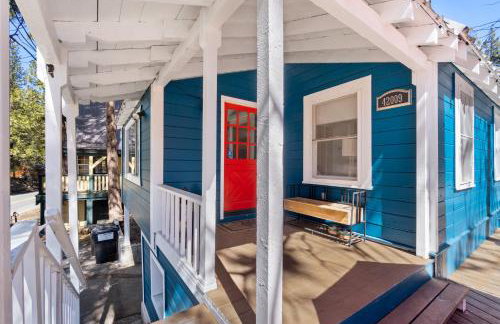
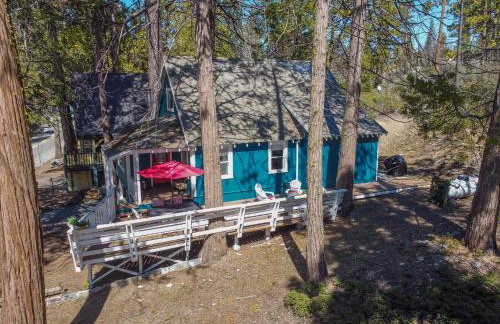
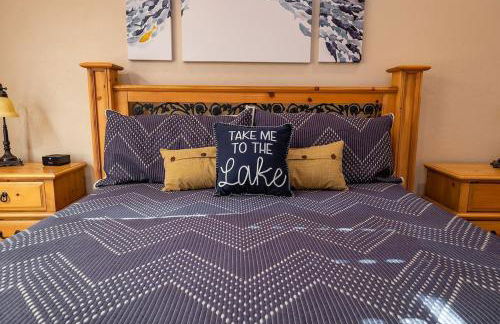
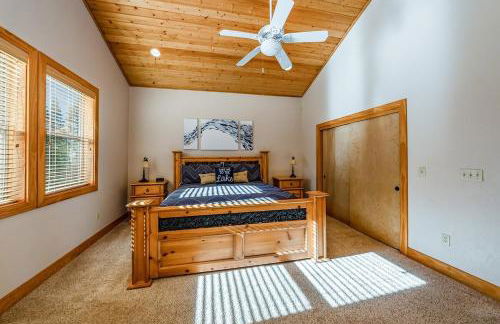
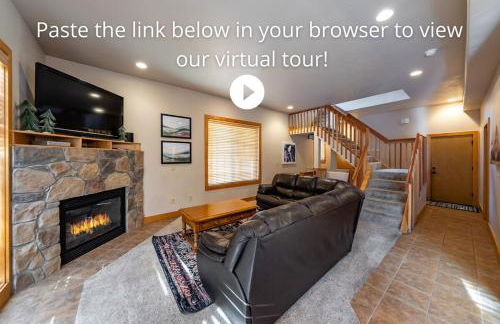
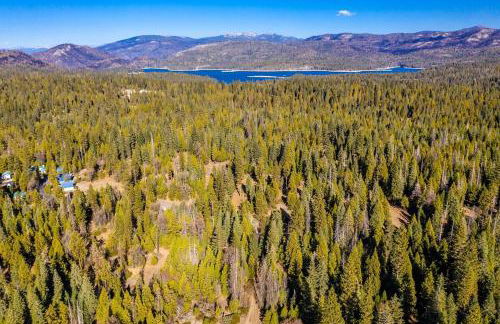
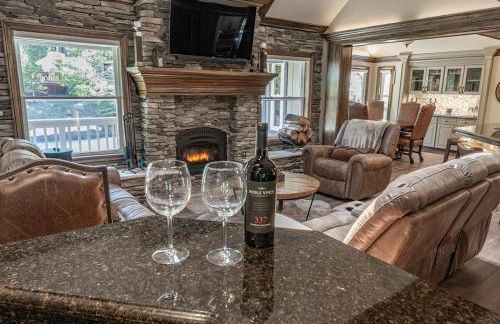
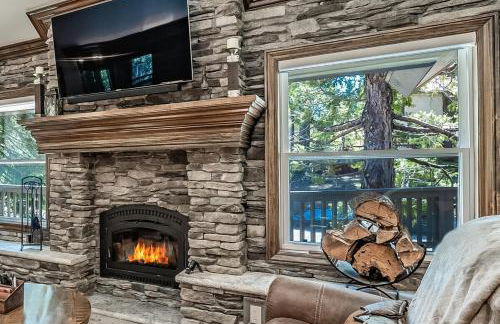
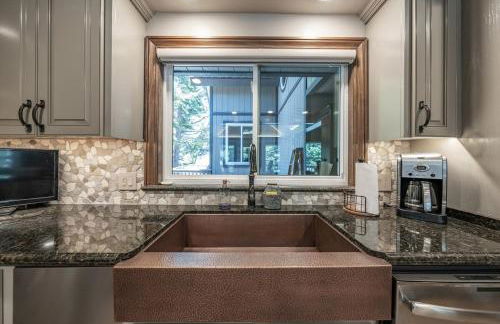
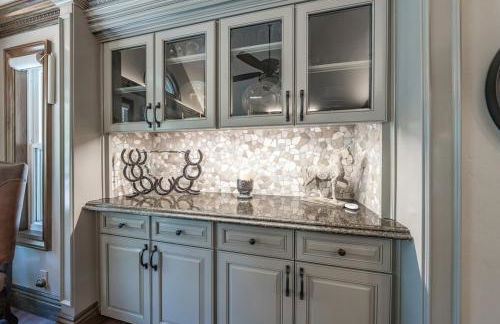
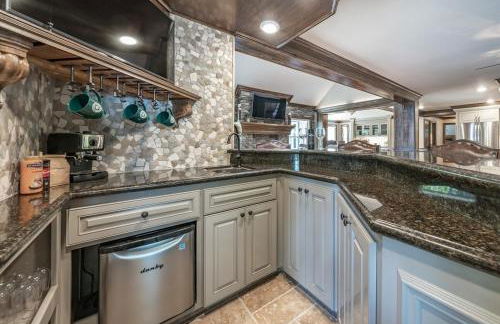
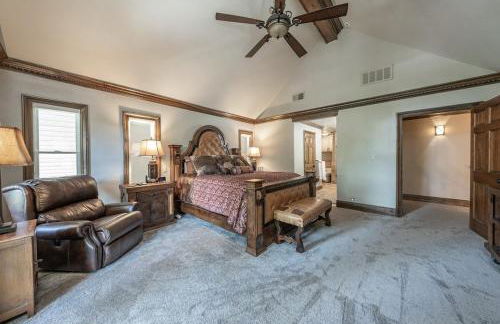
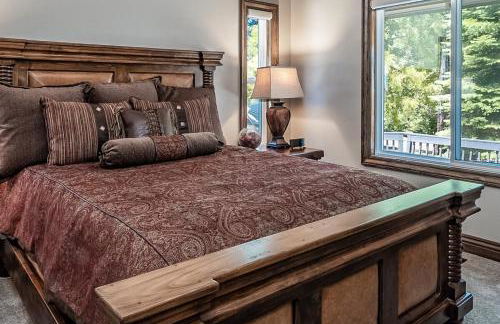
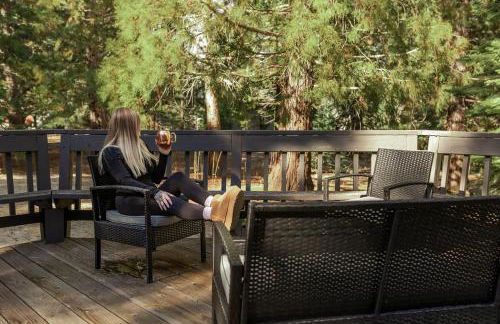
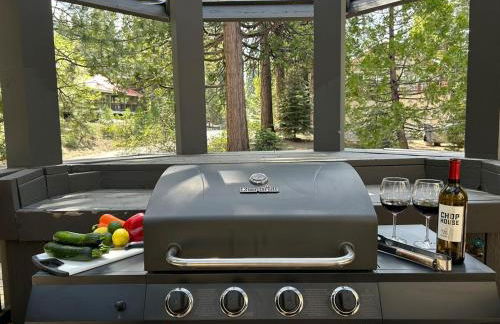
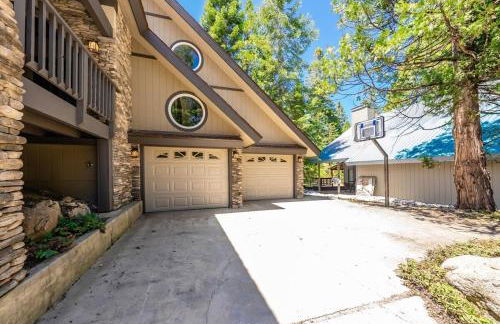
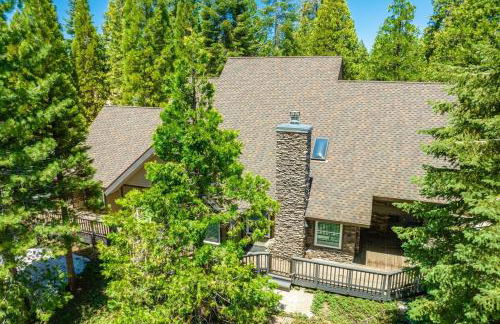
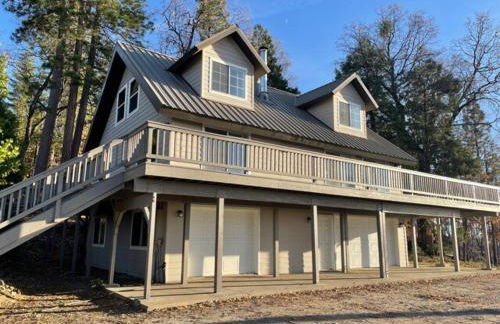
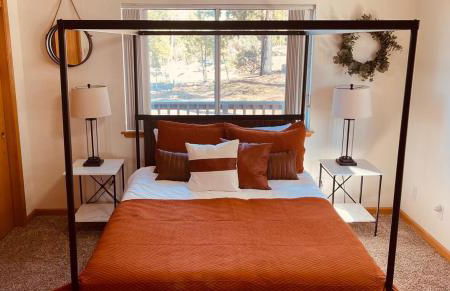
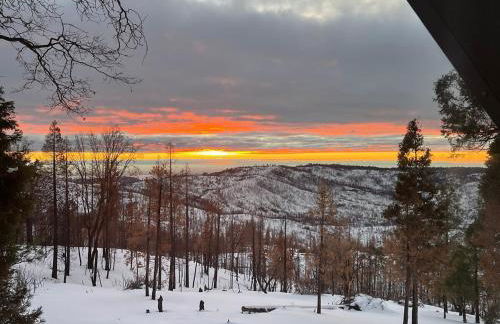
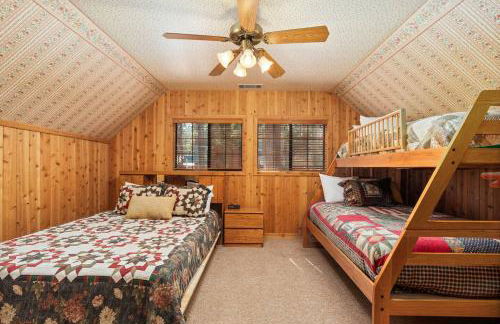
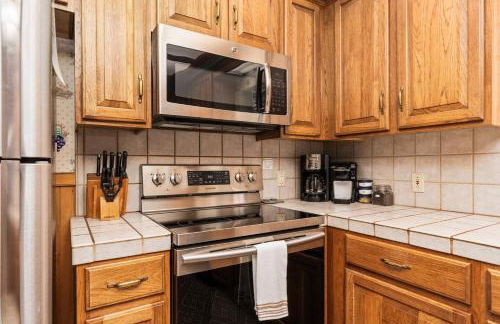
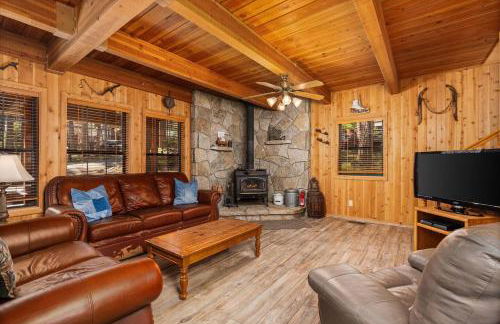
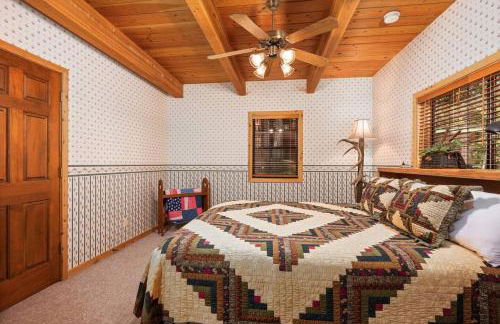
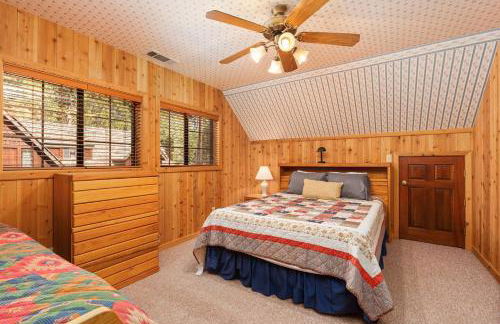
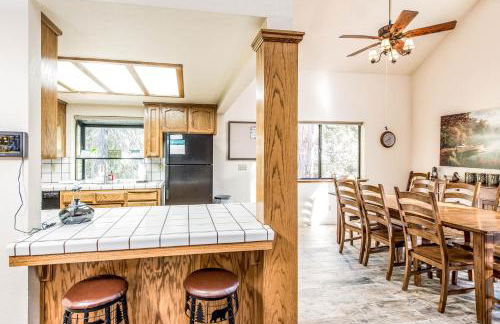
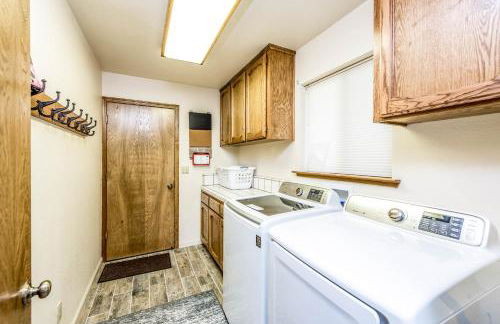
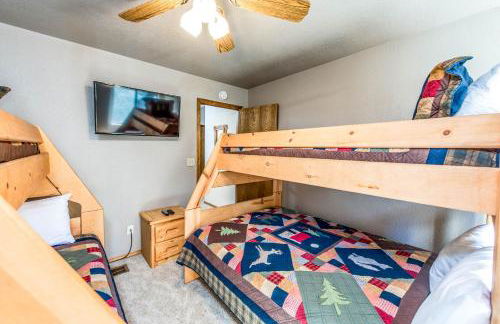
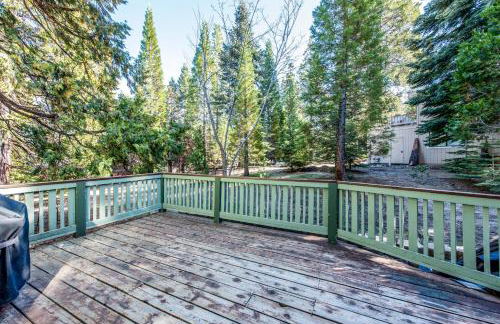
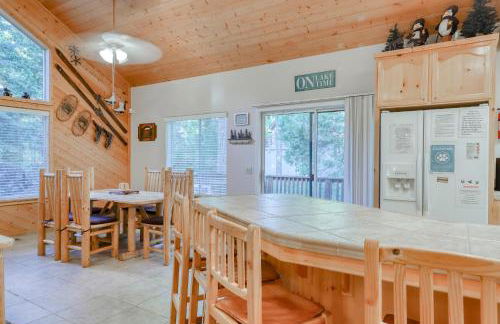
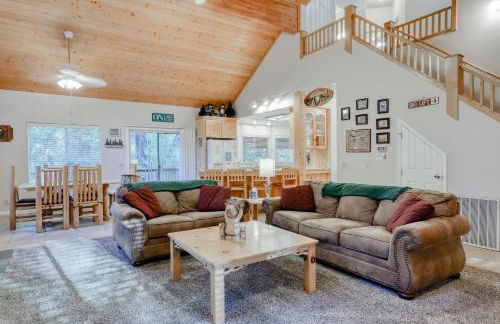
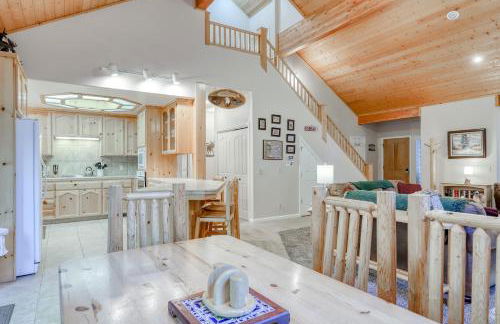
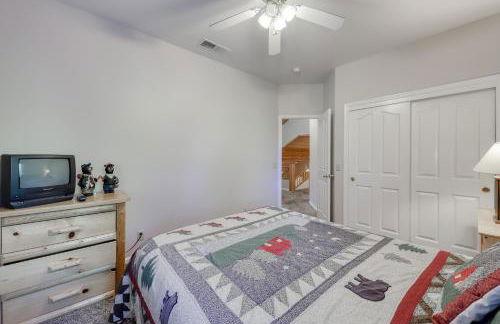
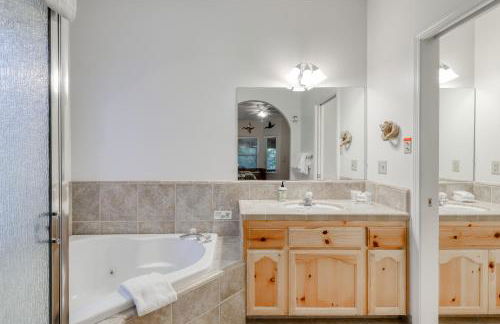
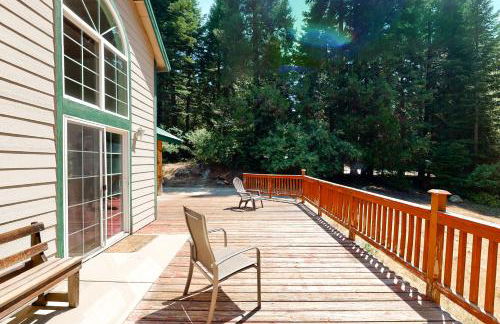
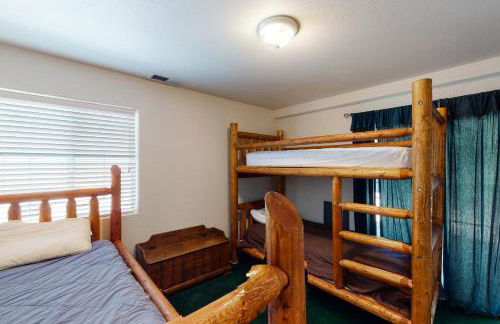
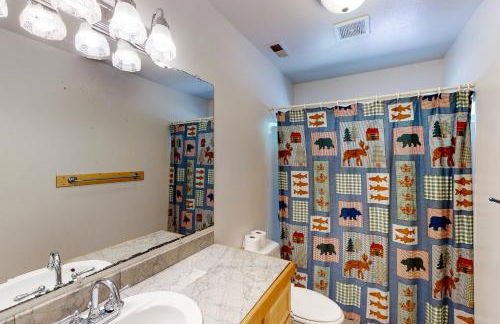
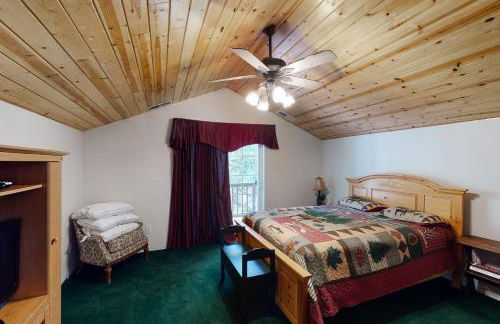
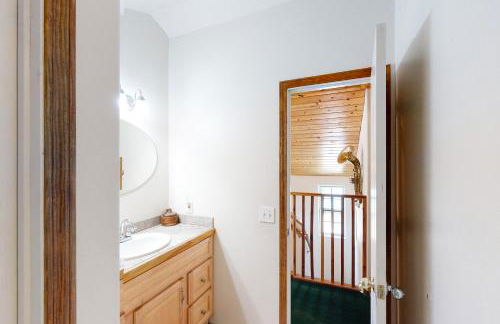
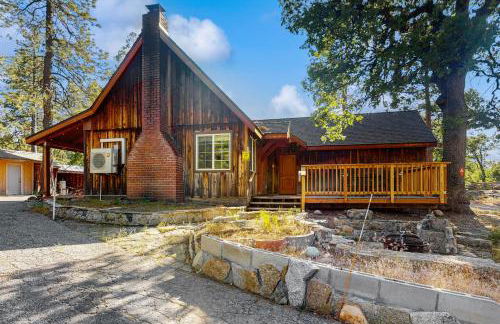
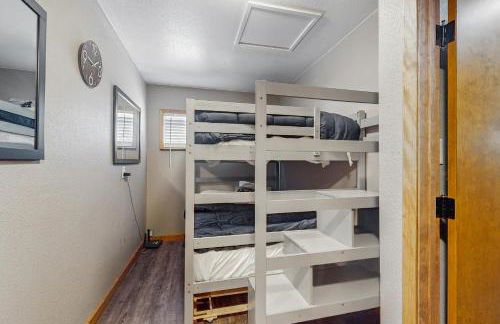
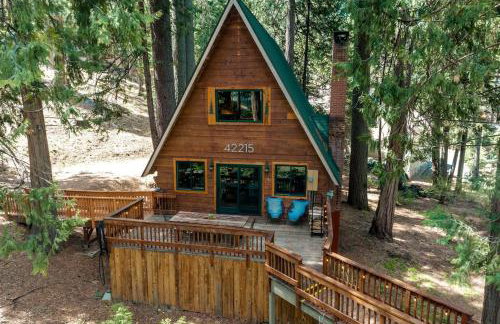
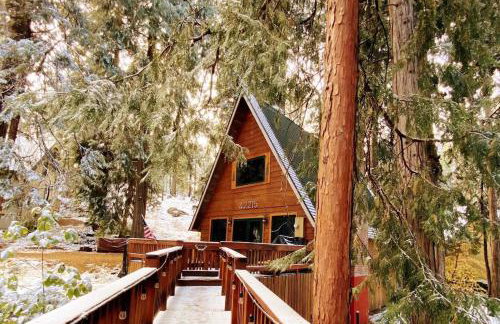
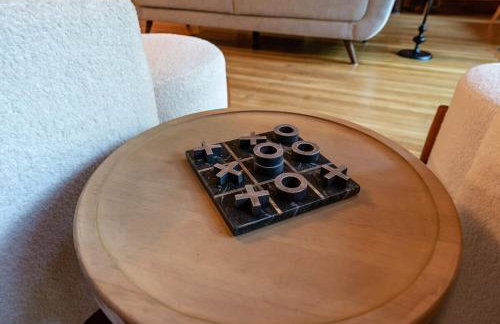
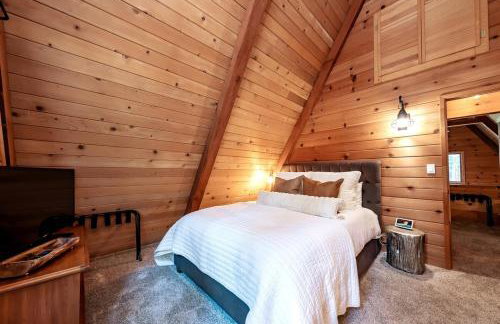
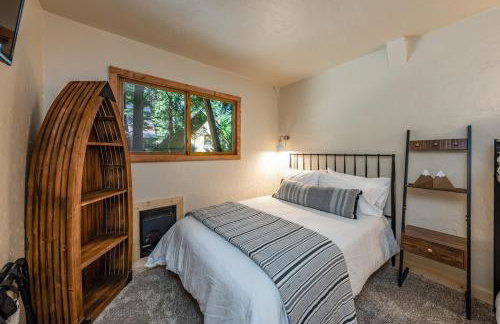
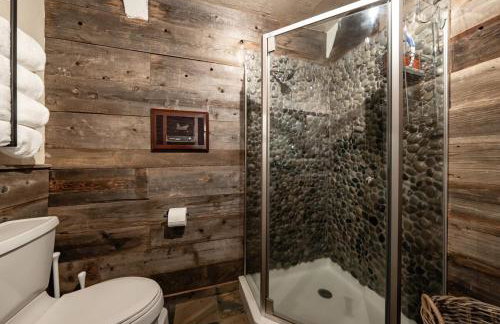
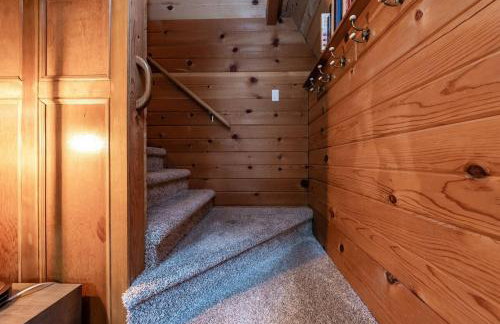
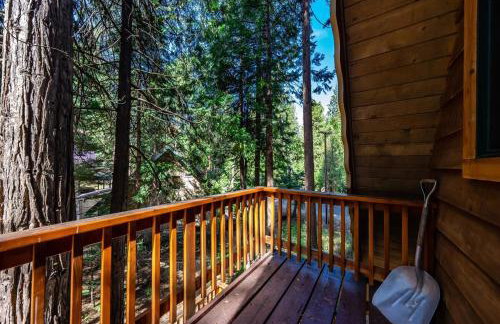
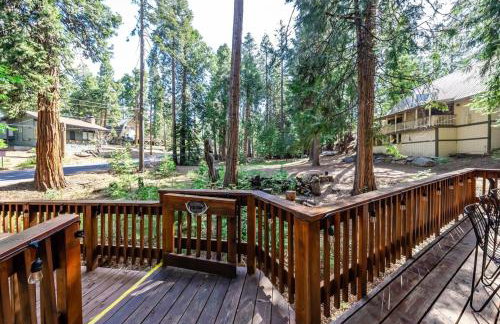
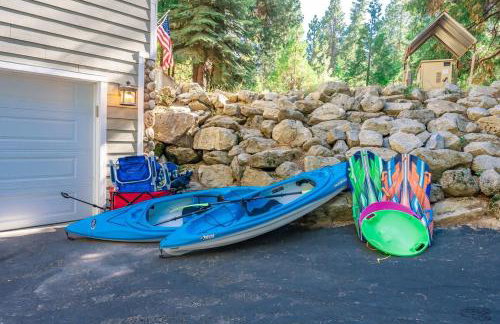
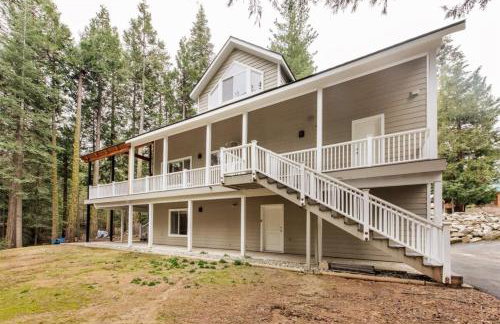
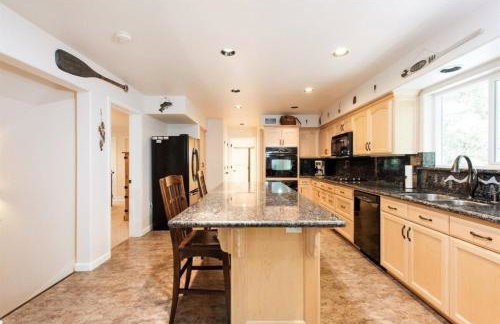
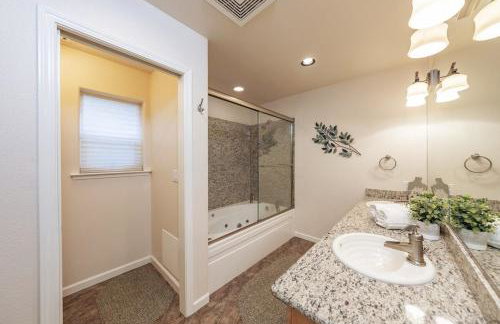
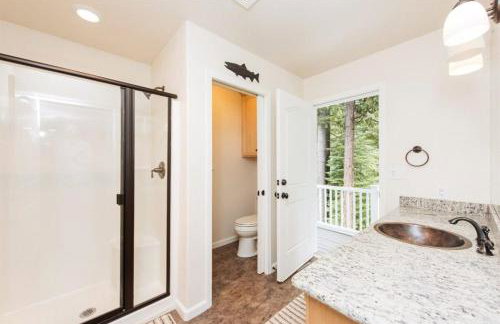
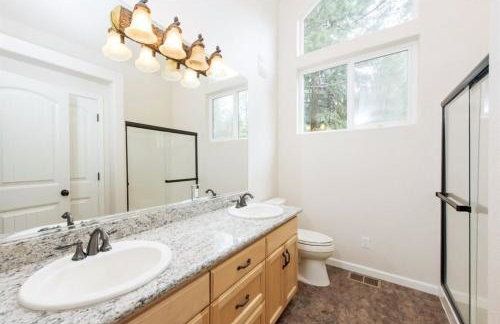
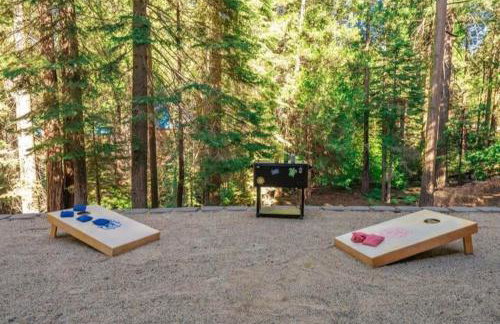
The Elderberry Retreat - It's a Dream Location! - Foto 4
The Elderberry Retreat - It's a Dream Location! - Foto 5
The Elderberry Retreat - It's a Dream Location! - Foto 6
The Elderberry Retreat - It's a Dream Location! - Foto 7
The Elderberry Retreat - It's a Dream Location! - Foto 8
The Elderberry Retreat - It's a Dream Location! - Foto 9
The Elderberry Retreat - It's a Dream Location! - Foto 10
The Elderberry Retreat - It's a Dream Location! - Foto 11
The Elderberry Retreat - It's a Dream Location! - Foto 12
The Elderberry Retreat - It's a Dream Location! - Foto 13
The Elderberry Retreat - It's a Dream Location! - Foto 14
The Elderberry Retreat - It's a Dream Location! - Foto 15
The Elderberry Retreat - It's a Dream Location! - Foto 16
The Elderberry Retreat - It's a Dream Location! - Foto 17
The Elderberry Retreat - It's a Dream Location! - Foto 18
The Elderberry Retreat - It's a Dream Location! - Foto 19
The Elderberry Retreat - It's a Dream Location! - Foto 20
The Elderberry Retreat - It's a Dream Location! - Foto 21
The Elderberry Retreat - It's a Dream Location! - Foto 22
The Elderberry Retreat - It's a Dream Location! - Foto 23
The Elderberry Retreat - It's a Dream Location! - Foto 24
The Elderberry Retreat - It's a Dream Location! - Foto 25
The Elderberry Retreat - It's a Dream Location! - Foto 26
The Elderberry Retreat - It's a Dream Location! - Foto 27
The Elderberry Retreat - It's a Dream Location! - Foto 28
The Elderberry Retreat - It's a Dream Location! - Foto 29
The Elderberry Retreat - It's a Dream Location! - Foto 30
The Elderberry Retreat - It's a Dream Location! - Foto 31
The Elderberry Retreat - It's a Dream Location! - Foto 32
The Elderberry Retreat - It's a Dream Location! - Foto 33
The Elderberry Retreat - It's a Dream Location! - Foto 34
The Elderberry Retreat - It's a Dream Location! - Foto 35
The Elderberry Retreat - It's a Dream Location! - Foto 36
The Elderberry Retreat - It's a Dream Location! - Foto 37
The Elderberry Retreat - It's a Dream Location! - Foto 38
The Elderberry Retreat - It's a Dream Location! - Foto 39
The Elderberry Retreat - It's a Dream Location! - Foto 40
The Elderberry Retreat - It's a Dream Location! - Foto 41
The Elderberry Retreat - It's a Dream Location! - Foto 42
The Elderberry Retreat - It's a Dream Location! - Foto 43
The Elderberry Retreat - It's a Dream Location! - Foto 44
The Elderberry Retreat - It's a Dream Location! - Foto 45
The Elderberry Retreat - It's a Dream Location! - Foto 46
The Elderberry Retreat - It's a Dream Location! - Foto 47
The Elderberry Retreat - It's a Dream Location! - Foto 48
The Elderberry Retreat - It's a Dream Location! - Foto 49
The Elderberry Retreat - It's a Dream Location! - Foto 50
The Elderberry Retreat - It's a Dream Location! - Foto 51
The Elderberry Retreat - It's a Dream Location! - Foto 52
The Elderberry Retreat - It's a Dream Location! - Foto 53
The Elderberry Retreat - It's a Dream Location! - Foto 54
The Elderberry Retreat - It's a Dream Location! - Foto 55
The Elderberry Retreat - It's a Dream Location! - Foto 56
The Elderberry Retreat - It's a Dream Location! - Foto 57
The Elderberry Retreat - It's a Dream Location! - Foto 58
The Elderberry Retreat - It's a Dream Location! - Foto 59
The Elderberry Retreat - It's a Dream Location! - Foto 60
The Elderberry Retreat - It's a Dream Location! - Foto 61
The Elderberry Retreat - It's a Dream Location! - Foto 62
The Elderberry Retreat - It's a Dream Location! - Foto 63
The Elderberry Retreat - It's a Dream Location! - Foto 64
The Elderberry Retreat - It's a Dream Location! - Foto 65
The Elderberry Retreat - It's a Dream Location! - Foto 66
The Elderberry Retreat - It's a Dream Location! - Foto 67
The Elderberry Retreat - It's a Dream Location! - Foto 68
The Elderberry Retreat - It's a Dream Location! - Foto 69
The Elderberry Retreat - It's a Dream Location! - Foto 70
The Elderberry Retreat - It's a Dream Location! - Foto 71
The Elderberry Retreat - It's a Dream Location! - Foto 72
The Elderberry Retreat - It's a Dream Location! - Foto 73
The Elderberry Retreat - It's a Dream Location! - Foto 74
The Elderberry Retreat - It's a Dream Location! - Foto 75
The Elderberry Retreat - It's a Dream Location! - Foto 76
The Elderberry Retreat - It's a Dream Location! - Foto 77
The Elderberry Retreat - It's a Dream Location! - Foto 78
The Elderberry Retreat - It's a Dream Location! - Foto 79
The Elderberry Retreat - It's a Dream Location! - Foto 80

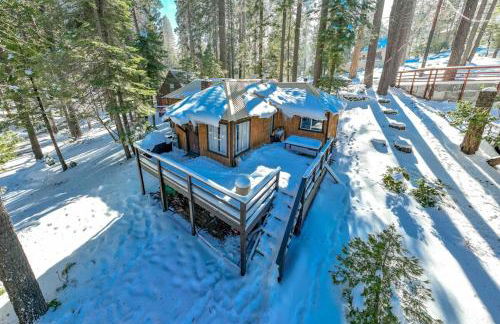
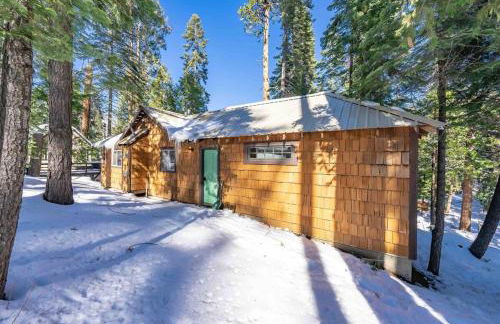
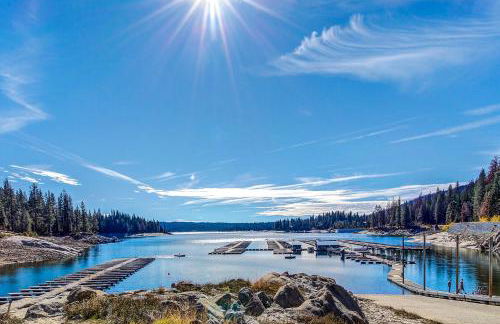
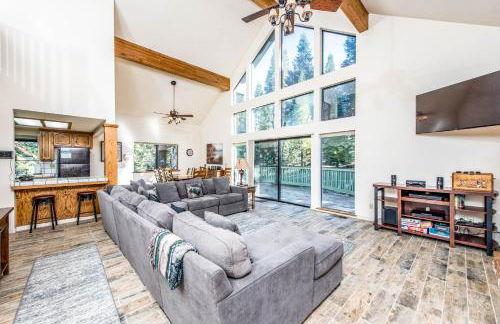
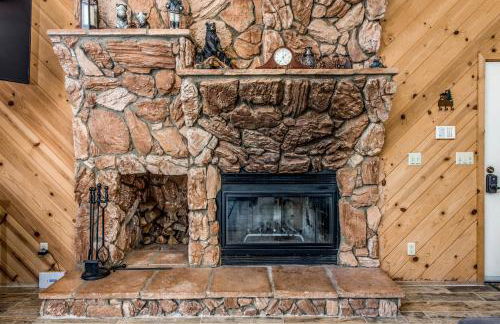
The Elderberry Retreat - It's a Dream Location!

Shaver

  • 134 M2
  • 3 Schlafzimmer
  • 8 Personen
  • Klimaanlage
  • Heizung
  • Parkplatz
  • Barbecue
10Hervorragend | 3 Bewertungen
Fox Den- Pet Friendly Suite in Shaver Lake - Foto 1
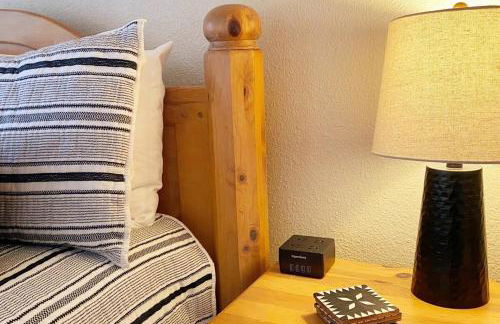
Fox Den- Pet Friendly Suite in Shaver Lake - Foto 2
Fox Den- Pet Friendly Suite in Shaver Lake - Foto 3
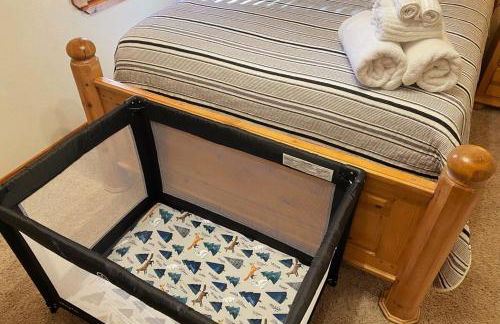
Fox Den- Pet Friendly Suite in Shaver Lake - Foto 4
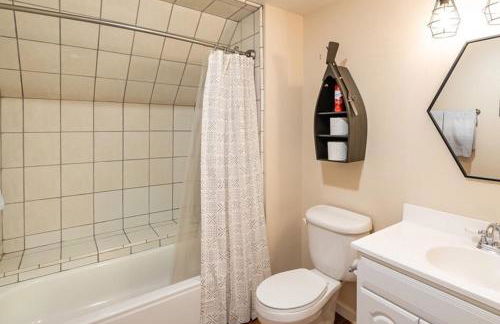
Fox Den- Pet Friendly Suite in Shaver Lake - Foto 5
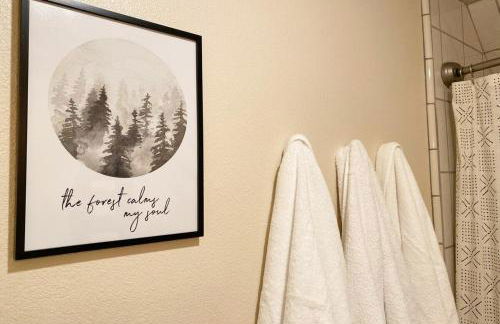
Fox Den- Pet Friendly Suite in Shaver Lake - Foto 6
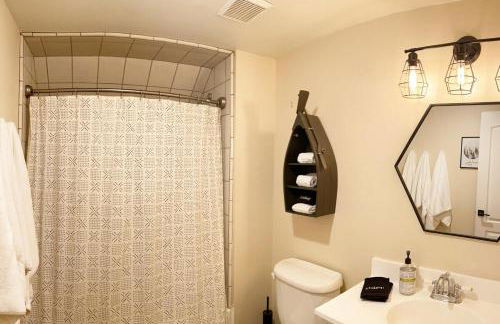
Fox Den- Pet Friendly Suite in Shaver Lake - Foto 7
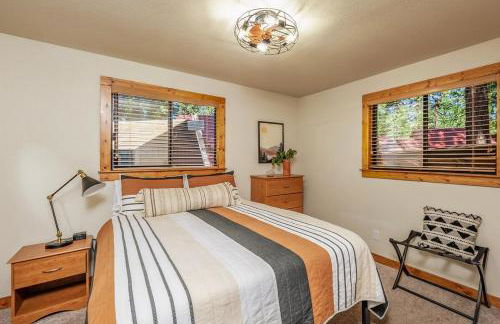
Fox Den- Pet Friendly Suite in Shaver Lake - Foto 8
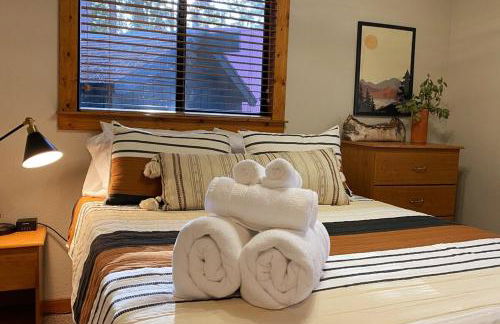
Fox Den- Pet Friendly Suite in Shaver Lake - Foto 9
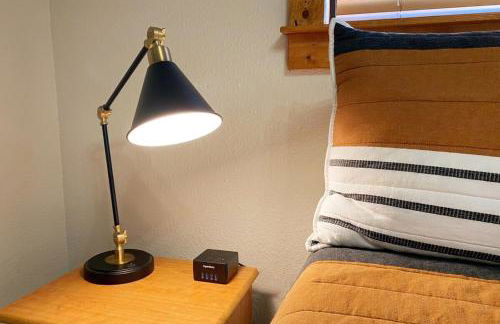
Fox Den- Pet Friendly Suite in Shaver Lake - Foto 10
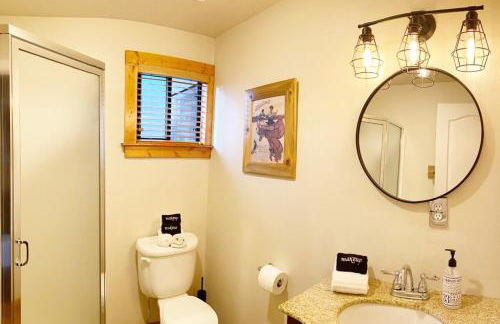
Fox Den- Pet Friendly Suite in Shaver Lake - Foto 11
Fox Den- Pet Friendly Suite in Shaver Lake - Foto 12
Fox Den- Pet Friendly Suite in Shaver Lake - Foto 13

Fox Den- Pet Friendly Suite in Shaver Lake

Shaver

  • 51 M2
  • 1 Schlafzimmer
  • 2 Personen
  • Klimaanlage
  • Heizung
  • Parkplatz
  • Barbecue
9.2Außergewöhnlich | 17 Bewertungen
Bear Meadow Cabin at Shaver Lake - Foto 1
Bear Meadow Cabin at Shaver Lake - Foto 2
Bear Meadow Cabin at Shaver Lake - Foto 3
Bear Meadow Cabin at Shaver Lake - Foto 4
Bear Meadow Cabin at Shaver Lake - Foto 5
Bear Meadow Cabin at Shaver Lake - Foto 6
Bear Meadow Cabin at Shaver Lake - Foto 7
Bear Meadow Cabin at Shaver Lake - Foto 8
Bear Meadow Cabin at Shaver Lake - Foto 9
Bear Meadow Cabin at Shaver Lake - Foto 10
Bear Meadow Cabin at Shaver Lake - Foto 11
Bear Meadow Cabin at Shaver Lake - Foto 12
Bear Meadow Cabin at Shaver Lake - Foto 13

Bear Meadow Cabin at Shaver Lake

Shaver

  • 130 M2
  • 3 Schlafzimmer
  • 8 Personen
  • Heizung
  • Parkplatz
  • Garten
10Hervorragend | 4 Bewertungen
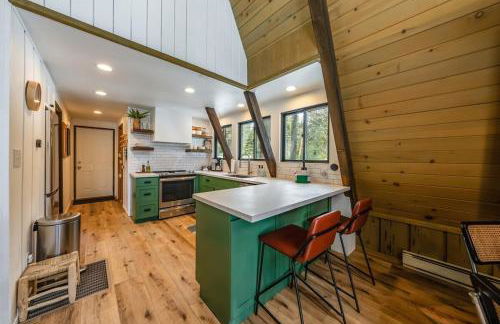
Dogwood Peak Mid-Century A-Frame with AC Style - Foto 1
Dogwood Peak Mid-Century A-Frame with AC Style - Foto 2
Dogwood Peak Mid-Century A-Frame with AC Style - Foto 3
Dogwood Peak Mid-Century A-Frame with AC Style - Foto 4
Dogwood Peak Mid-Century A-Frame with AC Style - Foto 5
Dogwood Peak Mid-Century A-Frame with AC Style - Foto 6
Dogwood Peak Mid-Century A-Frame with AC Style - Foto 7
Dogwood Peak Mid-Century A-Frame with AC Style - Foto 8
Dogwood Peak Mid-Century A-Frame with AC Style - Foto 9
Dogwood Peak Mid-Century A-Frame with AC Style - Foto 10
Dogwood Peak Mid-Century A-Frame with AC Style - Foto 11
Dogwood Peak Mid-Century A-Frame with AC Style - Foto 12
Dogwood Peak Mid-Century A-Frame with AC Style - Foto 13
Dogwood Peak Mid-Century A-Frame with AC Style - Foto 14
Dogwood Peak Mid-Century A-Frame with AC Style - Foto 15
Dogwood Peak Mid-Century A-Frame with AC Style - Foto 16
Dogwood Peak Mid-Century A-Frame with AC Style - Foto 17
Dogwood Peak Mid-Century A-Frame with AC Style - Foto 18
Dogwood Peak Mid-Century A-Frame with AC Style - Foto 19
Dogwood Peak Mid-Century A-Frame with AC Style - Foto 20
Dogwood Peak Mid-Century A-Frame with AC Style - Foto 21
Dogwood Peak Mid-Century A-Frame with AC Style - Foto 22
Dogwood Peak Mid-Century A-Frame with AC Style - Foto 23
Dogwood Peak Mid-Century A-Frame with AC Style - Foto 24
Dogwood Peak Mid-Century A-Frame with AC Style - Foto 25
Dogwood Peak Mid-Century A-Frame with AC Style - Foto 26
Dogwood Peak Mid-Century A-Frame with AC Style - Foto 27
Dogwood Peak Mid-Century A-Frame with AC Style - Foto 28
Dogwood Peak Mid-Century A-Frame with AC Style - Foto 29
Dogwood Peak Mid-Century A-Frame with AC Style - Foto 30
Dogwood Peak Mid-Century A-Frame with AC Style - Foto 31
Dogwood Peak Mid-Century A-Frame with AC Style - Foto 32
Dogwood Peak Mid-Century A-Frame with AC Style - Foto 33
Dogwood Peak Mid-Century A-Frame with AC Style - Foto 34
Dogwood Peak Mid-Century A-Frame with AC Style - Foto 35
Dogwood Peak Mid-Century A-Frame with AC Style - Foto 36
Dogwood Peak Mid-Century A-Frame with AC Style - Foto 37
Dogwood Peak Mid-Century A-Frame with AC Style - Foto 38
Dogwood Peak Mid-Century A-Frame with AC Style - Foto 39
Dogwood Peak Mid-Century A-Frame with AC Style - Foto 40
Dogwood Peak Mid-Century A-Frame with AC Style - Foto 41
Dogwood Peak Mid-Century A-Frame with AC Style - Foto 42
Dogwood Peak Mid-Century A-Frame with AC Style - Foto 43
Dogwood Peak Mid-Century A-Frame with AC Style - Foto 44
Dogwood Peak Mid-Century A-Frame with AC Style - Foto 45
Dogwood Peak Mid-Century A-Frame with AC Style - Foto 46
Dogwood Peak Mid-Century A-Frame with AC Style - Foto 47
Dogwood Peak Mid-Century A-Frame with AC Style - Foto 48
Dogwood Peak Mid-Century A-Frame with AC Style - Foto 49
Dogwood Peak Mid-Century A-Frame with AC Style - Foto 50
Dogwood Peak Mid-Century A-Frame with AC Style - Foto 51
Dogwood Peak Mid-Century A-Frame with AC Style - Foto 52
Dogwood Peak Mid-Century A-Frame with AC Style - Foto 53
Dogwood Peak Mid-Century A-Frame with AC Style - Foto 54
Dogwood Peak Mid-Century A-Frame with AC Style - Foto 55
Dogwood Peak Mid-Century A-Frame with AC Style - Foto 56
Dogwood Peak Mid-Century A-Frame with AC Style - Foto 57
Dogwood Peak Mid-Century A-Frame with AC Style - Foto 58
Dogwood Peak Mid-Century A-Frame with AC Style - Foto 59
Dogwood Peak Mid-Century A-Frame with AC Style - Foto 60
Dogwood Peak Mid-Century A-Frame with AC Style - Foto 61
Dogwood Peak Mid-Century A-Frame with AC Style - Foto 62
Dogwood Peak Mid-Century A-Frame with AC Style - Foto 63
Dogwood Peak Mid-Century A-Frame with AC Style - Foto 64
Dogwood Peak Mid-Century A-Frame with AC Style - Foto 65
Dogwood Peak Mid-Century A-Frame with AC Style - Foto 66
Dogwood Peak Mid-Century A-Frame with AC Style - Foto 67
Dogwood Peak Mid-Century A-Frame with AC Style - Foto 68
Dogwood Peak Mid-Century A-Frame with AC Style - Foto 69
Dogwood Peak Mid-Century A-Frame with AC Style - Foto 70
Dogwood Peak Mid-Century A-Frame with AC Style - Foto 71
Dogwood Peak Mid-Century A-Frame with AC Style - Foto 72
Dogwood Peak Mid-Century A-Frame with AC Style - Foto 73
Dogwood Peak Mid-Century A-Frame with AC Style - Foto 74

Dogwood Peak Mid-Century A-Frame with AC Style

Shaver

  • 89 M2
  • 2 Schlafzimmer
  • 5 Personen
  • Klimaanlage
  • Heizung
  • Parkplatz
  • Barbecue
9.8Außergewöhnlich | 8 Bewertungen
3 Mi to Shaver Lake: Cozy 'Bears Hideaway' Cabin! - Foto 1
3 Mi to Shaver Lake: Cozy 'Bears Hideaway' Cabin! - Foto 2
3 Mi to Shaver Lake: Cozy 'Bears Hideaway' Cabin! - Foto 3
3 Mi to Shaver Lake: Cozy 'Bears Hideaway' Cabin! - Foto 4
3 Mi to Shaver Lake: Cozy 'Bears Hideaway' Cabin! - Foto 5
3 Mi to Shaver Lake: Cozy 'Bears Hideaway' Cabin! - Foto 6
3 Mi to Shaver Lake: Cozy 'Bears Hideaway' Cabin! - Foto 7
3 Mi to Shaver Lake: Cozy 'Bears Hideaway' Cabin! - Foto 8
3 Mi to Shaver Lake: Cozy 'Bears Hideaway' Cabin! - Foto 9
3 Mi to Shaver Lake: Cozy 'Bears Hideaway' Cabin! - Foto 10

3 Mi to Shaver Lake: Cozy 'Bears Hideaway' Cabin!

Shaver

  • 123 M2
  • 3 Schlafzimmer
  • 8 Personen
  • Heizung
  • Parkplatz
9.2Außergewöhnlich | 11 Bewertungen
Elderberry Bluejay Location Goals Tub Time - Foto 1
Elderberry Bluejay Location Goals Tub Time - Foto 2
Elderberry Bluejay Location Goals Tub Time - Foto 3
Elderberry Bluejay Location Goals Tub Time - Foto 4
Elderberry Bluejay Location Goals Tub Time - Foto 5
Elderberry Bluejay Location Goals Tub Time - Foto 6
Elderberry Bluejay Location Goals Tub Time - Foto 7
Elderberry Bluejay Location Goals Tub Time - Foto 8
Elderberry Bluejay Location Goals Tub Time - Foto 9
Elderberry Bluejay Location Goals Tub Time - Foto 10
Elderberry Bluejay Location Goals Tub Time - Foto 11
Elderberry Bluejay Location Goals Tub Time - Foto 12
Elderberry Bluejay Location Goals Tub Time - Foto 13
Elderberry Bluejay Location Goals Tub Time - Foto 14
Elderberry Bluejay Location Goals Tub Time - Foto 15
Elderberry Bluejay Location Goals Tub Time - Foto 16
Elderberry Bluejay Location Goals Tub Time - Foto 17
Elderberry Bluejay Location Goals Tub Time - Foto 18
Elderberry Bluejay Location Goals Tub Time - Foto 19
Elderberry Bluejay Location Goals Tub Time - Foto 20
Elderberry Bluejay Location Goals Tub Time - Foto 21
Elderberry Bluejay Location Goals Tub Time - Foto 22
Elderberry Bluejay Location Goals Tub Time - Foto 23
Elderberry Bluejay Location Goals Tub Time - Foto 24
Elderberry Bluejay Location Goals Tub Time - Foto 25
Elderberry Bluejay Location Goals Tub Time - Foto 26
Elderberry Bluejay Location Goals Tub Time - Foto 27
Elderberry Bluejay Location Goals Tub Time - Foto 28
Elderberry Bluejay Location Goals Tub Time - Foto 29
Elderberry Bluejay Location Goals Tub Time - Foto 30
Elderberry Bluejay Location Goals Tub Time - Foto 31
Elderberry Bluejay Location Goals Tub Time - Foto 32
Elderberry Bluejay Location Goals Tub Time - Foto 33
Elderberry Bluejay Location Goals Tub Time - Foto 34
Elderberry Bluejay Location Goals Tub Time - Foto 35
Elderberry Bluejay Location Goals Tub Time - Foto 36
Elderberry Bluejay Location Goals Tub Time - Foto 37
Elderberry Bluejay Location Goals Tub Time - Foto 38
Elderberry Bluejay Location Goals Tub Time - Foto 39
Elderberry Bluejay Location Goals Tub Time - Foto 40
Elderberry Bluejay Location Goals Tub Time - Foto 41
Elderberry Bluejay Location Goals Tub Time - Foto 42
Elderberry Bluejay Location Goals Tub Time - Foto 43
Elderberry Bluejay Location Goals Tub Time - Foto 44
Elderberry Bluejay Location Goals Tub Time - Foto 45
Elderberry Bluejay Location Goals Tub Time - Foto 46
Elderberry Bluejay Location Goals Tub Time - Foto 47
Elderberry Bluejay Location Goals Tub Time - Foto 48
Elderberry Bluejay Location Goals Tub Time - Foto 49
Elderberry Bluejay Location Goals Tub Time - Foto 50
Elderberry Bluejay Location Goals Tub Time - Foto 51
Elderberry Bluejay Location Goals Tub Time - Foto 52
Elderberry Bluejay Location Goals Tub Time - Foto 53
Elderberry Bluejay Location Goals Tub Time - Foto 54
Elderberry Bluejay Location Goals Tub Time - Foto 55
Elderberry Bluejay Location Goals Tub Time - Foto 56
Elderberry Bluejay Location Goals Tub Time - Foto 57
Elderberry Bluejay Location Goals Tub Time - Foto 58
Elderberry Bluejay Location Goals Tub Time - Foto 59
Elderberry Bluejay Location Goals Tub Time - Foto 60
Elderberry Bluejay Location Goals Tub Time - Foto 61
Elderberry Bluejay Location Goals Tub Time - Foto 62
Elderberry Bluejay Location Goals Tub Time - Foto 63
Elderberry Bluejay Location Goals Tub Time - Foto 64
Elderberry Bluejay Location Goals Tub Time - Foto 65
Elderberry Bluejay Location Goals Tub Time - Foto 66
Elderberry Bluejay Location Goals Tub Time - Foto 67
Elderberry Bluejay Location Goals Tub Time - Foto 68
Elderberry Bluejay Location Goals Tub Time - Foto 69
Elderberry Bluejay Location Goals Tub Time - Foto 70
Elderberry Bluejay Location Goals Tub Time - Foto 71
Elderberry Bluejay Location Goals Tub Time - Foto 72
Elderberry Bluejay Location Goals Tub Time - Foto 73
Elderberry Bluejay Location Goals Tub Time - Foto 74
Elderberry Bluejay Location Goals Tub Time - Foto 75
Elderberry Bluejay Location Goals Tub Time - Foto 76
Elderberry Bluejay Location Goals Tub Time - Foto 77
Elderberry Bluejay Location Goals Tub Time - Foto 78
Elderberry Bluejay Location Goals Tub Time - Foto 79
Elderberry Bluejay Location Goals Tub Time - Foto 80

Elderberry Bluejay Location Goals Tub Time

Shaver

  • 224 M2
  • 5 Schlafzimmer
  • 14 Personen
  • Heizung
  • Parkplatz
  • Barbecue
9.5Außergewöhnlich | 2 Bewertungen
The Cedar House Prime Spot Kayaks & Cool AC - Foto 1
The Cedar House Prime Spot Kayaks & Cool AC - Foto 2
The Cedar House Prime Spot Kayaks & Cool AC - Foto 3
The Cedar House Prime Spot Kayaks & Cool AC - Foto 4
The Cedar House Prime Spot Kayaks & Cool AC - Foto 5
The Cedar House Prime Spot Kayaks & Cool AC - Foto 6
The Cedar House Prime Spot Kayaks & Cool AC - Foto 7
The Cedar House Prime Spot Kayaks & Cool AC - Foto 8
The Cedar House Prime Spot Kayaks & Cool AC - Foto 9
The Cedar House Prime Spot Kayaks & Cool AC - Foto 10
The Cedar House Prime Spot Kayaks & Cool AC - Foto 11
The Cedar House Prime Spot Kayaks & Cool AC - Foto 12
The Cedar House Prime Spot Kayaks & Cool AC - Foto 13
The Cedar House Prime Spot Kayaks & Cool AC - Foto 14
The Cedar House Prime Spot Kayaks & Cool AC - Foto 15
The Cedar House Prime Spot Kayaks & Cool AC - Foto 16
The Cedar House Prime Spot Kayaks & Cool AC - Foto 17
The Cedar House Prime Spot Kayaks & Cool AC - Foto 18
The Cedar House Prime Spot Kayaks & Cool AC - Foto 19
The Cedar House Prime Spot Kayaks & Cool AC - Foto 20
The Cedar House Prime Spot Kayaks & Cool AC - Foto 21
The Cedar House Prime Spot Kayaks & Cool AC - Foto 22
The Cedar House Prime Spot Kayaks & Cool AC - Foto 23
The Cedar House Prime Spot Kayaks & Cool AC - Foto 24
The Cedar House Prime Spot Kayaks & Cool AC - Foto 25
The Cedar House Prime Spot Kayaks & Cool AC - Foto 26
The Cedar House Prime Spot Kayaks & Cool AC - Foto 27
The Cedar House Prime Spot Kayaks & Cool AC - Foto 28
The Cedar House Prime Spot Kayaks & Cool AC - Foto 29
The Cedar House Prime Spot Kayaks & Cool AC - Foto 30
The Cedar House Prime Spot Kayaks & Cool AC - Foto 31
The Cedar House Prime Spot Kayaks & Cool AC - Foto 32
The Cedar House Prime Spot Kayaks & Cool AC - Foto 33
The Cedar House Prime Spot Kayaks & Cool AC - Foto 34
The Cedar House Prime Spot Kayaks & Cool AC - Foto 35
The Cedar House Prime Spot Kayaks & Cool AC - Foto 36
The Cedar House Prime Spot Kayaks & Cool AC - Foto 37
The Cedar House Prime Spot Kayaks & Cool AC - Foto 38
The Cedar House Prime Spot Kayaks & Cool AC - Foto 39
The Cedar House Prime Spot Kayaks & Cool AC - Foto 40
The Cedar House Prime Spot Kayaks & Cool AC - Foto 41
The Cedar House Prime Spot Kayaks & Cool AC - Foto 42
The Cedar House Prime Spot Kayaks & Cool AC - Foto 43
The Cedar House Prime Spot Kayaks & Cool AC - Foto 44
The Cedar House Prime Spot Kayaks & Cool AC - Foto 45
The Cedar House Prime Spot Kayaks & Cool AC - Foto 46
The Cedar House Prime Spot Kayaks & Cool AC - Foto 47
The Cedar House Prime Spot Kayaks & Cool AC - Foto 48
The Cedar House Prime Spot Kayaks & Cool AC - Foto 49
The Cedar House Prime Spot Kayaks & Cool AC - Foto 50
The Cedar House Prime Spot Kayaks & Cool AC - Foto 51
The Cedar House Prime Spot Kayaks & Cool AC - Foto 52
The Cedar House Prime Spot Kayaks & Cool AC - Foto 53
The Cedar House Prime Spot Kayaks & Cool AC - Foto 54
The Cedar House Prime Spot Kayaks & Cool AC - Foto 55
The Cedar House Prime Spot Kayaks & Cool AC - Foto 56
The Cedar House Prime Spot Kayaks & Cool AC - Foto 57
The Cedar House Prime Spot Kayaks & Cool AC - Foto 58
The Cedar House Prime Spot Kayaks & Cool AC - Foto 59
The Cedar House Prime Spot Kayaks & Cool AC - Foto 60
The Cedar House Prime Spot Kayaks & Cool AC - Foto 61
The Cedar House Prime Spot Kayaks & Cool AC - Foto 62
The Cedar House Prime Spot Kayaks & Cool AC - Foto 63
The Cedar House Prime Spot Kayaks & Cool AC - Foto 64

The Cedar House Prime Spot Kayaks & Cool AC

Shaver

  • 91 M2
  • 2 Schlafzimmer
  • 6 Personen
  • Klimaanlage
  • Heizung
  • Parkplatz
  • Barbecue
10Hervorragend | 2 Bewertungen
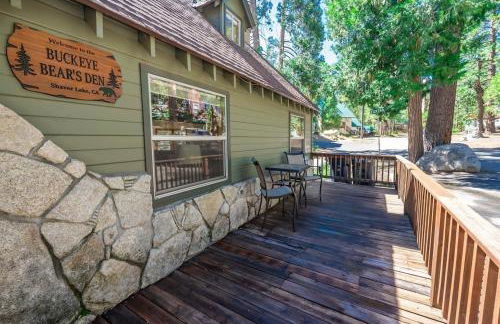
Buckeye Bear's Den-AC-Walking Distance to town - Foto 1
Buckeye Bear's Den-AC-Walking Distance to town - Foto 2
Buckeye Bear's Den-AC-Walking Distance to town - Foto 3
Buckeye Bear's Den-AC-Walking Distance to town - Foto 4
Buckeye Bear's Den-AC-Walking Distance to town - Foto 5
Buckeye Bear's Den-AC-Walking Distance to town - Foto 6
Buckeye Bear's Den-AC-Walking Distance to town - Foto 7
Buckeye Bear's Den-AC-Walking Distance to town - Foto 8
Buckeye Bear's Den-AC-Walking Distance to town - Foto 9
Buckeye Bear's Den-AC-Walking Distance to town - Foto 10
Buckeye Bear's Den-AC-Walking Distance to town - Foto 11
Buckeye Bear's Den-AC-Walking Distance to town - Foto 12
Buckeye Bear's Den-AC-Walking Distance to town - Foto 13
Buckeye Bear's Den-AC-Walking Distance to town - Foto 14
Buckeye Bear's Den-AC-Walking Distance to town - Foto 15
Buckeye Bear's Den-AC-Walking Distance to town - Foto 16
Buckeye Bear's Den-AC-Walking Distance to town - Foto 17
Buckeye Bear's Den-AC-Walking Distance to town - Foto 18
Buckeye Bear's Den-AC-Walking Distance to town - Foto 19
Buckeye Bear's Den-AC-Walking Distance to town - Foto 20
Buckeye Bear's Den-AC-Walking Distance to town - Foto 21
Buckeye Bear's Den-AC-Walking Distance to town - Foto 22
Buckeye Bear's Den-AC-Walking Distance to town - Foto 23
Buckeye Bear's Den-AC-Walking Distance to town - Foto 24
Buckeye Bear's Den-AC-Walking Distance to town - Foto 25
Buckeye Bear's Den-AC-Walking Distance to town - Foto 26
Buckeye Bear's Den-AC-Walking Distance to town - Foto 27
Buckeye Bear's Den-AC-Walking Distance to town - Foto 28
Buckeye Bear's Den-AC-Walking Distance to town - Foto 29
Buckeye Bear's Den-AC-Walking Distance to town - Foto 30
Buckeye Bear's Den-AC-Walking Distance to town - Foto 31
Buckeye Bear's Den-AC-Walking Distance to town - Foto 32
Buckeye Bear's Den-AC-Walking Distance to town - Foto 33
Buckeye Bear's Den-AC-Walking Distance to town - Foto 34
Buckeye Bear's Den-AC-Walking Distance to town - Foto 35
Buckeye Bear's Den-AC-Walking Distance to town - Foto 36
Buckeye Bear's Den-AC-Walking Distance to town - Foto 37
Buckeye Bear's Den-AC-Walking Distance to town - Foto 38
Buckeye Bear's Den-AC-Walking Distance to town - Foto 39
Buckeye Bear's Den-AC-Walking Distance to town - Foto 40
Buckeye Bear's Den-AC-Walking Distance to town - Foto 41
Buckeye Bear's Den-AC-Walking Distance to town - Foto 42
Buckeye Bear's Den-AC-Walking Distance to town - Foto 43
Buckeye Bear's Den-AC-Walking Distance to town - Foto 44
Buckeye Bear's Den-AC-Walking Distance to town - Foto 45
Buckeye Bear's Den-AC-Walking Distance to town - Foto 46
Buckeye Bear's Den-AC-Walking Distance to town - Foto 47
Buckeye Bear's Den-AC-Walking Distance to town - Foto 48
Buckeye Bear's Den-AC-Walking Distance to town - Foto 49
Buckeye Bear's Den-AC-Walking Distance to town - Foto 50
Buckeye Bear's Den-AC-Walking Distance to town - Foto 51
Buckeye Bear's Den-AC-Walking Distance to town - Foto 52
Buckeye Bear's Den-AC-Walking Distance to town - Foto 53
Buckeye Bear's Den-AC-Walking Distance to town - Foto 54
Buckeye Bear's Den-AC-Walking Distance to town - Foto 55
Buckeye Bear's Den-AC-Walking Distance to town - Foto 56
Buckeye Bear's Den-AC-Walking Distance to town - Foto 57
Buckeye Bear's Den-AC-Walking Distance to town - Foto 58
Buckeye Bear's Den-AC-Walking Distance to town - Foto 59
Buckeye Bear's Den-AC-Walking Distance to town - Foto 60
Buckeye Bear's Den-AC-Walking Distance to town - Foto 61
Buckeye Bear's Den-AC-Walking Distance to town - Foto 62
Buckeye Bear's Den-AC-Walking Distance to town - Foto 63
Buckeye Bear's Den-AC-Walking Distance to town - Foto 64
Buckeye Bear's Den-AC-Walking Distance to town - Foto 65
Buckeye Bear's Den-AC-Walking Distance to town - Foto 66
Buckeye Bear's Den-AC-Walking Distance to town - Foto 67
Buckeye Bear's Den-AC-Walking Distance to town - Foto 68
Buckeye Bear's Den-AC-Walking Distance to town - Foto 69
Buckeye Bear's Den-AC-Walking Distance to town - Foto 70

Buckeye Bear's Den-AC-Walking Distance to town

Shaver

  • 174 M2
  • 4 Schlafzimmer
  • 14 Personen
  • Klimaanlage
  • Heizung
  • Parkplatz
  • Barbecue
10Hervorragend | 4 Bewertungen
Creekside Cabin - Pup-Friendly with AC - Foto 1
Creekside Cabin - Pup-Friendly with AC - Foto 2
Creekside Cabin - Pup-Friendly with AC - Foto 3
Creekside Cabin - Pup-Friendly with AC - Foto 4
Creekside Cabin - Pup-Friendly with AC - Foto 5
Creekside Cabin - Pup-Friendly with AC - Foto 6
Creekside Cabin - Pup-Friendly with AC - Foto 7
Creekside Cabin - Pup-Friendly with AC - Foto 8
Creekside Cabin - Pup-Friendly with AC - Foto 9
Creekside Cabin - Pup-Friendly with AC - Foto 10
Creekside Cabin - Pup-Friendly with AC - Foto 11
Creekside Cabin - Pup-Friendly with AC - Foto 12
Creekside Cabin - Pup-Friendly with AC - Foto 13
Creekside Cabin - Pup-Friendly with AC - Foto 14
Creekside Cabin - Pup-Friendly with AC - Foto 15
Creekside Cabin - Pup-Friendly with AC - Foto 16
Creekside Cabin - Pup-Friendly with AC - Foto 17
Creekside Cabin - Pup-Friendly with AC - Foto 18
Creekside Cabin - Pup-Friendly with AC - Foto 19
Creekside Cabin - Pup-Friendly with AC - Foto 20
Creekside Cabin - Pup-Friendly with AC - Foto 21
Creekside Cabin - Pup-Friendly with AC - Foto 22
Creekside Cabin - Pup-Friendly with AC - Foto 23
Creekside Cabin - Pup-Friendly with AC - Foto 24
Creekside Cabin - Pup-Friendly with AC - Foto 25
Creekside Cabin - Pup-Friendly with AC - Foto 26
Creekside Cabin - Pup-Friendly with AC - Foto 27
Creekside Cabin - Pup-Friendly with AC - Foto 28
Creekside Cabin - Pup-Friendly with AC - Foto 29
Creekside Cabin - Pup-Friendly with AC - Foto 30
Creekside Cabin - Pup-Friendly with AC - Foto 31
Creekside Cabin - Pup-Friendly with AC - Foto 32
Creekside Cabin - Pup-Friendly with AC - Foto 33
Creekside Cabin - Pup-Friendly with AC - Foto 34
Creekside Cabin - Pup-Friendly with AC - Foto 35
Creekside Cabin - Pup-Friendly with AC - Foto 36
Creekside Cabin - Pup-Friendly with AC - Foto 37
Creekside Cabin - Pup-Friendly with AC - Foto 38
Creekside Cabin - Pup-Friendly with AC - Foto 39
Creekside Cabin - Pup-Friendly with AC - Foto 40
Creekside Cabin - Pup-Friendly with AC - Foto 41
Creekside Cabin - Pup-Friendly with AC - Foto 42
Creekside Cabin - Pup-Friendly with AC - Foto 43
Creekside Cabin - Pup-Friendly with AC - Foto 44
Creekside Cabin - Pup-Friendly with AC - Foto 45
Creekside Cabin - Pup-Friendly with AC - Foto 46
Creekside Cabin - Pup-Friendly with AC - Foto 47
Creekside Cabin - Pup-Friendly with AC - Foto 48
Creekside Cabin - Pup-Friendly with AC - Foto 49
Creekside Cabin - Pup-Friendly with AC - Foto 50
Creekside Cabin - Pup-Friendly with AC - Foto 51
Creekside Cabin - Pup-Friendly with AC - Foto 52
Creekside Cabin - Pup-Friendly with AC - Foto 53
Creekside Cabin - Pup-Friendly with AC - Foto 54
Creekside Cabin - Pup-Friendly with AC - Foto 55
Creekside Cabin - Pup-Friendly with AC - Foto 56
Creekside Cabin - Pup-Friendly with AC - Foto 57
Creekside Cabin - Pup-Friendly with AC - Foto 58
Creekside Cabin - Pup-Friendly with AC - Foto 59
Creekside Cabin - Pup-Friendly with AC - Foto 60
Creekside Cabin - Pup-Friendly with AC - Foto 61
Creekside Cabin - Pup-Friendly with AC - Foto 62
Creekside Cabin - Pup-Friendly with AC - Foto 63
Creekside Cabin - Pup-Friendly with AC - Foto 64
Creekside Cabin - Pup-Friendly with AC - Foto 65
Creekside Cabin - Pup-Friendly with AC - Foto 66
Creekside Cabin - Pup-Friendly with AC - Foto 67
Creekside Cabin - Pup-Friendly with AC - Foto 68
Creekside Cabin - Pup-Friendly with AC - Foto 69
Creekside Cabin - Pup-Friendly with AC - Foto 70
Creekside Cabin - Pup-Friendly with AC - Foto 71
Creekside Cabin - Pup-Friendly with AC - Foto 72
Creekside Cabin - Pup-Friendly with AC - Foto 73
Creekside Cabin - Pup-Friendly with AC - Foto 74
Creekside Cabin - Pup-Friendly with AC - Foto 75
Creekside Cabin - Pup-Friendly with AC - Foto 76
Creekside Cabin - Pup-Friendly with AC - Foto 77
Creekside Cabin - Pup-Friendly with AC - Foto 78
Creekside Cabin - Pup-Friendly with AC - Foto 79
Creekside Cabin - Pup-Friendly with AC - Foto 80

Creekside Cabin - Pup-Friendly with AC

Shaver

  • 187 M2
  • 4 Schlafzimmer
  • 8 Personen
  • Klimaanlage
  • Heizung
  • Parkplatz
  • Barbecue
10Hervorragend | 4 Bewertungen
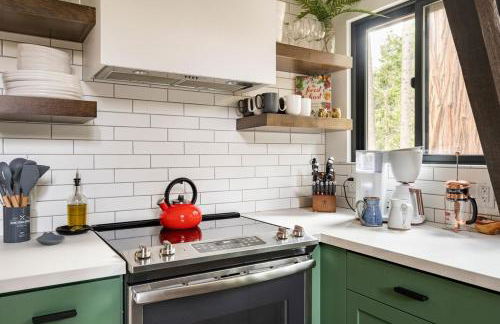
Tollhouse Cottage Heart of Shaver - Foto 1
Tollhouse Cottage Heart of Shaver - Foto 2
Tollhouse Cottage Heart of Shaver - Foto 3
Tollhouse Cottage Heart of Shaver - Foto 4
Tollhouse Cottage Heart of Shaver - Foto 5
Tollhouse Cottage Heart of Shaver - Foto 6
Tollhouse Cottage Heart of Shaver - Foto 7
Tollhouse Cottage Heart of Shaver - Foto 8
Tollhouse Cottage Heart of Shaver - Foto 9
Tollhouse Cottage Heart of Shaver - Foto 10
Tollhouse Cottage Heart of Shaver - Foto 11
Tollhouse Cottage Heart of Shaver - Foto 12
Tollhouse Cottage Heart of Shaver - Foto 13
Tollhouse Cottage Heart of Shaver - Foto 14
Tollhouse Cottage Heart of Shaver - Foto 15
Tollhouse Cottage Heart of Shaver - Foto 16
Tollhouse Cottage Heart of Shaver - Foto 17
Tollhouse Cottage Heart of Shaver - Foto 18
Tollhouse Cottage Heart of Shaver - Foto 19
Tollhouse Cottage Heart of Shaver - Foto 20
Tollhouse Cottage Heart of Shaver - Foto 21
Tollhouse Cottage Heart of Shaver - Foto 22
Tollhouse Cottage Heart of Shaver - Foto 23
Tollhouse Cottage Heart of Shaver - Foto 24
Tollhouse Cottage Heart of Shaver - Foto 25
Tollhouse Cottage Heart of Shaver - Foto 26
Tollhouse Cottage Heart of Shaver - Foto 27
Tollhouse Cottage Heart of Shaver - Foto 28
Tollhouse Cottage Heart of Shaver - Foto 29
Tollhouse Cottage Heart of Shaver - Foto 30
Tollhouse Cottage Heart of Shaver - Foto 31
Tollhouse Cottage Heart of Shaver - Foto 32
Tollhouse Cottage Heart of Shaver - Foto 33
Tollhouse Cottage Heart of Shaver - Foto 34
Tollhouse Cottage Heart of Shaver - Foto 35
Tollhouse Cottage Heart of Shaver - Foto 36
Tollhouse Cottage Heart of Shaver - Foto 37
Tollhouse Cottage Heart of Shaver - Foto 38
Tollhouse Cottage Heart of Shaver - Foto 39
Tollhouse Cottage Heart of Shaver - Foto 40
Tollhouse Cottage Heart of Shaver - Foto 41
Tollhouse Cottage Heart of Shaver - Foto 42
Tollhouse Cottage Heart of Shaver - Foto 43
Tollhouse Cottage Heart of Shaver - Foto 44
Tollhouse Cottage Heart of Shaver - Foto 45
Tollhouse Cottage Heart of Shaver - Foto 46
Tollhouse Cottage Heart of Shaver - Foto 47
Tollhouse Cottage Heart of Shaver - Foto 48
Tollhouse Cottage Heart of Shaver - Foto 49
Tollhouse Cottage Heart of Shaver - Foto 50
Tollhouse Cottage Heart of Shaver - Foto 51
Tollhouse Cottage Heart of Shaver - Foto 52
Tollhouse Cottage Heart of Shaver - Foto 53
Tollhouse Cottage Heart of Shaver - Foto 54
Tollhouse Cottage Heart of Shaver - Foto 55
Tollhouse Cottage Heart of Shaver - Foto 56
Tollhouse Cottage Heart of Shaver - Foto 57
Tollhouse Cottage Heart of Shaver - Foto 58
Tollhouse Cottage Heart of Shaver - Foto 59
Tollhouse Cottage Heart of Shaver - Foto 60
Tollhouse Cottage Heart of Shaver - Foto 61
Tollhouse Cottage Heart of Shaver - Foto 62

Tollhouse Cottage Heart of Shaver

Shaver

  • 129 M2
  • 3 Schlafzimmer
  • 6 Personen
  • Klimaanlage
  • Heizung
  • Parkplatz
  • Barbecue
9.1Außergewöhnlich | 7 Bewertungen
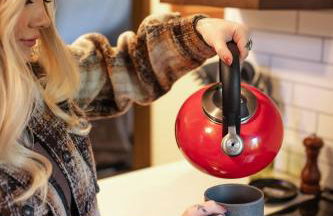
Sierra Pines Villa Deck Jetted Tub Game Rm - Foto 1
Sierra Pines Villa Deck Jetted Tub Game Rm - Foto 2
Sierra Pines Villa Deck Jetted Tub Game Rm - Foto 3
Sierra Pines Villa Deck Jetted Tub Game Rm - Foto 4
Sierra Pines Villa Deck Jetted Tub Game Rm - Foto 5
Sierra Pines Villa Deck Jetted Tub Game Rm - Foto 6
Sierra Pines Villa Deck Jetted Tub Game Rm - Foto 7
Sierra Pines Villa Deck Jetted Tub Game Rm - Foto 8
Sierra Pines Villa Deck Jetted Tub Game Rm - Foto 9
Sierra Pines Villa Deck Jetted Tub Game Rm - Foto 10
Sierra Pines Villa Deck Jetted Tub Game Rm - Foto 11
Sierra Pines Villa Deck Jetted Tub Game Rm - Foto 12
Sierra Pines Villa Deck Jetted Tub Game Rm - Foto 13
Sierra Pines Villa Deck Jetted Tub Game Rm - Foto 14
Sierra Pines Villa Deck Jetted Tub Game Rm - Foto 15
Sierra Pines Villa Deck Jetted Tub Game Rm - Foto 16
Sierra Pines Villa Deck Jetted Tub Game Rm - Foto 17
Sierra Pines Villa Deck Jetted Tub Game Rm - Foto 18
Sierra Pines Villa Deck Jetted Tub Game Rm - Foto 19
Sierra Pines Villa Deck Jetted Tub Game Rm - Foto 20
Sierra Pines Villa Deck Jetted Tub Game Rm - Foto 21
Sierra Pines Villa Deck Jetted Tub Game Rm - Foto 22
Sierra Pines Villa Deck Jetted Tub Game Rm - Foto 23
Sierra Pines Villa Deck Jetted Tub Game Rm - Foto 24
Sierra Pines Villa Deck Jetted Tub Game Rm - Foto 25
Sierra Pines Villa Deck Jetted Tub Game Rm - Foto 26
Sierra Pines Villa Deck Jetted Tub Game Rm - Foto 27
Sierra Pines Villa Deck Jetted Tub Game Rm - Foto 28
Sierra Pines Villa Deck Jetted Tub Game Rm - Foto 29
Sierra Pines Villa Deck Jetted Tub Game Rm - Foto 30
Sierra Pines Villa Deck Jetted Tub Game Rm - Foto 31
Sierra Pines Villa Deck Jetted Tub Game Rm - Foto 32
Sierra Pines Villa Deck Jetted Tub Game Rm - Foto 33
Sierra Pines Villa Deck Jetted Tub Game Rm - Foto 34
Sierra Pines Villa Deck Jetted Tub Game Rm - Foto 35
Sierra Pines Villa Deck Jetted Tub Game Rm - Foto 36
Sierra Pines Villa Deck Jetted Tub Game Rm - Foto 37
Sierra Pines Villa Deck Jetted Tub Game Rm - Foto 38
Sierra Pines Villa Deck Jetted Tub Game Rm - Foto 39
Sierra Pines Villa Deck Jetted Tub Game Rm - Foto 40
Sierra Pines Villa Deck Jetted Tub Game Rm - Foto 41
Sierra Pines Villa Deck Jetted Tub Game Rm - Foto 42
Sierra Pines Villa Deck Jetted Tub Game Rm - Foto 43
Sierra Pines Villa Deck Jetted Tub Game Rm - Foto 44
Sierra Pines Villa Deck Jetted Tub Game Rm - Foto 45
Sierra Pines Villa Deck Jetted Tub Game Rm - Foto 46
Sierra Pines Villa Deck Jetted Tub Game Rm - Foto 47
Sierra Pines Villa Deck Jetted Tub Game Rm - Foto 48
Sierra Pines Villa Deck Jetted Tub Game Rm - Foto 49
Sierra Pines Villa Deck Jetted Tub Game Rm - Foto 50
Sierra Pines Villa Deck Jetted Tub Game Rm - Foto 51
Sierra Pines Villa Deck Jetted Tub Game Rm - Foto 52
Sierra Pines Villa Deck Jetted Tub Game Rm - Foto 53
Sierra Pines Villa Deck Jetted Tub Game Rm - Foto 54
Sierra Pines Villa Deck Jetted Tub Game Rm - Foto 55
Sierra Pines Villa Deck Jetted Tub Game Rm - Foto 56
Sierra Pines Villa Deck Jetted Tub Game Rm - Foto 57
Sierra Pines Villa Deck Jetted Tub Game Rm - Foto 58
Sierra Pines Villa Deck Jetted Tub Game Rm - Foto 59
Sierra Pines Villa Deck Jetted Tub Game Rm - Foto 60
Sierra Pines Villa Deck Jetted Tub Game Rm - Foto 61
Sierra Pines Villa Deck Jetted Tub Game Rm - Foto 62
Sierra Pines Villa Deck Jetted Tub Game Rm - Foto 63
Sierra Pines Villa Deck Jetted Tub Game Rm - Foto 64
Sierra Pines Villa Deck Jetted Tub Game Rm - Foto 65
Sierra Pines Villa Deck Jetted Tub Game Rm - Foto 66
Sierra Pines Villa Deck Jetted Tub Game Rm - Foto 67
Sierra Pines Villa Deck Jetted Tub Game Rm - Foto 68
Sierra Pines Villa Deck Jetted Tub Game Rm - Foto 69
Sierra Pines Villa Deck Jetted Tub Game Rm - Foto 70
Sierra Pines Villa Deck Jetted Tub Game Rm - Foto 71
Sierra Pines Villa Deck Jetted Tub Game Rm - Foto 72
Sierra Pines Villa Deck Jetted Tub Game Rm - Foto 73
Sierra Pines Villa Deck Jetted Tub Game Rm - Foto 74
Sierra Pines Villa Deck Jetted Tub Game Rm - Foto 75
Sierra Pines Villa Deck Jetted Tub Game Rm - Foto 76
Sierra Pines Villa Deck Jetted Tub Game Rm - Foto 77
Sierra Pines Villa Deck Jetted Tub Game Rm - Foto 78
Sierra Pines Villa Deck Jetted Tub Game Rm - Foto 79
Sierra Pines Villa Deck Jetted Tub Game Rm - Foto 80

Sierra Pines Villa Deck Jetted Tub Game Rm

Shaver

  • 251 M2
  • 5 Schlafzimmer
  • 13 Personen
  • Heizung
  • Parkplatz
  • Barbecue
10Hervorragend | 4 Bewertungen
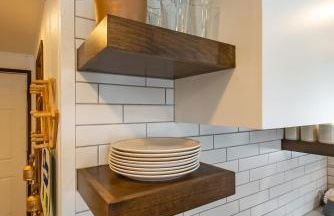
Lux Western Cabin Pool Table Ping Pong Vibes - Foto 1
Lux Western Cabin Pool Table Ping Pong Vibes - Foto 2
Lux Western Cabin Pool Table Ping Pong Vibes - Foto 3
Lux Western Cabin Pool Table Ping Pong Vibes - Foto 4
Lux Western Cabin Pool Table Ping Pong Vibes - Foto 5
Lux Western Cabin Pool Table Ping Pong Vibes - Foto 6
Lux Western Cabin Pool Table Ping Pong Vibes - Foto 7
Lux Western Cabin Pool Table Ping Pong Vibes - Foto 8
Lux Western Cabin Pool Table Ping Pong Vibes - Foto 9
Lux Western Cabin Pool Table Ping Pong Vibes - Foto 10
Lux Western Cabin Pool Table Ping Pong Vibes - Foto 11
Lux Western Cabin Pool Table Ping Pong Vibes - Foto 12
Lux Western Cabin Pool Table Ping Pong Vibes - Foto 13
Lux Western Cabin Pool Table Ping Pong Vibes - Foto 14
Lux Western Cabin Pool Table Ping Pong Vibes - Foto 15
Lux Western Cabin Pool Table Ping Pong Vibes - Foto 16
Lux Western Cabin Pool Table Ping Pong Vibes - Foto 17
Lux Western Cabin Pool Table Ping Pong Vibes - Foto 18
Lux Western Cabin Pool Table Ping Pong Vibes - Foto 19
Lux Western Cabin Pool Table Ping Pong Vibes - Foto 20
Lux Western Cabin Pool Table Ping Pong Vibes - Foto 21
Lux Western Cabin Pool Table Ping Pong Vibes - Foto 22
Lux Western Cabin Pool Table Ping Pong Vibes - Foto 23
Lux Western Cabin Pool Table Ping Pong Vibes - Foto 24
Lux Western Cabin Pool Table Ping Pong Vibes - Foto 25
Lux Western Cabin Pool Table Ping Pong Vibes - Foto 26
Lux Western Cabin Pool Table Ping Pong Vibes - Foto 27
Lux Western Cabin Pool Table Ping Pong Vibes - Foto 28
Lux Western Cabin Pool Table Ping Pong Vibes - Foto 29
Lux Western Cabin Pool Table Ping Pong Vibes - Foto 30
Lux Western Cabin Pool Table Ping Pong Vibes - Foto 31
Lux Western Cabin Pool Table Ping Pong Vibes - Foto 32
Lux Western Cabin Pool Table Ping Pong Vibes - Foto 33
Lux Western Cabin Pool Table Ping Pong Vibes - Foto 34
Lux Western Cabin Pool Table Ping Pong Vibes - Foto 35
Lux Western Cabin Pool Table Ping Pong Vibes - Foto 36
Lux Western Cabin Pool Table Ping Pong Vibes - Foto 37
Lux Western Cabin Pool Table Ping Pong Vibes - Foto 38
Lux Western Cabin Pool Table Ping Pong Vibes - Foto 39
Lux Western Cabin Pool Table Ping Pong Vibes - Foto 40
Lux Western Cabin Pool Table Ping Pong Vibes - Foto 41
Lux Western Cabin Pool Table Ping Pong Vibes - Foto 42
Lux Western Cabin Pool Table Ping Pong Vibes - Foto 43
Lux Western Cabin Pool Table Ping Pong Vibes - Foto 44
Lux Western Cabin Pool Table Ping Pong Vibes - Foto 45
Lux Western Cabin Pool Table Ping Pong Vibes - Foto 46
Lux Western Cabin Pool Table Ping Pong Vibes - Foto 47
Lux Western Cabin Pool Table Ping Pong Vibes - Foto 48
Lux Western Cabin Pool Table Ping Pong Vibes - Foto 49
Lux Western Cabin Pool Table Ping Pong Vibes - Foto 50
Lux Western Cabin Pool Table Ping Pong Vibes - Foto 51
Lux Western Cabin Pool Table Ping Pong Vibes - Foto 52
Lux Western Cabin Pool Table Ping Pong Vibes - Foto 53
Lux Western Cabin Pool Table Ping Pong Vibes - Foto 54
Lux Western Cabin Pool Table Ping Pong Vibes - Foto 55
Lux Western Cabin Pool Table Ping Pong Vibes - Foto 56
Lux Western Cabin Pool Table Ping Pong Vibes - Foto 57
Lux Western Cabin Pool Table Ping Pong Vibes - Foto 58
Lux Western Cabin Pool Table Ping Pong Vibes - Foto 59
Lux Western Cabin Pool Table Ping Pong Vibes - Foto 60
Lux Western Cabin Pool Table Ping Pong Vibes - Foto 61
Lux Western Cabin Pool Table Ping Pong Vibes - Foto 62
Lux Western Cabin Pool Table Ping Pong Vibes - Foto 63
Lux Western Cabin Pool Table Ping Pong Vibes - Foto 64
Lux Western Cabin Pool Table Ping Pong Vibes - Foto 65
Lux Western Cabin Pool Table Ping Pong Vibes - Foto 66
Lux Western Cabin Pool Table Ping Pong Vibes - Foto 67
Lux Western Cabin Pool Table Ping Pong Vibes - Foto 68
Lux Western Cabin Pool Table Ping Pong Vibes - Foto 69
Lux Western Cabin Pool Table Ping Pong Vibes - Foto 70
Lux Western Cabin Pool Table Ping Pong Vibes - Foto 71
Lux Western Cabin Pool Table Ping Pong Vibes - Foto 72
Lux Western Cabin Pool Table Ping Pong Vibes - Foto 73
Lux Western Cabin Pool Table Ping Pong Vibes - Foto 74
Lux Western Cabin Pool Table Ping Pong Vibes - Foto 75
Lux Western Cabin Pool Table Ping Pong Vibes - Foto 76
Lux Western Cabin Pool Table Ping Pong Vibes - Foto 77
Lux Western Cabin Pool Table Ping Pong Vibes - Foto 78
Lux Western Cabin Pool Table Ping Pong Vibes - Foto 79

Lux Western Cabin Pool Table Ping Pong Vibes

Shaver

  • 222 M2
  • 3 Schlafzimmer
  • 8 Personen
  • Heizung
  • Parkplatz
  • Barbecue
10Hervorragend | 4 Bewertungen
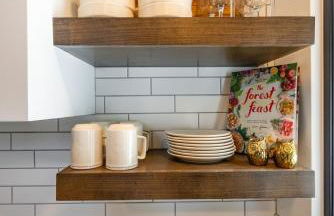
Shaver Lake, 4 BDR HOT TUB Misty Mountain Retreat - Foto 1
Shaver Lake, 4 BDR HOT TUB Misty Mountain Retreat - Foto 2
Shaver Lake, 4 BDR HOT TUB Misty Mountain Retreat - Foto 3
Shaver Lake, 4 BDR HOT TUB Misty Mountain Retreat - Foto 4
Shaver Lake, 4 BDR HOT TUB Misty Mountain Retreat - Foto 5
Shaver Lake, 4 BDR HOT TUB Misty Mountain Retreat - Foto 6
Shaver Lake, 4 BDR HOT TUB Misty Mountain Retreat - Foto 7
Shaver Lake, 4 BDR HOT TUB Misty Mountain Retreat - Foto 8
Shaver Lake, 4 BDR HOT TUB Misty Mountain Retreat - Foto 9
Shaver Lake, 4 BDR HOT TUB Misty Mountain Retreat - Foto 10
Shaver Lake, 4 BDR HOT TUB Misty Mountain Retreat - Foto 11
Shaver Lake, 4 BDR HOT TUB Misty Mountain Retreat - Foto 12
Shaver Lake, 4 BDR HOT TUB Misty Mountain Retreat - Foto 13
Shaver Lake, 4 BDR HOT TUB Misty Mountain Retreat - Foto 14
Shaver Lake, 4 BDR HOT TUB Misty Mountain Retreat - Foto 15
Shaver Lake, 4 BDR HOT TUB Misty Mountain Retreat - Foto 16
Shaver Lake, 4 BDR HOT TUB Misty Mountain Retreat - Foto 17
Shaver Lake, 4 BDR HOT TUB Misty Mountain Retreat - Foto 18
Shaver Lake, 4 BDR HOT TUB Misty Mountain Retreat - Foto 19

Shaver Lake, 4 BDR HOT TUB Misty Mountain Retreat

Shaver

  • 214 M2
  • 1 Schlafzimmer
  • 12 Personen
  • Heizung
  • Parkplatz
  • Garten
  • Barbecue
10Hervorragend | 2 Bewertungen

Toste Cabin- Spacious 3BR Cabin in East Village! - Foto 1
Toste Cabin- Spacious 3BR Cabin in East Village! - Foto 2
Toste Cabin- Spacious 3BR Cabin in East Village! - Foto 3
Toste Cabin- Spacious 3BR Cabin in East Village! - Foto 4
Toste Cabin- Spacious 3BR Cabin in East Village! - Foto 5
Toste Cabin- Spacious 3BR Cabin in East Village! - Foto 6
Toste Cabin- Spacious 3BR Cabin in East Village! - Foto 7
Toste Cabin- Spacious 3BR Cabin in East Village! - Foto 8
Toste Cabin- Spacious 3BR Cabin in East Village! - Foto 9
Toste Cabin- Spacious 3BR Cabin in East Village! - Foto 10
Toste Cabin- Spacious 3BR Cabin in East Village! - Foto 11
Toste Cabin- Spacious 3BR Cabin in East Village! - Foto 12
Toste Cabin- Spacious 3BR Cabin in East Village! - Foto 13
Toste Cabin- Spacious 3BR Cabin in East Village! - Foto 14
Toste Cabin- Spacious 3BR Cabin in East Village! - Foto 15
Toste Cabin- Spacious 3BR Cabin in East Village! - Foto 16
Toste Cabin- Spacious 3BR Cabin in East Village! - Foto 17
Toste Cabin- Spacious 3BR Cabin in East Village! - Foto 18
Toste Cabin- Spacious 3BR Cabin in East Village! - Foto 19
Toste Cabin- Spacious 3BR Cabin in East Village! - Foto 20
Toste Cabin- Spacious 3BR Cabin in East Village! - Foto 21
Toste Cabin- Spacious 3BR Cabin in East Village! - Foto 22
Toste Cabin- Spacious 3BR Cabin in East Village! - Foto 23
Toste Cabin- Spacious 3BR Cabin in East Village! - Foto 24
Toste Cabin- Spacious 3BR Cabin in East Village! - Foto 25
Toste Cabin- Spacious 3BR Cabin in East Village! - Foto 26
Toste Cabin- Spacious 3BR Cabin in East Village! - Foto 27
Toste Cabin- Spacious 3BR Cabin in East Village! - Foto 28
Toste Cabin- Spacious 3BR Cabin in East Village! - Foto 29
Toste Cabin- Spacious 3BR Cabin in East Village! - Foto 30
Toste Cabin- Spacious 3BR Cabin in East Village! - Foto 31
Toste Cabin- Spacious 3BR Cabin in East Village! - Foto 32
Toste Cabin- Spacious 3BR Cabin in East Village! - Foto 33

Toste Cabin- Spacious 3BR Cabin in East Village!

Shaver

  • 149 M2
  • 8 Personen
  • Heizung
  • Parkplatz
  • Barbecue
10Hervorragend | 2 Bewertungen
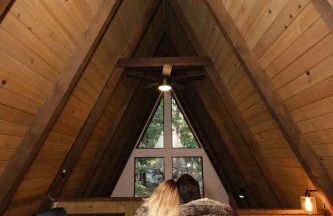
Paw's Cabin - Foto 1
Paw's Cabin - Foto 2
Paw's Cabin - Foto 3
Paw's Cabin - Foto 4
Paw's Cabin - Foto 5
Paw's Cabin - Foto 6
Paw's Cabin - Foto 7
Paw's Cabin - Foto 8
Paw's Cabin - Foto 9
Paw's Cabin - Foto 10
Paw's Cabin - Foto 11
Paw's Cabin - Foto 12
Paw's Cabin - Foto 13
Paw's Cabin - Foto 14
Paw's Cabin - Foto 15
Paw's Cabin - Foto 16
Paw's Cabin - Foto 17
Paw's Cabin - Foto 18
Paw's Cabin - Foto 19
Paw's Cabin - Foto 20
Paw's Cabin - Foto 21
Paw's Cabin - Foto 22
Paw's Cabin - Foto 23
Paw's Cabin - Foto 24
Paw's Cabin - Foto 25
Paw's Cabin - Foto 26
Paw's Cabin - Foto 27
Paw's Cabin - Foto 28
Paw's Cabin - Foto 29
Paw's Cabin - Foto 30
Paw's Cabin - Foto 31

Paw's Cabin

Shaver

  • 177 M2
  • 3 Schlafzimmer
  • 10 Personen
  • Heizung
  • Terrasse
  • Garten
  • Barbecue
10Hervorragend | 2 Bewertungen
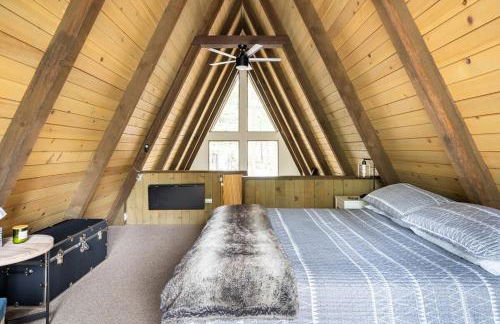
Hatcher's Hideaway - Foto 1
Hatcher's Hideaway - Foto 2
Hatcher's Hideaway - Foto 3
Hatcher's Hideaway - Foto 4
Hatcher's Hideaway - Foto 5
Hatcher's Hideaway - Foto 6
Hatcher's Hideaway - Foto 7
Hatcher's Hideaway - Foto 8
Hatcher's Hideaway - Foto 9
Hatcher's Hideaway - Foto 10
Hatcher's Hideaway - Foto 11
Hatcher's Hideaway - Foto 12
Hatcher's Hideaway - Foto 13
Hatcher's Hideaway - Foto 14
Hatcher's Hideaway - Foto 15
Hatcher's Hideaway - Foto 16
Hatcher's Hideaway - Foto 17
Hatcher's Hideaway - Foto 18
Hatcher's Hideaway - Foto 19
Hatcher's Hideaway - Foto 20
Hatcher's Hideaway - Foto 21
Hatcher's Hideaway - Foto 22
Hatcher's Hideaway - Foto 23
Hatcher's Hideaway - Foto 24
Hatcher's Hideaway - Foto 25
Hatcher's Hideaway - Foto 26
Hatcher's Hideaway - Foto 27
Hatcher's Hideaway - Foto 28
Hatcher's Hideaway - Foto 29
Hatcher's Hideaway - Foto 30

Hatcher's Hideaway

Shaver

  • 279 M2
  • 3 Schlafzimmer
  • 6 Personen
  • Heizung
  • Garten
  • Barbecue
8.8Sehr gut | 14 Bewertungen
Papas Mountain - Foto 1
Papas Mountain - Foto 2
Papas Mountain - Foto 3
Papas Mountain - Foto 4
Papas Mountain - Foto 5
Papas Mountain - Foto 6
Papas Mountain - Foto 7
Papas Mountain - Foto 8
Papas Mountain - Foto 9
Papas Mountain - Foto 10
Papas Mountain - Foto 11
Papas Mountain - Foto 12
Papas Mountain - Foto 13
Papas Mountain - Foto 14
Papas Mountain - Foto 15
Papas Mountain - Foto 16
Papas Mountain - Foto 17
Papas Mountain - Foto 18
Papas Mountain - Foto 19
Papas Mountain - Foto 20
Papas Mountain - Foto 21
Papas Mountain - Foto 22
Papas Mountain - Foto 23
Papas Mountain - Foto 24
Papas Mountain - Foto 25
Papas Mountain - Foto 26
Papas Mountain - Foto 27
Papas Mountain - Foto 28
Papas Mountain - Foto 29
Papas Mountain - Foto 30
Papas Mountain - Foto 31
Papas Mountain - Foto 32
Papas Mountain - Foto 33

Papas Mountain

Shaver

  • 167 M2
  • 3 Schlafzimmer
  • 8 Personen
  • Heizung
  • Garten
  • Barbecue
8.8Sehr gut | 10 Bewertungen
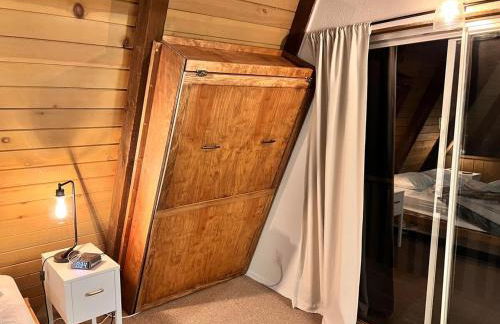
Little Cozy Cabin - Foto 1
Little Cozy Cabin - Foto 2
Little Cozy Cabin - Foto 3
Little Cozy Cabin - Foto 4
Little Cozy Cabin - Foto 5
Little Cozy Cabin - Foto 6
Little Cozy Cabin - Foto 7
Little Cozy Cabin - Foto 8
Little Cozy Cabin - Foto 9
Little Cozy Cabin - Foto 10
Little Cozy Cabin - Foto 11
Little Cozy Cabin - Foto 12
Little Cozy Cabin - Foto 13
Little Cozy Cabin - Foto 14
Little Cozy Cabin - Foto 15
Little Cozy Cabin - Foto 16
Little Cozy Cabin - Foto 17
Little Cozy Cabin - Foto 18
Little Cozy Cabin - Foto 19
Little Cozy Cabin - Foto 20
Little Cozy Cabin - Foto 21

Little Cozy Cabin

Shaver

  • 111 M2
  • 3 Schlafzimmer
  • 8 Personen
  • Klimaanlage
  • Heizung
  • Garten
  • Barbecue
10Hervorragend | 3 Bewertungen
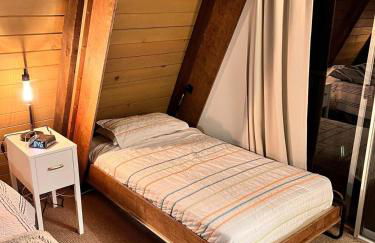
HB Hideaway Boho Treehouse Vibes in the Pines - Foto 1
HB Hideaway Boho Treehouse Vibes in the Pines - Foto 2
HB Hideaway Boho Treehouse Vibes in the Pines - Foto 3
HB Hideaway Boho Treehouse Vibes in the Pines - Foto 4
HB Hideaway Boho Treehouse Vibes in the Pines - Foto 5
HB Hideaway Boho Treehouse Vibes in the Pines - Foto 6
HB Hideaway Boho Treehouse Vibes in the Pines - Foto 7
HB Hideaway Boho Treehouse Vibes in the Pines - Foto 8
HB Hideaway Boho Treehouse Vibes in the Pines - Foto 9
HB Hideaway Boho Treehouse Vibes in the Pines - Foto 10
HB Hideaway Boho Treehouse Vibes in the Pines - Foto 11
HB Hideaway Boho Treehouse Vibes in the Pines - Foto 12
HB Hideaway Boho Treehouse Vibes in the Pines - Foto 13
HB Hideaway Boho Treehouse Vibes in the Pines - Foto 14
HB Hideaway Boho Treehouse Vibes in the Pines - Foto 15
HB Hideaway Boho Treehouse Vibes in the Pines - Foto 16
HB Hideaway Boho Treehouse Vibes in the Pines - Foto 17
HB Hideaway Boho Treehouse Vibes in the Pines - Foto 18
HB Hideaway Boho Treehouse Vibes in the Pines - Foto 19
HB Hideaway Boho Treehouse Vibes in the Pines - Foto 20
HB Hideaway Boho Treehouse Vibes in the Pines - Foto 21
HB Hideaway Boho Treehouse Vibes in the Pines - Foto 22
HB Hideaway Boho Treehouse Vibes in the Pines - Foto 23
HB Hideaway Boho Treehouse Vibes in the Pines - Foto 24
HB Hideaway Boho Treehouse Vibes in the Pines - Foto 25
HB Hideaway Boho Treehouse Vibes in the Pines - Foto 26
HB Hideaway Boho Treehouse Vibes in the Pines - Foto 27
HB Hideaway Boho Treehouse Vibes in the Pines - Foto 28
HB Hideaway Boho Treehouse Vibes in the Pines - Foto 29
HB Hideaway Boho Treehouse Vibes in the Pines - Foto 30
HB Hideaway Boho Treehouse Vibes in the Pines - Foto 31
HB Hideaway Boho Treehouse Vibes in the Pines - Foto 32
HB Hideaway Boho Treehouse Vibes in the Pines - Foto 33
HB Hideaway Boho Treehouse Vibes in the Pines - Foto 34
HB Hideaway Boho Treehouse Vibes in the Pines - Foto 35
HB Hideaway Boho Treehouse Vibes in the Pines - Foto 36
HB Hideaway Boho Treehouse Vibes in the Pines - Foto 37
HB Hideaway Boho Treehouse Vibes in the Pines - Foto 38
HB Hideaway Boho Treehouse Vibes in the Pines - Foto 39
HB Hideaway Boho Treehouse Vibes in the Pines - Foto 40
HB Hideaway Boho Treehouse Vibes in the Pines - Foto 41
HB Hideaway Boho Treehouse Vibes in the Pines - Foto 42
HB Hideaway Boho Treehouse Vibes in the Pines - Foto 43
HB Hideaway Boho Treehouse Vibes in the Pines - Foto 44
HB Hideaway Boho Treehouse Vibes in the Pines - Foto 45
HB Hideaway Boho Treehouse Vibes in the Pines - Foto 46
HB Hideaway Boho Treehouse Vibes in the Pines - Foto 47
HB Hideaway Boho Treehouse Vibes in the Pines - Foto 48
HB Hideaway Boho Treehouse Vibes in the Pines - Foto 49
HB Hideaway Boho Treehouse Vibes in the Pines - Foto 50
HB Hideaway Boho Treehouse Vibes in the Pines - Foto 51
HB Hideaway Boho Treehouse Vibes in the Pines - Foto 52
HB Hideaway Boho Treehouse Vibes in the Pines - Foto 53
HB Hideaway Boho Treehouse Vibes in the Pines - Foto 54
HB Hideaway Boho Treehouse Vibes in the Pines - Foto 55
HB Hideaway Boho Treehouse Vibes in the Pines - Foto 56
HB Hideaway Boho Treehouse Vibes in the Pines - Foto 57
HB Hideaway Boho Treehouse Vibes in the Pines - Foto 58
HB Hideaway Boho Treehouse Vibes in the Pines - Foto 59
HB Hideaway Boho Treehouse Vibes in the Pines - Foto 60
HB Hideaway Boho Treehouse Vibes in the Pines - Foto 61
HB Hideaway Boho Treehouse Vibes in the Pines - Foto 62
HB Hideaway Boho Treehouse Vibes in the Pines - Foto 63
HB Hideaway Boho Treehouse Vibes in the Pines - Foto 64
HB Hideaway Boho Treehouse Vibes in the Pines - Foto 65
HB Hideaway Boho Treehouse Vibes in the Pines - Foto 66

HB Hideaway Boho Treehouse Vibes in the Pines

Shaver

  • 99 M2
  • 3 Schlafzimmer
  • 8 Personen
  • Heizung
  • Parkplatz
  • Barbecue
9.8Außergewöhnlich | 5 Bewertungen
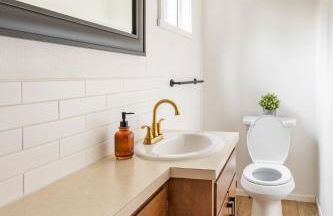
Cabin at the Creek Family Fun Starts Here! - Foto 1
Cabin at the Creek Family Fun Starts Here! - Foto 2
Cabin at the Creek Family Fun Starts Here! - Foto 3
Cabin at the Creek Family Fun Starts Here! - Foto 4
Cabin at the Creek Family Fun Starts Here! - Foto 5
Cabin at the Creek Family Fun Starts Here! - Foto 6
Cabin at the Creek Family Fun Starts Here! - Foto 7
Cabin at the Creek Family Fun Starts Here! - Foto 8
Cabin at the Creek Family Fun Starts Here! - Foto 9
Cabin at the Creek Family Fun Starts Here! - Foto 10
Cabin at the Creek Family Fun Starts Here! - Foto 11
Cabin at the Creek Family Fun Starts Here! - Foto 12
Cabin at the Creek Family Fun Starts Here! - Foto 13
Cabin at the Creek Family Fun Starts Here! - Foto 14
Cabin at the Creek Family Fun Starts Here! - Foto 15
Cabin at the Creek Family Fun Starts Here! - Foto 16
Cabin at the Creek Family Fun Starts Here! - Foto 17
Cabin at the Creek Family Fun Starts Here! - Foto 18
Cabin at the Creek Family Fun Starts Here! - Foto 19
Cabin at the Creek Family Fun Starts Here! - Foto 20
Cabin at the Creek Family Fun Starts Here! - Foto 21
Cabin at the Creek Family Fun Starts Here! - Foto 22
Cabin at the Creek Family Fun Starts Here! - Foto 23
Cabin at the Creek Family Fun Starts Here! - Foto 24
Cabin at the Creek Family Fun Starts Here! - Foto 25
Cabin at the Creek Family Fun Starts Here! - Foto 26
Cabin at the Creek Family Fun Starts Here! - Foto 27
Cabin at the Creek Family Fun Starts Here! - Foto 28
Cabin at the Creek Family Fun Starts Here! - Foto 29
Cabin at the Creek Family Fun Starts Here! - Foto 30
Cabin at the Creek Family Fun Starts Here! - Foto 31
Cabin at the Creek Family Fun Starts Here! - Foto 32
Cabin at the Creek Family Fun Starts Here! - Foto 33
Cabin at the Creek Family Fun Starts Here! - Foto 34
Cabin at the Creek Family Fun Starts Here! - Foto 35
Cabin at the Creek Family Fun Starts Here! - Foto 36
Cabin at the Creek Family Fun Starts Here! - Foto 37
Cabin at the Creek Family Fun Starts Here! - Foto 38
Cabin at the Creek Family Fun Starts Here! - Foto 39
Cabin at the Creek Family Fun Starts Here! - Foto 40
Cabin at the Creek Family Fun Starts Here! - Foto 41
Cabin at the Creek Family Fun Starts Here! - Foto 42
Cabin at the Creek Family Fun Starts Here! - Foto 43
Cabin at the Creek Family Fun Starts Here! - Foto 44
Cabin at the Creek Family Fun Starts Here! - Foto 45
Cabin at the Creek Family Fun Starts Here! - Foto 46
Cabin at the Creek Family Fun Starts Here! - Foto 47
Cabin at the Creek Family Fun Starts Here! - Foto 48
Cabin at the Creek Family Fun Starts Here! - Foto 49
Cabin at the Creek Family Fun Starts Here! - Foto 50
Cabin at the Creek Family Fun Starts Here! - Foto 51
Cabin at the Creek Family Fun Starts Here! - Foto 52
Cabin at the Creek Family Fun Starts Here! - Foto 53
Cabin at the Creek Family Fun Starts Here! - Foto 54
Cabin at the Creek Family Fun Starts Here! - Foto 55
Cabin at the Creek Family Fun Starts Here! - Foto 56
Cabin at the Creek Family Fun Starts Here! - Foto 57
Cabin at the Creek Family Fun Starts Here! - Foto 58
Cabin at the Creek Family Fun Starts Here! - Foto 59

Cabin at the Creek Family Fun Starts Here!

Shaver

  • 238 M2
  • 4 Schlafzimmer
  • 15 Personen
  • Heizung
  • Parkplatz
  • Barbecue
9.8Außergewöhnlich | 4 Bewertungen
Verwandte Reiseziele