
18 Wohnungen in Port Townsend


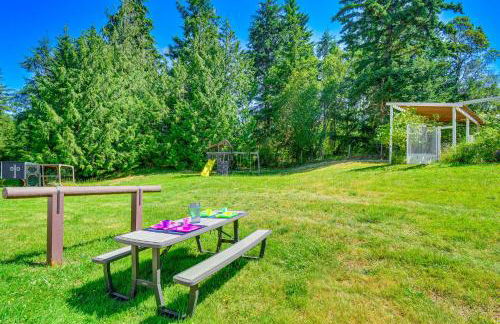
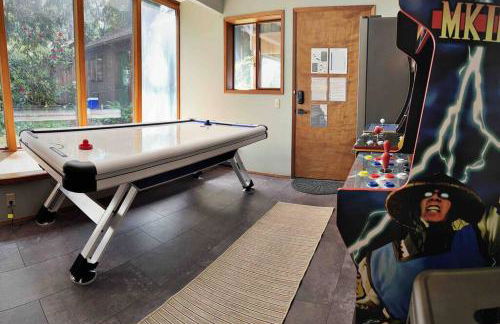
Multi Resorts at Kala Point
Port Townsend - 6.6 km vom Zentrum
- 109 M2
- 3 Schlafzimmer
- 8 Personen
- Heizung
- Schwimmbad
- Parkplatz
- Garten
- Tv
- Waschmaschine
- Schornstein
- Barbecue
- Handtücher
10 Bewertungen


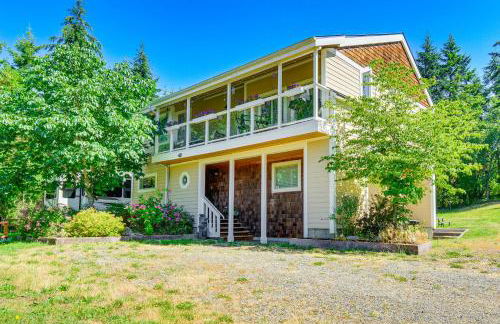
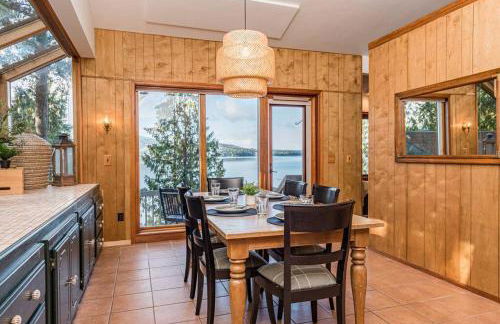
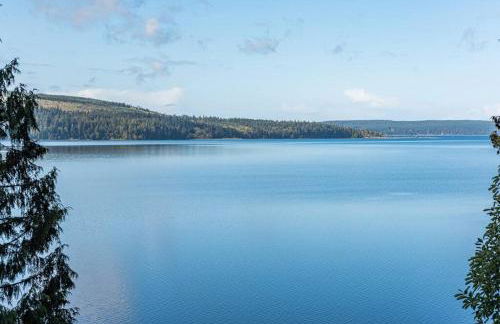
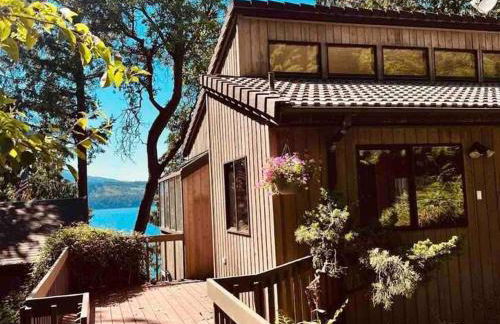
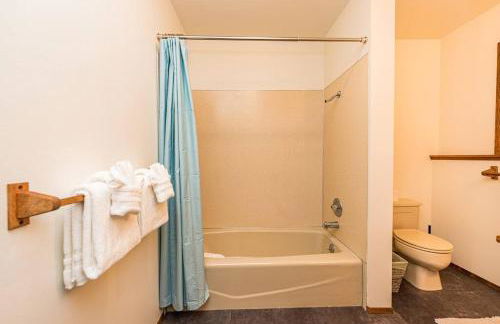
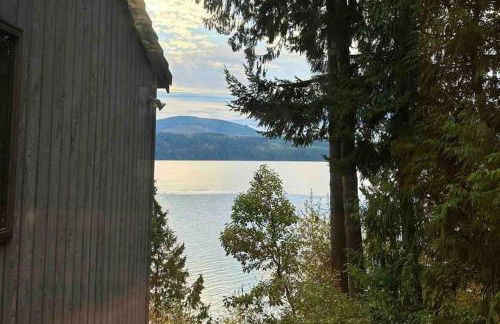
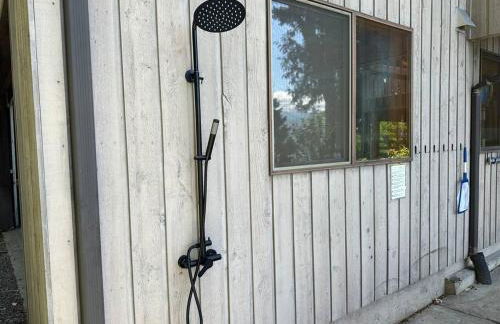
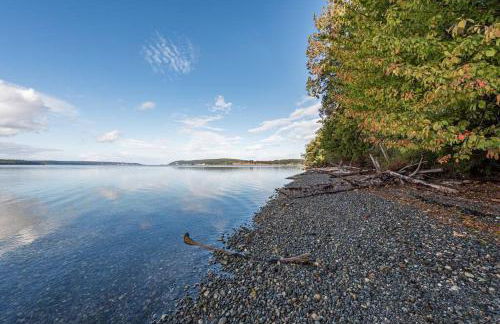
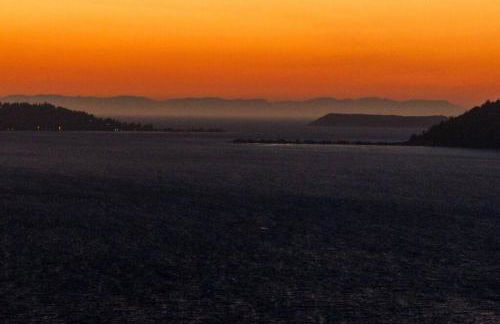
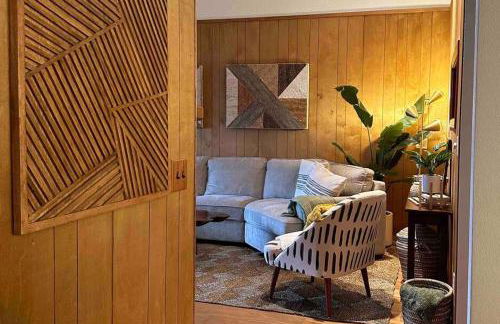
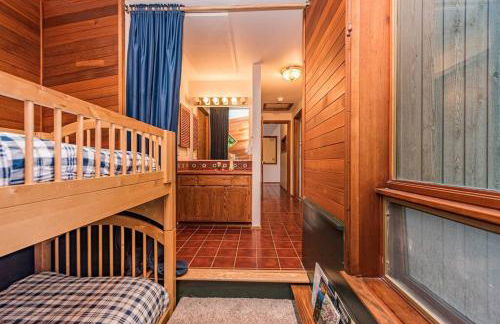
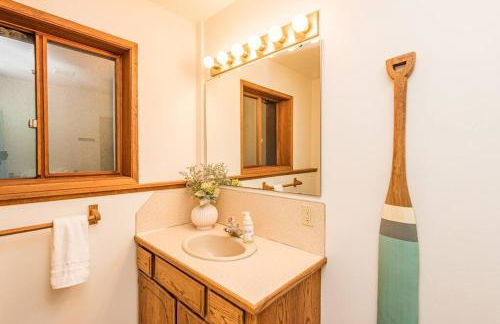
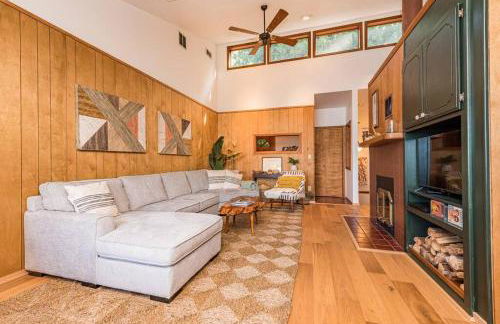
Waterfront, Sunsets and Mountains
Port Townsend - 7.8 km vom Zentrum
- 223 M2
- 2 Schlafzimmer
- 6 Personen
- Klimaanlage
- Heizung
- Terrasse
- Parkplatz
- Garten
- Barbecue
17 Bewertungen


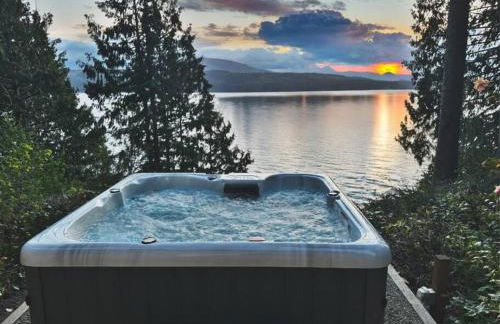
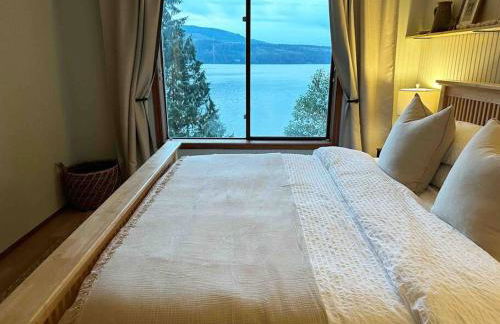
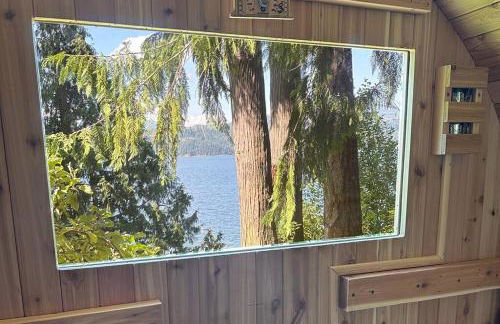
Bay Cottage
Port Townsend - 8.6 km vom Zentrum
- 65 M2
- 2 Personen
- Terrasse
- Parkplatz
- Garten
- Barbecue
49 Bewertungen


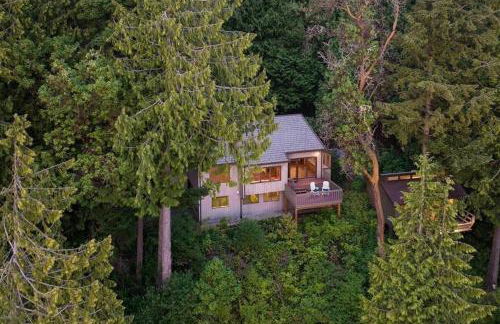
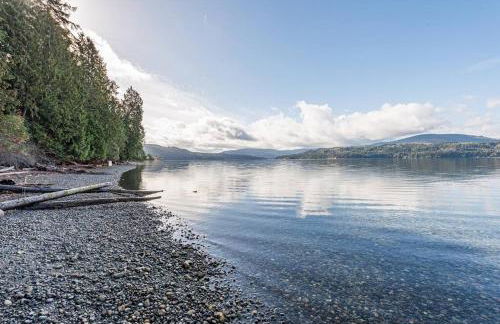
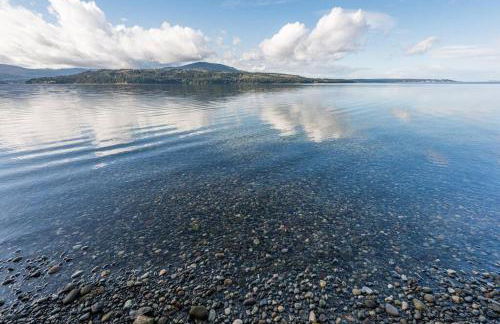
People’s House
Port Townsend - 630 m vom Zentrum
- 149 M2
- 3 Schlafzimmer
- 6 Personen
- Klimaanlage
- Parkplatz
- Garten
36 Bewertungen


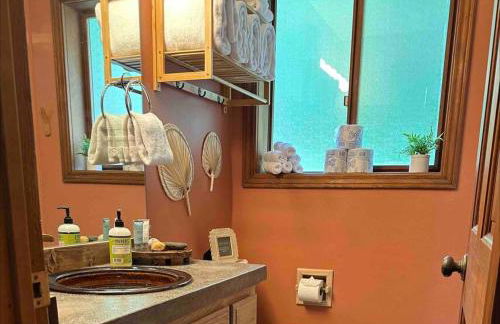
Sq Orca Oasis
Port Townsend - 13.6 km vom Zentrum
- 134 M2
- 2 Schlafzimmer
- 8 Personen
- Heizung
- Parkplatz
6 Bewertungen


Forest Bay House Apartment
Port Townsend - 15.1 km vom Zentrum
- 93 M2
- 2 Schlafzimmer
- 4 Personen
- Klimaanlage
- Heizung
- Garten
32 Bewertungen


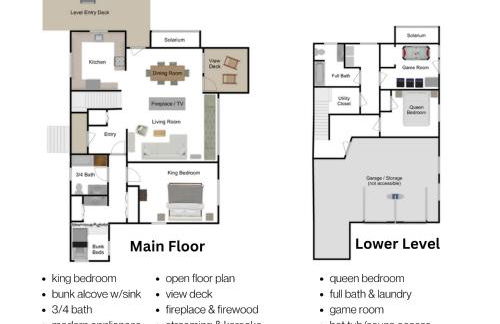
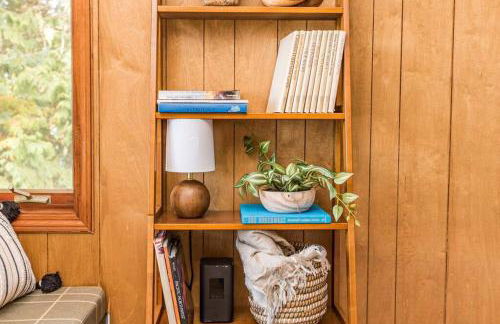
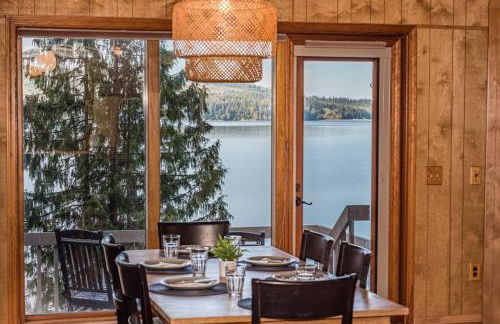
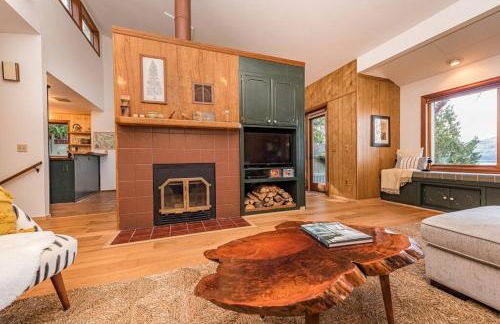
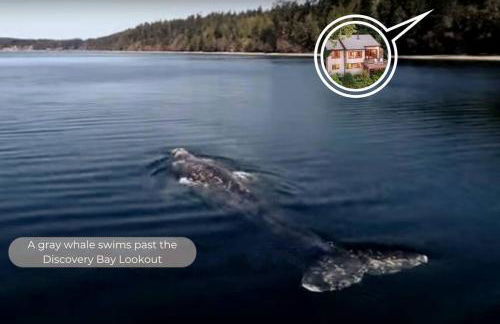
New-private waterfront house on discovery bay
Port Townsend - 15 km vom Zentrum
- 102 M2
- 3 Schlafzimmer
- 6 Personen
- Klimaanlage
- Parkplatz
- Garten
6 Bewertungen


Secluded Port Townsend Retreat Pets Welcome!
Port Townsend - 6.7 km vom Zentrum
- 139 M2
- 2 Schlafzimmer
- 4 Personen
- Heizung
- Parkplatz
4 Bewertungen


EcoBluff Retreat - Sunset & Water Views!
Port Townsend - 4.5 km vom Zentrum
- 121 M2
- 3 Schlafzimmer
- 7 Personen
- Parkplatz
- Garten
5 Bewertungen


Port Townsend Kala Point
Port Townsend - 7.3 km vom Zentrum
- 130 M2
- 2 Schlafzimmer
- 4 Personen
- Heizung
- Garten
- Barbecue
32 Bewertungen


Port Townsend Perfection
Port Townsend - 13.8 km vom Zentrum
- 137 M2
- 3 Schlafzimmer
- 6 Personen
- Heizung
- Garten
- Barbecue
10 Bewertungen


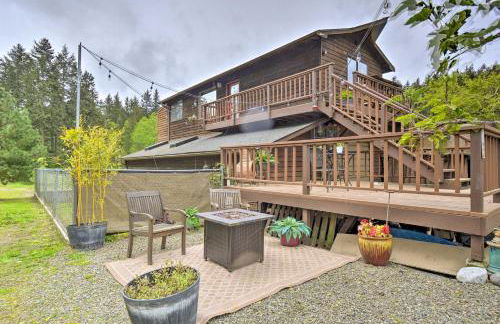
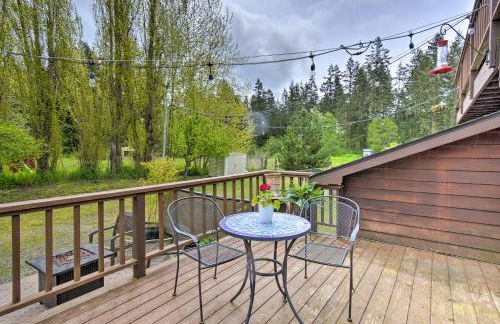
Port Townsend Escape with Deck, Bay and Mountain Views
Port Townsend - 7.7 km vom Zentrum
- 111 M2
- 2 Schlafzimmer
- 4 Personen
- Heizung
- Parkplatz
1 Bewertung


Less Than 1 Mi to Jefferson Healthcare Nurse-Ready Rental
Port Townsend - 930 m vom Zentrum
- 70 M2
- 1 Schlafzimmer
- 2 Personen
- Heizung
- Parkplatz
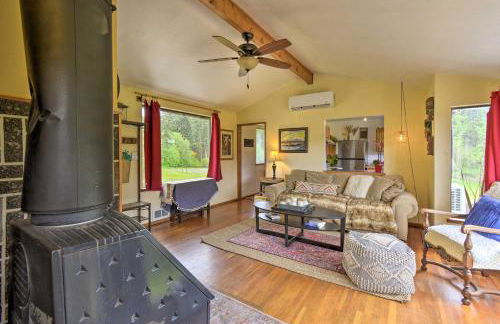
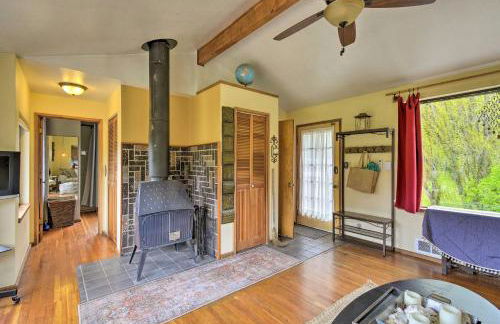
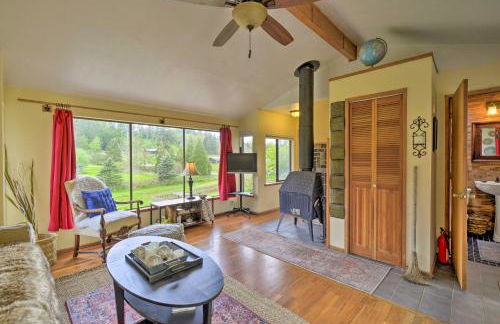
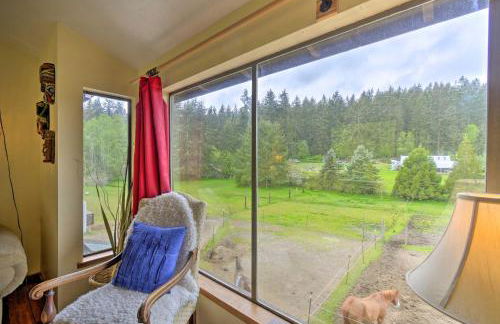
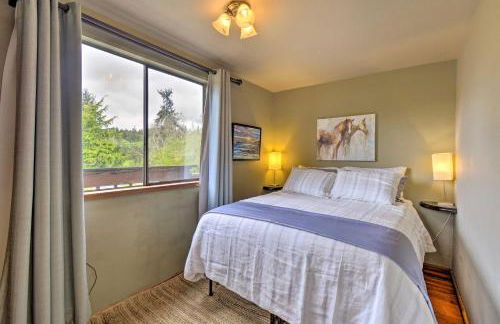
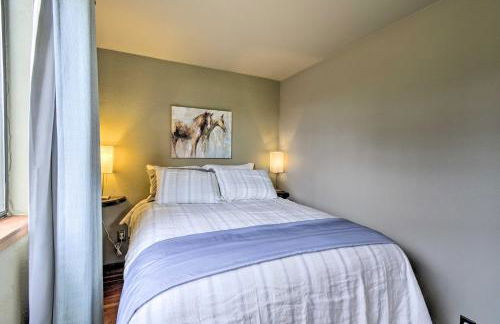

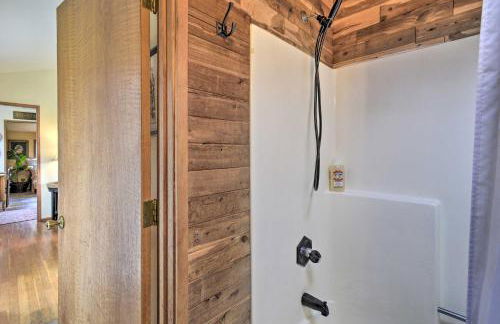

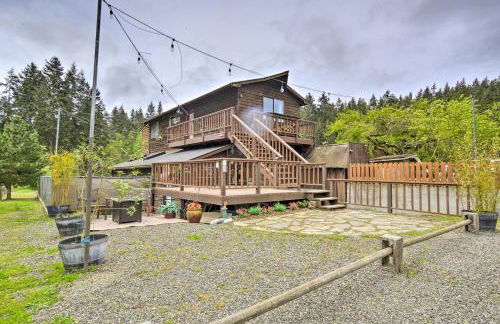
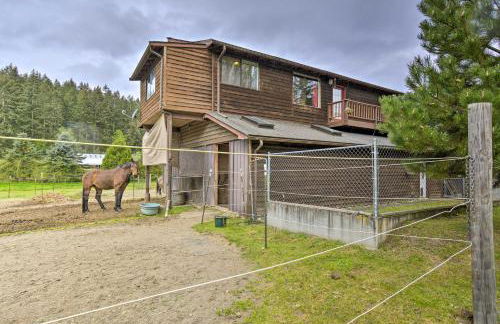
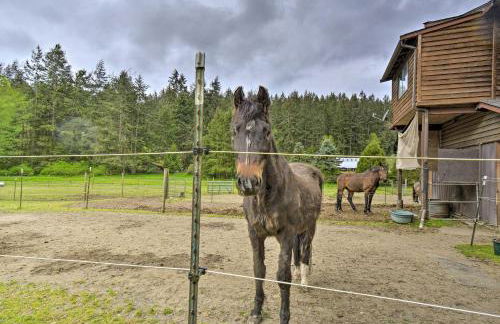
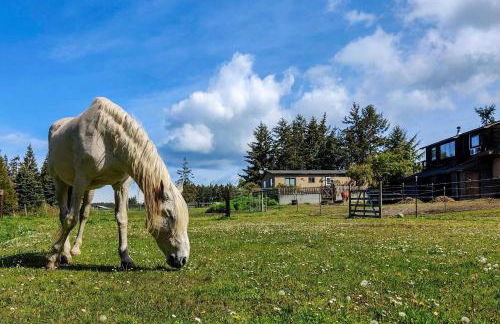
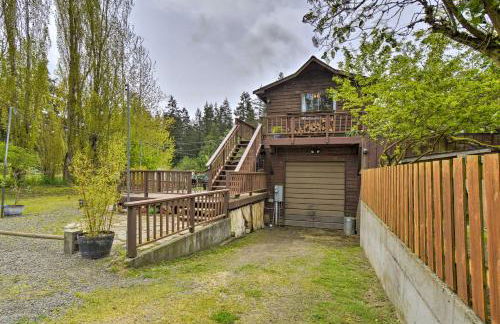
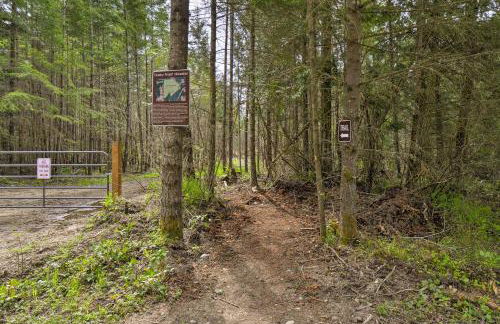
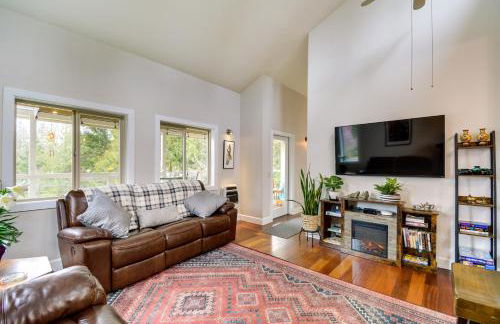
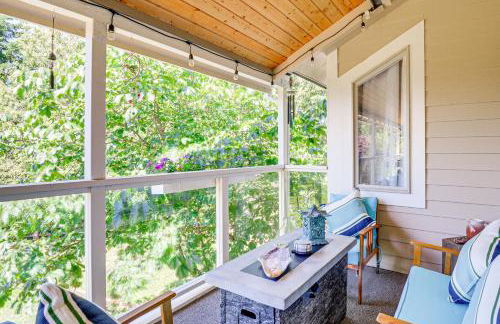
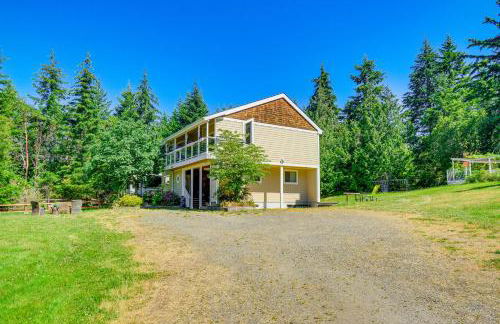
Peaceful Cabin on Horse Farm, 5 Mi to Town!
Port Townsend - 6 km vom Zentrum
- 59 M2
- 1 Schlafzimmer
- 2 Personen
- Heizung
- Parkplatz


Port Townsend Home Spacious Yard and Mountain Views
Port Townsend - 7.2 km vom Zentrum
- 181 M2
- 4 Schlafzimmer
- 8 Personen
- Heizung
- Parkplatz


Waterfront Retreat with Fireplace, Hot Tub & Sauna
Port Townsend - 10.8 km vom Zentrum
- 170 M2
- 3 Schlafzimmer
- 6 Personen
- Parkplatz
- Garten
- Barbecue