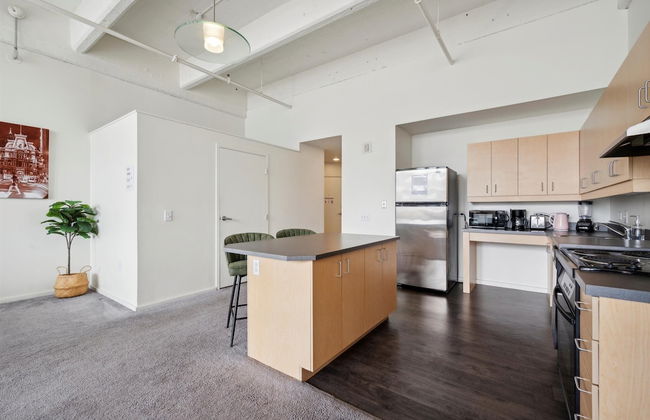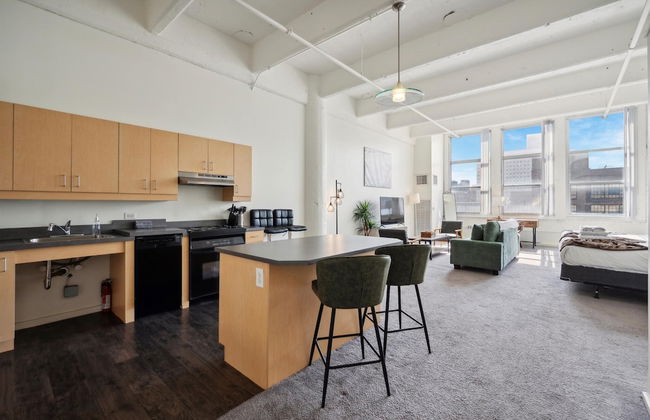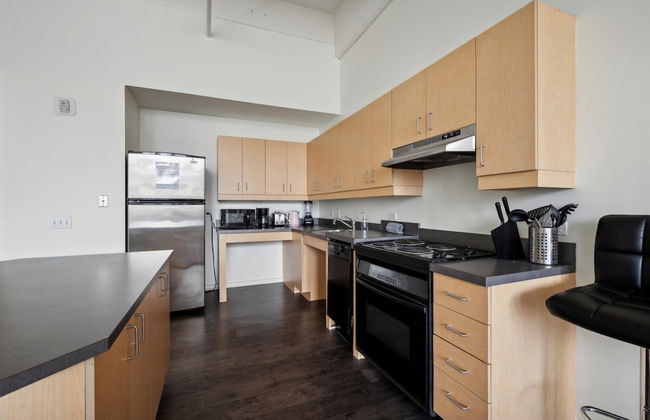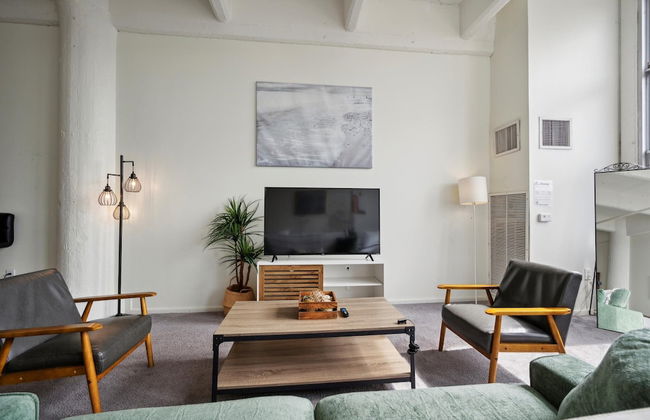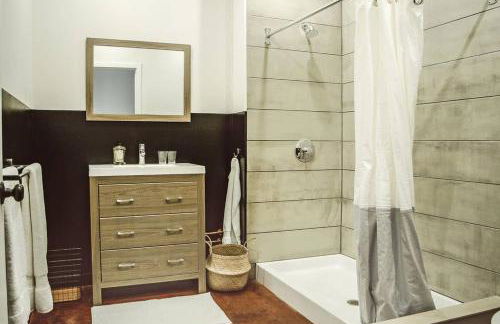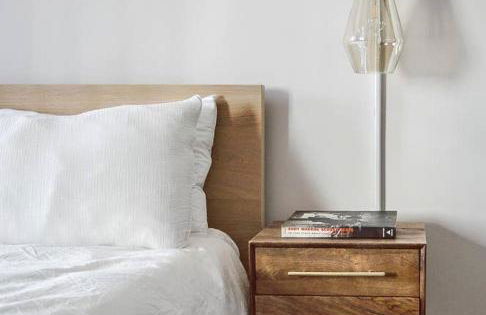
541 Wohnungen in Philadelphia
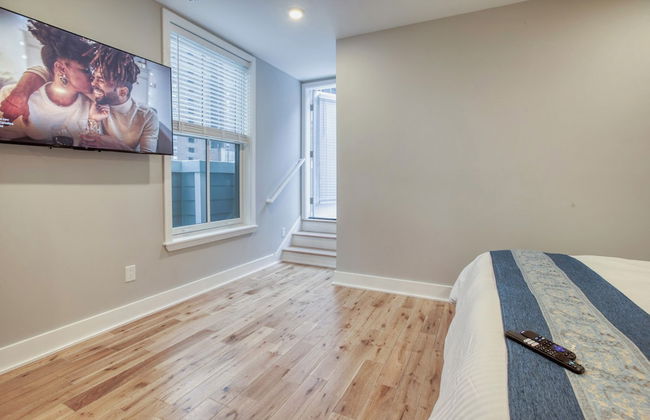
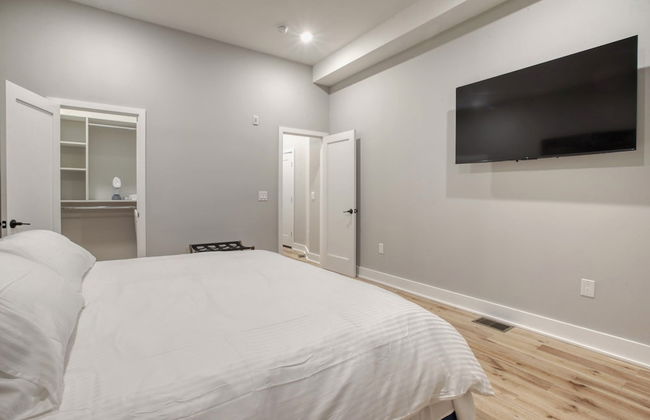
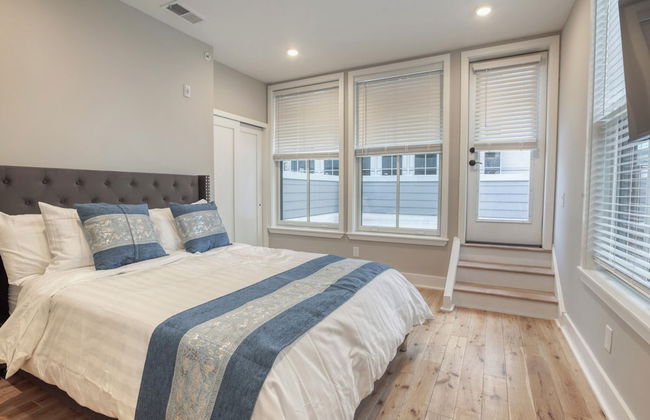
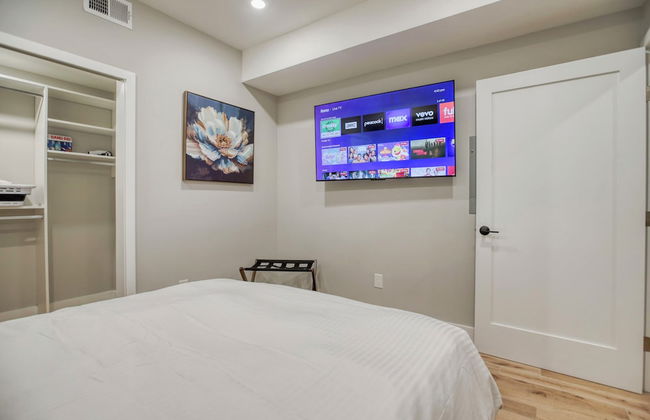
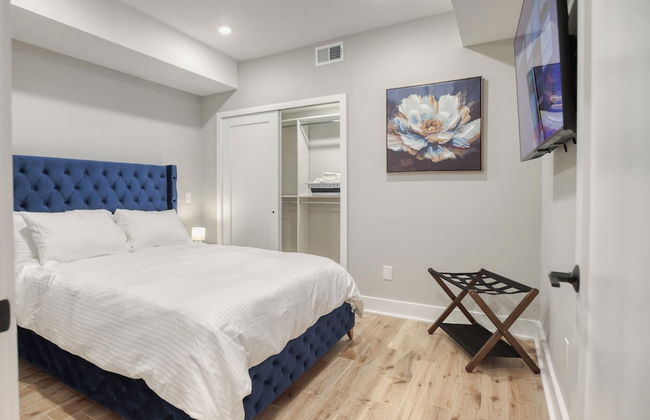
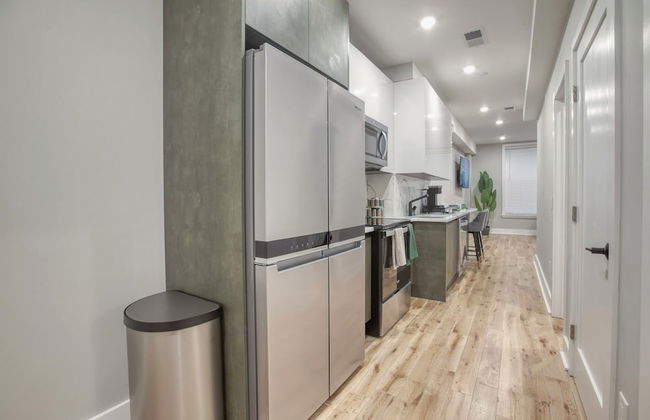
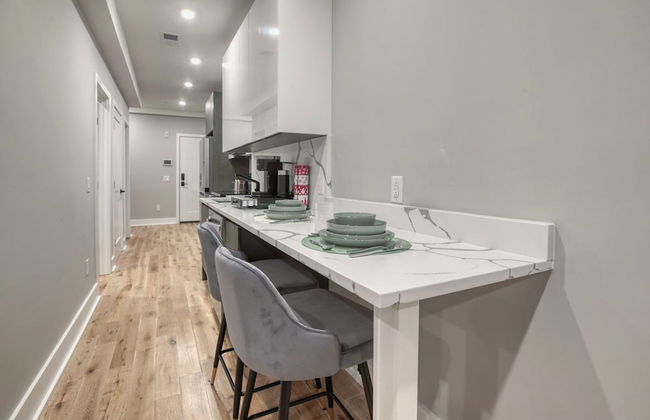
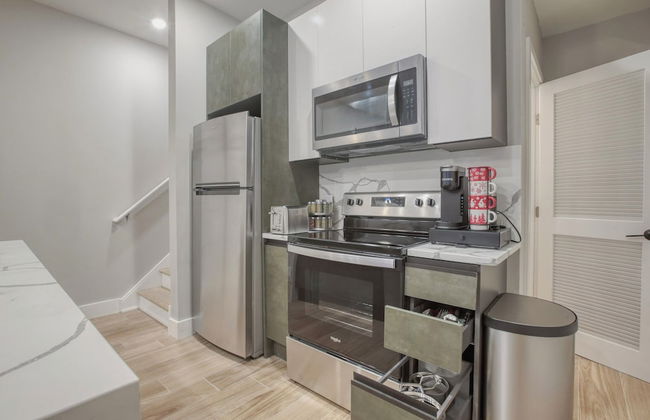
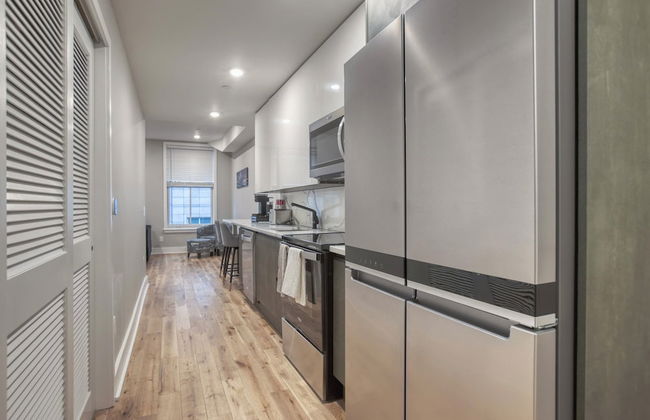
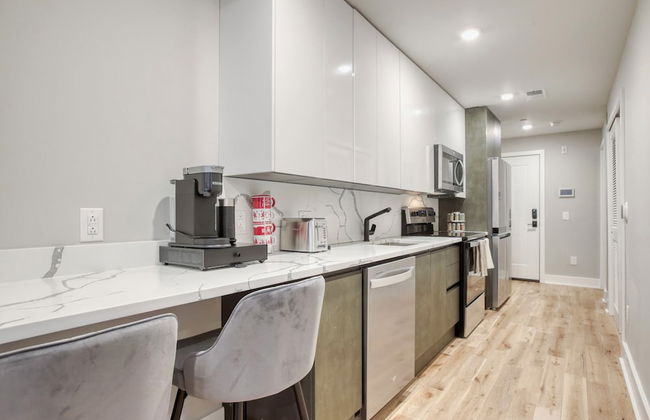
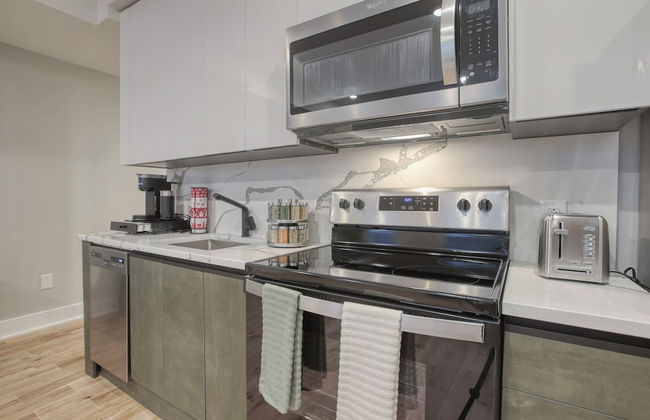
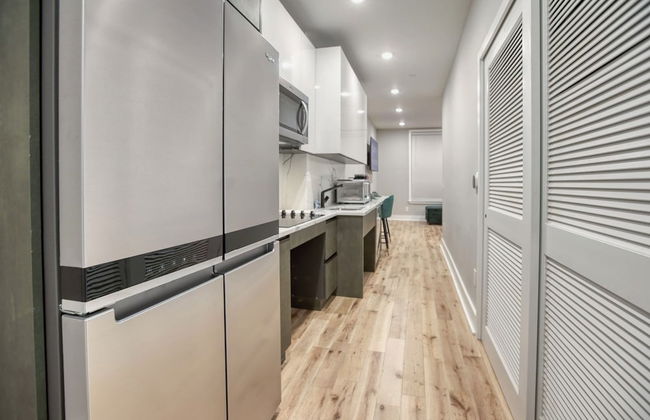
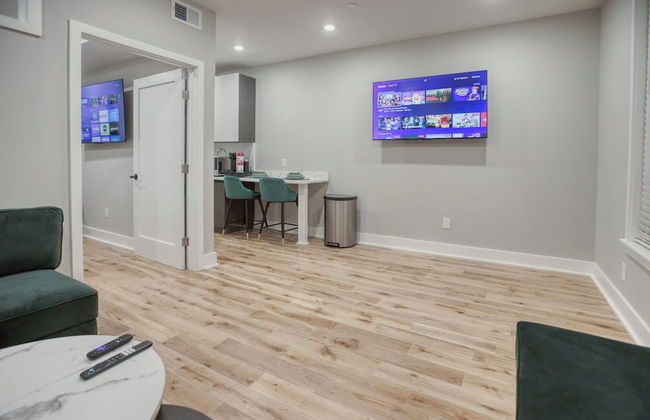
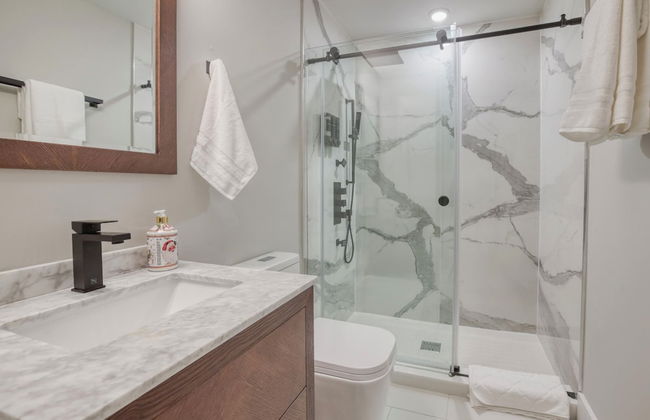
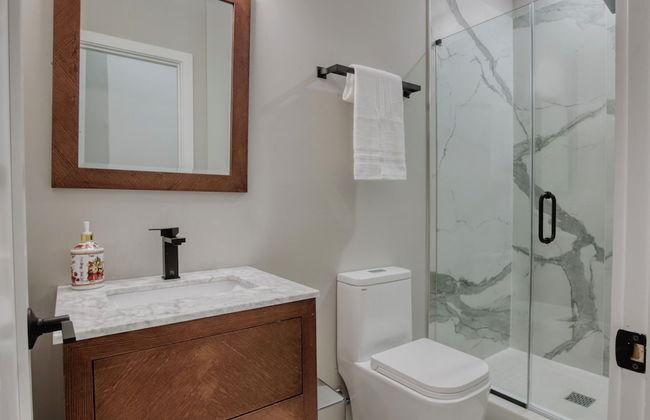
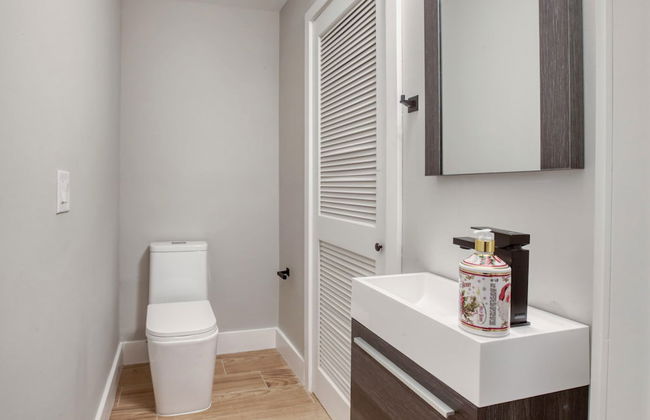
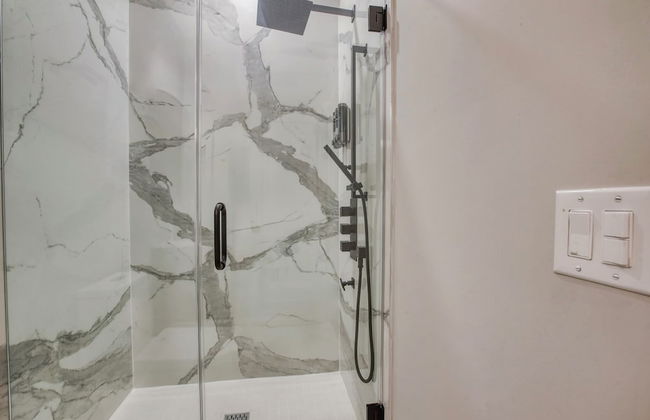
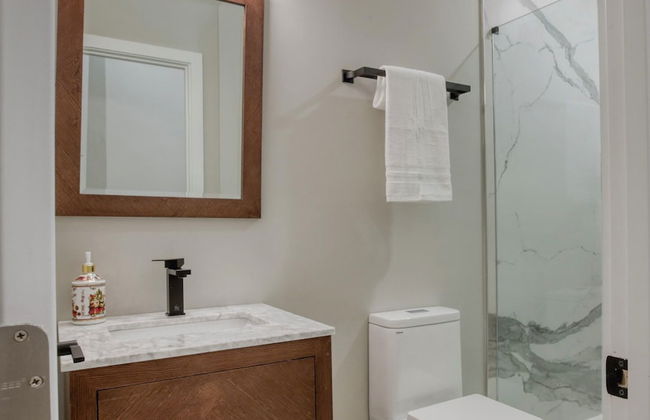
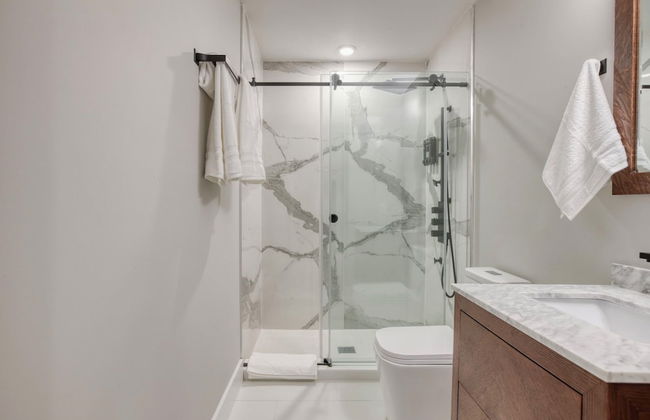
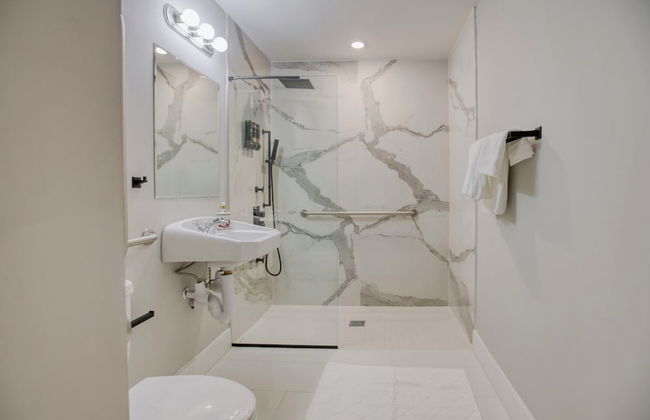
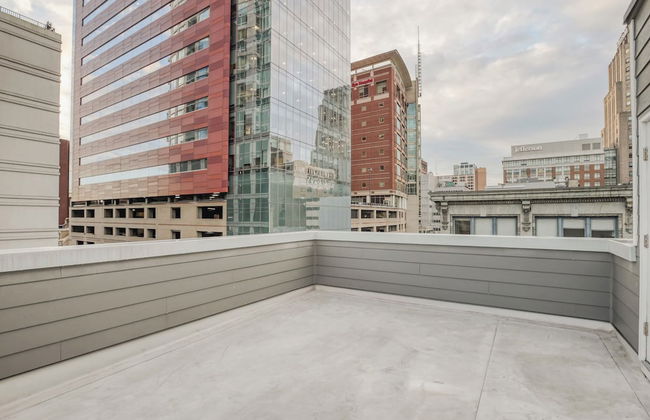
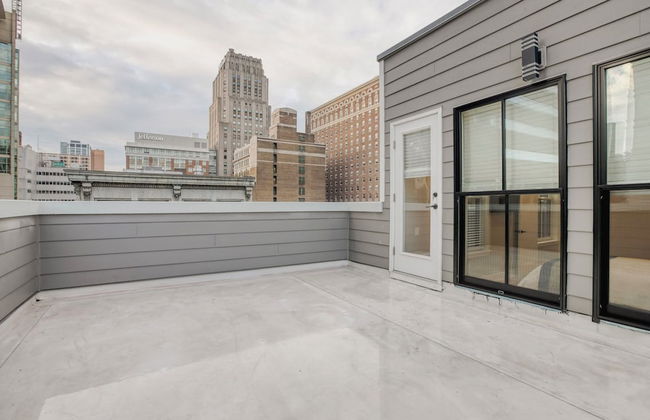
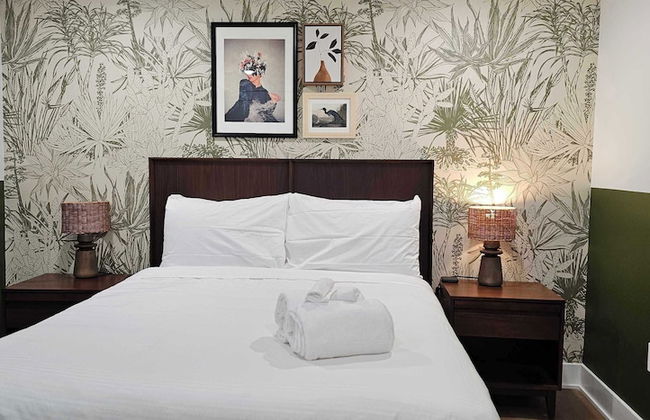
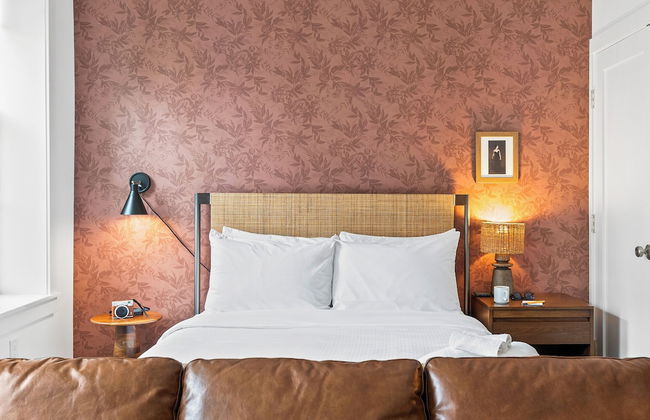
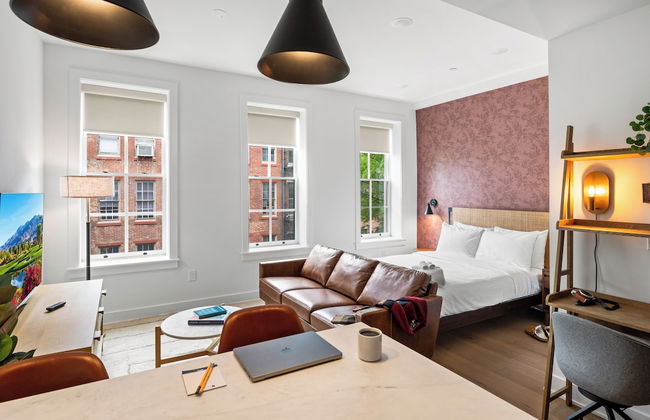
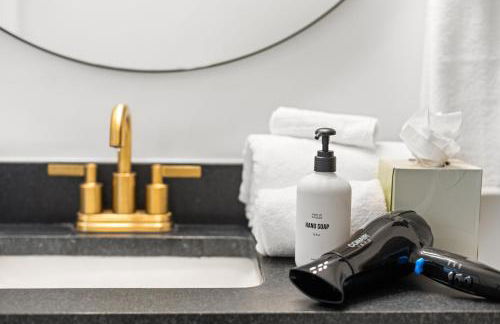
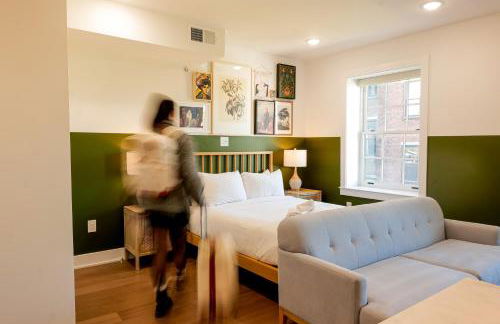
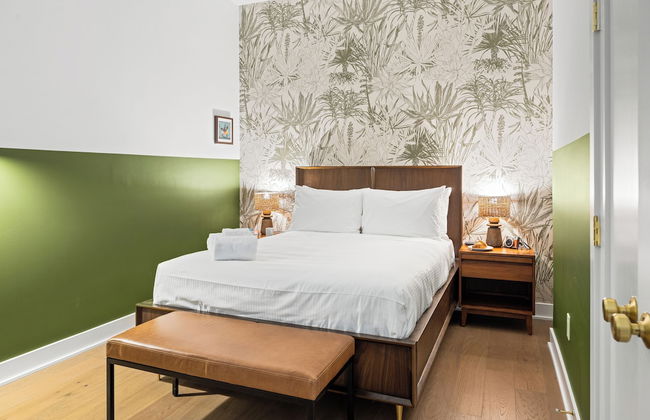
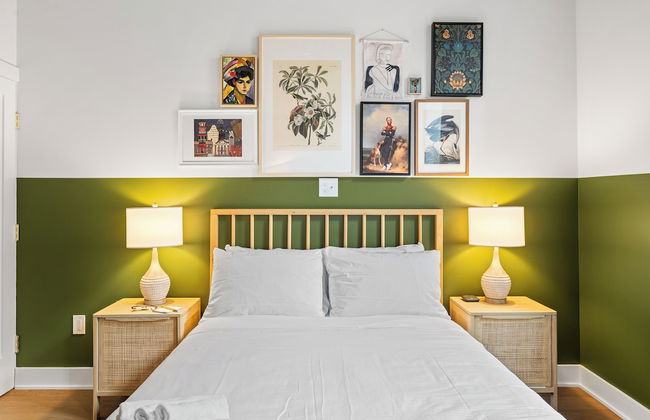
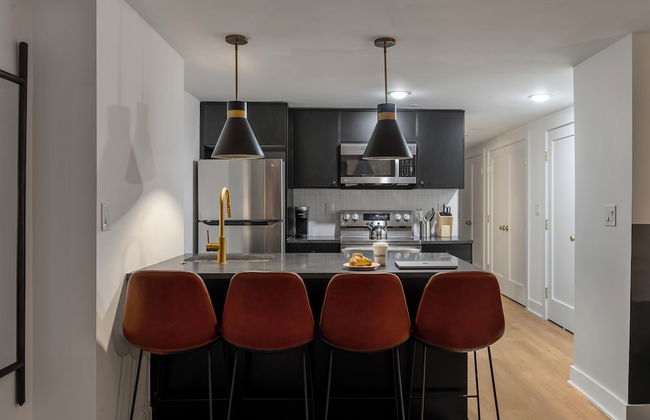
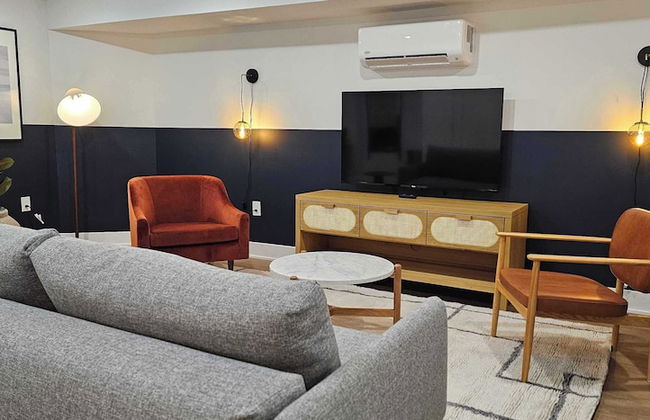
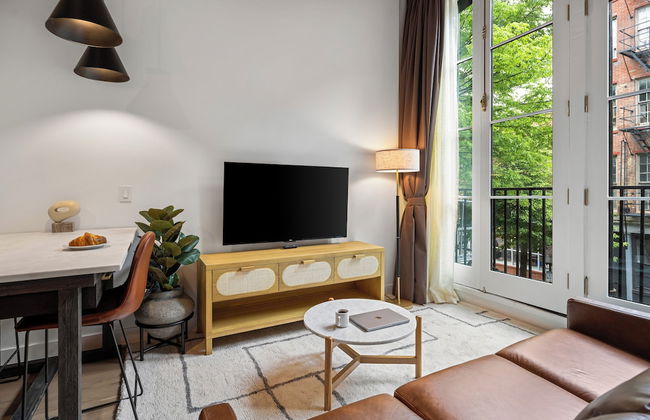
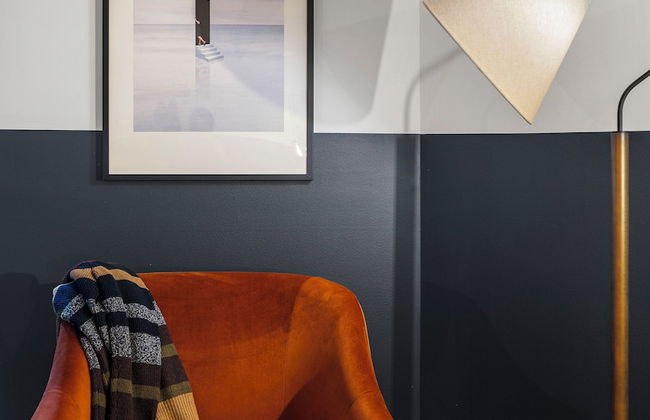
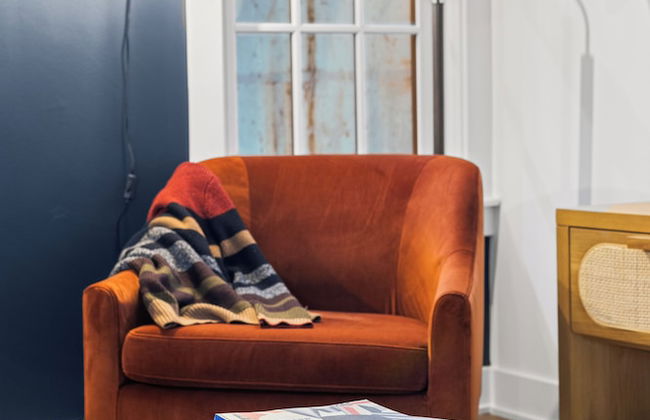
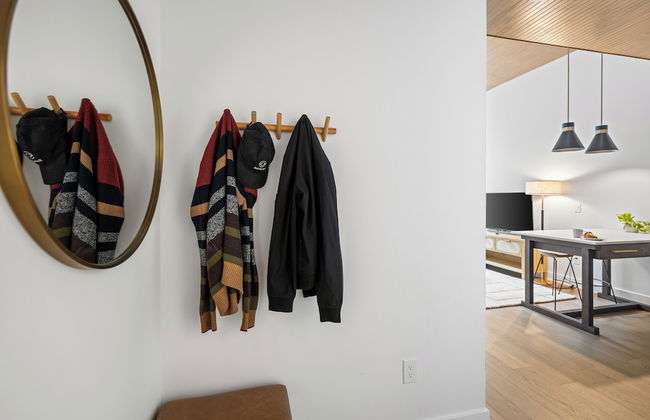
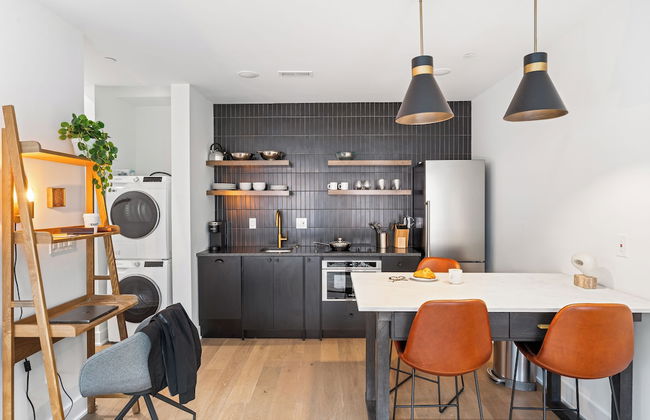
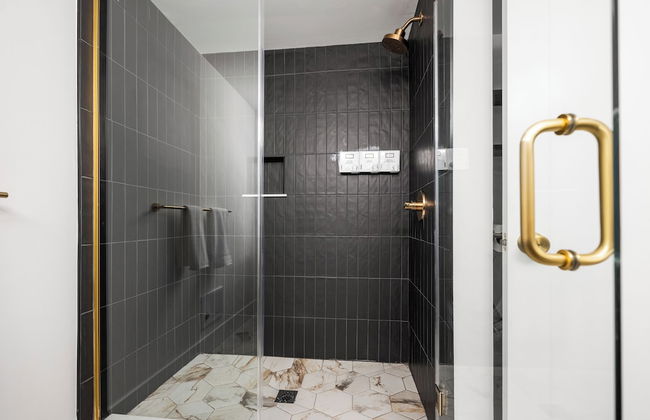
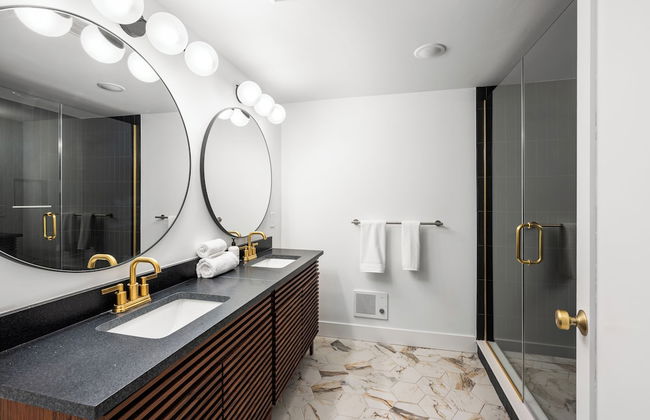
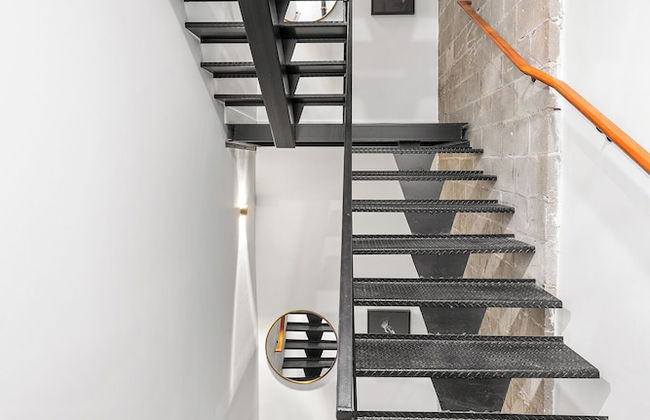
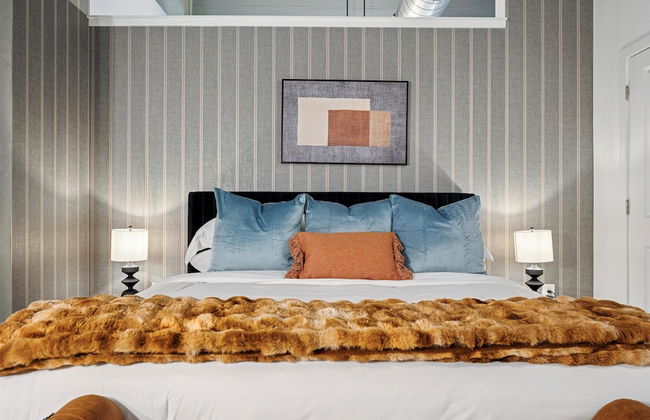
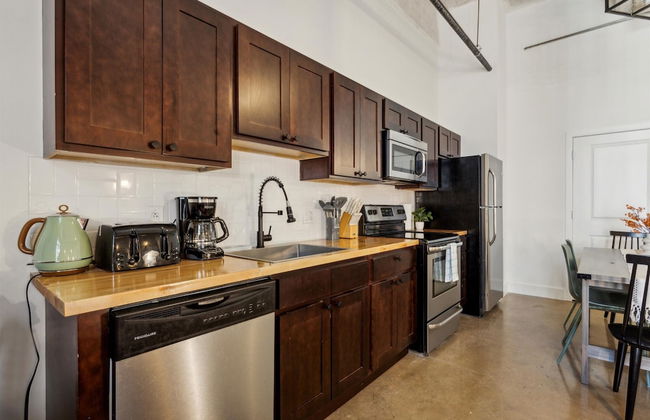
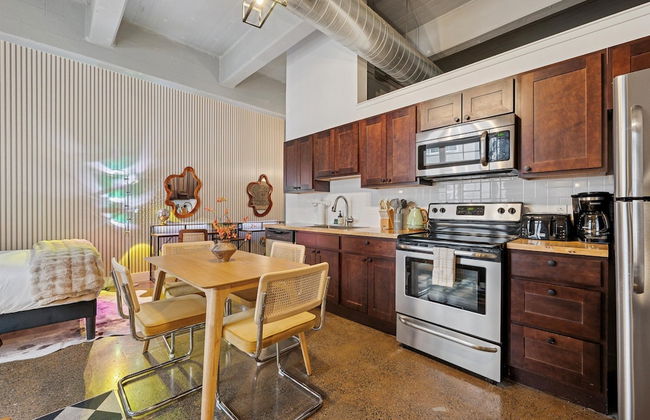
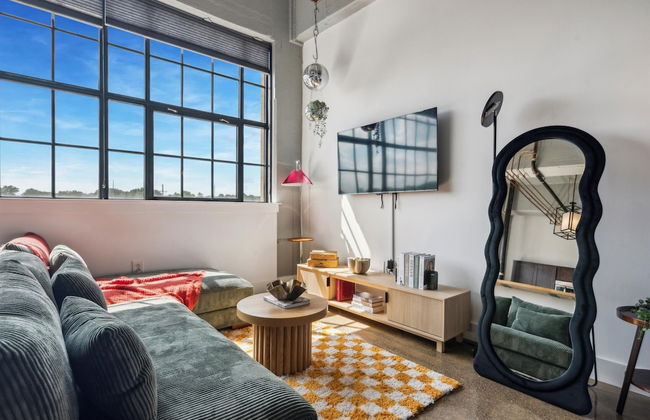
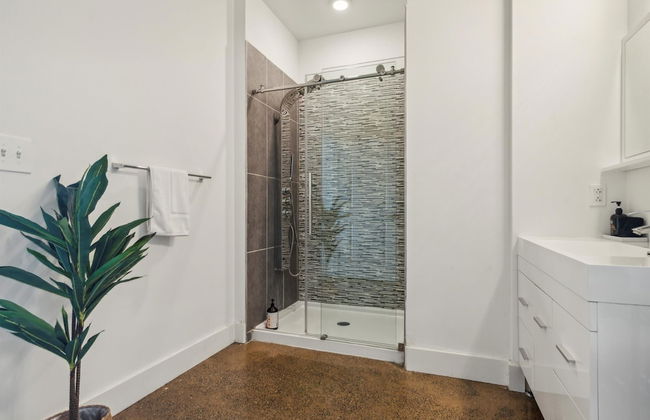
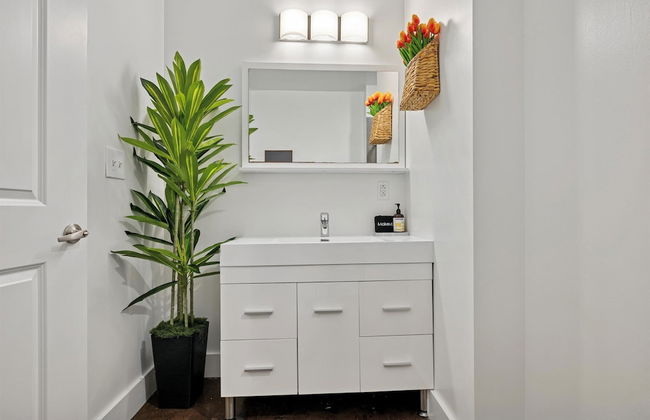
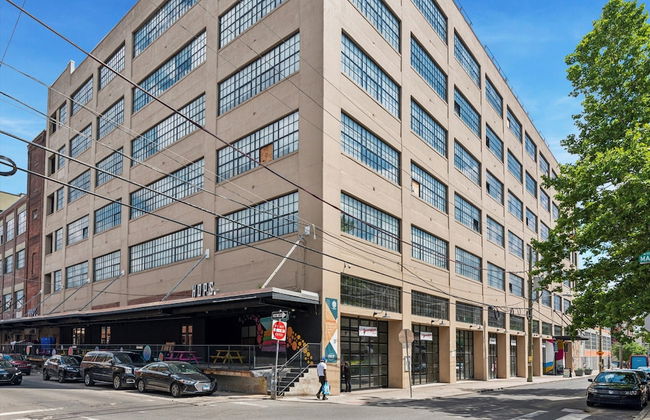
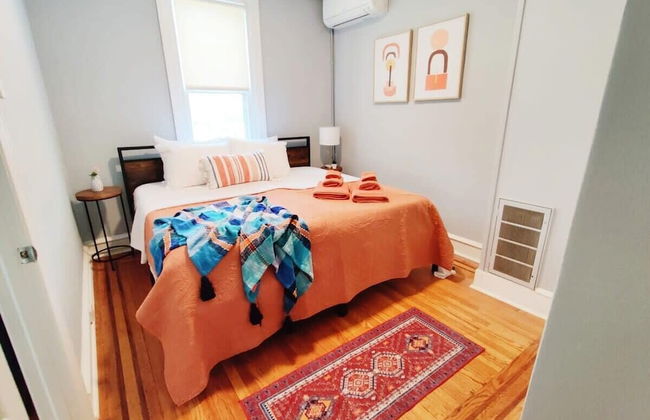
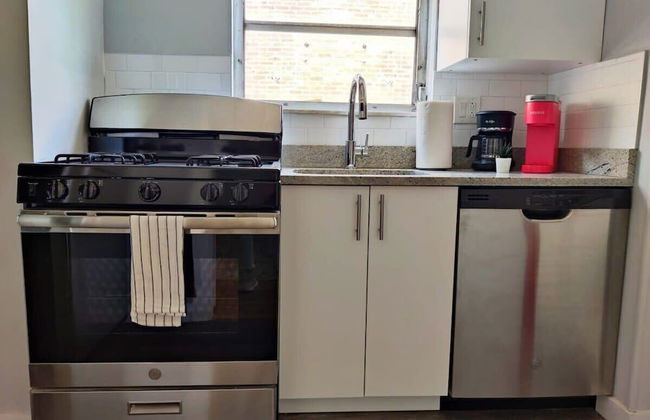
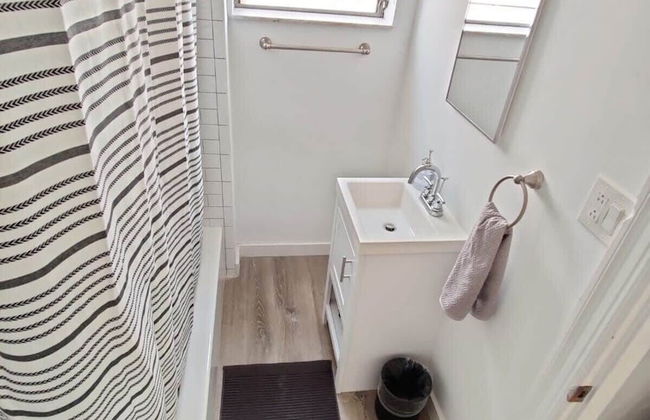
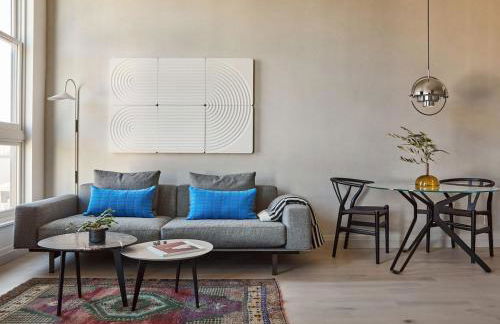
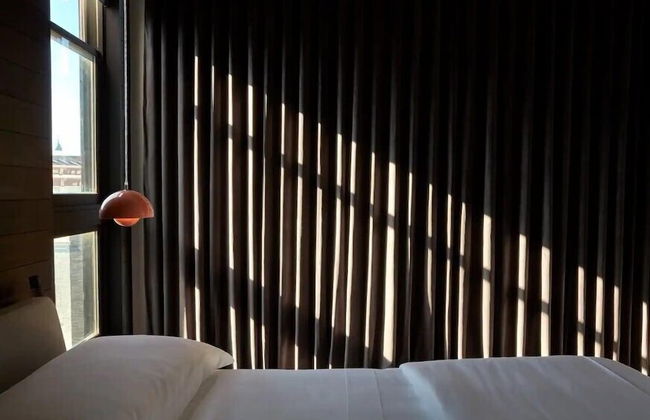
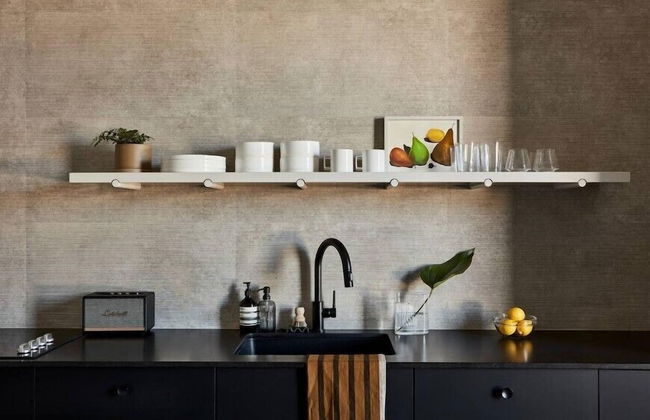
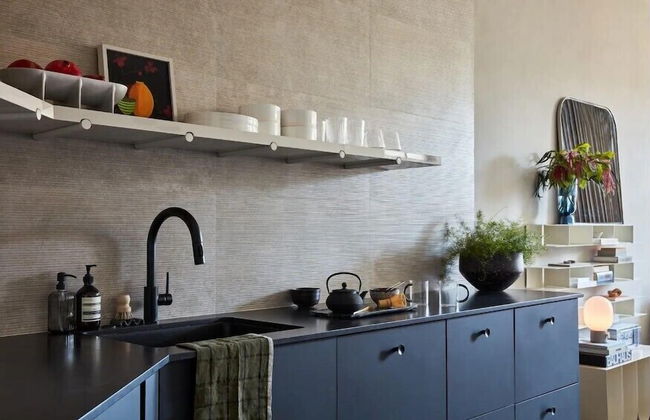
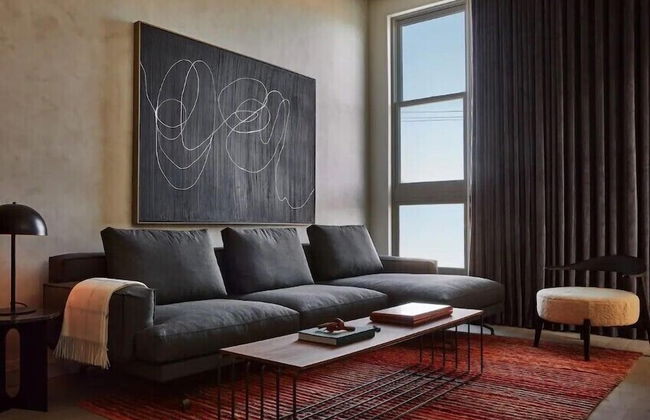
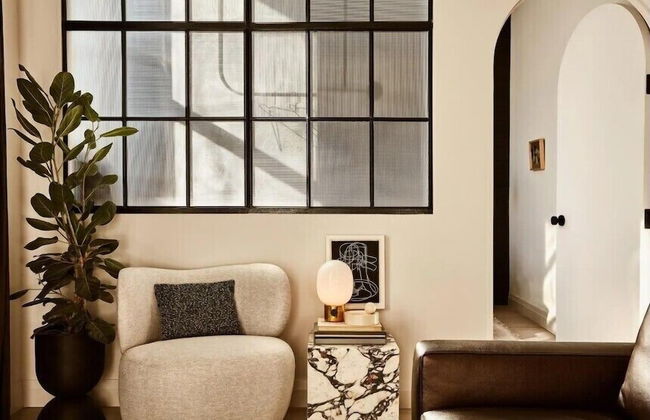
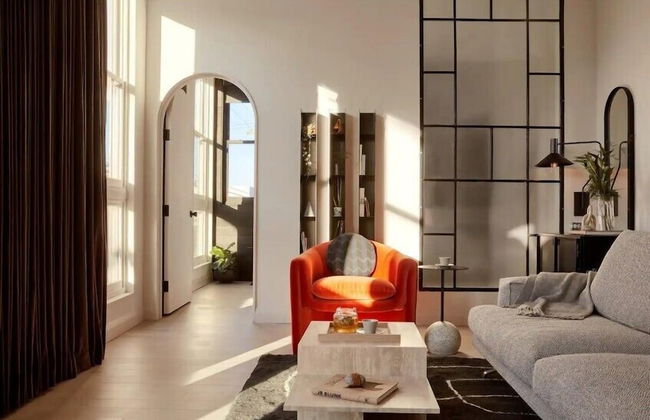
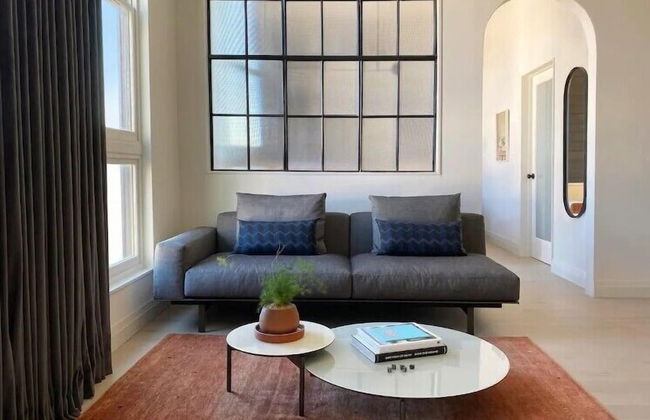
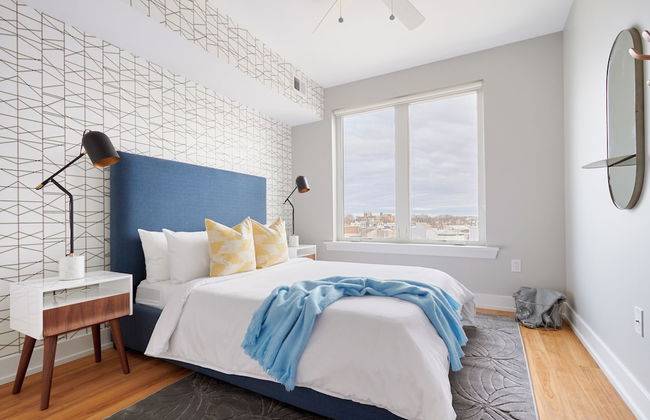
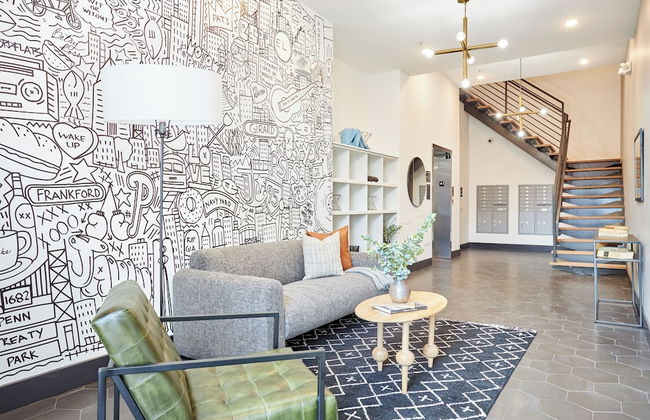
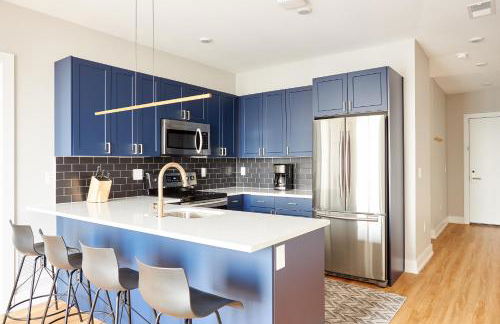
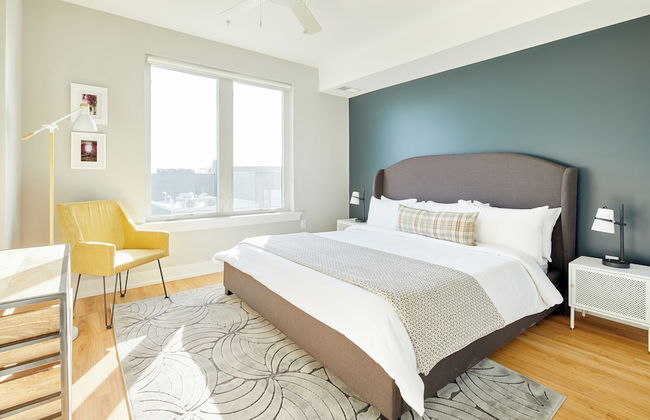
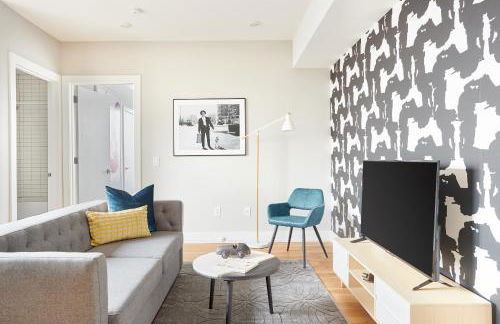
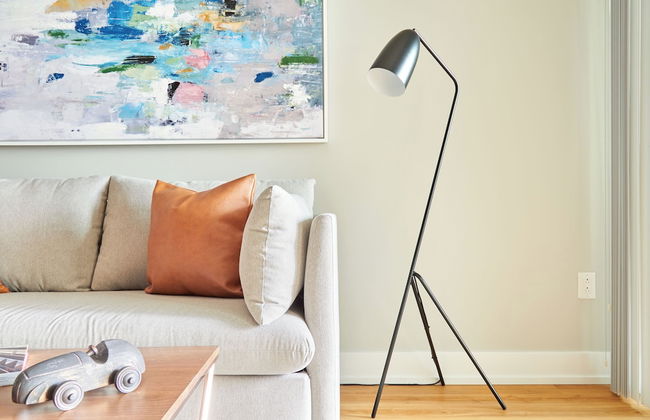
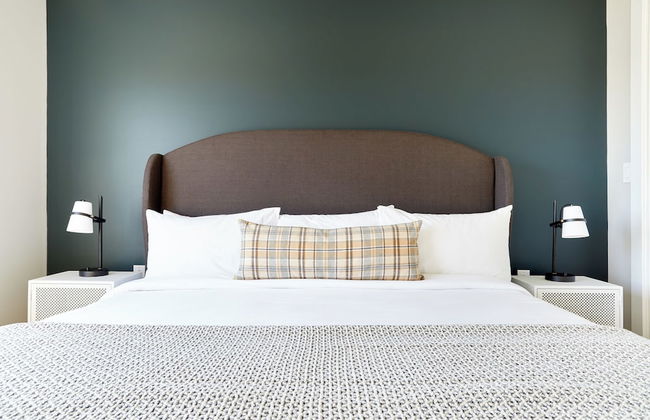
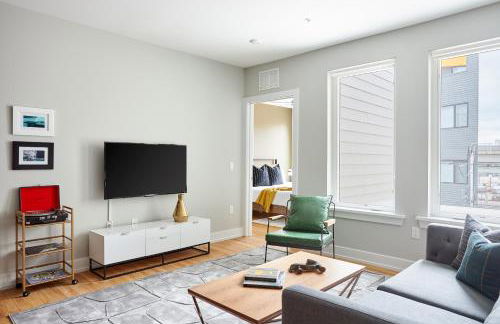
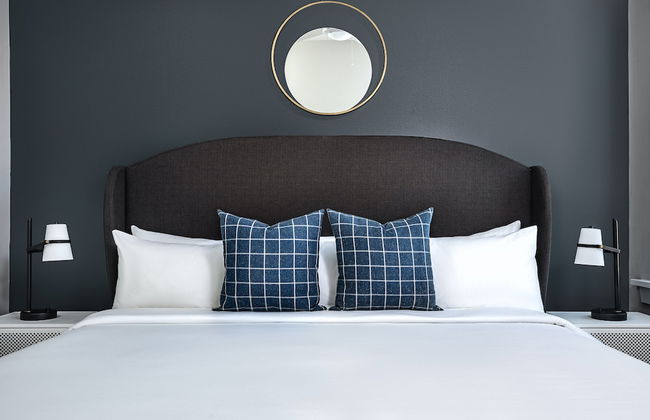
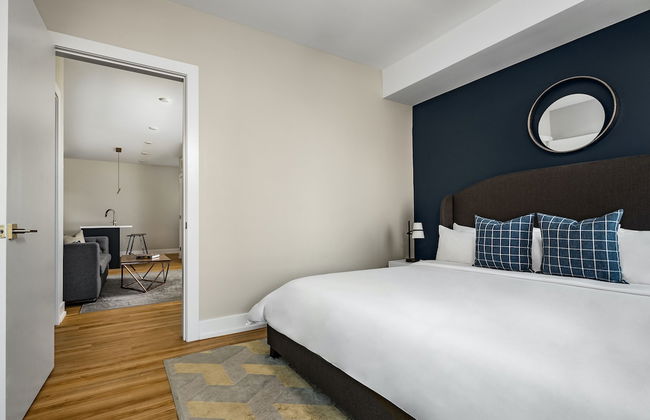
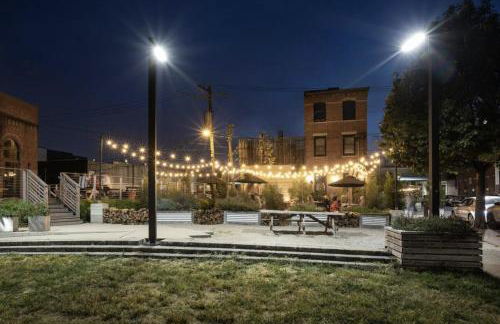
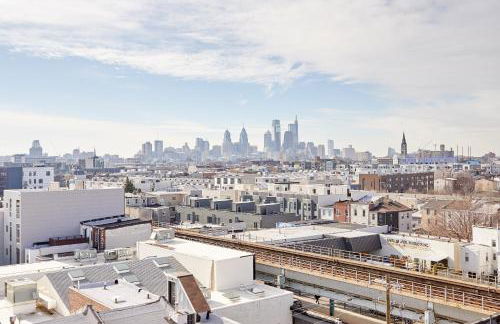
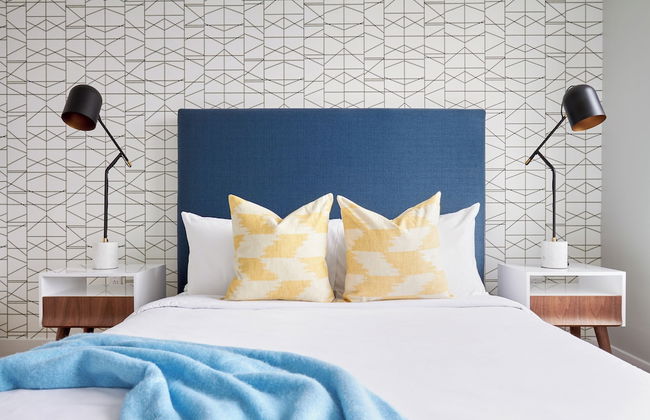
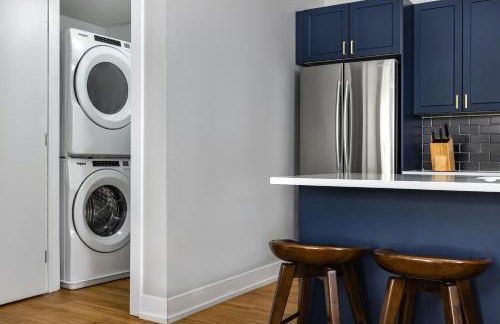
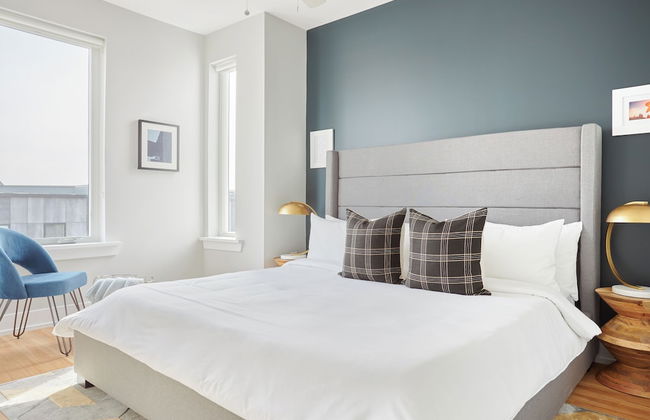
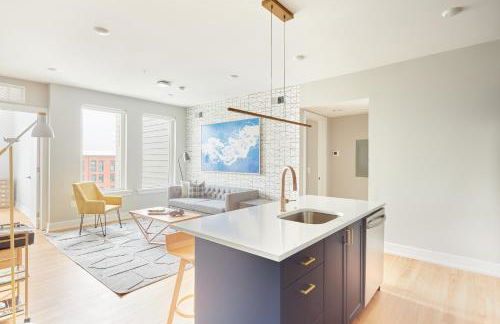
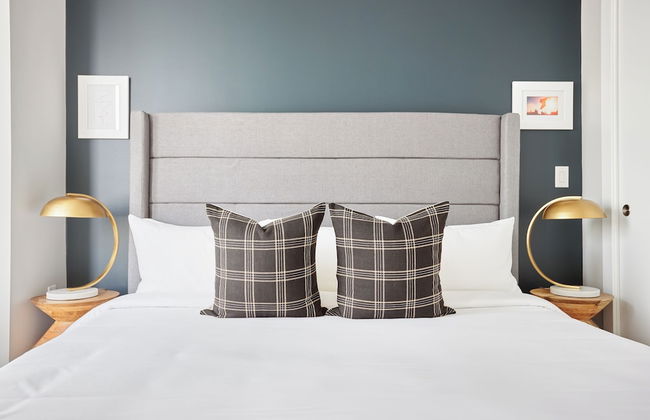
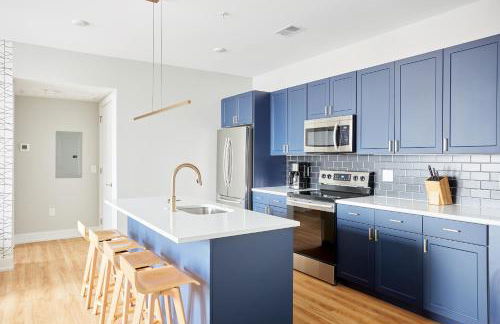
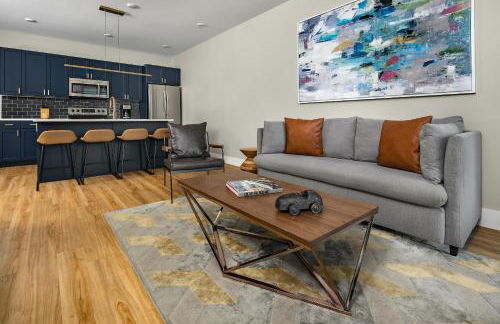
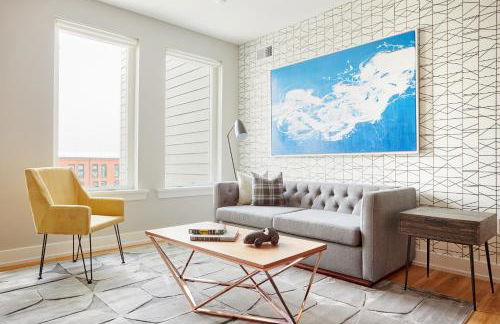
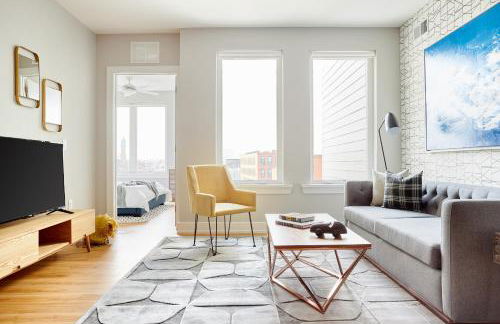
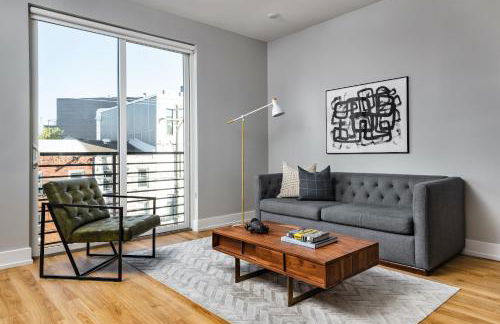
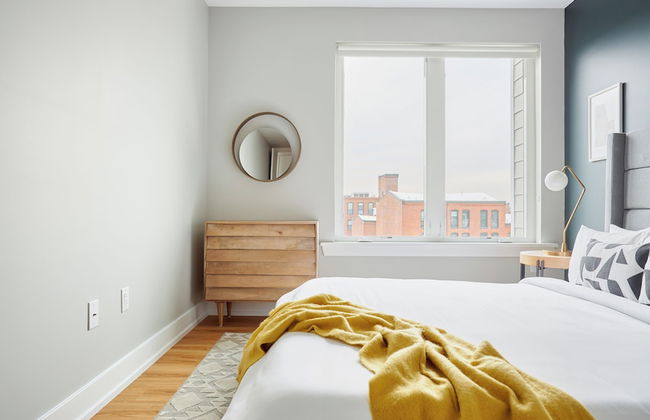
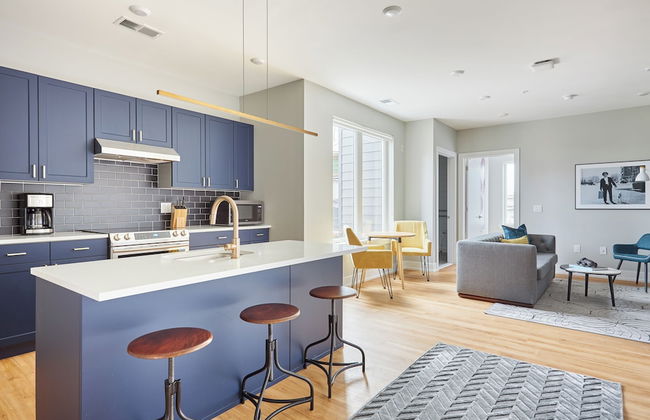
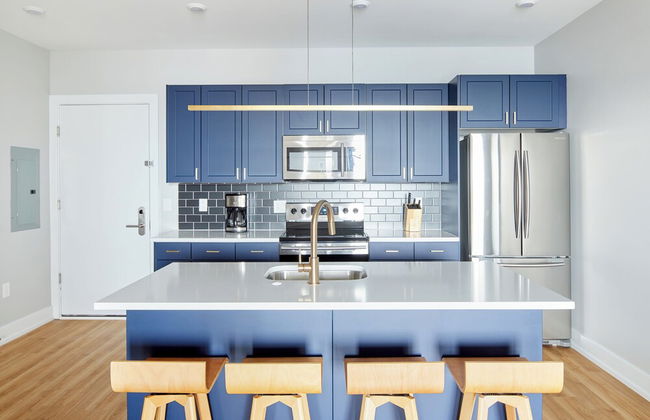
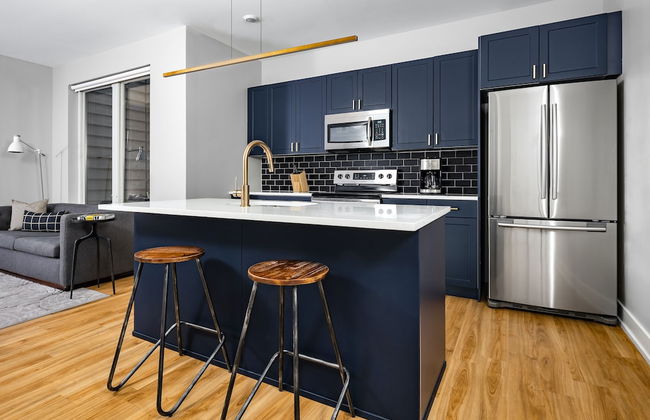
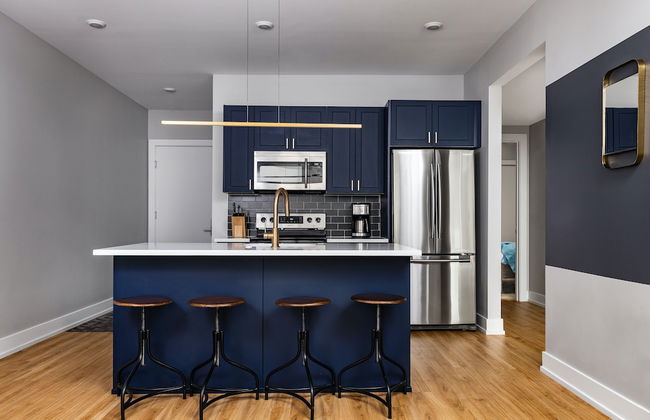
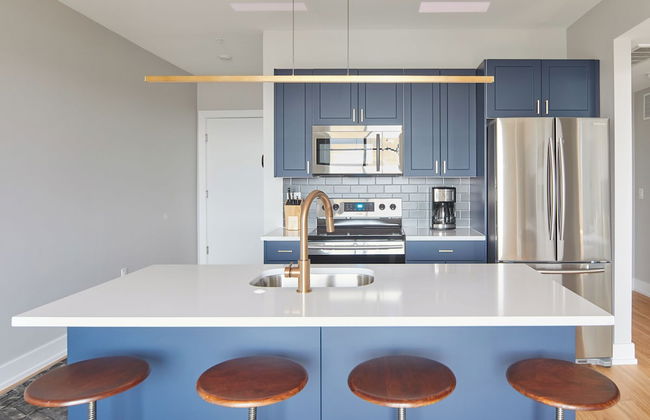
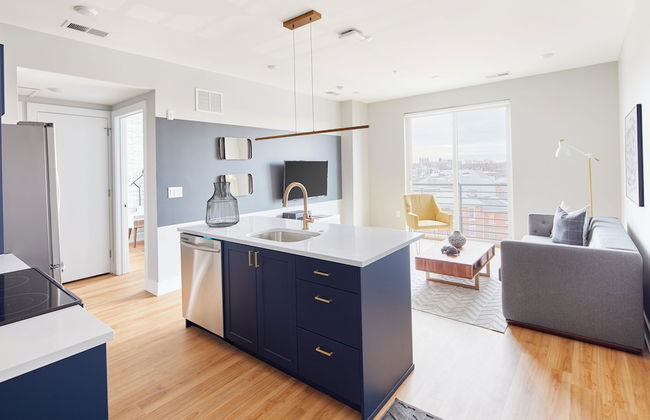
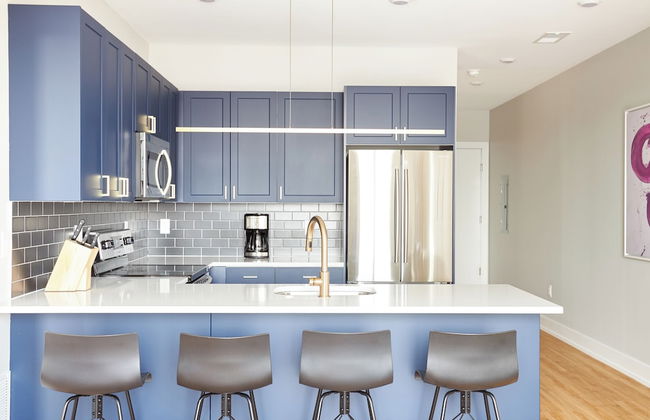
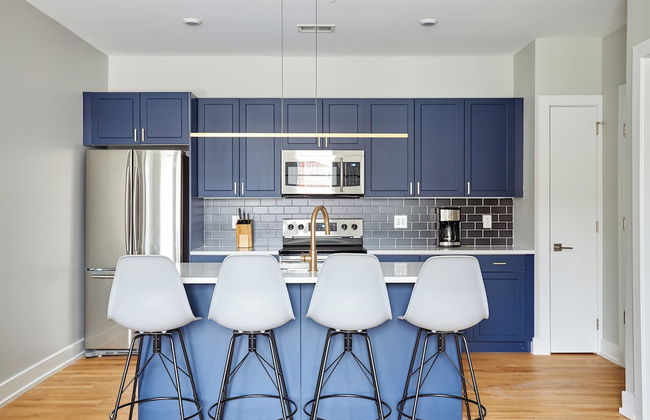
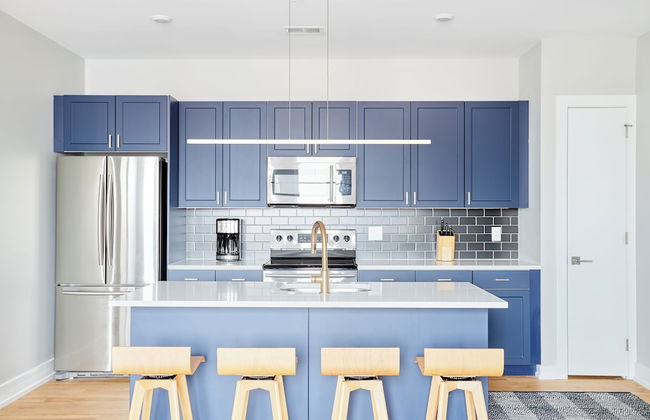
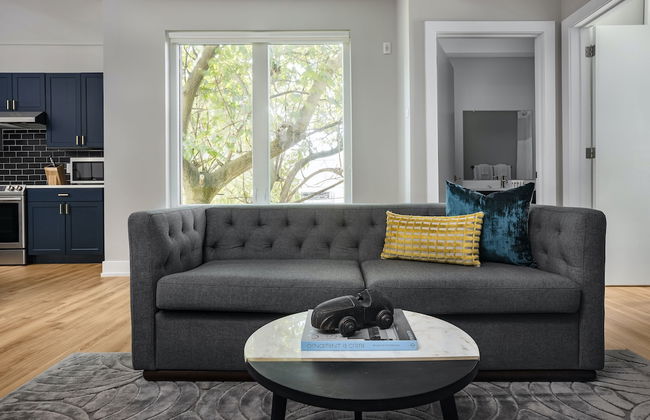
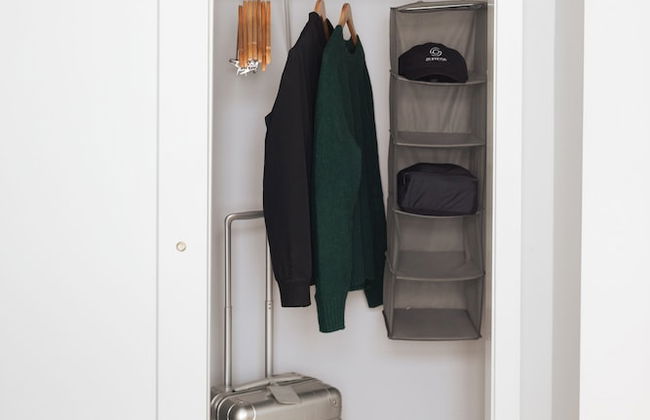
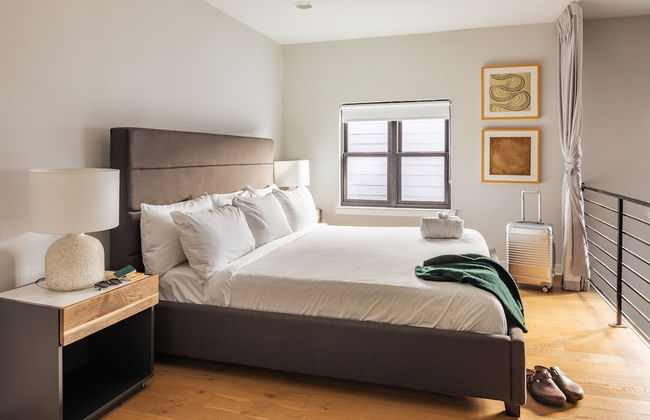
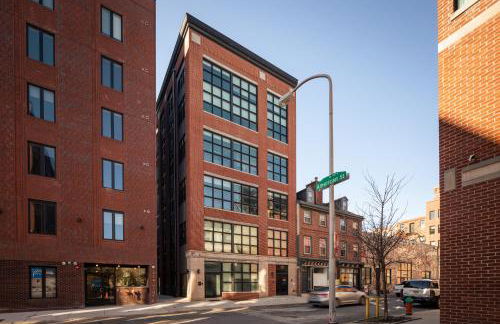
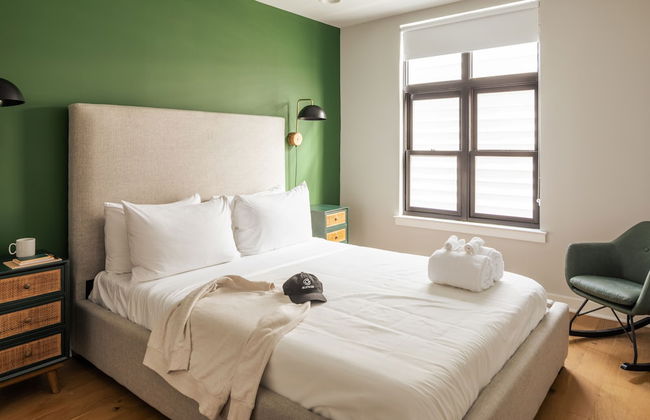
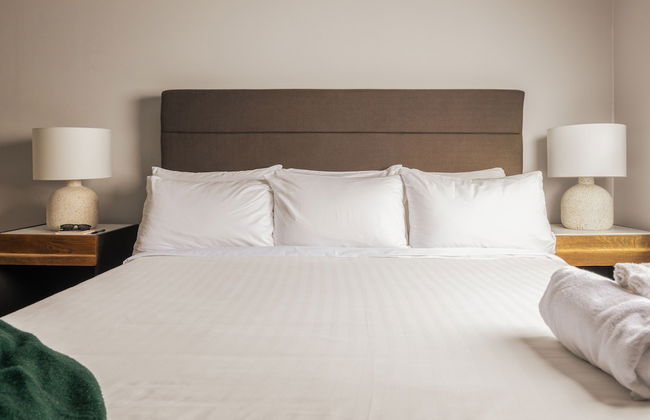
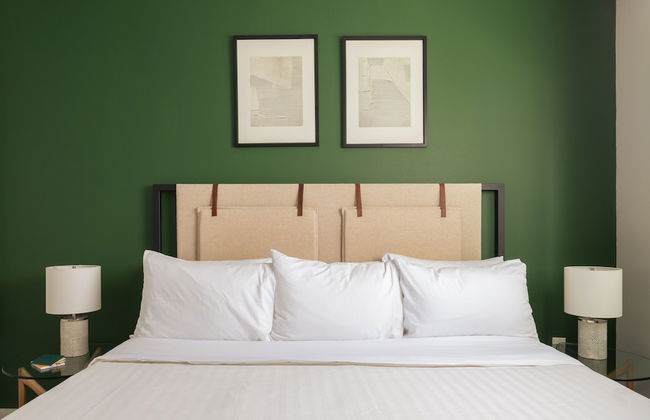
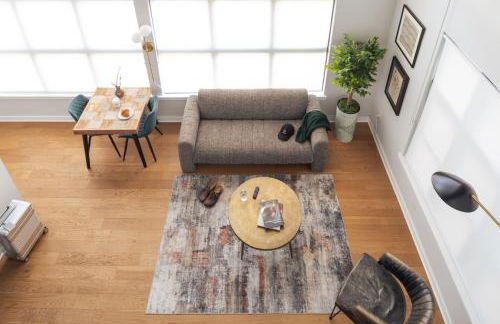
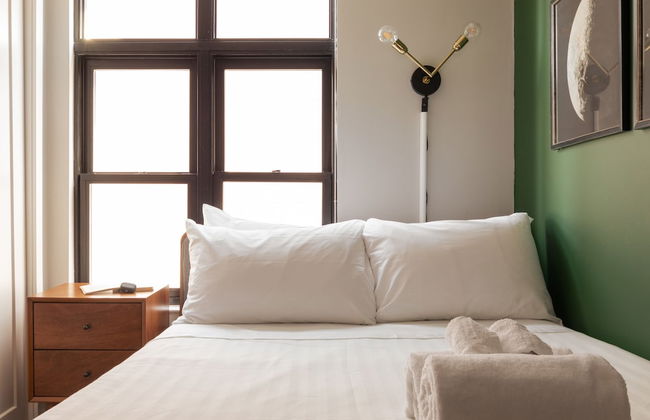
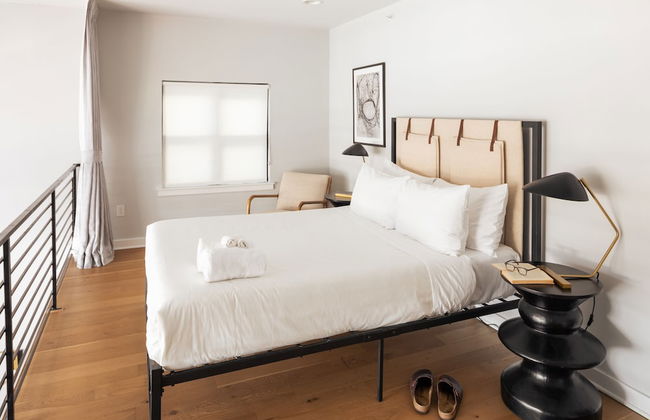
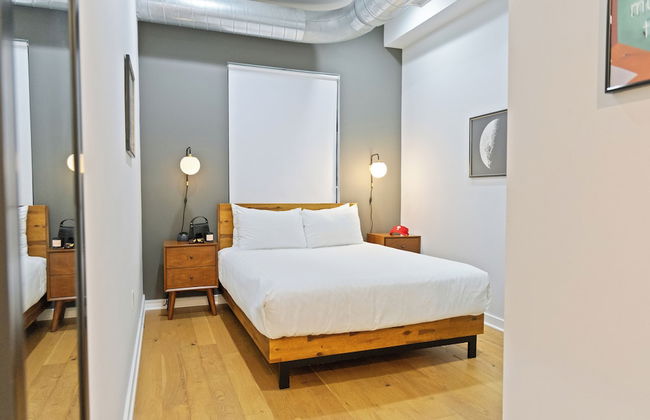
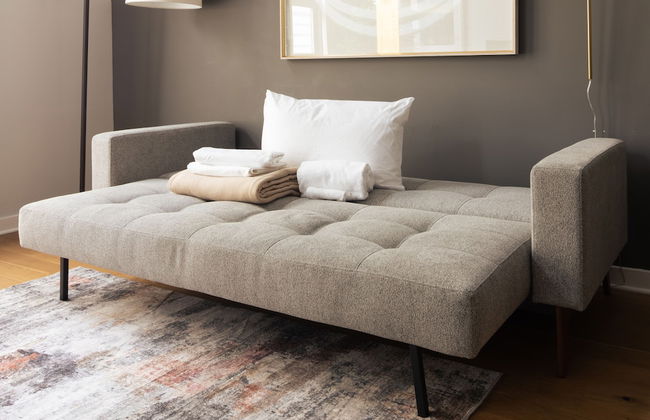
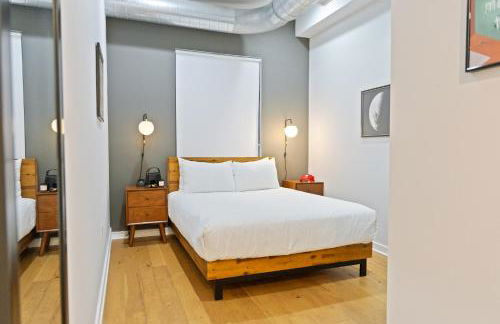
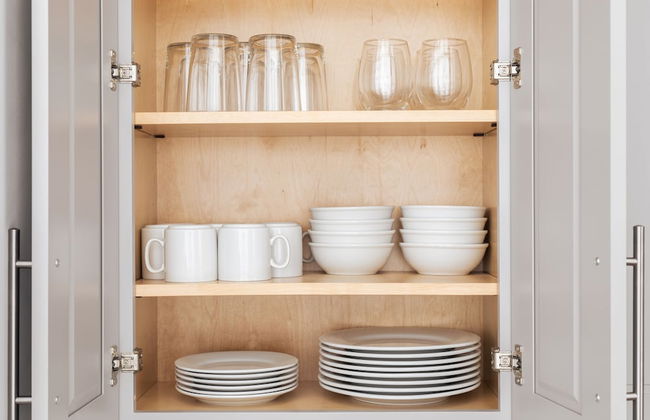
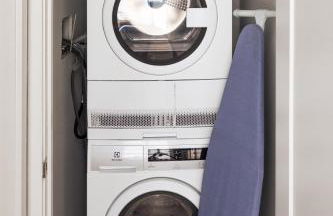
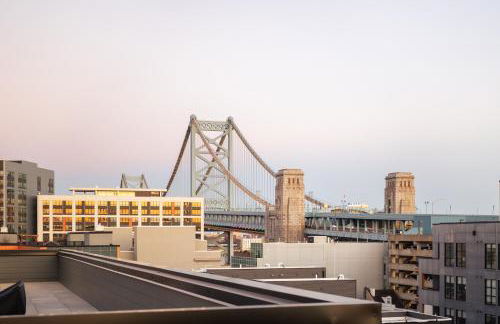
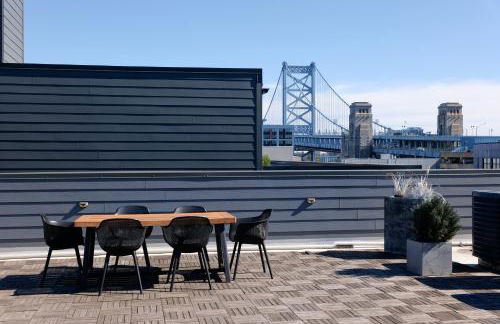
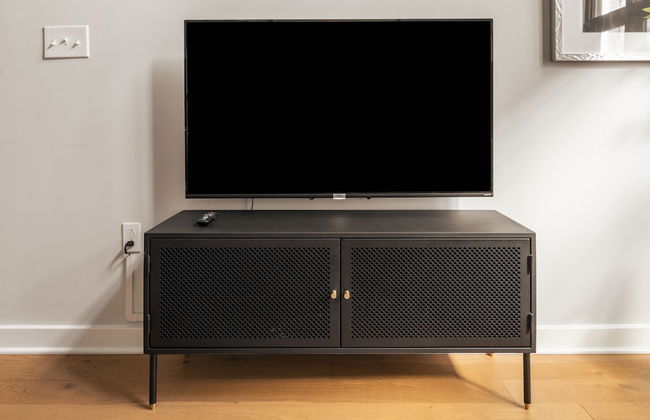
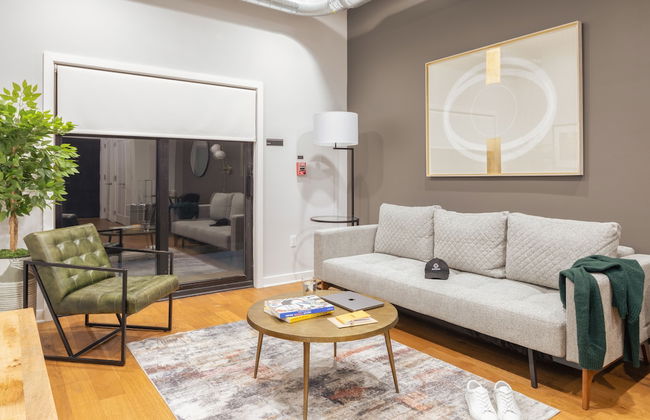
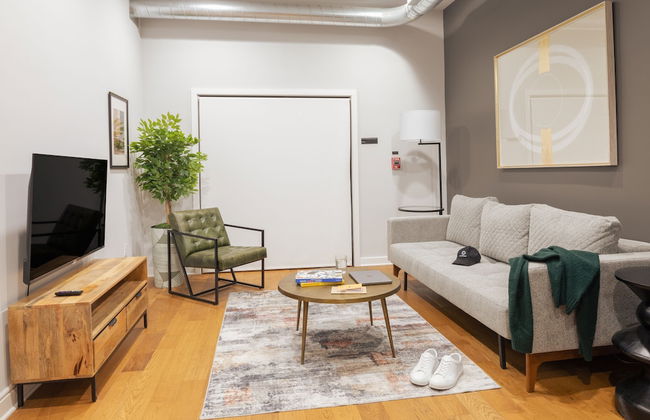
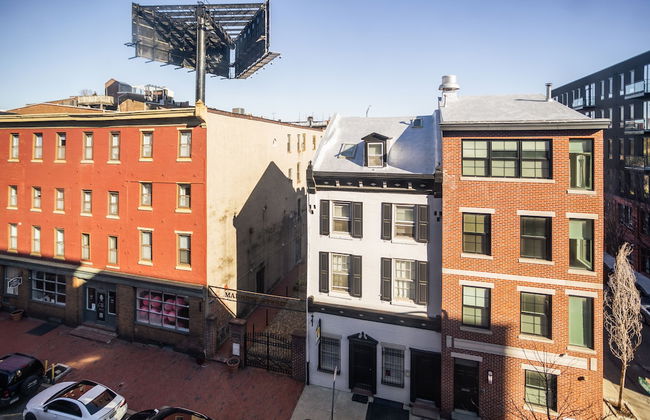
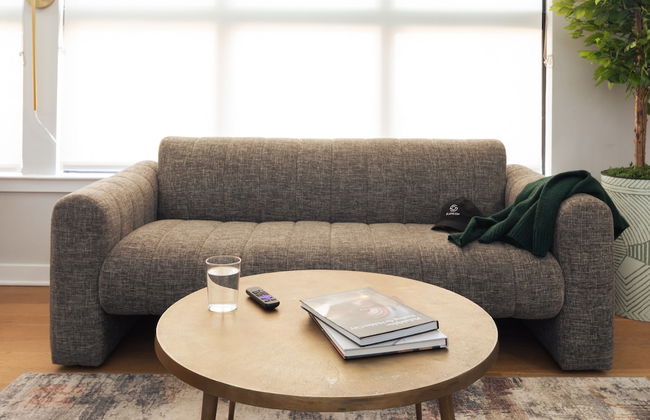
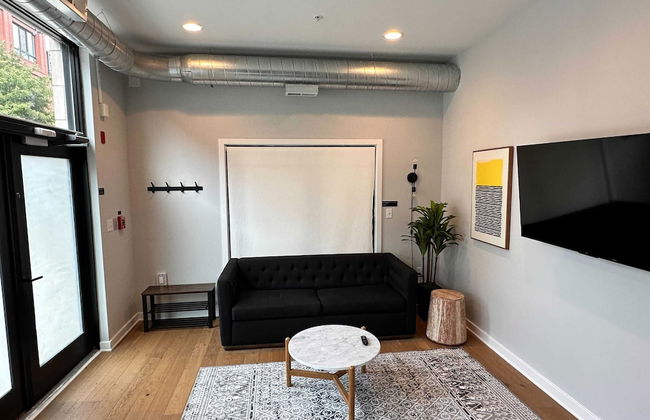
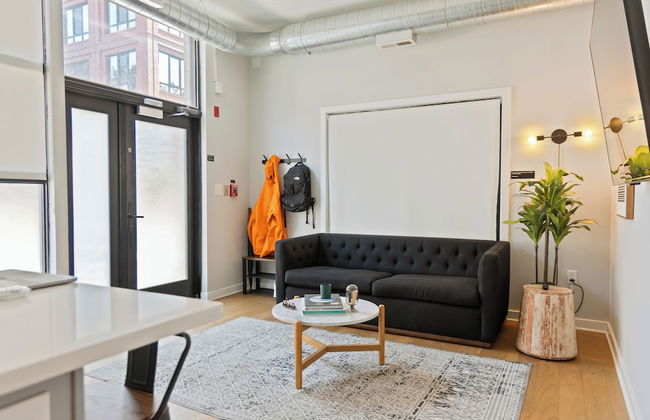
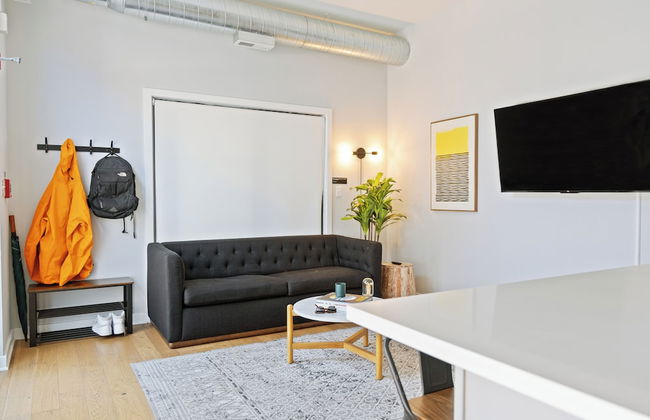
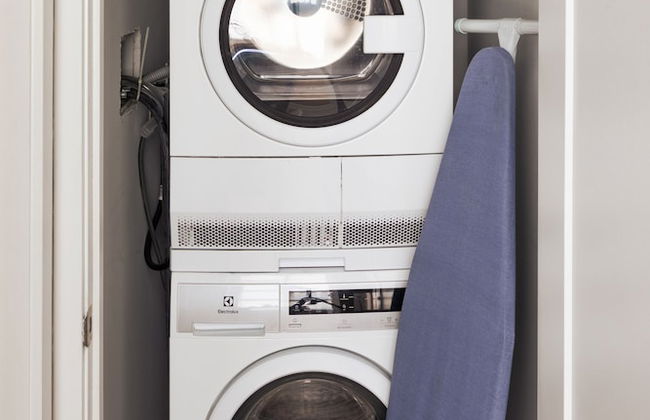
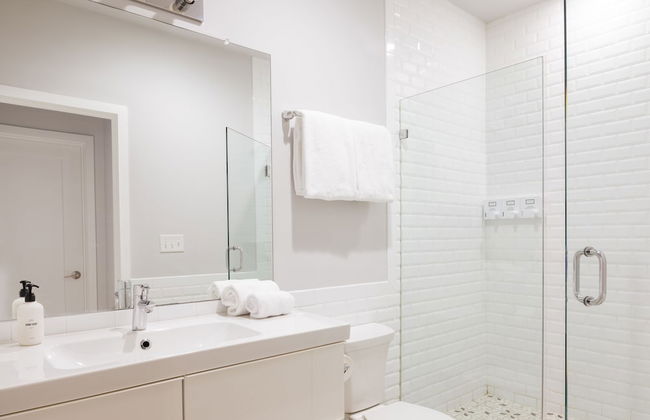
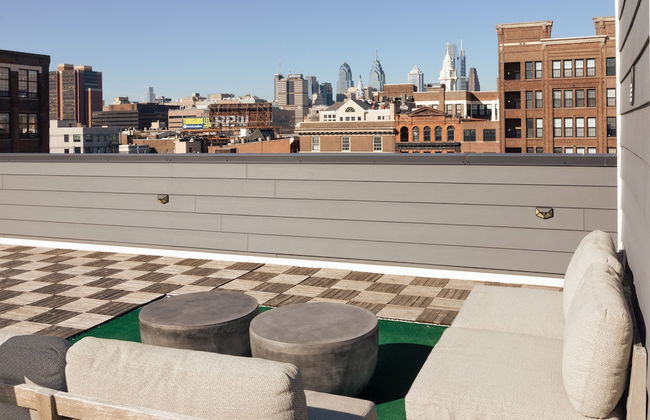
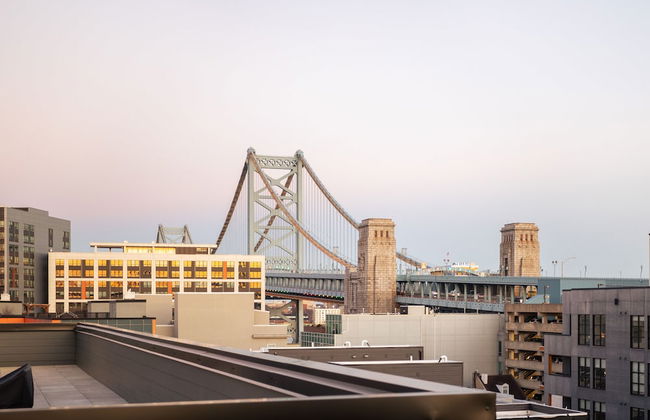
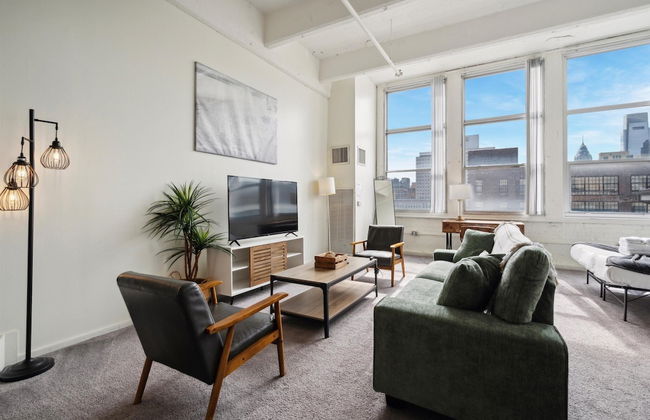
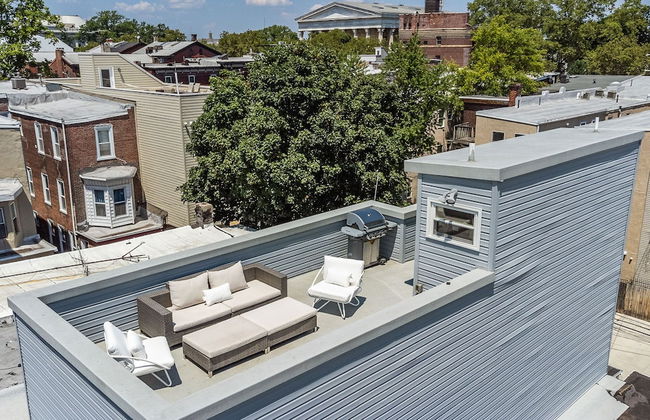
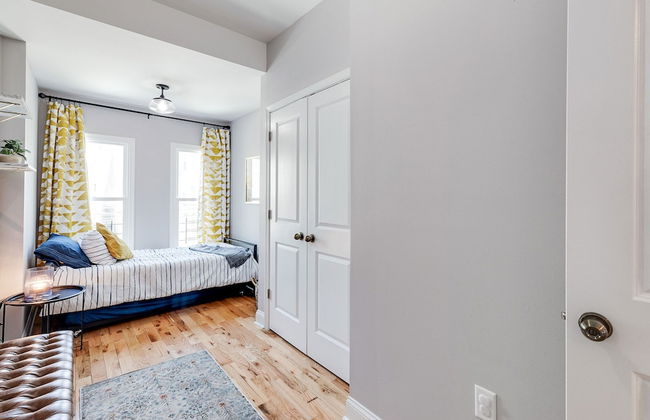
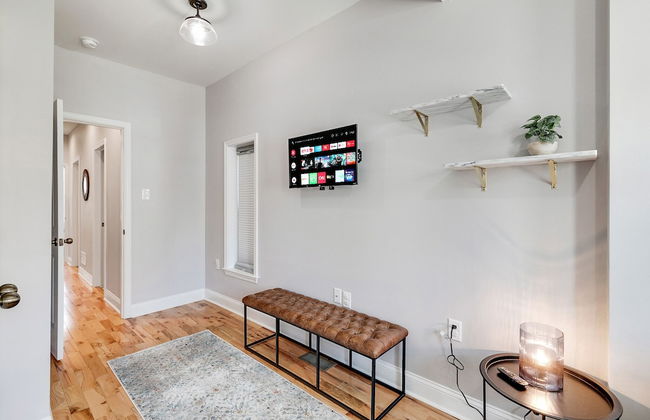
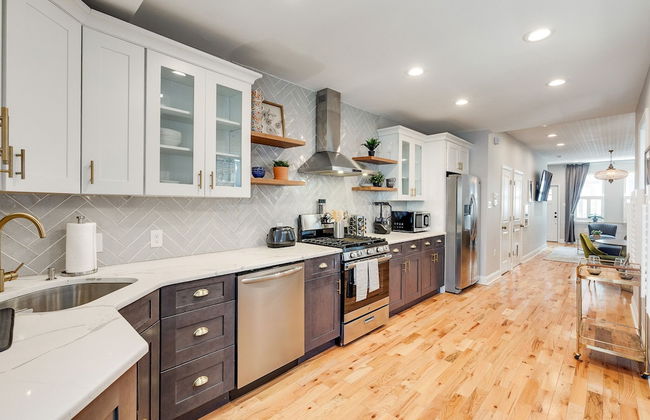
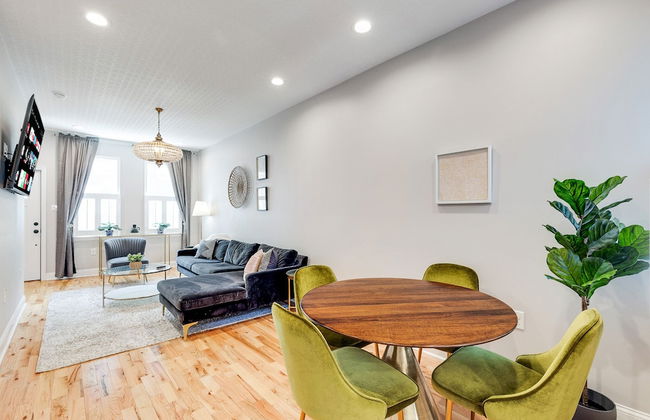
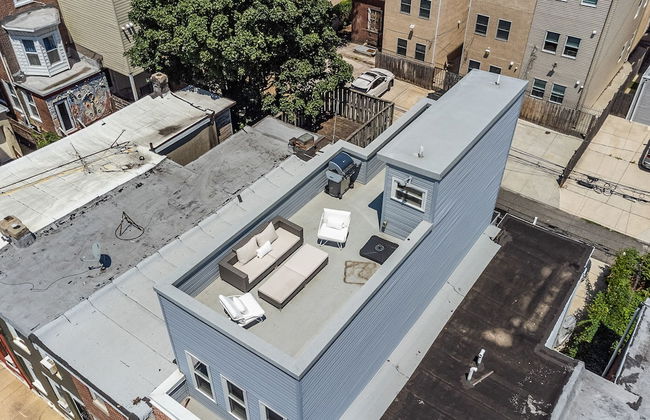
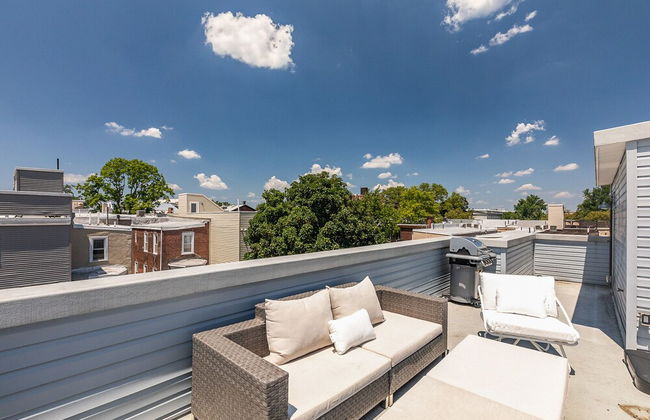
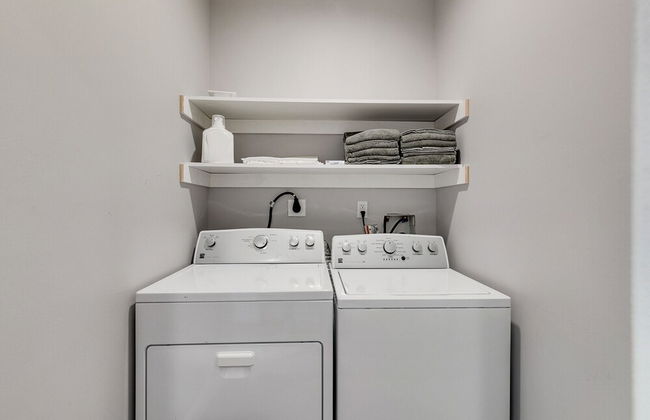
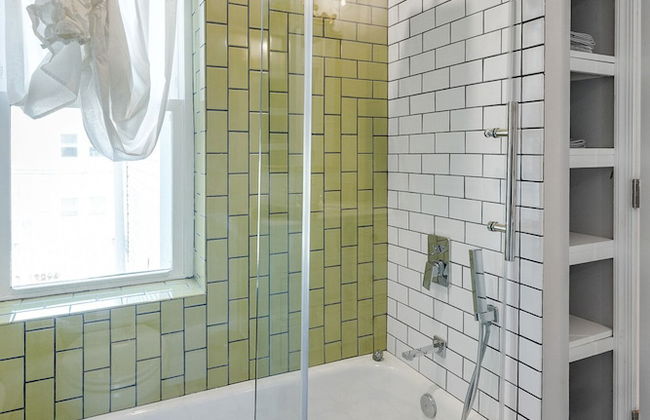
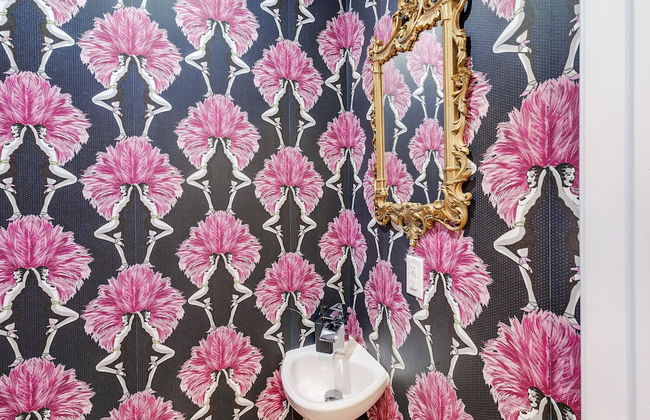
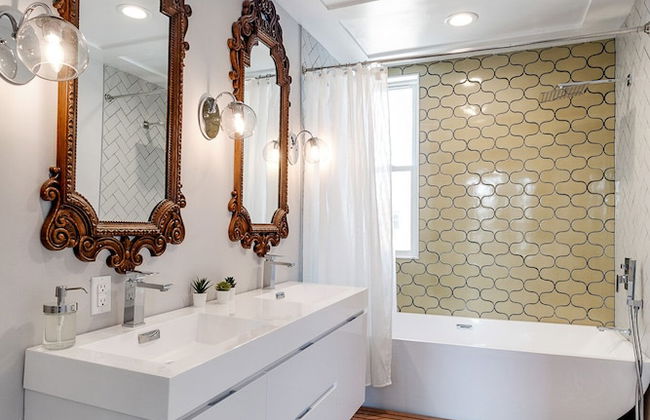
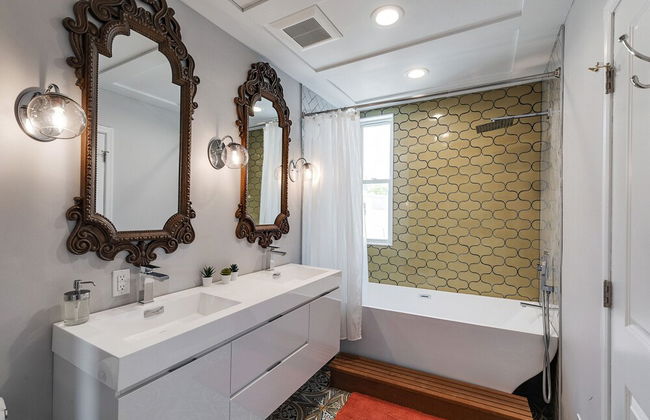
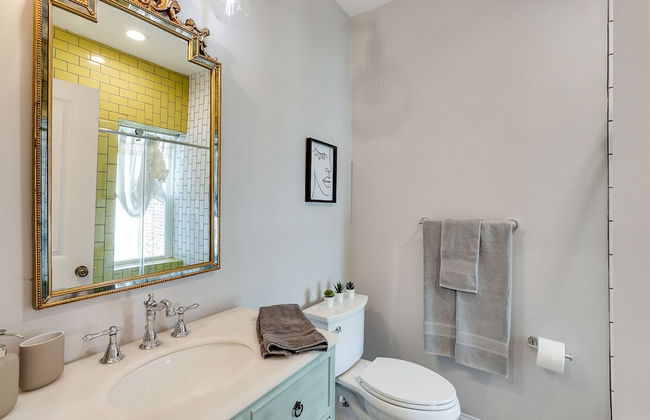
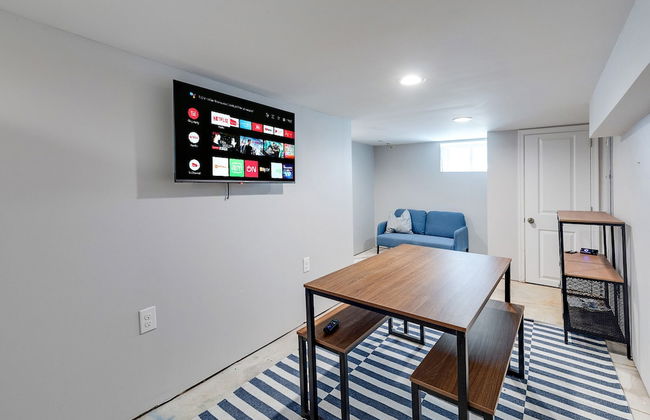
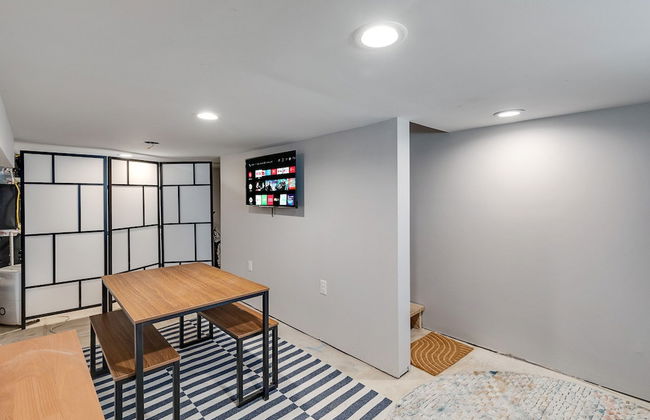
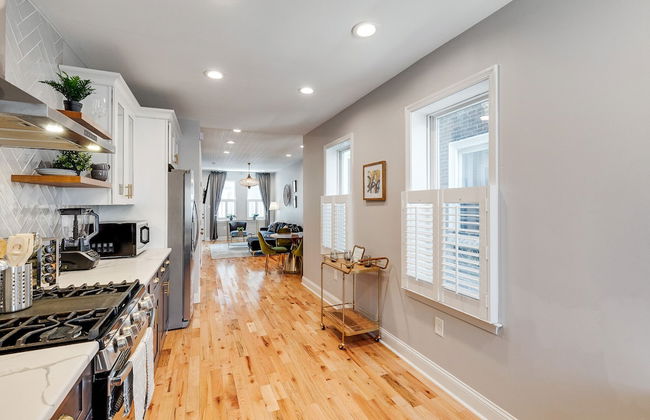
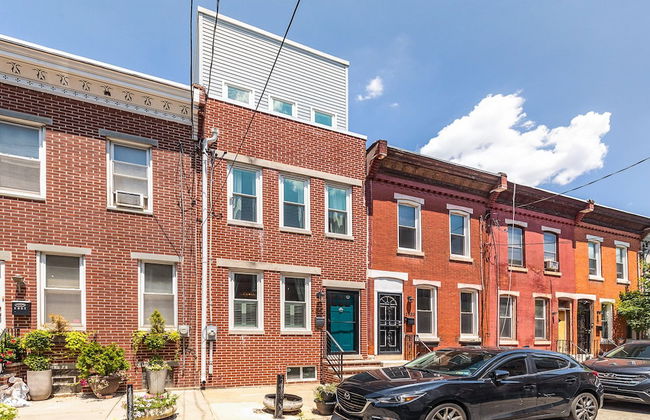
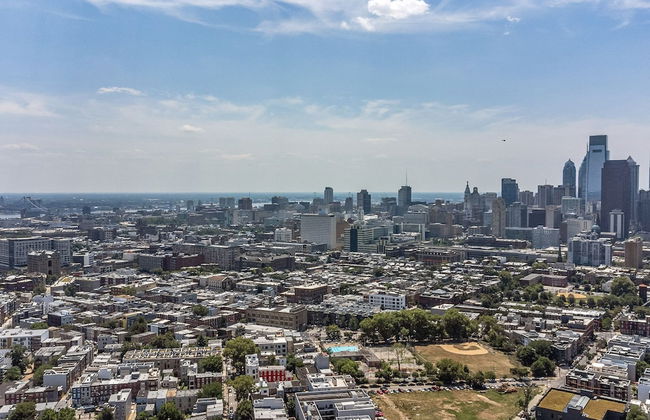
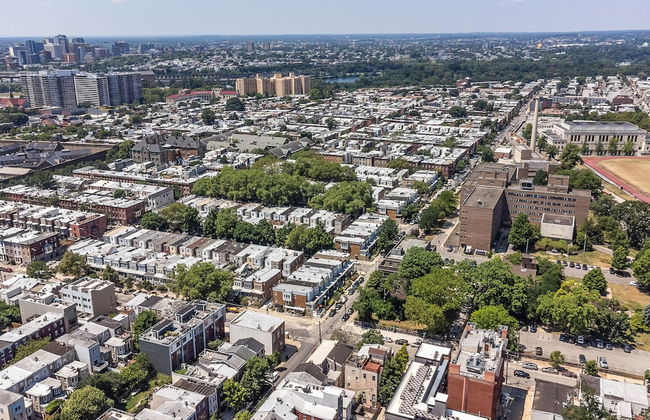
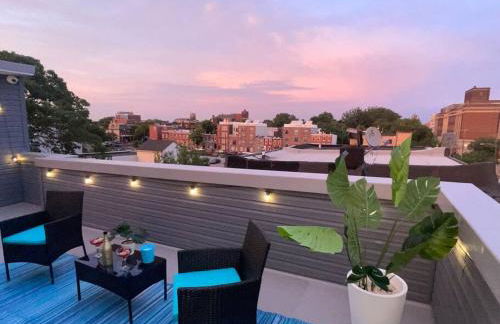
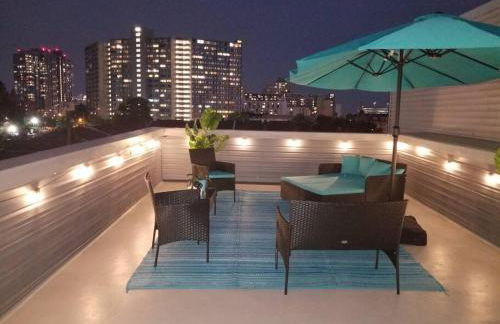
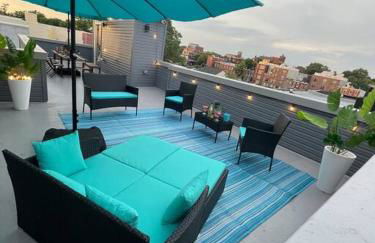
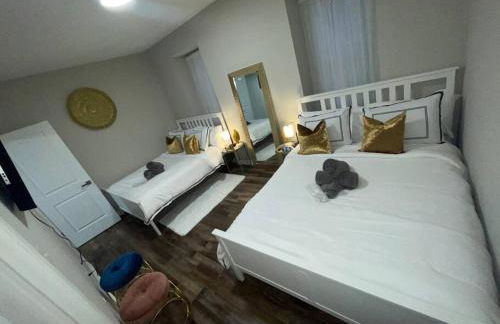
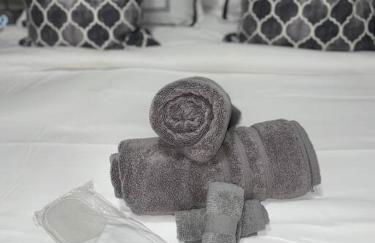
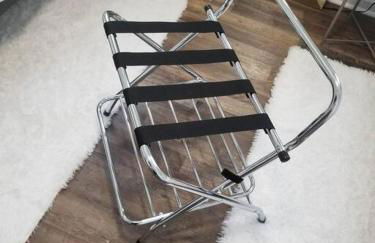
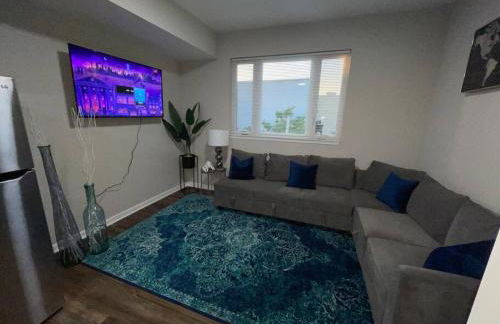
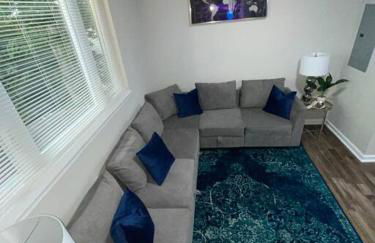
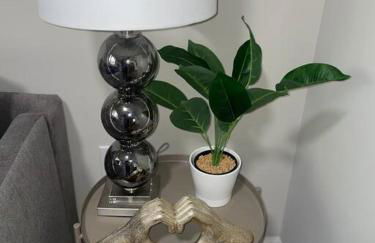
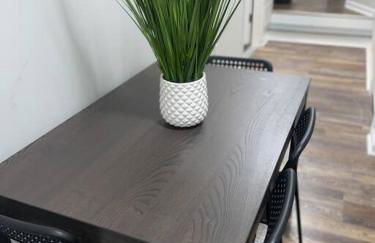
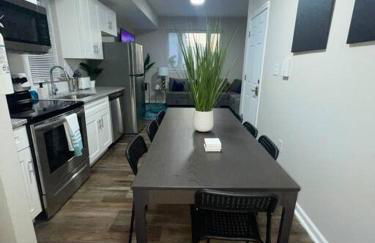
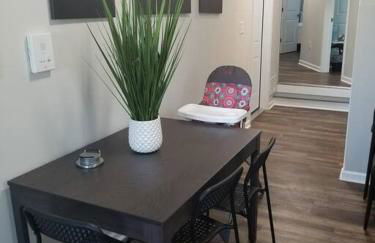
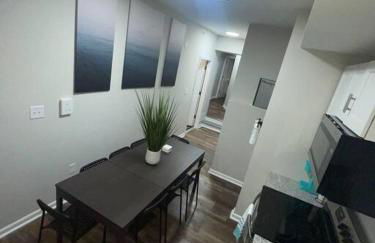
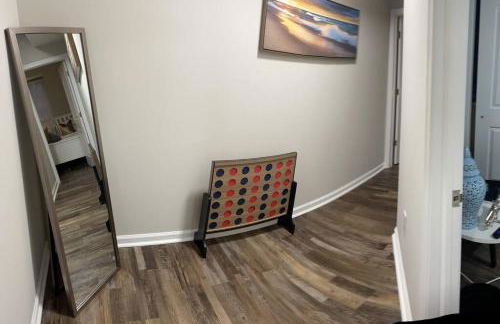
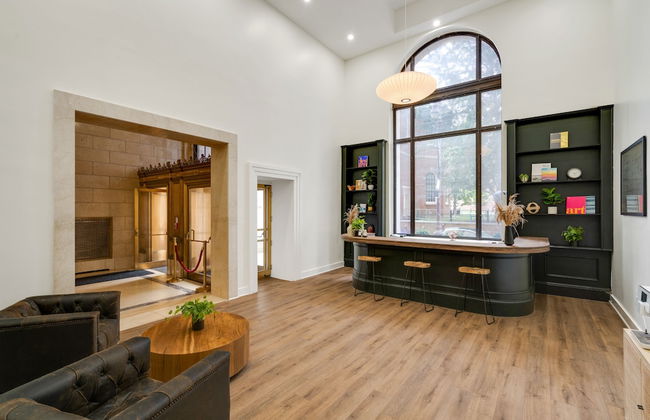
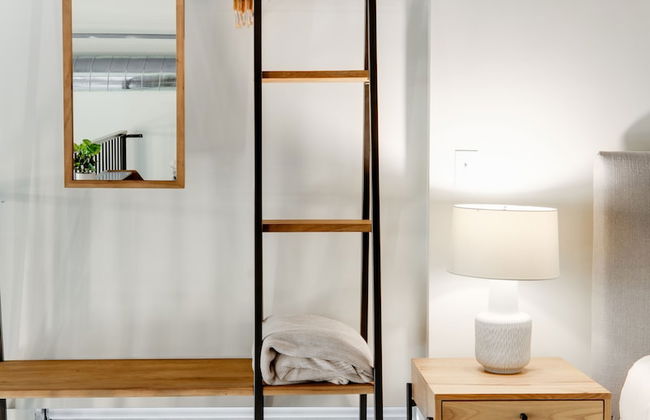
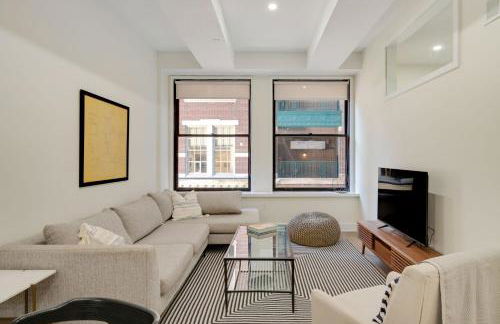
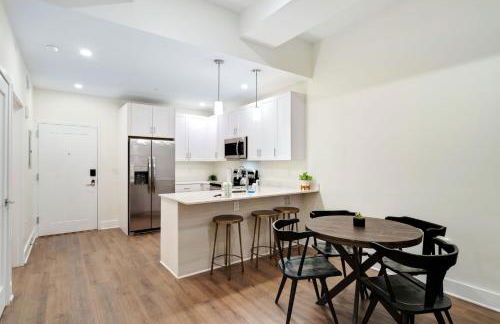
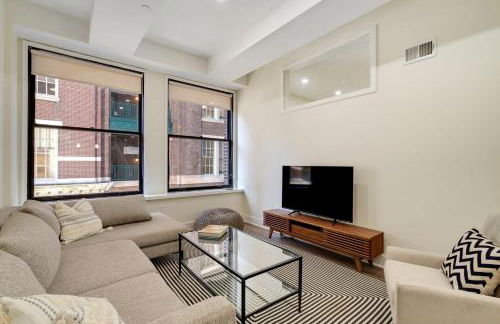
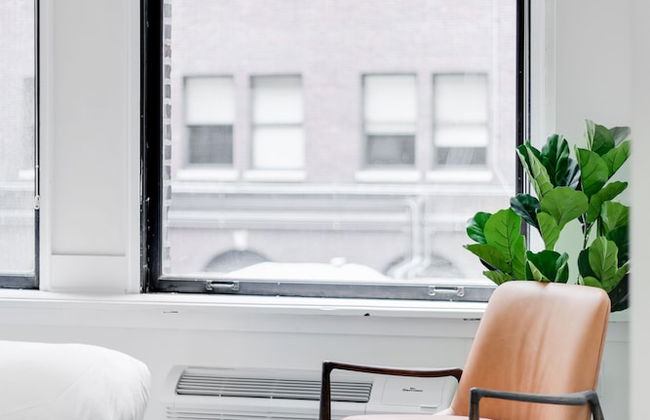
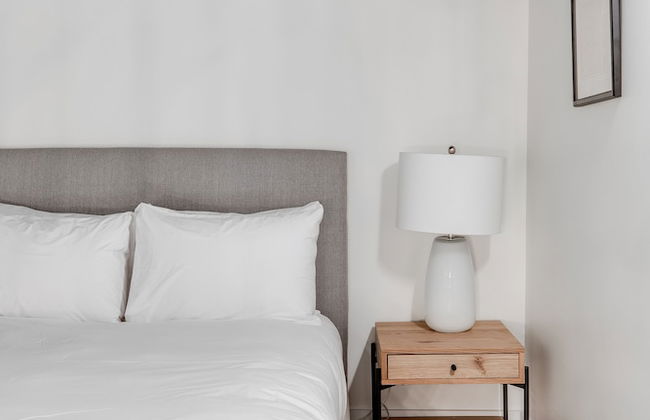
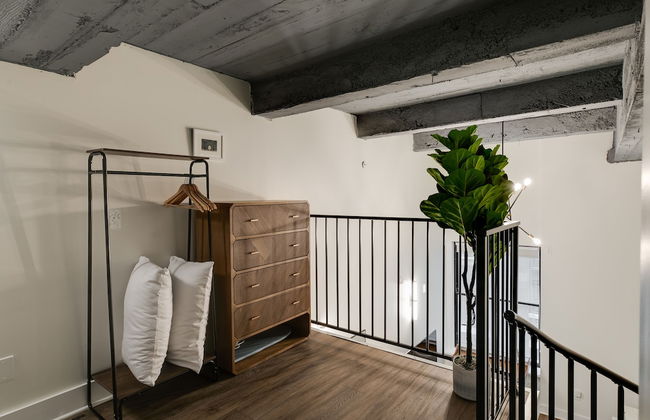
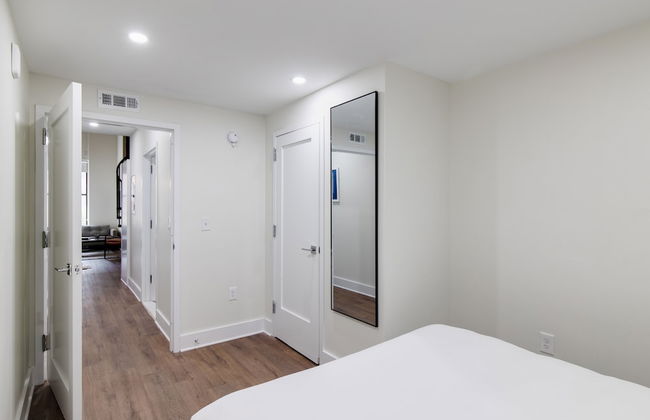
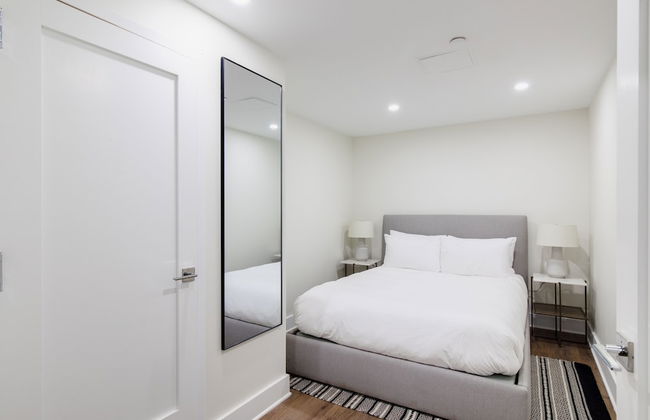
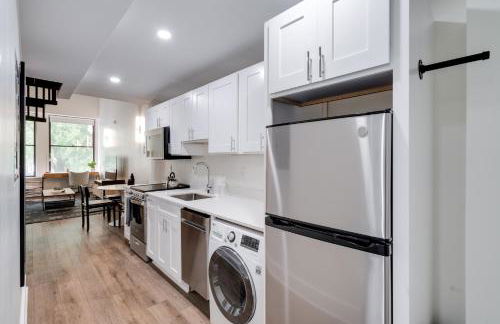
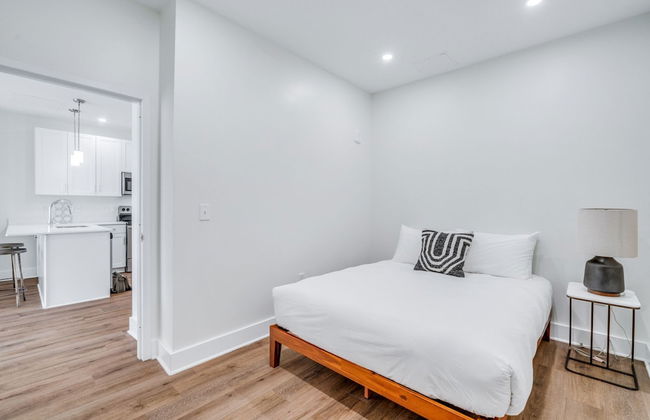
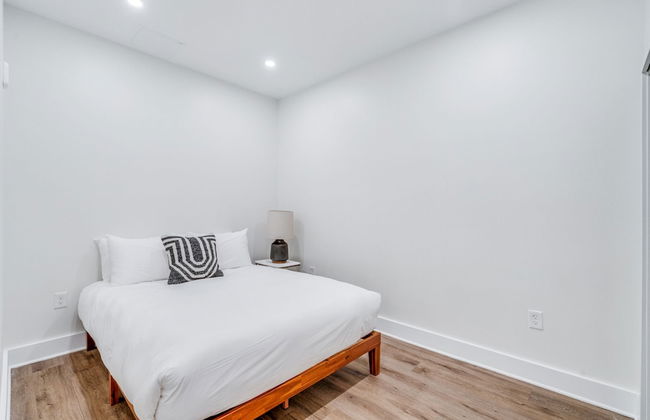
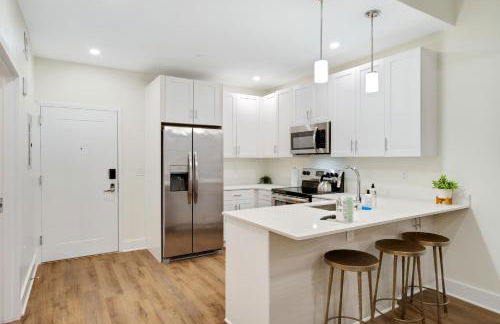
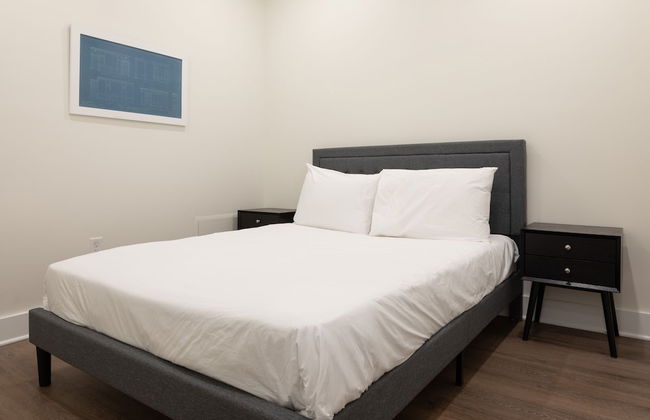
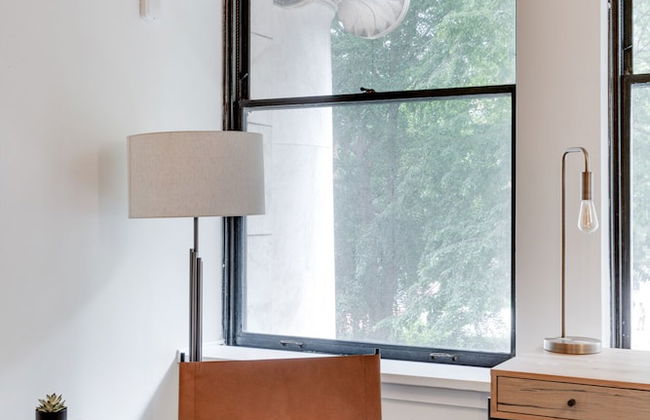
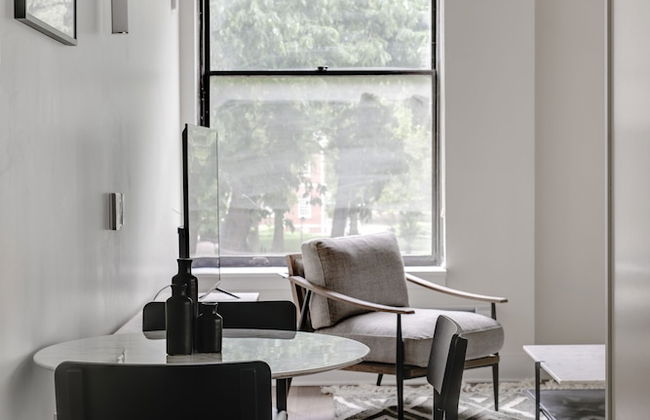
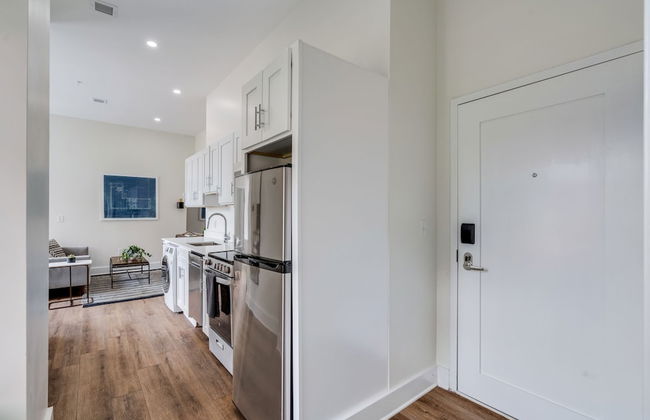
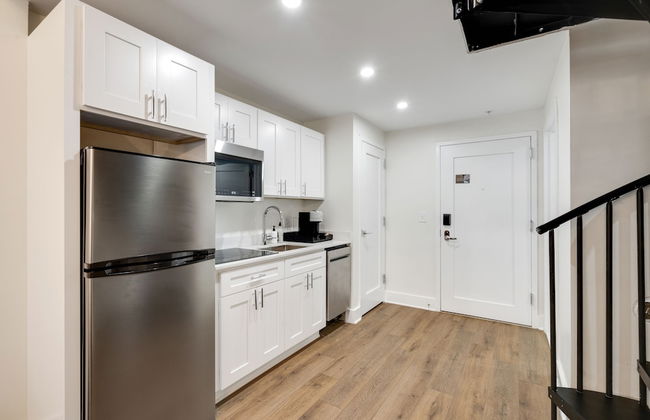
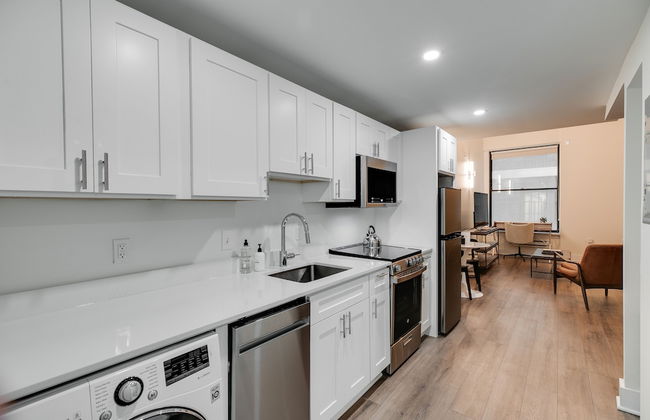
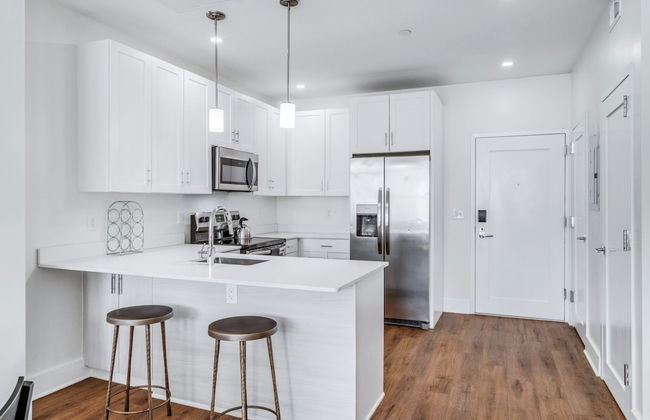
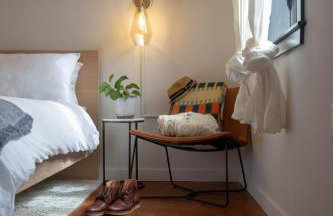
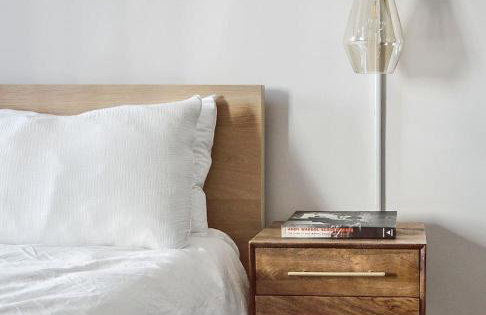
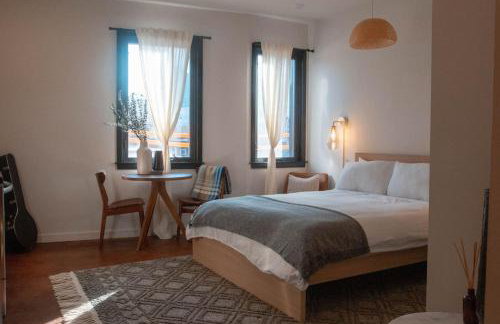
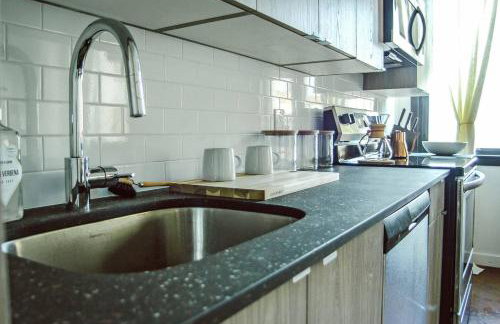
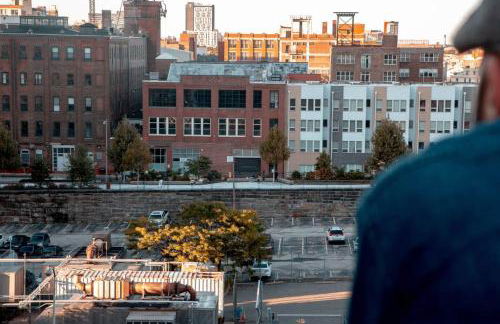
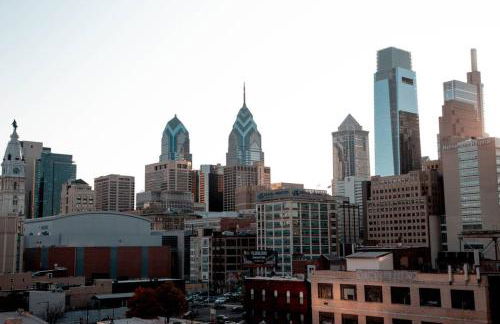
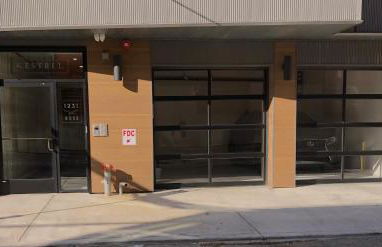
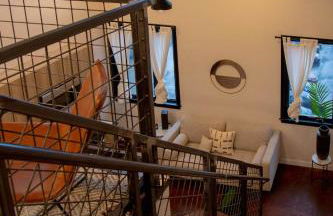
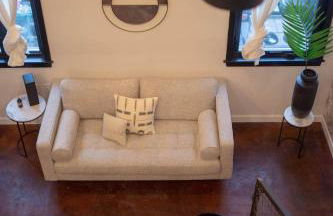
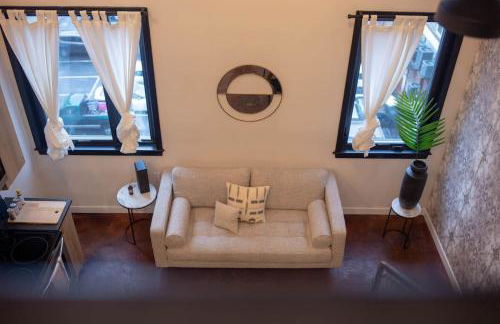
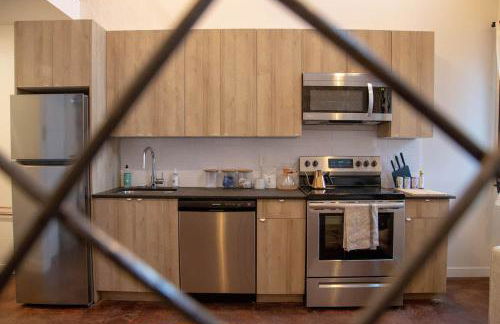
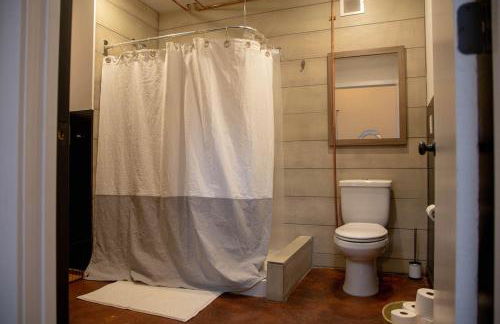
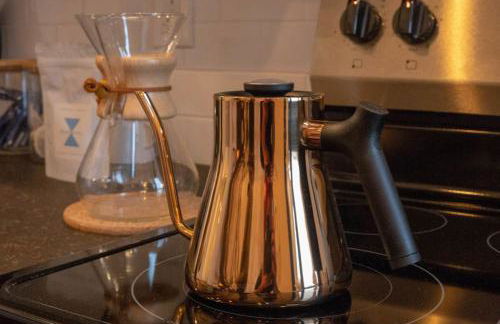
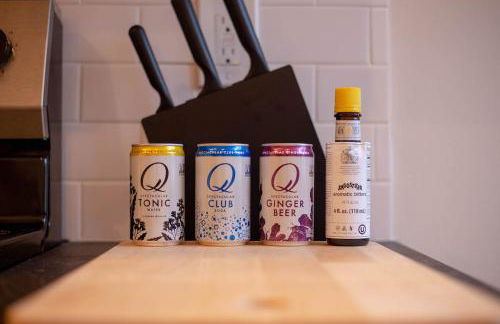
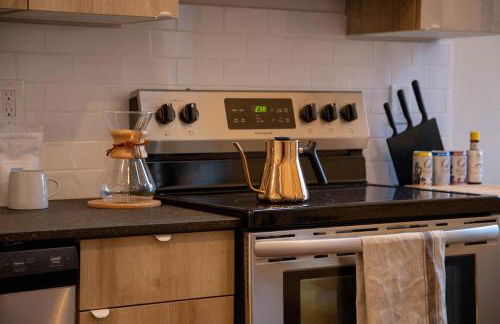
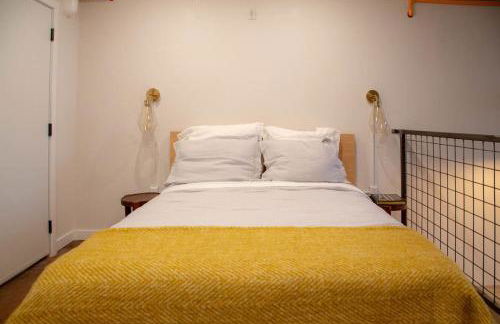
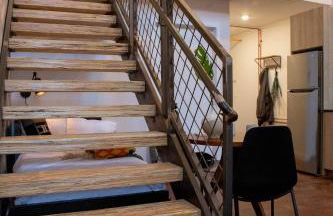
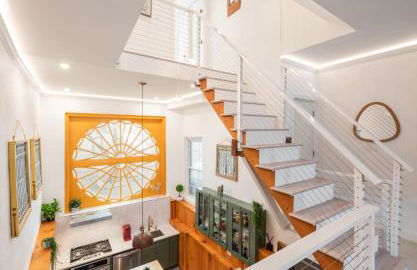
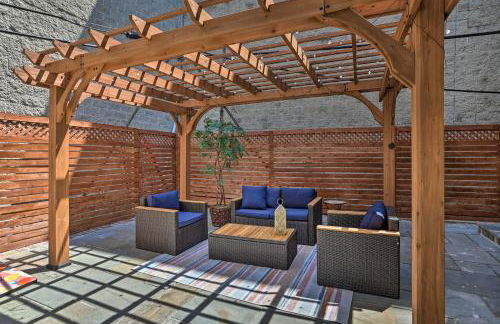
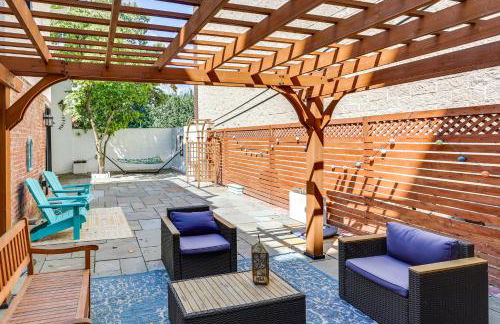
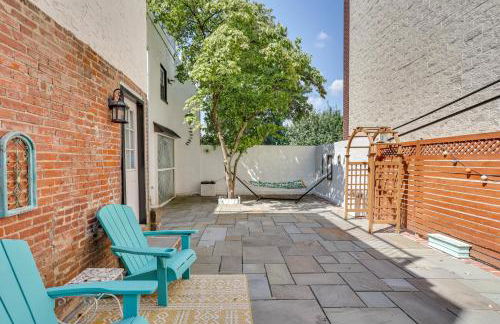
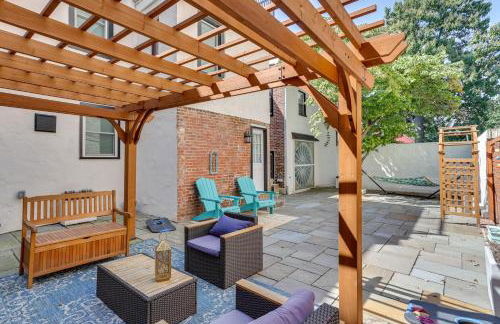
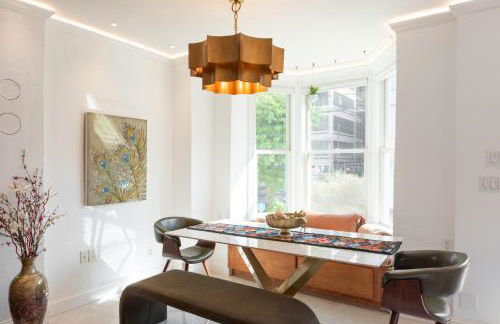
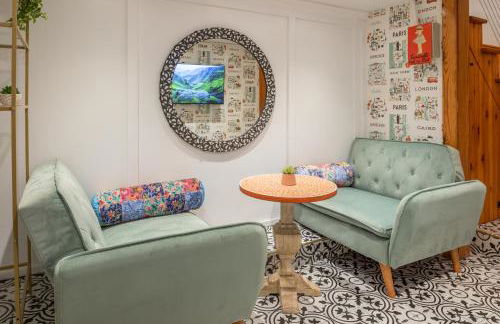
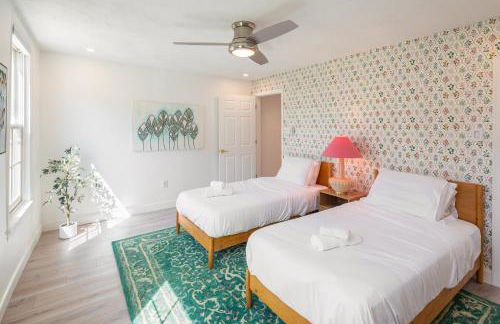
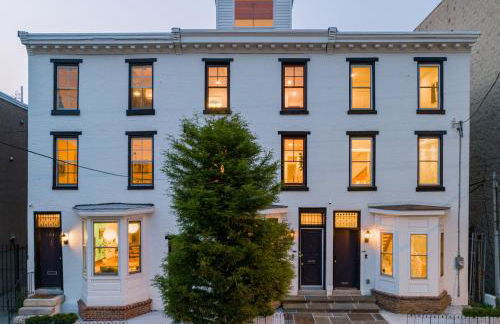
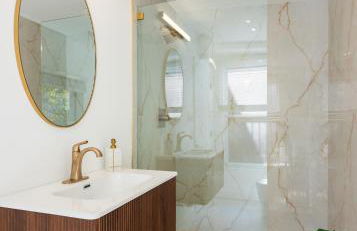
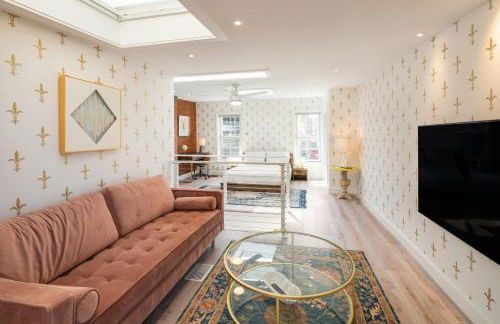
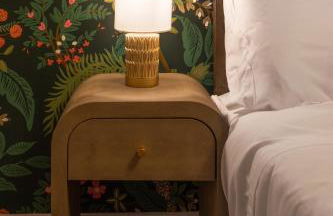
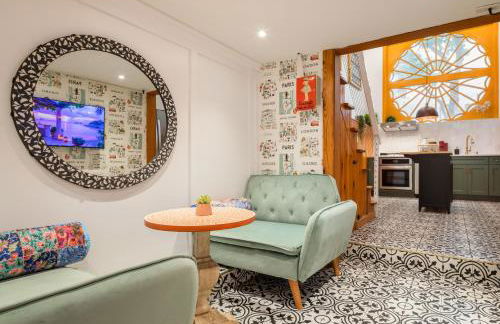
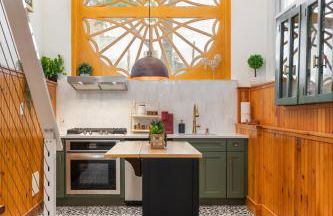
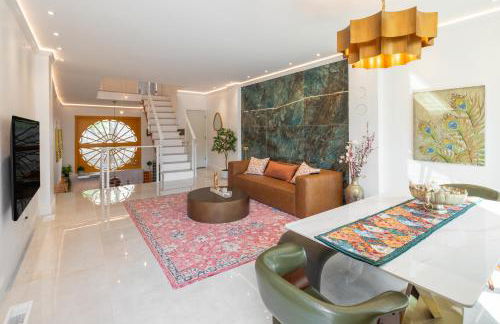
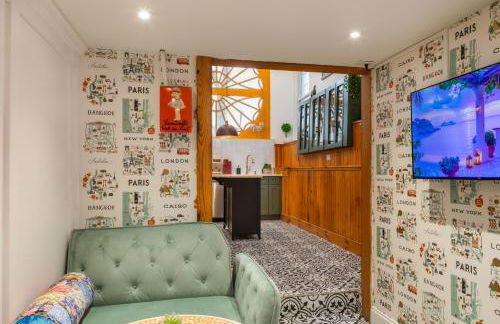
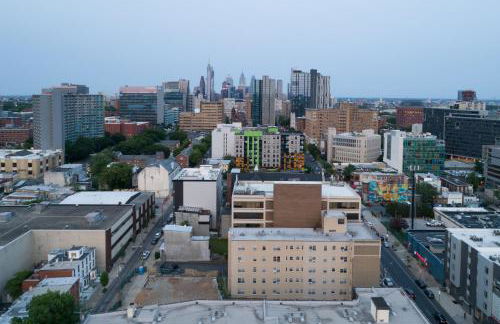
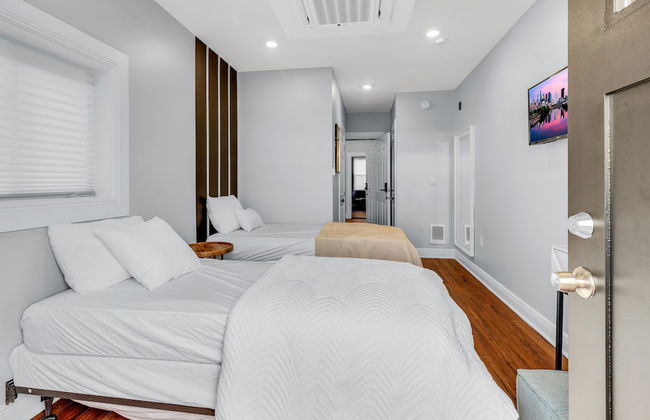
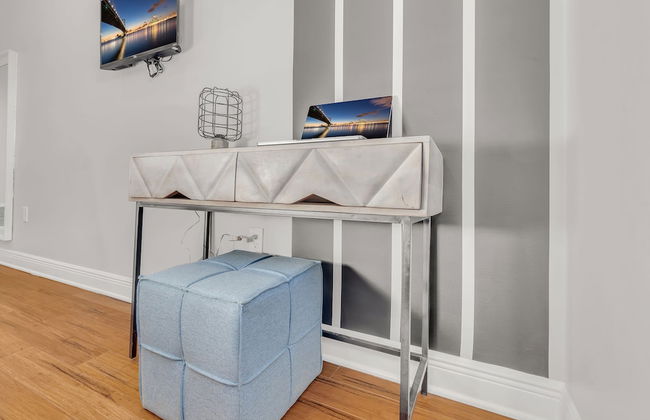
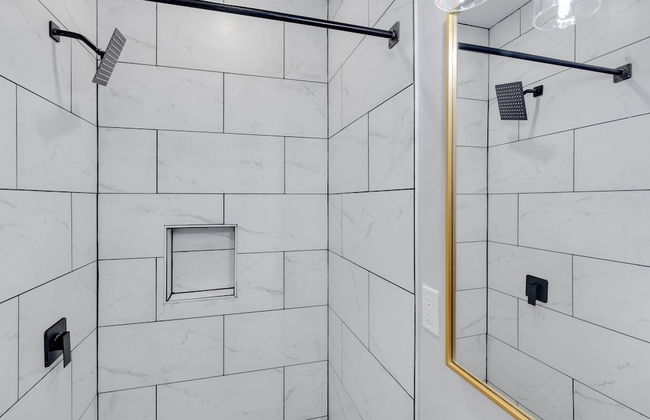
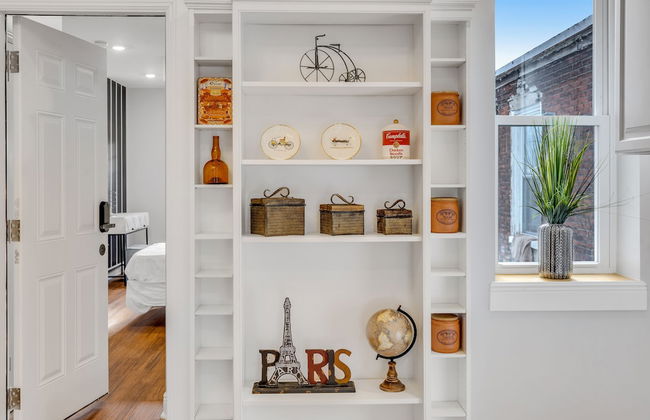
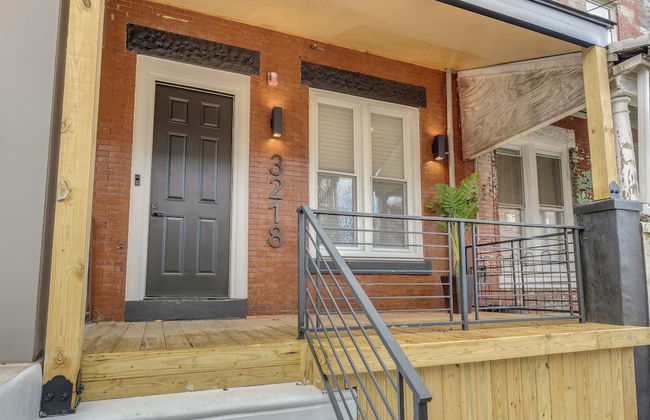
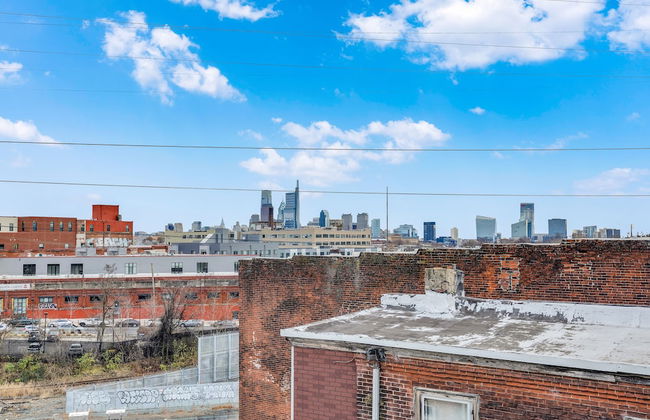
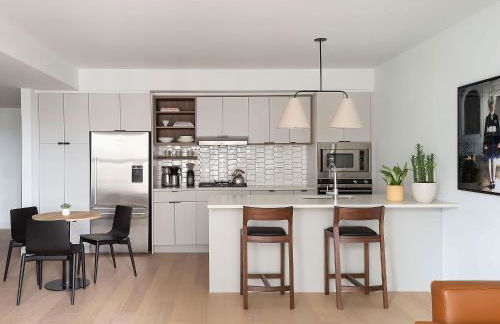
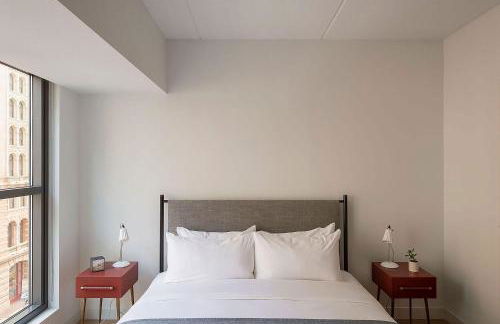
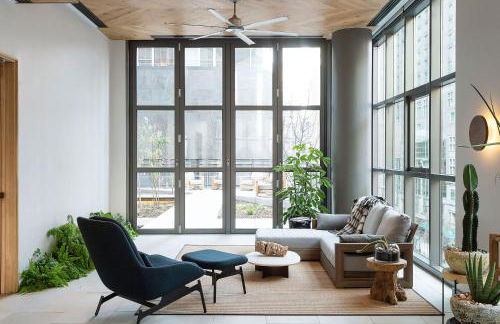
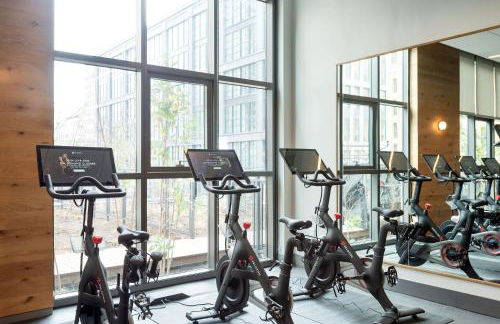
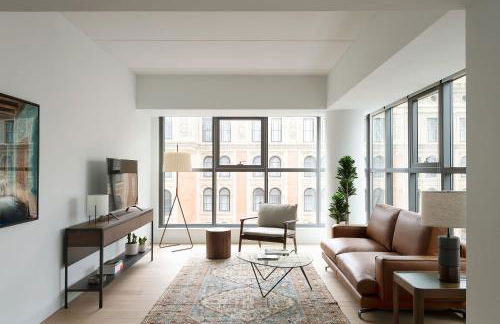
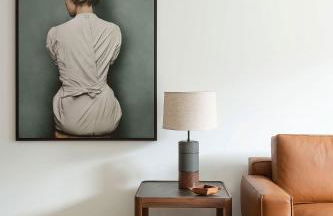
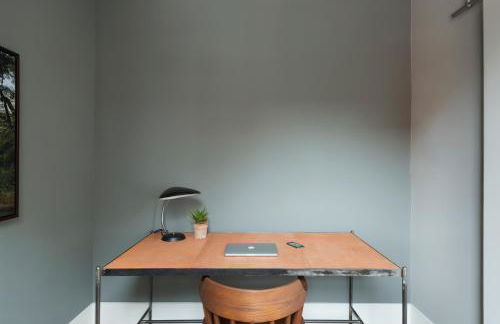
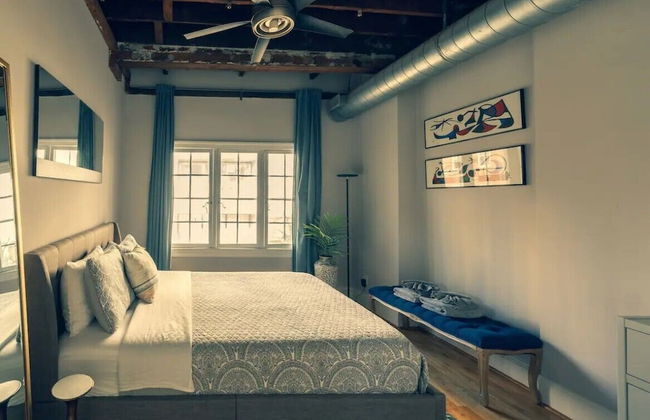
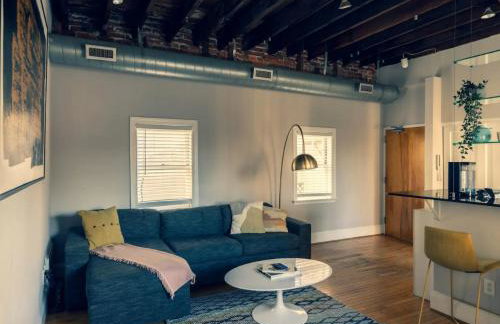
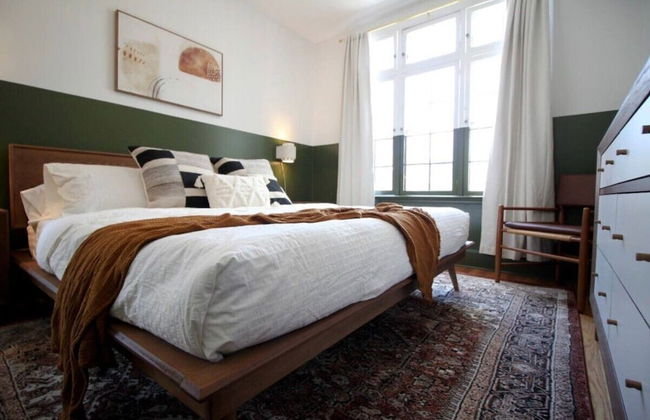
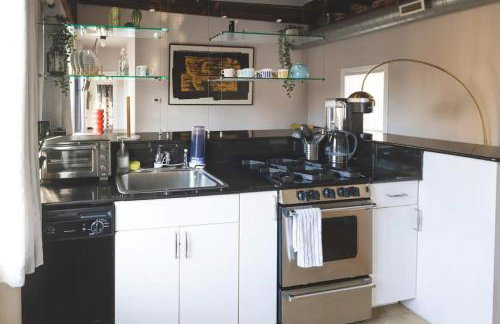
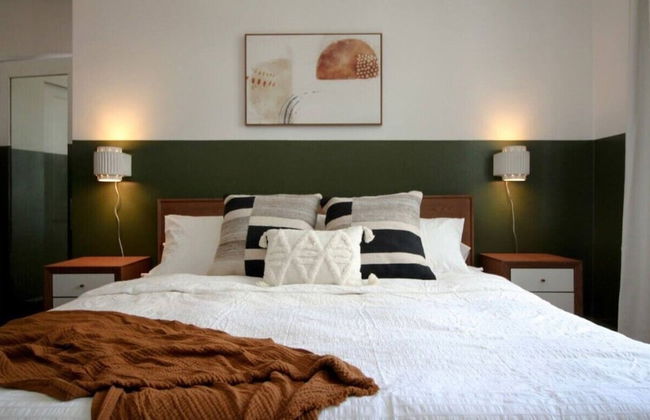
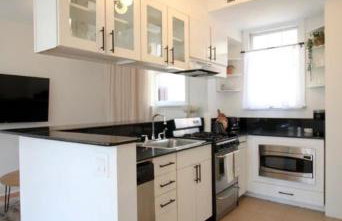
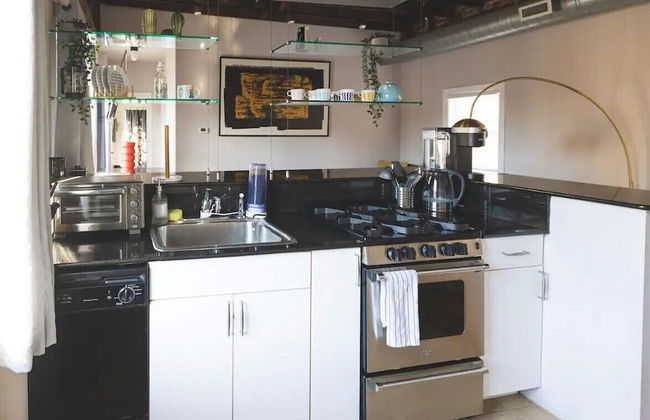
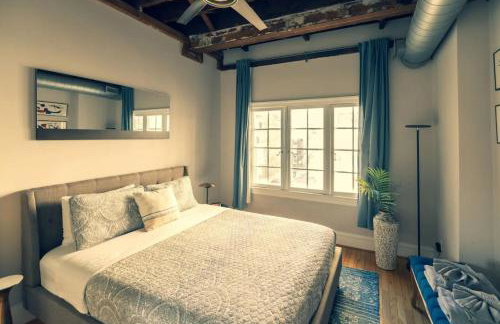
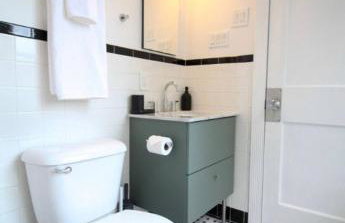
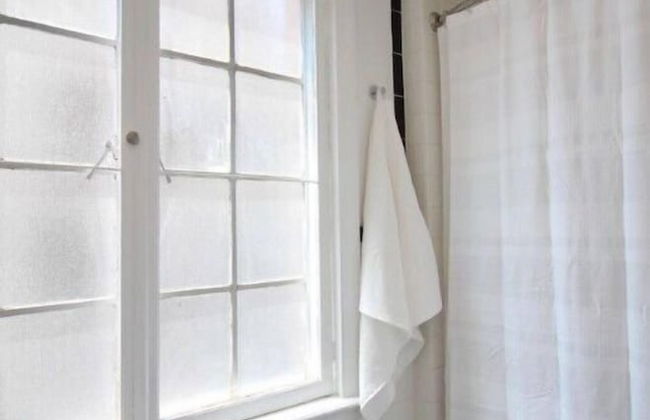
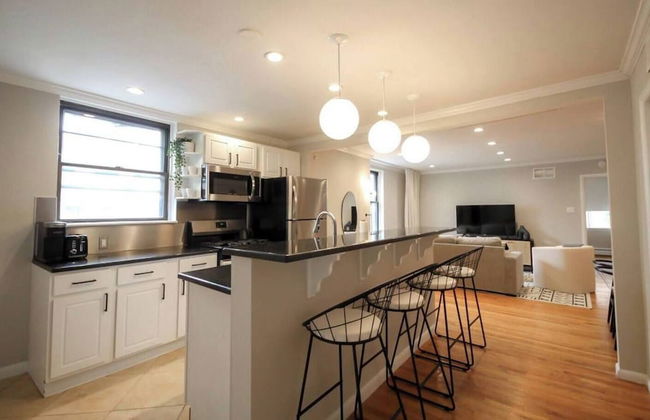
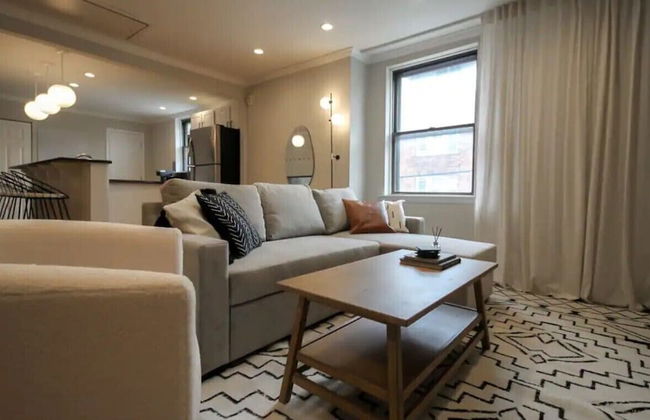
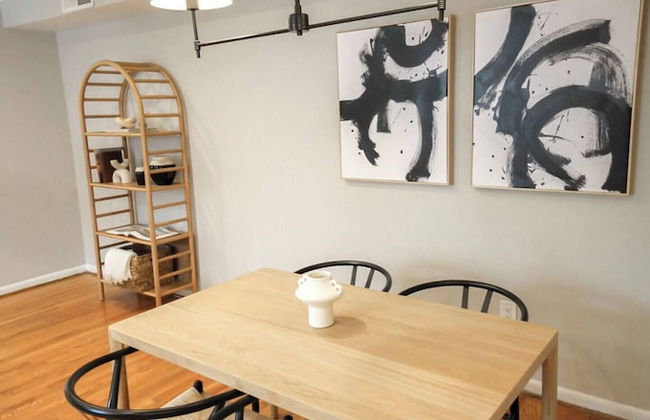
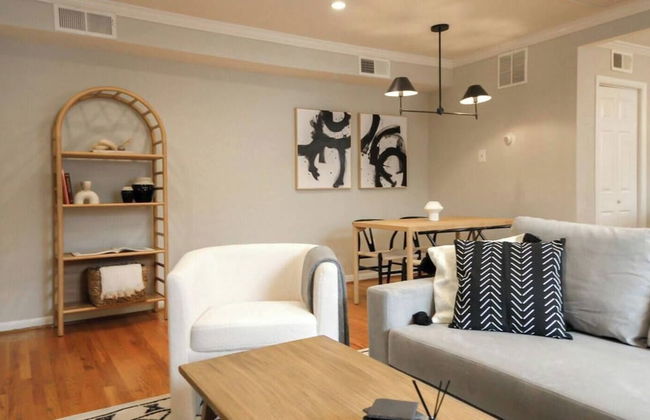
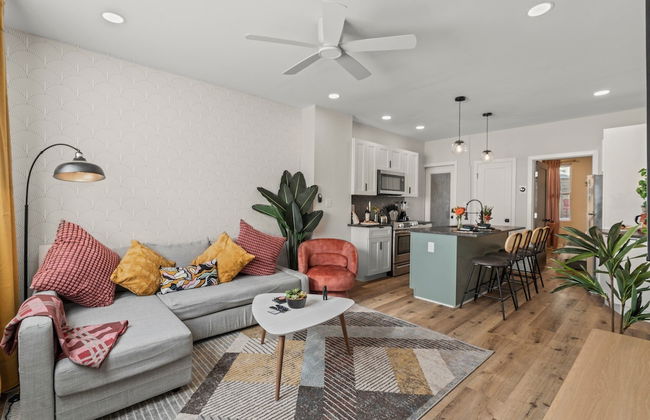
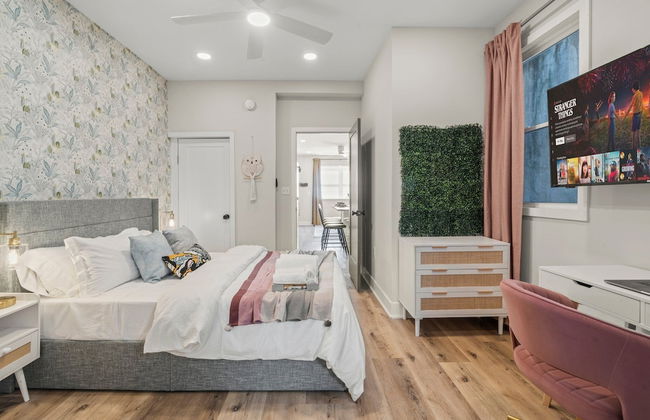
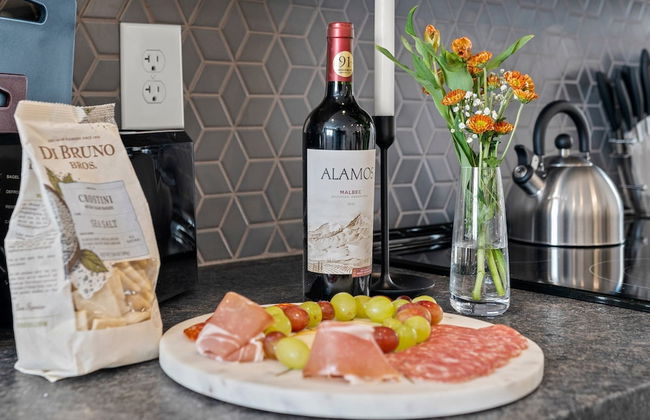
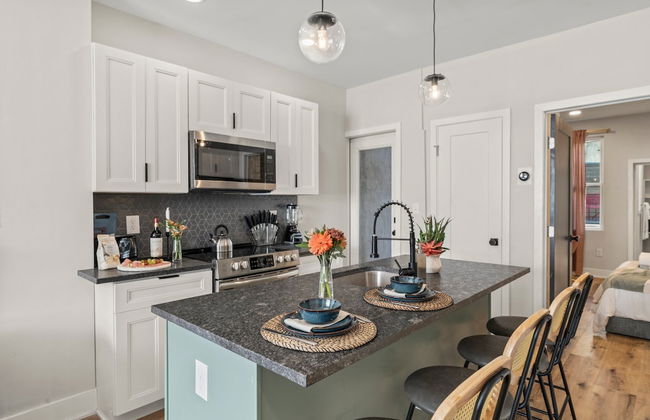
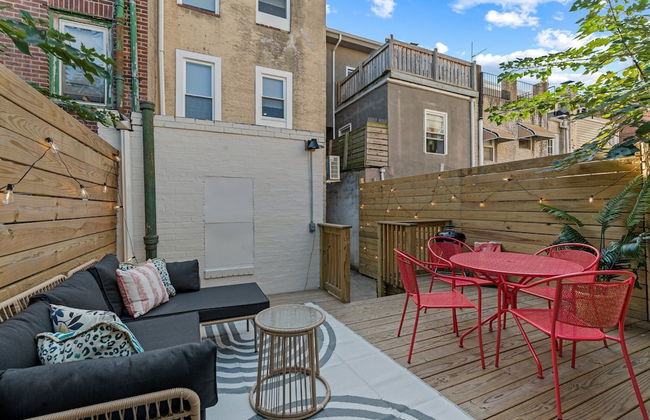
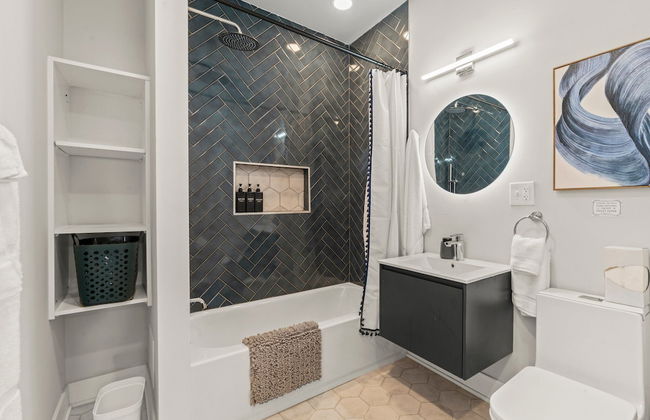
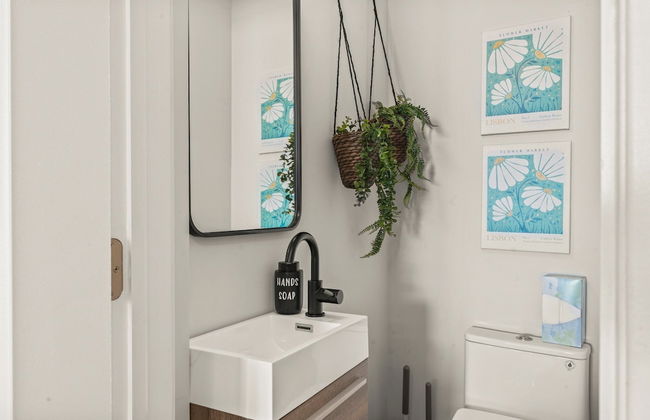
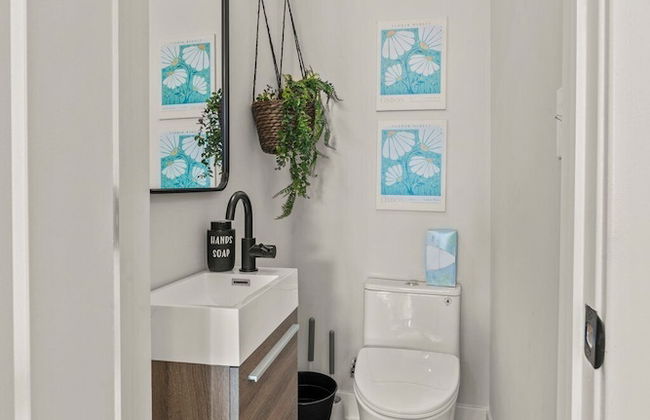
Passyunk Square Spacious 1BR - Huge Deck - Foto 1
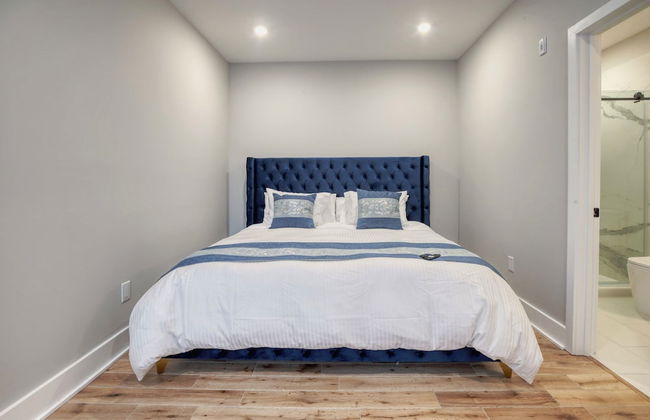
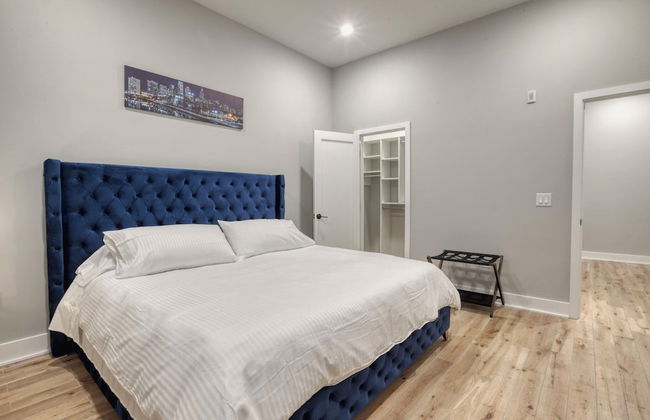
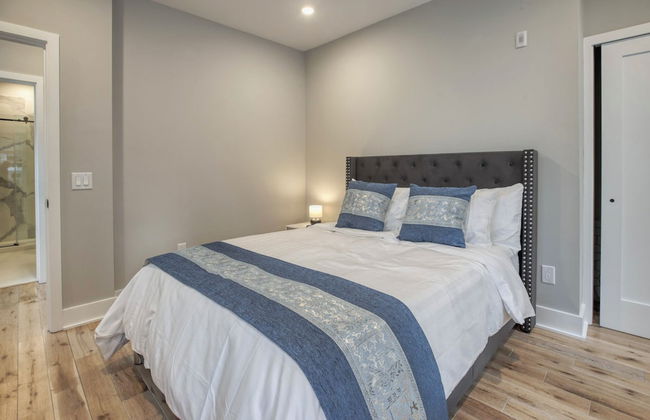
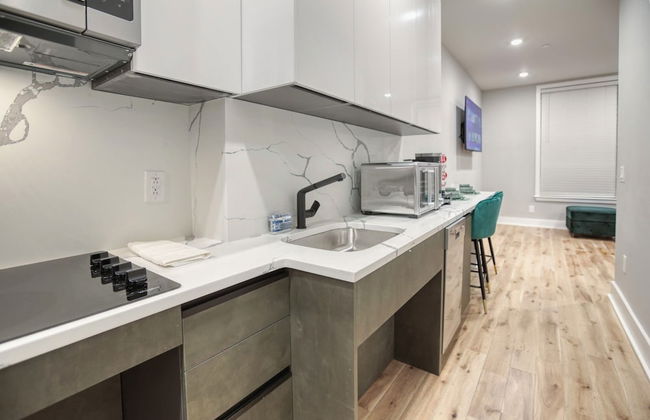
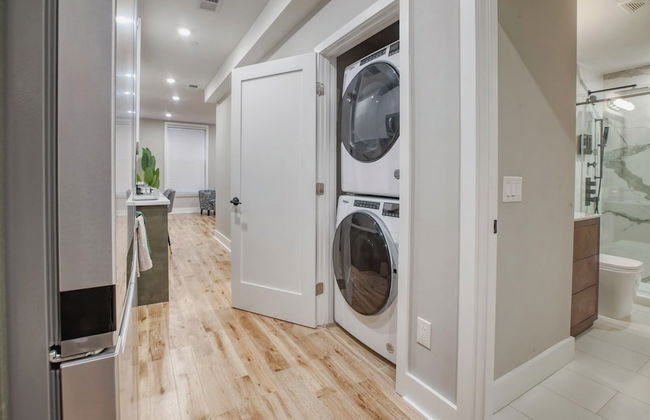
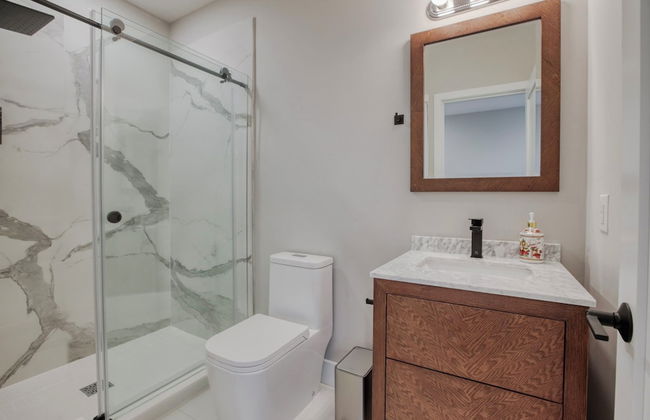
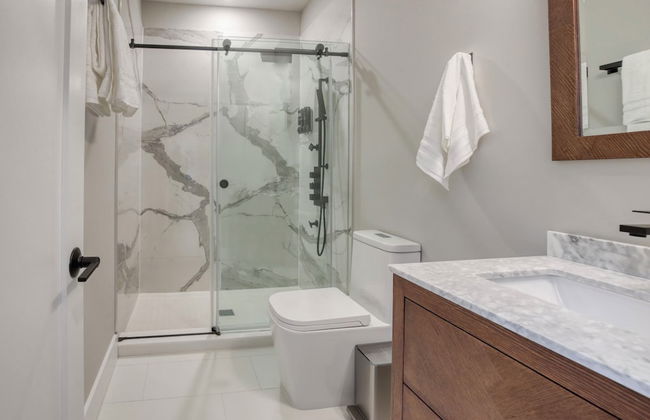
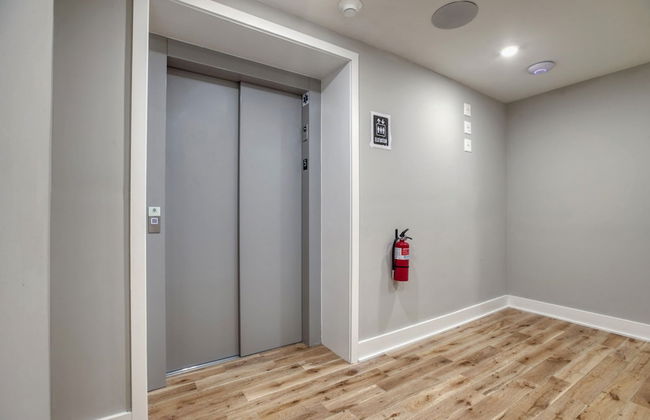
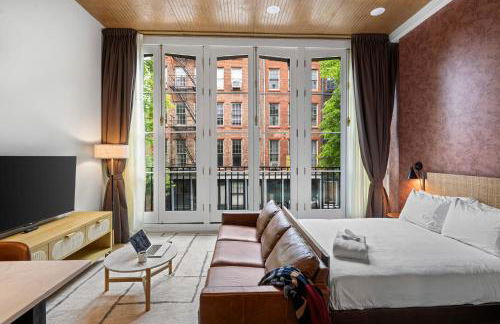
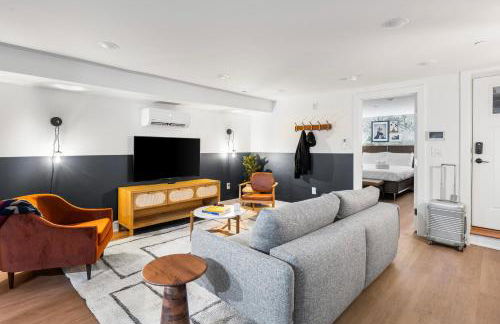
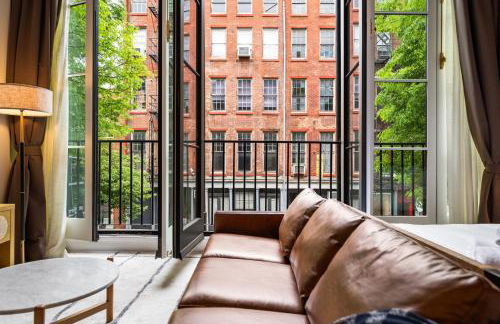
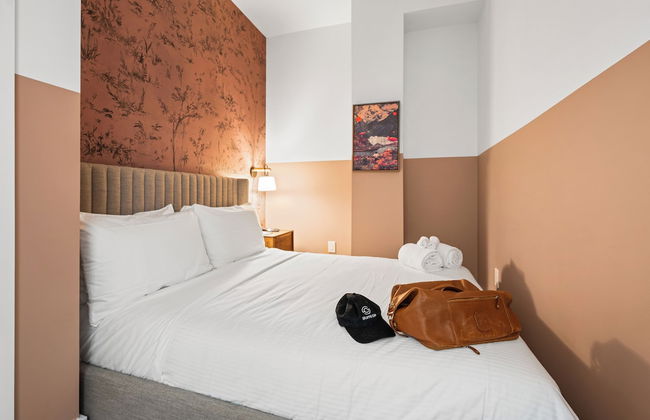
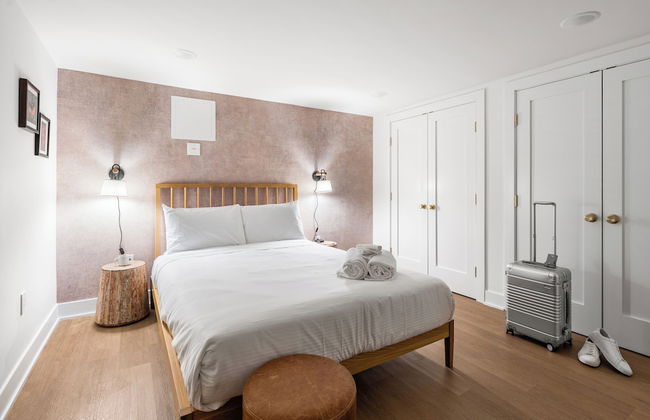
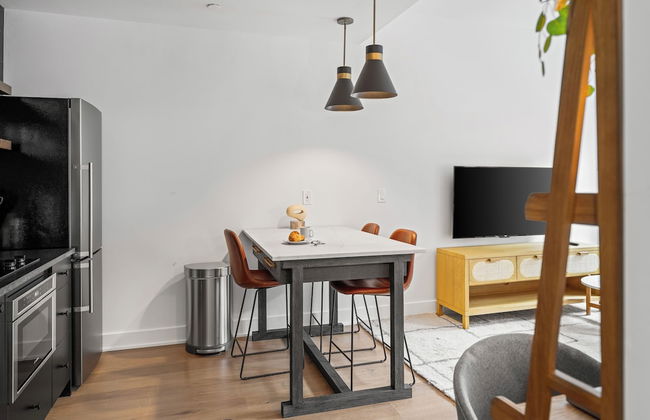
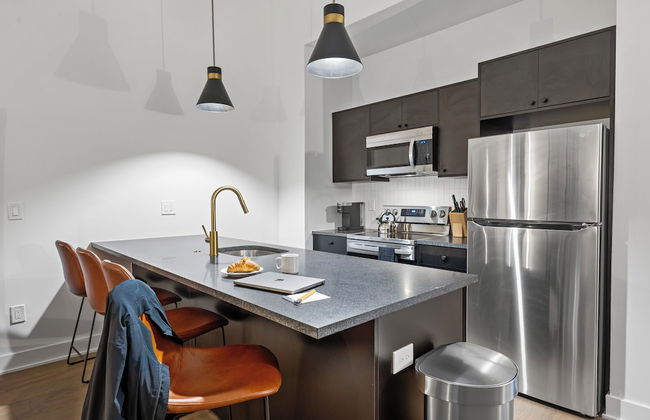
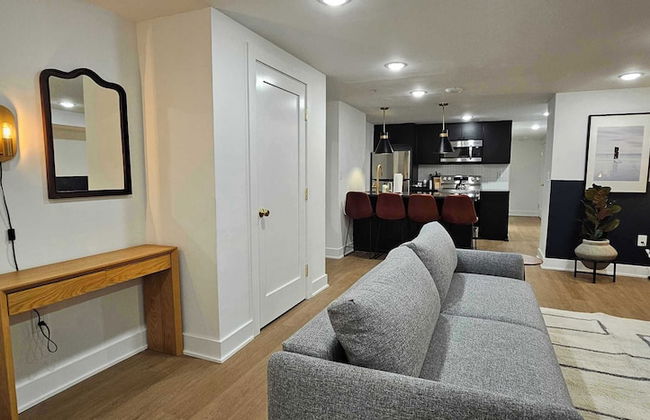
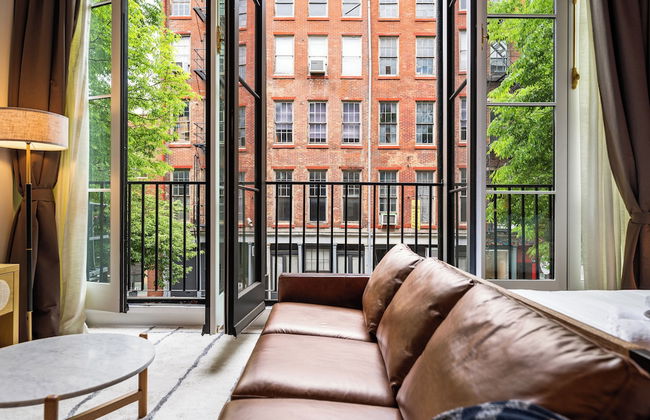
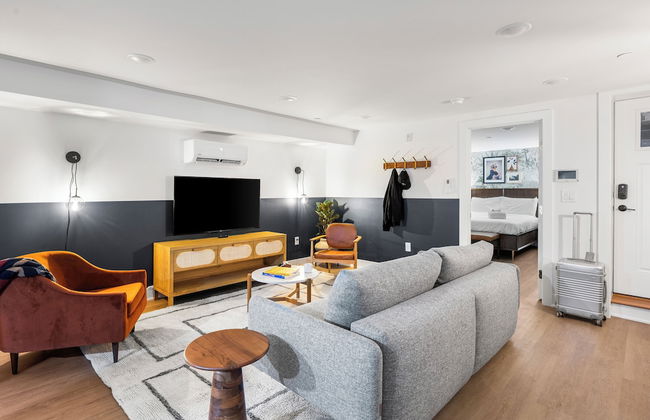
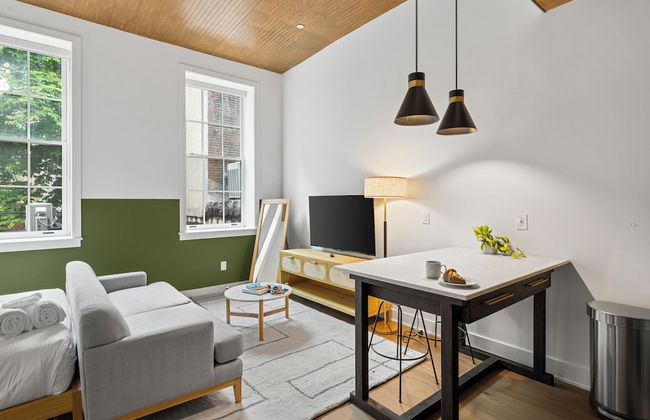
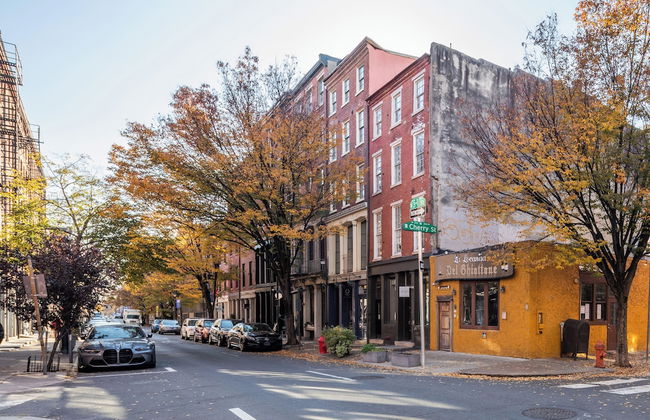
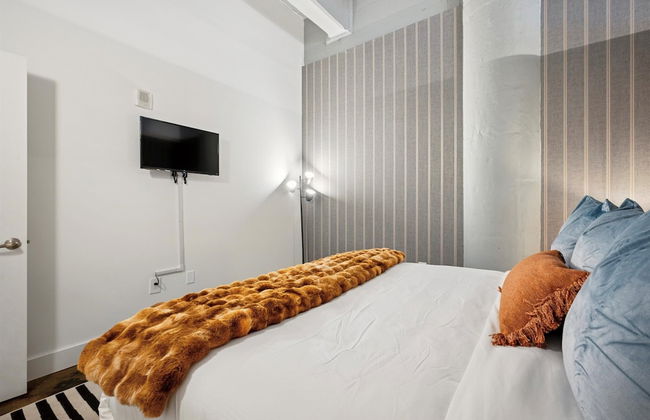
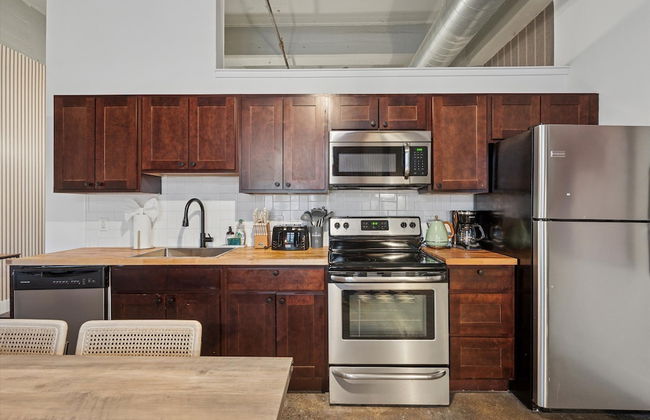
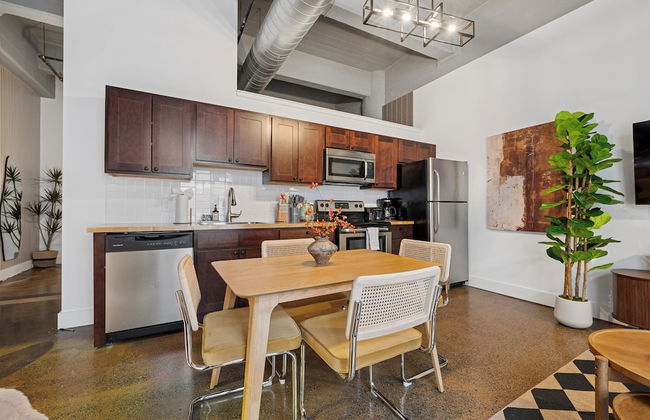
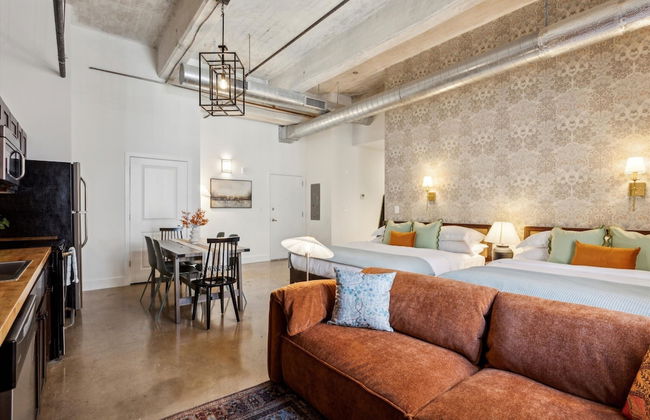
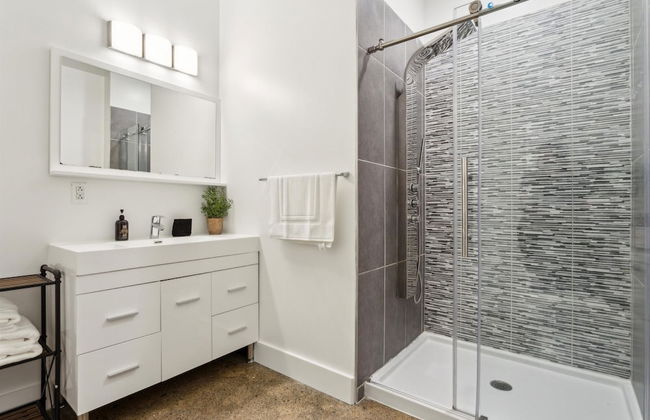
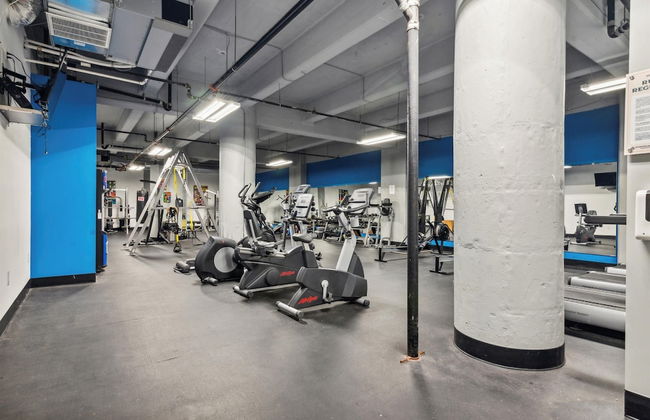
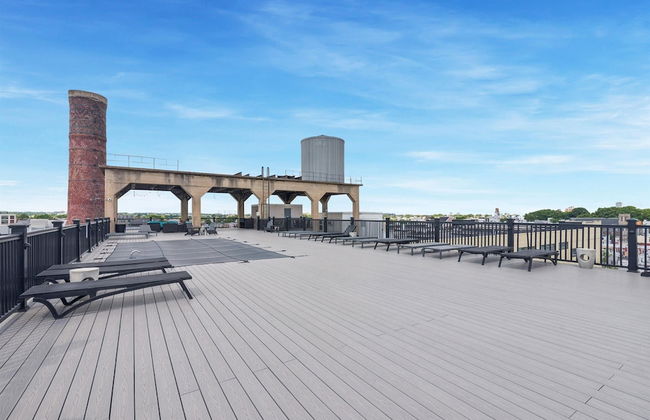
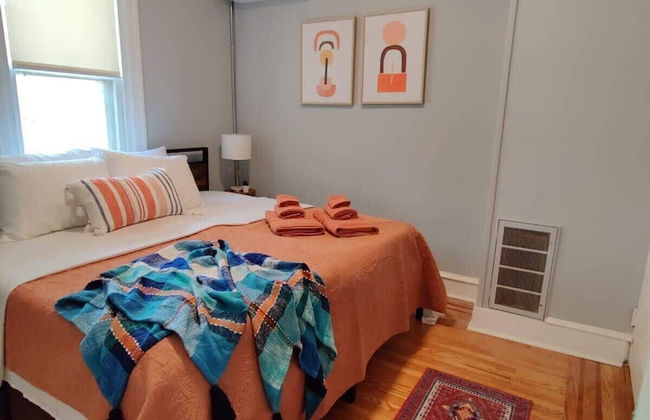
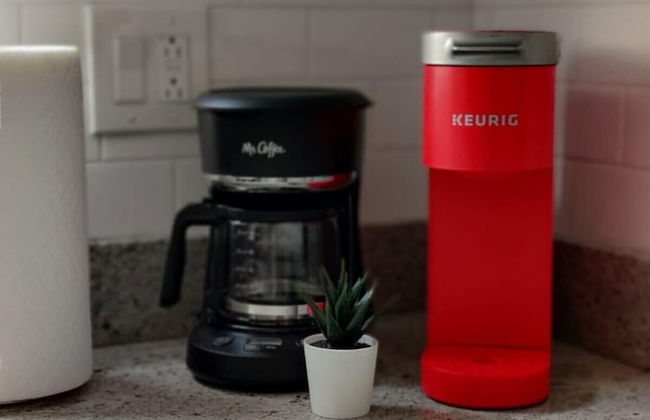
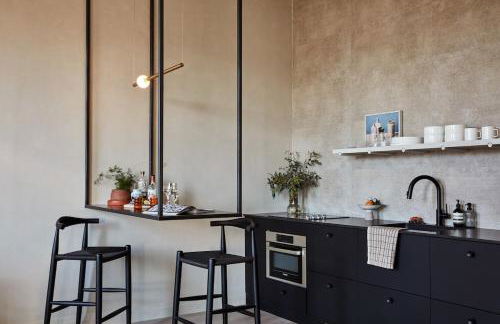
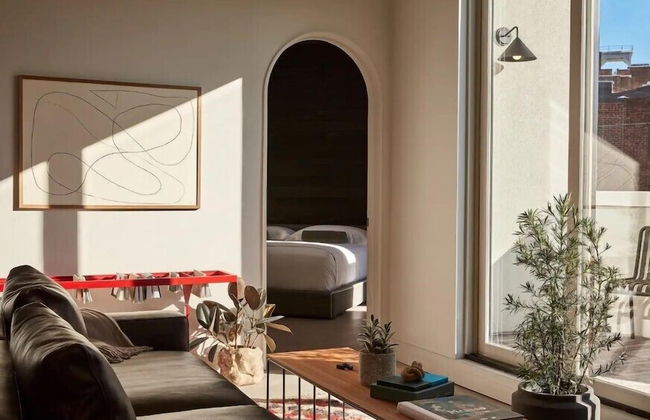
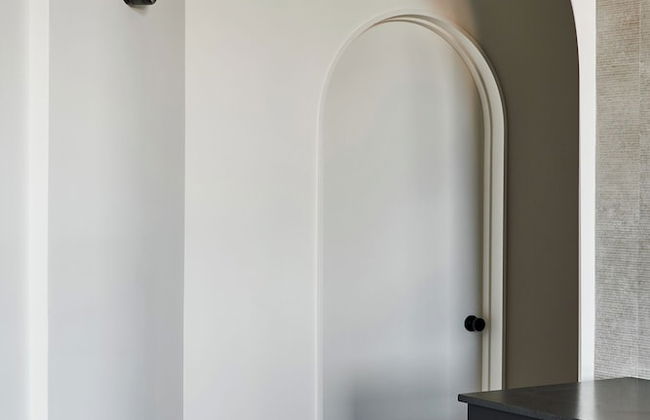
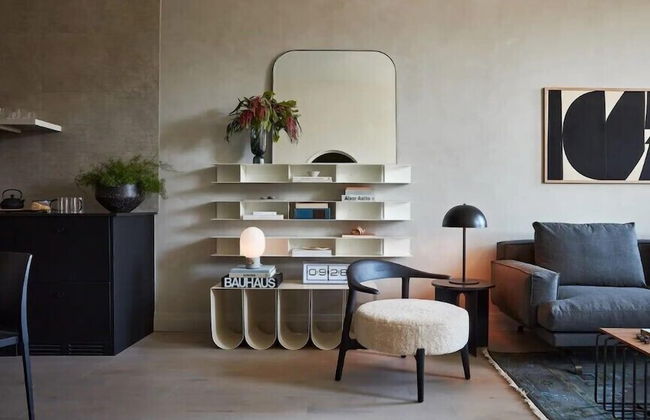
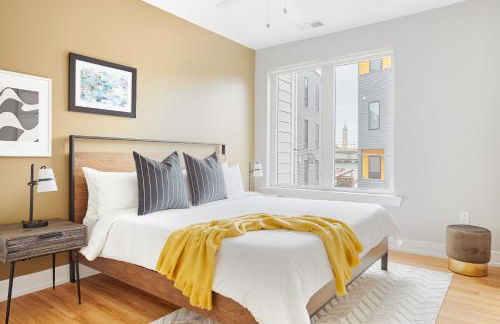
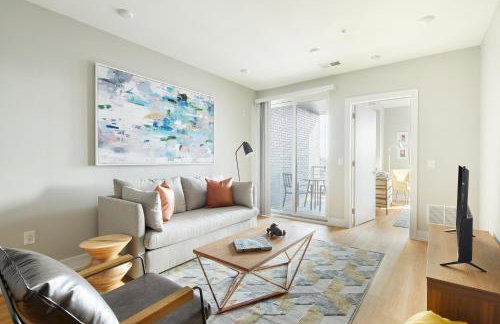
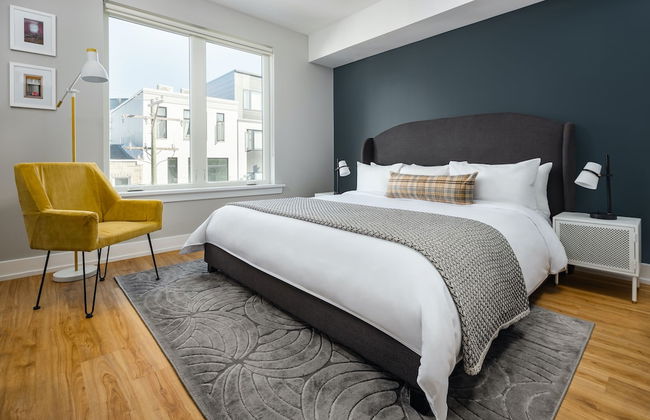
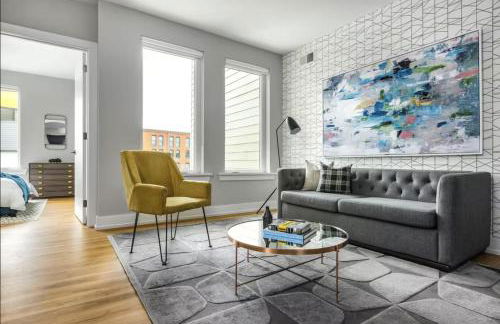
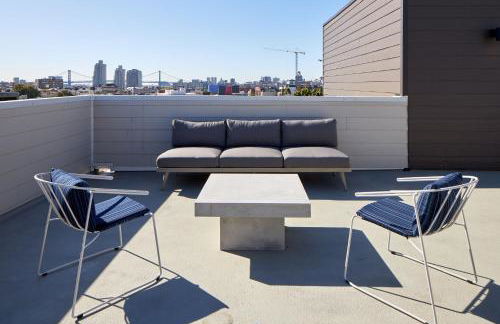
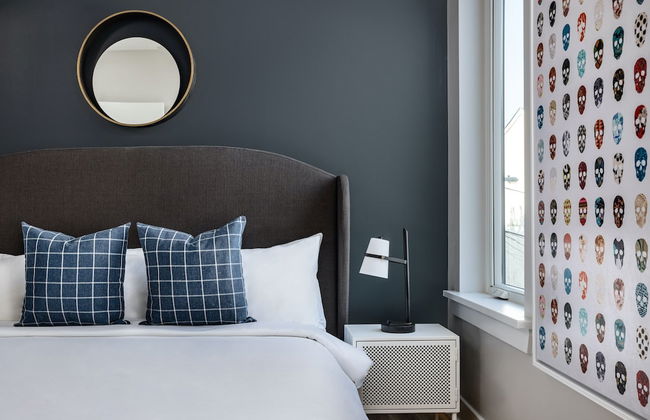
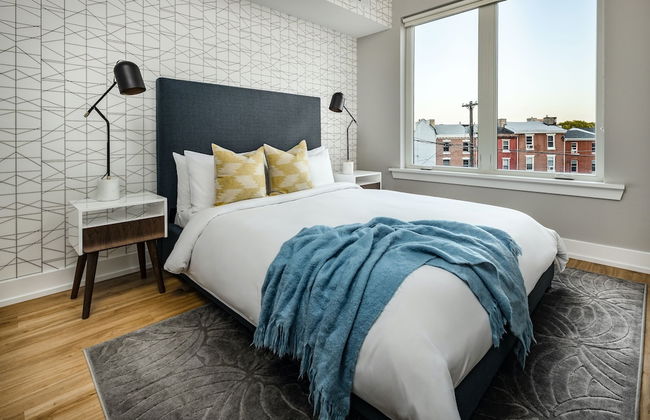
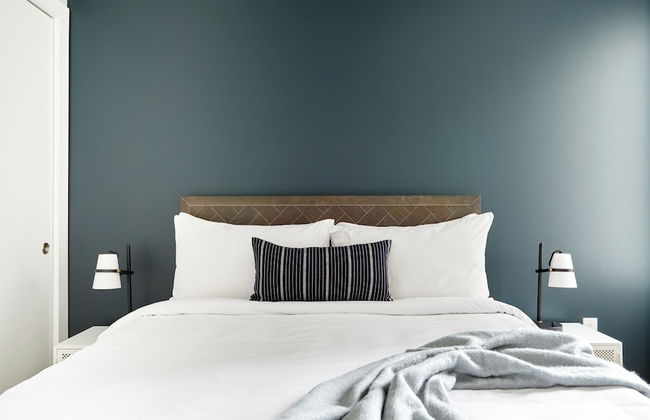
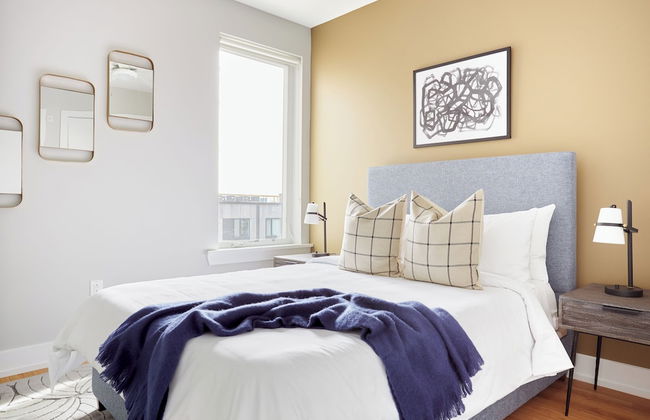
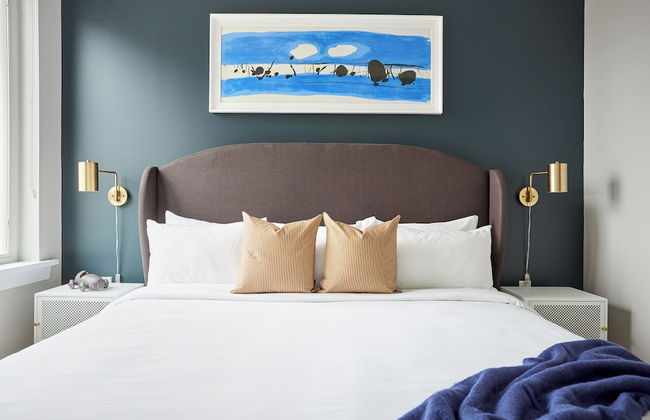
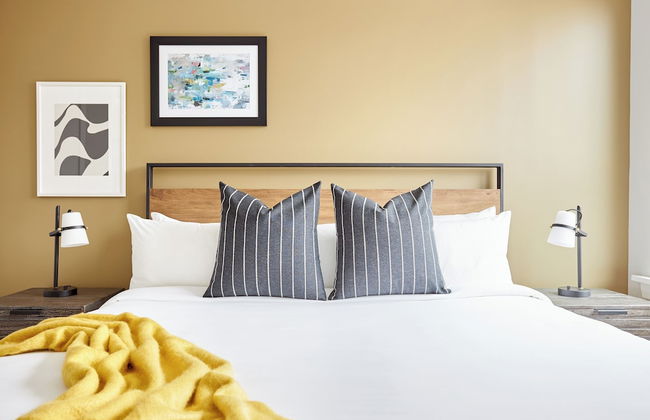
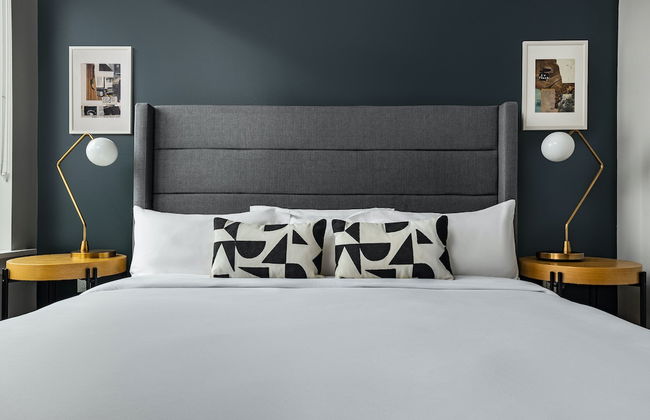
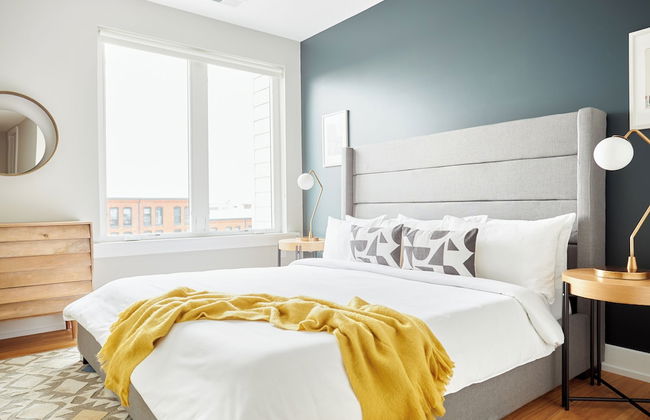
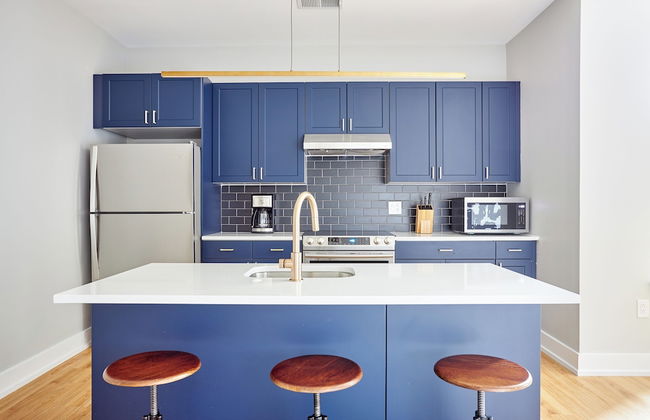
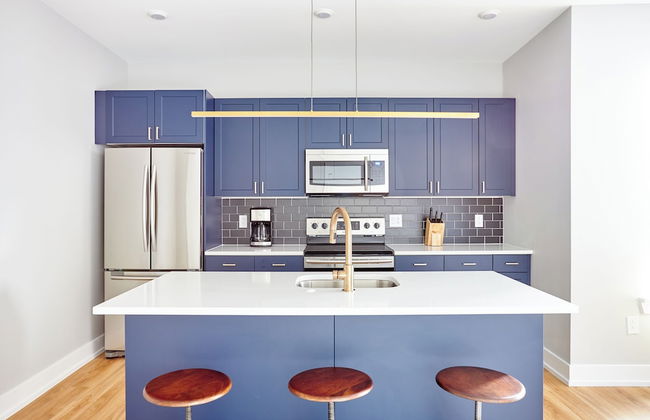
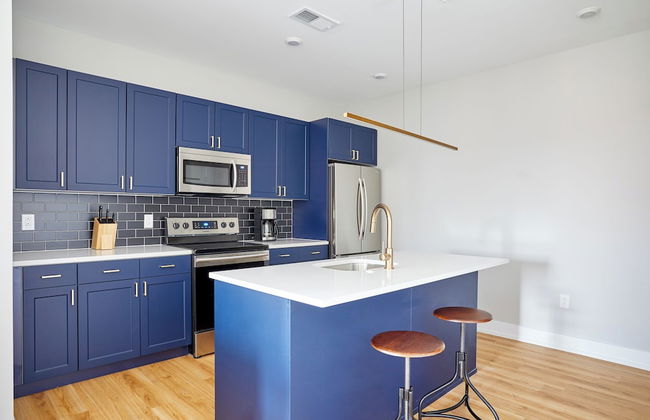
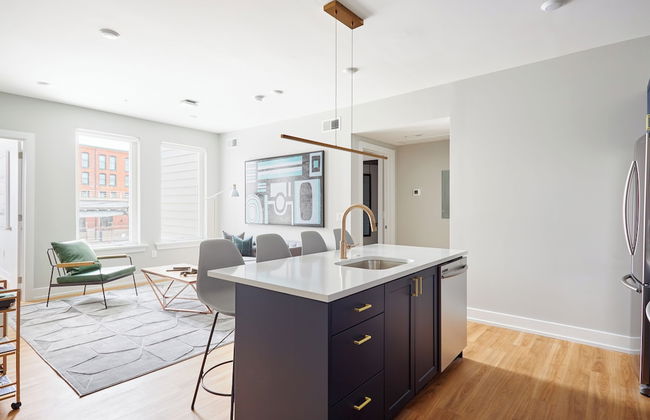
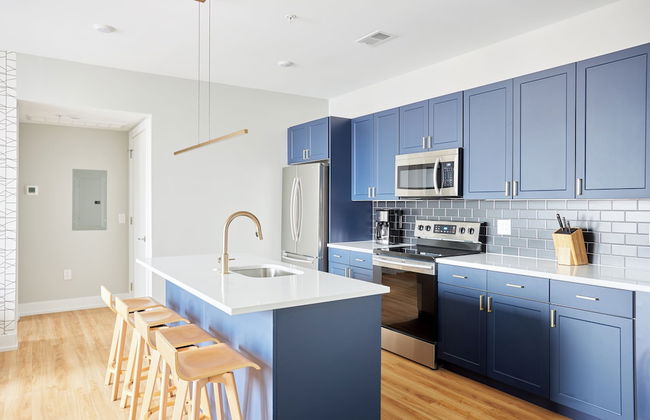
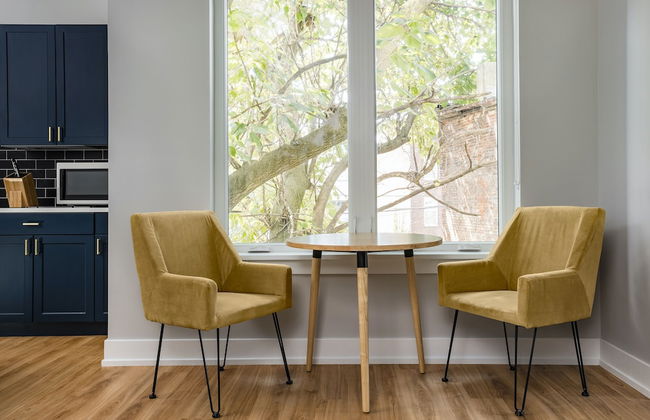
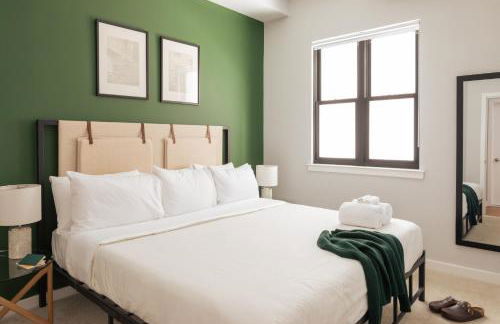
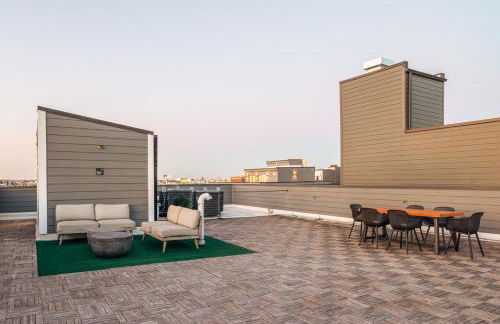
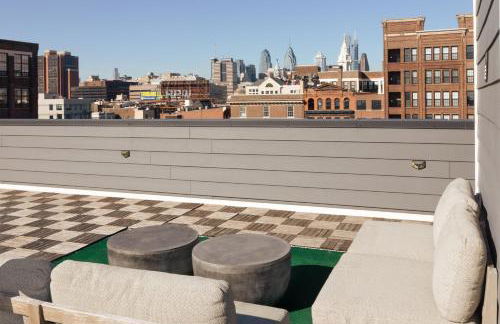
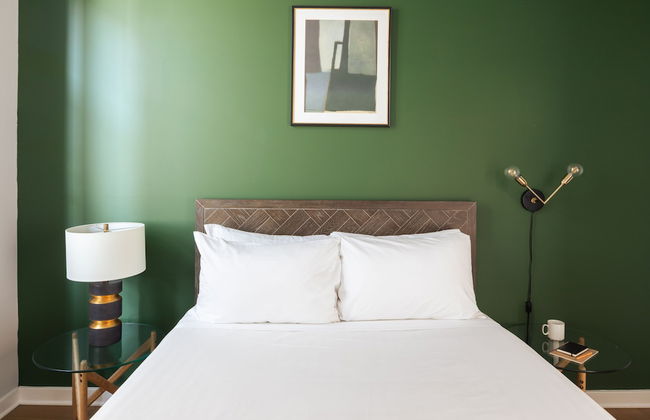
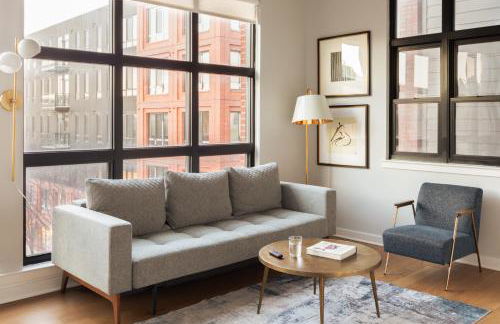
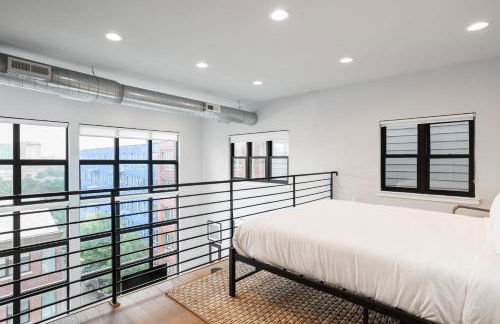
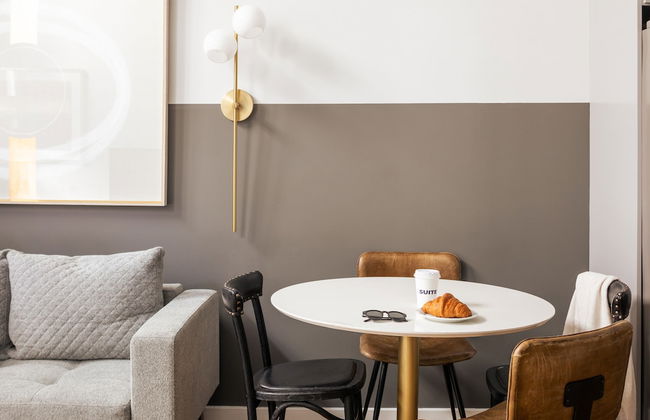
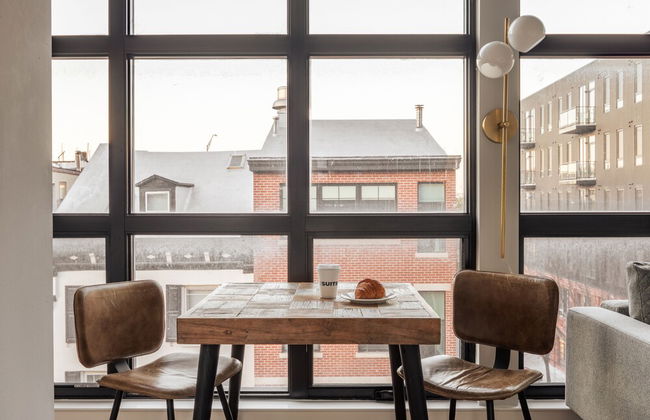
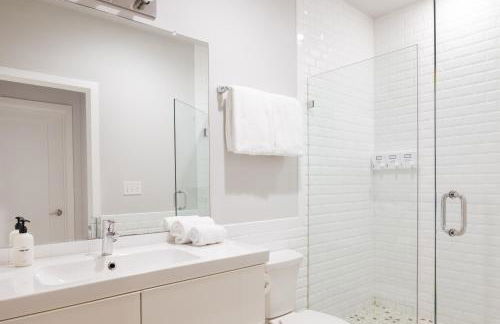
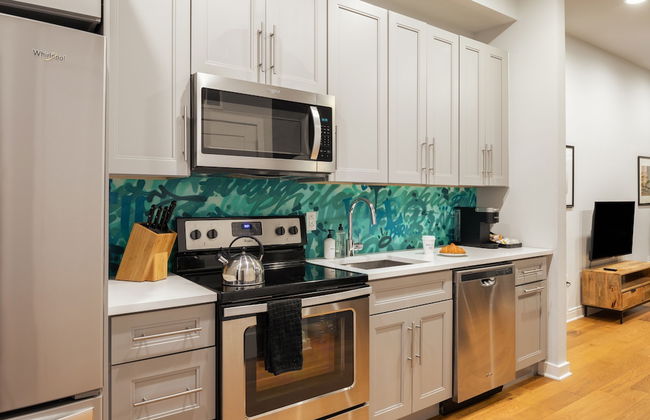
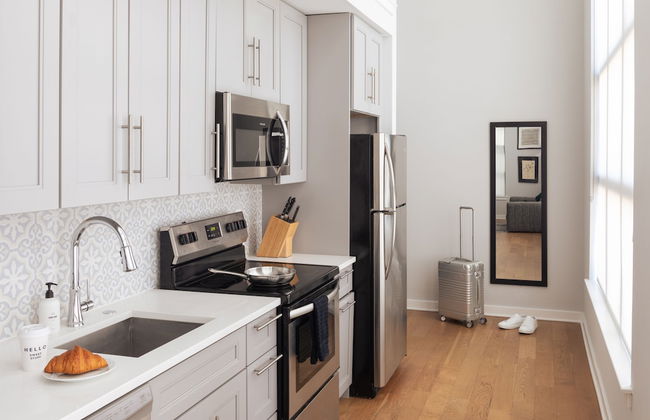
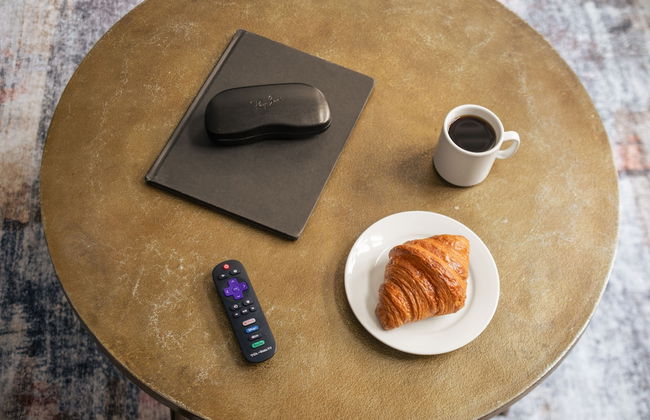
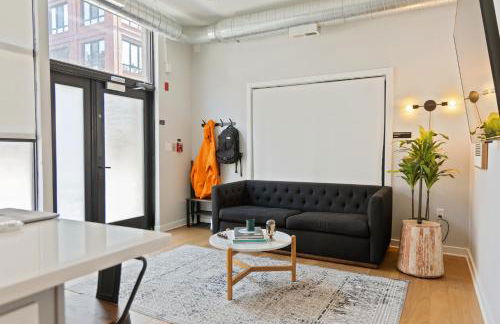
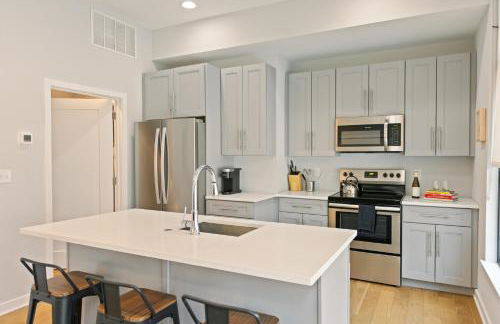
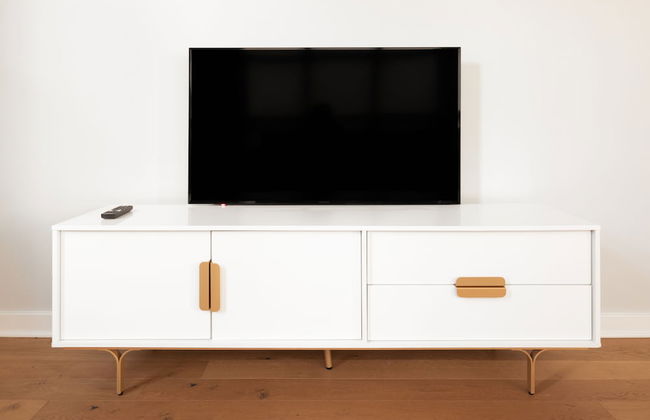
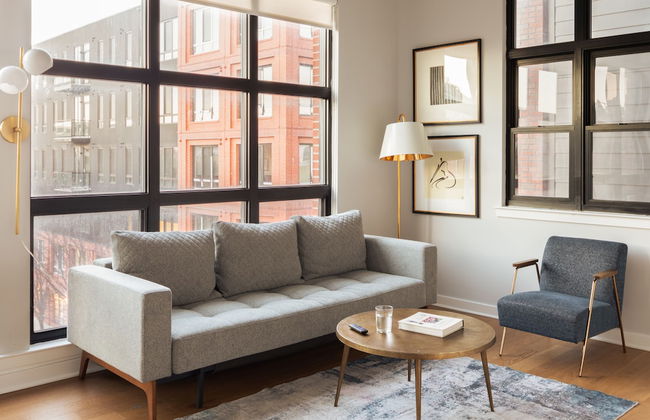
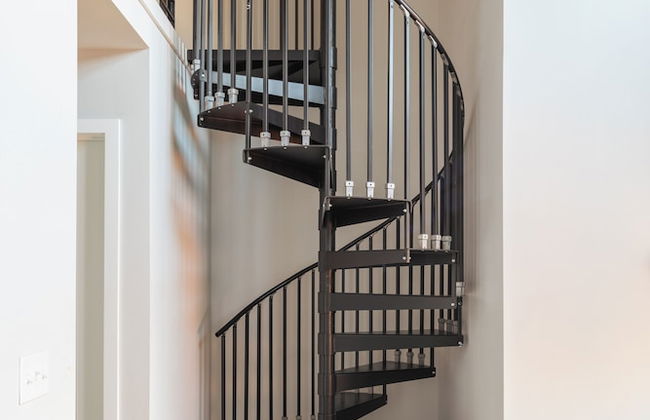
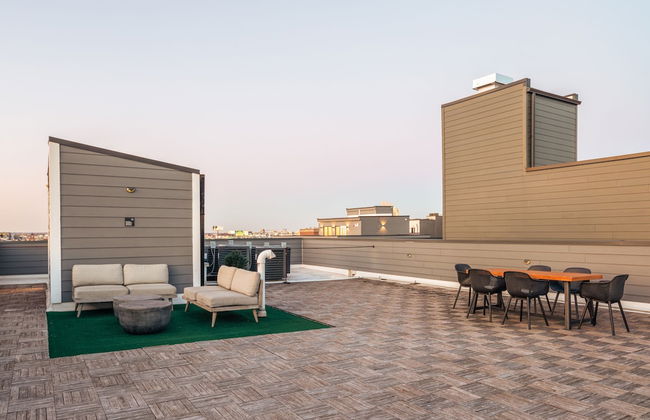
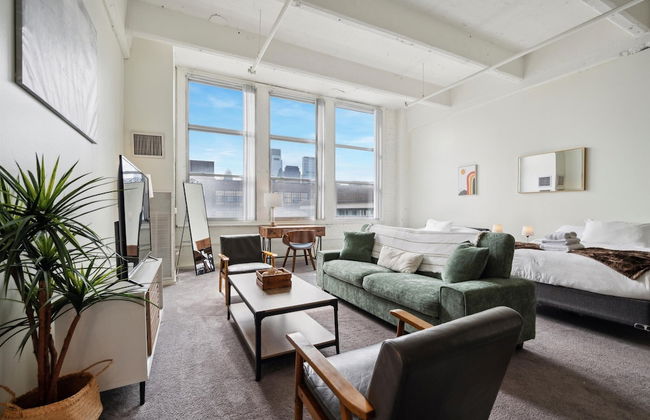
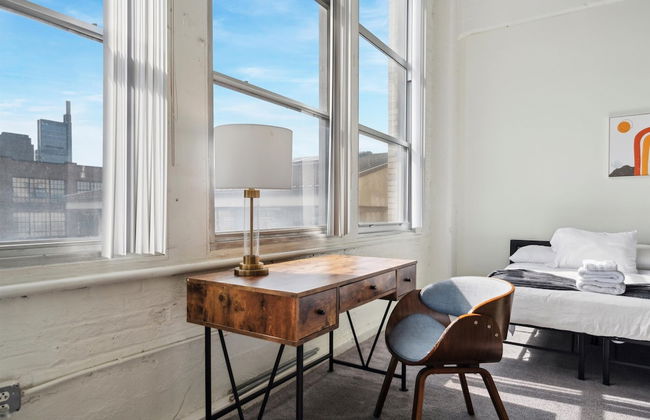
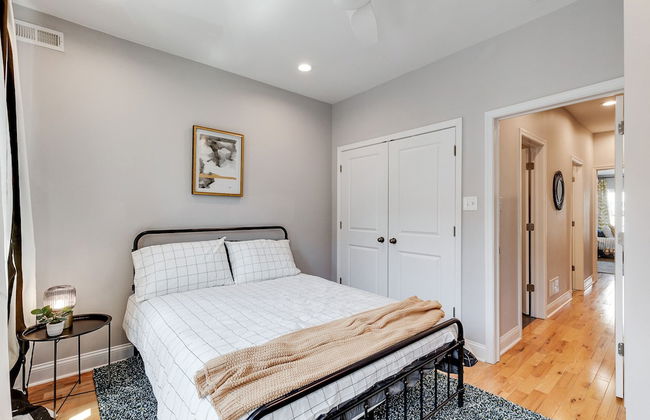
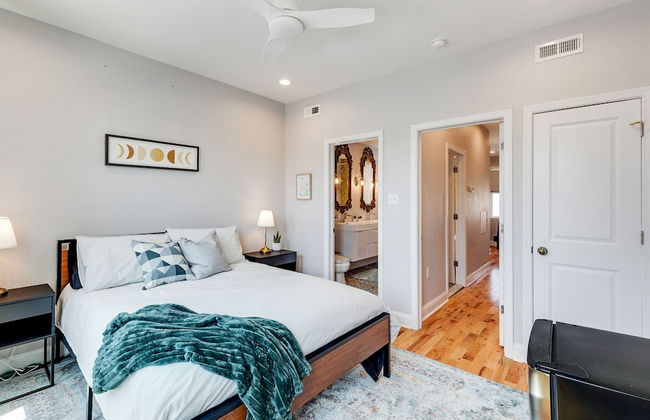
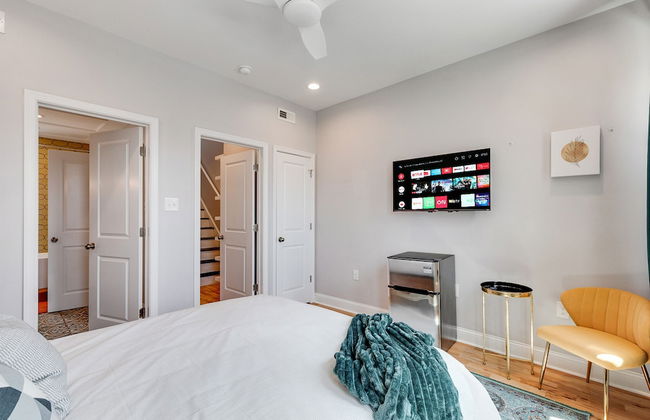
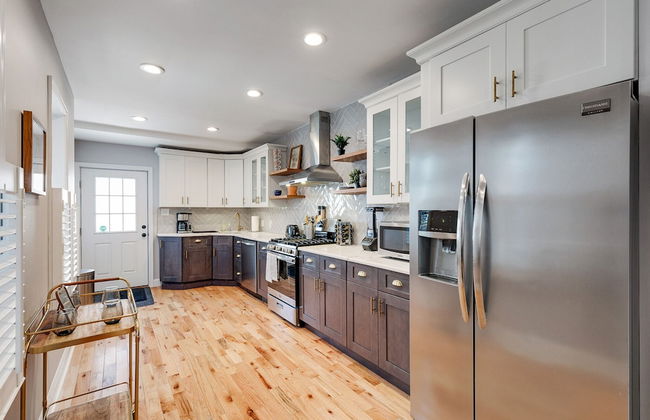
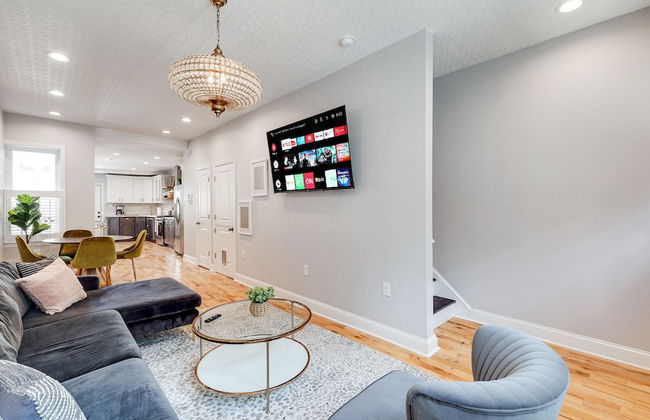
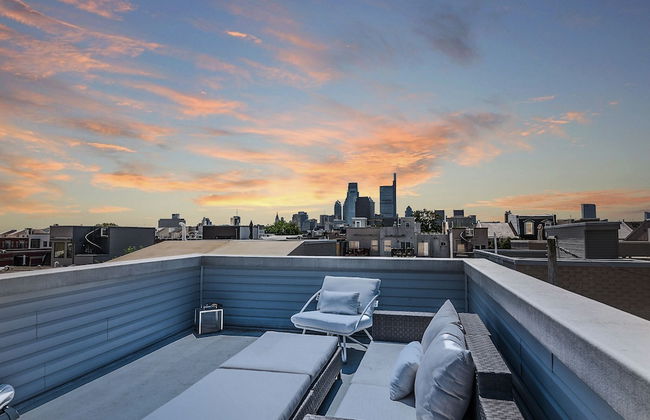
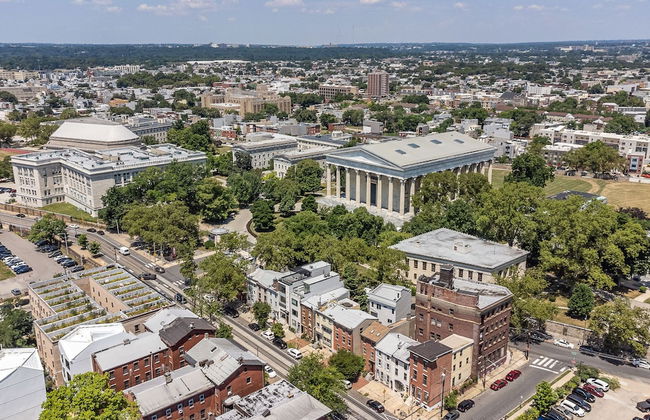
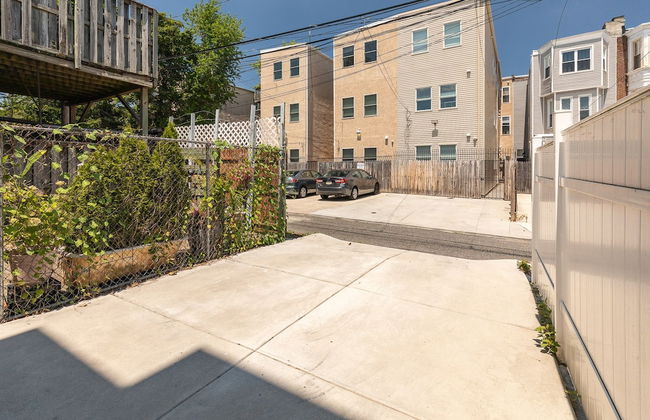
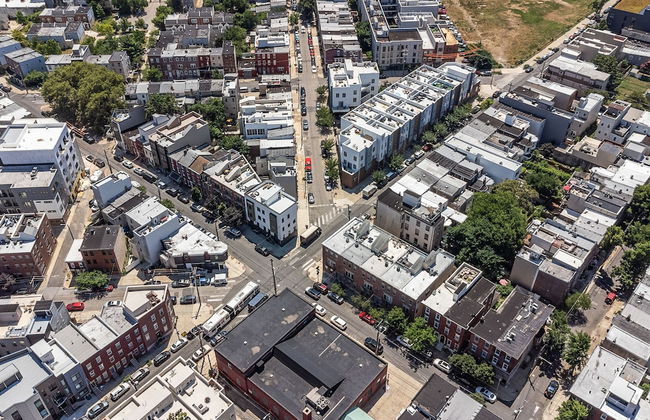
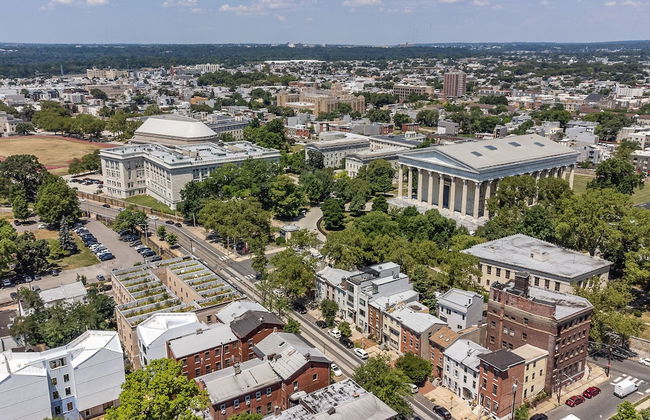
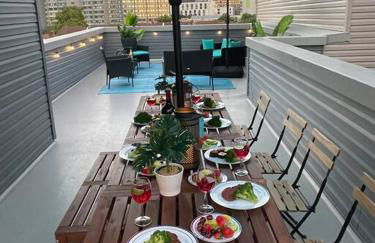
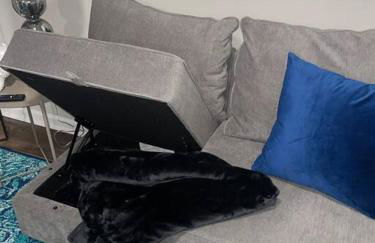
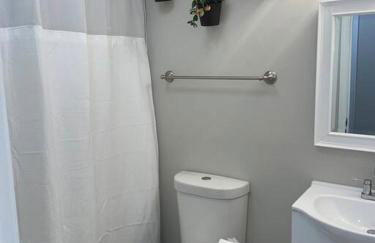
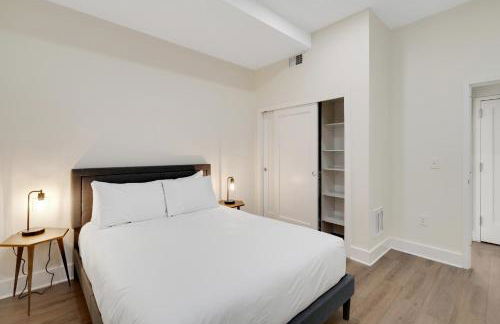
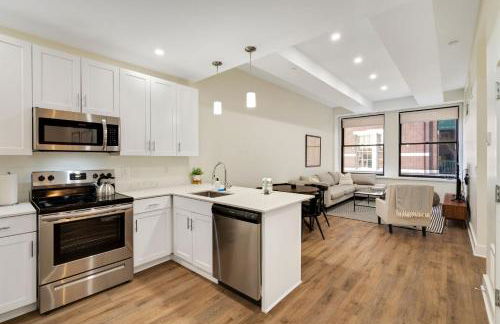
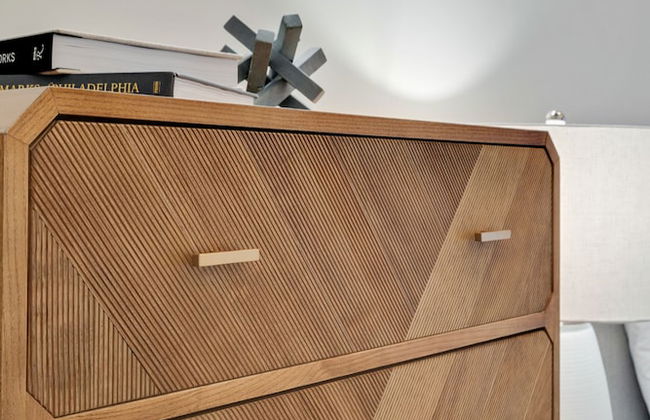
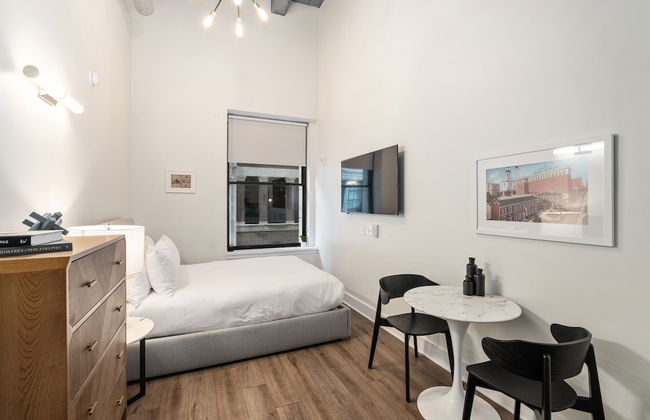
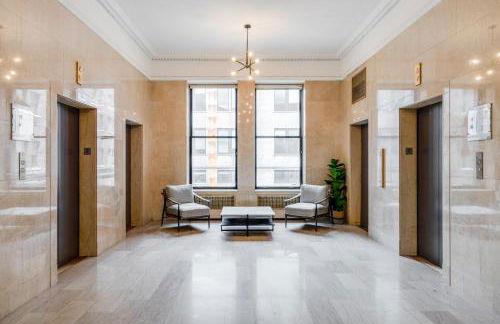
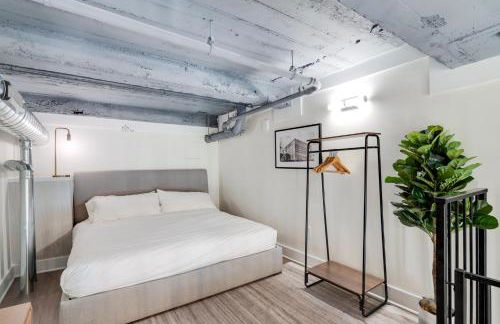
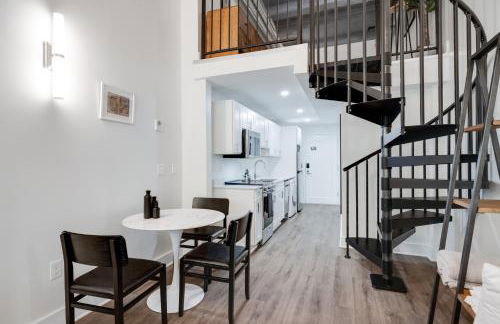
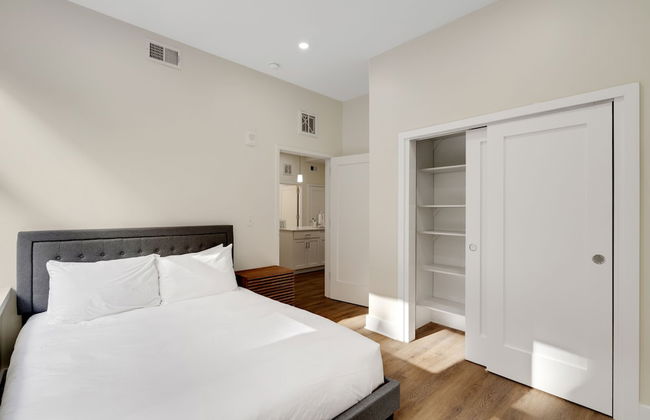
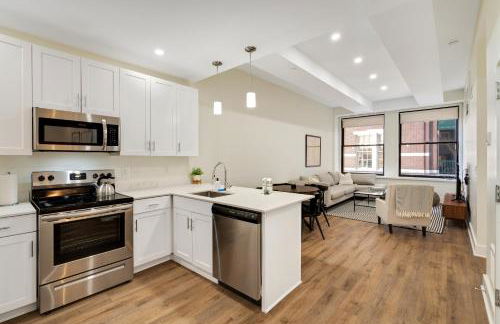
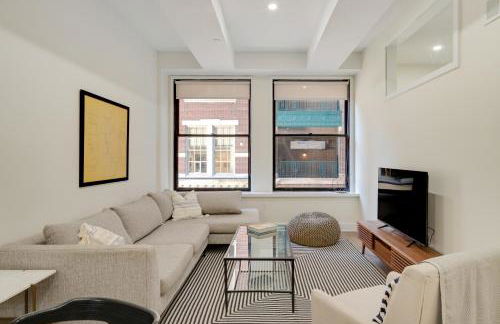
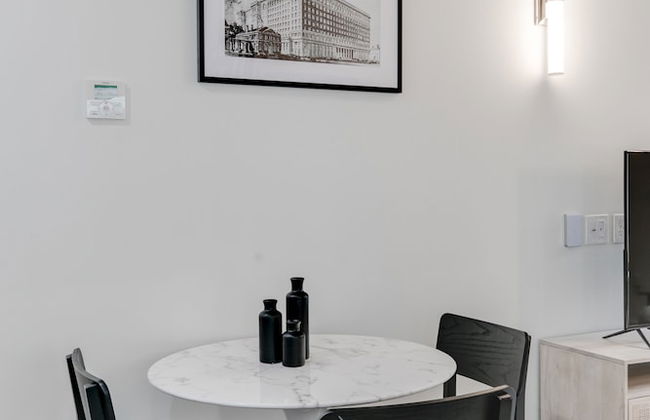
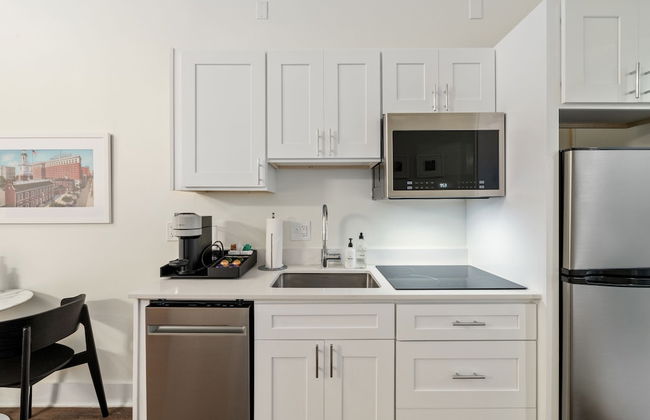
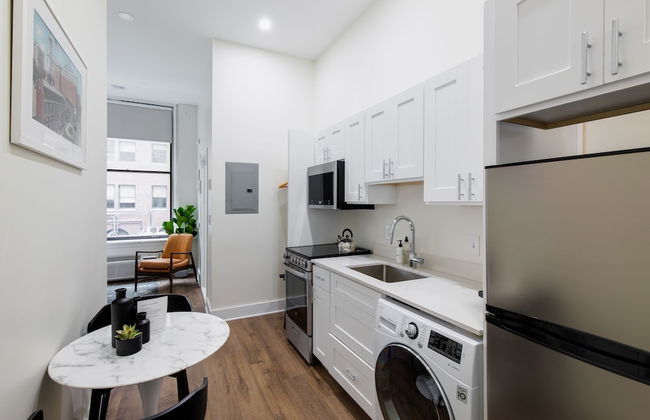
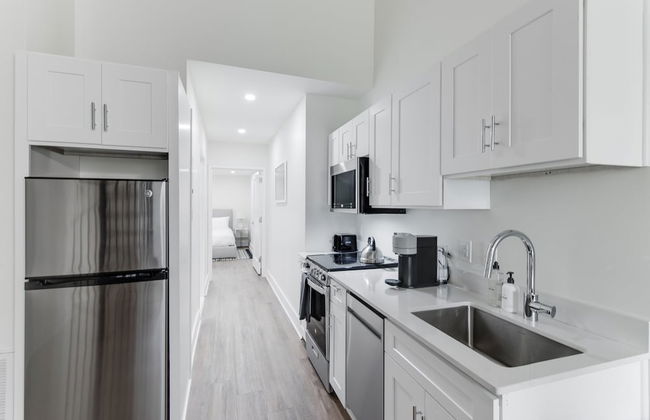
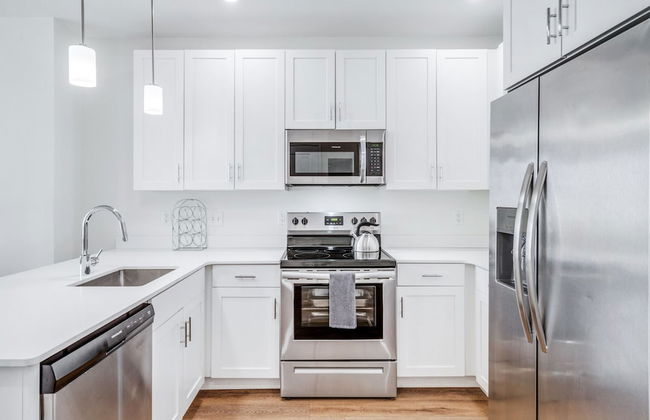
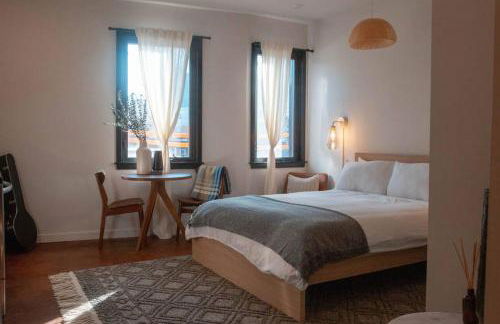
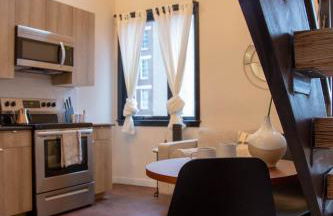
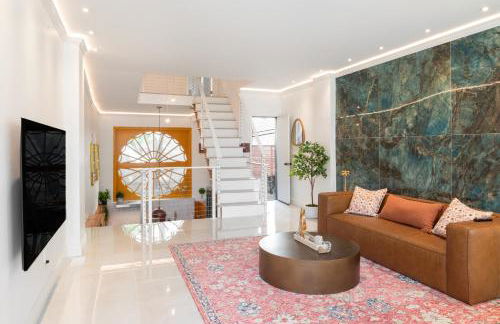
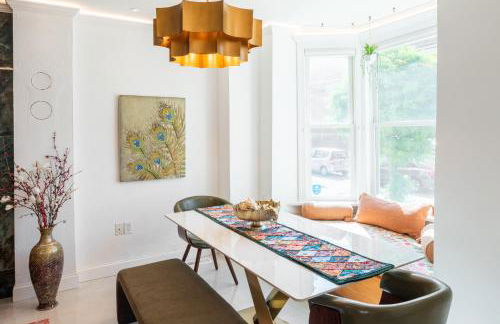
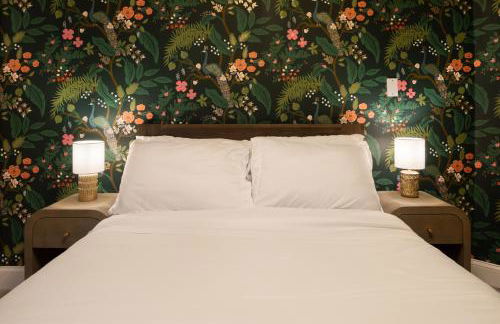
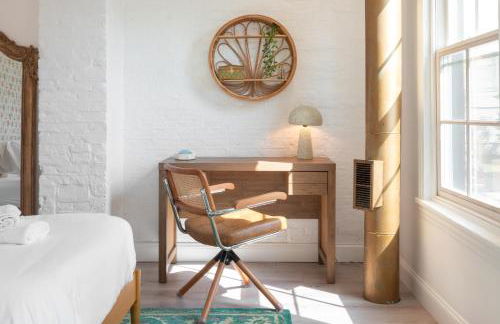
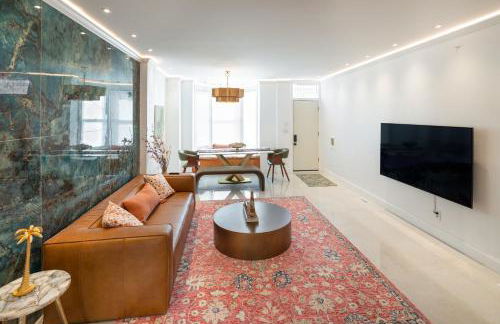
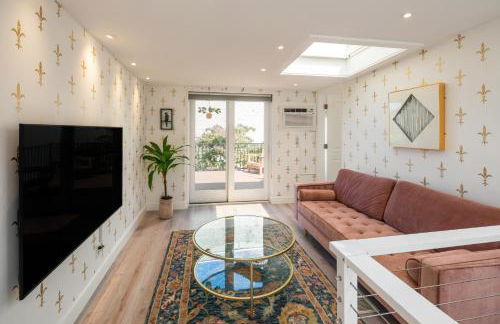
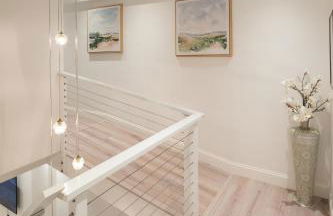
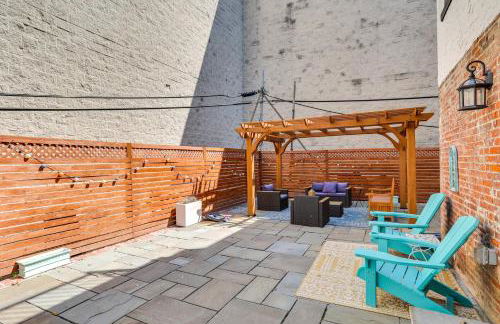
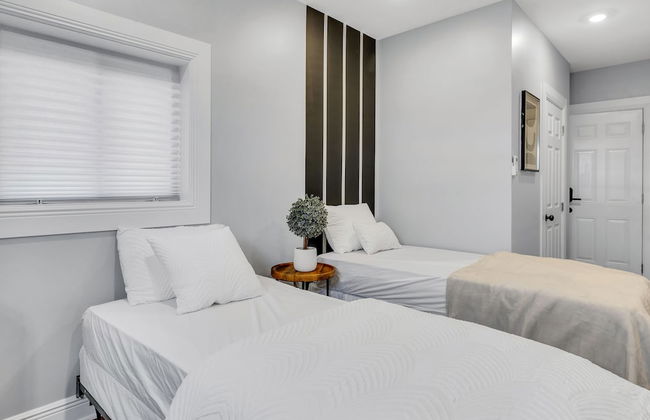
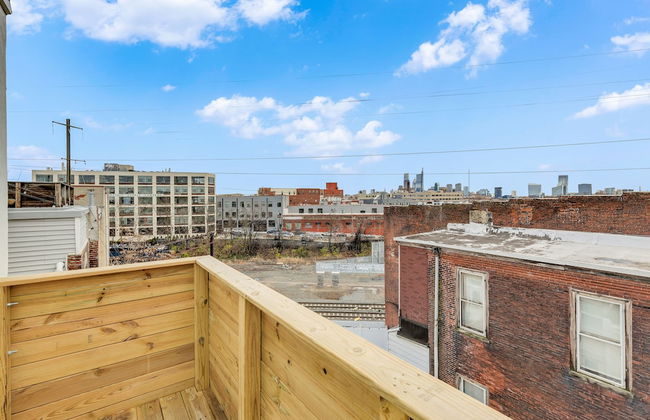
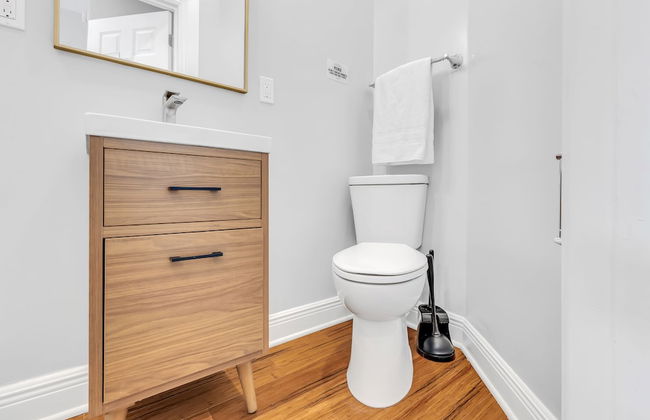
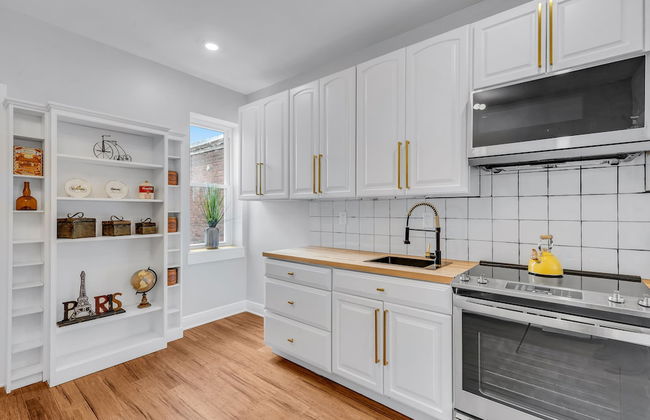
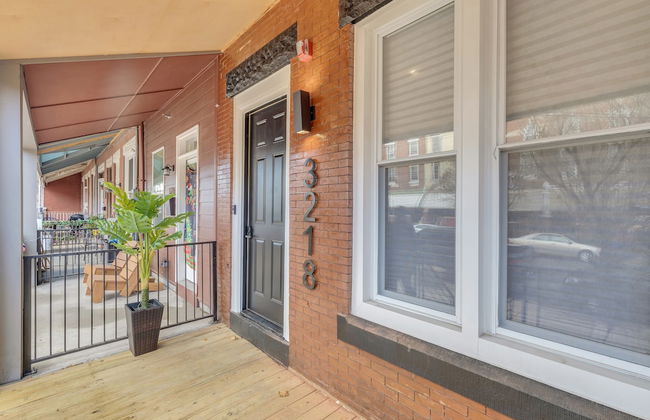
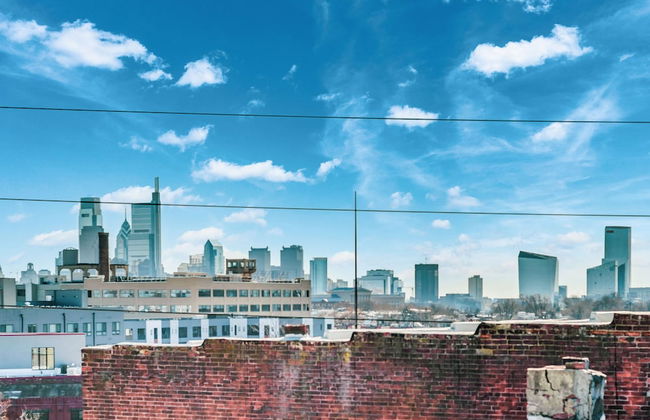
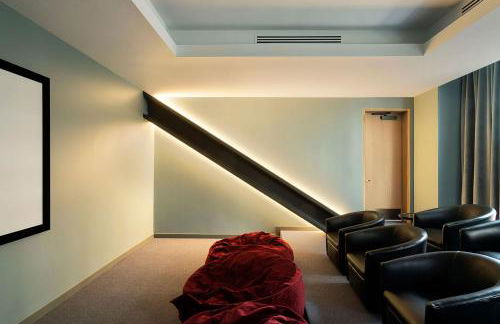
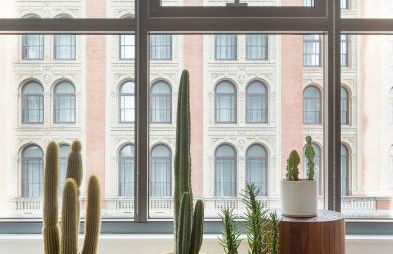
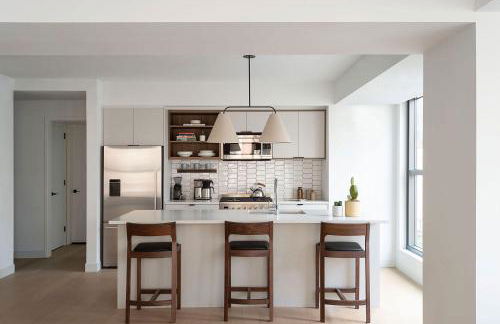
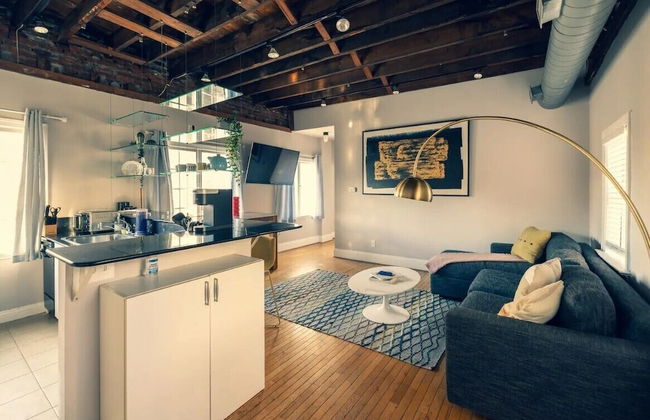
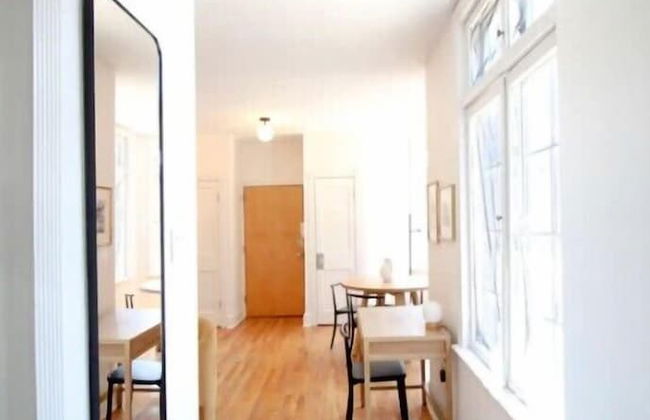
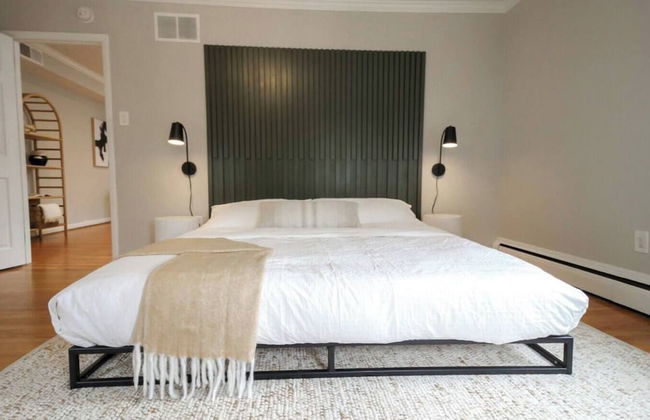
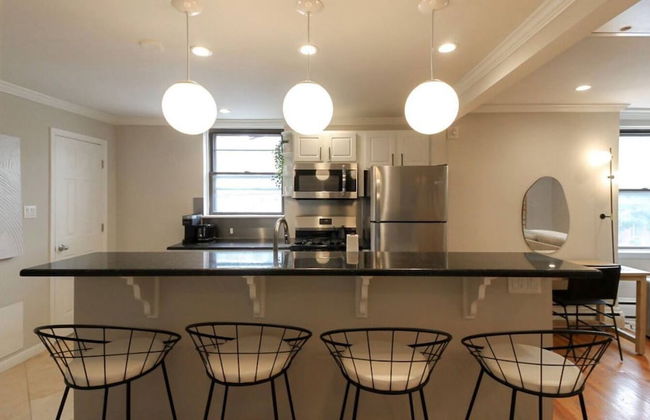
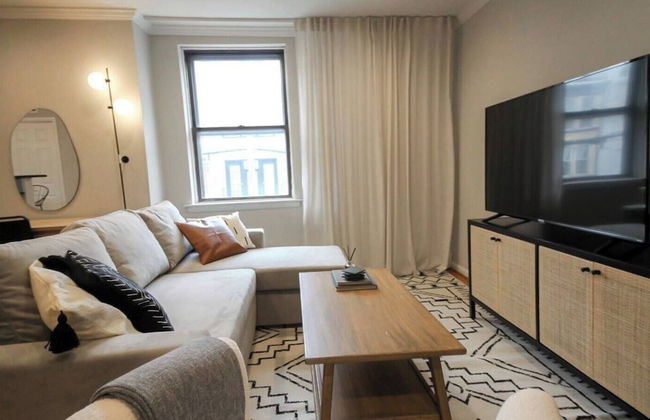
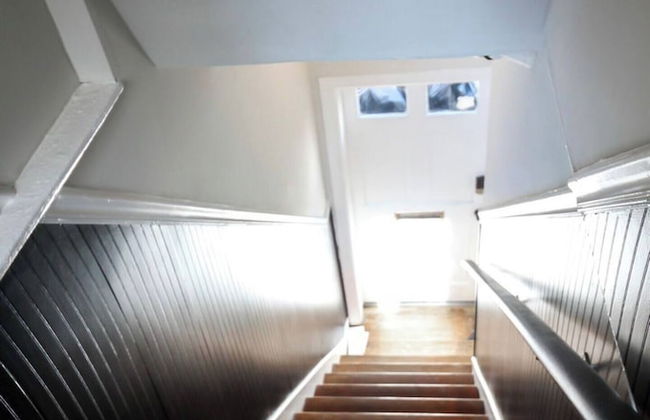
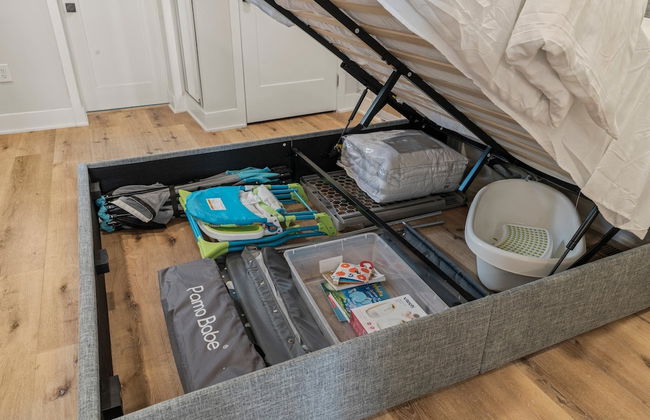
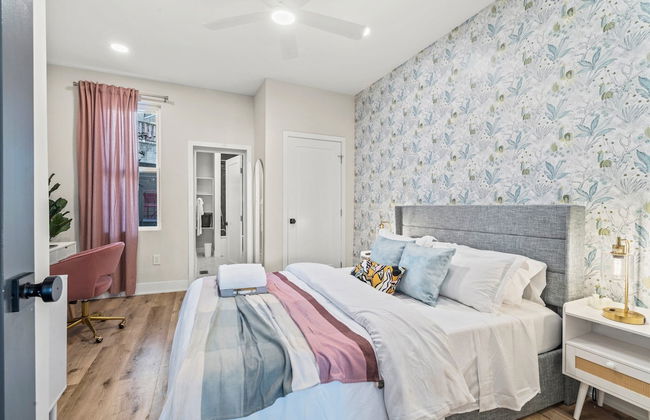
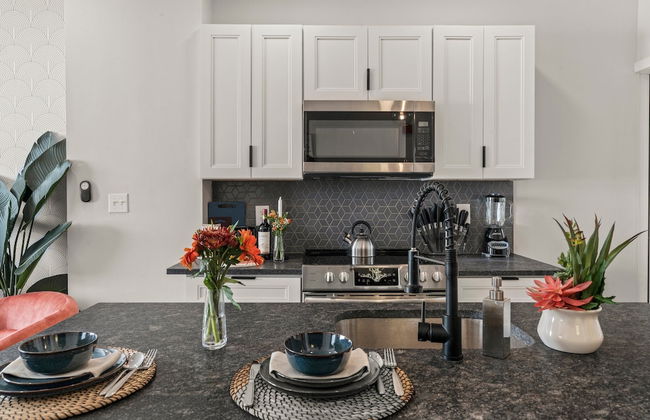
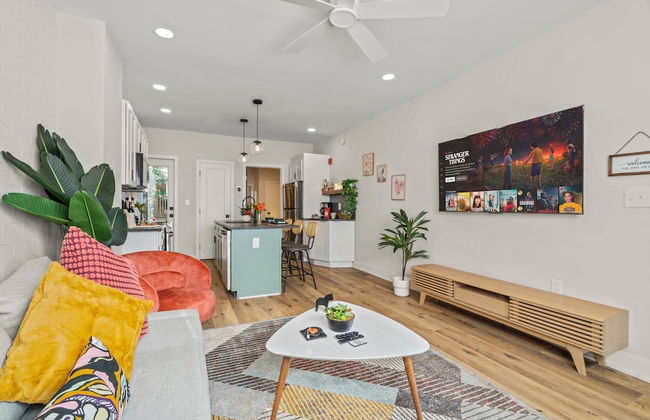
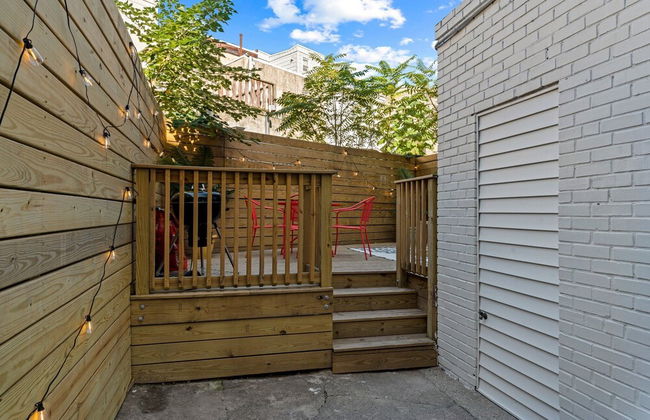
Passyunk Square Spacious 1BR - Huge Deck - Foto 2
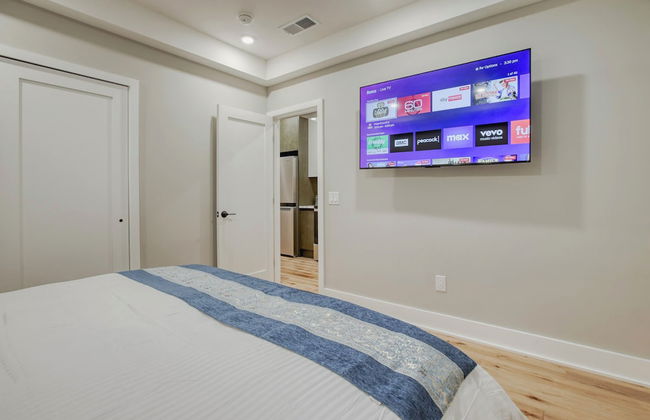
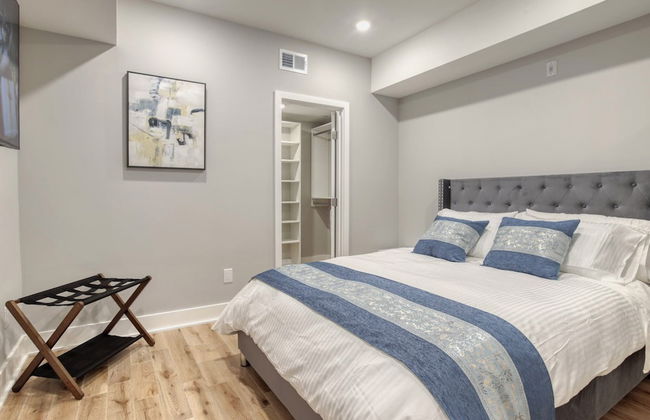
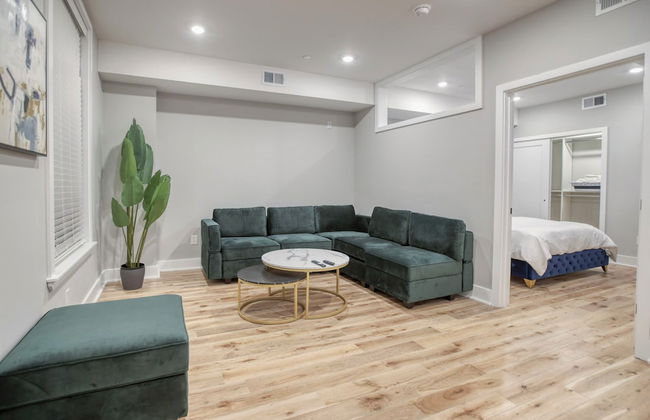
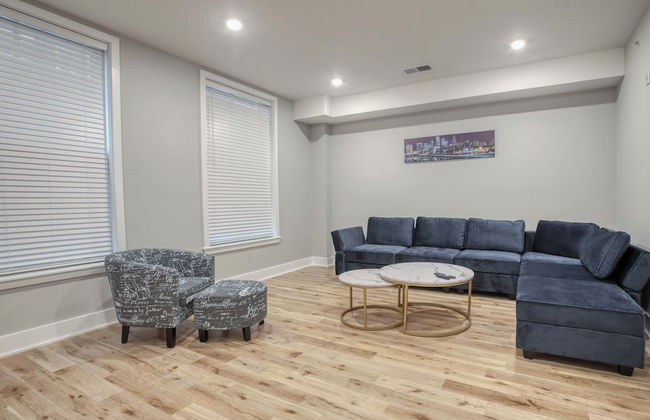
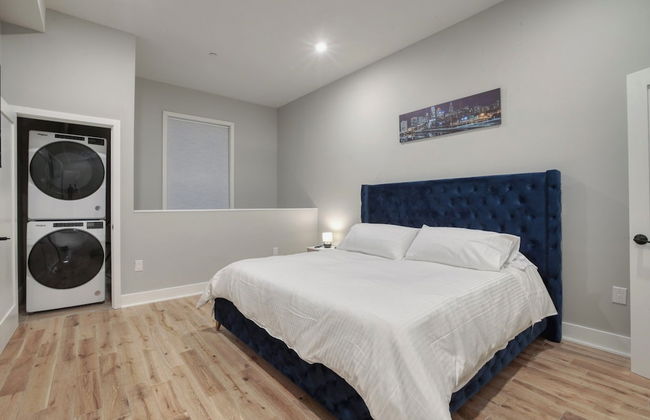
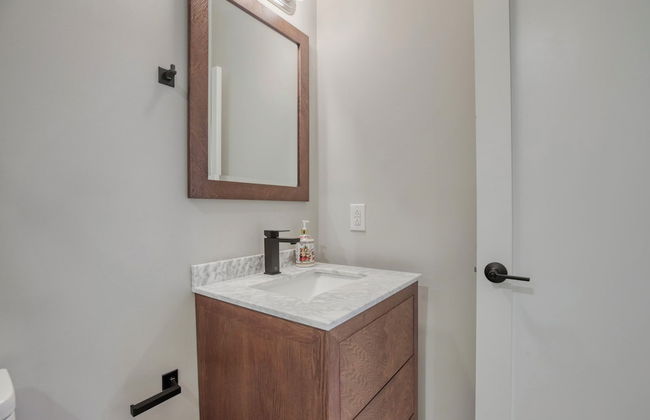
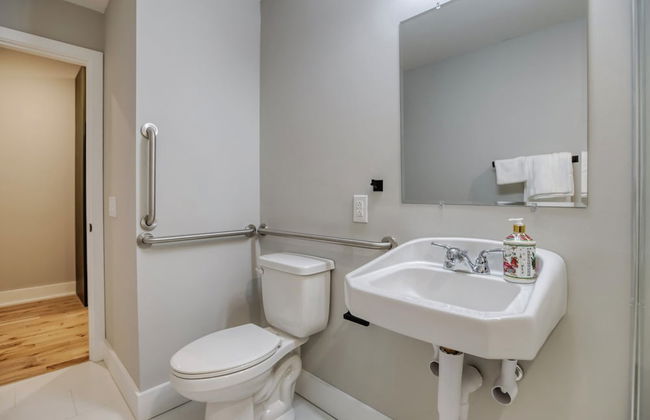
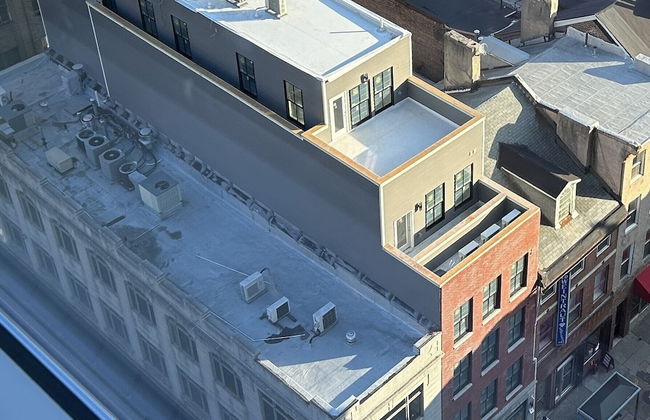
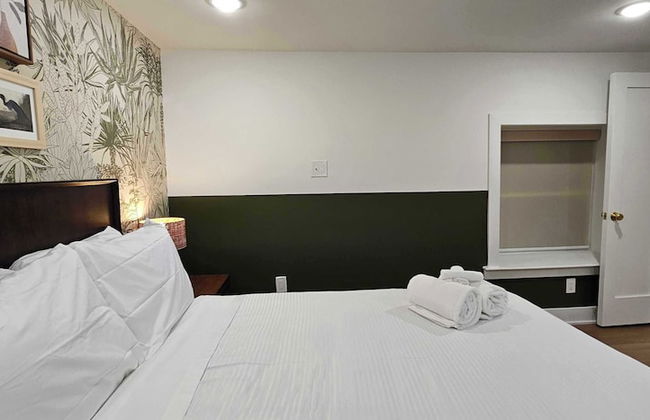
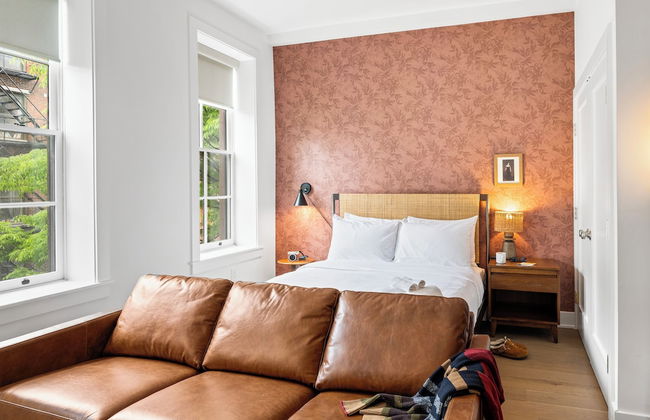
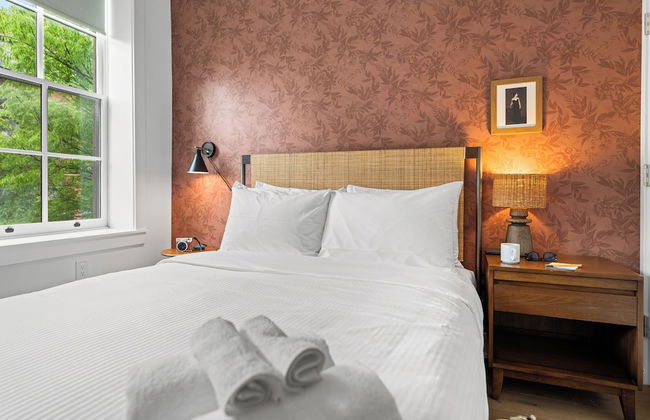
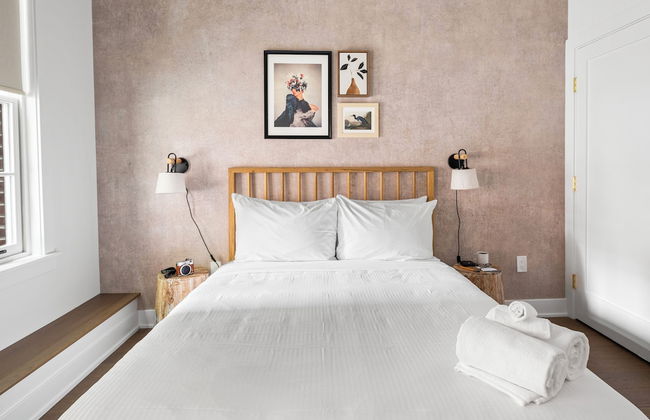
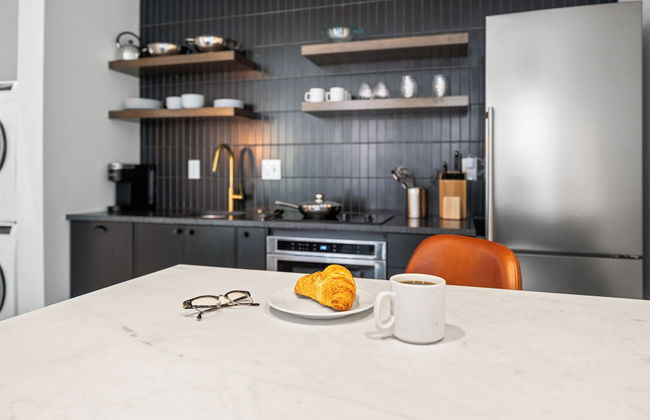
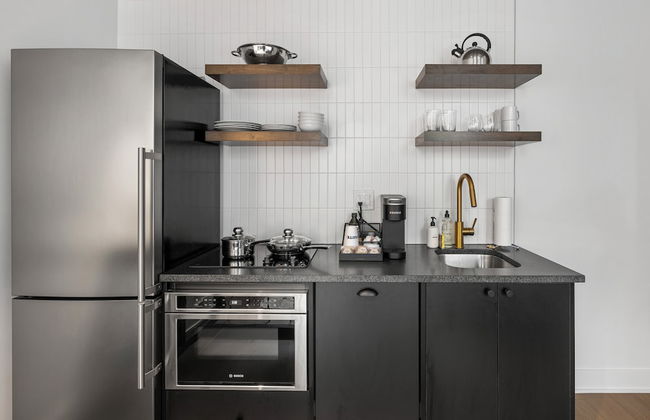
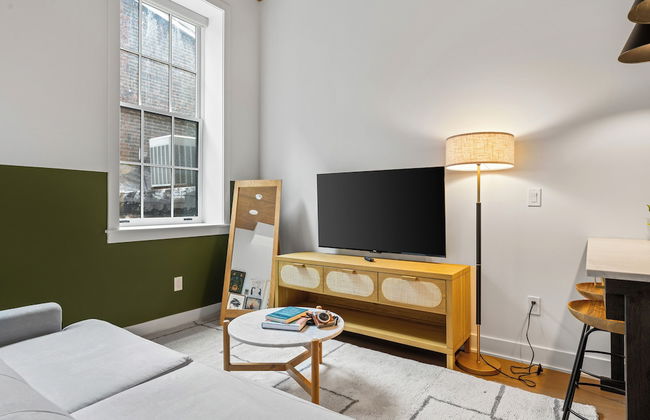
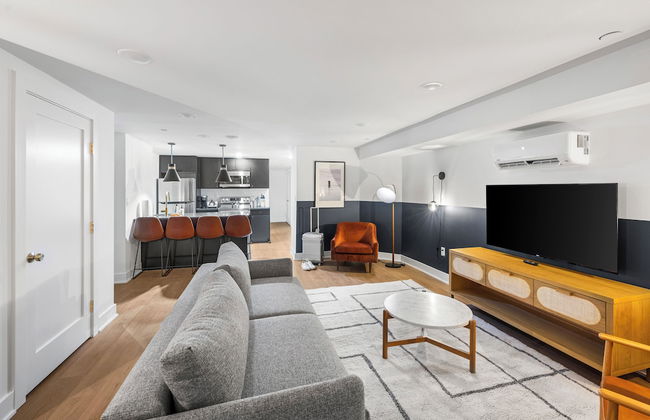
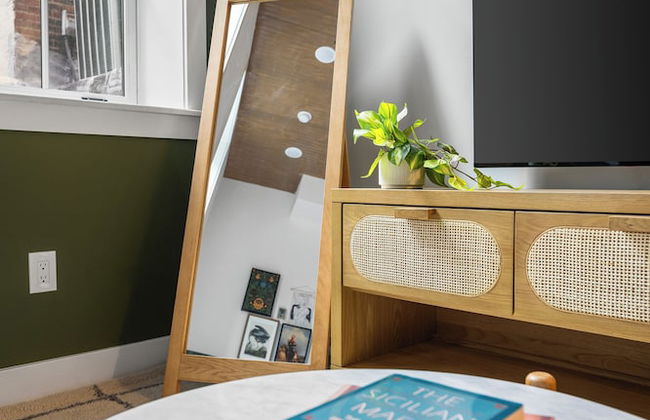
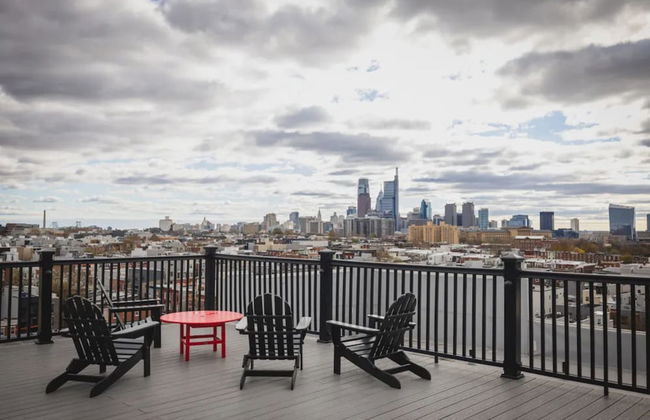
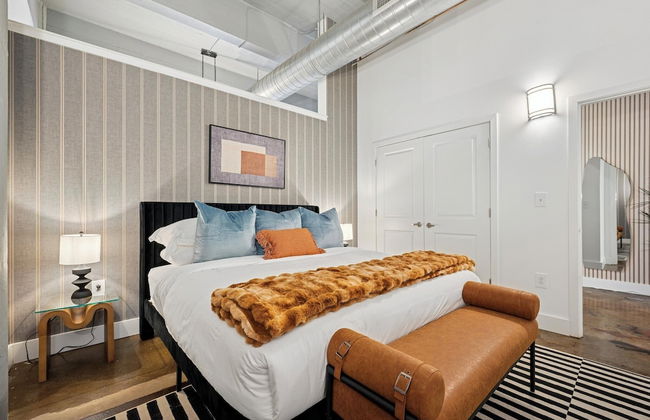
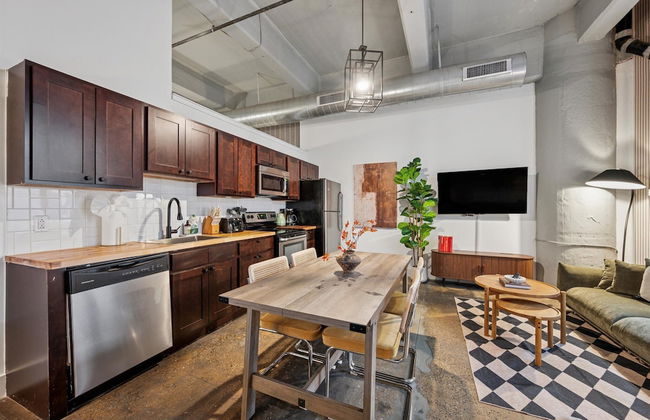
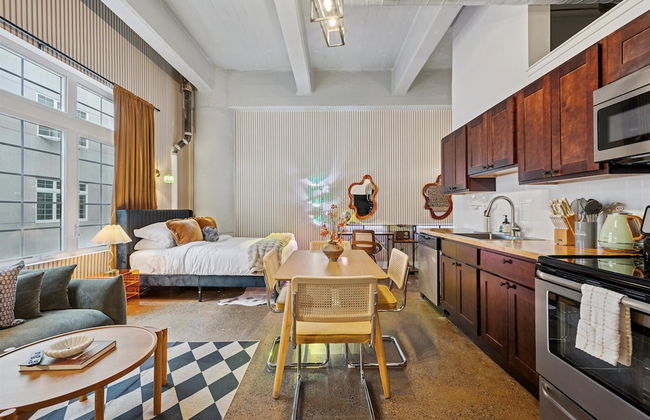
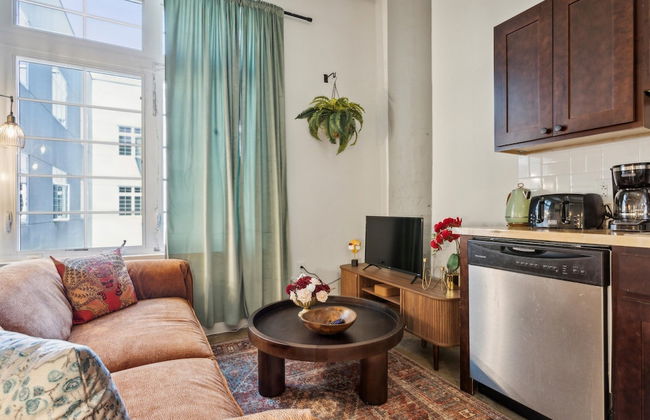
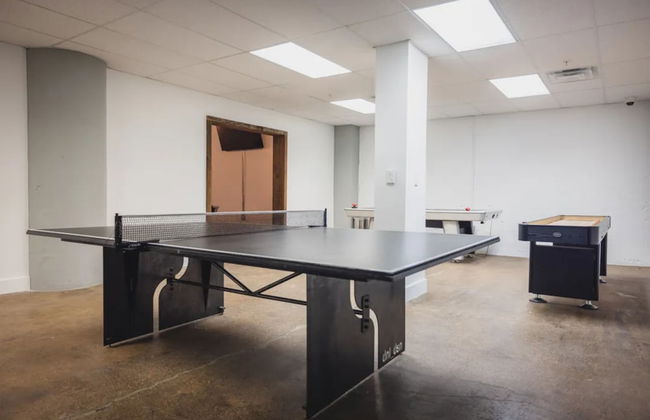
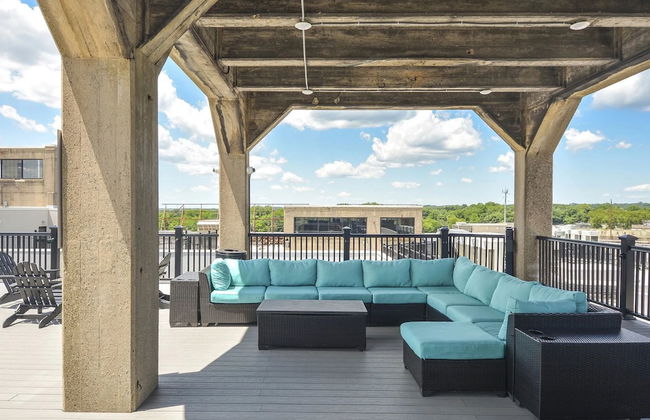
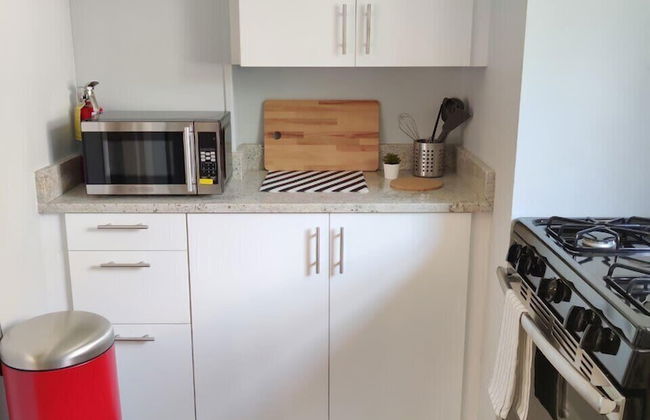
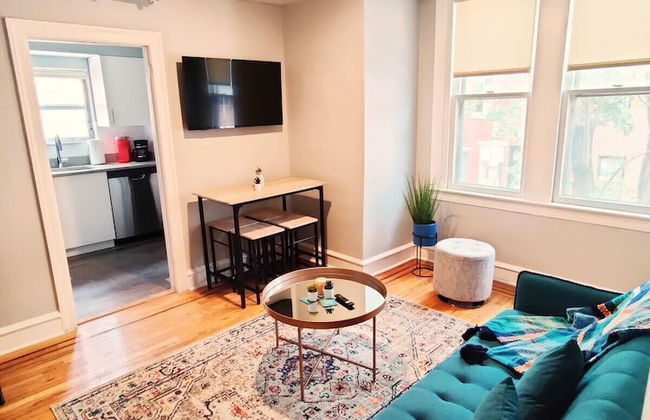
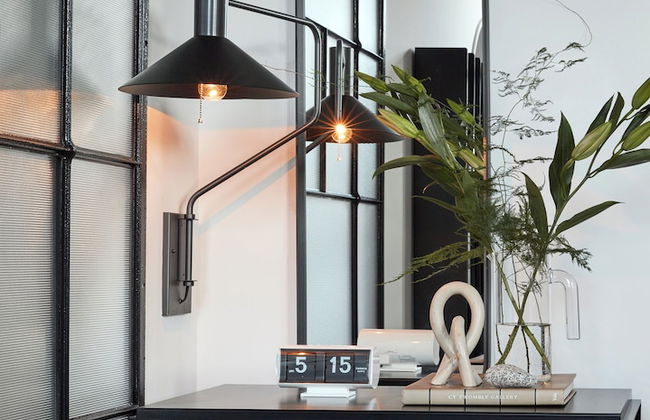
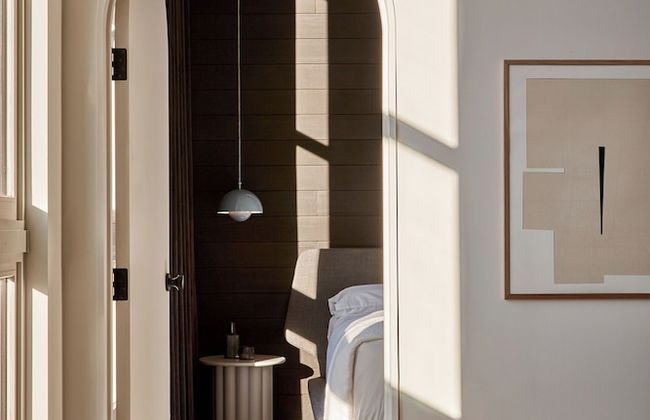
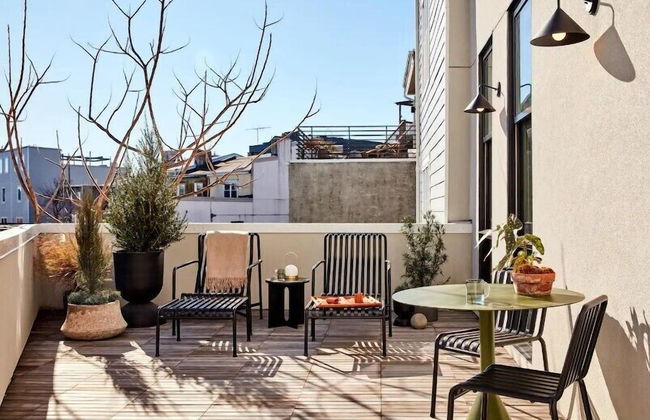
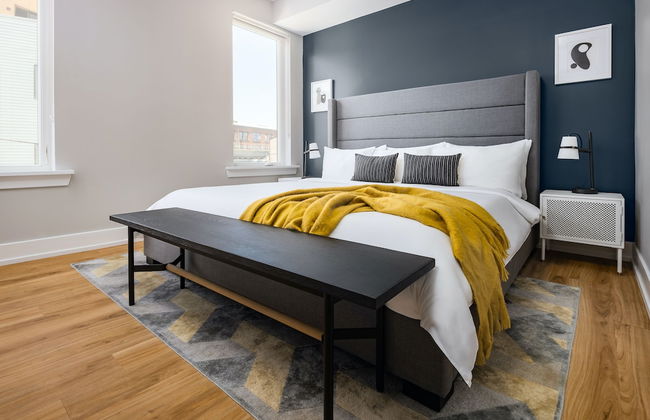
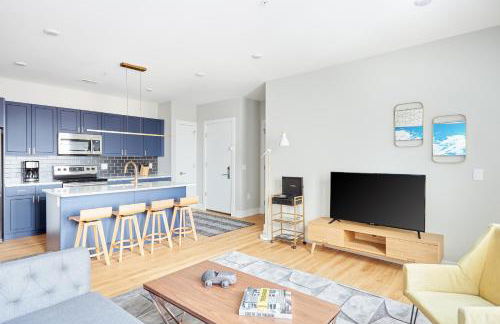
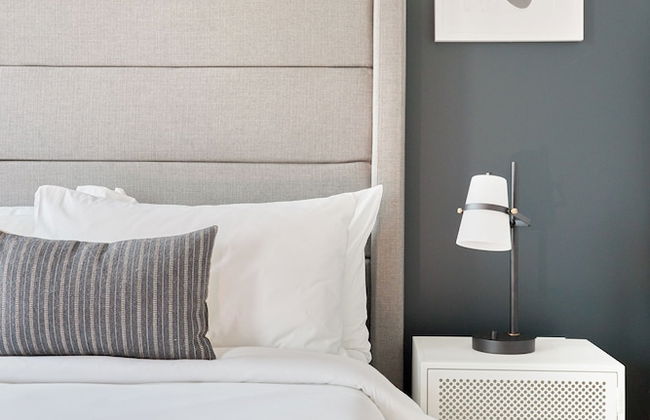
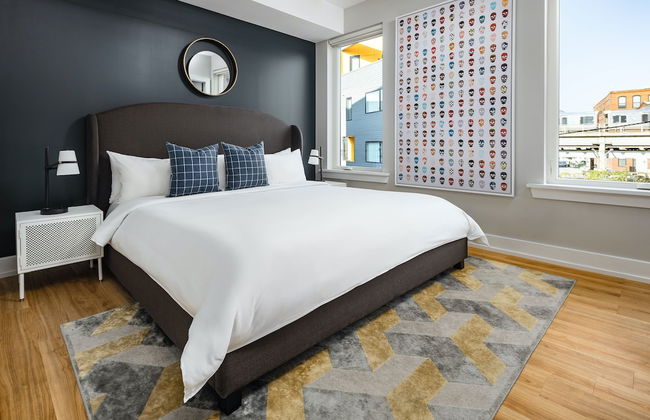
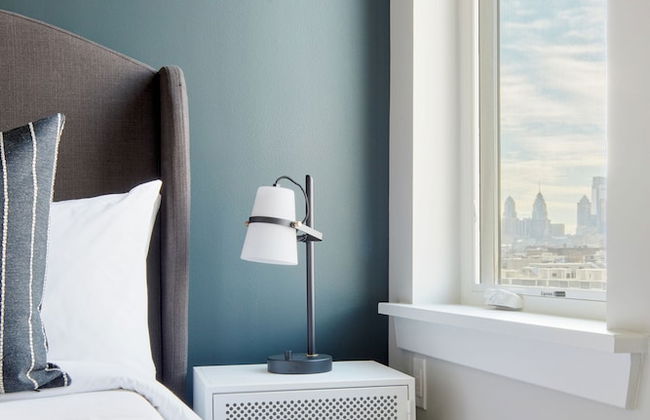
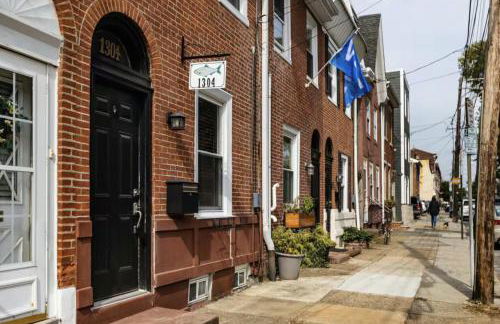
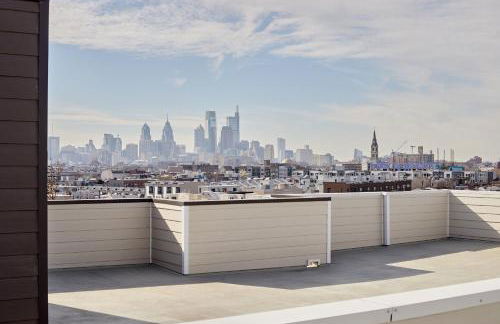
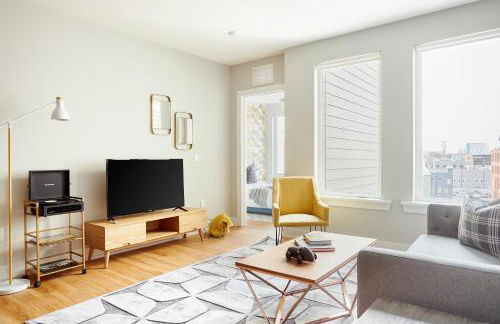
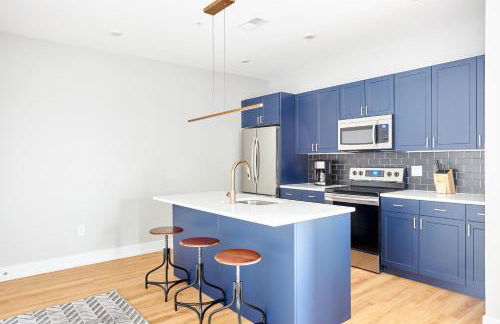
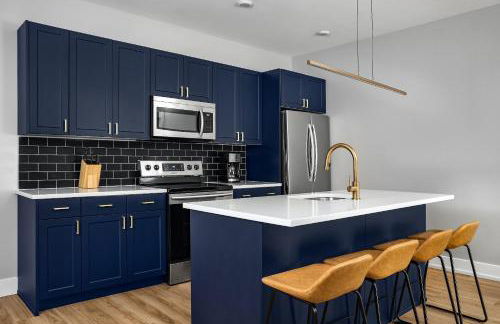
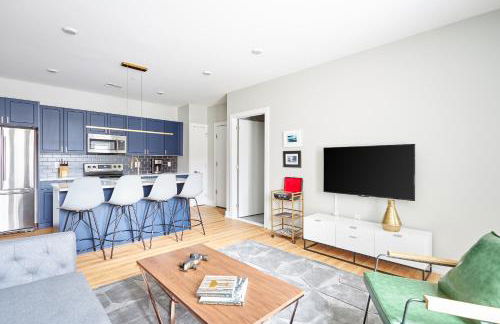
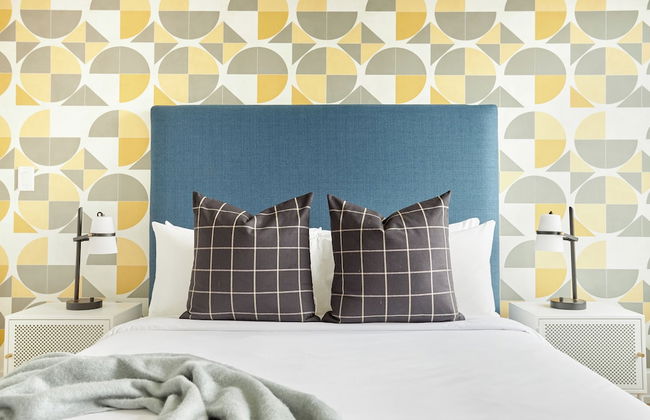
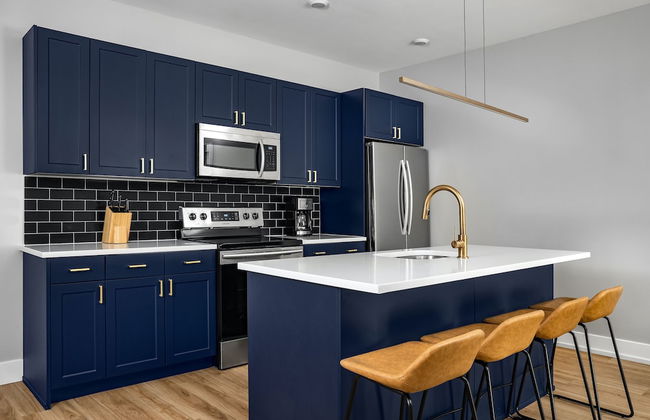
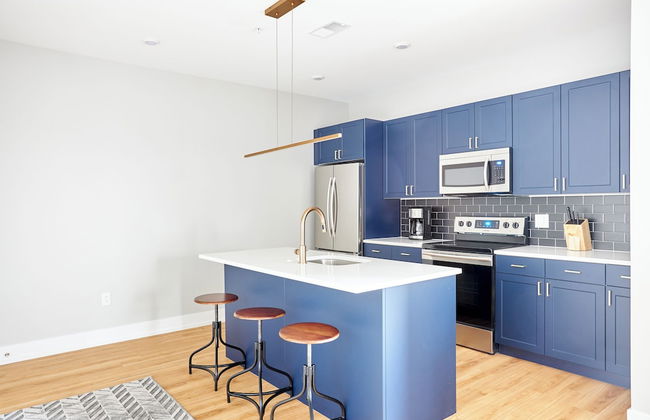
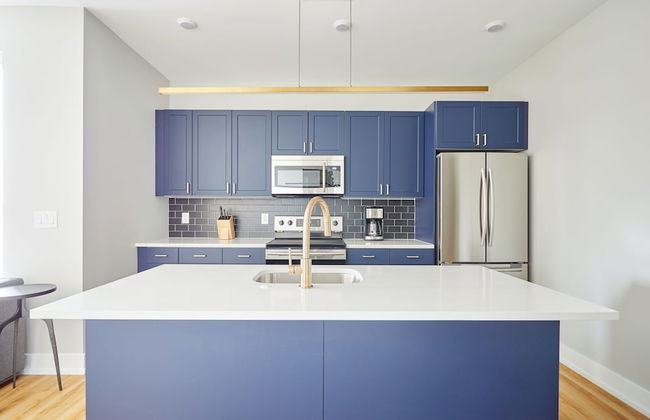
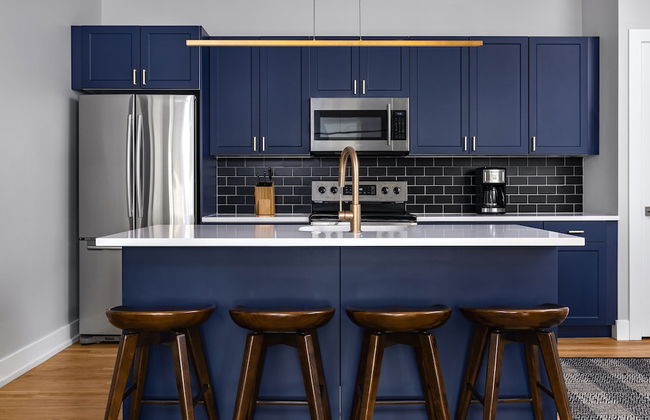
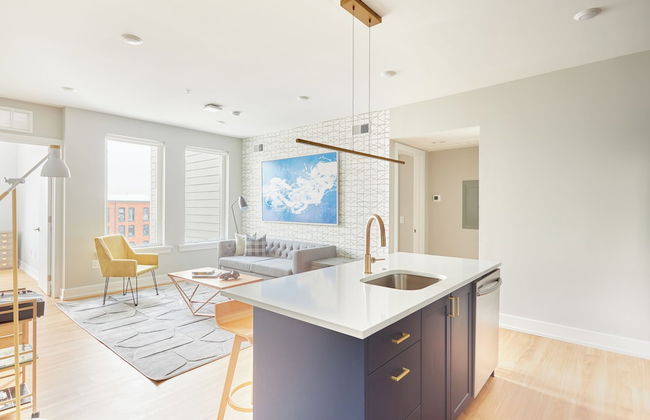
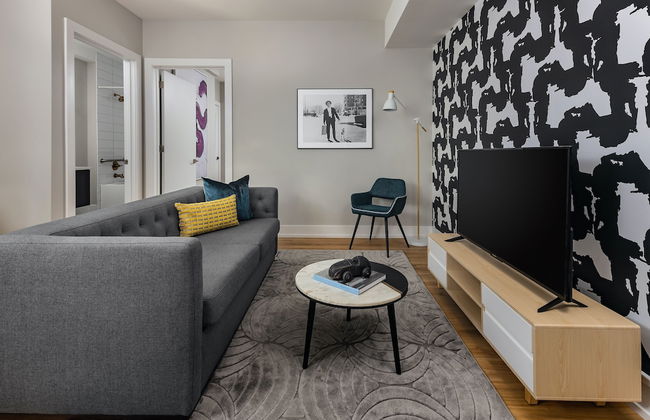
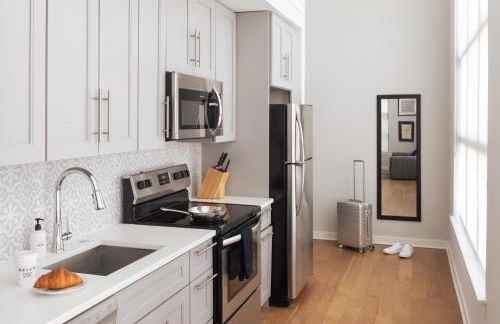
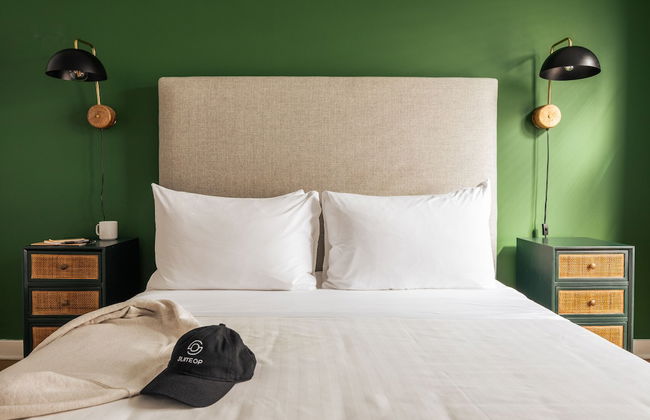
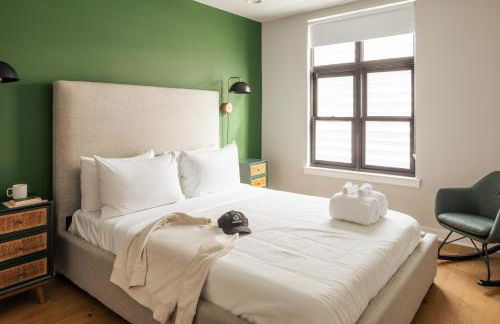
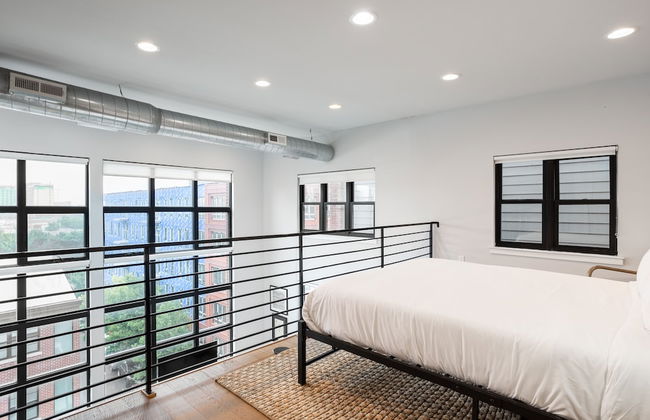
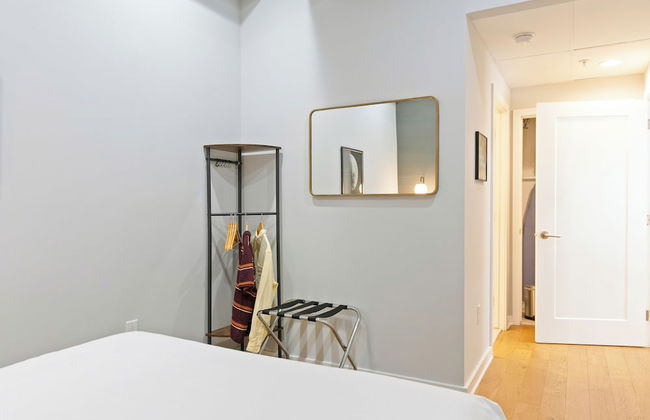
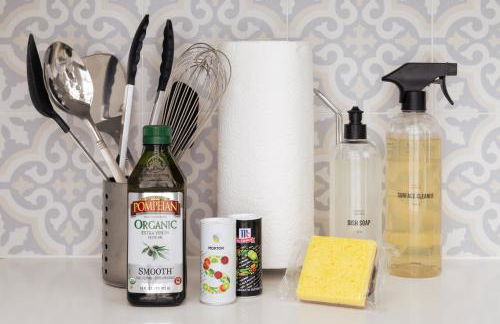
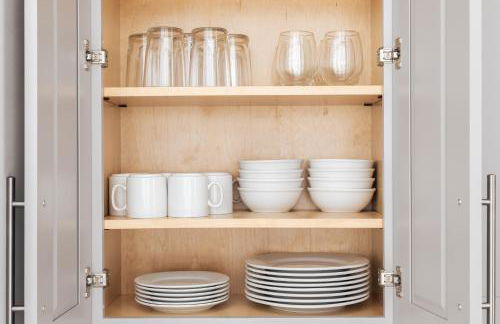
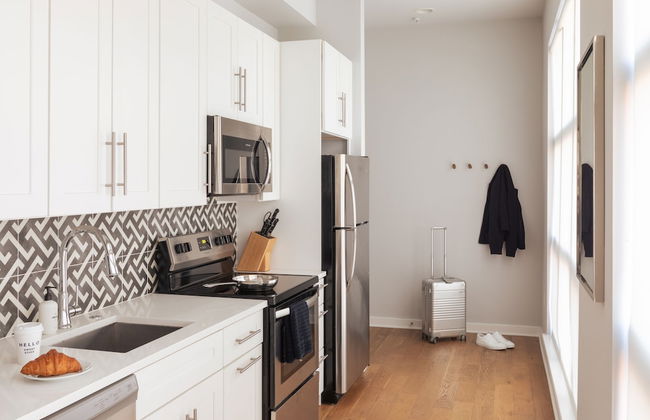
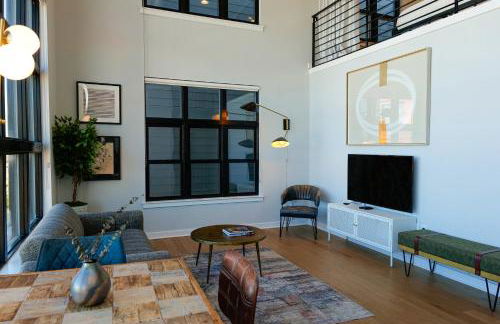
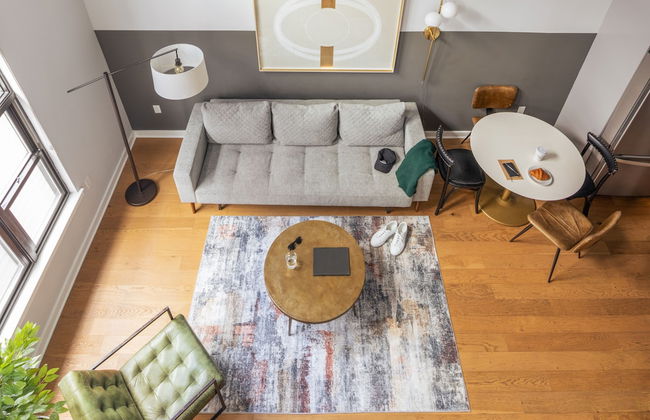
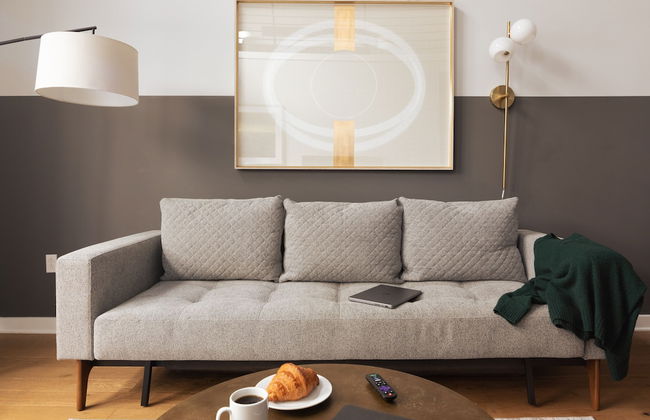
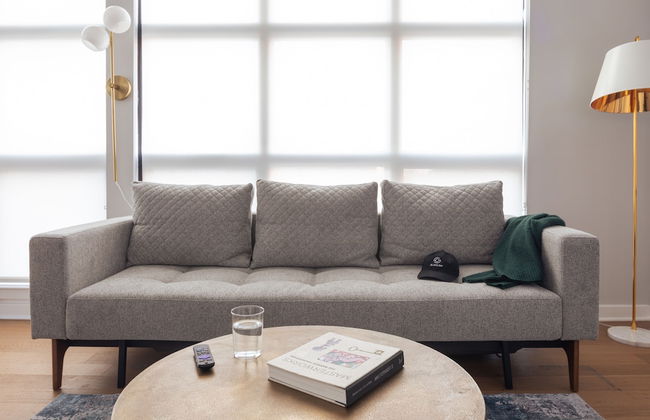
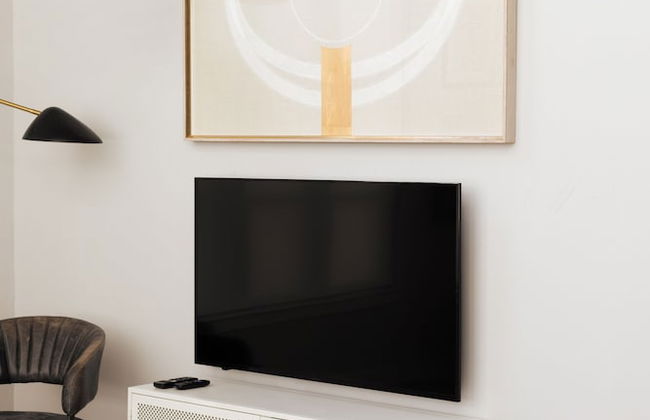
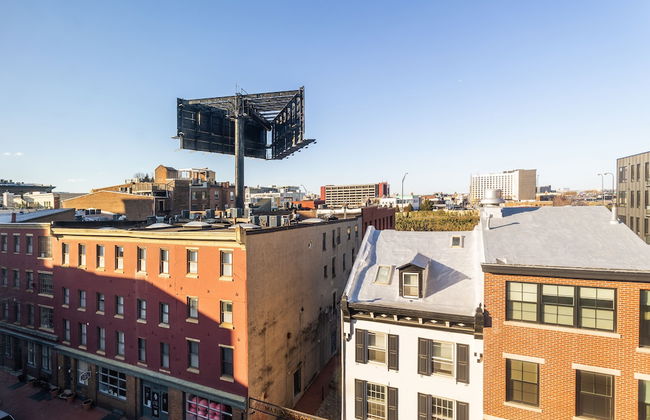
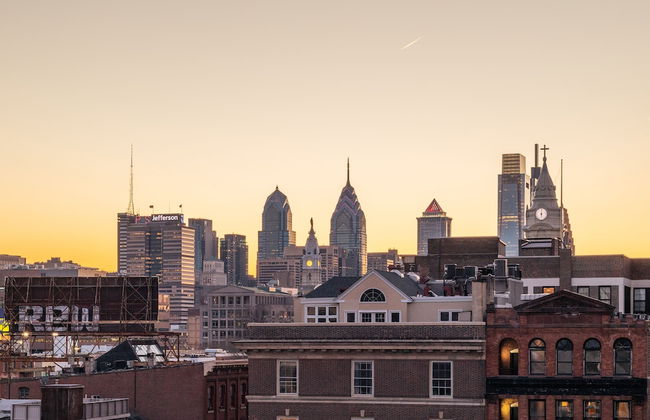
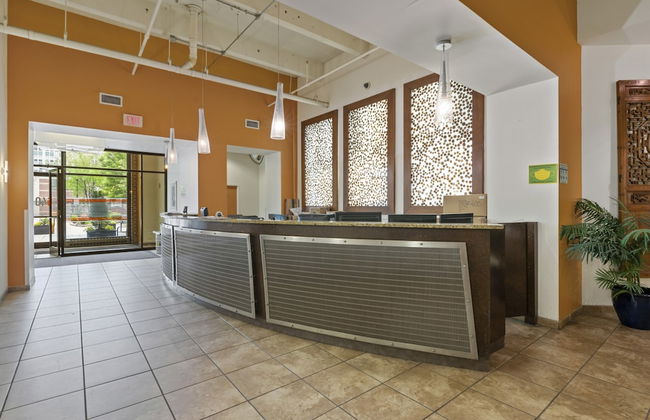
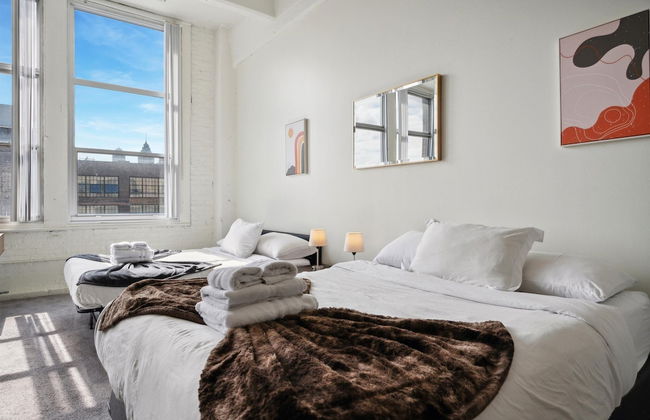
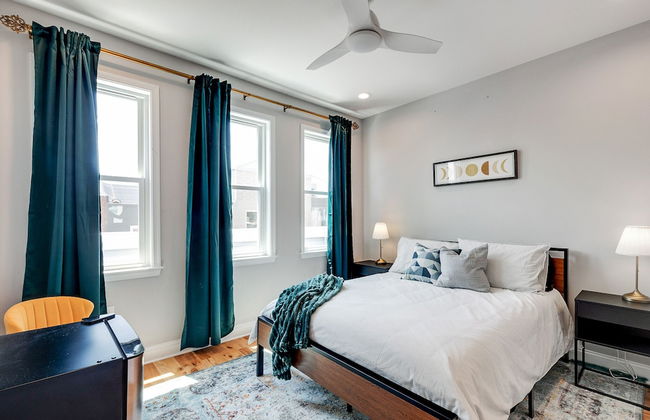
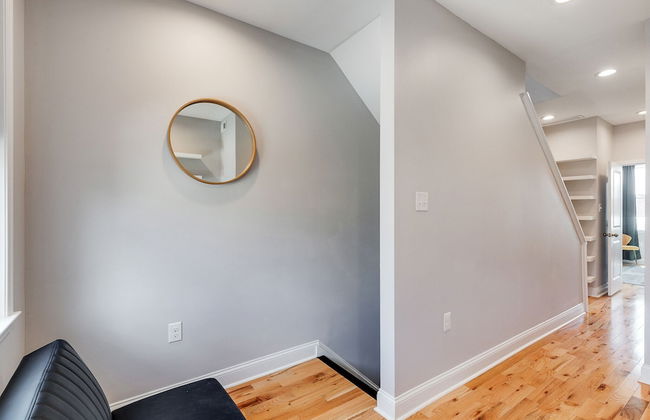
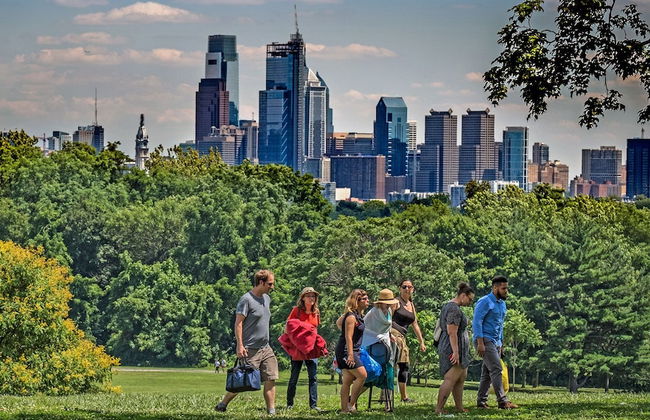
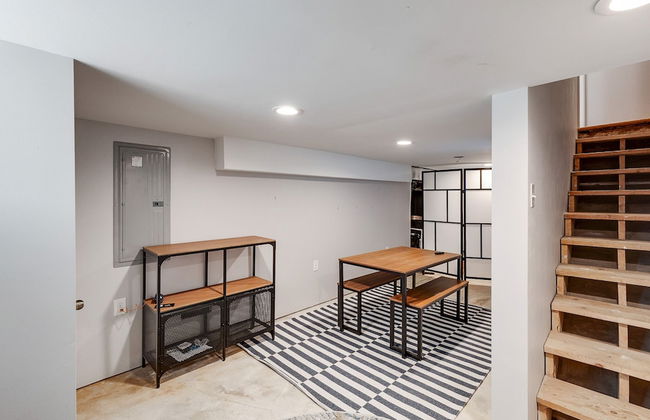
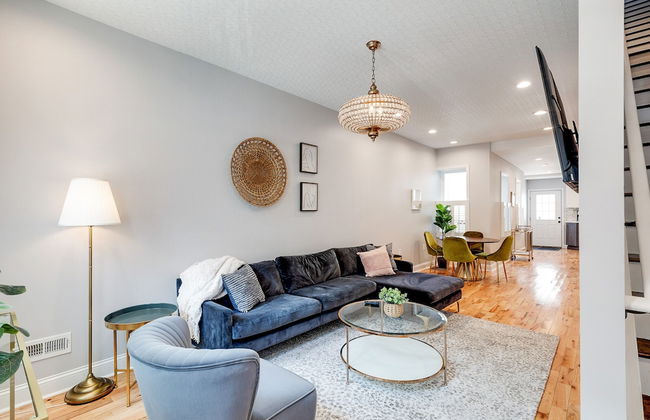
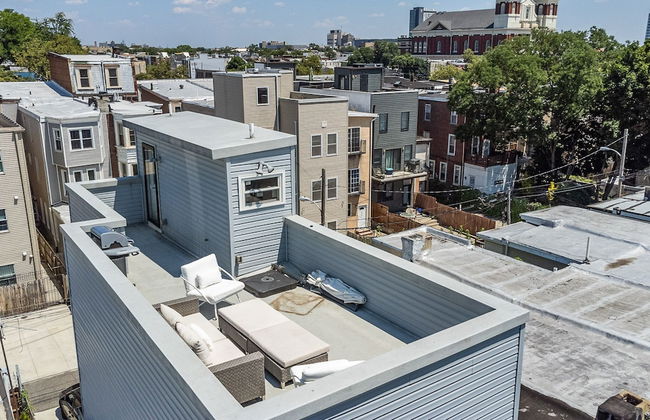
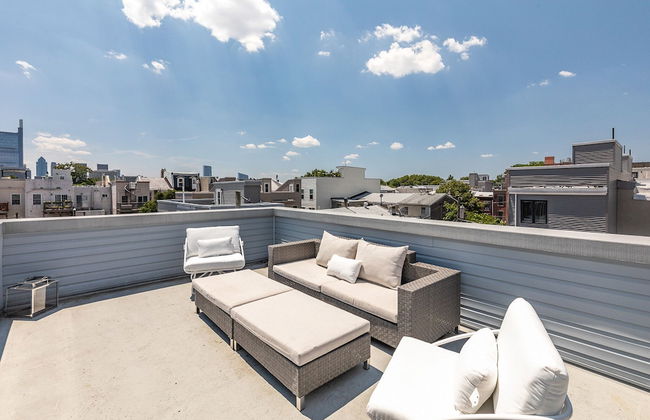
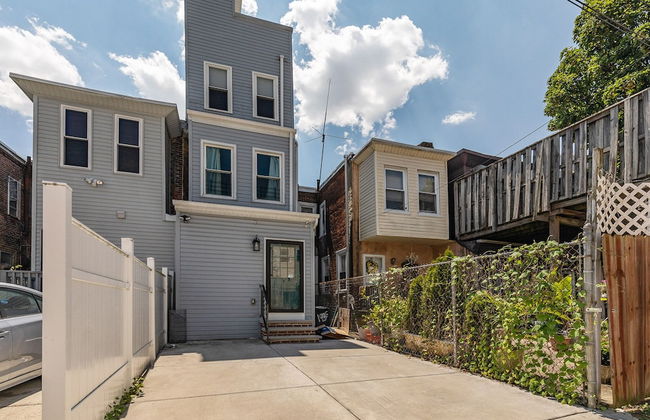
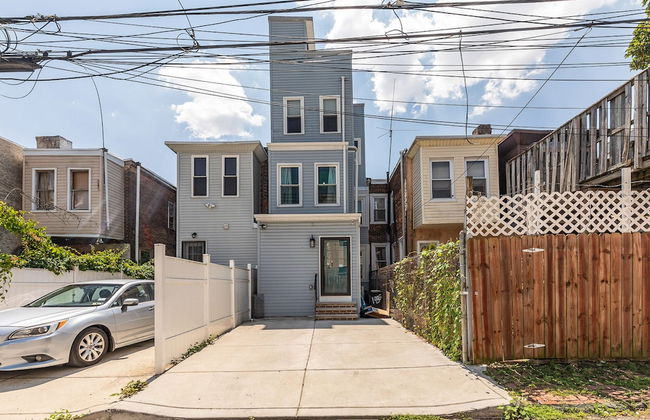
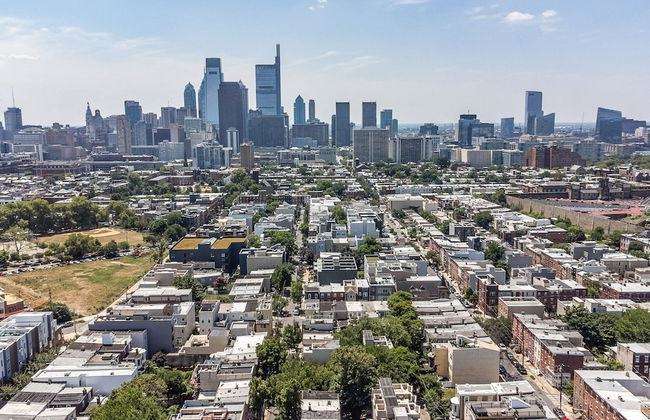
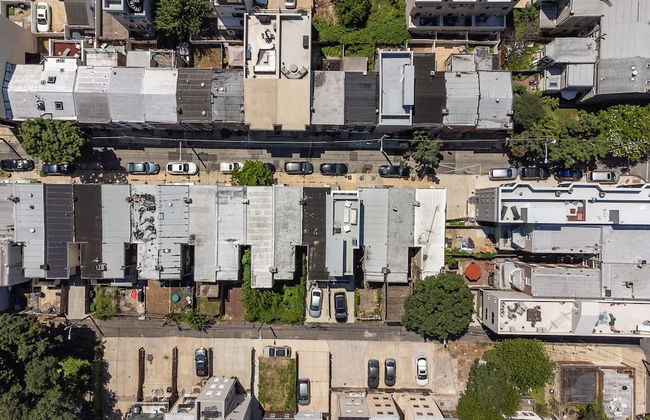
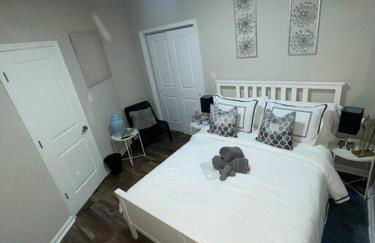
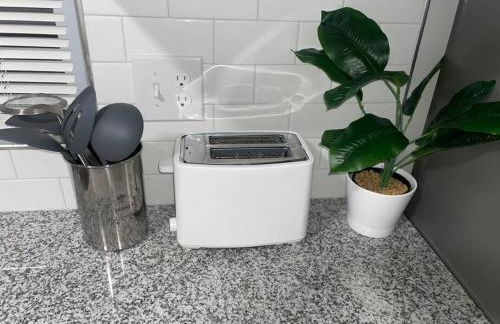
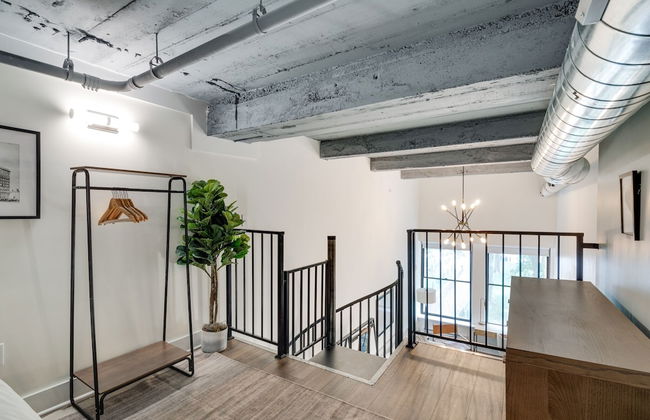
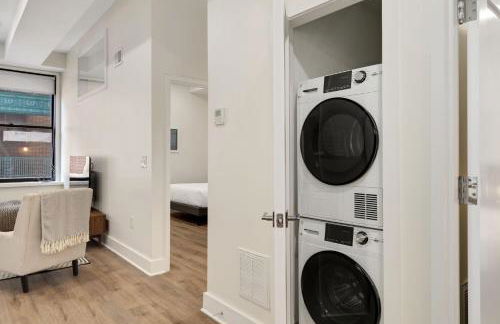
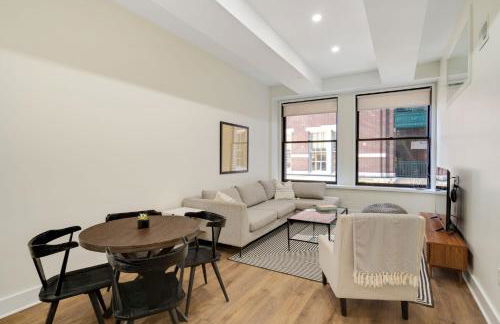
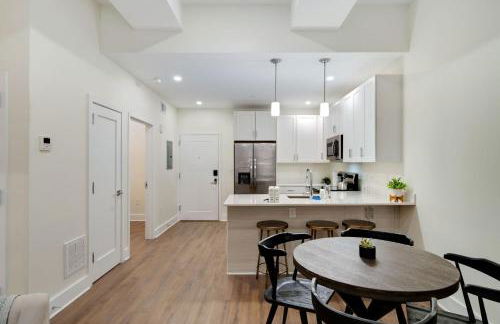
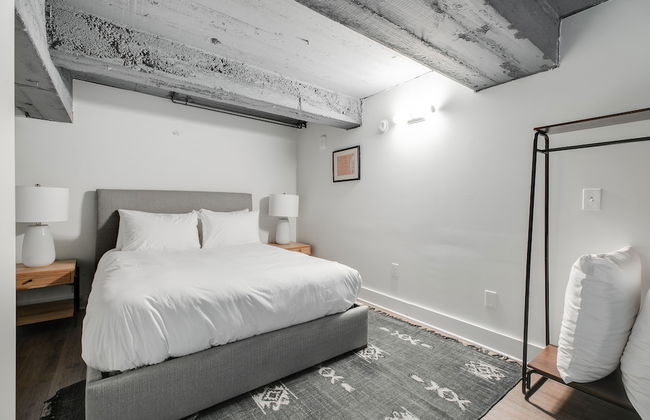
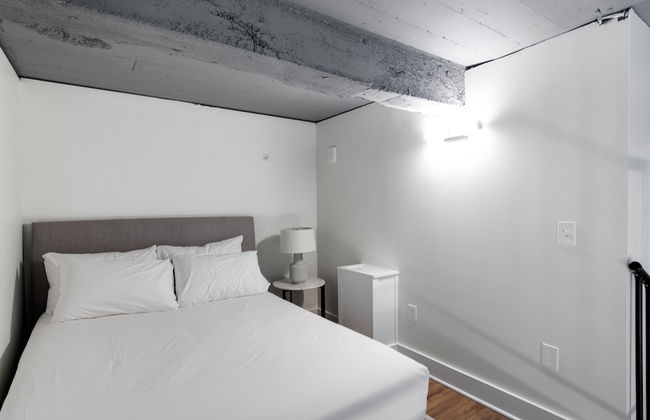
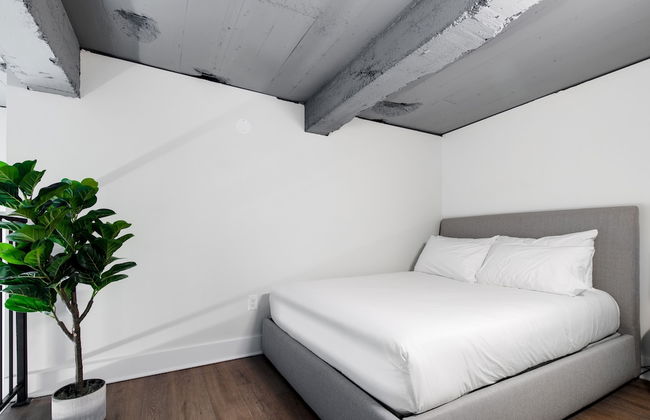
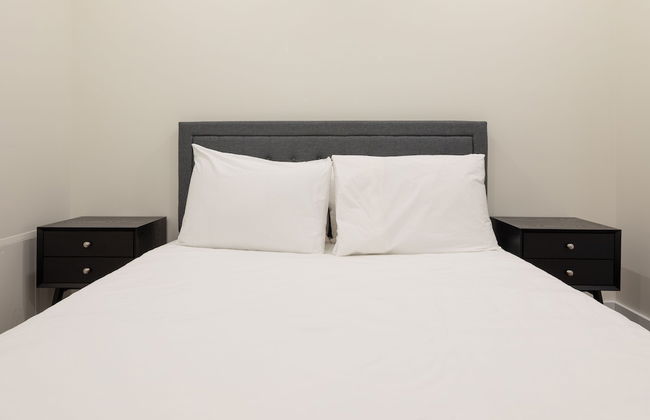
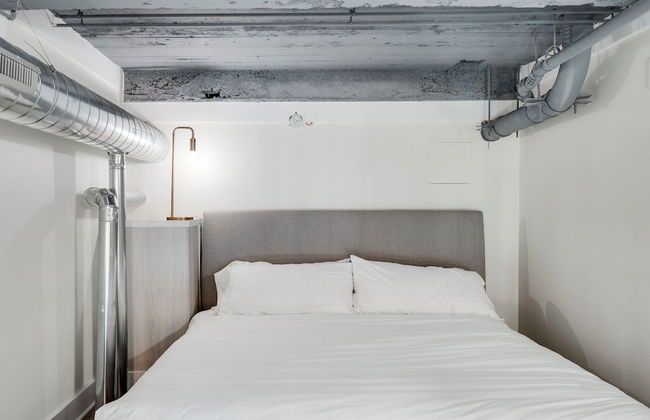
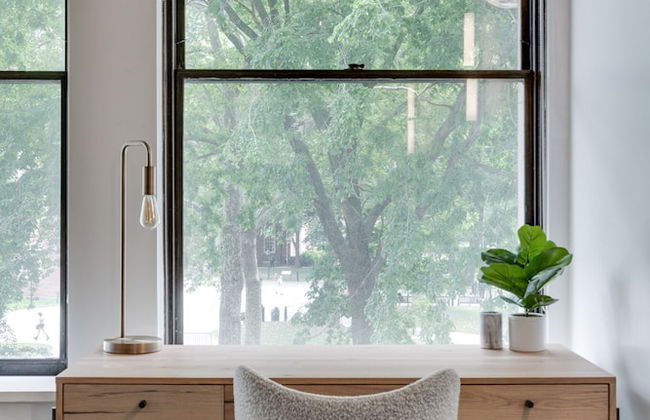
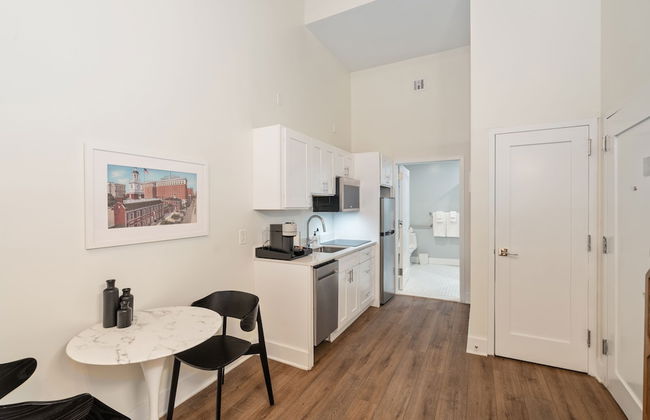
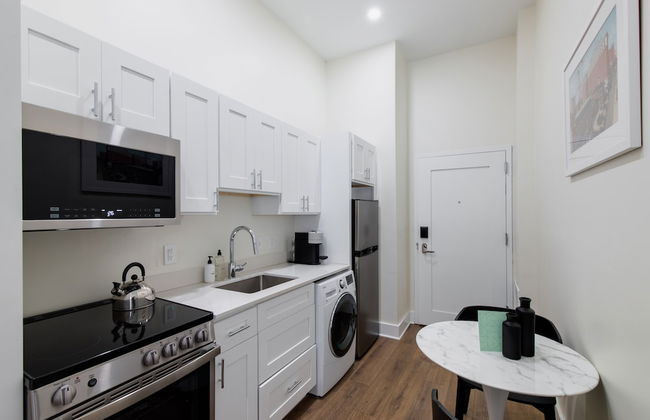
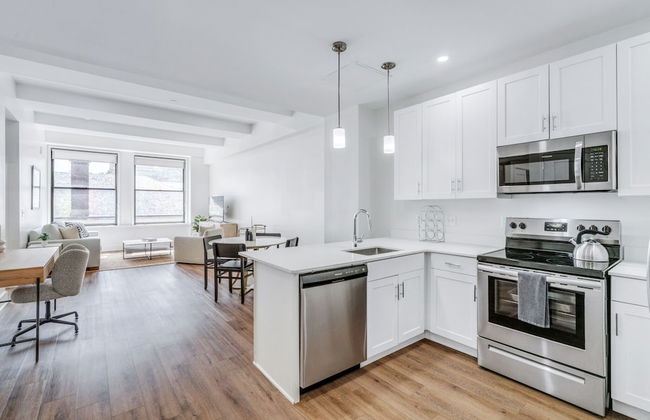
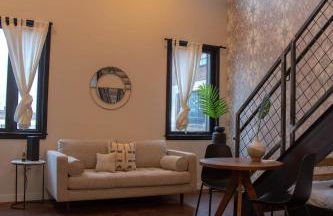
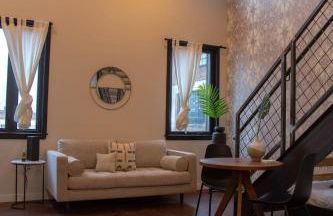
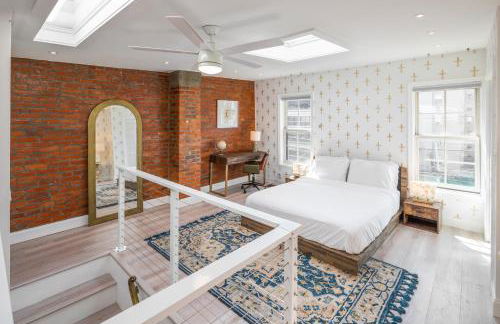
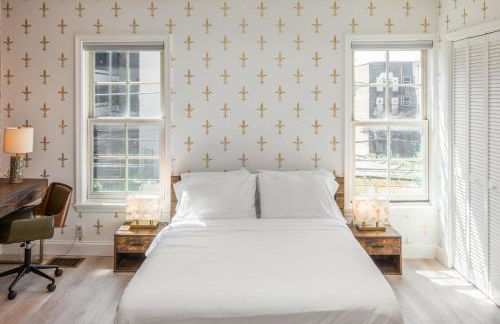
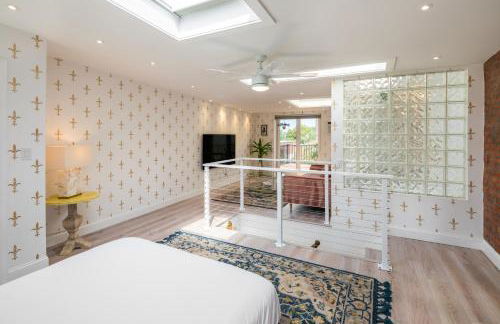
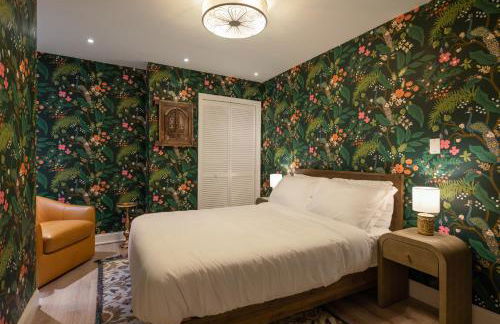
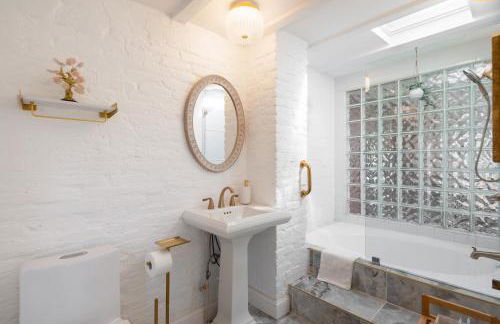
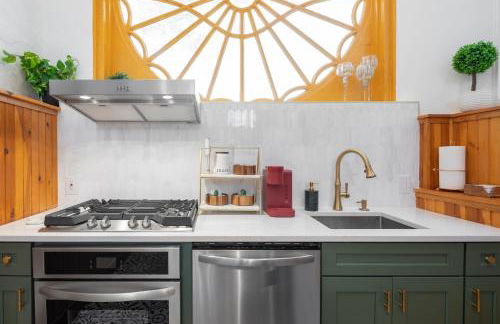
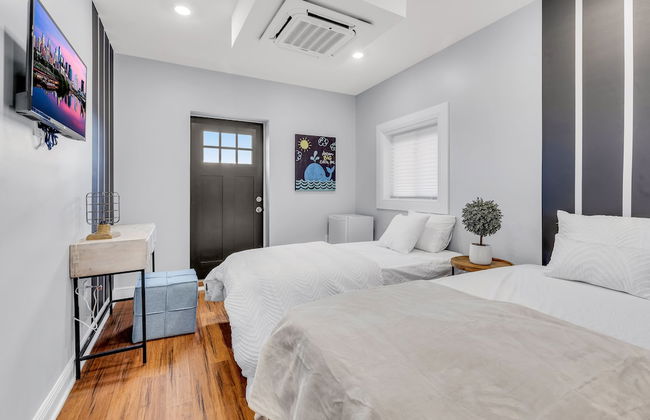
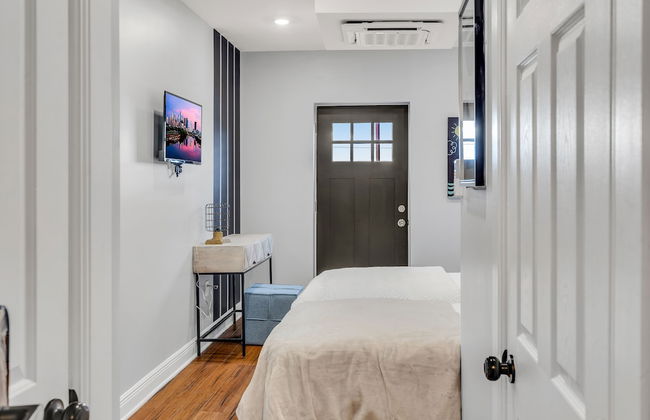
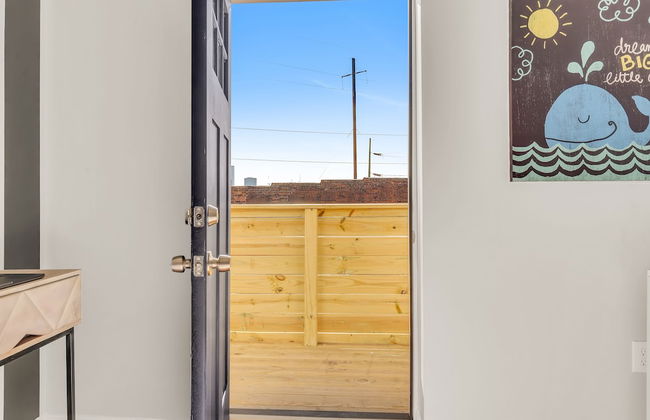
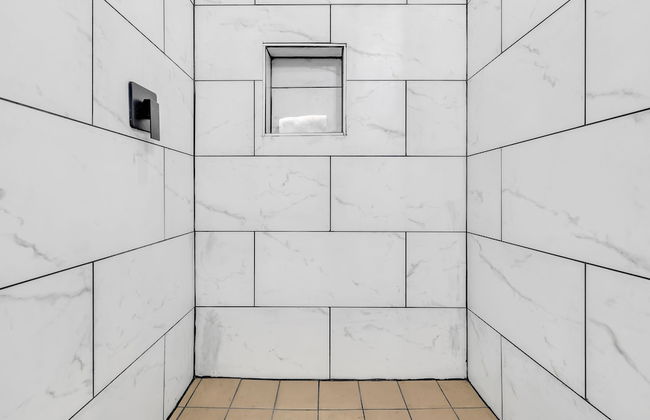
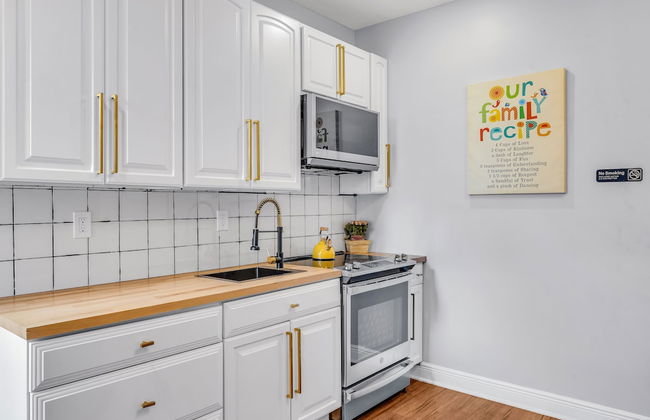
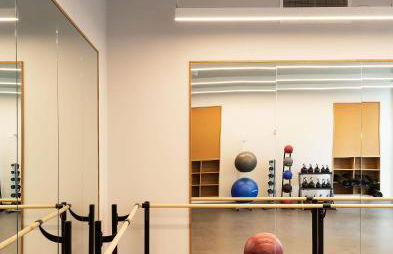
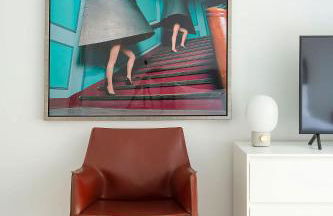
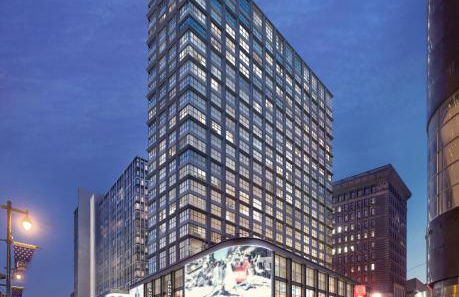
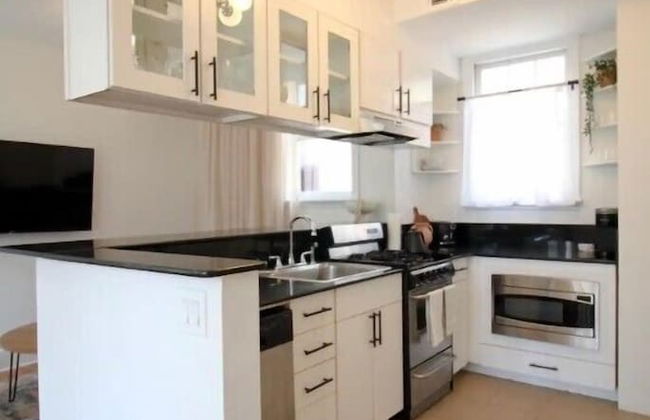
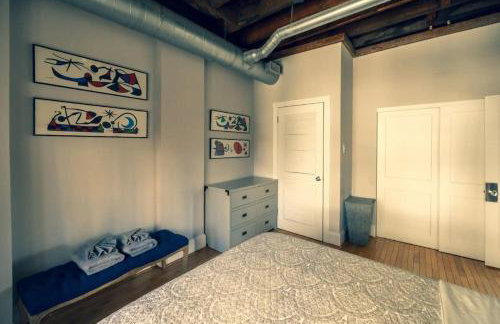
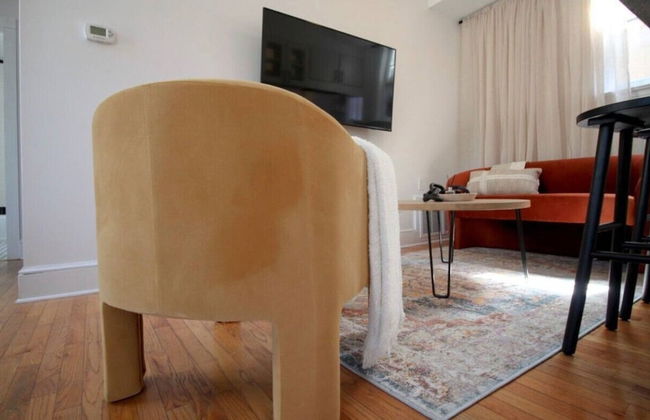
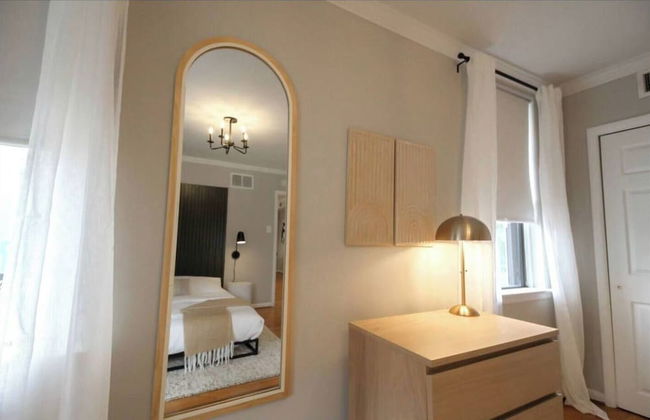
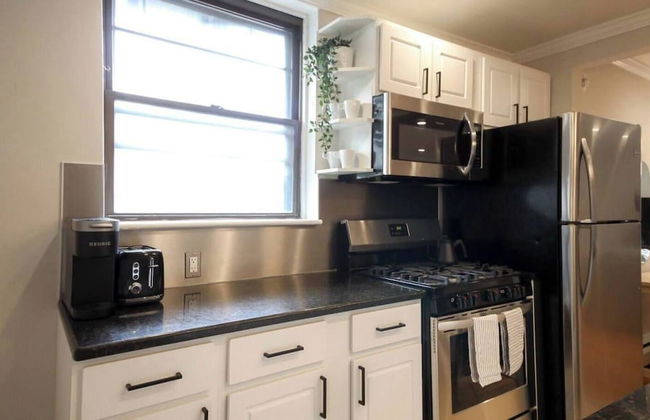
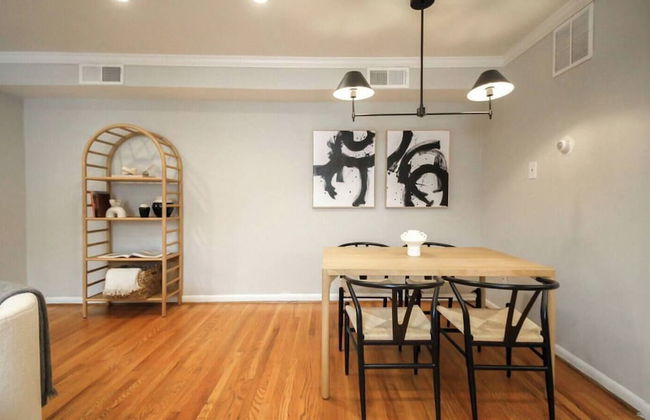
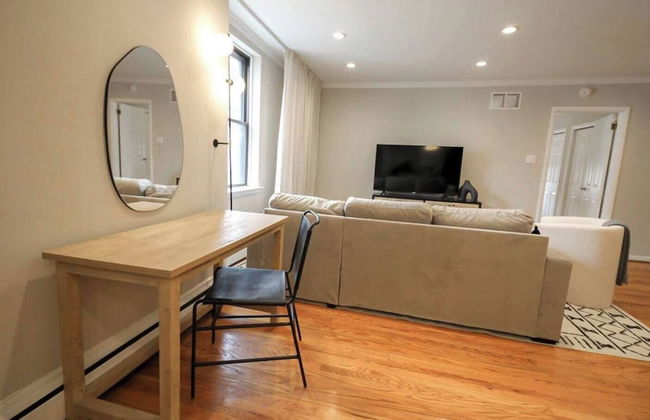
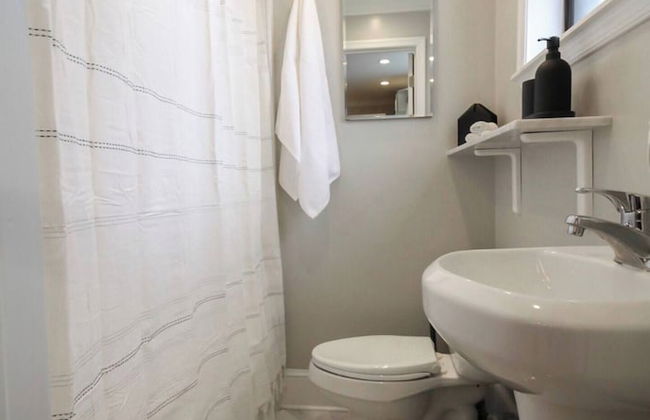
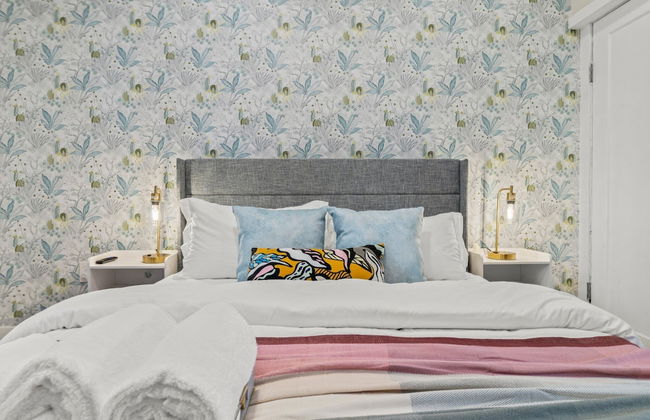
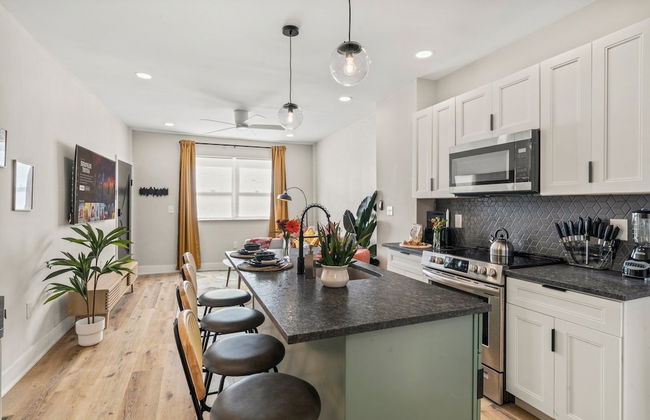
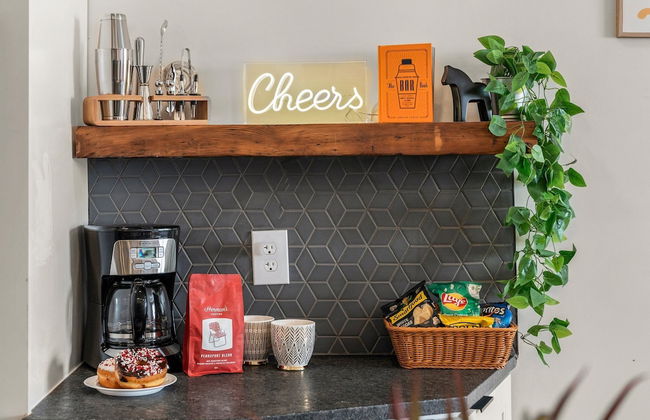
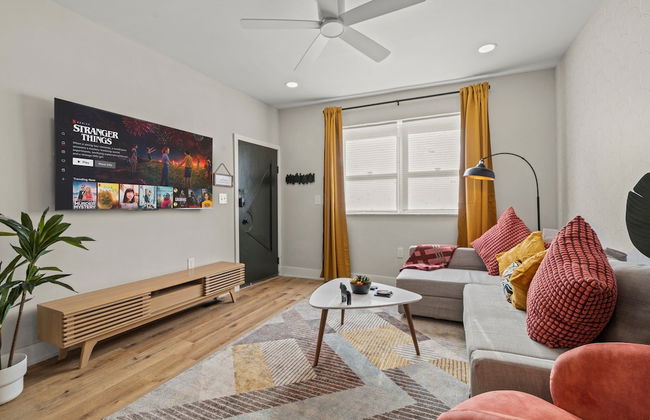
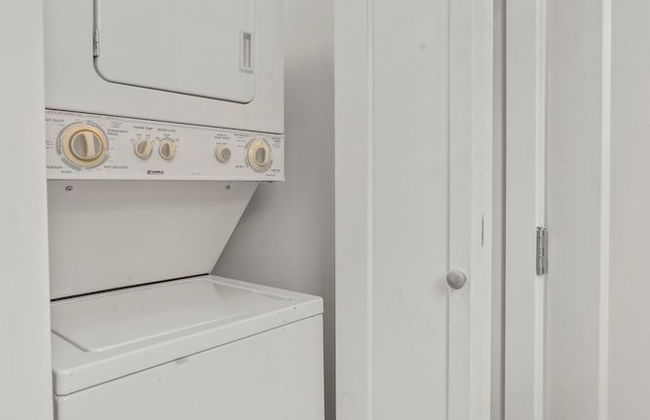
Passyunk Square Spacious 1BR - Huge Deck - Foto 3
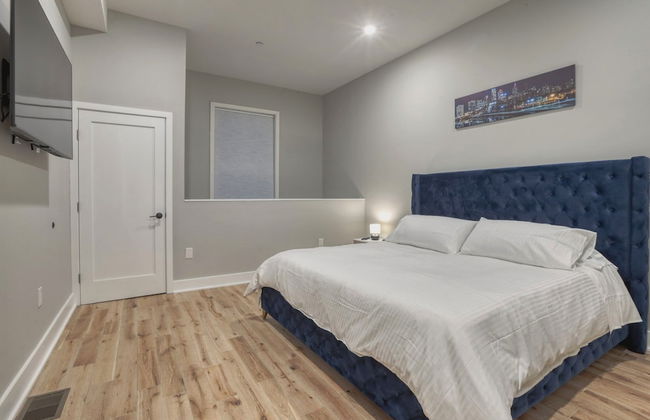
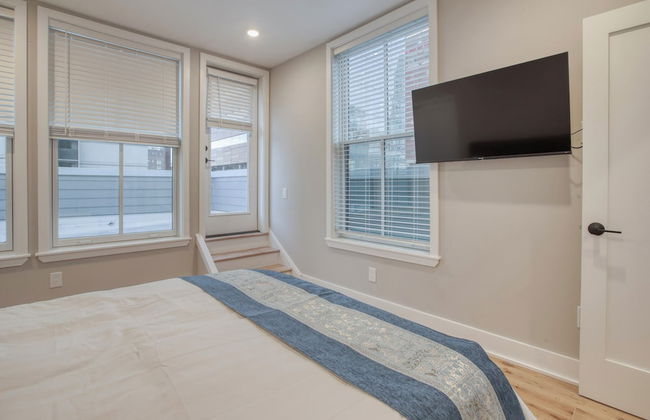
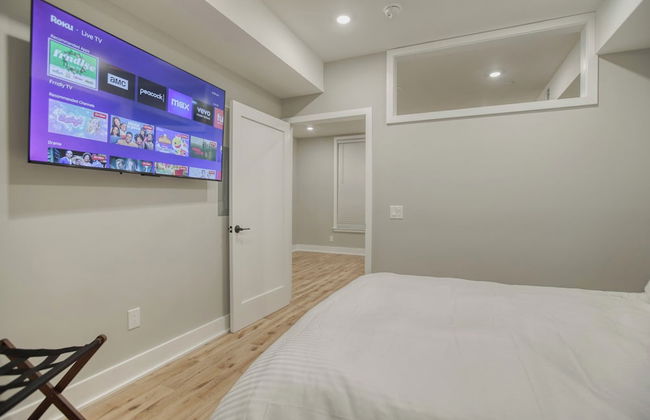
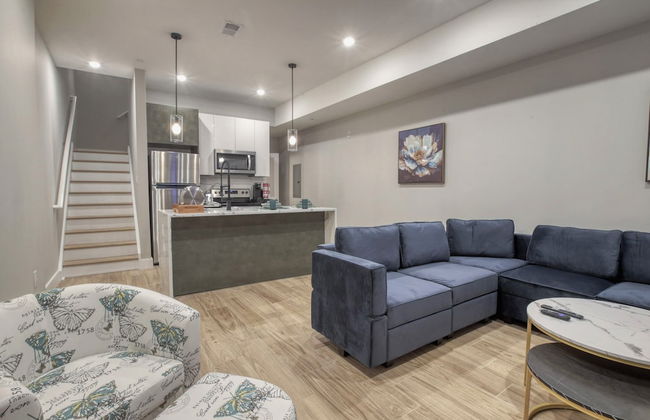
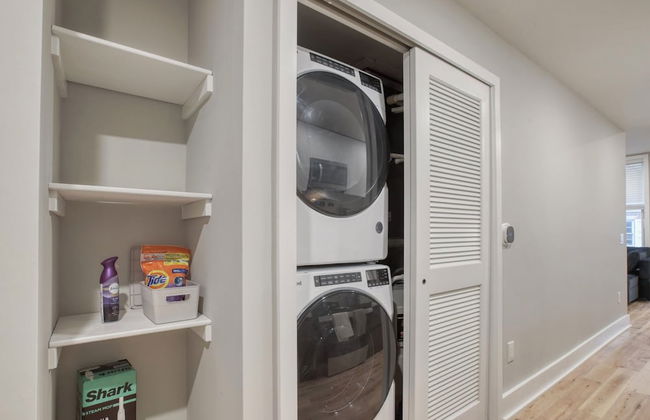
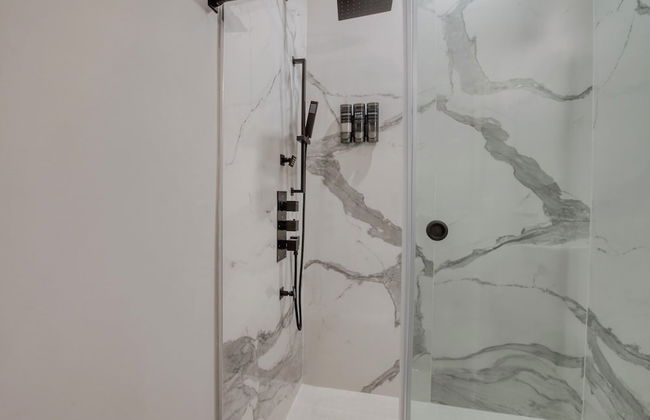
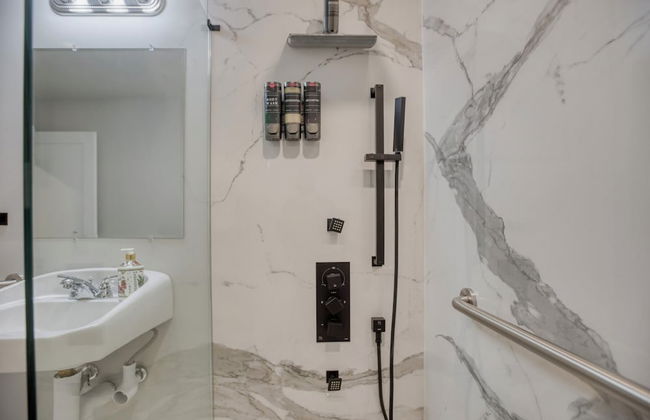
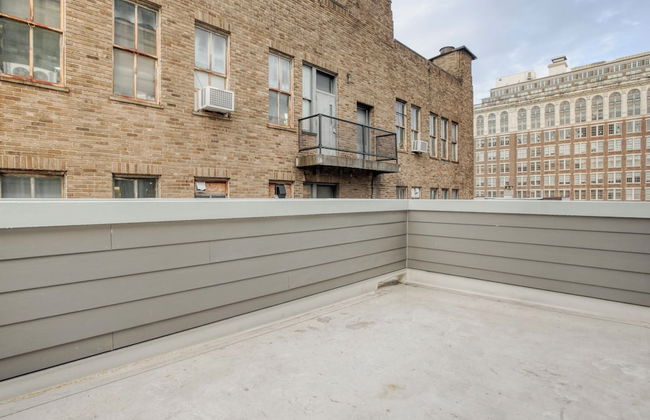
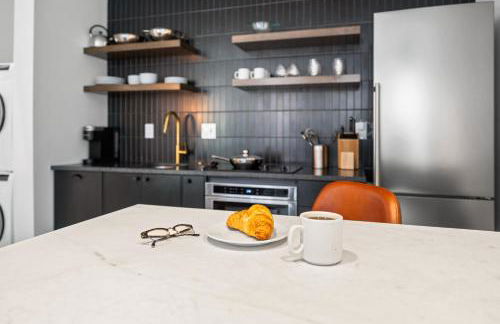
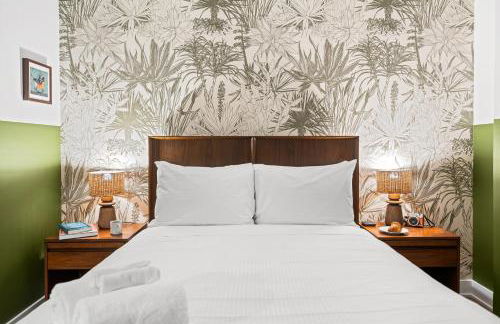
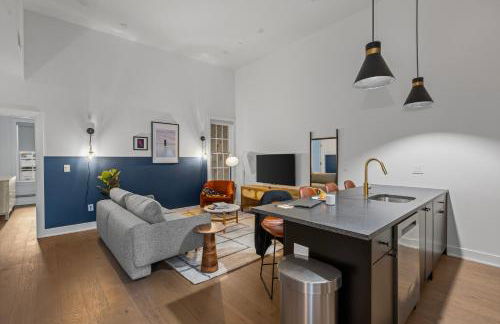
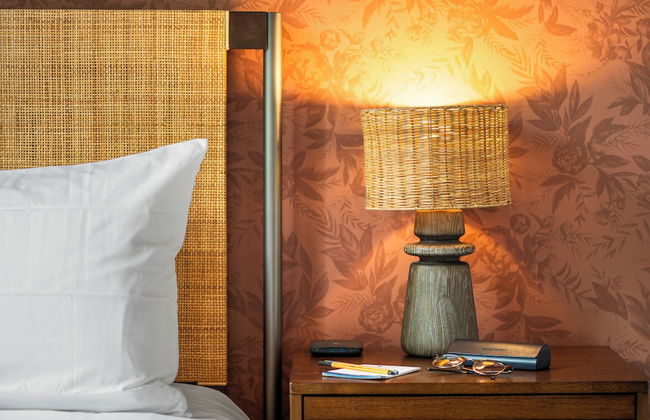
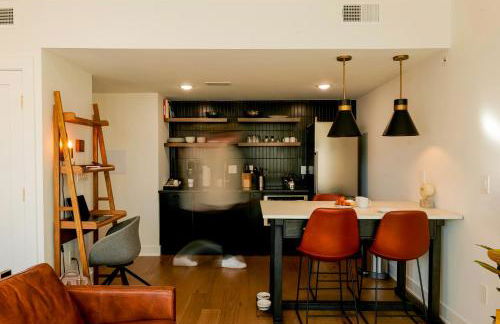
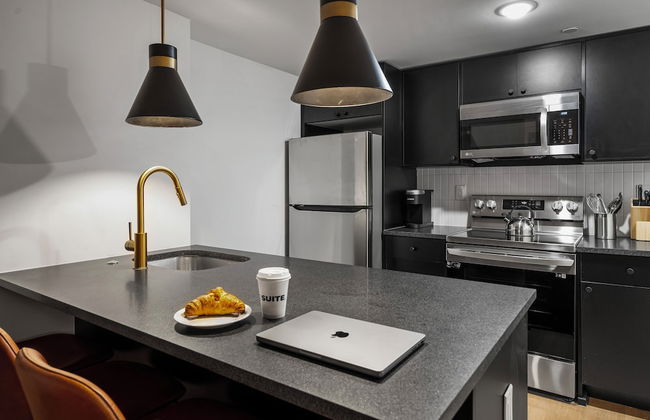
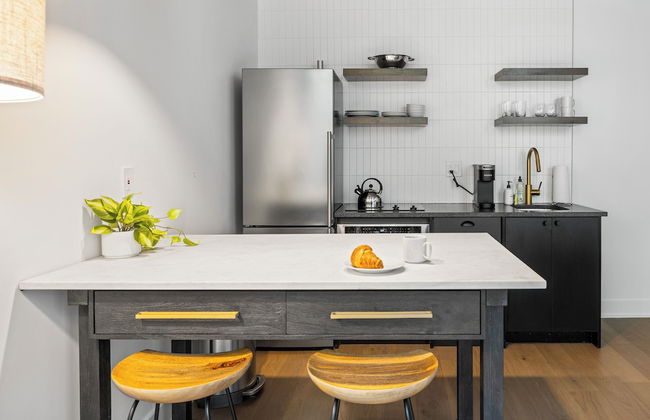
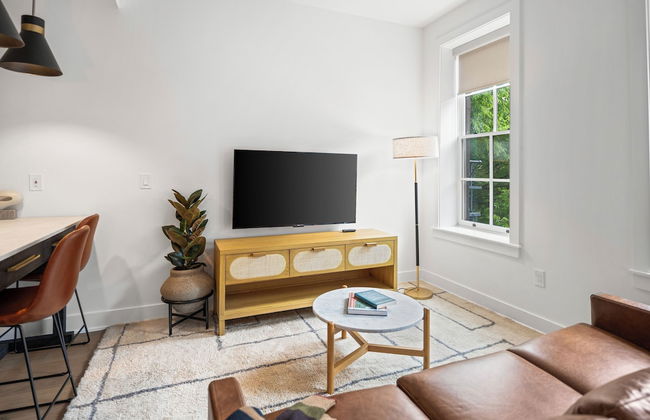
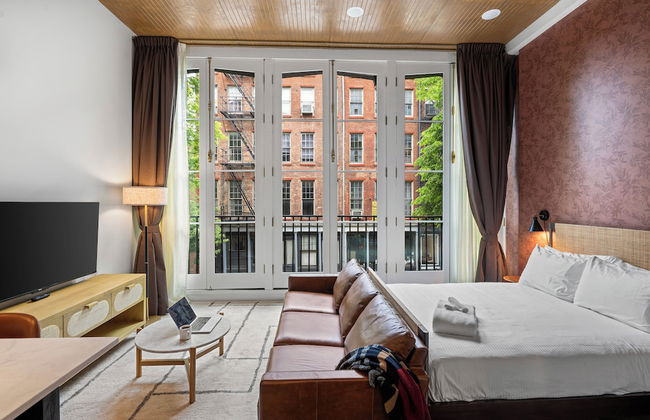
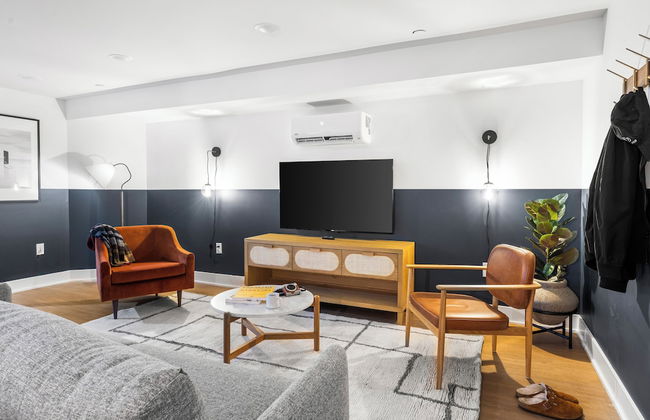
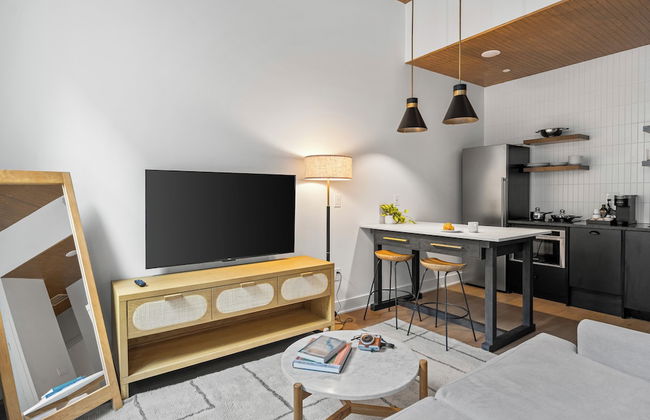
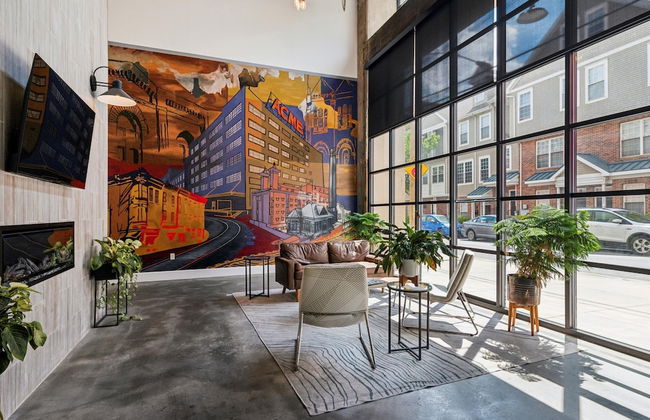
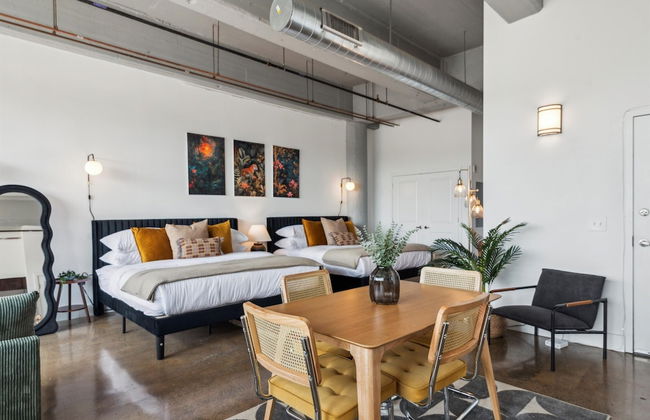
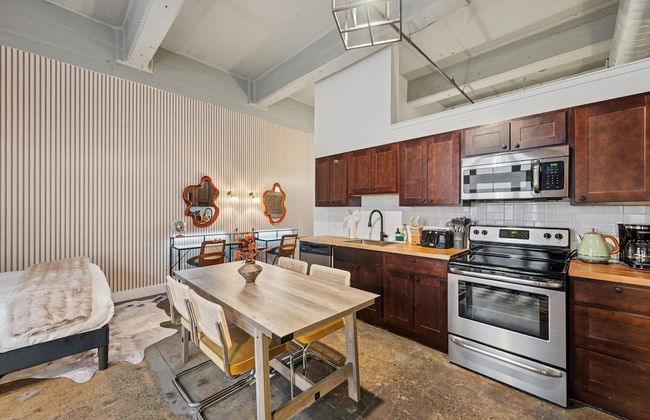
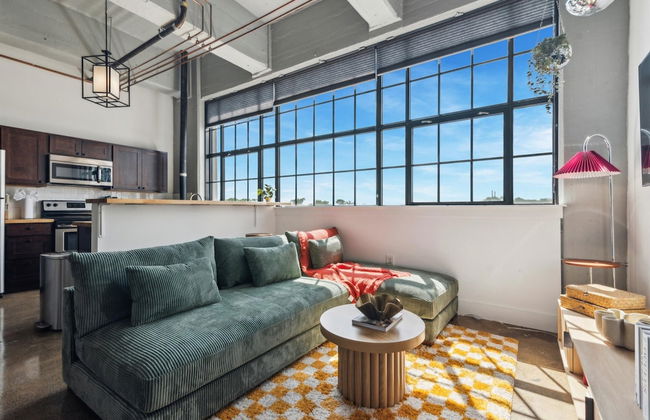
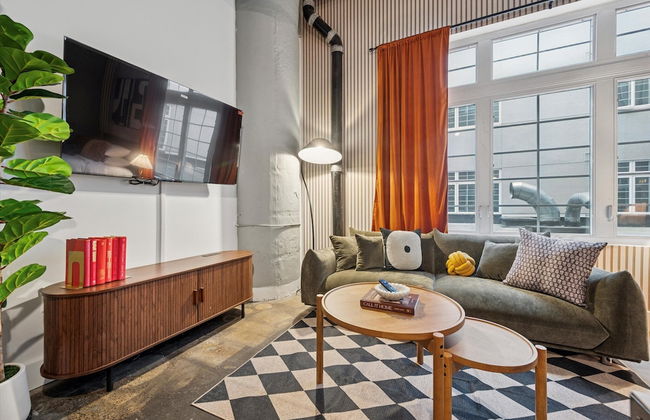
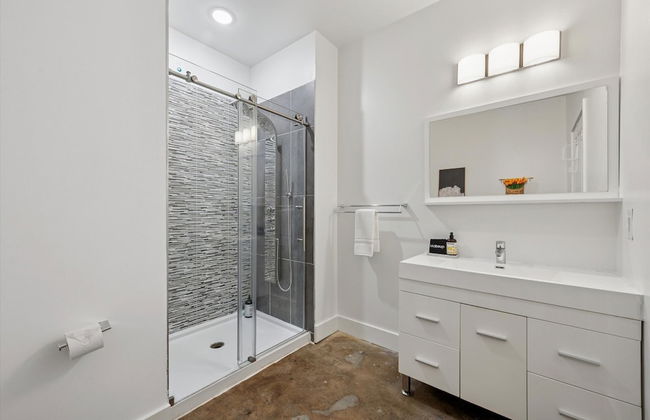
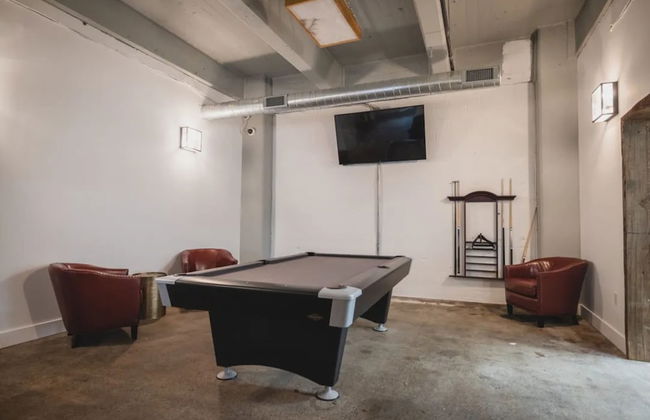
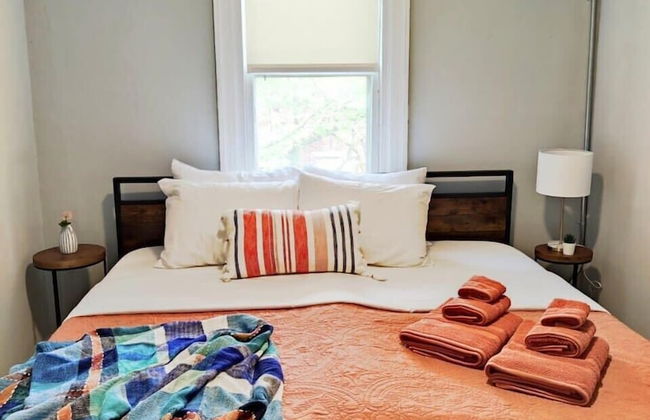
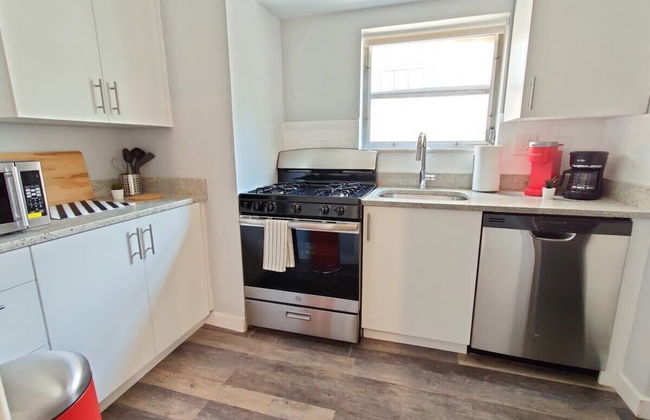
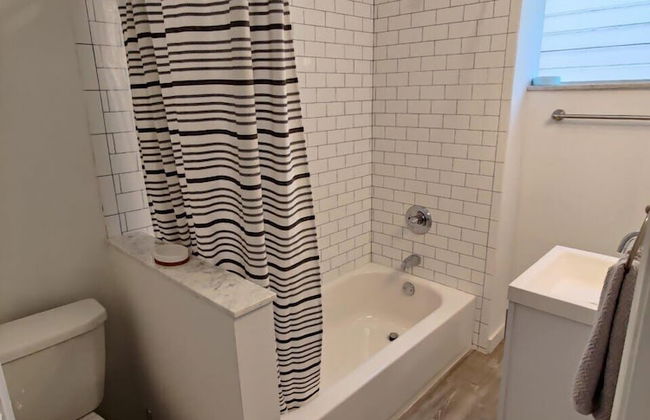
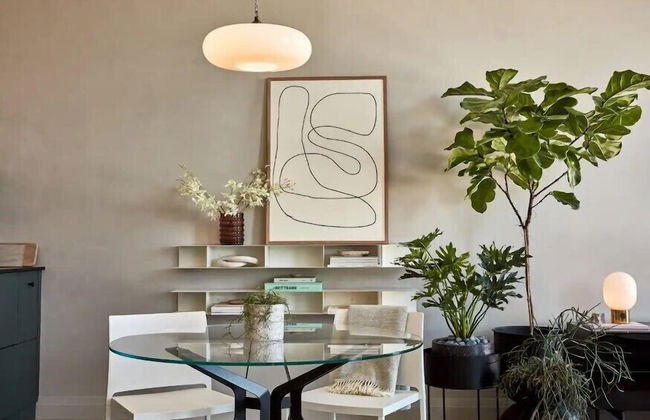
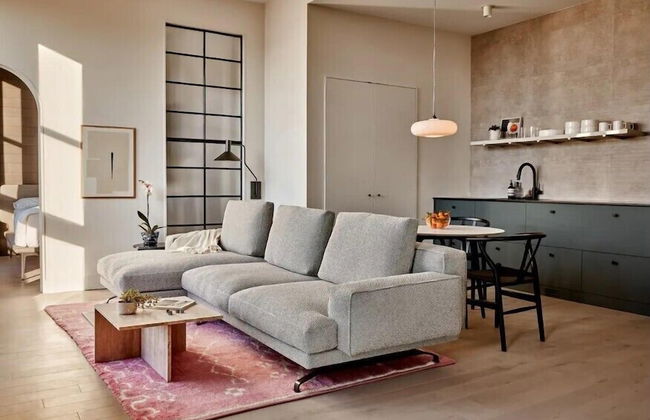
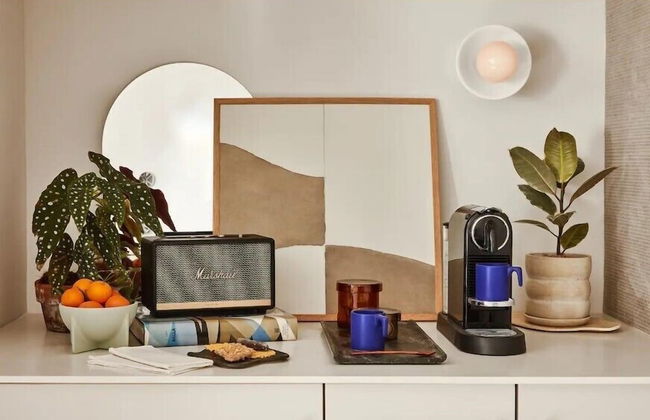
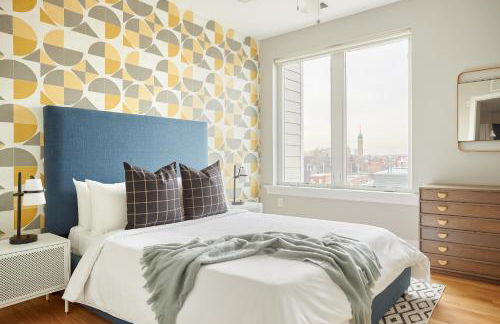
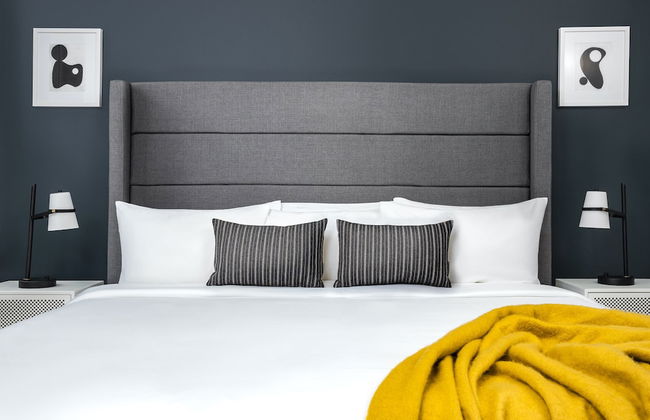
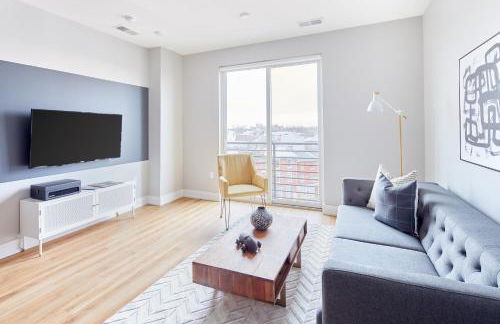
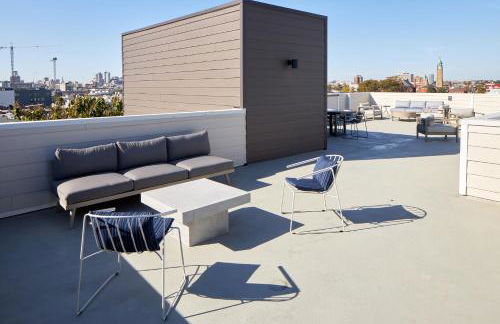
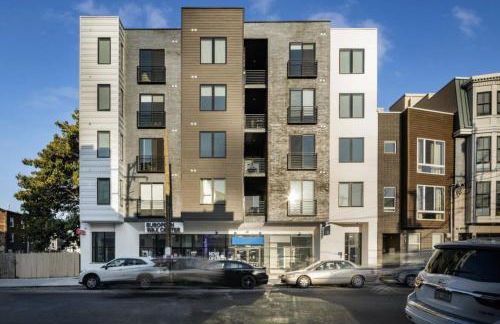
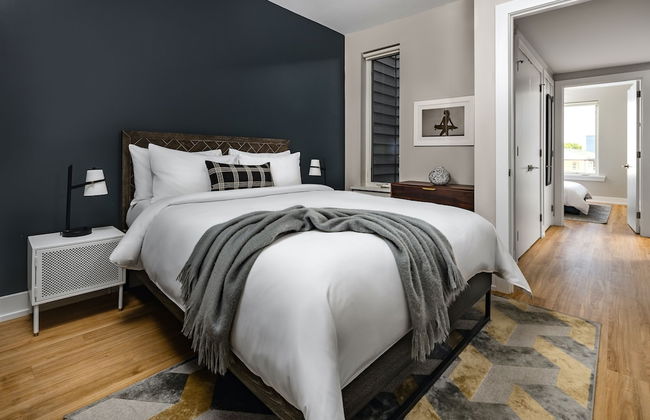
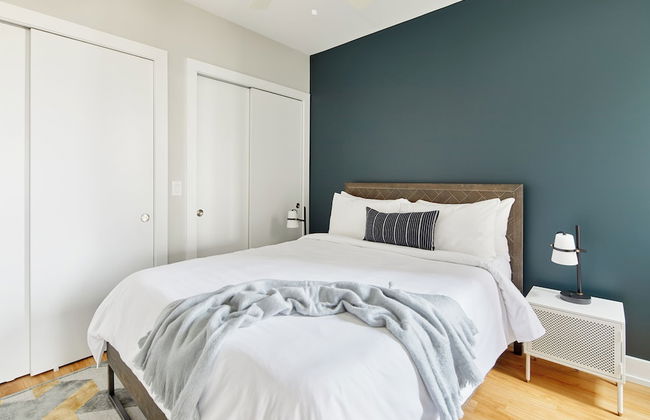
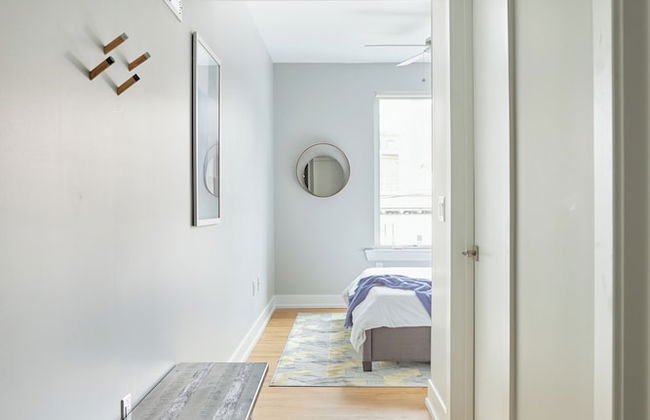
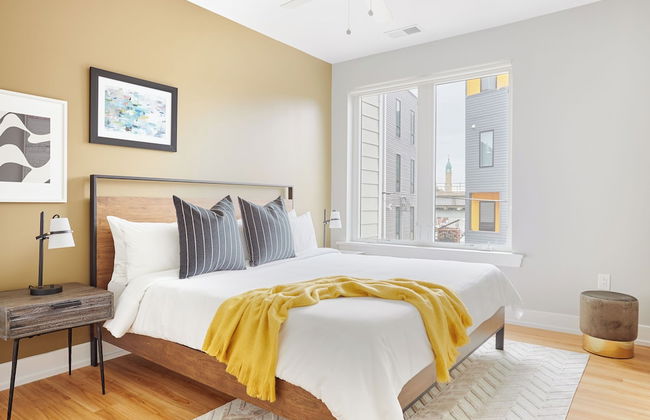
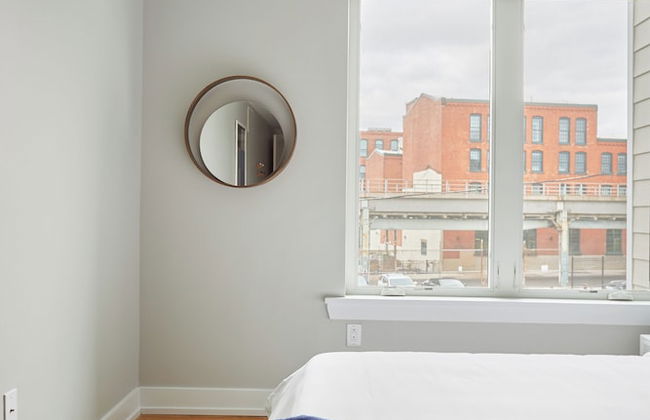
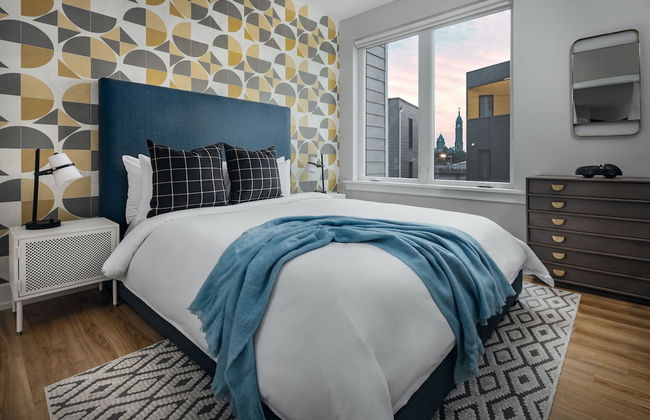
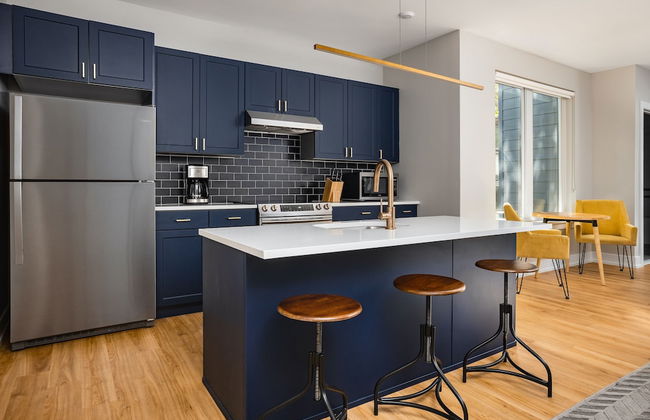
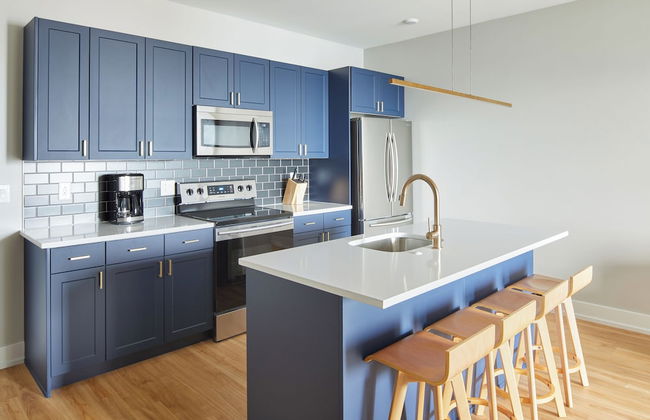
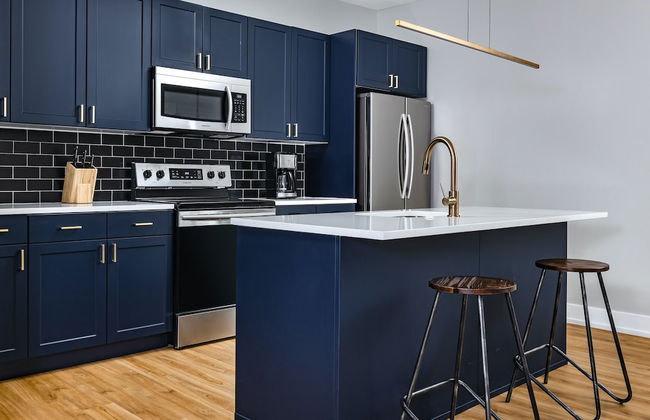
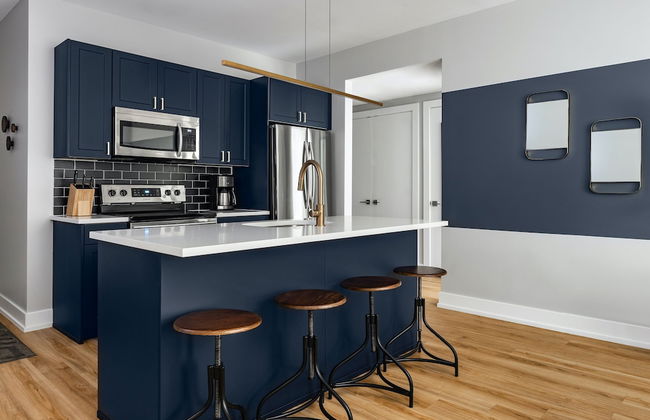
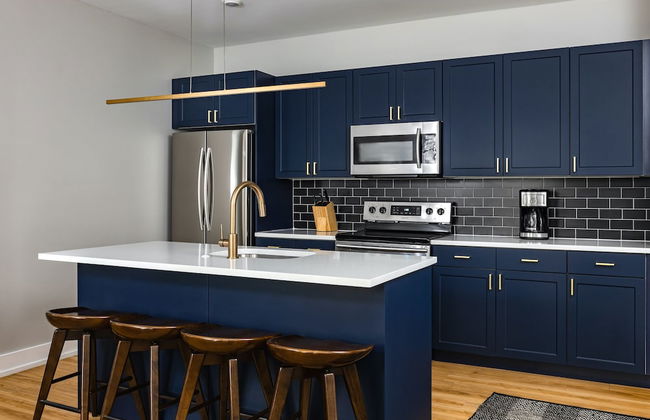
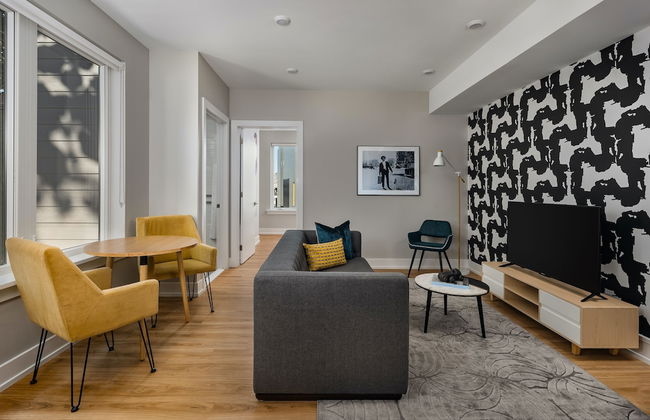
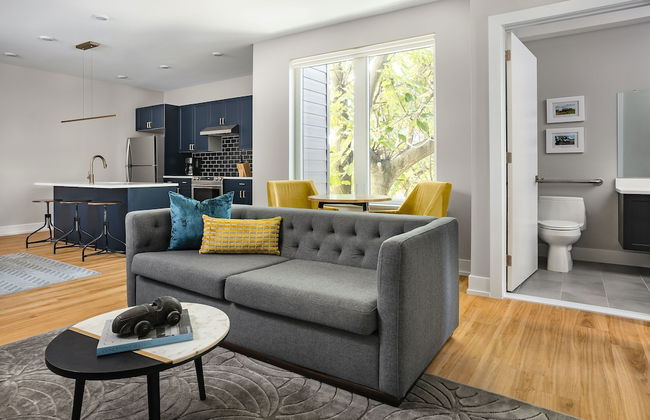
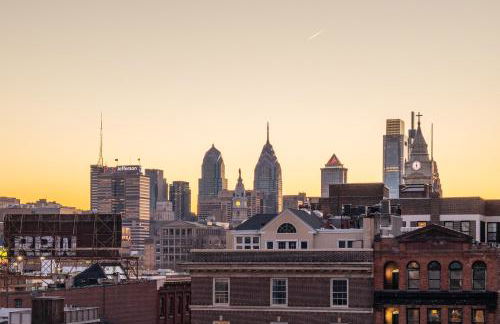
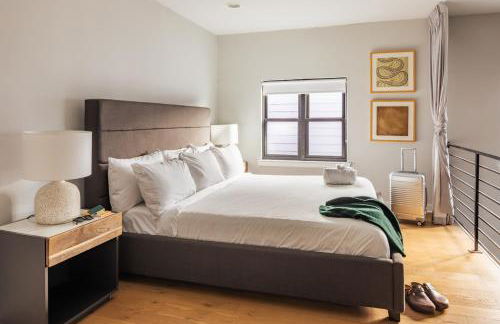
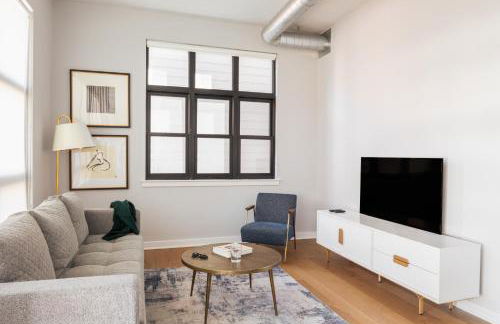
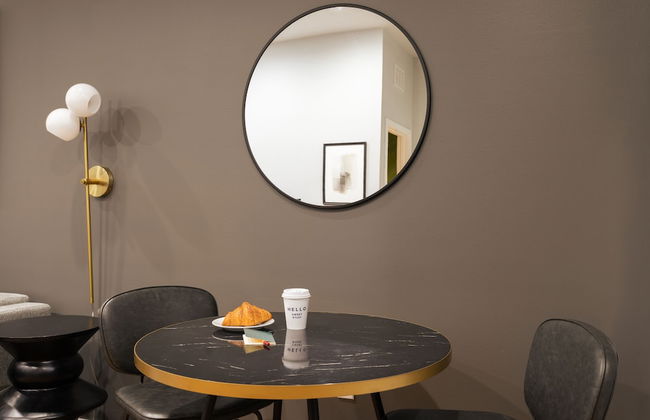
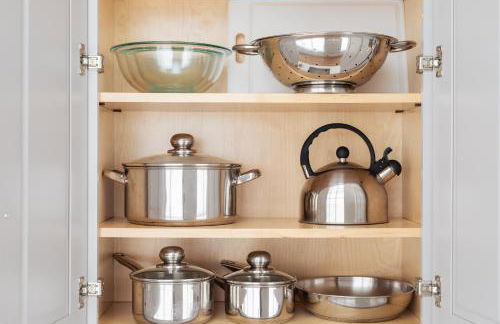
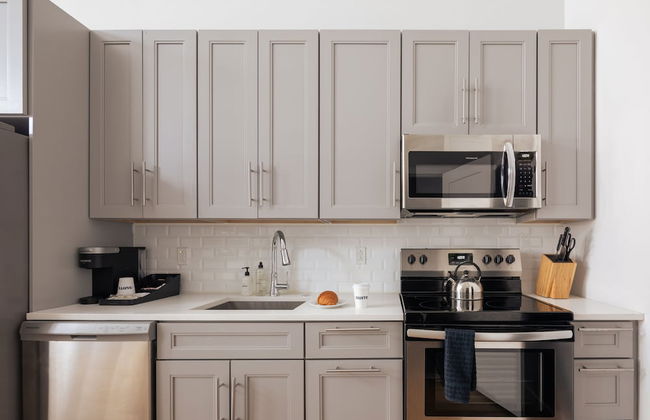
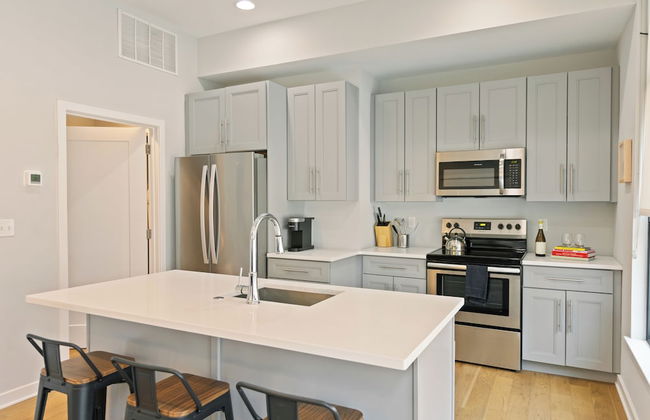
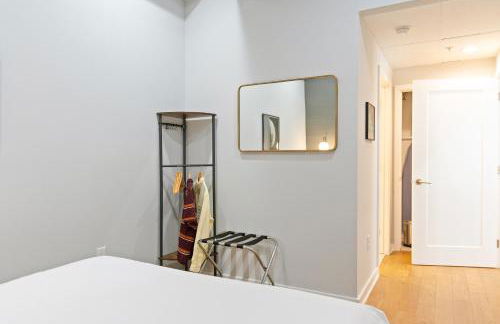
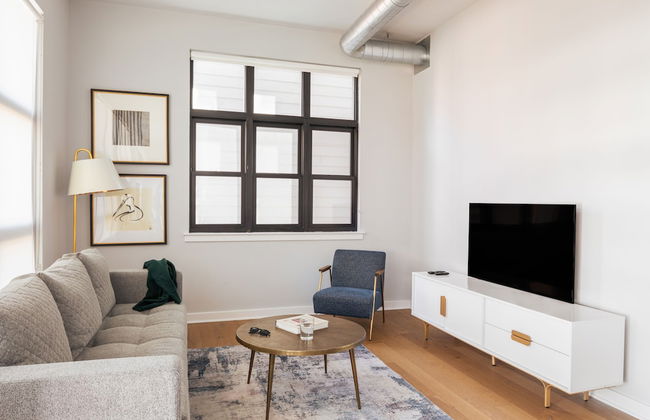
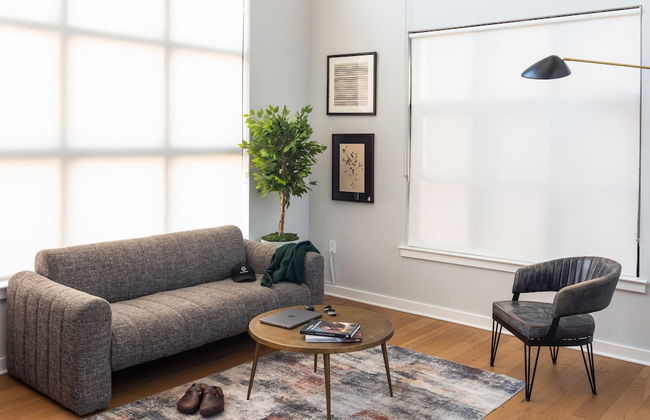
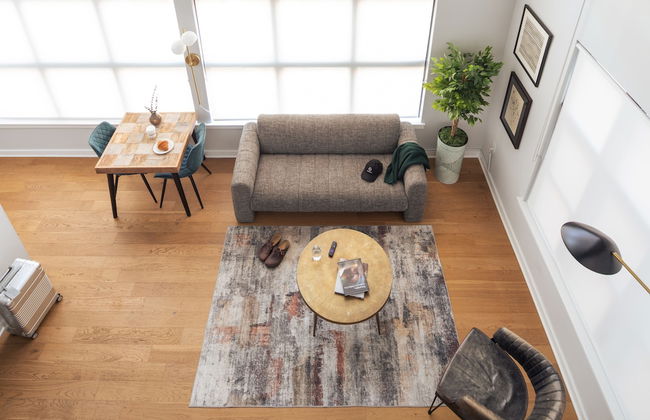
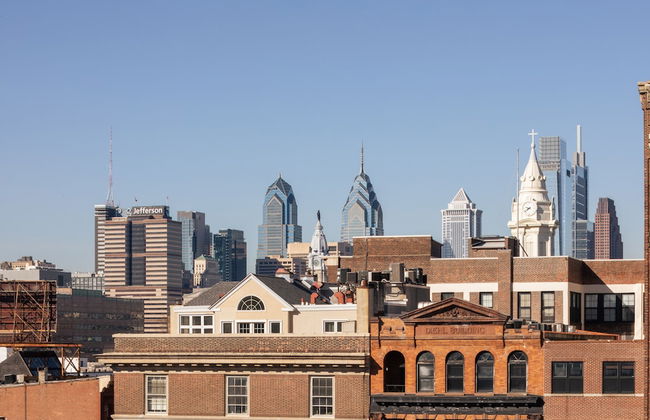
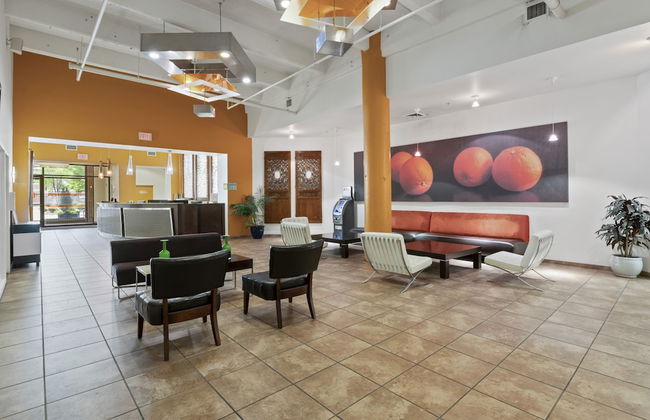
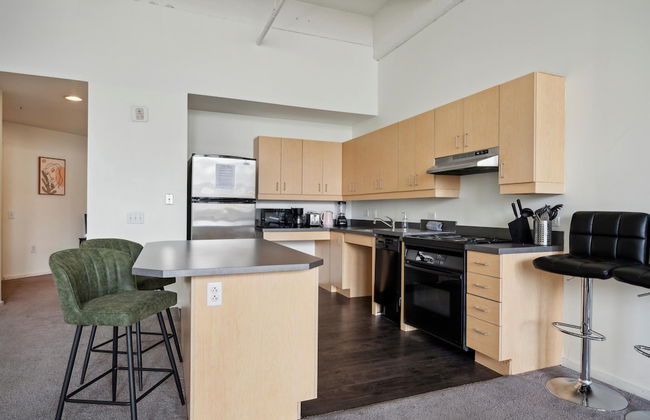
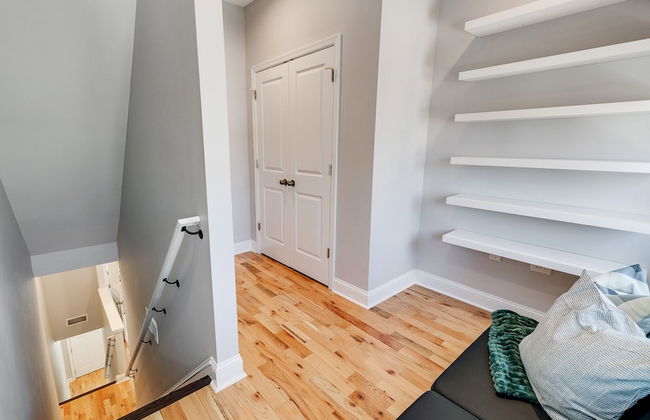
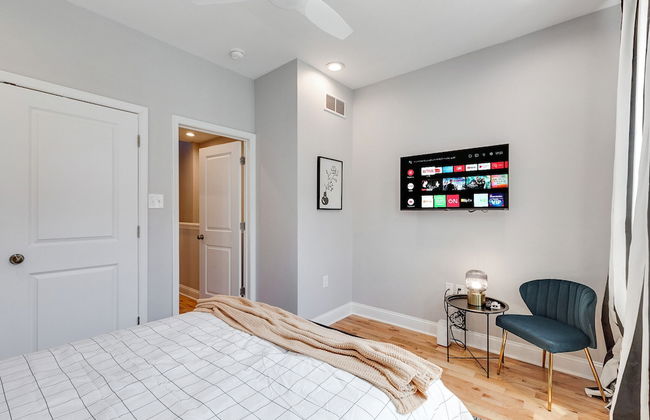
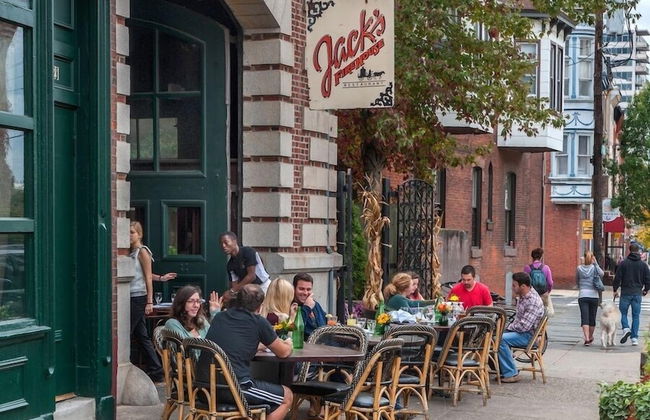
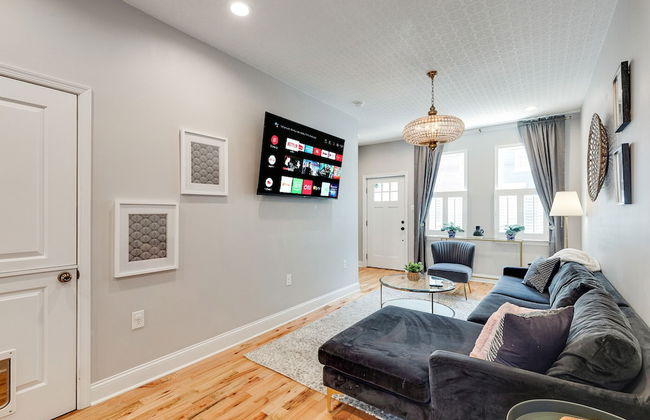
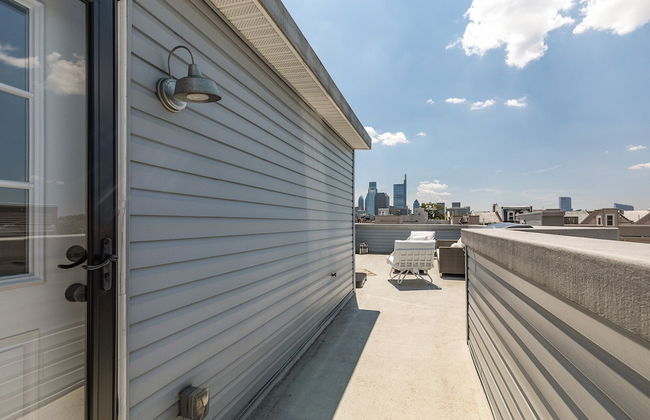
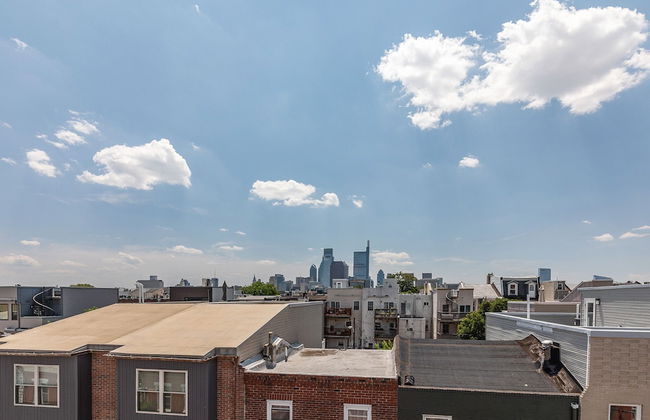
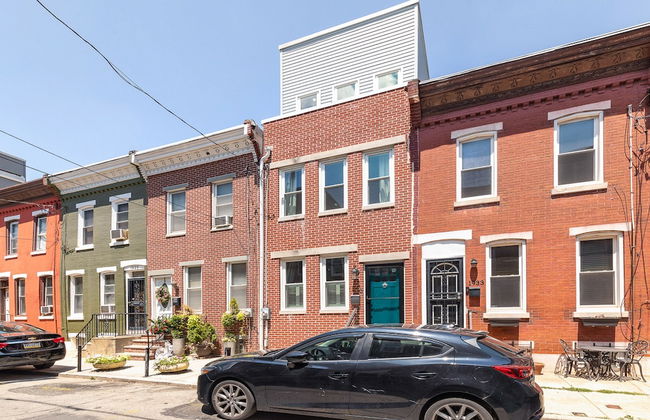
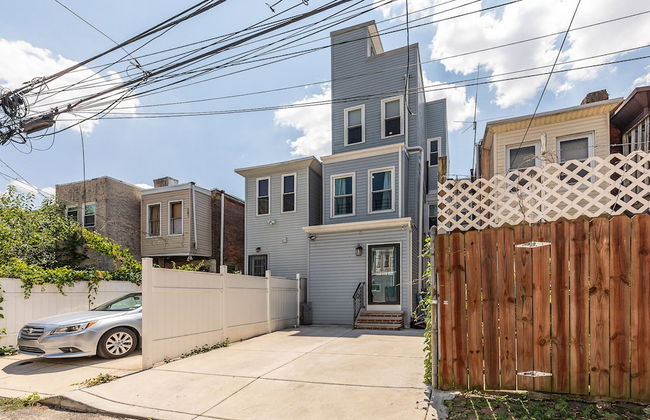
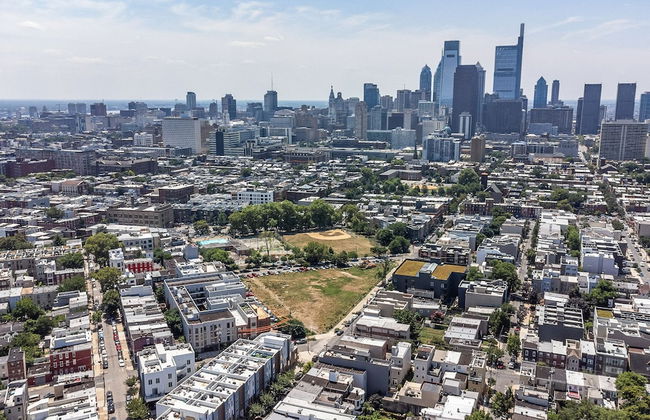
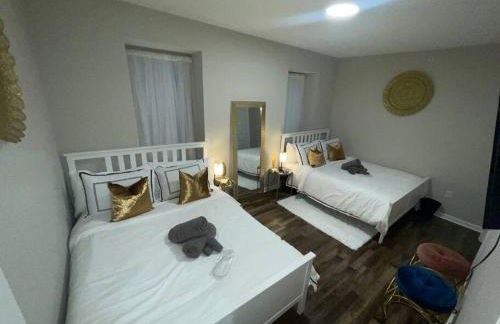
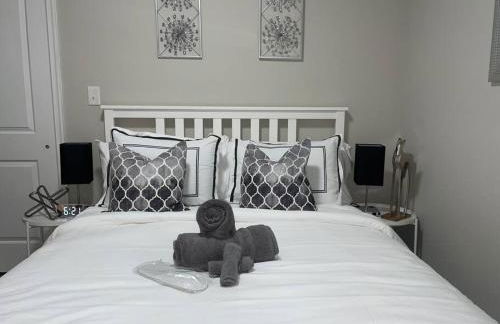
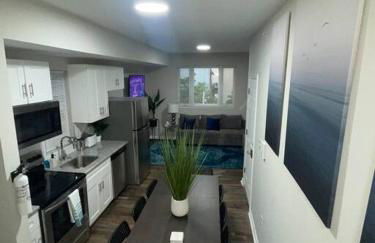
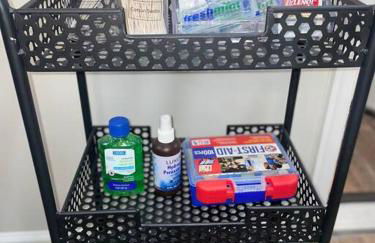
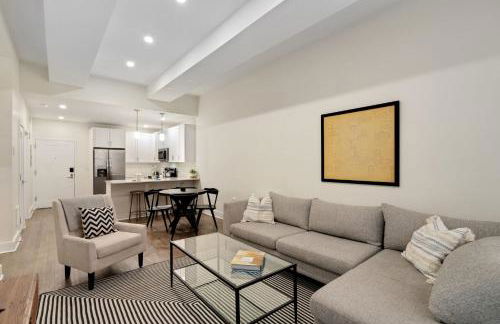
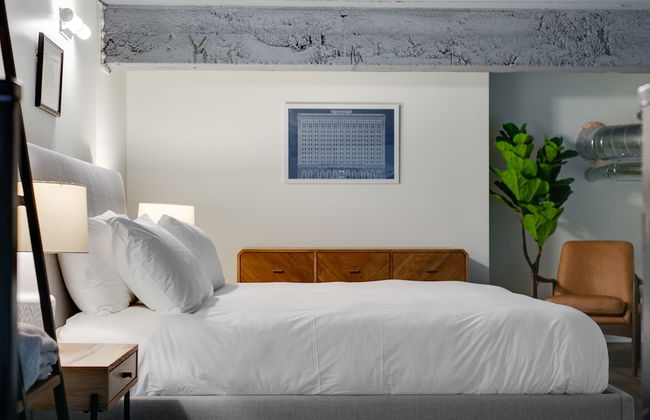
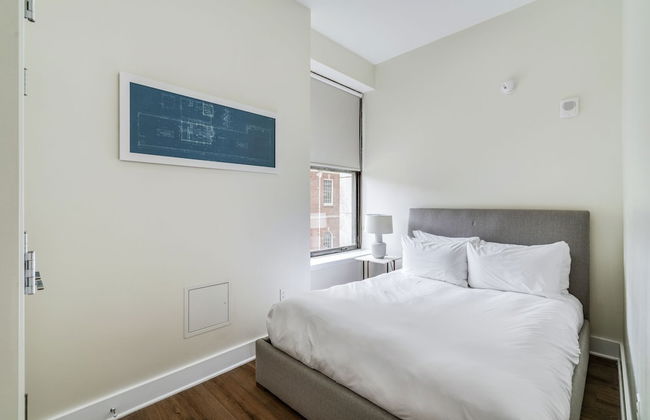
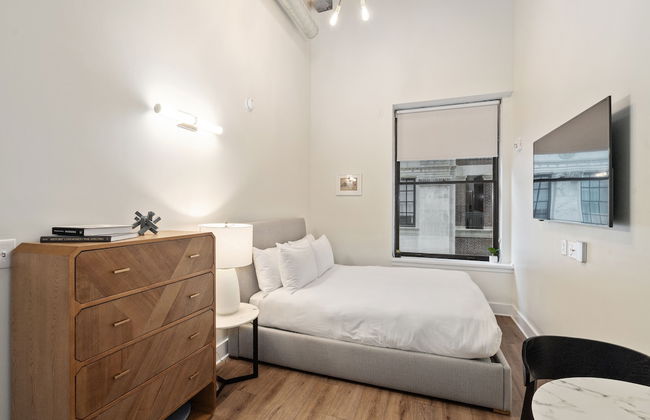
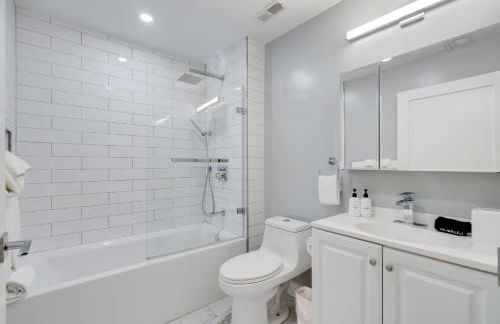
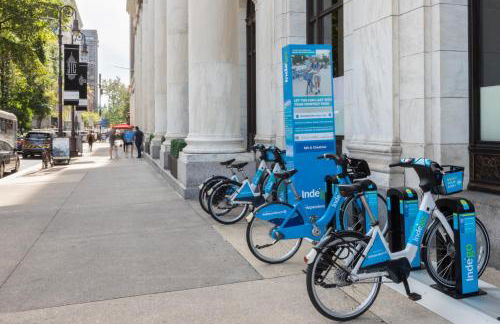
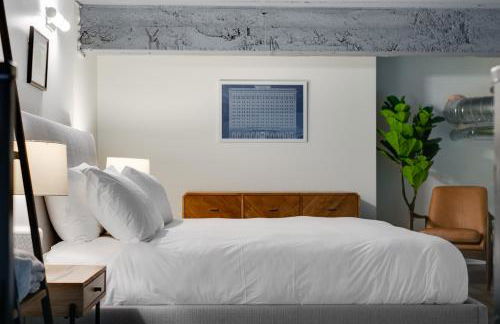
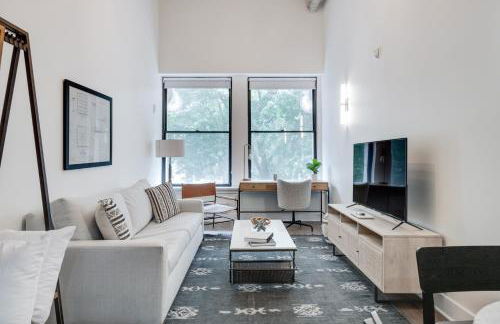
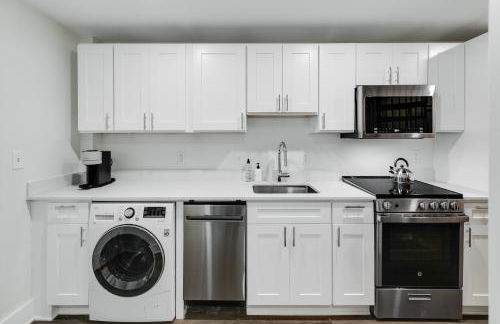
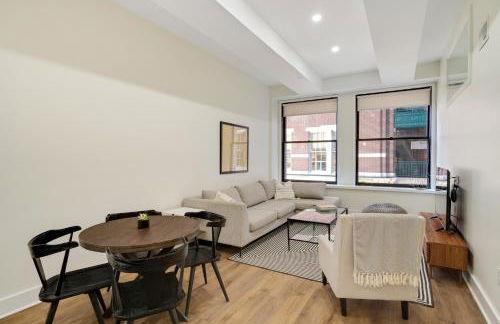
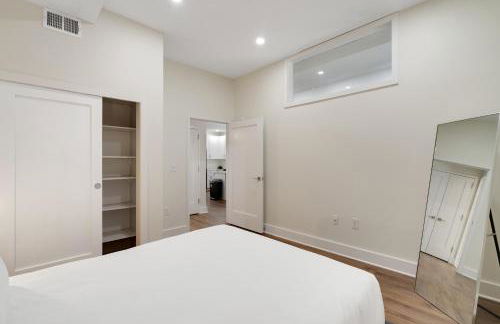
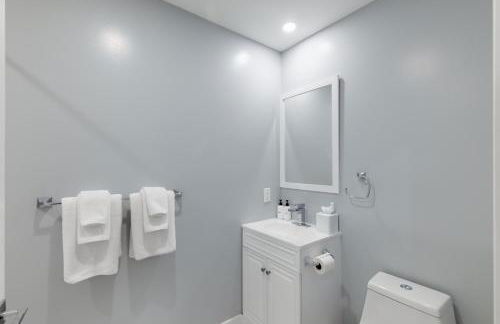
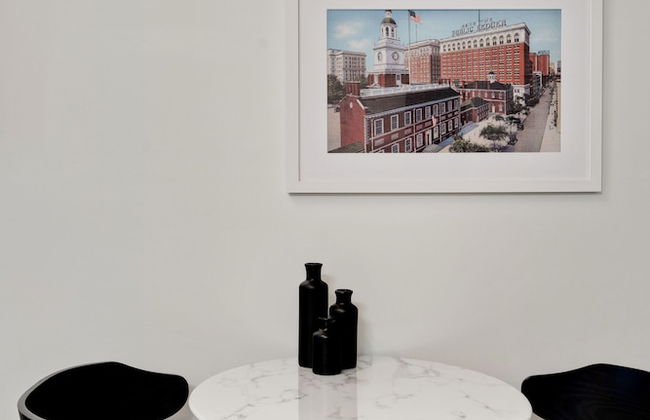
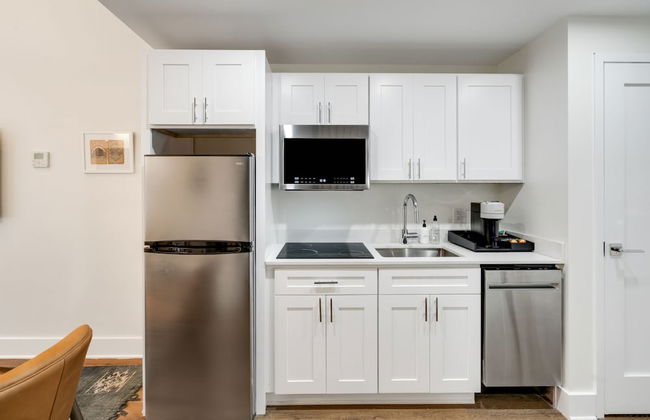
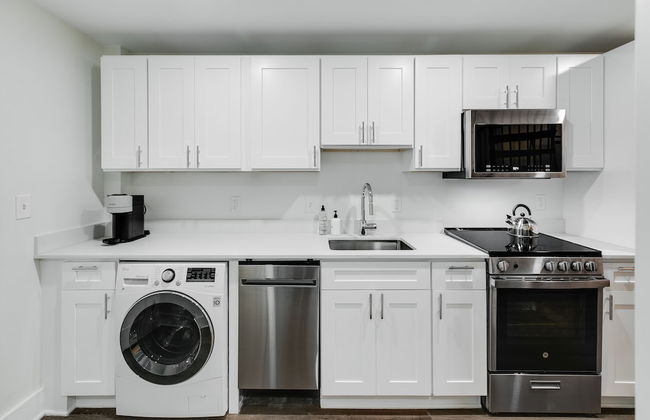
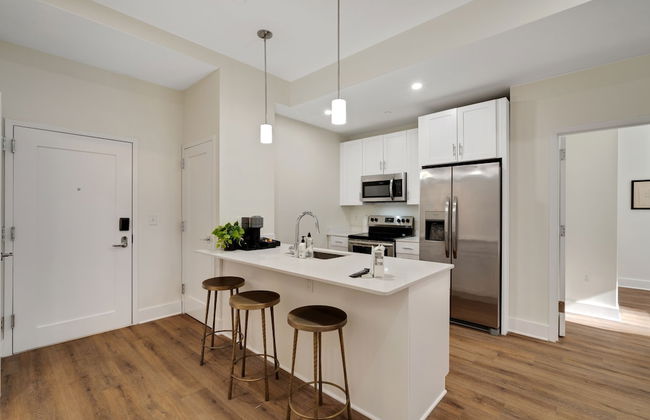
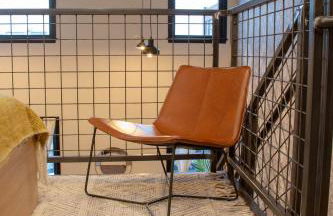
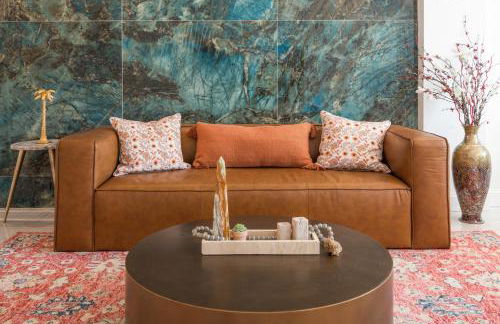
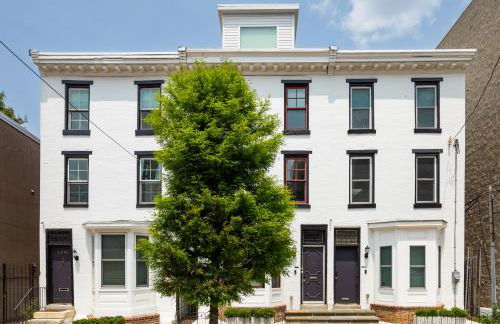
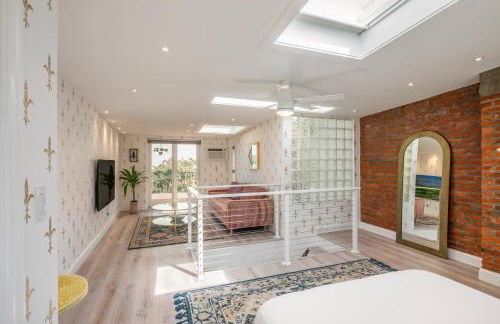
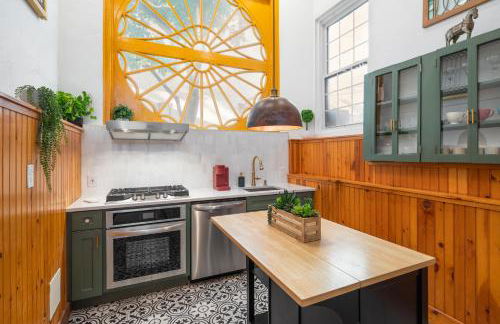
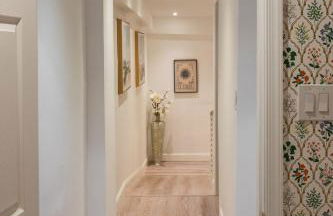
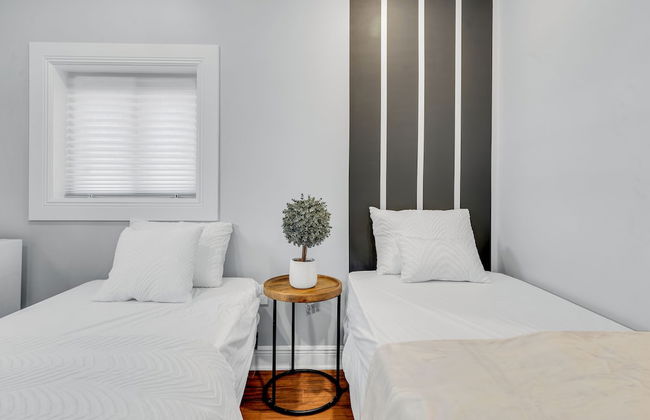
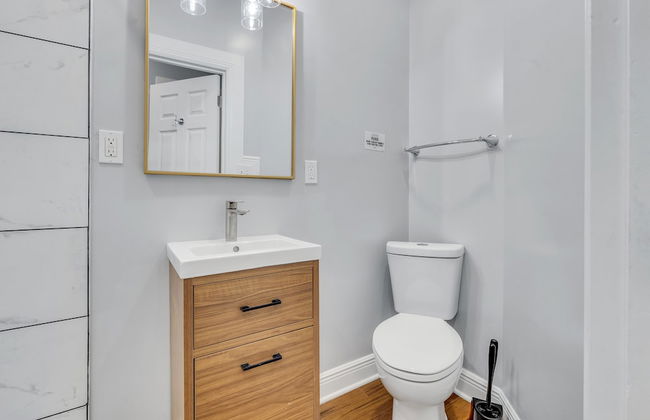
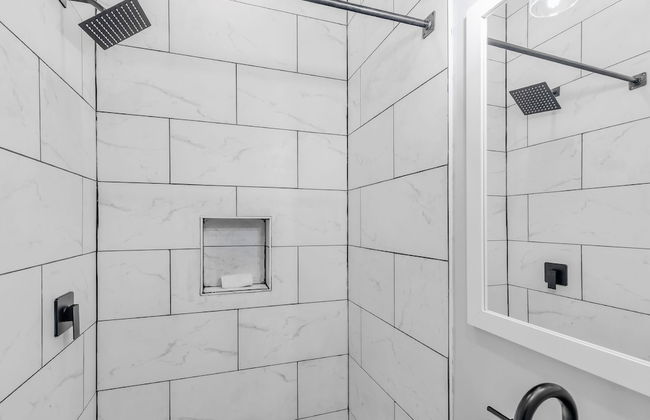
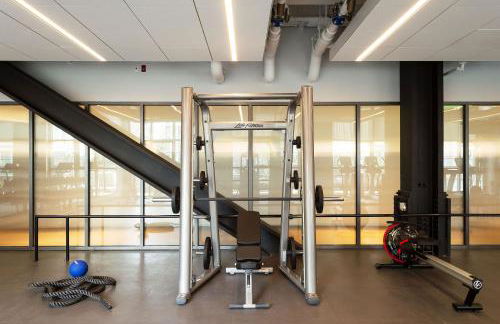
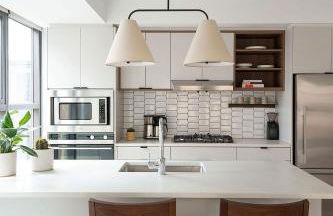
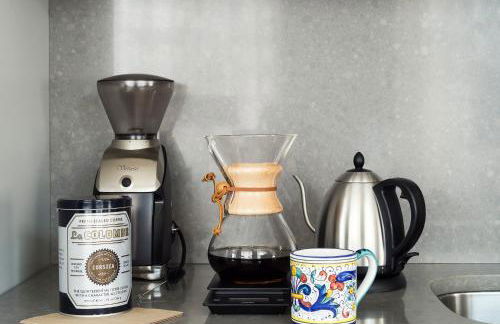
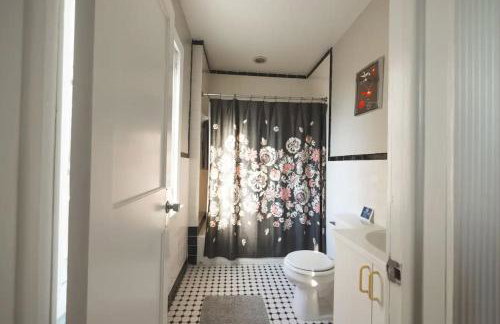
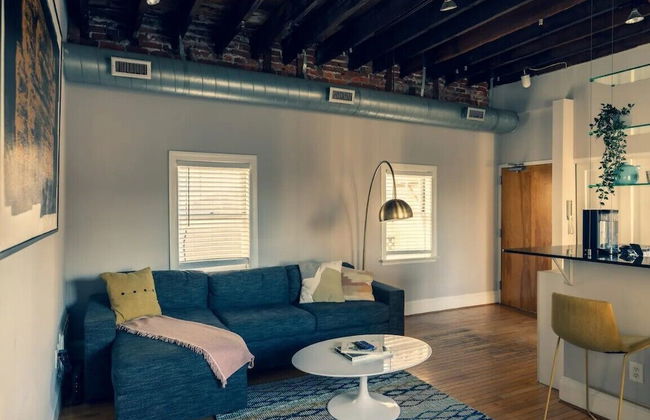
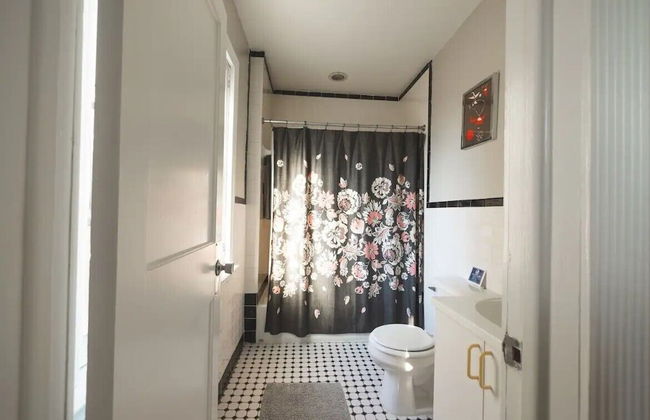
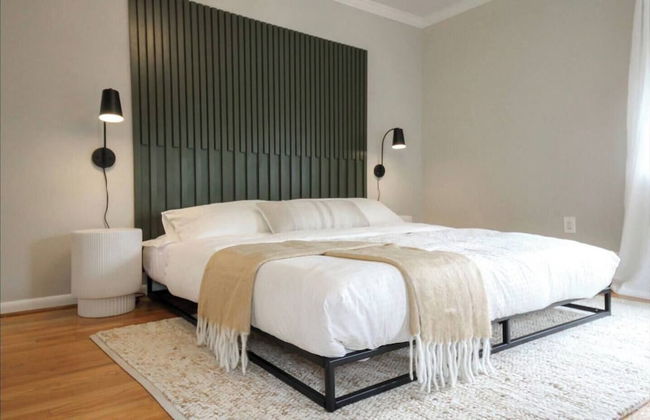
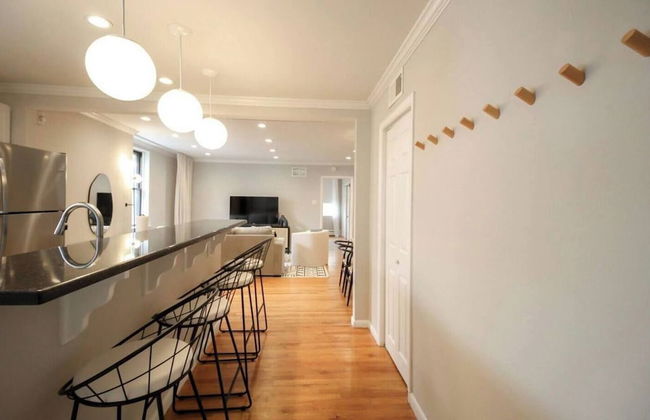
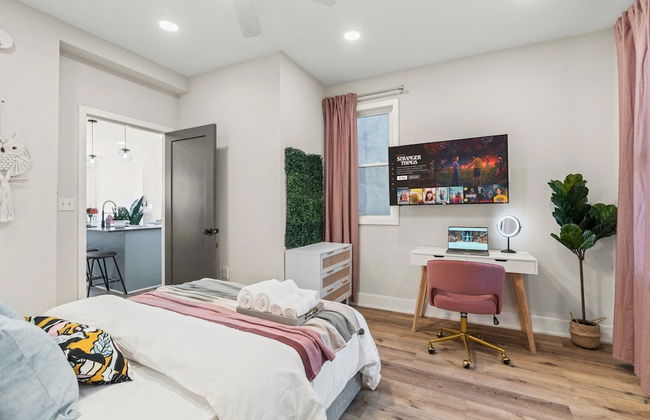
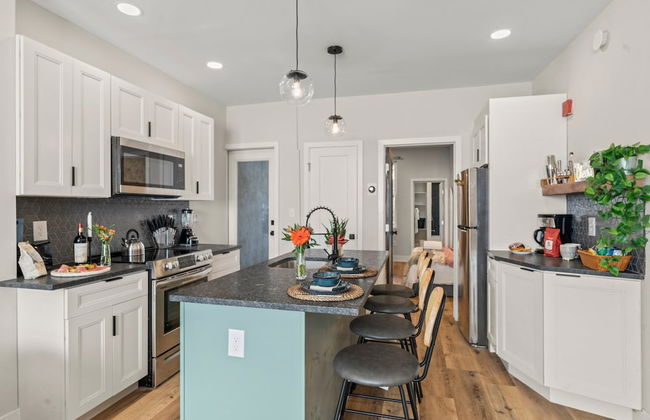
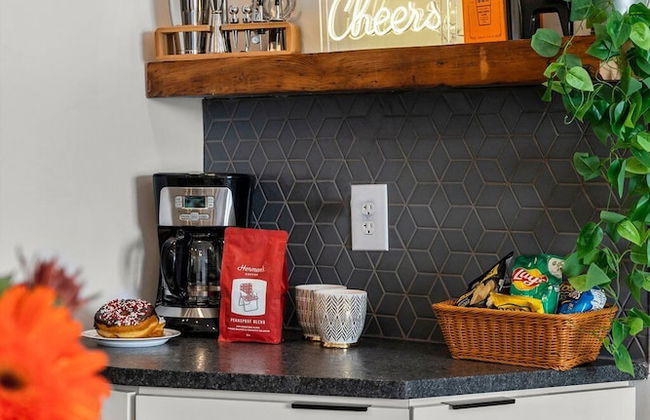
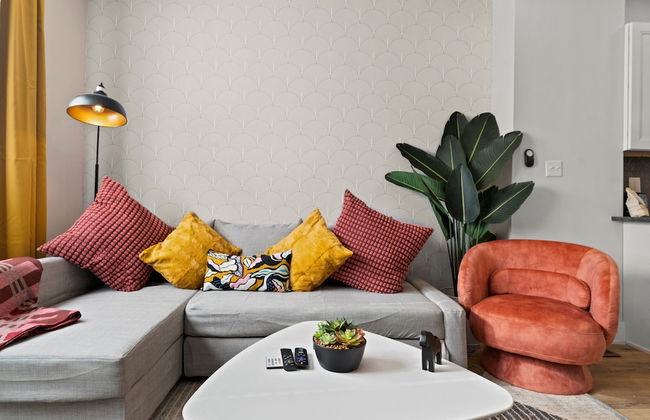
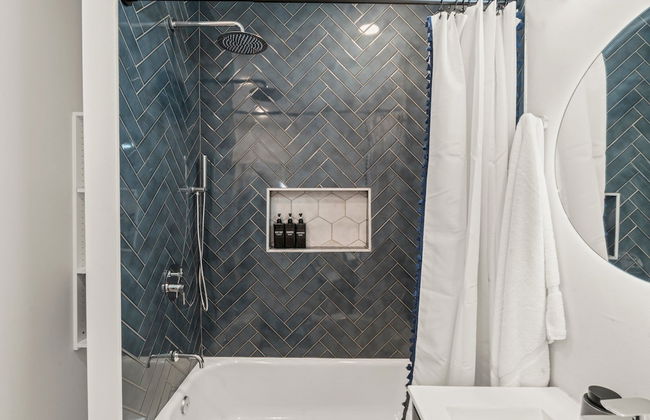
Passyunk Square Spacious 1BR - Huge Deck - Foto 4
Passyunk Square Spacious 1BR - Huge Deck - Foto 5
Passyunk Square Spacious 1BR - Huge Deck - Foto 6
Passyunk Square Spacious 1BR - Huge Deck - Foto 7
Passyunk Square Spacious 1BR - Huge Deck - Foto 8
Passyunk Square Spacious 1BR - Huge Deck - Foto 9
Passyunk Square Spacious 1BR - Huge Deck - Foto 10
Passyunk Square Spacious 1BR - Huge Deck - Foto 11
Passyunk Square Spacious 1BR - Huge Deck - Foto 12
Passyunk Square Spacious 1BR - Huge Deck - Foto 13
Passyunk Square Spacious 1BR - Huge Deck - Foto 14
Passyunk Square Spacious 1BR - Huge Deck - Foto 15
Passyunk Square Spacious 1BR - Huge Deck - Foto 16
Passyunk Square Spacious 1BR - Huge Deck - Foto 17
Passyunk Square Spacious 1BR - Huge Deck - Foto 18
Passyunk Square Spacious 1BR - Huge Deck - Foto 19
Passyunk Square Spacious 1BR - Huge Deck - Foto 20
Passyunk Square Spacious 1BR - Huge Deck - Foto 21
Passyunk Square Spacious 1BR - Huge Deck - Foto 22
Passyunk Square Spacious 1BR - Huge Deck - Foto 23
Passyunk Square Spacious 1BR - Huge Deck - Foto 24
Passyunk Square Spacious 1BR - Huge Deck - Foto 25
Passyunk Square Spacious 1BR - Huge Deck - Foto 26

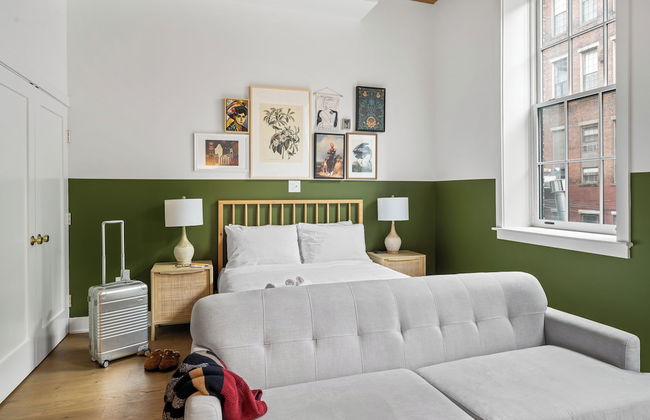
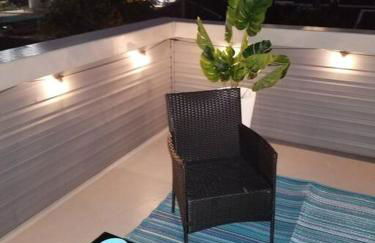
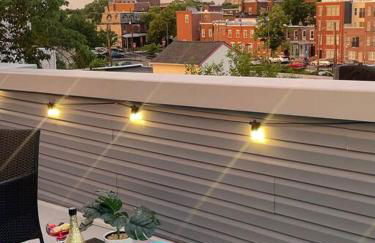
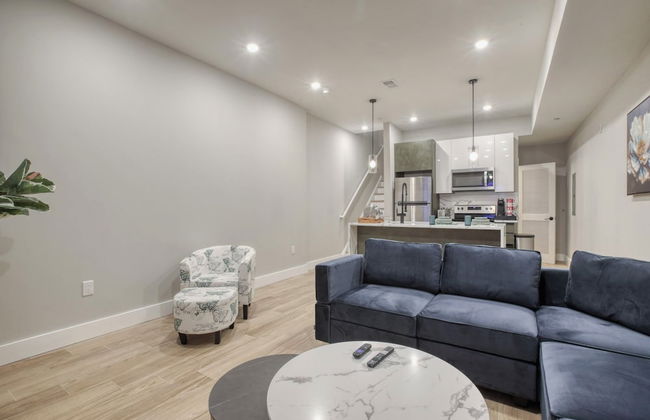
Passyunk Square Spacious 1BR - Huge Deck

Philly - Bella Vista-Southwark - 1.7 km vom Zentrum

  • 4 Personen
  • Klimaanlage
  • Heizung
  • Terrasse
  • Tv
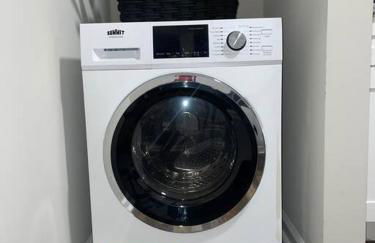
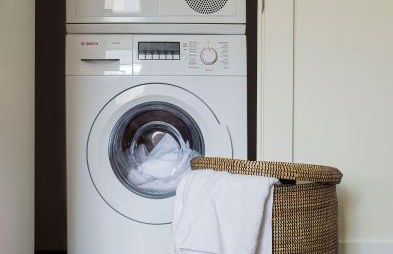
  • Waschmaschine
  • Handtücher
  • Bettlaken
9.8Außergewöhnlich | 12 Bewertungen
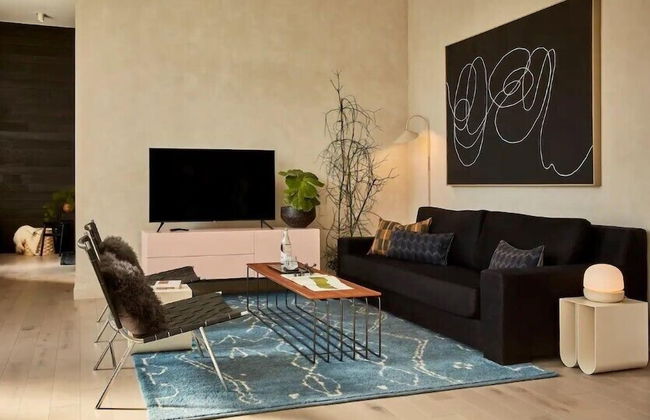
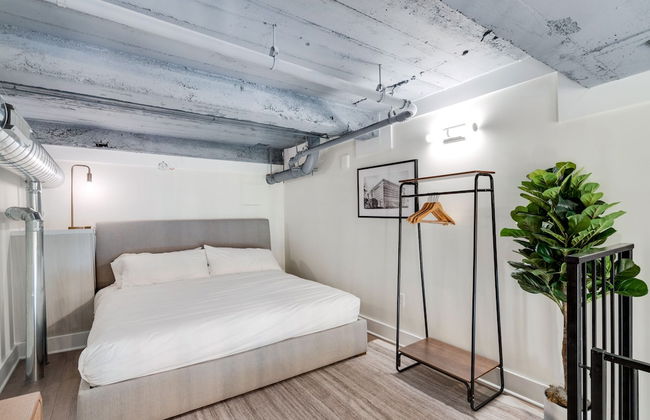
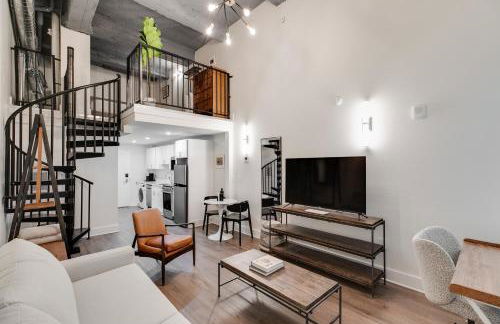
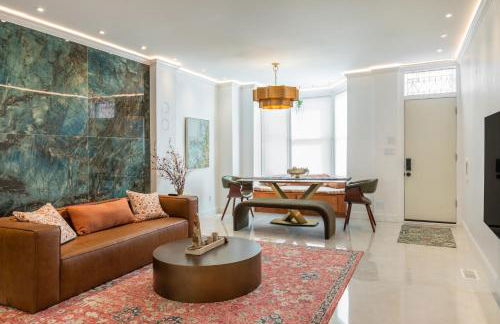
One Sky Loft - Foto 1
One Sky Loft - Foto 2
One Sky Loft - Foto 3
One Sky Loft - Foto 4
One Sky Loft - Foto 5
One Sky Loft - Foto 6
One Sky Loft - Foto 7
One Sky Loft - Foto 8
One Sky Loft - Foto 9
One Sky Loft - Foto 10
One Sky Loft - Foto 11
One Sky Loft - Foto 12
One Sky Loft - Foto 13
One Sky Loft - Foto 14
One Sky Loft - Foto 15
One Sky Loft - Foto 16
One Sky Loft - Foto 17
One Sky Loft - Foto 18
One Sky Loft - Foto 19
One Sky Loft - Foto 20
One Sky Loft - Foto 21
One Sky Loft - Foto 22
One Sky Loft - Foto 23
One Sky Loft - Foto 24
One Sky Loft - Foto 25
One Sky Loft - Foto 26
One Sky Loft - Foto 27
One Sky Loft - Foto 28
One Sky Loft - Foto 29
One Sky Loft - Foto 30
One Sky Loft - Foto 31
One Sky Loft - Foto 32
One Sky Loft - Foto 33
One Sky Loft - Foto 34
One Sky Loft - Foto 35
One Sky Loft - Foto 36
One Sky Loft - Foto 37
One Sky Loft - Foto 38
One Sky Loft - Foto 39
One Sky Loft - Foto 40
One Sky Loft - Foto 41
One Sky Loft - Foto 42
One Sky Loft - Foto 43
One Sky Loft - Foto 44
One Sky Loft - Foto 45
One Sky Loft - Foto 46
One Sky Loft - Foto 47
One Sky Loft - Foto 48
One Sky Loft - Foto 49
One Sky Loft - Foto 50
One Sky Loft - Foto 51
One Sky Loft - Foto 52
One Sky Loft - Foto 53
One Sky Loft - Foto 54
One Sky Loft - Foto 55
One Sky Loft - Foto 56
One Sky Loft - Foto 57
One Sky Loft - Foto 58
One Sky Loft - Foto 59
One Sky Loft - Foto 60
One Sky Loft - Foto 61
One Sky Loft - Foto 62

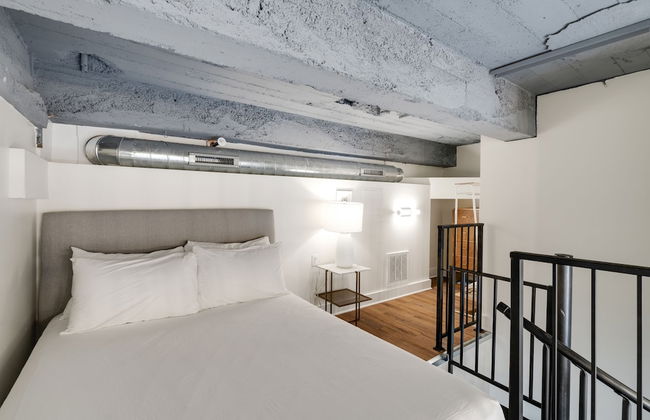
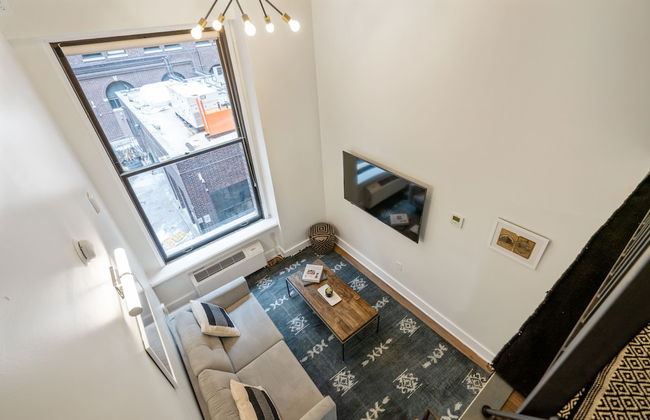
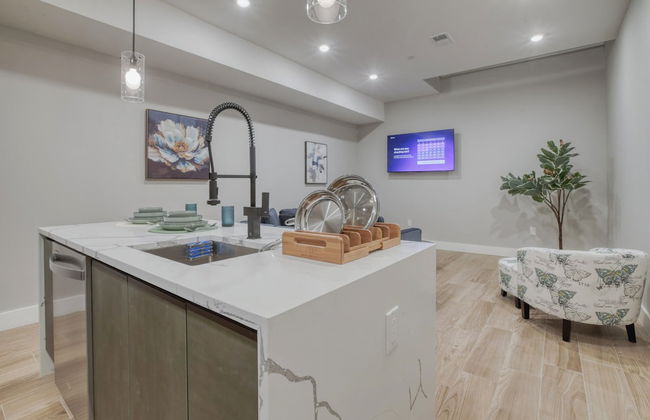
One Sky Loft

Philly - Center City East - 330 m vom Zentrum

  • 4 Personen
  • Klimaanlage
  • Heizung
  • Fahrstuhl
  • Tv
  • Waschmaschine
  • Handtücher
  • Bettlaken
9.4Außergewöhnlich | 130 Bewertungen
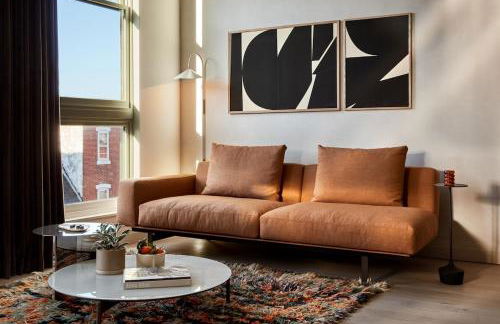
Sosuite at The Loxley - Old City - Foto 1
Sosuite at The Loxley - Old City - Foto 2
Sosuite at The Loxley - Old City - Foto 3
Sosuite at The Loxley - Old City - Foto 4
Sosuite at The Loxley - Old City - Foto 5
Sosuite at The Loxley - Old City - Foto 6
Sosuite at The Loxley - Old City - Foto 7
Sosuite at The Loxley - Old City - Foto 8
Sosuite at The Loxley - Old City - Foto 9
Sosuite at The Loxley - Old City - Foto 10
Sosuite at The Loxley - Old City - Foto 11
Sosuite at The Loxley - Old City - Foto 12
Sosuite at The Loxley - Old City - Foto 13
Sosuite at The Loxley - Old City - Foto 14
Sosuite at The Loxley - Old City - Foto 15
Sosuite at The Loxley - Old City - Foto 16
Sosuite at The Loxley - Old City - Foto 17
Sosuite at The Loxley - Old City - Foto 18
Sosuite at The Loxley - Old City - Foto 19
Sosuite at The Loxley - Old City - Foto 20
Sosuite at The Loxley - Old City - Foto 21
Sosuite at The Loxley - Old City - Foto 22
Sosuite at The Loxley - Old City - Foto 23
Sosuite at The Loxley - Old City - Foto 24
Sosuite at The Loxley - Old City - Foto 25
Sosuite at The Loxley - Old City - Foto 26
Sosuite at The Loxley - Old City - Foto 27
Sosuite at The Loxley - Old City - Foto 28
Sosuite at The Loxley - Old City - Foto 29
Sosuite at The Loxley - Old City - Foto 30
Sosuite at The Loxley - Old City - Foto 31
Sosuite at The Loxley - Old City - Foto 32
Sosuite at The Loxley - Old City - Foto 33
Sosuite at The Loxley - Old City - Foto 34
Sosuite at The Loxley - Old City - Foto 35
Sosuite at The Loxley - Old City - Foto 36
Sosuite at The Loxley - Old City - Foto 37
Sosuite at The Loxley - Old City - Foto 38
Sosuite at The Loxley - Old City - Foto 39
Sosuite at The Loxley - Old City - Foto 40
Sosuite at The Loxley - Old City - Foto 41
Sosuite at The Loxley - Old City - Foto 42
Sosuite at The Loxley - Old City - Foto 43
Sosuite at The Loxley - Old City - Foto 44
Sosuite at The Loxley - Old City - Foto 45
Sosuite at The Loxley - Old City - Foto 46
Sosuite at The Loxley - Old City - Foto 47
Sosuite at The Loxley - Old City - Foto 48
Sosuite at The Loxley - Old City - Foto 49
Sosuite at The Loxley - Old City - Foto 50
Sosuite at The Loxley - Old City - Foto 51
Sosuite at The Loxley - Old City - Foto 52
Sosuite at The Loxley - Old City - Foto 53
Sosuite at The Loxley - Old City - Foto 54
Sosuite at The Loxley - Old City - Foto 55
Sosuite at The Loxley - Old City - Foto 56
Sosuite at The Loxley - Old City - Foto 57
Sosuite at The Loxley - Old City - Foto 58
Sosuite at The Loxley - Old City - Foto 59
Sosuite at The Loxley - Old City - Foto 60
Sosuite at The Loxley - Old City - Foto 61
Sosuite at The Loxley - Old City - Foto 62
Sosuite at The Loxley - Old City - Foto 63
Sosuite at The Loxley - Old City - Foto 64
Sosuite at The Loxley - Old City - Foto 65
Sosuite at The Loxley - Old City - Foto 66
Sosuite at The Loxley - Old City - Foto 67
Sosuite at The Loxley - Old City - Foto 68
Sosuite at The Loxley - Old City - Foto 69
Sosuite at The Loxley - Old City - Foto 70
Sosuite at The Loxley - Old City - Foto 71
Sosuite at The Loxley - Old City - Foto 72
Sosuite at The Loxley - Old City - Foto 73
Sosuite at The Loxley - Old City - Foto 74
Sosuite at The Loxley - Old City - Foto 75
Sosuite at The Loxley - Old City - Foto 76
Sosuite at The Loxley - Old City - Foto 77
Sosuite at The Loxley - Old City - Foto 78
Sosuite at The Loxley - Old City - Foto 79
Sosuite at The Loxley - Old City - Foto 80
Sosuite at The Loxley - Old City - Foto 81
Sosuite at The Loxley - Old City - Foto 82
Sosuite at The Loxley - Old City - Foto 83
Sosuite at The Loxley - Old City - Foto 84
Sosuite at The Loxley - Old City - Foto 85
Sosuite at The Loxley - Old City - Foto 86
Sosuite at The Loxley - Old City - Foto 87
Sosuite at The Loxley - Old City - Foto 88
Sosuite at The Loxley - Old City - Foto 89
Sosuite at The Loxley - Old City - Foto 90
Sosuite at The Loxley - Old City - Foto 91
Sosuite at The Loxley - Old City - Foto 92
Sosuite at The Loxley - Old City - Foto 93
Sosuite at The Loxley - Old City - Foto 94
Sosuite at The Loxley - Old City - Foto 95
Sosuite at The Loxley - Old City - Foto 96
Sosuite at The Loxley - Old City - Foto 97
Sosuite at The Loxley - Old City - Foto 98

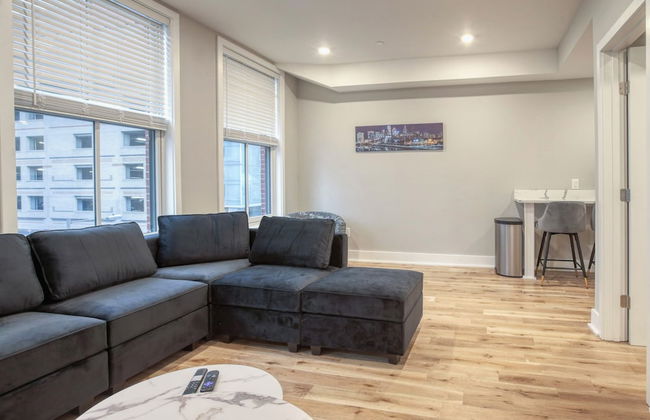
Sosuite at The Loxley - Old City

Philly - Old City - 940 m vom Zentrum

  • 56 M2
  • 2 Schlafzimmer
  • 4 Personen
  • Klimaanlage
  • Heizung
  • Fahrstuhl
  • Balkon
  • Garten
  • Tv
  • Waschmaschine
  • Handtücher
  • Bettlaken
9.2Außergewöhnlich | 113 Bewertungen
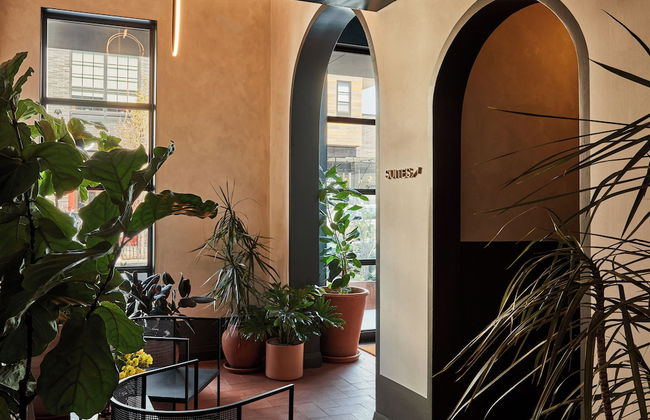
Storehouse Lofts - Foto 1
Storehouse Lofts - Foto 2
Storehouse Lofts - Foto 3
Storehouse Lofts - Foto 4
Storehouse Lofts - Foto 5
Storehouse Lofts - Foto 6
Storehouse Lofts - Foto 7
Storehouse Lofts - Foto 8
Storehouse Lofts - Foto 9
Storehouse Lofts - Foto 10
Storehouse Lofts - Foto 11
Storehouse Lofts - Foto 12
Storehouse Lofts - Foto 13
Storehouse Lofts - Foto 14
Storehouse Lofts - Foto 15
Storehouse Lofts - Foto 16
Storehouse Lofts - Foto 17
Storehouse Lofts - Foto 18
Storehouse Lofts - Foto 19
Storehouse Lofts - Foto 20
Storehouse Lofts - Foto 21
Storehouse Lofts - Foto 22
Storehouse Lofts - Foto 23
Storehouse Lofts - Foto 24
Storehouse Lofts - Foto 25
Storehouse Lofts - Foto 26
Storehouse Lofts - Foto 27
Storehouse Lofts - Foto 28
Storehouse Lofts - Foto 29
Storehouse Lofts - Foto 30
Storehouse Lofts - Foto 31
Storehouse Lofts - Foto 32
Storehouse Lofts - Foto 33
Storehouse Lofts - Foto 34
Storehouse Lofts - Foto 35
Storehouse Lofts - Foto 36
Storehouse Lofts - Foto 37
Storehouse Lofts - Foto 38
Storehouse Lofts - Foto 39
Storehouse Lofts - Foto 40
Storehouse Lofts - Foto 41
Storehouse Lofts - Foto 42
Storehouse Lofts - Foto 43
Storehouse Lofts - Foto 44
Storehouse Lofts - Foto 45
Storehouse Lofts - Foto 46
Storehouse Lofts - Foto 47
Storehouse Lofts - Foto 48
Storehouse Lofts - Foto 49
Storehouse Lofts - Foto 50
Storehouse Lofts - Foto 51
Storehouse Lofts - Foto 52
Storehouse Lofts - Foto 53
Storehouse Lofts - Foto 54
Storehouse Lofts - Foto 55
Storehouse Lofts - Foto 56
Storehouse Lofts - Foto 57
Storehouse Lofts - Foto 58
Storehouse Lofts - Foto 59
Storehouse Lofts - Foto 60
Storehouse Lofts - Foto 61
Storehouse Lofts - Foto 62
Storehouse Lofts - Foto 63
Storehouse Lofts - Foto 64
Storehouse Lofts - Foto 65
Storehouse Lofts - Foto 66
Storehouse Lofts - Foto 67
Storehouse Lofts - Foto 68
Storehouse Lofts - Foto 69
Storehouse Lofts - Foto 70
Storehouse Lofts - Foto 71
Storehouse Lofts - Foto 72
Storehouse Lofts - Foto 73
Storehouse Lofts - Foto 74
Storehouse Lofts - Foto 75
Storehouse Lofts - Foto 76
Storehouse Lofts - Foto 77
Storehouse Lofts - Foto 78
Storehouse Lofts - Foto 79

Storehouse Lofts

Philly - North Philadelphia West - 3 km vom Zentrum

  • 55 M2
  • 4 Personen
  • Klimaanlage
  • Heizung
  • Parkplatz
  • Fahrstuhl
  • Tv
  • Waschmaschine
  • Handtücher
  • Bettlaken
9.2Außergewöhnlich | 38 Bewertungen
1601 Lombard - Foto 1
1601 Lombard - Foto 2
1601 Lombard - Foto 3
1601 Lombard - Foto 4
1601 Lombard - Foto 5
1601 Lombard - Foto 6
1601 Lombard - Foto 7
1601 Lombard - Foto 8
1601 Lombard - Foto 9
1601 Lombard - Foto 10
1601 Lombard - Foto 11
1601 Lombard - Foto 12

1601 Lombard

Philly - Rittenhouse Square - 470 m vom Zentrum

  • 60 M2
  • 3 Personen
  • Klimaanlage
  • Heizung
  • Tv
  • Handtücher
10Hervorragend | 8 Bewertungen
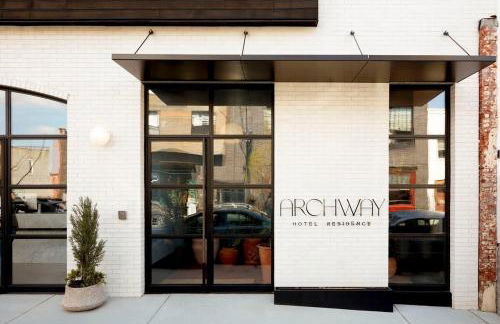
Archway Hotel & Residences - Foto 1
Archway Hotel & Residences - Foto 2
Archway Hotel & Residences - Foto 3
Archway Hotel & Residences - Foto 4
Archway Hotel & Residences - Foto 5
Archway Hotel & Residences - Foto 6
Archway Hotel & Residences - Foto 7
Archway Hotel & Residences - Foto 8
Archway Hotel & Residences - Foto 9
Archway Hotel & Residences - Foto 10
Archway Hotel & Residences - Foto 11
Archway Hotel & Residences - Foto 12
Archway Hotel & Residences - Foto 13
Archway Hotel & Residences - Foto 14
Archway Hotel & Residences - Foto 15
Archway Hotel & Residences - Foto 16
Archway Hotel & Residences - Foto 17
Archway Hotel & Residences - Foto 18
Archway Hotel & Residences - Foto 19
Archway Hotel & Residences - Foto 20
Archway Hotel & Residences - Foto 21
Archway Hotel & Residences - Foto 22
Archway Hotel & Residences - Foto 23
Archway Hotel & Residences - Foto 24
Archway Hotel & Residences - Foto 25
Archway Hotel & Residences - Foto 26
Archway Hotel & Residences - Foto 27
Archway Hotel & Residences - Foto 28
Archway Hotel & Residences - Foto 29
Archway Hotel & Residences - Foto 30
Archway Hotel & Residences - Foto 31
Archway Hotel & Residences - Foto 32
Archway Hotel & Residences - Foto 33
Archway Hotel & Residences - Foto 34
Archway Hotel & Residences - Foto 35
Archway Hotel & Residences - Foto 36
Archway Hotel & Residences - Foto 37
Archway Hotel & Residences - Foto 38
Archway Hotel & Residences - Foto 39
Archway Hotel & Residences - Foto 40
Archway Hotel & Residences - Foto 41
Archway Hotel & Residences - Foto 42
Archway Hotel & Residences - Foto 43
Archway Hotel & Residences - Foto 44
Archway Hotel & Residences - Foto 45
Archway Hotel & Residences - Foto 46
Archway Hotel & Residences - Foto 47
Archway Hotel & Residences - Foto 48
Archway Hotel & Residences - Foto 49
Archway Hotel & Residences - Foto 50
Archway Hotel & Residences - Foto 51
Archway Hotel & Residences - Foto 52
Archway Hotel & Residences - Foto 53
Archway Hotel & Residences - Foto 54
Archway Hotel & Residences - Foto 55
Archway Hotel & Residences - Foto 56
Archway Hotel & Residences - Foto 57
Archway Hotel & Residences - Foto 58
Archway Hotel & Residences - Foto 59

Archway Hotel & Residences

Philly - Fishtown - 2.9 km vom Zentrum

  • 68 M2
  • 2 Schlafzimmer
  • 4 Personen
  • Klimaanlage
  • Heizung
  • Parkplatz
  • Balkon
  • Tv
  • Waschmaschine
  • Handtücher
9.2Außergewöhnlich | 48 Bewertungen
StayCozy at The Frankford - Foto 1
StayCozy at The Frankford - Foto 2
StayCozy at The Frankford - Foto 3
StayCozy at The Frankford - Foto 4
StayCozy at The Frankford - Foto 5
StayCozy at The Frankford - Foto 6
StayCozy at The Frankford - Foto 7
StayCozy at The Frankford - Foto 8
StayCozy at The Frankford - Foto 9
StayCozy at The Frankford - Foto 10
StayCozy at The Frankford - Foto 11
StayCozy at The Frankford - Foto 12
StayCozy at The Frankford - Foto 13
StayCozy at The Frankford - Foto 14
StayCozy at The Frankford - Foto 15
StayCozy at The Frankford - Foto 16
StayCozy at The Frankford - Foto 17
StayCozy at The Frankford - Foto 18
StayCozy at The Frankford - Foto 19
StayCozy at The Frankford - Foto 20
StayCozy at The Frankford - Foto 21
StayCozy at The Frankford - Foto 22
StayCozy at The Frankford - Foto 23
StayCozy at The Frankford - Foto 24
StayCozy at The Frankford - Foto 25
StayCozy at The Frankford - Foto 26
StayCozy at The Frankford - Foto 27
StayCozy at The Frankford - Foto 28
StayCozy at The Frankford - Foto 29
StayCozy at The Frankford - Foto 30
StayCozy at The Frankford - Foto 31
StayCozy at The Frankford - Foto 32
StayCozy at The Frankford - Foto 33
StayCozy at The Frankford - Foto 34
StayCozy at The Frankford - Foto 35
StayCozy at The Frankford - Foto 36
StayCozy at The Frankford - Foto 37
StayCozy at The Frankford - Foto 38
StayCozy at The Frankford - Foto 39
StayCozy at The Frankford - Foto 40
StayCozy at The Frankford - Foto 41
StayCozy at The Frankford - Foto 42
StayCozy at The Frankford - Foto 43
StayCozy at The Frankford - Foto 44
StayCozy at The Frankford - Foto 45
StayCozy at The Frankford - Foto 46
StayCozy at The Frankford - Foto 47
StayCozy at The Frankford - Foto 48
StayCozy at The Frankford - Foto 49
StayCozy at The Frankford - Foto 50
StayCozy at The Frankford - Foto 51
StayCozy at The Frankford - Foto 52
StayCozy at The Frankford - Foto 53
StayCozy at The Frankford - Foto 54
StayCozy at The Frankford - Foto 55
StayCozy at The Frankford - Foto 56
StayCozy at The Frankford - Foto 57
StayCozy at The Frankford - Foto 58
StayCozy at The Frankford - Foto 59
StayCozy at The Frankford - Foto 60
StayCozy at The Frankford - Foto 61
StayCozy at The Frankford - Foto 62
StayCozy at The Frankford - Foto 63
StayCozy at The Frankford - Foto 64
StayCozy at The Frankford - Foto 65
StayCozy at The Frankford - Foto 66
StayCozy at The Frankford - Foto 67
StayCozy at The Frankford - Foto 68
StayCozy at The Frankford - Foto 69
StayCozy at The Frankford - Foto 70
StayCozy at The Frankford - Foto 71
StayCozy at The Frankford - Foto 72
StayCozy at The Frankford - Foto 73
StayCozy at The Frankford - Foto 74
StayCozy at The Frankford - Foto 75
StayCozy at The Frankford - Foto 76
StayCozy at The Frankford - Foto 77
StayCozy at The Frankford - Foto 78
StayCozy at The Frankford - Foto 79
StayCozy at The Frankford - Foto 80
StayCozy at The Frankford - Foto 81
StayCozy at The Frankford - Foto 82
StayCozy at The Frankford - Foto 83
StayCozy at The Frankford - Foto 84
StayCozy at The Frankford - Foto 85
StayCozy at The Frankford - Foto 86
StayCozy at The Frankford - Foto 87
StayCozy at The Frankford - Foto 88
StayCozy at The Frankford - Foto 89
StayCozy at The Frankford - Foto 90
StayCozy at The Frankford - Foto 91
StayCozy at The Frankford - Foto 92
StayCozy at The Frankford - Foto 93
StayCozy at The Frankford - Foto 94
StayCozy at The Frankford - Foto 95
StayCozy at The Frankford - Foto 96
StayCozy at The Frankford - Foto 97
StayCozy at The Frankford - Foto 98
StayCozy at The Frankford - Foto 99
StayCozy at The Frankford - Foto 100
StayCozy at The Frankford - Foto 101
StayCozy at The Frankford - Foto 102
StayCozy at The Frankford - Foto 103
StayCozy at The Frankford - Foto 104
StayCozy at The Frankford - Foto 105
StayCozy at The Frankford - Foto 106
StayCozy at The Frankford - Foto 107
StayCozy at The Frankford - Foto 108
StayCozy at The Frankford - Foto 109
StayCozy at The Frankford - Foto 110
StayCozy at The Frankford - Foto 111
StayCozy at The Frankford - Foto 112
StayCozy at The Frankford - Foto 113
StayCozy at The Frankford - Foto 114
StayCozy at The Frankford - Foto 115
StayCozy at The Frankford - Foto 116
StayCozy at The Frankford - Foto 117
StayCozy at The Frankford - Foto 118
StayCozy at The Frankford - Foto 119

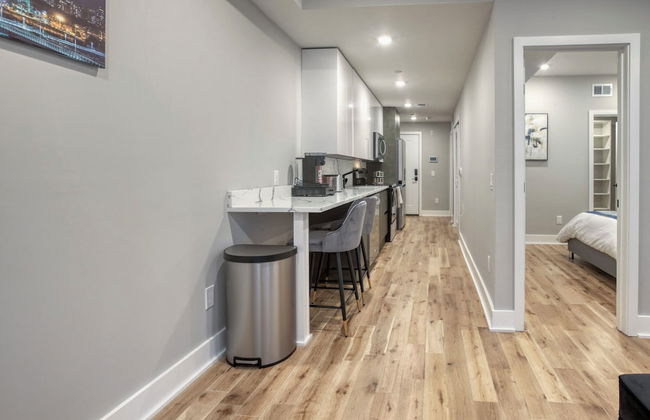
StayCozy at The Frankford

Philly - Northern Liberties - 2.8 km vom Zentrum

  • 67 M2
  • 2 Schlafzimmer
  • 4 Personen
  • Klimaanlage
  • Heizung
  • Fahrstuhl
  • Balkon
  • Tv
  • Waschmaschine
  • Handtücher
  • Bettlaken
8.8Sehr gut | 156 Bewertungen
Sosuite at The Vine - Old City - Foto 1
Sosuite at The Vine - Old City - Foto 2
Sosuite at The Vine - Old City - Foto 3
Sosuite at The Vine - Old City - Foto 4
Sosuite at The Vine - Old City - Foto 5
Sosuite at The Vine - Old City - Foto 6
Sosuite at The Vine - Old City - Foto 7
Sosuite at The Vine - Old City - Foto 8
Sosuite at The Vine - Old City - Foto 9
Sosuite at The Vine - Old City - Foto 10
Sosuite at The Vine - Old City - Foto 11
Sosuite at The Vine - Old City - Foto 12
Sosuite at The Vine - Old City - Foto 13
Sosuite at The Vine - Old City - Foto 14
Sosuite at The Vine - Old City - Foto 15
Sosuite at The Vine - Old City - Foto 16
Sosuite at The Vine - Old City - Foto 17
Sosuite at The Vine - Old City - Foto 18
Sosuite at The Vine - Old City - Foto 19
Sosuite at The Vine - Old City - Foto 20
Sosuite at The Vine - Old City - Foto 21
Sosuite at The Vine - Old City - Foto 22
Sosuite at The Vine - Old City - Foto 23
Sosuite at The Vine - Old City - Foto 24
Sosuite at The Vine - Old City - Foto 25
Sosuite at The Vine - Old City - Foto 26
Sosuite at The Vine - Old City - Foto 27
Sosuite at The Vine - Old City - Foto 28
Sosuite at The Vine - Old City - Foto 29
Sosuite at The Vine - Old City - Foto 30
Sosuite at The Vine - Old City - Foto 31
Sosuite at The Vine - Old City - Foto 32
Sosuite at The Vine - Old City - Foto 33
Sosuite at The Vine - Old City - Foto 34
Sosuite at The Vine - Old City - Foto 35
Sosuite at The Vine - Old City - Foto 36
Sosuite at The Vine - Old City - Foto 37
Sosuite at The Vine - Old City - Foto 38
Sosuite at The Vine - Old City - Foto 39
Sosuite at The Vine - Old City - Foto 40
Sosuite at The Vine - Old City - Foto 41
Sosuite at The Vine - Old City - Foto 42
Sosuite at The Vine - Old City - Foto 43
Sosuite at The Vine - Old City - Foto 44
Sosuite at The Vine - Old City - Foto 45
Sosuite at The Vine - Old City - Foto 46
Sosuite at The Vine - Old City - Foto 47
Sosuite at The Vine - Old City - Foto 48
Sosuite at The Vine - Old City - Foto 49
Sosuite at The Vine - Old City - Foto 50
Sosuite at The Vine - Old City - Foto 51
Sosuite at The Vine - Old City - Foto 52
Sosuite at The Vine - Old City - Foto 53
Sosuite at The Vine - Old City - Foto 54
Sosuite at The Vine - Old City - Foto 55
Sosuite at The Vine - Old City - Foto 56
Sosuite at The Vine - Old City - Foto 57
Sosuite at The Vine - Old City - Foto 58
Sosuite at The Vine - Old City - Foto 59
Sosuite at The Vine - Old City - Foto 60
Sosuite at The Vine - Old City - Foto 61
Sosuite at The Vine - Old City - Foto 62
Sosuite at The Vine - Old City - Foto 63
Sosuite at The Vine - Old City - Foto 64
Sosuite at The Vine - Old City - Foto 65
Sosuite at The Vine - Old City - Foto 66
Sosuite at The Vine - Old City - Foto 67
Sosuite at The Vine - Old City - Foto 68
Sosuite at The Vine - Old City - Foto 69
Sosuite at The Vine - Old City - Foto 70
Sosuite at The Vine - Old City - Foto 71
Sosuite at The Vine - Old City - Foto 72
Sosuite at The Vine - Old City - Foto 73
Sosuite at The Vine - Old City - Foto 74
Sosuite at The Vine - Old City - Foto 75
Sosuite at The Vine - Old City - Foto 76
Sosuite at The Vine - Old City - Foto 77
Sosuite at The Vine - Old City - Foto 78
Sosuite at The Vine - Old City - Foto 79
Sosuite at The Vine - Old City - Foto 80
Sosuite at The Vine - Old City - Foto 81
Sosuite at The Vine - Old City - Foto 82
Sosuite at The Vine - Old City - Foto 83
Sosuite at The Vine - Old City - Foto 84
Sosuite at The Vine - Old City - Foto 85
Sosuite at The Vine - Old City - Foto 86
Sosuite at The Vine - Old City - Foto 87
Sosuite at The Vine - Old City - Foto 88
Sosuite at The Vine - Old City - Foto 89
Sosuite at The Vine - Old City - Foto 90
Sosuite at The Vine - Old City - Foto 91
Sosuite at The Vine - Old City - Foto 92
Sosuite at The Vine - Old City - Foto 93
Sosuite at The Vine - Old City - Foto 94
Sosuite at The Vine - Old City - Foto 95
Sosuite at The Vine - Old City - Foto 96
Sosuite at The Vine - Old City - Foto 97
Sosuite at The Vine - Old City - Foto 98
Sosuite at The Vine - Old City - Foto 99
Sosuite at The Vine - Old City - Foto 100
Sosuite at The Vine - Old City - Foto 101
Sosuite at The Vine - Old City - Foto 102
Sosuite at The Vine - Old City - Foto 103
Sosuite at The Vine - Old City - Foto 104
Sosuite at The Vine - Old City - Foto 105
Sosuite at The Vine - Old City - Foto 106
Sosuite at The Vine - Old City - Foto 107
Sosuite at The Vine - Old City - Foto 108
Sosuite at The Vine - Old City - Foto 109
Sosuite at The Vine - Old City - Foto 110

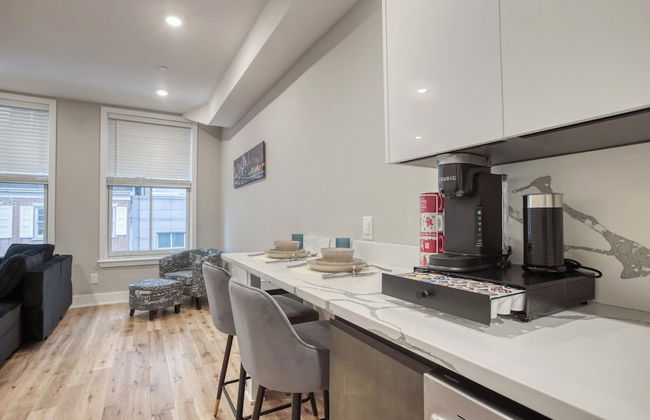
Sosuite at The Vine - Old City

Philly - Old City - 1.1 km vom Zentrum

  • 64 M2
  • 2 Schlafzimmer
  • 5 Personen
  • Klimaanlage
  • Heizung
  • Terrasse
  • Fahrstuhl
  • Garten
  • Tv
  • Waschmaschine
  • Handtücher
  • Bettlaken
8.4Sehr gut | 50 Bewertungen
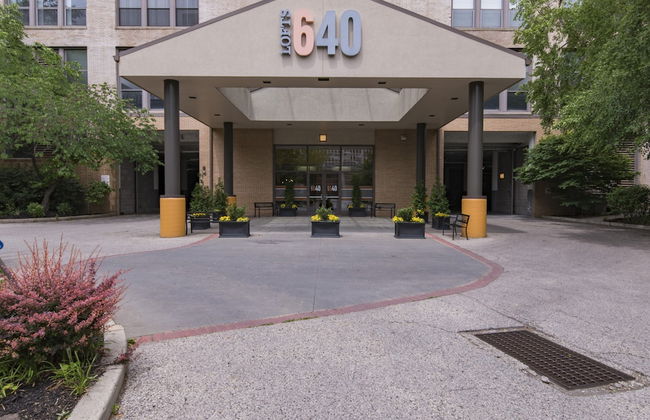
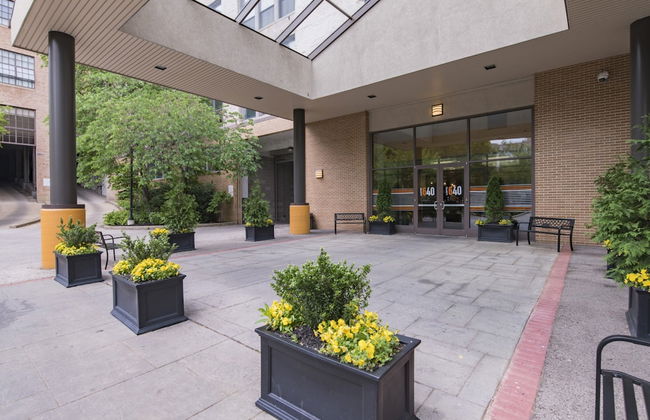
Loft 640 - Foto 1
Loft 640 - Foto 2
Loft 640 - Foto 3
Loft 640 - Foto 4
Loft 640 - Foto 5
Loft 640 - Foto 6
Loft 640 - Foto 7
Loft 640 - Foto 8
Loft 640 - Foto 9
Loft 640 - Foto 10
Loft 640 - Foto 11
Loft 640 - Foto 12
Loft 640 - Foto 13
Loft 640 - Foto 14
Loft 640 - Foto 15
Loft 640 - Foto 16
Loft 640 - Foto 17
Loft 640 - Foto 18
Loft 640 - Foto 19
Loft 640 - Foto 20
Loft 640 - Foto 21

Loft 640

Philly - Art Museum - 940 m vom Zentrum

  • Parkplatz
  • Fahrstuhl
10Hervorragend | 8 Bewertungen
Trendy Fairmount Gem Roof Deck - Foto 1
Trendy Fairmount Gem Roof Deck - Foto 2
Trendy Fairmount Gem Roof Deck - Foto 3
Trendy Fairmount Gem Roof Deck - Foto 4
Trendy Fairmount Gem Roof Deck - Foto 5
Trendy Fairmount Gem Roof Deck - Foto 6
Trendy Fairmount Gem Roof Deck - Foto 7
Trendy Fairmount Gem Roof Deck - Foto 8
Trendy Fairmount Gem Roof Deck - Foto 9
Trendy Fairmount Gem Roof Deck - Foto 10
Trendy Fairmount Gem Roof Deck - Foto 11
Trendy Fairmount Gem Roof Deck - Foto 12
Trendy Fairmount Gem Roof Deck - Foto 13
Trendy Fairmount Gem Roof Deck - Foto 14
Trendy Fairmount Gem Roof Deck - Foto 15
Trendy Fairmount Gem Roof Deck - Foto 16
Trendy Fairmount Gem Roof Deck - Foto 17
Trendy Fairmount Gem Roof Deck - Foto 18
Trendy Fairmount Gem Roof Deck - Foto 19
Trendy Fairmount Gem Roof Deck - Foto 20
Trendy Fairmount Gem Roof Deck - Foto 21
Trendy Fairmount Gem Roof Deck - Foto 22
Trendy Fairmount Gem Roof Deck - Foto 23
Trendy Fairmount Gem Roof Deck - Foto 24
Trendy Fairmount Gem Roof Deck - Foto 25
Trendy Fairmount Gem Roof Deck - Foto 26
Trendy Fairmount Gem Roof Deck - Foto 27
Trendy Fairmount Gem Roof Deck - Foto 28
Trendy Fairmount Gem Roof Deck - Foto 29
Trendy Fairmount Gem Roof Deck - Foto 30
Trendy Fairmount Gem Roof Deck - Foto 31
Trendy Fairmount Gem Roof Deck - Foto 32
Trendy Fairmount Gem Roof Deck - Foto 33
Trendy Fairmount Gem Roof Deck - Foto 34
Trendy Fairmount Gem Roof Deck - Foto 35
Trendy Fairmount Gem Roof Deck - Foto 36
Trendy Fairmount Gem Roof Deck - Foto 37
Trendy Fairmount Gem Roof Deck - Foto 38
Trendy Fairmount Gem Roof Deck - Foto 39
Trendy Fairmount Gem Roof Deck - Foto 40
Trendy Fairmount Gem Roof Deck - Foto 41
Trendy Fairmount Gem Roof Deck - Foto 42
Trendy Fairmount Gem Roof Deck - Foto 43
Trendy Fairmount Gem Roof Deck - Foto 44
Trendy Fairmount Gem Roof Deck - Foto 45
Trendy Fairmount Gem Roof Deck - Foto 46
Trendy Fairmount Gem Roof Deck - Foto 47
Trendy Fairmount Gem Roof Deck - Foto 48
Trendy Fairmount Gem Roof Deck - Foto 49
Trendy Fairmount Gem Roof Deck - Foto 50
Trendy Fairmount Gem Roof Deck - Foto 51
Trendy Fairmount Gem Roof Deck - Foto 52
Trendy Fairmount Gem Roof Deck - Foto 53
Trendy Fairmount Gem Roof Deck - Foto 54
Trendy Fairmount Gem Roof Deck - Foto 55
Trendy Fairmount Gem Roof Deck - Foto 56
Trendy Fairmount Gem Roof Deck - Foto 57
Trendy Fairmount Gem Roof Deck - Foto 58

Trendy Fairmount Gem Roof Deck

Philly - Art Museum - 1.8 km vom Zentrum

  • Terrasse
  • Parkplatz
  • Barbecue
10Hervorragend | 6 Bewertungen
THE ROOFTOP OASIS - Foto 1
THE ROOFTOP OASIS - Foto 2
THE ROOFTOP OASIS - Foto 3
THE ROOFTOP OASIS - Foto 4
THE ROOFTOP OASIS - Foto 5
THE ROOFTOP OASIS - Foto 6
THE ROOFTOP OASIS - Foto 7
THE ROOFTOP OASIS - Foto 8
THE ROOFTOP OASIS - Foto 9
THE ROOFTOP OASIS - Foto 10
THE ROOFTOP OASIS - Foto 11
THE ROOFTOP OASIS - Foto 12
THE ROOFTOP OASIS - Foto 13
THE ROOFTOP OASIS - Foto 14
THE ROOFTOP OASIS - Foto 15
THE ROOFTOP OASIS - Foto 16
THE ROOFTOP OASIS - Foto 17
THE ROOFTOP OASIS - Foto 18
THE ROOFTOP OASIS - Foto 19
THE ROOFTOP OASIS - Foto 20
THE ROOFTOP OASIS - Foto 21
THE ROOFTOP OASIS - Foto 22
THE ROOFTOP OASIS - Foto 23
THE ROOFTOP OASIS - Foto 24
THE ROOFTOP OASIS - Foto 25
THE ROOFTOP OASIS - Foto 26
THE ROOFTOP OASIS - Foto 27
THE ROOFTOP OASIS - Foto 28
THE ROOFTOP OASIS - Foto 29
THE ROOFTOP OASIS - Foto 30
THE ROOFTOP OASIS - Foto 31

THE ROOFTOP OASIS

Philly - West Powelton - 3 km vom Zentrum

  • 111 M2
  • 2 Schlafzimmer
  • 8 Personen
  • Klimaanlage
  • Heizung
  • Terrasse
  • Parkplatz
  • Garten
9.3Außergewöhnlich | 51 Bewertungen
The Ledger Residences by Sosuite - Old City - Foto 1
The Ledger Residences by Sosuite - Old City - Foto 2
The Ledger Residences by Sosuite - Old City - Foto 3
The Ledger Residences by Sosuite - Old City - Foto 4
The Ledger Residences by Sosuite - Old City - Foto 5
The Ledger Residences by Sosuite - Old City - Foto 6
The Ledger Residences by Sosuite - Old City - Foto 7
The Ledger Residences by Sosuite - Old City - Foto 8
The Ledger Residences by Sosuite - Old City - Foto 9
The Ledger Residences by Sosuite - Old City - Foto 10
The Ledger Residences by Sosuite - Old City - Foto 11
The Ledger Residences by Sosuite - Old City - Foto 12
The Ledger Residences by Sosuite - Old City - Foto 13
The Ledger Residences by Sosuite - Old City - Foto 14
The Ledger Residences by Sosuite - Old City - Foto 15
The Ledger Residences by Sosuite - Old City - Foto 16
The Ledger Residences by Sosuite - Old City - Foto 17
The Ledger Residences by Sosuite - Old City - Foto 18
The Ledger Residences by Sosuite - Old City - Foto 19
The Ledger Residences by Sosuite - Old City - Foto 20
The Ledger Residences by Sosuite - Old City - Foto 21
The Ledger Residences by Sosuite - Old City - Foto 22
The Ledger Residences by Sosuite - Old City - Foto 23
The Ledger Residences by Sosuite - Old City - Foto 24
The Ledger Residences by Sosuite - Old City - Foto 25
The Ledger Residences by Sosuite - Old City - Foto 26
The Ledger Residences by Sosuite - Old City - Foto 27
The Ledger Residences by Sosuite - Old City - Foto 28
The Ledger Residences by Sosuite - Old City - Foto 29
The Ledger Residences by Sosuite - Old City - Foto 30
The Ledger Residences by Sosuite - Old City - Foto 31
The Ledger Residences by Sosuite - Old City - Foto 32
The Ledger Residences by Sosuite - Old City - Foto 33
The Ledger Residences by Sosuite - Old City - Foto 34
The Ledger Residences by Sosuite - Old City - Foto 35
The Ledger Residences by Sosuite - Old City - Foto 36
The Ledger Residences by Sosuite - Old City - Foto 37
The Ledger Residences by Sosuite - Old City - Foto 38
The Ledger Residences by Sosuite - Old City - Foto 39
The Ledger Residences by Sosuite - Old City - Foto 40
The Ledger Residences by Sosuite - Old City - Foto 41
The Ledger Residences by Sosuite - Old City - Foto 42
The Ledger Residences by Sosuite - Old City - Foto 43
The Ledger Residences by Sosuite - Old City - Foto 44
The Ledger Residences by Sosuite - Old City - Foto 45
The Ledger Residences by Sosuite - Old City - Foto 46
The Ledger Residences by Sosuite - Old City - Foto 47
The Ledger Residences by Sosuite - Old City - Foto 48
The Ledger Residences by Sosuite - Old City - Foto 49
The Ledger Residences by Sosuite - Old City - Foto 50
The Ledger Residences by Sosuite - Old City - Foto 51
The Ledger Residences by Sosuite - Old City - Foto 52
The Ledger Residences by Sosuite - Old City - Foto 53
The Ledger Residences by Sosuite - Old City - Foto 54
The Ledger Residences by Sosuite - Old City - Foto 55
The Ledger Residences by Sosuite - Old City - Foto 56
The Ledger Residences by Sosuite - Old City - Foto 57
The Ledger Residences by Sosuite - Old City - Foto 58
The Ledger Residences by Sosuite - Old City - Foto 59
The Ledger Residences by Sosuite - Old City - Foto 60
The Ledger Residences by Sosuite - Old City - Foto 61
The Ledger Residences by Sosuite - Old City - Foto 62
The Ledger Residences by Sosuite - Old City - Foto 63
The Ledger Residences by Sosuite - Old City - Foto 64
The Ledger Residences by Sosuite - Old City - Foto 65
The Ledger Residences by Sosuite - Old City - Foto 66
The Ledger Residences by Sosuite - Old City - Foto 67
The Ledger Residences by Sosuite - Old City - Foto 68
The Ledger Residences by Sosuite - Old City - Foto 69
The Ledger Residences by Sosuite - Old City - Foto 70
The Ledger Residences by Sosuite - Old City - Foto 71
The Ledger Residences by Sosuite - Old City - Foto 72
The Ledger Residences by Sosuite - Old City - Foto 73
The Ledger Residences by Sosuite - Old City - Foto 74
The Ledger Residences by Sosuite - Old City - Foto 75
The Ledger Residences by Sosuite - Old City - Foto 76
The Ledger Residences by Sosuite - Old City - Foto 77
The Ledger Residences by Sosuite - Old City - Foto 78
The Ledger Residences by Sosuite - Old City - Foto 79
The Ledger Residences by Sosuite - Old City - Foto 80
The Ledger Residences by Sosuite - Old City - Foto 81
The Ledger Residences by Sosuite - Old City - Foto 82
The Ledger Residences by Sosuite - Old City - Foto 83
The Ledger Residences by Sosuite - Old City - Foto 84
The Ledger Residences by Sosuite - Old City - Foto 85
The Ledger Residences by Sosuite - Old City - Foto 86
The Ledger Residences by Sosuite - Old City - Foto 87
The Ledger Residences by Sosuite - Old City - Foto 88
The Ledger Residences by Sosuite - Old City - Foto 89
The Ledger Residences by Sosuite - Old City - Foto 90
The Ledger Residences by Sosuite - Old City - Foto 91
The Ledger Residences by Sosuite - Old City - Foto 92
The Ledger Residences by Sosuite - Old City - Foto 93
The Ledger Residences by Sosuite - Old City - Foto 94
The Ledger Residences by Sosuite - Old City - Foto 95
The Ledger Residences by Sosuite - Old City - Foto 96
The Ledger Residences by Sosuite - Old City - Foto 97
The Ledger Residences by Sosuite - Old City - Foto 98
The Ledger Residences by Sosuite - Old City - Foto 99
The Ledger Residences by Sosuite - Old City - Foto 100
The Ledger Residences by Sosuite - Old City - Foto 101
The Ledger Residences by Sosuite - Old City - Foto 102
The Ledger Residences by Sosuite - Old City - Foto 103
The Ledger Residences by Sosuite - Old City - Foto 104
The Ledger Residences by Sosuite - Old City - Foto 105
The Ledger Residences by Sosuite - Old City - Foto 106
The Ledger Residences by Sosuite - Old City - Foto 107
The Ledger Residences by Sosuite - Old City - Foto 108
The Ledger Residences by Sosuite - Old City - Foto 109
The Ledger Residences by Sosuite - Old City - Foto 110
The Ledger Residences by Sosuite - Old City - Foto 111
The Ledger Residences by Sosuite - Old City - Foto 112
The Ledger Residences by Sosuite - Old City - Foto 113
The Ledger Residences by Sosuite - Old City - Foto 114
The Ledger Residences by Sosuite - Old City - Foto 115
The Ledger Residences by Sosuite - Old City - Foto 116
The Ledger Residences by Sosuite - Old City - Foto 117
The Ledger Residences by Sosuite - Old City - Foto 118
The Ledger Residences by Sosuite - Old City - Foto 119
The Ledger Residences by Sosuite - Old City - Foto 120
The Ledger Residences by Sosuite - Old City - Foto 121
The Ledger Residences by Sosuite - Old City - Foto 122
The Ledger Residences by Sosuite - Old City - Foto 123
The Ledger Residences by Sosuite - Old City - Foto 124
The Ledger Residences by Sosuite - Old City - Foto 125
The Ledger Residences by Sosuite - Old City - Foto 126
The Ledger Residences by Sosuite - Old City - Foto 127
The Ledger Residences by Sosuite - Old City - Foto 128
The Ledger Residences by Sosuite - Old City - Foto 129

The Ledger Residences by Sosuite - Old City

Philly - Center City East - 500 m vom Zentrum

  • 74 M2
  • 2 Schlafzimmer
  • 6 Personen
  • Klimaanlage
  • Heizung
  • Parkplatz
  • Fahrstuhl
  • Tv
  • Waschmaschine
  • Handtücher
  • Bettlaken
8.4Sehr gut | 289 Bewertungen
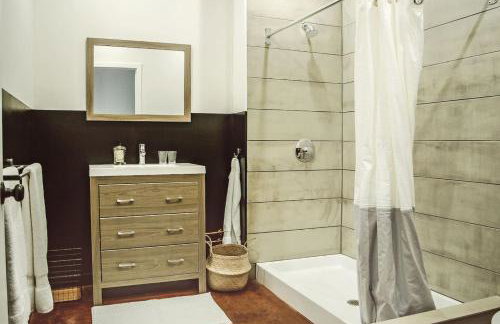
Poor Richard Studio at Kestrel Hotel - Foto 1
Poor Richard Studio at Kestrel Hotel - Foto 2
Poor Richard Studio at Kestrel Hotel - Foto 3
Poor Richard Studio at Kestrel Hotel - Foto 4
Poor Richard Studio at Kestrel Hotel - Foto 5
Poor Richard Studio at Kestrel Hotel - Foto 6
Poor Richard Studio at Kestrel Hotel - Foto 7
Poor Richard Studio at Kestrel Hotel - Foto 8
Poor Richard Studio at Kestrel Hotel - Foto 9
Poor Richard Studio at Kestrel Hotel - Foto 10
Poor Richard Studio at Kestrel Hotel - Foto 11
Poor Richard Studio at Kestrel Hotel - Foto 12
Poor Richard Studio at Kestrel Hotel - Foto 13
Poor Richard Studio at Kestrel Hotel - Foto 14
Poor Richard Studio at Kestrel Hotel - Foto 15
Poor Richard Studio at Kestrel Hotel - Foto 16
Poor Richard Studio at Kestrel Hotel - Foto 17
Poor Richard Studio at Kestrel Hotel - Foto 18
Poor Richard Studio at Kestrel Hotel - Foto 19
Poor Richard Studio at Kestrel Hotel - Foto 20
Poor Richard Studio at Kestrel Hotel - Foto 21
Poor Richard Studio at Kestrel Hotel - Foto 22
Poor Richard Studio at Kestrel Hotel - Foto 23
Poor Richard Studio at Kestrel Hotel - Foto 24
Poor Richard Studio at Kestrel Hotel - Foto 25
Poor Richard Studio at Kestrel Hotel - Foto 26
Poor Richard Studio at Kestrel Hotel - Foto 27
Poor Richard Studio at Kestrel Hotel - Foto 28
Poor Richard Studio at Kestrel Hotel - Foto 29
Poor Richard Studio at Kestrel Hotel - Foto 30

Poor Richard Studio at Kestrel Hotel

Philly - North Philadelphia East - 250 m vom Zentrum

  • 42 M2
  • 2 Personen
  • Klimaanlage
  • Heizung
  • Parkplatz
  • Fahrstuhl
9.2Außergewöhnlich | 29 Bewertungen
Viaduct Loft at Kestrel Hotel - Foto 1
Viaduct Loft at Kestrel Hotel - Foto 2
Viaduct Loft at Kestrel Hotel - Foto 3
Viaduct Loft at Kestrel Hotel - Foto 4
Viaduct Loft at Kestrel Hotel - Foto 5
Viaduct Loft at Kestrel Hotel - Foto 6
Viaduct Loft at Kestrel Hotel - Foto 7
Viaduct Loft at Kestrel Hotel - Foto 8
Viaduct Loft at Kestrel Hotel - Foto 9
Viaduct Loft at Kestrel Hotel - Foto 10
Viaduct Loft at Kestrel Hotel - Foto 11
Viaduct Loft at Kestrel Hotel - Foto 12
Viaduct Loft at Kestrel Hotel - Foto 13
Viaduct Loft at Kestrel Hotel - Foto 14
Viaduct Loft at Kestrel Hotel - Foto 15
Viaduct Loft at Kestrel Hotel - Foto 16
Viaduct Loft at Kestrel Hotel - Foto 17
Viaduct Loft at Kestrel Hotel - Foto 18
Viaduct Loft at Kestrel Hotel - Foto 19
Viaduct Loft at Kestrel Hotel - Foto 20
Viaduct Loft at Kestrel Hotel - Foto 21
Viaduct Loft at Kestrel Hotel - Foto 22
Viaduct Loft at Kestrel Hotel - Foto 23
Viaduct Loft at Kestrel Hotel - Foto 24
Viaduct Loft at Kestrel Hotel - Foto 25
Viaduct Loft at Kestrel Hotel - Foto 26
Viaduct Loft at Kestrel Hotel - Foto 27
Viaduct Loft at Kestrel Hotel - Foto 28

Viaduct Loft at Kestrel Hotel

Philly - North Philadelphia East - 250 m vom Zentrum

  • 46 M2
  • 1 Schlafzimmer
  • 4 Personen
  • Klimaanlage
  • Heizung
  • Parkplatz
  • Fahrstuhl
9.2Außergewöhnlich | 13 Bewertungen
Modern Marvel at University City - Foto 1
Modern Marvel at University City - Foto 2
Modern Marvel at University City - Foto 3
Modern Marvel at University City - Foto 4
Modern Marvel at University City - Foto 5
Modern Marvel at University City - Foto 6
Modern Marvel at University City - Foto 7
Modern Marvel at University City - Foto 8
Modern Marvel at University City - Foto 9
Modern Marvel at University City - Foto 10
Modern Marvel at University City - Foto 11
Modern Marvel at University City - Foto 12
Modern Marvel at University City - Foto 13
Modern Marvel at University City - Foto 14
Modern Marvel at University City - Foto 15
Modern Marvel at University City - Foto 16
Modern Marvel at University City - Foto 17
Modern Marvel at University City - Foto 18
Modern Marvel at University City - Foto 19
Modern Marvel at University City - Foto 20
Modern Marvel at University City - Foto 21
Modern Marvel at University City - Foto 22
Modern Marvel at University City - Foto 23
Modern Marvel at University City - Foto 24
Modern Marvel at University City - Foto 25
Modern Marvel at University City - Foto 26
Modern Marvel at University City - Foto 27
Modern Marvel at University City - Foto 28
Modern Marvel at University City - Foto 29
Modern Marvel at University City - Foto 30
Modern Marvel at University City - Foto 31
Modern Marvel at University City - Foto 32
Modern Marvel at University City - Foto 33
Modern Marvel at University City - Foto 34
Modern Marvel at University City - Foto 35
Modern Marvel at University City - Foto 36
Modern Marvel at University City - Foto 37
Modern Marvel at University City - Foto 38
Modern Marvel at University City - Foto 39
Modern Marvel at University City - Foto 40
Modern Marvel at University City - Foto 41
Modern Marvel at University City - Foto 42
Modern Marvel at University City - Foto 43
Modern Marvel at University City - Foto 44
Modern Marvel at University City - Foto 45
Modern Marvel at University City - Foto 46
Modern Marvel at University City - Foto 47
Modern Marvel at University City - Foto 48
Modern Marvel at University City - Foto 49
Modern Marvel at University City - Foto 50
Modern Marvel at University City - Foto 51
Modern Marvel at University City - Foto 52
Modern Marvel at University City - Foto 53
Modern Marvel at University City - Foto 54
Modern Marvel at University City - Foto 55
Modern Marvel at University City - Foto 56
Modern Marvel at University City - Foto 57

Modern Marvel at University City

Philly - Spruce Hill - 3.1 km vom Zentrum

  • 167 M2
  • 3 Schlafzimmer
  • 6 Personen
  • Klimaanlage
  • Terrasse
  • Parkplatz
9.3Außergewöhnlich | 14 Bewertungen
Onyx - Foto 1

Onyx

Philly - Logan - 230 m vom Zentrum

  • Fahrstuhl
8.6Sehr gut | 112 Bewertungen
Brewerytown Balcony Retreat W Oxford 1BR - Foto 1
Brewerytown Balcony Retreat W Oxford 1BR - Foto 2
Brewerytown Balcony Retreat W Oxford 1BR - Foto 3
Brewerytown Balcony Retreat W Oxford 1BR - Foto 4
Brewerytown Balcony Retreat W Oxford 1BR - Foto 5
Brewerytown Balcony Retreat W Oxford 1BR - Foto 6
Brewerytown Balcony Retreat W Oxford 1BR - Foto 7
Brewerytown Balcony Retreat W Oxford 1BR - Foto 8
Brewerytown Balcony Retreat W Oxford 1BR - Foto 9
Brewerytown Balcony Retreat W Oxford 1BR - Foto 10
Brewerytown Balcony Retreat W Oxford 1BR - Foto 11
Brewerytown Balcony Retreat W Oxford 1BR - Foto 12
Brewerytown Balcony Retreat W Oxford 1BR - Foto 13
Brewerytown Balcony Retreat W Oxford 1BR - Foto 14
Brewerytown Balcony Retreat W Oxford 1BR - Foto 15
Brewerytown Balcony Retreat W Oxford 1BR - Foto 16
Brewerytown Balcony Retreat W Oxford 1BR - Foto 17
Brewerytown Balcony Retreat W Oxford 1BR - Foto 18
Brewerytown Balcony Retreat W Oxford 1BR - Foto 19
Brewerytown Balcony Retreat W Oxford 1BR - Foto 20
Brewerytown Balcony Retreat W Oxford 1BR - Foto 21
Brewerytown Balcony Retreat W Oxford 1BR - Foto 22
Brewerytown Balcony Retreat W Oxford 1BR - Foto 23
Brewerytown Balcony Retreat W Oxford 1BR - Foto 24
Brewerytown Balcony Retreat W Oxford 1BR - Foto 25
Brewerytown Balcony Retreat W Oxford 1BR - Foto 26
Brewerytown Balcony Retreat W Oxford 1BR - Foto 27
Brewerytown Balcony Retreat W Oxford 1BR - Foto 28
Brewerytown Balcony Retreat W Oxford 1BR - Foto 29
Brewerytown Balcony Retreat W Oxford 1BR - Foto 30
Brewerytown Balcony Retreat W Oxford 1BR - Foto 31
Brewerytown Balcony Retreat W Oxford 1BR - Foto 32
Brewerytown Balcony Retreat W Oxford 1BR - Foto 33
Brewerytown Balcony Retreat W Oxford 1BR - Foto 34
Brewerytown Balcony Retreat W Oxford 1BR - Foto 35
Brewerytown Balcony Retreat W Oxford 1BR - Foto 36
Brewerytown Balcony Retreat W Oxford 1BR - Foto 37

Brewerytown Balcony Retreat W Oxford 1BR

Philly - North Philadelphia West - 3.4 km vom Zentrum

  • 28 M2
  • 2 Personen
  • Klimaanlage
  • Heizung
  • Parkplatz
  • Balkon
  • Tv
  • Handtücher
  • Bettlaken
8.6Sehr gut | 25 Bewertungen
ROOST East Market - Foto 1
ROOST East Market - Foto 2
ROOST East Market - Foto 3
ROOST East Market - Foto 4
ROOST East Market - Foto 5
ROOST East Market - Foto 6
ROOST East Market - Foto 7
ROOST East Market - Foto 8
ROOST East Market - Foto 9
ROOST East Market - Foto 10
ROOST East Market - Foto 11
ROOST East Market - Foto 12
ROOST East Market - Foto 13
ROOST East Market - Foto 14
ROOST East Market - Foto 15
ROOST East Market - Foto 16
ROOST East Market - Foto 17
ROOST East Market - Foto 18
ROOST East Market - Foto 19
ROOST East Market - Foto 20
ROOST East Market - Foto 21
ROOST East Market - Foto 22
ROOST East Market - Foto 23
ROOST East Market - Foto 24
ROOST East Market - Foto 25
ROOST East Market - Foto 26
ROOST East Market - Foto 27
ROOST East Market - Foto 28
ROOST East Market - Foto 29
ROOST East Market - Foto 30
ROOST East Market - Foto 31
ROOST East Market - Foto 32
ROOST East Market - Foto 33
ROOST East Market - Foto 34
ROOST East Market - Foto 35
ROOST East Market - Foto 36
ROOST East Market - Foto 37
ROOST East Market - Foto 38
ROOST East Market - Foto 39

ROOST East Market

Philly - Center City East - Im Zentrum

  • 91 M2
  • 2 Schlafzimmer
  • 4 Personen
  • Klimaanlage
  • Heizung
  • Terrasse
  • Schwimmbad
  • Parkplatz
  • Fahrstuhl
  • Garten
  • Barbecue
9.2Außergewöhnlich | 384 Bewertungen
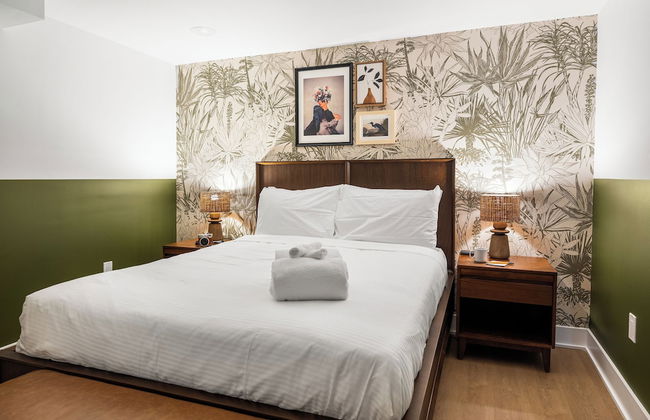
StayRafa At 253 3F - Foto 1
StayRafa At 253 3F - Foto 2
StayRafa At 253 3F - Foto 3
StayRafa At 253 3F - Foto 4
StayRafa At 253 3F - Foto 5
StayRafa At 253 3F - Foto 6
StayRafa At 253 3F - Foto 7
StayRafa At 253 3F - Foto 8
StayRafa At 253 3F - Foto 9
StayRafa At 253 3F - Foto 10
StayRafa At 253 3F - Foto 11
StayRafa At 253 3F - Foto 12
StayRafa At 253 3F - Foto 13
StayRafa At 253 3F - Foto 14
StayRafa At 253 3F - Foto 15
StayRafa At 253 3F - Foto 16
StayRafa At 253 3F - Foto 17
StayRafa At 253 3F - Foto 18
StayRafa At 253 3F - Foto 19
StayRafa At 253 3F - Foto 20
StayRafa At 253 3F - Foto 21
StayRafa At 253 3F - Foto 22
StayRafa At 253 3F - Foto 23
StayRafa At 253 3F - Foto 24
StayRafa At 253 3F - Foto 25
StayRafa At 253 3F - Foto 26
StayRafa At 253 3F - Foto 27
StayRafa At 253 3F - Foto 28
StayRafa At 253 3F - Foto 29
StayRafa At 253 3F - Foto 30
StayRafa At 253 3F - Foto 31
StayRafa At 253 3F - Foto 32
StayRafa At 253 3F - Foto 33

StayRafa At 253 3F

Philly - Rittenhouse Square - 590 m vom Zentrum

  • 63 M2
  • 1 Schlafzimmer
  • 3 Personen
  • Klimaanlage
  • Heizung
  • Waschmaschine
  • Handtücher
10Hervorragend | 2 Bewertungen
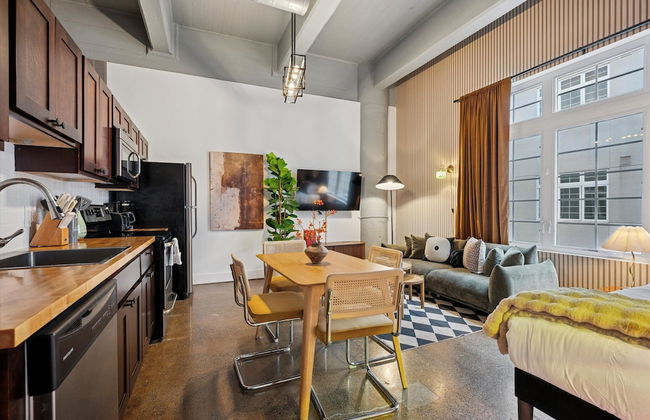
405 S 20th - Foto 1
405 S 20th - Foto 2
405 S 20th - Foto 3
405 S 20th - Foto 4
405 S 20th - Foto 5
405 S 20th - Foto 6
405 S 20th - Foto 7
405 S 20th - Foto 8
405 S 20th - Foto 9
405 S 20th - Foto 10
405 S 20th - Foto 11
405 S 20th - Foto 12
405 S 20th - Foto 13
405 S 20th - Foto 14
405 S 20th - Foto 15
405 S 20th - Foto 16
405 S 20th - Foto 17
405 S 20th - Foto 18
405 S 20th - Foto 19
405 S 20th - Foto 20

405 S 20th

Philly - Rittenhouse Square - 740 m vom Zentrum

  • 64 M2
  • 3 Personen
  • Klimaanlage
  • Heizung
  • Waschmaschine
  • Handtücher
10Hervorragend | 4 Bewertungen
Verwandte Reiseziele