
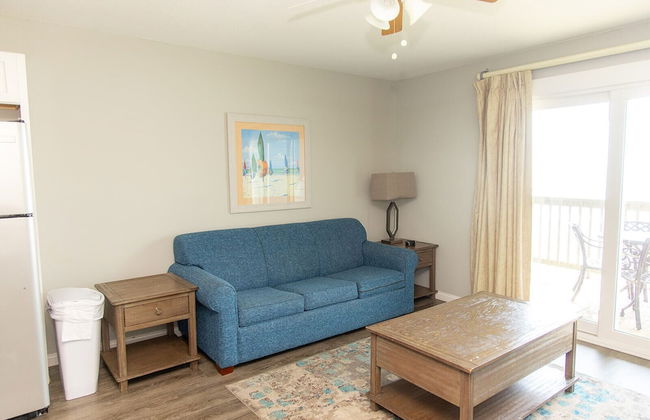
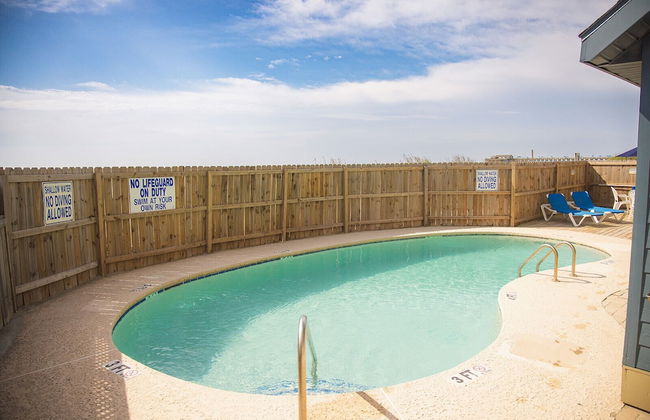
89 Wohnungen in Murrells Inlet


Atalaya Towers
Murrells Inlet
- 89 M2
- 8 Personen
- Klimaanlage
- Heizung
- Schwimmbad
- Parkplatz
- Fahrstuhl
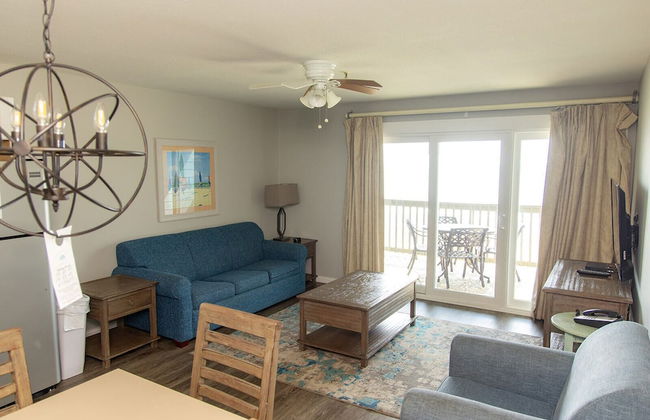
- Balkon
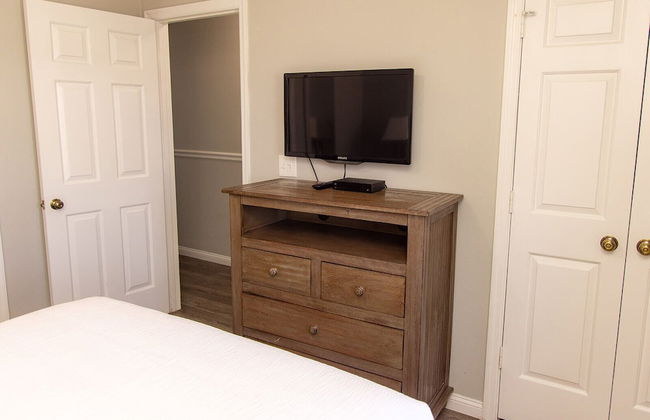
- Tv
- Waschmaschine
- Handtücher
13 Bewertungen


Seawatch Inn at the Landing
Murrells Inlet
- 8 Personen
- Klimaanlage
- Heizung
- Terrasse
- Schwimmbad
- Parkplatz
- Garten
- Tv
- Waschmaschine
- Barbecue
- Handtücher
- Bettlaken
15 Bewertungen
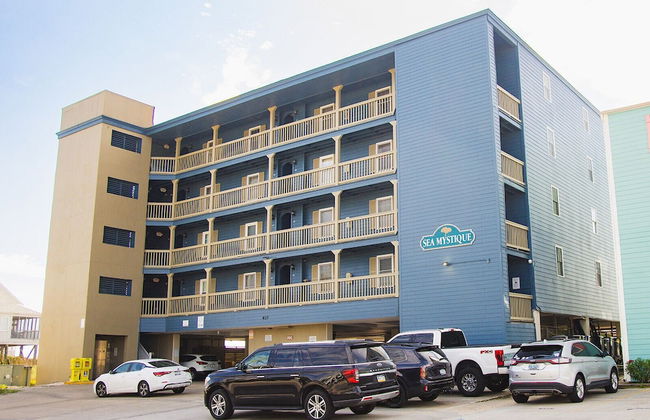


Sea Mystique Murrells Inlet
Murrells Inlet
- 6 Personen
- Klimaanlage
- Heizung
- Schwimmbad
- Parkplatz
- Balkon
- Garten
- Tv
- Waschmaschine
- Barbecue
- Handtücher
- Bettlaken
47 Bewertungen


Coastal Murrells Inlet Condo with Balcony!
Murrells Inlet
- 74 M2
- 2 Schlafzimmer
- 6 Personen
- Heizung
- Schwimmbad
- Parkplatz
14 Bewertungen


The Little Brick Cottage
Murrells Inlet
- 106 M2
- 2 Schlafzimmer
- 6 Personen
- Klimaanlage
- Heizung
- Garten
- Barbecue
13 Bewertungen


Waterfront Gem with Balcony in Garden City
Murrells Inlet
- 74 M2
- 2 Schlafzimmer
- 5 Personen
- Heizung
- Schwimmbad
- Parkplatz
3 Bewertungen


Coastal Vacation Rental - 2 Mi to Huntington Beach
Murrells Inlet
- 111 M2
- 2 Schlafzimmer
- 6 Personen
- Heizung
- Parkplatz
12 Bewertungen


Chic Murrells Inlet Getaway about 2 Mi to Marsh Walk!
Murrells Inlet
- 111 M2
- 2 Schlafzimmer
- 6 Personen
- Heizung
- Parkplatz
2 Bewertungen


Fishing Dock, Trailer Parking, Gated, Beach Access
Murrells Inlet
- 79 M2
- 2 Schlafzimmer
- 4 Personen
- Heizung
- Parkplatz
- Garten
2 Bewertungen


Charming Cottage Near Golf Courses and Marsh Walk!
Murrells Inlet
- 135 M2
- 2 Schlafzimmer
- 4 Personen
- Parkplatz
3 Bewertungen


Cottage with Deck and Pool Access about 6 Mi to Beach
Murrells Inlet
- 158 M2
- 2 Schlafzimmer
- 4 Personen
- Parkplatz
2 Bewertungen


Idyllic Murrells Inlet Home Less Than 1 Mi to Marsh Walk
Murrells Inlet
- 196 M2
- 4 Schlafzimmer
- 9 Personen
- Heizung
- Parkplatz
2 Bewertungen


Private Beach and Pool Access Murrells Inlet Condo!
Murrells Inlet
- 74 M2
- 2 Schlafzimmer
- 6 Personen
- Heizung
- Schwimmbad
- Parkplatz
3 Bewertungen


Modern Escape in the Heart of Murrells Inlet
Murrells Inlet
- 232 M2
- 3 Schlafzimmer
- 8 Personen
- Parkplatz
4 Bewertungen


Dancing Waves
Murrells Inlet
- 224 M2
- 5 Schlafzimmer
- 16 Personen
- Klimaanlage
- Heizung
- Terrasse
- Parkplatz
2 Bewertungen


Murrells Inlet Home Half-Mi to Marsh Walk!
Murrells Inlet
- 232 M2
- 3 Schlafzimmer
- 8 Personen
- Heizung
- Parkplatz
2 Bewertungen


Coastal Pet Friendly Getaway in Murrels Inlet! Perfect for 8 Guests!
Murrells Inlet
- 226 M2
- 3 Schlafzimmer
- 8 Personen
- Klimaanlage
- Heizung
- Parkplatz
2 Bewertungen


Sunnyside Village 3-A
Murrells Inlet
- 119 M2
- 3 Schlafzimmer
- 6 Personen
- Klimaanlage
- Heizung
- Schwimmbad
- Fahrstuhl
- Garten
- Barbecue
2 Bewertungen


