
11 Wohnungen in Mount Maunganui


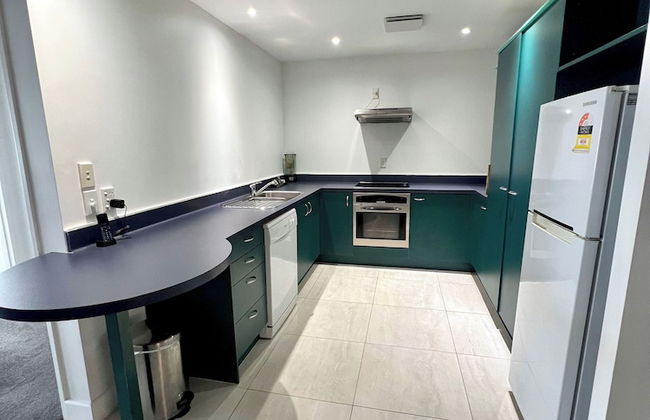
The Reef Beachfront Apartments
Mount Maunganui - 1.6 km vom Zentrum
- 140 M2
- 7 Personen
- Klimaanlage
- Heizung
- Terrasse
- Schwimmbad
- Parkplatz
- Fahrstuhl
- Balkon
- Garten
- Tv
- Waschmaschine
- Handtücher
- Bettlaken
170 Bewertungen


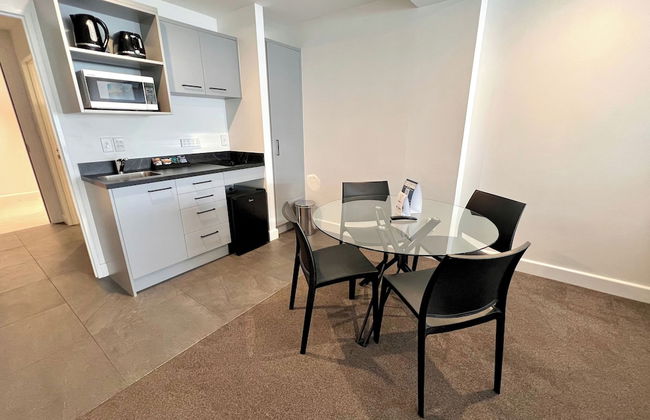
Belle Mer Beach Front Apartments
Mount Maunganui - Im Zentrum
- 6 Personen
- Heizung
- Terrasse
- Schwimmbad
- Parkplatz
- Fahrstuhl
- Balkon
- Tv
- Waschmaschine
- Barbecue
- Handtücher
- Bettlaken
131 Bewertungen


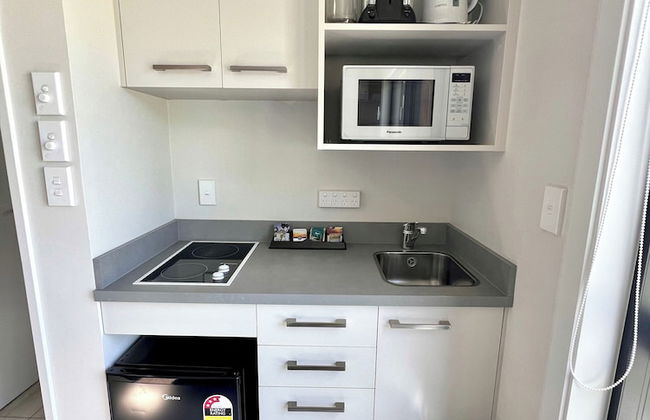
The Pavilions Beachfront Apartments
Mount Maunganui - 340 m vom Zentrum
- 27 M2
- 9 Personen
- Klimaanlage
- Terrasse
- Parkplatz
- Fahrstuhl
- Balkon
- Tv
- Waschmaschine
- Handtücher
- Bettlaken
203 Bewertungen


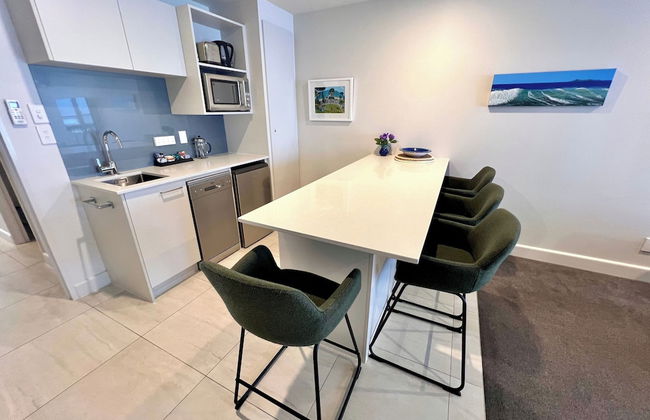
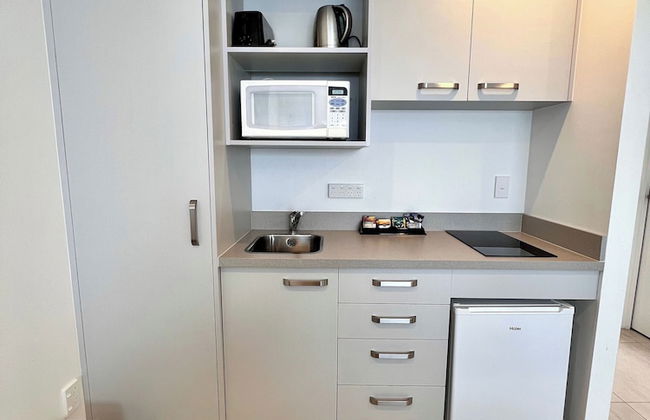
Cosy Corner Holiday Park
Mount Maunganui - 2.7 km vom Zentrum
- 21 M2
- 5 Personen
- Kochnische
- Klimaanlage
- Heizung
- Schwimmbad
- Parkplatz
- Tv
- Barbecue
- Handtücher
- Bettlaken
47 Bewertungen


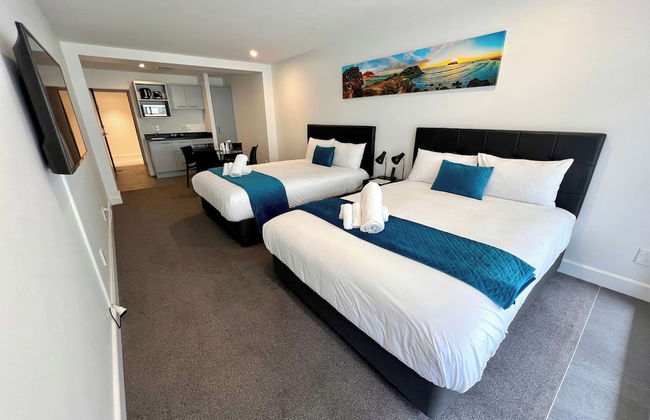


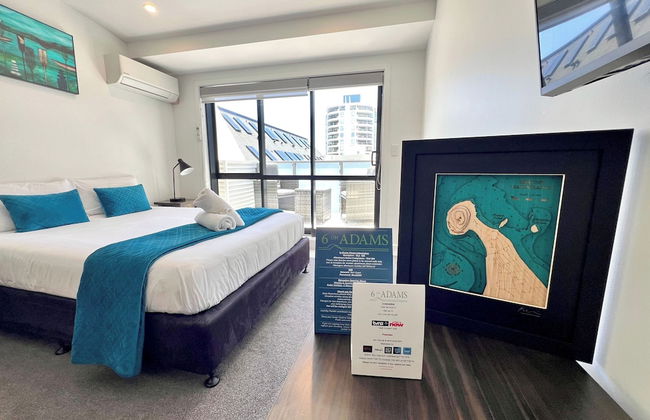
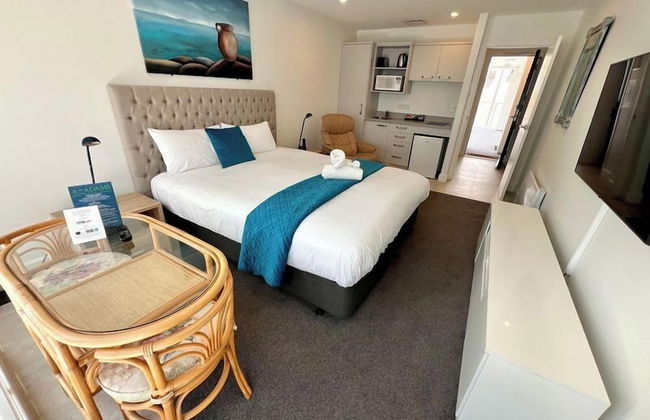
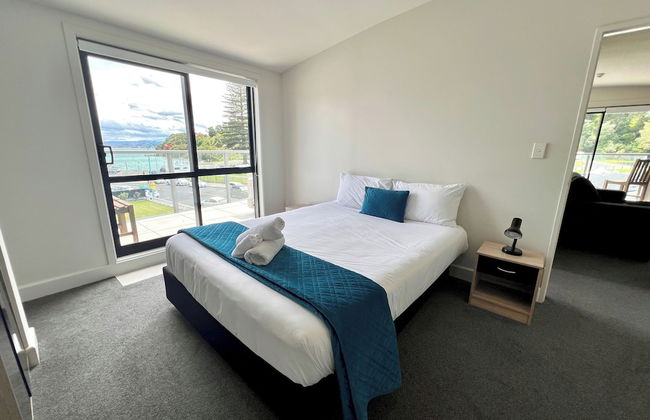


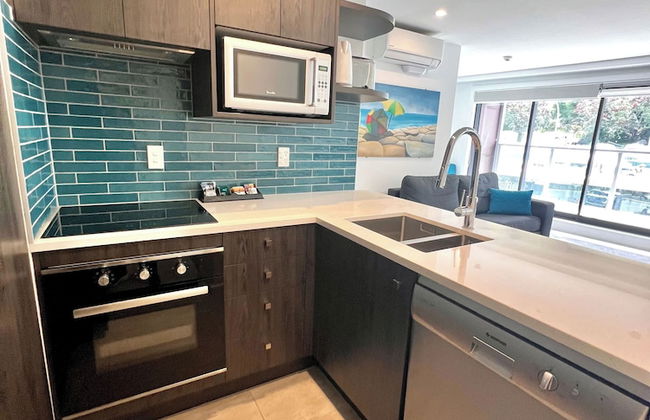


6 on Adams
Mount Maunganui - Mount Maunganui - 360 m vom Zentrum
- 100 M2
- 7 Personen
- Kochnische
- Klimaanlage
- Heizung
- Terrasse
- Parkplatz
- Fahrstuhl
- Balkon
- Garten
- Tv
- Waschmaschine
- Handtücher
- Bettlaken
86 Bewertungen


The Atrium Apartments
Mount Maunganui - 210 m vom Zentrum
- 57 M2
- 4 Personen
- Heizung
- Terrasse
- Schwimmbad
- Parkplatz
- Fahrstuhl
- Balkon
- Garten
- Tv
- Waschmaschine
- Barbecue
- Handtücher
- Bettlaken
424 Bewertungen


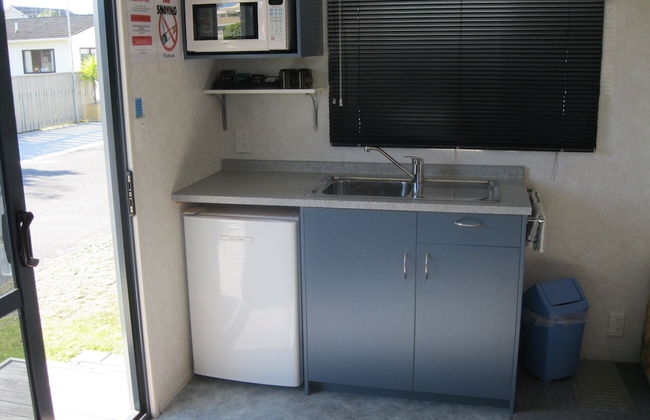
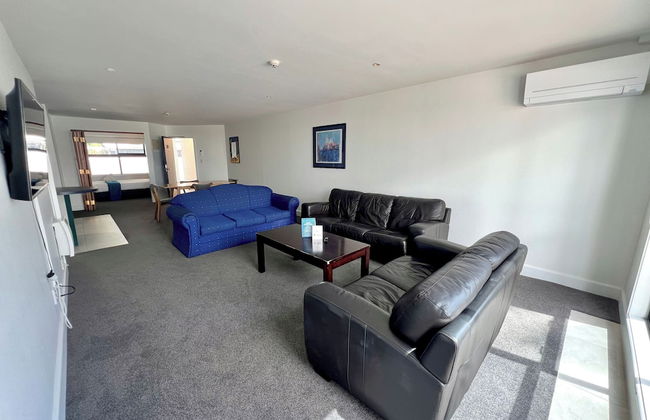
Blue Wave Motel Mount Maunganui
Mount Maunganui - 2.8 km vom Zentrum
- 50 M2
- 6 Personen
- Heizung
- Parkplatz
- Fahrstuhl
- Tv
- Handtücher
188 Bewertungen


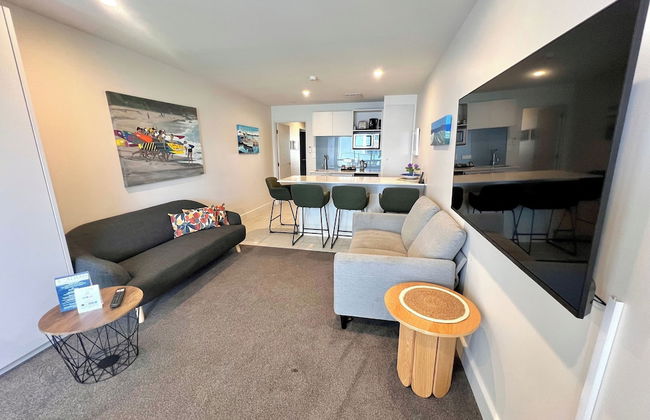
Atlas Suites And Apartments
Mount Maunganui - Im Zentrum
- 6 Personen
- Kochnische
- Heizung
- Parkplatz
- Fahrstuhl
- Balkon
- Garten
- Tv
- Waschmaschine
- Handtücher
477 Bewertungen


Oceanside Resort & Twin Towers
Mount Maunganui - 390 m vom Zentrum
- 40 M2
- 3 Personen
- Kochnische
- Schwimmbad
- Parkplatz
- Fahrstuhl
- Garten
- Tv
- Handtücher
- Bettlaken
1238 Bewertungen


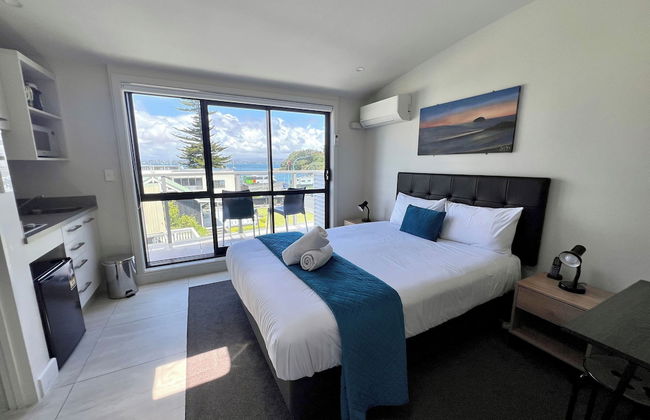
Penthouse Apartment 502 in The Atrium
Mount Maunganui - 210 m vom Zentrum
- 60 M2
- 4 Personen
- Heizung
- Schwimmbad
- Parkplatz
- Balkon
- Tv
- Waschmaschine
- Handtücher
- Bettlaken
6 Bewertungen


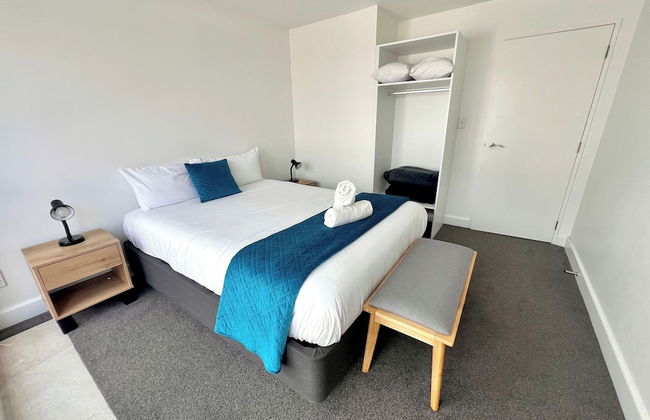
Private 2 Bedroom at the Mount main Beach
Mount Maunganui - Im Zentrum
- 6 Personen
- Klimaanlage
- Heizung
- Terrasse
- Parkplatz
- Tv
- Waschmaschine
- Barbecue
- Handtücher
- Bettlaken
1 Bewertung