


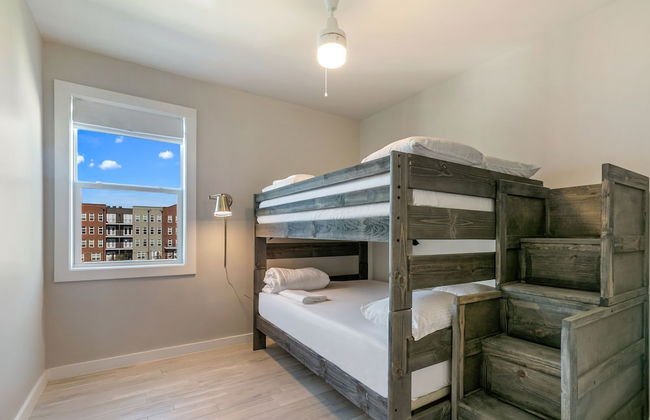
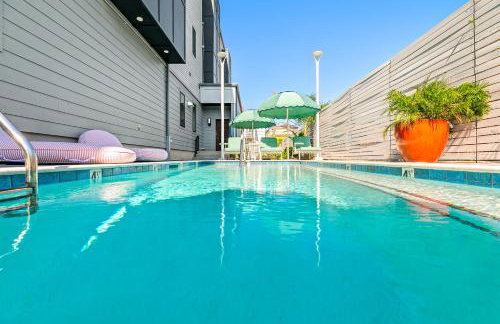
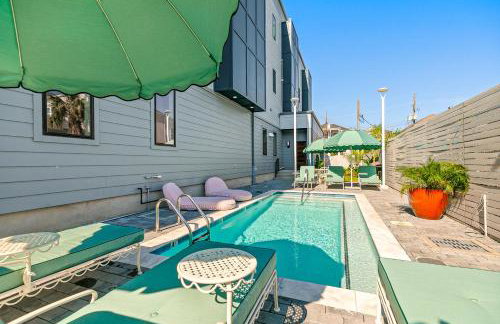
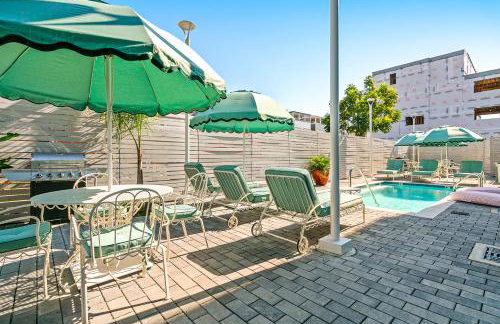
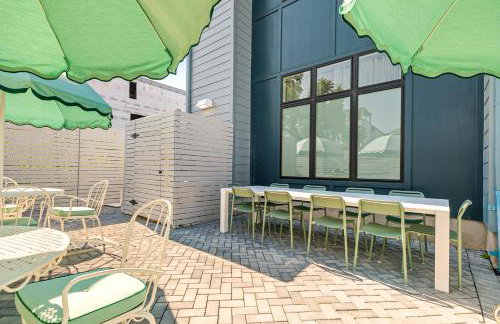
Hotel Perle
NO LA - Central Business District - 510 m vom Zentrum
- 185 M2
- 7 Schlafzimmer
- 14 Personen
- Klimaanlage
- Heizung
- Terrasse
- Schwimmbad
- Parkplatz
- Fahrstuhl
- Garten
- Tv
- Waschmaschine
- Handtücher
- Bettlaken


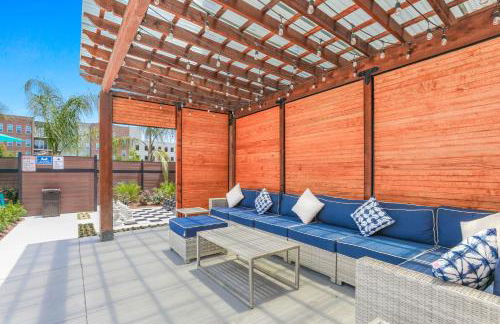
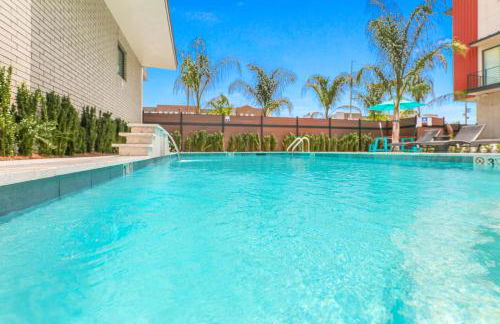
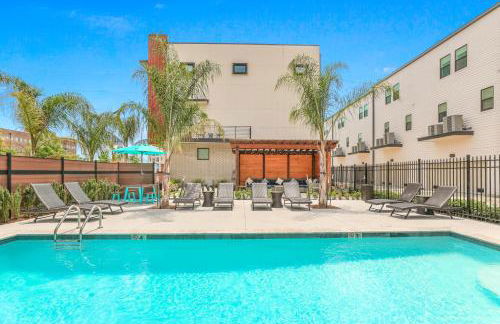
The Natchez
NO LA - Central Business District - 480 m vom Zentrum
- 140 M2
- 10 Personen
- Klimaanlage
- Terrasse
- Schwimmbad
- Fahrstuhl
- Balkon
- Tv
- Waschmaschine
- Barbecue
- Handtücher
- Bettlaken


Tiger's Trail RV Resort
Baton Rouge - Highlands/Perkins - 10.7 km vom Zentrum
- 6 Personen
- Klimaanlage
- Heizung
- Schwimmbad
- Parkplatz
- Barbecue
- Handtücher
- Bettlaken


Ironworks Building
NO LA - Central Business District - 880 m vom Zentrum
- 102 M2
- 3 Schlafzimmer
- 8 Personen
- Klimaanlage
- Heizung
- Terrasse
- Parkplatz
- Fahrstuhl
- Garten
- Tv
- Waschmaschine
- Handtücher
- Bettlaken


The Eleanor New Orleans
NO LA - Central Business District - Im Zentrum
- 20 Personen
- Klimaanlage
- Heizung
- Terrasse
- Schwimmbad
- Fahrstuhl
- Balkon
- Tv
- Waschmaschine
- Handtücher
- Bettlaken


The Pelican by Hosteeva
NO LA - Central Business District - 790 m vom Zentrum
- 168 M2
- 4 Schlafzimmer
- 14 Personen
- Klimaanlage
- Heizung
- Terrasse
- Fahrstuhl
- Balkon
- Garten
- Tv
- Waschmaschine
- Handtücher
- Bettlaken


New Orleans Luxury Collection
NO LA - Central Business District - 520 m vom Zentrum
- 214 M2
- 12 Personen
- Klimaanlage
- Heizung
- Terrasse
- Schwimmbad
- Fahrstuhl
- Balkon
- Tv
- Handtücher
- Bettlaken


Maison D'Memoire Bed & Breakfast Cottages
Rayne
- 4 Personen
- Klimaanlage
- Heizung
- Terrasse
- Parkplatz
- Garten
- Tv
- Schornstein
- Barbecue
- Handtücher
- Bettlaken


Luxury 4BR in Uptown NOLA
NO LA - Freret - 3 km vom Zentrum
- 149 M2
- 4 Schlafzimmer
- 8 Personen
- Klimaanlage
- Heizung
- Terrasse
- Parkplatz
- Balkon
- Garten
- Tv
- Waschmaschine
- Schornstein
- Handtücher
- Bettlaken


Roami at Factors Row
NO LA - Central Business District - Im Zentrum
- 195 M2
- 5 Schlafzimmer
- 14 Personen
- Klimaanlage
- Heizung
- Parkplatz
- Fahrstuhl
- Garten
- Tv
- Waschmaschine
- Barbecue
- Handtücher
- Bettlaken


Bienville 4BR Stunning Townhouses Mid City
NO LA - Mid-City - 2.4 km vom Zentrum
- 223 M2
- 4 Schlafzimmer
- 8 Personen
- Klimaanlage
- Heizung
- Schwimmbad
- Parkplatz
- Balkon
- Tv
- Waschmaschine
- Handtücher
- Bettlaken


Bywater Suite Hotel
NO LA - St Claude - 3.5 km vom Zentrum
- 34 M2
- 2 Schlafzimmer
- 6 Personen
- Klimaanlage
- Heizung
- Schwimmbad
- Parkplatz
- Fahrstuhl
- Garten
- Tv
- Waschmaschine
- Handtücher
- Bettlaken


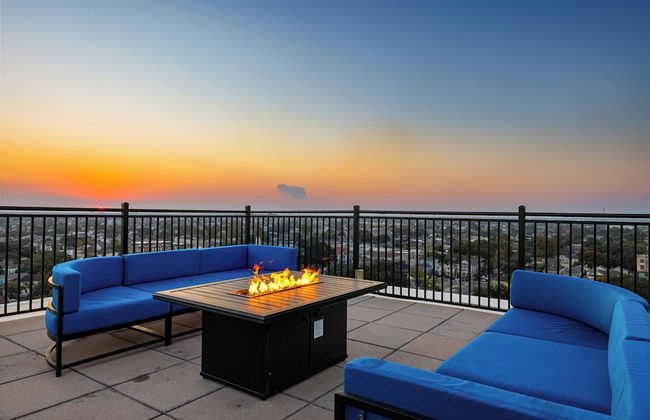


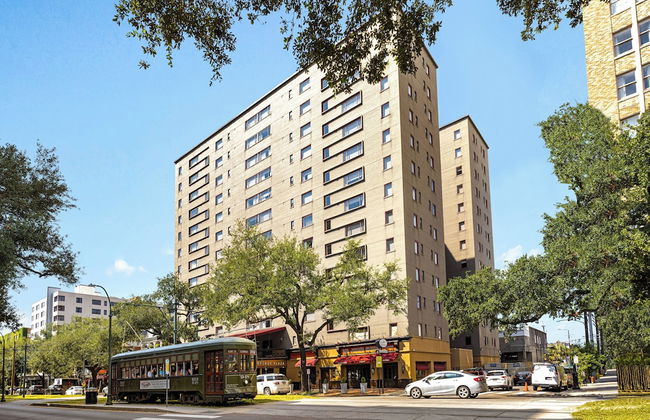

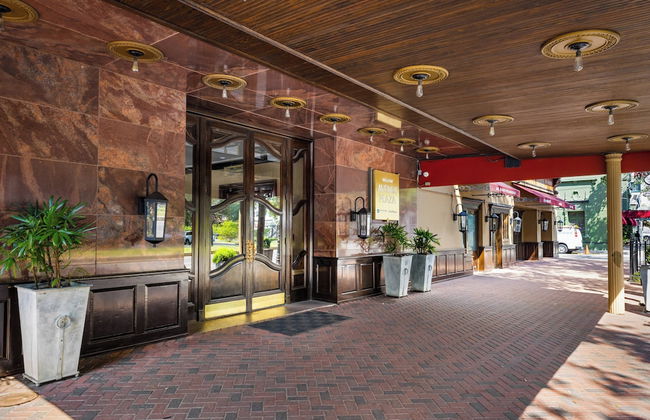
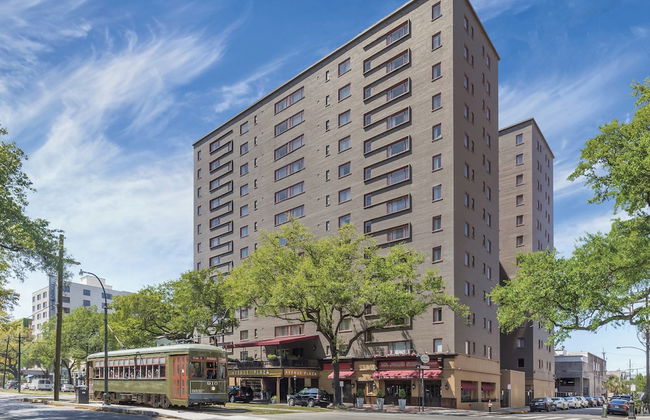


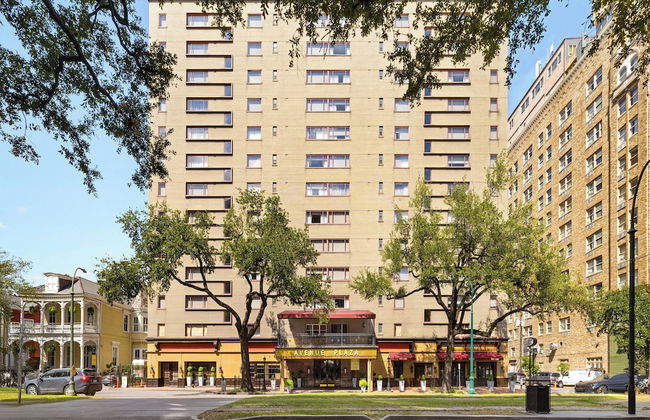


Club Wyndham Avenue Plaza
NO LA - Central City - 1.6 km vom Zentrum
- 42 M2
- 4 Personen
- Kochnische
- Klimaanlage
- Terrasse
- Schwimmbad
- Parkplatz
- Fahrstuhl
- Tv
- Handtücher
- Bettlaken


The Harlequin by AvantStay
NO LA - Central Business District - 400 m vom Zentrum
- 93 M2
- 6 Personen
- Klimaanlage
- Heizung
- Fahrstuhl
- Tv
- Waschmaschine
- Handtücher
- Bettlaken


Hosteeva Houses 5-Min to Fr Quarter
NO LA - Central City - 960 m vom Zentrum
- 242 M2
- 6 Schlafzimmer
- 12 Personen
- Klimaanlage
- Heizung
- Terrasse
- Parkplatz
- Tv
- Waschmaschine
- Handtücher
- Bettlaken


Bonsoir
NO LA - Central Business District - 220 m vom Zentrum
- 167 M2
- 14 Personen
- Klimaanlage
- Heizung
- Fahrstuhl
- Tv
- Waschmaschine
- Handtücher
- Bettlaken


Newly Renovated 4BD Penthouse
NO LA - Central City - 960 m vom Zentrum
- 163 M2
- 8 Personen
- Klimaanlage
- Heizung
- Parkplatz
- Balkon
- Tv
- Waschmaschine
- Handtücher
- Bettlaken


The Mary Beth Hotel & Gallery
NO LA - Central Business District - Im Zentrum
- 163 M2
- 8 Personen
- Klimaanlage
- Heizung
- Balkon
- Tv
- Waschmaschine
- Handtücher
- Bettlaken


Hosteeva Amazing 4 BR Modern Condo with Balcony Near Frnch Quarter
NO LA - Central City - 870 m vom Zentrum
- 214 M2
- 4 Schlafzimmer
- 8 Personen
- Klimaanlage
- Heizung
- Terrasse
- Schwimmbad
- Garten
- Tv
- Waschmaschine
- Handtücher
- Bettlaken


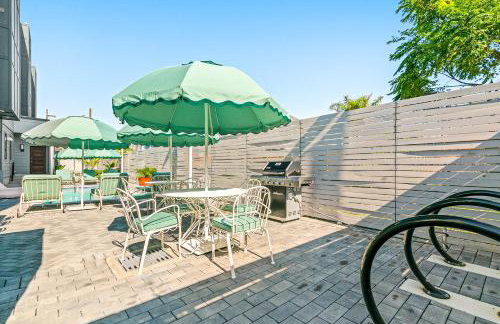

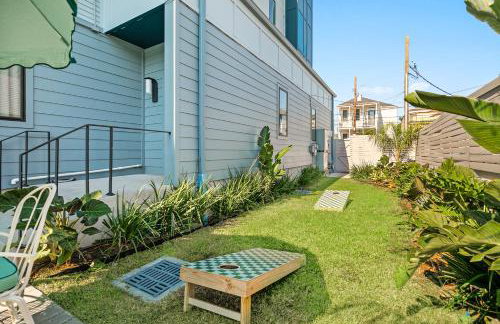

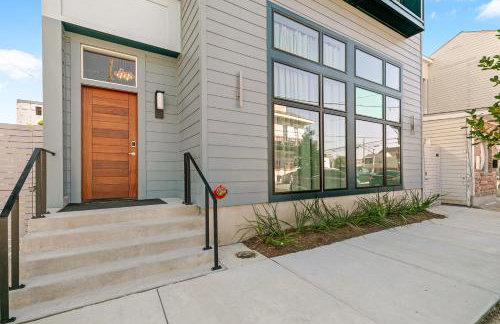

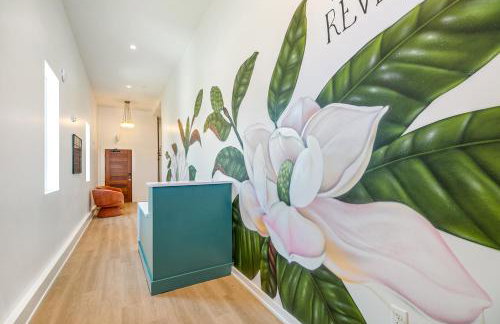


The Revelry
NO LA - Central City - 970 m vom Zentrum
- 269 M2
- 9 Schlafzimmer
- 20 Personen
- Klimaanlage
- Heizung
- Terrasse
- Schwimmbad
- Garten
- Tv
- Waschmaschine
- Barbecue
- Handtücher