10 Wohnungen in Jefferson
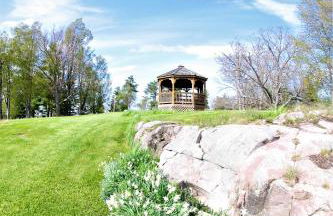
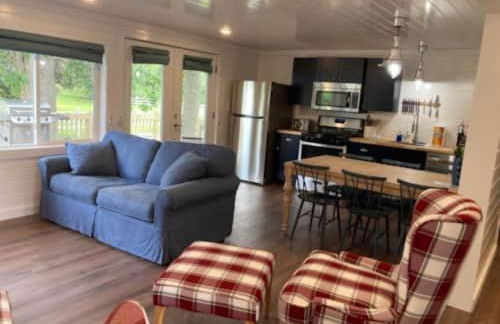
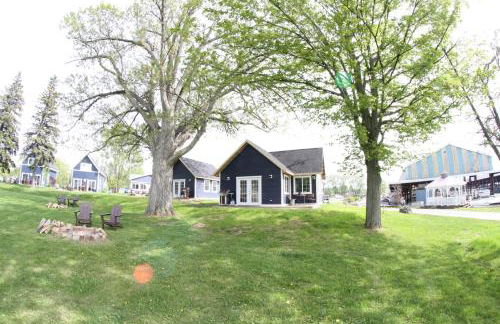
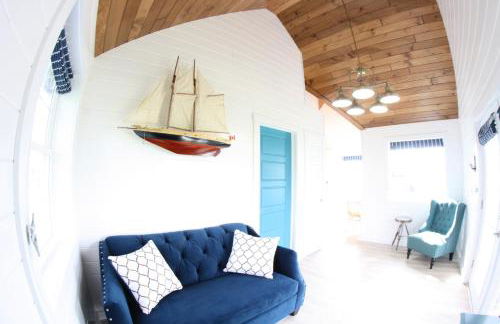
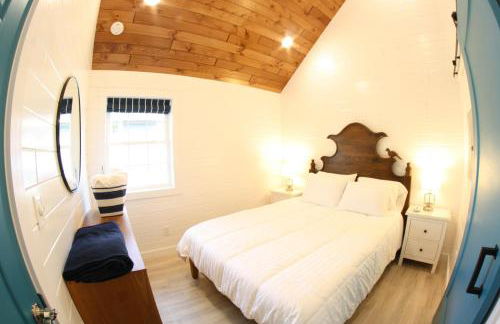
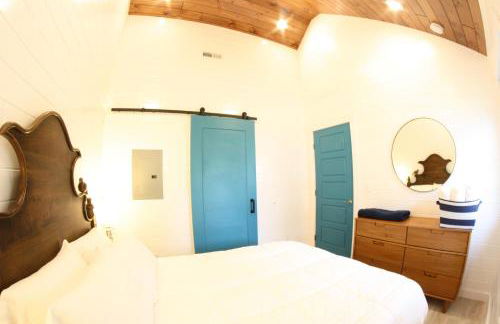
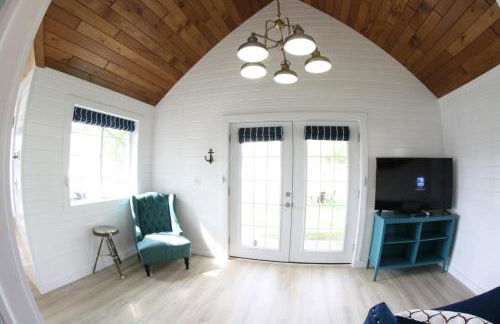
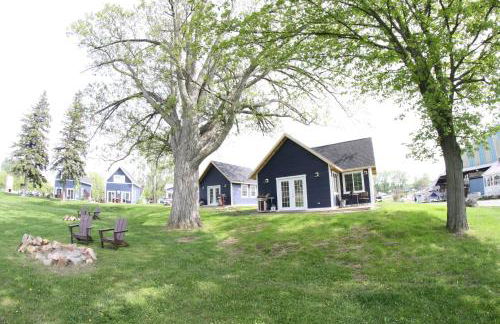
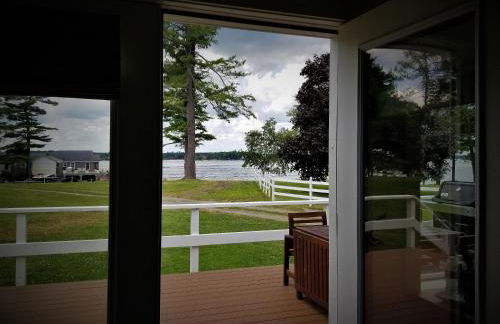
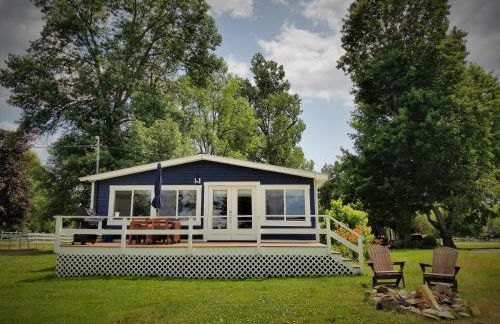
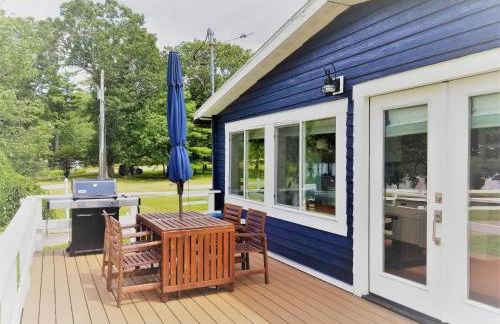
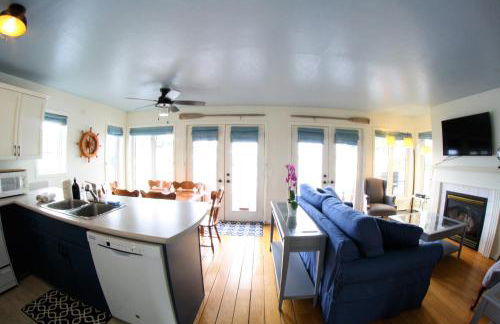
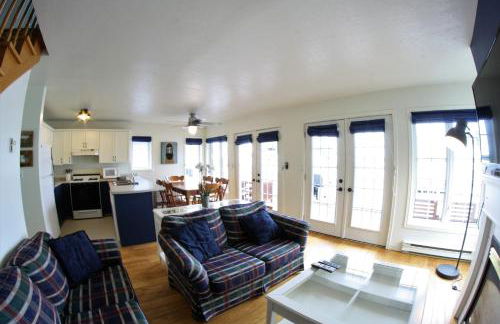
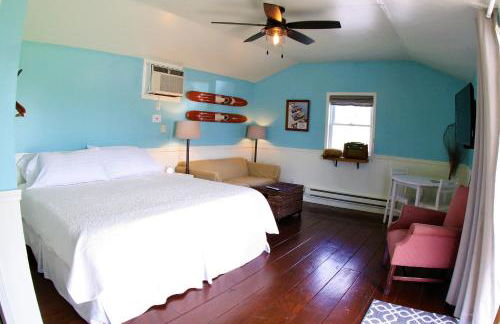
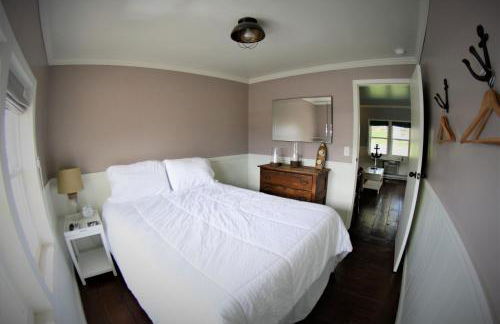
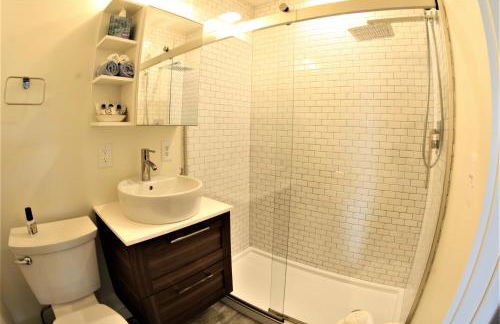
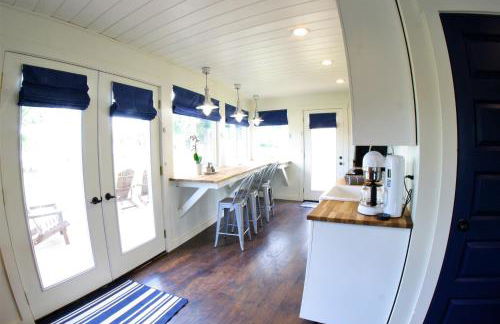
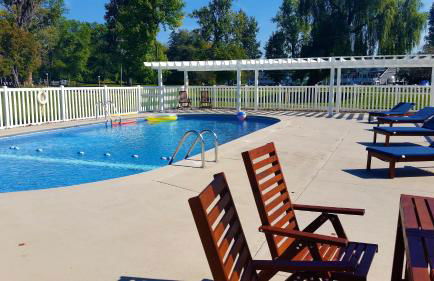
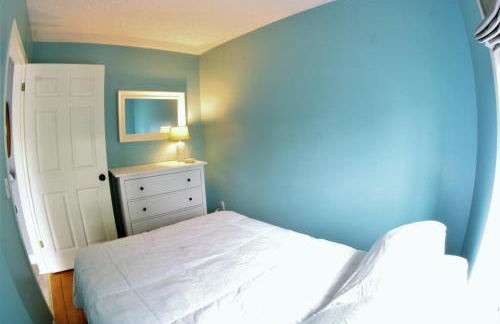
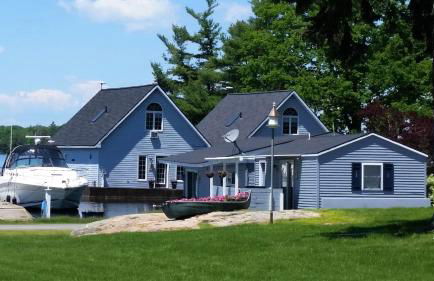
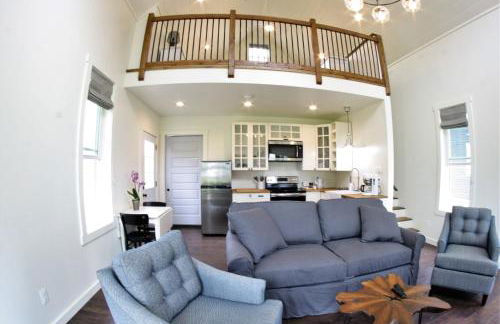
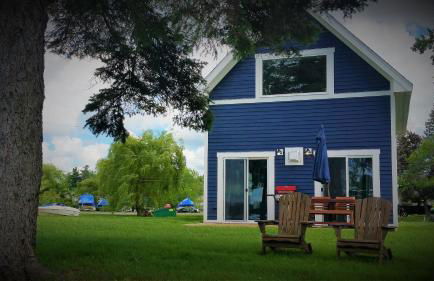
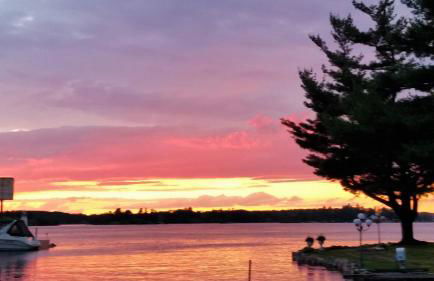
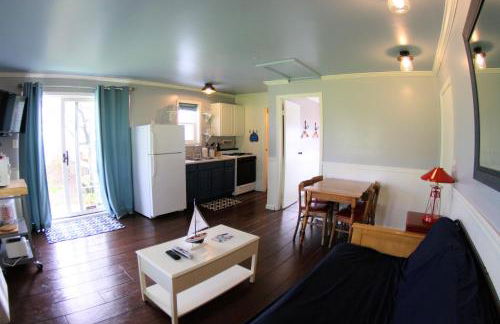
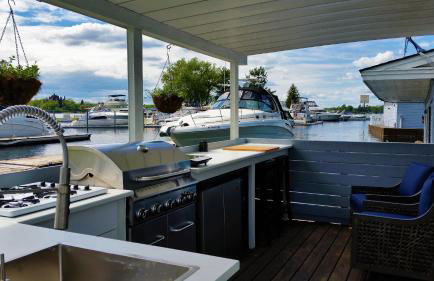
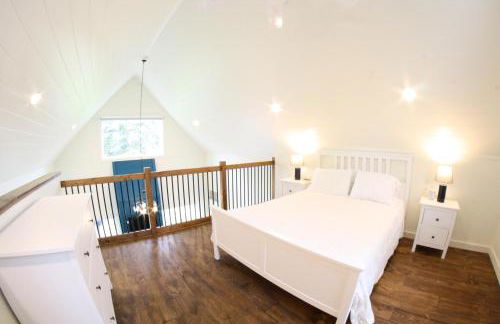
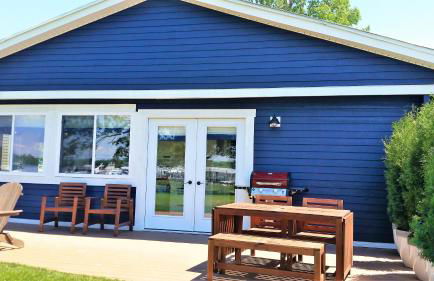
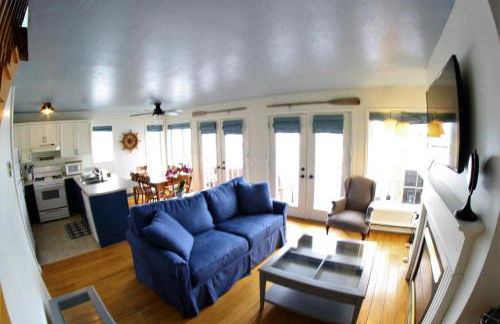
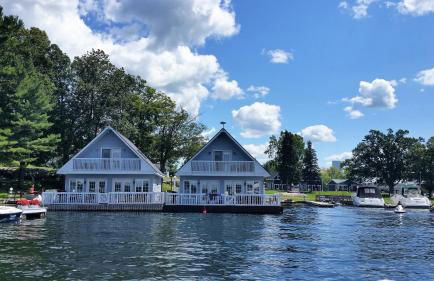
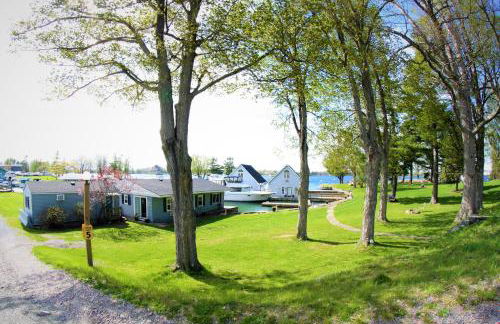
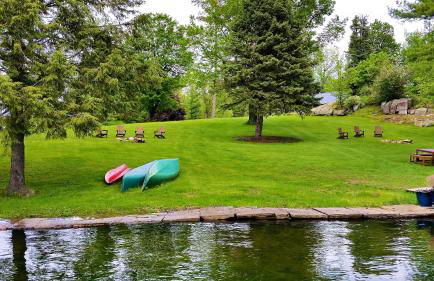
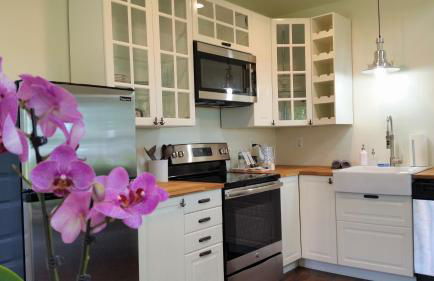
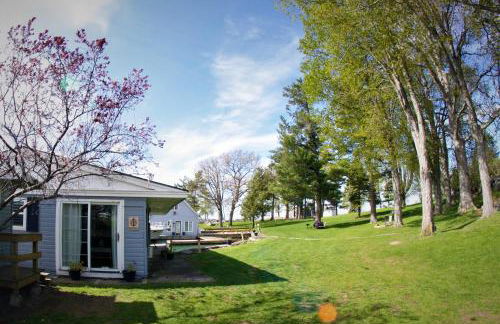
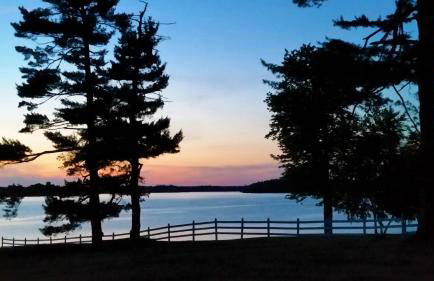
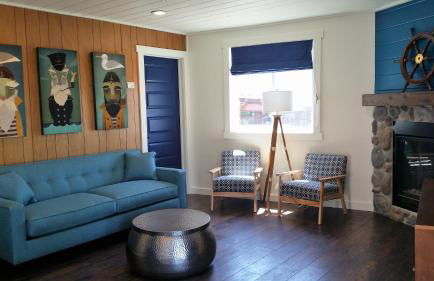
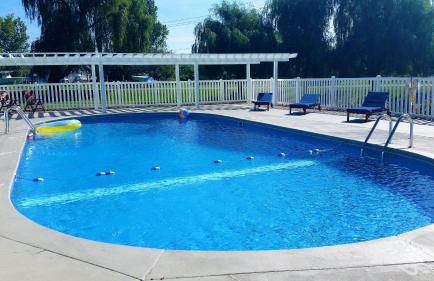
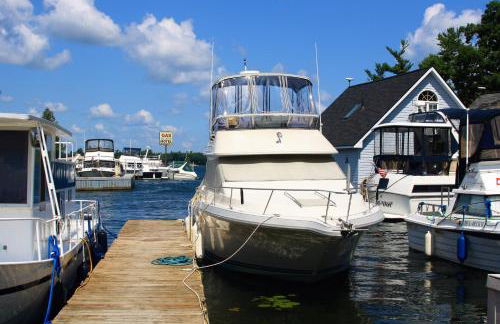
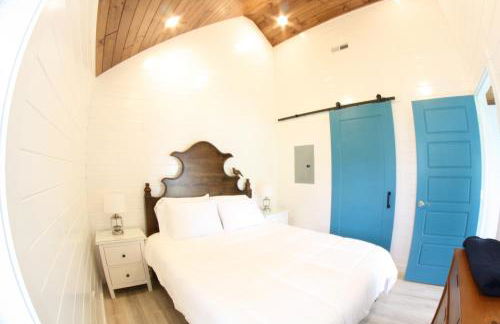
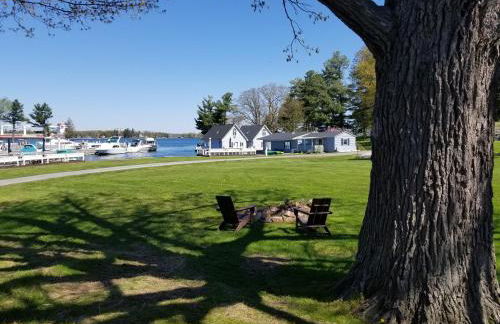
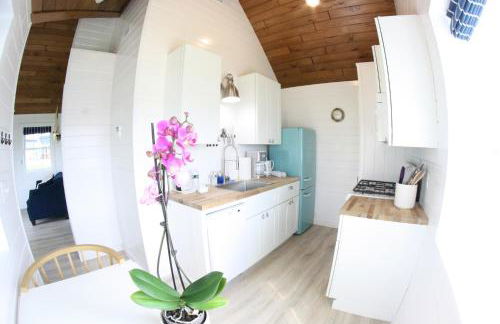
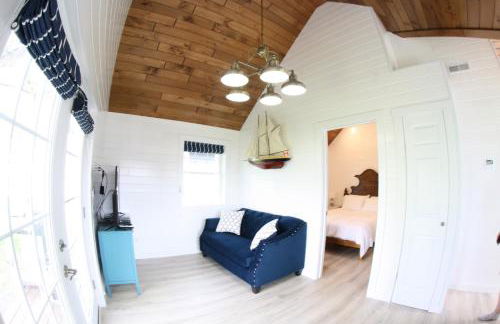
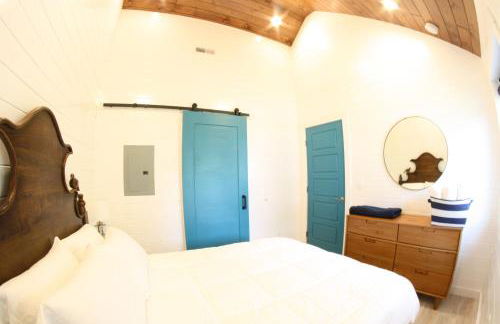
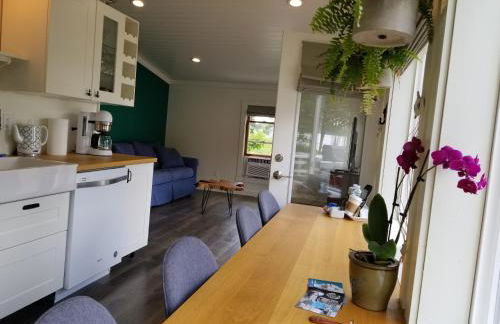
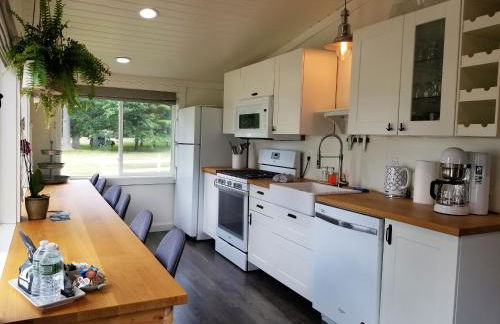
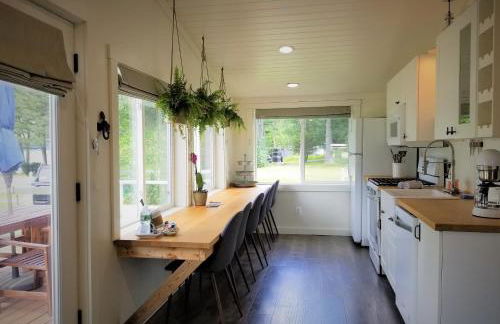
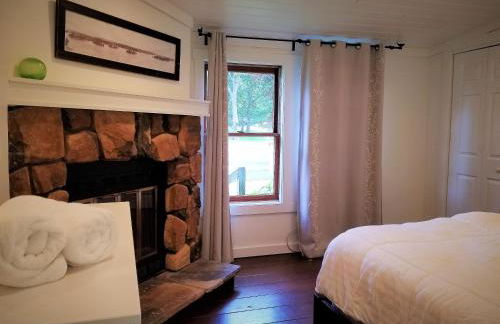
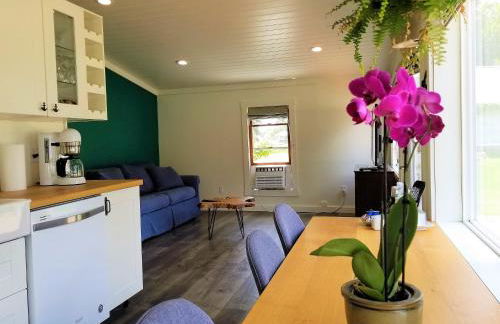
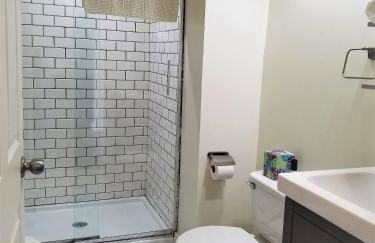
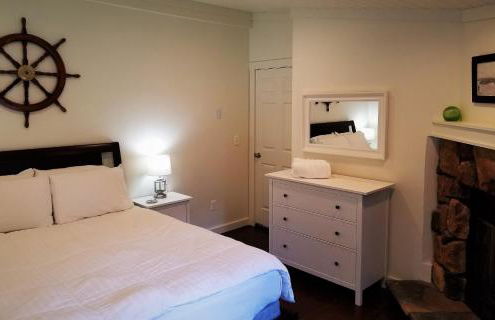
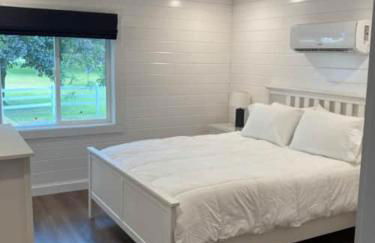
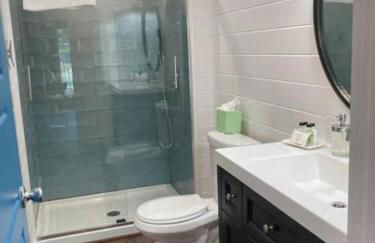
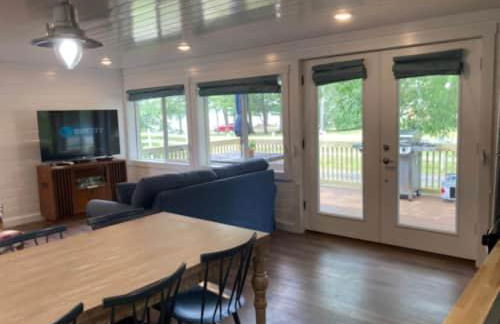
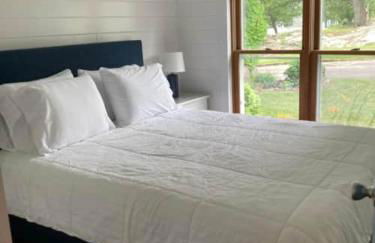
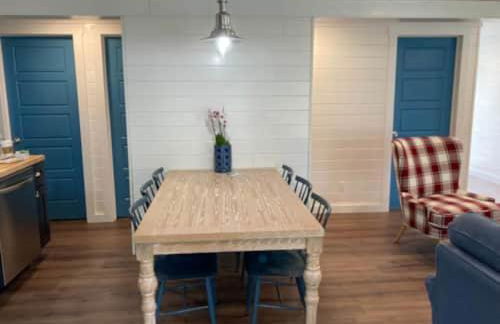
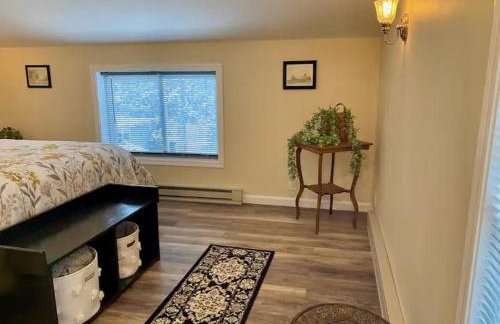
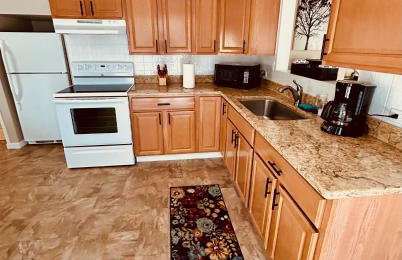
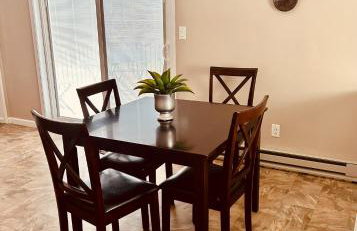
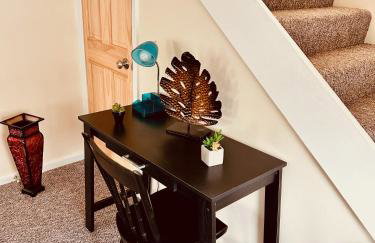
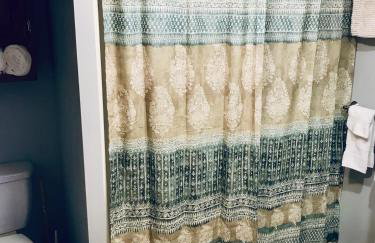
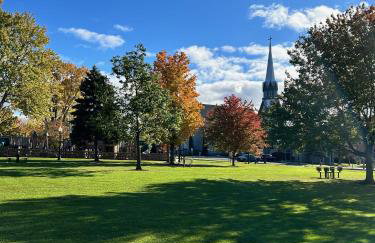
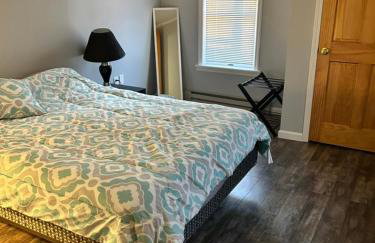
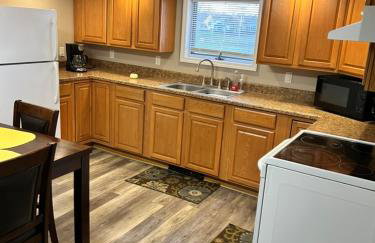
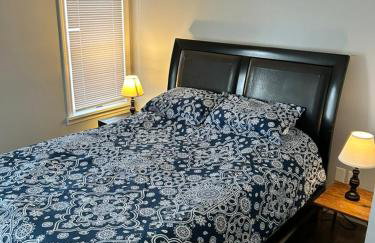
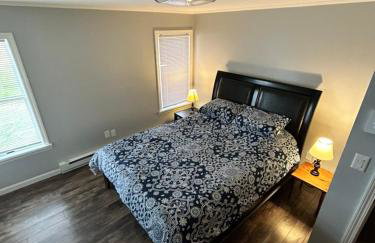
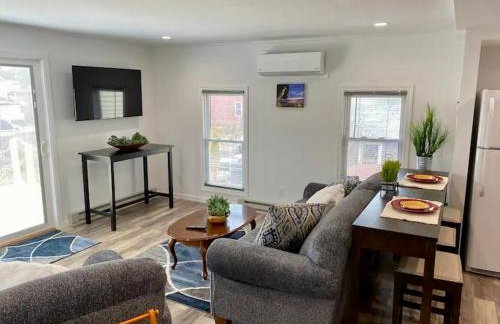
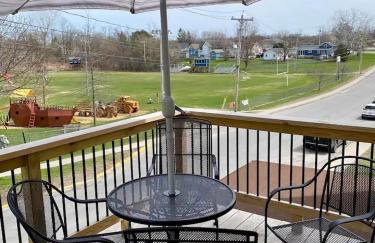
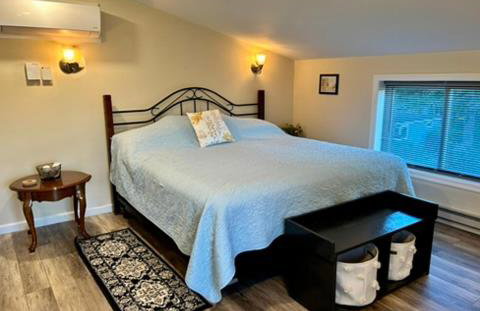
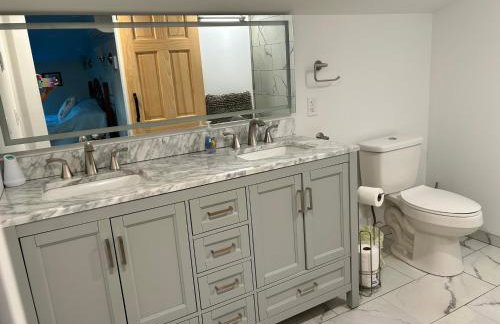
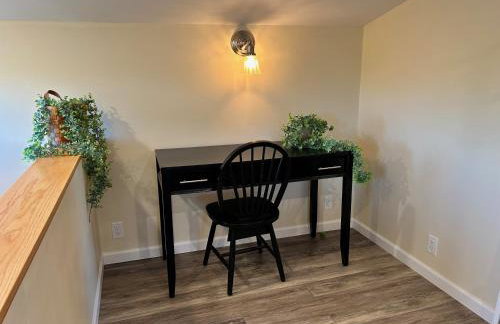
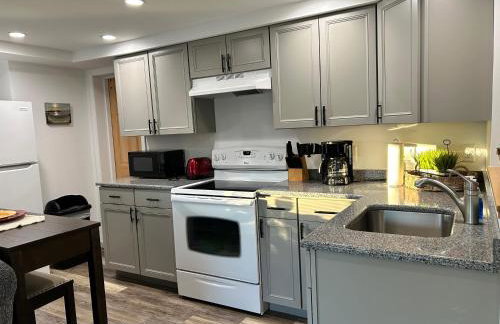
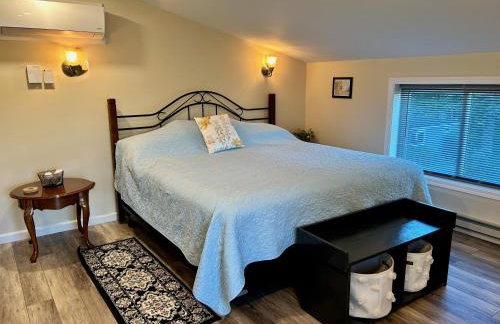
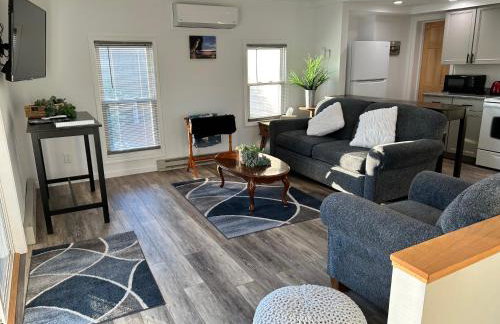
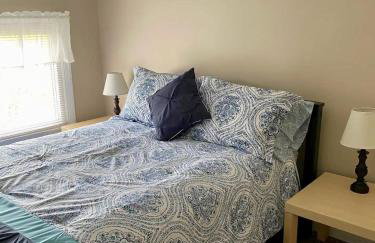
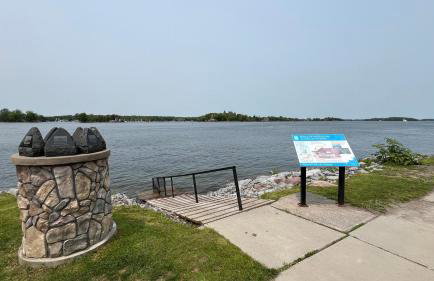
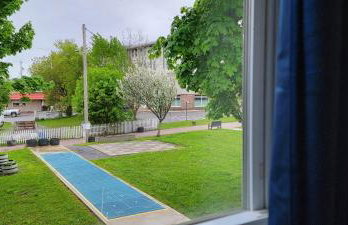
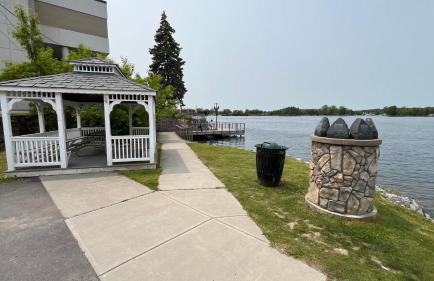
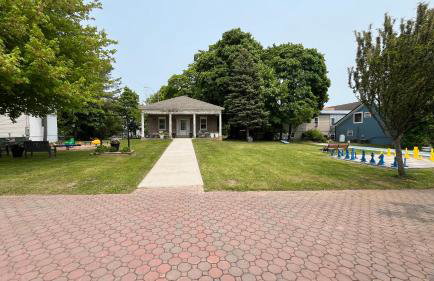
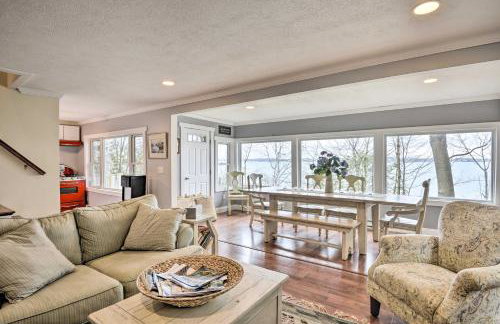
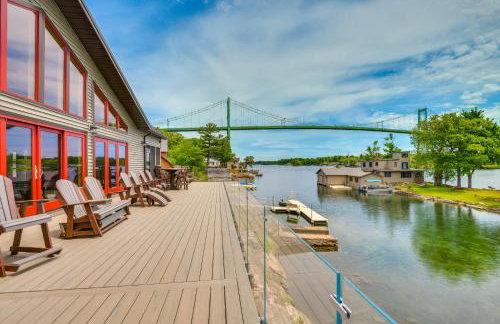
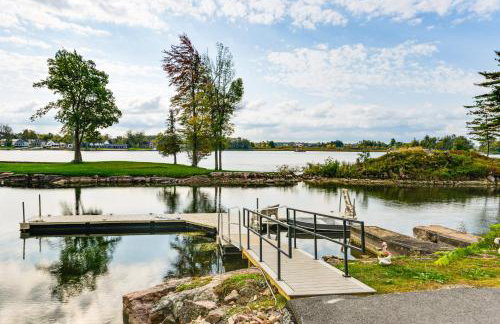
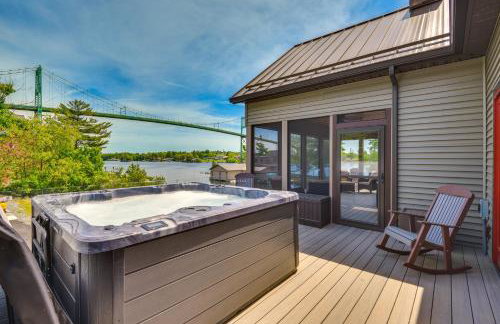
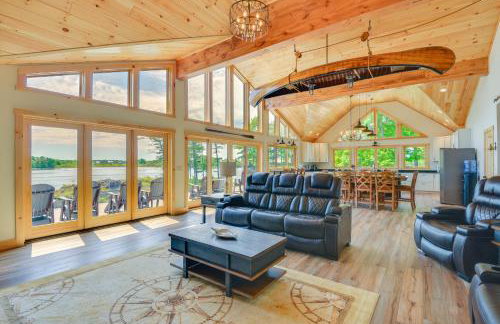
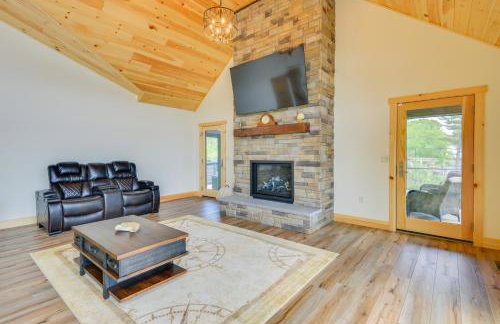
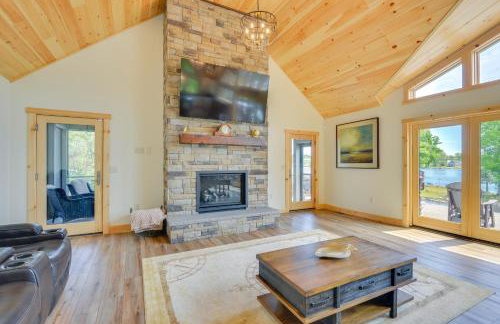
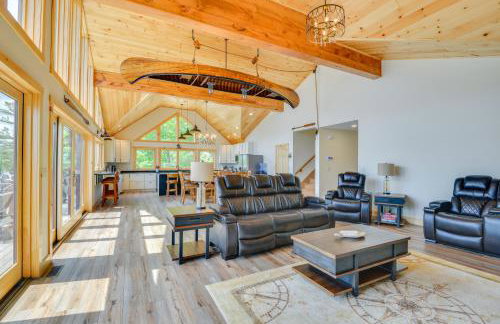
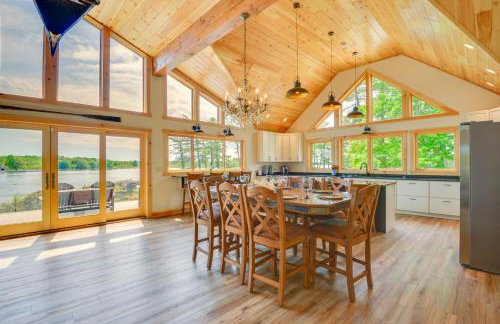
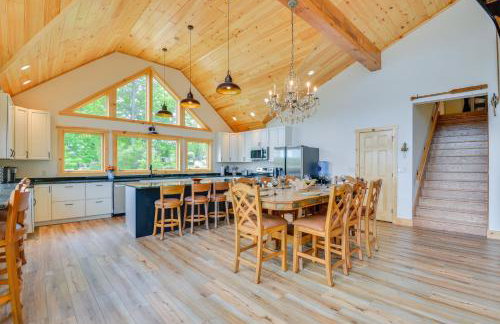
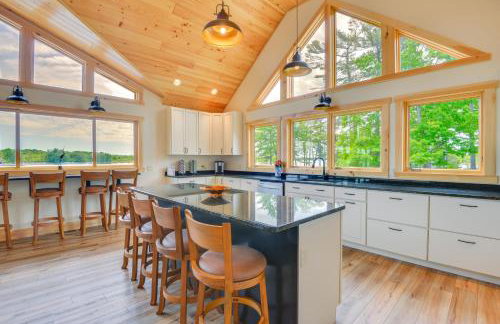
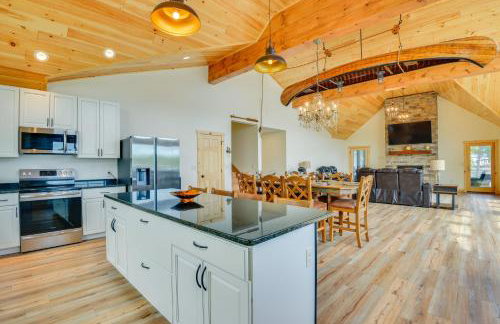
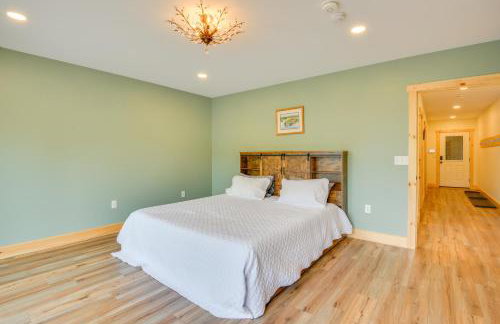
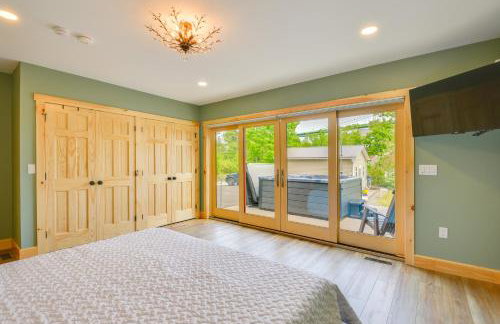
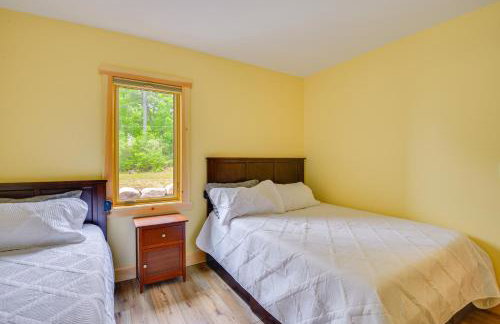
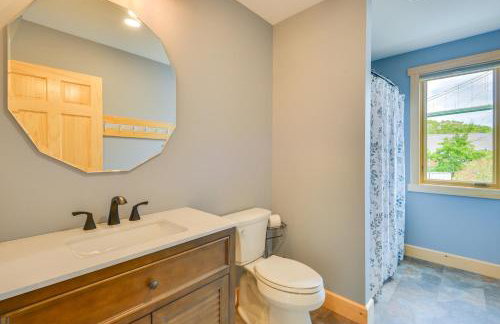
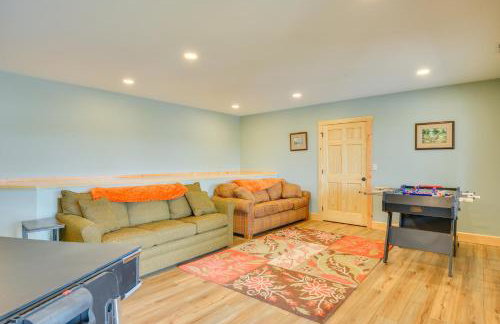
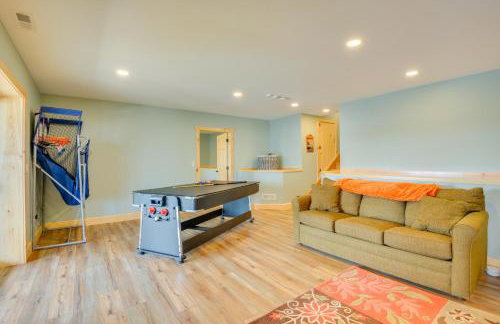
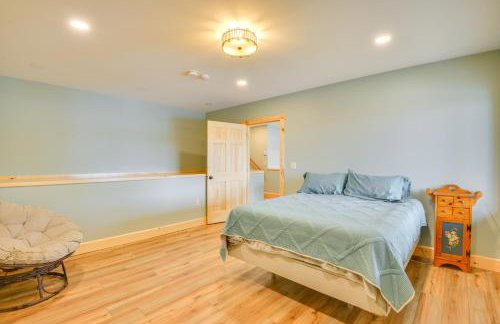
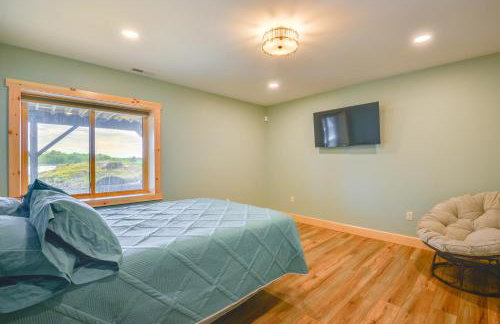
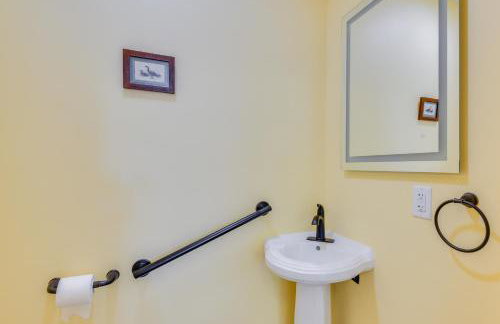
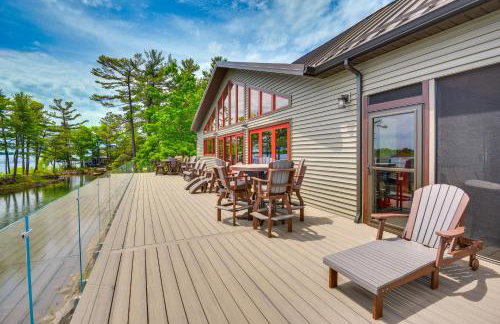
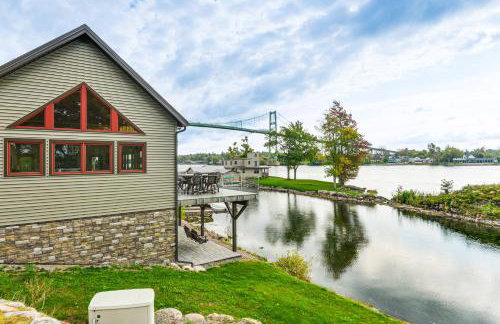
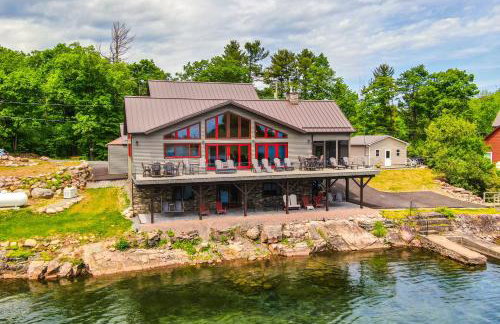
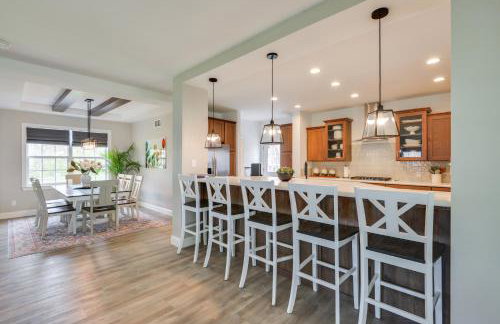
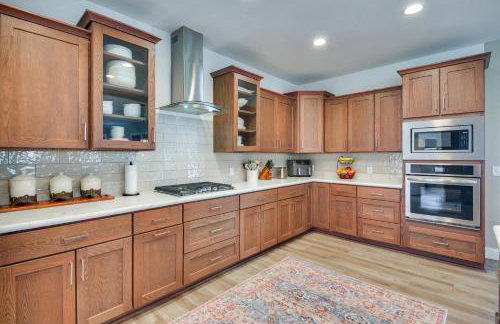
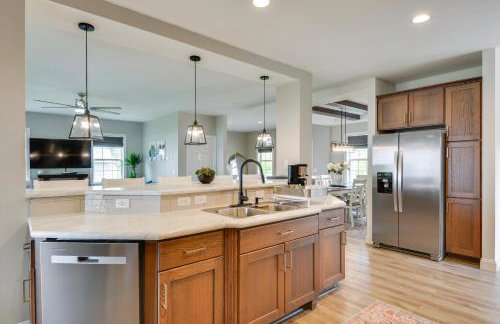
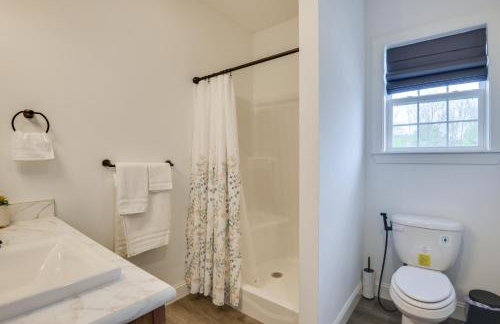
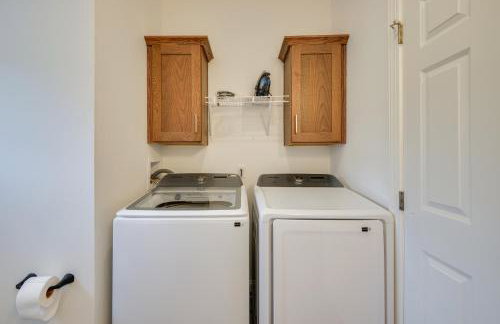
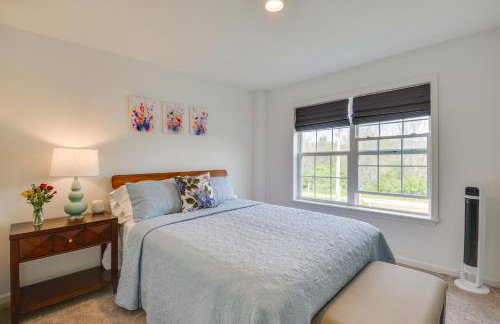
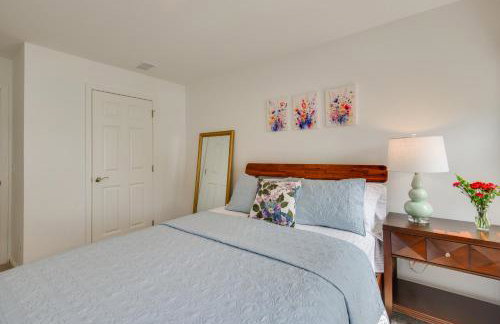
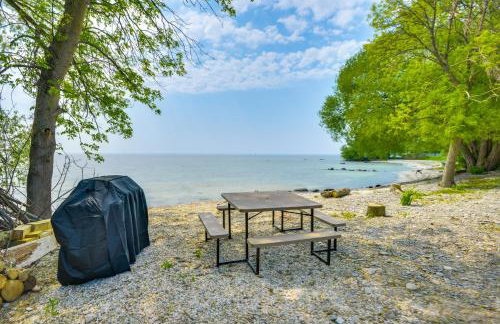
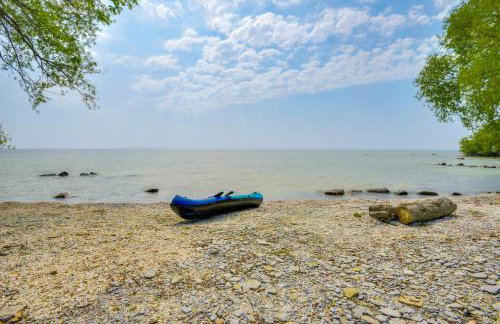
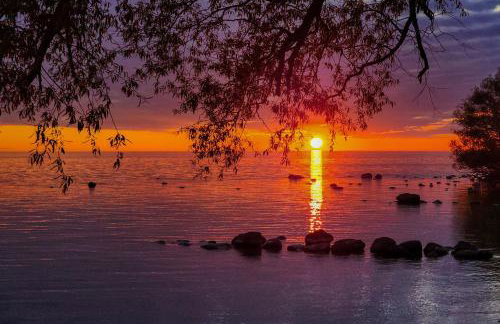
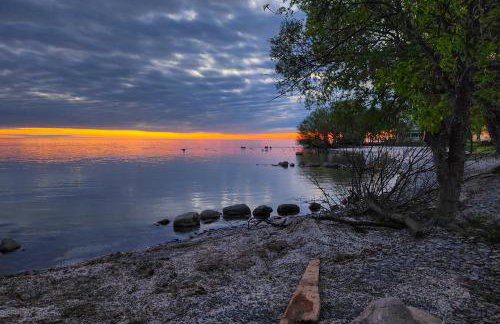
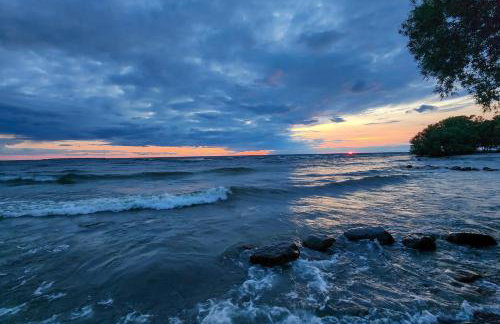
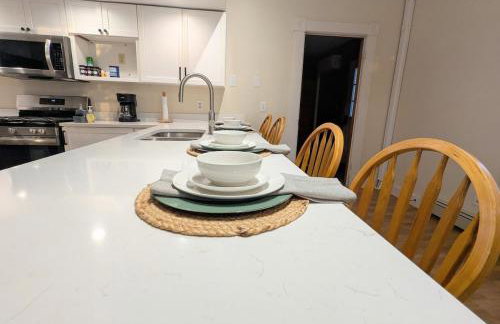
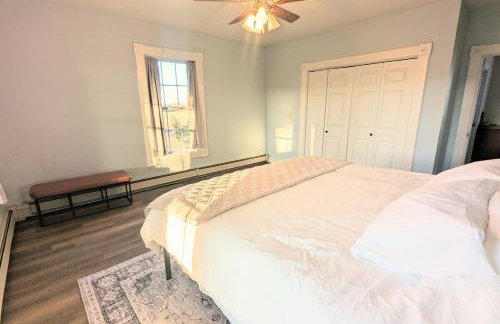
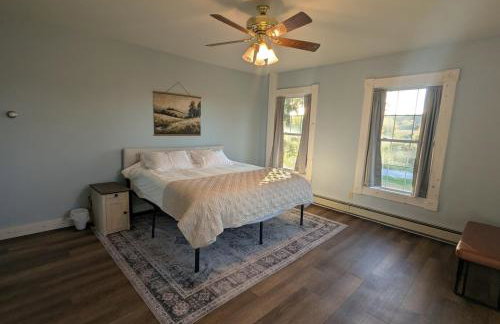
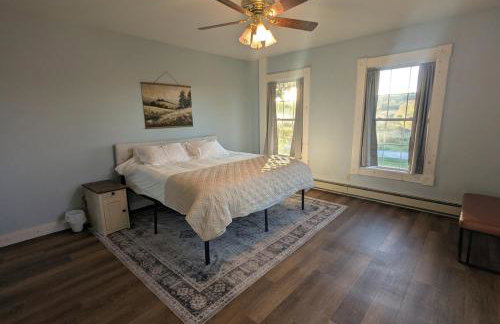
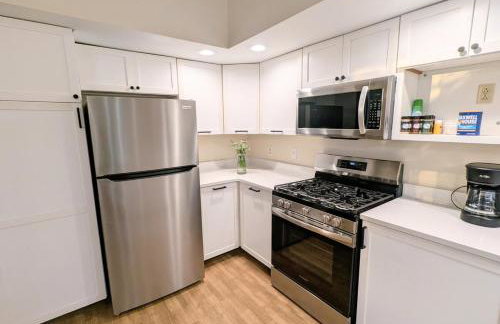
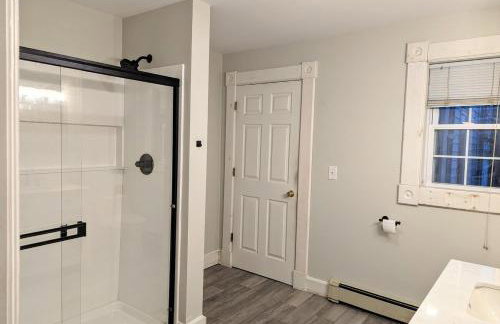
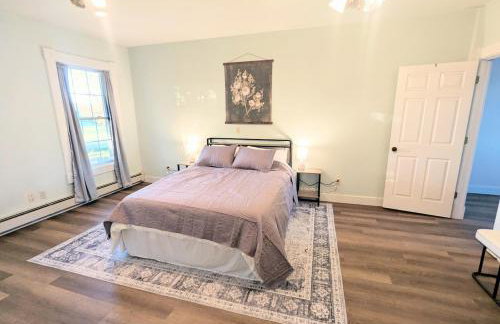
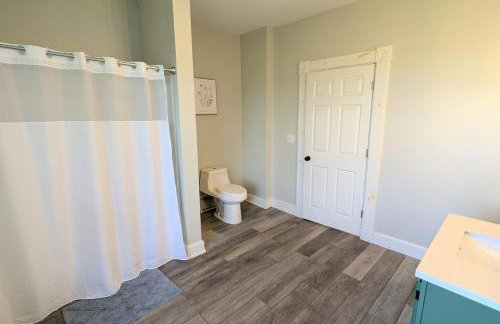
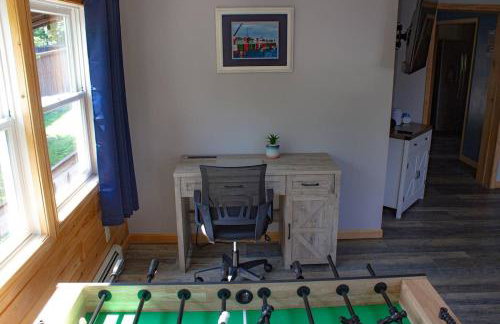
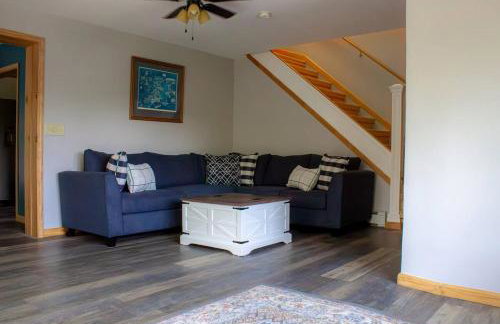
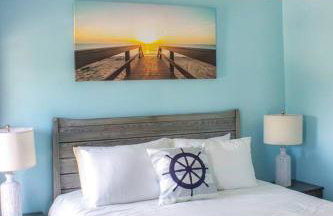
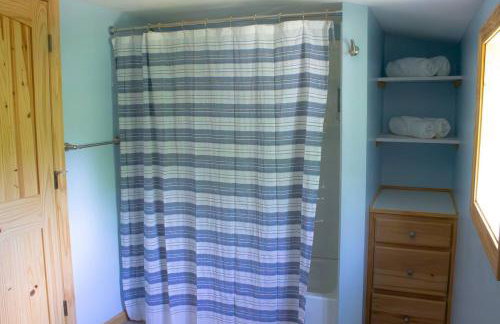
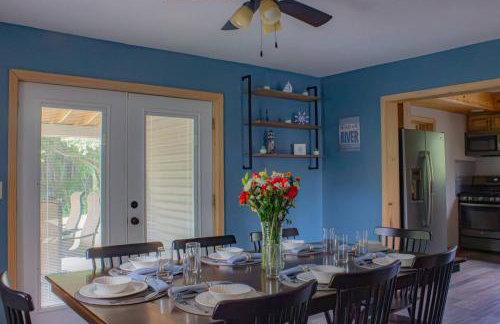
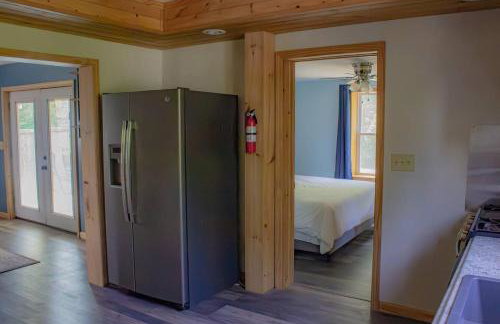
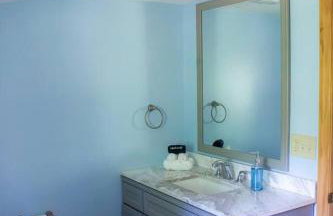
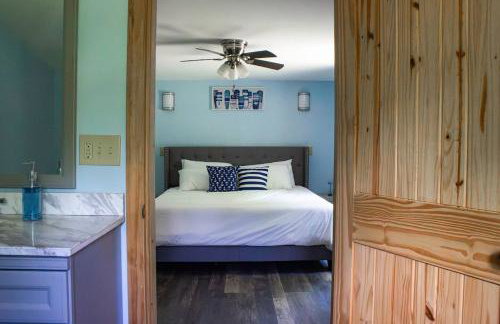
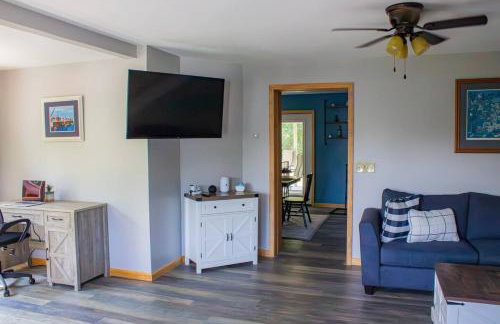
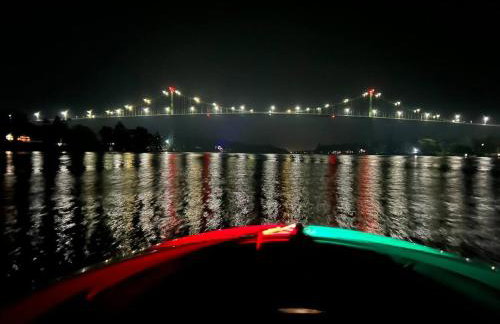
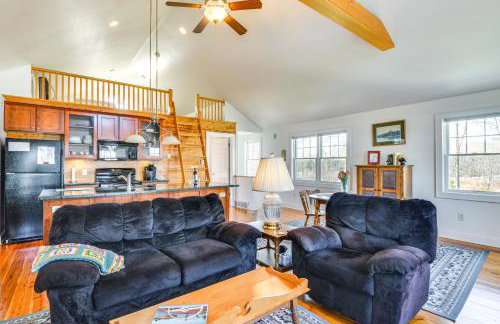
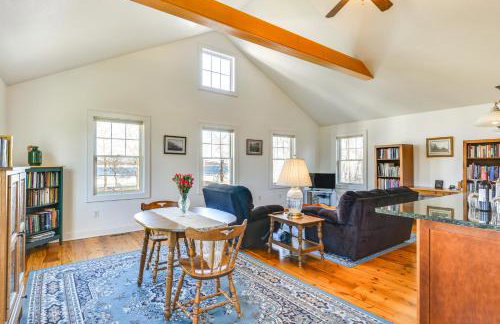
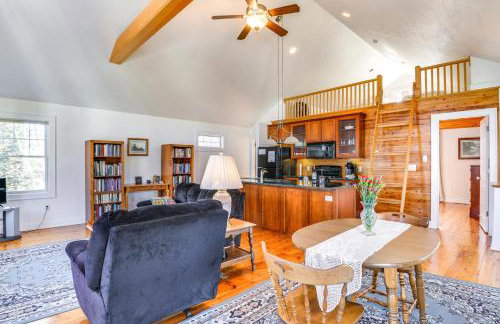
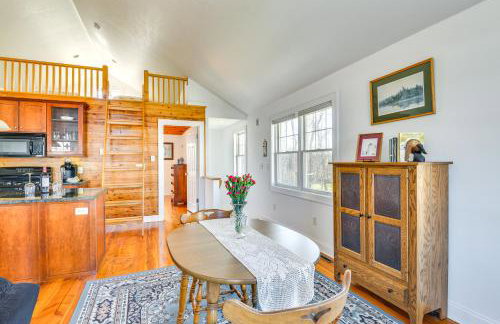
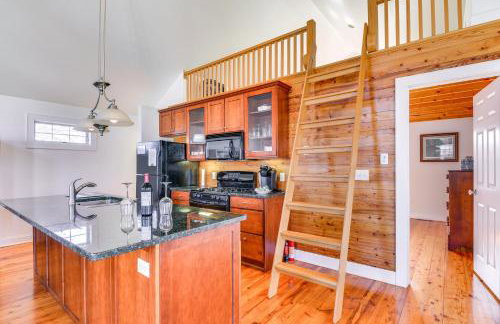
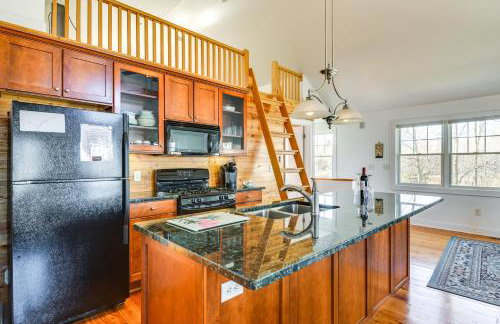
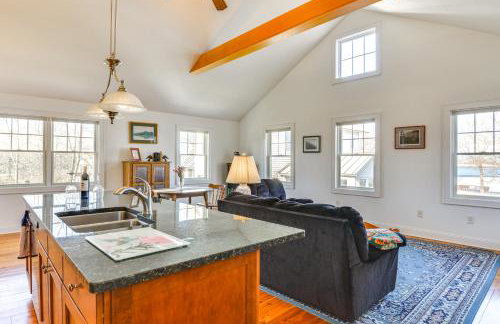
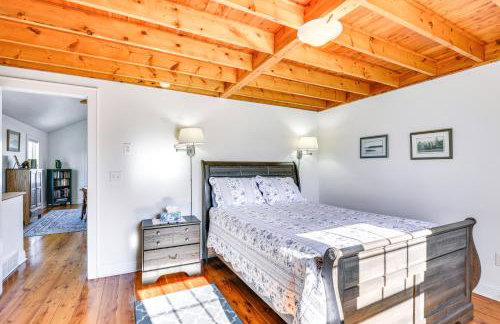
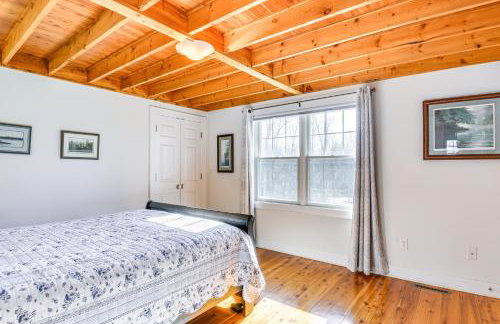
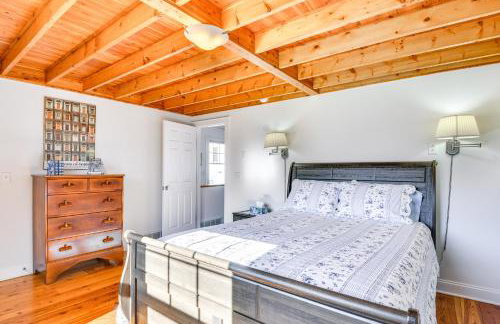
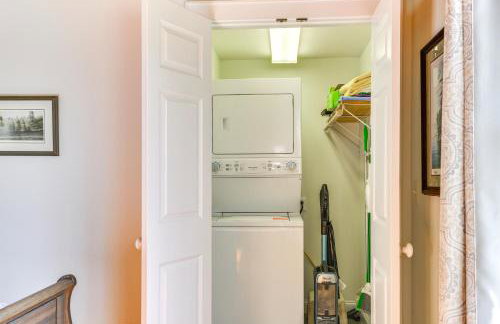
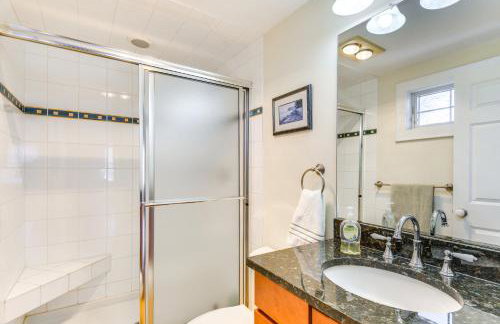
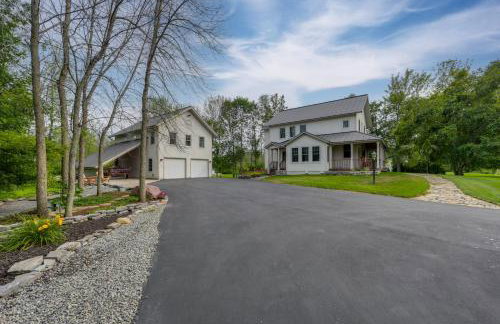
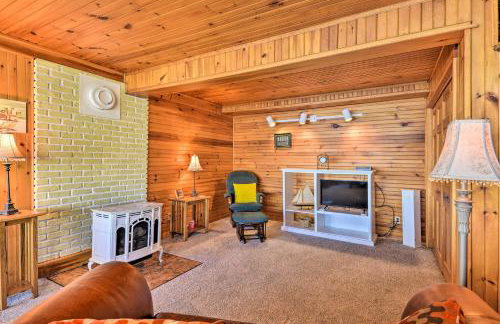
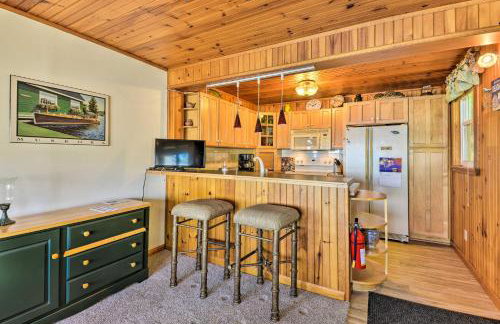
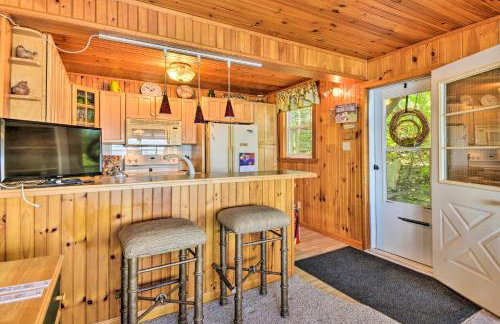
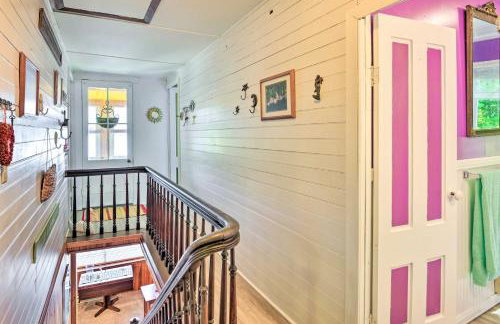
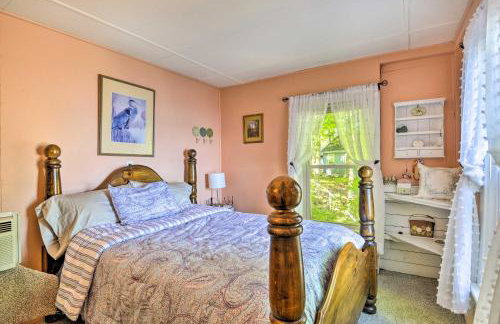
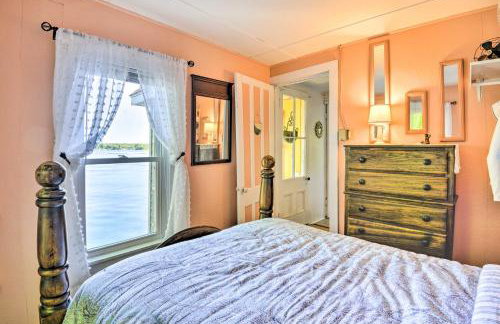
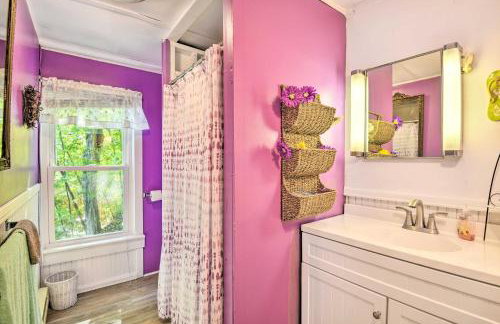
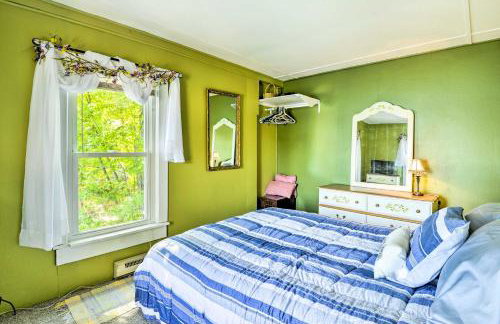
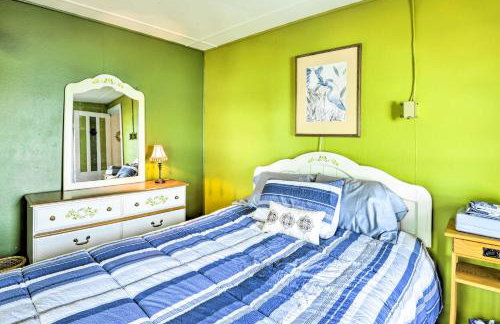
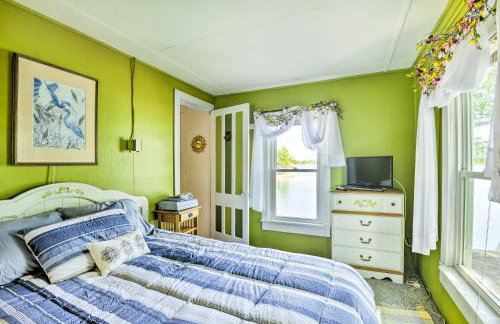
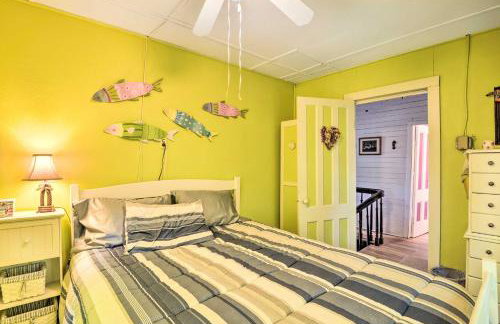
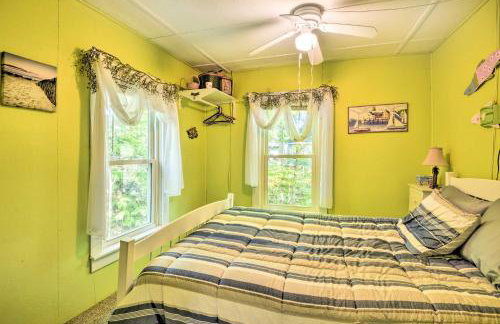
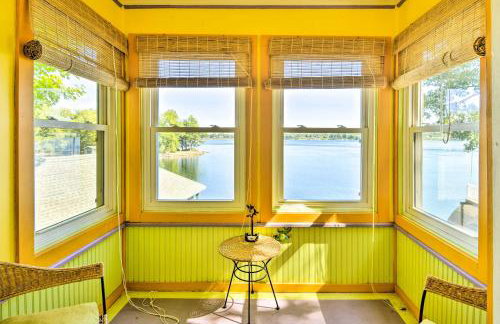
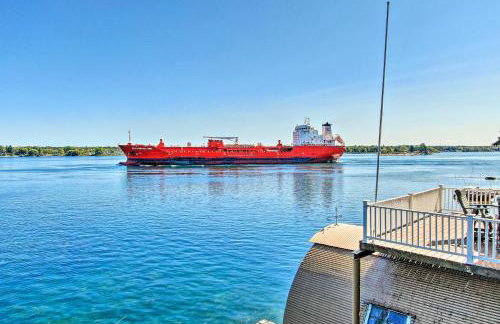
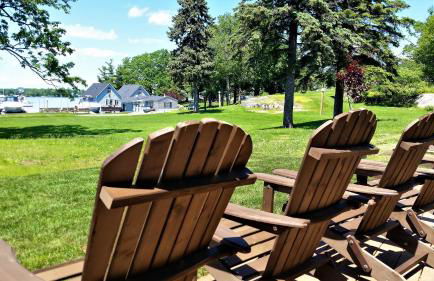
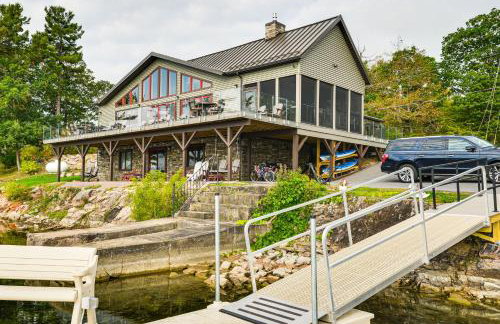
The Ledges Resort & Marina - Foto 1
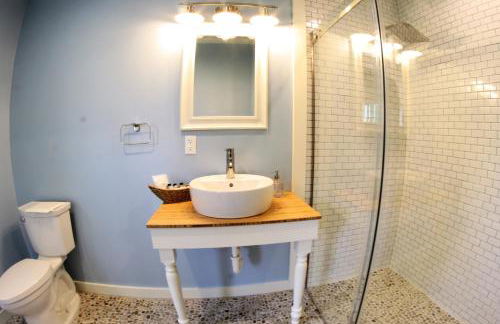
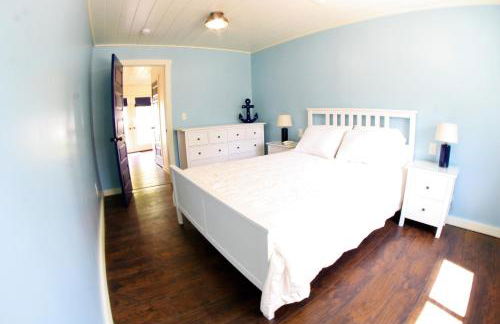
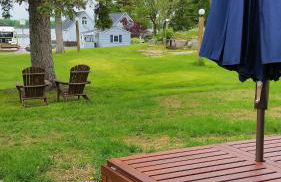
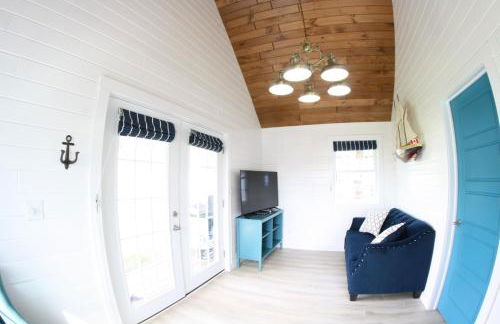
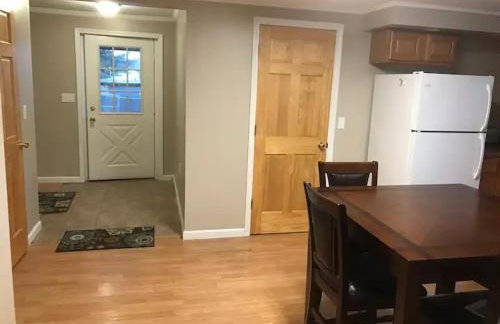
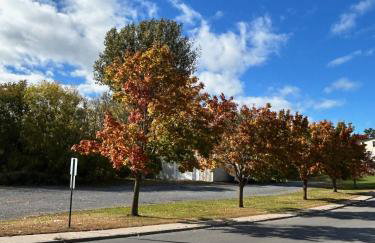
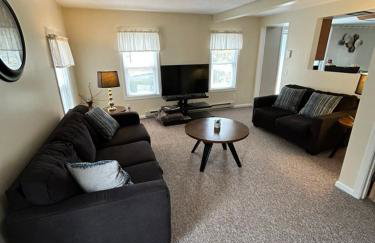
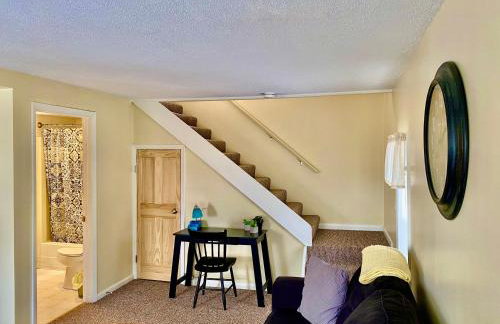
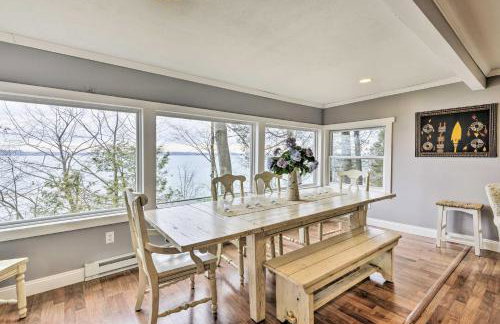
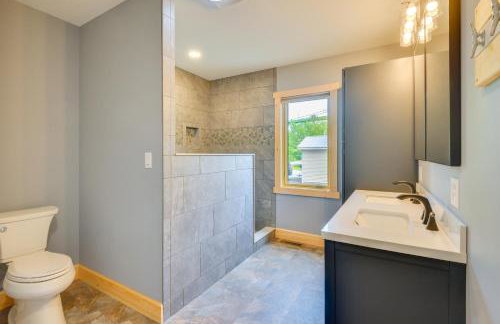
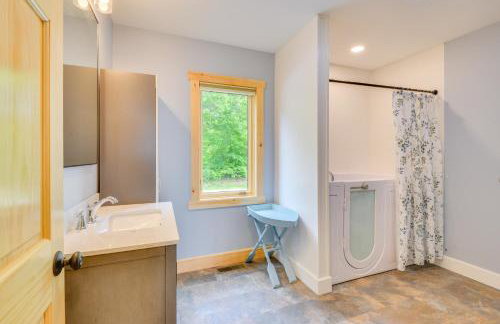
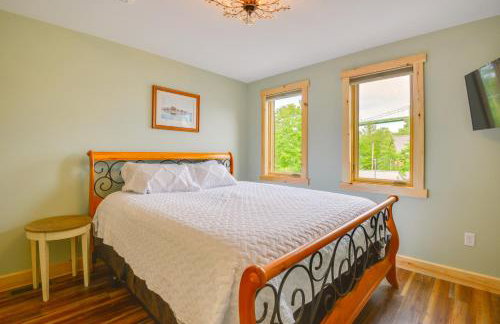
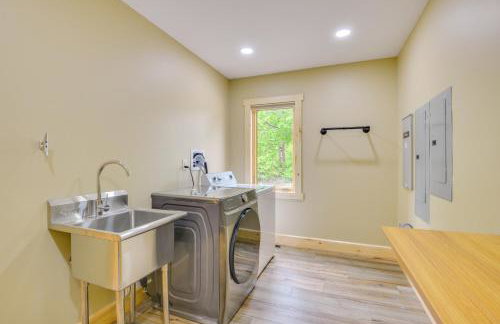
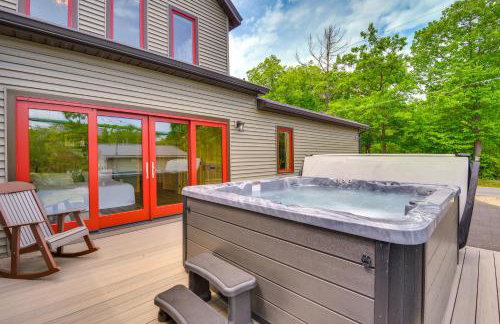
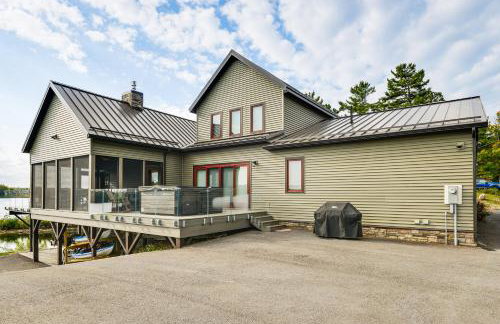
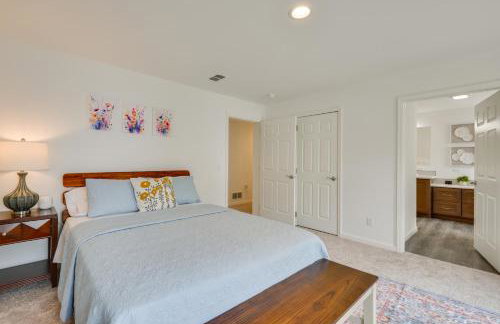
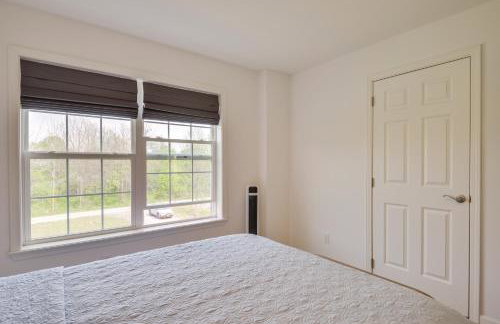
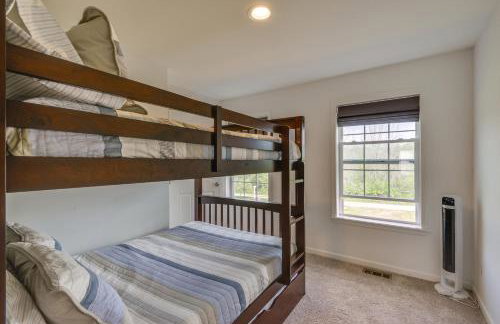
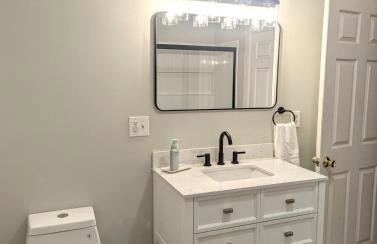
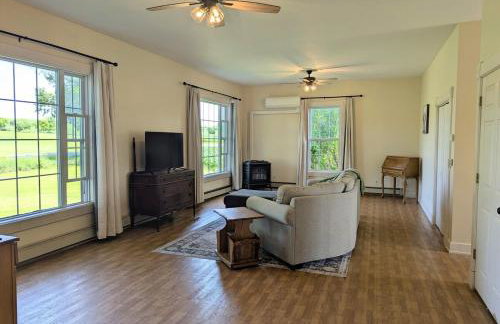
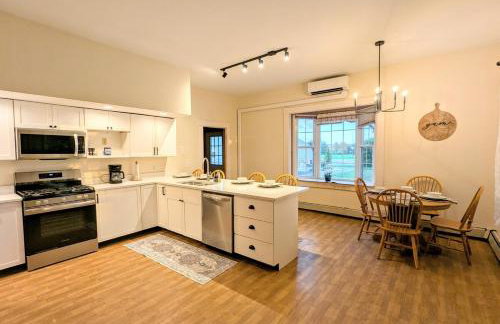
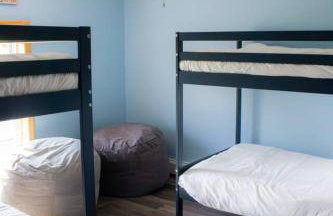
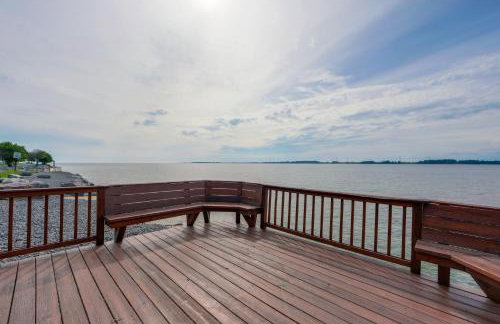
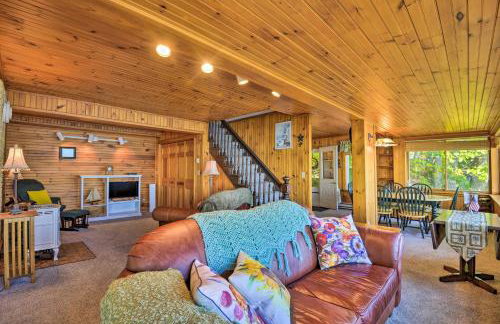
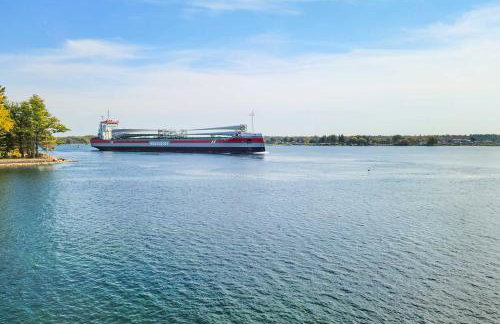
The Ledges Resort & Marina - Foto 2
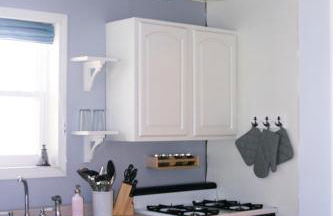
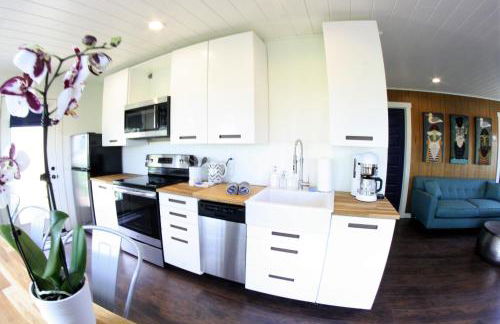
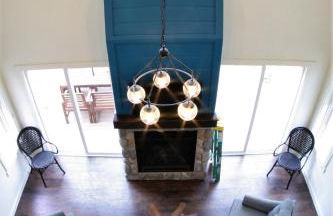
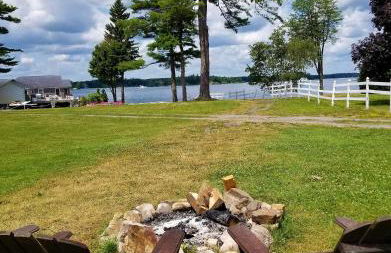
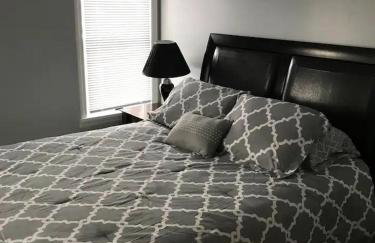
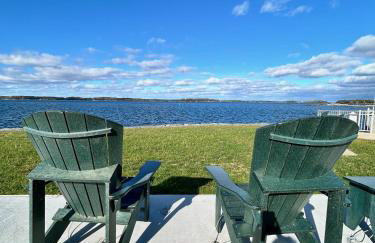
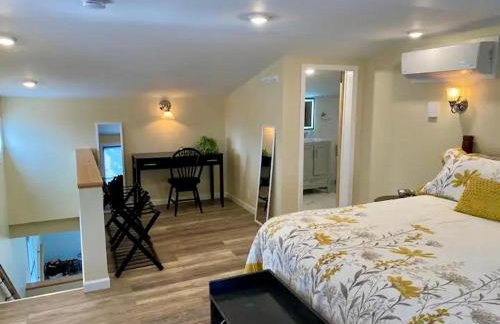
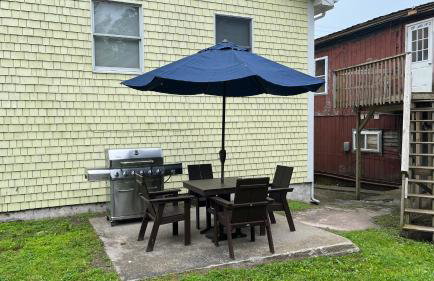
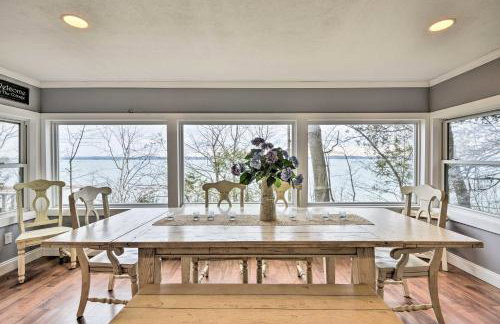
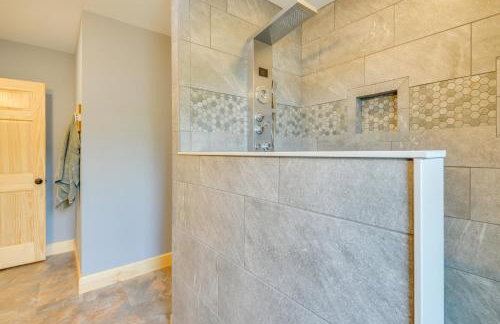
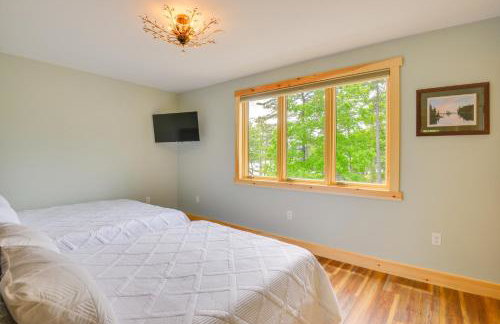
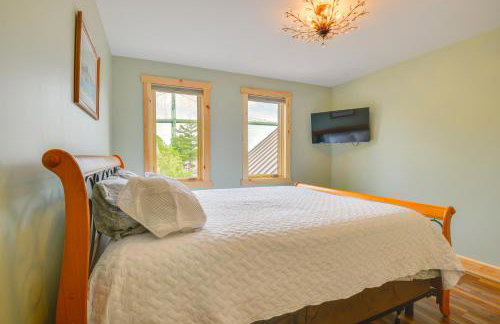
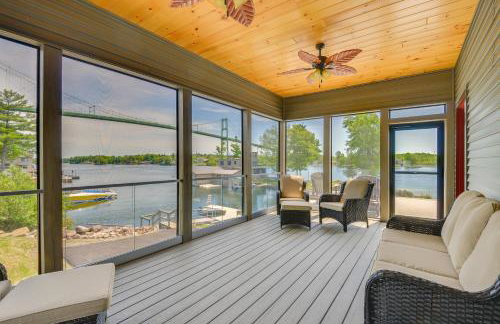
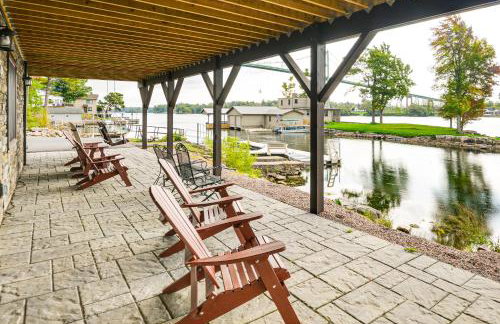
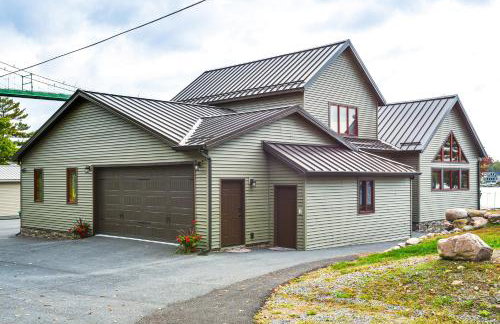
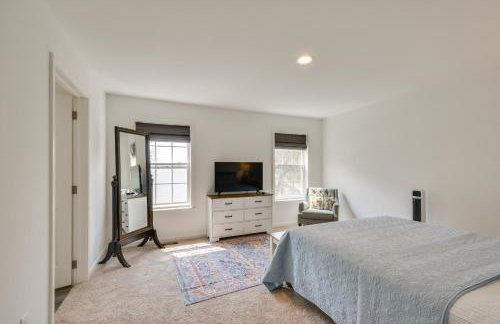
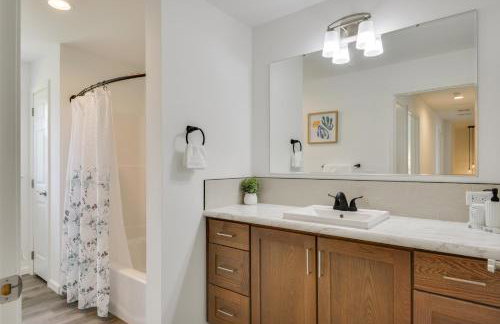
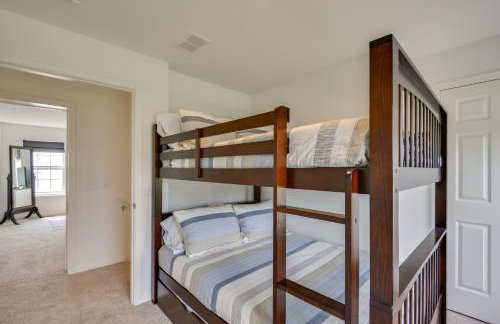
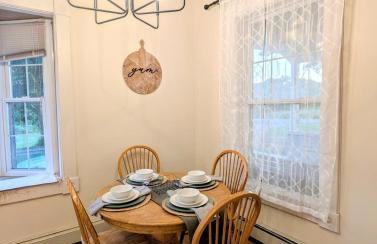
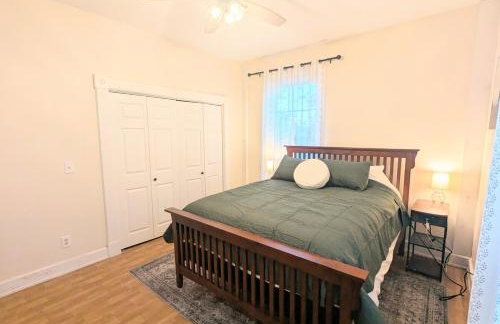
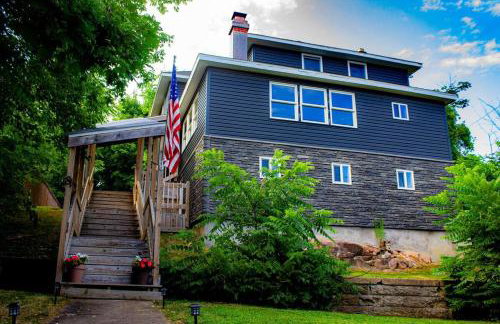
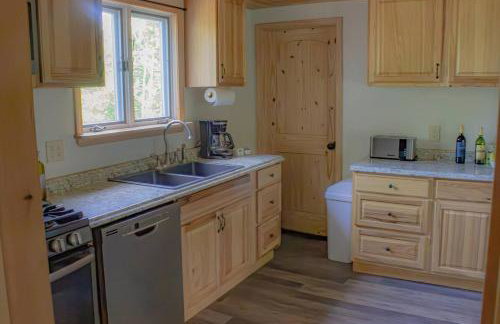
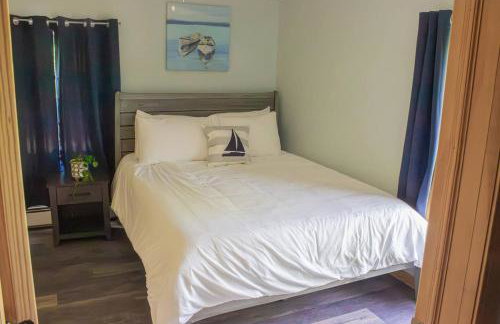
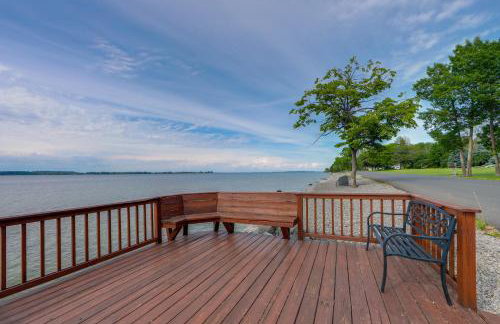
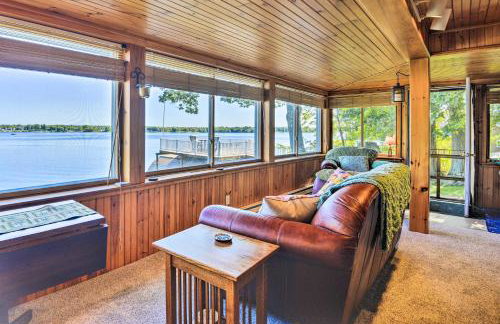
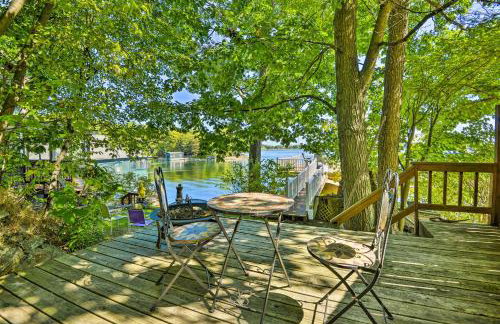
The Ledges Resort & Marina - Foto 3
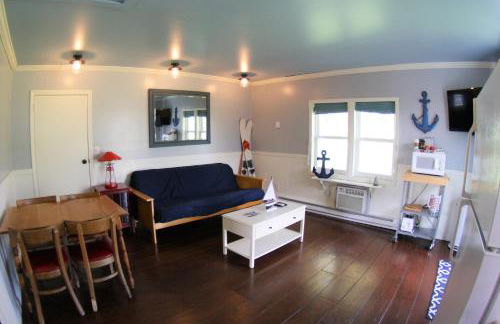
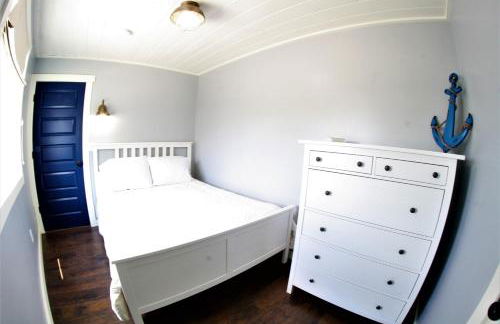
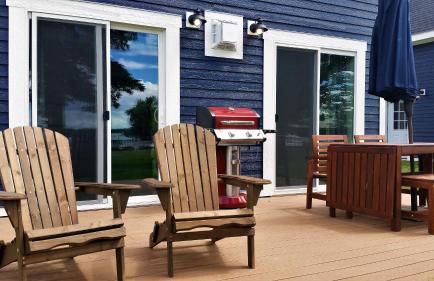
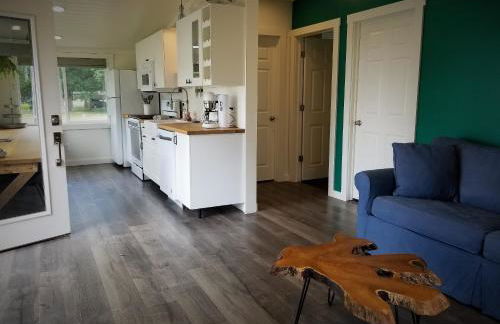
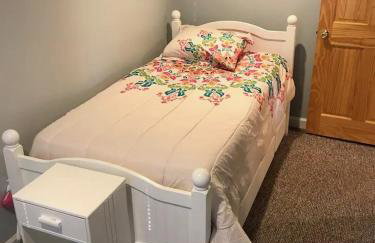
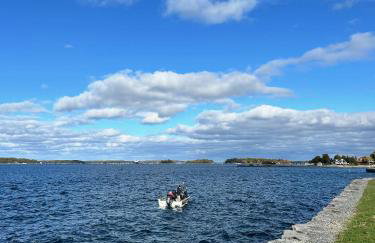
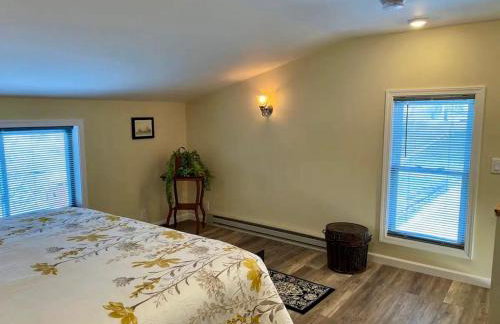
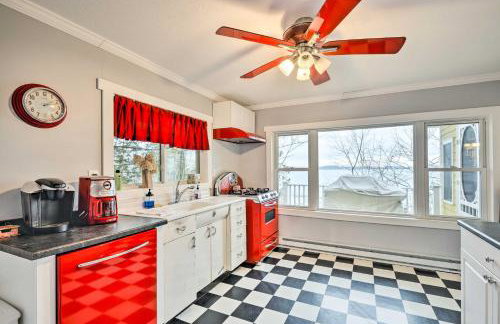
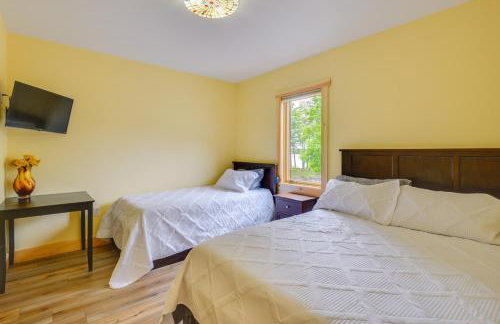
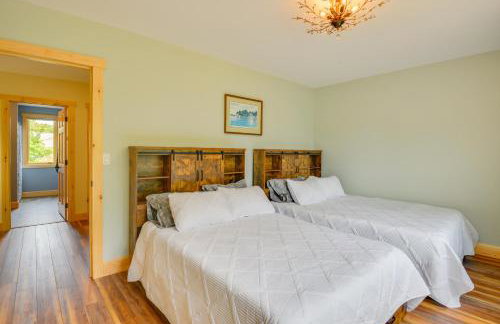
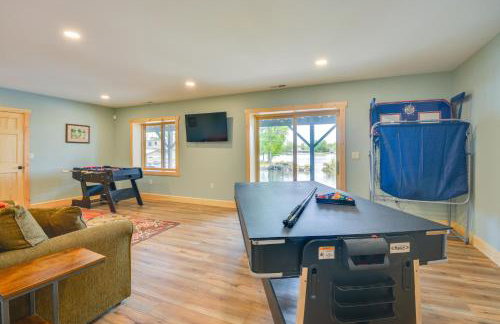
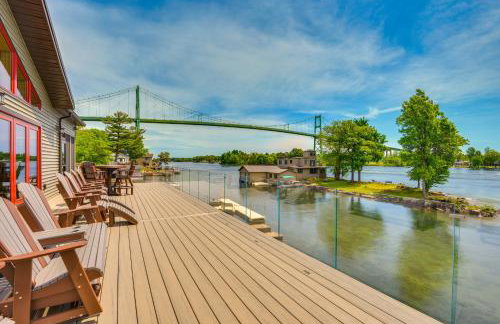
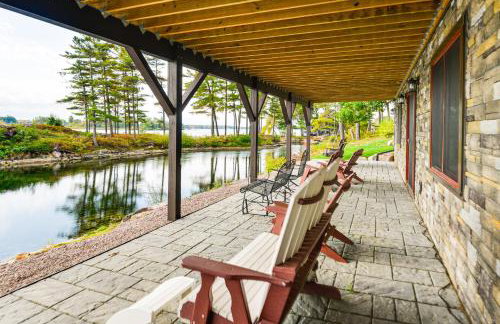
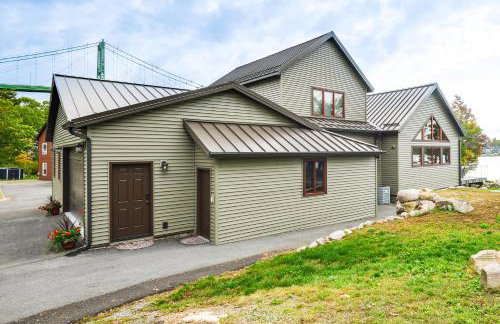
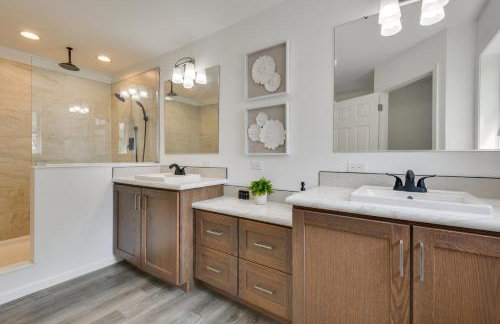
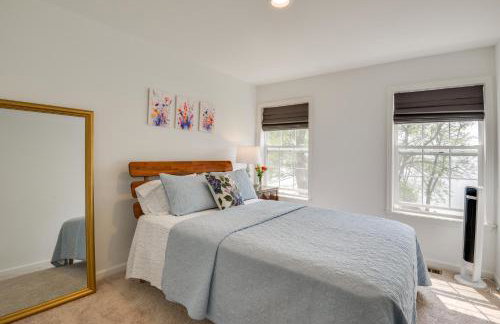
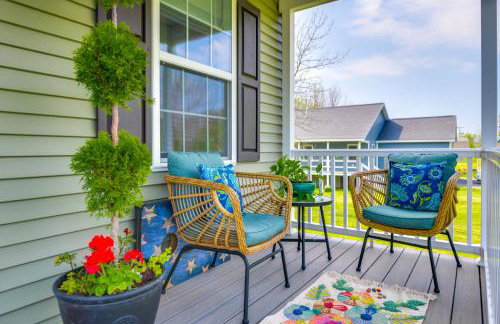
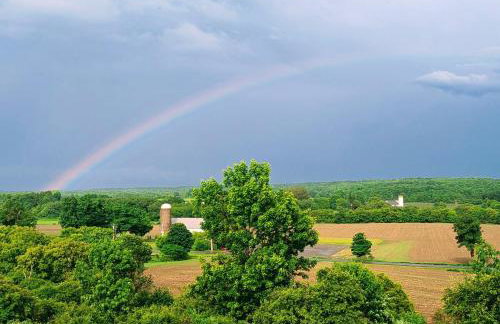
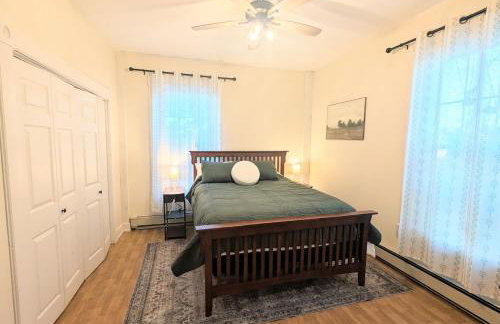
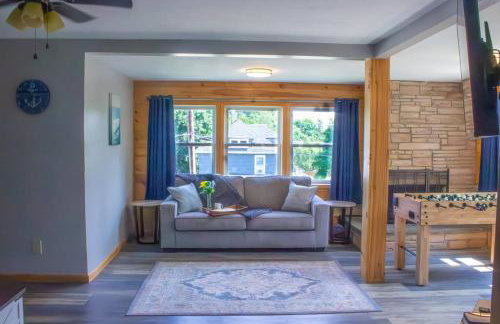
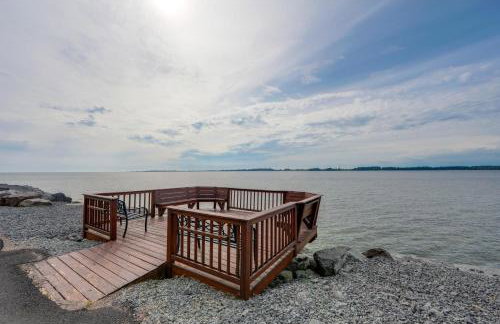
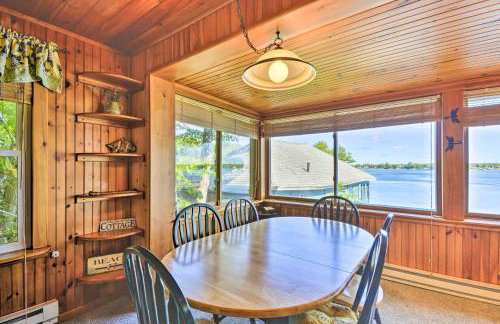
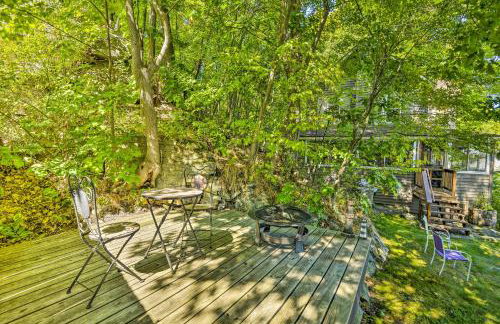
The Ledges Resort & Marina - Foto 4
The Ledges Resort & Marina - Foto 5
The Ledges Resort & Marina - Foto 6
The Ledges Resort & Marina - Foto 7
The Ledges Resort & Marina - Foto 8
The Ledges Resort & Marina - Foto 9
The Ledges Resort & Marina - Foto 10
The Ledges Resort & Marina - Foto 11
The Ledges Resort & Marina - Foto 12
The Ledges Resort & Marina - Foto 13
The Ledges Resort & Marina - Foto 14
The Ledges Resort & Marina - Foto 15
The Ledges Resort & Marina - Foto 16
The Ledges Resort & Marina - Foto 17
The Ledges Resort & Marina - Foto 18
The Ledges Resort & Marina - Foto 19
The Ledges Resort & Marina - Foto 20
The Ledges Resort & Marina - Foto 21
The Ledges Resort & Marina - Foto 22
The Ledges Resort & Marina - Foto 23
The Ledges Resort & Marina - Foto 24
The Ledges Resort & Marina - Foto 25
The Ledges Resort & Marina - Foto 26
The Ledges Resort & Marina - Foto 27
The Ledges Resort & Marina - Foto 28
The Ledges Resort & Marina - Foto 29
The Ledges Resort & Marina - Foto 30
The Ledges Resort & Marina - Foto 31
The Ledges Resort & Marina - Foto 32
The Ledges Resort & Marina - Foto 33
The Ledges Resort & Marina - Foto 34
The Ledges Resort & Marina - Foto 35
The Ledges Resort & Marina - Foto 36
The Ledges Resort & Marina - Foto 37
The Ledges Resort & Marina - Foto 38
The Ledges Resort & Marina - Foto 39
The Ledges Resort & Marina - Foto 40
The Ledges Resort & Marina - Foto 41
The Ledges Resort & Marina - Foto 42
The Ledges Resort & Marina - Foto 43
The Ledges Resort & Marina - Foto 44
The Ledges Resort & Marina - Foto 45
The Ledges Resort & Marina - Foto 46
The Ledges Resort & Marina - Foto 47
The Ledges Resort & Marina - Foto 48
The Ledges Resort & Marina - Foto 49
The Ledges Resort & Marina - Foto 50
The Ledges Resort & Marina - Foto 51
The Ledges Resort & Marina - Foto 52
The Ledges Resort & Marina - Foto 53
The Ledges Resort & Marina - Foto 54
The Ledges Resort & Marina - Foto 55
The Ledges Resort & Marina - Foto 56
The Ledges Resort & Marina - Foto 57
The Ledges Resort & Marina - Foto 58
The Ledges Resort & Marina - Foto 59
The Ledges Resort & Marina - Foto 60
The Ledges Resort & Marina - Foto 61
The Ledges Resort & Marina - Foto 62
The Ledges Resort & Marina - Foto 63
The Ledges Resort & Marina - Foto 64
The Ledges Resort & Marina - Foto 65
The Ledges Resort & Marina - Foto 66
The Ledges Resort & Marina - Foto 67
The Ledges Resort & Marina - Foto 68
The Ledges Resort & Marina - Foto 69
The Ledges Resort & Marina - Foto 70
The Ledges Resort & Marina - Foto 71
The Ledges Resort & Marina - Foto 72
The Ledges Resort & Marina - Foto 73
The Ledges Resort & Marina - Foto 74
The Ledges Resort & Marina - Foto 75

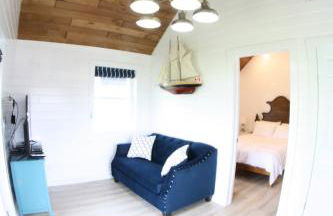
The Ledges Resort & Marina

Alexandria

  • 111 M2
  • 3 Schlafzimmer
  • 8 Personen
  • Klimaanlage
  • Heizung
  • Schwimmbad
  • Parkplatz
  • Garten
  • Barbecue
9.6Außergewöhnlich | 40 Bewertungen
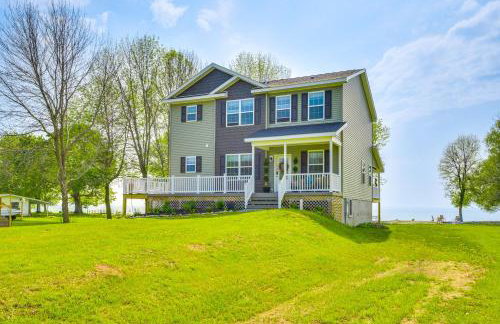
Clayton Dahlia Retreat - Foto 1
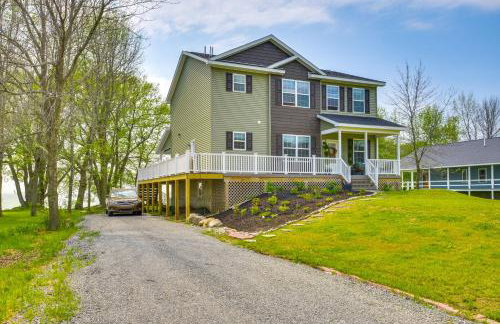
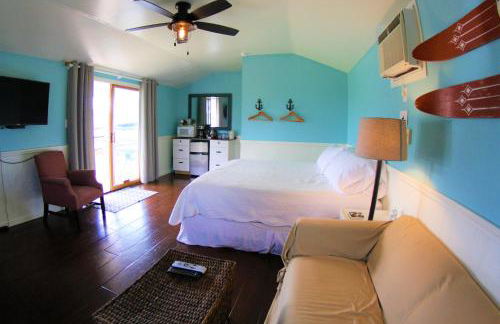
Clayton Dahlia Retreat - Foto 2
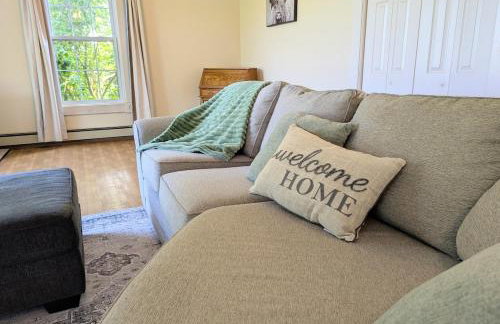
Clayton Dahlia Retreat - Foto 3
Clayton Dahlia Retreat - Foto 4
Clayton Dahlia Retreat - Foto 5
Clayton Dahlia Retreat - Foto 6
Clayton Dahlia Retreat - Foto 7
Clayton Dahlia Retreat - Foto 8
Clayton Dahlia Retreat - Foto 9
Clayton Dahlia Retreat - Foto 10
Clayton Dahlia Retreat - Foto 11
Clayton Dahlia Retreat - Foto 12
Clayton Dahlia Retreat - Foto 13
Clayton Dahlia Retreat - Foto 14
Clayton Dahlia Retreat - Foto 15
Clayton Dahlia Retreat - Foto 16
Clayton Dahlia Retreat - Foto 17
Clayton Dahlia Retreat - Foto 18
Clayton Dahlia Retreat - Foto 19
Clayton Dahlia Retreat - Foto 20
Clayton Dahlia Retreat - Foto 21
Clayton Dahlia Retreat - Foto 22
Clayton Dahlia Retreat - Foto 23
Clayton Dahlia Retreat - Foto 24
Clayton Dahlia Retreat - Foto 25
Clayton Dahlia Retreat - Foto 26
Clayton Dahlia Retreat - Foto 27
Clayton Dahlia Retreat - Foto 28
Clayton Dahlia Retreat - Foto 29
Clayton Dahlia Retreat - Foto 30
Clayton Dahlia Retreat - Foto 31
Clayton Dahlia Retreat - Foto 32
Clayton Dahlia Retreat - Foto 33
Clayton Dahlia Retreat - Foto 34
Clayton Dahlia Retreat - Foto 35
Clayton Dahlia Retreat - Foto 36
Clayton Dahlia Retreat - Foto 37
Clayton Dahlia Retreat - Foto 38
Clayton Dahlia Retreat - Foto 39
Clayton Dahlia Retreat - Foto 40
Clayton Dahlia Retreat - Foto 41
Clayton Dahlia Retreat - Foto 42
Clayton Dahlia Retreat - Foto 43

Clayton Dahlia Retreat

Clayton

  • 11 M2
  • 3 Schlafzimmer
  • 5 Personen
  • Klimaanlage
  • Parkplatz
9.5Außergewöhnlich | 20 Bewertungen
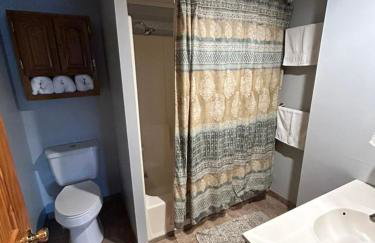
27 James Street Lofts - Foto 1
27 James Street Lofts - Foto 2
27 James Street Lofts - Foto 3
27 James Street Lofts - Foto 4
27 James Street Lofts - Foto 5
27 James Street Lofts - Foto 6
27 James Street Lofts - Foto 7
27 James Street Lofts - Foto 8
27 James Street Lofts - Foto 9
27 James Street Lofts - Foto 10
27 James Street Lofts - Foto 11
27 James Street Lofts - Foto 12
27 James Street Lofts - Foto 13
27 James Street Lofts - Foto 14
27 James Street Lofts - Foto 15

27 James Street Lofts

Alexandria

  • 74 M2
  • 3 Schlafzimmer
  • 6 Personen
  • Klimaanlage
  • Heizung
  • Parkplatz
8.9Sehr gut | 6 Bewertungen
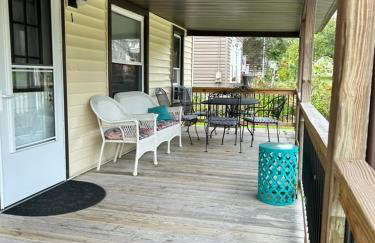
Waterfront Cottage on Sawmill Bay w/ Deck! - Foto 1
Waterfront Cottage on Sawmill Bay w/ Deck! - Foto 2
Waterfront Cottage on Sawmill Bay w/ Deck! - Foto 3
Waterfront Cottage on Sawmill Bay w/ Deck! - Foto 4
Waterfront Cottage on Sawmill Bay w/ Deck! - Foto 5
Waterfront Cottage on Sawmill Bay w/ Deck! - Foto 6
Waterfront Cottage on Sawmill Bay w/ Deck! - Foto 7
Waterfront Cottage on Sawmill Bay w/ Deck! - Foto 8
Waterfront Cottage on Sawmill Bay w/ Deck! - Foto 9
Waterfront Cottage on Sawmill Bay w/ Deck! - Foto 10
Waterfront Cottage on Sawmill Bay w/ Deck! - Foto 11
Waterfront Cottage on Sawmill Bay w/ Deck! - Foto 12
Waterfront Cottage on Sawmill Bay w/ Deck! - Foto 13
Waterfront Cottage on Sawmill Bay w/ Deck! - Foto 14
Waterfront Cottage on Sawmill Bay w/ Deck! - Foto 15
Waterfront Cottage on Sawmill Bay w/ Deck! - Foto 16
Waterfront Cottage on Sawmill Bay w/ Deck! - Foto 17
Waterfront Cottage on Sawmill Bay w/ Deck! - Foto 18
Waterfront Cottage on Sawmill Bay w/ Deck! - Foto 19
Waterfront Cottage on Sawmill Bay w/ Deck! - Foto 20
Waterfront Cottage on Sawmill Bay w/ Deck! - Foto 21
Waterfront Cottage on Sawmill Bay w/ Deck! - Foto 22
Waterfront Cottage on Sawmill Bay w/ Deck! - Foto 23
Waterfront Cottage on Sawmill Bay w/ Deck! - Foto 24
Waterfront Cottage on Sawmill Bay w/ Deck! - Foto 25
Waterfront Cottage on Sawmill Bay w/ Deck! - Foto 26
Waterfront Cottage on Sawmill Bay w/ Deck! - Foto 27
Waterfront Cottage on Sawmill Bay w/ Deck! - Foto 28
Waterfront Cottage on Sawmill Bay w/ Deck! - Foto 29

Waterfront Cottage on Sawmill Bay w/ Deck!

Clayton

  • 167 M2
  • 5 Schlafzimmer
  • 10 Personen
  • Heizung
  • Parkplatz
9Außergewöhnlich | 4 Bewertungen
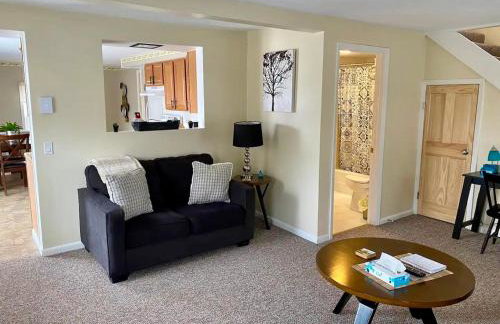
Hot Tub & Dock: Waterfront Wellesley Island Home! - Foto 1
Hot Tub & Dock: Waterfront Wellesley Island Home! - Foto 2
Hot Tub & Dock: Waterfront Wellesley Island Home! - Foto 3
Hot Tub & Dock: Waterfront Wellesley Island Home! - Foto 4
Hot Tub & Dock: Waterfront Wellesley Island Home! - Foto 5
Hot Tub & Dock: Waterfront Wellesley Island Home! - Foto 6
Hot Tub & Dock: Waterfront Wellesley Island Home! - Foto 7
Hot Tub & Dock: Waterfront Wellesley Island Home! - Foto 8
Hot Tub & Dock: Waterfront Wellesley Island Home! - Foto 9
Hot Tub & Dock: Waterfront Wellesley Island Home! - Foto 10
Hot Tub & Dock: Waterfront Wellesley Island Home! - Foto 11
Hot Tub & Dock: Waterfront Wellesley Island Home! - Foto 12
Hot Tub & Dock: Waterfront Wellesley Island Home! - Foto 13
Hot Tub & Dock: Waterfront Wellesley Island Home! - Foto 14
Hot Tub & Dock: Waterfront Wellesley Island Home! - Foto 15
Hot Tub & Dock: Waterfront Wellesley Island Home! - Foto 16
Hot Tub & Dock: Waterfront Wellesley Island Home! - Foto 17
Hot Tub & Dock: Waterfront Wellesley Island Home! - Foto 18
Hot Tub & Dock: Waterfront Wellesley Island Home! - Foto 19
Hot Tub & Dock: Waterfront Wellesley Island Home! - Foto 20
Hot Tub & Dock: Waterfront Wellesley Island Home! - Foto 21
Hot Tub & Dock: Waterfront Wellesley Island Home! - Foto 22
Hot Tub & Dock: Waterfront Wellesley Island Home! - Foto 23
Hot Tub & Dock: Waterfront Wellesley Island Home! - Foto 24
Hot Tub & Dock: Waterfront Wellesley Island Home! - Foto 25
Hot Tub & Dock: Waterfront Wellesley Island Home! - Foto 26
Hot Tub & Dock: Waterfront Wellesley Island Home! - Foto 27
Hot Tub & Dock: Waterfront Wellesley Island Home! - Foto 28
Hot Tub & Dock: Waterfront Wellesley Island Home! - Foto 29
Hot Tub & Dock: Waterfront Wellesley Island Home! - Foto 30
Hot Tub & Dock: Waterfront Wellesley Island Home! - Foto 31
Hot Tub & Dock: Waterfront Wellesley Island Home! - Foto 32
Hot Tub & Dock: Waterfront Wellesley Island Home! - Foto 33
Hot Tub & Dock: Waterfront Wellesley Island Home! - Foto 34
Hot Tub & Dock: Waterfront Wellesley Island Home! - Foto 35
Hot Tub & Dock: Waterfront Wellesley Island Home! - Foto 36
Hot Tub & Dock: Waterfront Wellesley Island Home! - Foto 37
Hot Tub & Dock: Waterfront Wellesley Island Home! - Foto 38
Hot Tub & Dock: Waterfront Wellesley Island Home! - Foto 39
Hot Tub & Dock: Waterfront Wellesley Island Home! - Foto 40
Hot Tub & Dock: Waterfront Wellesley Island Home! - Foto 41
Hot Tub & Dock: Waterfront Wellesley Island Home! - Foto 42
Hot Tub & Dock: Waterfront Wellesley Island Home! - Foto 43

Hot Tub & Dock: Waterfront Wellesley Island Home!

Wellesley Island

  • 520 M2
  • 5 Schlafzimmer
  • 11 Personen
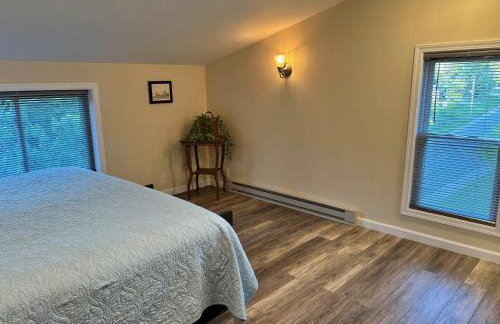
  • Heizung
  • Parkplatz
10Hervorragend | 1 Bewertung
Charming Waterfront Retreat on Lake Ontario - Foto 1
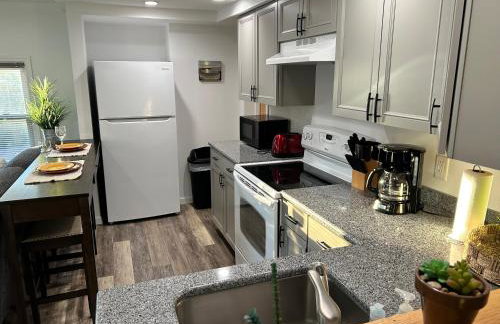
Charming Waterfront Retreat on Lake Ontario - Foto 2
Charming Waterfront Retreat on Lake Ontario - Foto 3
Charming Waterfront Retreat on Lake Ontario - Foto 4
Charming Waterfront Retreat on Lake Ontario - Foto 5
Charming Waterfront Retreat on Lake Ontario - Foto 6
Charming Waterfront Retreat on Lake Ontario - Foto 7
Charming Waterfront Retreat on Lake Ontario - Foto 8
Charming Waterfront Retreat on Lake Ontario - Foto 9
Charming Waterfront Retreat on Lake Ontario - Foto 10
Charming Waterfront Retreat on Lake Ontario - Foto 11
Charming Waterfront Retreat on Lake Ontario - Foto 12
Charming Waterfront Retreat on Lake Ontario - Foto 13
Charming Waterfront Retreat on Lake Ontario - Foto 14
Charming Waterfront Retreat on Lake Ontario - Foto 15
Charming Waterfront Retreat on Lake Ontario - Foto 16
Charming Waterfront Retreat on Lake Ontario - Foto 17
Charming Waterfront Retreat on Lake Ontario - Foto 18
Charming Waterfront Retreat on Lake Ontario - Foto 19
Charming Waterfront Retreat on Lake Ontario - Foto 20
Charming Waterfront Retreat on Lake Ontario - Foto 21
Charming Waterfront Retreat on Lake Ontario - Foto 22
Charming Waterfront Retreat on Lake Ontario - Foto 23
Charming Waterfront Retreat on Lake Ontario - Foto 24
Charming Waterfront Retreat on Lake Ontario - Foto 25
Charming Waterfront Retreat on Lake Ontario - Foto 26
Charming Waterfront Retreat on Lake Ontario - Foto 27
Charming Waterfront Retreat on Lake Ontario - Foto 28
Charming Waterfront Retreat on Lake Ontario - Foto 29
Charming Waterfront Retreat on Lake Ontario - Foto 30
Charming Waterfront Retreat on Lake Ontario - Foto 31
Charming Waterfront Retreat on Lake Ontario - Foto 32
Charming Waterfront Retreat on Lake Ontario - Foto 33
Charming Waterfront Retreat on Lake Ontario - Foto 34

Charming Waterfront Retreat on Lake Ontario

Three Mile Bay

  • 205 M2
  • 4 Schlafzimmer
  • 10 Personen
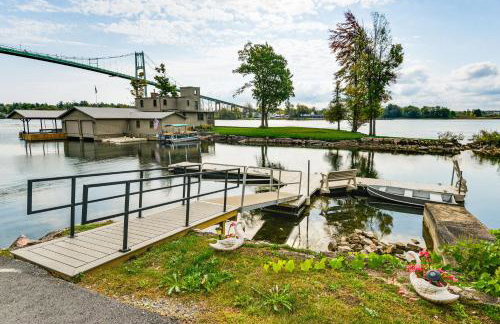
  • Heizung
  • Parkplatz
10Hervorragend | 1 Bewertung
VanMar House at Creekstone Farms - Foto 1
VanMar House at Creekstone Farms - Foto 2
VanMar House at Creekstone Farms - Foto 3
VanMar House at Creekstone Farms - Foto 4
VanMar House at Creekstone Farms - Foto 5
VanMar House at Creekstone Farms - Foto 6
VanMar House at Creekstone Farms - Foto 7
VanMar House at Creekstone Farms - Foto 8
VanMar House at Creekstone Farms - Foto 9
VanMar House at Creekstone Farms - Foto 10
VanMar House at Creekstone Farms - Foto 11
VanMar House at Creekstone Farms - Foto 12
VanMar House at Creekstone Farms - Foto 13
VanMar House at Creekstone Farms - Foto 14
VanMar House at Creekstone Farms - Foto 15
VanMar House at Creekstone Farms - Foto 16
VanMar House at Creekstone Farms - Foto 17
VanMar House at Creekstone Farms - Foto 18
VanMar House at Creekstone Farms - Foto 19
VanMar House at Creekstone Farms - Foto 20
VanMar House at Creekstone Farms - Foto 21
VanMar House at Creekstone Farms - Foto 22
VanMar House at Creekstone Farms - Foto 23
VanMar House at Creekstone Farms - Foto 24
VanMar House at Creekstone Farms - Foto 25
VanMar House at Creekstone Farms - Foto 26
VanMar House at Creekstone Farms - Foto 27
VanMar House at Creekstone Farms - Foto 28
VanMar House at Creekstone Farms - Foto 29
VanMar House at Creekstone Farms - Foto 30
VanMar House at Creekstone Farms - Foto 31
VanMar House at Creekstone Farms - Foto 32
VanMar House at Creekstone Farms - Foto 33
VanMar House at Creekstone Farms - Foto 34
VanMar House at Creekstone Farms - Foto 35

VanMar House at Creekstone Farms

Adams Center - 3.4 km vom Zentrum

  • 260 M2
  • 3 Schlafzimmer
  • 6 Personen
  • Klimaanlage
  • Parkplatz
The Crossmon House by Swan Bay Adventures! - Foto 1
The Crossmon House by Swan Bay Adventures! - Foto 2
The Crossmon House by Swan Bay Adventures! - Foto 3
The Crossmon House by Swan Bay Adventures! - Foto 4
The Crossmon House by Swan Bay Adventures! - Foto 5
The Crossmon House by Swan Bay Adventures! - Foto 6
The Crossmon House by Swan Bay Adventures! - Foto 7
The Crossmon House by Swan Bay Adventures! - Foto 8
The Crossmon House by Swan Bay Adventures! - Foto 9
The Crossmon House by Swan Bay Adventures! - Foto 10
The Crossmon House by Swan Bay Adventures! - Foto 11
The Crossmon House by Swan Bay Adventures! - Foto 12
The Crossmon House by Swan Bay Adventures! - Foto 13
The Crossmon House by Swan Bay Adventures! - Foto 14
The Crossmon House by Swan Bay Adventures! - Foto 15
The Crossmon House by Swan Bay Adventures! - Foto 16
The Crossmon House by Swan Bay Adventures! - Foto 17
The Crossmon House by Swan Bay Adventures! - Foto 18
The Crossmon House by Swan Bay Adventures! - Foto 19
The Crossmon House by Swan Bay Adventures! - Foto 20
The Crossmon House by Swan Bay Adventures! - Foto 21
The Crossmon House by Swan Bay Adventures! - Foto 22
The Crossmon House by Swan Bay Adventures! - Foto 23
The Crossmon House by Swan Bay Adventures! - Foto 24
The Crossmon House by Swan Bay Adventures! - Foto 25
The Crossmon House by Swan Bay Adventures! - Foto 26
The Crossmon House by Swan Bay Adventures! - Foto 27
The Crossmon House by Swan Bay Adventures! - Foto 28
The Crossmon House by Swan Bay Adventures! - Foto 29
The Crossmon House by Swan Bay Adventures! - Foto 30
The Crossmon House by Swan Bay Adventures! - Foto 31
The Crossmon House by Swan Bay Adventures! - Foto 32
The Crossmon House by Swan Bay Adventures! - Foto 33
The Crossmon House by Swan Bay Adventures! - Foto 34
The Crossmon House by Swan Bay Adventures! - Foto 35
The Crossmon House by Swan Bay Adventures! - Foto 36
The Crossmon House by Swan Bay Adventures! - Foto 37

The Crossmon House by Swan Bay Adventures!

Alexandria

  • 11 M2
  • 4 Schlafzimmer
  • 12 Personen
  • Klimaanlage
  • Parkplatz
Apt on St Lawrence River in Cape Vincent! - Foto 1
Apt on St Lawrence River in Cape Vincent! - Foto 2
Apt on St Lawrence River in Cape Vincent! - Foto 3
Apt on St Lawrence River in Cape Vincent! - Foto 4
Apt on St Lawrence River in Cape Vincent! - Foto 5
Apt on St Lawrence River in Cape Vincent! - Foto 6
Apt on St Lawrence River in Cape Vincent! - Foto 7
Apt on St Lawrence River in Cape Vincent! - Foto 8
Apt on St Lawrence River in Cape Vincent! - Foto 9
Apt on St Lawrence River in Cape Vincent! - Foto 10
Apt on St Lawrence River in Cape Vincent! - Foto 11
Apt on St Lawrence River in Cape Vincent! - Foto 12
Apt on St Lawrence River in Cape Vincent! - Foto 13
Apt on St Lawrence River in Cape Vincent! - Foto 14
Apt on St Lawrence River in Cape Vincent! - Foto 15
Apt on St Lawrence River in Cape Vincent! - Foto 16
Apt on St Lawrence River in Cape Vincent! - Foto 17
Apt on St Lawrence River in Cape Vincent! - Foto 18
Apt on St Lawrence River in Cape Vincent! - Foto 19
Apt on St Lawrence River in Cape Vincent! - Foto 20
Apt on St Lawrence River in Cape Vincent! - Foto 21
Apt on St Lawrence River in Cape Vincent! - Foto 22
Apt on St Lawrence River in Cape Vincent! - Foto 23
Apt on St Lawrence River in Cape Vincent! - Foto 24
Apt on St Lawrence River in Cape Vincent! - Foto 25
Apt on St Lawrence River in Cape Vincent! - Foto 26
Apt on St Lawrence River in Cape Vincent! - Foto 27
Apt on St Lawrence River in Cape Vincent! - Foto 28
Apt on St Lawrence River in Cape Vincent! - Foto 29
Apt on St Lawrence River in Cape Vincent! - Foto 30

Apt on St Lawrence River in Cape Vincent!

Cape Vincent

  • 70 M2
  • 1 Schlafzimmer
  • 4 Personen
  • Heizung
  • Parkplatz
Waterfront Wellesley Island Getaway w/ Deck! - Foto 1
Waterfront Wellesley Island Getaway w/ Deck! - Foto 2
Waterfront Wellesley Island Getaway w/ Deck! - Foto 3
Waterfront Wellesley Island Getaway w/ Deck! - Foto 4
Waterfront Wellesley Island Getaway w/ Deck! - Foto 5
Waterfront Wellesley Island Getaway w/ Deck! - Foto 6
Waterfront Wellesley Island Getaway w/ Deck! - Foto 7
Waterfront Wellesley Island Getaway w/ Deck! - Foto 8
Waterfront Wellesley Island Getaway w/ Deck! - Foto 9
Waterfront Wellesley Island Getaway w/ Deck! - Foto 10
Waterfront Wellesley Island Getaway w/ Deck! - Foto 11
Waterfront Wellesley Island Getaway w/ Deck! - Foto 12
Waterfront Wellesley Island Getaway w/ Deck! - Foto 13
Waterfront Wellesley Island Getaway w/ Deck! - Foto 14
Waterfront Wellesley Island Getaway w/ Deck! - Foto 15
Waterfront Wellesley Island Getaway w/ Deck! - Foto 16
Waterfront Wellesley Island Getaway w/ Deck! - Foto 17
Waterfront Wellesley Island Getaway w/ Deck! - Foto 18
Waterfront Wellesley Island Getaway w/ Deck! - Foto 19
Waterfront Wellesley Island Getaway w/ Deck! - Foto 20
Waterfront Wellesley Island Getaway w/ Deck! - Foto 21
Waterfront Wellesley Island Getaway w/ Deck! - Foto 22
Waterfront Wellesley Island Getaway w/ Deck! - Foto 23
Waterfront Wellesley Island Getaway w/ Deck! - Foto 24
Waterfront Wellesley Island Getaway w/ Deck! - Foto 25
Waterfront Wellesley Island Getaway w/ Deck! - Foto 26
Waterfront Wellesley Island Getaway w/ Deck! - Foto 27
Waterfront Wellesley Island Getaway w/ Deck! - Foto 28
Waterfront Wellesley Island Getaway w/ Deck! - Foto 29
Waterfront Wellesley Island Getaway w/ Deck! - Foto 30
Waterfront Wellesley Island Getaway w/ Deck! - Foto 31
Waterfront Wellesley Island Getaway w/ Deck! - Foto 32

Waterfront Wellesley Island Getaway w/ Deck!

Wellesley Island - Fineview

  • 125 M2
  • 3 Schlafzimmer
  • 6 Personen
  • Parkplatz
  • Garten

Verwandte Reiseziele