
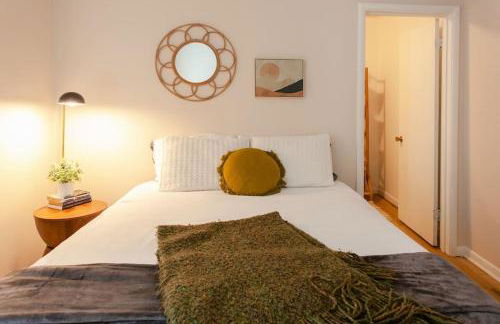
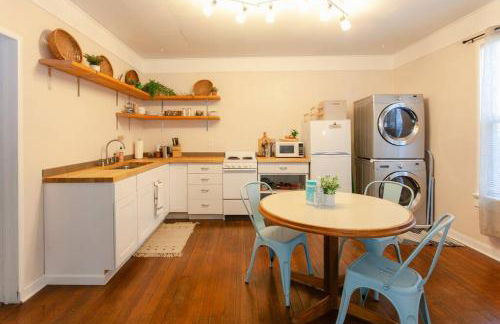
102 Wohnungen in Jackson


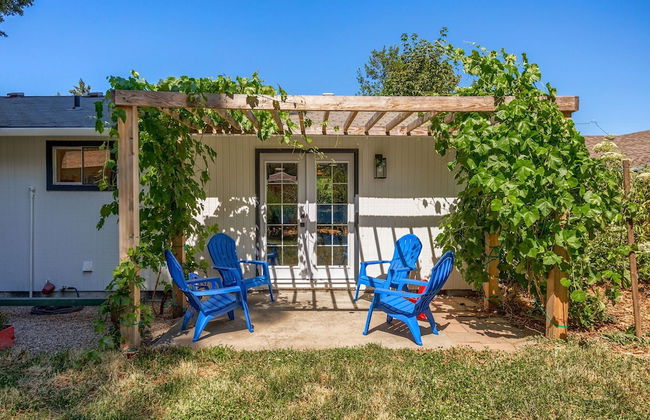
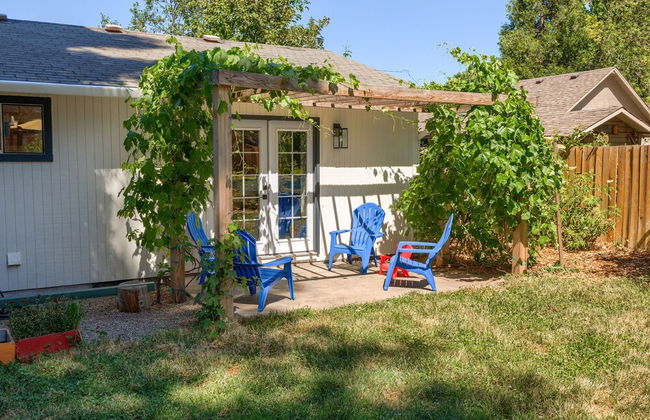
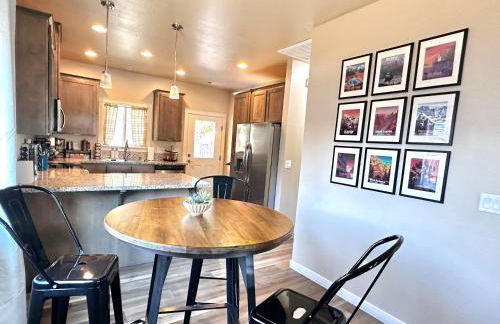
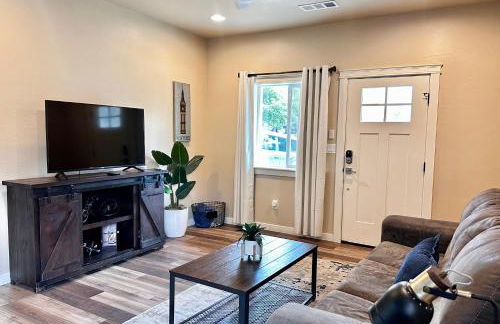
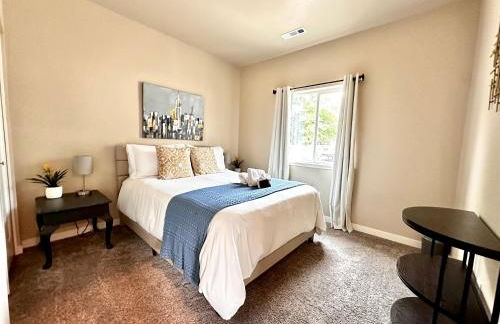
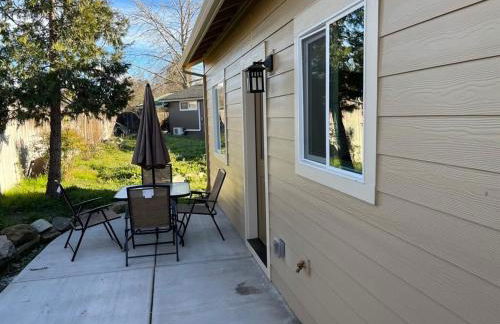
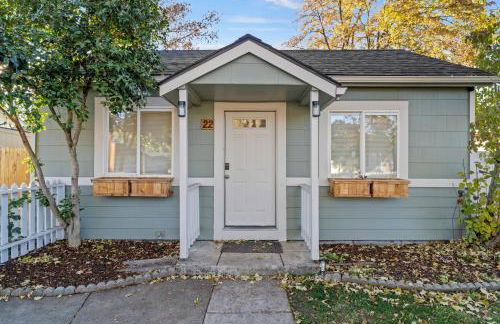
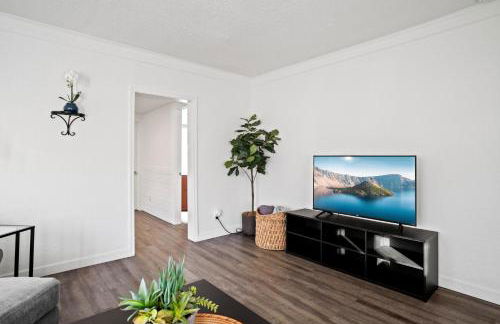
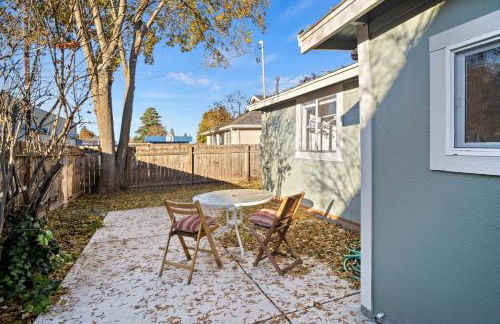
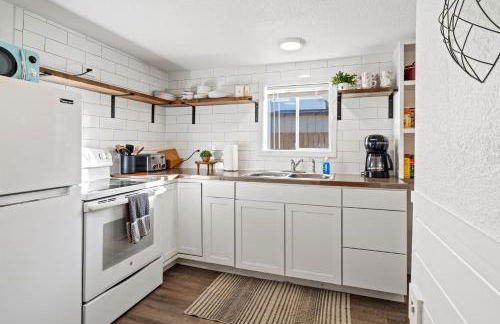
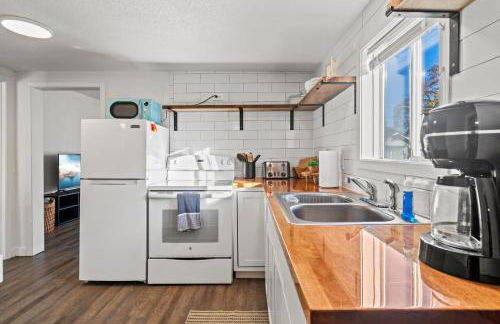
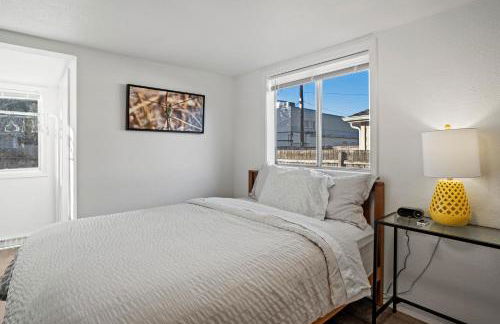
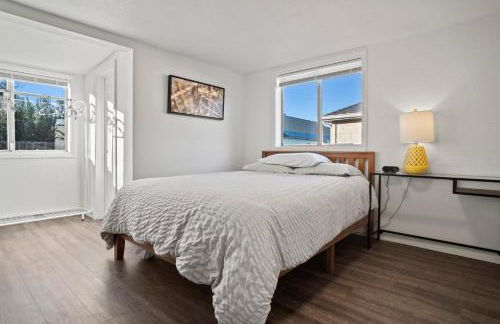
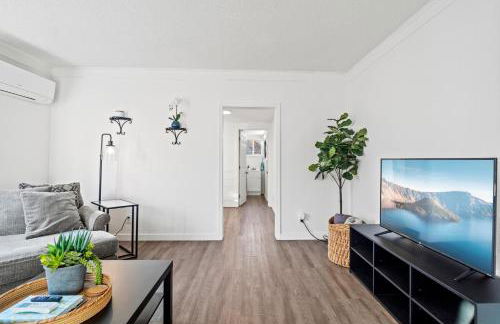
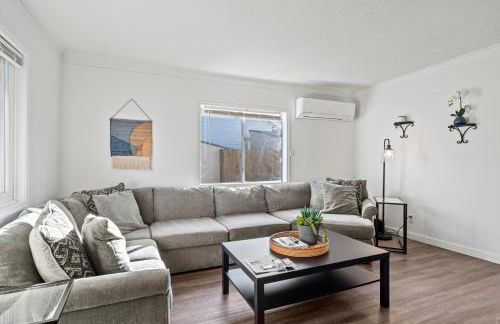
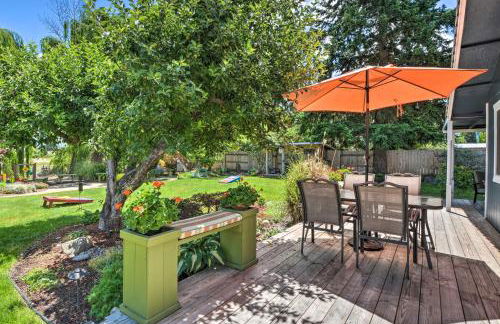
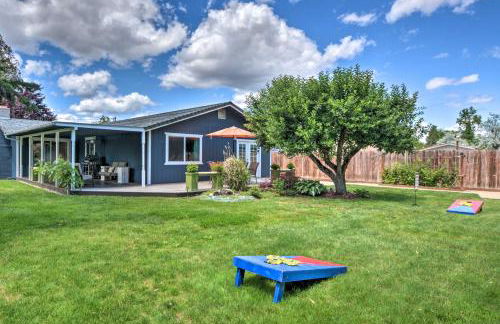
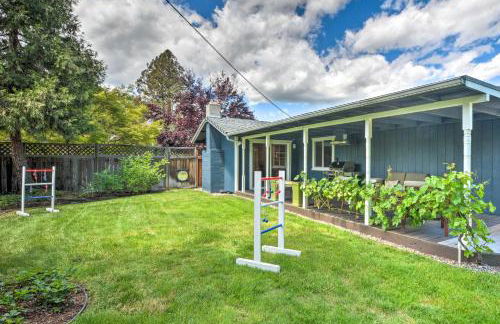
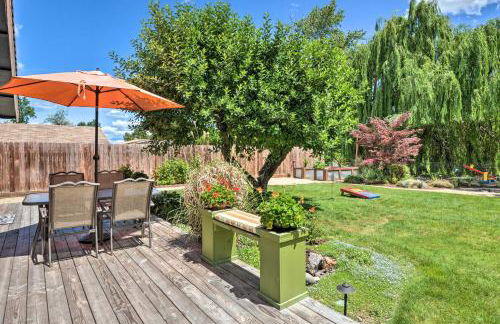
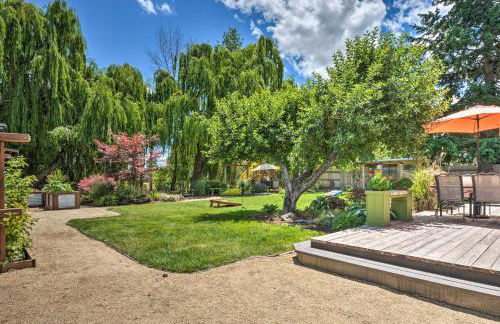
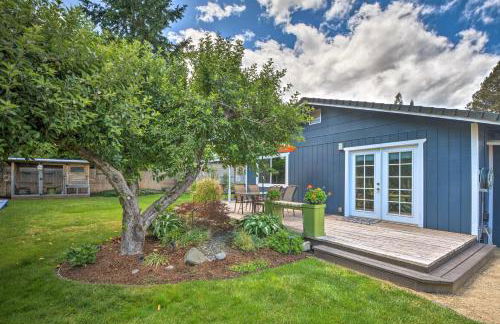
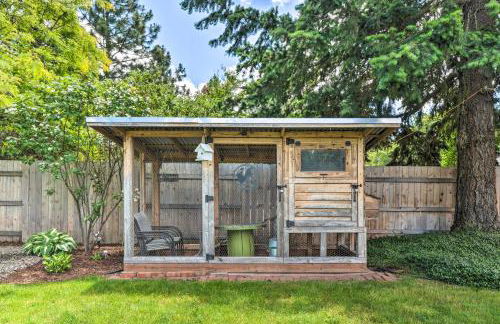
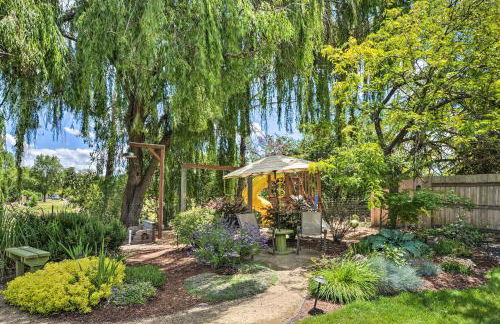
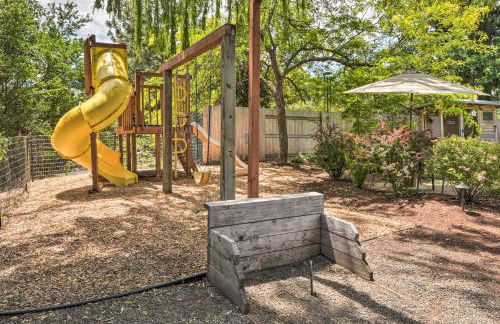
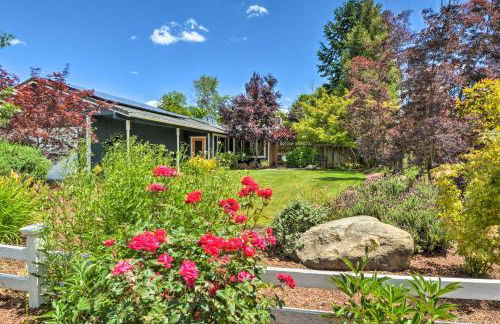
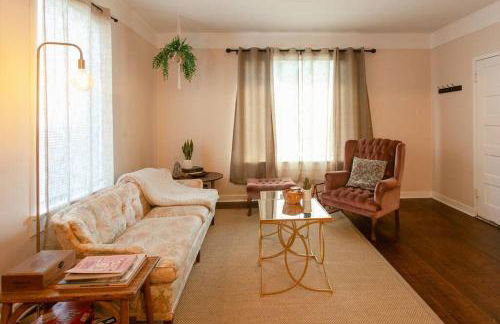
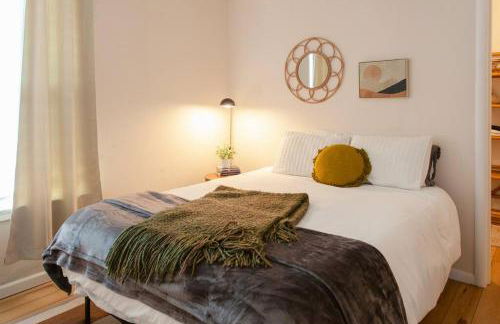
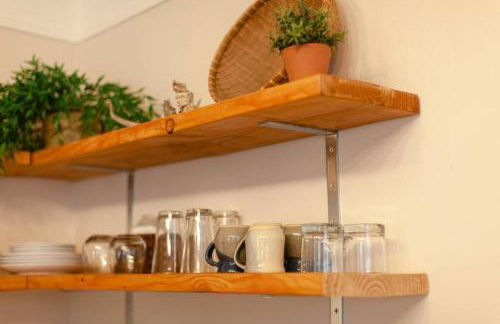
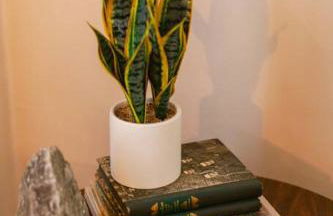
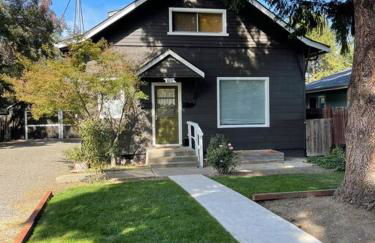
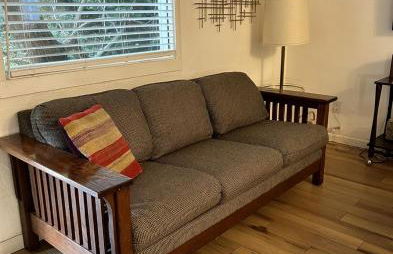
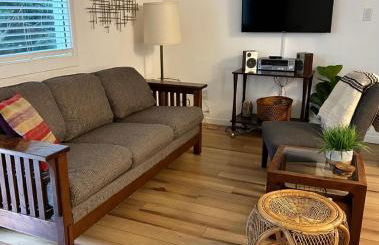
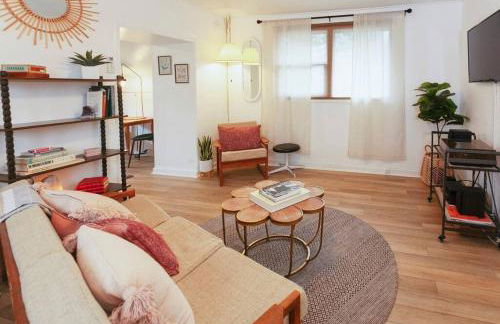
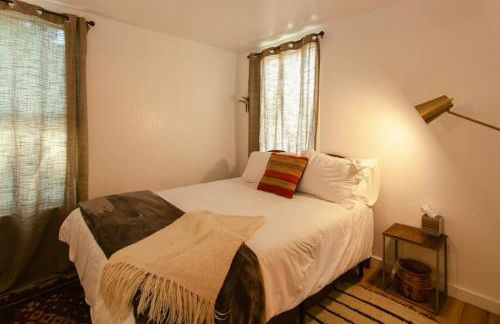
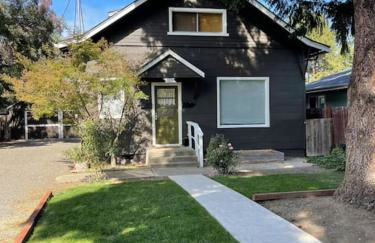
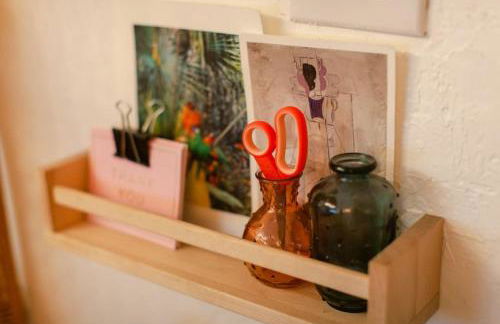
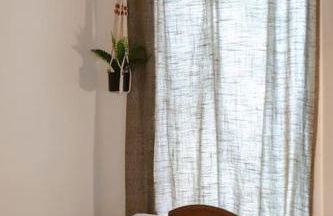
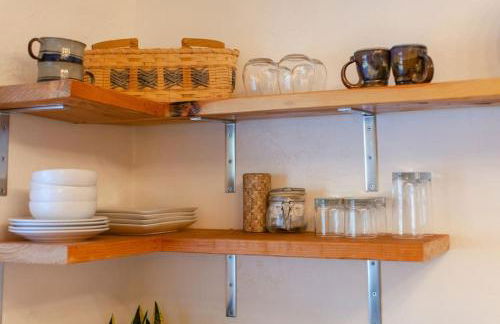
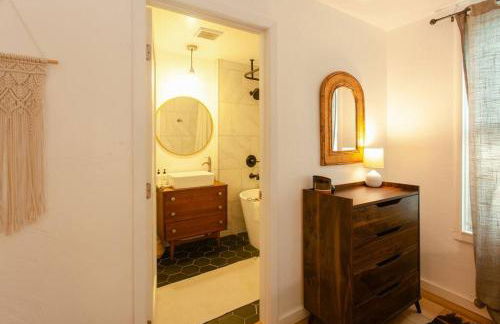
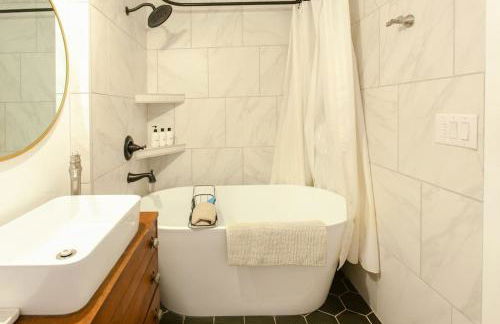
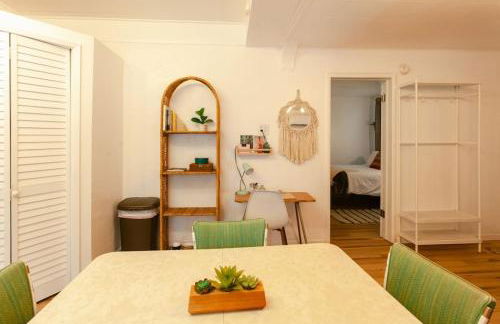
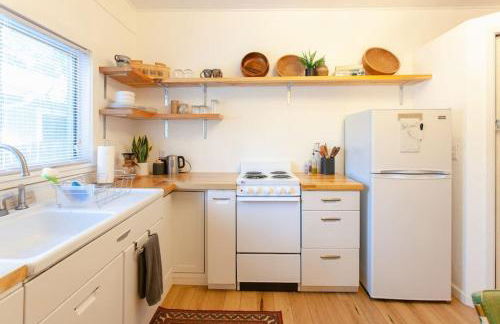
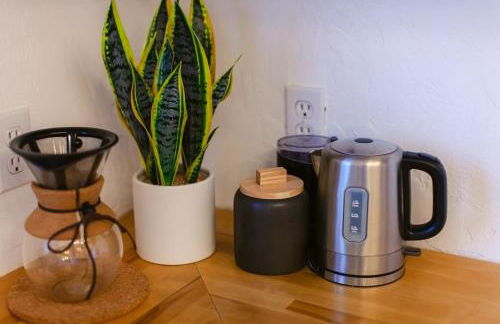
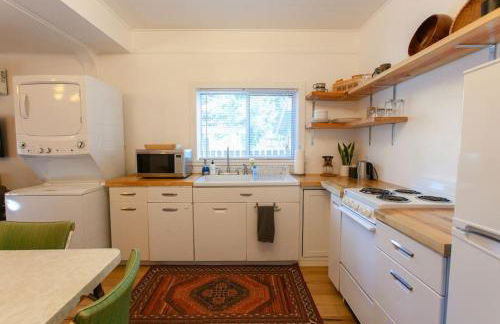
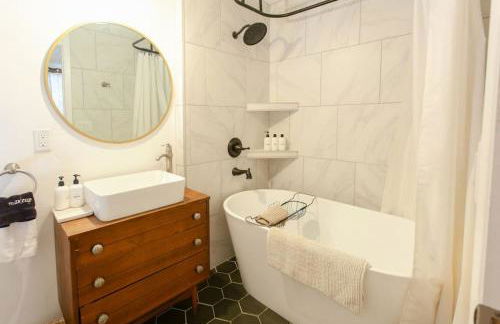
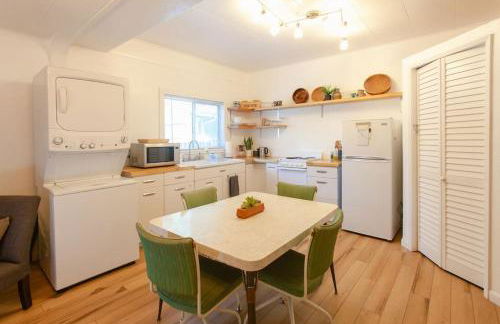
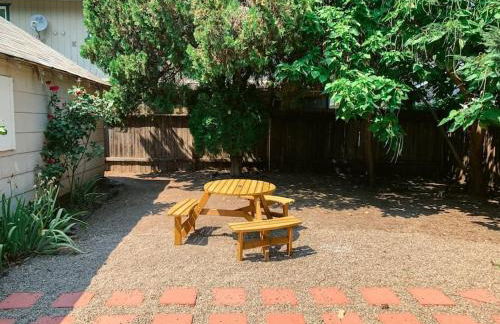
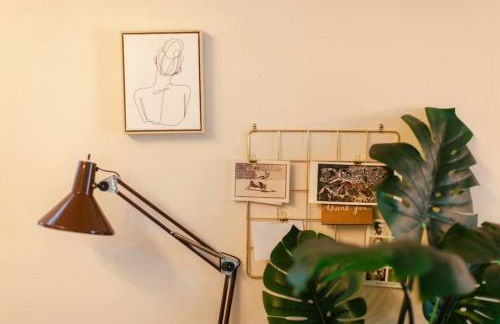
Paschal Winery - Dream 1 Cottage
Talent
- 79 M2
- 1 Schlafzimmer
- 6 Personen
- Klimaanlage
- Heizung
- Parkplatz
- Balkon
- Garten
- Tv
- Schornstein
- Barbecue
- Handtücher
18 Bewertungen


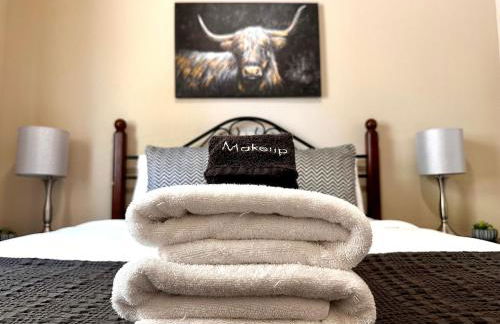
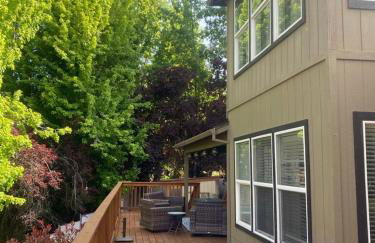
Grandview of Ashland
Ashland - 6.2 km von Mt. Ashland
- 250 M2
- 1 Schlafzimmer
- 6 Personen
- Klimaanlage
- Heizung
- Terrasse
- Parkplatz
- Garten
- Tv
- Waschmaschine
- Schornstein
- Barbecue
- Handtücher
- Bettlaken
7 Bewertungen


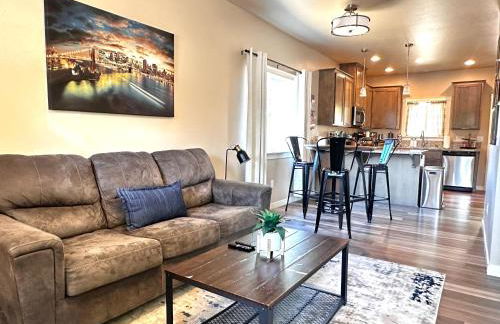
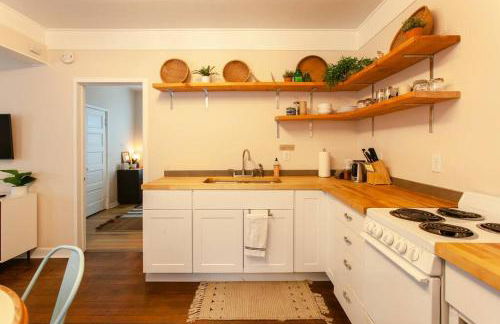
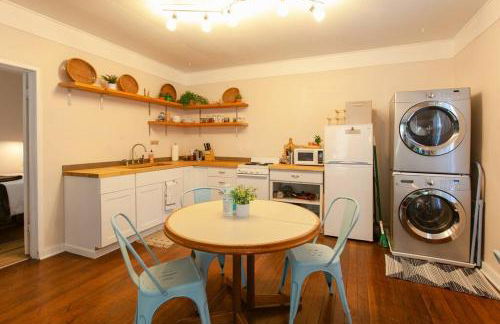
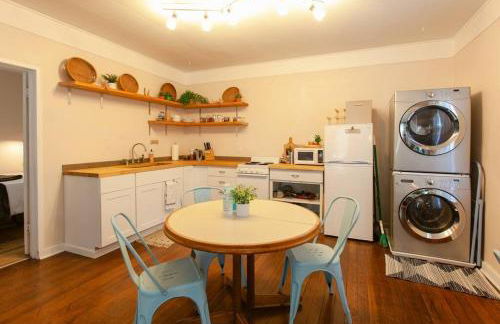
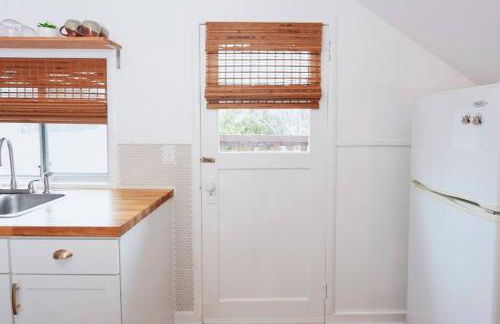
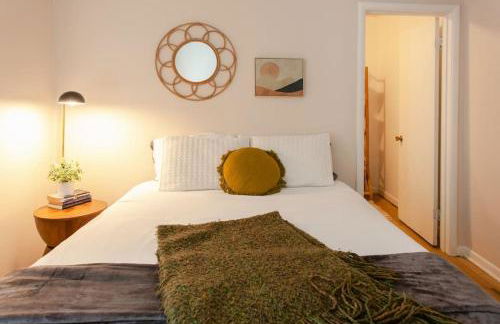
Jacksonville Towne Square.
Jacksonville
- 149 M2
- 7 Personen
- Kochnische
- Klimaanlage
- Heizung
- Parkplatz
- Tv
- Waschmaschine
- Bettlaken
12 Bewertungen


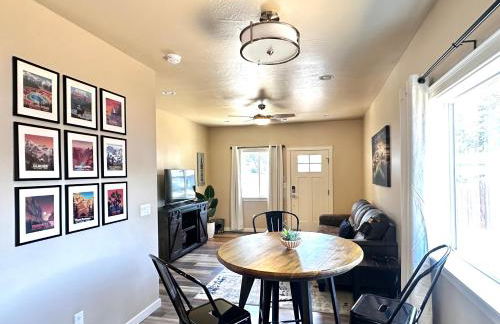
Barclay Klum House by WanderLodges
Ashland - 3.4 km von Mt. Ashland
- 139 M2
- 2 Schlafzimmer
- 4 Personen
- Klimaanlage
- Heizung
- Parkplatz
- Garten
- Barbecue
- Handtücher
- Bettlaken
8 Bewertungen


The Mountain Ave House by WanderLodges
Ashland - 3.2 km von Mt. Ashland
- 158 M2
- 3 Schlafzimmer
- 6 Personen
- Klimaanlage
- Heizung
- Parkplatz
- Garten
- Tv
- Waschmaschine
- Handtücher
- Bettlaken
7 Bewertungen


A Cowslip's Belle Inn
Ashland - 4.9 km von Mt. Ashland
- 3 Personen
- Kochnische
- Klimaanlage
- Heizung
- Parkplatz
- Balkon
- Tv
- Schornstein
- Handtücher
- Bettlaken
43 Bewertungen


Lanka Rose House by WanderLodges
Phoenix
- 111 M2
- 3 Schlafzimmer
- 6 Personen
- Klimaanlage
- Heizung
- Parkplatz
- Garten
- Tv
- Waschmaschine
- Handtücher
- Bettlaken
2 Bewertungen


RedTail Inn - 3 Suites Sleeps up to 12
Ashland - 3.9 km von Mt. Ashland
- 260 M2
- 4 Schlafzimmer
- 12 Personen
- Klimaanlage
- Heizung
- Terrasse
- Parkplatz
- Barbecue
14 Bewertungen


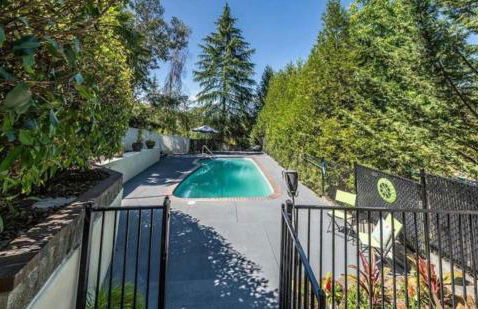
The Rellik House and Winery
Central Point
- 102 M2
- 3 Schlafzimmer
- 6 Personen
- Kochnische
- Klimaanlage
- Heizung
- Terrasse
- Schwimmbad
- Parkplatz
- Balkon
- Garten
- Tv
- Waschmaschine
- Schornstein
- Handtücher
- Bettlaken
4 Bewertungen


Charming 2BR Cottage Near Freeway-Cul-de-sac
Medford - 3.6 km vom Zentrum
- 74 M2
- 2 Schlafzimmer
- 4 Personen
- Klimaanlage
- Heizung
- Parkplatz
- Barbecue
19 Bewertungen


1930s Queen Anne Historic Downtown Retreat
Medford - 980 m vom Zentrum
- 186 M2
- 4 Schlafzimmer
- 8 Personen
- Klimaanlage
- Heizung
- Parkplatz
- Barbecue
16 Bewertungen


Pioneer Vacation Rentals - Pioneer South downtown Ashland
Ashland - 4.4 km von Mt. Ashland
- 111 M2
- 3 Schlafzimmer
- 8 Personen
- Klimaanlage
- Heizung
- Parkplatz
- Garten
6 Bewertungen


Southern Oregon Gem
Medford - 340 m vom Zentrum
- 84 M2
- 2 Schlafzimmer
- 6 Personen
- Klimaanlage
- Heizung
- Parkplatz
- Garten
22 Bewertungen


Mahar Homes - Plaza North on First
Ashland - 4.3 km von Mt. Ashland
- 334 M2
- 3 Schlafzimmer
- 8 Personen
- Klimaanlage
- Heizung
- Parkplatz
- Fahrstuhl
- Garten
6 Bewertungen
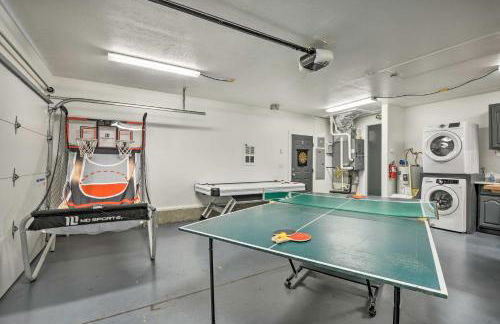
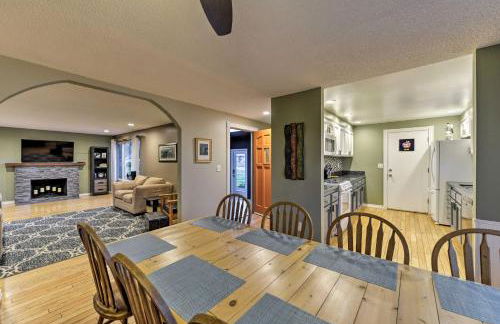
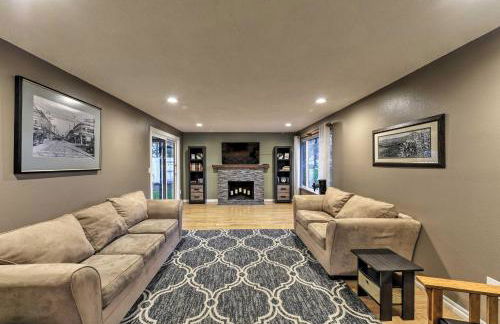
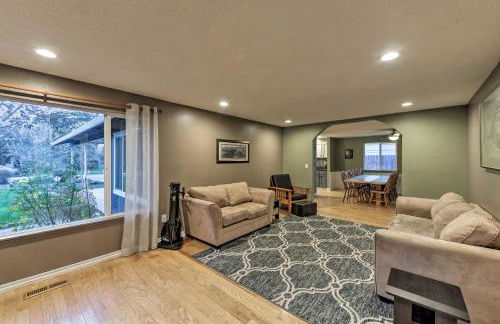
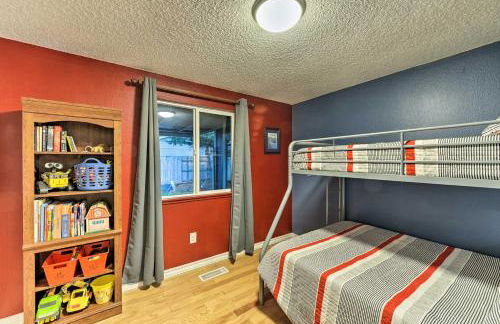
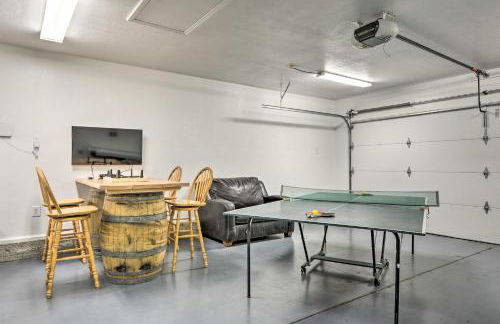

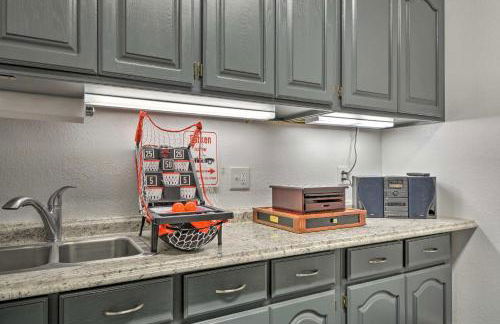
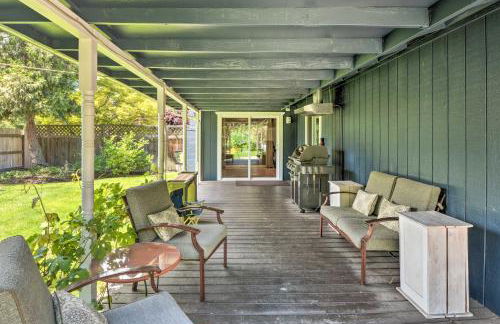

Game Room Fun! Medford Family Retreat
Medford - 1.7 km vom Zentrum
- 131 M2
- 3 Schlafzimmer
- 7 Personen
- Heizung
- Terrasse
- Parkplatz
9 Bewertungen


Pioneer Vacation Rentals - Pioneer North Suite downtown Ashland
Ashland - 4.4 km von Mt. Ashland
- 88 M2
- 2 Schlafzimmer
- Klimaanlage
- Heizung
- Parkplatz
- Garten
12 Bewertungen


Chef's Kitchen Pool Bright, Spacious 4 Bed
Medford - 6.7 km vom Zentrum
- 186 M2
- 4 Schlafzimmer
- 8 Personen
- Klimaanlage
- Heizung
- Terrasse
- Schwimmbad
- Parkplatz
- Barbecue
9 Bewertungen


Hanna's House by WanderLodges
Ashland - 4 km von Mt. Ashland
- 46 M2
- 1 Schlafzimmer
- 4 Personen
- Klimaanlage
- Heizung
- Terrasse
- Parkplatz
- Garten
- Tv
- Waschmaschine
- Handtücher
- Bettlaken
3 Bewertungen


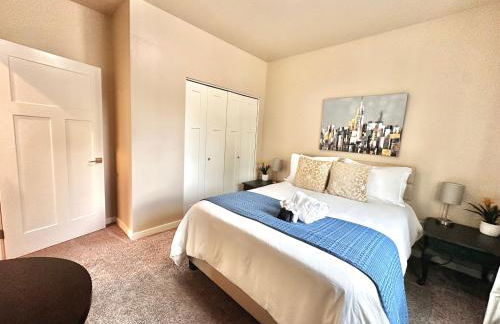
Classic & Cozy Apartments - Parking & Close to DW
Medford - 570 m vom Zentrum
- 79 M2
- 1 Schlafzimmer
- 2 Personen
- Klimaanlage
- Heizung
- Parkplatz
26 Bewertungen


Peach Street Super Suite
Medford - 910 m vom Zentrum
- 46 M2
- 1 Schlafzimmer
- 4 Personen
- Klimaanlage
- Heizung
- Parkplatz
31 Bewertungen