


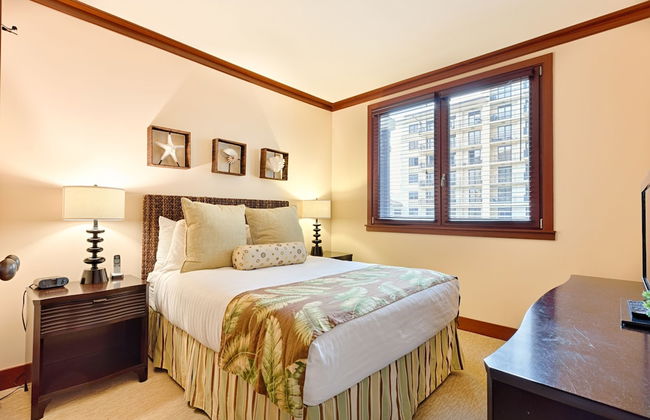


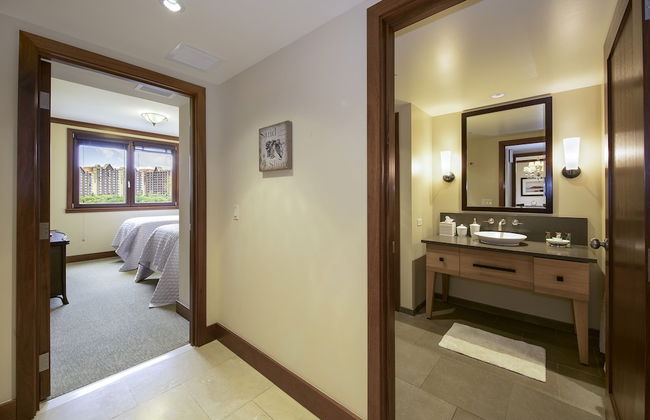

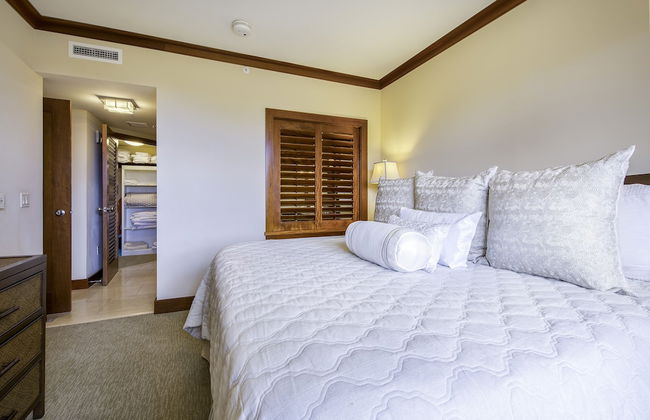


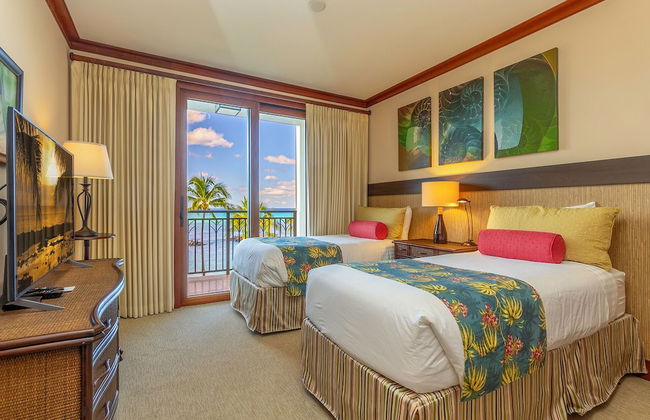


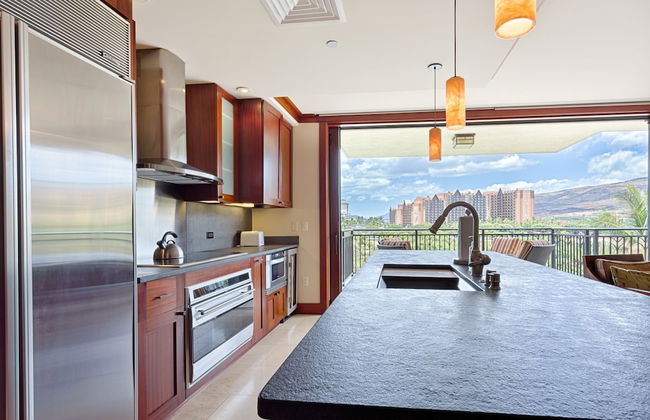
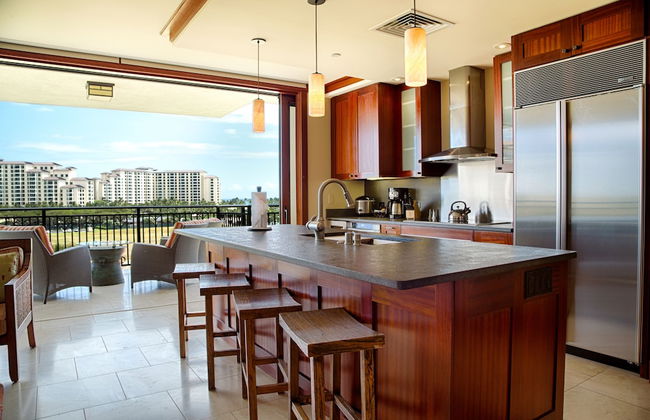


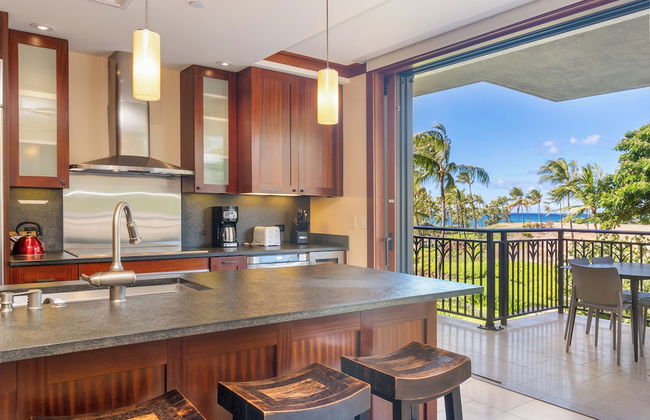

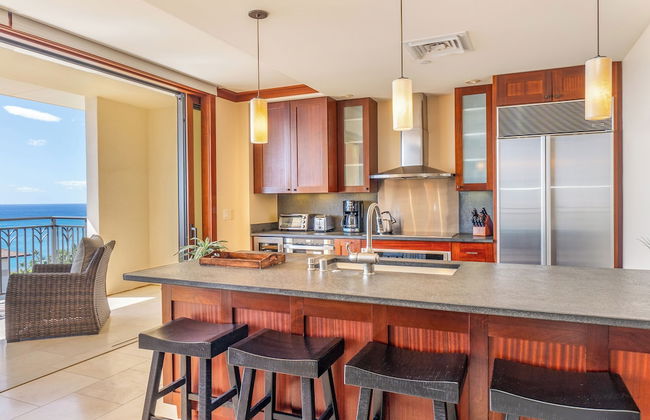
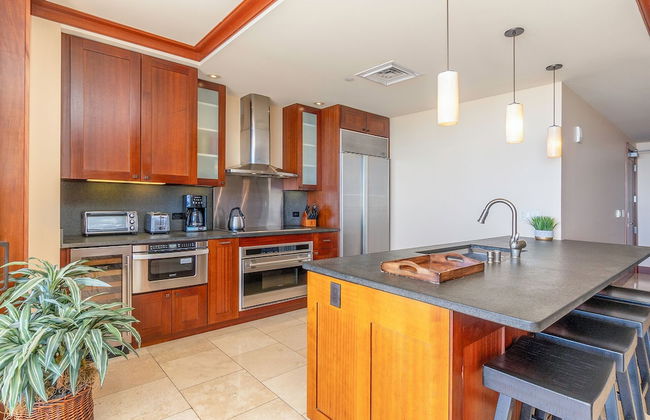


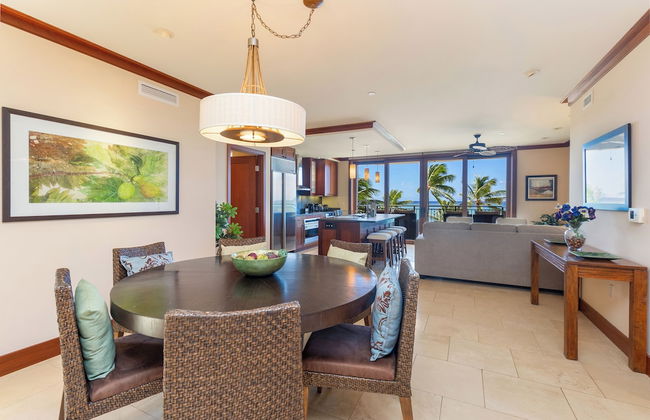


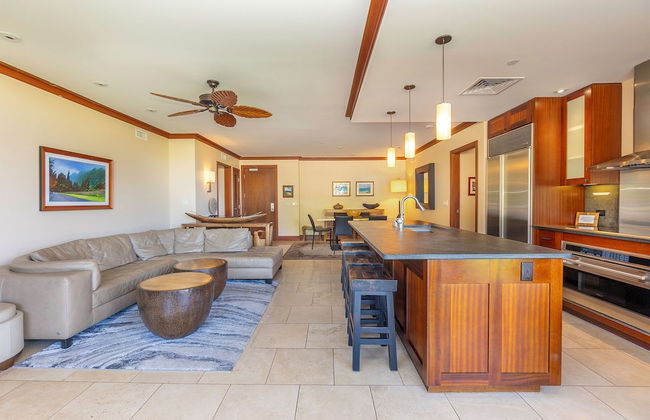

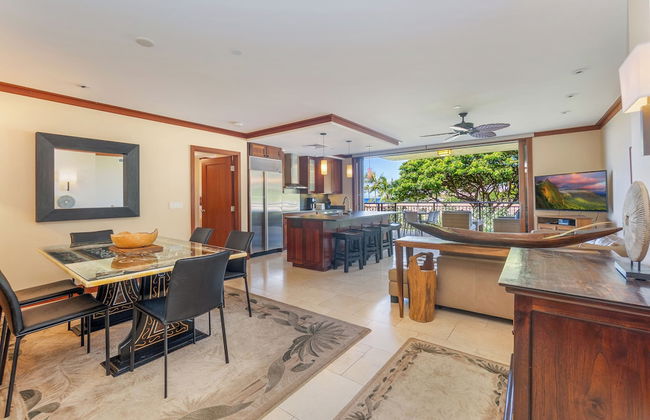


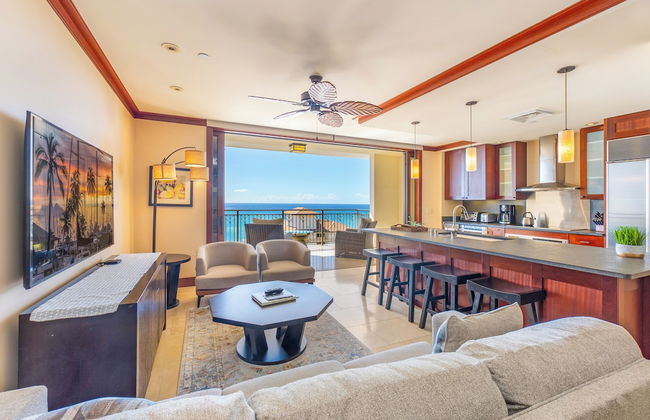


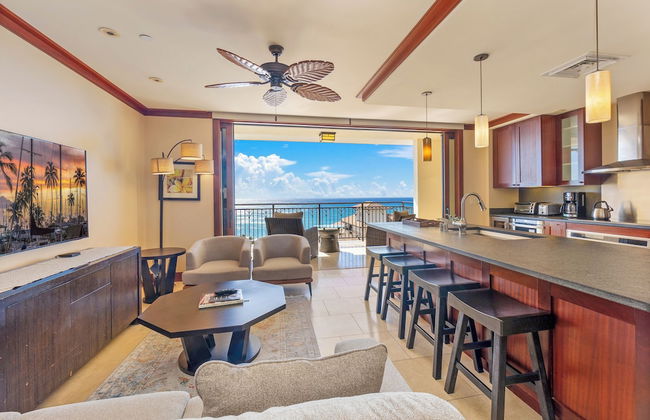
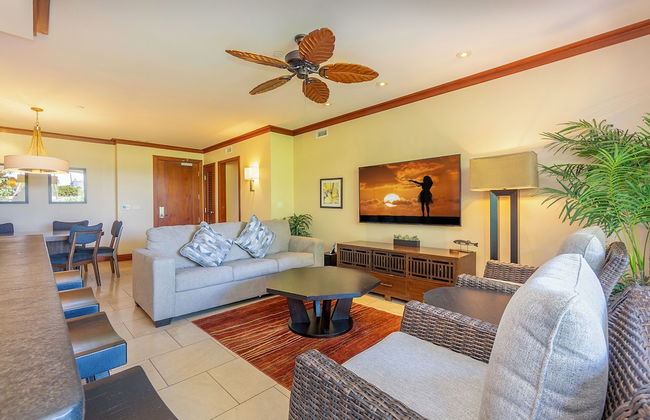
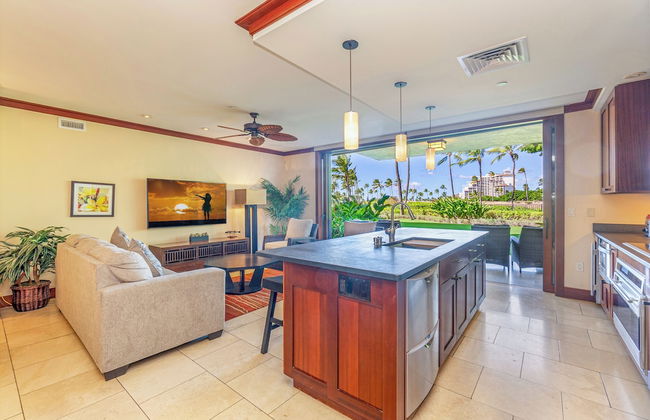


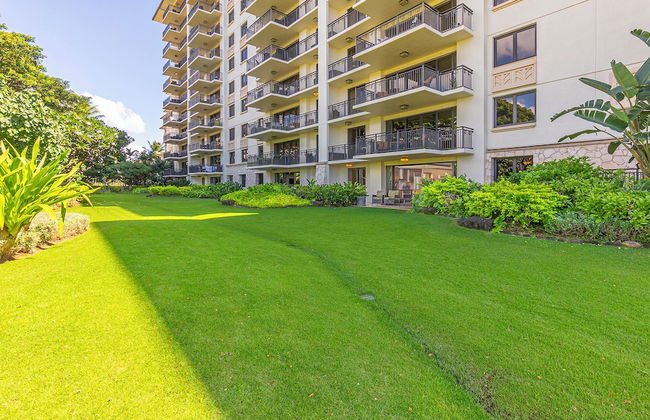
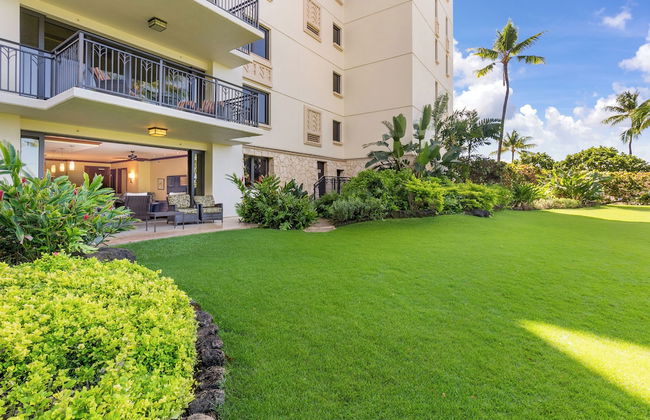
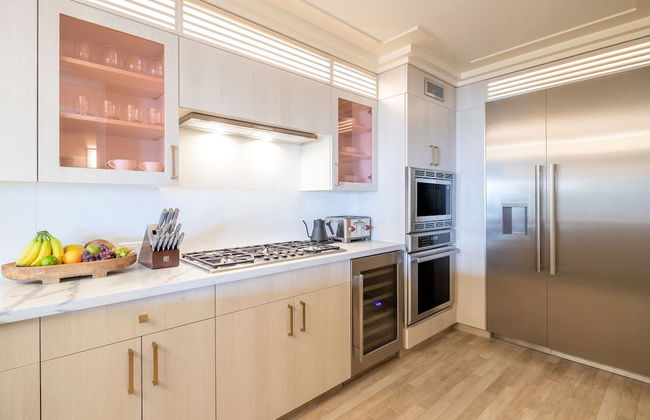
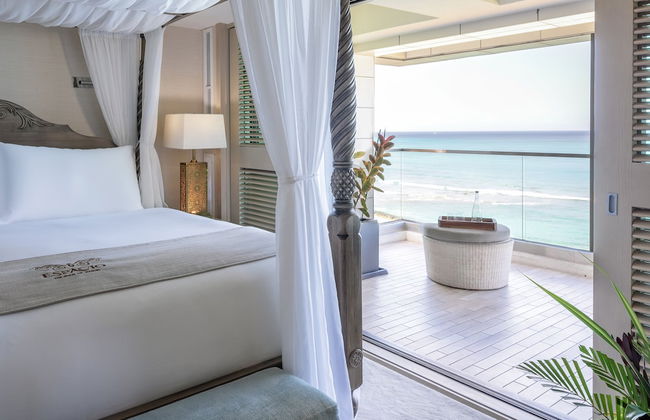
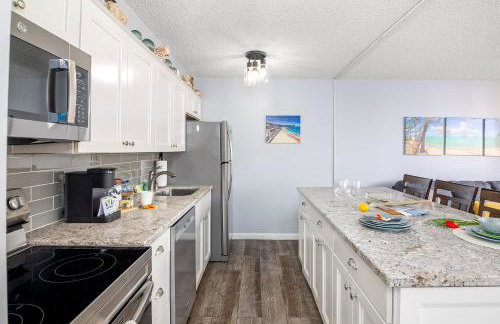
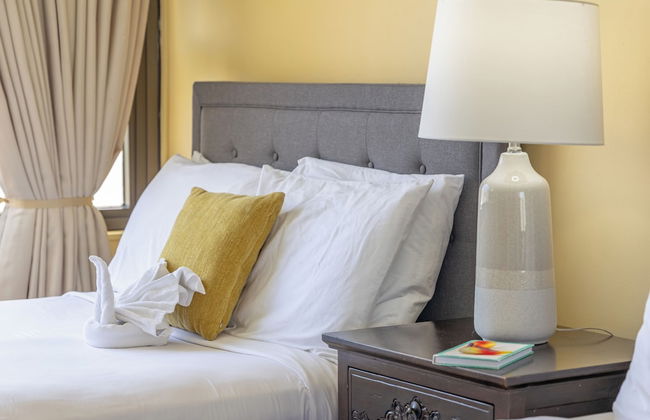
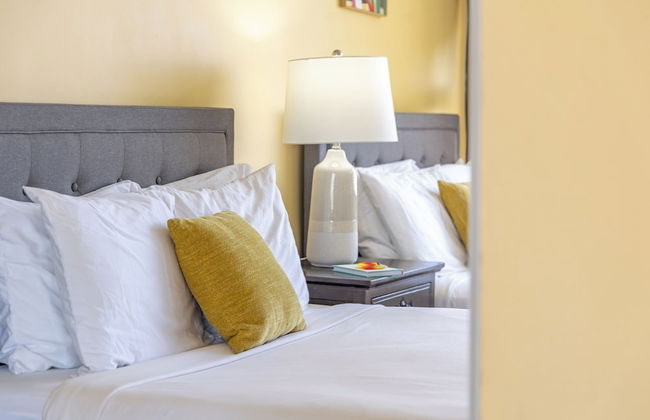
Popular Ground Floor with Extra Grassy Area - Beach Tower at Ko Olina Beach Villas Resort
Kapolei - Makakilo-Kapolei-Honokai Hale
- 129 M2
- 2 Schlafzimmer
- 6 Personen
- Klimaanlage
- Schwimmbad
- Parkplatz
- Fahrstuhl
- Garten
- Tv
- Waschmaschine
- Barbecue
- Handtücher
- Bettlaken


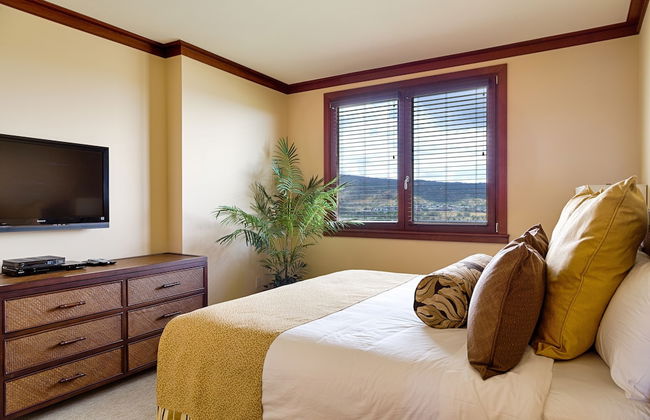
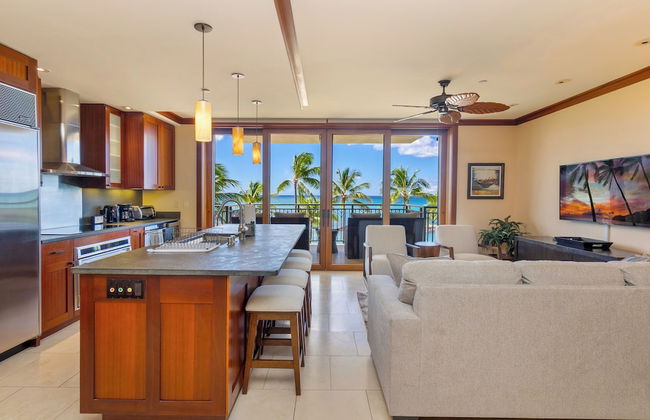
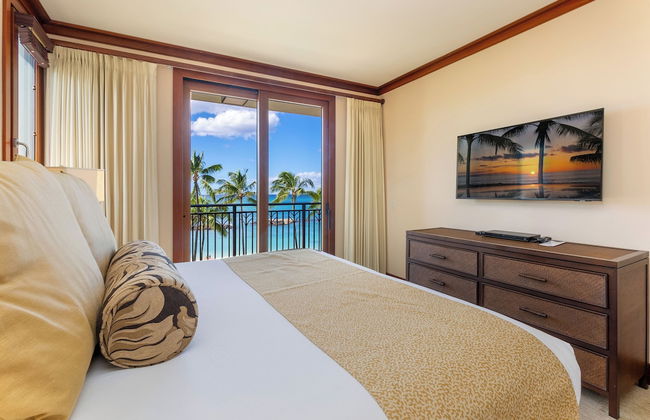
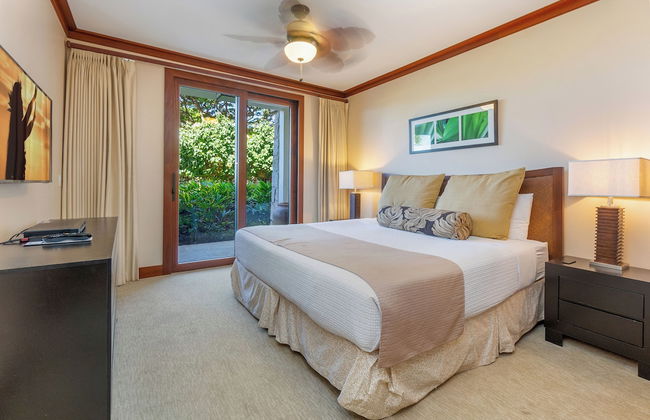
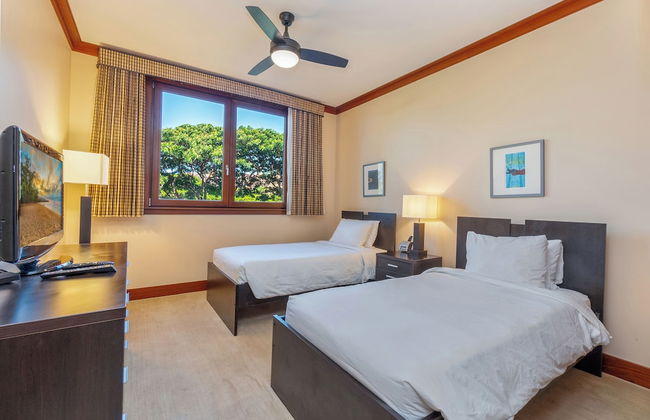
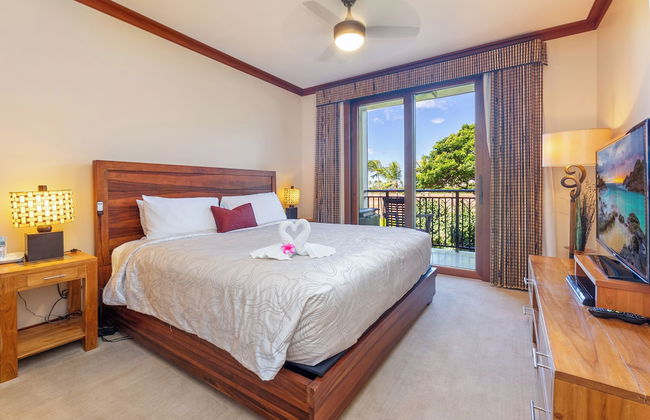
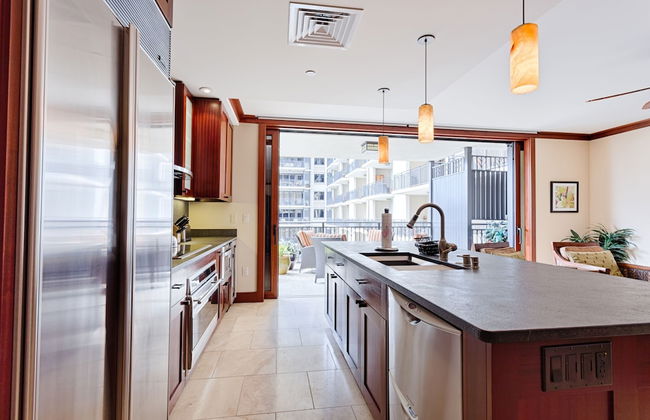
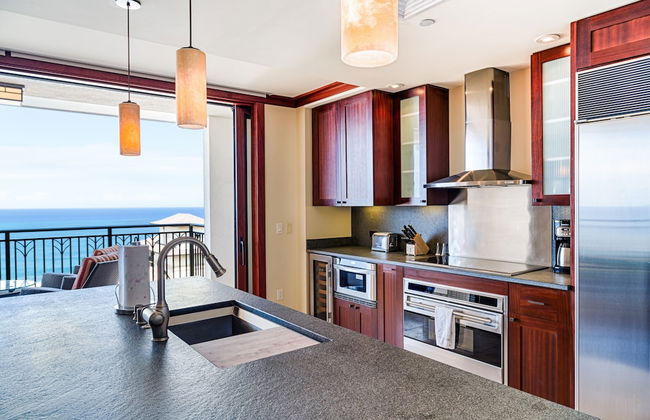
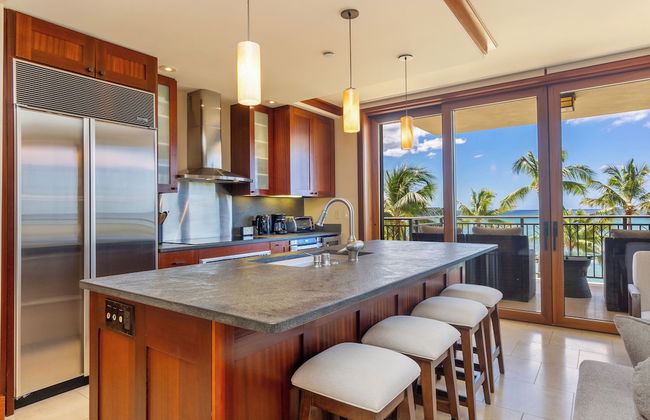
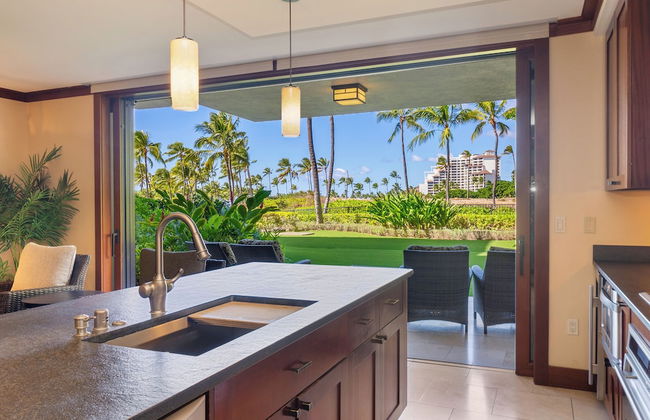
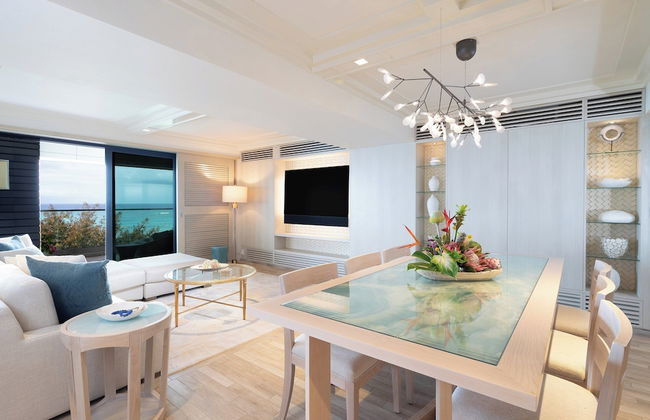
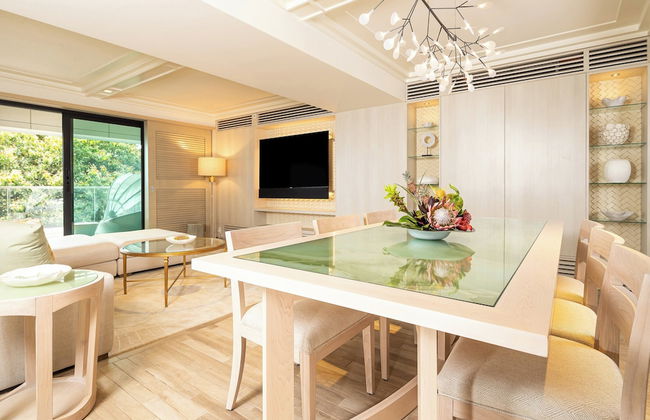
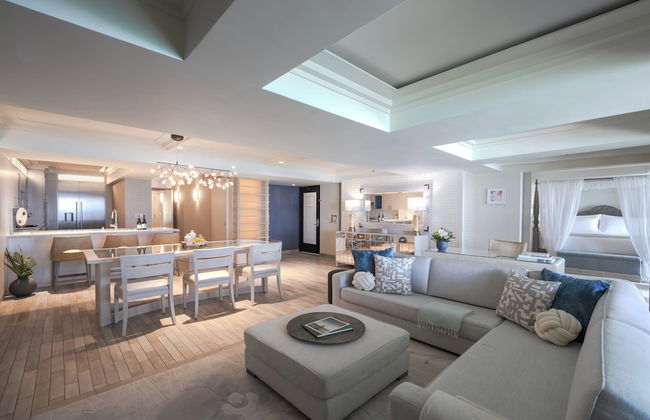
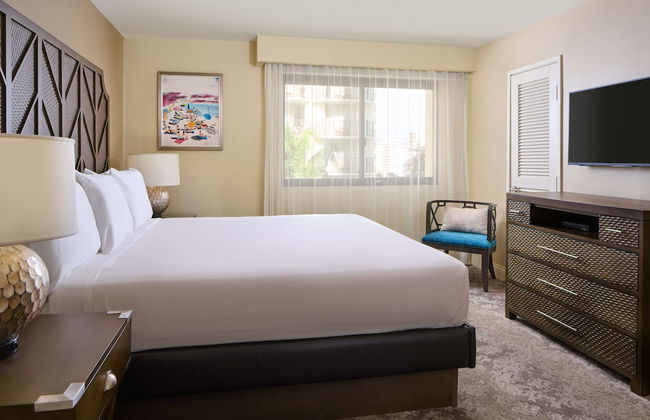
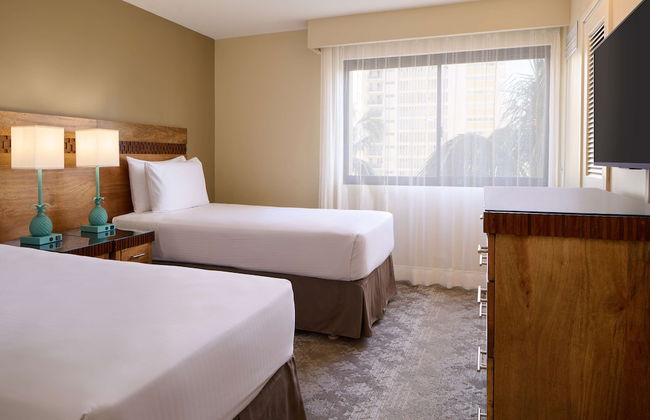
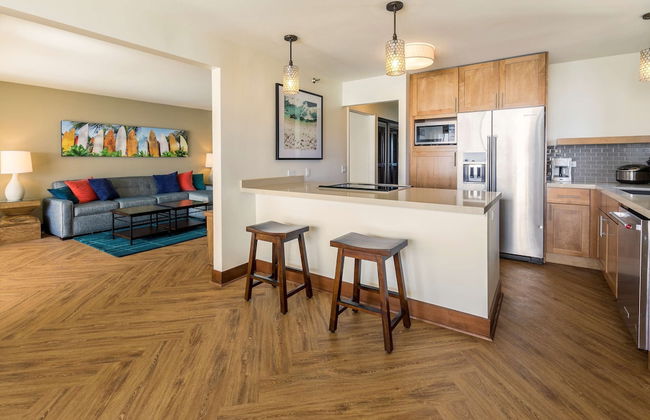
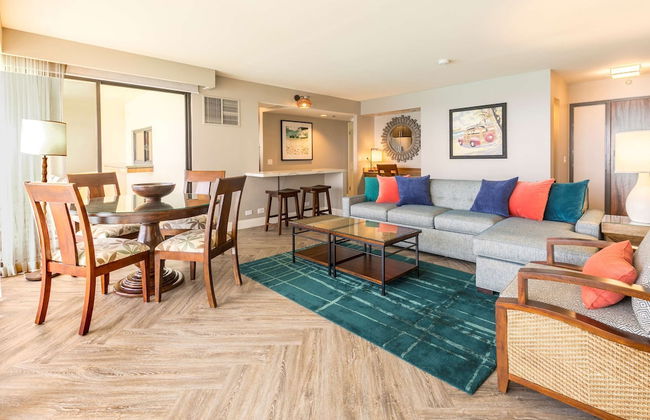
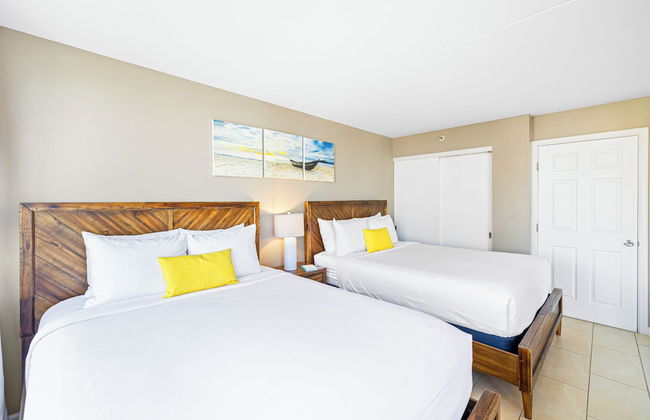
Oceanfront Vacation Villas at Turtle Bay
Kahuku - Koolauloa
- 233 M2
- 3 Schlafzimmer
- 12 Personen
- Kochnische
- Klimaanlage
- Terrasse
- Schwimmbad
- Parkplatz
- Fahrstuhl
- Balkon
- Garten
- Tv
- Waschmaschine
- Barbecue
- Handtücher
- Bettlaken


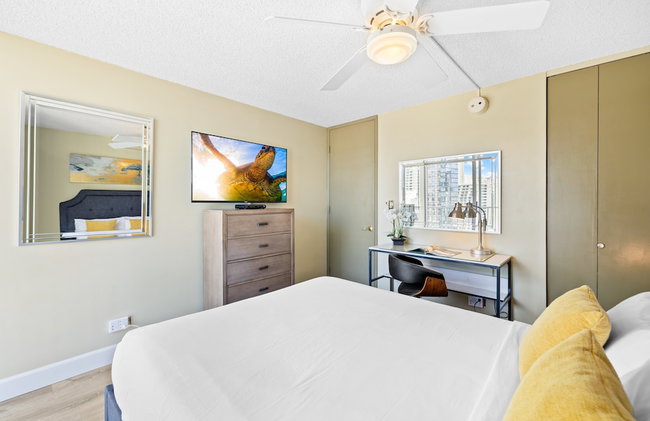
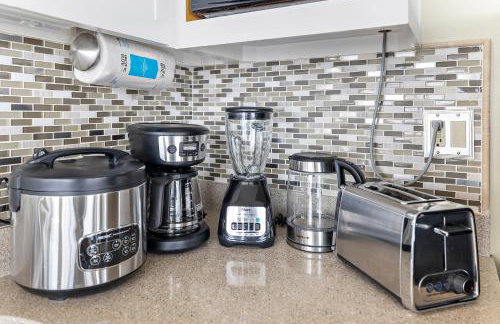
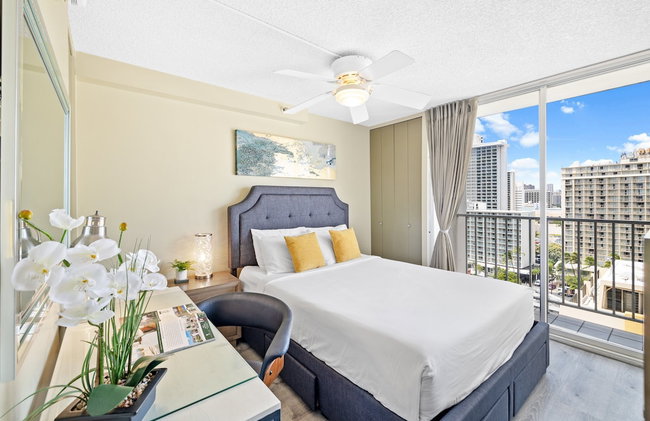
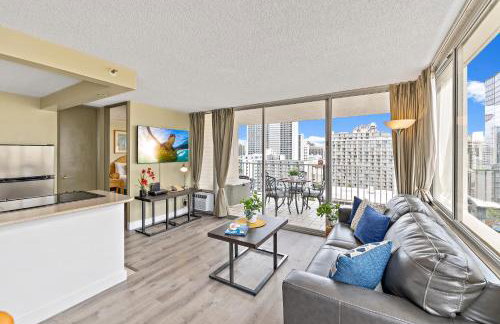
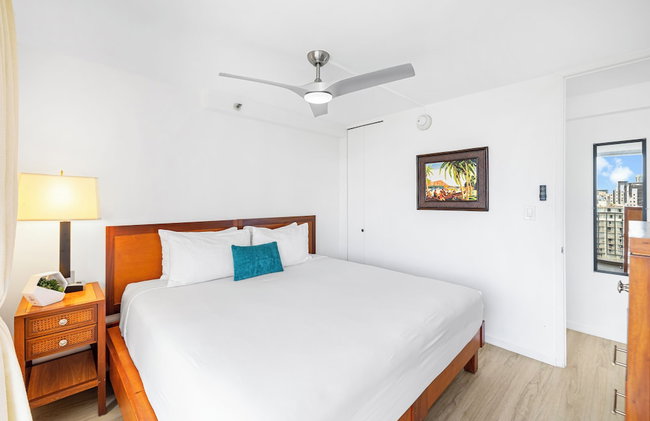
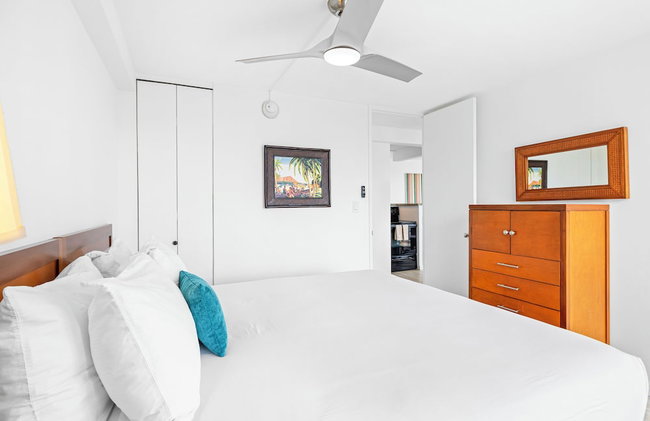
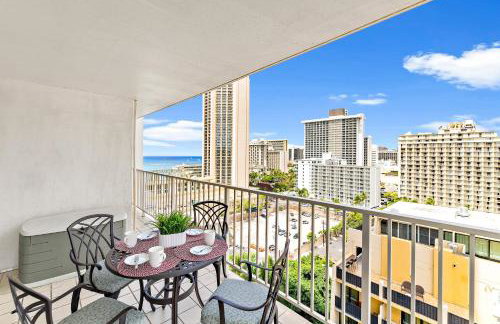
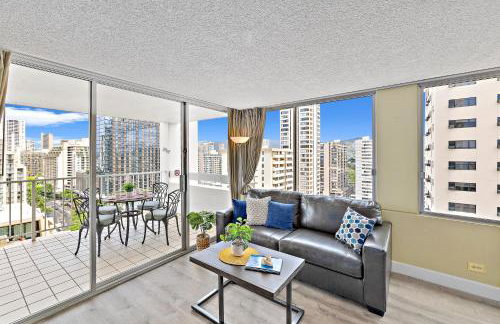
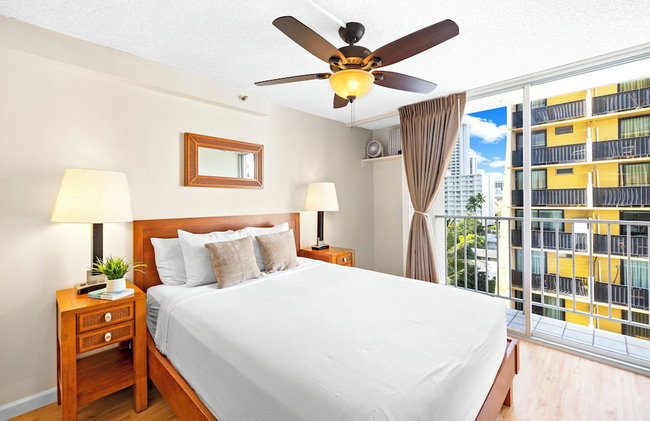
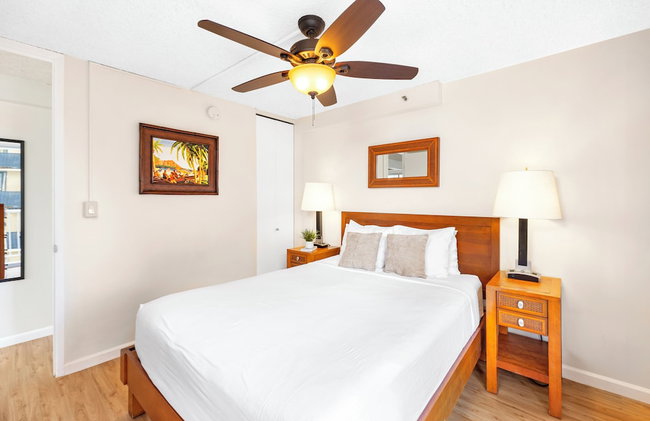
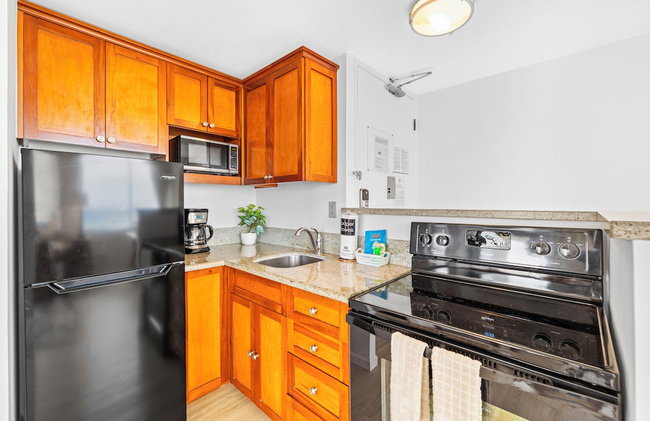
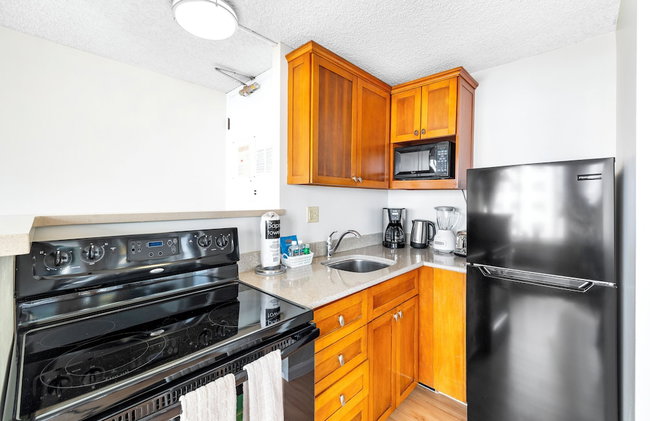
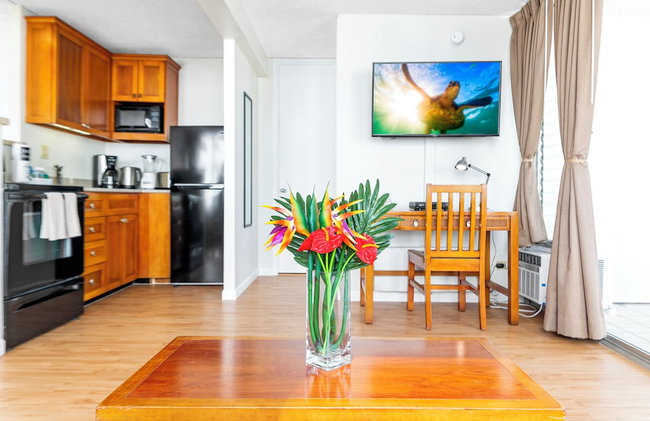
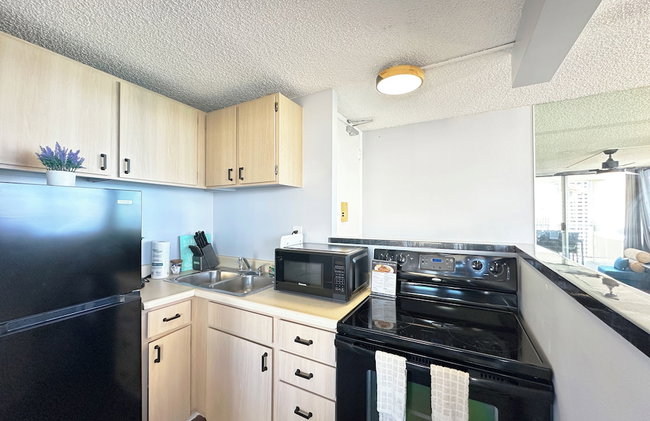
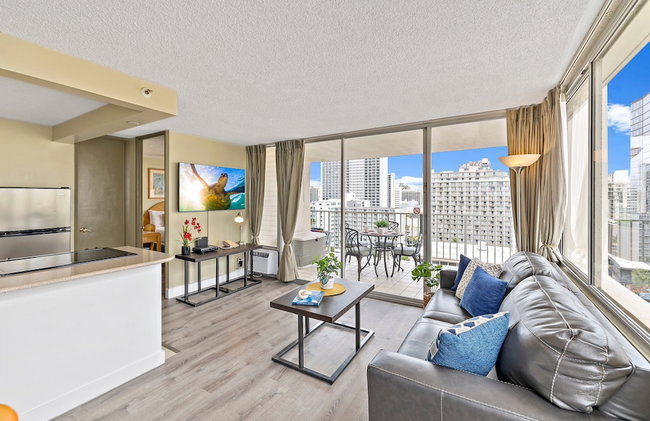
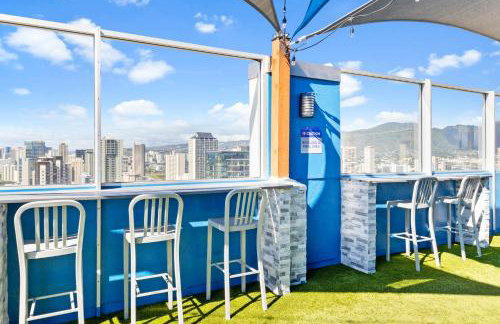
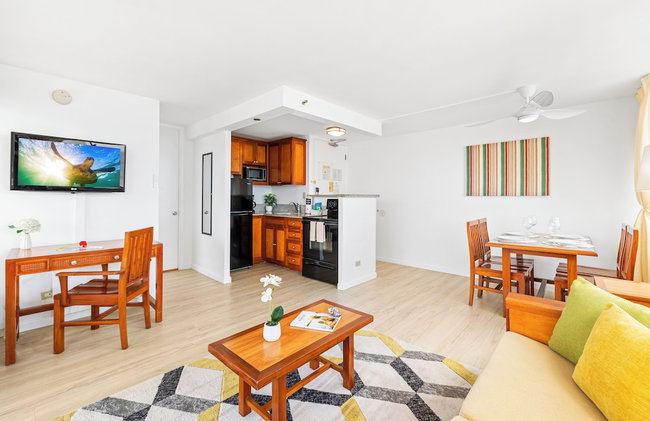
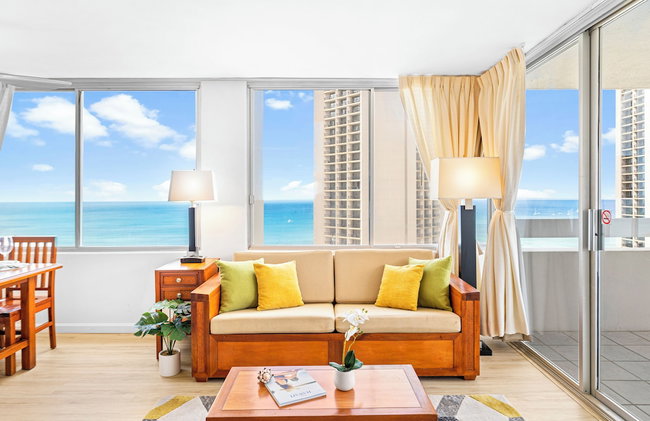
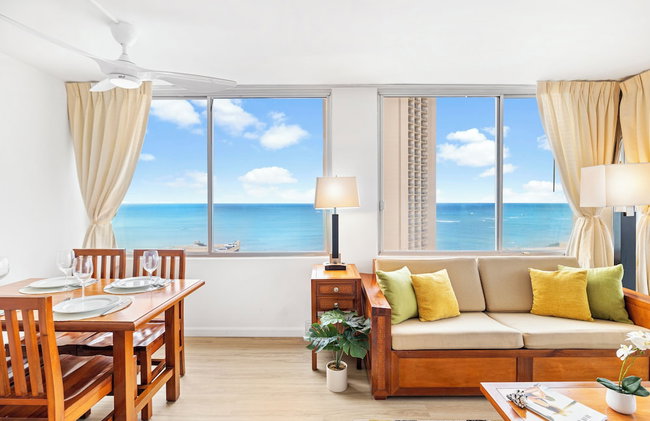
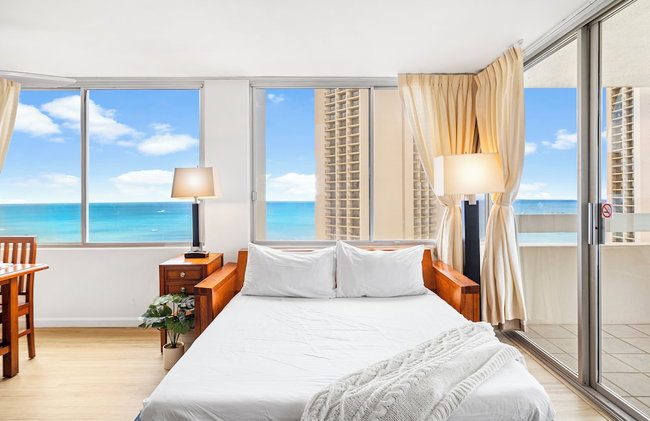
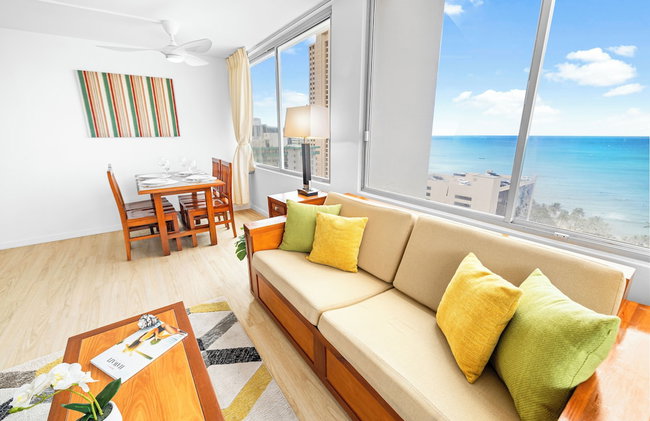
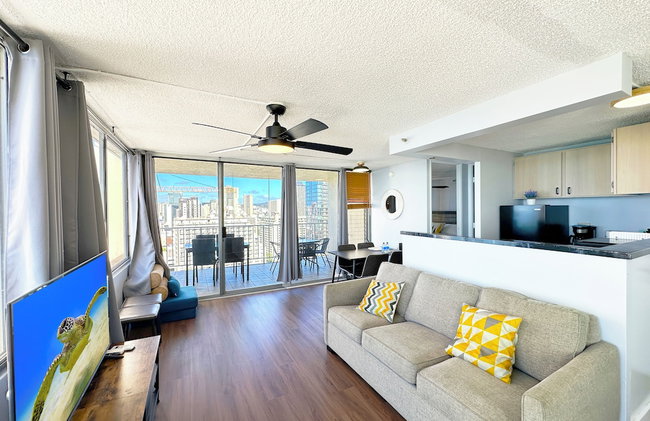
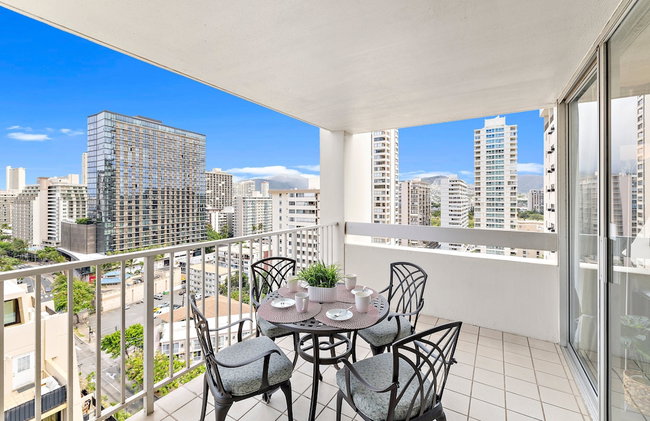
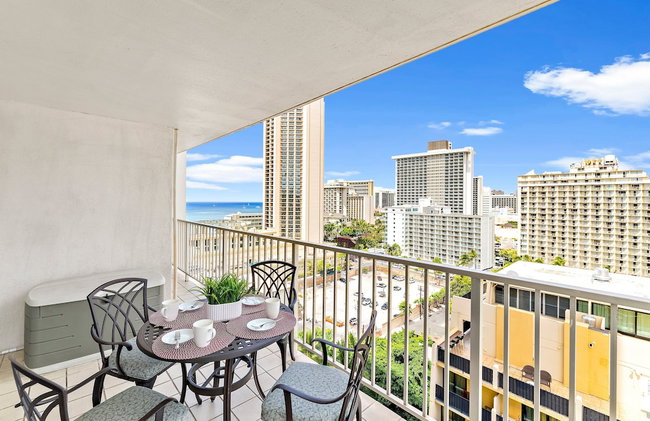
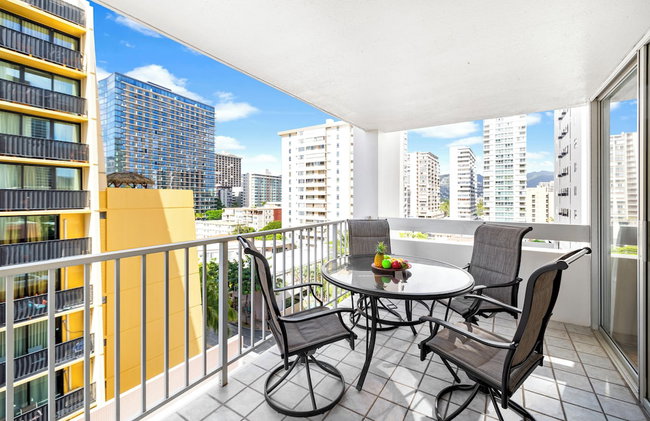
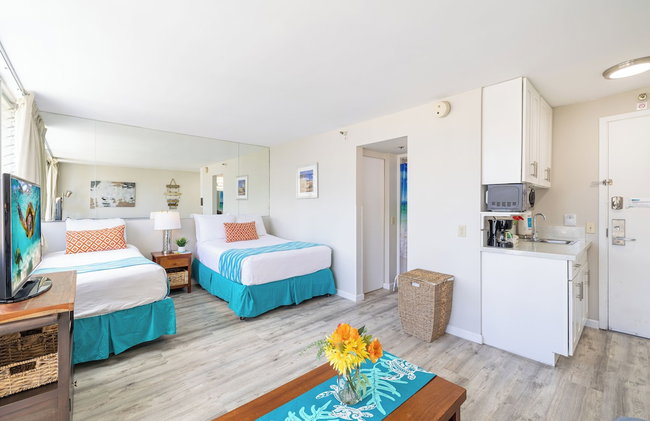
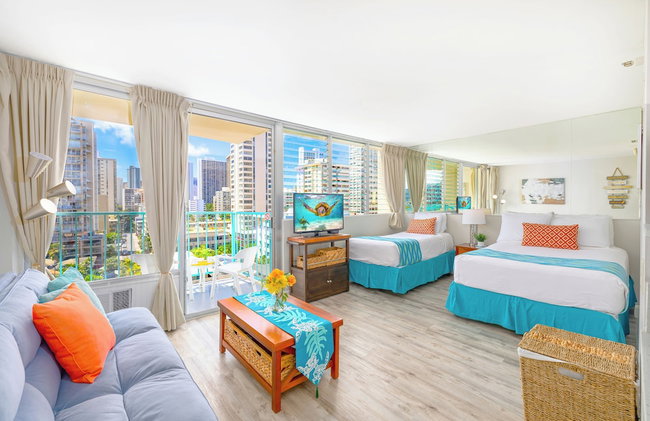
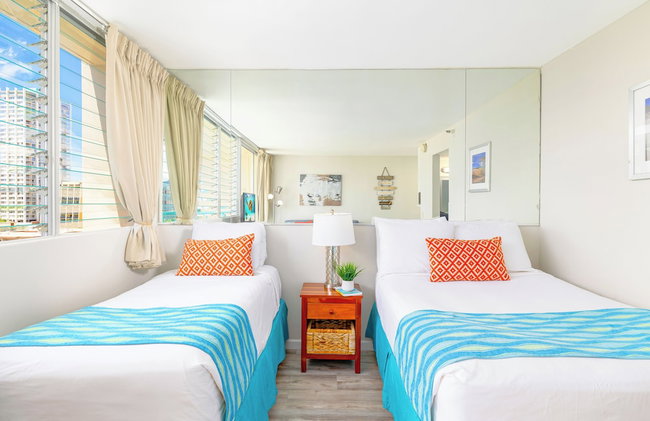
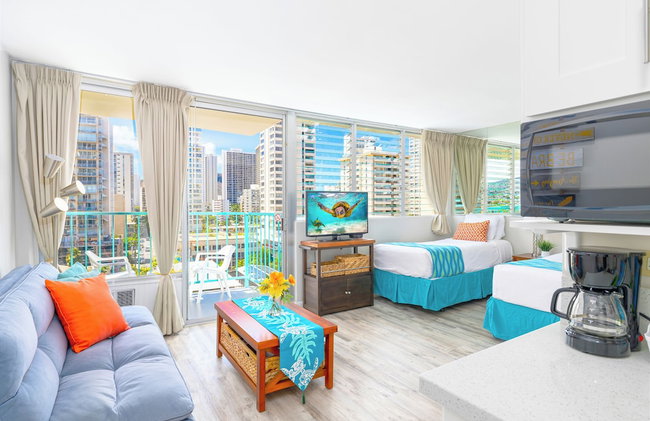
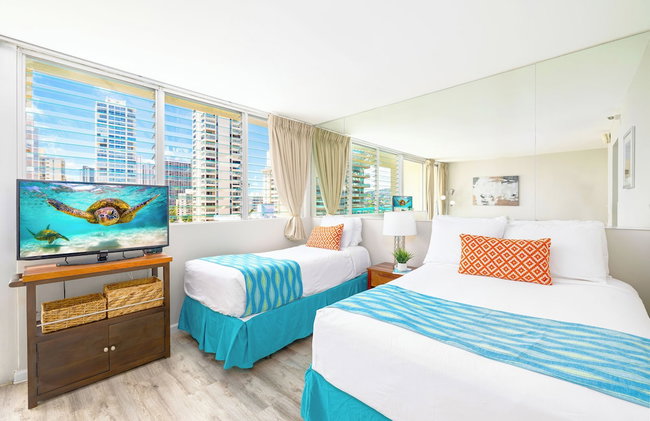
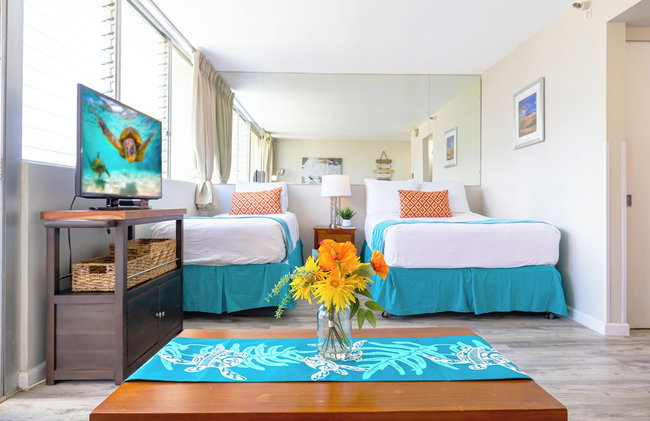
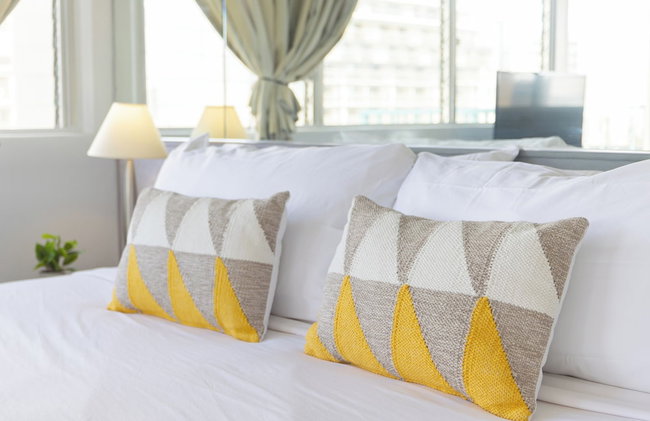
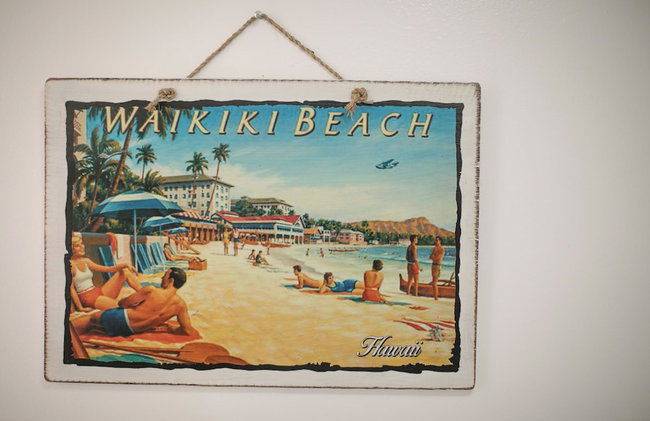
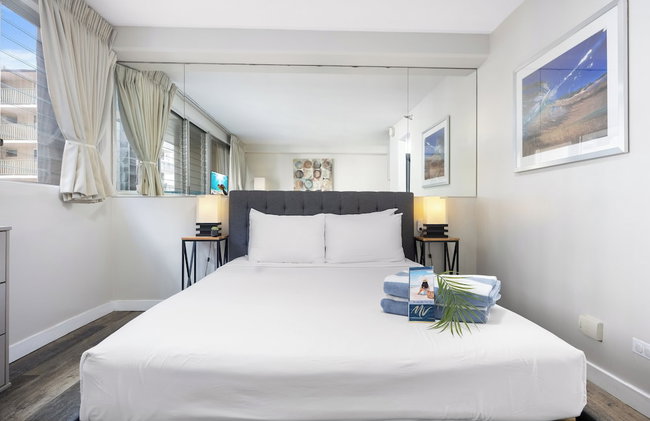
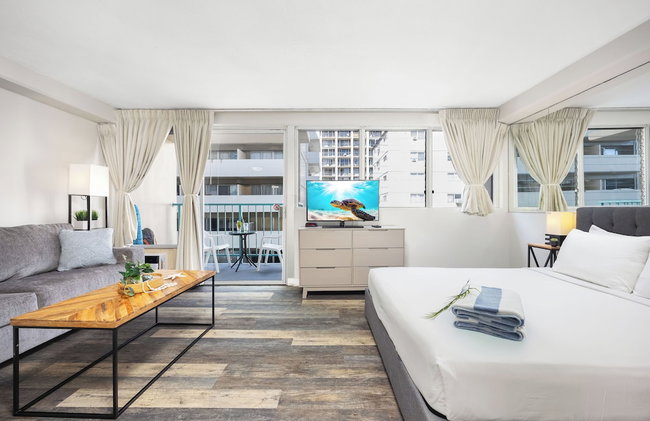
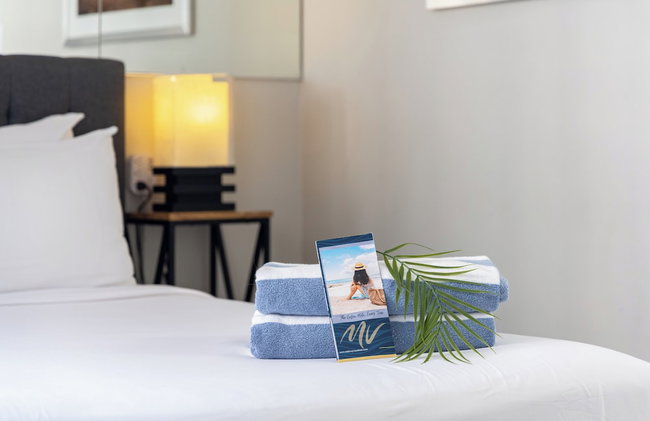
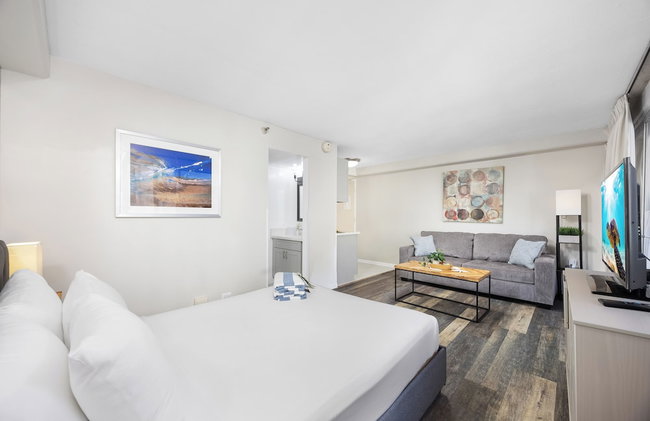
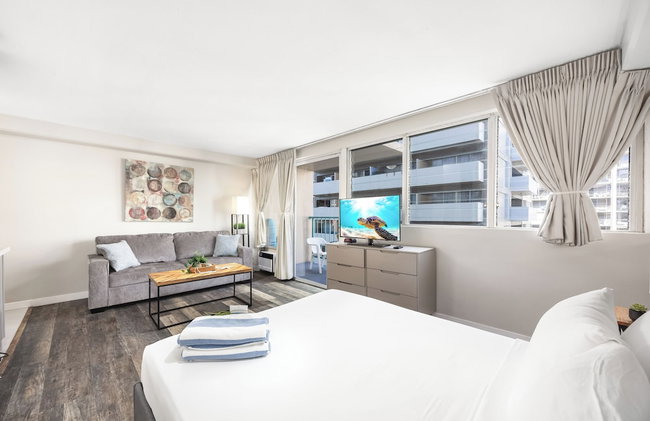
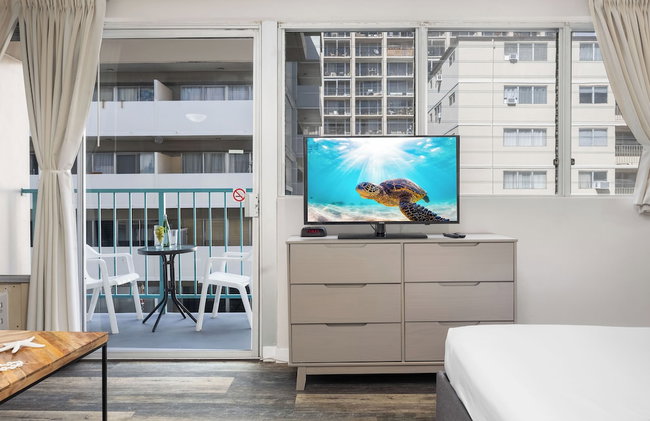
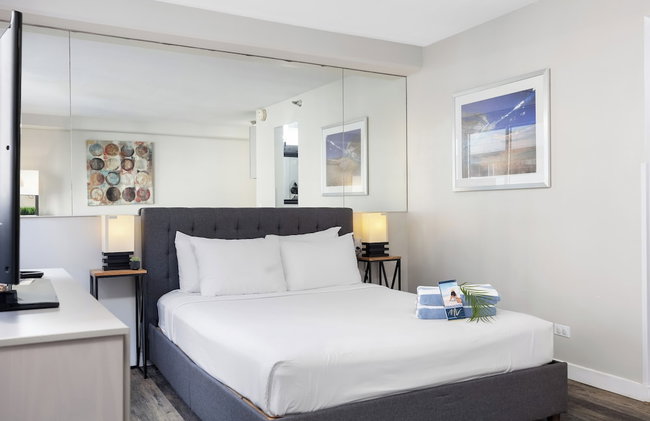
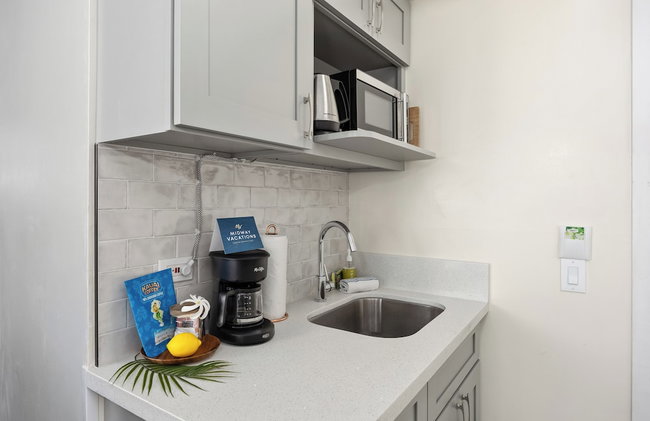
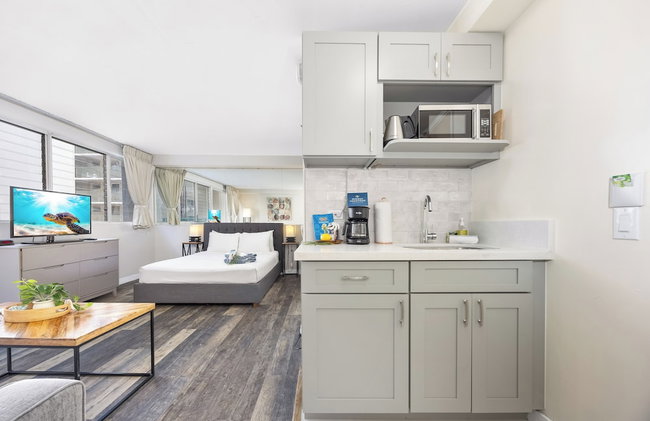
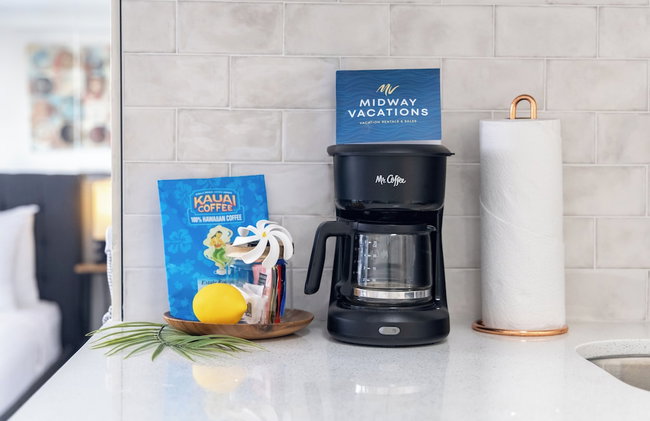
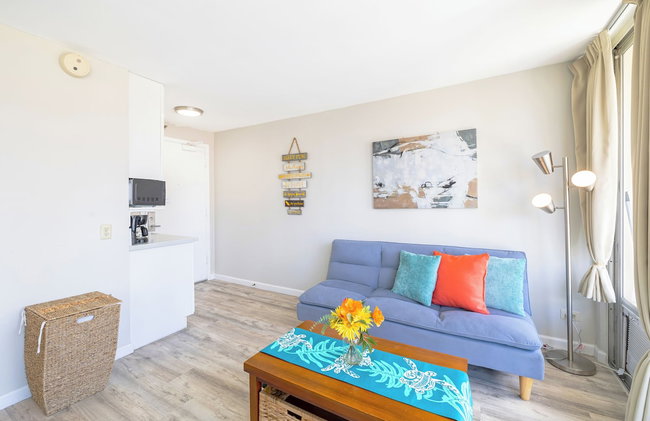
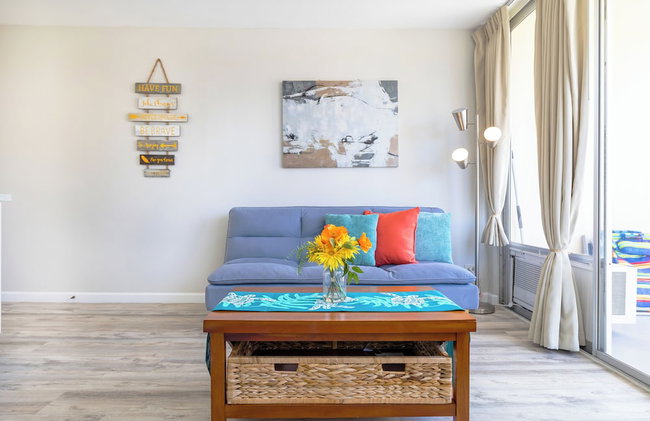
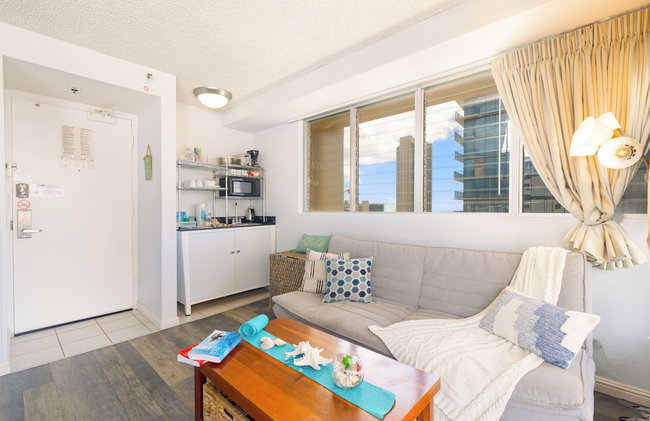
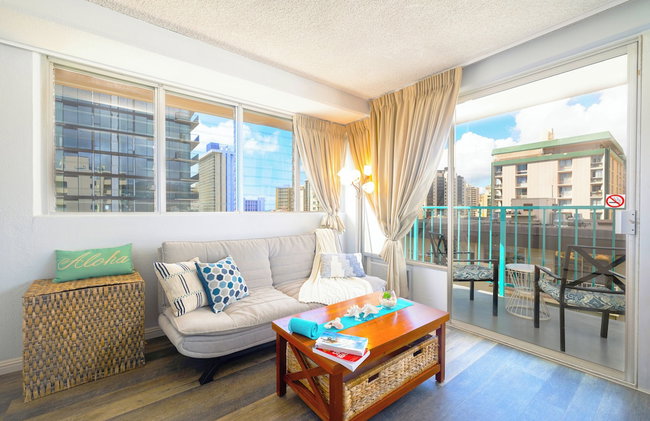
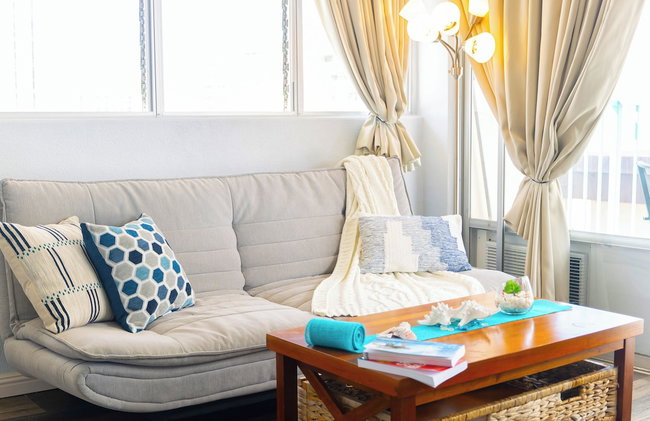
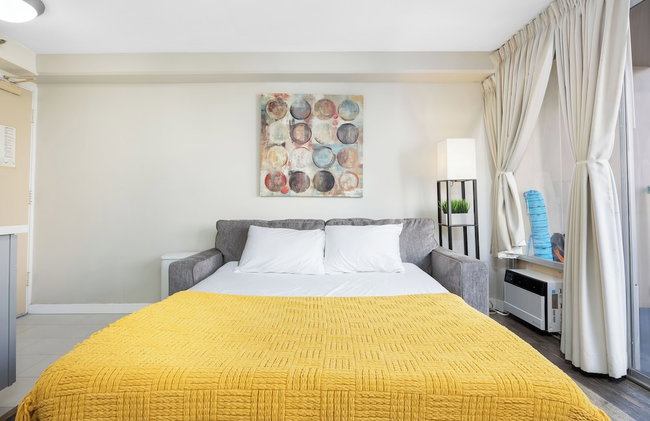
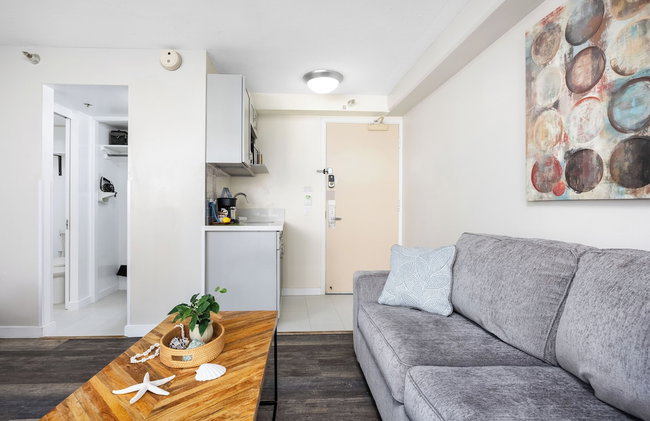
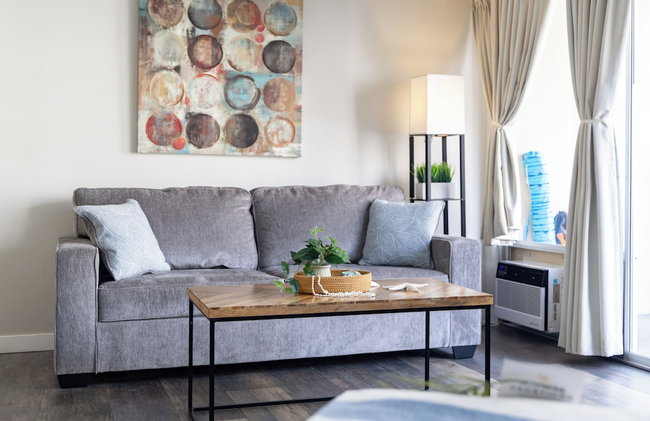
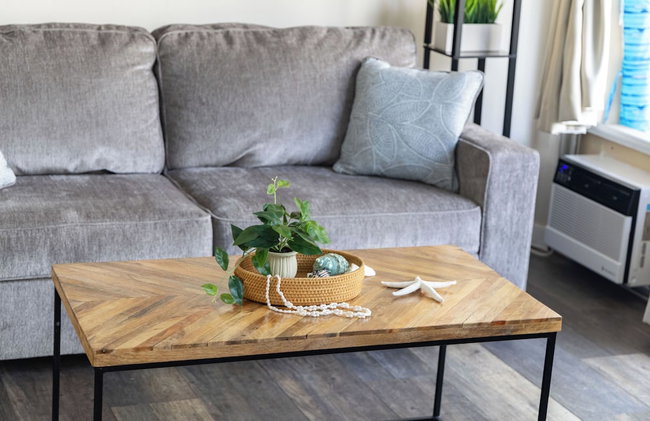
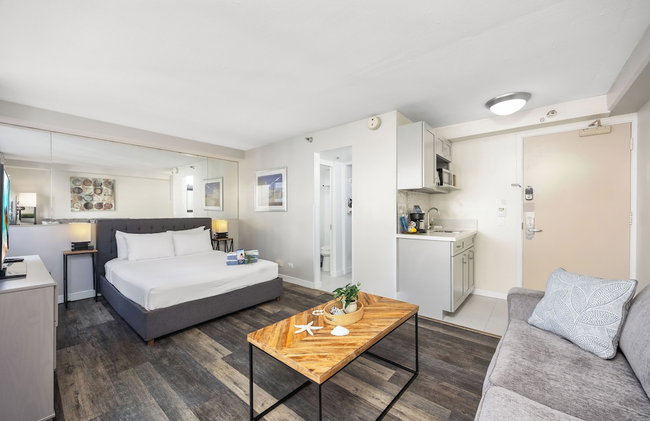
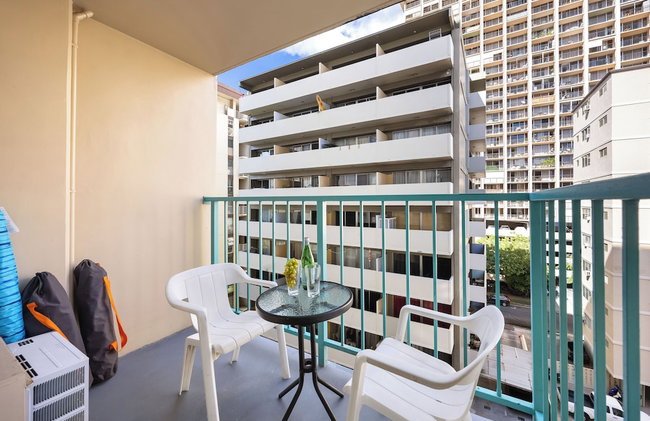
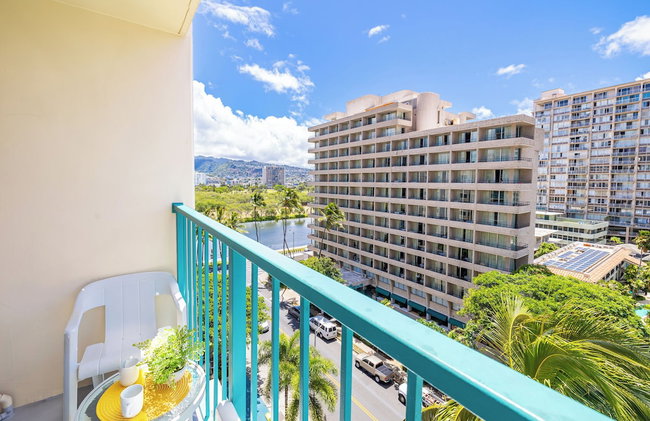
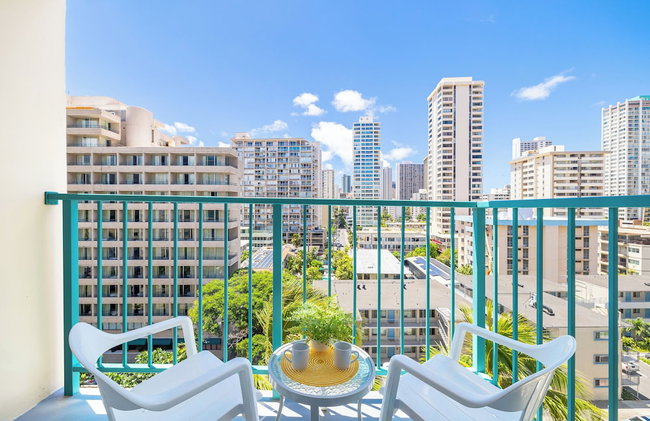
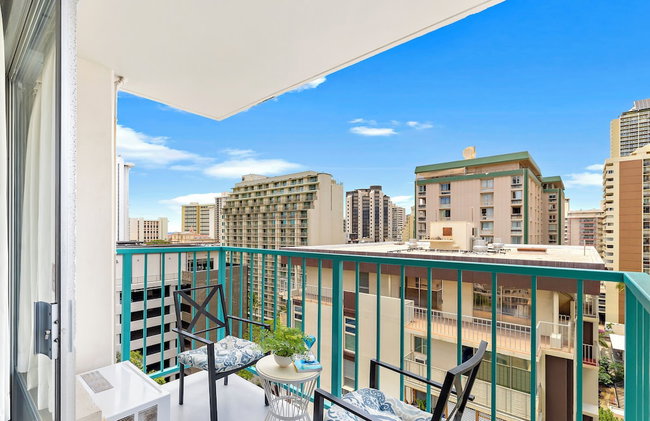
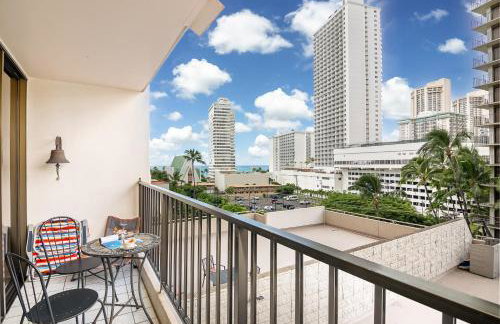
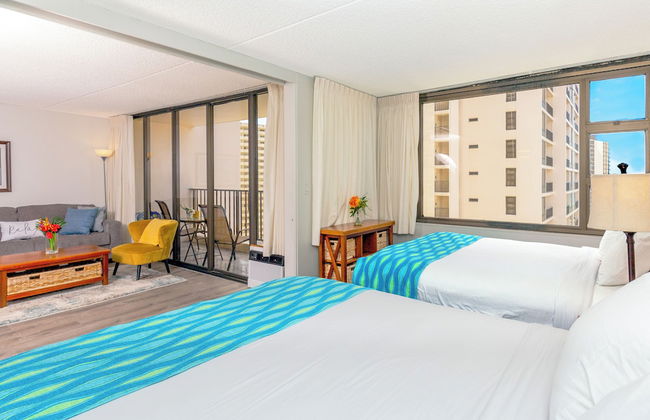
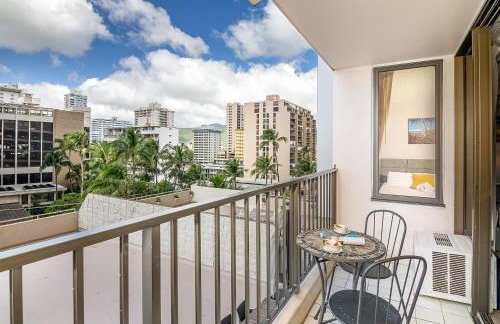
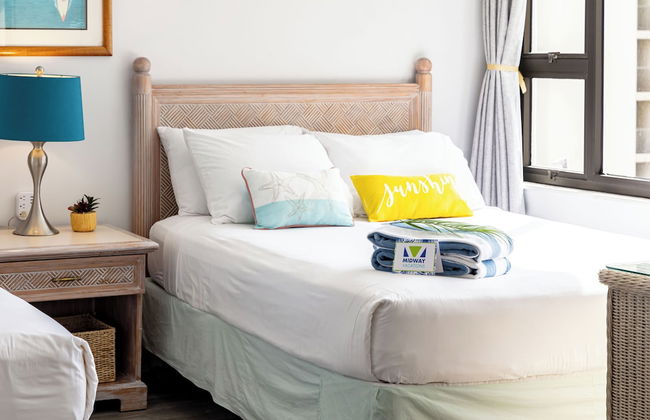
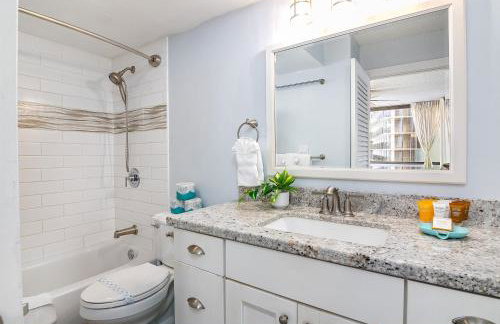
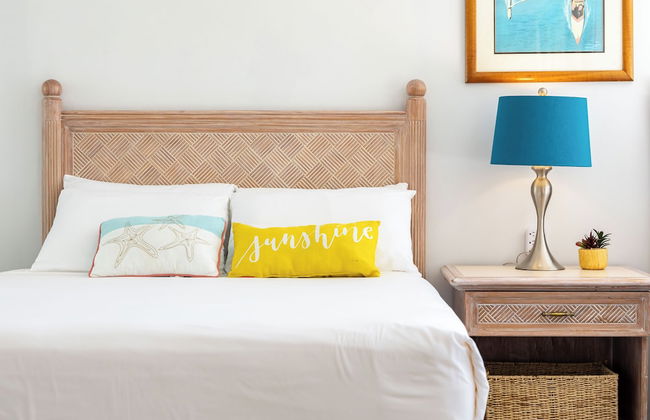
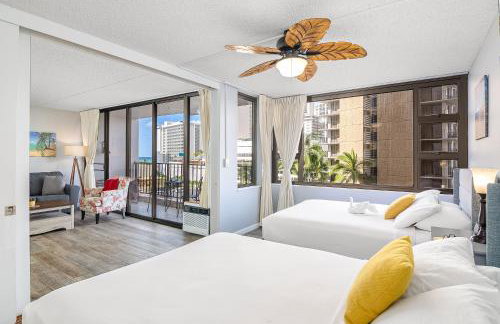
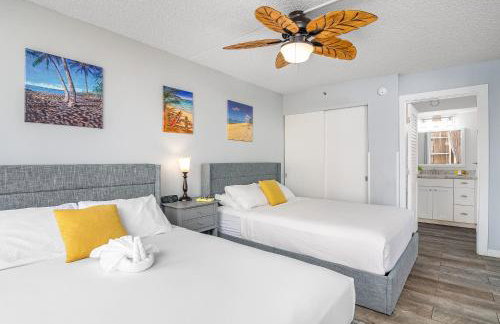
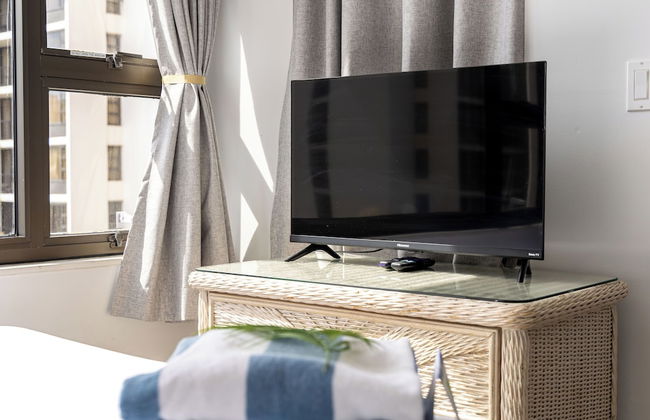
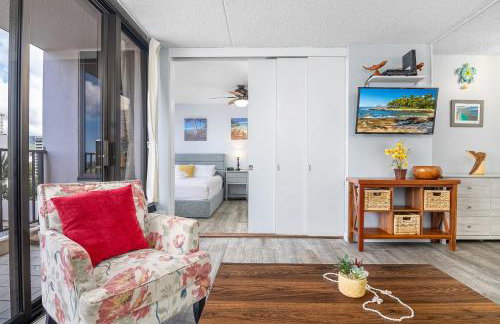
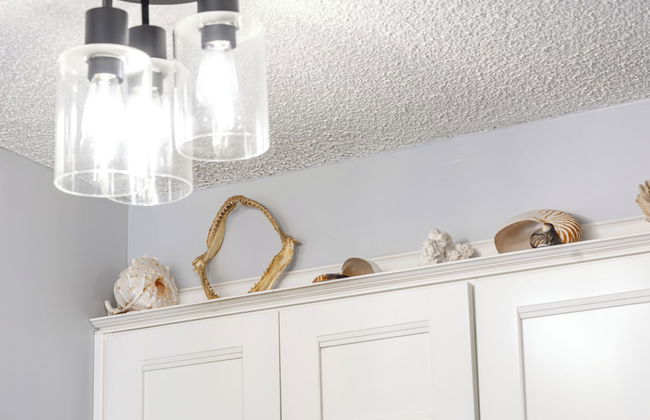
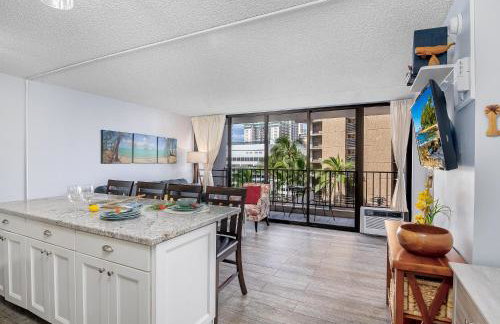
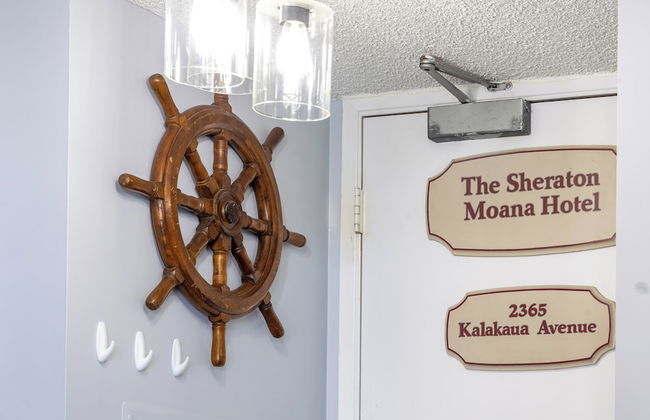
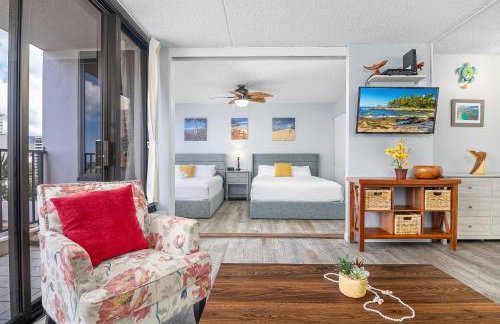
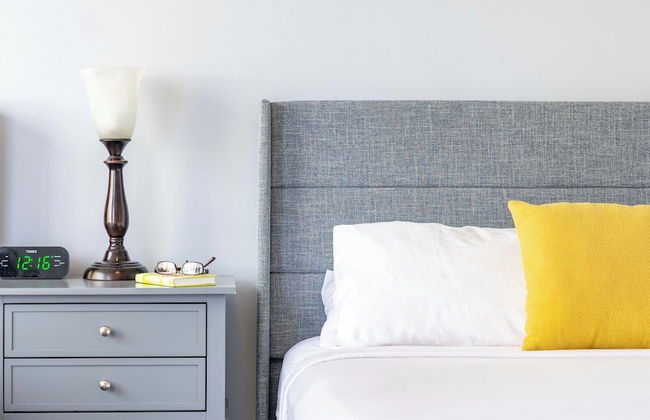
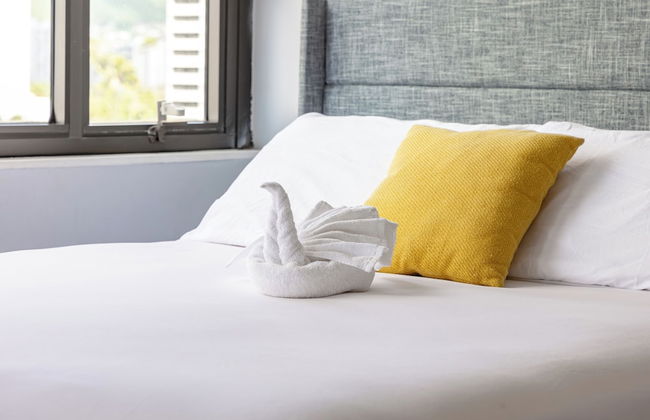
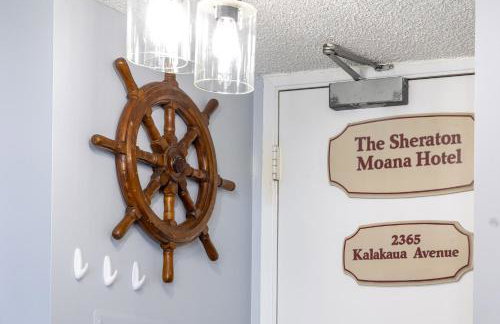
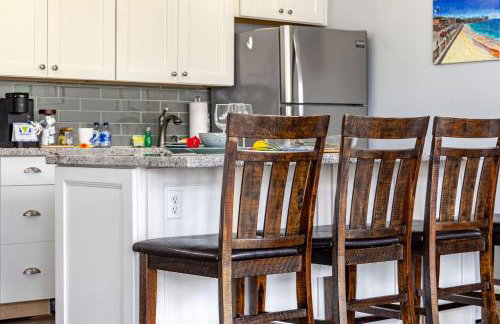
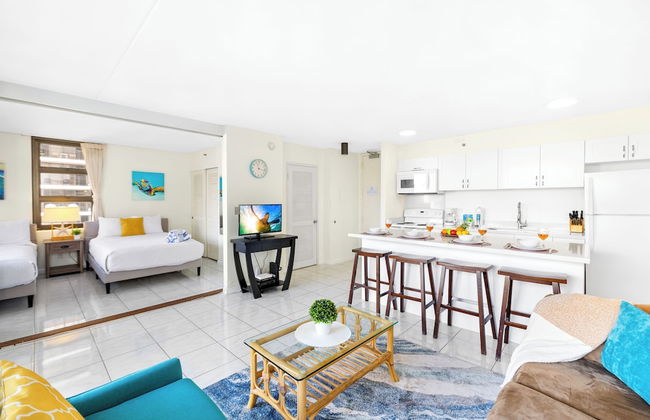
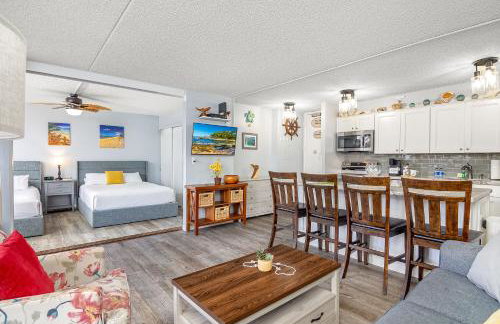
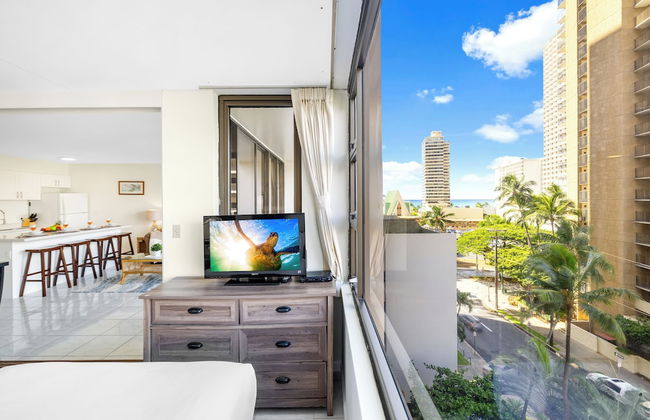
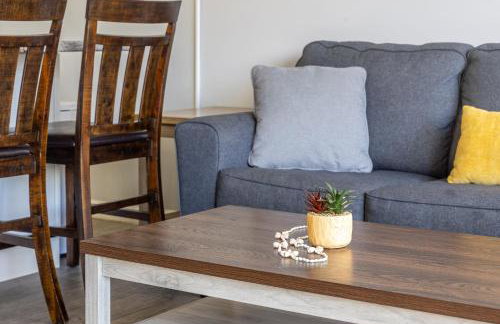
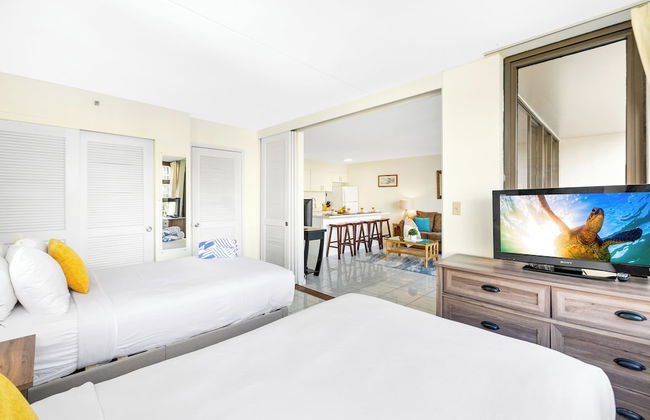
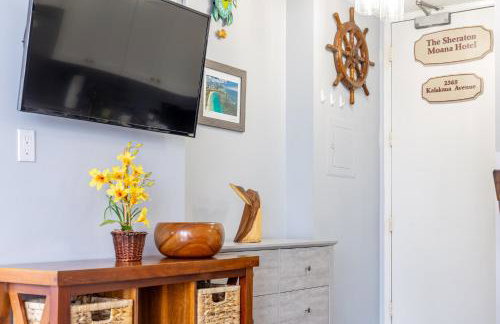
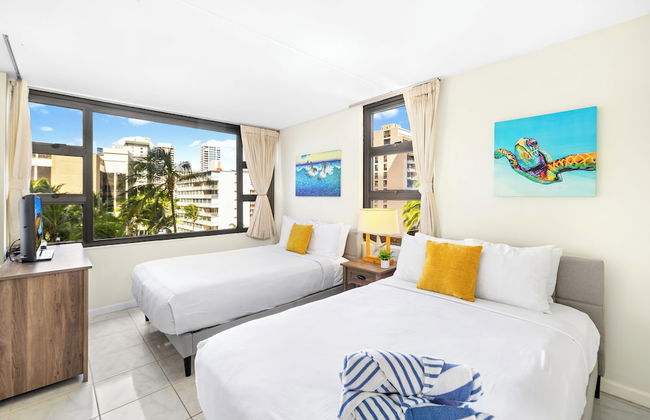
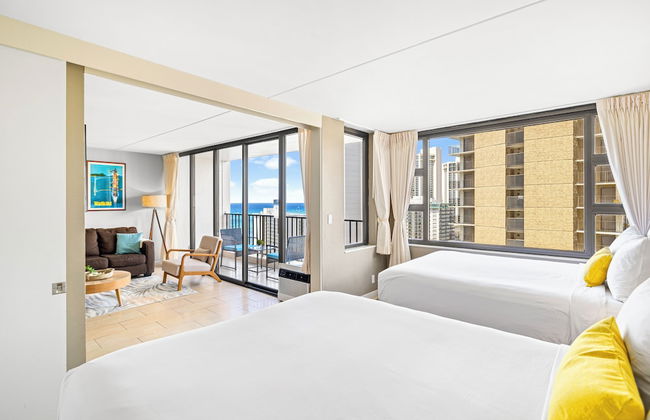
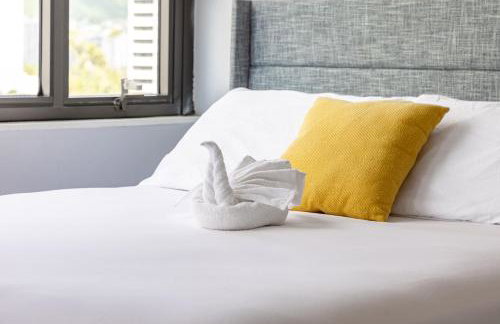
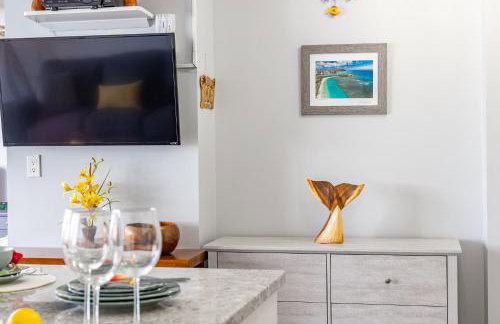
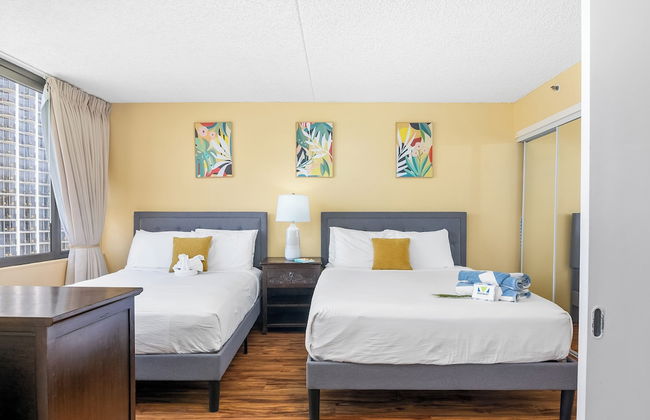
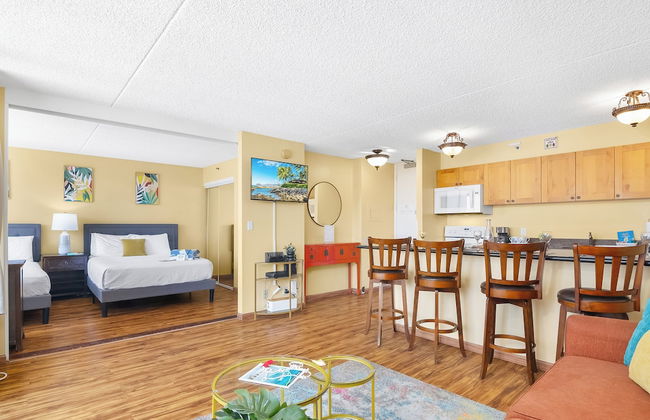
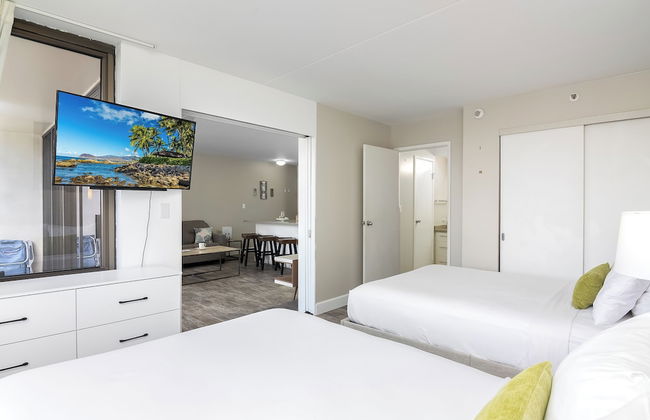
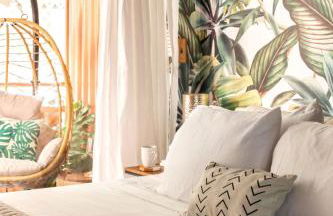
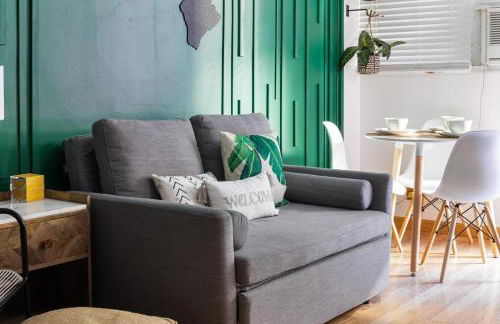
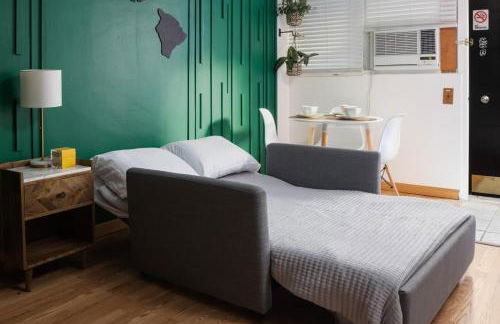
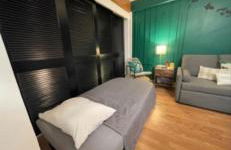
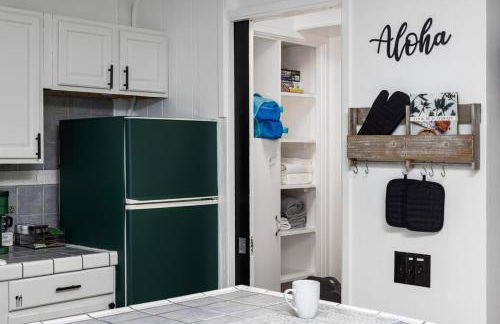
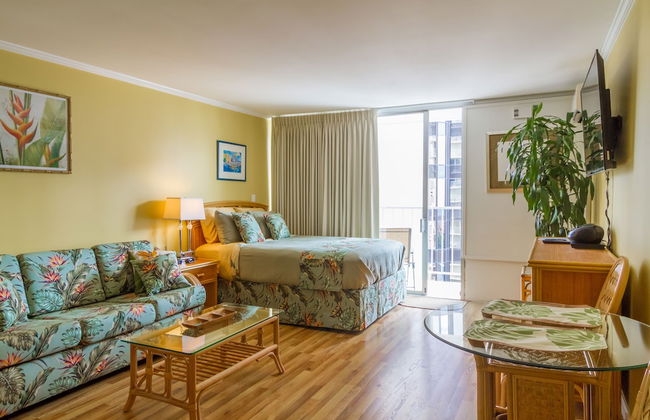
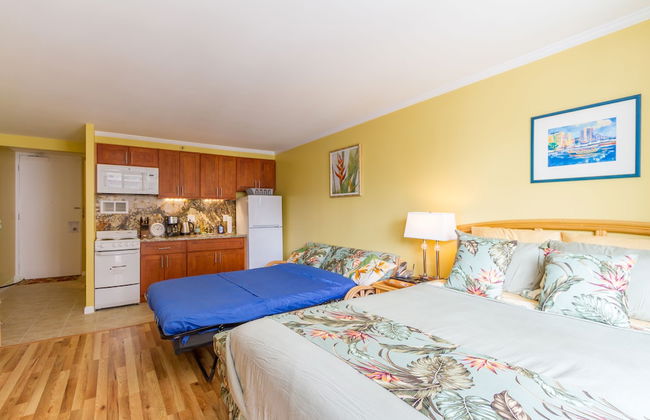
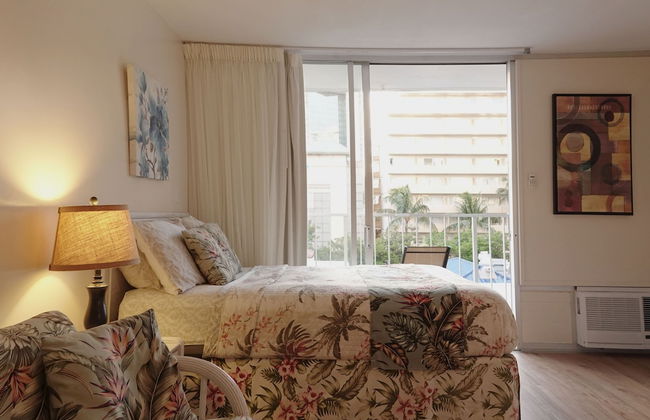
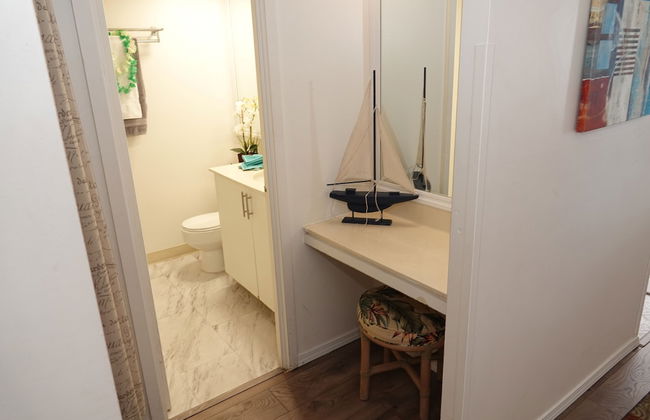
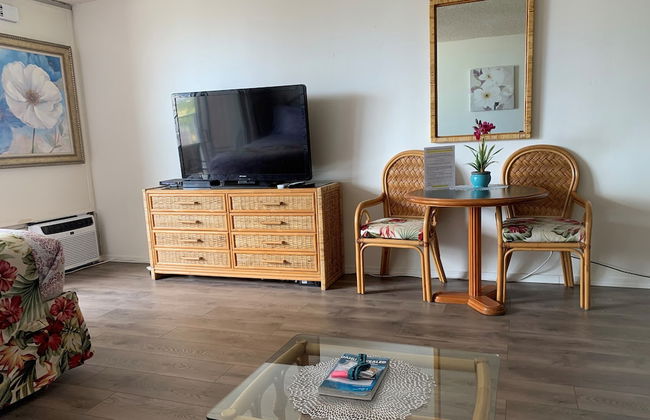
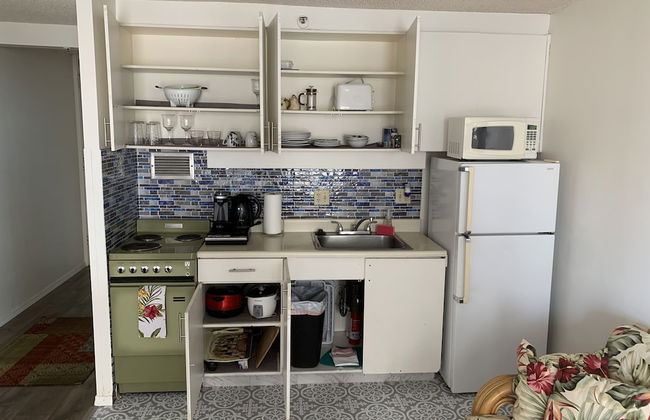
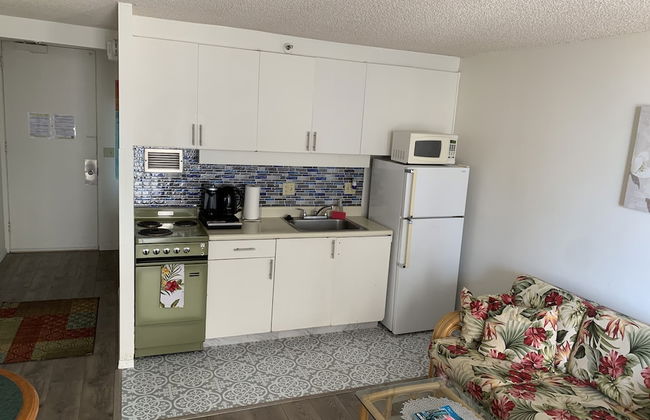
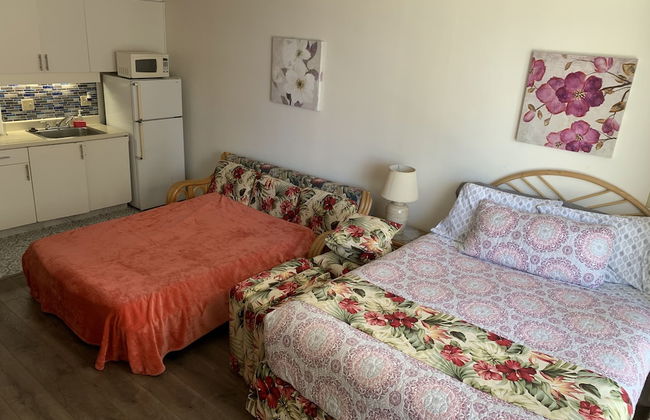
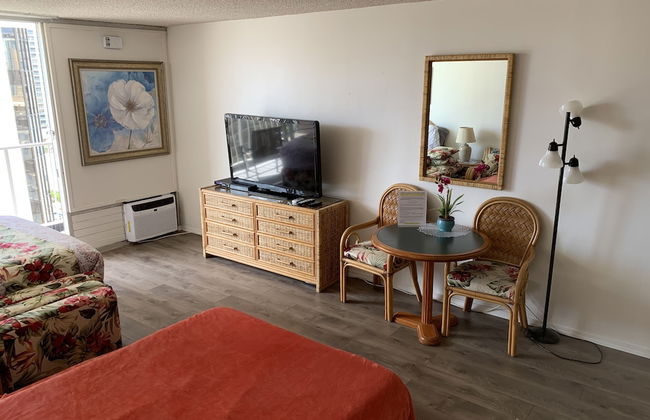
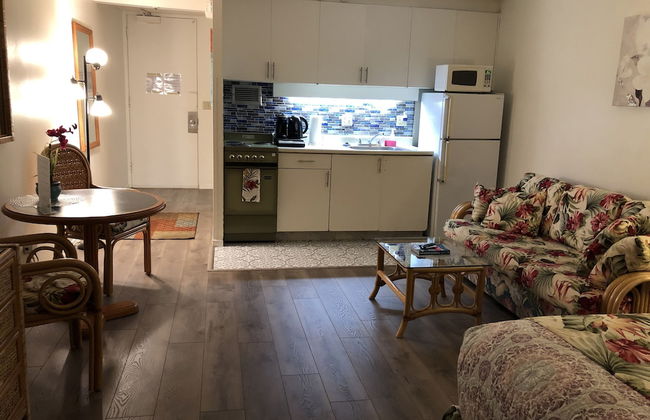
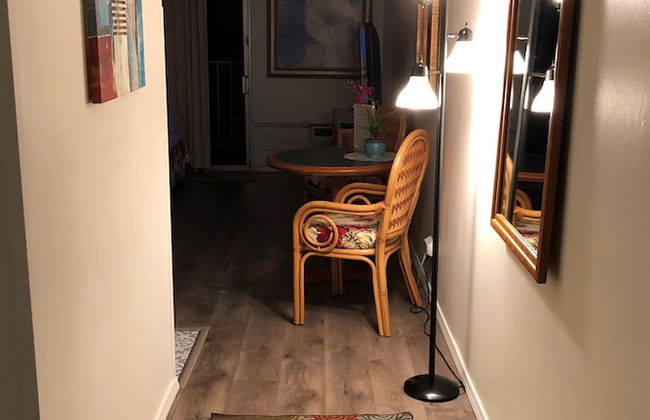
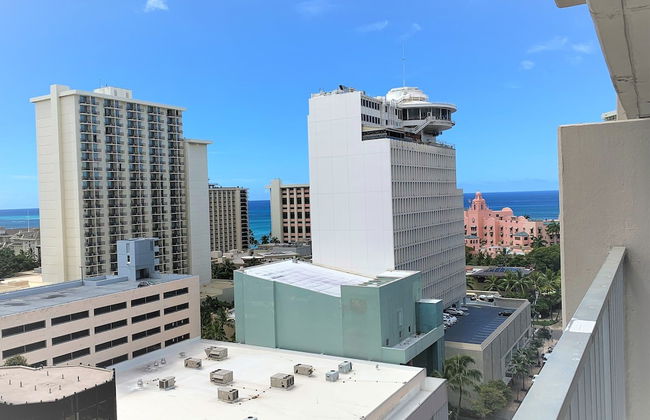
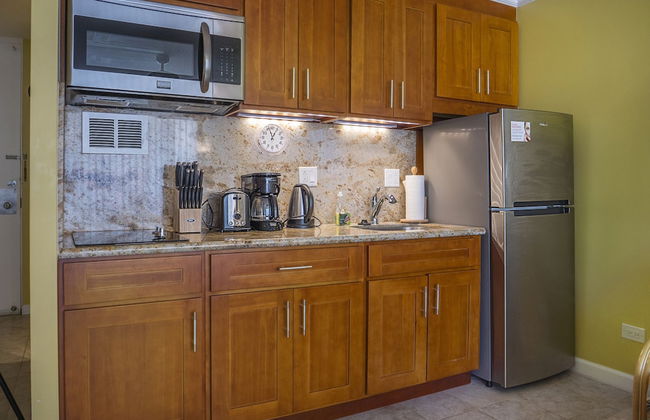
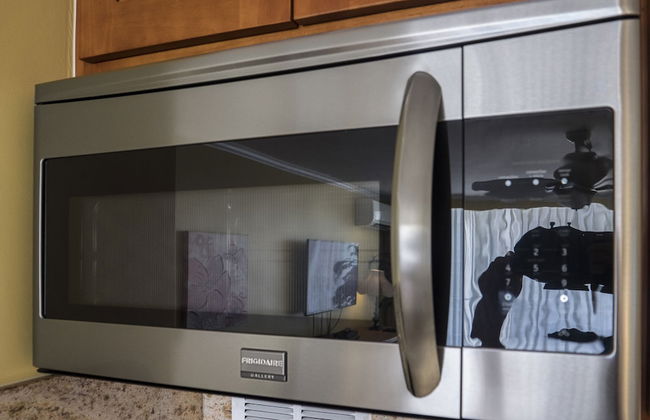
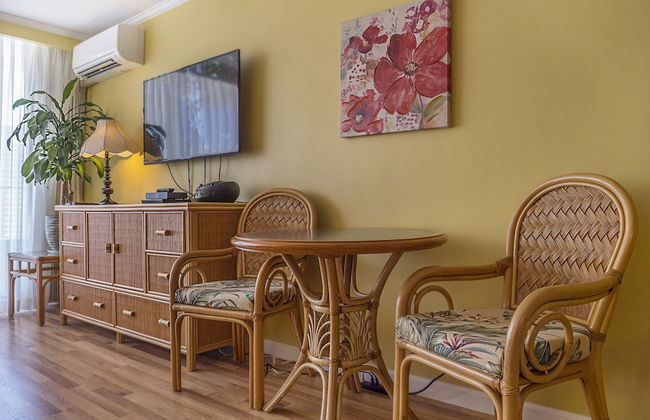
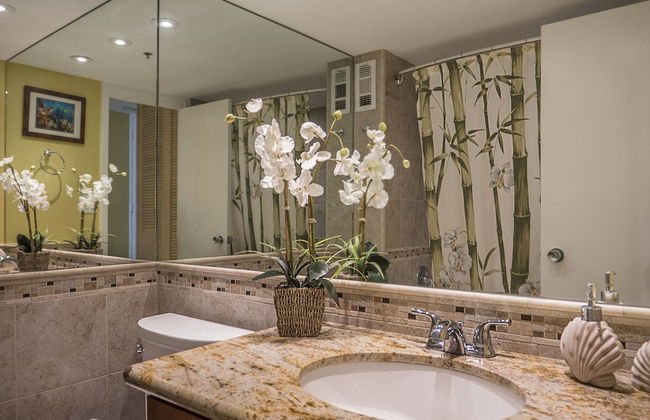
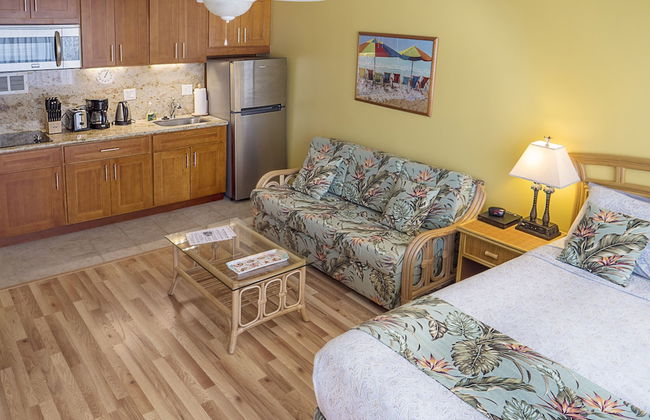
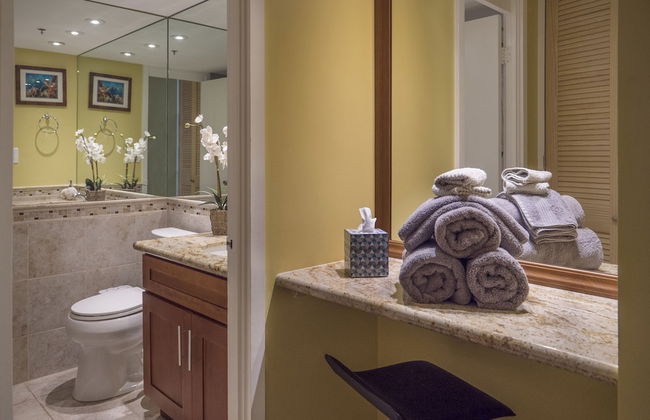
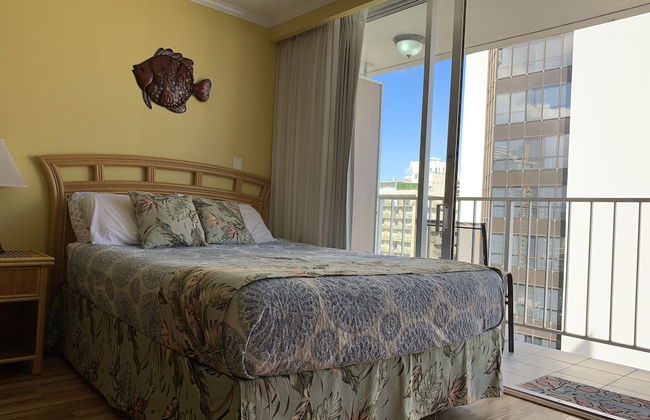
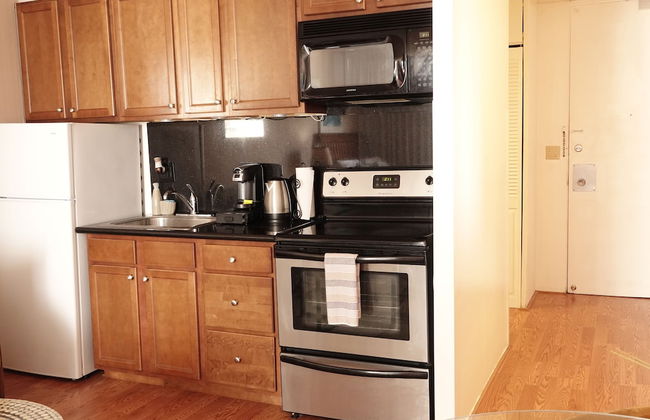
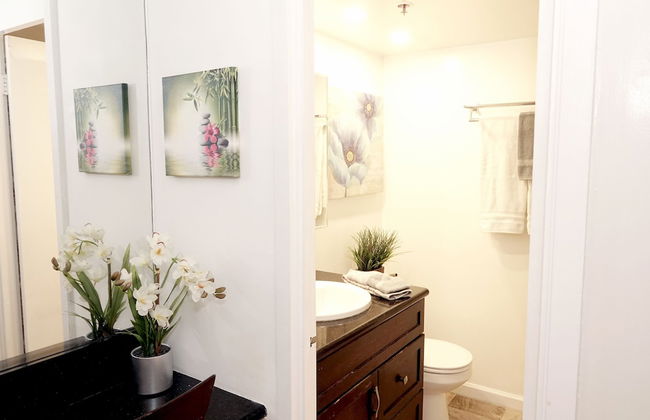
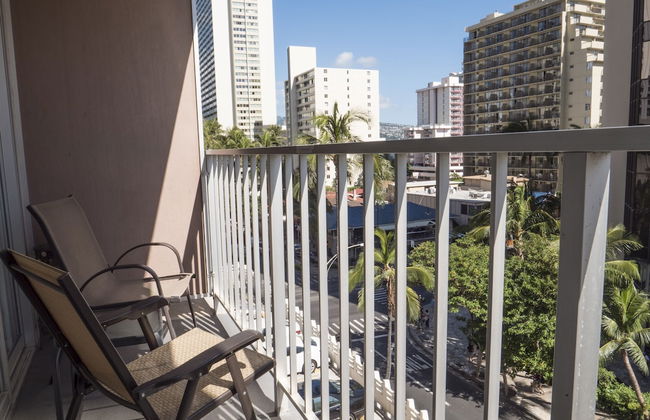
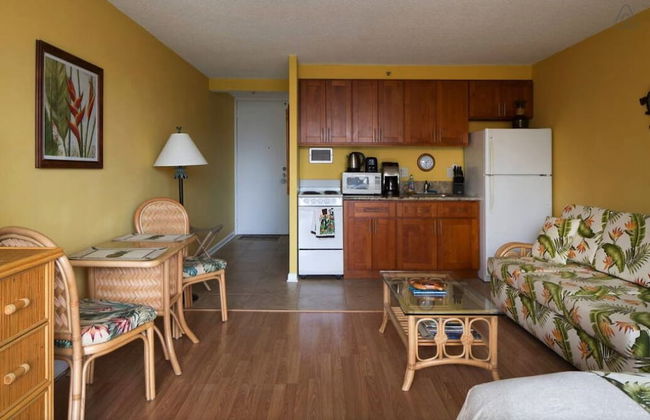
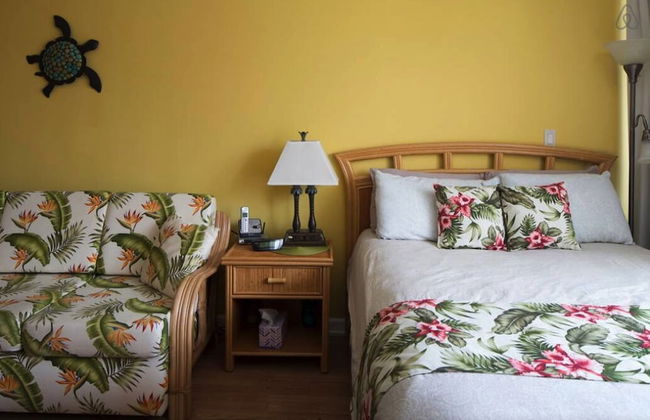
Renovated Pacific Monarch Studio Near Waikiki Beach
Honolulu - Waikiki - 4.2 km vom Zentrum
- 37 M2
- 1 Schlafzimmer
- 3 Personen
- Kochnische
- Klimaanlage
- Terrasse
- Schwimmbad
- Parkplatz
- Fahrstuhl
- Balkon
- Tv
- Waschmaschine
- Barbecue
- Handtücher
- Bettlaken


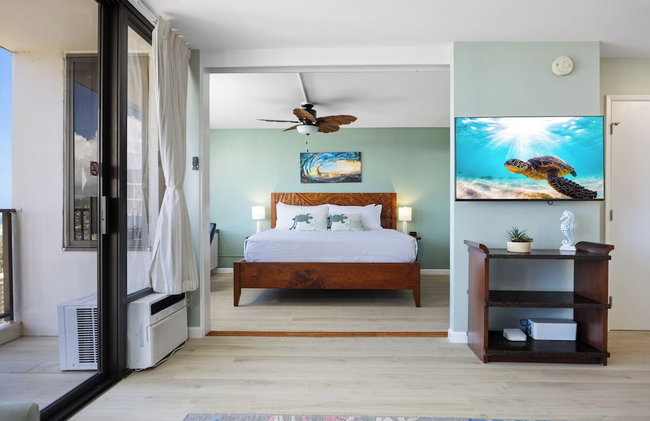

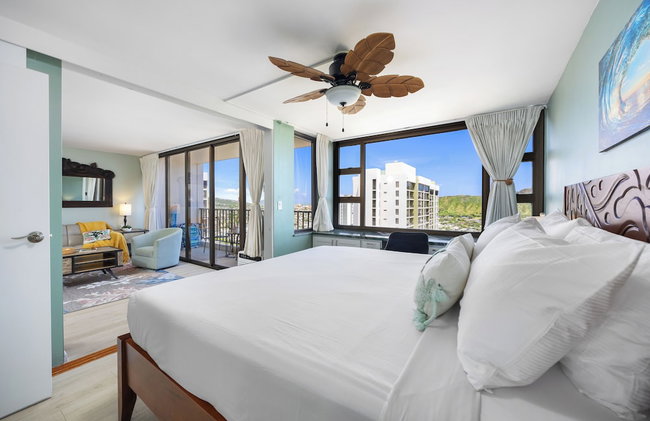

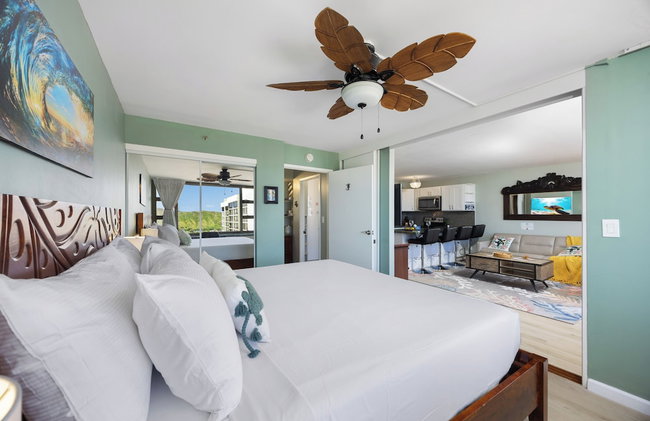

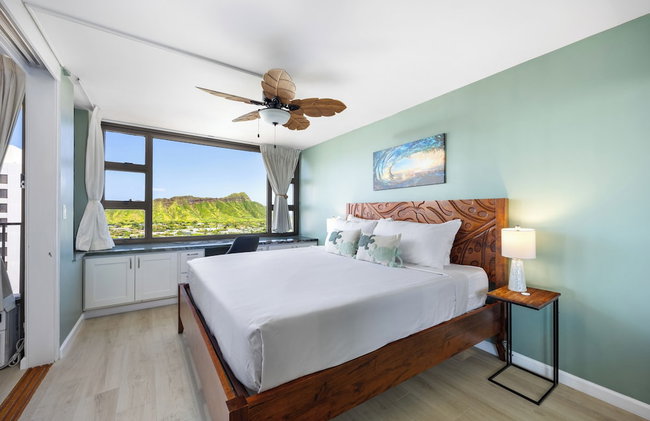

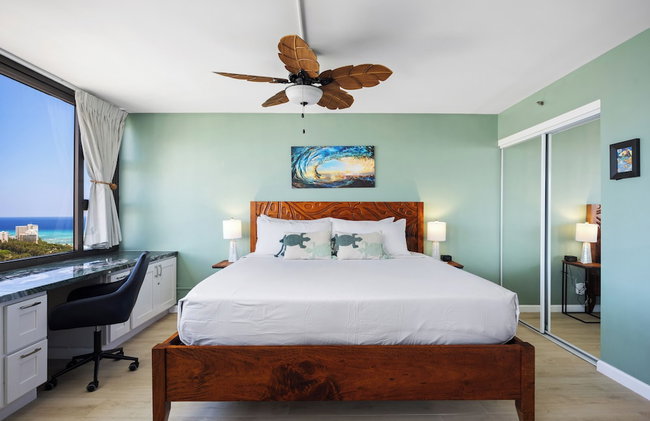

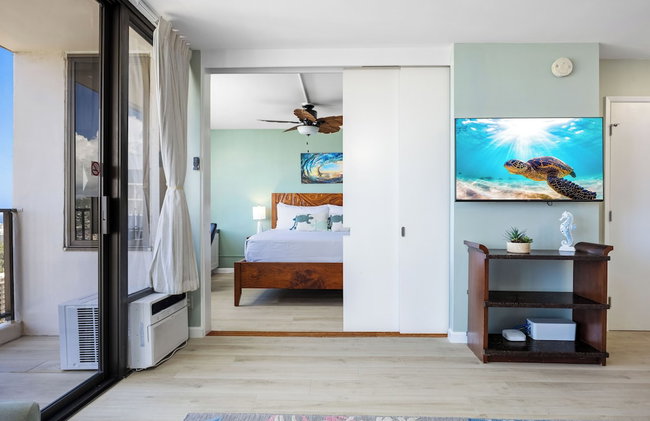

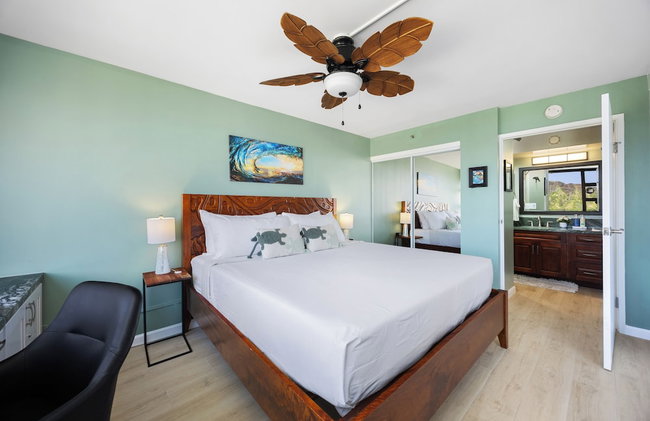

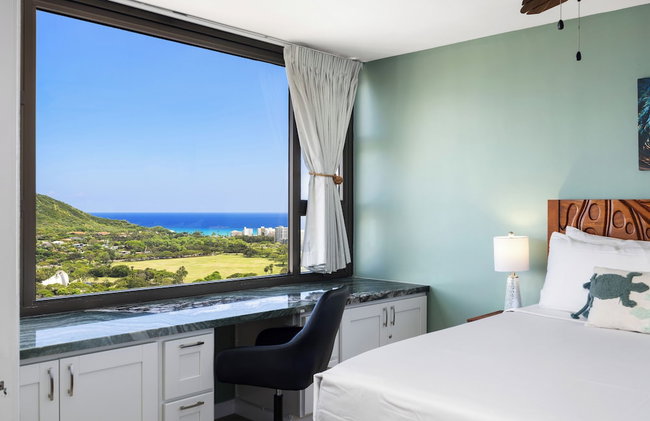

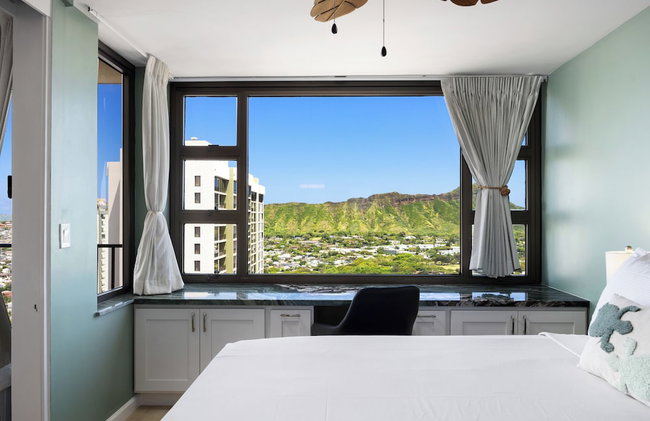

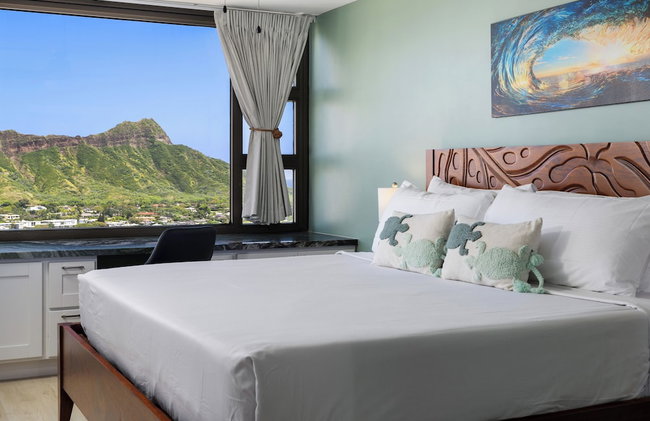

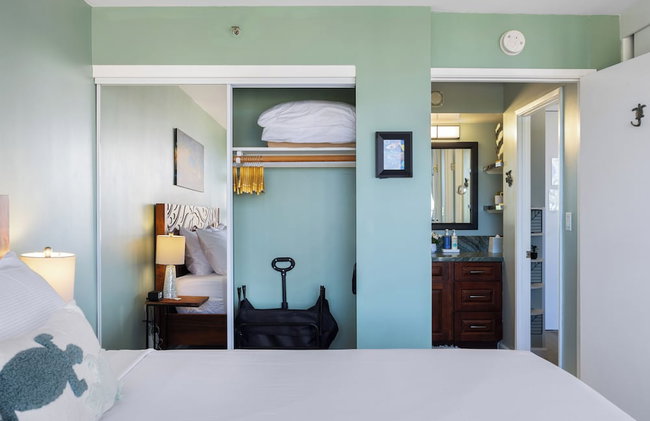

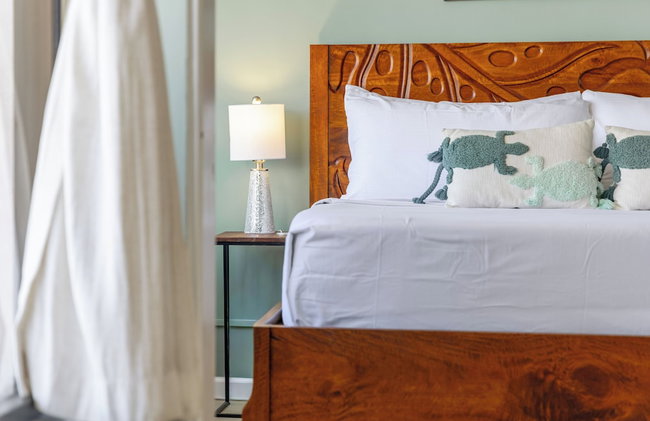


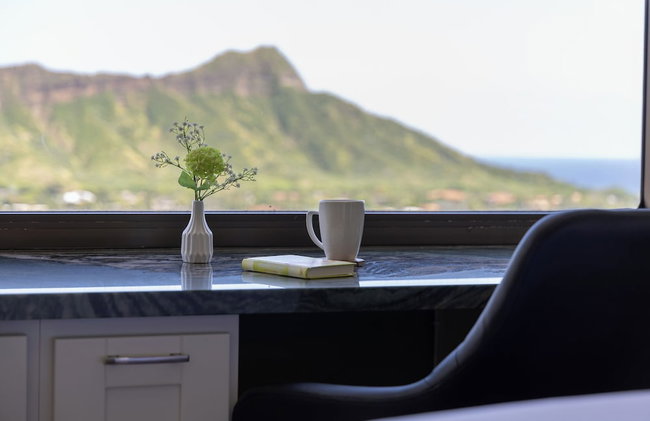

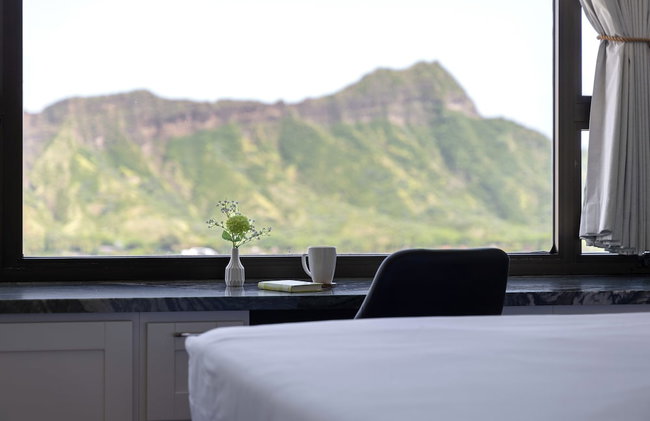


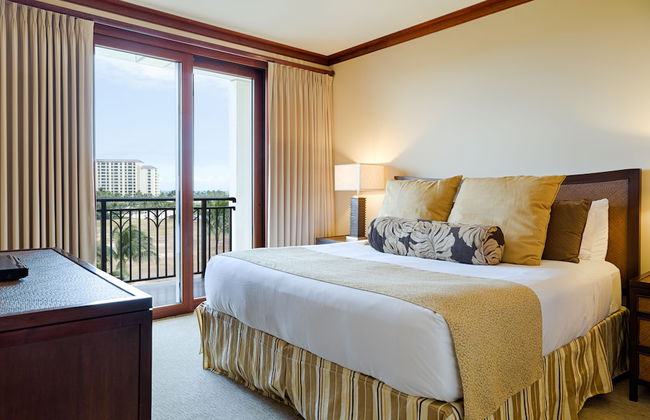
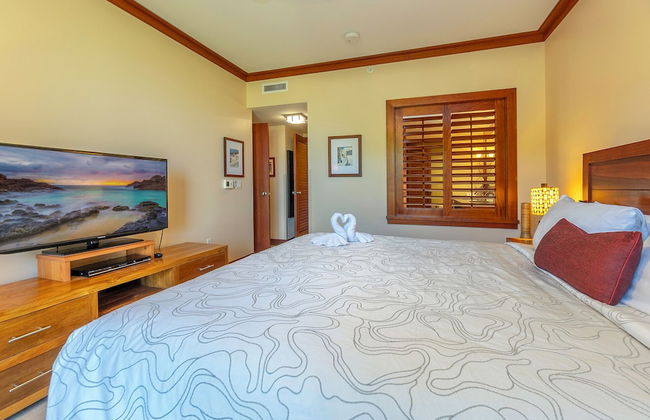
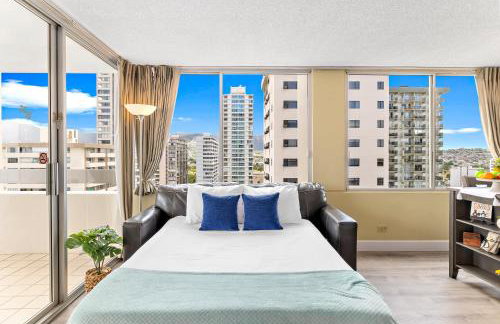
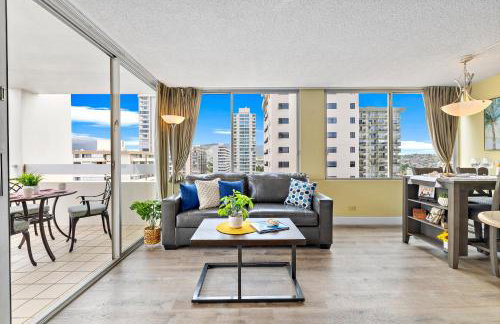
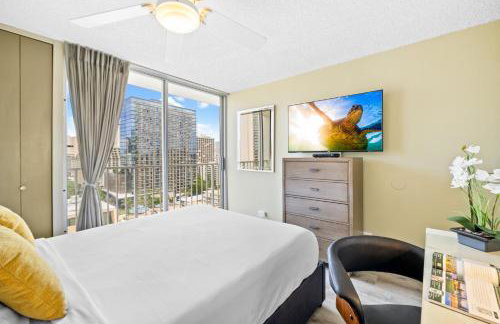
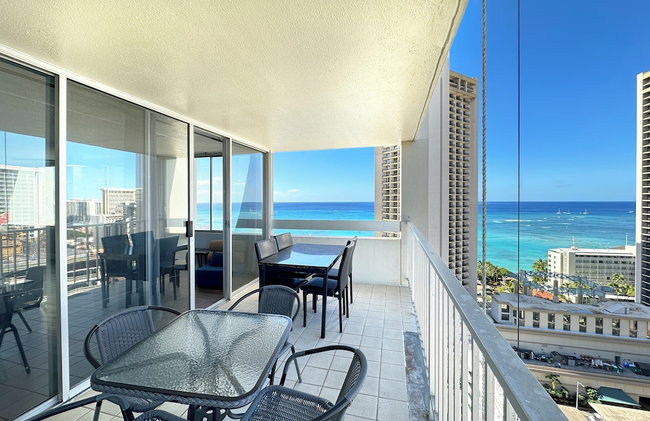
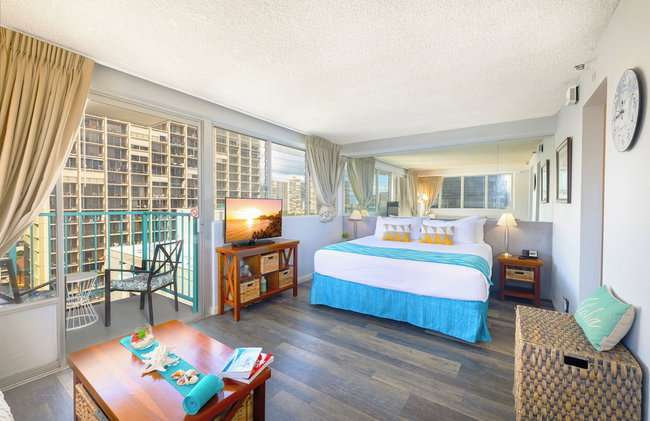
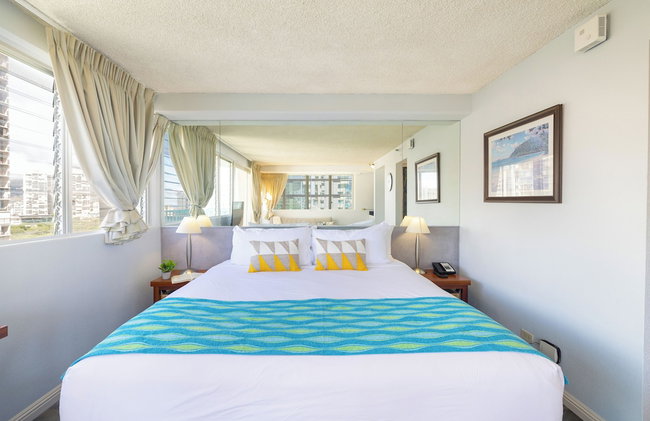
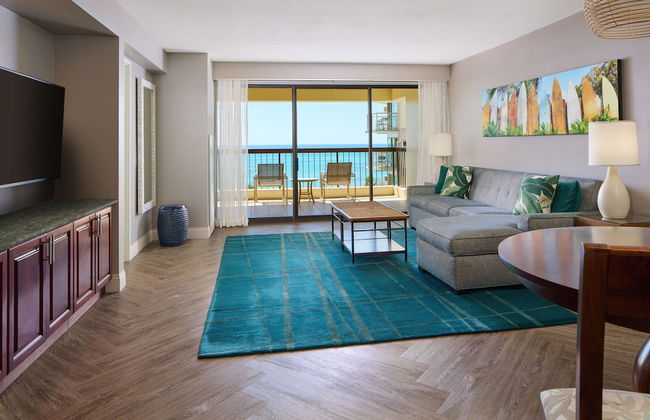
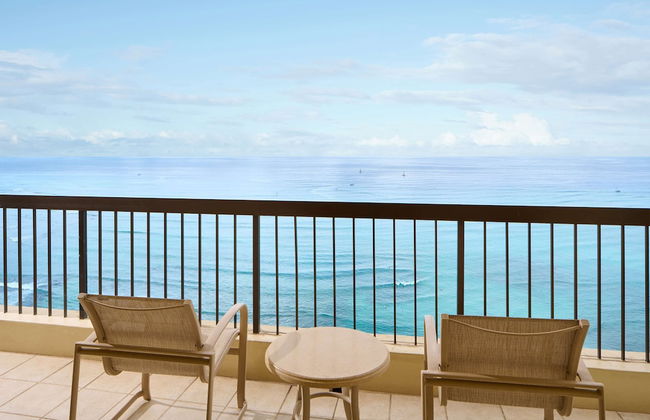
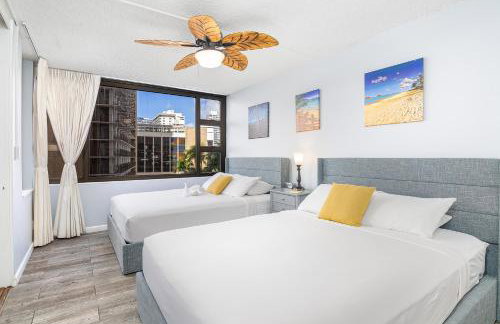
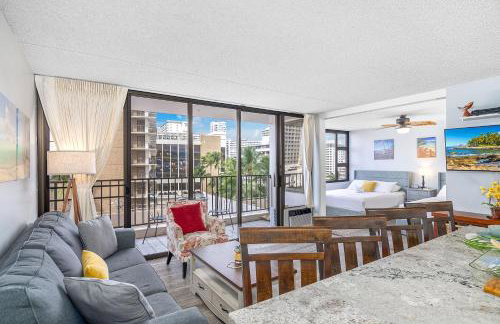
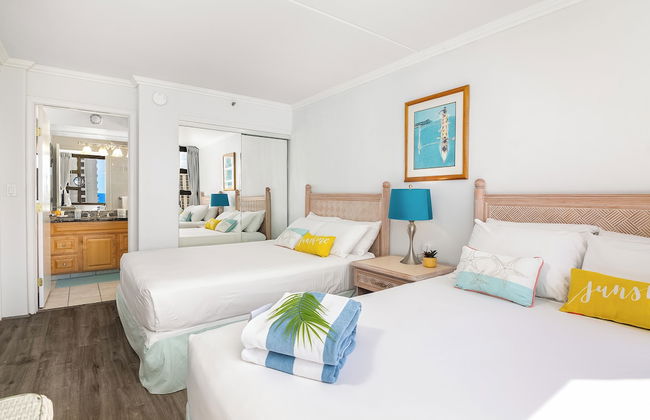
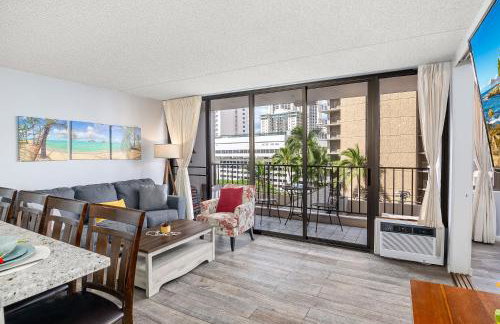
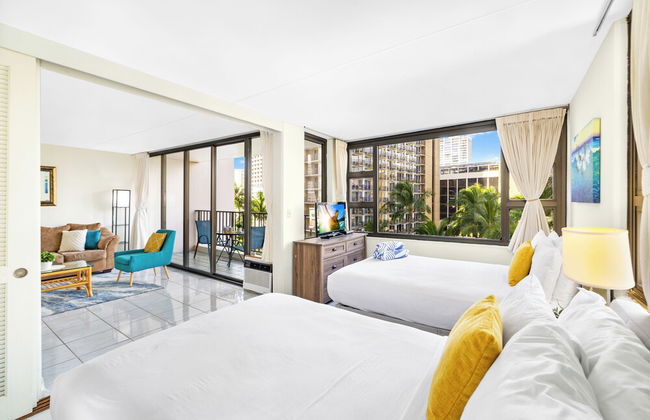
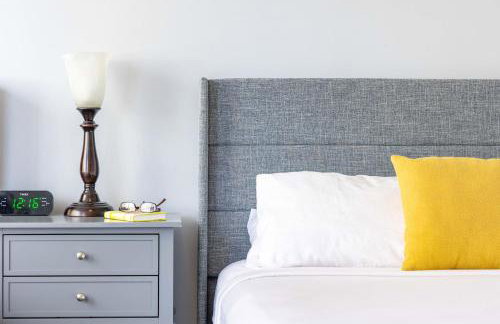
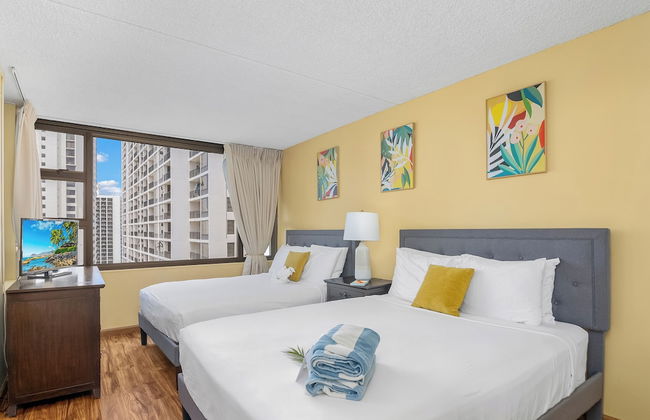
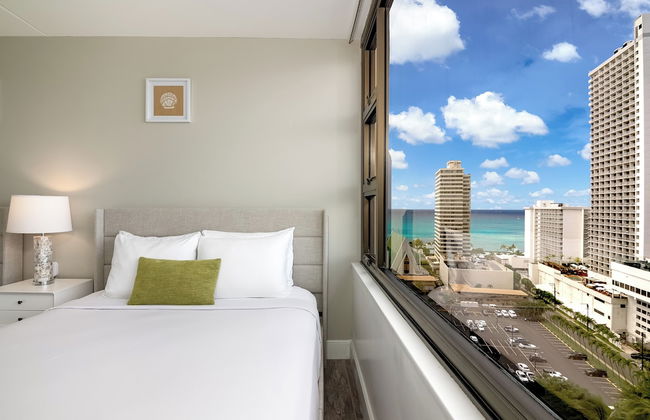
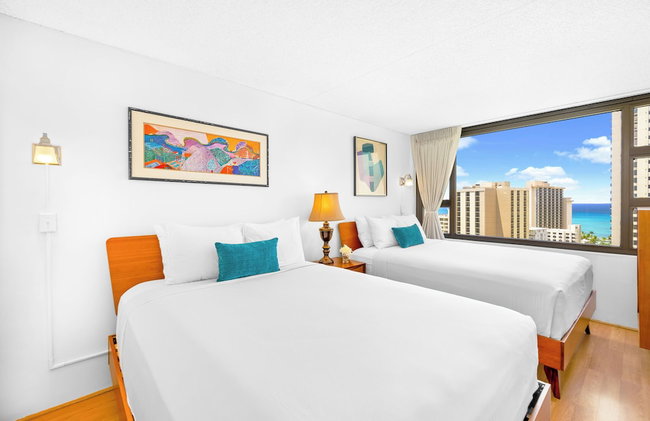
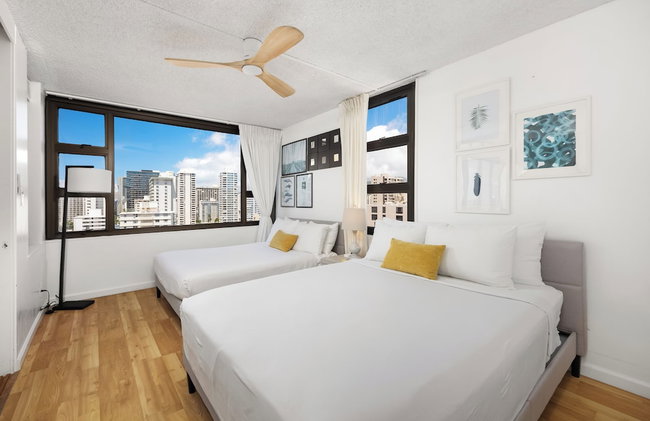
Diamond Head and Ocean views with King Bed and Parking
Honolulu - Waikiki - 4.6 km vom Zentrum
- 56 M2
- 1 Schlafzimmer
- 4 Personen
- Klimaanlage
- Schwimmbad
- Parkplatz
- Fahrstuhl
- Garten
- Tv
- Barbecue
- Handtücher
- Bettlaken


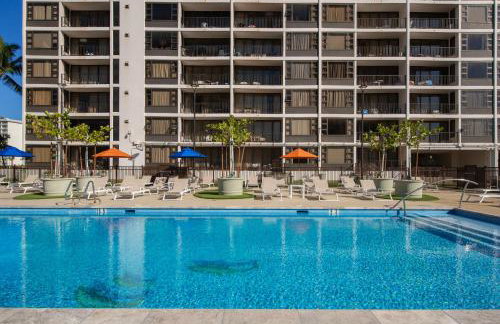


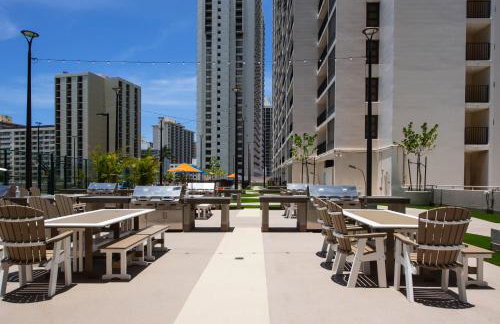


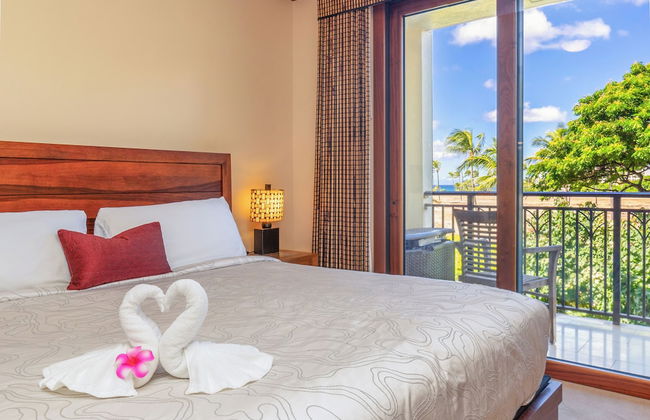
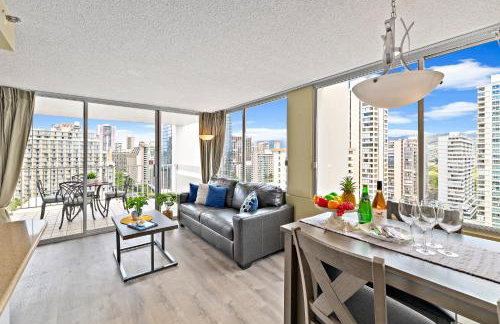
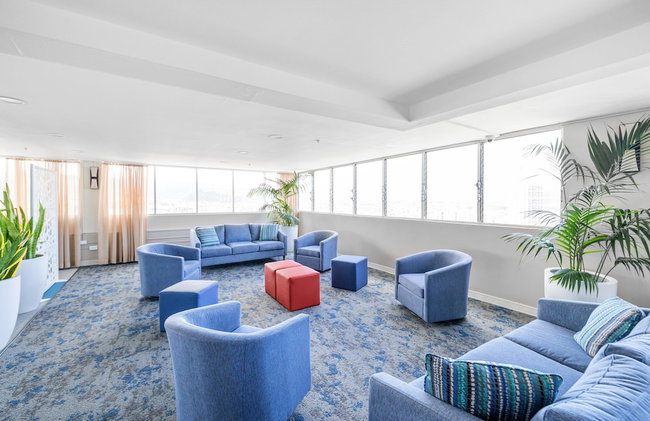
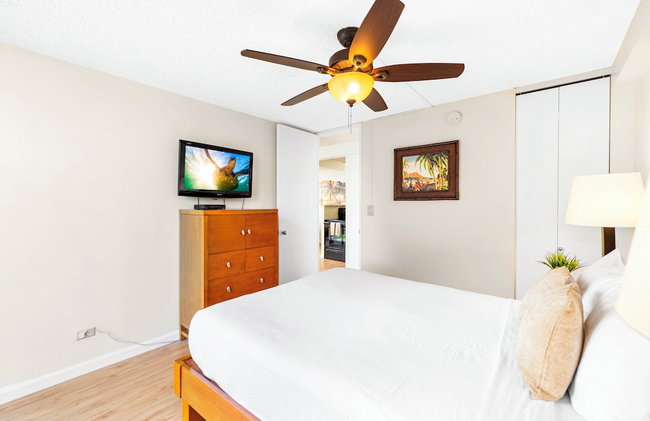
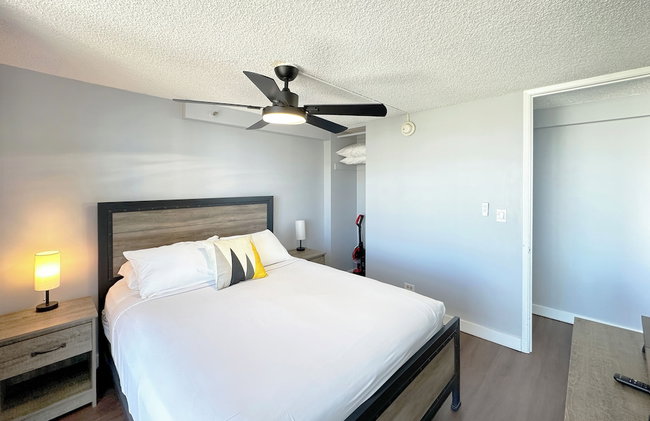
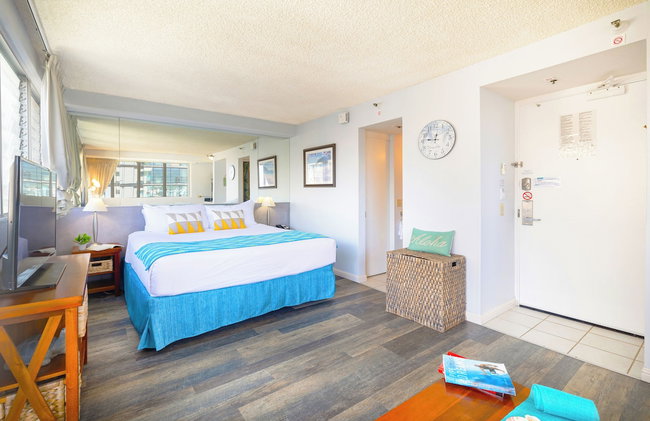
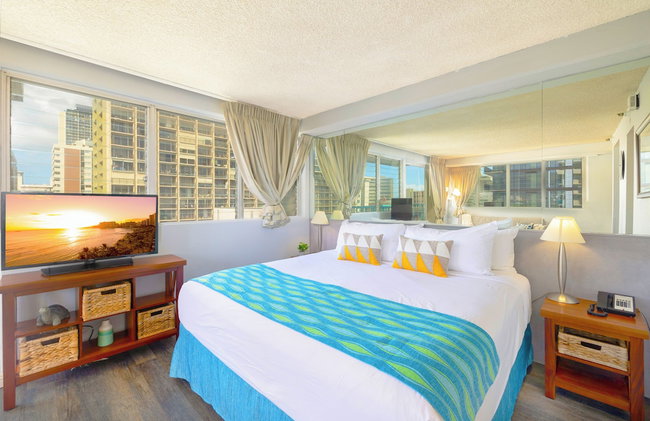
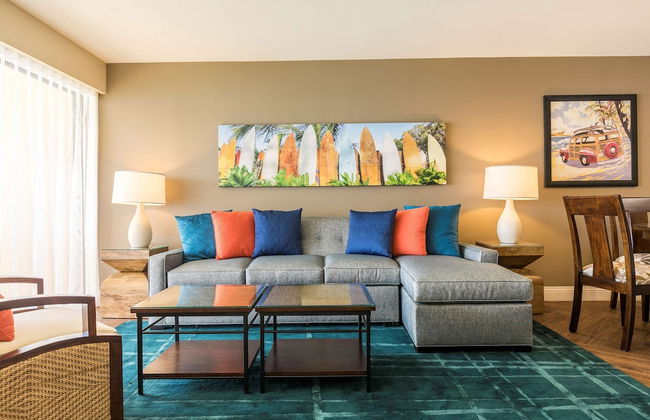
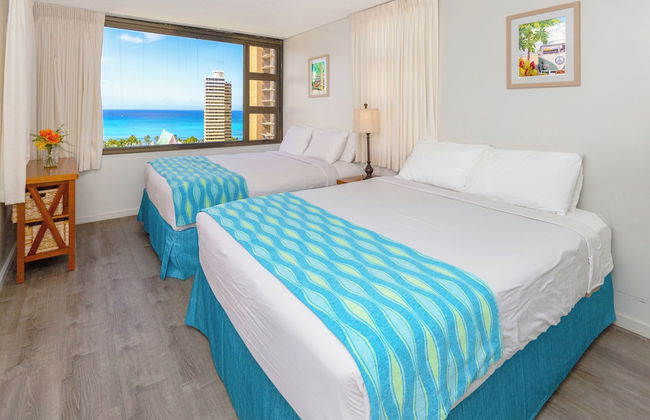
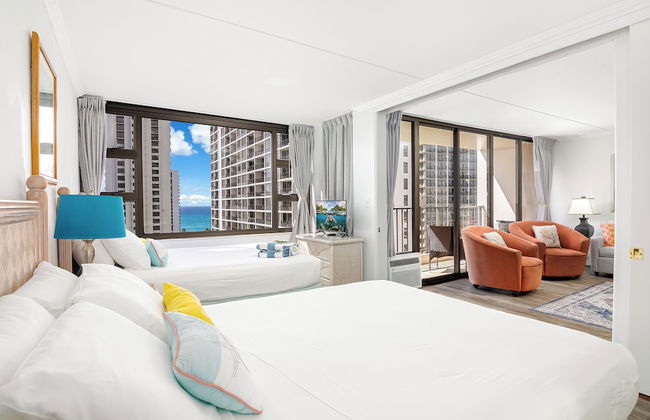
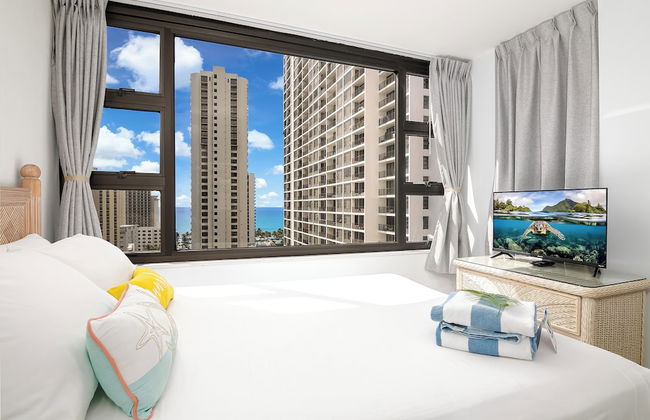
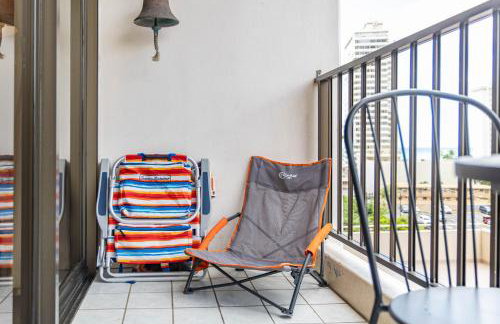
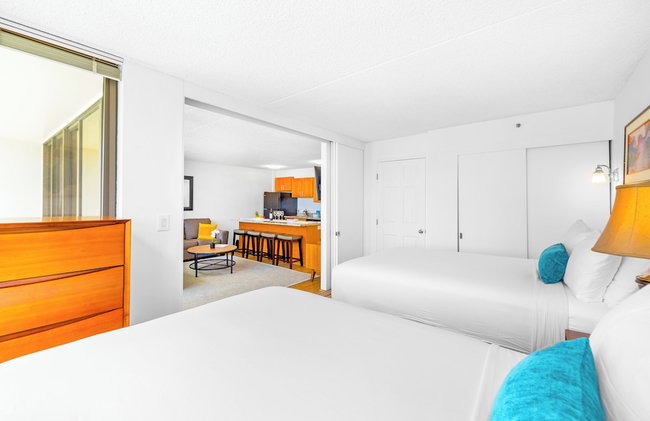
36Fl with Ocean View, Mins to Waikiki Beach, Parking
Honolulu - Waikiki - 4.6 km vom Zentrum
- 56 M2
- 1 Schlafzimmer
- 4 Personen
- Klimaanlage
- Schwimmbad
- Parkplatz
- Fahrstuhl
- Balkon
- Garten
- Tv
- Barbecue
- Handtücher
- Bettlaken


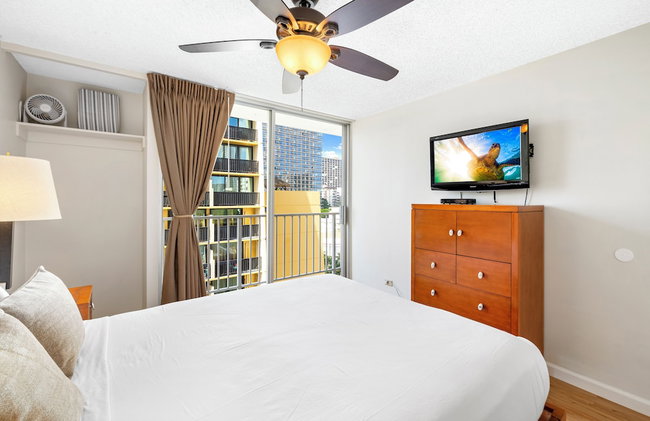


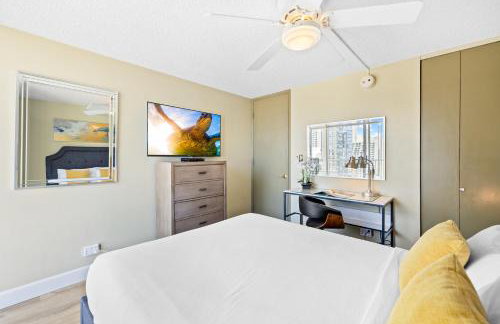
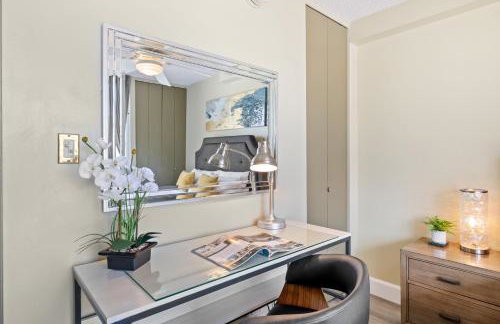


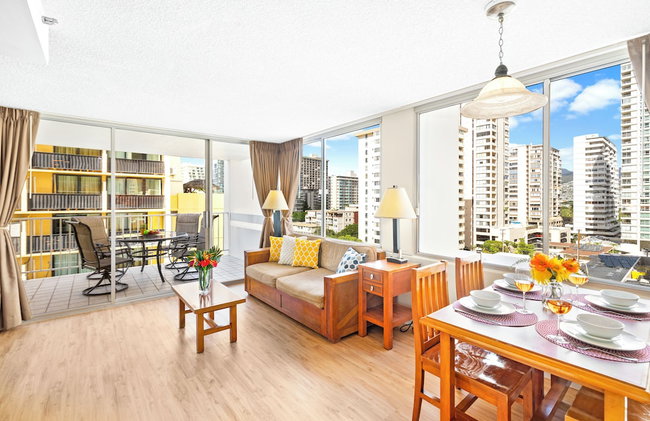


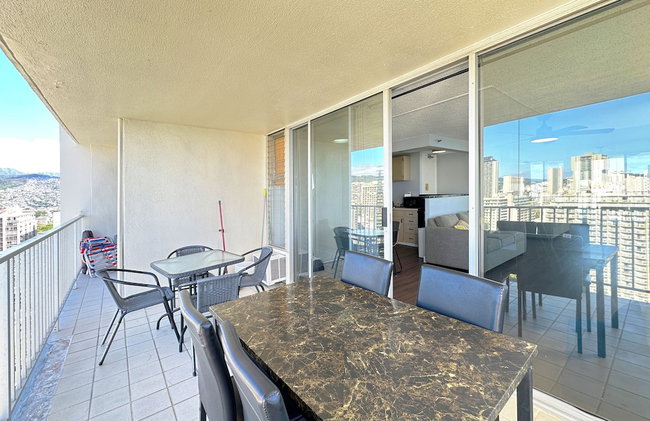

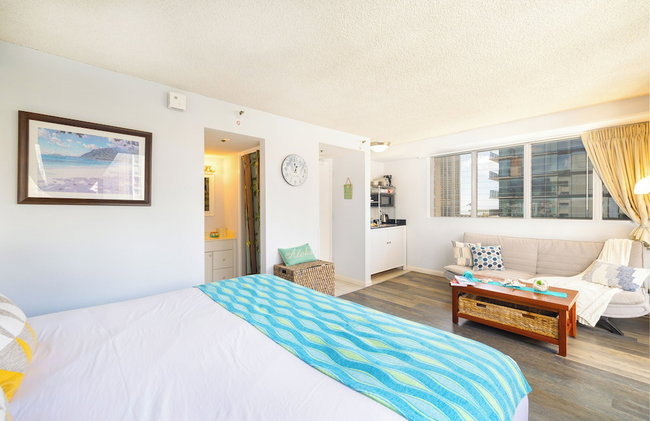
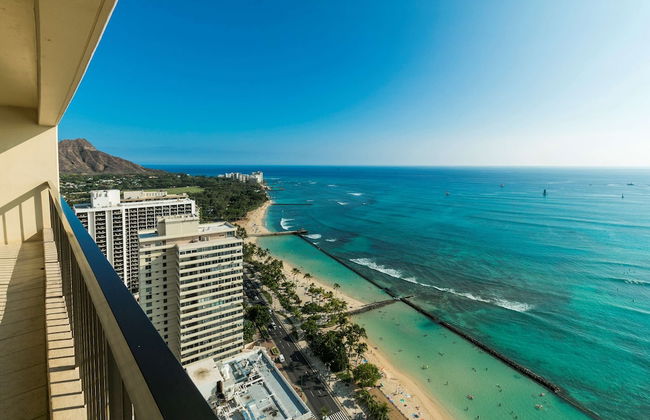
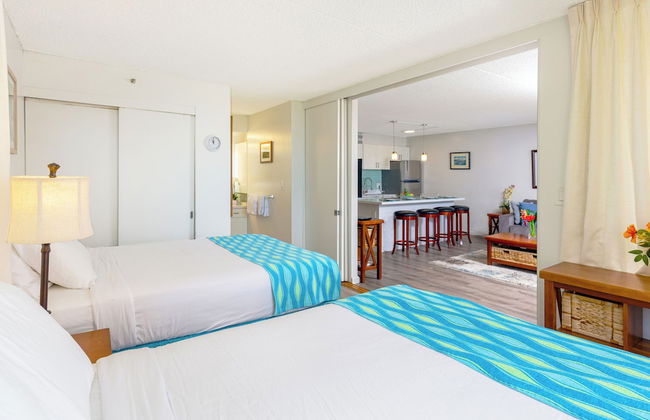
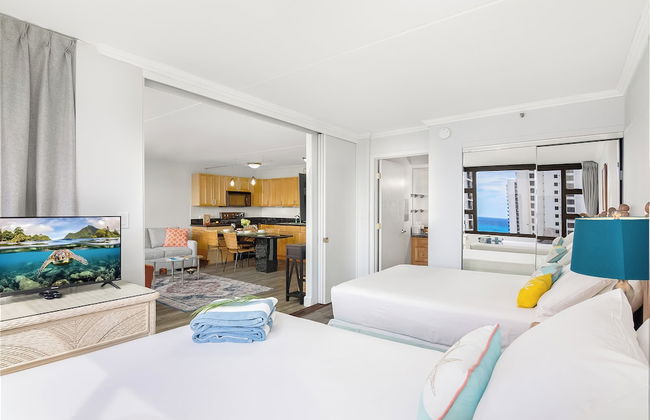
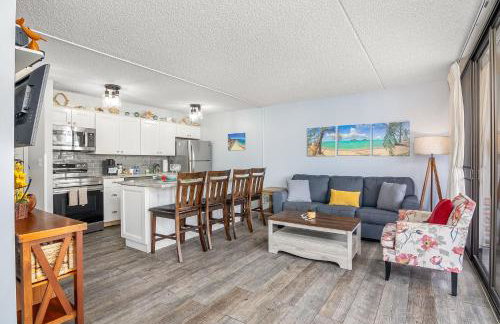
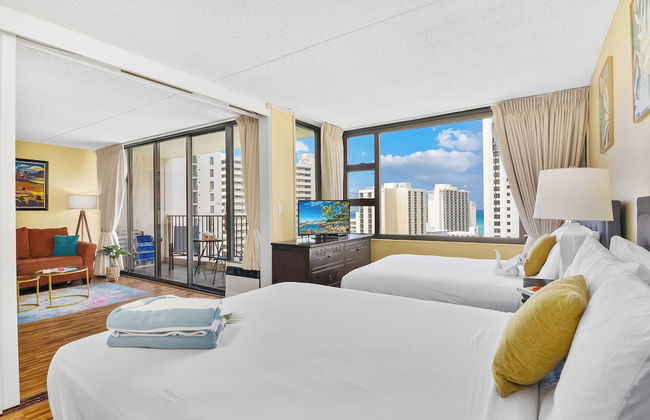
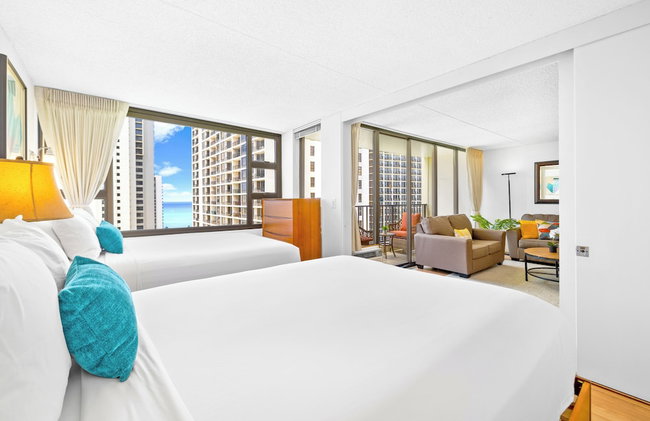
Pacific Monarch - 1 BR - Ocean and City Views!
Honolulu - Waikiki - 4.2 km vom Zentrum
- 56 M2
- 1 Schlafzimmer
- 4 Personen
- Klimaanlage
- Schwimmbad
- Parkplatz
- Fahrstuhl
- Balkon
- Garten
- Tv
- Barbecue
- Handtücher
- Bettlaken


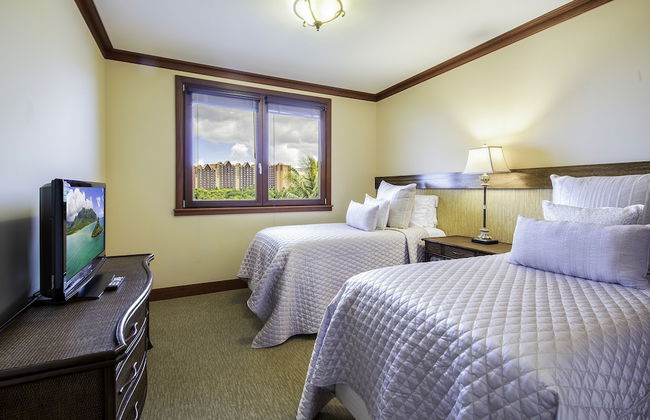
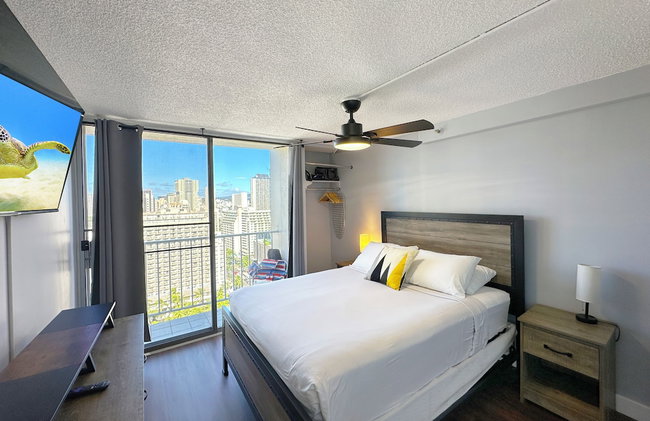
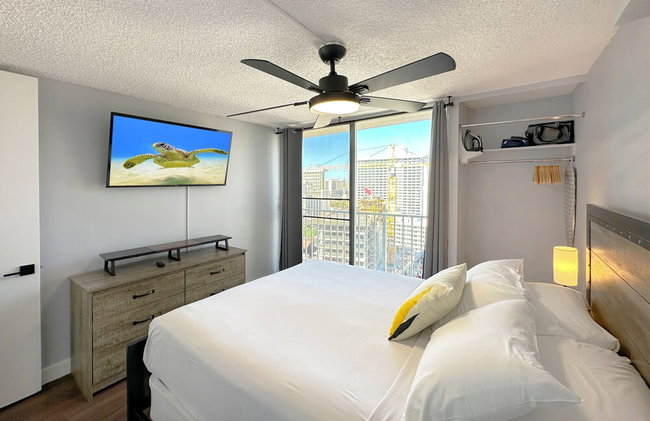
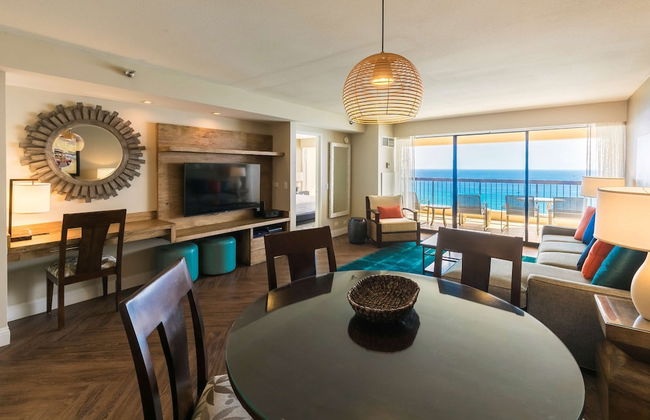
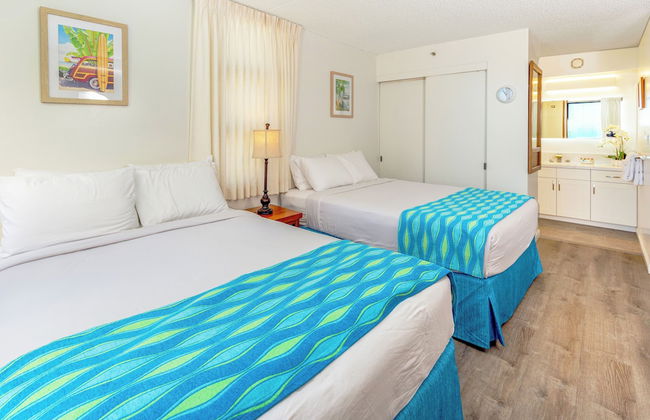
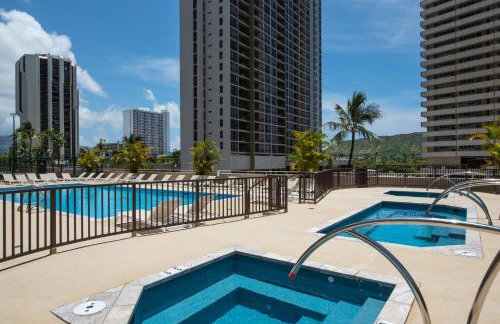
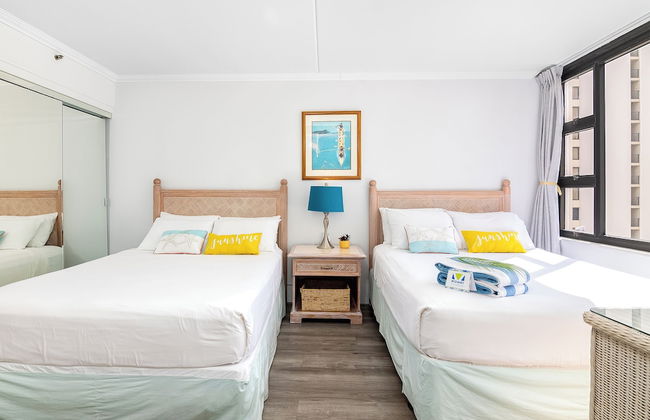
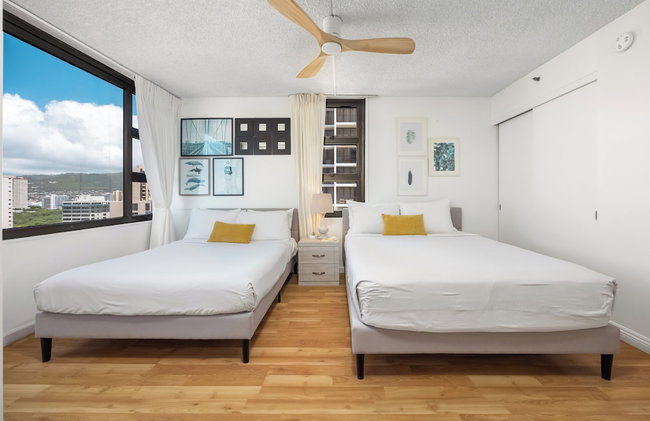
Diamond Head and Partial Ocean views with 2 Beds and Parking
Honolulu - Waikiki - 4.6 km vom Zentrum
- 56 M2
- 1 Schlafzimmer
- 4 Personen
- Klimaanlage
- Schwimmbad
- Parkplatz
- Fahrstuhl
- Balkon
- Garten
- Tv
- Barbecue
- Handtücher
- Bettlaken


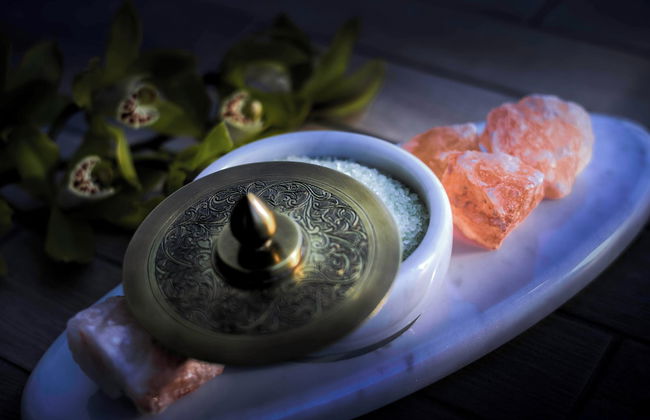
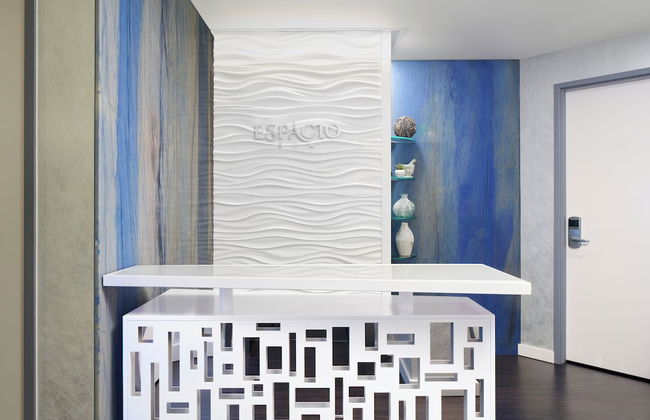

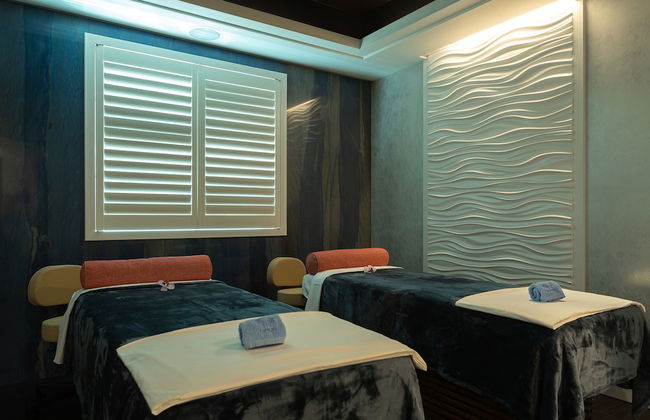


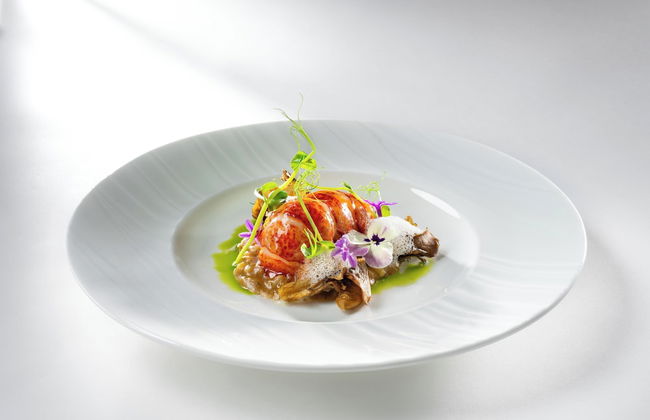


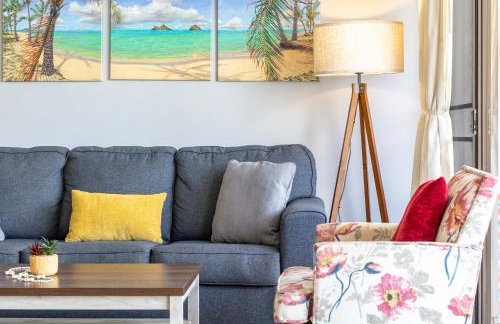
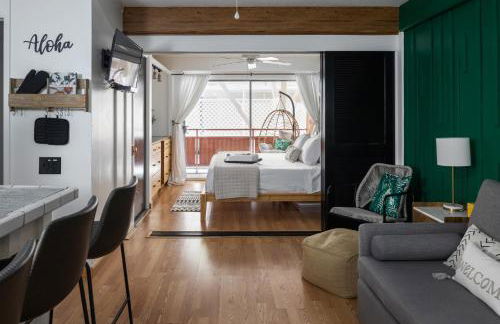
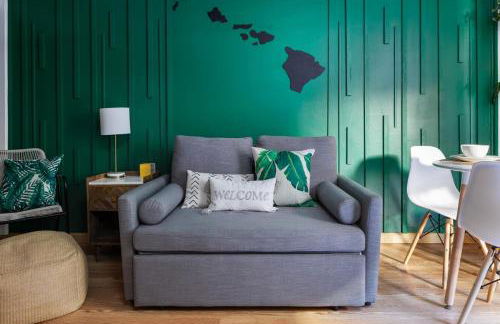
Espacio The Jewel Of Waikiki
Honolulu - Waikiki - 4.3 km vom Zentrum
- 6 Personen
- Klimaanlage
- Terrasse
- Schwimmbad
- Parkplatz
- Fahrstuhl
- Balkon
- Tv
- Waschmaschine
- Schornstein
- Handtücher
- Bettlaken


Waikiki City View at the Ilikai, Close to Beach
Honolulu - Waikiki - 2.6 km vom Zentrum
- 46 M2
- 4 Personen
- Klimaanlage
- Schwimmbad
- Parkplatz
- Fahrstuhl
- Balkon
- Garten
- Tv
- Waschmaschine
- Handtücher
- Bettlaken
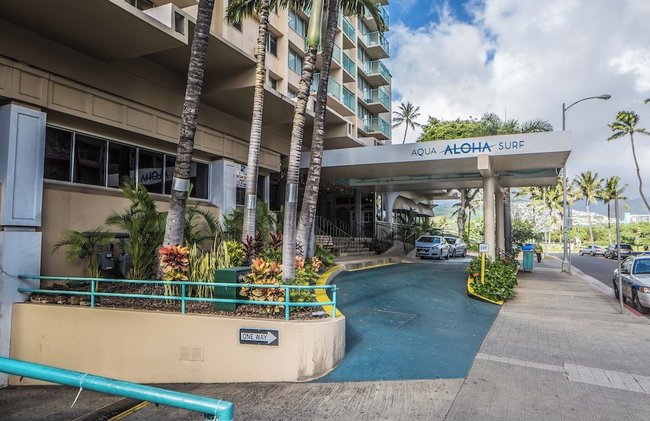
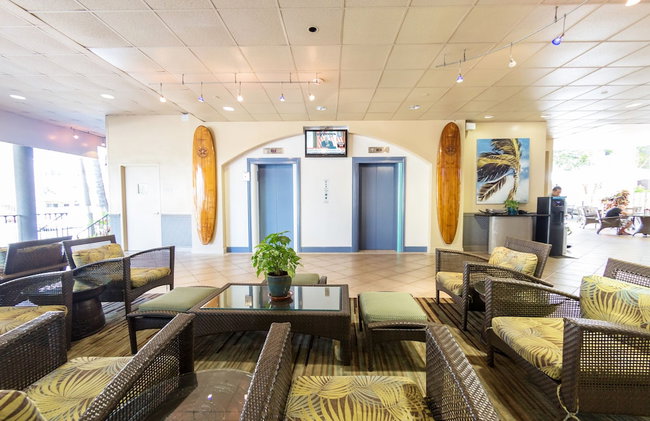


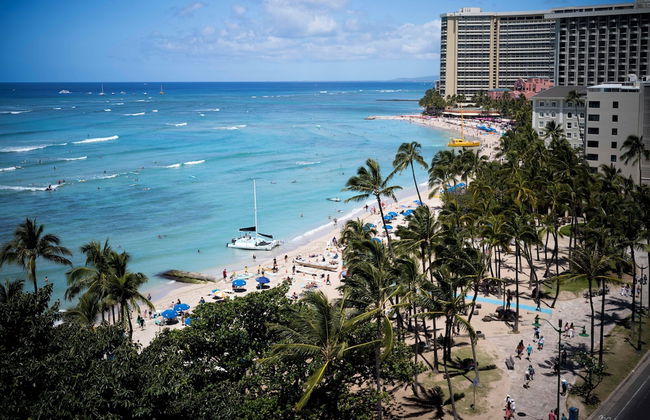
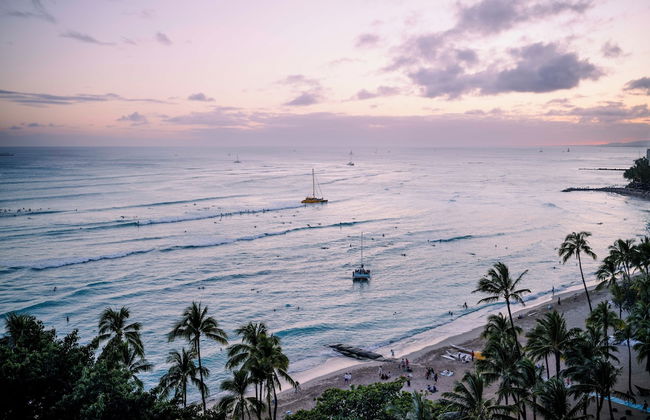
Cozy Studios at Aloha Surf Close to Waikiki Beach
Honolulu - Waikiki - 4.1 km vom Zentrum
- Schwimmbad
- Parkplatz
- Fahrstuhl
- Barbecue
- Handtücher


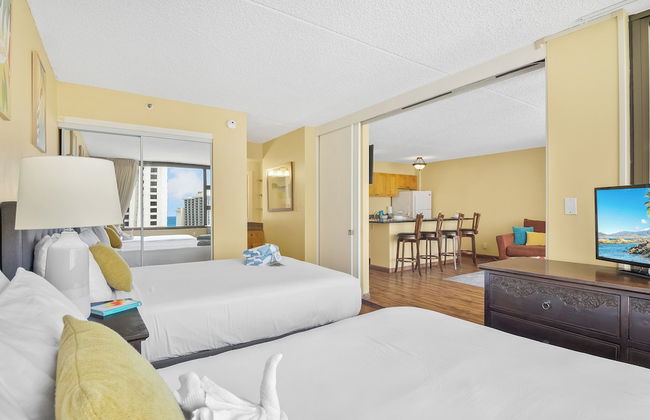
Aston Waikiki Beach Tower
Honolulu - Waikiki - 4.4 km vom Zentrum
- 6 Personen
- Klimaanlage
- Terrasse
- Schwimmbad
- Parkplatz
- Fahrstuhl
- Balkon
- Tv
- Waschmaschine
- Barbecue
- Handtücher
- Bettlaken


Ilikai Hotel Condo with Kitchen and Ocean View
Honolulu - Waikiki - 2.5 km vom Zentrum
- 46 M2
- 1 Schlafzimmer
- 4 Personen
- Klimaanlage
- Heizung
- Terrasse
- Schwimmbad
- Parkplatz
- Fahrstuhl
- Garten
- Handtücher


7FL Remodeled, Close to Beach & Dining with Free Parking
Honolulu - Waikiki - 4.6 km vom Zentrum
- 56 M2
- 1 Schlafzimmer
- 4 Personen
- Klimaanlage
- Schwimmbad
- Parkplatz
- Fahrstuhl
- Balkon
- Tv
- Barbecue
- Handtücher
- Bettlaken


Hawaiian Sun Holidays
Honolulu - Waikiki - 4.6 km vom Zentrum
- 4 Personen
- Klimaanlage
- Terrasse
- Schwimmbad
- Parkplatz
- Fahrstuhl
- Tv
- Barbecue
- Handtücher
- Bettlaken


Royal Kuhio
Honolulu - Waikiki - 3.7 km vom Zentrum
- 4 Personen
- Klimaanlage
- Terrasse
- Schwimmbad
- Parkplatz
- Fahrstuhl
- Tv
- Barbecue
- Handtücher
- Bettlaken


Stunning 1BR Ocean View Condo at Ilikai Marina
Honolulu - Waikiki - 2.4 km vom Zentrum
- 63 M2
- 1 Schlafzimmer
- 4 Personen
- Klimaanlage
- Parkplatz
- Fahrstuhl
- Garten
- Tv
- Handtücher
- Bettlaken


Waikiki Escape King Bed Pool Walk to Beach
Honolulu - Waikiki - 3.8 km vom Zentrum
- 51 M2
- 1 Schlafzimmer
- 4 Personen
- Klimaanlage
- Terrasse
- Schwimmbad
- Fahrstuhl
- Garten
- Barbecue


Marine Surf by Tropical Escapes Realty
Honolulu - Waikiki - 3.7 km vom Zentrum
- 36 M2
- 4 Personen
- Klimaanlage
- Schwimmbad
- Parkplatz
- Fahrstuhl
- Handtücher
- Bettlaken


Tropical Studios at Marine Surf Waikiki - FREE PARKING - BEST LOCATION - FULL KITCHEN - SWIMMING POOL
Honolulu - Waikiki - 3.7 km vom Zentrum
- 42 M2
- 4 Personen
- Klimaanlage
- Terrasse
- Schwimmbad
- Parkplatz
- Fahrstuhl
- Tv
- Handtücher
- Bettlaken


Contemporary Ocean View Suite - Heart of Waikiki!
Honolulu - Waikiki - 4.3 km vom Zentrum
- 19 M2
- 3 Personen
- Klimaanlage
- Terrasse
- Parkplatz
- Fahrstuhl
- Garten