
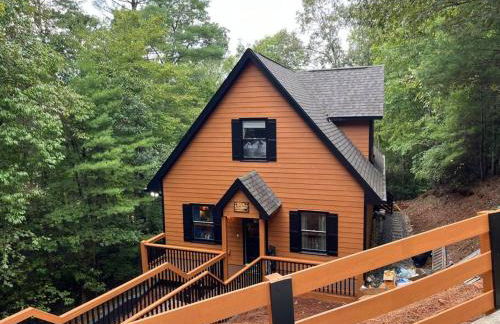
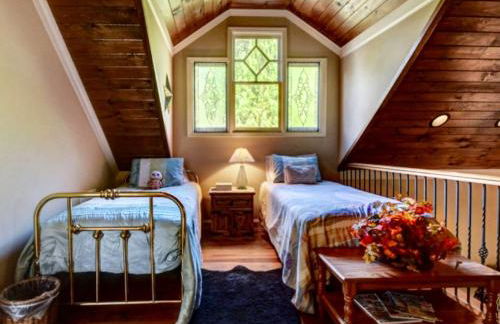
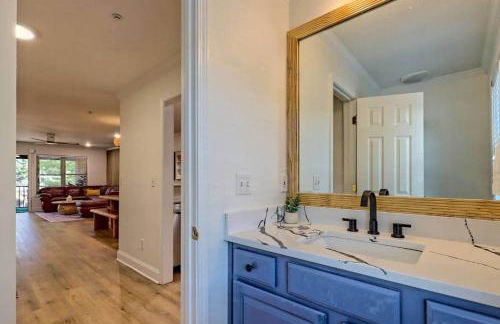
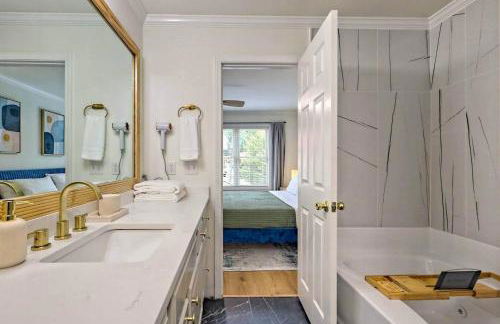
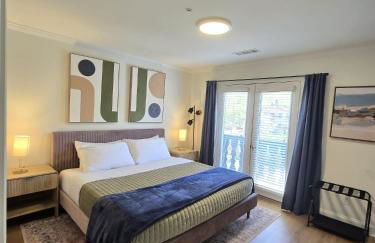
88 Wohnungen in Helen


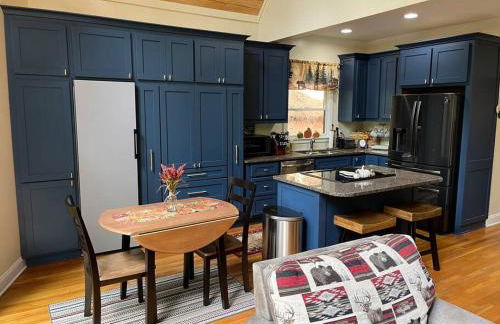
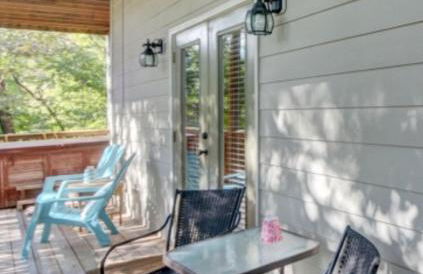
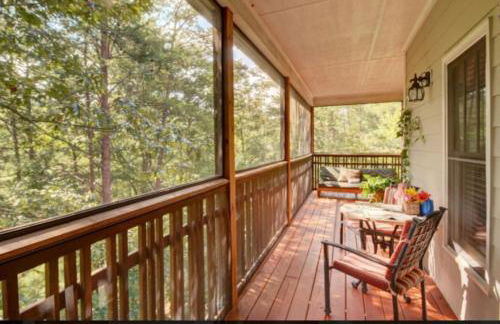
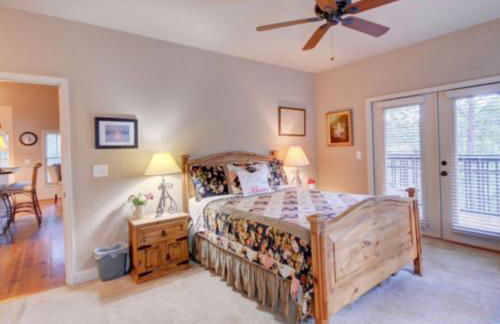
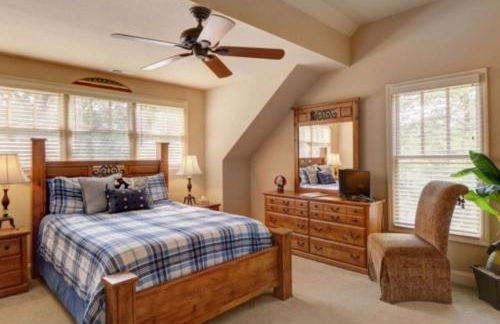
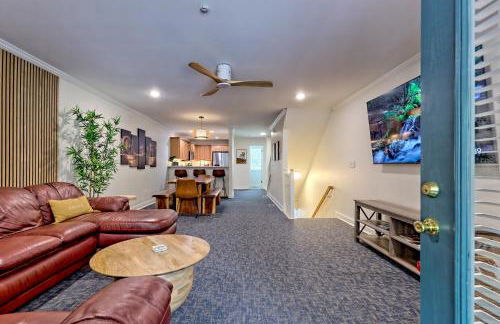
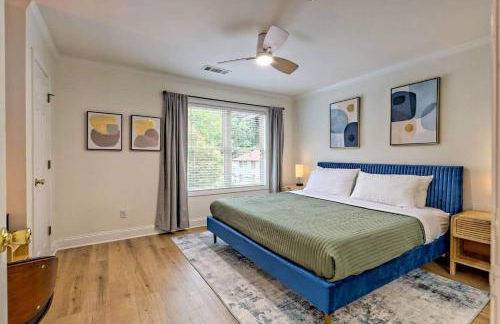
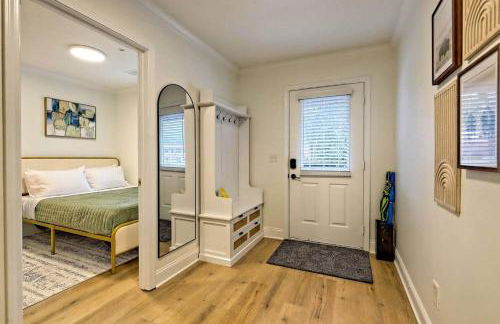
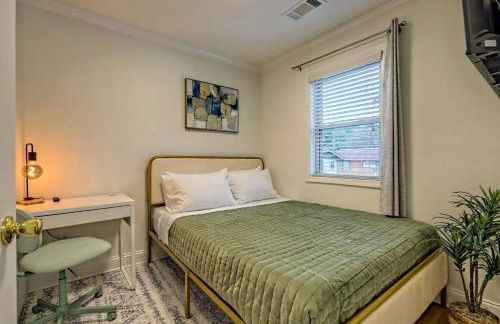
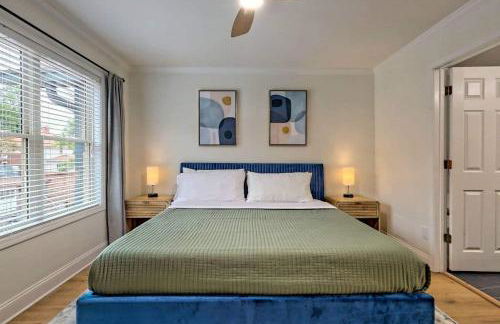
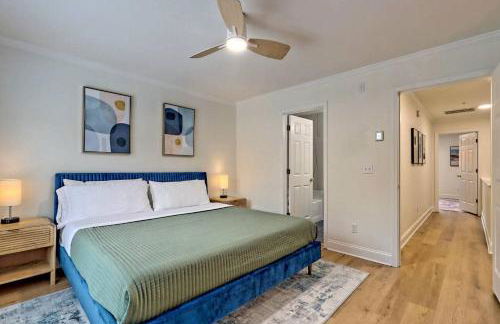
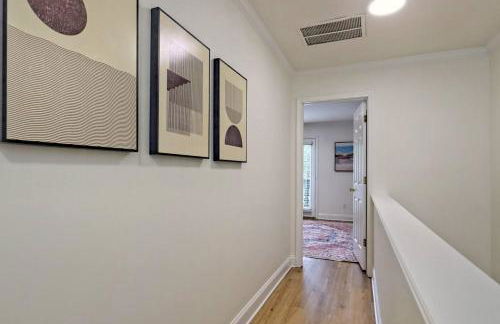
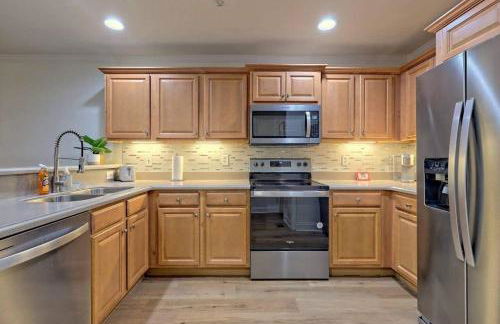
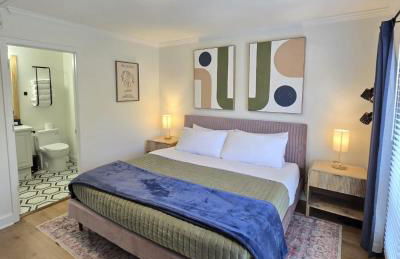
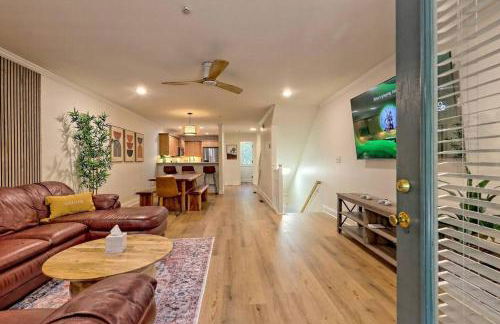
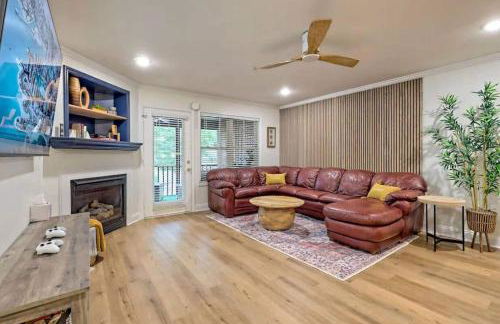
Walk to Helen Downtown-Gated Golf Resort
Helen
- 167 M2
- 2 Schlafzimmer
- 4 Personen
- Klimaanlage
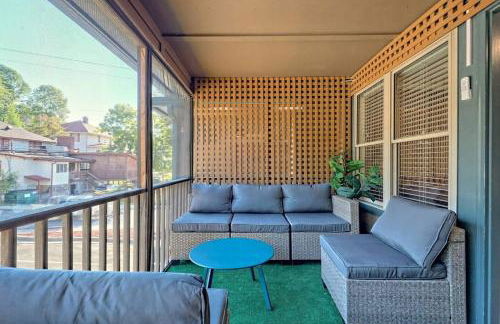
- Terrasse
- Schwimmbad
- Parkplatz
- Garten
- Barbecue
109 Bewertungen
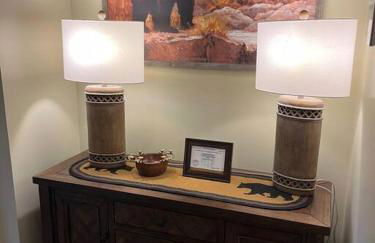
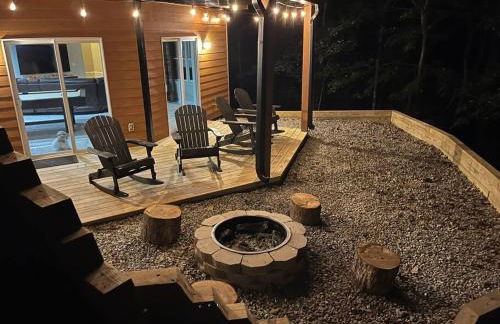
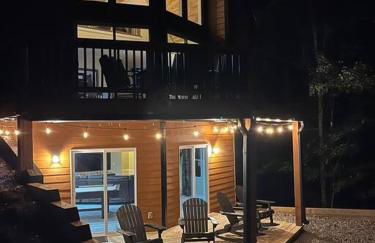
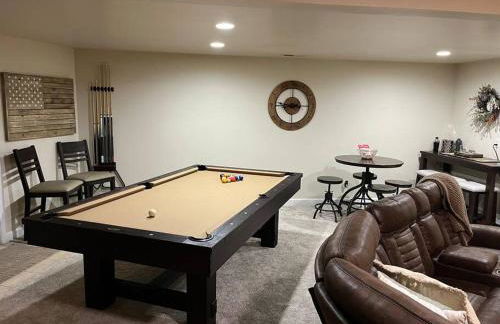
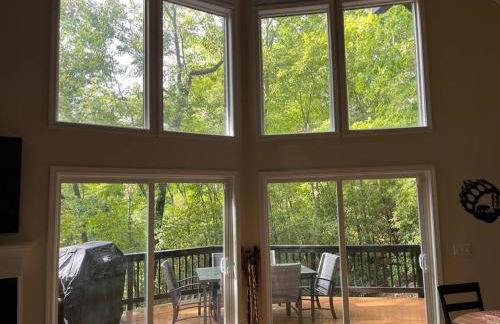
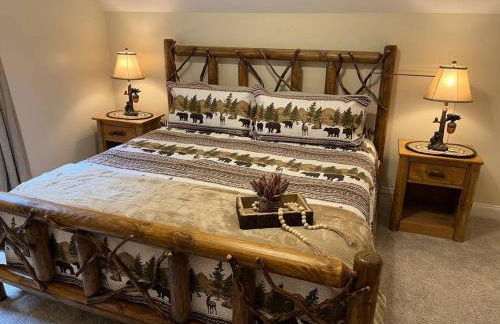

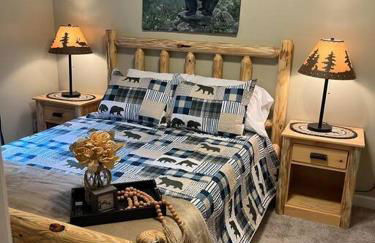
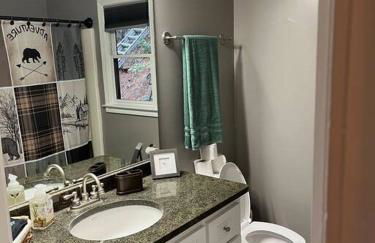

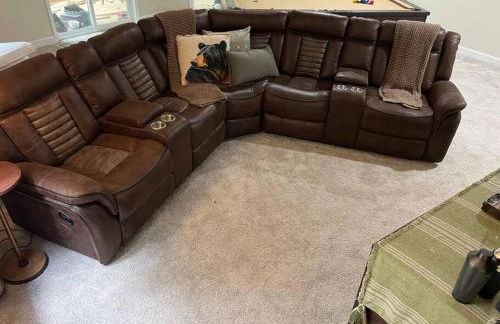


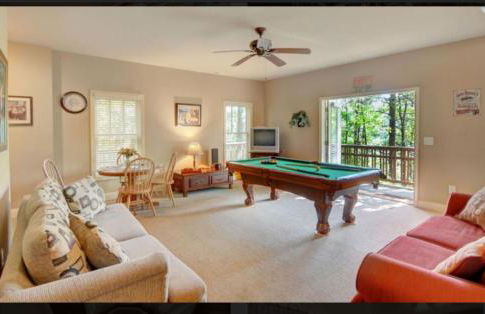
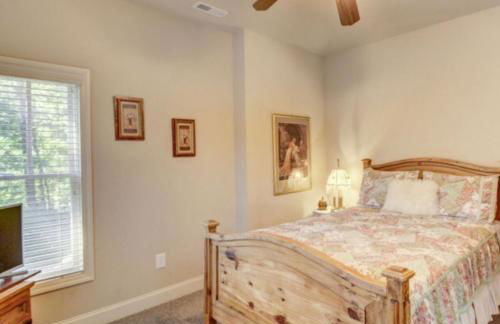
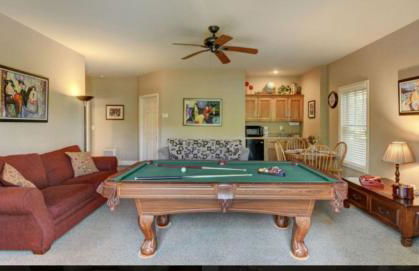
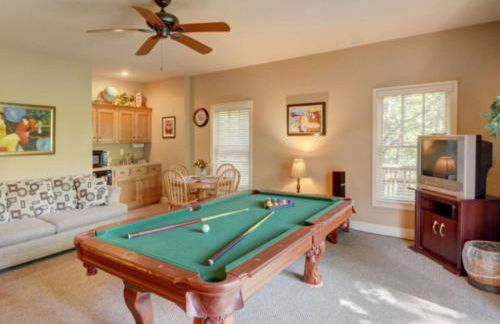
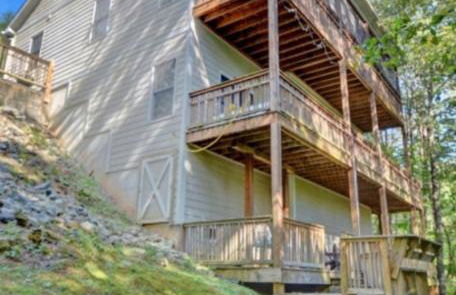
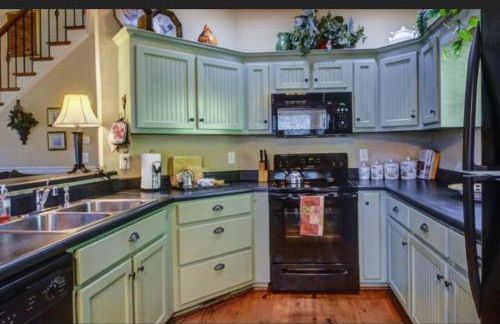
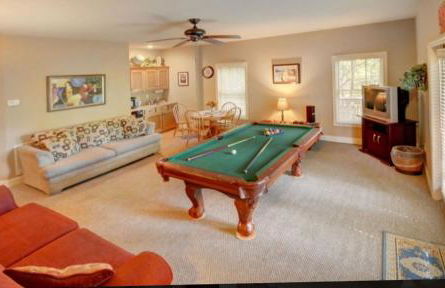
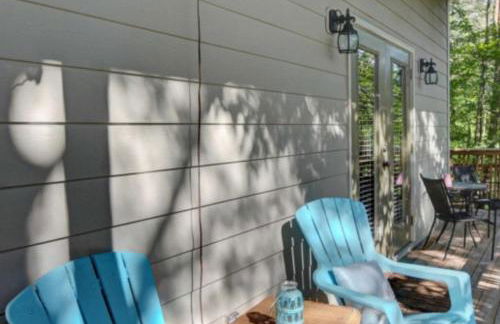
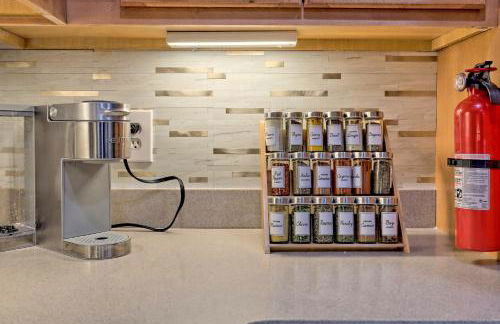
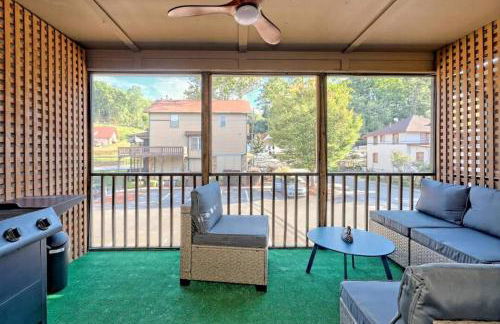
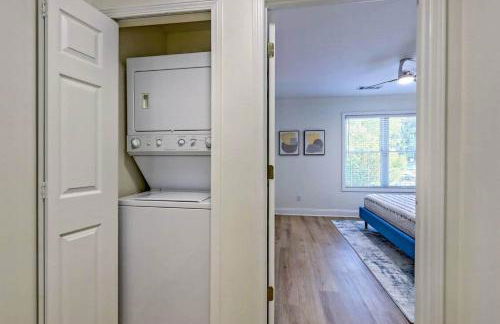
Helen, GA Bear Paw Haus 4 bdrm, sleeps 10, fire pit, pool table, on Golf course
Helen
- 11 M2
- 1 Schlafzimmer
- 10 Personen
- Klimaanlage
- Schwimmbad
- Parkplatz
- Barbecue
18 Bewertungen
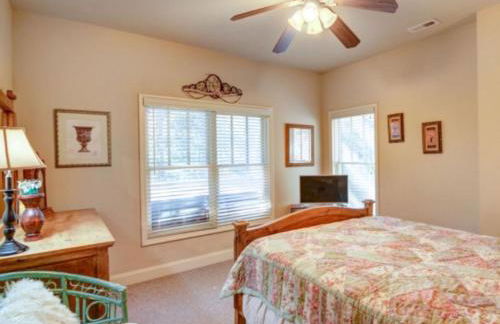

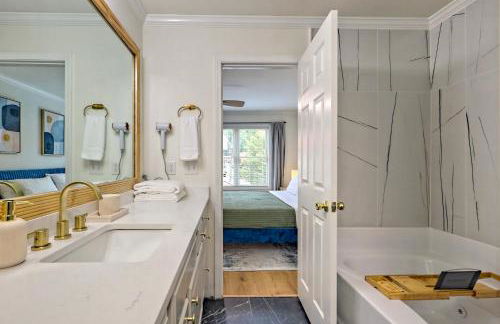
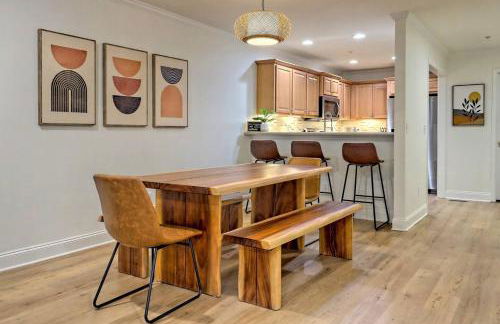
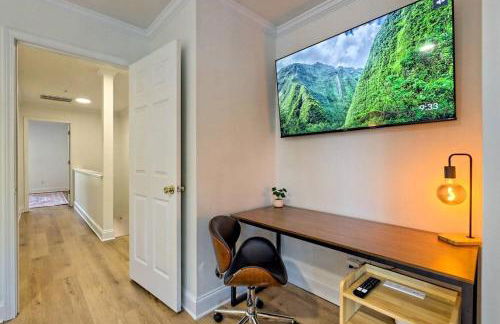
Helen Hilltop Haven
Helen
- 297 M2
- 5 Schlafzimmer
- 13 Personen
- Klimaanlage
- Heizung
- Terrasse
- Schwimmbad
- Parkplatz
- Garten
18 Bewertungen


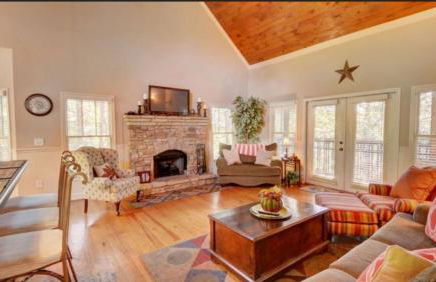
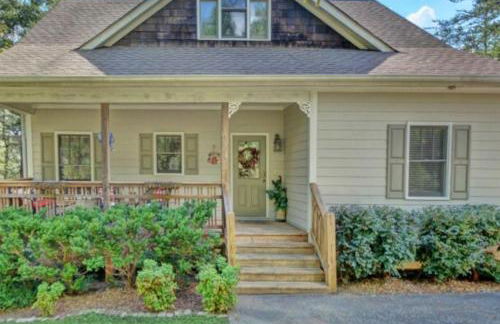
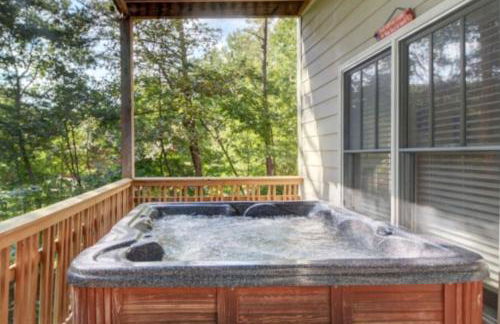
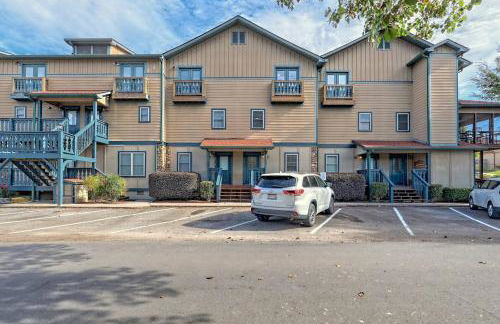
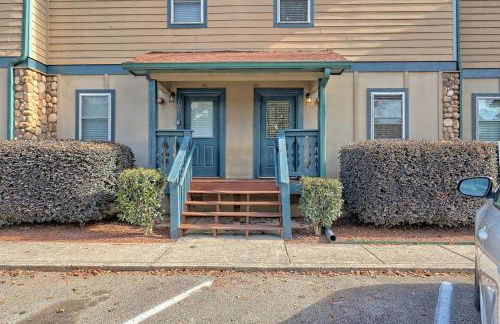
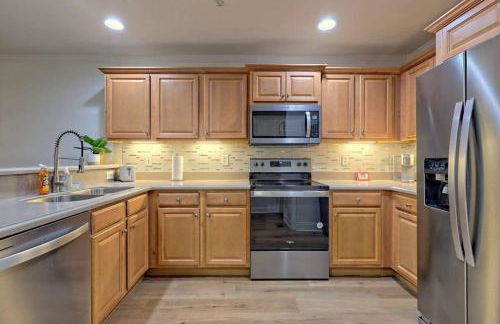
Hot Tub and EV Charger Helen Getaway with Views!
Helen
- 167 M2
- 3 Schlafzimmer
- 7 Personen
- Heizung
- Schwimmbad
- Parkplatz
19 Bewertungen


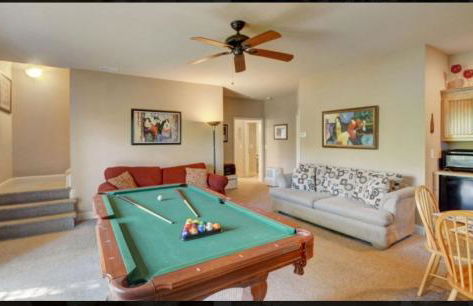
Par-Tee Haus I- Game Room & Hot Tub-Walk to Helen
Helen
- 161 M2
- 3 Schlafzimmer
- 8 Personen
- Klimaanlage
- Schwimmbad
- Parkplatz
- Barbecue
49 Bewertungen


Hootenanny at Horton Creek Creekside Escape!
Helen
- 130 M2
- 1 Schlafzimmer
- 5 Personen
- Heizung
- Parkplatz
37 Bewertungen


2 bed Cabin HOT TUB close to Helen #16
Helen
- 2 Schlafzimmer
- 4 Personen
- Klimaanlage
- Terrasse
- Parkplatz
- Garten
- Barbecue
31 Bewertungen


Ridge Retreat at Hearthstone Cabins and Camping - Pet Friendly
Helen
- 116 M2
- 3 Schlafzimmer
- 8 Personen
- Klimaanlage
- Heizung
- Terrasse
- Parkplatz
- Garten
- Barbecue
18 Bewertungen


Lil' Log at Hearthstone Cabins and Camping - Pet Friendly
Helen
- 23 M2
- 1 Schlafzimmer
- 5 Personen
- Klimaanlage
- Heizung
- Terrasse
- Parkplatz
- Garten
- Barbecue
16 Bewertungen


Par-Tee Haus II
Helen
- 161 M2
- 3 Schlafzimmer
- 8 Personen
- Klimaanlage
- Schwimmbad
- Parkplatz
- Barbecue
17 Bewertungen


Downtown Helen Walk To Shops And Restaurants
Helen
- 177 M2
- 3 Schlafzimmer
- 8 Personen
- Klimaanlage
- Heizung
- Terrasse
- Parkplatz
- Garten
- Barbecue
23 Bewertungen


The Bears Den
Helen
- 88 M2
- 2 Schlafzimmer
- 4 Personen
- Klimaanlage
- Heizung
- Fahrstuhl
- Garten
- Barbecue
18 Bewertungen


Spacious Home in Helen with Porch and Balcony!
Helen
- 232 M2
- 4 Schlafzimmer
- 8 Personen
- Heizung
- Schwimmbad
- Parkplatz
35 Bewertungen


Helen Retreat with Hot Tub, 2 Mi to Downtown!
Helen
- 307 M2
- 4 Schlafzimmer
- 14 Personen
- Heizung
- Parkplatz
11 Bewertungen


Walk to Main St and River Downtown Helen Condo
Helen
- 74 M2
- 1 Schlafzimmer
- 4 Personen
- Heizung
- Parkplatz
10 Bewertungen


Helen Cabin with Deck and Hot Tub Less Than half Mi to Main St
Helen
- 58 M2
- 1 Schlafzimmer
- 4 Personen
- Heizung
- Parkplatz
40 Bewertungen


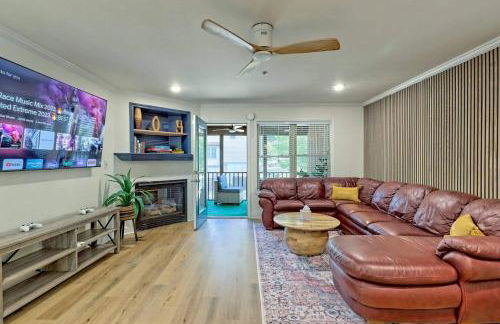
Luxury Modern Home on Golf Course with Game Room!
Helen
- 183 M2
- 3 Schlafzimmer
- 6 Personen
- Heizung
- Schwimmbad
- Parkplatz
9 Bewertungen


Alpine Crest Resort
Helen
- 8 Personen
- Klimaanlage
- Heizung
- Parkplatz
- Schornstein
- Barbecue
- Handtücher
- Bettlaken
114 Bewertungen