


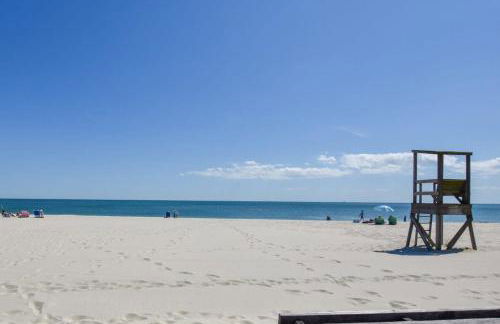
Cape Cod Villa
Harwich - East Harwich - 4.9 km vom Zentrum
- 156 M2
- 4 Schlafzimmer
- 8 Personen
- Klimaanlage
- Heizung
- Terrasse
- Parkplatz
- Garten
- Barbecue


Cape Cod heated Pool, Putting Green, Speak Easy, Game room,
Harwich - Pleasant Lake - 2.9 km vom Zentrum
- 223 M2
- 4 Schlafzimmer
- 8 Personen
- Klimaanlage
- Heizung
- Schwimmbad
- Parkplatz
- Garten
- Barbecue


Jesmond Cottage
Harwich - East Harwich - 2.3 km vom Zentrum
- 94 M2
- 2 Schlafzimmer
- 4 Personen
- Klimaanlage
- Garten
- Barbecue


Cozy Large Home in Harwich with Patio near Wequassett Resort
Harwich - East Harwich - 5.6 km vom Zentrum
- 156 M2
- 3 Schlafzimmer
- 10 Personen
- Klimaanlage
- Heizung
- Terrasse
- Parkplatz
- Garten
- Barbecue


Renovated kitchen less than 2 miles to Beach!
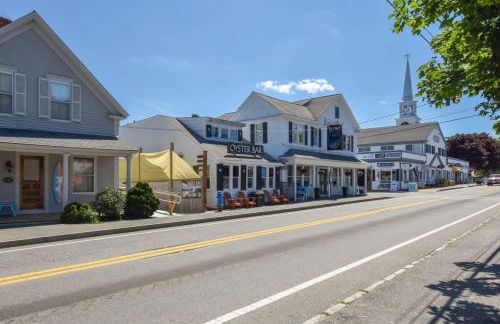
Harwich - Harwich Center - Im Zentrum
- 4 Schlafzimmer
- 8 Personen
- Klimaanlage
- Parkplatz
- Garten


Guest House Ocean Whisper
Harwich - East Harwich - 5.2 km vom Zentrum
- 195 M2
- 4 Schlafzimmer
- 10 Personen
- Klimaanlage
- Heizung
- Parkplatz
- Garten
- Barbecue


The Harwich House
Harwich - East Harwich - 6.8 km vom Zentrum
- 92 M2
- 3 Schlafzimmer
- 6 Personen
- Heizung
- Garten
- Barbecue


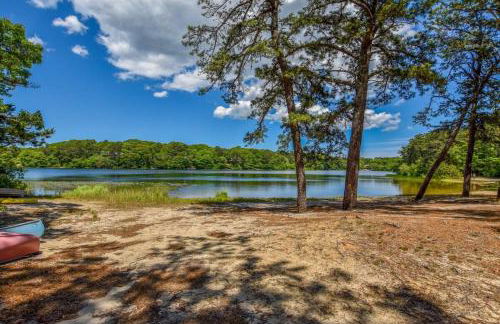
Home w outdoor spaces near Long Pond
Harwich - Pleasant Lake - 3.2 km vom Zentrum
- 207 M2
- 5 Schlafzimmer
- 9 Personen
- Klimaanlage
- Heizung
- Parkplatz
- Garten


Deeded Pond Access Ping Pong
Harwich - Pleasant Lake - 2.7 km vom Zentrum
- 107 M2
- 3 Schlafzimmer
- 6 Personen
- Klimaanlage
- Heizung
- Parkplatz
- Garten


9 Reliance Way Harwich Cape Cod- -Norma's Cape Escape
Harwich - East Harwich - 4.7 km vom Zentrum
- 11 Personen
- Heizung
- Garten


Family Lakeside Escape with Private Beach and Calm Waters
Harwich - Pleasant Lake - 3.3 km vom Zentrum
- 158 M2
- 3 Schlafzimmer
- 6 Personen
- Klimaanlage
- Heizung
- Terrasse
- Parkplatz
- Garten
- Barbecue


Walk to Buck's Pond Dogs Welcome
Harwich - East Harwich - 2.8 km vom Zentrum
- 206 M2
- 3 Schlafzimmer
- 7 Personen
- Klimaanlage
- Heizung
- Parkplatz
- Garten


Stay On The Cape Vacation Rentals: Modern Family Retreat In Harwich
Harwich - Pleasant Lake - 3.1 km vom Zentrum
- 156 M2
- 3 Schlafzimmer
- 9 Personen
- Klimaanlage
- Heizung
- Parkplatz
- Garten


Heated Pool Outdoor Kitchen Luxury Living
Harwich - Harwich Center - Im Zentrum
- 297 M2
- 5 Schlafzimmer
- 10 Personen
- Klimaanlage
- Heizung
- Schwimmbad
- Parkplatz
- Garten


Heated Pool AC 1 2 Mile to Beach
Harwich - South Harwich - 2.6 km vom Zentrum
- 278 M2
- 8 Schlafzimmer
- 20 Personen
- Klimaanlage
- Heizung
- Schwimmbad
- Parkplatz
- Garten


Pool Half Mile to Beach
Harwich - East Harwich - 6.6 km vom Zentrum
- 254 M2
- 5 Schlafzimmer
- 10 Personen
- Klimaanlage
- Heizung
- Schwimmbad
- Parkplatz
- Garten


Harwich Getaway by Leavetown Vacations
Harwich - South Harwich - 1.6 km vom Zentrum
- 202 M2
- 3 Schlafzimmer
- 6 Personen
- Klimaanlage
- Heizung
- Terrasse
- Parkplatz
- Garten
- Barbecue


Hot Tub Sauna Ping Pong Table Treehouse and Fire Pit
Harwich - East Harwich - 3 km vom Zentrum
- 130 M2
- 3 Schlafzimmer
- 6 Personen
- Klimaanlage
- Heizung
- Parkplatz
- Garten


Fire Pit Sun Room Central AC and Games
Harwich - East Harwich - 6.5 km vom Zentrum
- 232 M2
- 4 Schlafzimmer
- 9 Personen
- Klimaanlage
- Heizung
- Parkplatz
- Garten


A Contemporary Gem w Cape Character Dog Friendly
Harwich - East Harwich - 6.5 km vom Zentrum
- 170 M2
- 4 Schlafzimmer
- 8 Personen
- Klimaanlage
- Heizung
- Parkplatz
- Garten